When you click on links to various merchants on this site and make a purchase, this can result in this site earning a commission. Affiliate programs and affiliations include, but are not limited to, the eBay Partner Network.
I followed the great DIY info on this forum to do my very first brake rotor replacement. It's going very well and the rears are done.
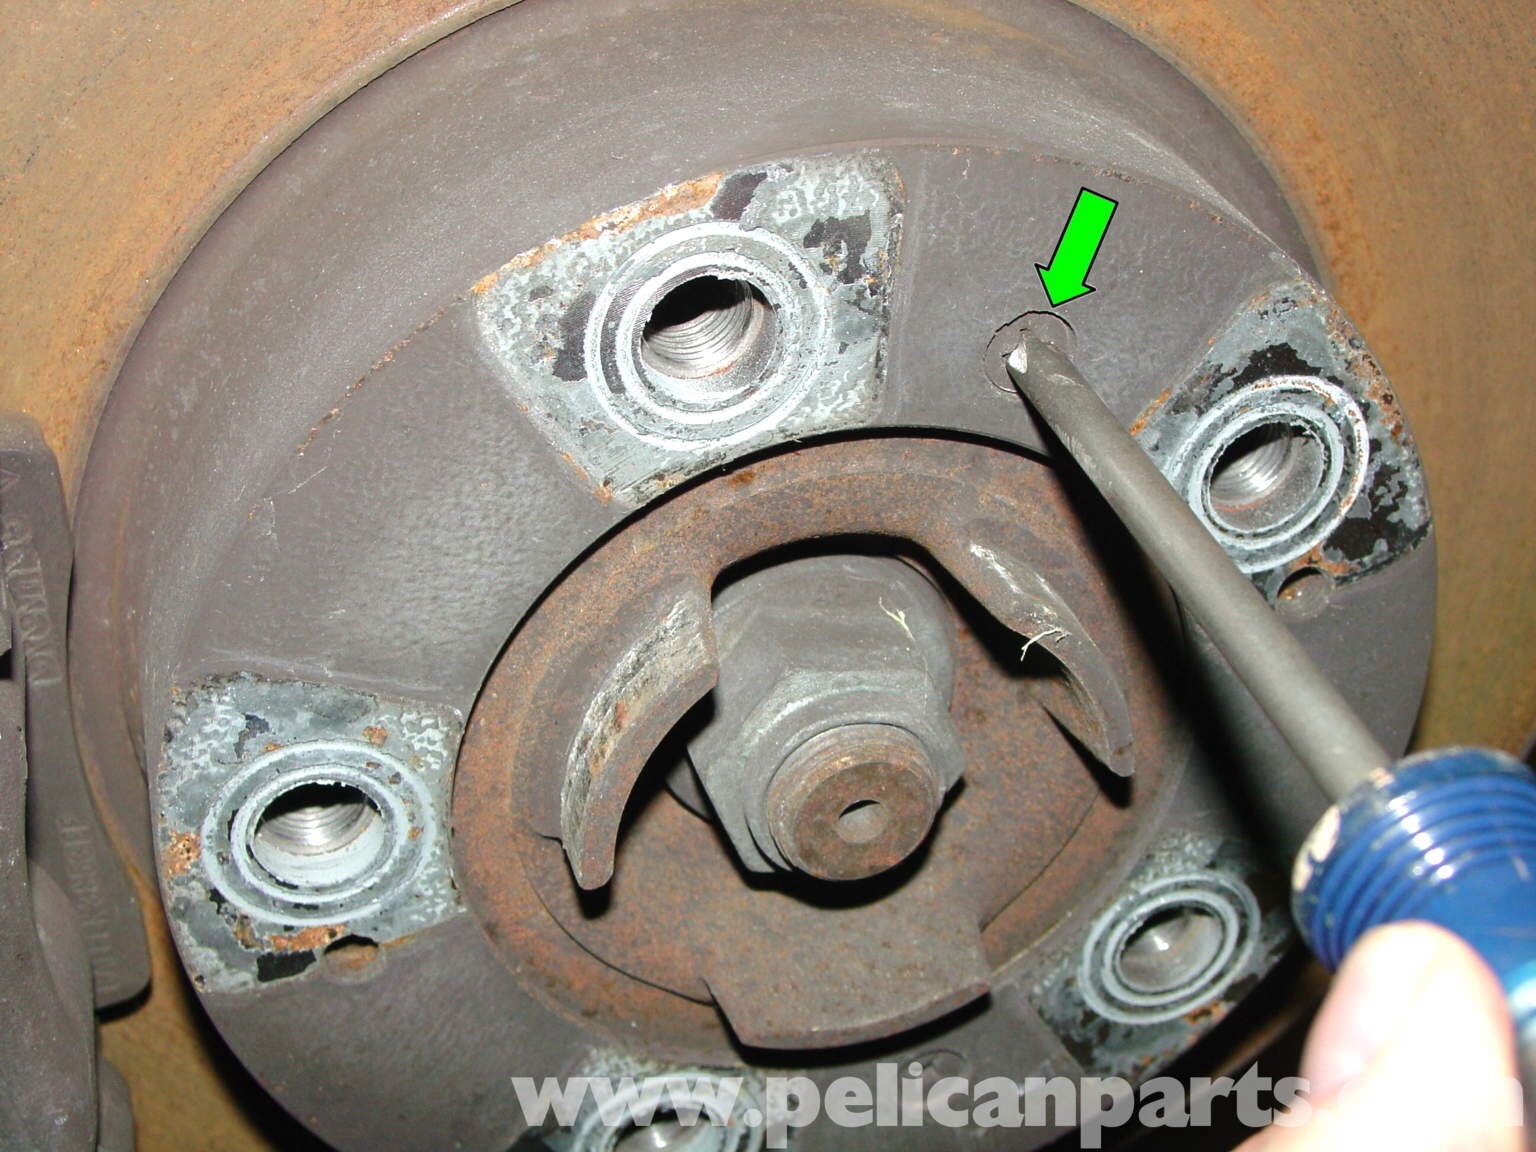
However the screws (green arrow from this photo) on the front rotors are very rusty and the head of the screws are stripped. I'm thinking of drilling thru the screw head so that I can get the old rotor out, and try to get the rest of the rusty screws out without damaging the thread.
My question is how important are these screws on the rotors? If the thread does get damaged, is it ok to just leave those screws out?
It seems that the purpose of these screws are to hold the rotor in place while putting back the caliper and wheels. And it is the 5 x wheel nut bolts which actually while the wheel and rotor securely?
Take a dremel tool and a metal cutoff disc, and cut a slot into the screw head. You may cut into the rotor hat, but you're replacing the rotor anyway.
Spray some penetrating oil (Kroil/Aerokroil is worth four times it's weight in gold) on it, and let it soak.
Then use an impact screwdriver with a flat tip on it. This is the one I have in my toolbox. Put the impact screwdriver on the screw, and hammer away until it loosens up.
I usually use a pneumatic impact gun to remove these. They can be a pain.
penetrating oil - leave that on for a bit.
BFHammer
Maybe a little heat
Perhaps you've already mangled the screw face. Are you using a good quality, correct size screw driver?
Some of the made in china stuff, just does not have the grip, and square biting tip finish. Not all Philips screw drivers are created equal.
My question is how important are these screws on the rotors? If the thread does get damaged, is it ok to just leave those screws out?
mostly the screws are convenience only. they align the lug holes, keep the rotor snug to hub so there's no gaps when tightening lugs, and also so the rotor doesnt suddenly drop on your foot when changing calipers or pads. as far as performance, it's the lugs/wheels themselves that cement the rotor to the hub. yes you can get away with not using them but things might be a little tougher to keep lined up when wheels/calipers/pads are off.
mostly the screws are convenience only. they align the lug holes, keep the rotor snug to hub so there's no gaps when tightening lugs, and also so the rotor doesnt suddenly drop on your foot when changing calipers or pads. as far as performance, it's the lugs/wheels themselves that cement the rotor to the hub. yes you can get away with not using them but things might be a little tougher to keep lined up when wheels/calipers/pads are off.
+1
They are to keep the rotor on the hub when the wheel is off, but when the wheel is installed and torqued down, that screw is just going along for the ride. I'd have tried to use an impact driver to get it off as I hate drilling and cutting.
Agree with others on the rotor screws importance. Nevertheless they are there for a reason so if you can remove the stuck screw and not damage the threads for a new replacement screw that would be the best outcome.
There are some very good screw extractors that may work for you. Or you can drill out the center of the screw as has been mentioned. If you are careful enough you will drill only the center and the threads will collapse and you'll be done. If you burr up the threads you may be able to find a metric tap and die and re-thread the hole and then replace the rotor screw. Re-threading is not a problem as the torque for the rotor screw is small something like 7.5 or 10 ft-lbs if I remember correctly. Also when you replace the rotor screws, use some anti-seize compound so you don't have the problem again in the future.
Takes me back 50 years ago, tearing motorcycles apart (Japanese that is with Philips screws binding the cases ... European bikes used socket head cap screws). Now this tool mostly rests in the third center drawer down in my first tool chest.
Just remember to twist the handle the right way so the hammer blow with turn the screw out and hold the handle with a bit of torque to start that twist. I've seen some who struggle with this tool. It is not obvious to everyone! If you have a damaged head to begin with you may want to practice on a good screw first.
When you get the replacement, get a stainless one. Just take one of the non buggered ones you got out with you to the hardware store. Also, if you'll be trying heat from a propane torch and a penetrating lubricant, try the heat first and let it cool before spraying they lubricant - most if not all of those products are flammable.
The manual impact tool should get it out and now you have one of those for when you need to remove your headers the first time

 05-07-2015, 01:56 PM