When you click on links to various merchants on this site and make a purchase, this can result in this site earning a commission. Affiliate programs and affiliations include, but are not limited to, the eBay Partner Network.
Now that's commitment to keeping your paint looking pristine! At least according to the pics, you were the only trip participant that went through the trouble. Did the other PCA guys give you a hard time about it (all good-natured, of course)? The lengths to which you go to make sure your car stays in great condition means that you will have a prize of a car for resale if/when you ever decide to go that route. You can say "immaculate condition" and actually be telling the truth!
What made you decide to take the C2 vs. the GT3 by chance?
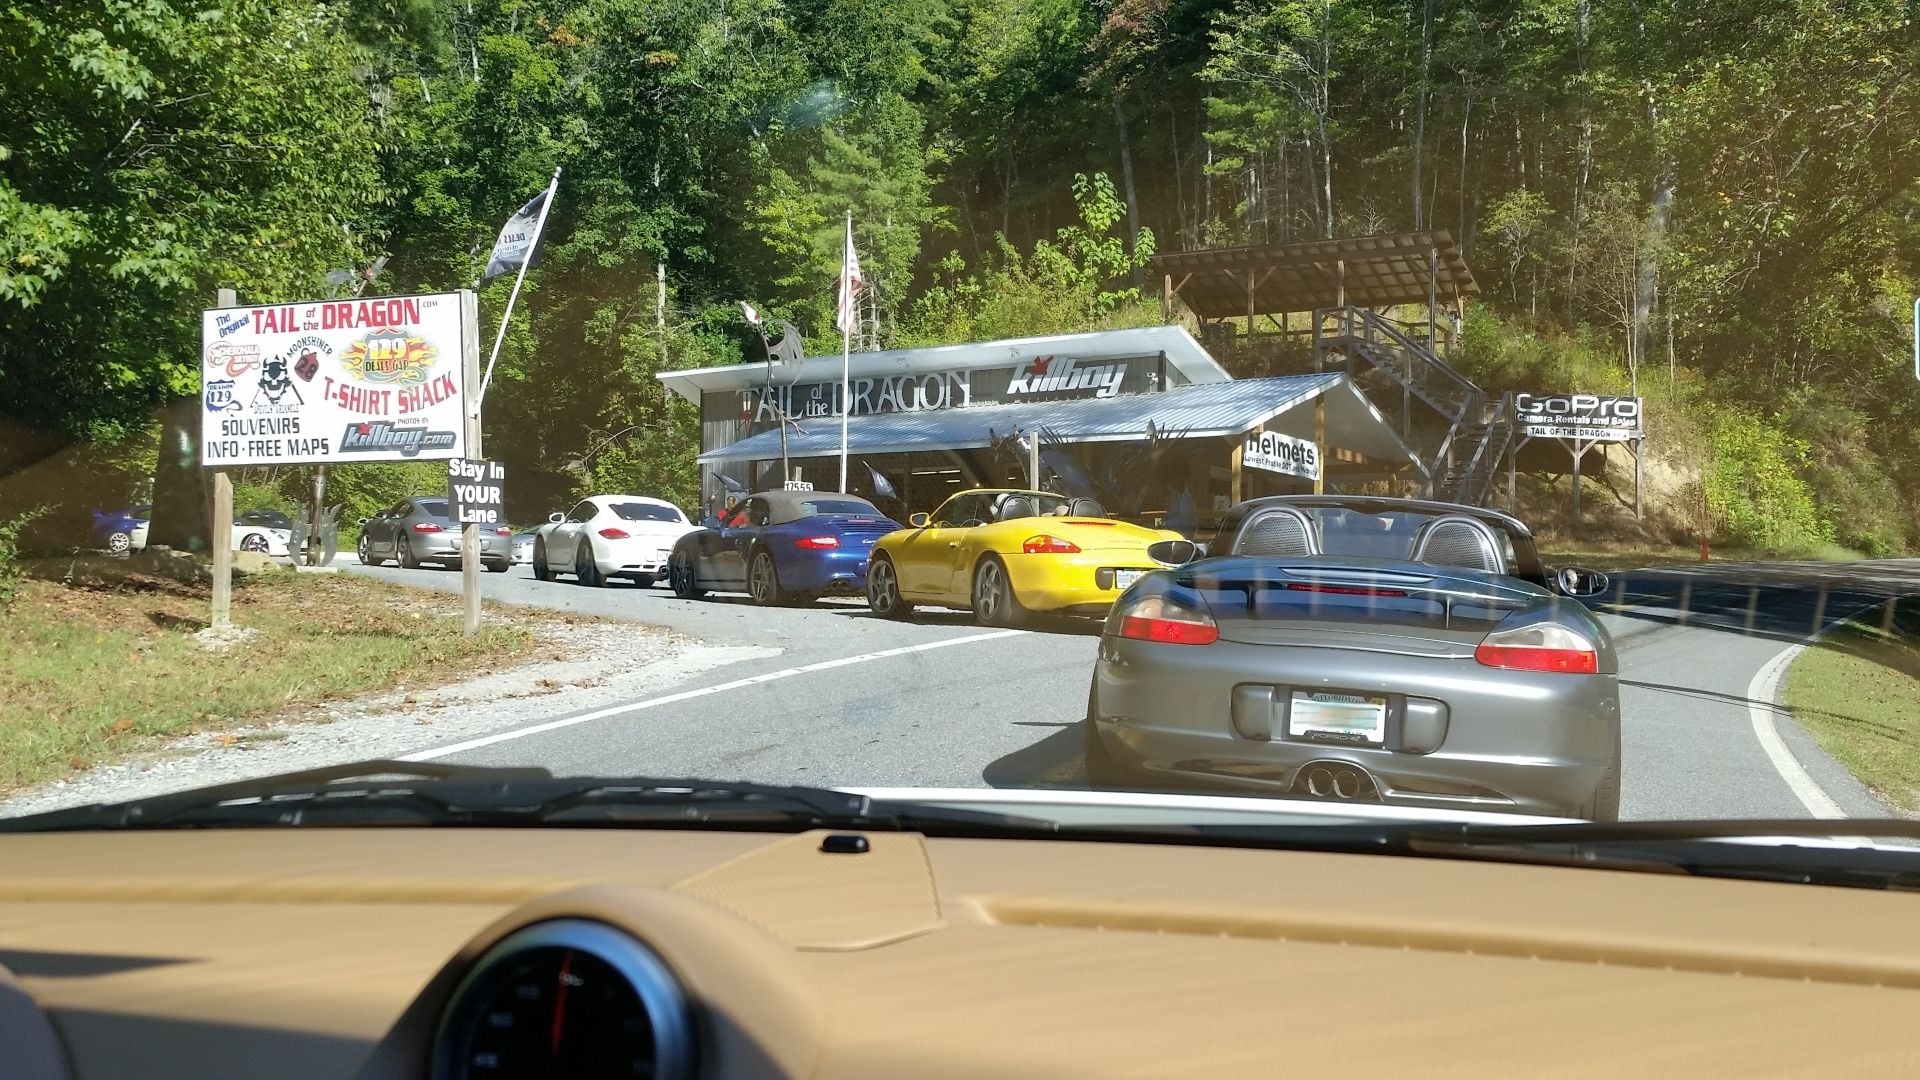
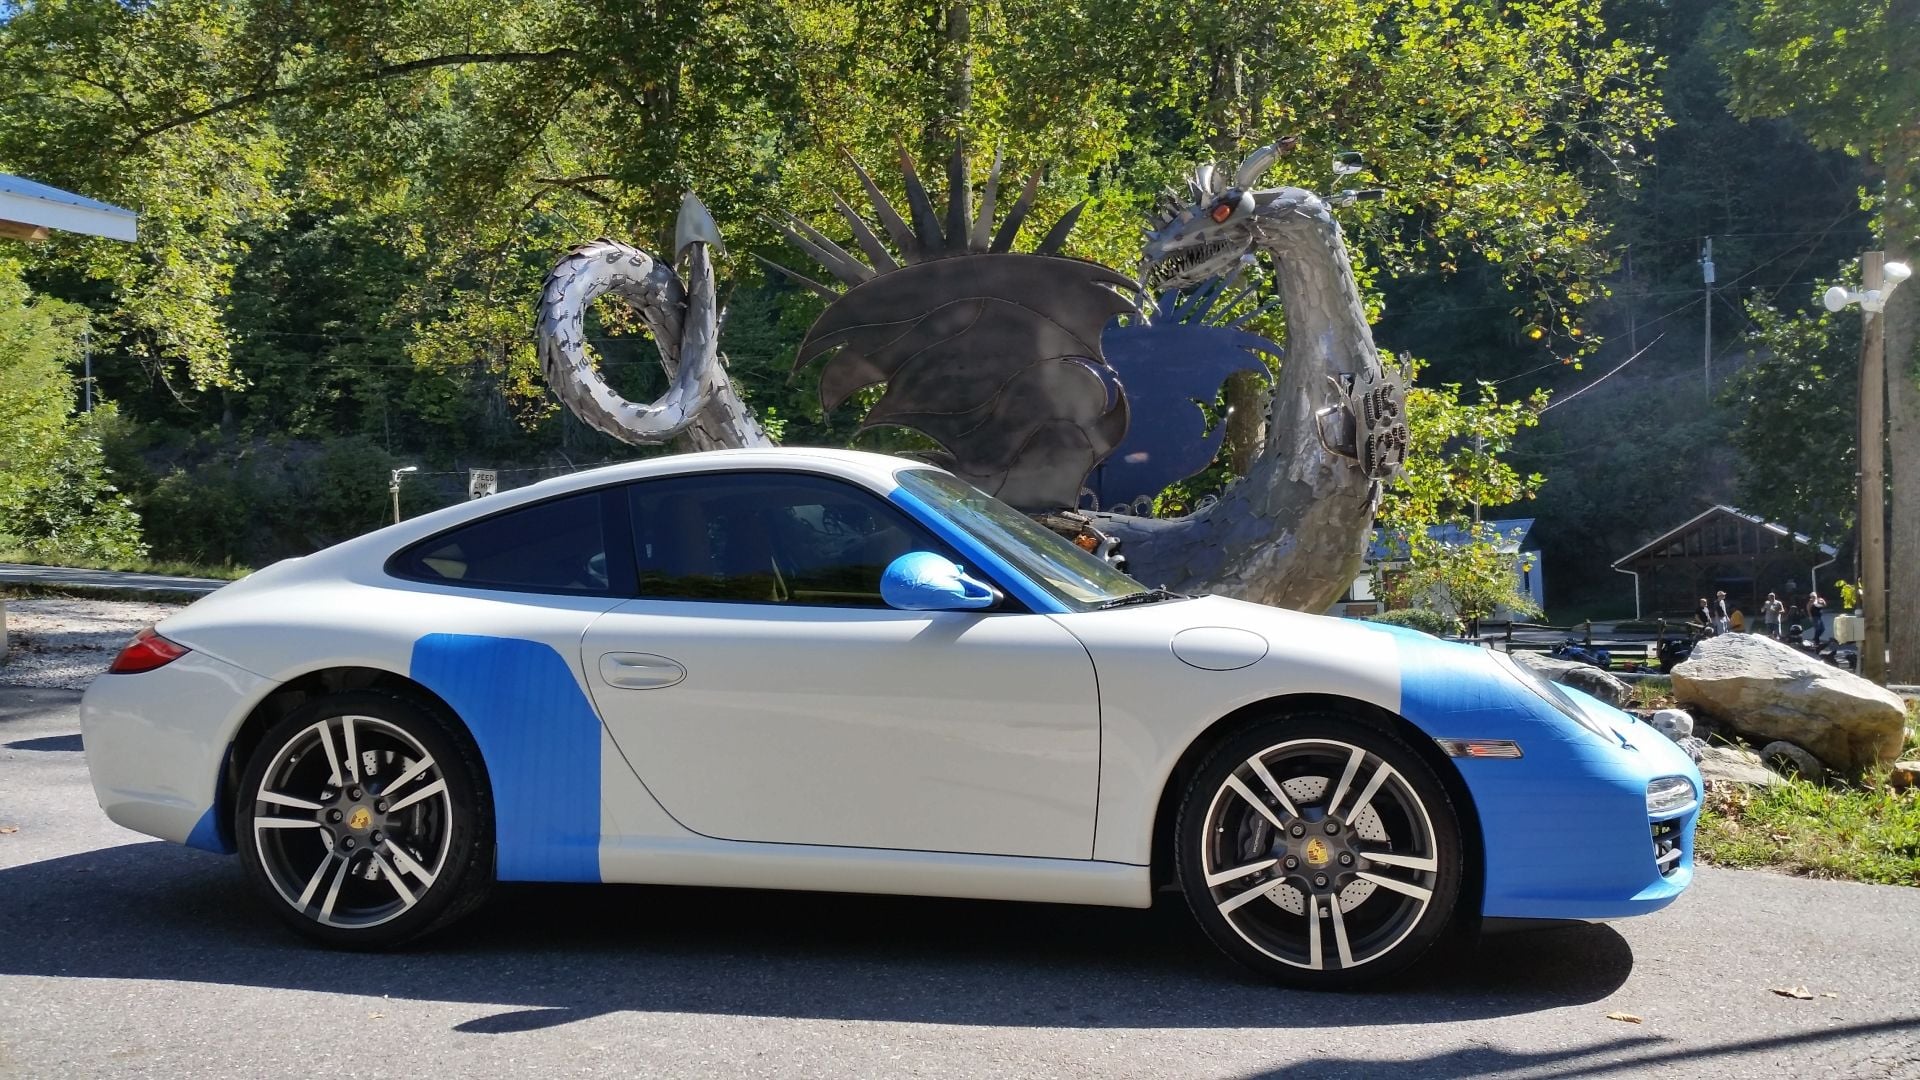
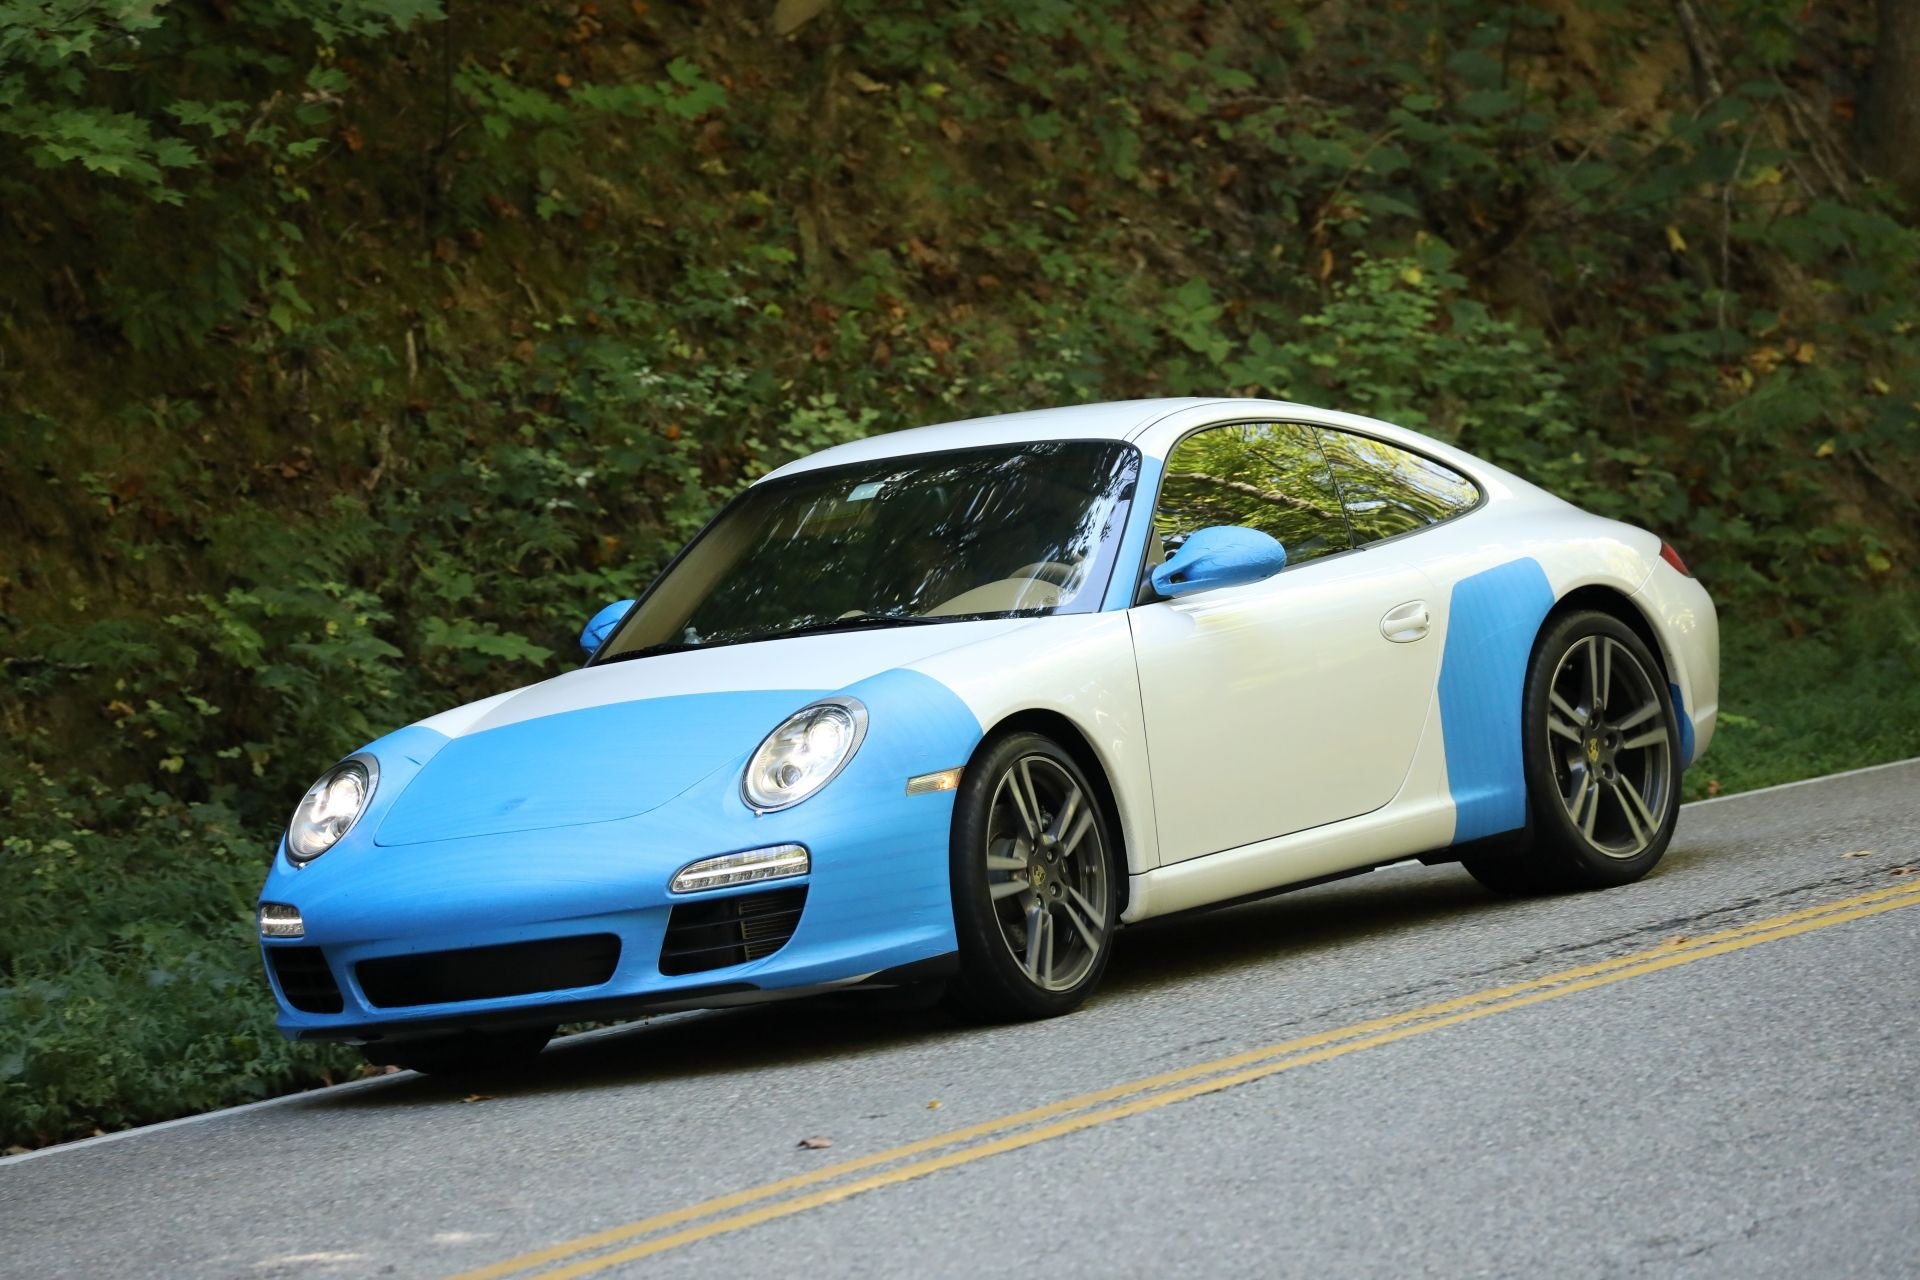
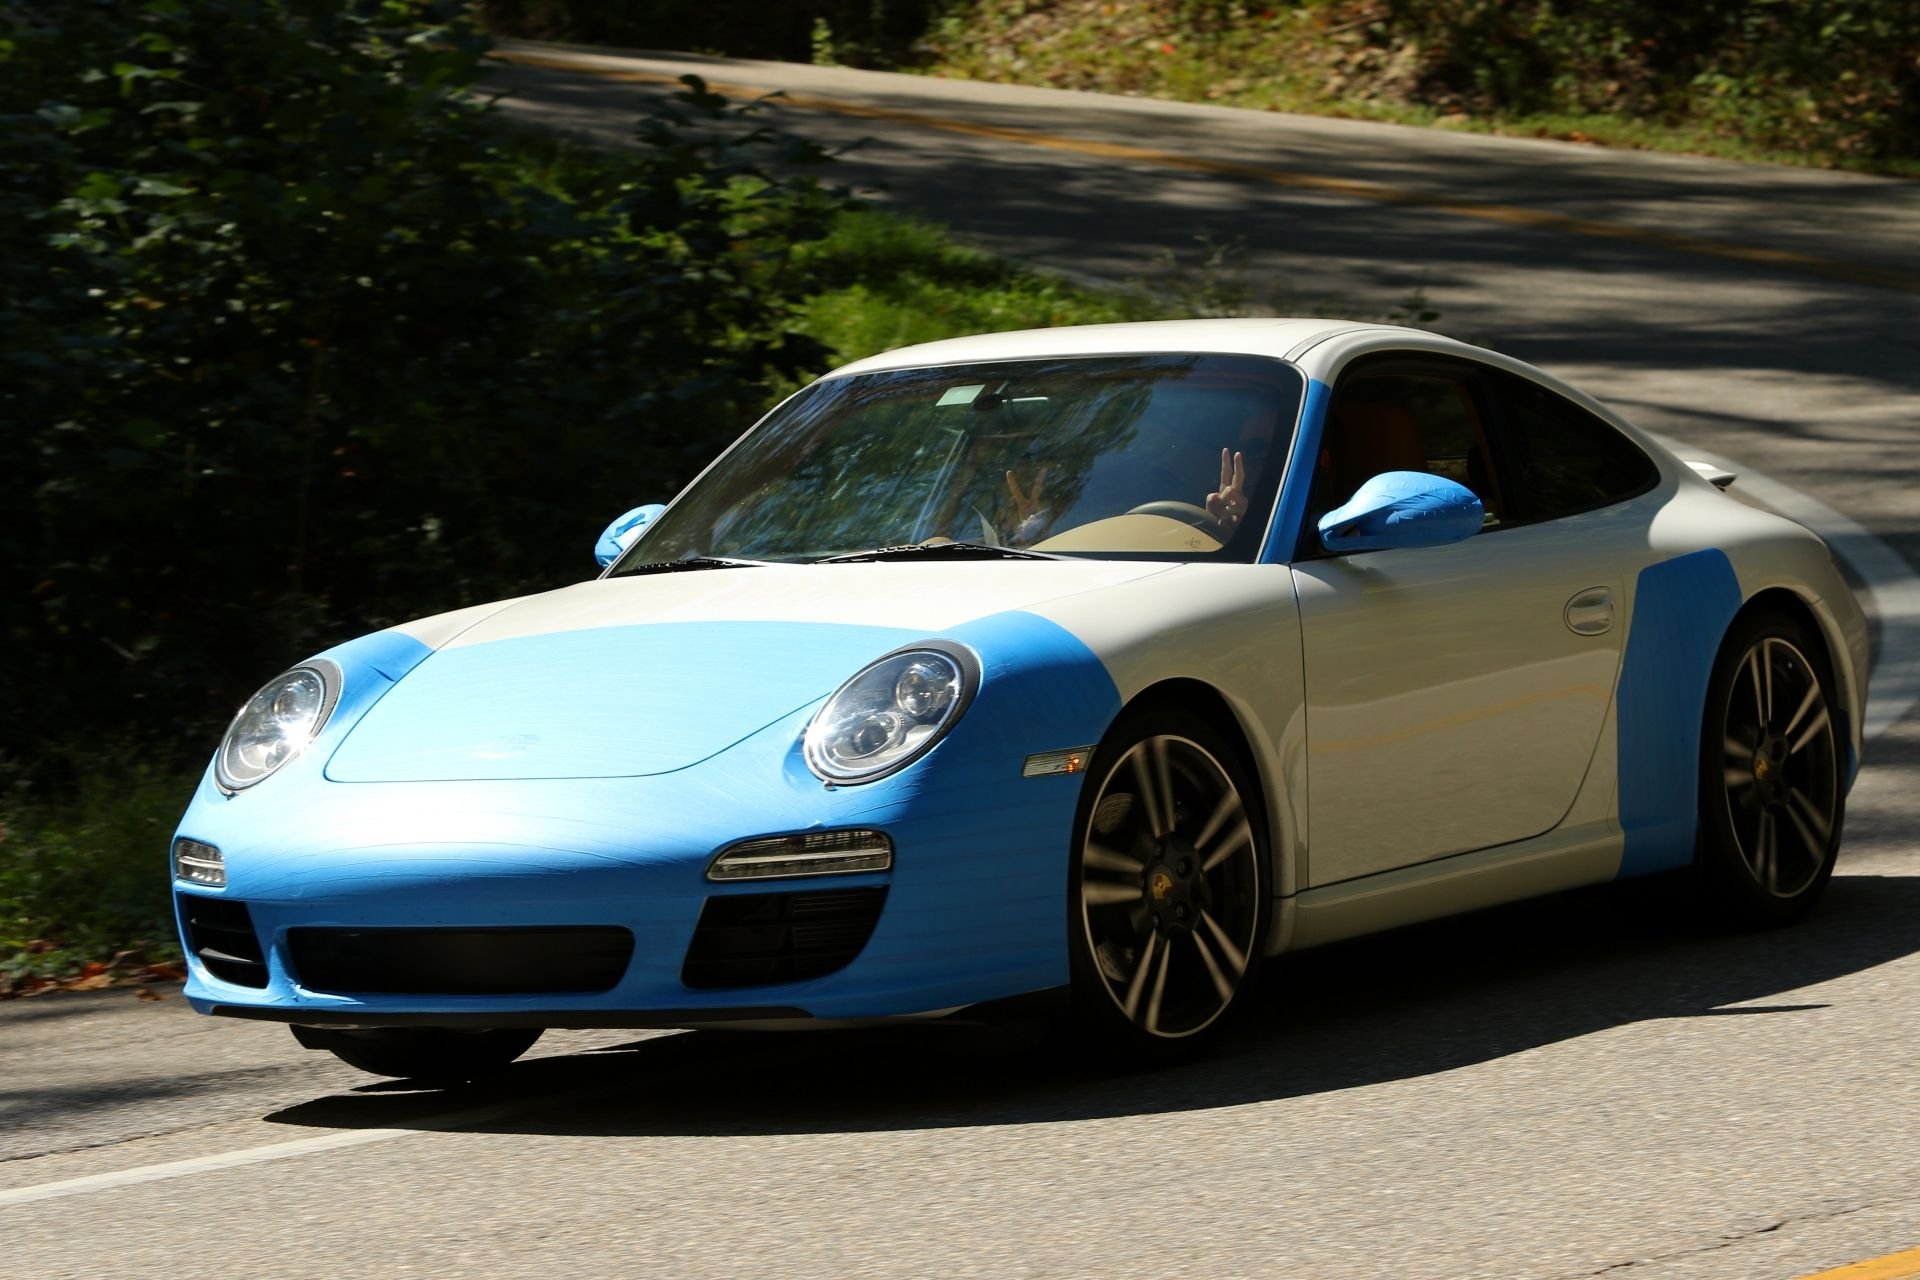
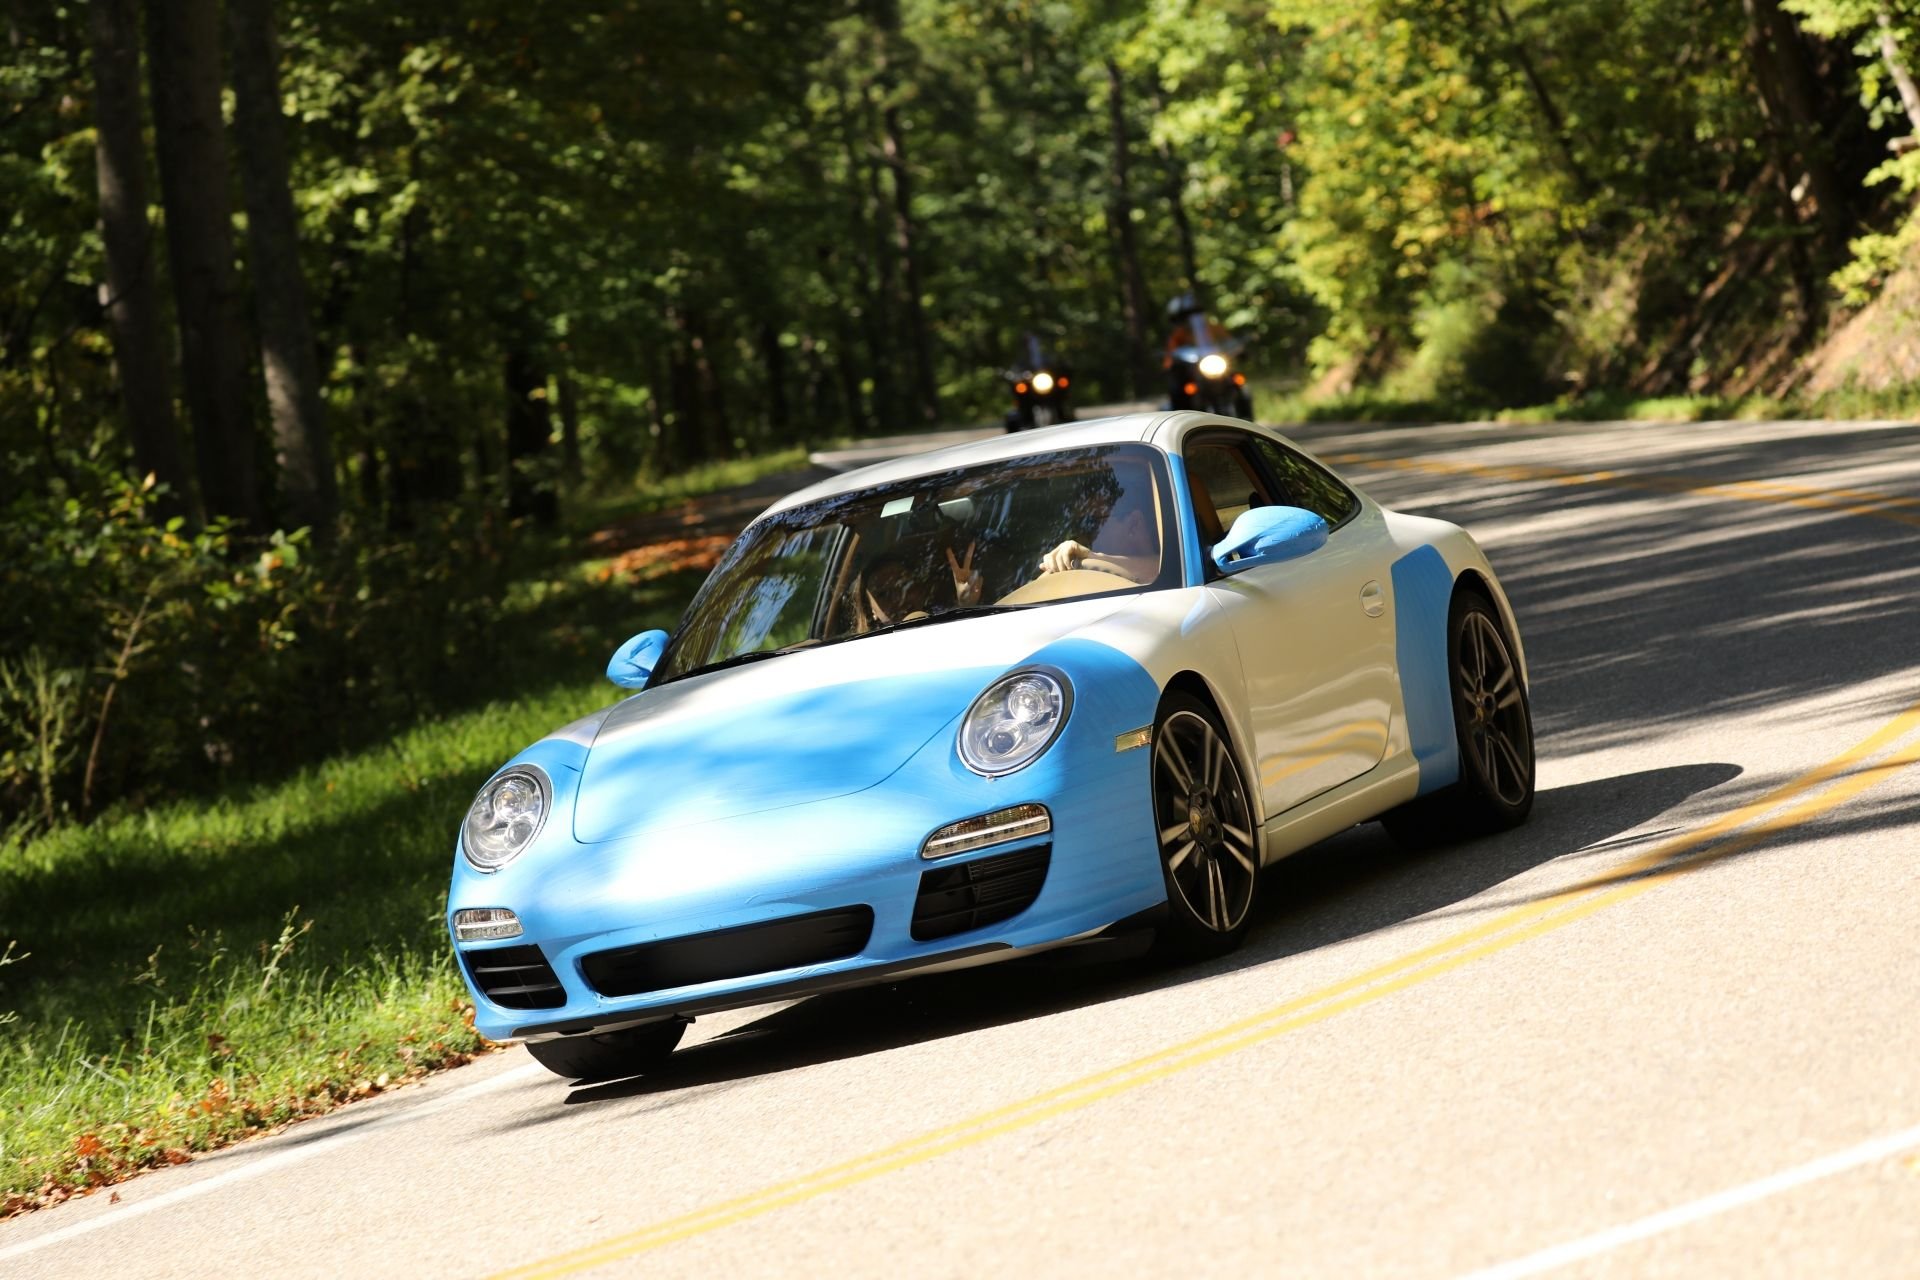
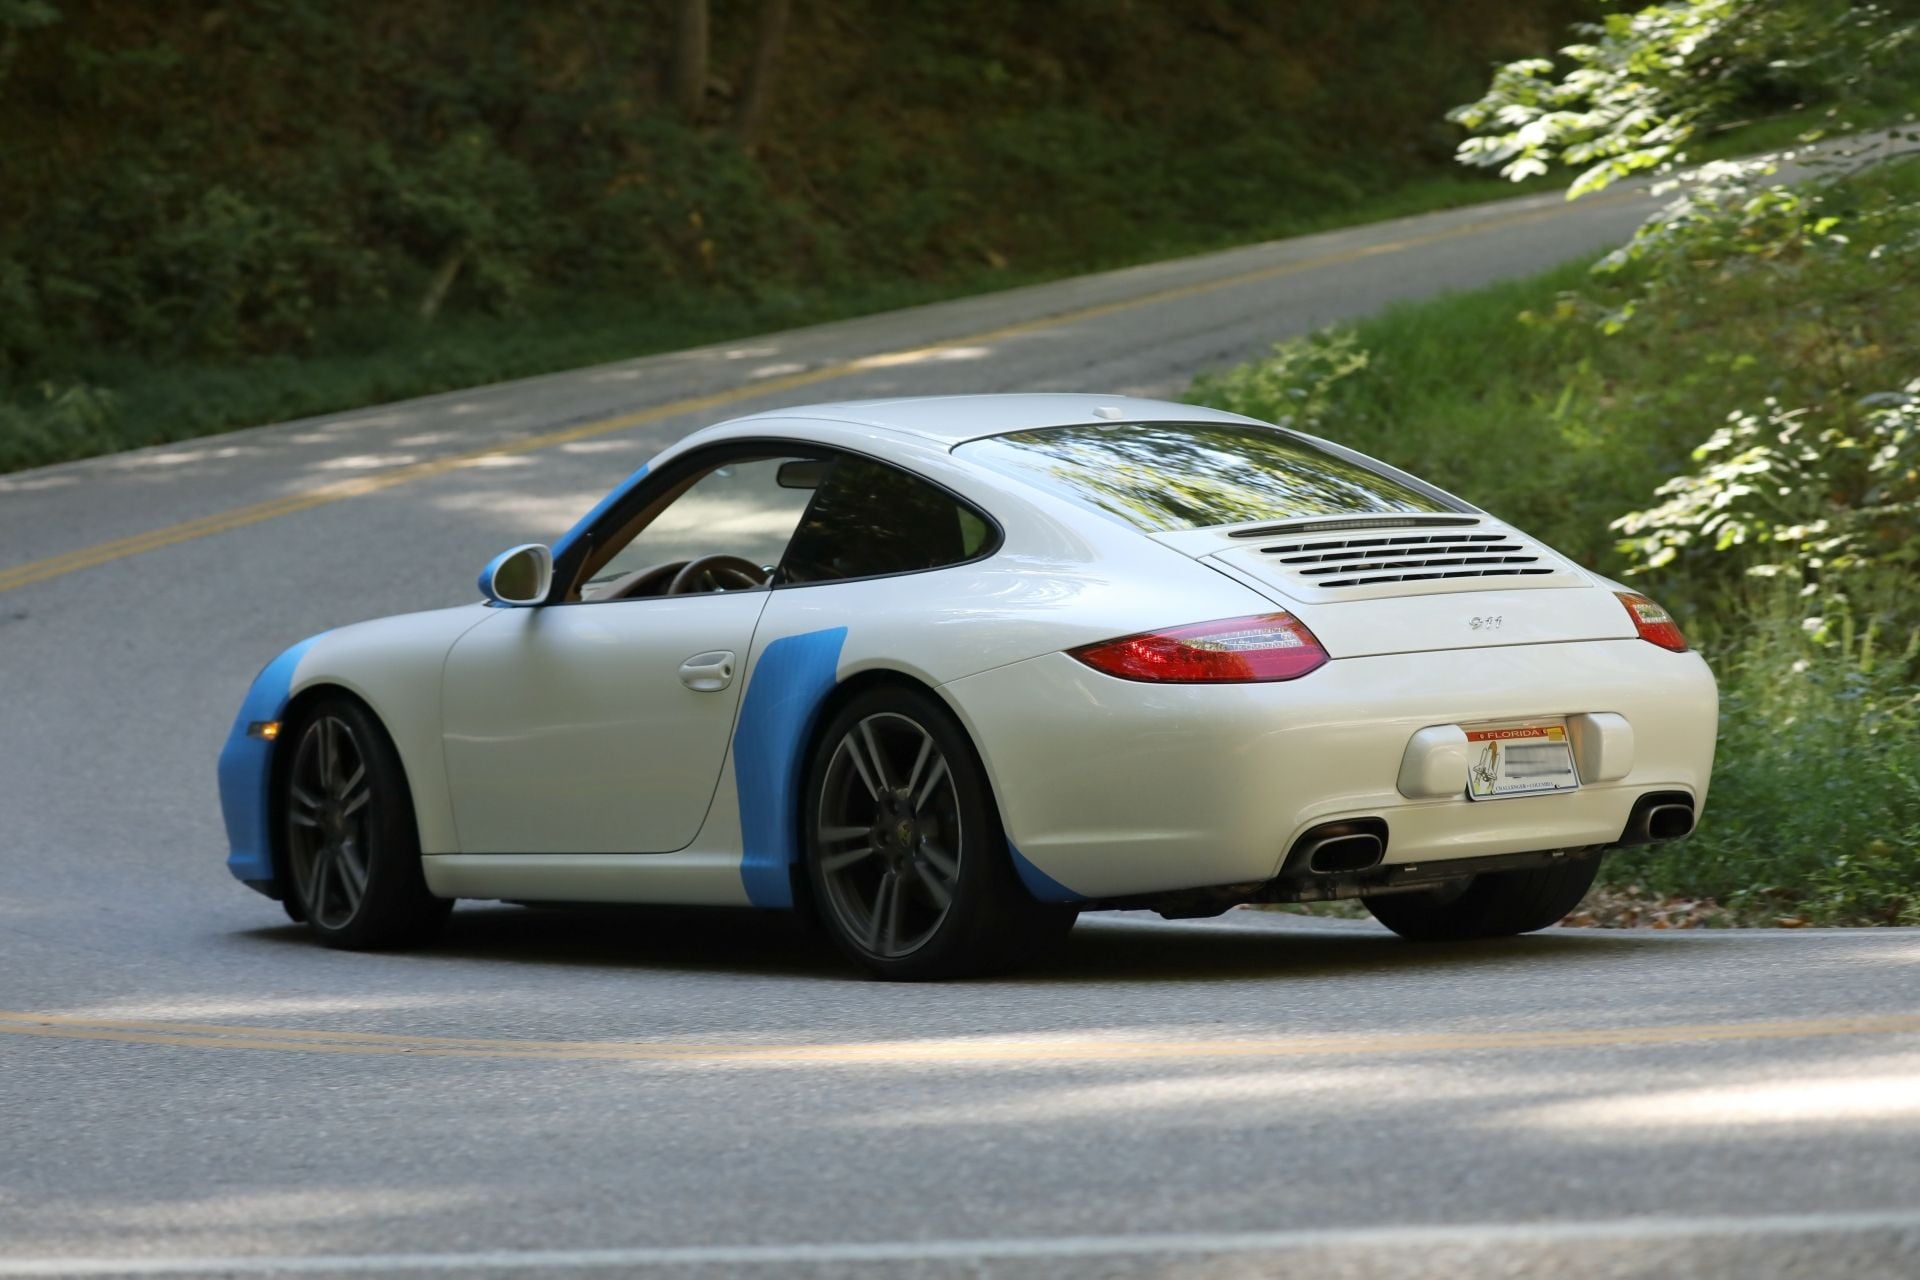
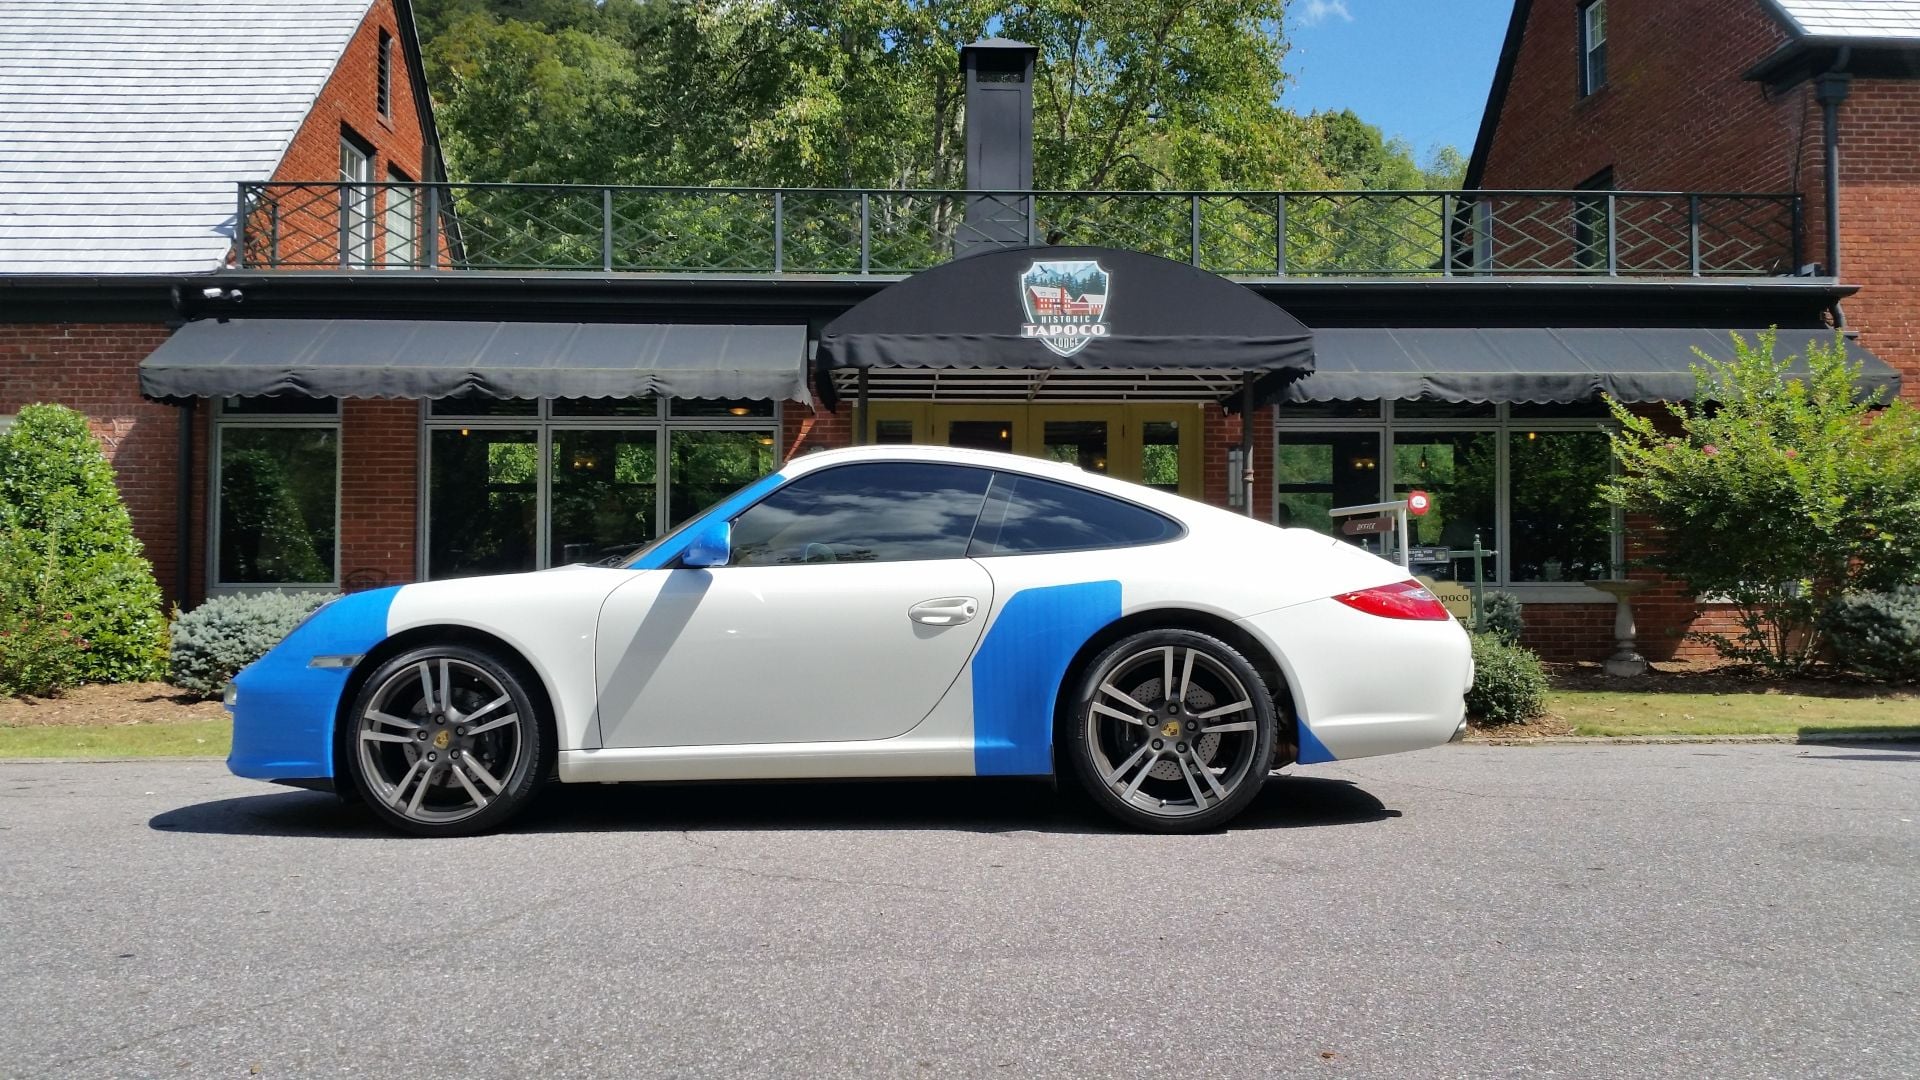
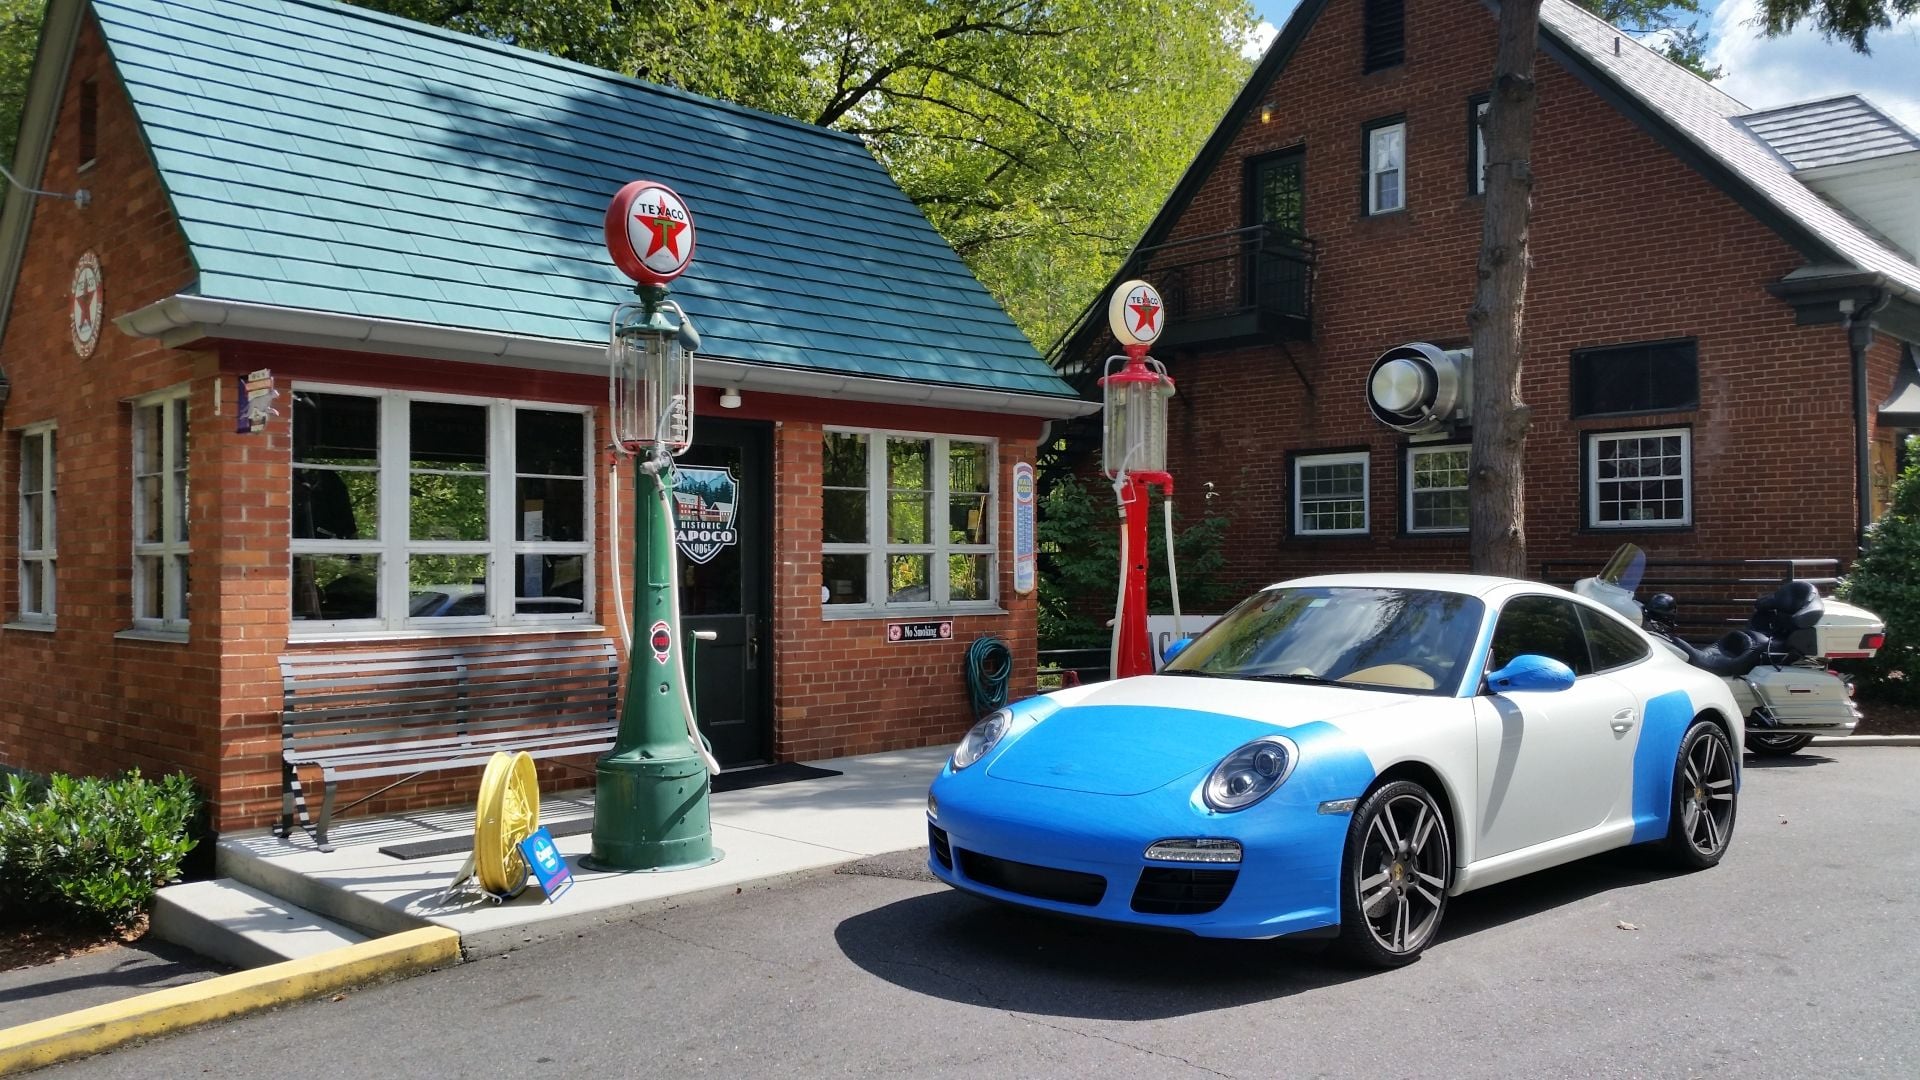
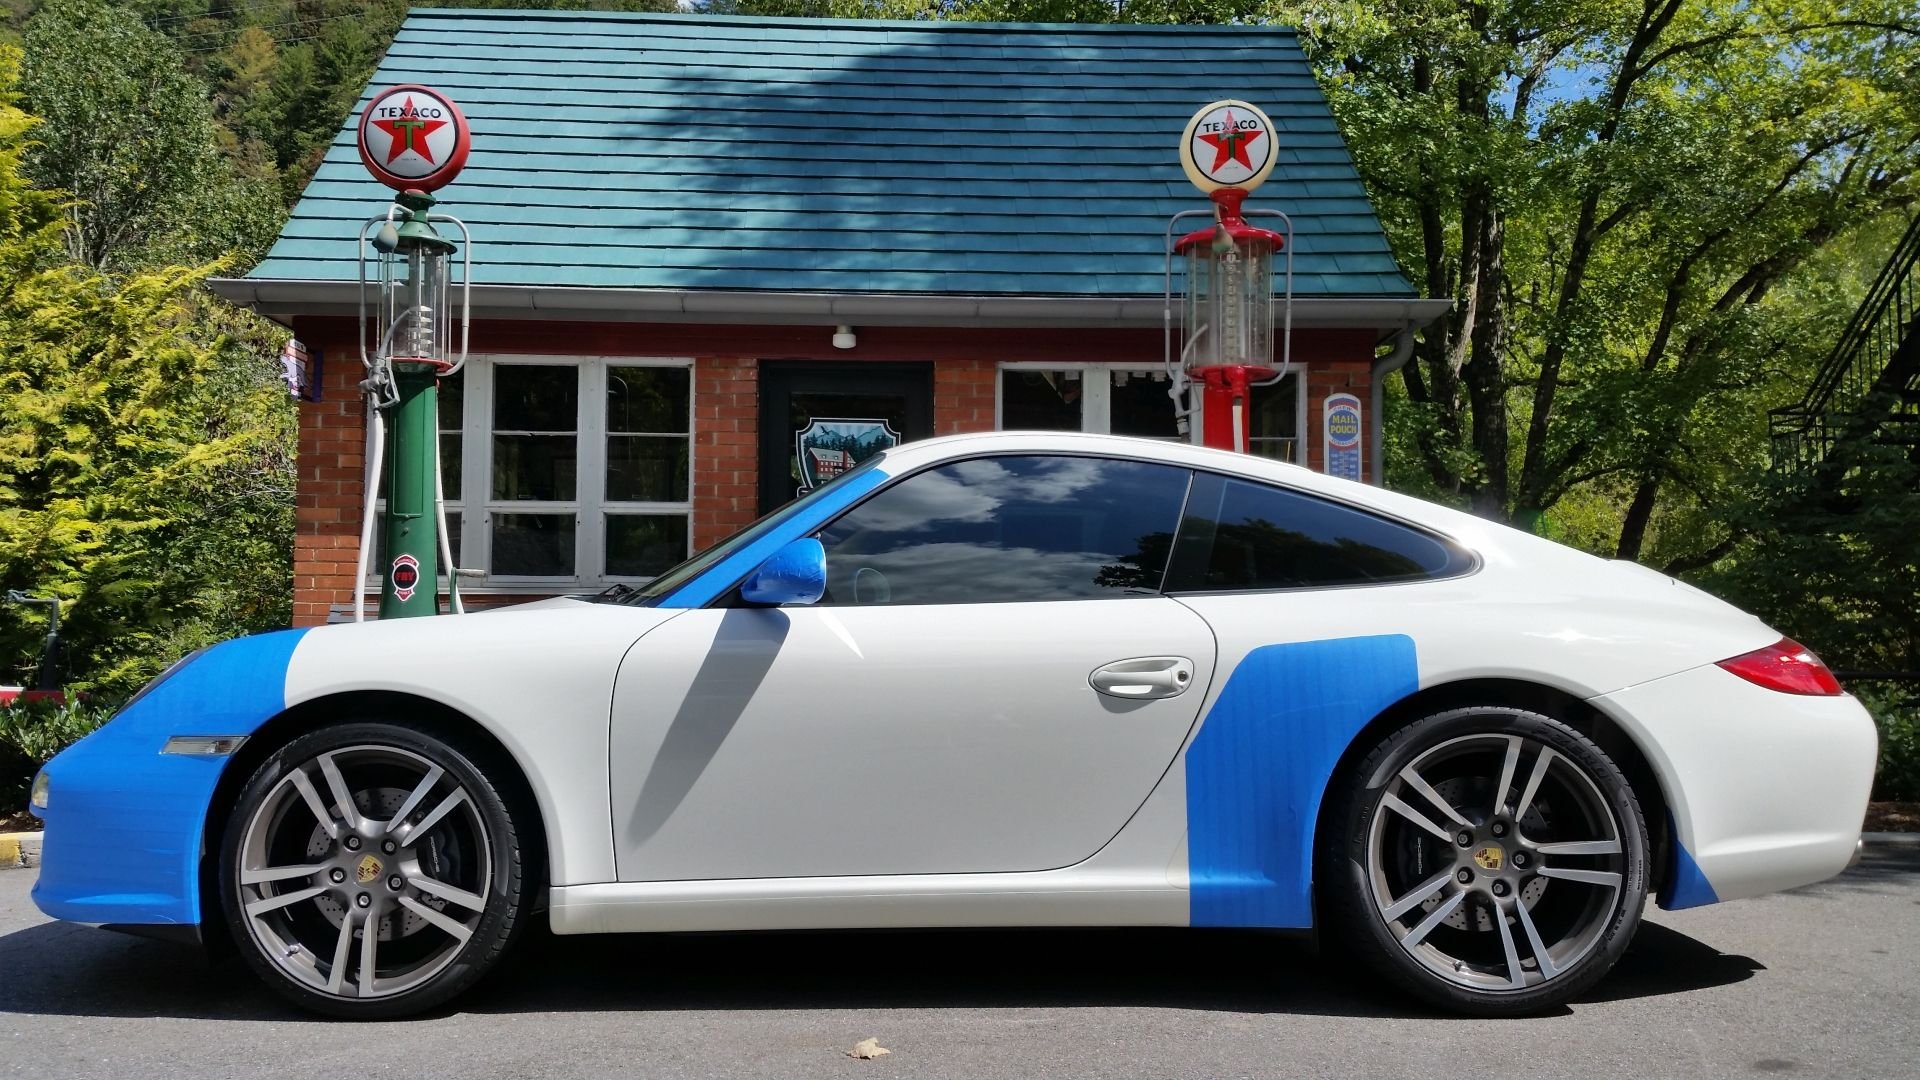
You are right. I was the only idiot that spent 5 hours blue taping my car . But it was well worth. I washed and detailed her this weekend and I found zero rock chips.
Most of members gave me compliments for protecting the car. I took the C2 to prepare the territory for the GT3
You are right. I was the only idiot that spent 5 hours blue taping my car . But it was well worth. I washed and detailed her this weekend and I found zero rock chips.
Most of members gave me compliments for protecting the car. I took the C2 to prepare the territory for the GT3
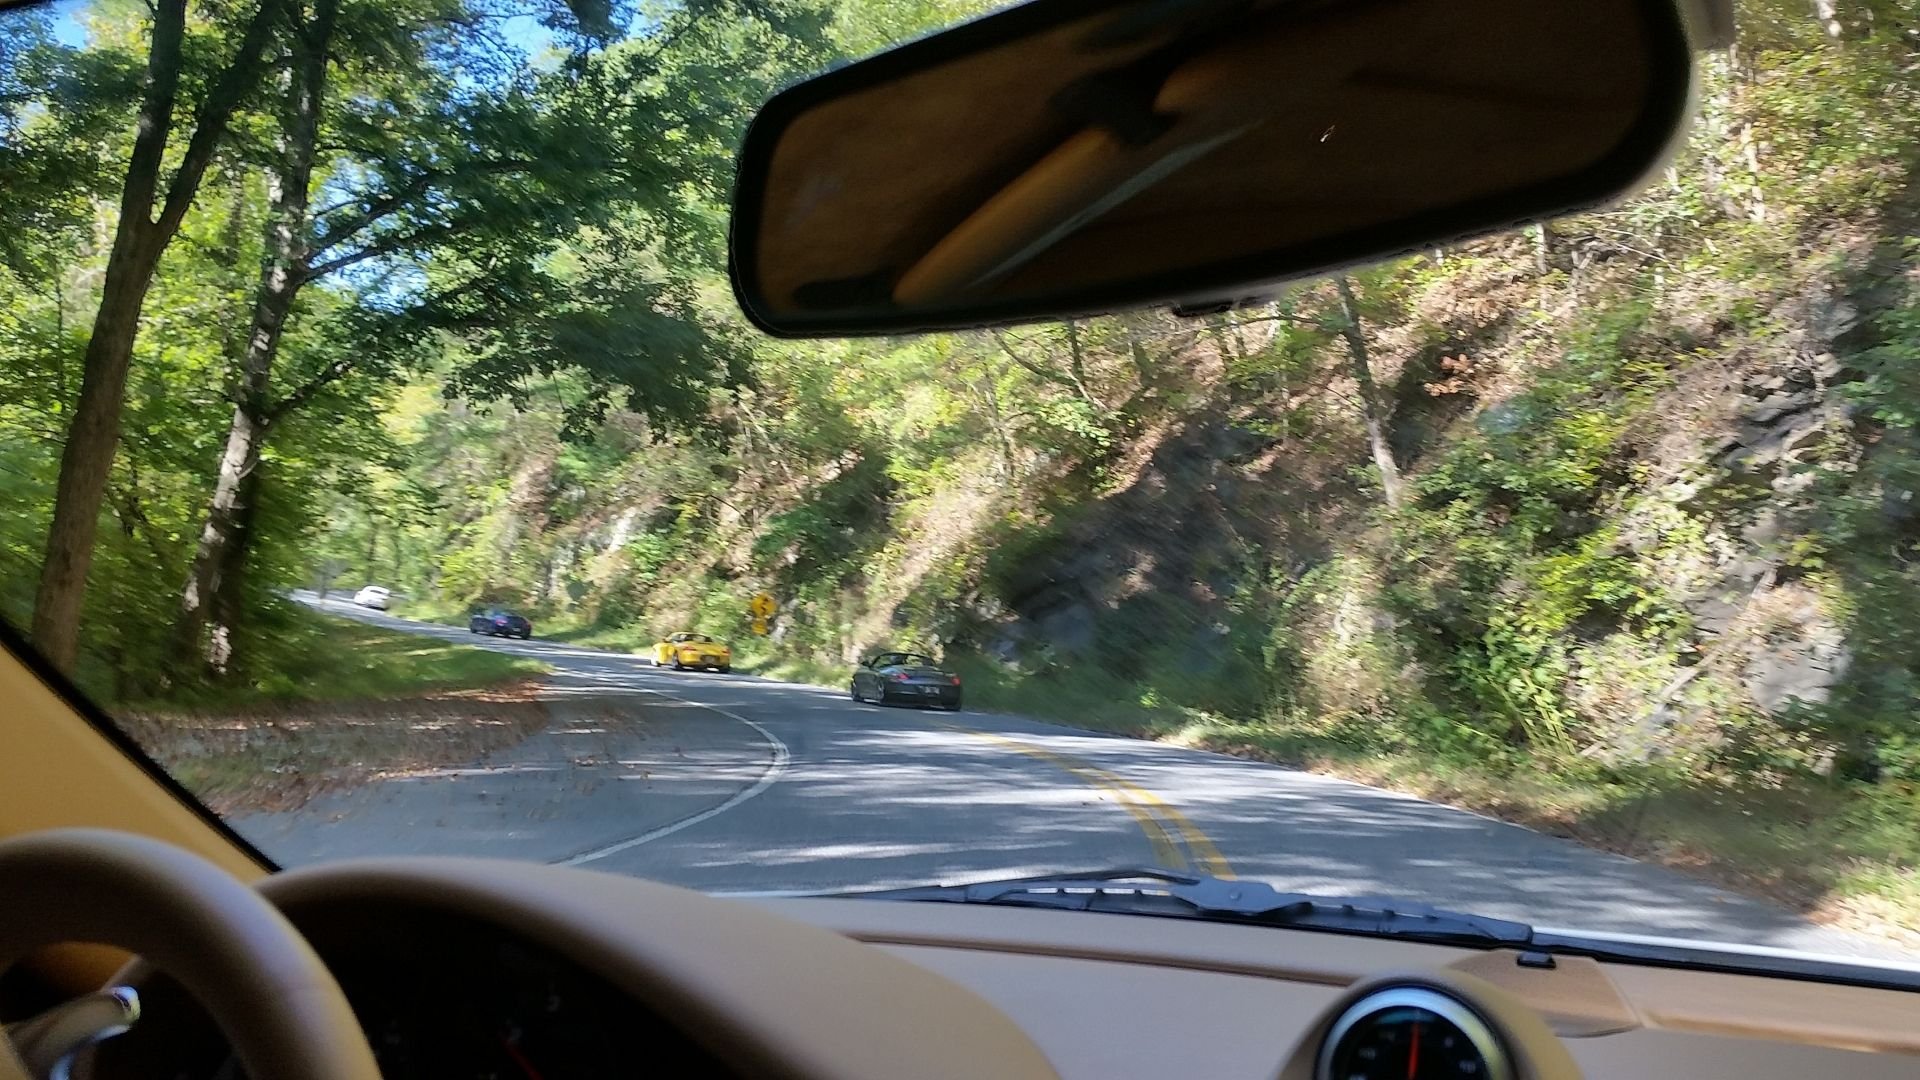
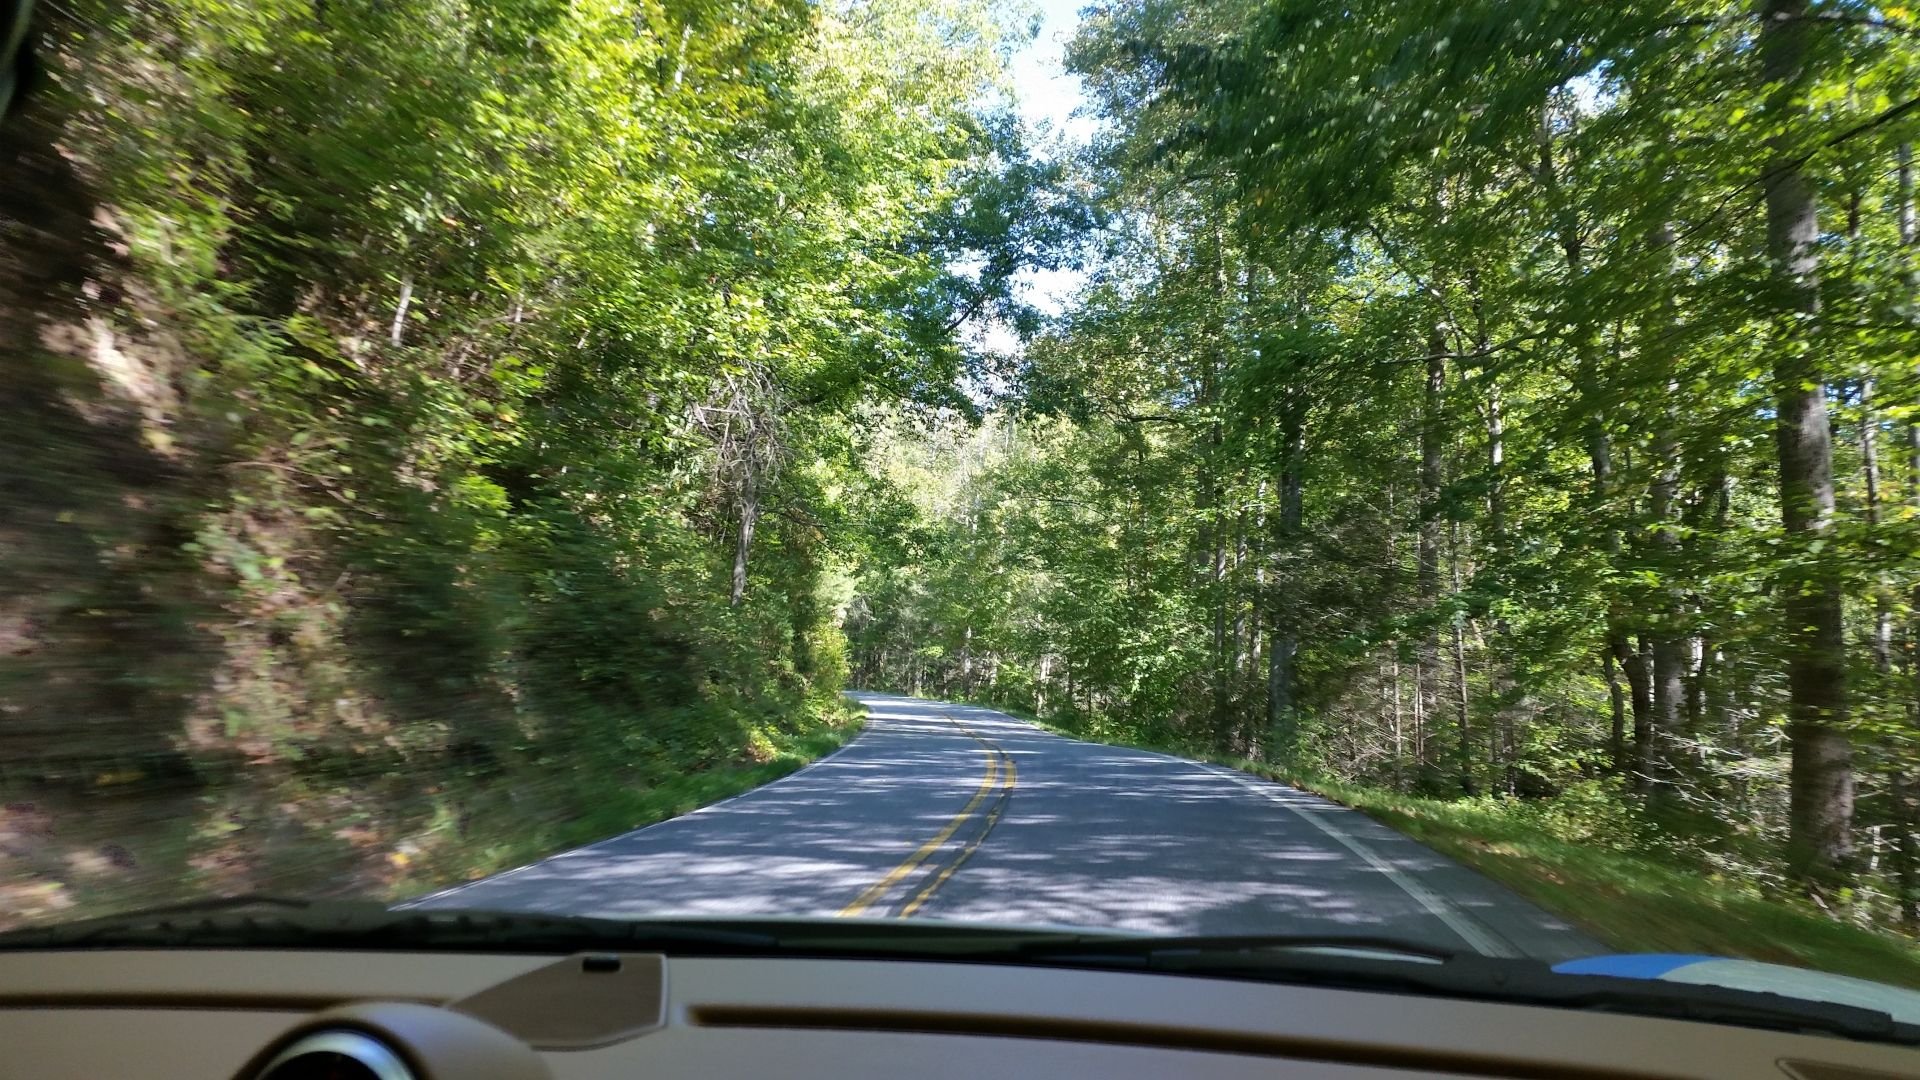
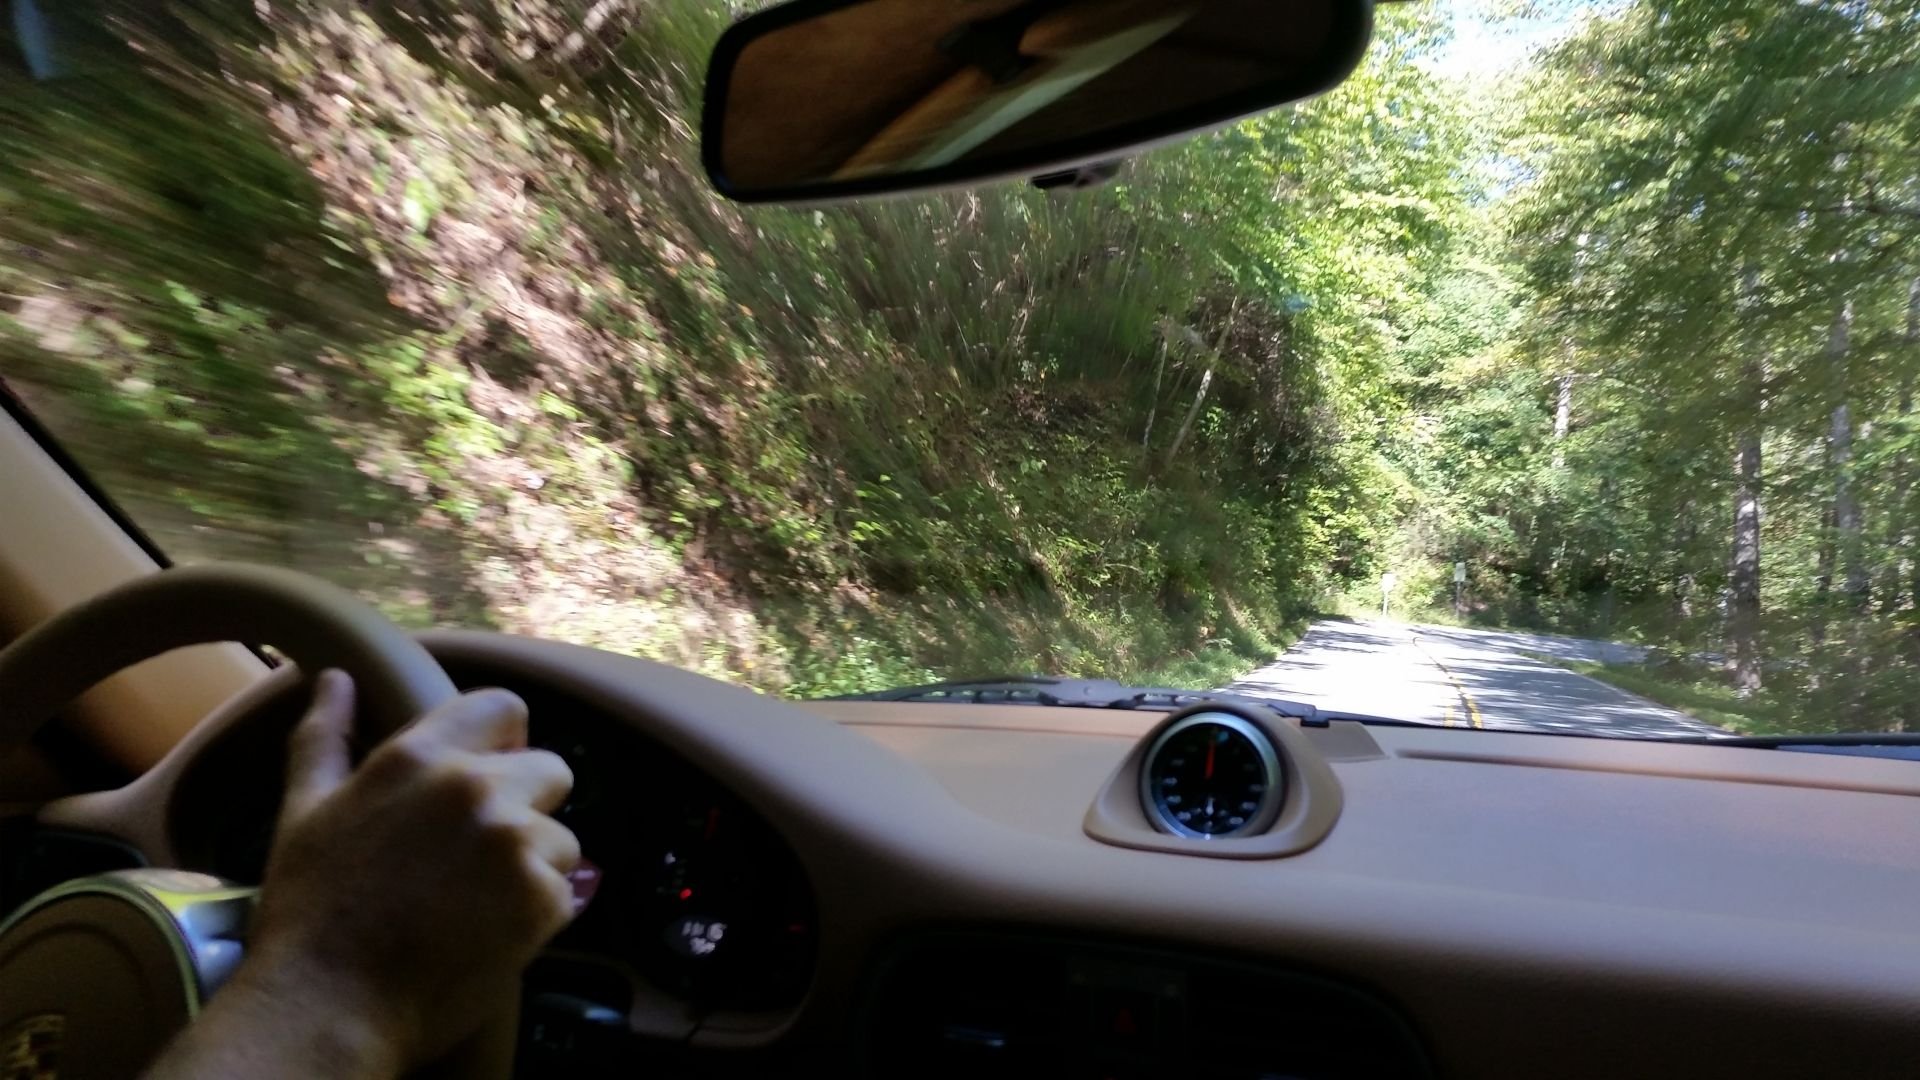
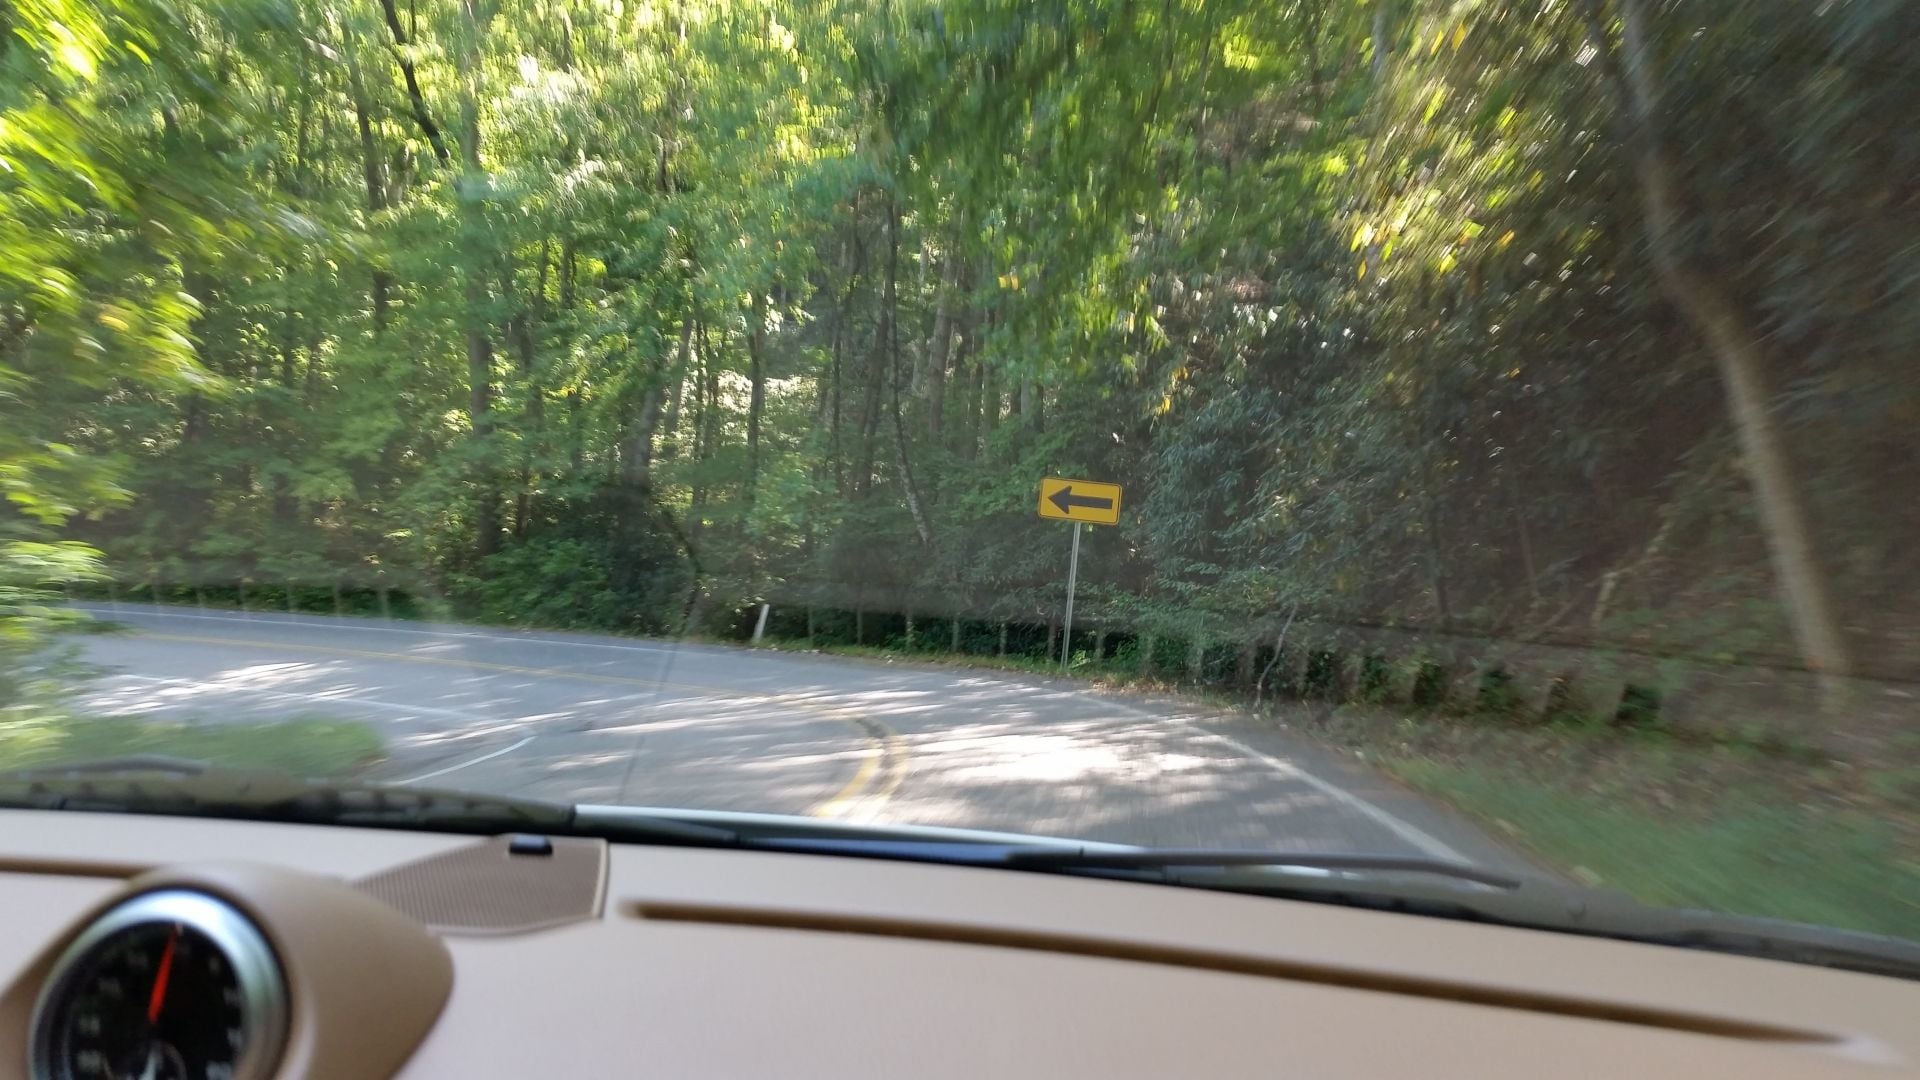
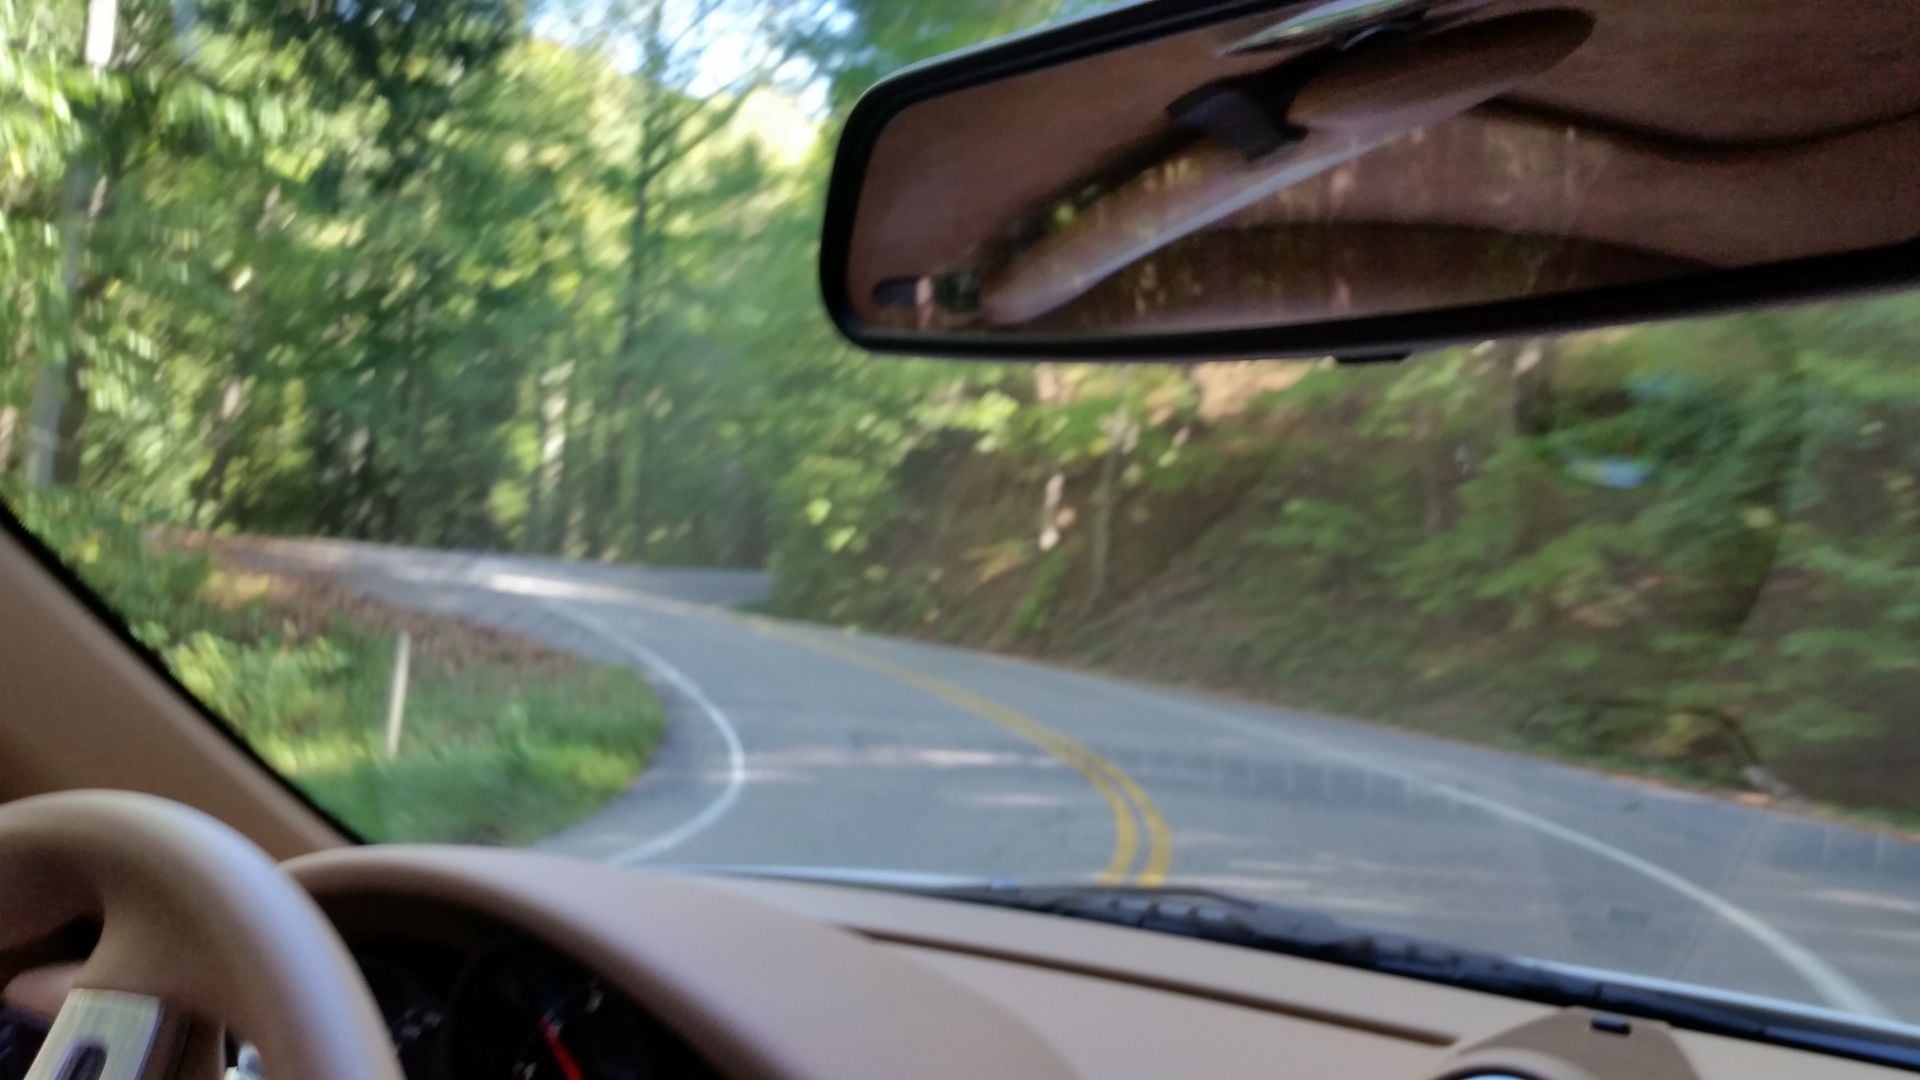
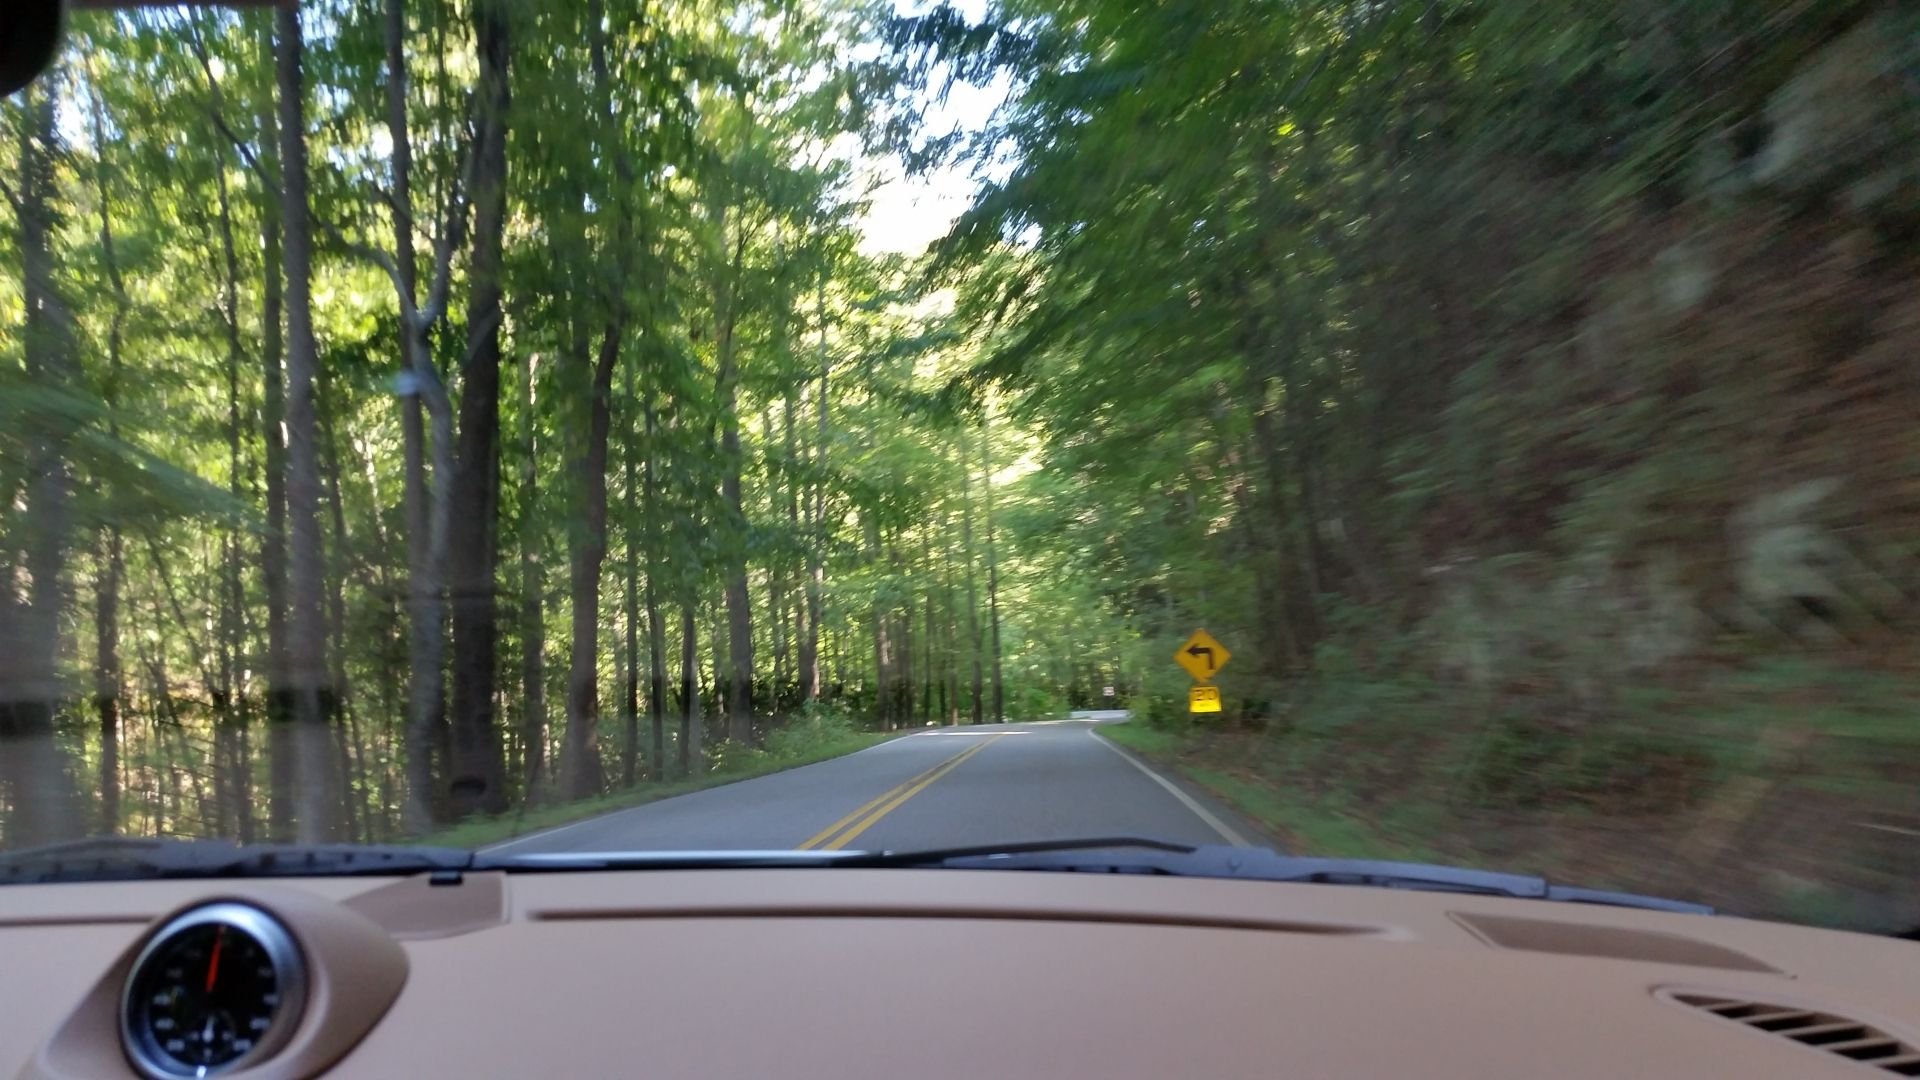
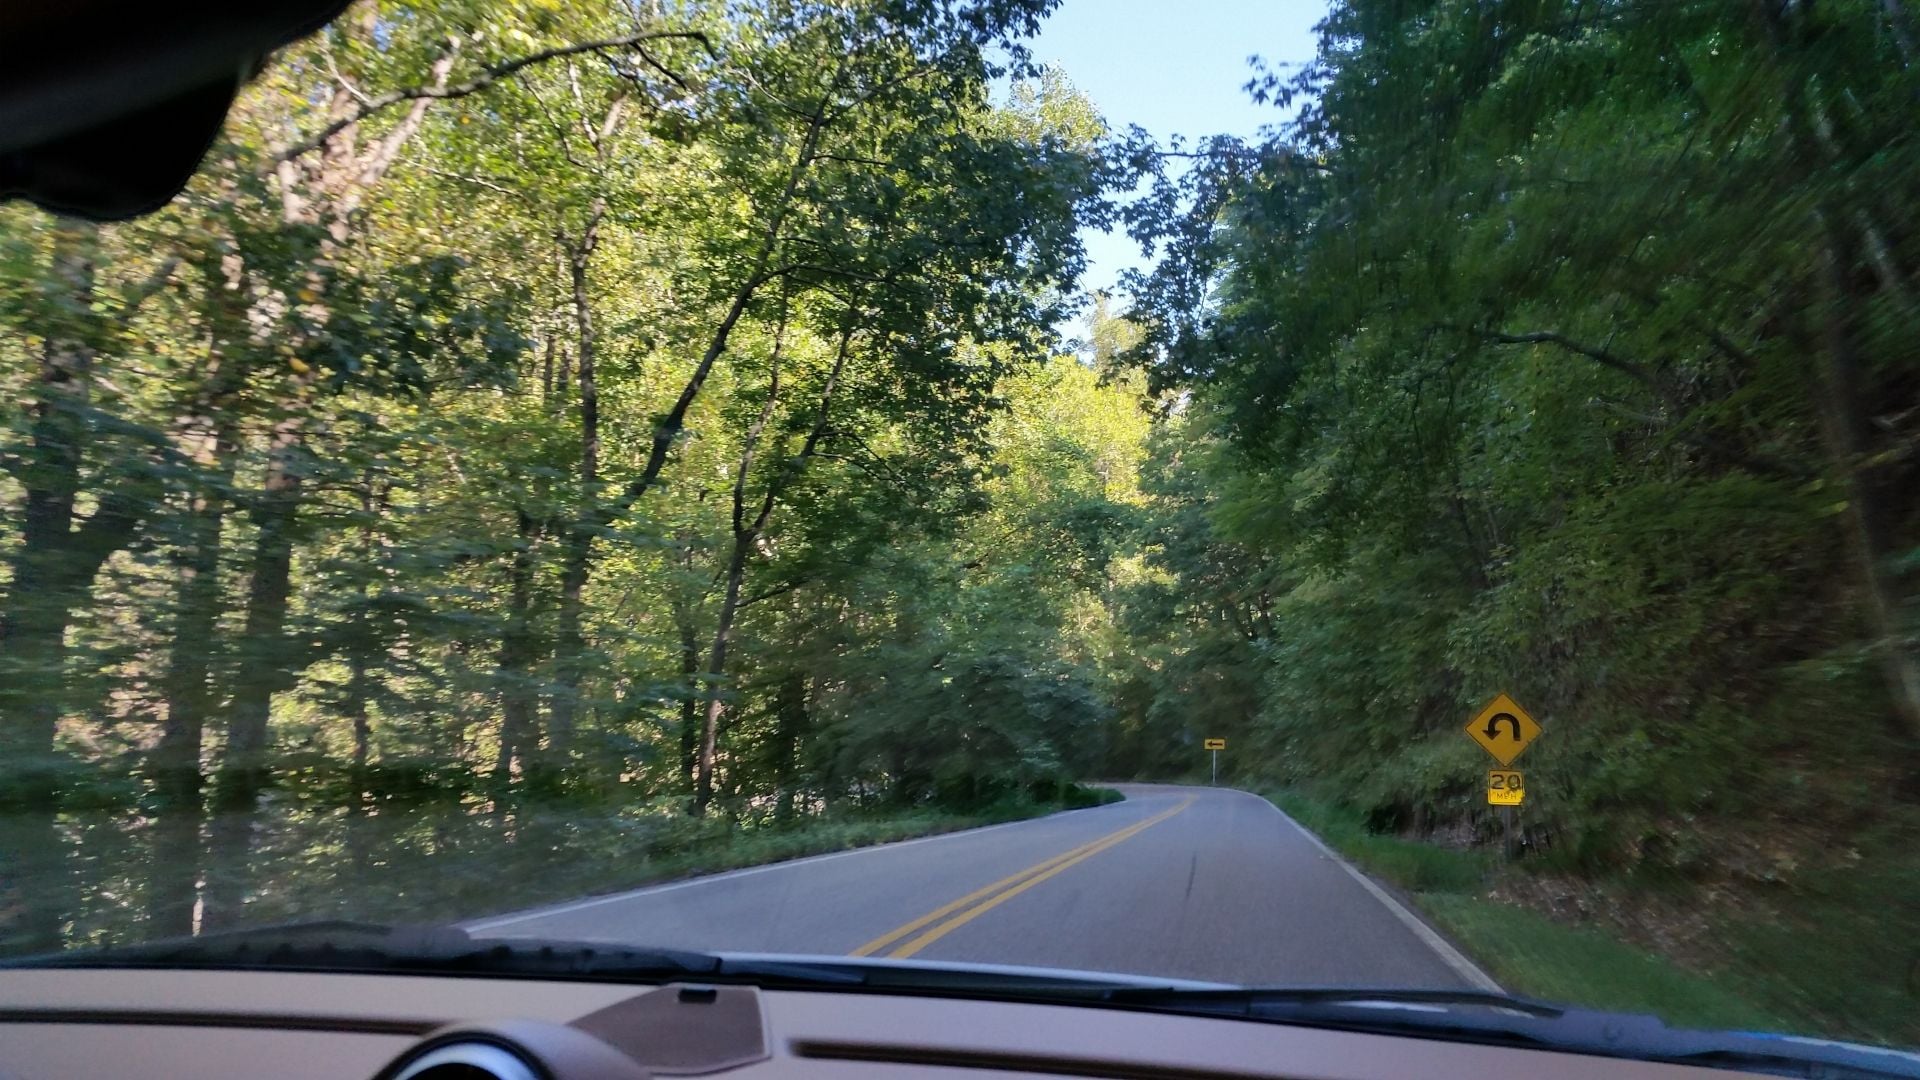
I wouldn't say it was an idiot move at all! Nobody likes rock chips, but few have enough commitment to the cause to do a 5hr tape job. I know I wouldn't have had the patience for that! Looking forward to your comparisons when you do get your GT3 down there. The Tail of the Dragon is one of those all-time drives that I want to experience one day.
Beautiful pics as always EC. Looks like a great trip - thanks for sharing.
Coincidentally I was at the Porsche Experience center a day before you for the Panamera Preview. It certainly is a great facility.
The Tail of the Dragon is one of those all-time drives that I want to experience one day.
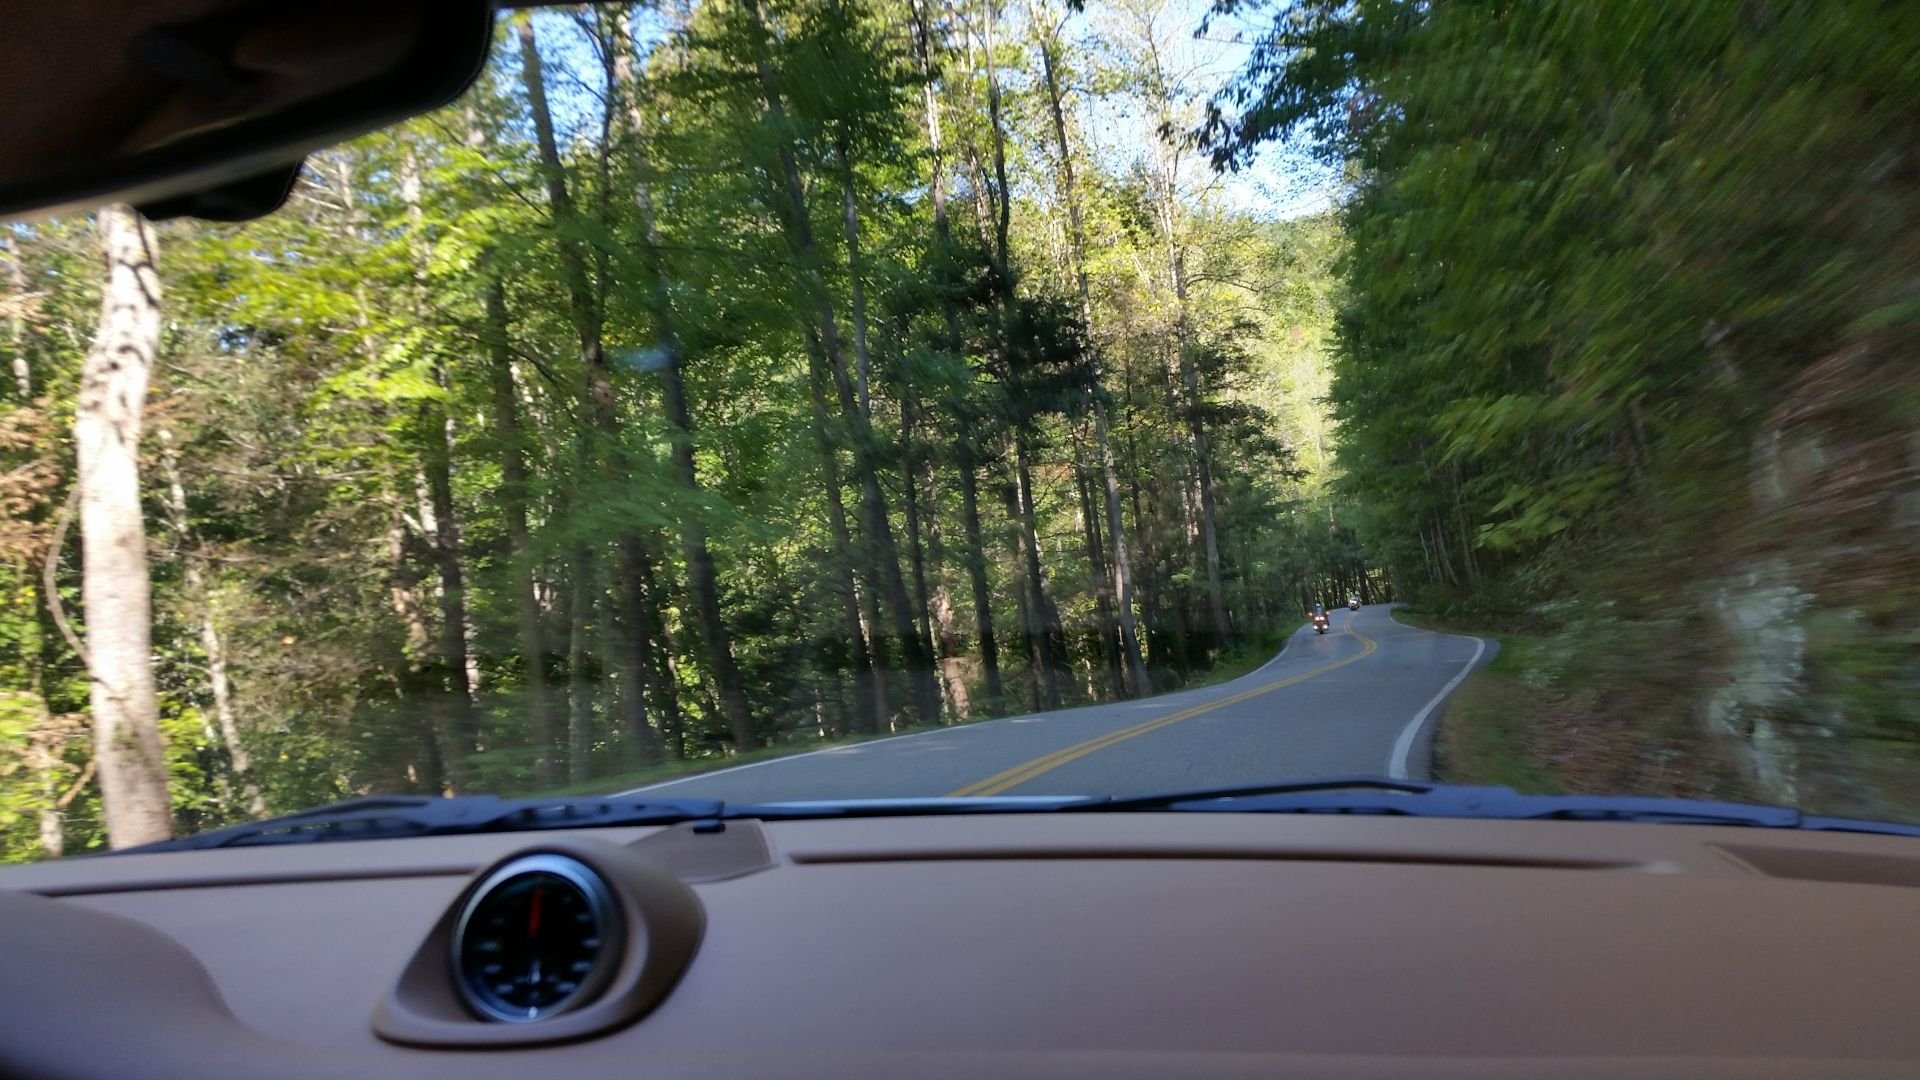
You have to! I was forgetting how fun it is to drive the 997 on curves. It's just an amazing car!
I will probably go again next year with my PCA group. Not sure if going to drive the C2 or the GT3. I would need to ship the GT3 since I am not feeling like putting 1,500 useless miles on it driving on the I-95.
Beautiful pics as always EC. Looks like a great trip - thanks for sharing.
Coincidentally I was at the Porsche Experience center a day before you for the Panamera Preview. It certainly is a great facility.
Thanks! Yes, it was a great trip. After the Dragon, I feel even more connected with the car. It was like: "Ok 997, you can do this and you deserve it... let's do it!".
About the PEC, it is a great place for p-car enthusiasts. I was told they are building an Hotel on site. Looks like they are doing their homework.
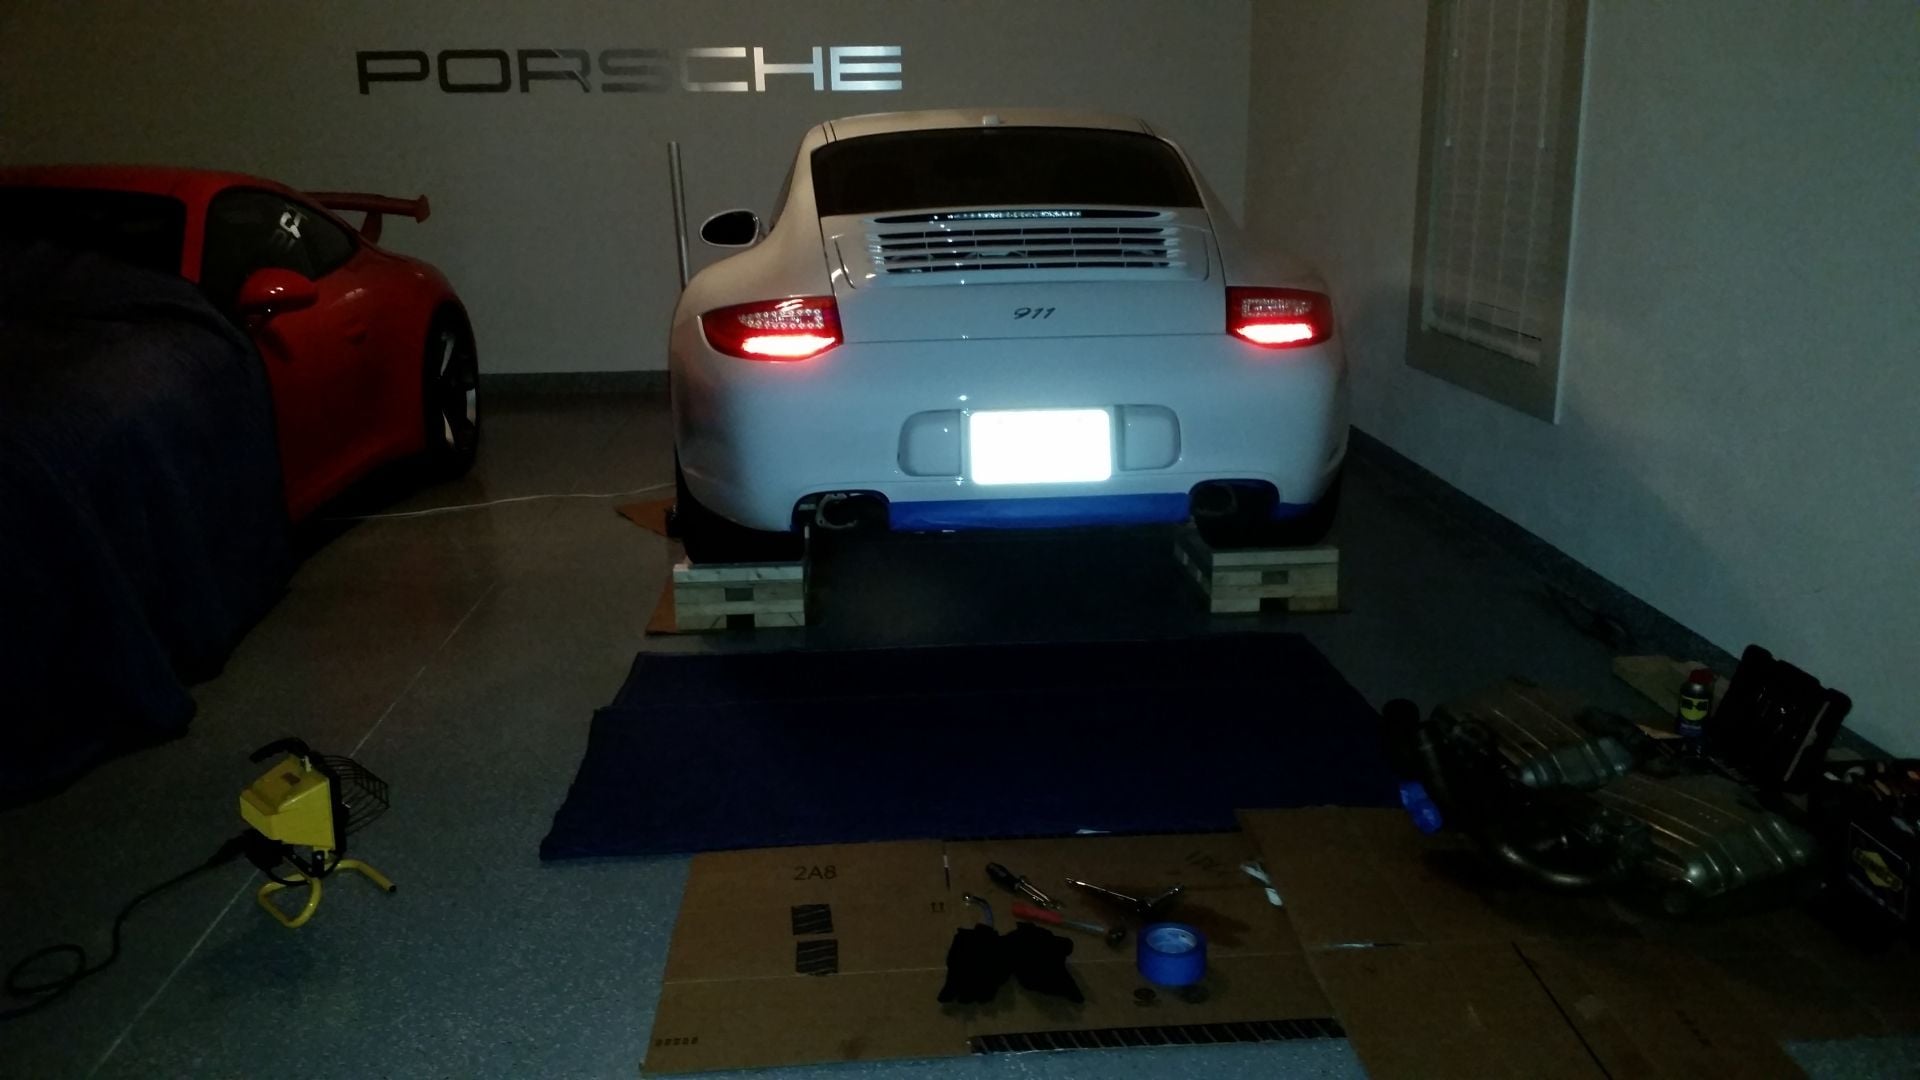
After getting back from the PCA Mountain trip, I have decided to add a little more sound to the "neutered" stock exhaust system (non-PSE).
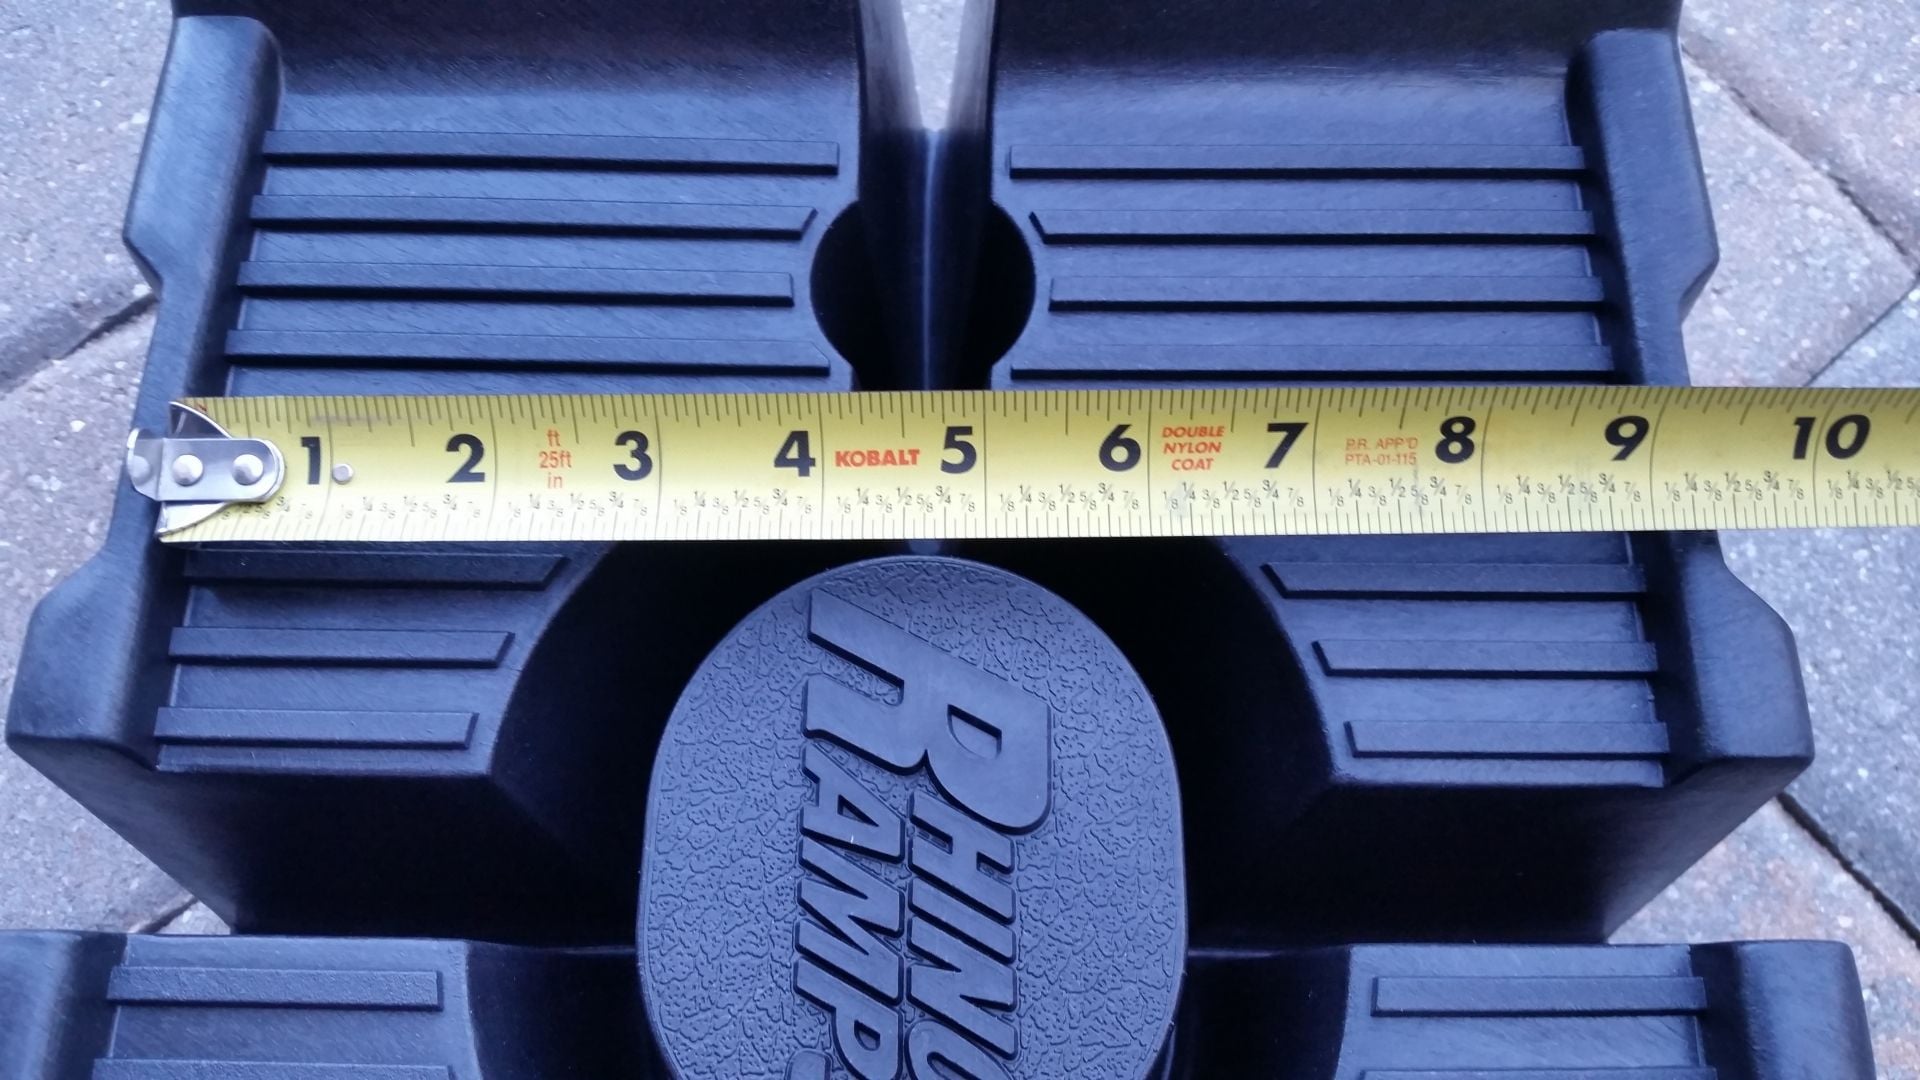
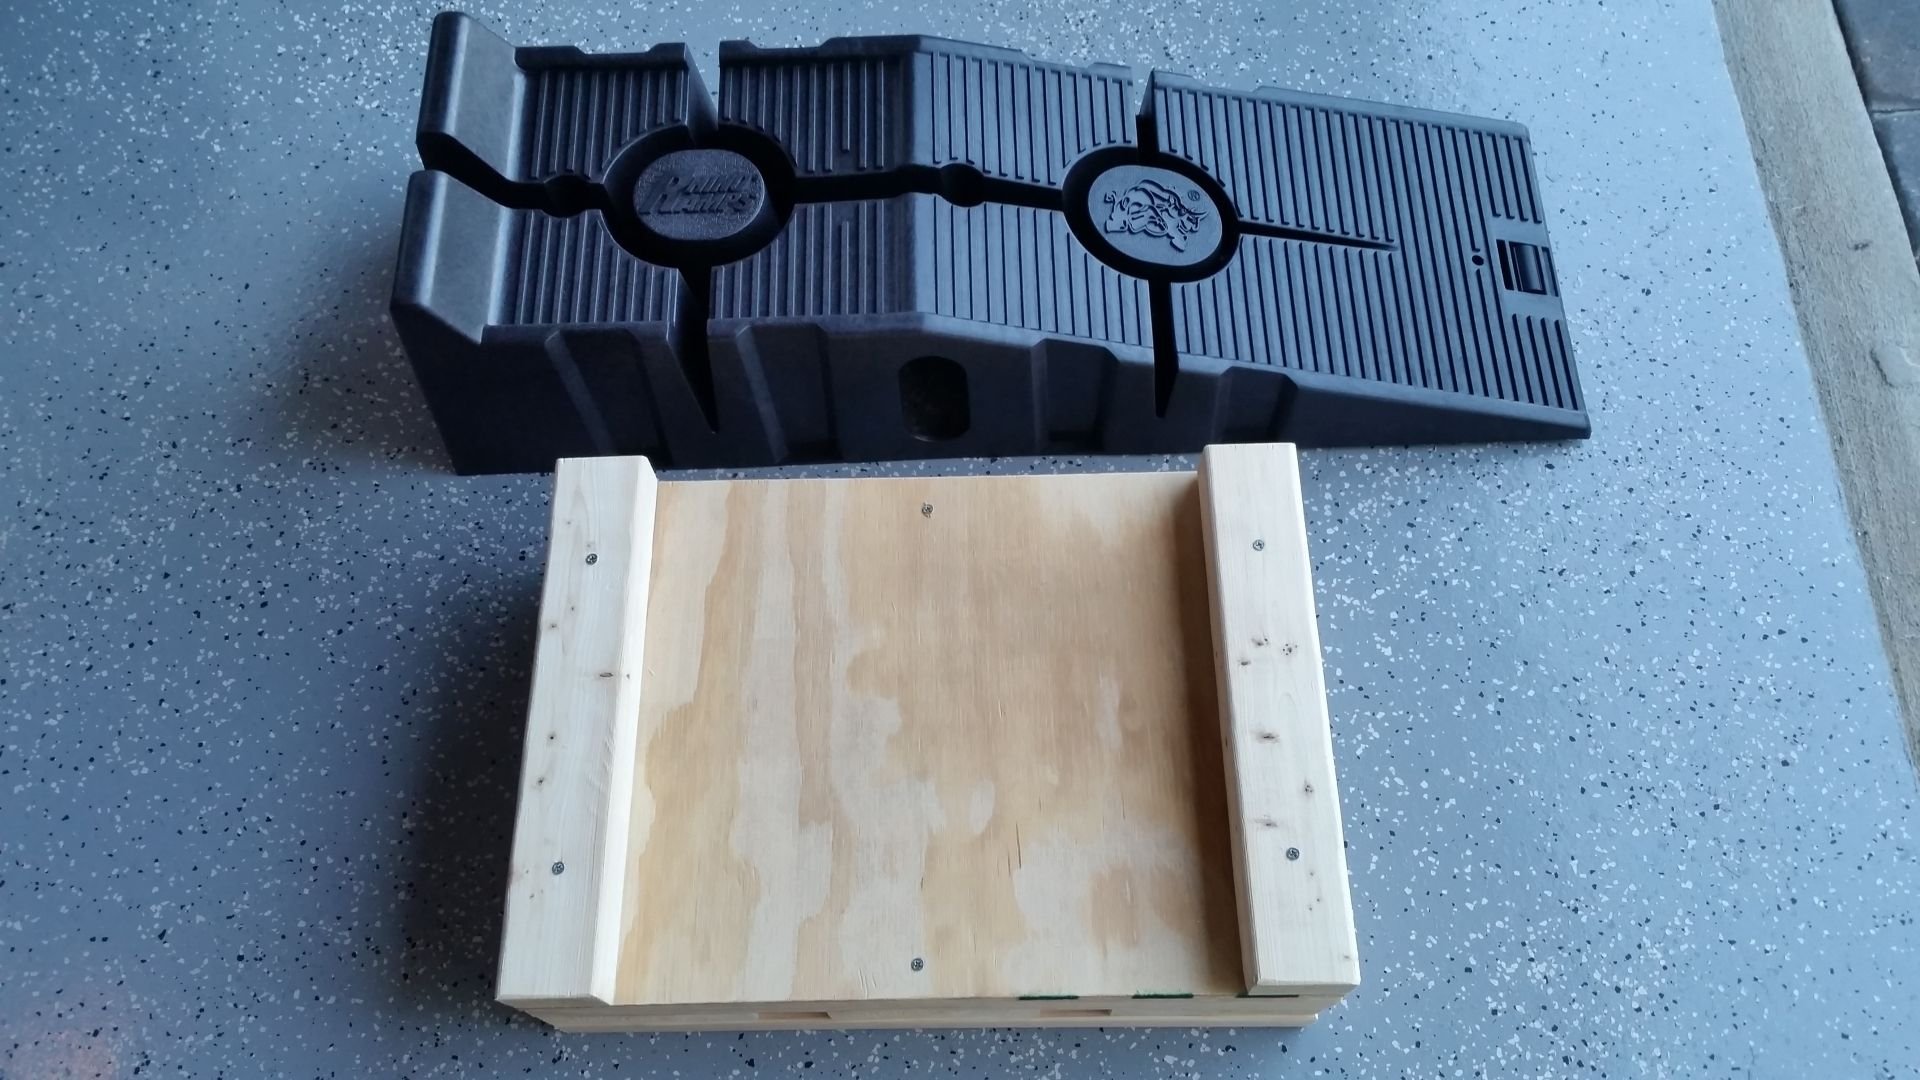
Planning on a DIY project (gundo hack + fabspeed x-pipe center bypass), I ordered a pair of rhino ramps. Knowing these ramps are only 9" wide and my rear tires are about 12" wide, I did a search and found a few photos where wide tires where seating on ramps with a few inches not touching the ramps. I thought it would work just fine. As soon as I received the ramps, I found out that these new rhino models have side borders with approx. height of almost 3/4 inch and I was afraid this could damage the tires.
I took a look at other options and only found wider products from race ramps, which range from 12" to 14" wide and $250 to $400+.
Since my intention was to lift the car with my floor jack and put the ramps under the wheels, I was not feeling like expending that much on a pair of race ramps.
Searching around, I found lots of photos of homemade car ramps and wheel cribs. So, I decided to go ahead and build my own wheel cribs.
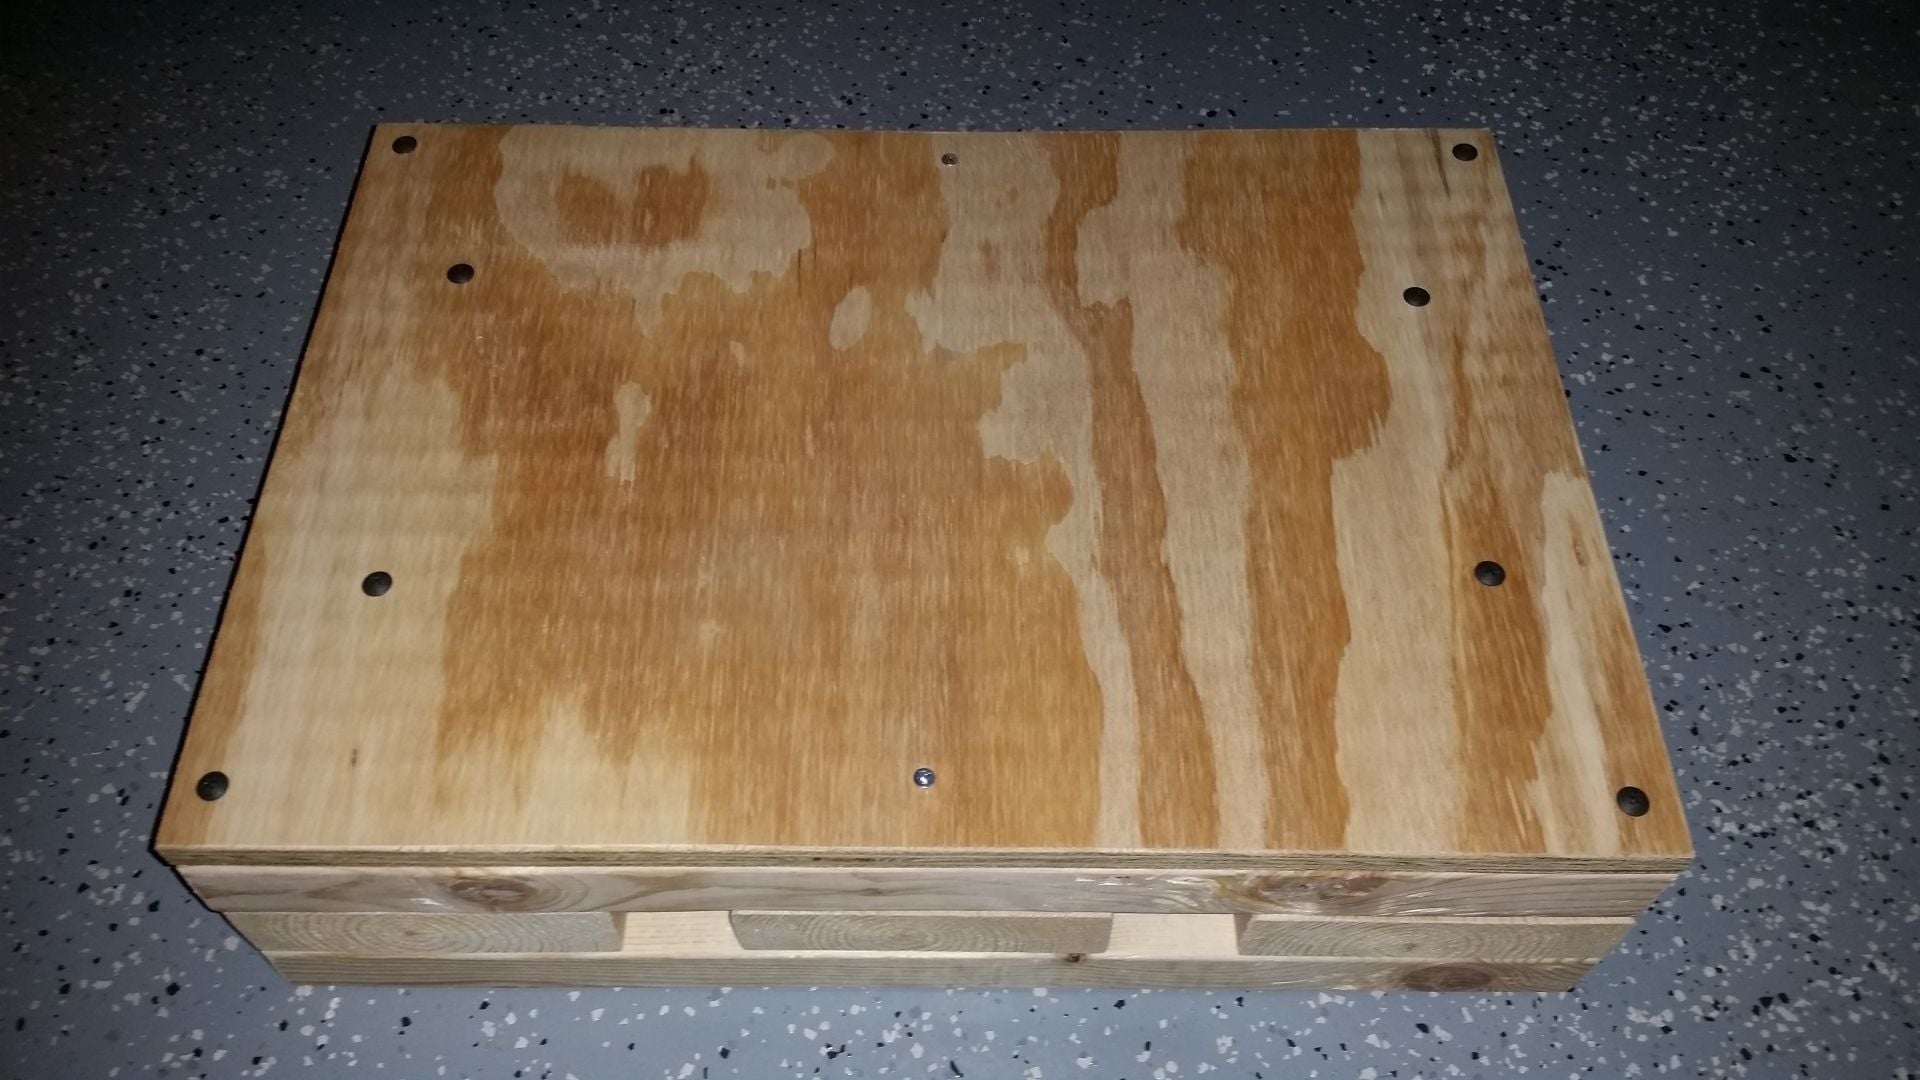
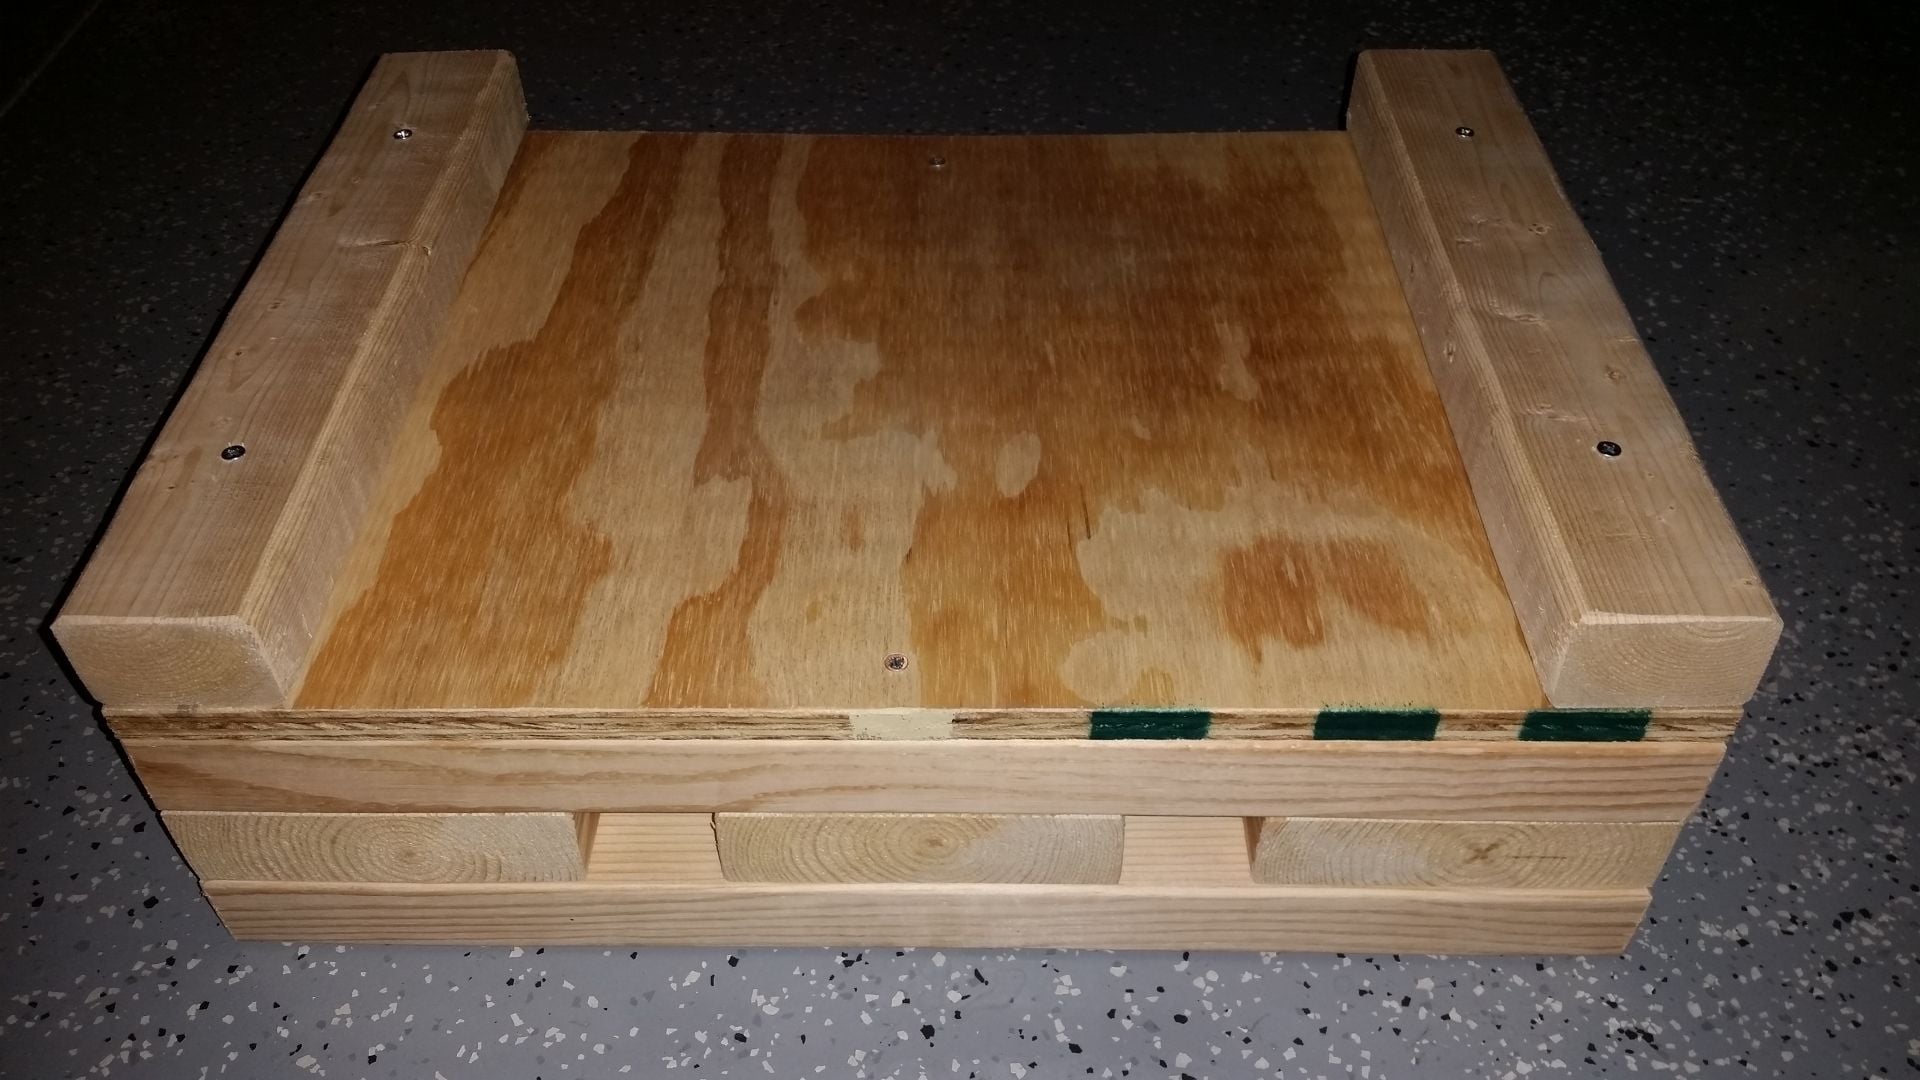
I took some measurements, did some sketches and went to lowes. The dimensions of cribs should be 20" L x 14" W x 5-6" H.
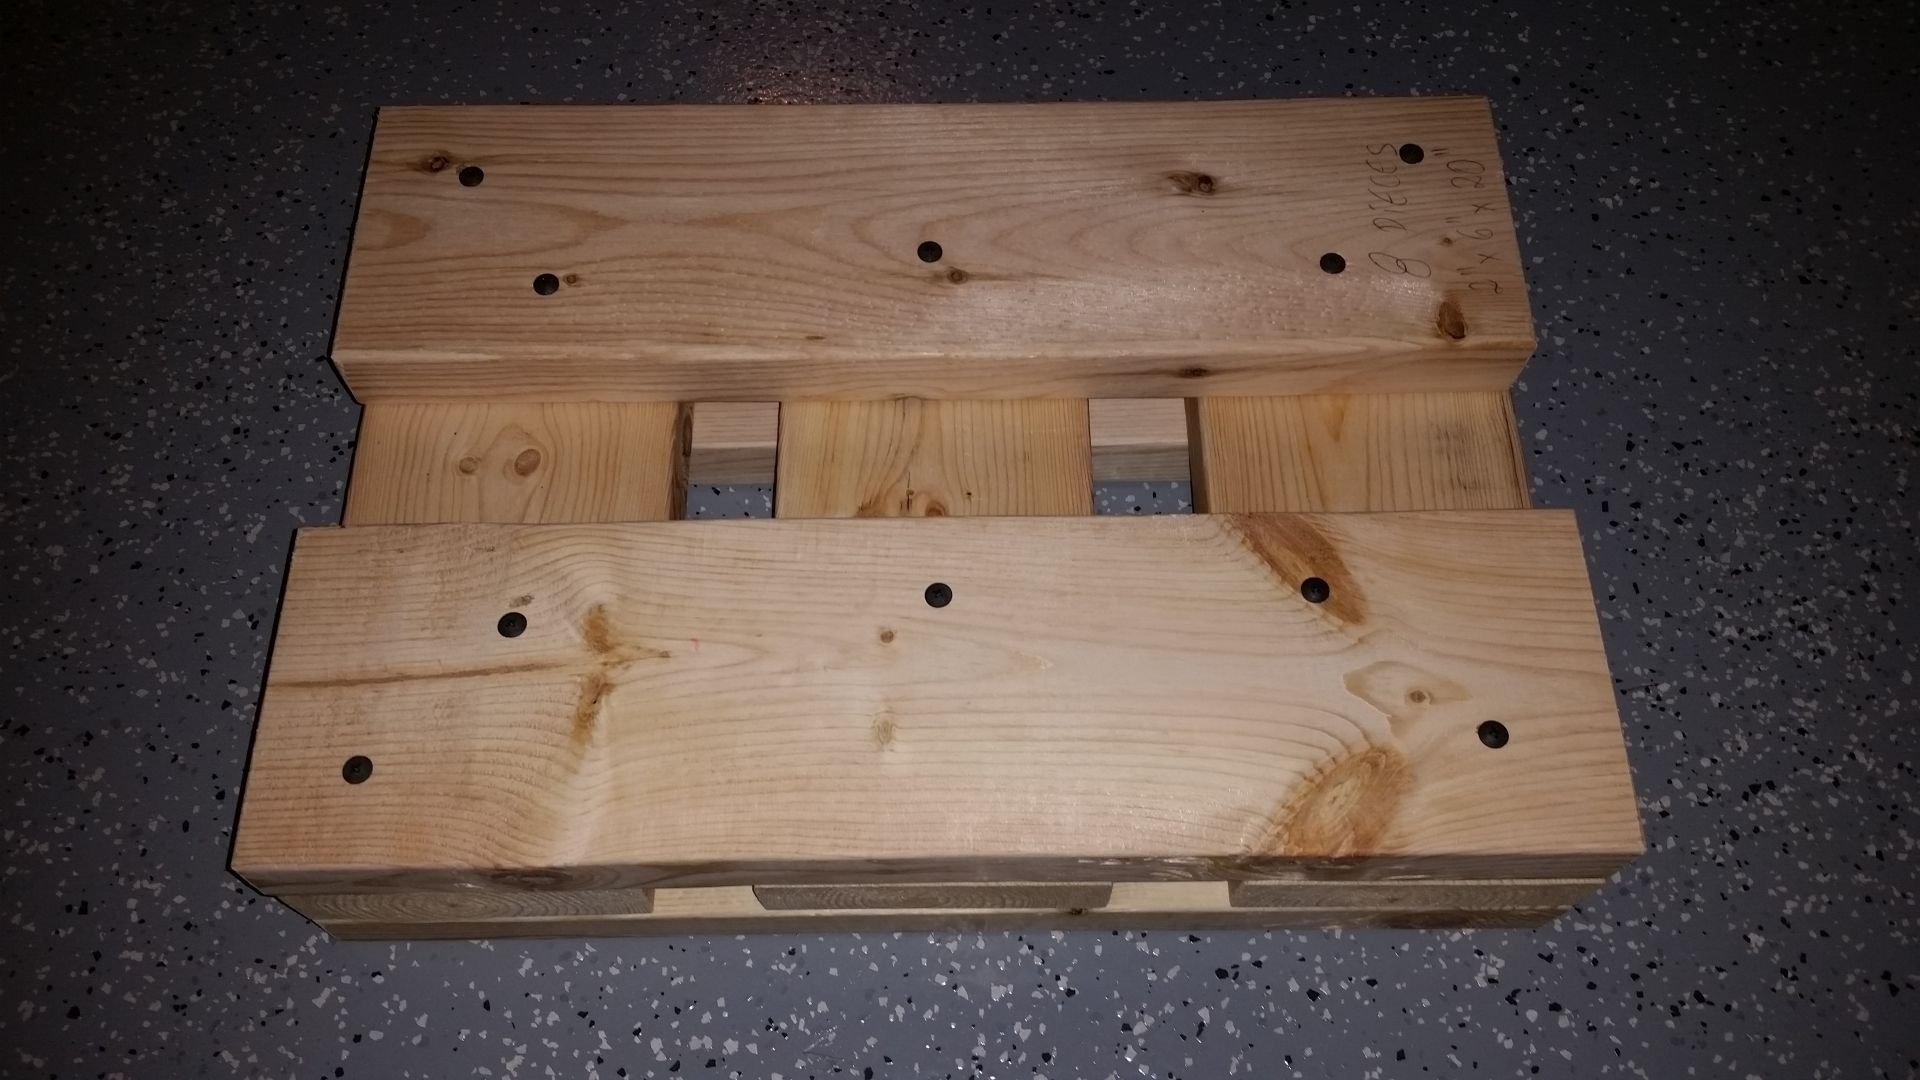
Here is the list:
- 2 x Top Choice Kiln Dried Whitewood (Item #31878) 2-in x 6-in x 12-ft
- 1 x Multi Purpose Stud (Item #1030) 2-in x 3-in x 96-in
- 50 pcs Flat Head Phillips Wood Screws #8 x 2-1/2-in
My local lowes offers free cuts, so I asked them to cut:
- 8 pieces 2-in x 6-in x 20-in
- 6 pieces 2-in x 6-in x 14-in
- 4 pieces 2-in x 3-in x 14-in (stoppers)
They had a plywood waste seating around and I asked if they would sell and cut it in 2 pieces of 20-in x 14-in. They charged $1 per piece LOL.
Total cost in lumber and hardware was around $30 bucks.
* notes: This setup gives you 5 1/4" of height. If I would do it again, I would do it 2" longer (22" L). That would make it easier to center the cribs with the tires when lowering the floor jack.
Ok, I just came back from my 1st ride with the hacked side mufflers (with stock center muffler).
Holly Molly! What a difference! I should have done this since day one! Sounds like PSE but a little louder.
Heading to the muffler shop last week, I was decided to do the hack with 1.75" pipes but I changed my mind in the last min and went "all in" with 2" pipes.
Installation photos to follow.
btw. I should be receiving the fabspeed x-pipe next week.
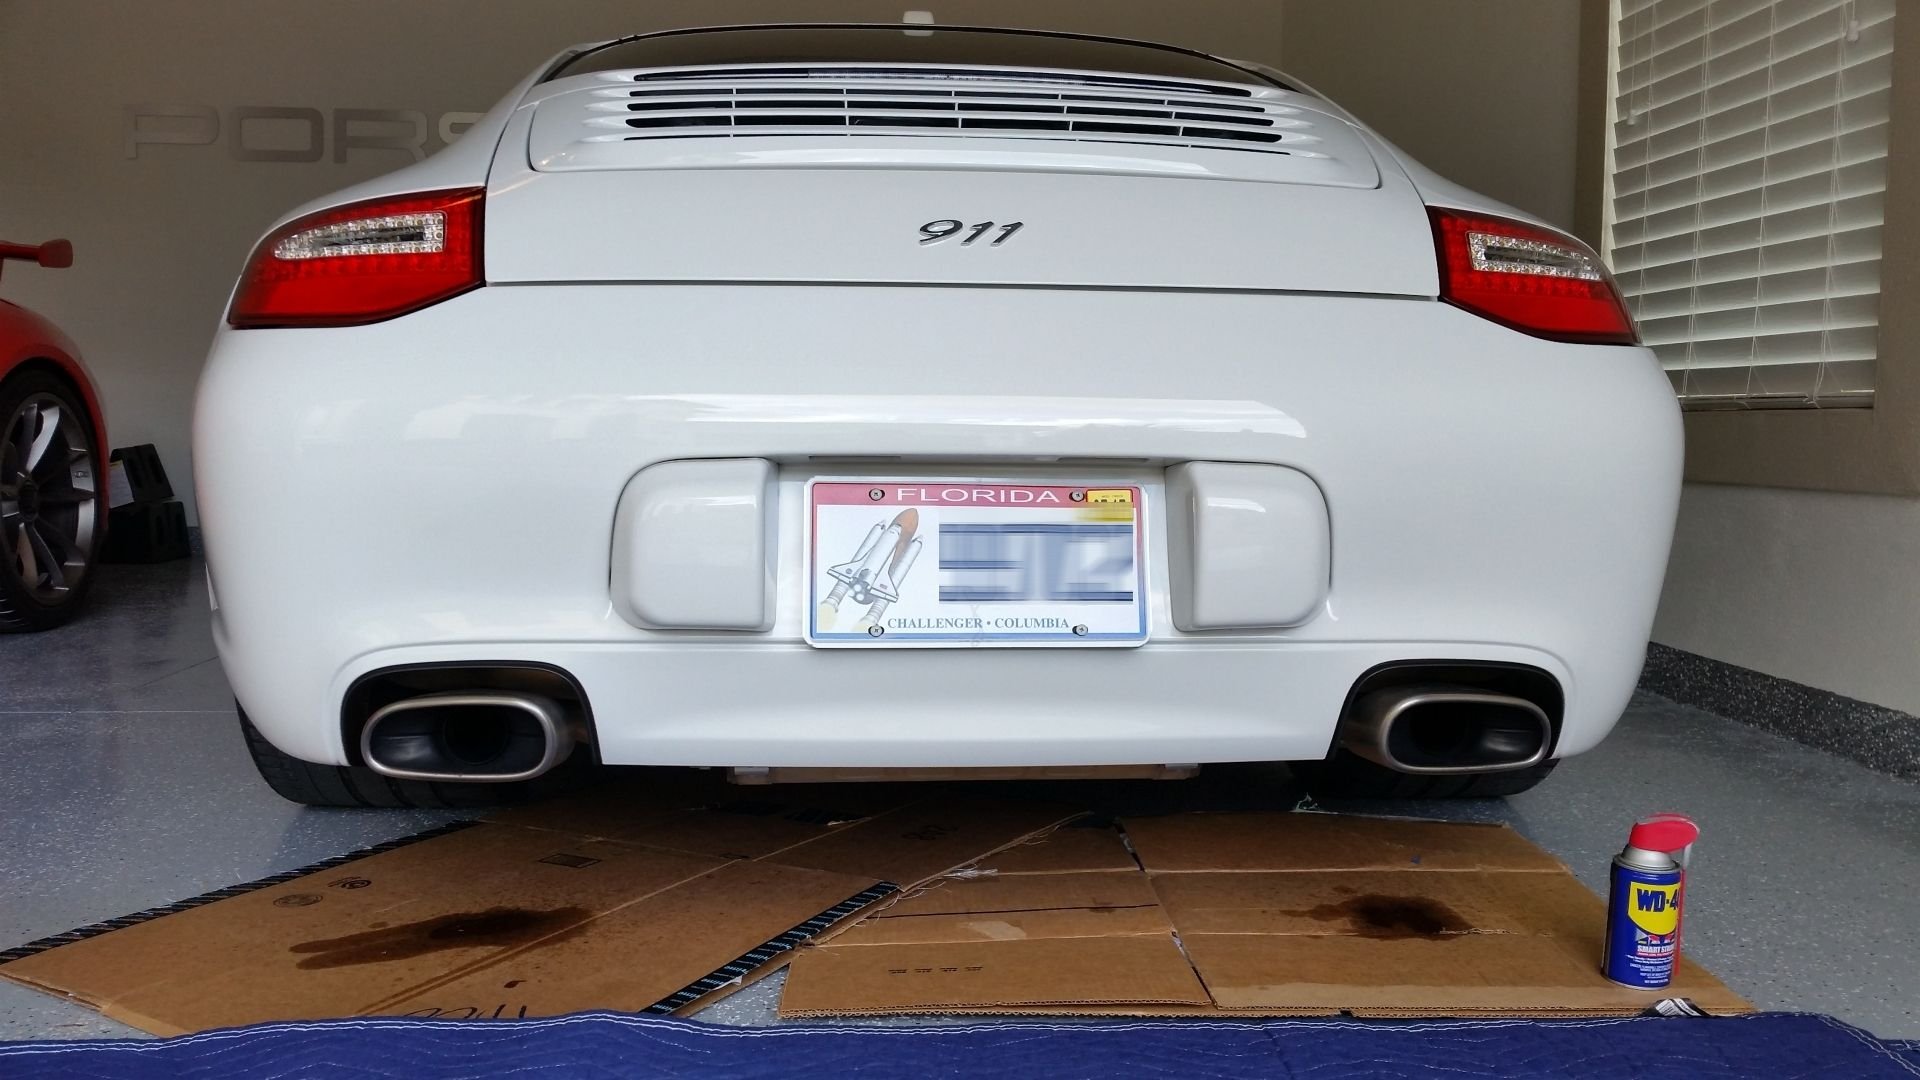
1) Soak the cat bolts (3 each side) with WD-40 a day before:
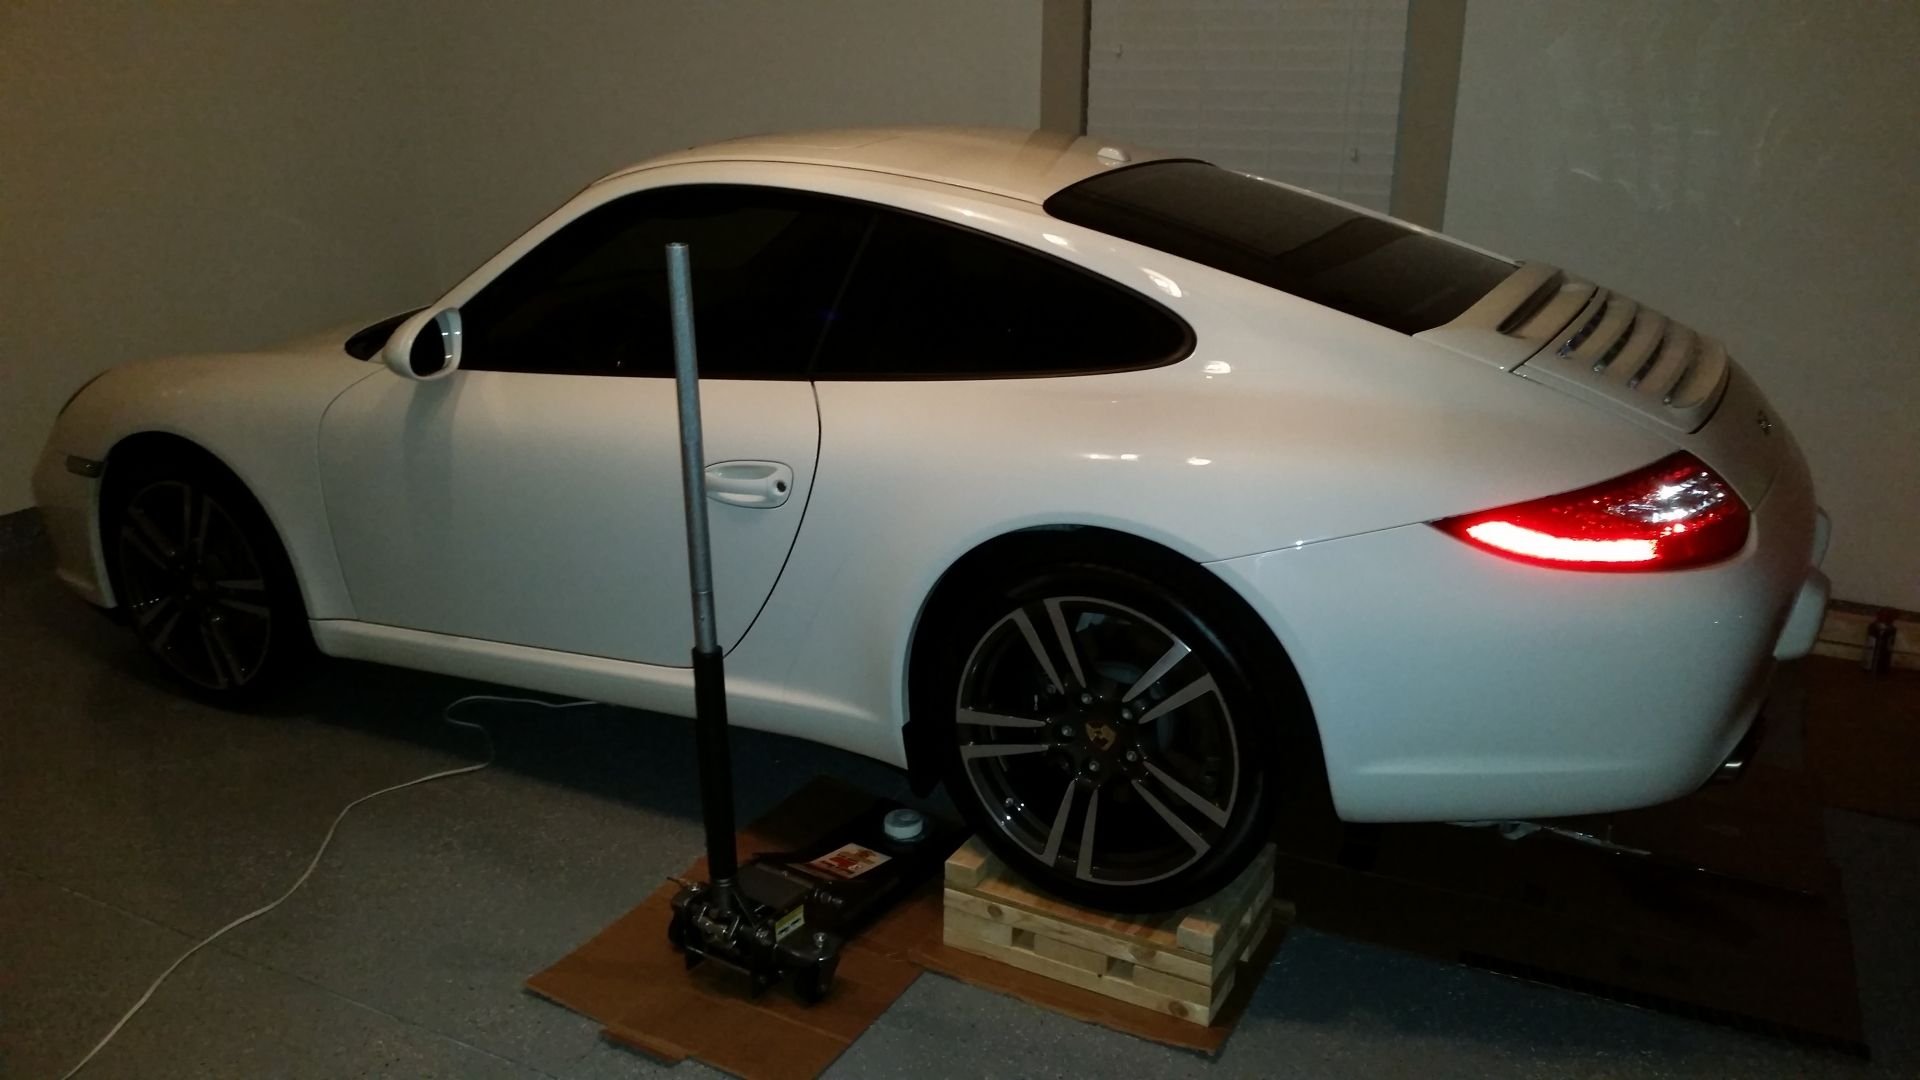
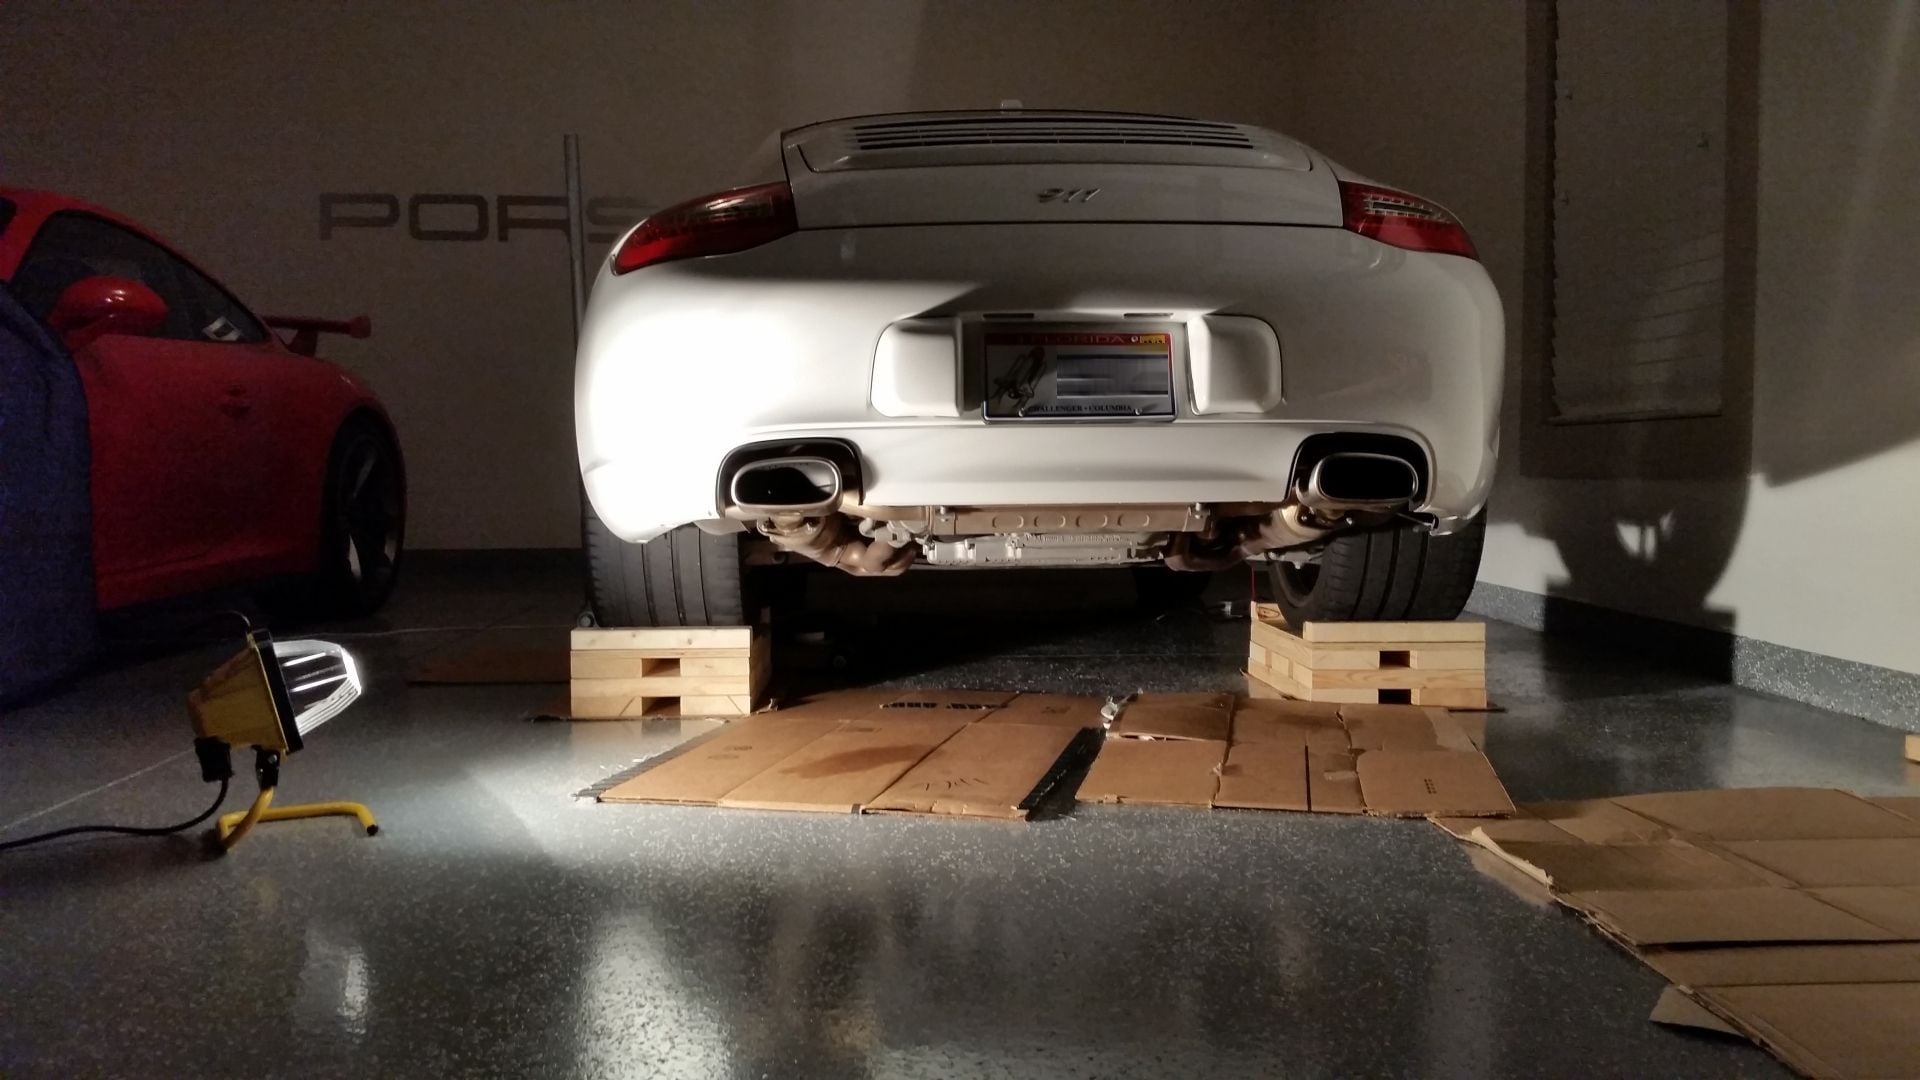
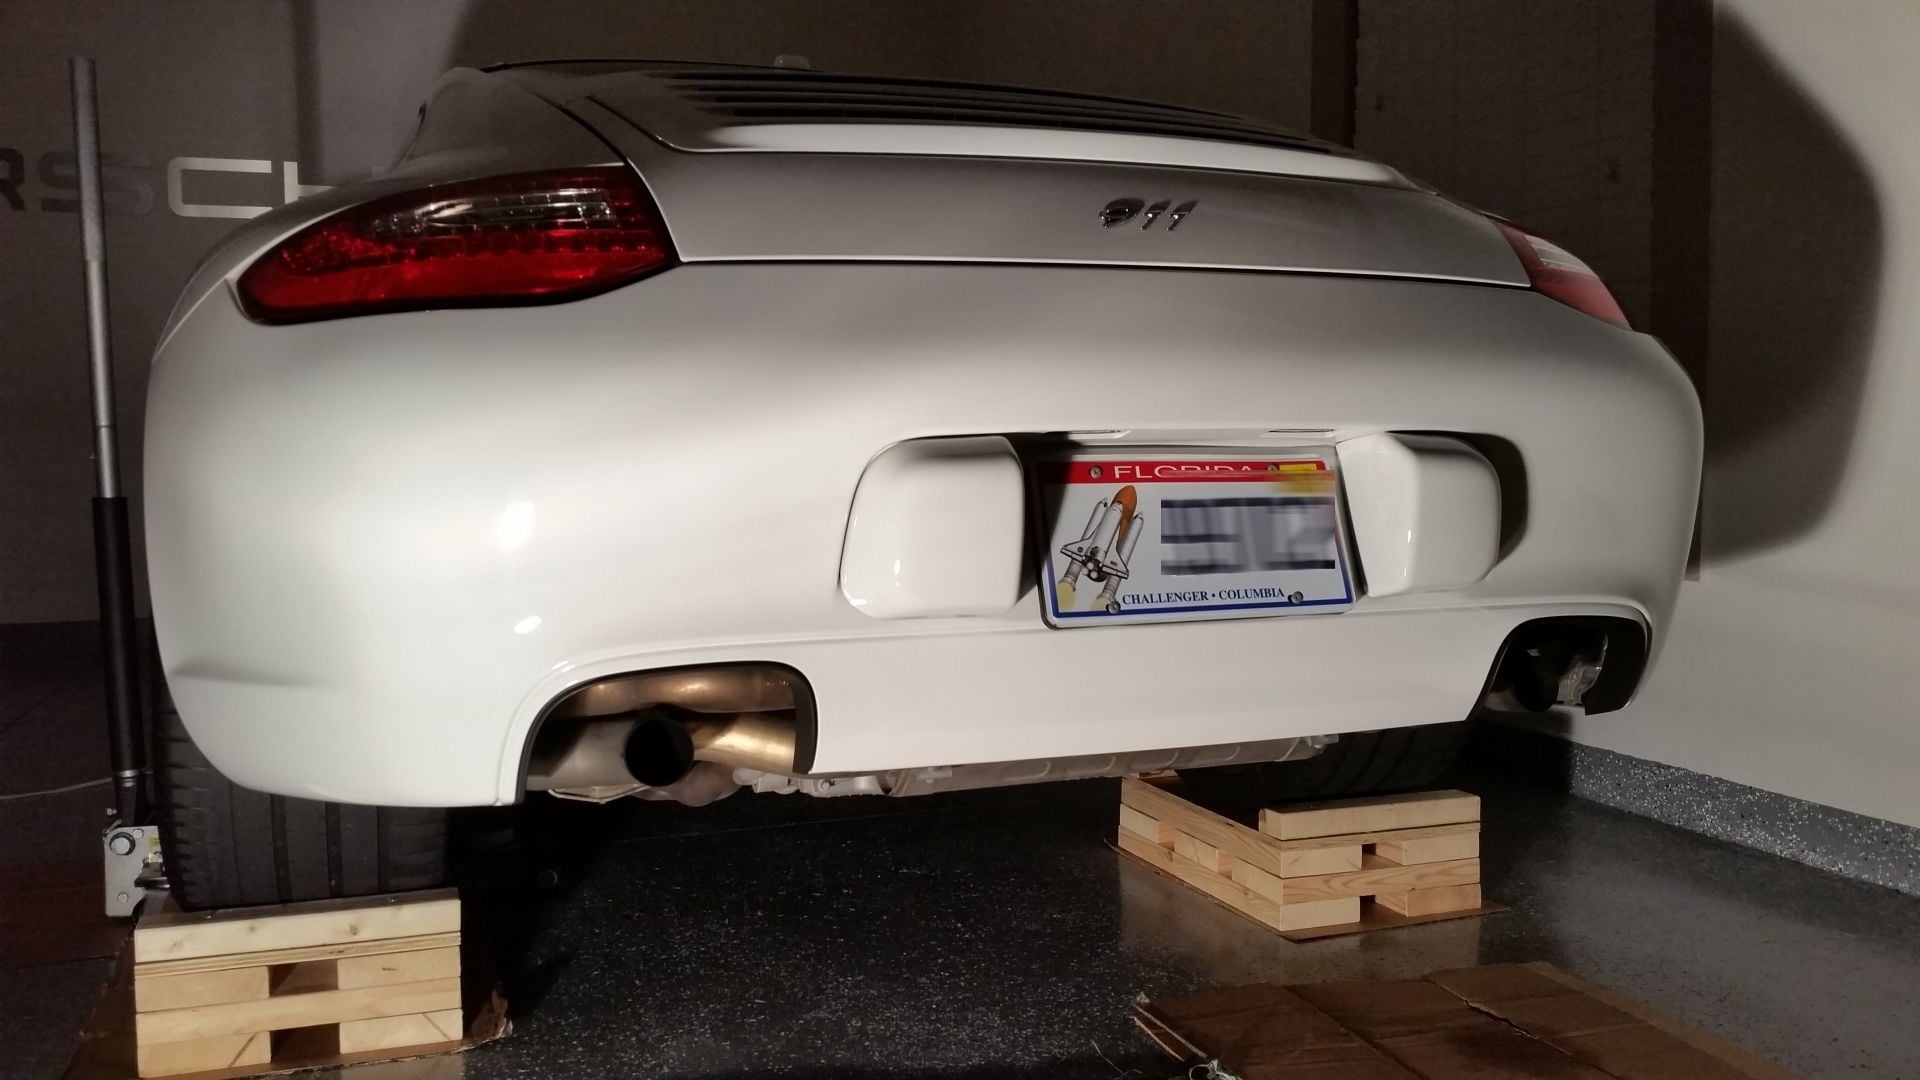
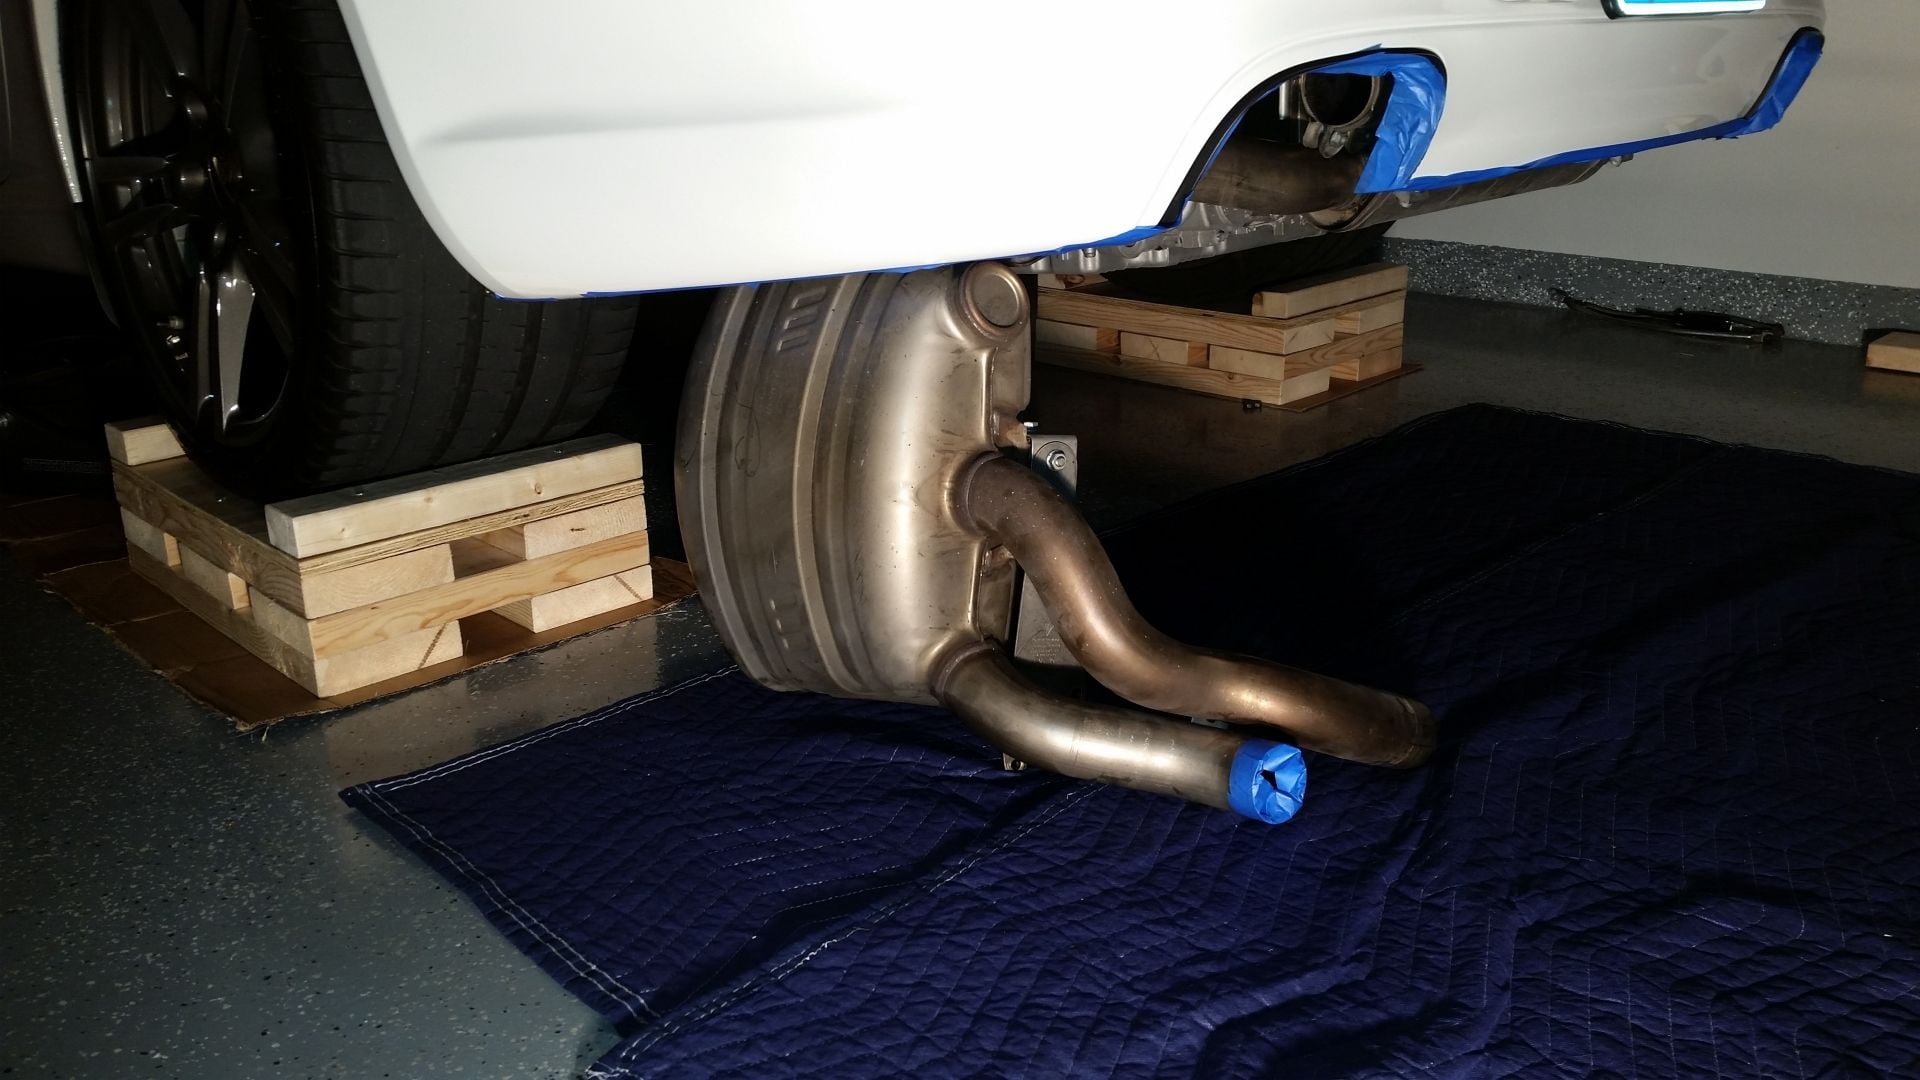
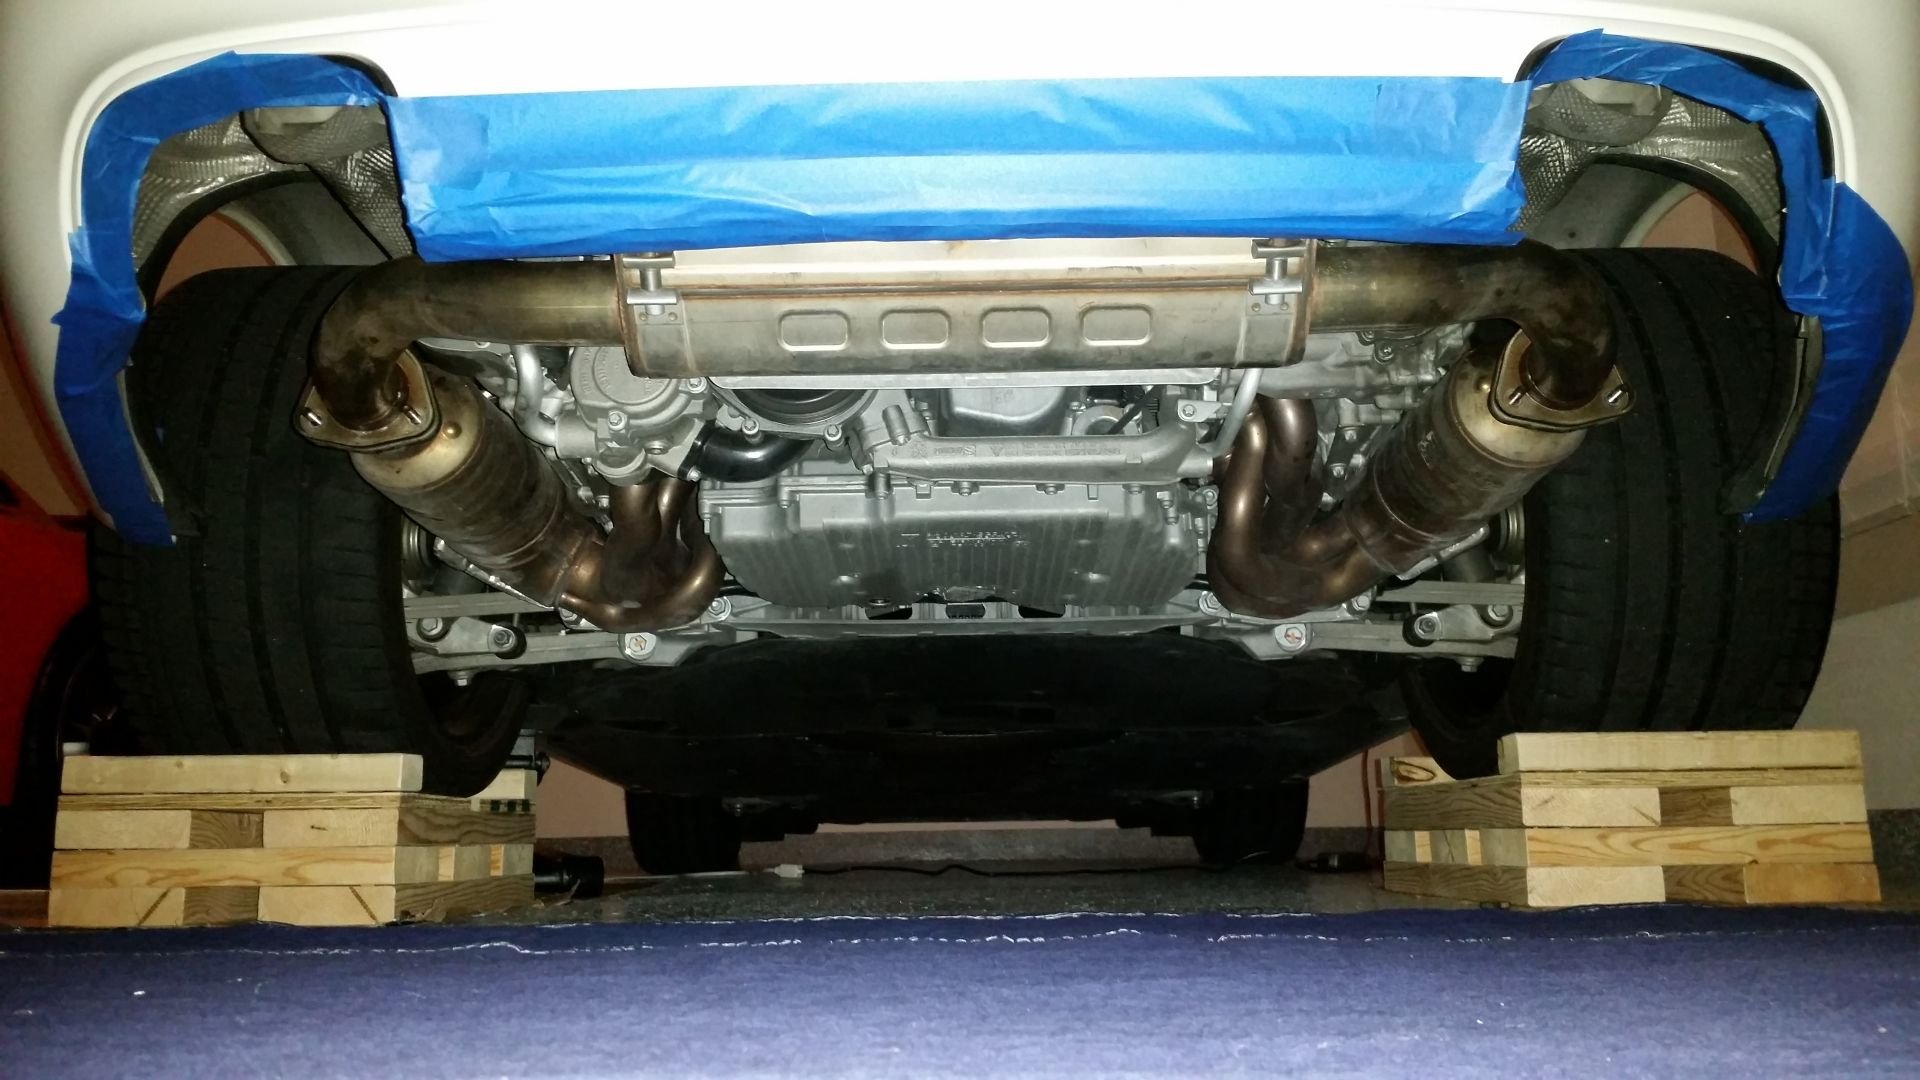
2) Put the car on cribs or ramps (my cribs are 5 1/4" high). I don't think I could have removed the side mufflers without the rear being on cribs:
3) Remove the tips with e12 torx (and do yourself a favor cleaning them up - I used fine steel wool):
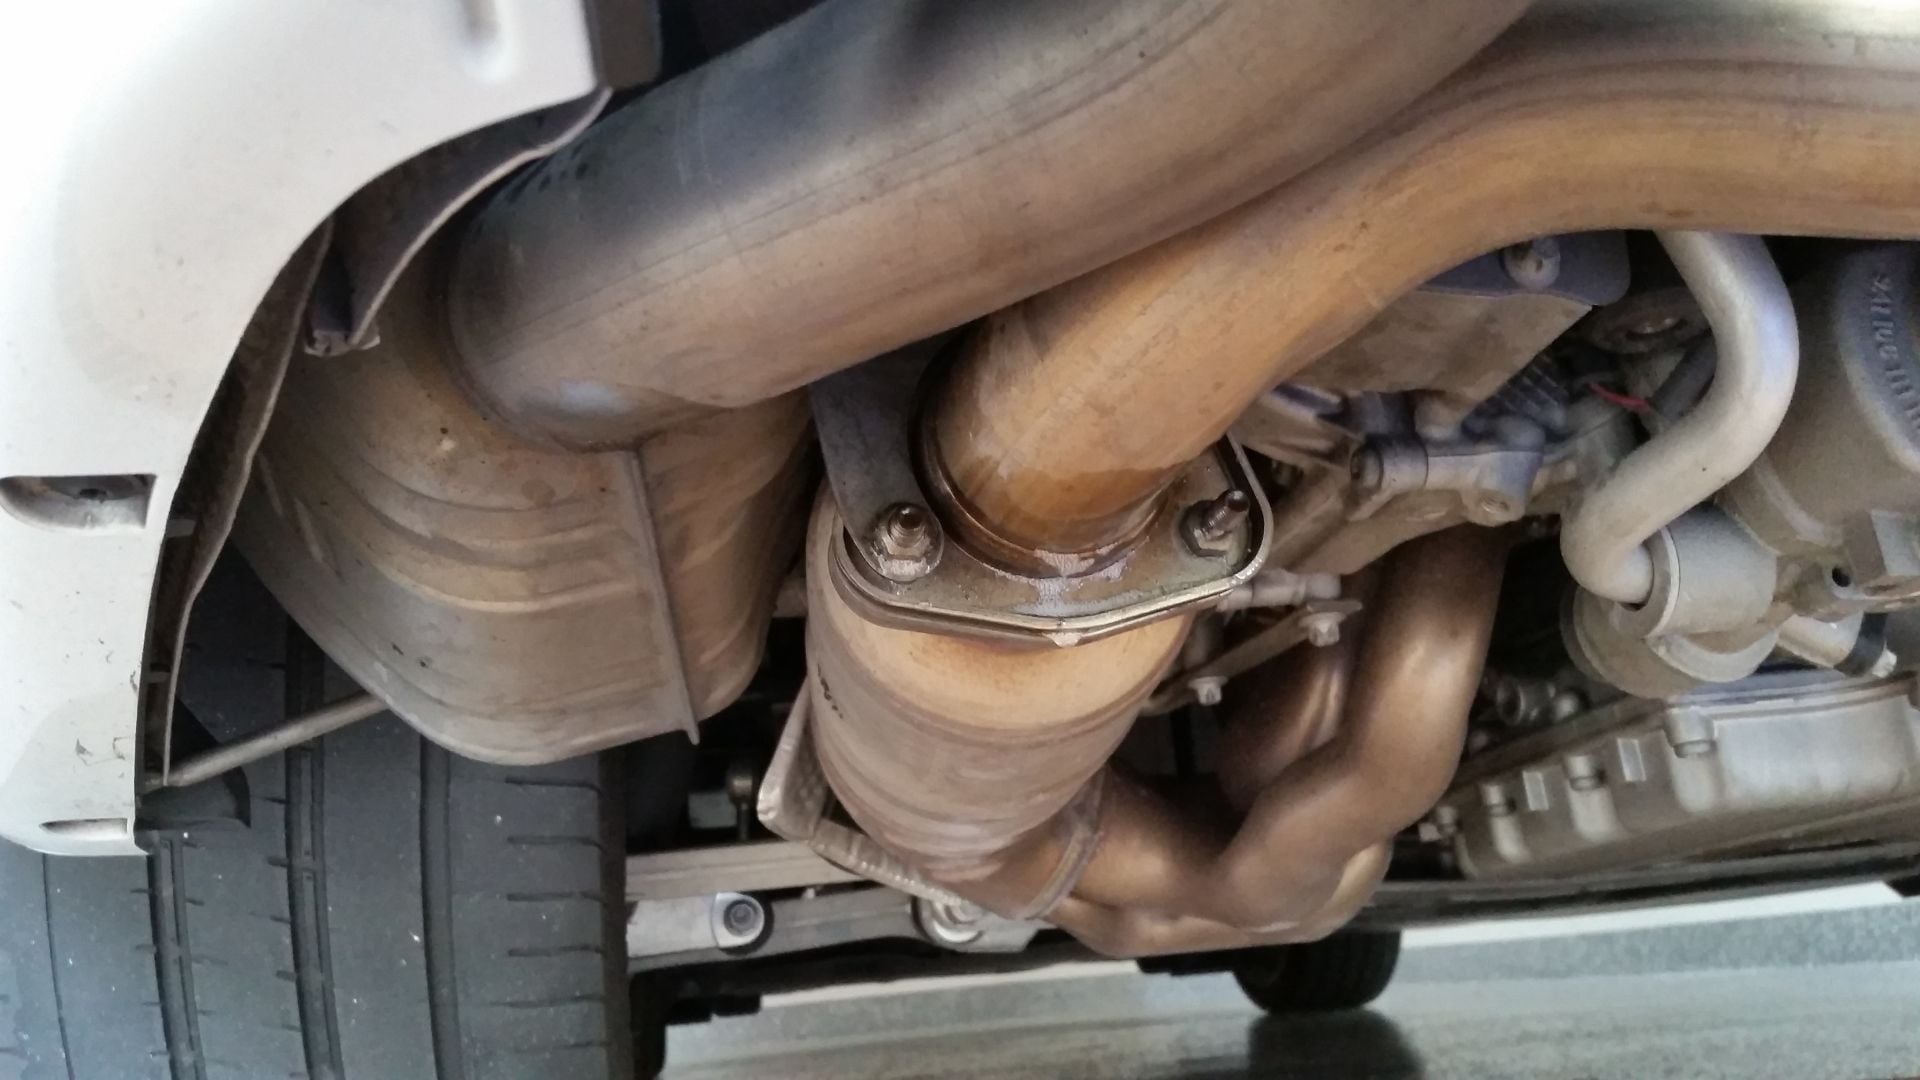
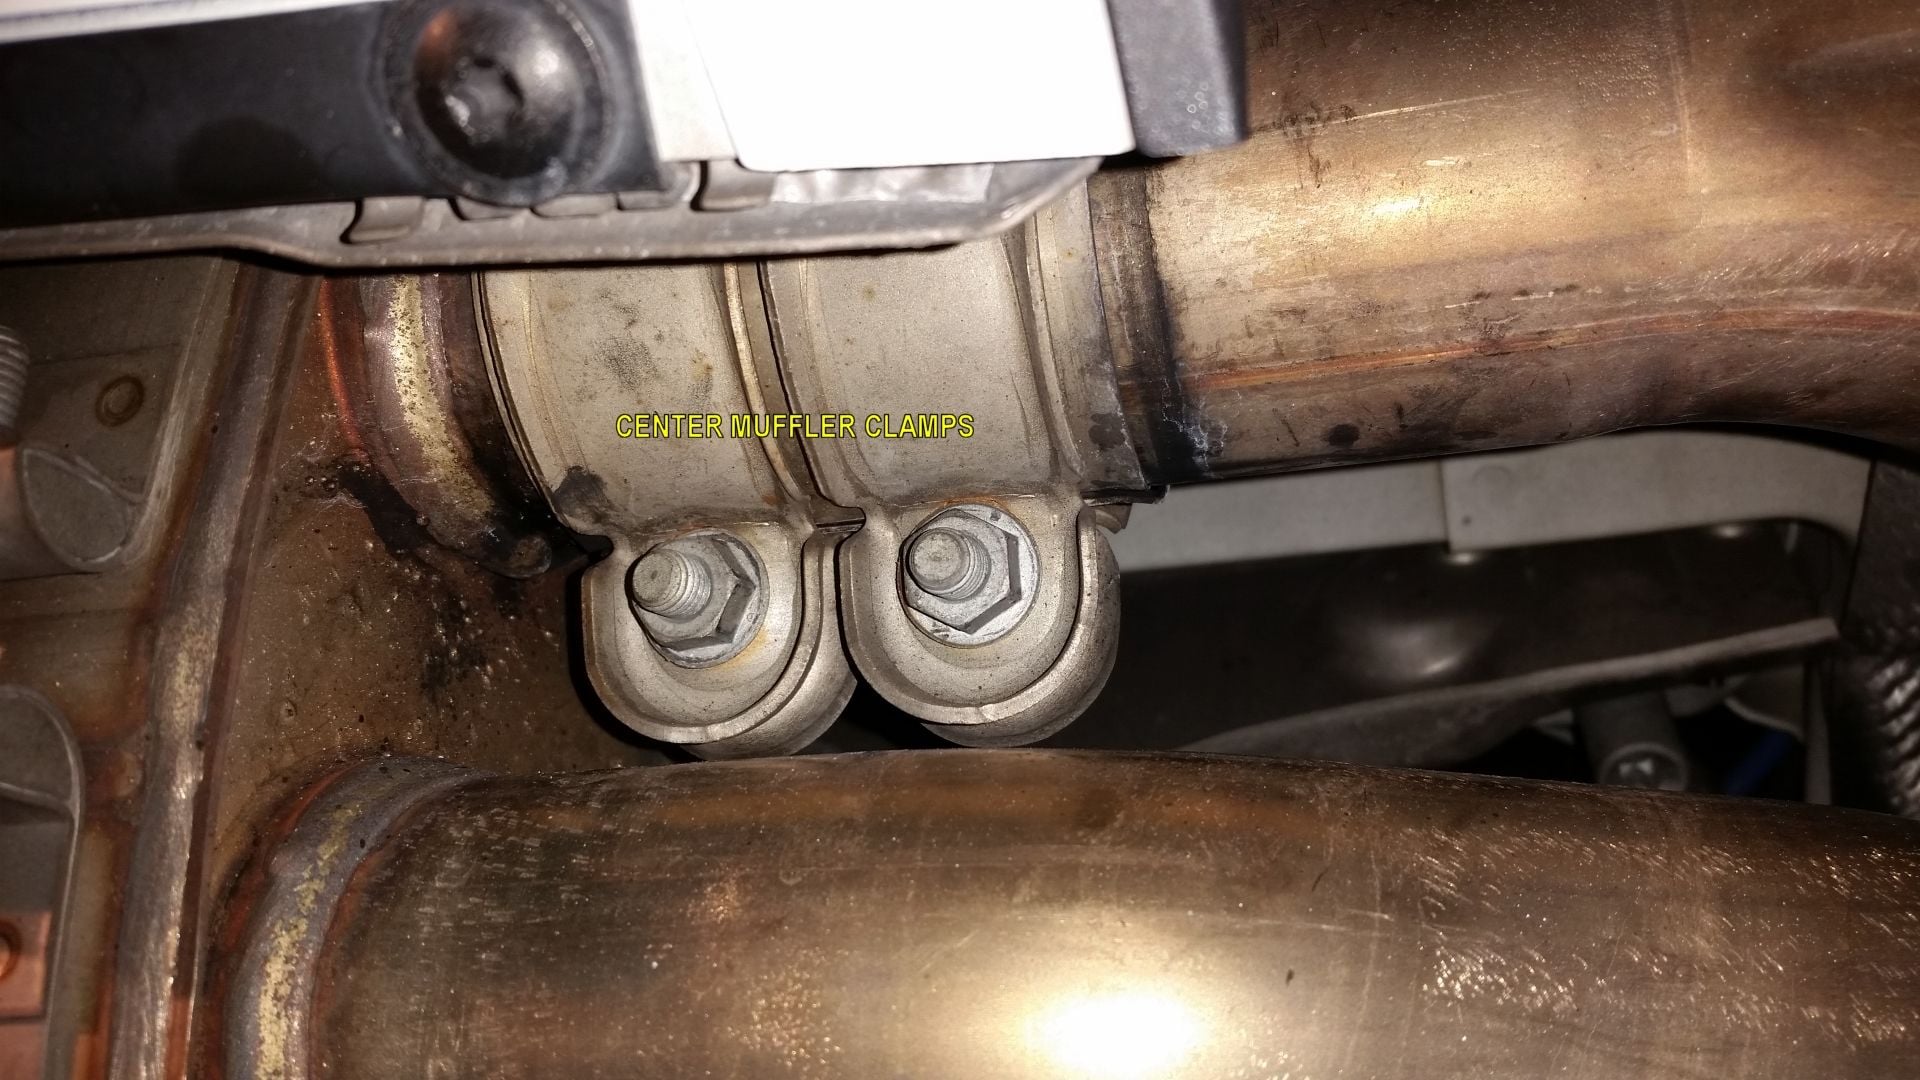
4) Loosen the center muffler clamps with 13mm socket (2 each side):
5) Using the t25 torx tool and the 10mm socket, remove the side bars that secures the bumper:
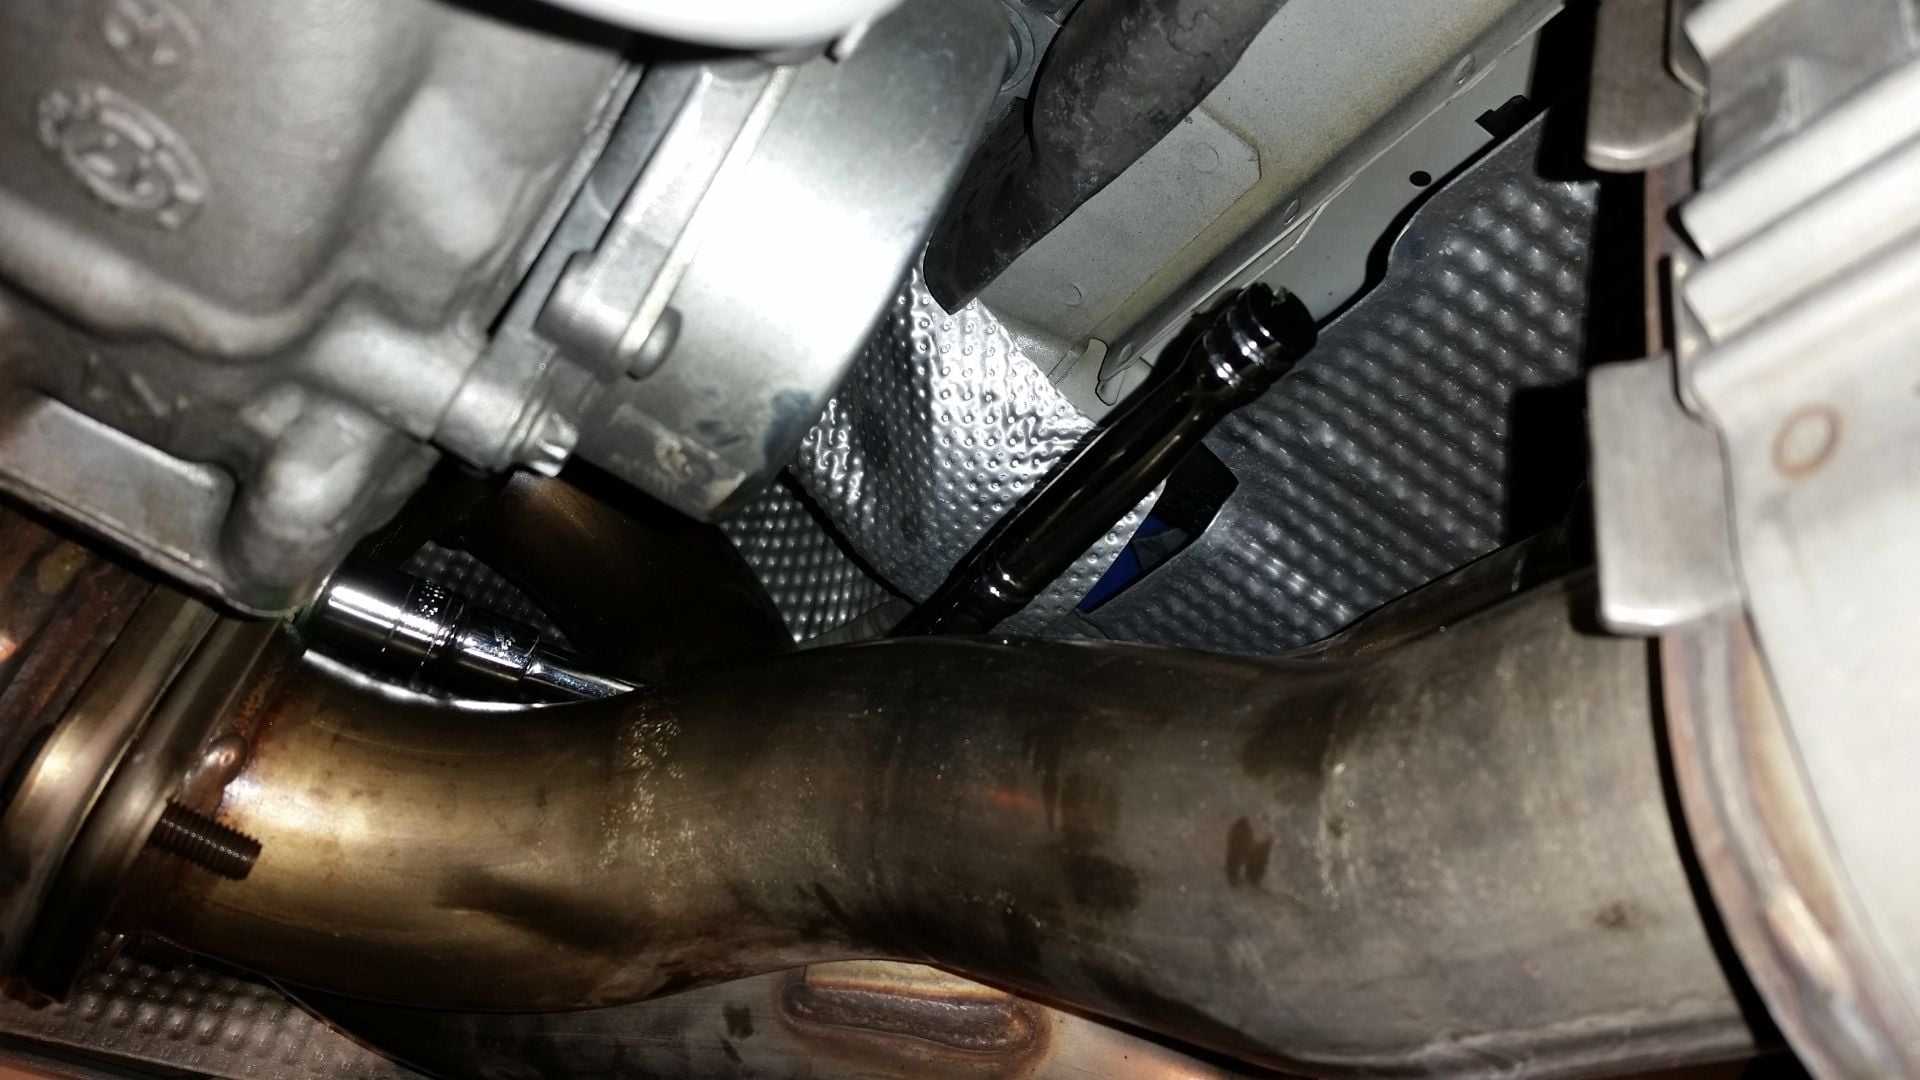
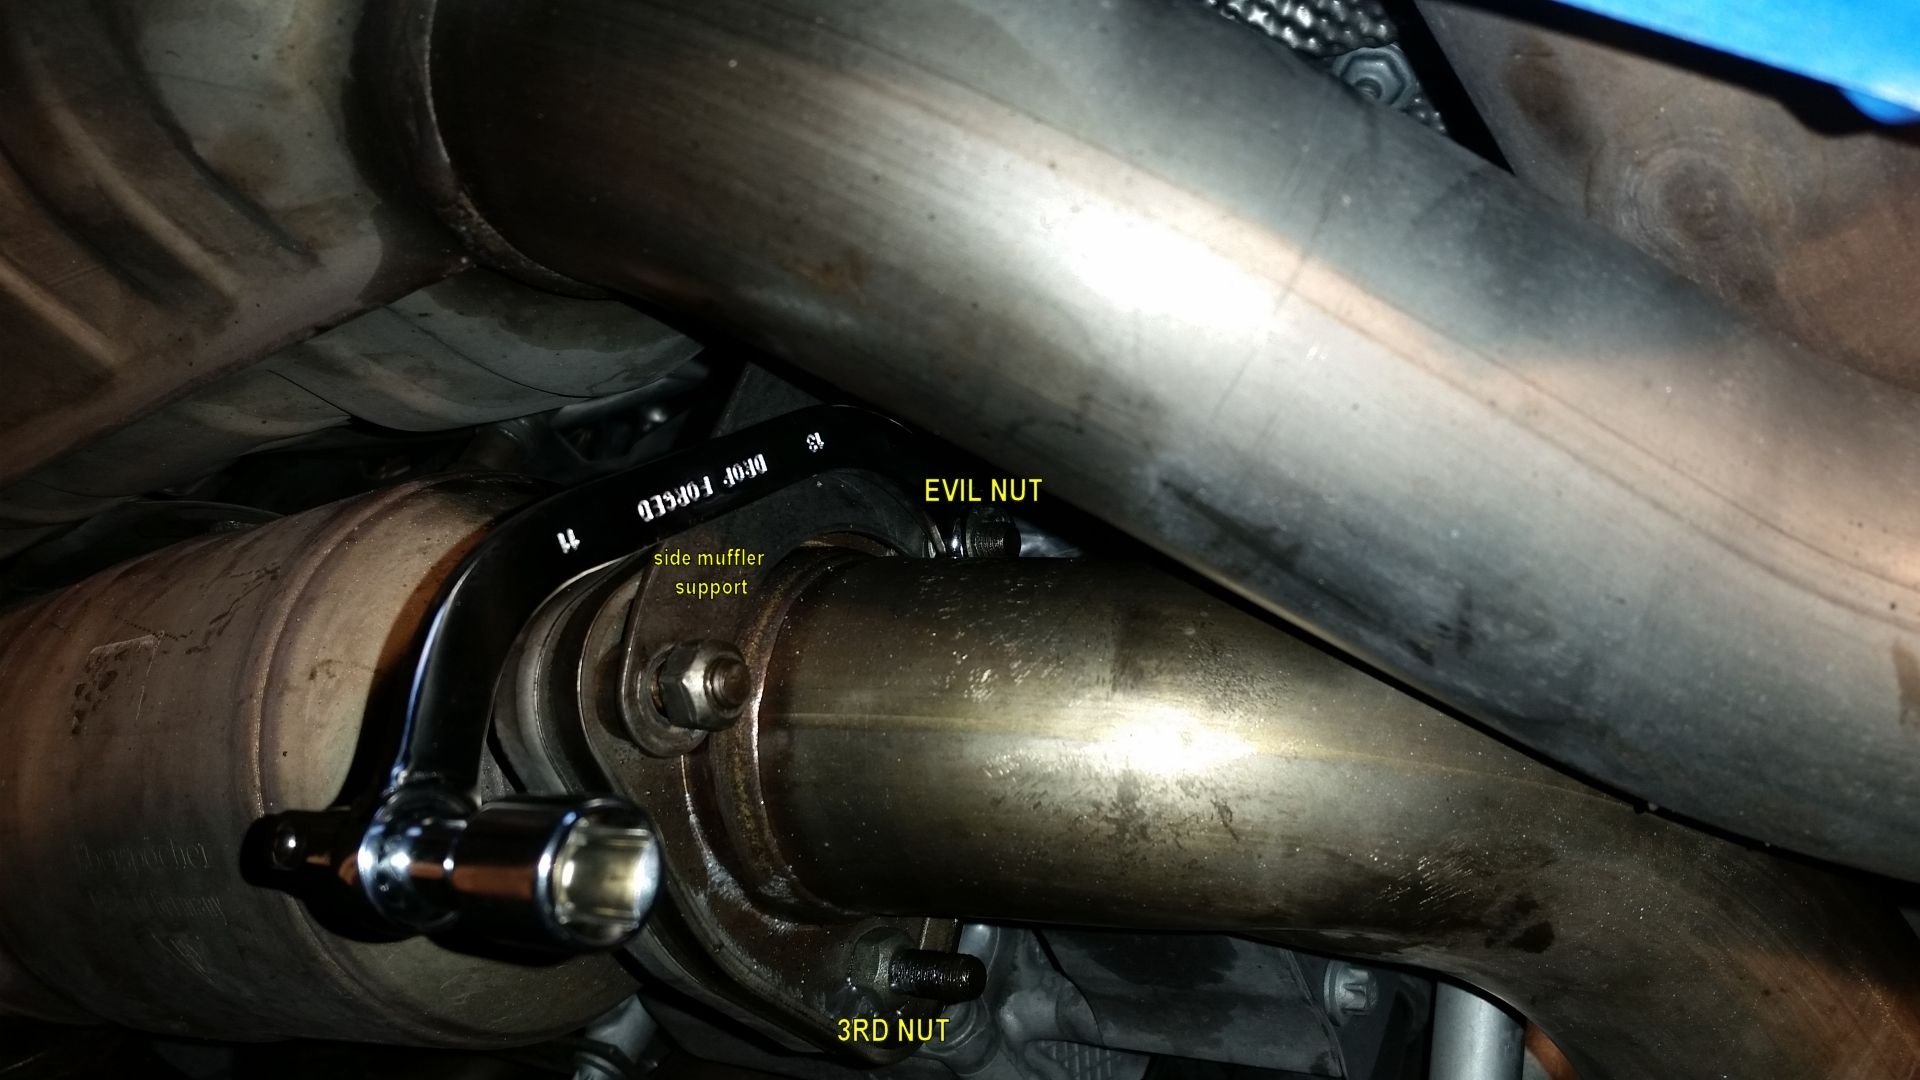
6) Loosen the 3 cat nuts with the 13mm deep socket. I could managed to use my ratchet wrench with a 3" extender and the regular 13mm socket to remove the "evil nut" on the passenger's side. On the driver's side I used the 13mm half moon.
Obs. If you are not going to replace your center muffler you don't have to loosen the 3rd nut. You should loosen only the 2 nuts that secure the side muffler's support.
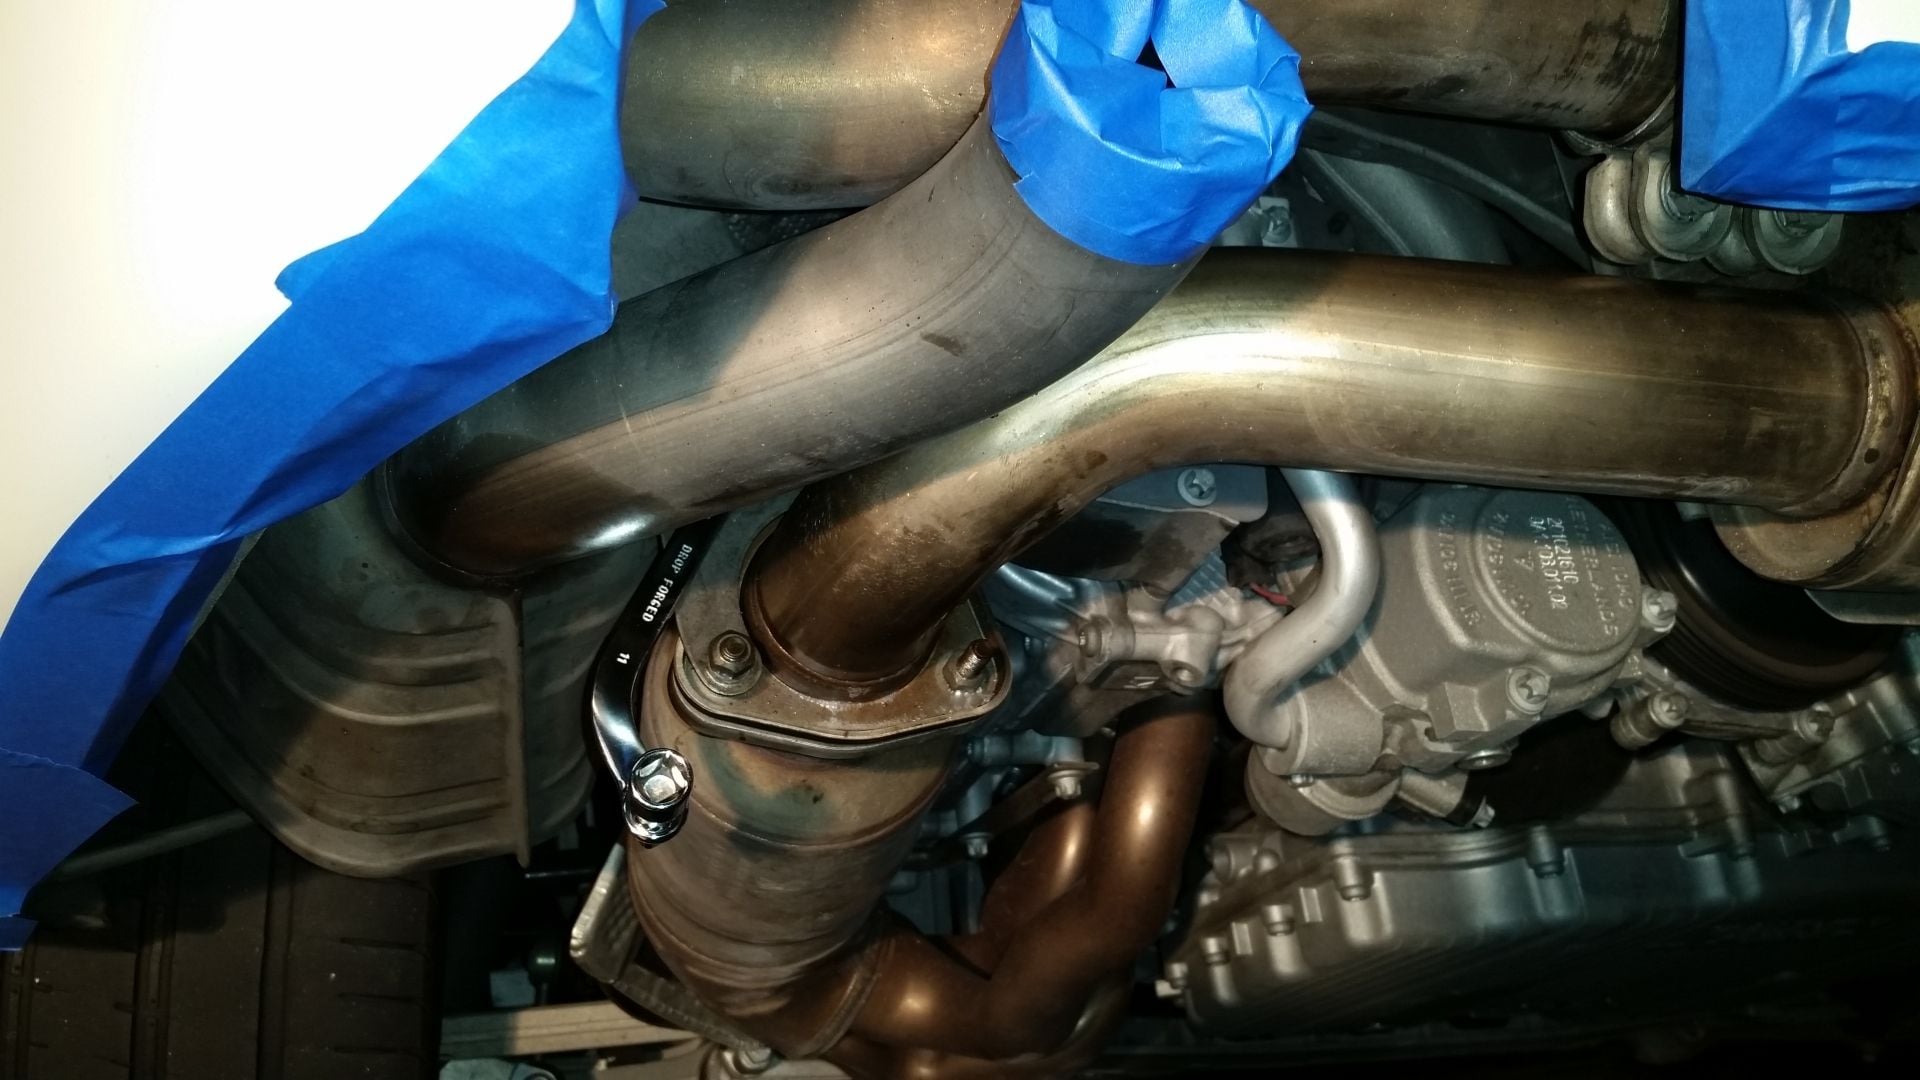
7) Disconnect the side muffler's pipe from the center muffler and carefully let it drop to the floor:
Last edited by ElectricChair; 11-01-2016 at 09:51 PM.


 10-03-2016, 04:10 PM


 . But it was well worth. I washed and detailed her this weekend and I found zero rock chips.