When you click on links to various merchants on this site and make a purchase, this can result in this site earning a commission. Affiliate programs and affiliations include, but are not limited to, the eBay Partner Network.
.... Get tools, soak nuts and you should have no problems
Truer words have never been spoken.
I also removed the grounding cable from the side by the bumper. Removing the passenger side heat shield was annoying but definitely less annoying with one less cable in the way.
Loosening the middle electrical connector on the drivers side also helped with removal of the heat shield.
A point of clarification on the O2 sensor cable. You remove it from the clip that attaches it to the body and nothing else. I kinda stared at it for a few minutes trying to figure out how to separate the wires but then realized you couldn't and it just clipped in.
Thanks for these instructions. I just completed my plug swap yesterday. I have no idea whether the old ones look good, bad or indifferent. 4 years and 35k miles. While I had everything out, I decided to 'upgrade' the mufflers too ...
Workhurts we did exactly the same thing, i upgraded my mufflers at the same time i did my plugs...only thing is youv got a nice four post lift there vs my crocodile jack and your fister muffler vs my locally favricated $30 gundo hack. Hahaha
2009 C2s. I have 90,000+ miles. Changed plugs at the recommended 40k mi. Plugs looked perfect. I decided to go longer for the second change (50k mi. interval). Plugs still looked perfect. No change in performance. My engine runs strong and doesn't use any oil. Thank you guys for the tutorials sharing DIY maintenance procedures.
Fantastic DIY write-up. Great pictures. Only issue I had was 4 broken exhaust bolts, noting to do with the write-up. Soaked the bolts twice prior to removal. No luck. Thanks for the great DIY instructions!
The link to the torque specs are no longer in the Renntech DIY. (unless I am doing something wrong).
I did find the spark plug torque specs for a 997.2TT. Would they be the same for a C2? If not can you post the specs?
The link to the torque specs are no longer in the Renntech DIY. (unless I am doing something wrong).
I did find the spark plug torque specs for a 997.2TT. Would they be the same for a C2? If not can you post the specs?
Thanks,
Dan
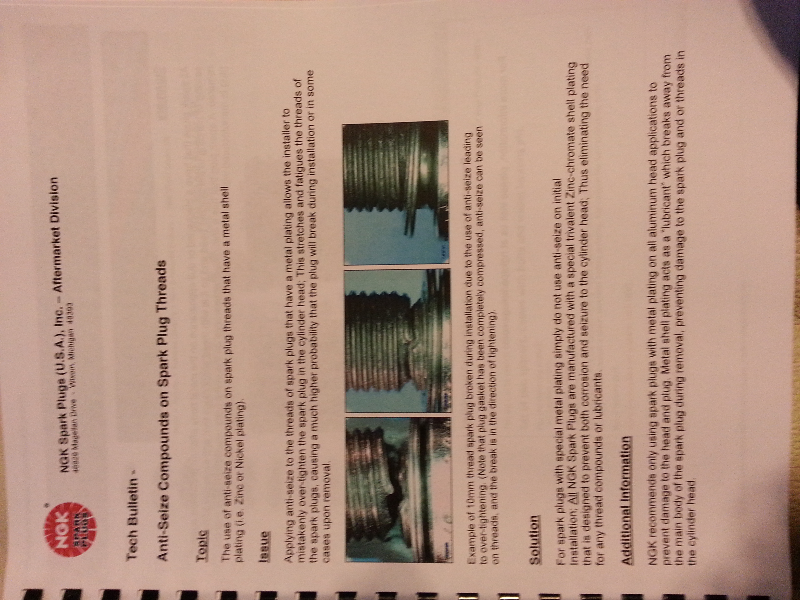
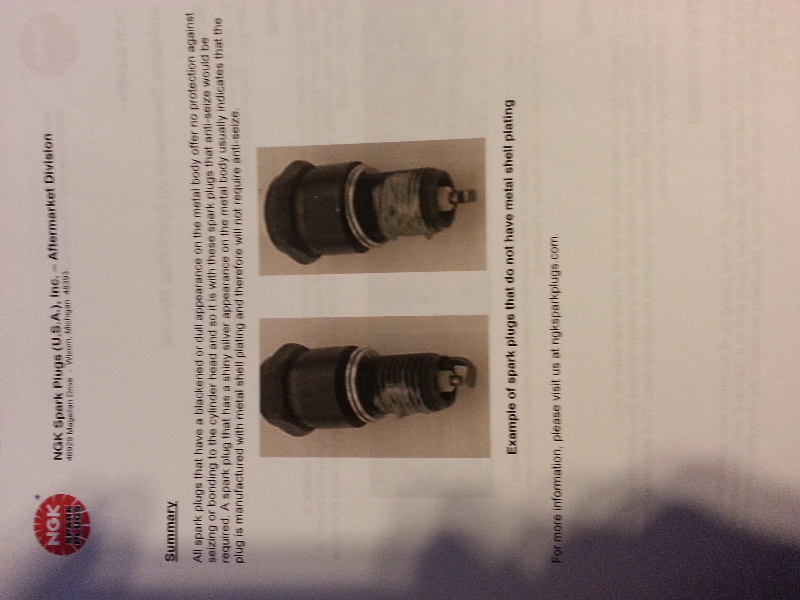
The specs I have are 22 lb ft. Use no anti seize compound or other lubricant! NGK has a good write up on this. I don't have a Web address for this but will take some pictures from my car history book and post them shortly.
Thanks for the excellent DIY. I did the coils and plugs last night and it was really easy.
I also installed the Sharkwerks bypass, which meant I had to remove the center muffler and thereby tackling the tricky top bolt on the triangular mount to the Cat. I was pleasantly surprised that this bolt despite being pretty corroded was quite easy to get to and remove with an elbow ratchet.
Also the side mufflers were MUCH easier to remove and replace than expected, and it really gives excellent access to the plugs.
@DGrayling, Thanks for the excellent post. My spark plug change was a complete success due to your DIY. I did find it helpful to loosen the lower shield to remove the upper shield as it made it easier to slip out with some extra room. The best moment was starting up the car after the install and hearing the engine start!
Thanks for this DIY post. Out of many cars owned, I have my first Porsche (997.2) as of February of this year and the 40,000 mile service became due by the time I got it home (580 miles drive from where I purchased).
I had a slightly more difficult time dropping the side-mufflers I think because I have the PSE... the extra tubing and exhaust valves are a little harder to clear the bumper. I got them out, though. Also, my car came from Maryland, and all the bolts/nuts on the cats and the clamp-sleeve (center muffler) were corroded so badly that I had to cut them off and replace them.... despite soaking them thoroughly the night before with PB Blaster.
Anyway, once the mufflers were out of the way, the rest was a cinch. For re-installation of the mufflers, however, I decided to remove the rear bumper cover. That took only 10 minutes and I think for PSE owners, may be 10 extra minutes well spent Also, the attached photo is the wrench I purchased from Amazon to get that one, hard to reach (harder with PSE) top-most nut on the cat!
Thanx..... I just ordered a set of plugs for my 80k service... Will be my second plug DIY..... My plan is to just remove the bumper from the start and not screw around. I didn't remove it on my first change and that was stupid of me.... That top nut is horrible and removing the bumper is just too easy and fast.
I removed the bumper when I did the Xpipe install and it gives big access to a ton of stuff. It also makes cutting those evil bolts easy.
Peace
Bruce in Philly
Last edited by Bruce In Philly; 05-27-2015 at 12:03 PM.
I just did my plugs again at 81K miles..... I did the procedure a bit differently and thought I would share some information.
Remove your bumper!!!!! It make things so so much easier. Total time including clean up and tool storage: 4 hours.
I didn't take pics of the bumper removal, sorry, but it is stupidly easy. First, remove the 2-screws each for the tail lights, pull them out and unplug the harness. Then start removing screws. Start with the four that you see along the back where the hood latch is. Then start tugging and you will see where the next ones are... just keep going around and under. As you pull the bumper straight back, look down and you will have to unhook cable for the backup sensors. This job is best done by two people but can be done by one.
Then remove the big aluminum bar behind the bumper by removing the two large bolts that point down. You will also have to remove two screws on the far left and right where the heat shields tack together.
Now remove those two side panels with the heat shields... just look around and the bolts and nuts come out very easily. Now you have complete access!!!
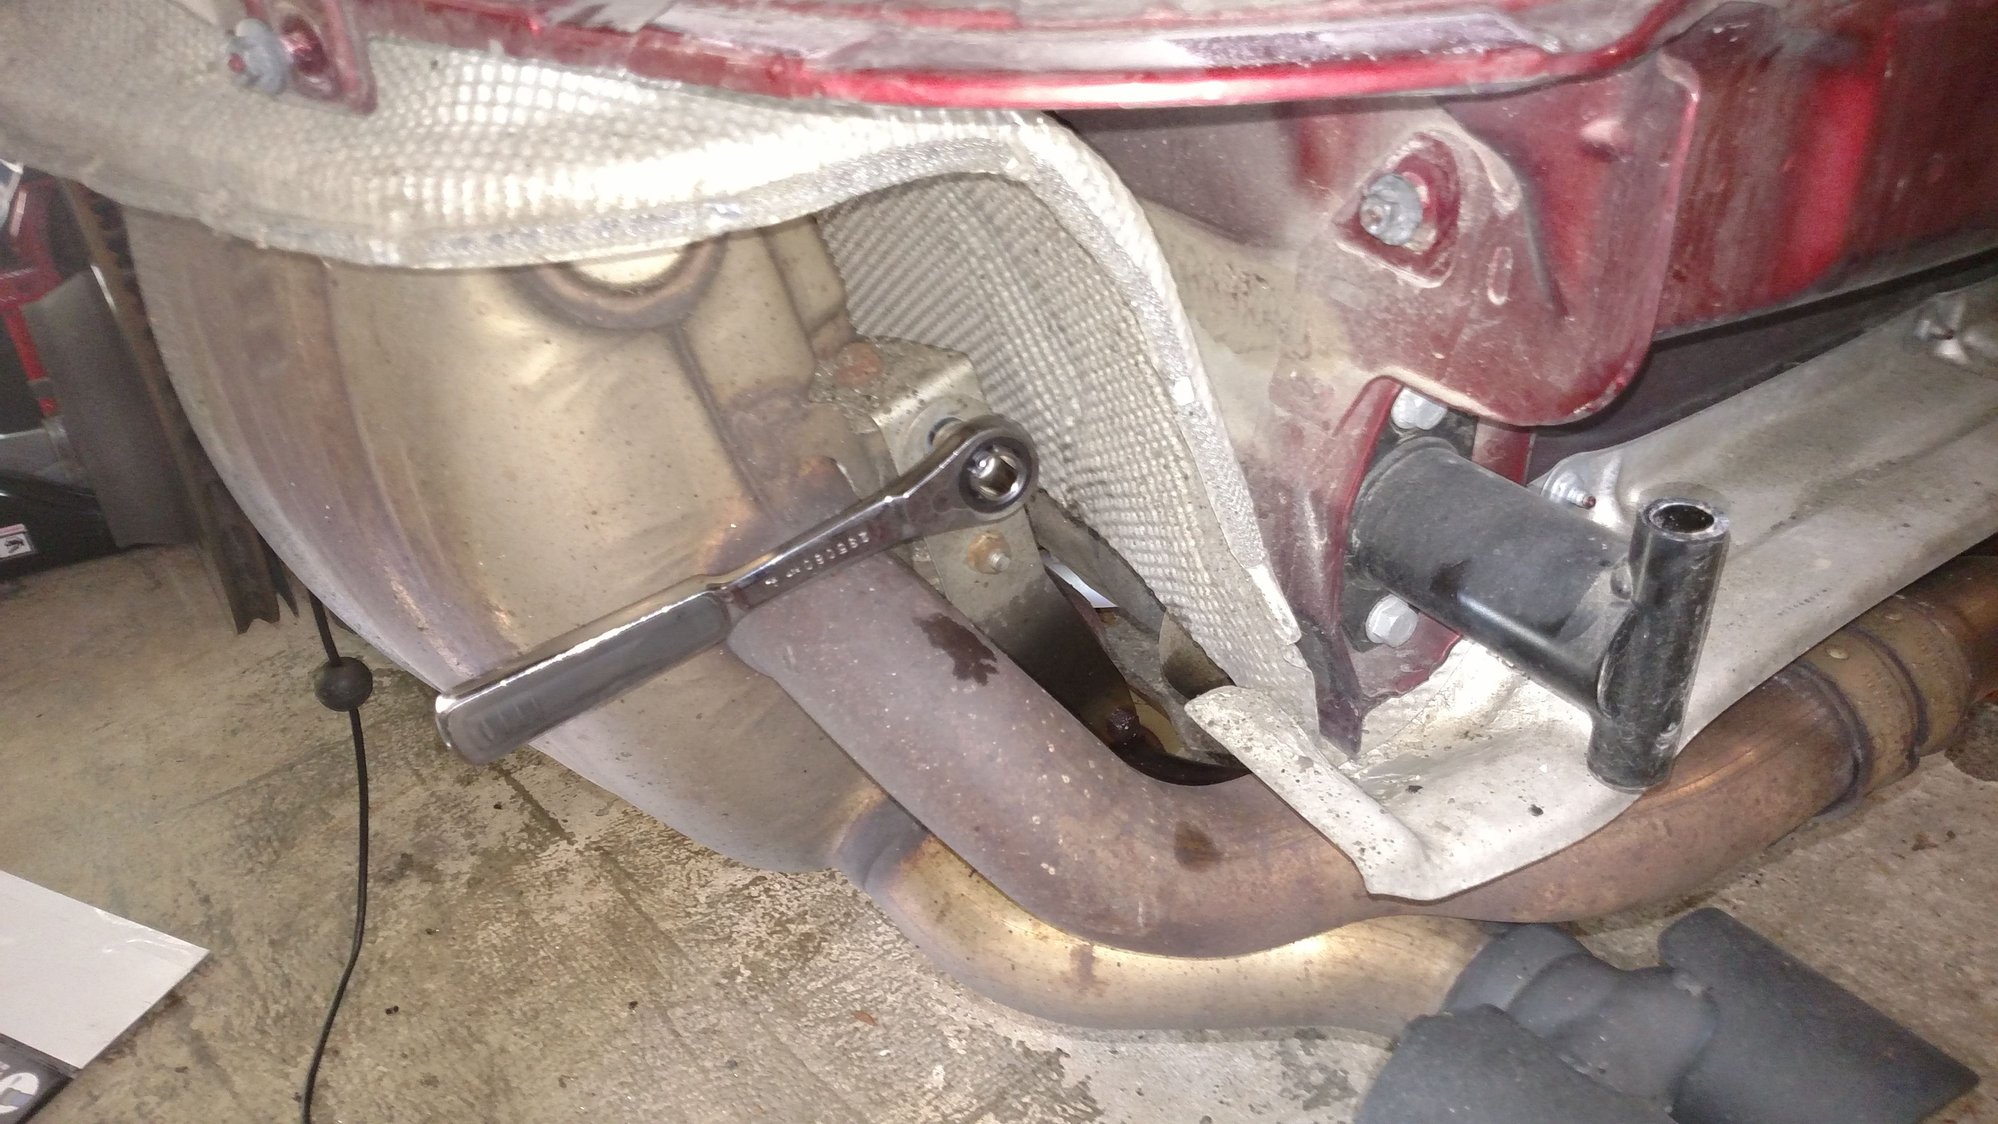
For the mufflers, don't mess with the three bolts on the cat, but follow that aluminum brace up and remove the two screws at the top. I did include a picture below. The muffler comes off so easily this way.
No need for special S shaped wrenches.
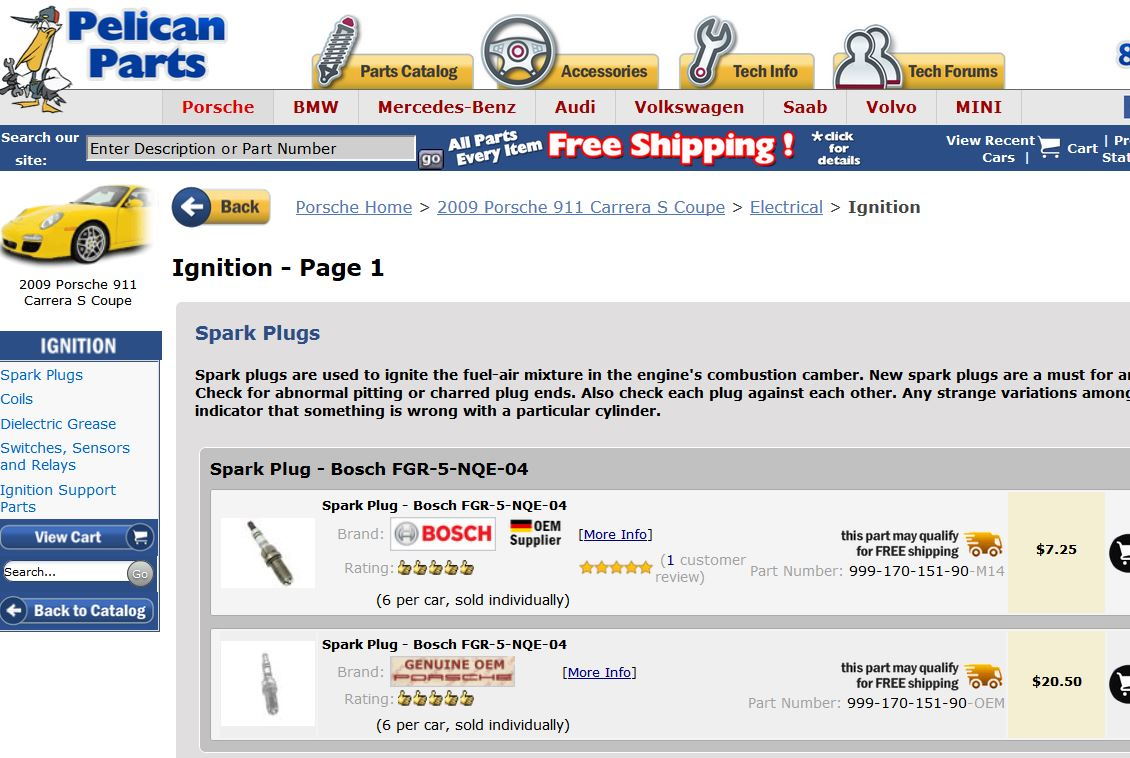
For plugs, I used the exact same Bosch plug as the Porsche one.... The Porsche labeled were $120 for six and the exact same Bosch labeled ones were $44 from Pelican. Yes, they really are the same plug as the stamps on the plug's metal ring were the exact same. With the bumper off, you don't need a jointed ratchet extension, plug access is straight on.
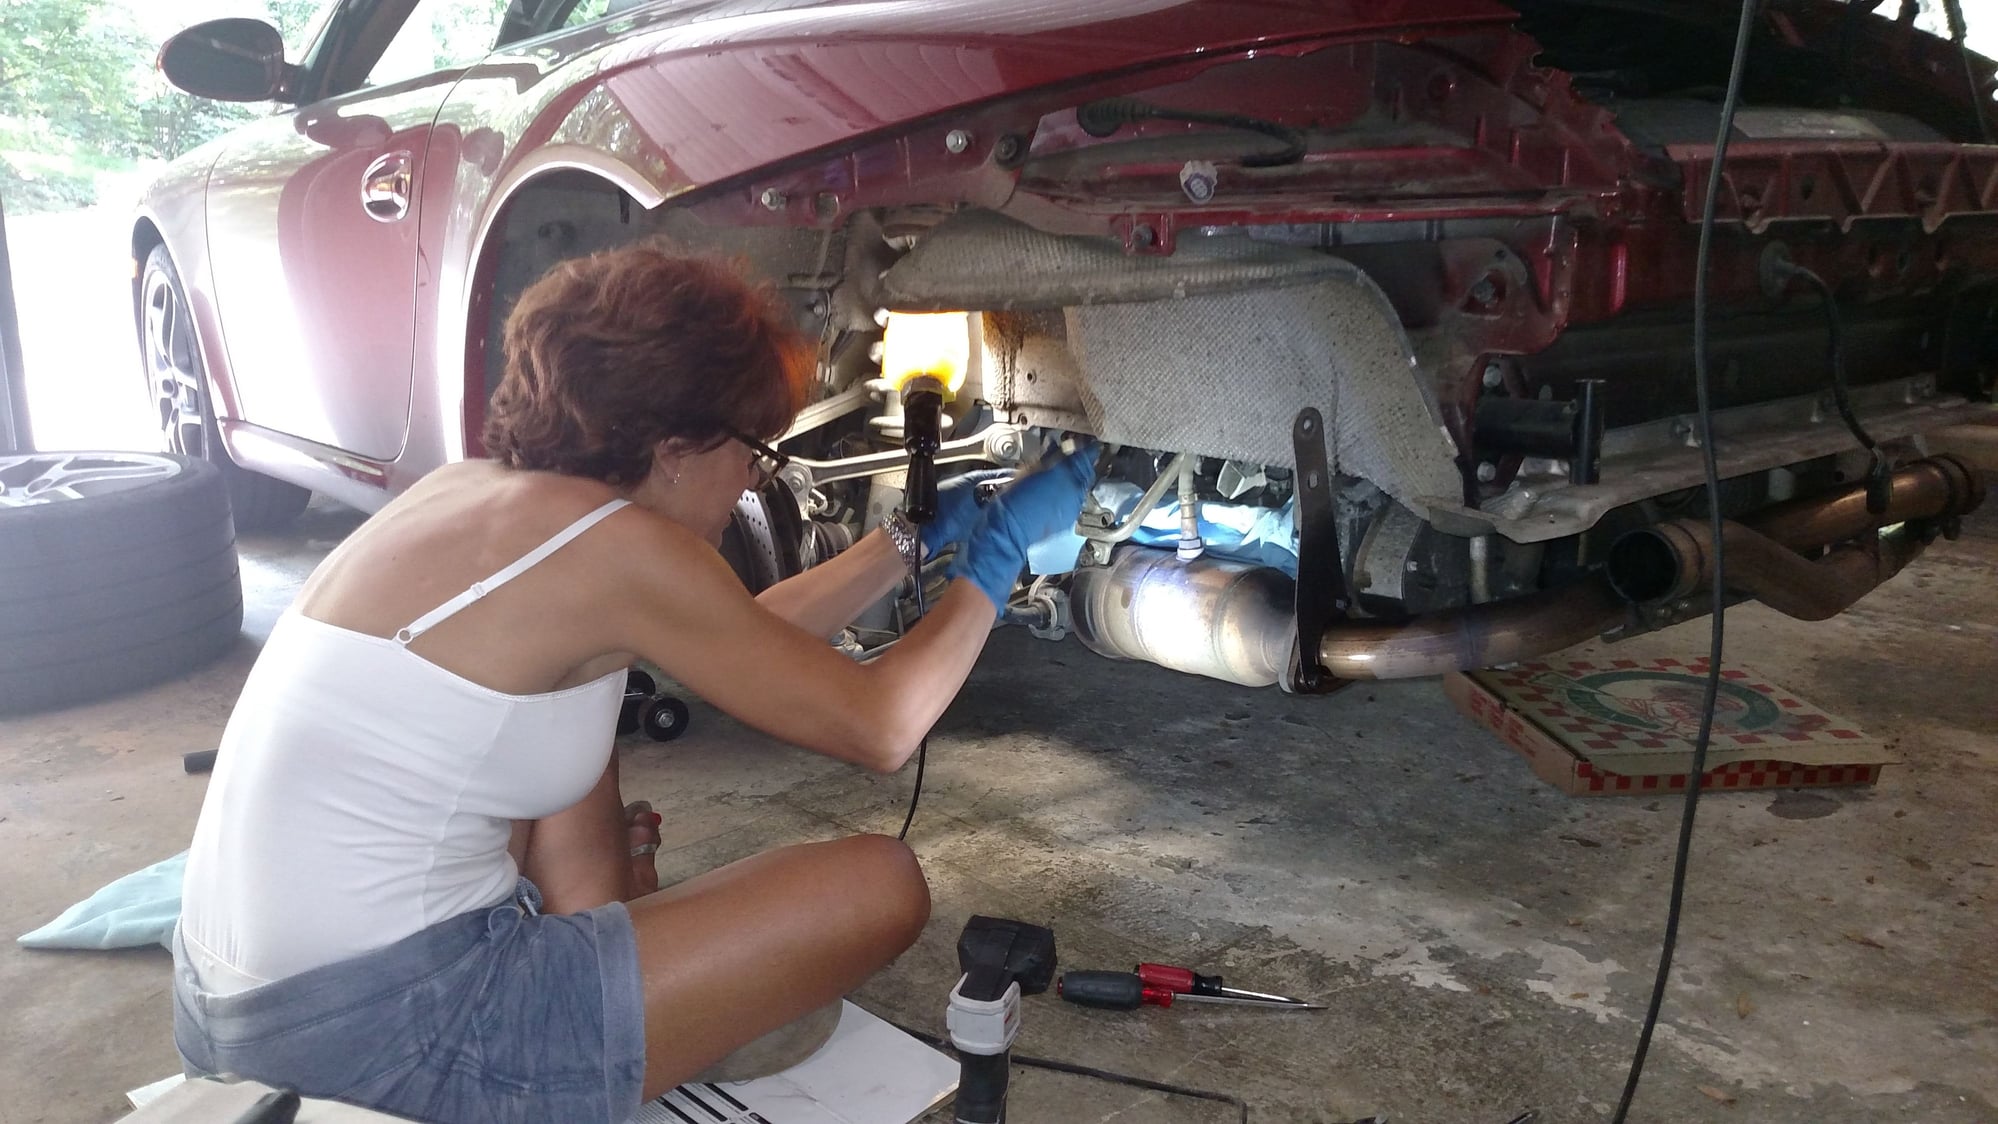
I highly recommend an assistant, particularly one named Sam. See pics below of my assistant Sam who literally did most of the work. I did one plug and she did all the rest and even seated them with a torque wrench.
Peace
Bruce in Philly
You need this assistant.
Easy access to upper bolts on muffler with bumper off. Leave the ones on the cat alone.


 10-09-2014, 05:53 PM


 Also, the attached photo is the wrench I purchased from Amazon to get that one, hard to reach (harder with PSE) top-most nut on the cat!