When you click on links to various merchants on this site and make a purchase, this can result in this site earning a commission. Affiliate programs and affiliations include, but are not limited to, the eBay Partner Network.
Well.... I improved things but not perfect... wasn't going to post but heck, if it gives someone some courage to do better, well here ya go!
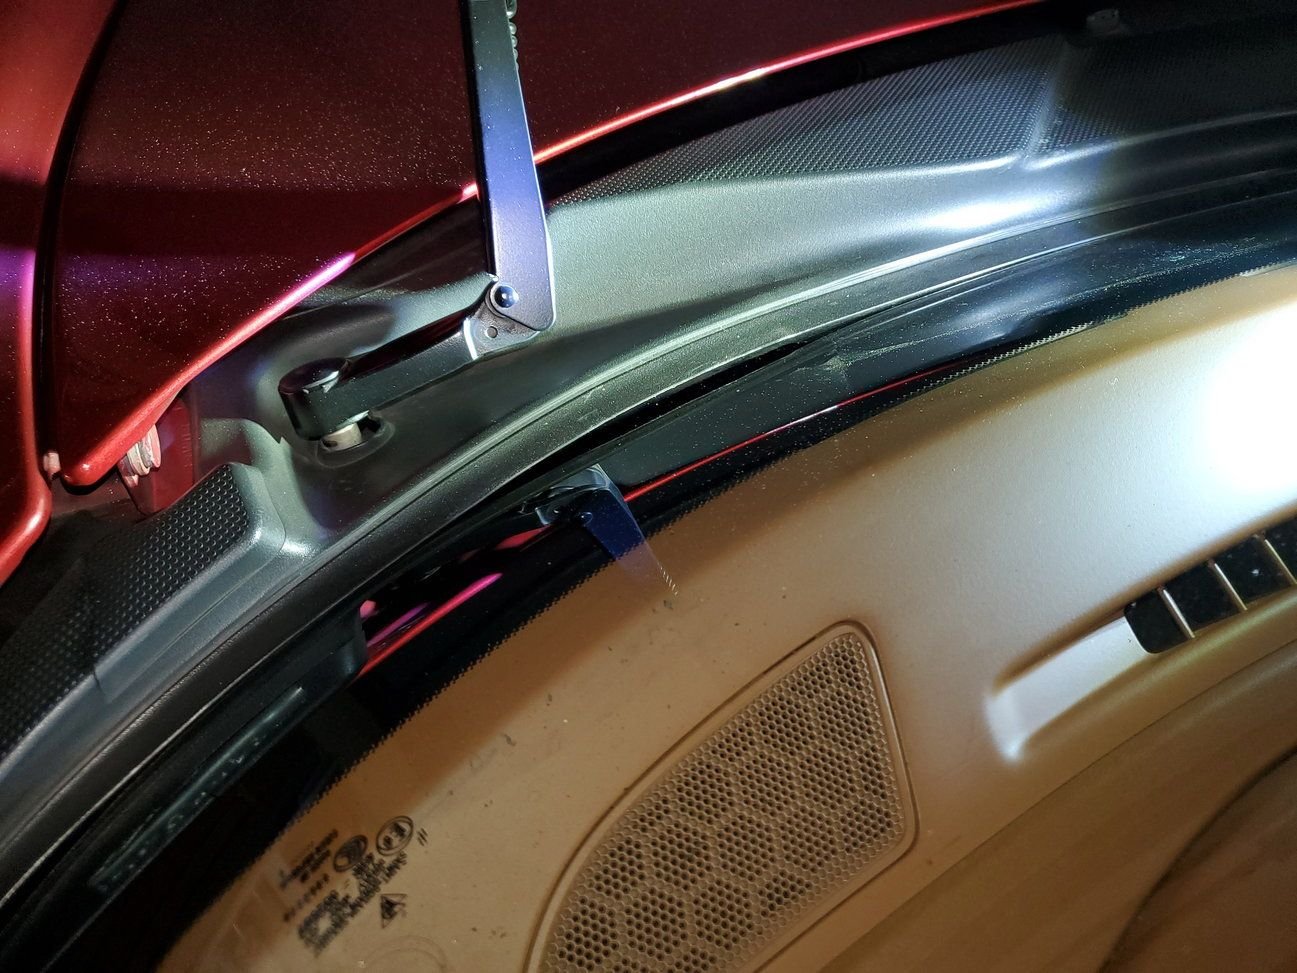
Issue: Wiper cowl gap on front windshield
Repair: Use a hot air gun
How to: Use a hot air gun. Yea, it is pretty simple. The hardest part is removing the cowl. I should have taken some pictures of removal but... oh well, I am getting lazy.
Removal of the cowl:
1) Remove battery and the left/right black panels (you really don't need to remove the battery but it makes it easier)- Always remove the negative terminal first as you may hit the chassis with your wrench. If you are doing the positive terminal first and you hit the chassis, yea, it will be terminal. Remove the gas hose from the left side of the battery first. PUT A RAG OVER THE HOOD LATCH (you no longer have a battery to open the thing). Tip, I climb into the tub to lift the battery out.
2) Unhook stuff:
- Pull the squirter feed hose at the T - leave the left-right hoses on
- Unplug the light gray squirter heater cables - don't unsnap the assembly from the cowl, just press the light grey tab and pull straight down
- Unplug the antennas from the area at the air filter. The cowl houses two antennas attached to its underside. At this point, you can only do one, the one on the right, the other when you remove the entire cowl.
3) Remove the two press-in nails (black plastic plugs) located just behind the battery. Use a plastic trim removal tool... they are nails so pull them completely out, then the plugs will pull straight out.
4) Loosen all four silver torx screws at the air filter... no need to remove them
5) Unscrew the torx screw on the topside of the cowl next to the center wiper post
6 ) Pop the caps on the left and right side of the cowl, and remove the nuts and trapezoid washer thingy - now all that is left is the wiper arms
7) Mark the position off the arms on the windshield. The arms are on a finely splined post. I marked the position by placing some painters tape on the glass at the tip of each wiper. Mark at the far tip of the wiper for more accuracy.
8) Mark the cowl where you want to bend it... the highest point. Just put a piece of painter tape there... you will see that it is pretty obvious where the evil bend is later... but mark it anyway.
8) Remove the wiper arms - This was about the most difficult thing to do here. Pop the caps and remove the nuts. For this you must do one with the hood closed, and other open. Now with the hood closed, rock the wiper arms and pull up hard. This helps to have someone younger and stronger around to help. I really wrestled with this as you are not standing at a good angle to do this work. The arm is on a splined "cone" and will come off with work. Don't use a screwdriver or other prying device as you will damage the soft plastic cowl. You can use a large pipe plier if the jaws are thin - angle it so one jaw is under the arm and the other on the post... I did and it helped but I am not sure if I just wasn't pulling hard enough with my hands. Rock the arm back and forth on the post... it will give.
9) Remove the other antennea lead... this is a bit tricky... this has a little tab to press and then pull down and away from the cowl. I think I did this with the hood open which gave me enough room to slip my hand between the glass and the cowl... can't remember if I went from the glass for from within the tub... you will figure it out... please cuss freely.
10) Remove the cowl - hood open, wiggle slide the cowl up the windshield, not through to the tub even if it looks like it is better that way... it is not.
Cuss.
Bend the F'r. This is quite simple. On my bench, I could see pretty easily where the offending bend was. Before you apply heat, practice what you are going to do after you apply heat. I put a glove on so I wouldn't burn my hand, the ran the gun on the underside first, then the top side. move the heater over about 8-10 " total. If you concentrate the heat in one small place, it may just bend and crease. After one shot at bending, re-install the cowl and do it again... and again... if necessary.
Re-installation: Here is a tip: reinstall the cowl (ensure the air cleaner frame is properly in the screws and the hard-to-get-to antenea lead is pressed in firmly). Only install those two nail plugs behind the battery.... now start repositioning the cowl on the glass... you will see you have some latitude in positioning the thing to get the best seal against the glass. For me, it was actually pushing it up the glass that gave me the best fit... instinct tells you to push down on it but nope. Once you figured out how to reinstall and you no longer need to heat it up, then go ahead and re-attach all the other crap. Put the nuts and screw on the top but just loose enough to move the cowl around... then hold and tighten each.
Oh... with everything remove, clean and use some Back-to-Black or whatever your fav is on these pieces. I usually use Back-to-Black but threw some money at it an purchase Gtechniq which really works and lasts. You don't use a lot... just use a tiny pad or a little square of rag... don't waste product using a big rag.
One other thing... why did I do this? Actually I am chasing a slow coolant leak and wanted to check the heater core. To this examination, all this crap had to come out.... nope, no leak there.
Peace
Bruce in Philly (now Atlanta)
I know, doesn't look all that much better but it really does in real life... the gap was larger than the first photo.
Last edited by Bruce In Philly; 08-05-2024 at 01:14 AM.
They make a tiny wiper arm puller, its like 6 bucks at auto zone. Youre the diy king here, i thought ud have a back up for your back up lol. Mine came straight and installed flush. I wonder if it has to do with a shipping box being a little short for some people and it flexed in the box for a week while shipping. I always wondered why some peoples didn't come out straight
They make a tiny wiper arm puller, its like 6 bucks at auto zone. Youre the diy king here, i thought ud have a back up for your back up lol. Mine came straight and installed flush. I wonder if it has to do with a shipping box being a little short for some people and it flexed in the box for a week while shipping. I always wondered why some peoples didn't come out straight


 08-04-2024, 04:36 PM