When you click on links to various merchants on this site and make a purchase, this can result in this site earning a commission. Affiliate programs and affiliations include, but are not limited to, the eBay Partner Network.
The 997 vent is 3 inches wide at the top by 2.5 inches high.
It might fit similarly as the above pic by removing a few fins and printing a piece that fits the odd space and leaves open the area for the visible data.
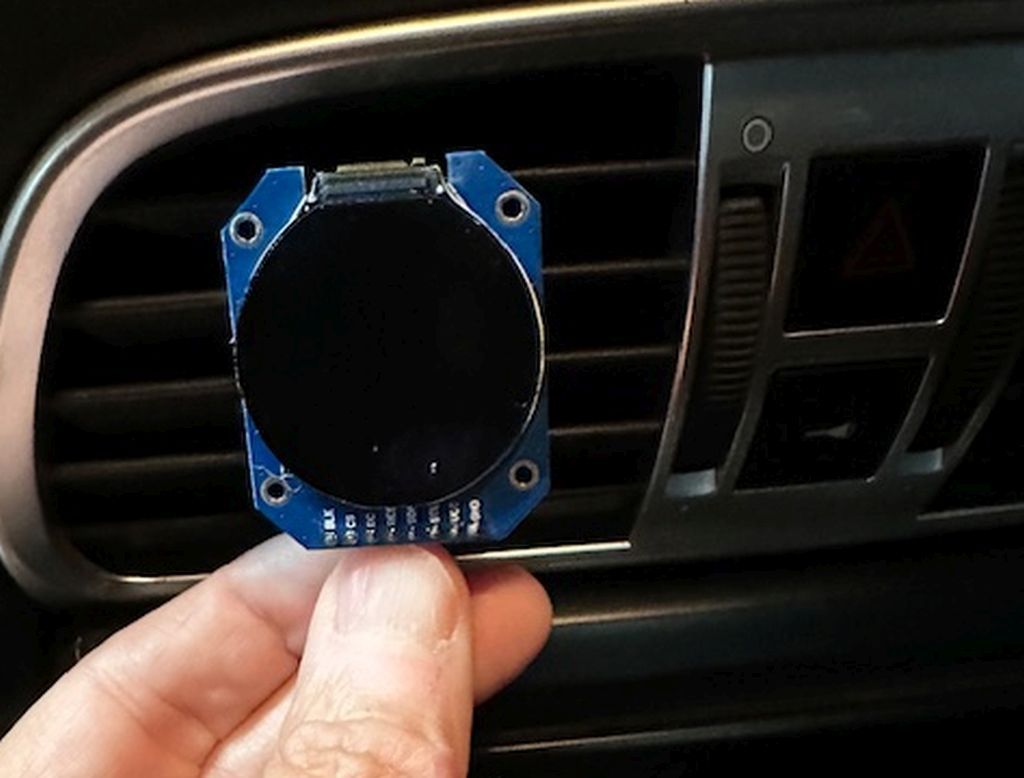
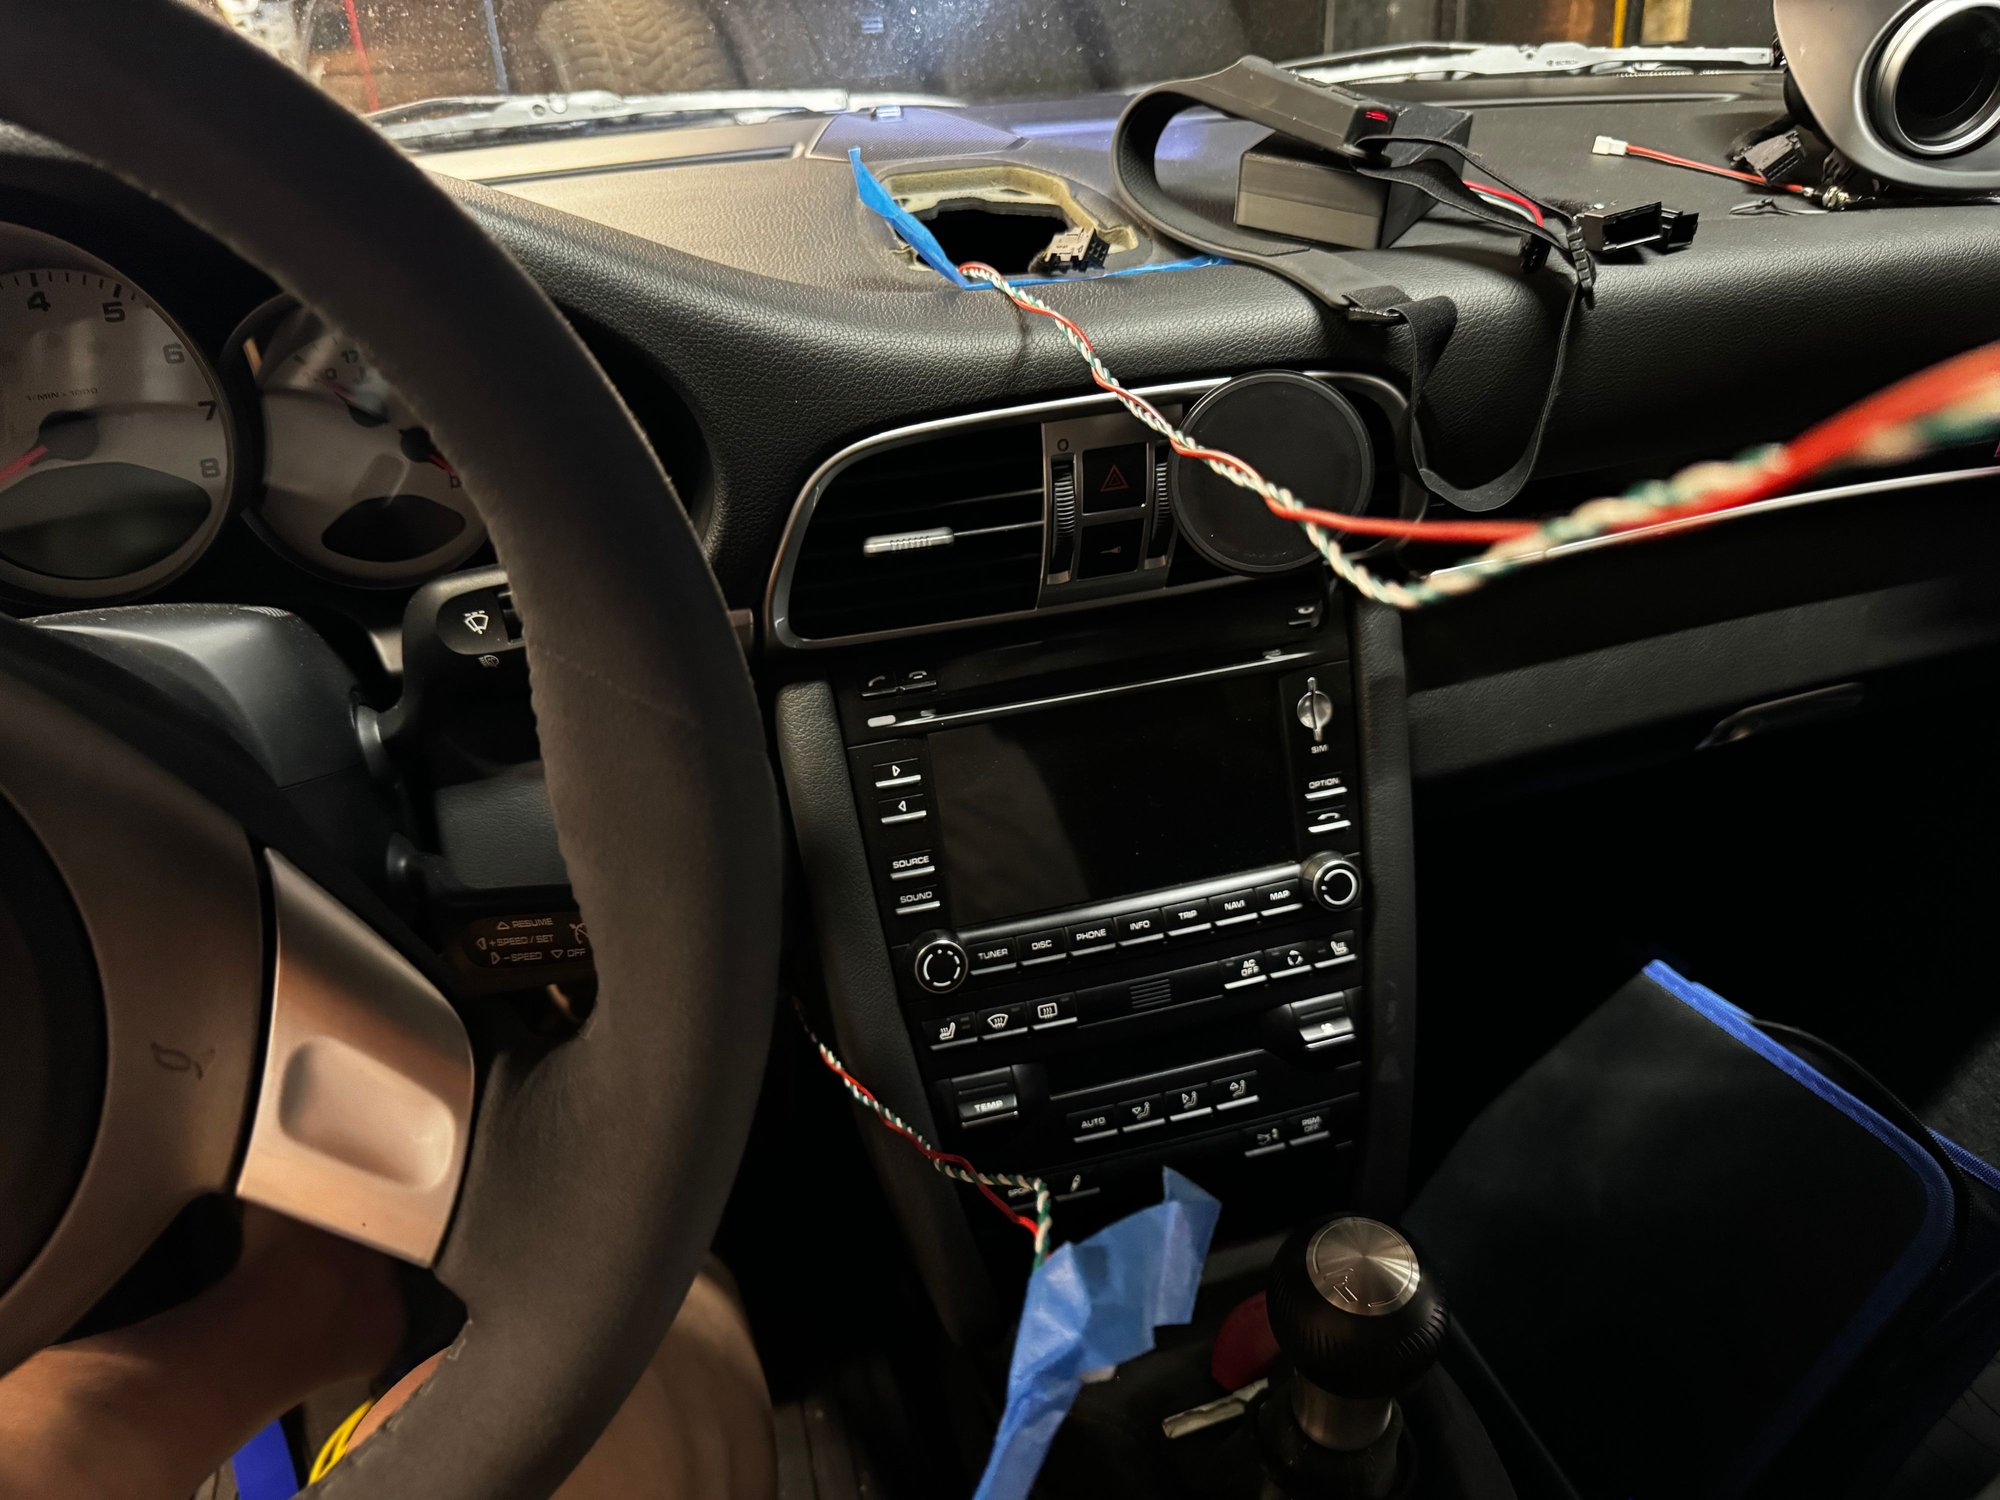
@Petza914 I like how it looks in the lower left corner, with the mount coming from the backplate. I could mount it a bit lower and hide the cable better, but looks good. @atihun I don't think it will fit in the vent, here's a picture of just the circuit board without the housing, directly held against the vent - it's too big
Is the gauge orientation the way you are holding it up to the vent? If so, a 3d printed housing could be made like below. That way you can just remove the vent slats and insert this in it's place and done!
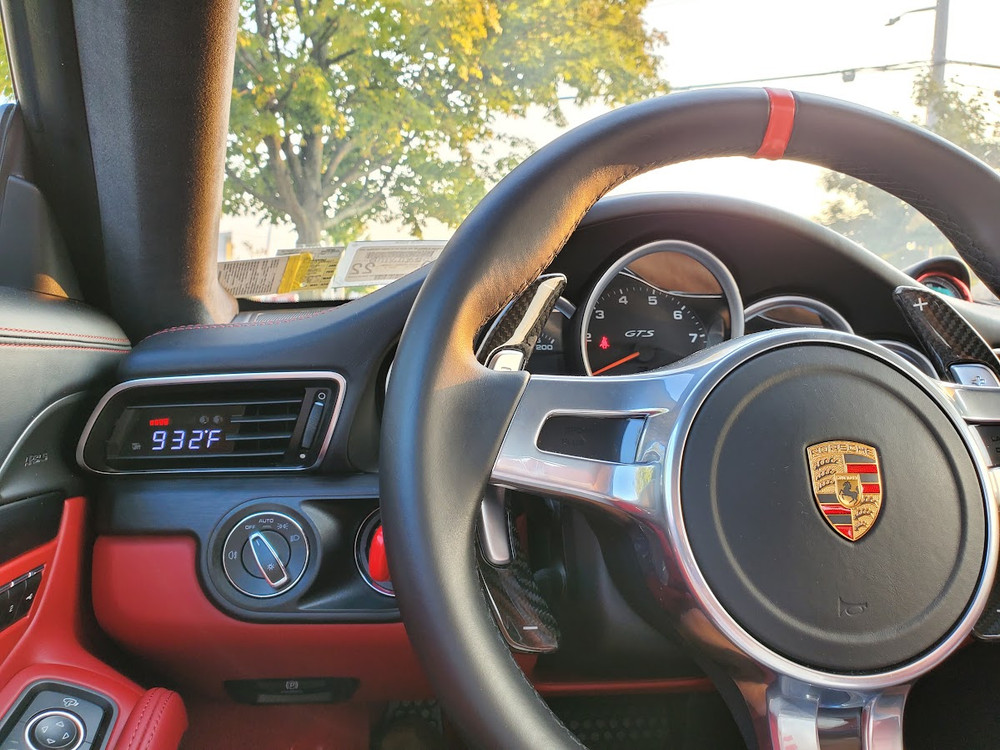
@Hatzenbach thank you for putting together such a thoughtfully designed product- I just finished installing both the auto headlight module and the sport chrono gauge.
snaking the wire down to the switch was a bit challenging- I ended up cutting both ends of a thick Ethernet cord to use as a snake, worked out beautifully.
For anyone doing any type of electrical mods, the giant zip ties are MUST HAVE in your garage!!
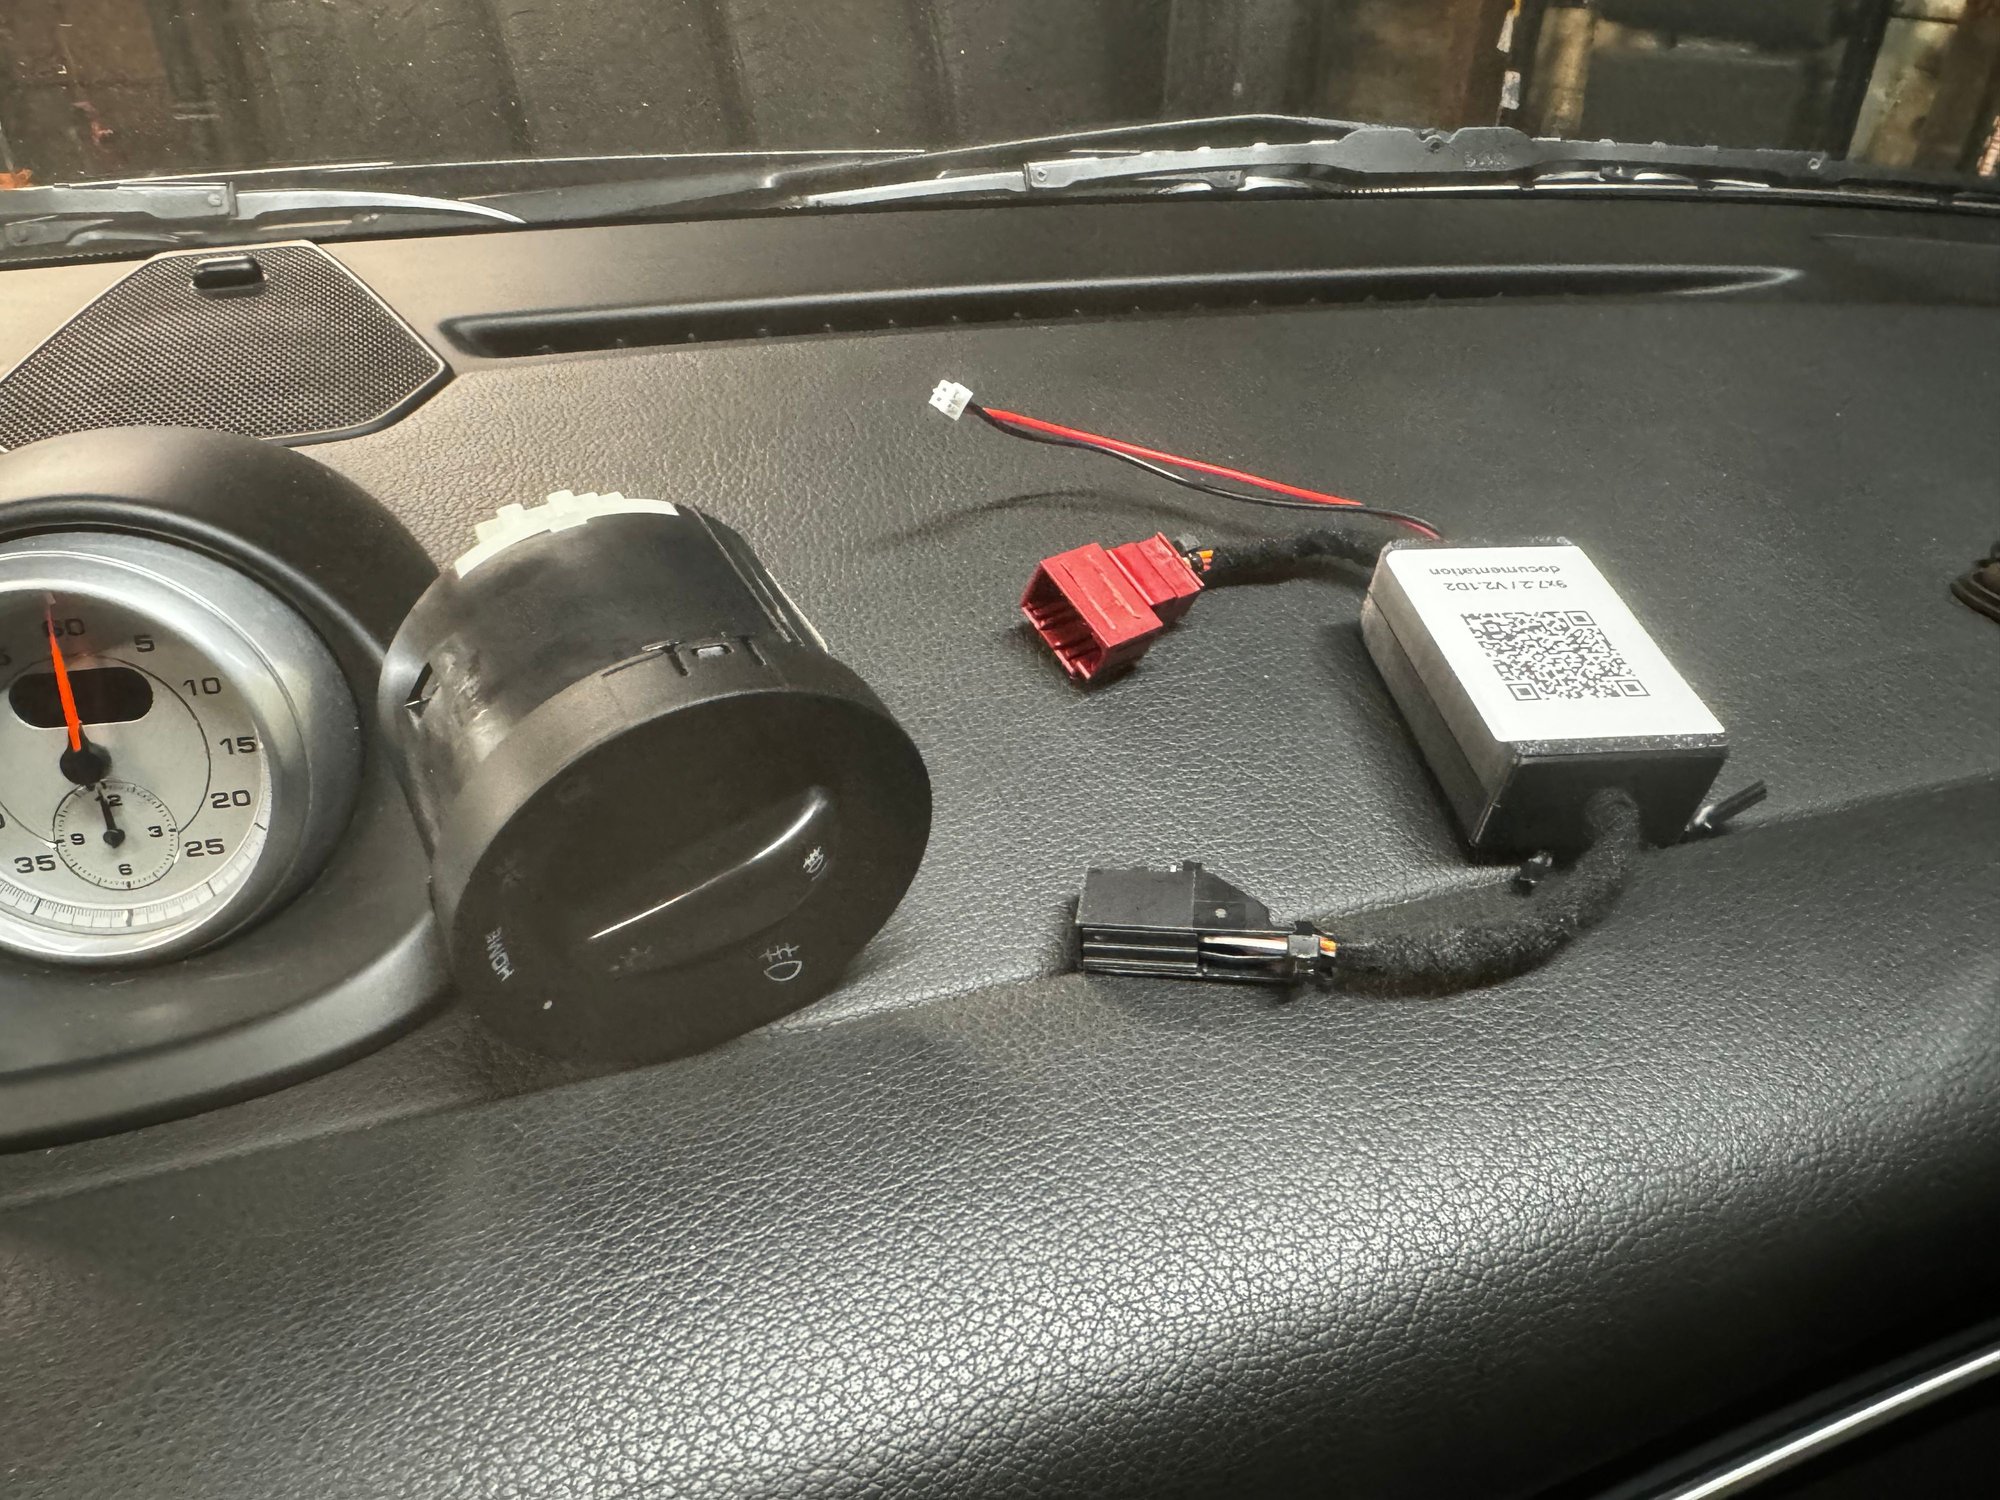
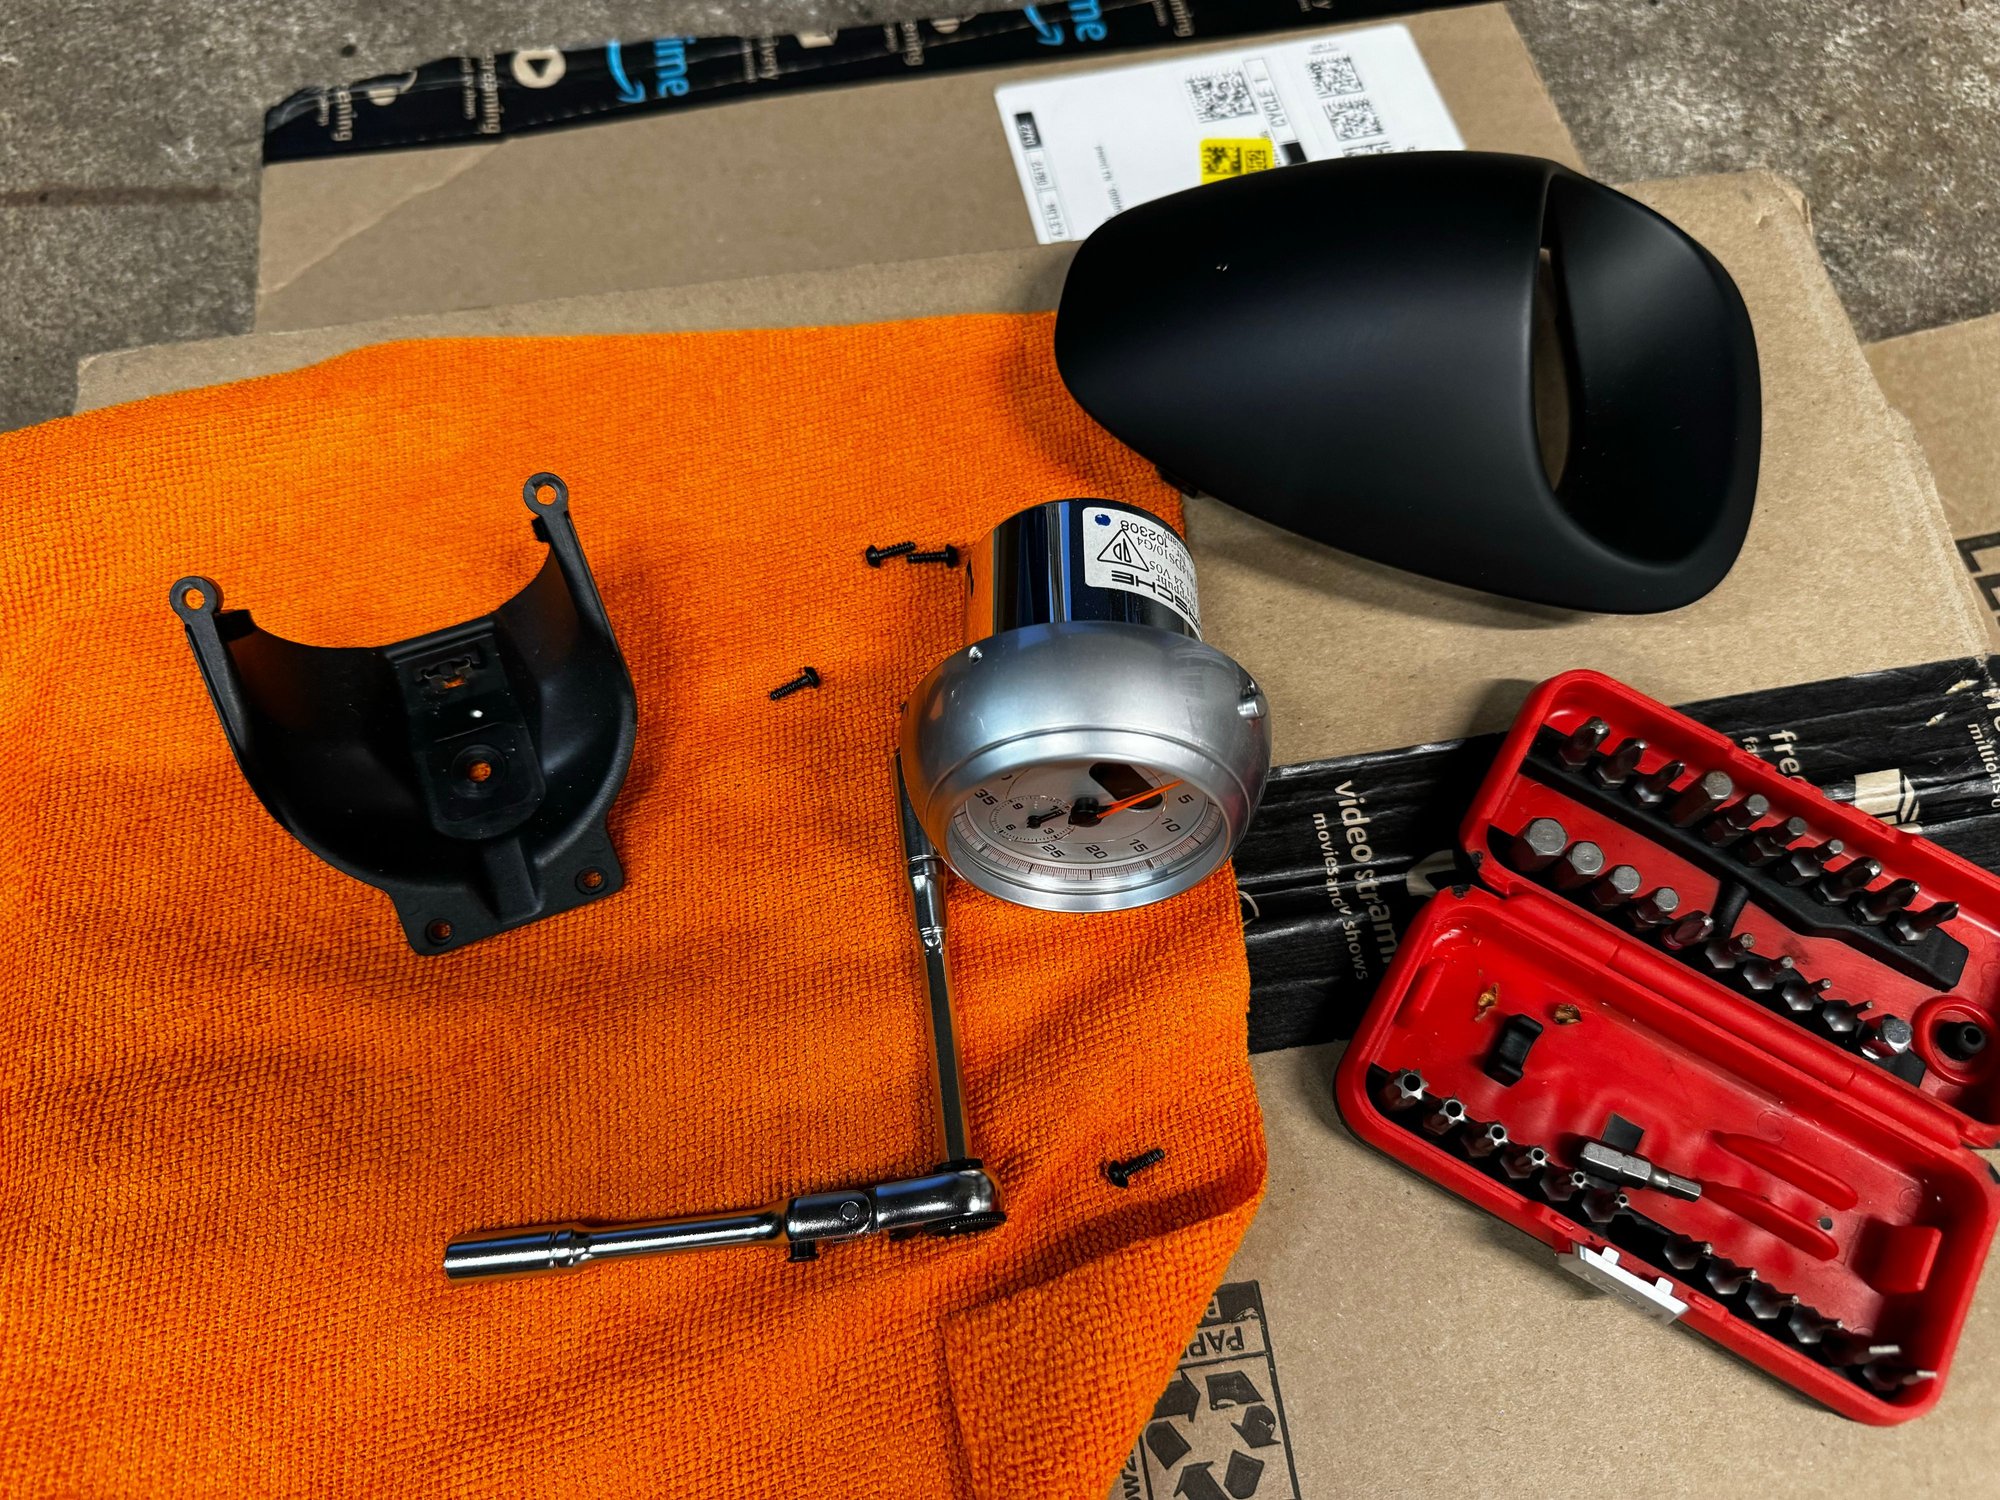
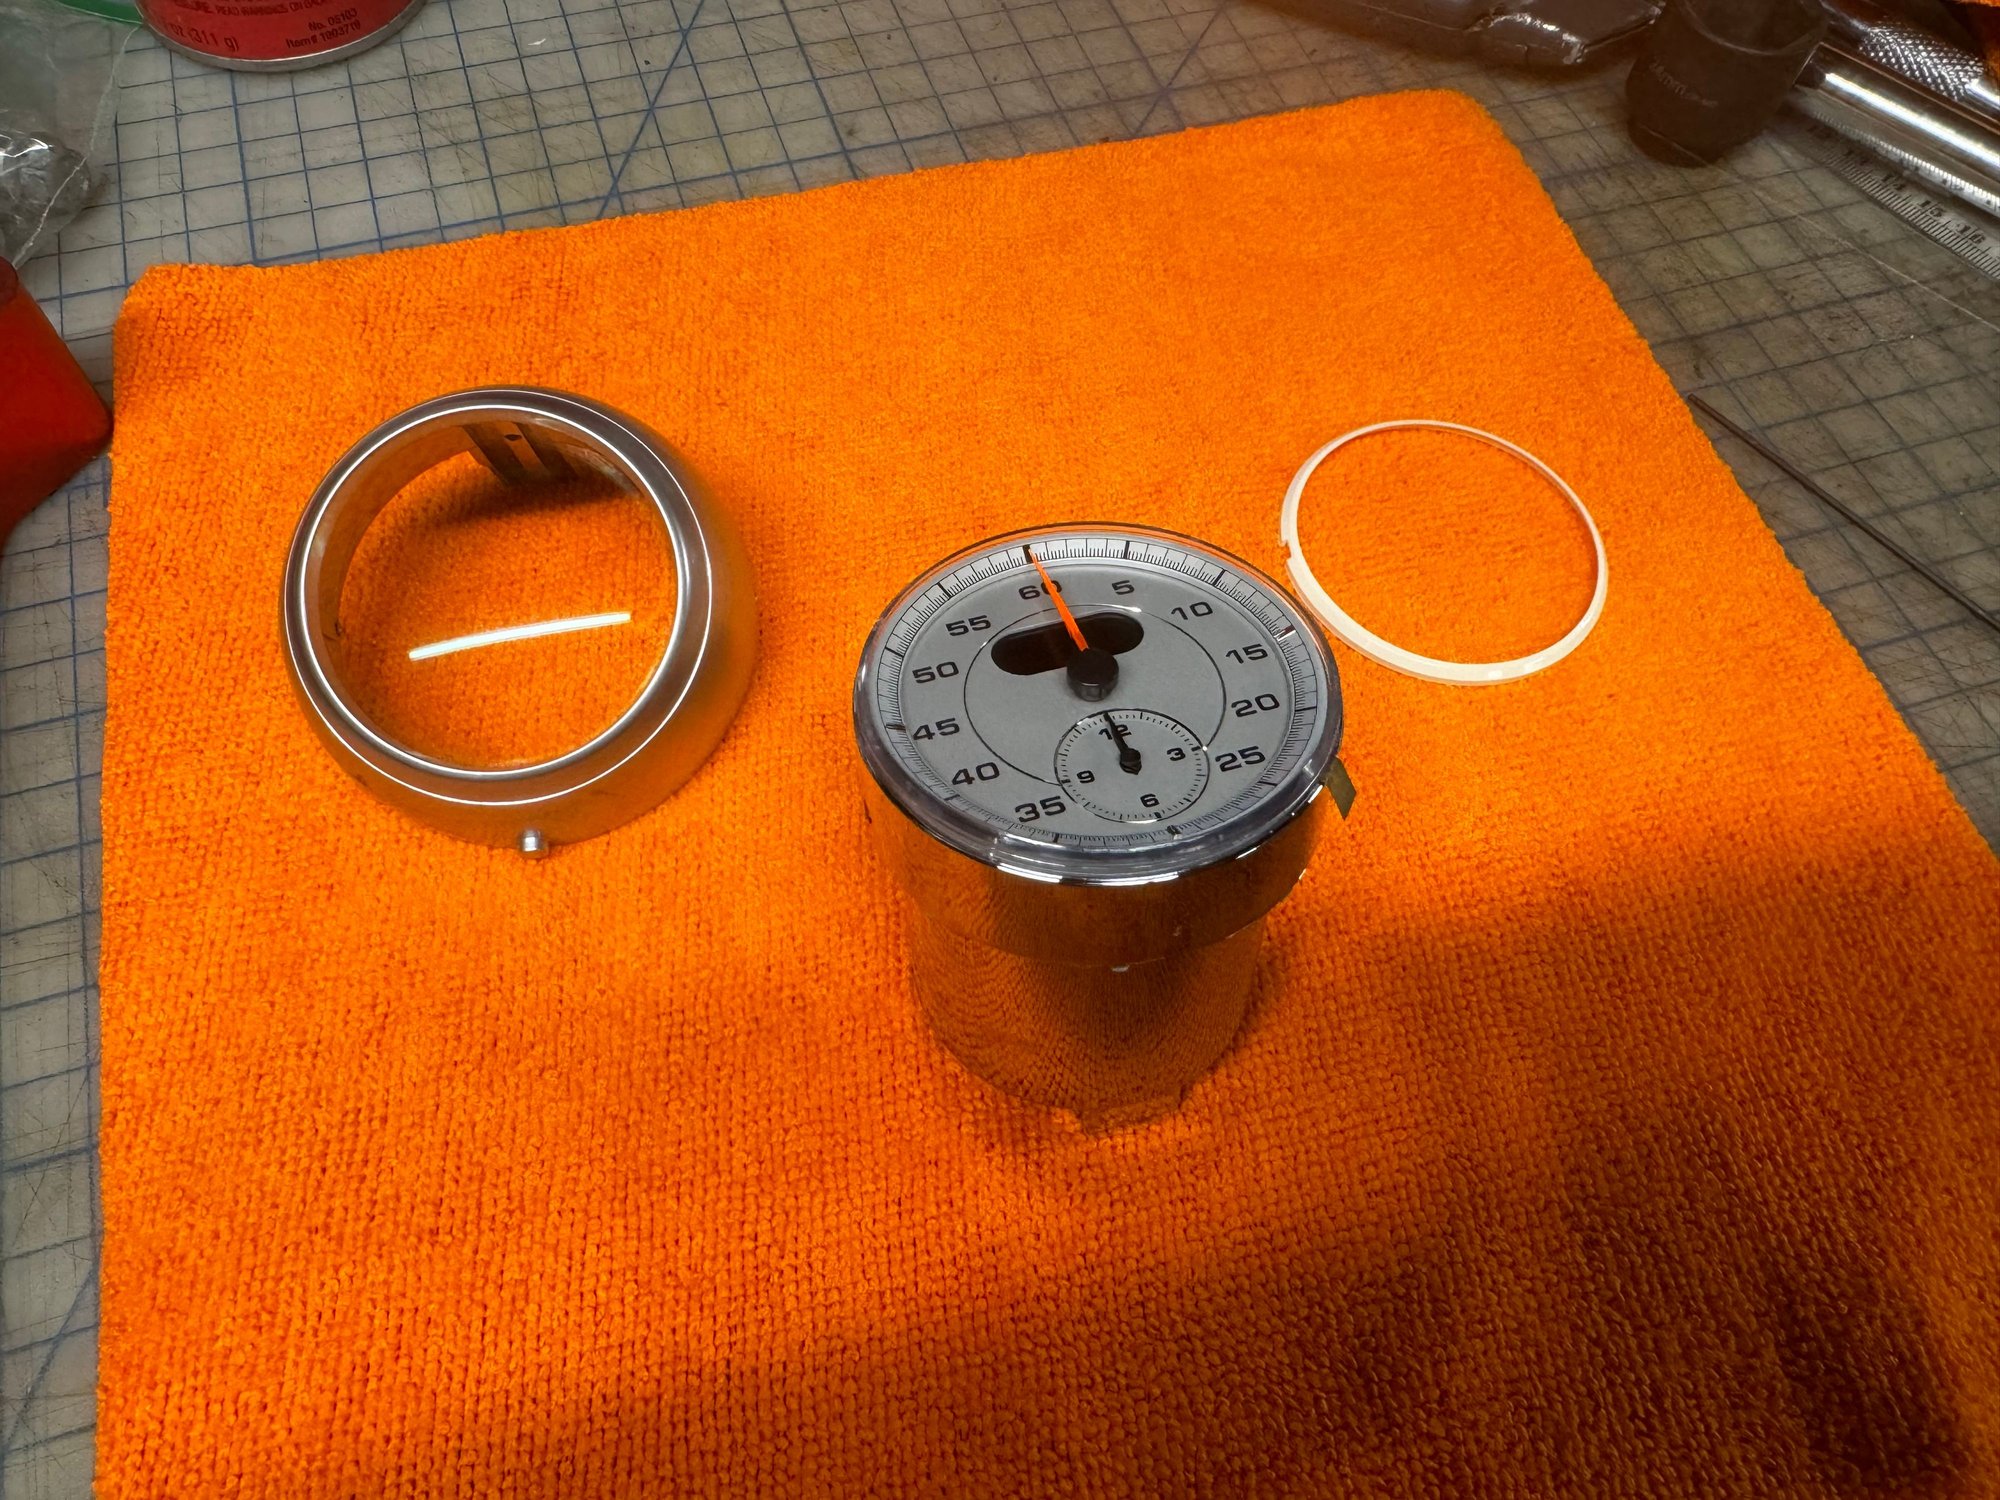
For anyone interested ( @atihun ) I wanted to give an overview of the "standalone project" = the gauge for people who don't have SportChrono
I spent a lot of time in finding a good location to mount the gauge and to construct good mounts for that.
Here's where my thinking is currently:
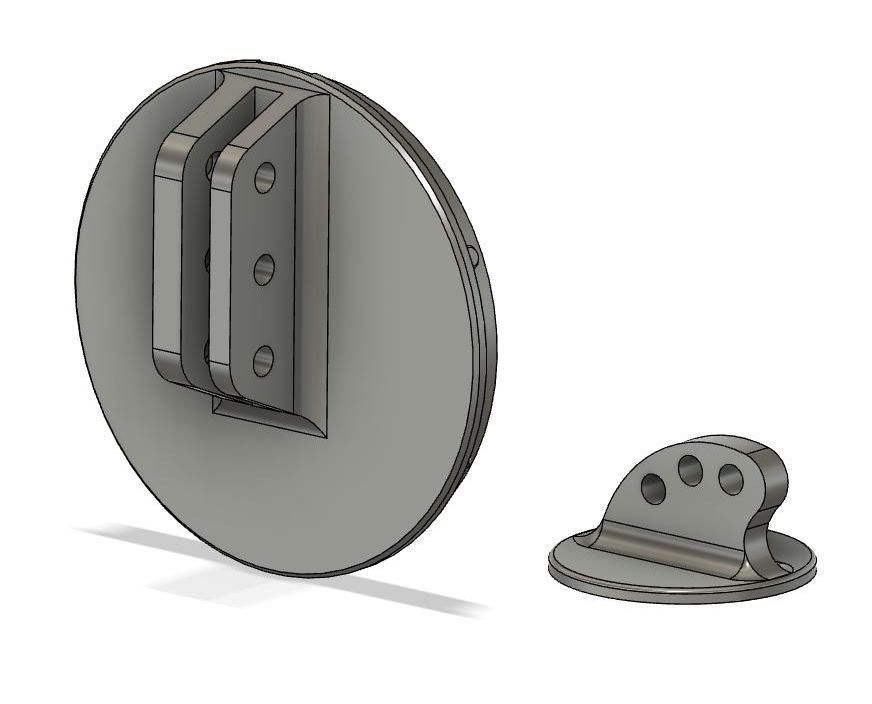
First of all I wanted to make the mount as universally as possible.
The mount receiver in the backplate has 3 separate holes.
The backplate can be rotated 360 degrees
And the actual mount is "wave shaped" and has also 3 holes, which means you will have lots of options.
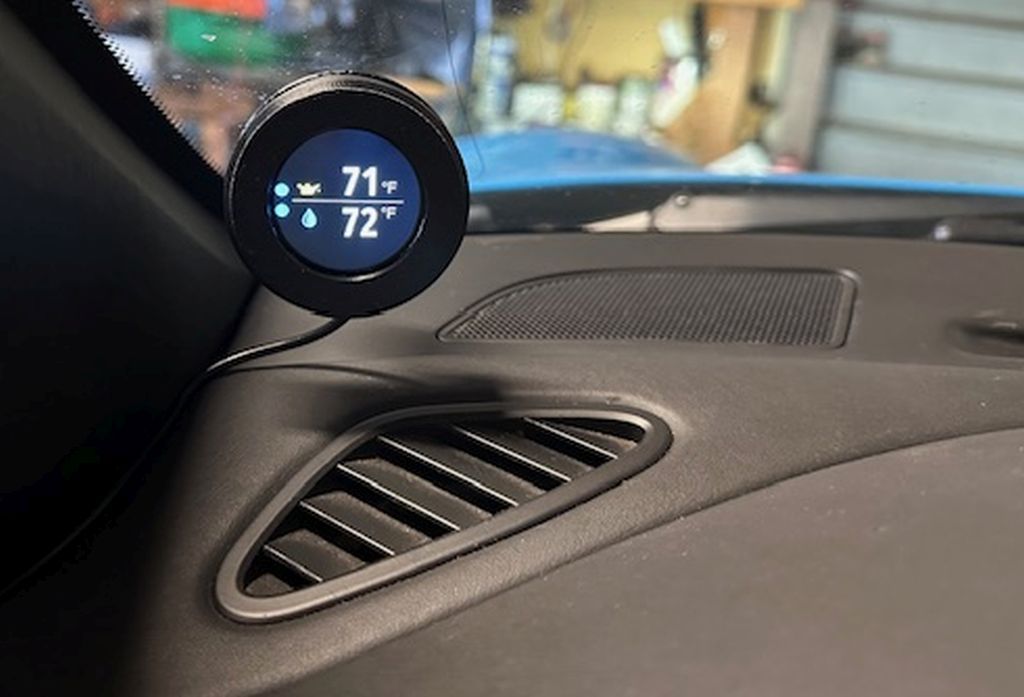
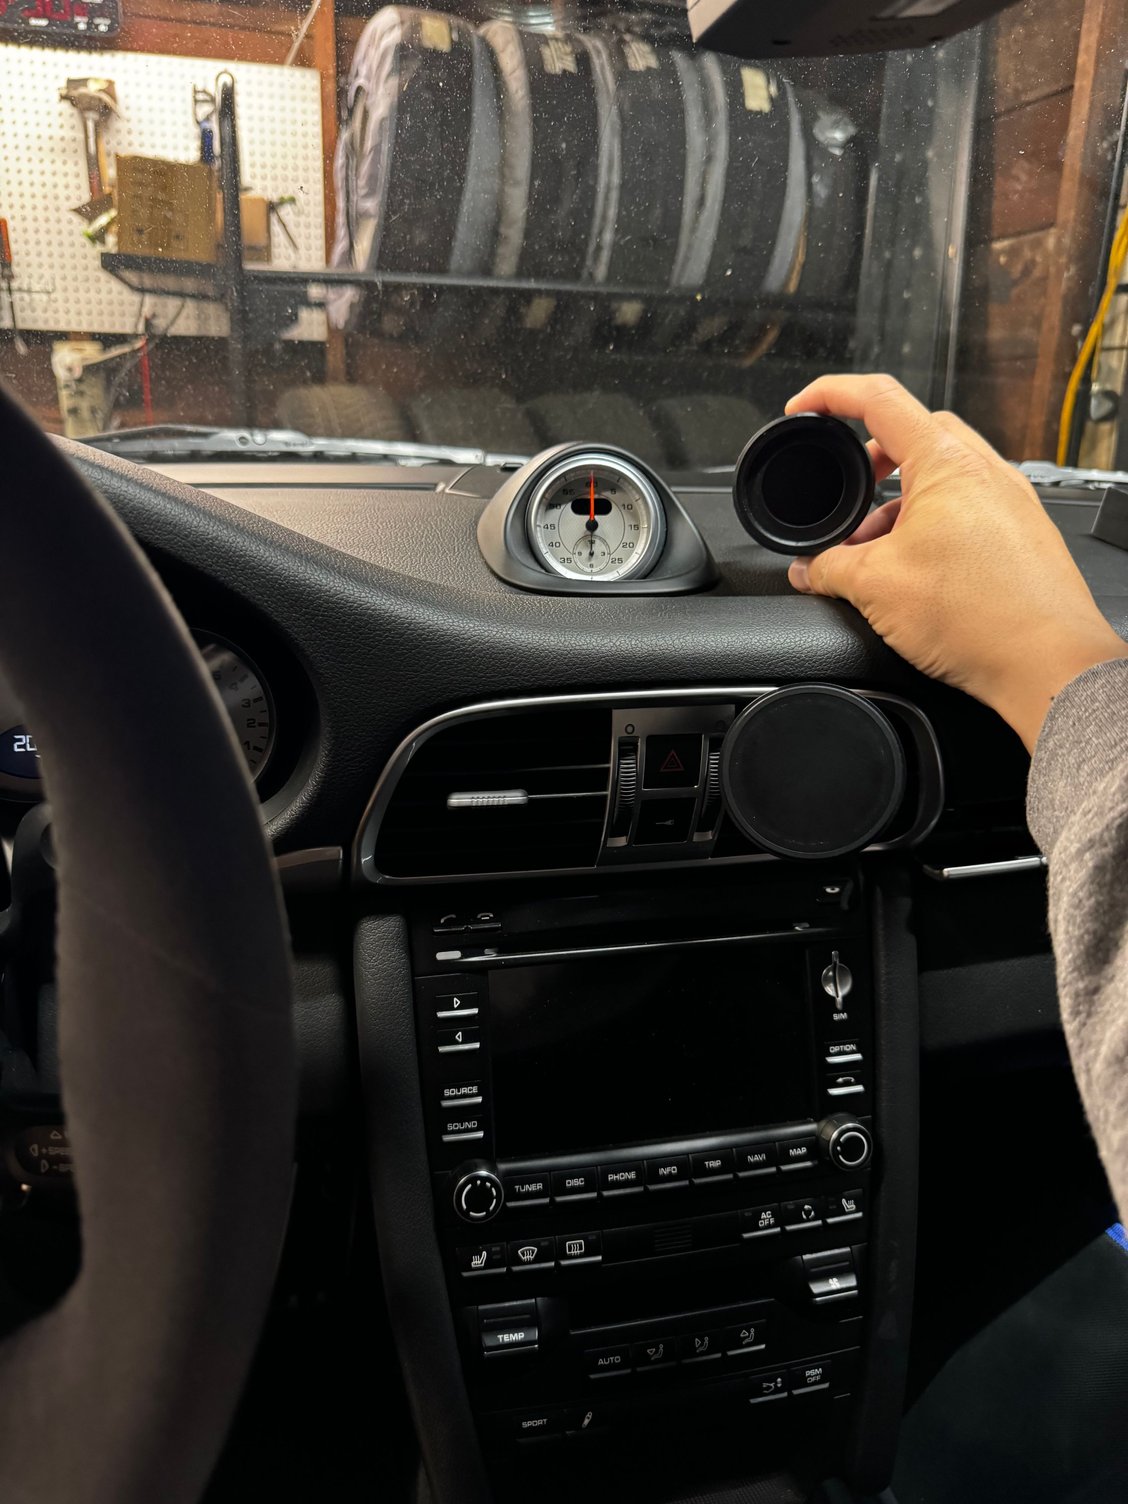
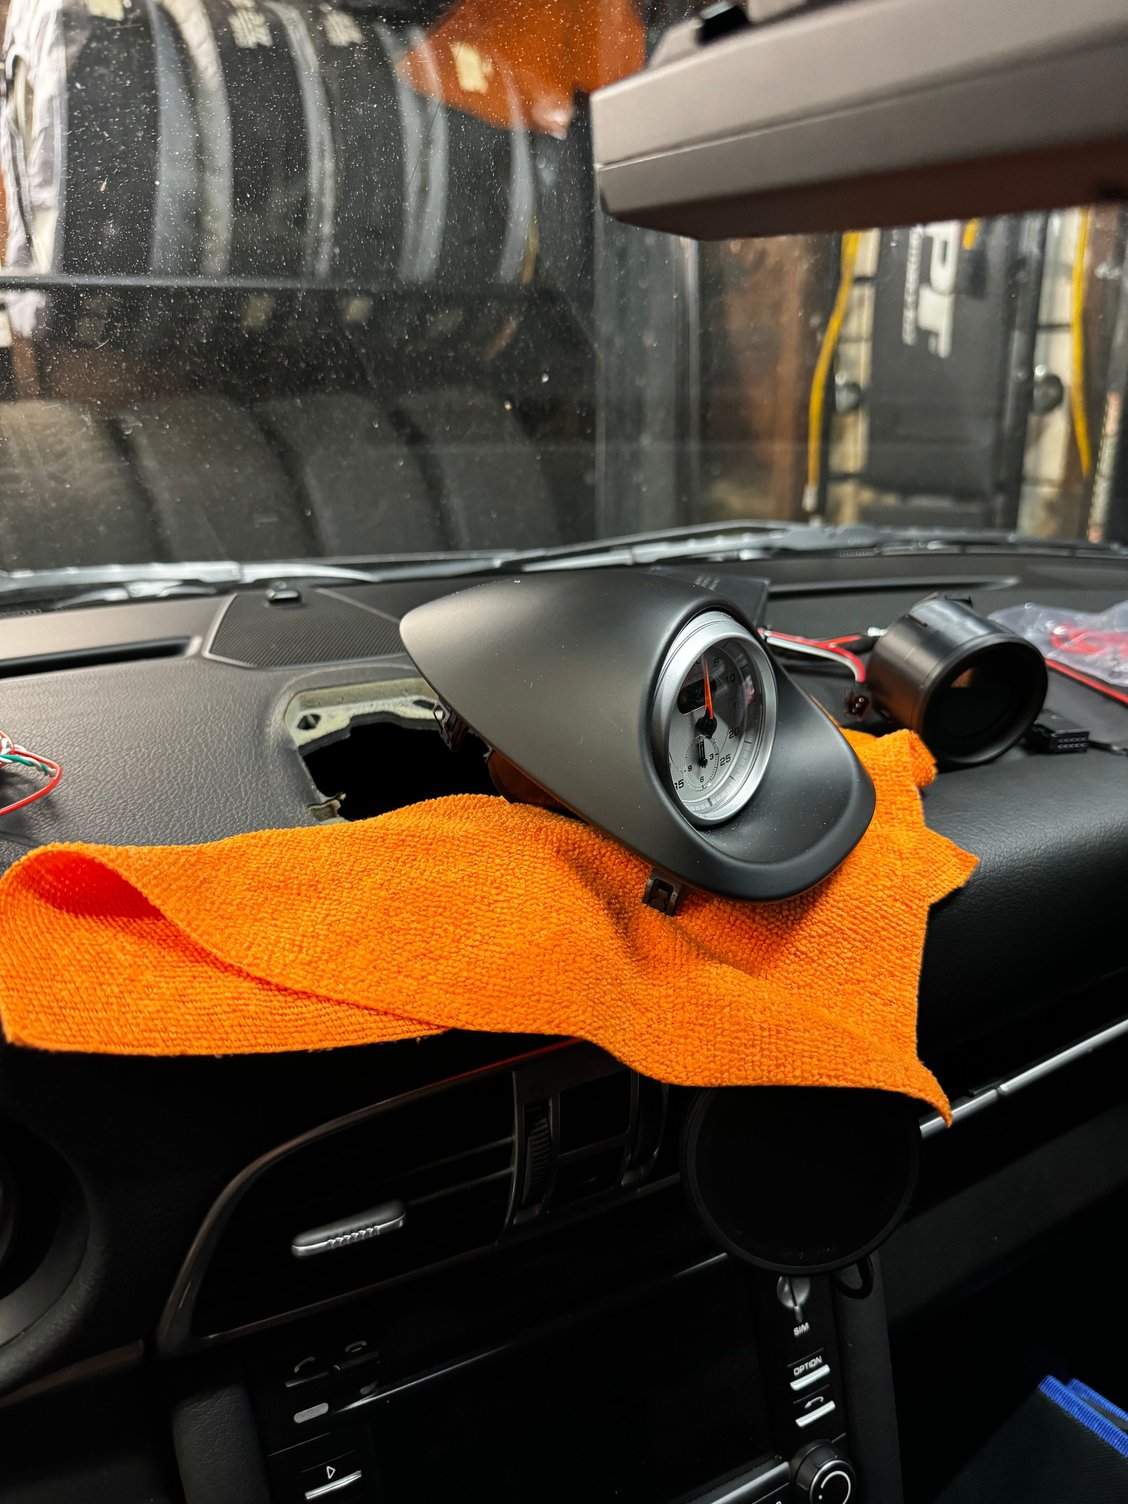
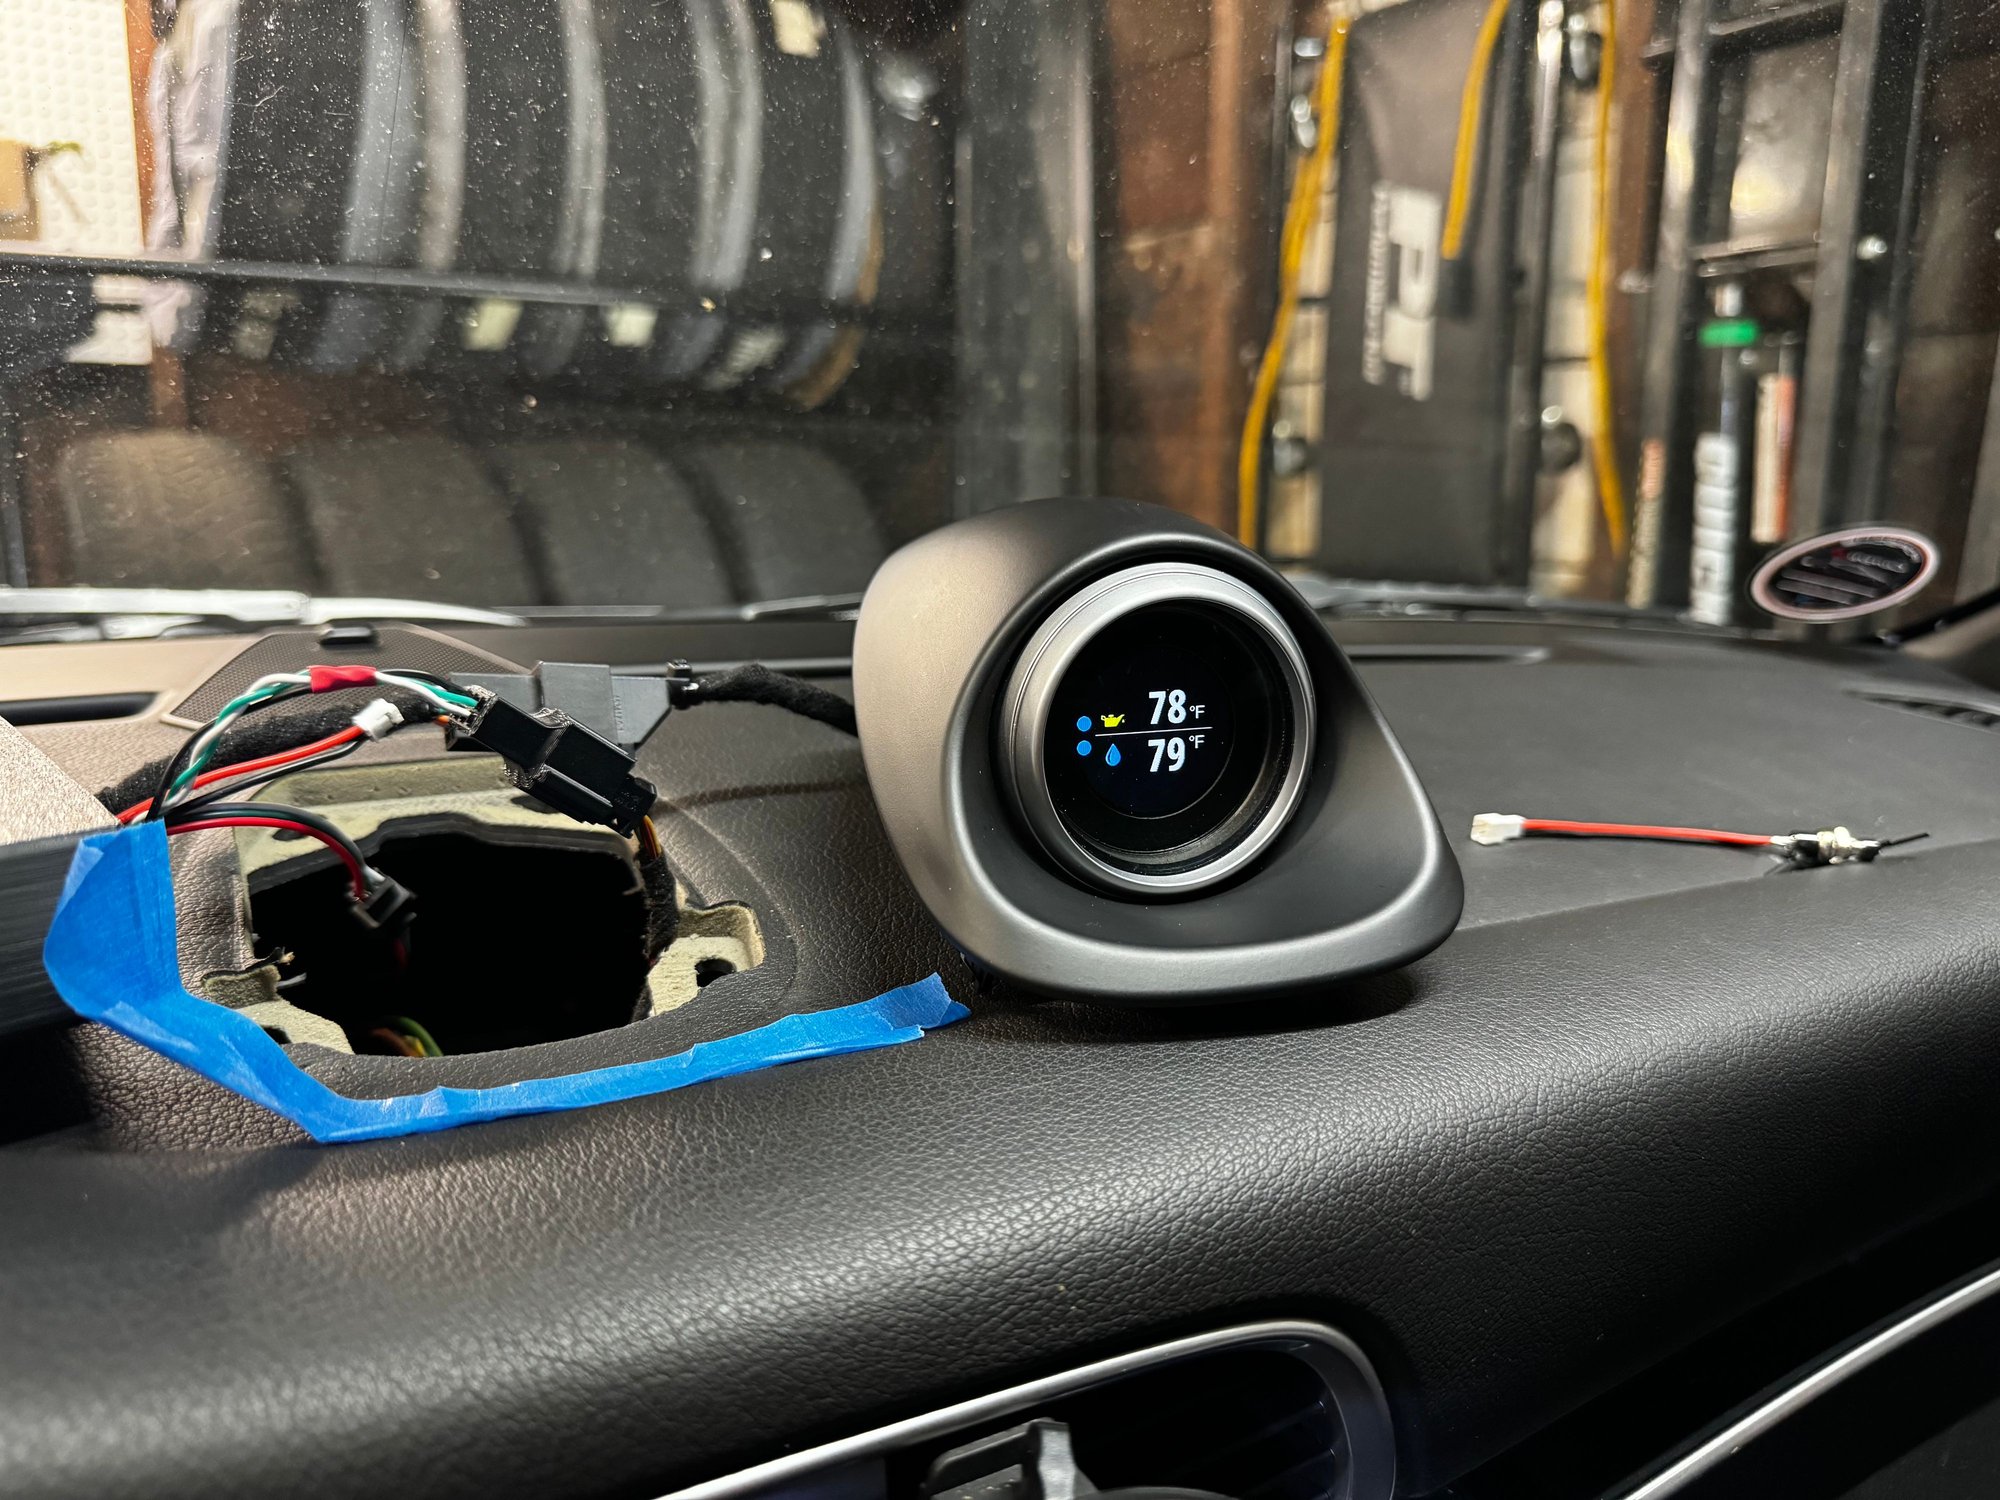
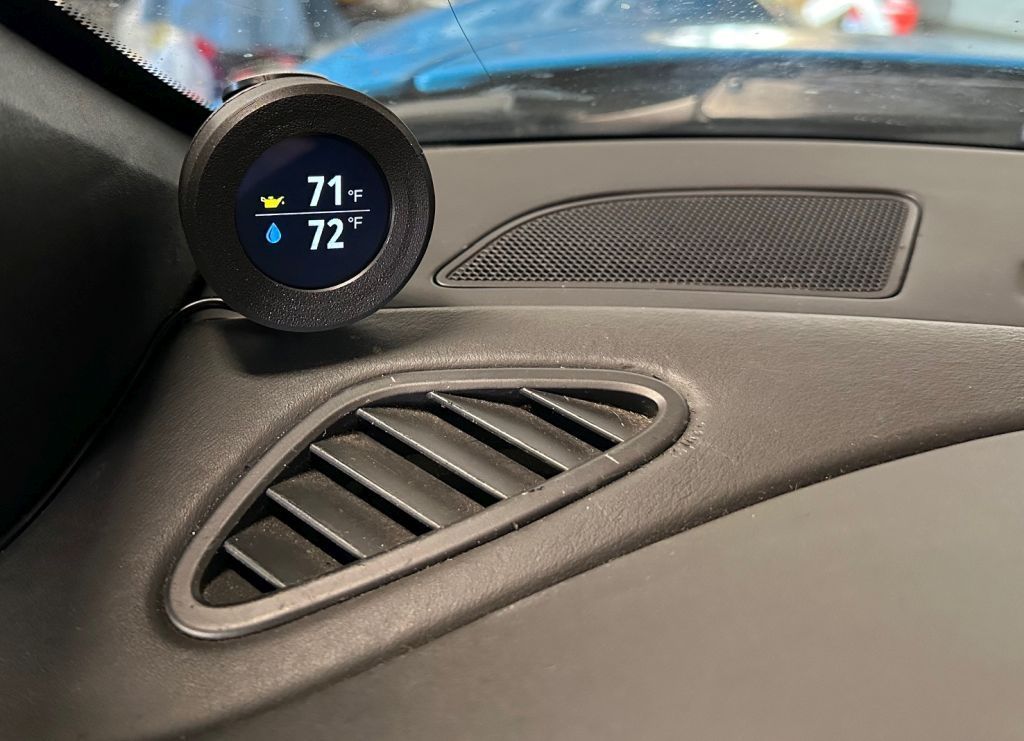
The best location for that IMHO is in the lower corner of the windshield. It doesn't block your view and the cable can be nicely tucked away:
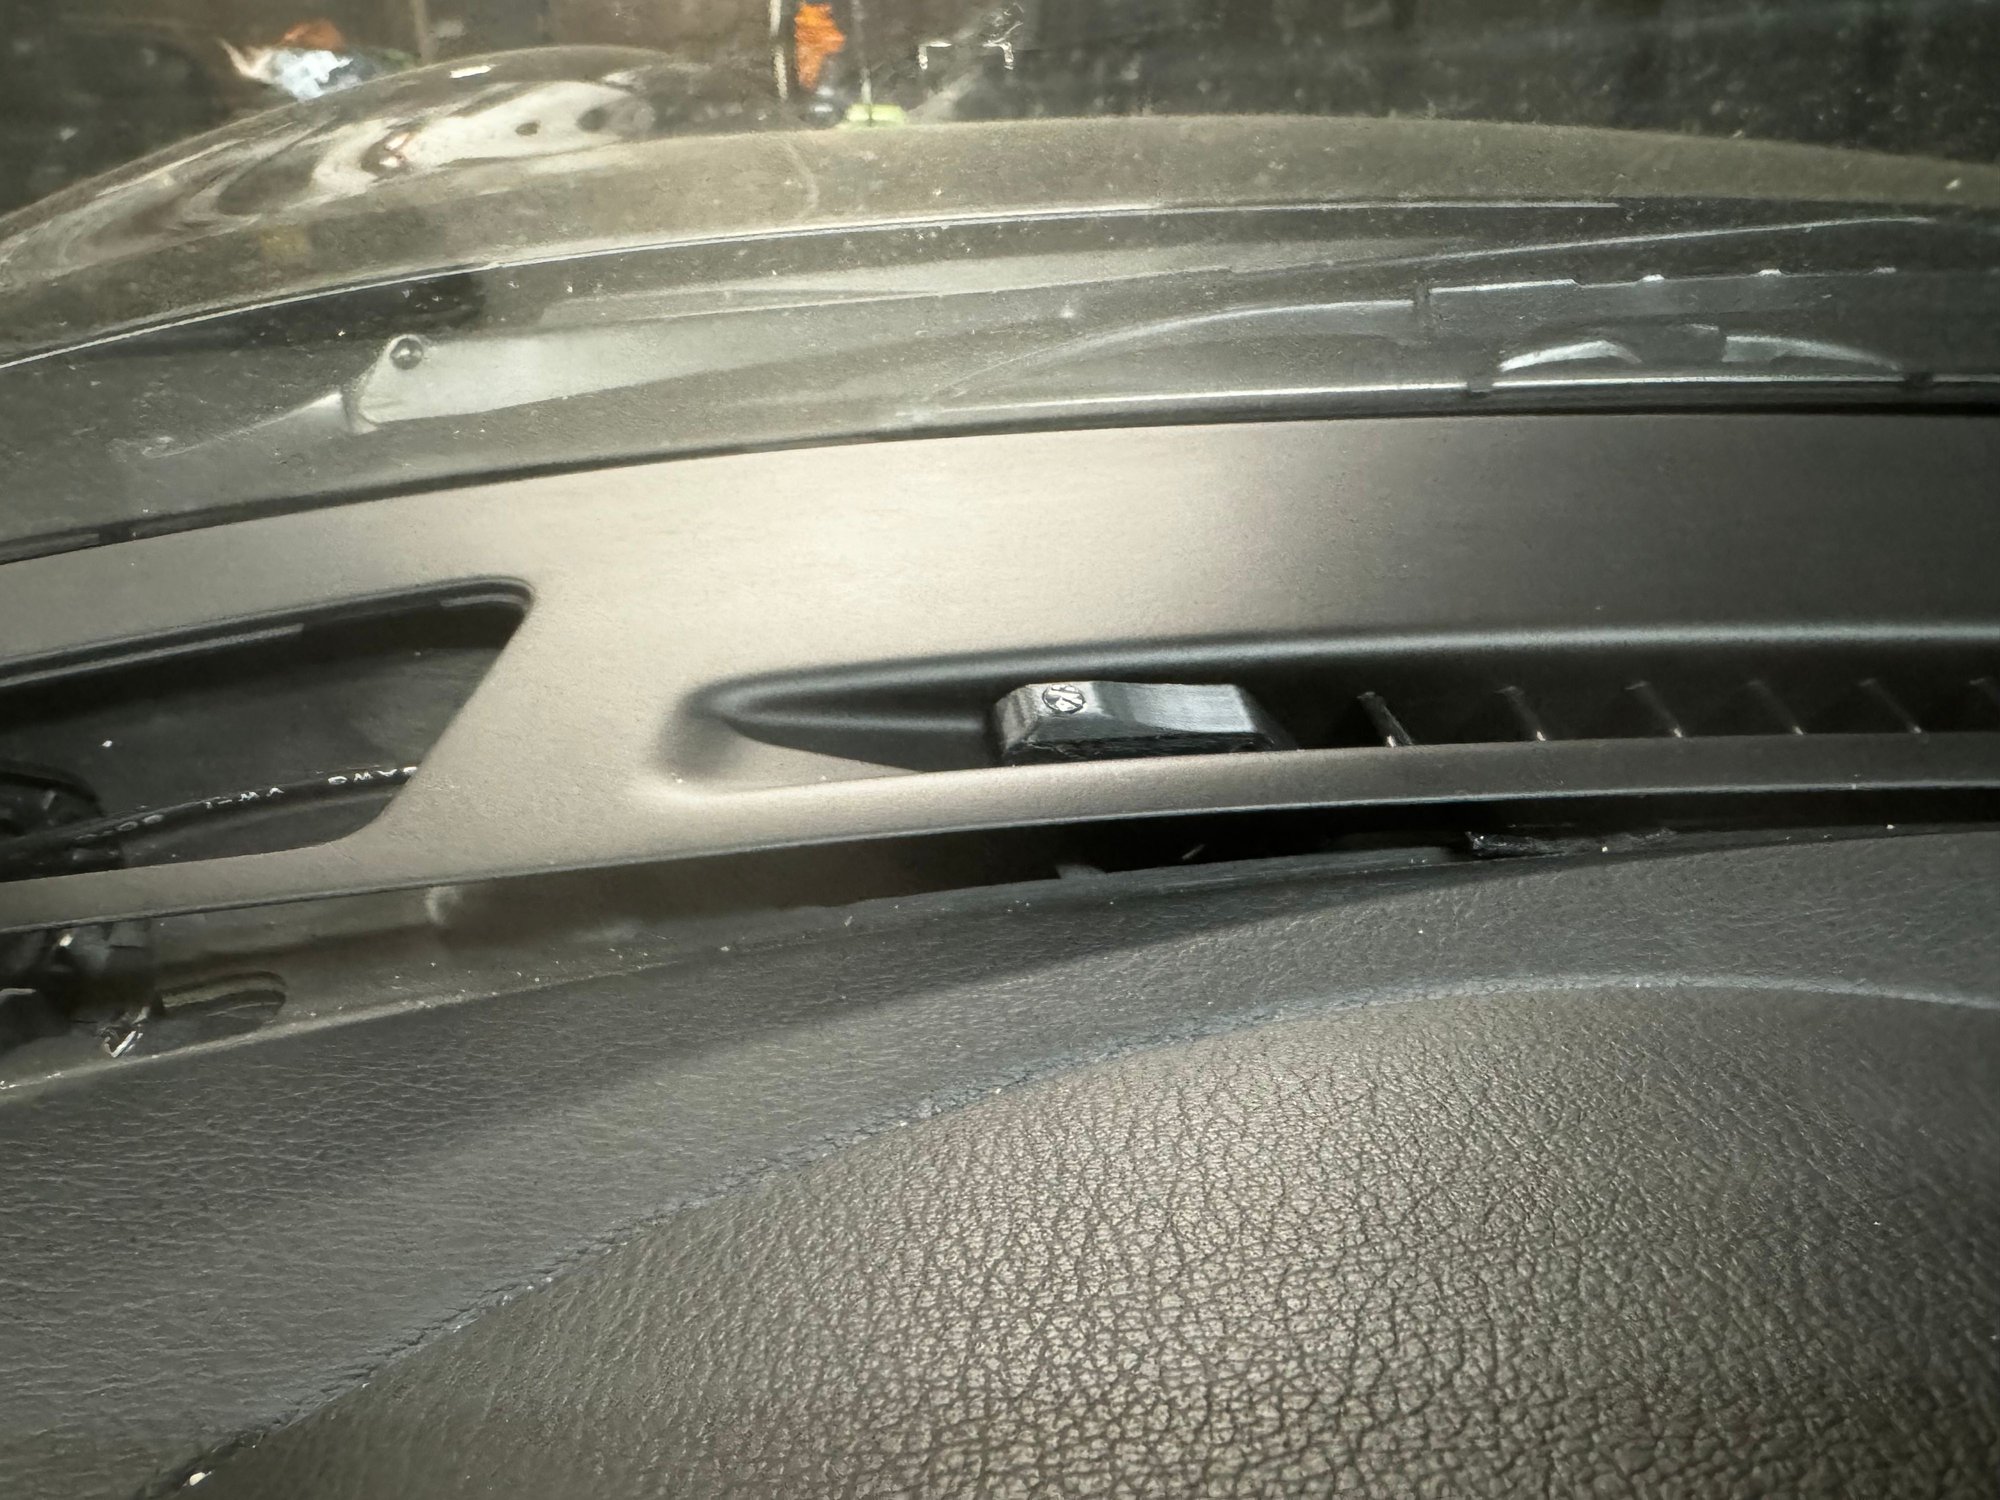
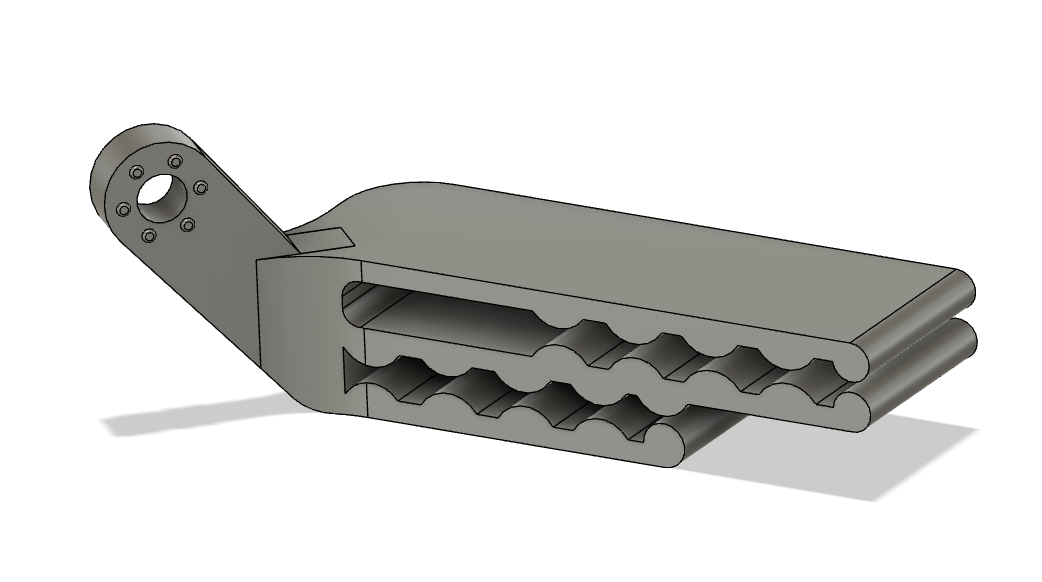
However, I will also be adding a 2nd mounting option. Do you see the vents in the picture right before the gauge?
I will be including a mount that slides onto the fins of the vent.
I really like this location. Nothing needs to be stuck to the windshield and it's nicely in your view without being in the way.
Also in reality there's also almost no air coming out of that vent, so I won't be blocking any airflow.
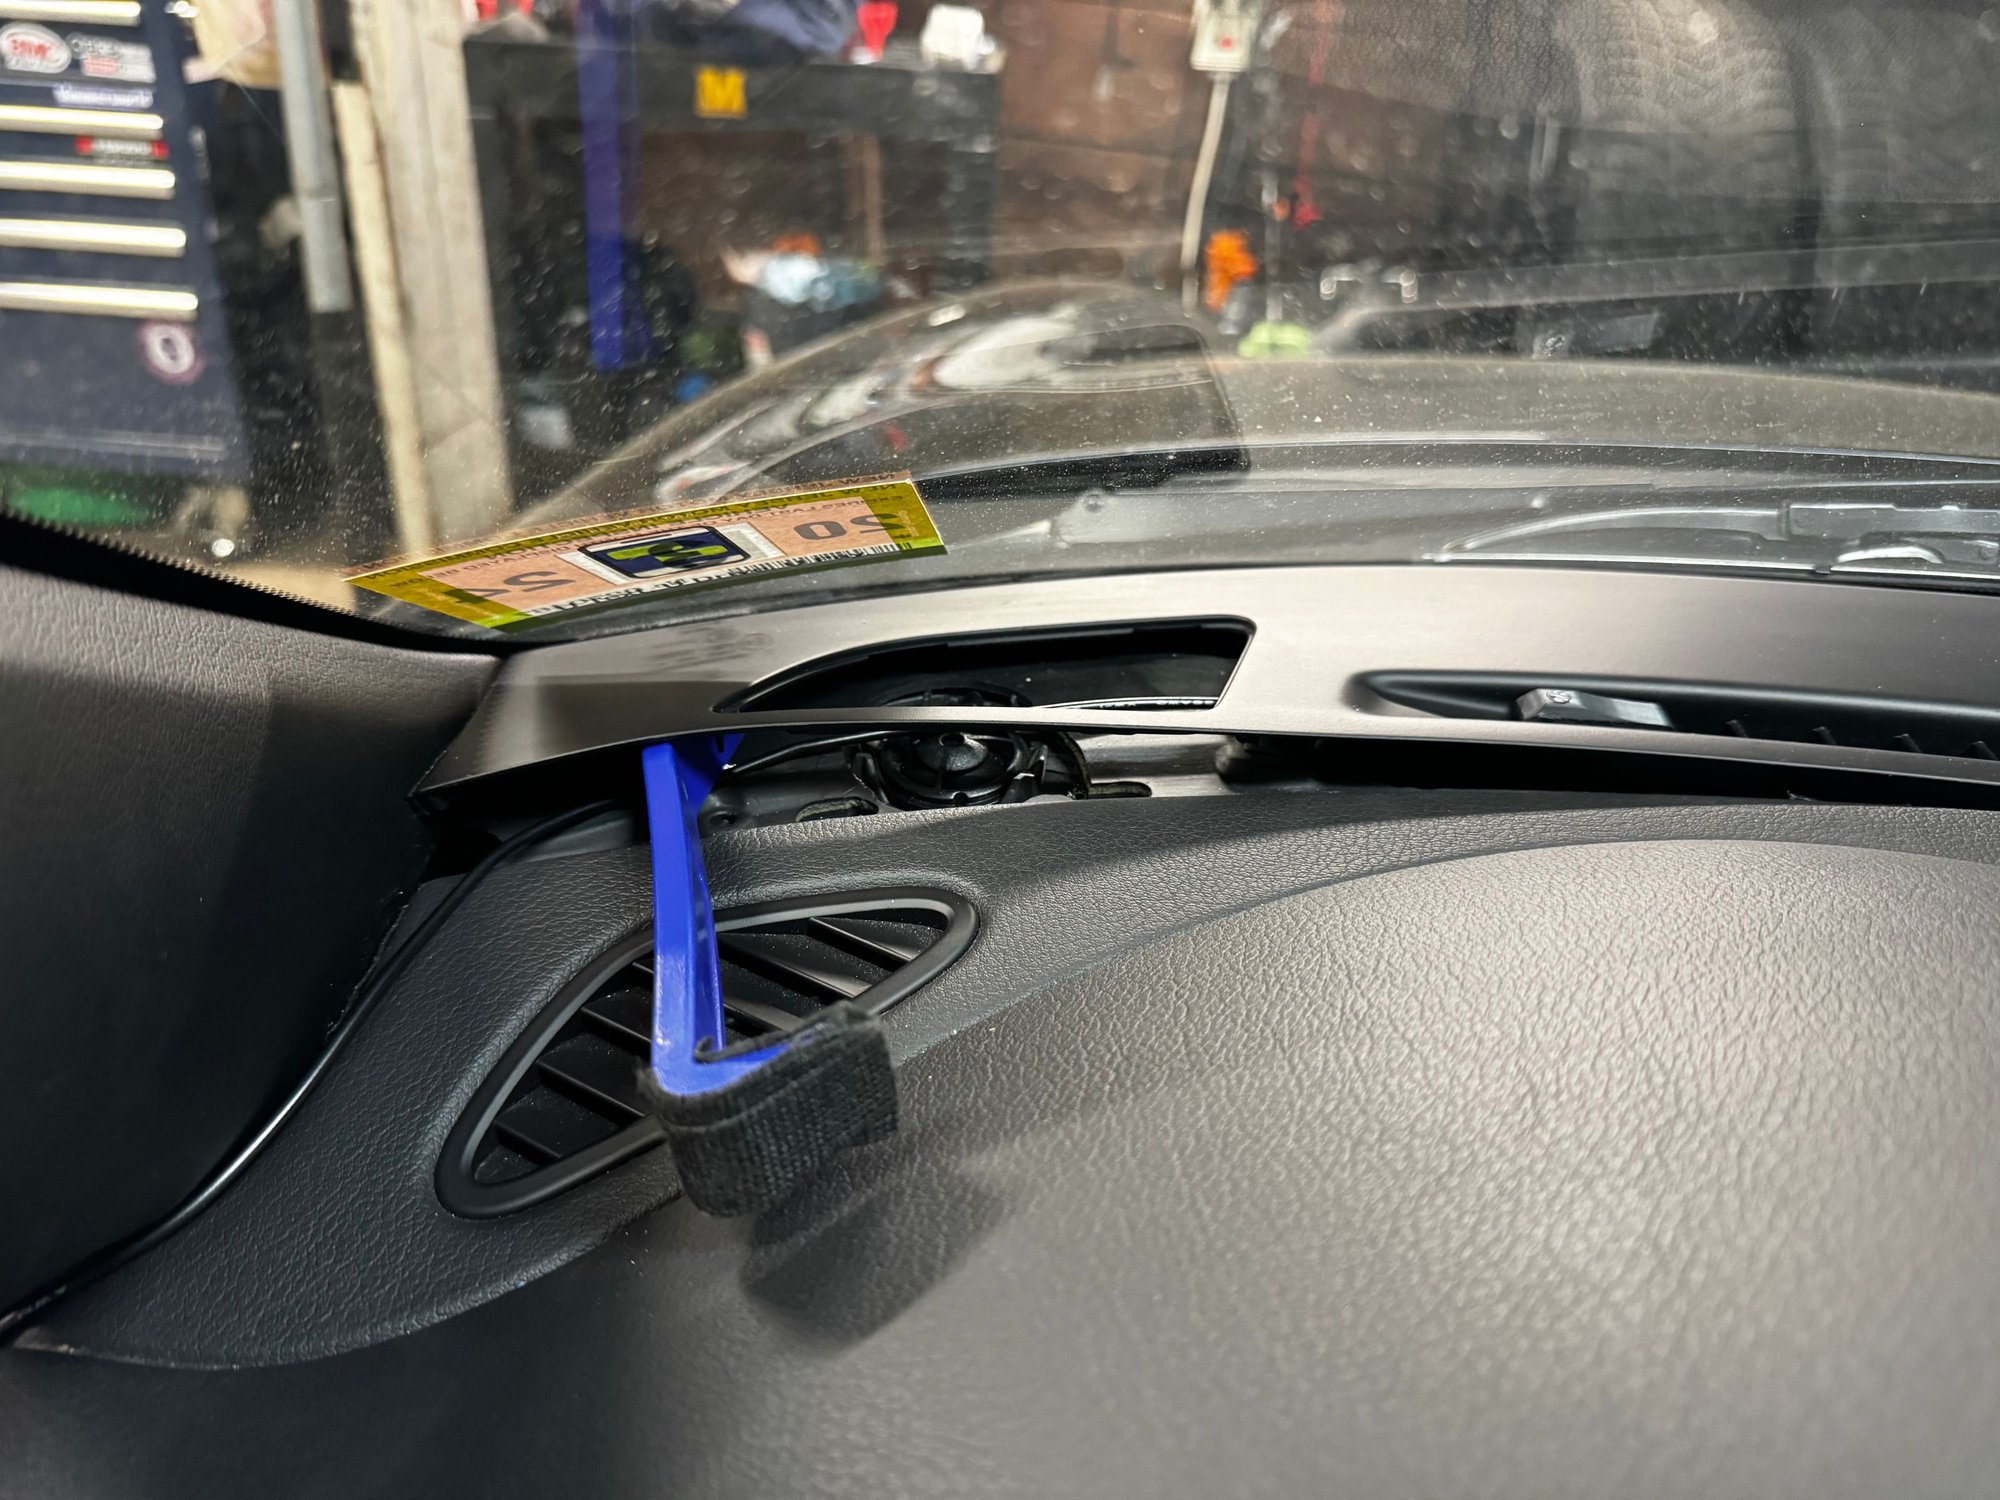
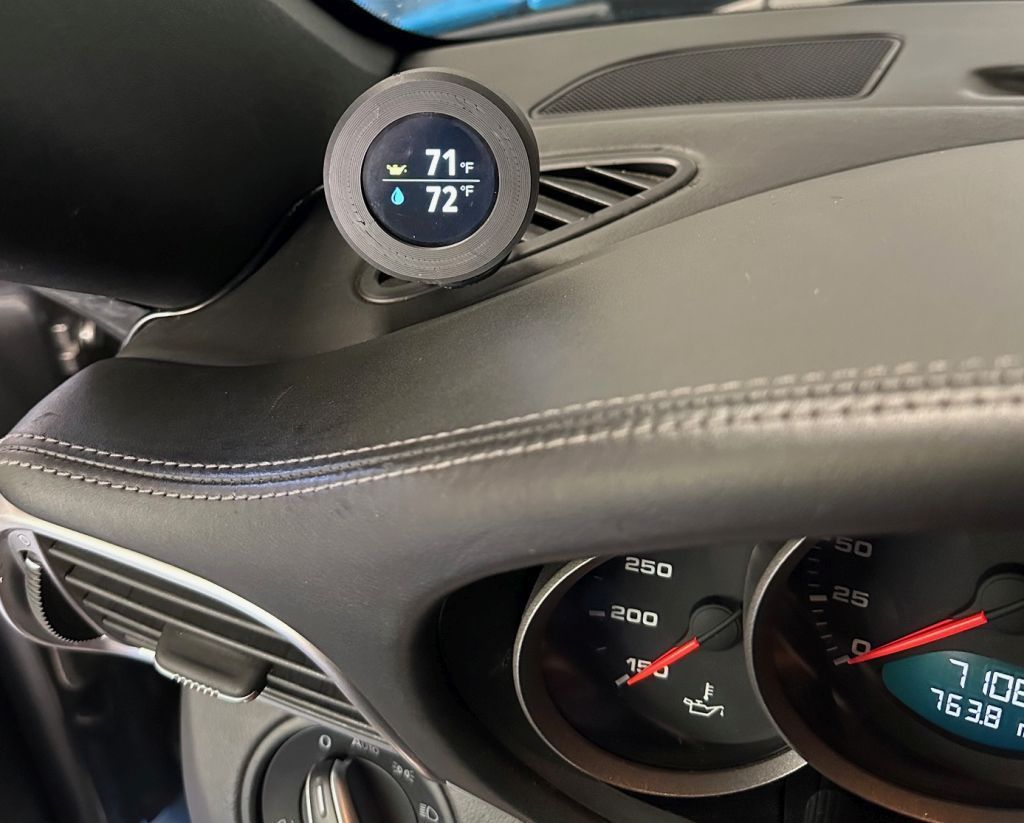
I decided against creating a mount that would slide onto the vent above the light switch.
The reason is that this air vent is moveable, the fins are very flimsy and if anything breaks, it's a major pain to fix that (from a time and money perspective).
And it also really doesn't look good.
The fins on the upper vent are static and very sturdy.
to be continued ....
Last edited by Hatzenbach; 06-29-2024 at 03:25 PM.
You may have already mentioned it, but I didn�t see; have you come with pricing yet for those of us without SportChrono?
I haven't done the figures yet, but the kit for cars w/o SportChrono (aka "standalone") will cost be a bit more to make, so it will cost a bit more than the "native" kit.
But definitely not more than $350.
I haven't done the figures yet, but the kit for cars w/o SportChrono (aka "standalone") will cost be a bit more to make, so it will cost a bit more than the "native" kit.
But definitely not more than $350.
Thanks for the reply. That police is probably more economical than acquiring a sport chrono bump and mounting it.
I'm getting closer to making this available
For anyone who would like to get a preview, the installation manual is now posted on the documentation section of my web-site: https://www.997research.com/documentation-manuals (scroll all the way at the bottom)


 06-12-2024, 03:01 PM