When you click on links to various merchants on this site and make a purchase, this can result in this site earning a commission. Affiliate programs and affiliations include, but are not limited to, the eBay Partner Network.
Until I get my hands on one to try it I can't guarantee it, but my guess is that it most likely won't work.
As far as I know the GT3 and the "other" models have a different ECU
For us without the wart, would it be possible to get this gauge without the assembly so I could mount it in the drivers left-hand vent or maybe on top of the steering column pod?
For us without the wart, would it be possible to get this gauge without the assembly so I could mount it in the drivers left-hand vent or maybe on top of the steering column pod?
The cable from the "black box" to the display is relatively thick & stiff (it has 8 individual strains), that means routing the cable would be an issue.
I am looking into doing this with a wireless display, which would talk to the "black box" either via WiFi or Bluetooth.
Then it would only need a ground wire and a power wire. The box currently uses only 0.5 Watt, meaning that the wires could be very thin, like 28 gauge, which would make them easy to route & hide.
So please stay tuned....
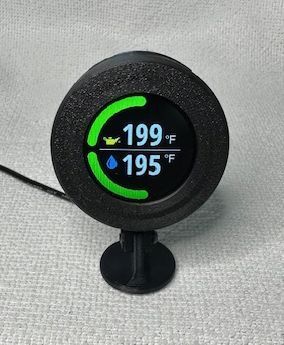
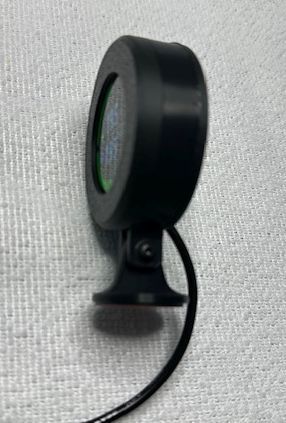
I wanted to give you guys a sneak preview of something I'm currently working on.
There were many inquiries from folks w/o the SportChrono wart, asking if they can install the gauge too.
So far the answer was "no". In a couple of weeks the answer will be "of course".
These are pictures from a pre-production unit. It's pretty small: 2 1/4" diameter and 3/4" thick.
The display rotates 360 degrees, so it can be installed in any location.
Should be ready to order/ship in a couple weeks. Still in the testing and fine-tuning phase.
Last edited by Hatzenbach; 06-11-2024 at 06:48 PM.
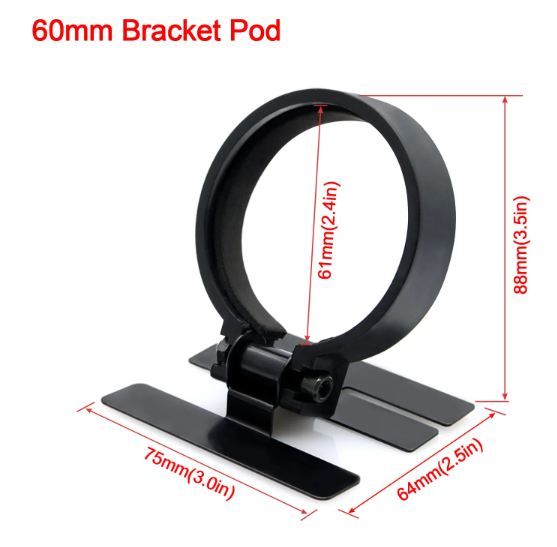
My plan for my gauge setup is to use something like this. Ring clamps the gauge, lay it back 90 degrees, and tuck the larger metal feet behind the a pillar, run the wire down in the A-pillar trim, and have it in the top corner of the windshield. Can also bend it to work exactly the way you need it to.
Would work perfectly with your new gauge and might mean I need to buy one until I find the time to do my whole gauge setup with boost, mixture, etc. as I'd like an accurate coolant temp.
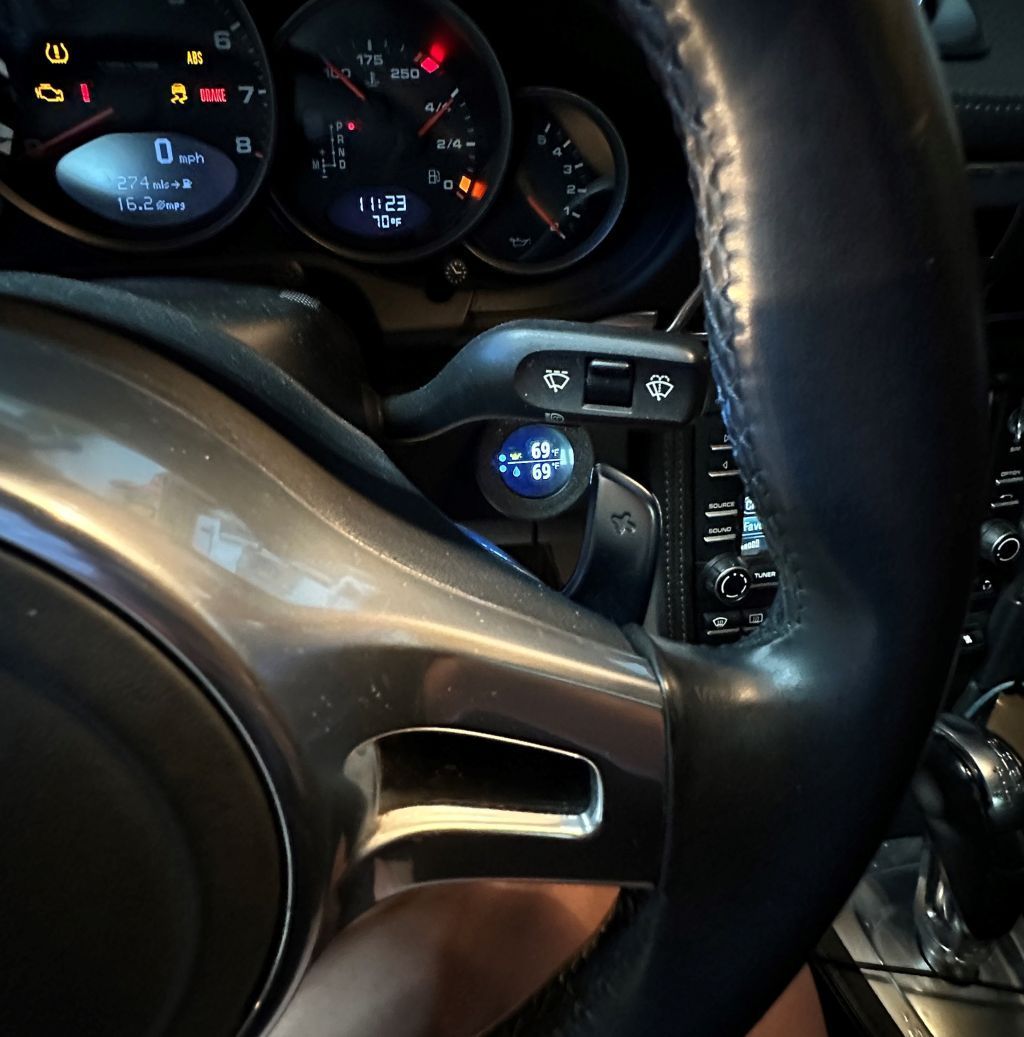
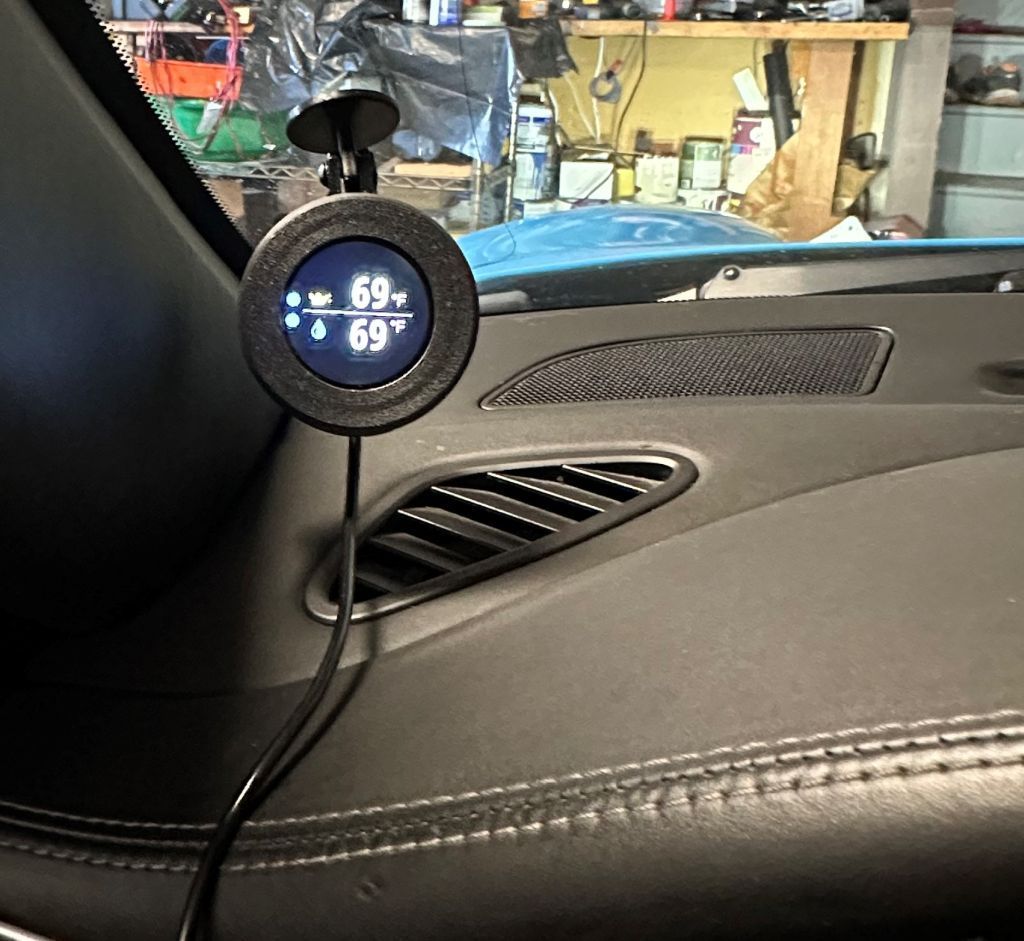
Quick question for the community. In case you are considering getting the "standalone" gauge - where would you put it. @Petza914 thanks for your input.
Honestly I'm struggling to find a location where I'm happy with.
AND my car has a full leather interior and I learned that even the most sticky 3M VHB tape doesn't stick well enough to leather.
Looking for ideas, and if that means I have to create a new mount/stand I'm more than happy to do that.
here are the dimensions
diameter: 55 mm
thickness: 19 mm
total height (with stand): 78 mm
the wire is very flexible and has a diameter of 3 mm
I would put mine in the top left or bottom left corner of my windshield adhered to the glass.
Sticking anything to Porsche leather is a bad idea. When I bought my car, the PO had a 1/2" x 1/2" BT microphone stuck to the right of the steering column and when I removed it, it took of the top surface of the leather, so not only doesn't it stick well, but when it does, it damages the leather when it's removed. That's one of the great things about carbon fiber trim - it gives you solid surfaces to stick stuff and be able to remove it with no damage. I have my noselift remote and cell phone mount stuck to my CF center tunnel and my remote radar detector controller stuck to my CF upper roof console using velcro so I can pop them off to change the batteries, but can also fully remove the velcro without any damage.
I would put mine in the top left or bottom left corner of my windshield adhered to the glass.
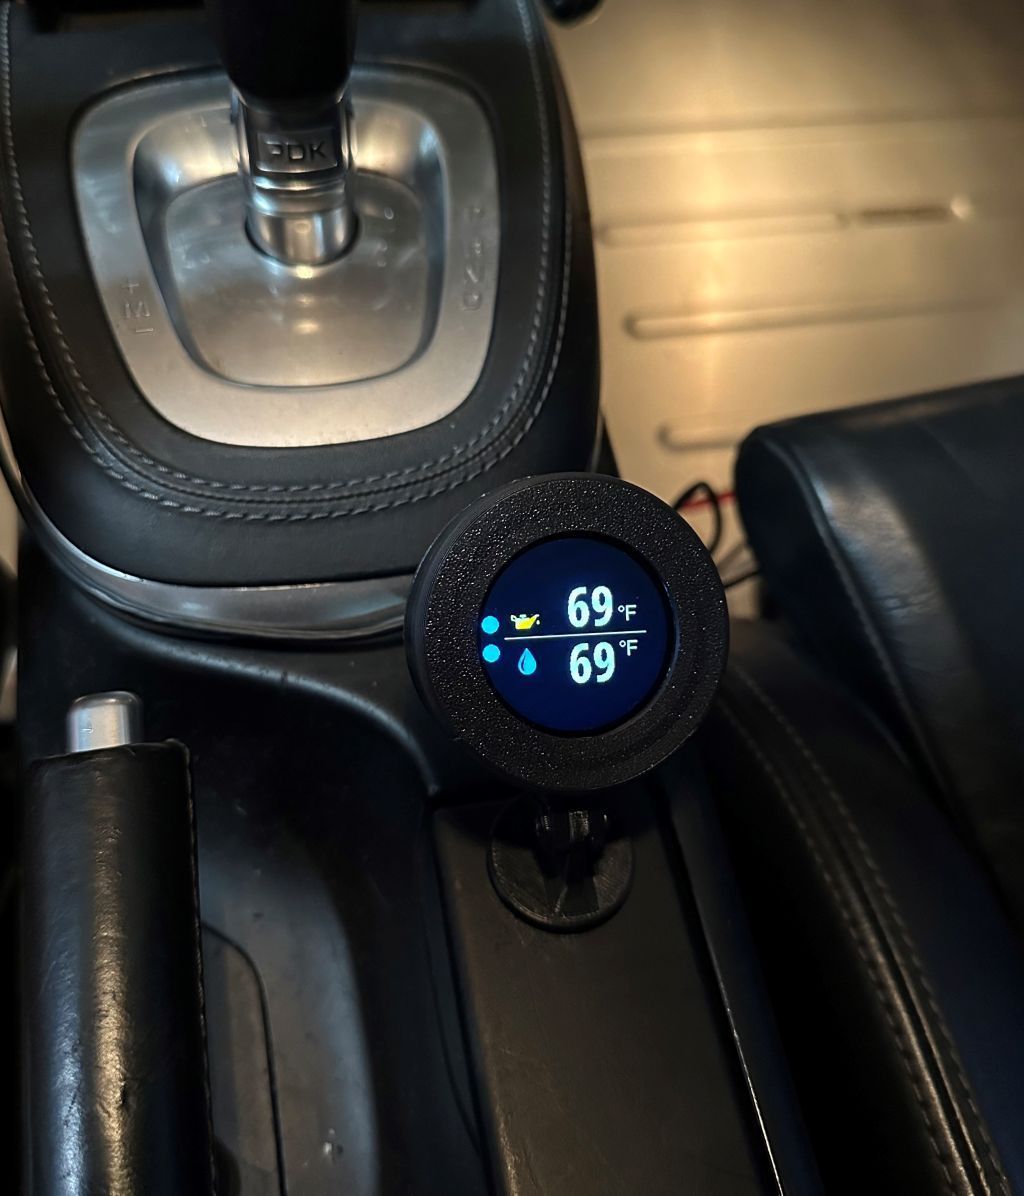
Good idea, in this case I can make a mount that doesn't stick out from the bottom, but goes directly from the backplate
Bottom left is of course easier to route/hide the cable.
Good idea, in this case I can make a mount that doesn't stick out from the bottom, but goes directly from the backplate
Bottom left is of course easier to route/hide the cable.
Cable will tuck behind the A-pillar panel if at the top, possibly even without removing it so either position should work - whichever is more line of sight is probably best and that's probably the bottom as well, so maybe that's the winner.
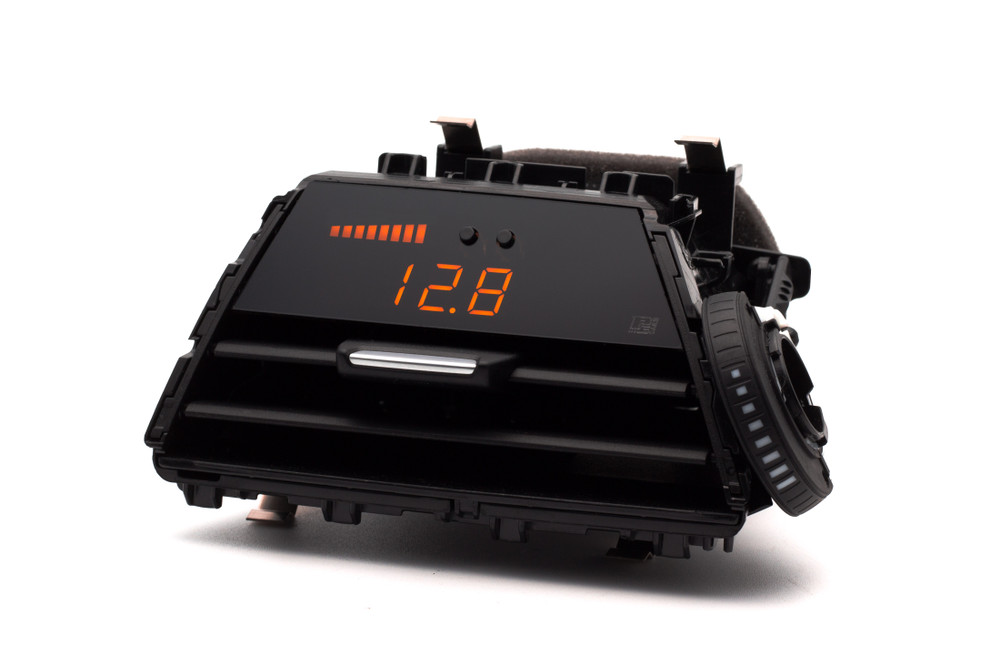
I am going to try and mount it into the vent since the PCB is just 1.3 inches across (as per dimension on the PCB of 32.1mm).
Below is an idea. I don't know the orientation of the screen, so it may need to be vertical. Can the output can be rotated on the screen so the long side of the PCB is horizontal?


 05-22-2024, 11:43 AM