

Tales of Sierra - A 997.1 Story
 03-17-2022, 02:10 PM
#31
Rennlist Member
Thread Starter
Correct; in electrical engineering terms a potential difference (PD) measurement.
Taken in line with the conductor, and not to earth. You can take two separate point measurements, but this can introduce error.
As voltage drop is a function of resistance (inhibiting current, and in this case charging current) this can be used to determine resistance in the charge circuit.
Fluke probe on the battery post, and alternator bolt (not cable itself) is typically the first of measurement.
Leaning towards digging in there to get my eyes on the condition of the cable. I can also get the alternator tested for peace of mind.
 03-17-2022, 02:15 PM
#32
Rennlist Member
https://www.ebay.com/sch/i.html?_fro...rings&_sacat=0
 03-17-2022, 10:18 PM
#33
Instructor
�Brighter license plate lights really modernize the car. � Couldn�t agree more. 991 part number is direct swap with no codes thrown. Really pops on light colored cars.
03-22-2022, 01:16 AM
#34
Rennlist Member
Thread Starter
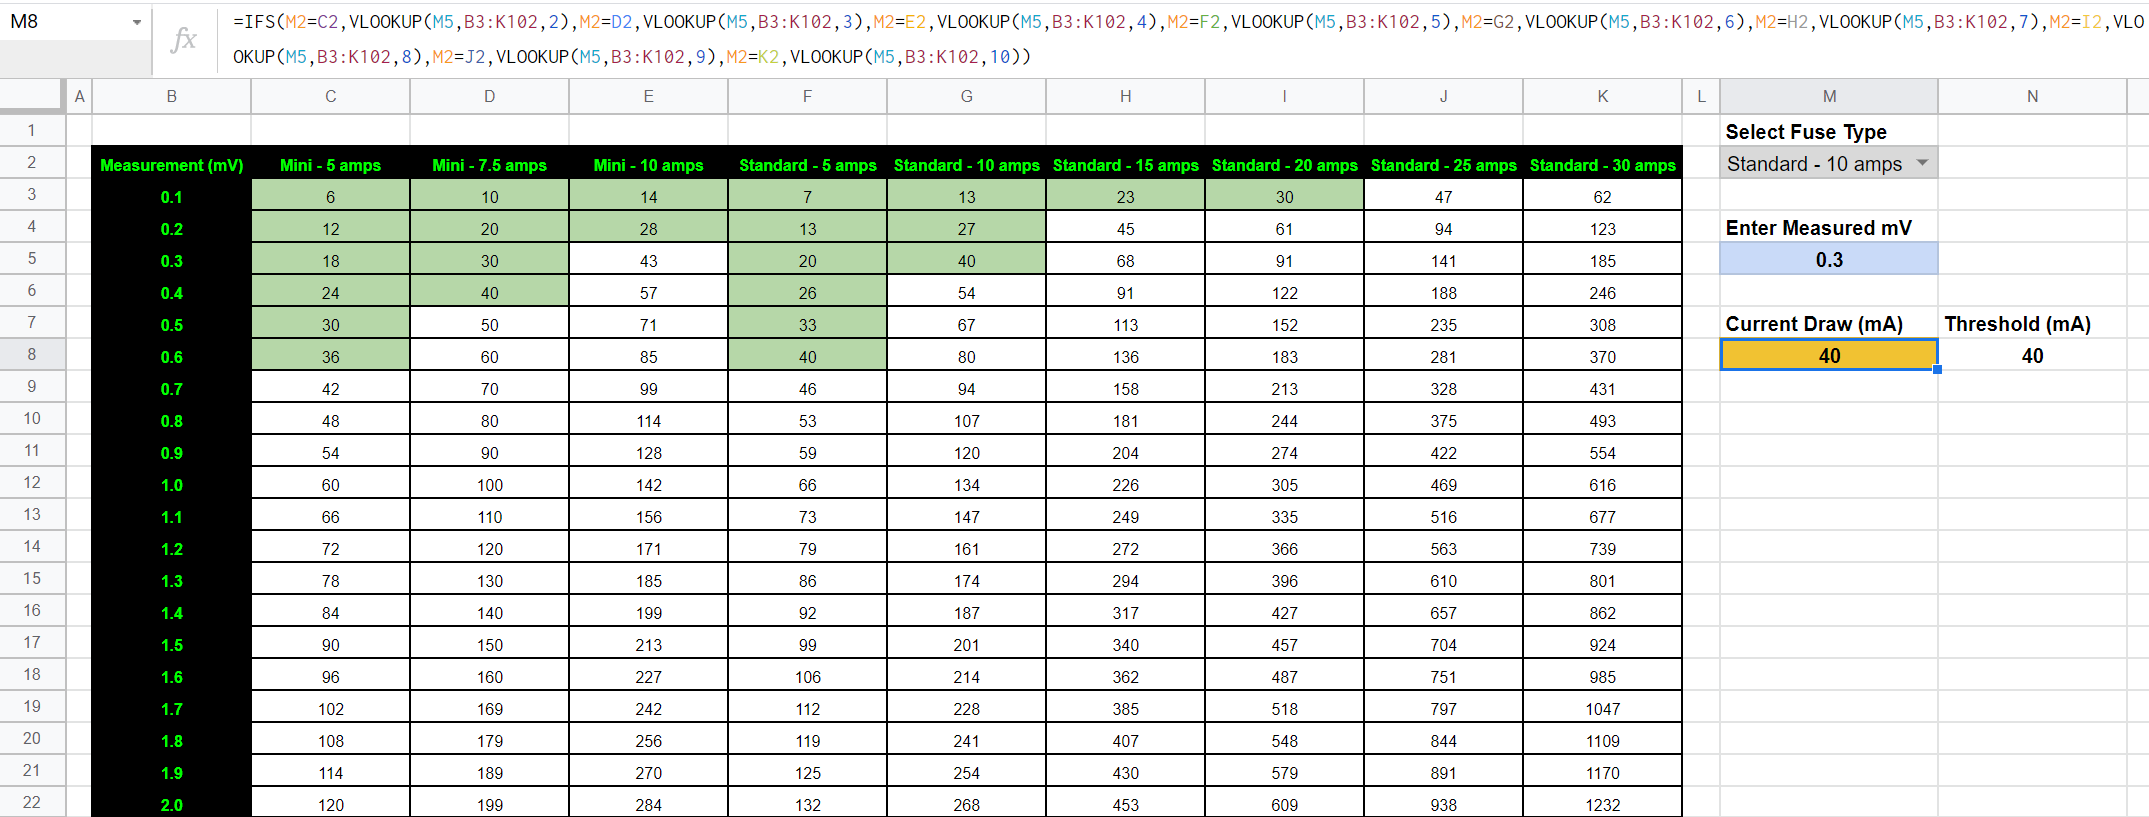
I've been continuing to measure ~13.1 V at the battery during start-up, so I decided to troubleshoot.
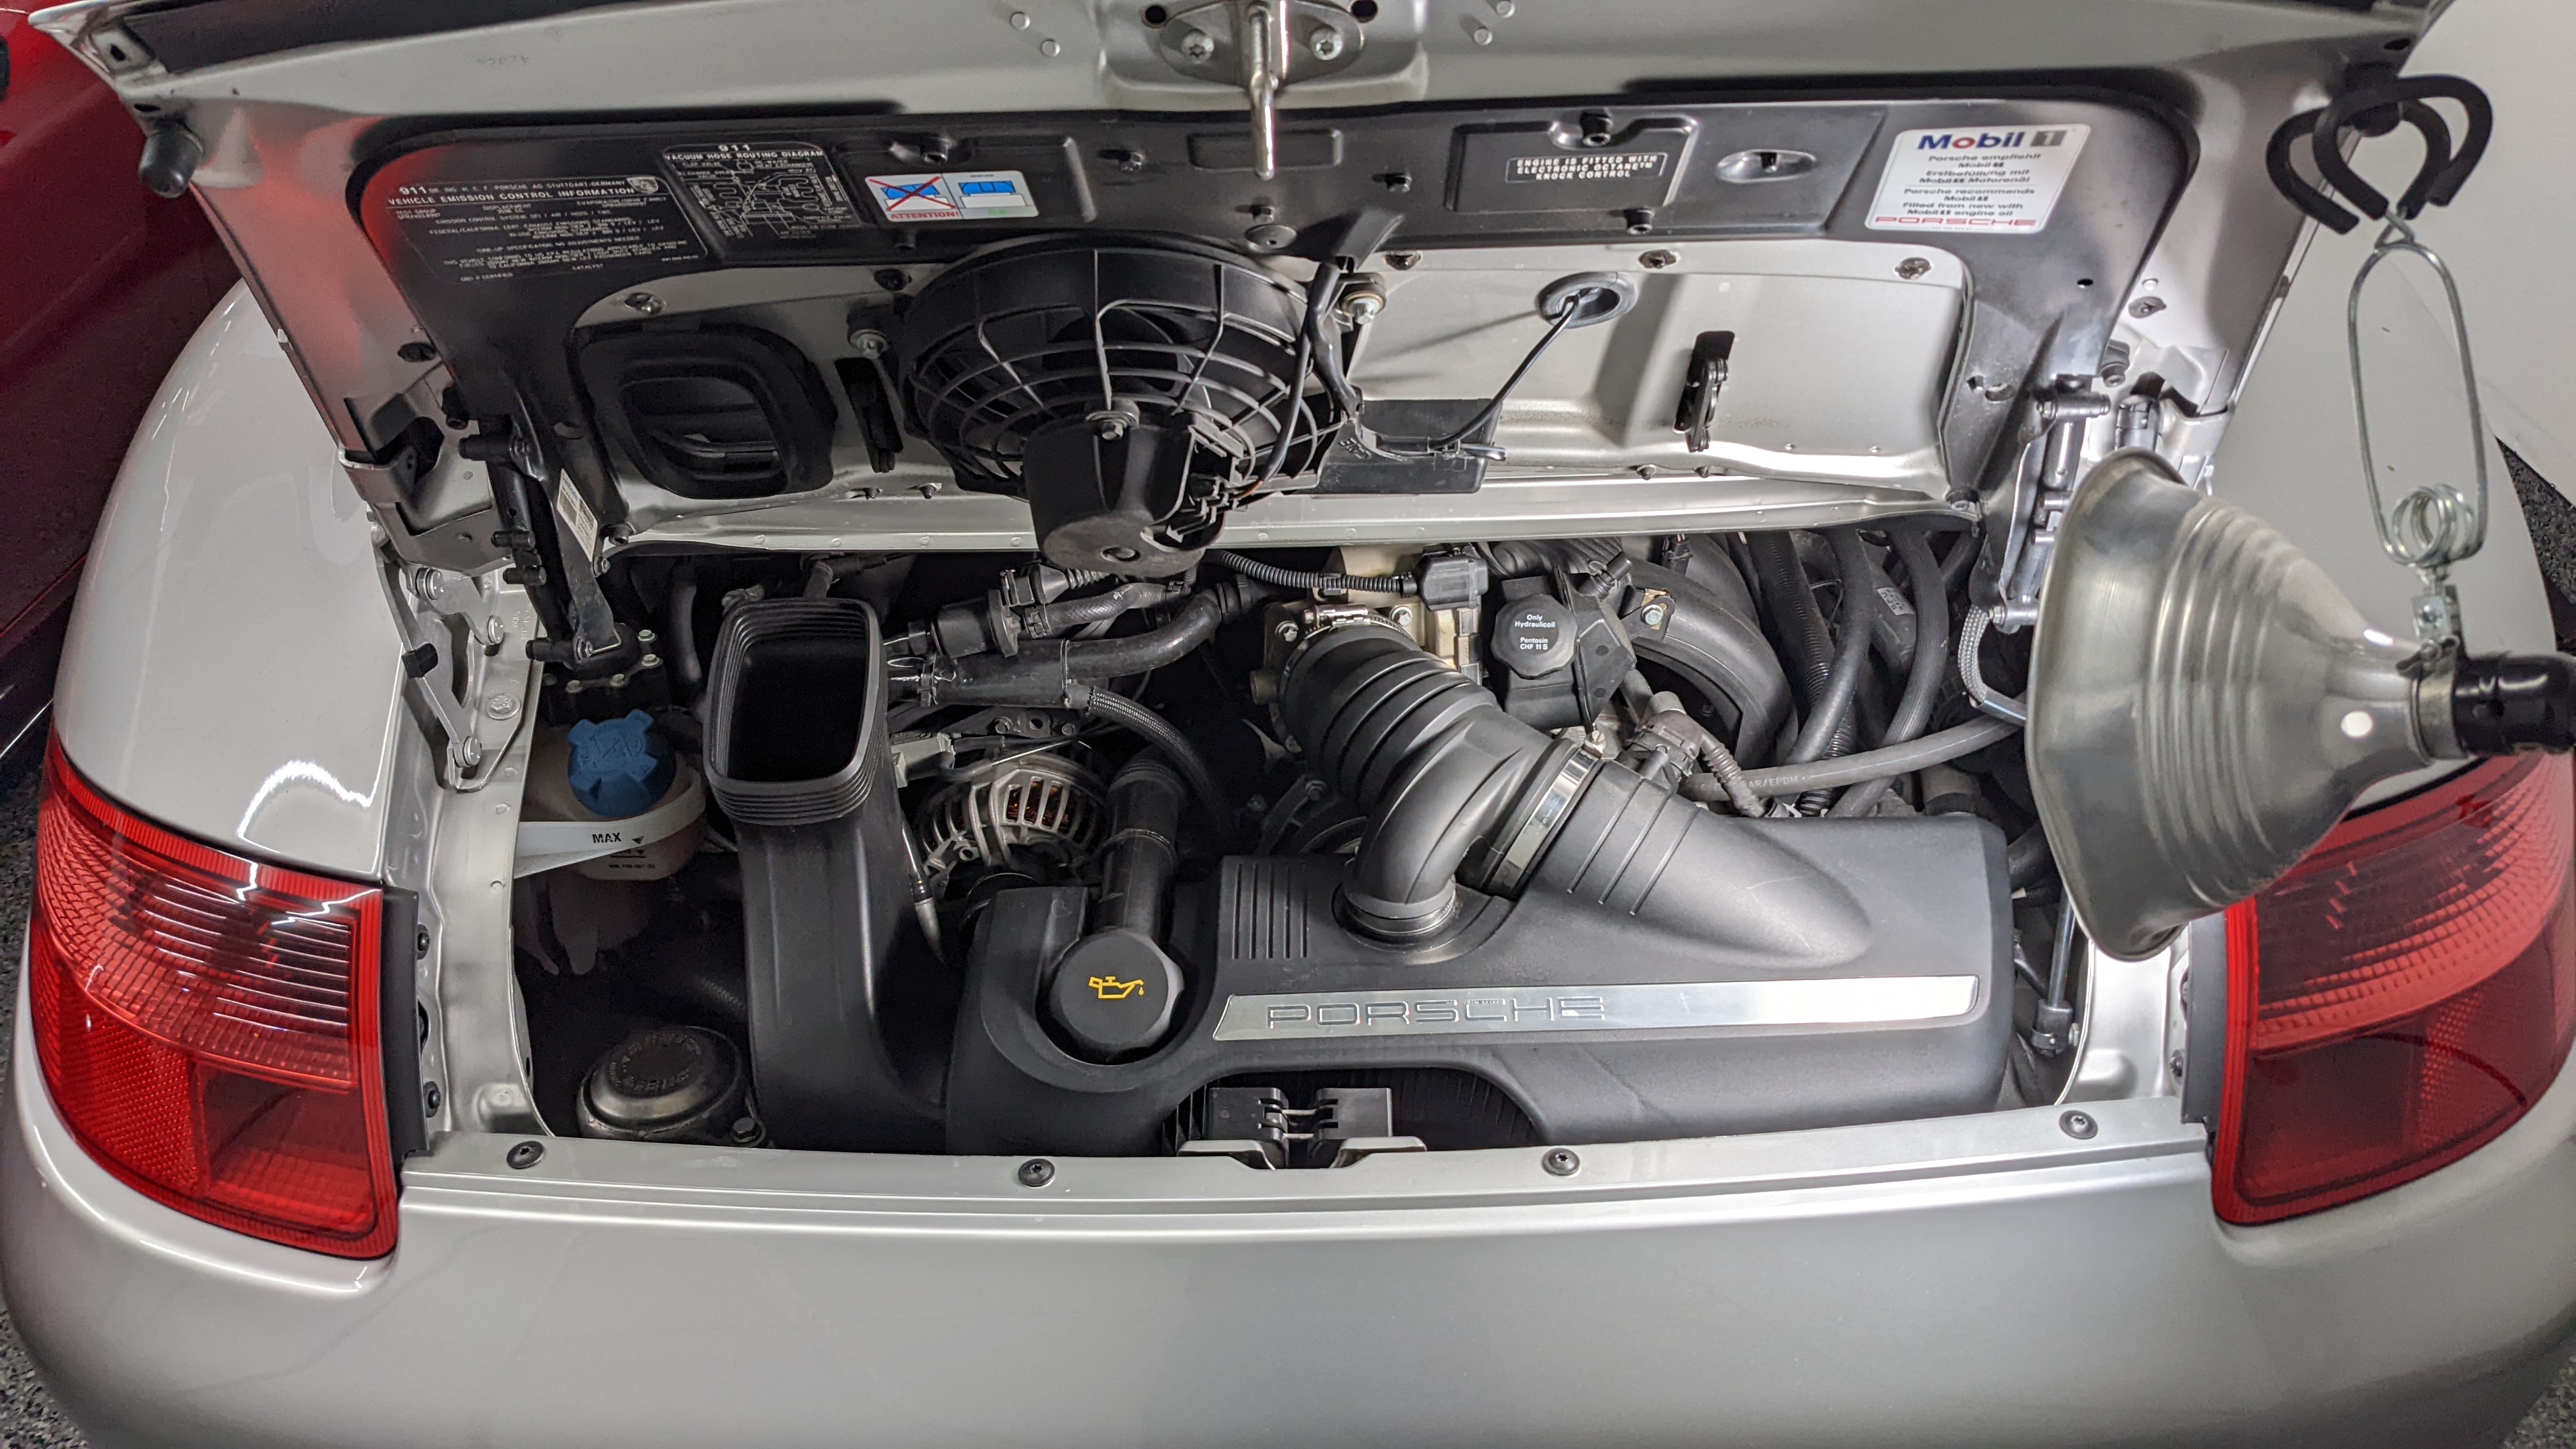
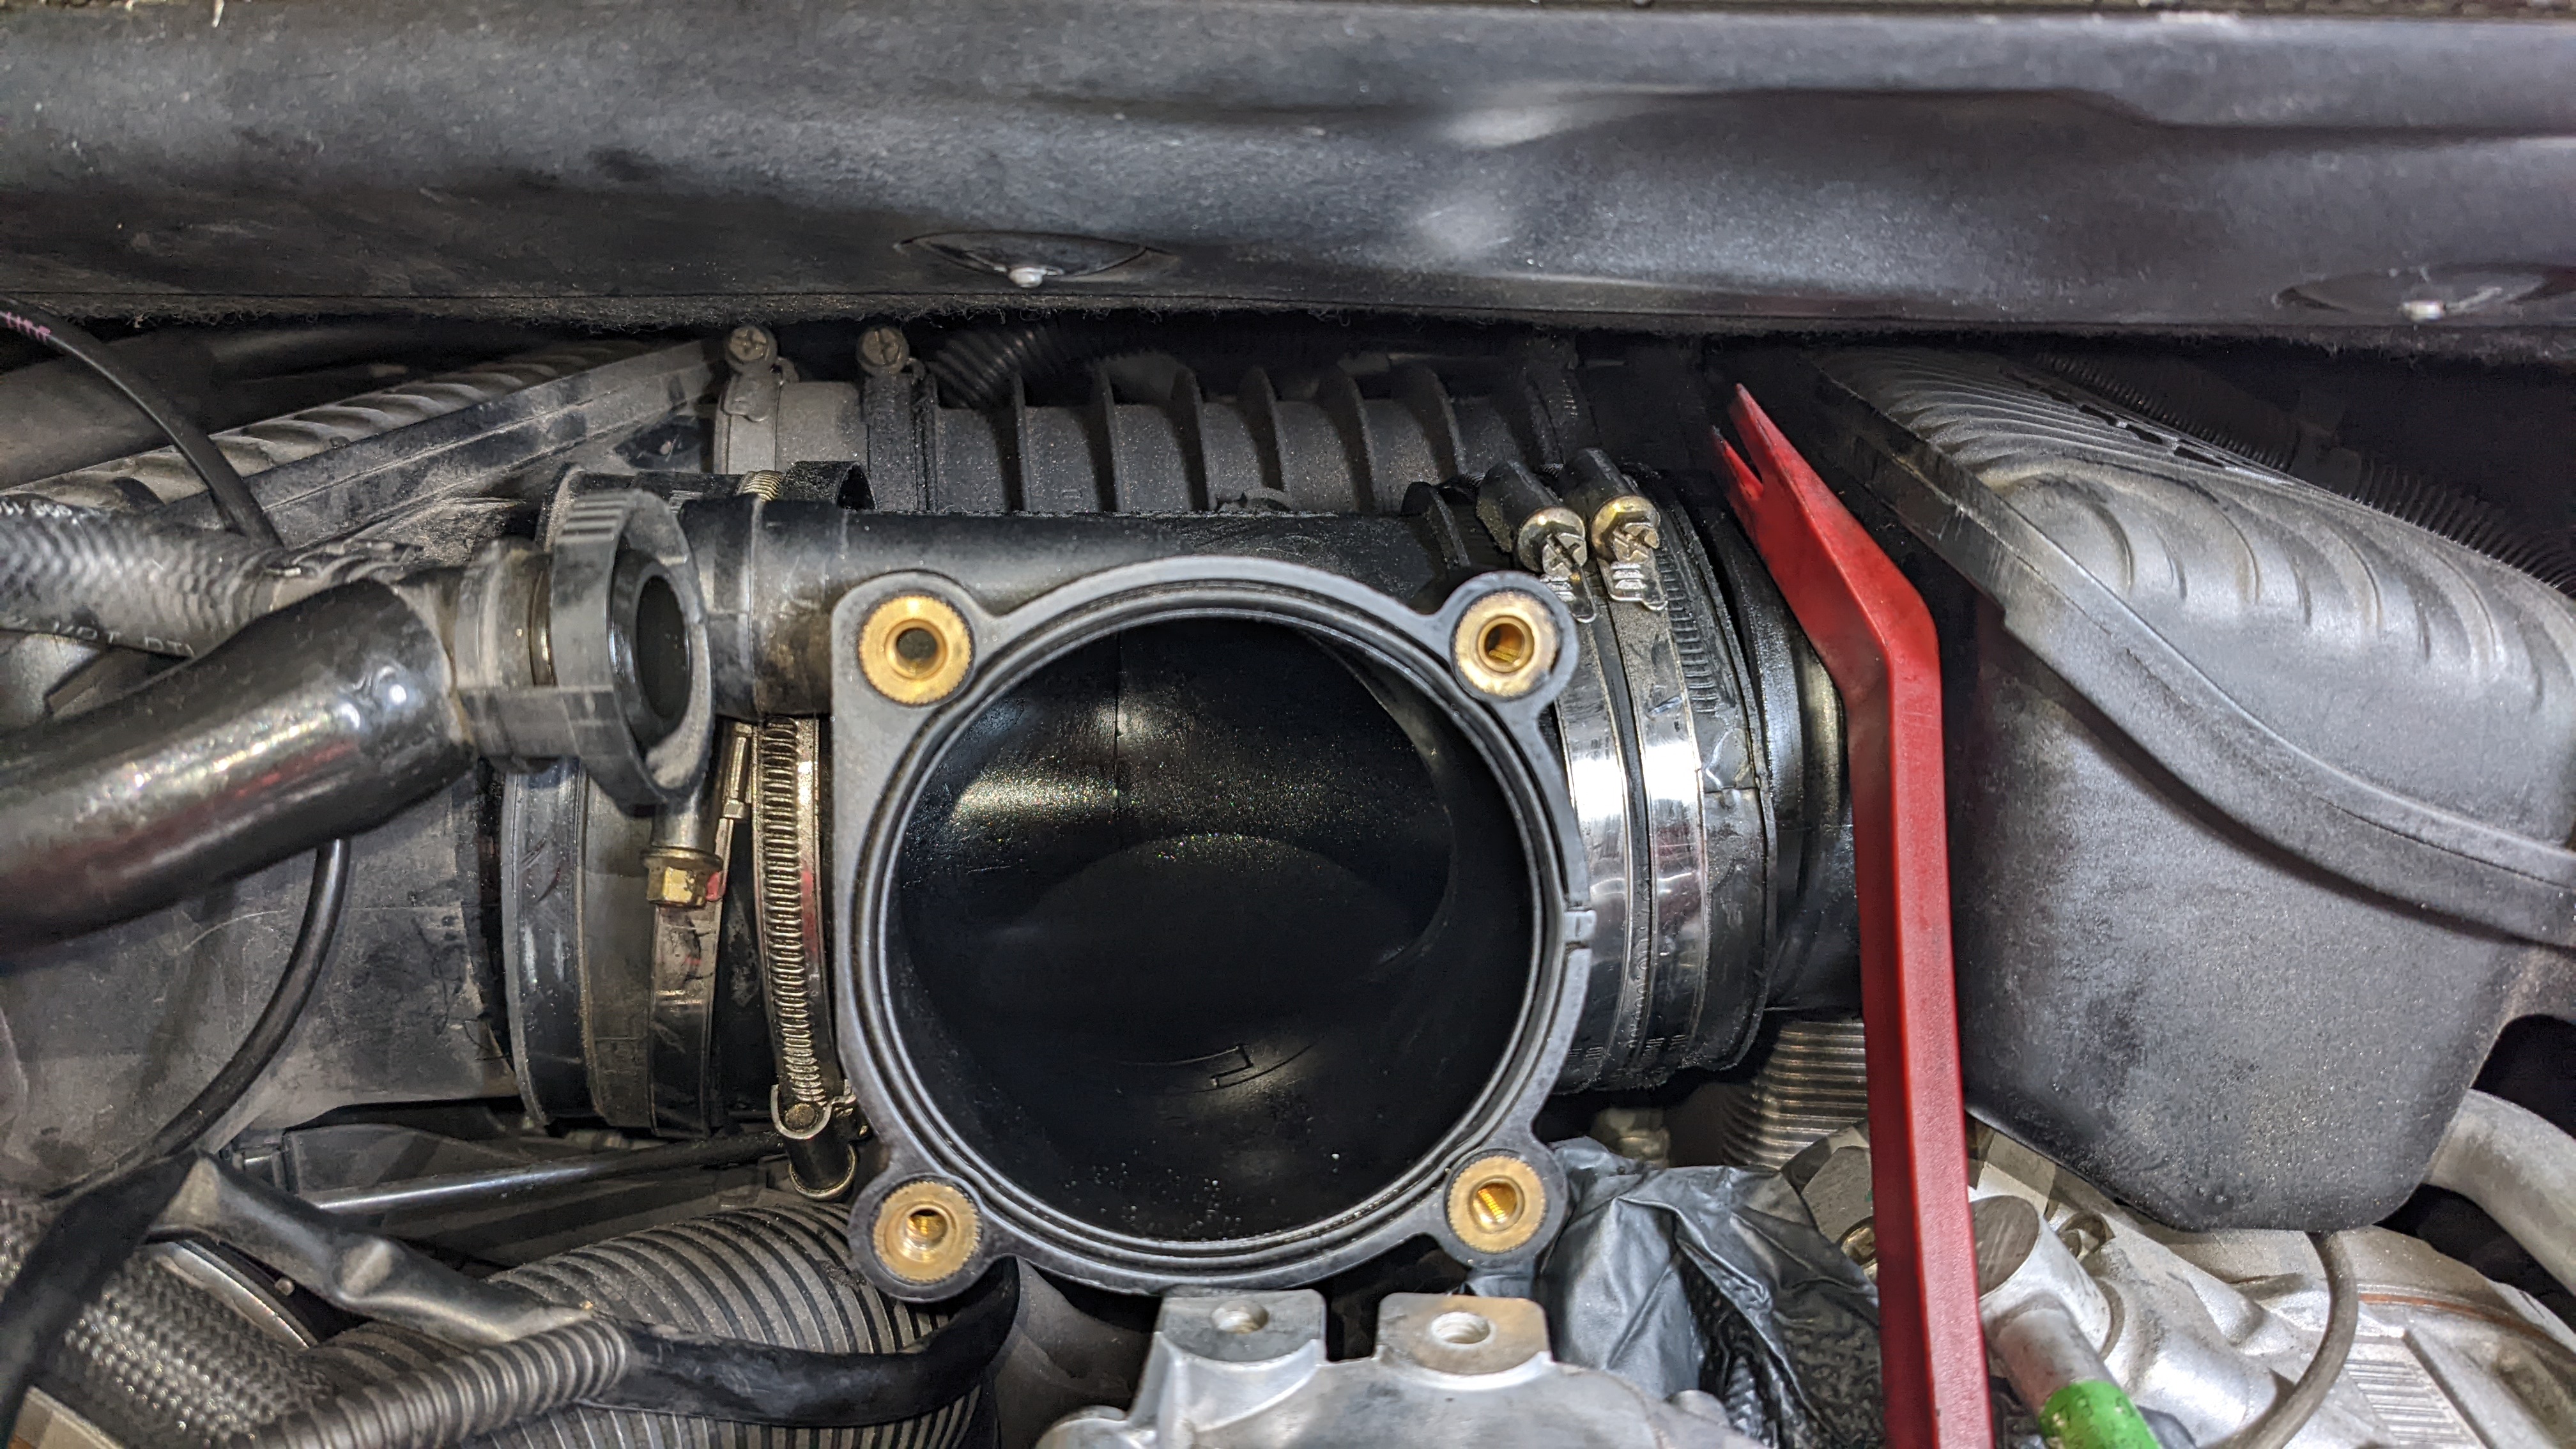
Air box removed.
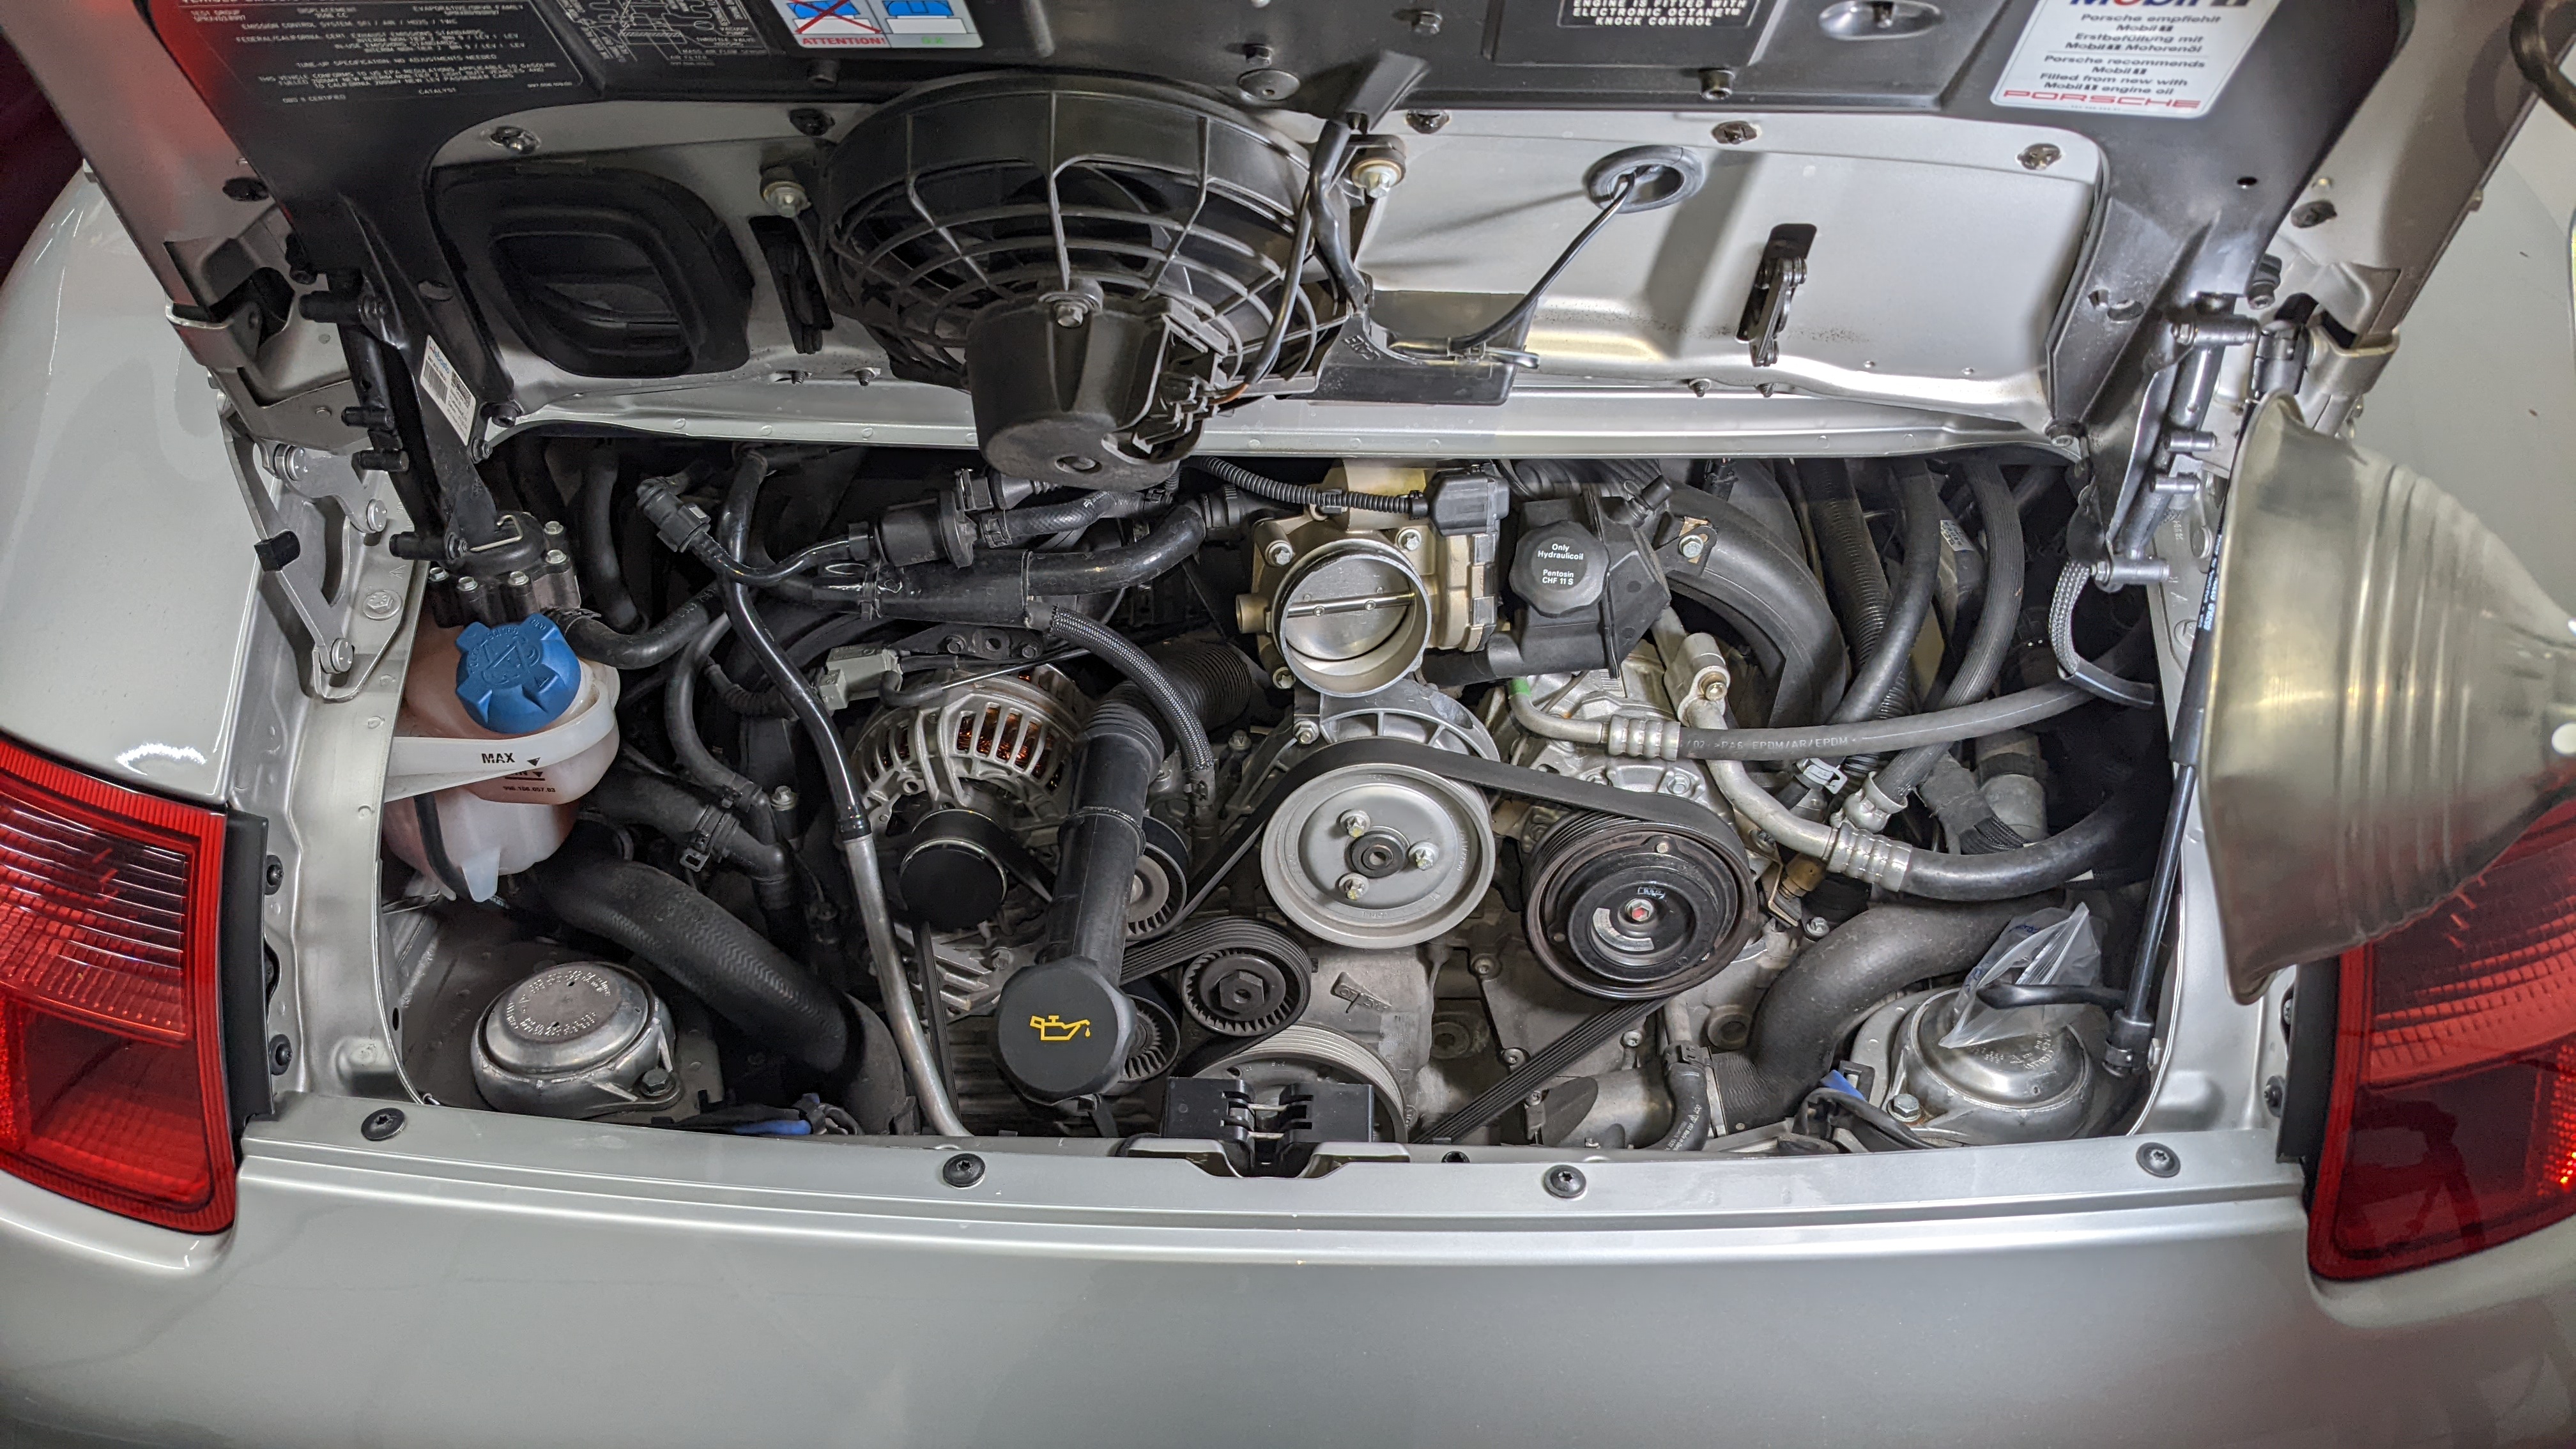
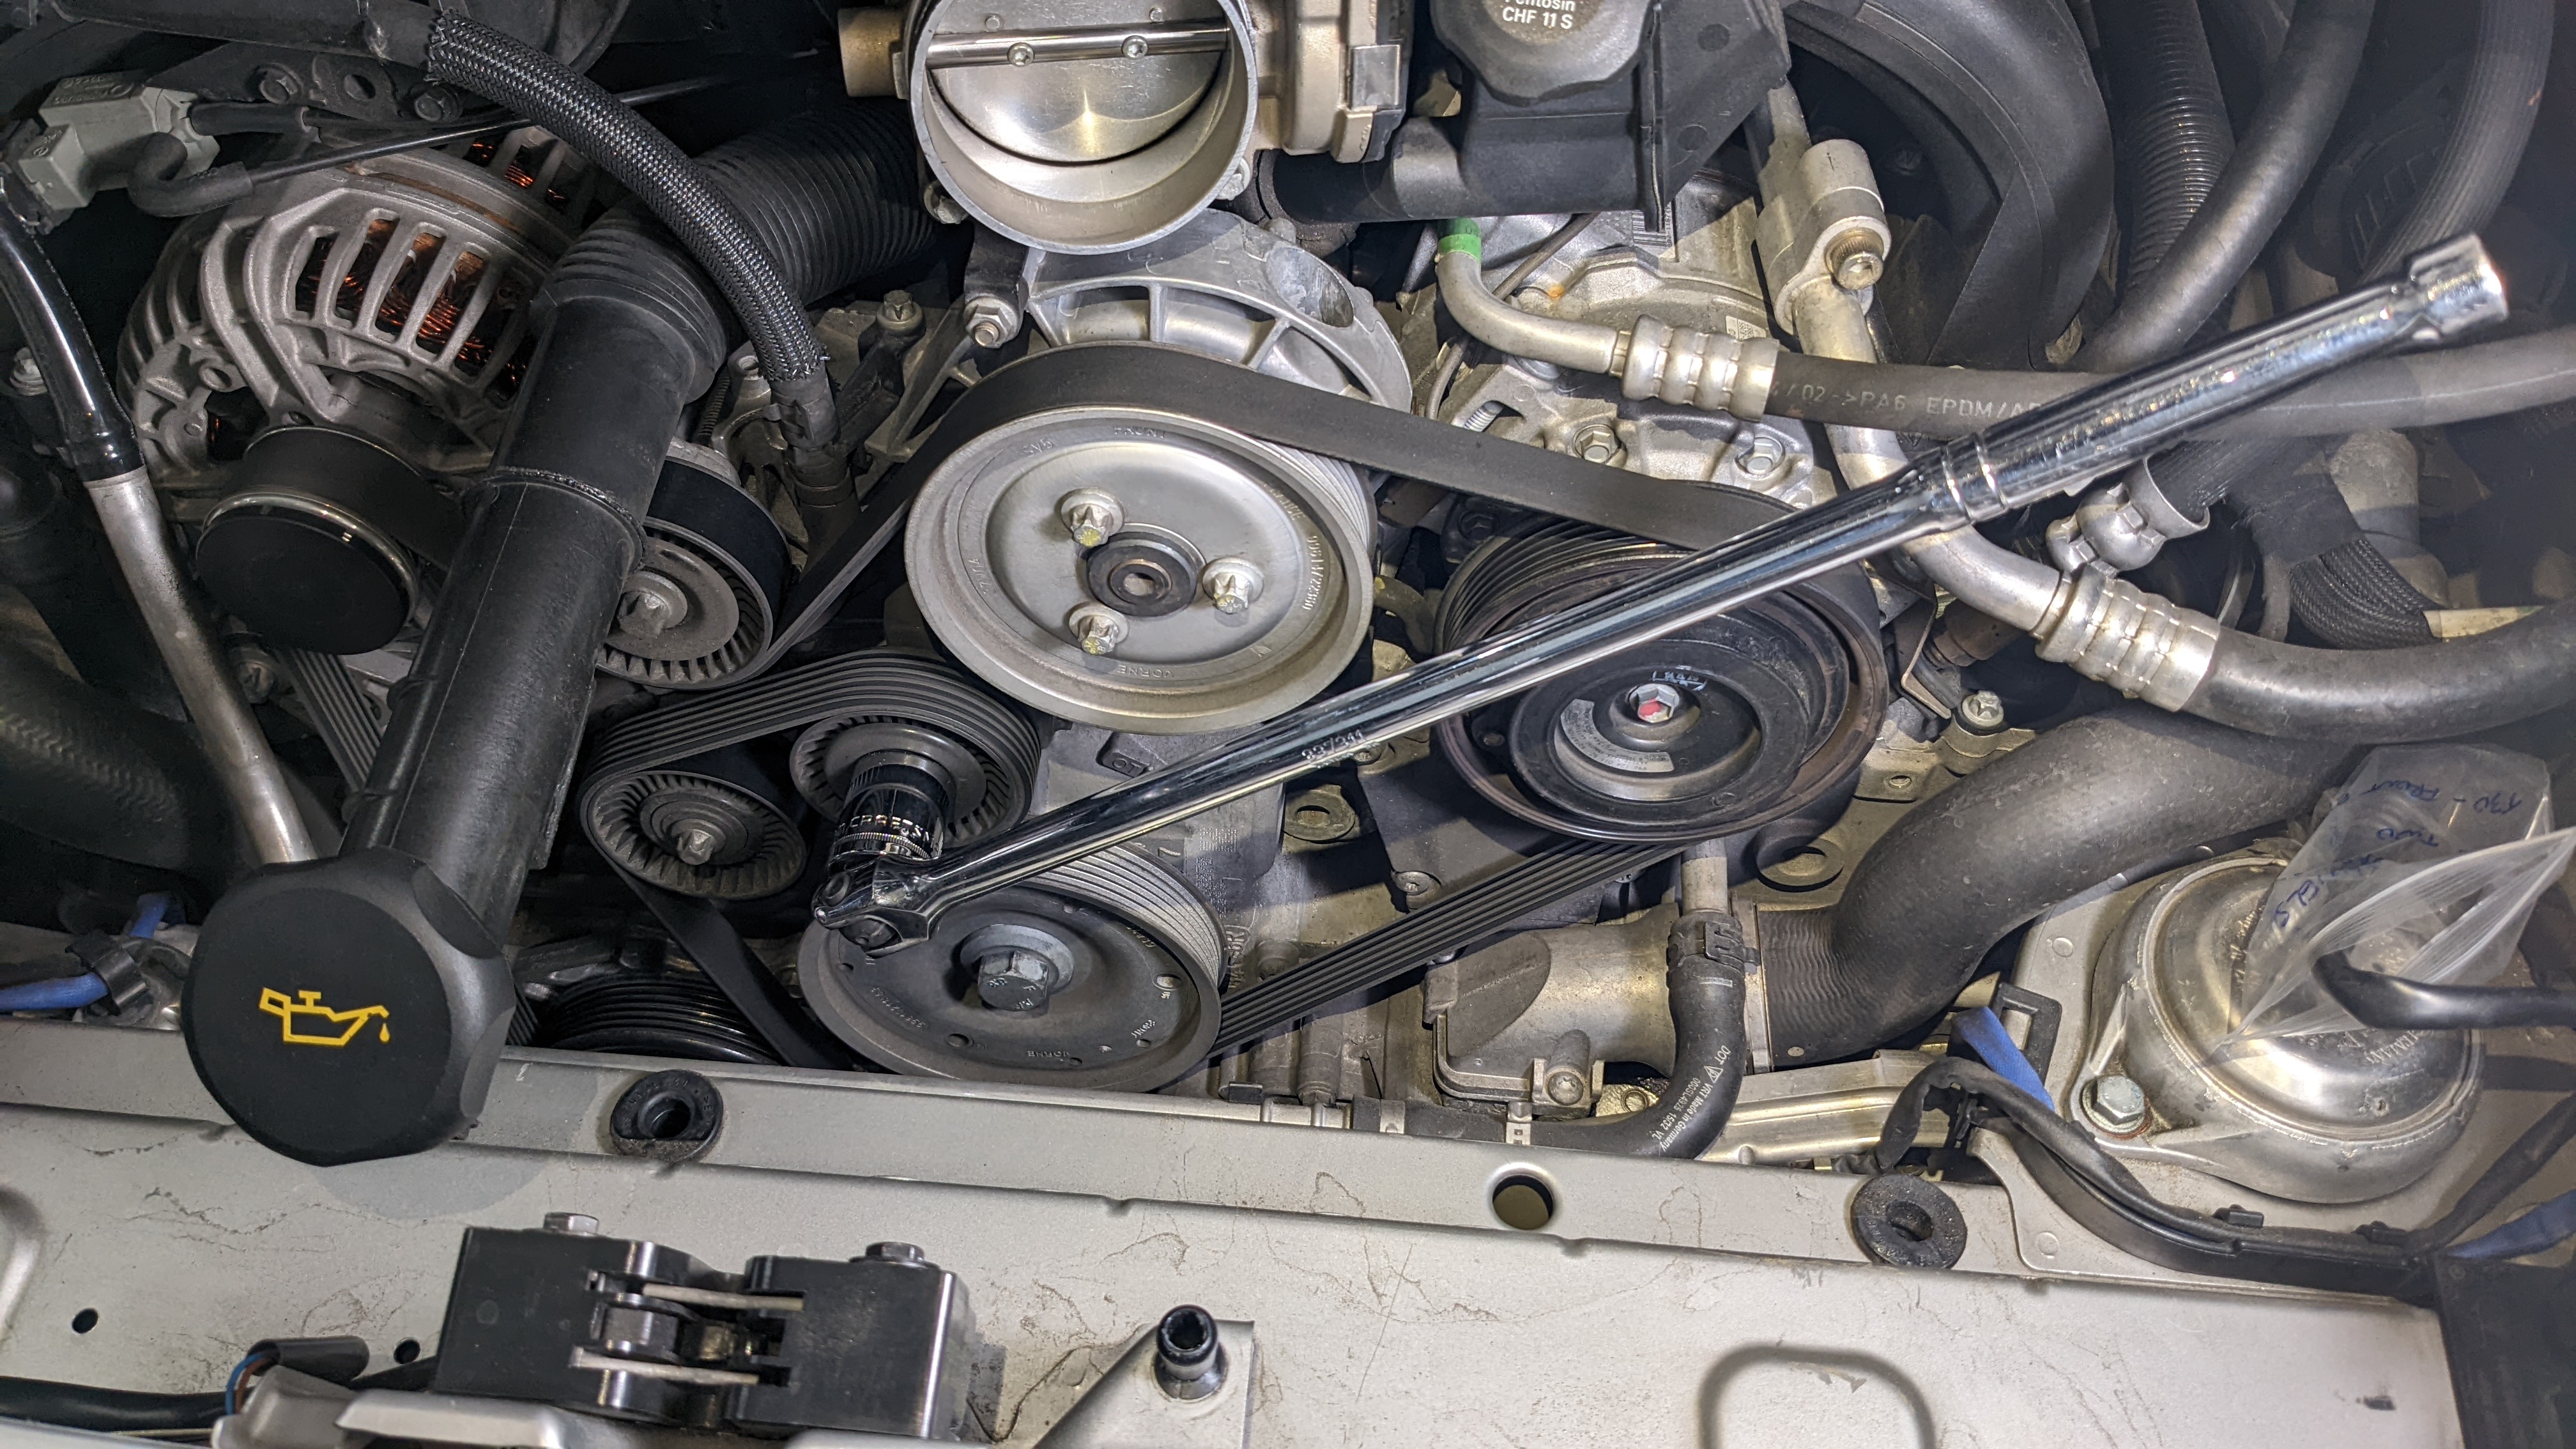
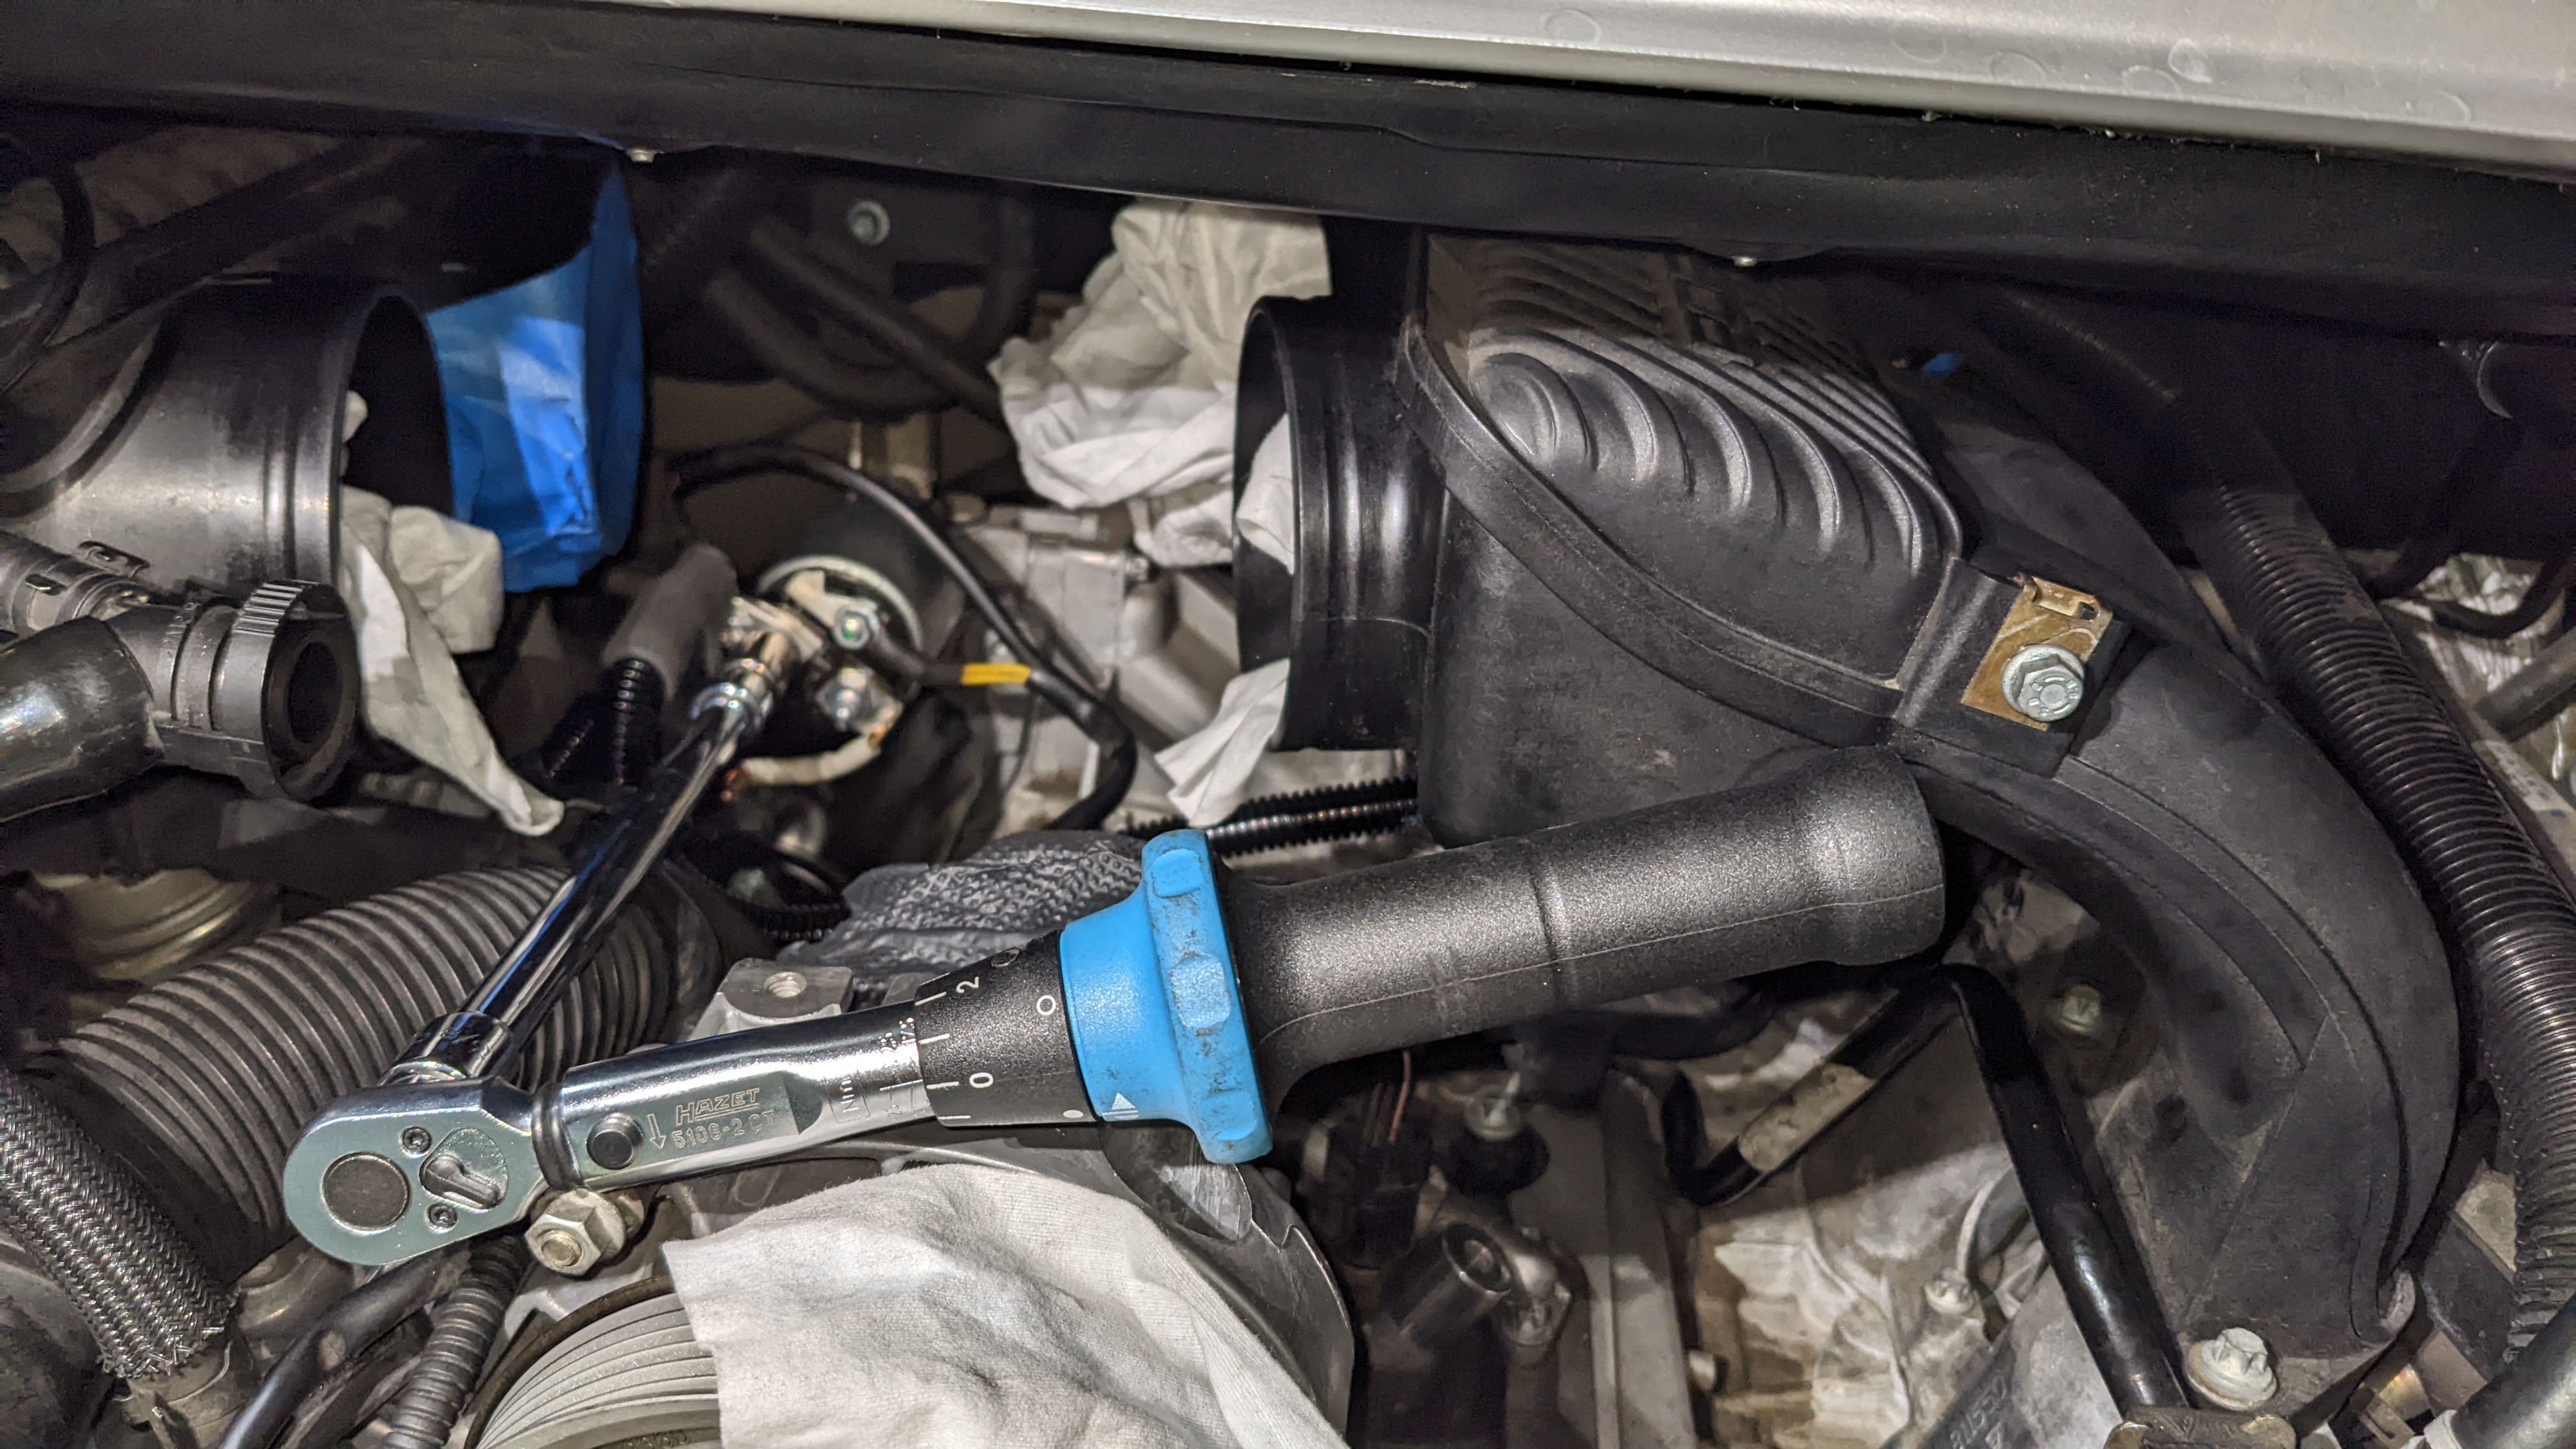
Serpentine belt withdrawn with a 24mm socket on the tensioner.
Throttle body be gone.

Sucked out what I could from the PS fluid reservoir, then removed it as well.
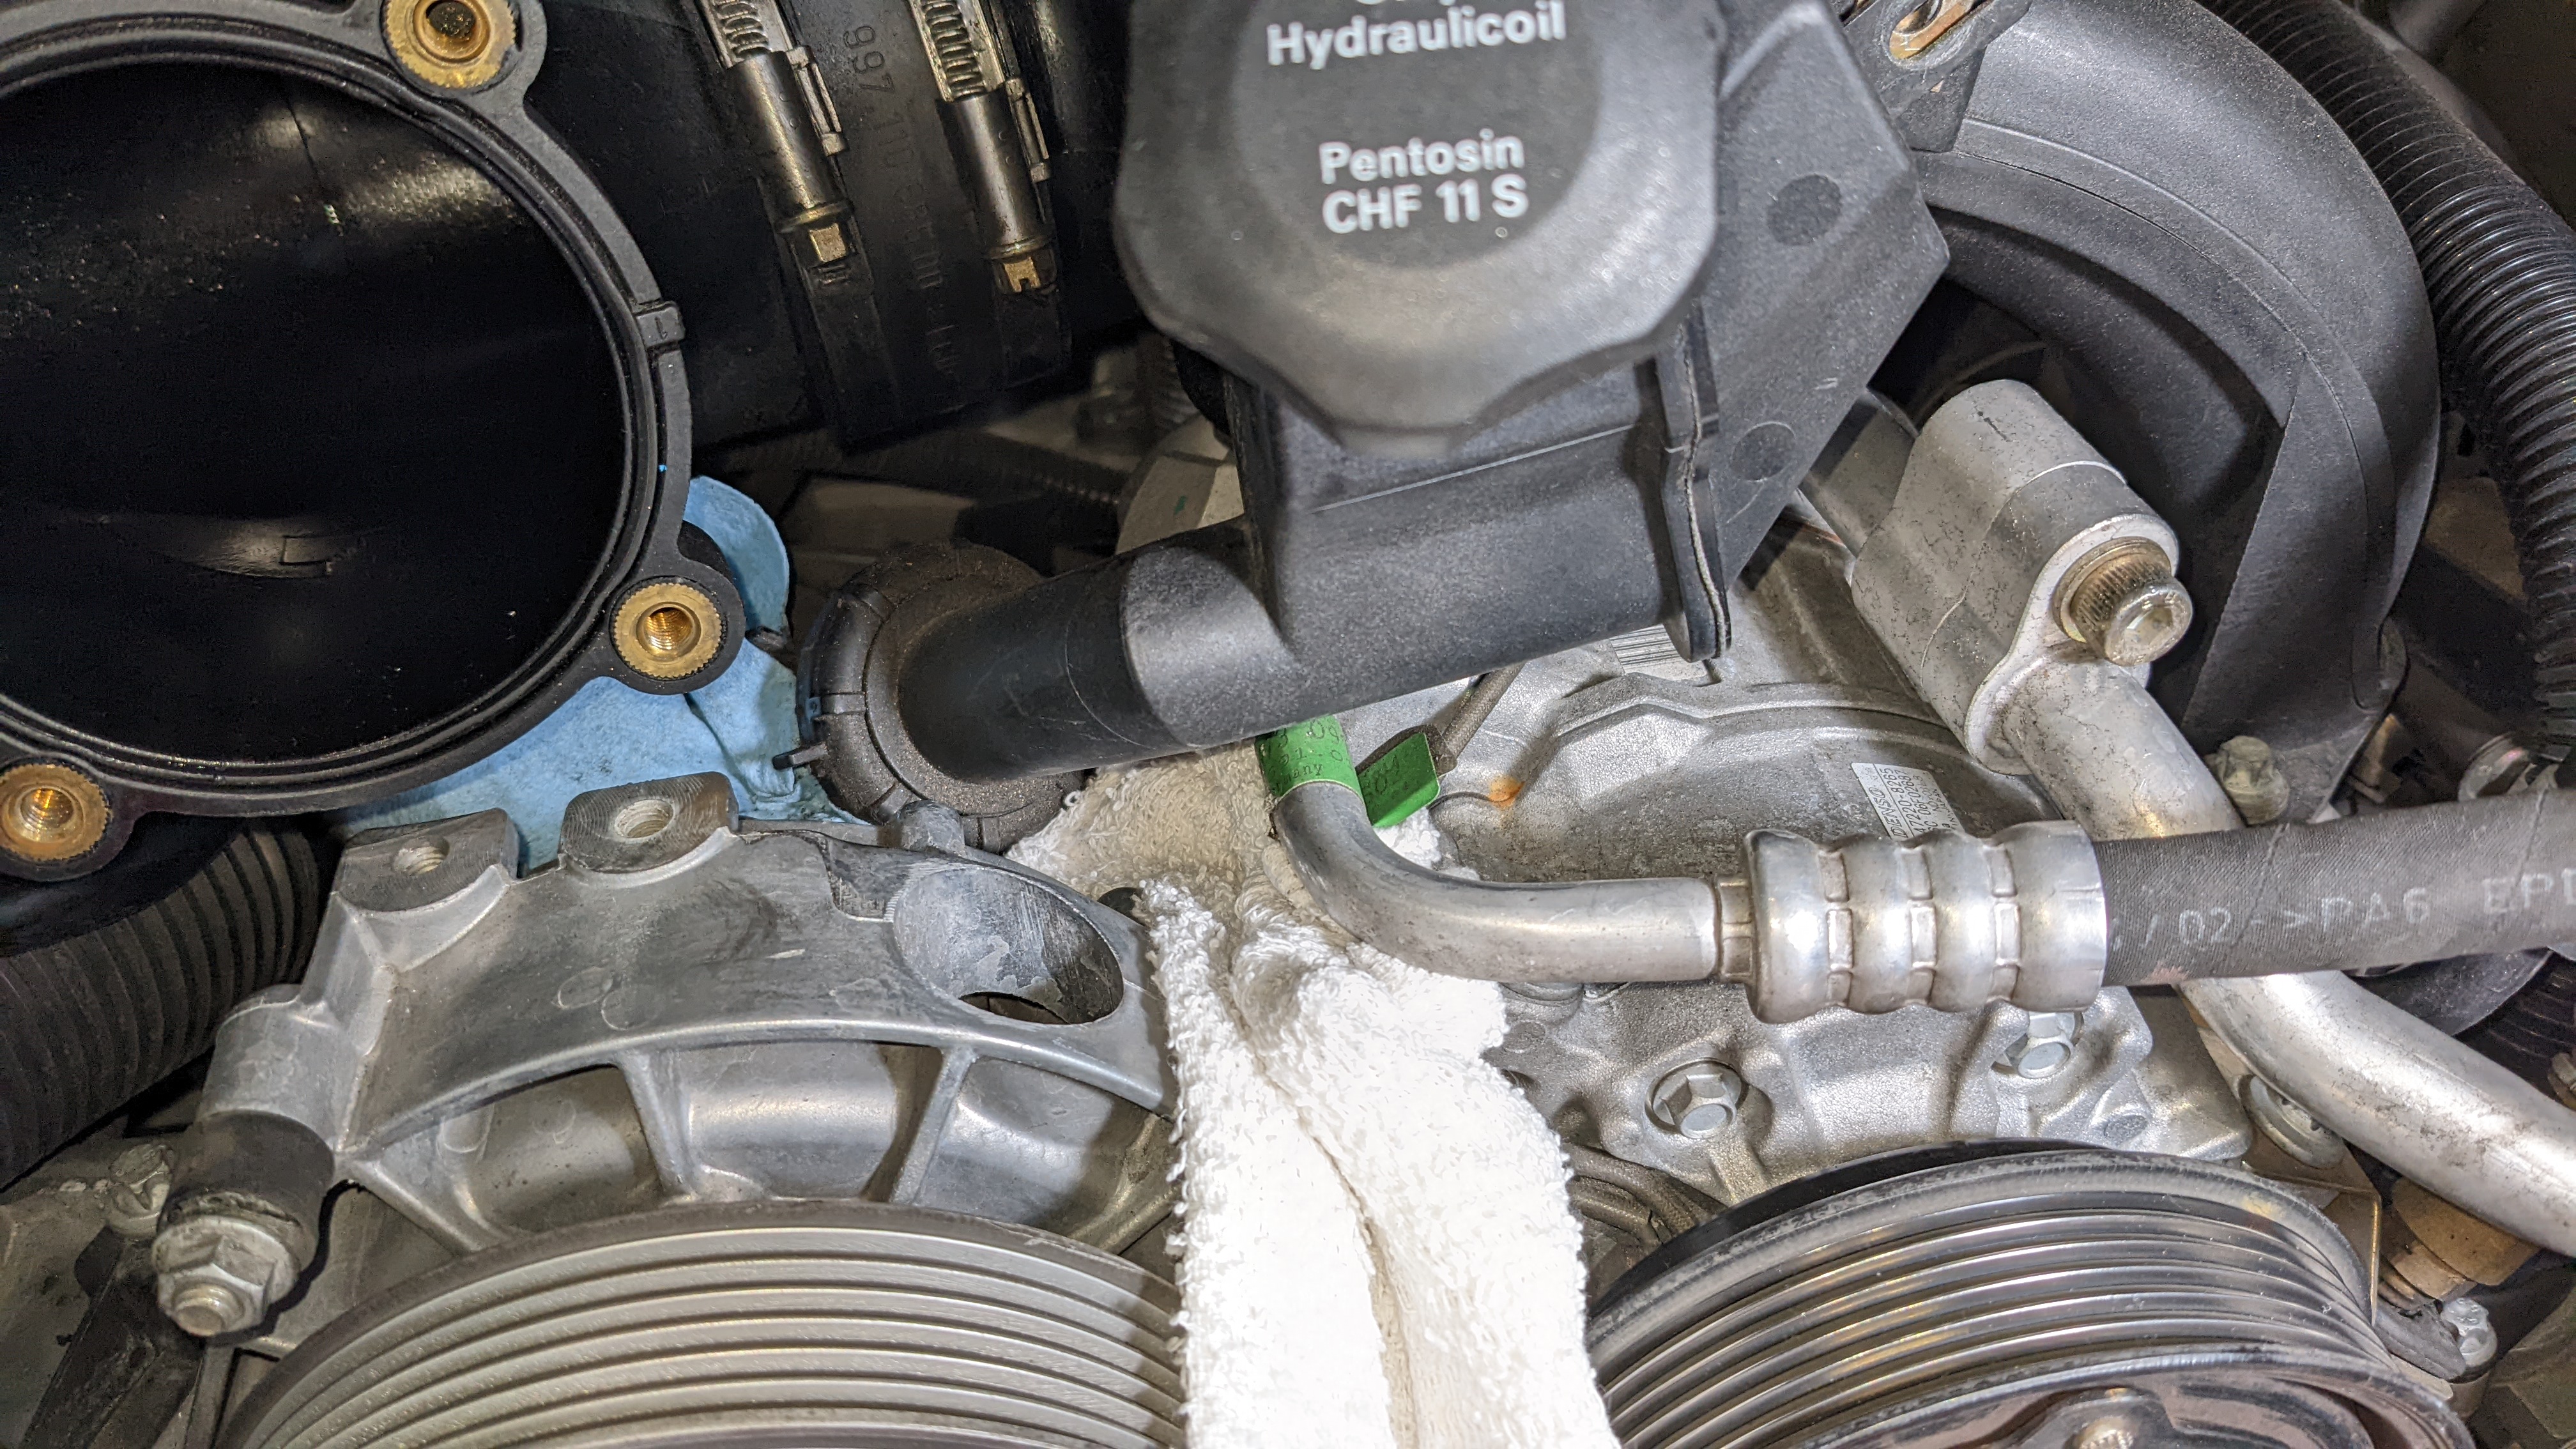
The rubber sleeves on the distributor pipe were really stuck on there and took some persuasion to loosen.
Removing the alternator required putting the bolt back in and giving it some love taps to break the rear bushing free.

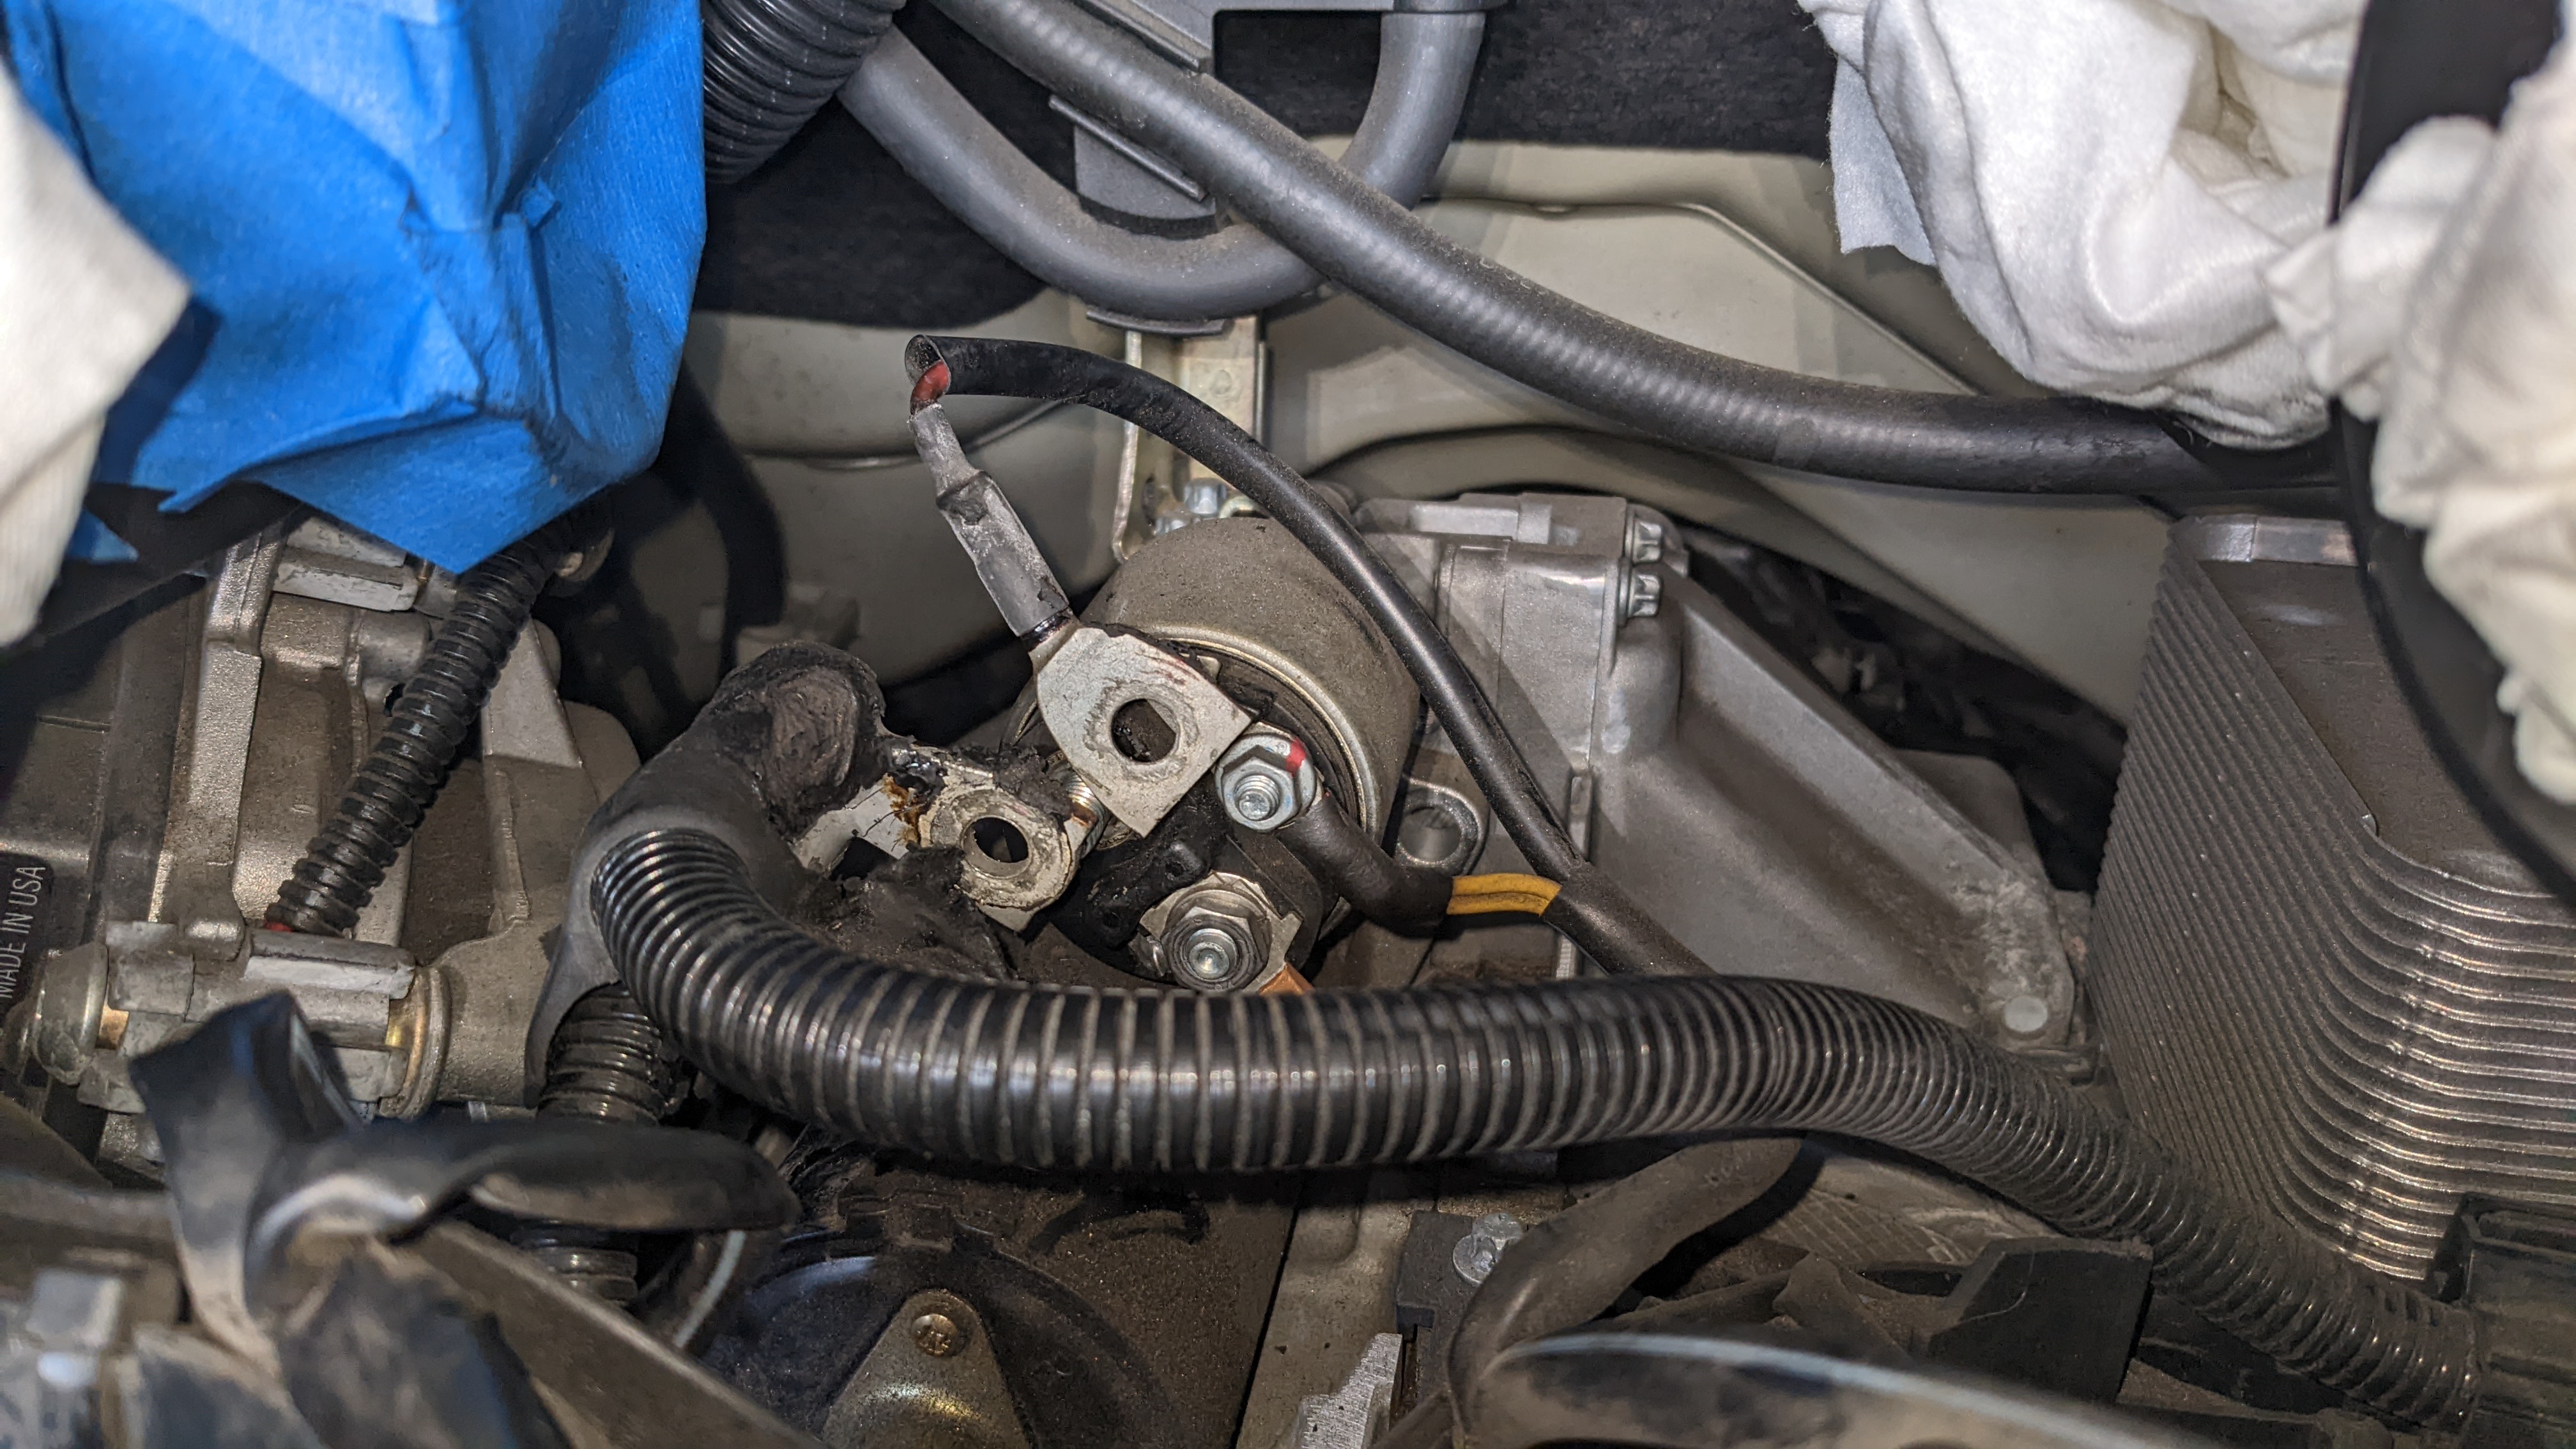
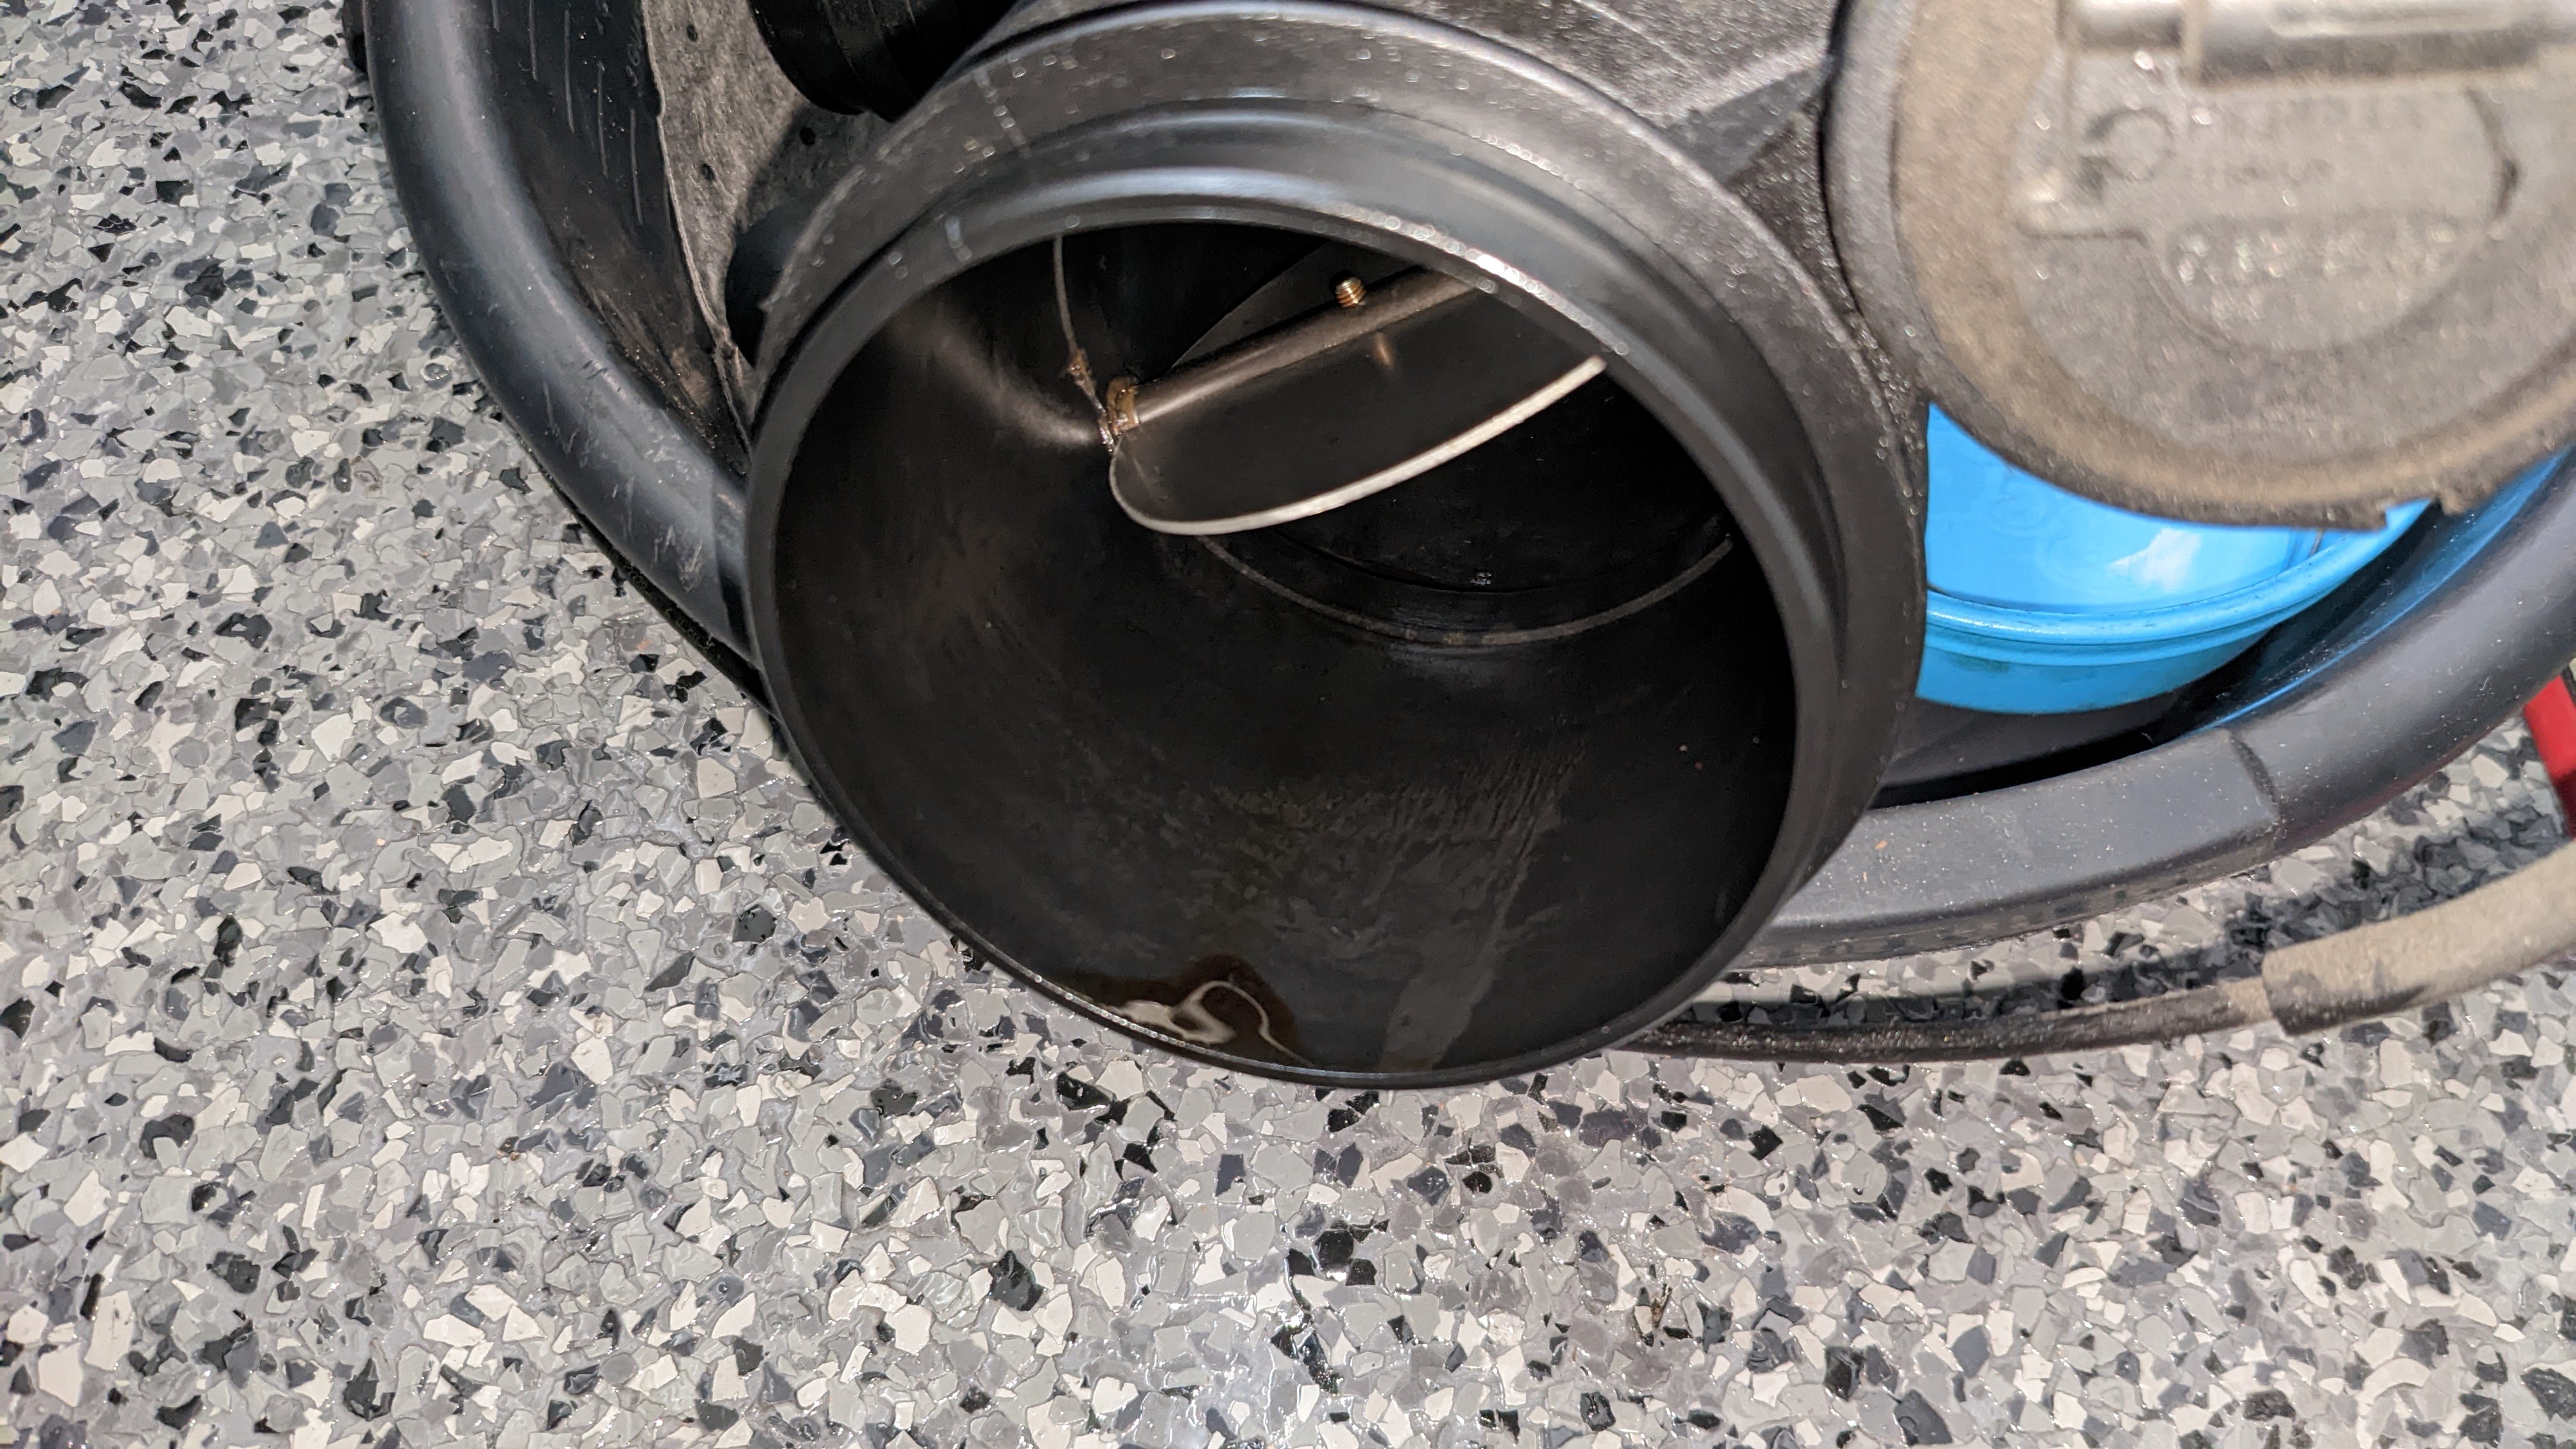
With everything out of the way, I take a good look inside aaaaaaaaand yup, we've found the problem.
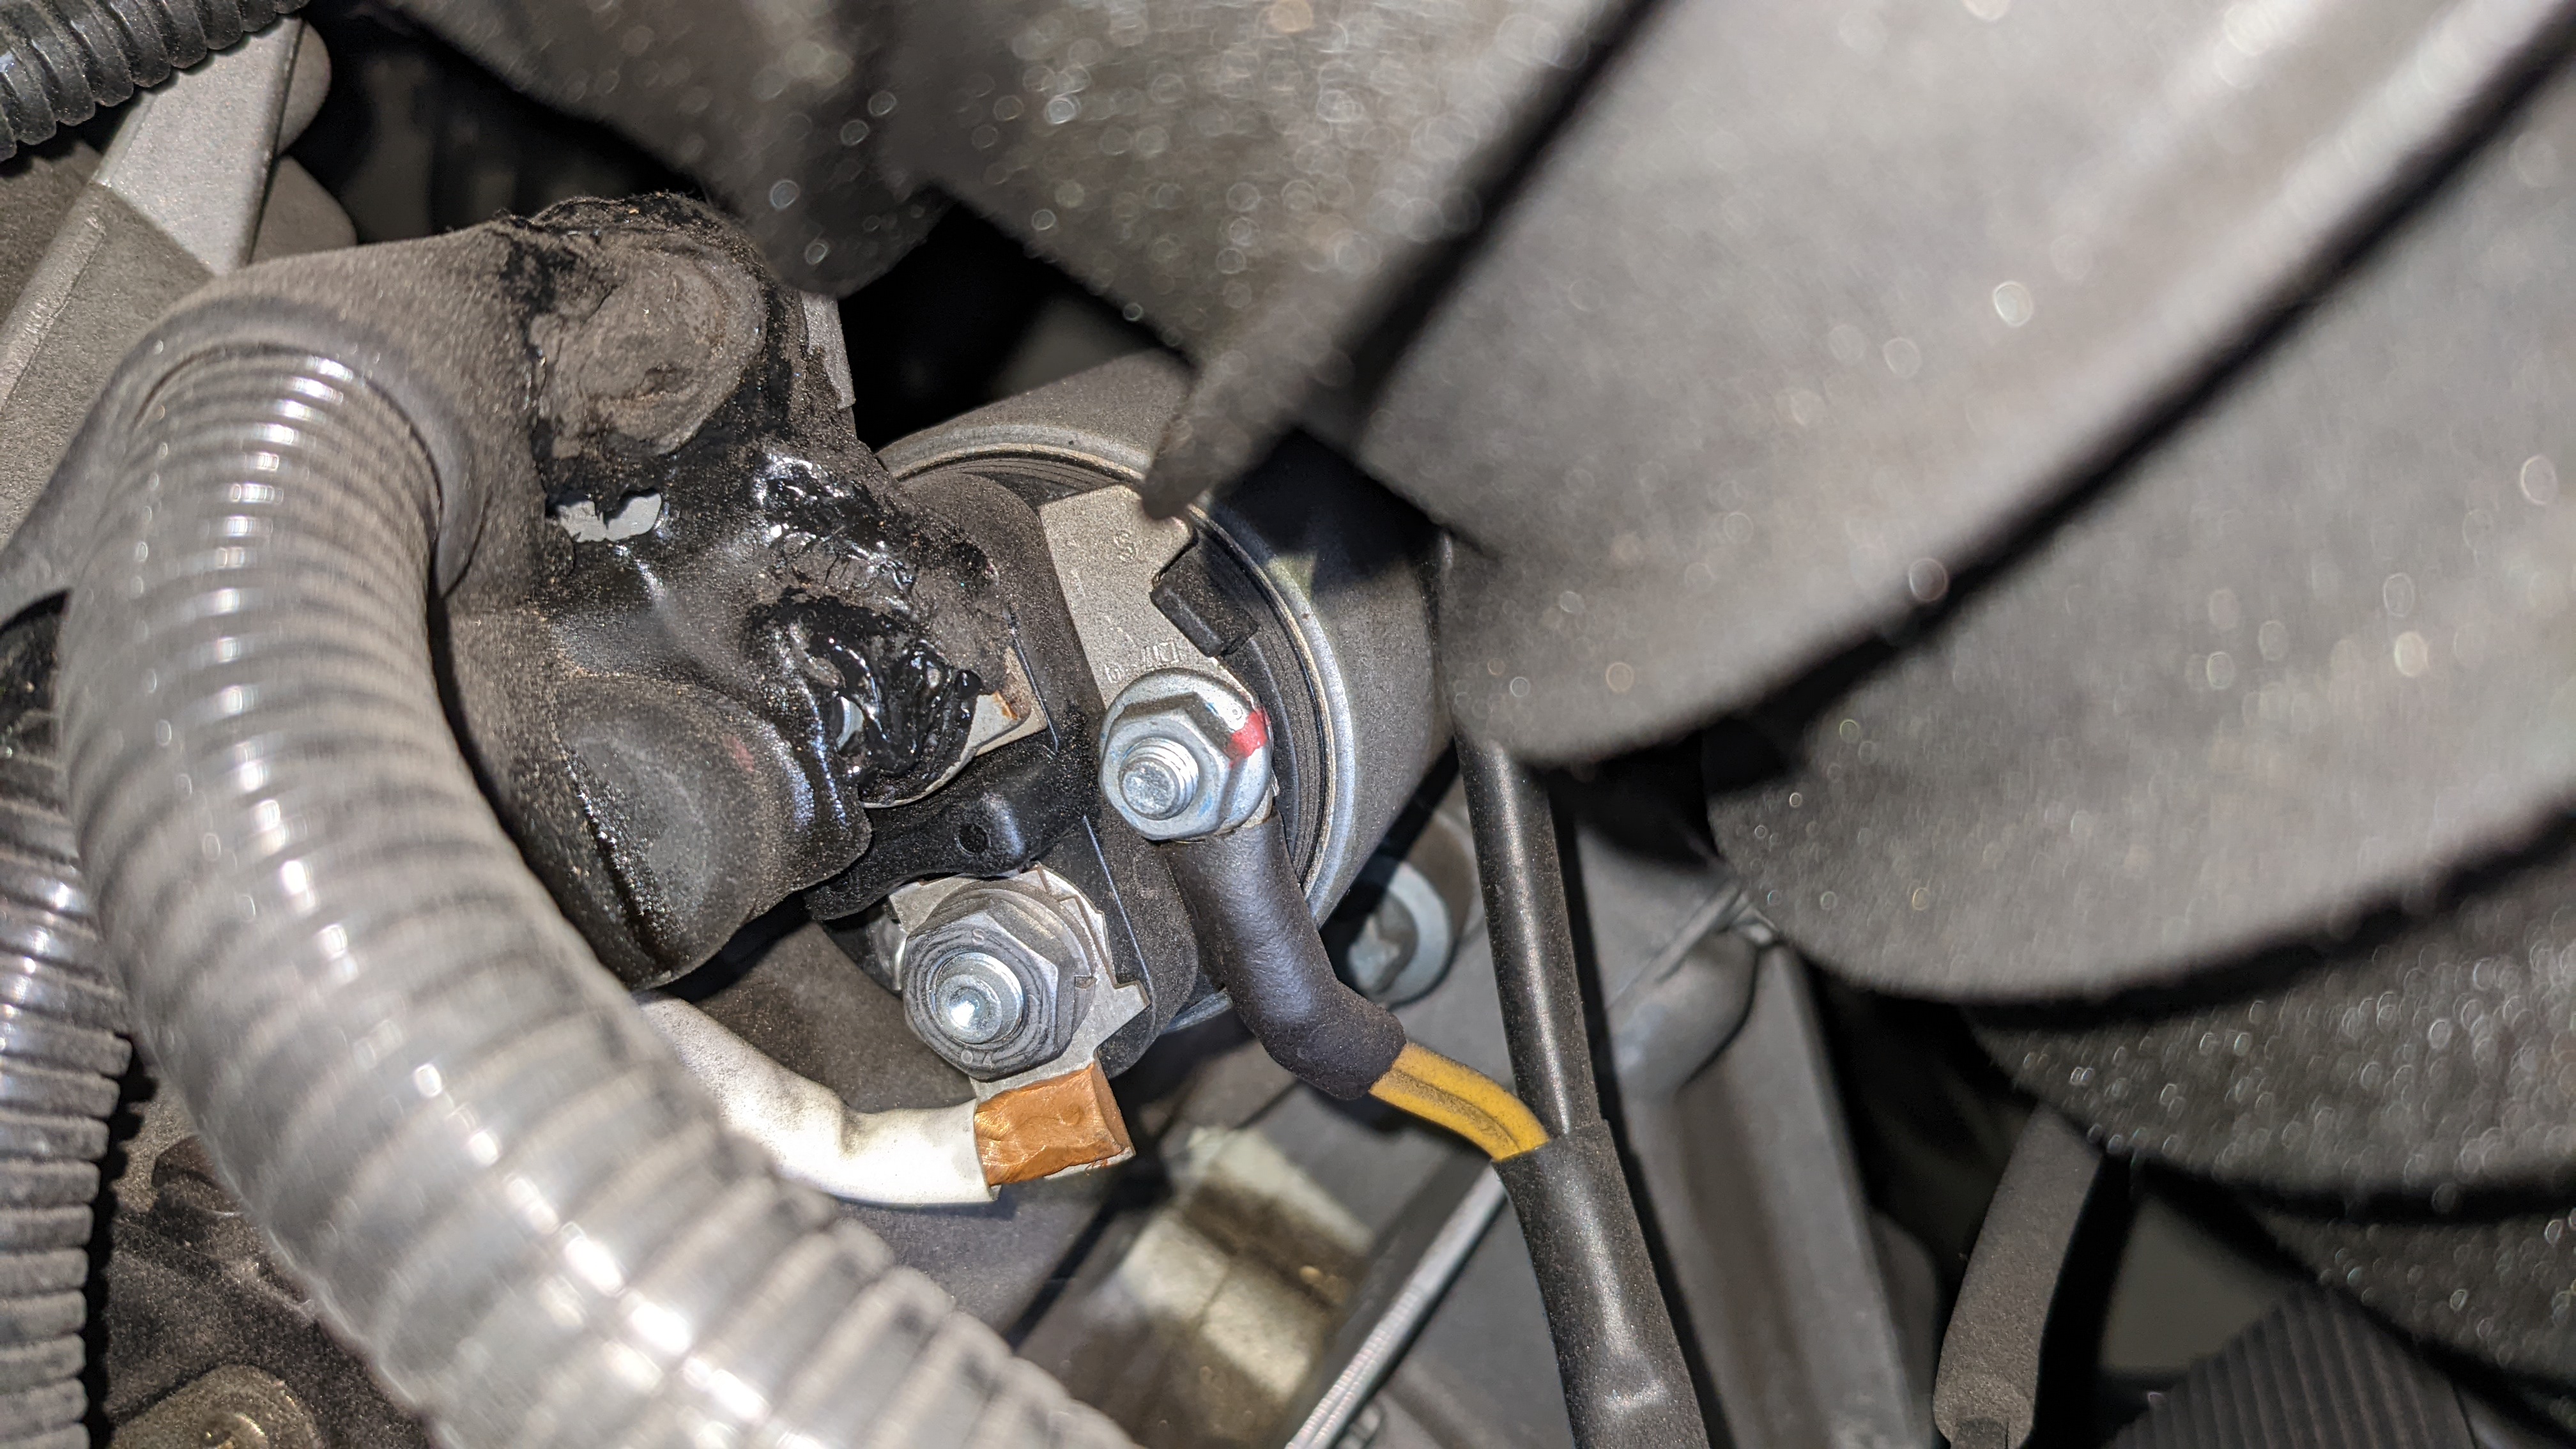
Not surprised of course. I had a feeling this was the issue based on my research and made sure to park the car in a position where I can roll my QuickJack underneath and raise it to do the cable swap.
I was able to remove the 2 E14 bolts with 24" of wobble extensions and universal joints.
That's where I left things for now. I think I'm also going to replace the starter, verify the alternator is still good, and with a new battery, I should be in tip-top shape after this.
Air box removed.
Serpentine belt withdrawn with a 24mm socket on the tensioner.
Throttle body be gone.
Sucked out what I could from the PS fluid reservoir, then removed it as well.
The rubber sleeves on the distributor pipe were really stuck on there and took some persuasion to loosen.
Removing the alternator required putting the bolt back in and giving it some love taps to break the rear bushing free.
With everything out of the way, I take a good look inside aaaaaaaaand yup, we've found the problem.
Not surprised of course. I had a feeling this was the issue based on my research and made sure to park the car in a position where I can roll my QuickJack underneath and raise it to do the cable swap.
I was able to remove the 2 E14 bolts with 24" of wobble extensions and universal joints.
That's where I left things for now. I think I'm also going to replace the starter, verify the alternator is still good, and with a new battery, I should be in tip-top shape after this.
03-22-2022, 03:52 PM
#35
Rennlist Member
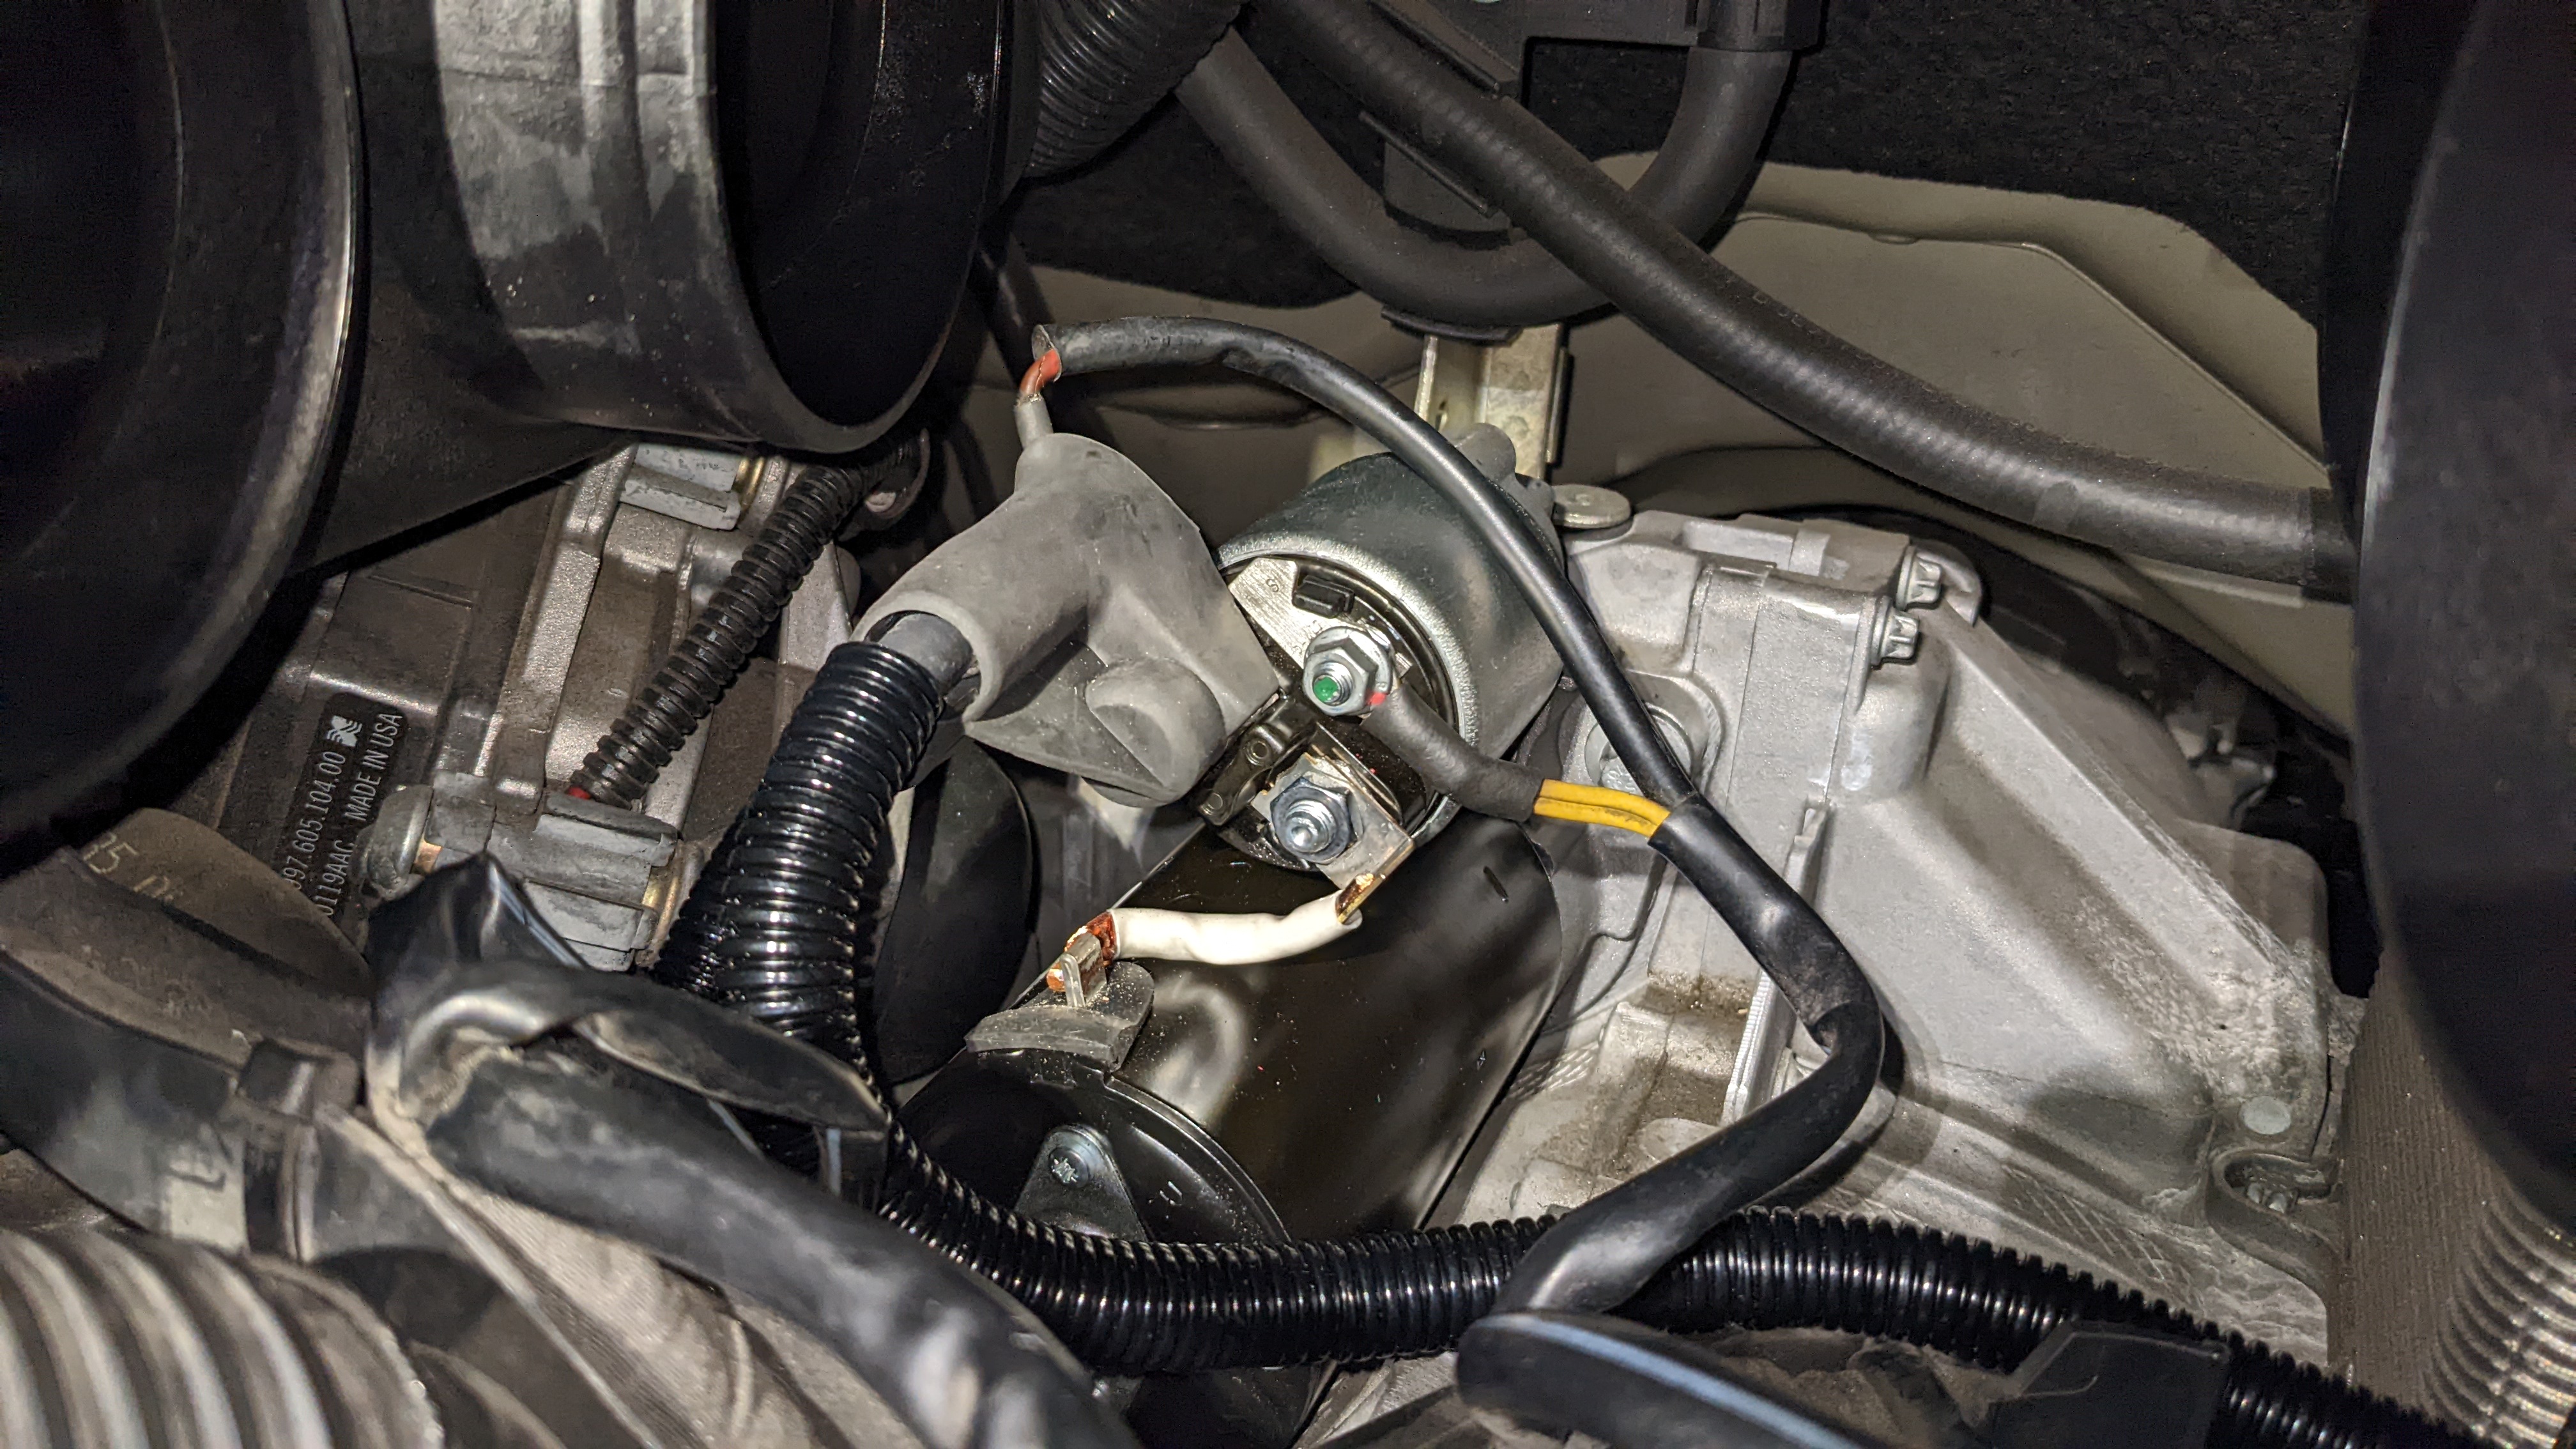
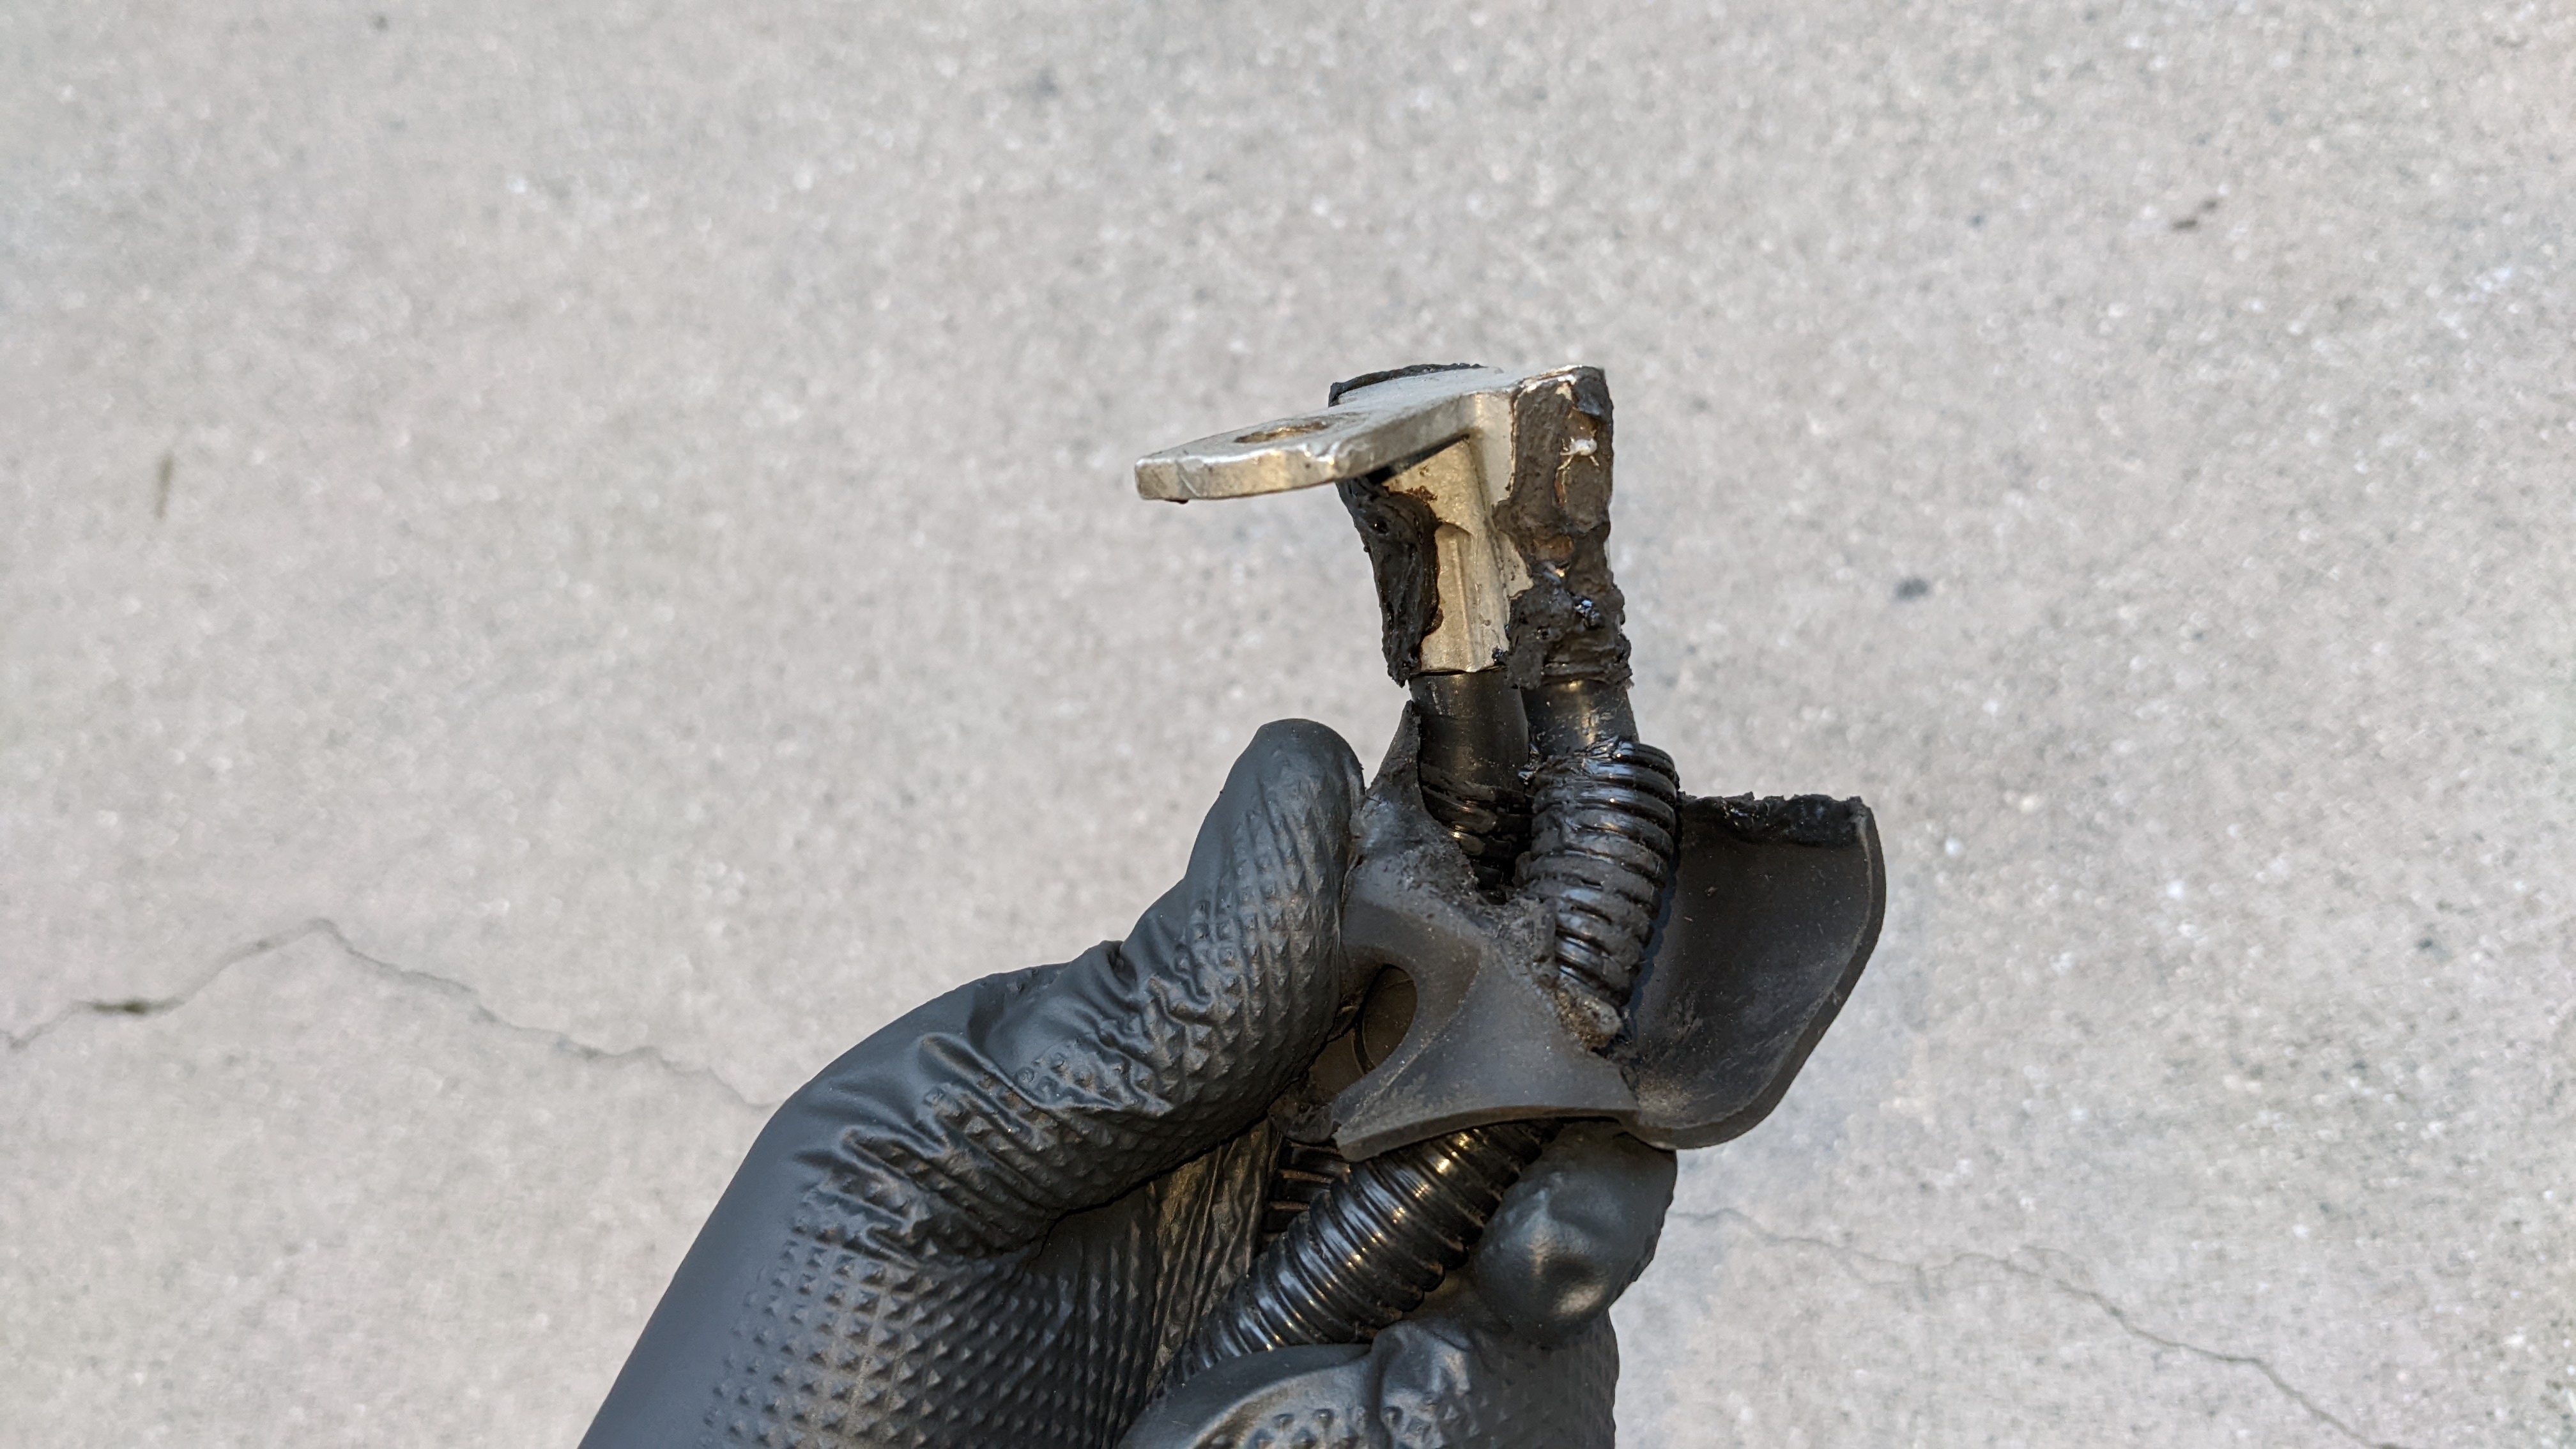
Wow nice find - Those wires/connections look like a melted mess.
03-28-2022, 12:02 AM
#36
Rennlist Member
Thread Starter
Progress has been made.
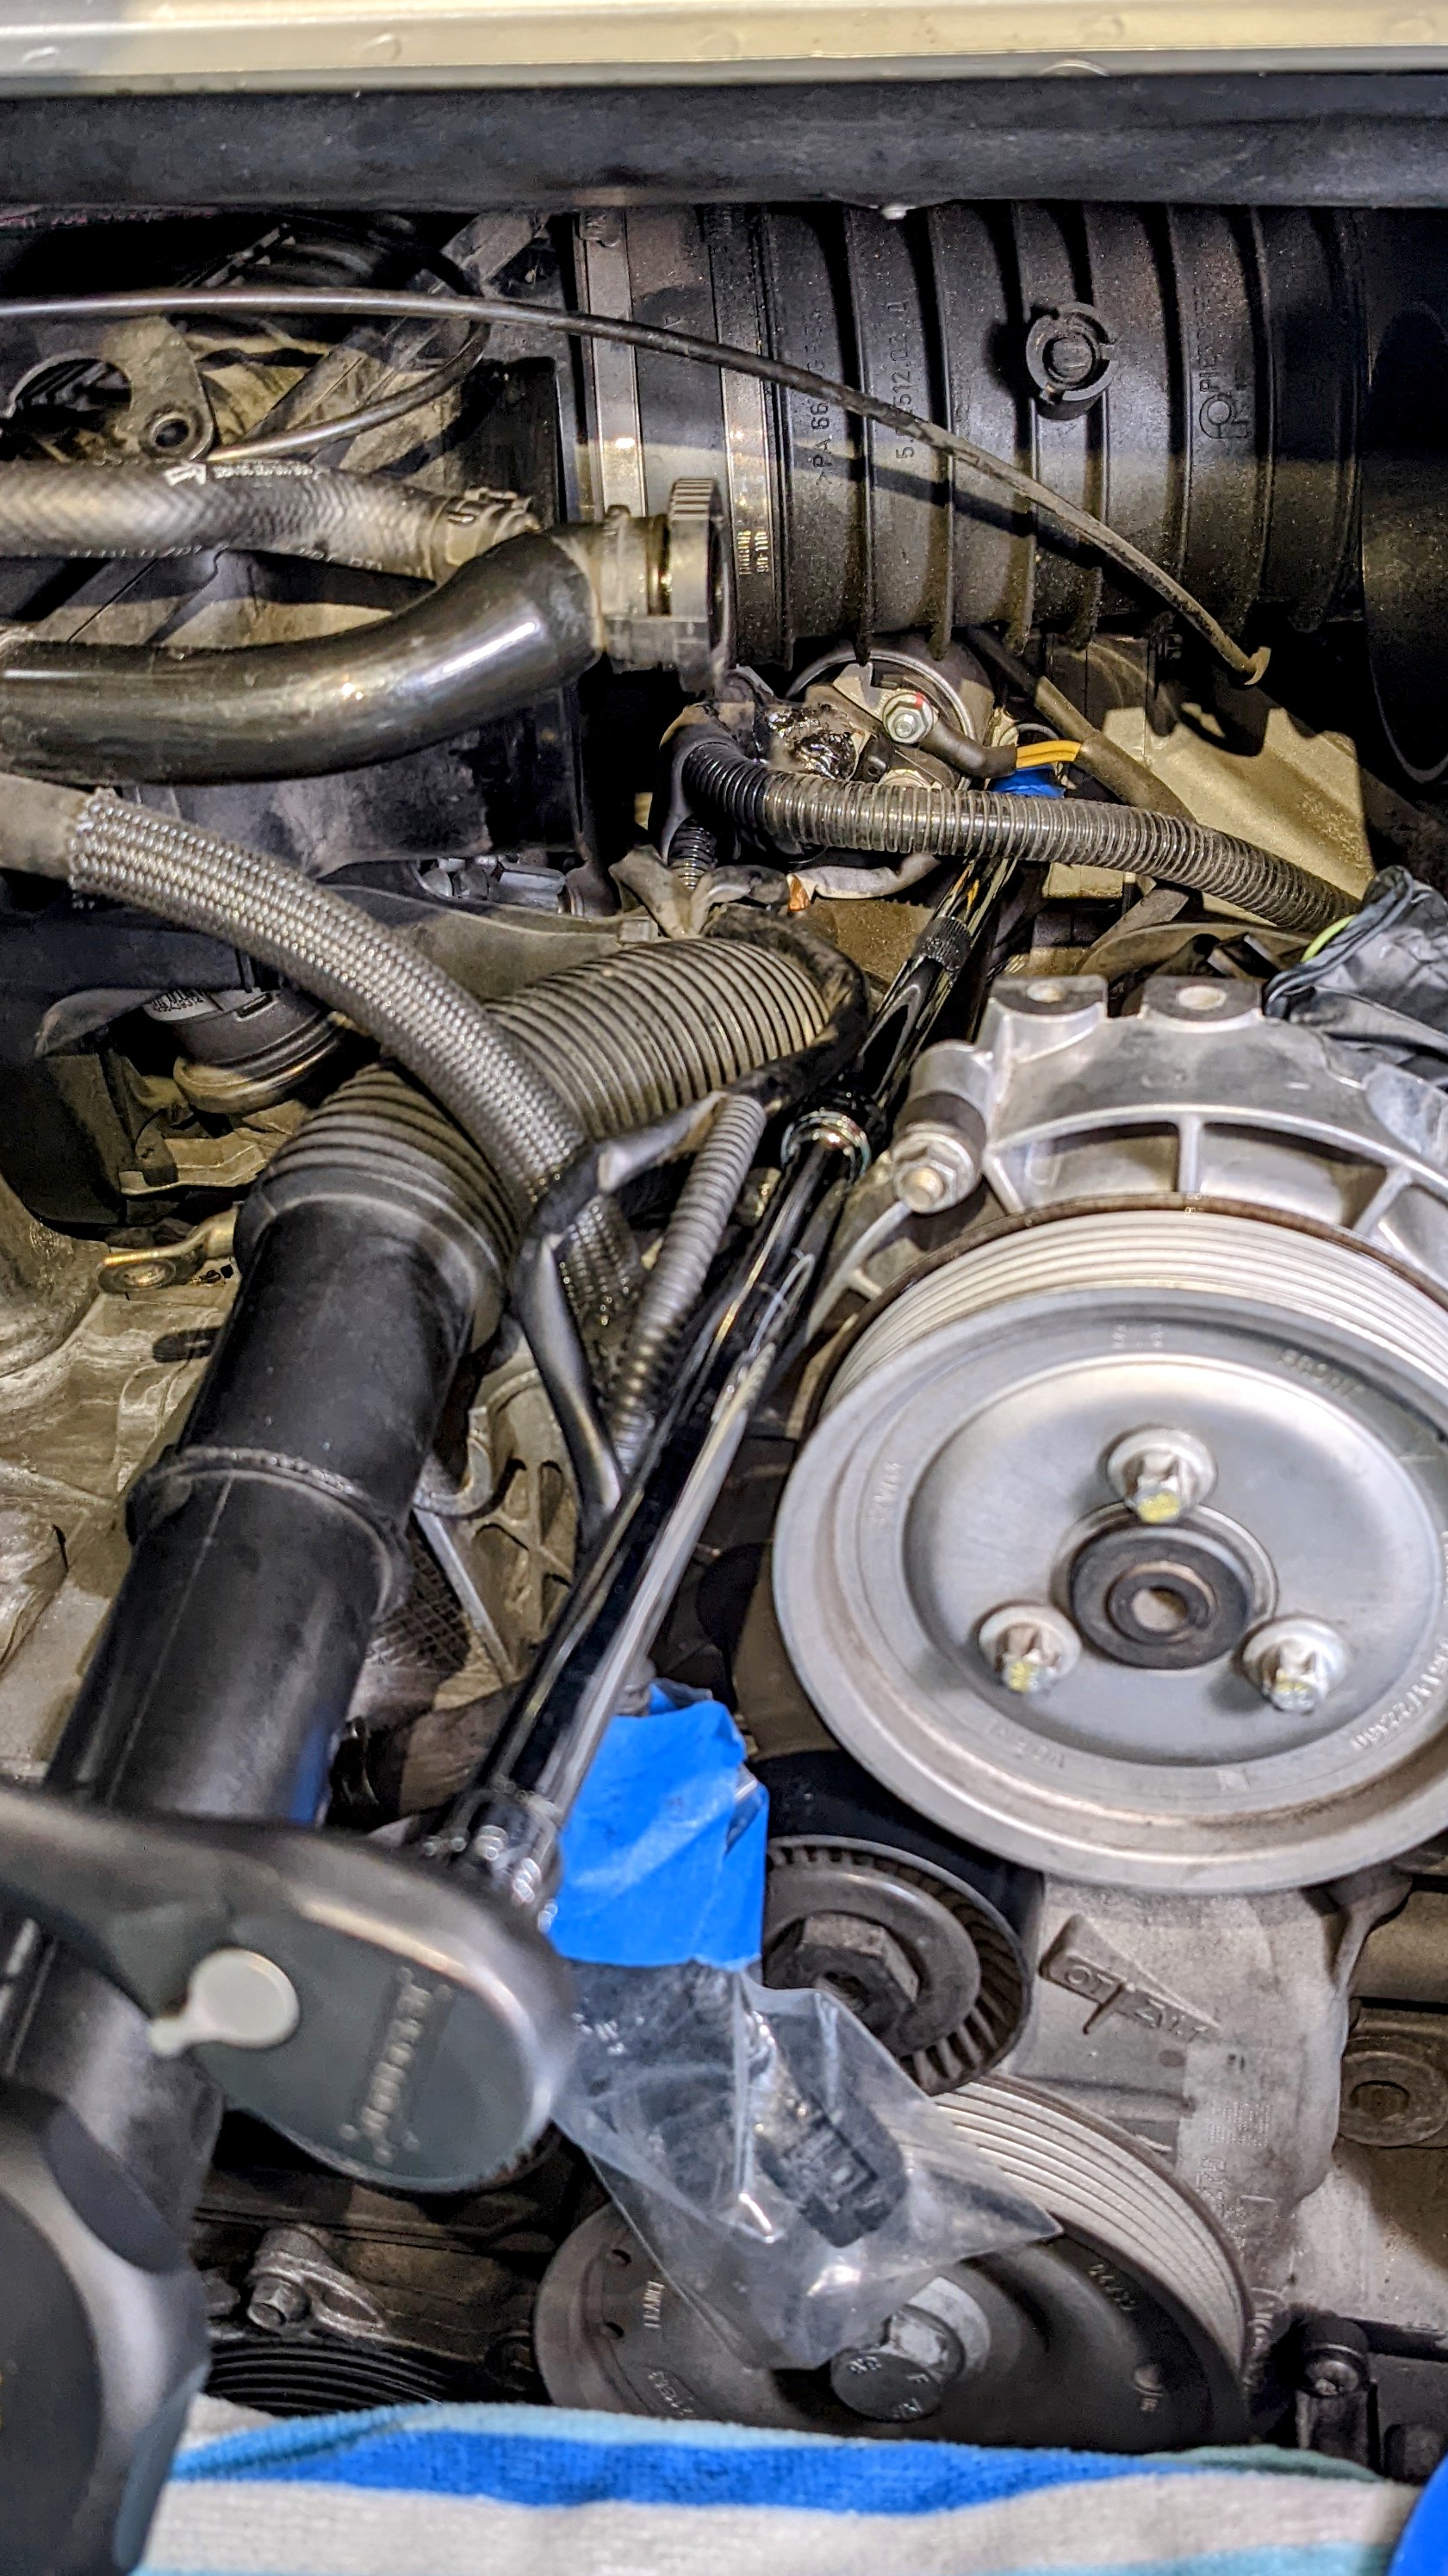
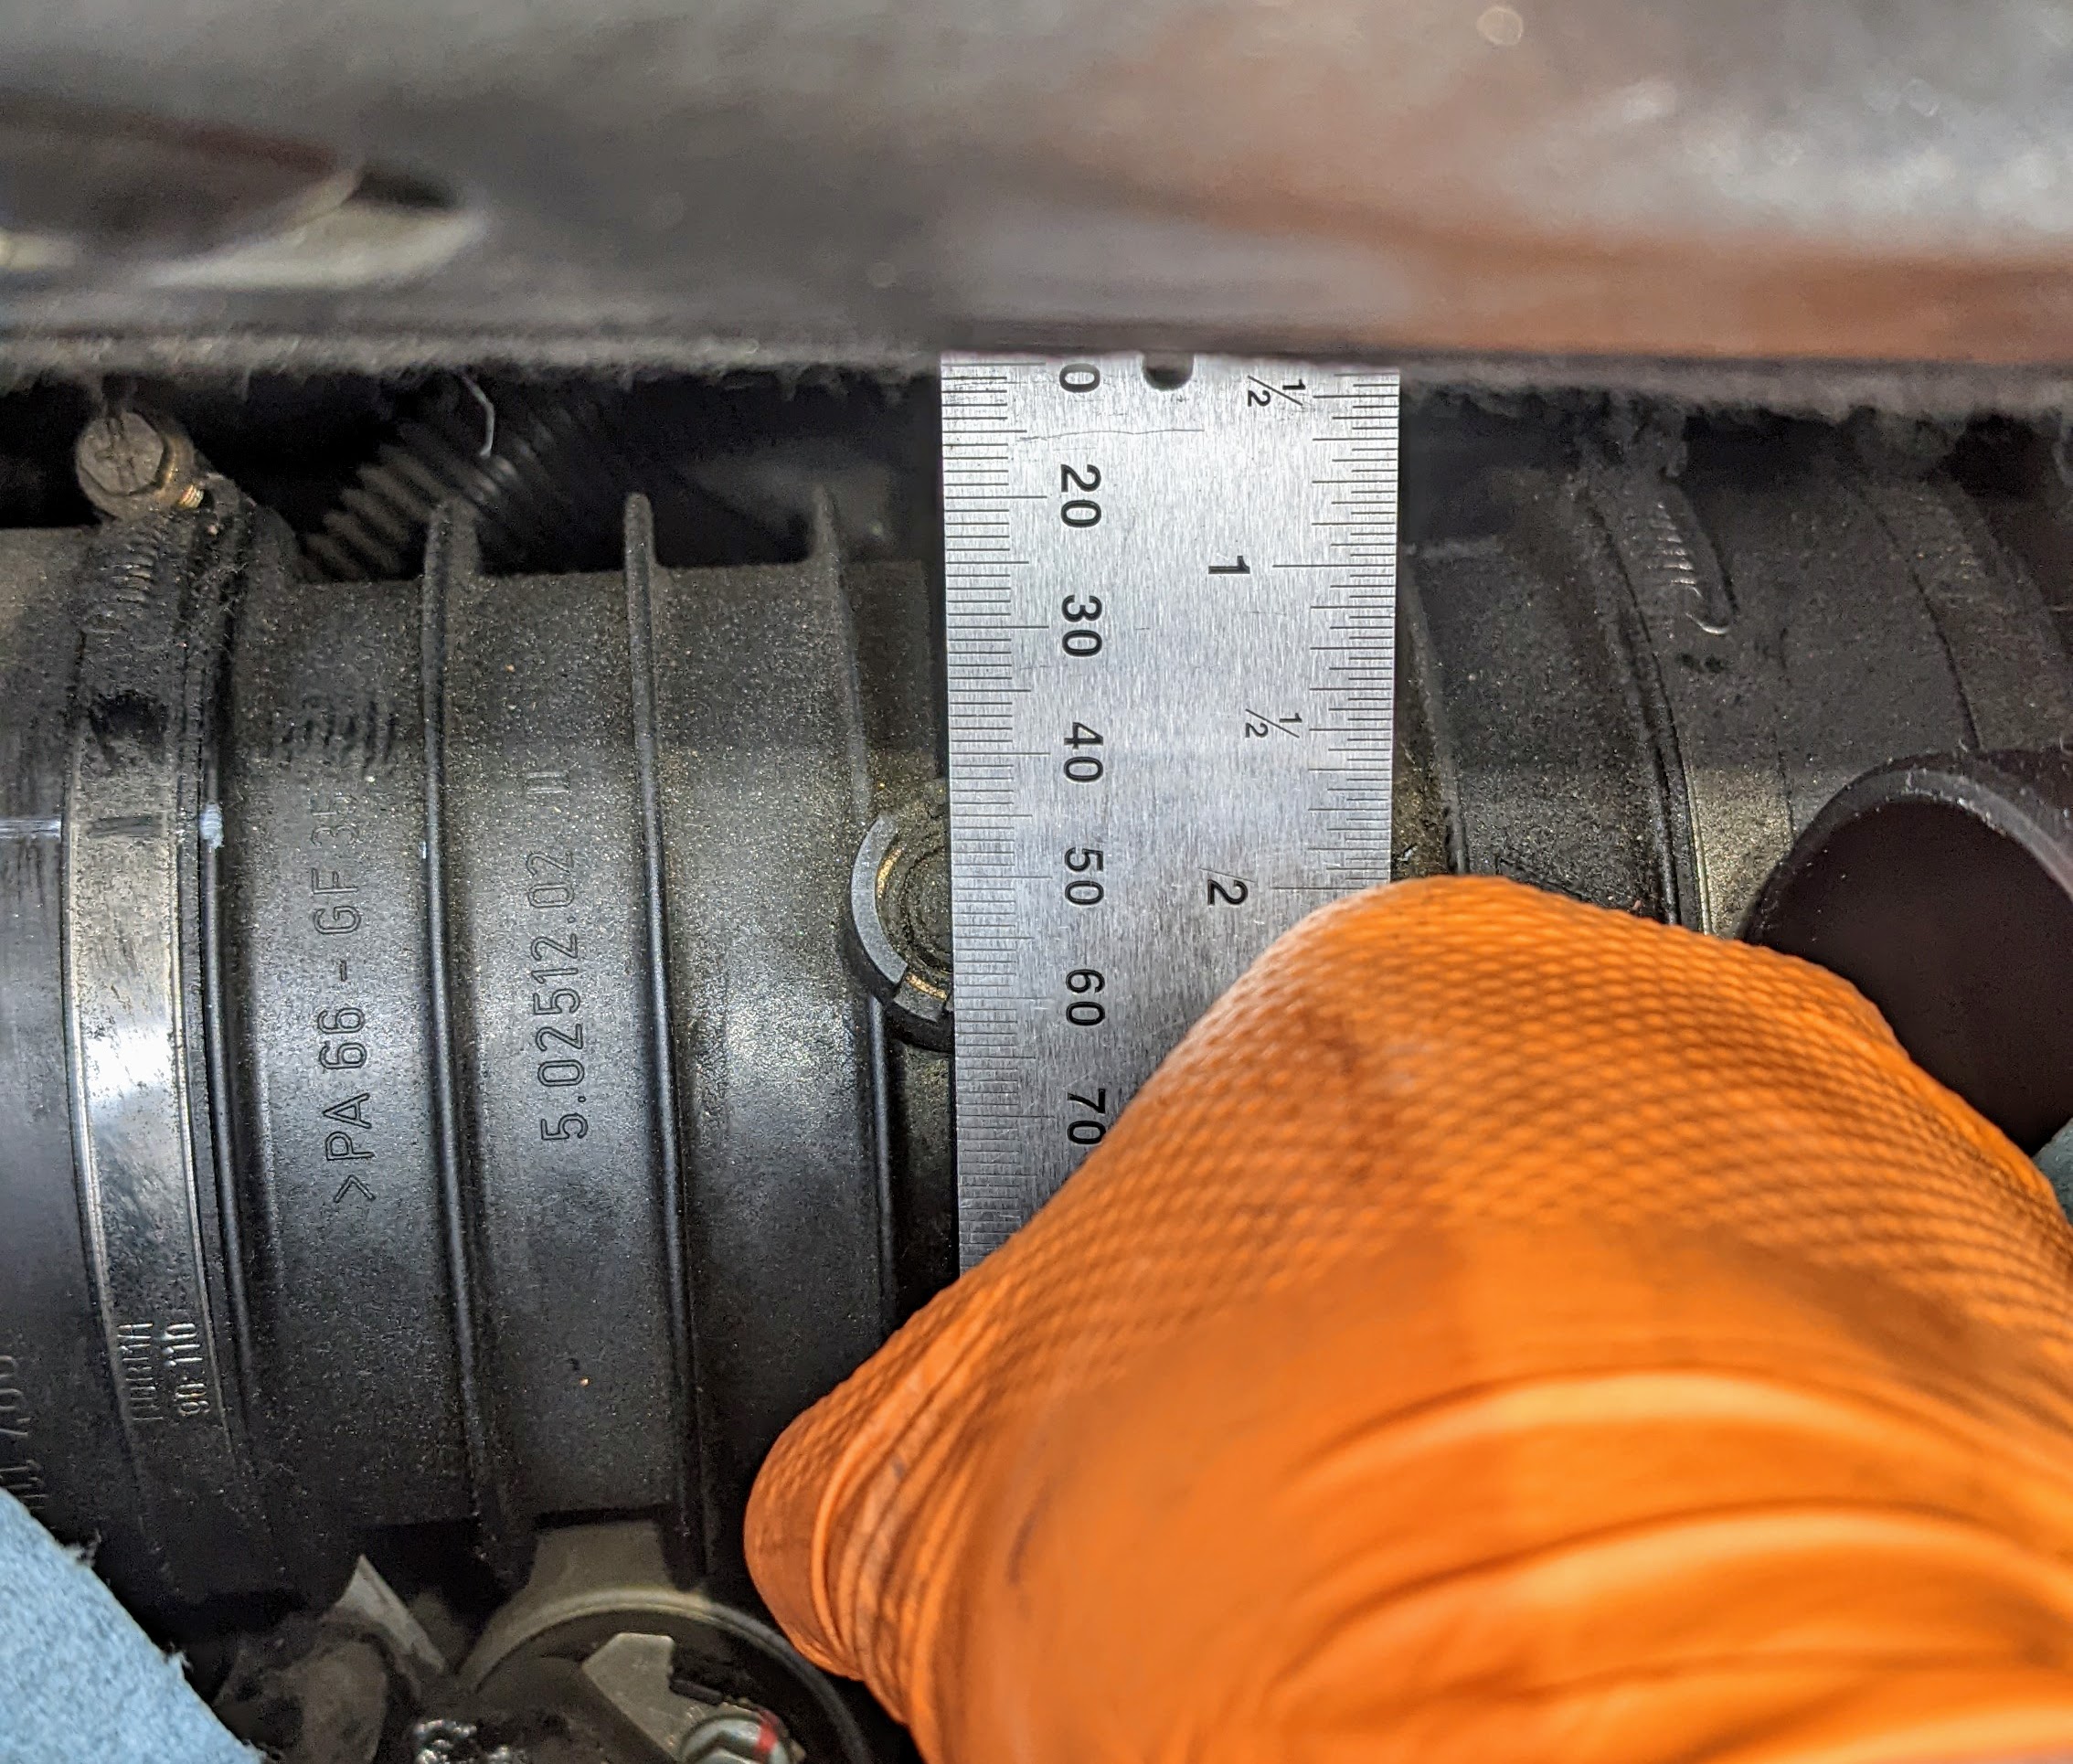
Started off with a measurement to record the position of the tuning pipe for reinstallation before I removed it.
Removed the wires from the starter.
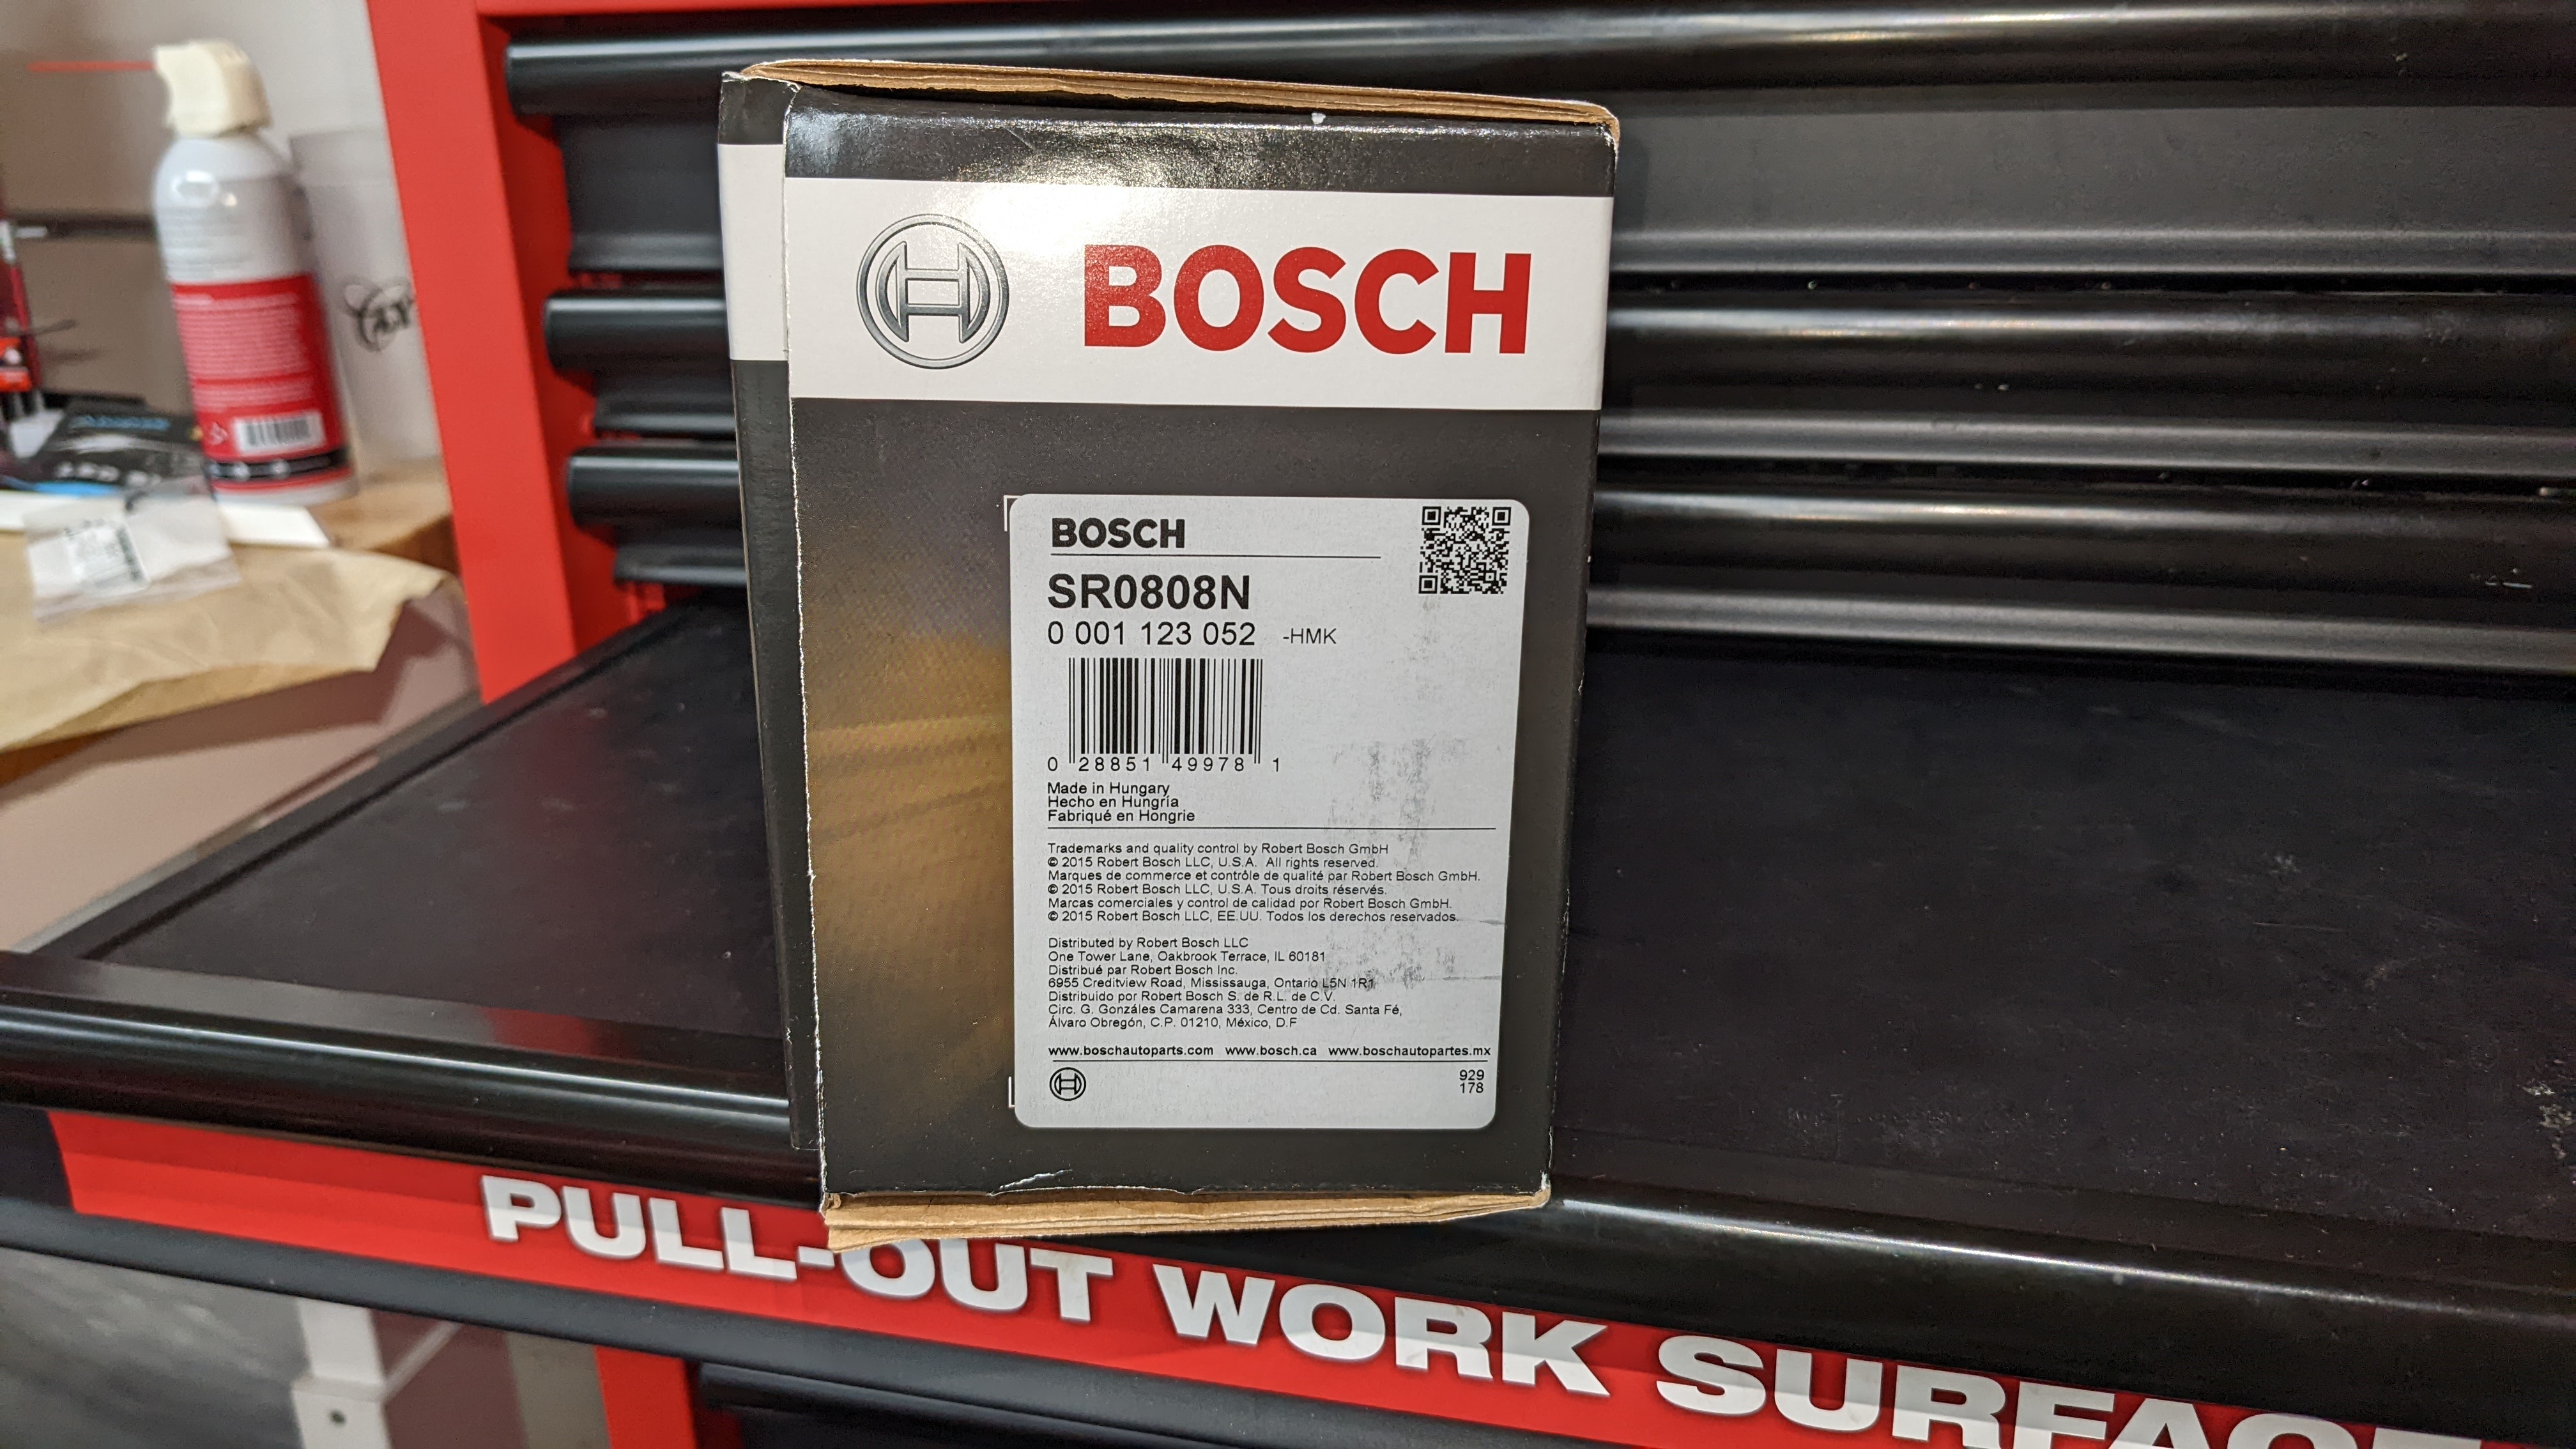
Date code means it's already been replaced. I'll hold onto it for now.

New unit ready to go.
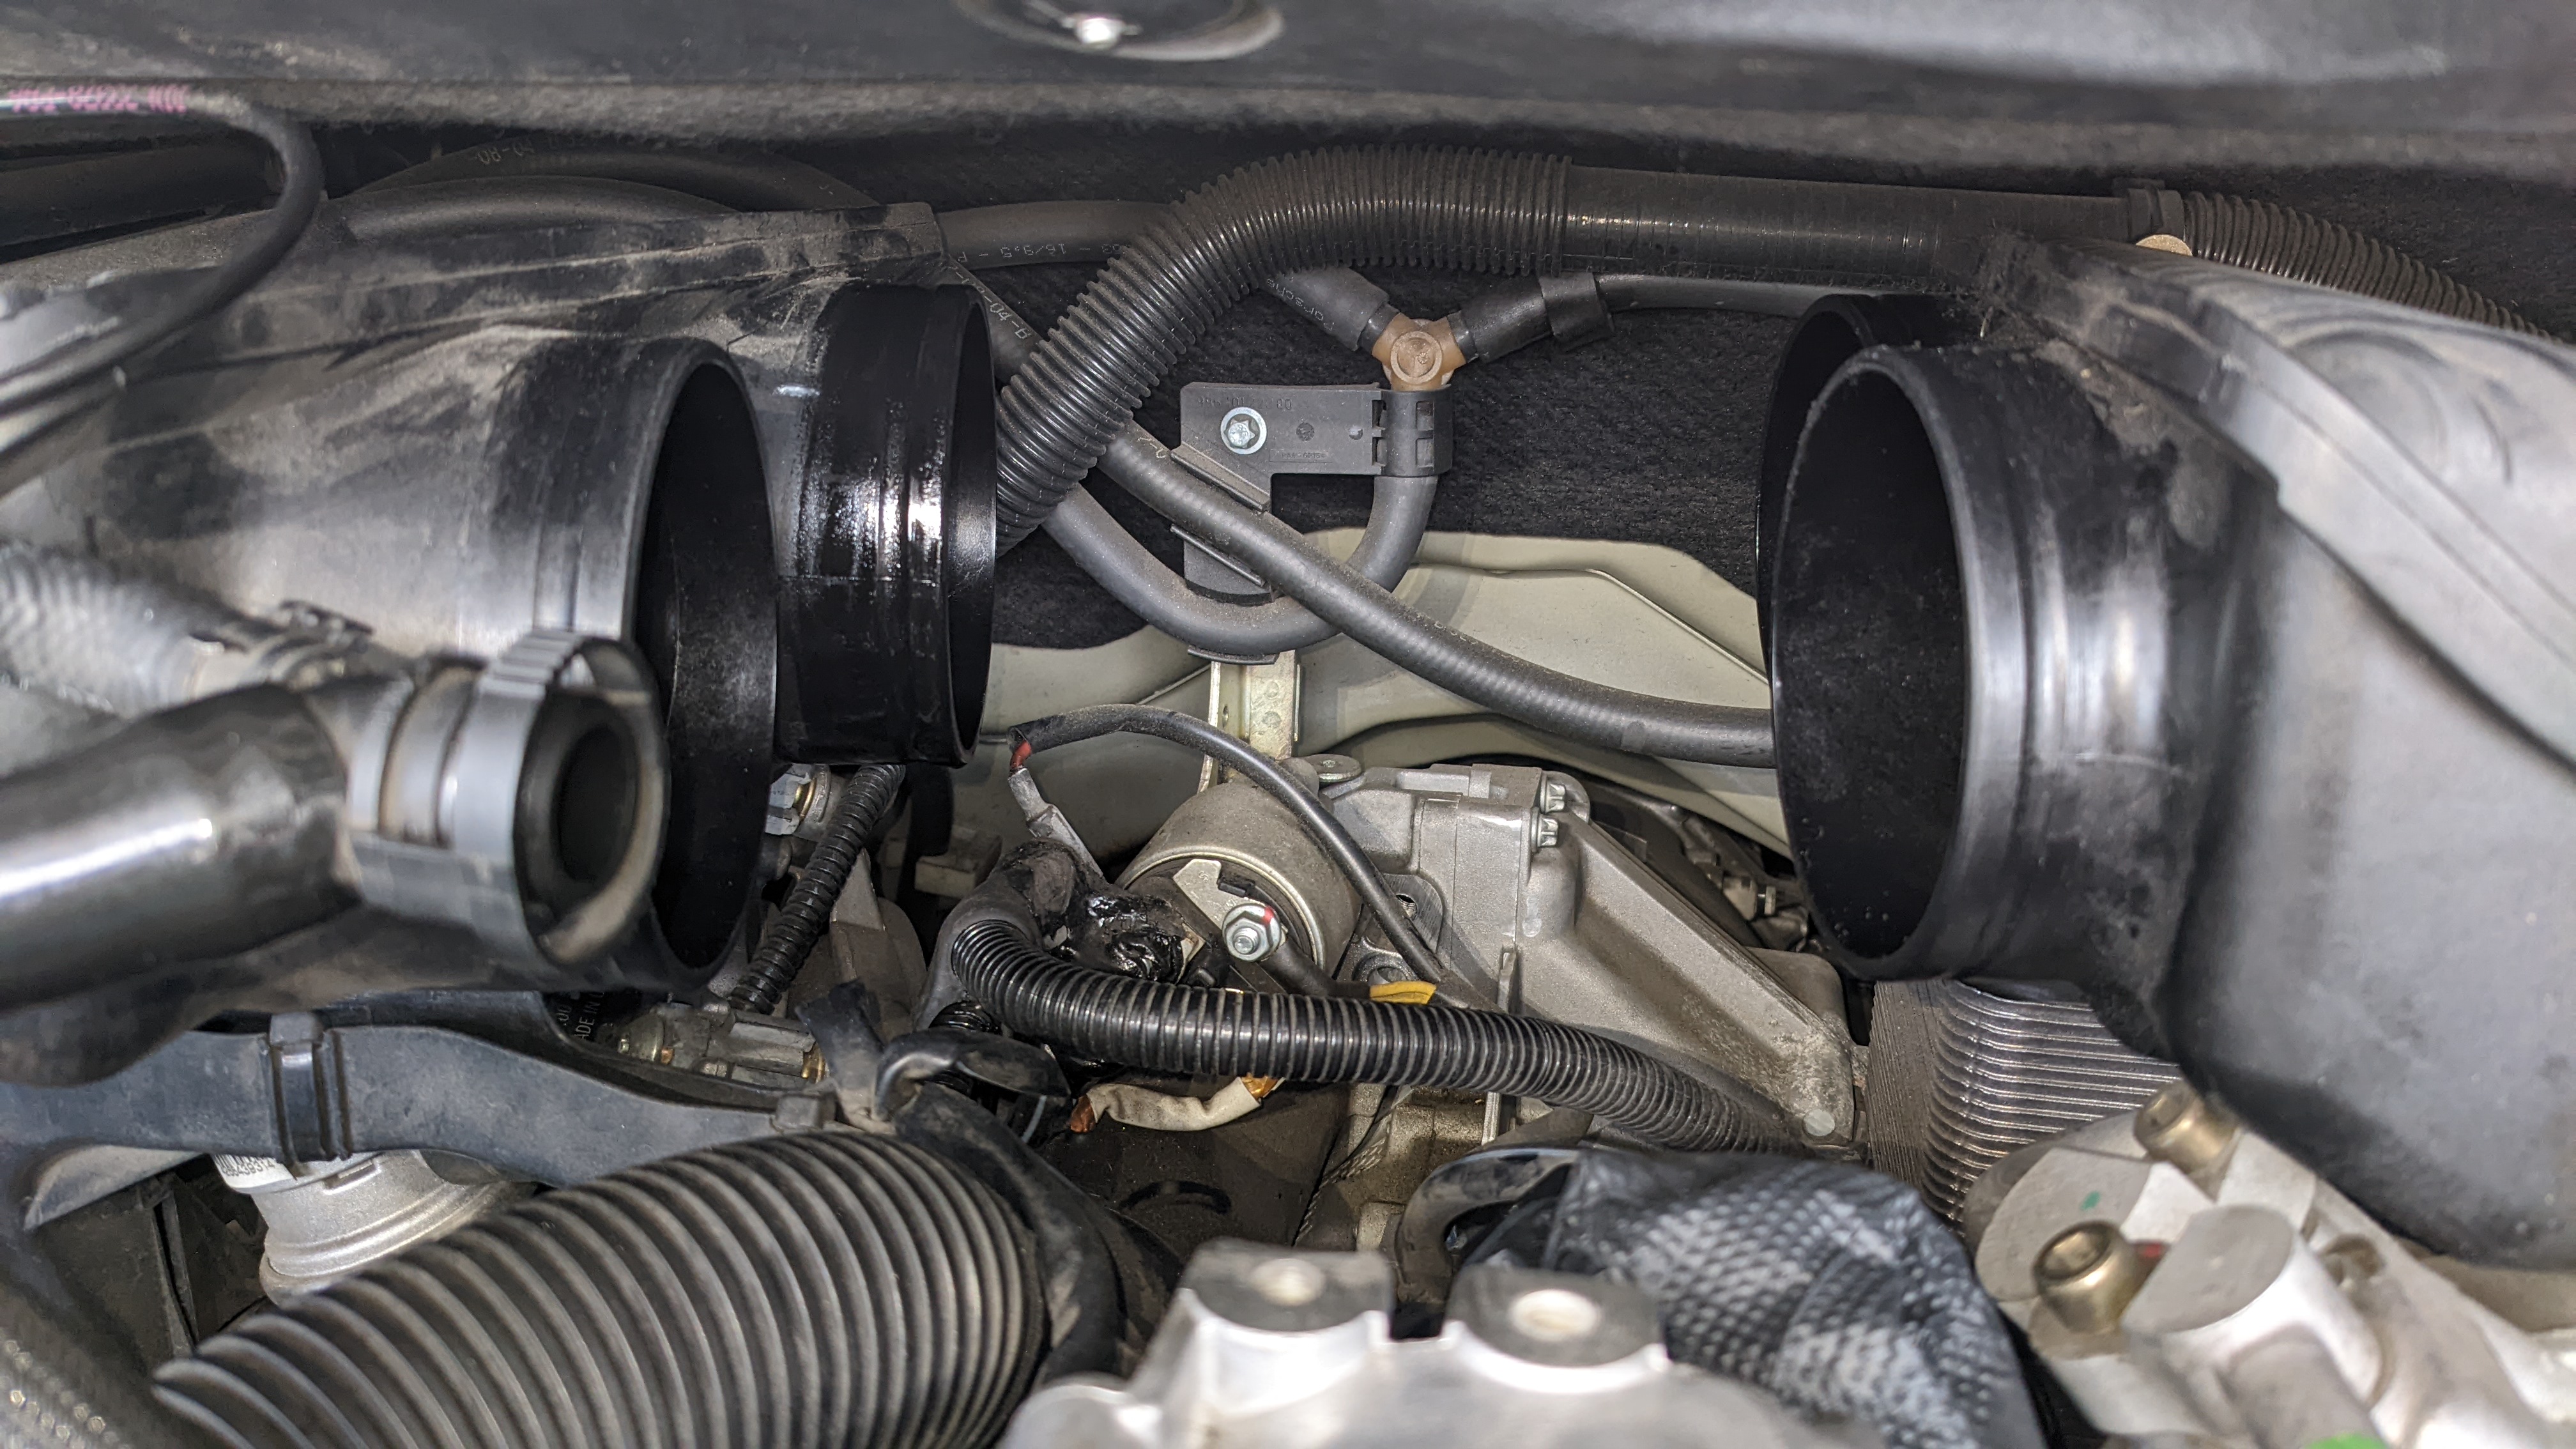
Then removed the engine bay temp sensor between the runners.

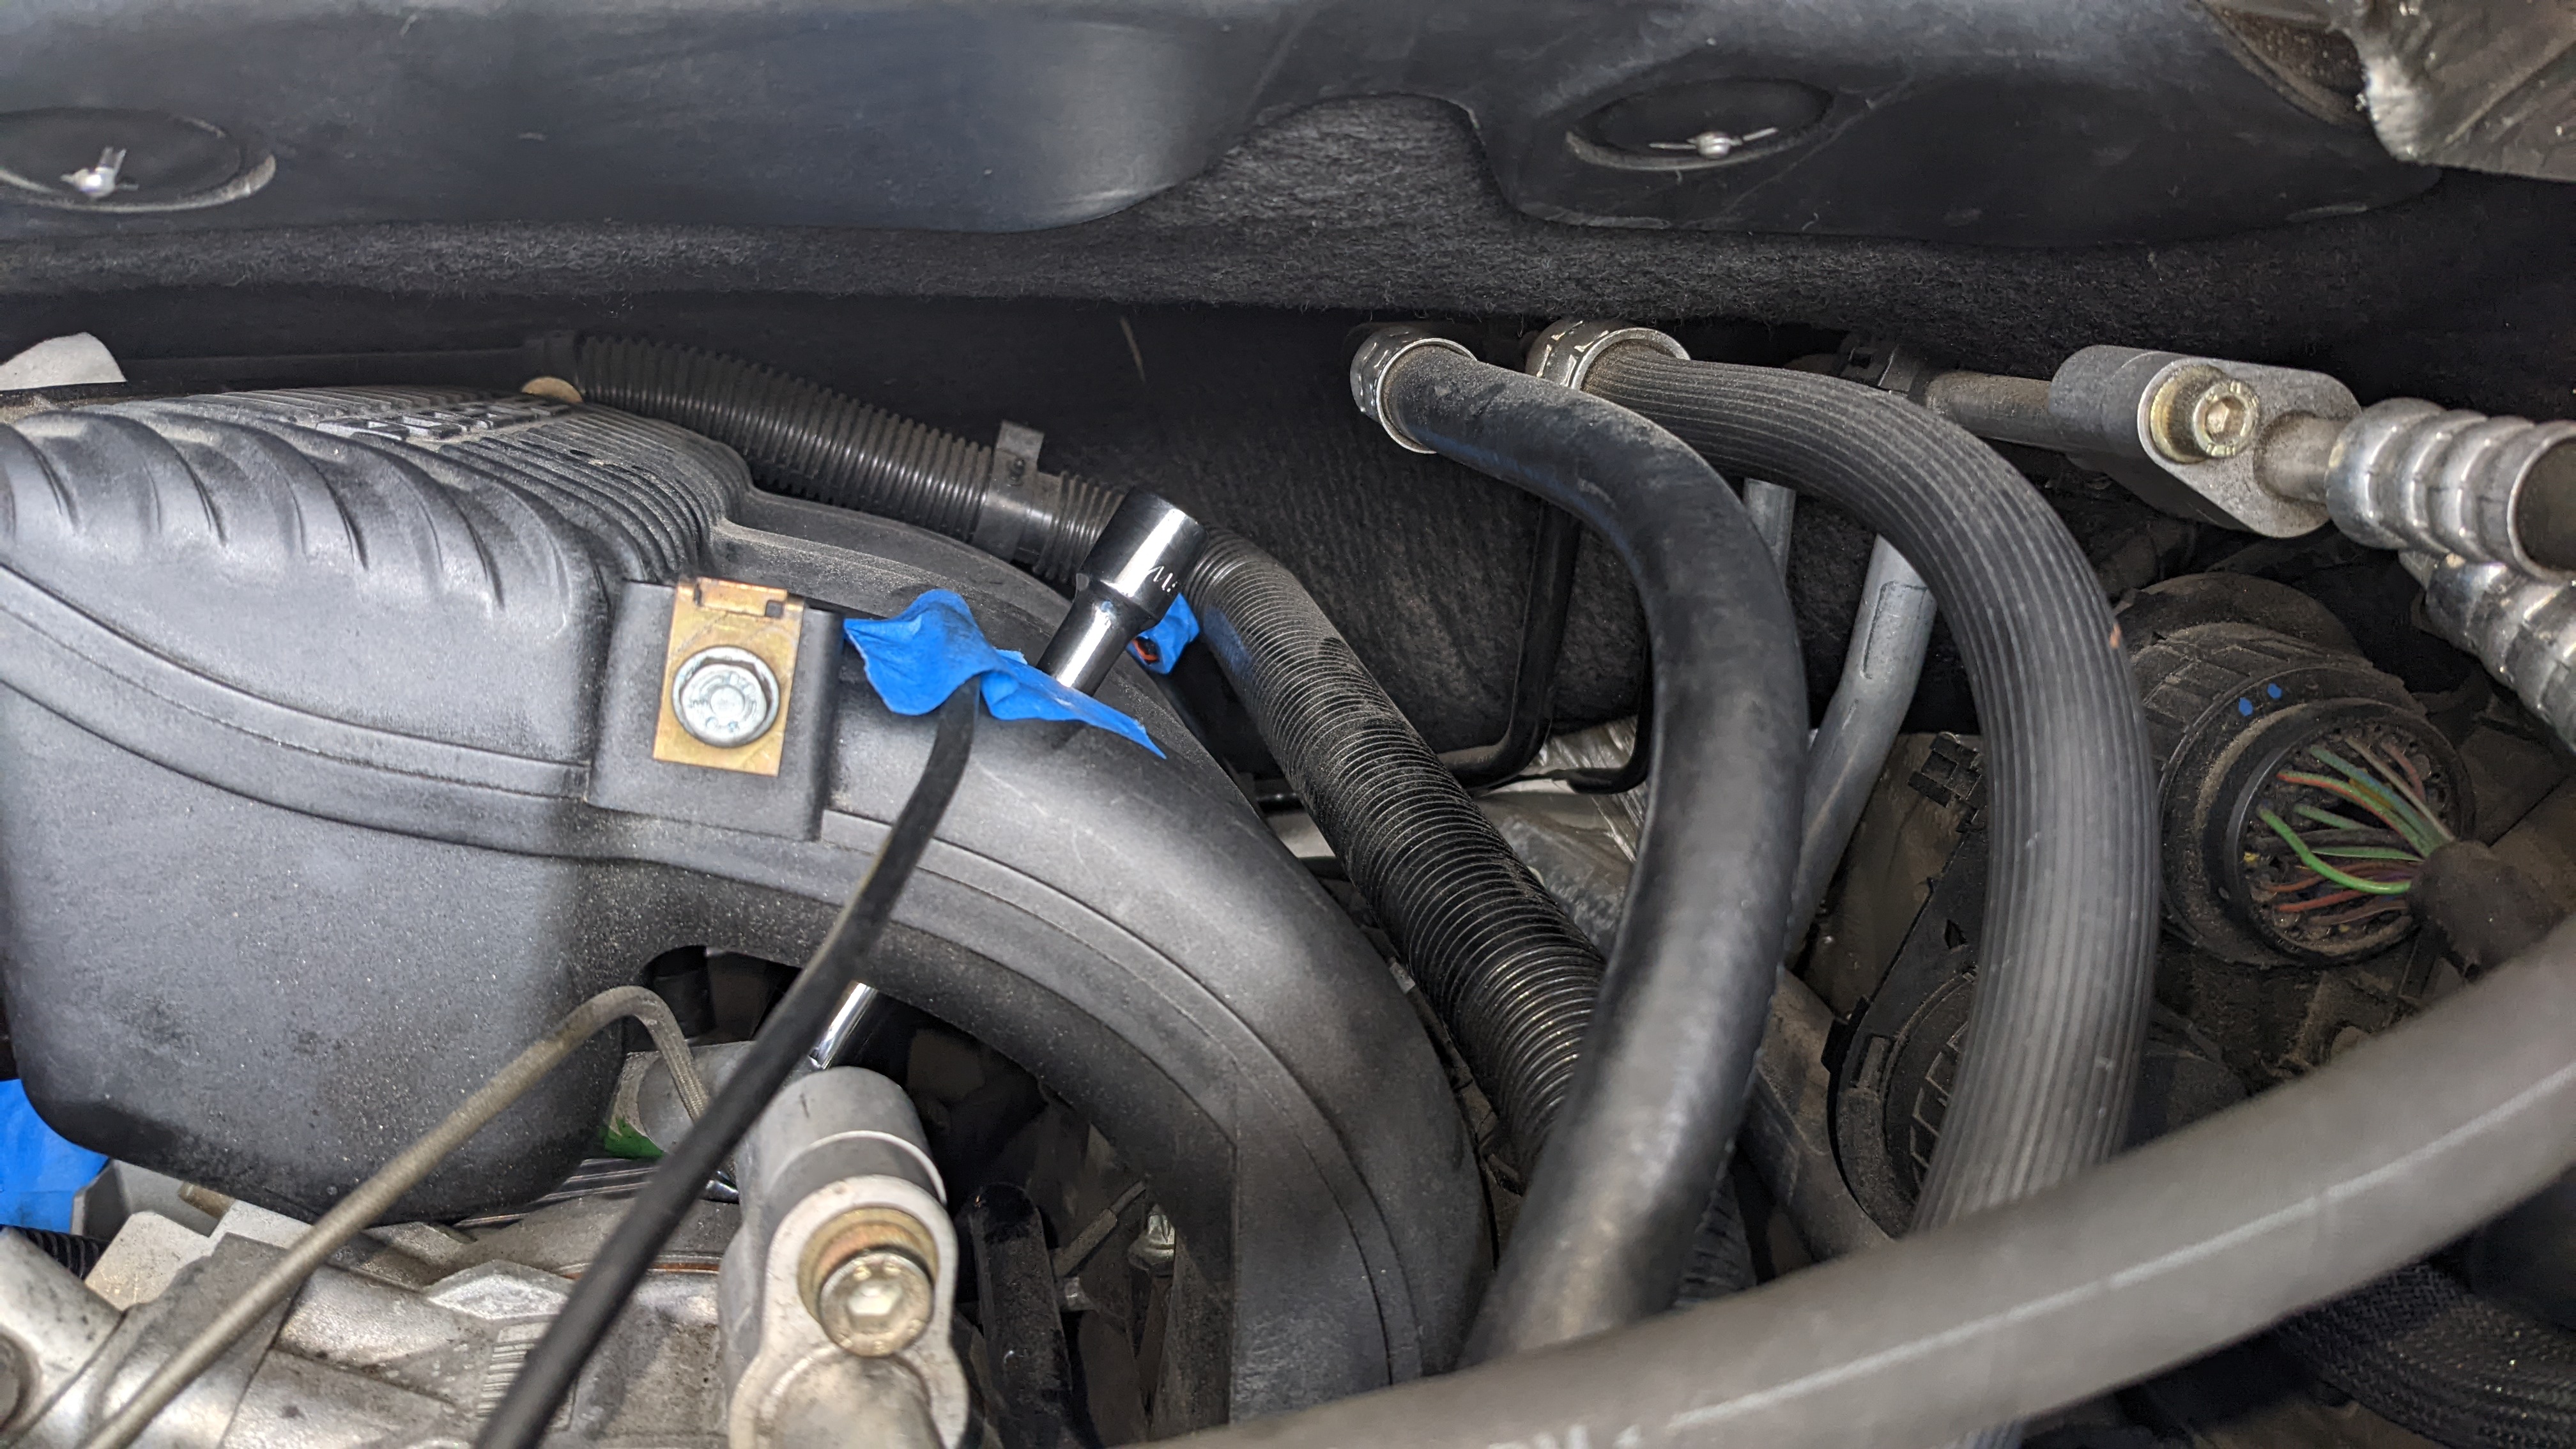
And removed the bolts for the A/C compressor.
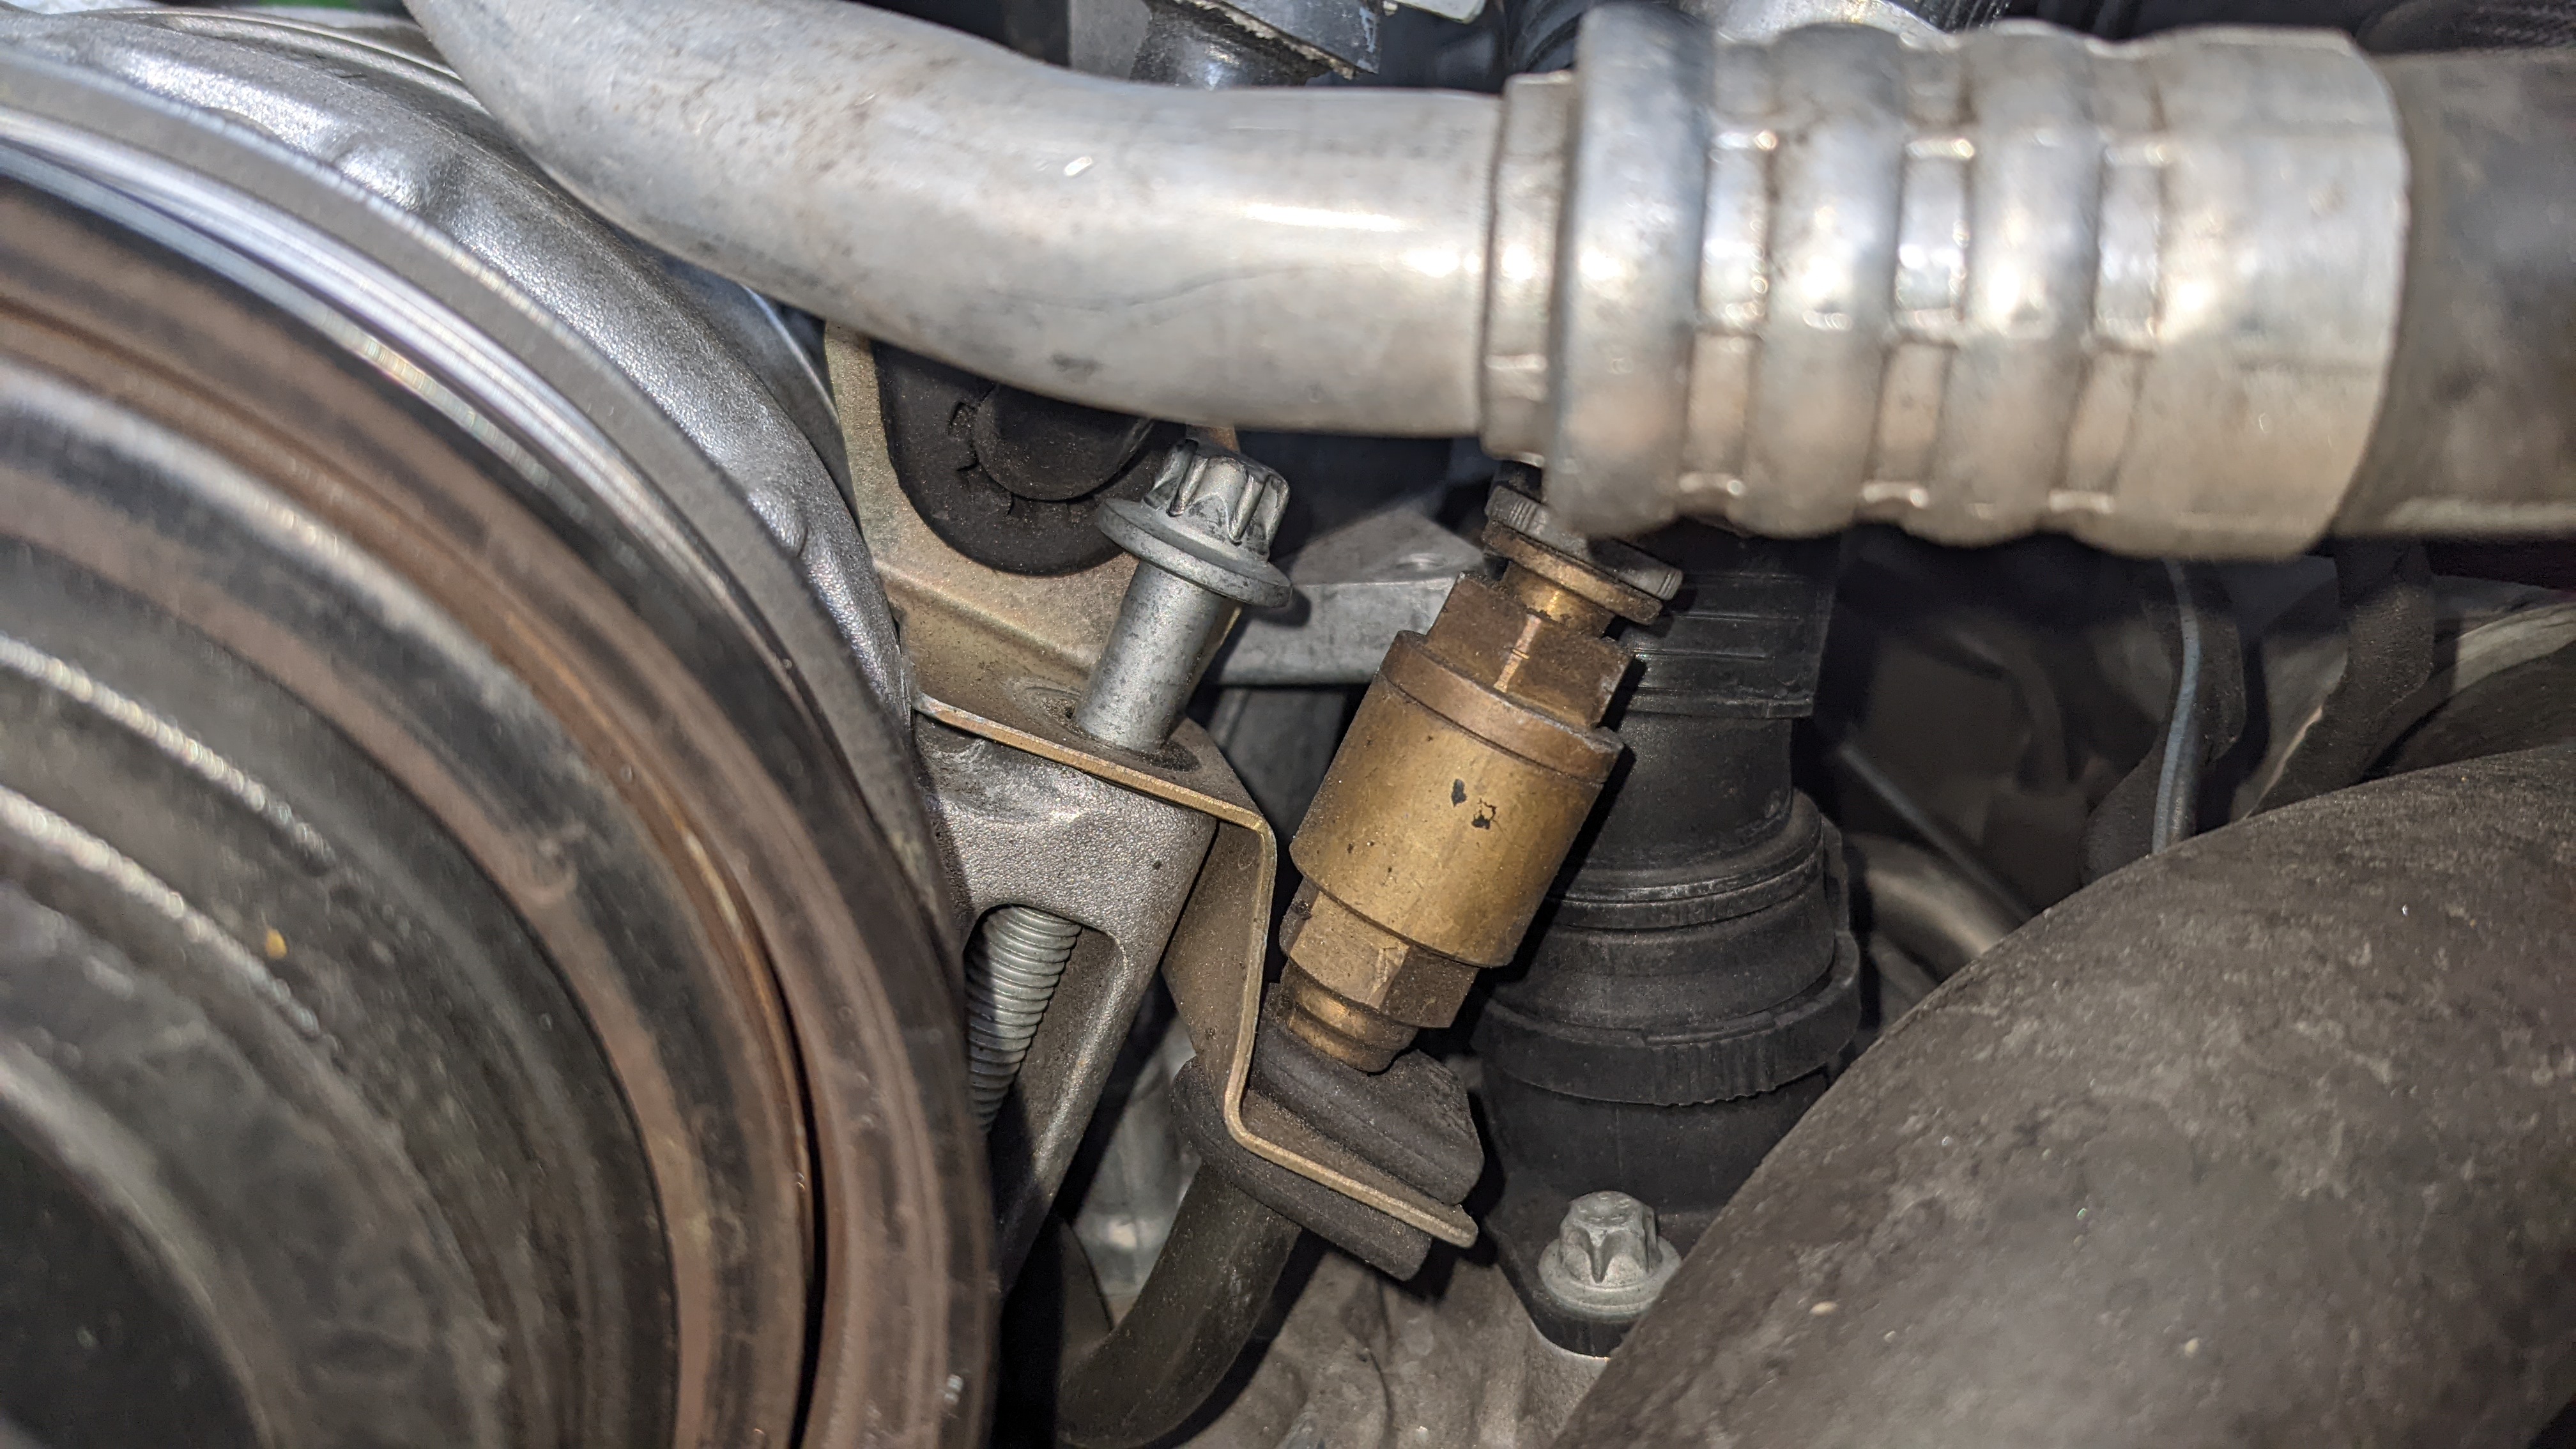
Rear one is tricky but I got myself a borescope which was quite helpful. Needed a wobble extension to make it work.
And removed the ground wire as well.
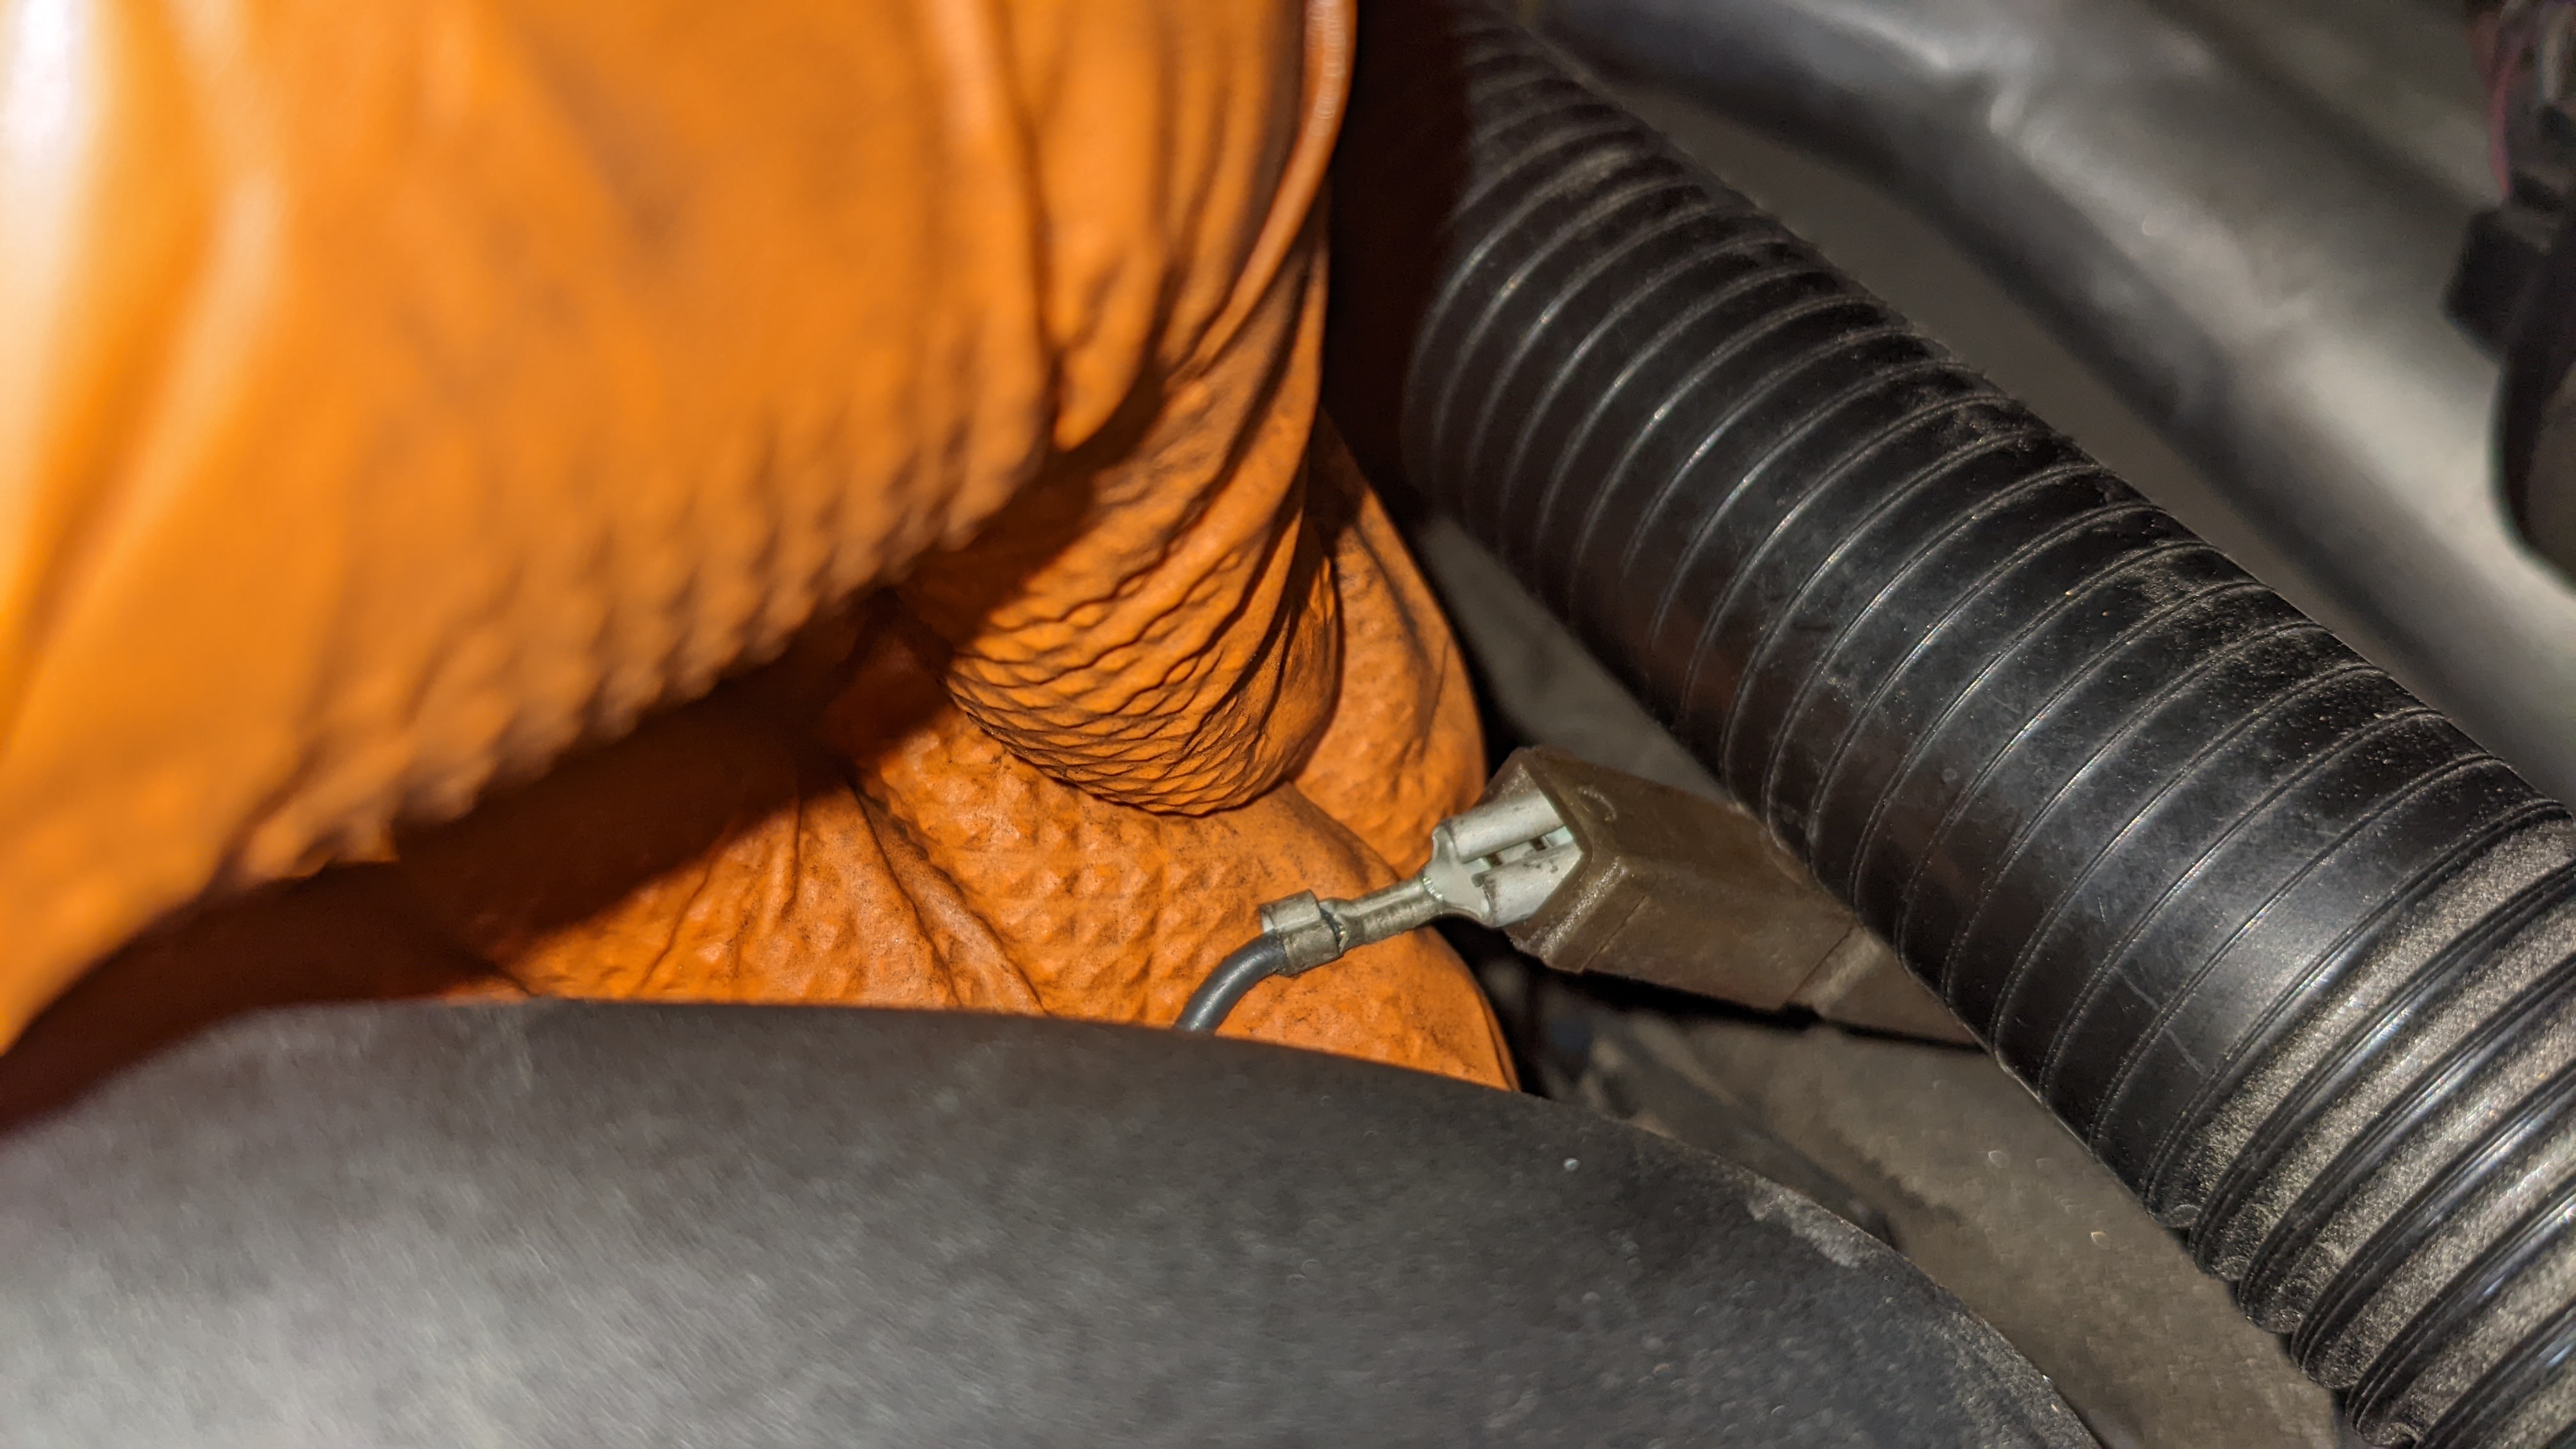
Then set it aside while keeping the lines connected.
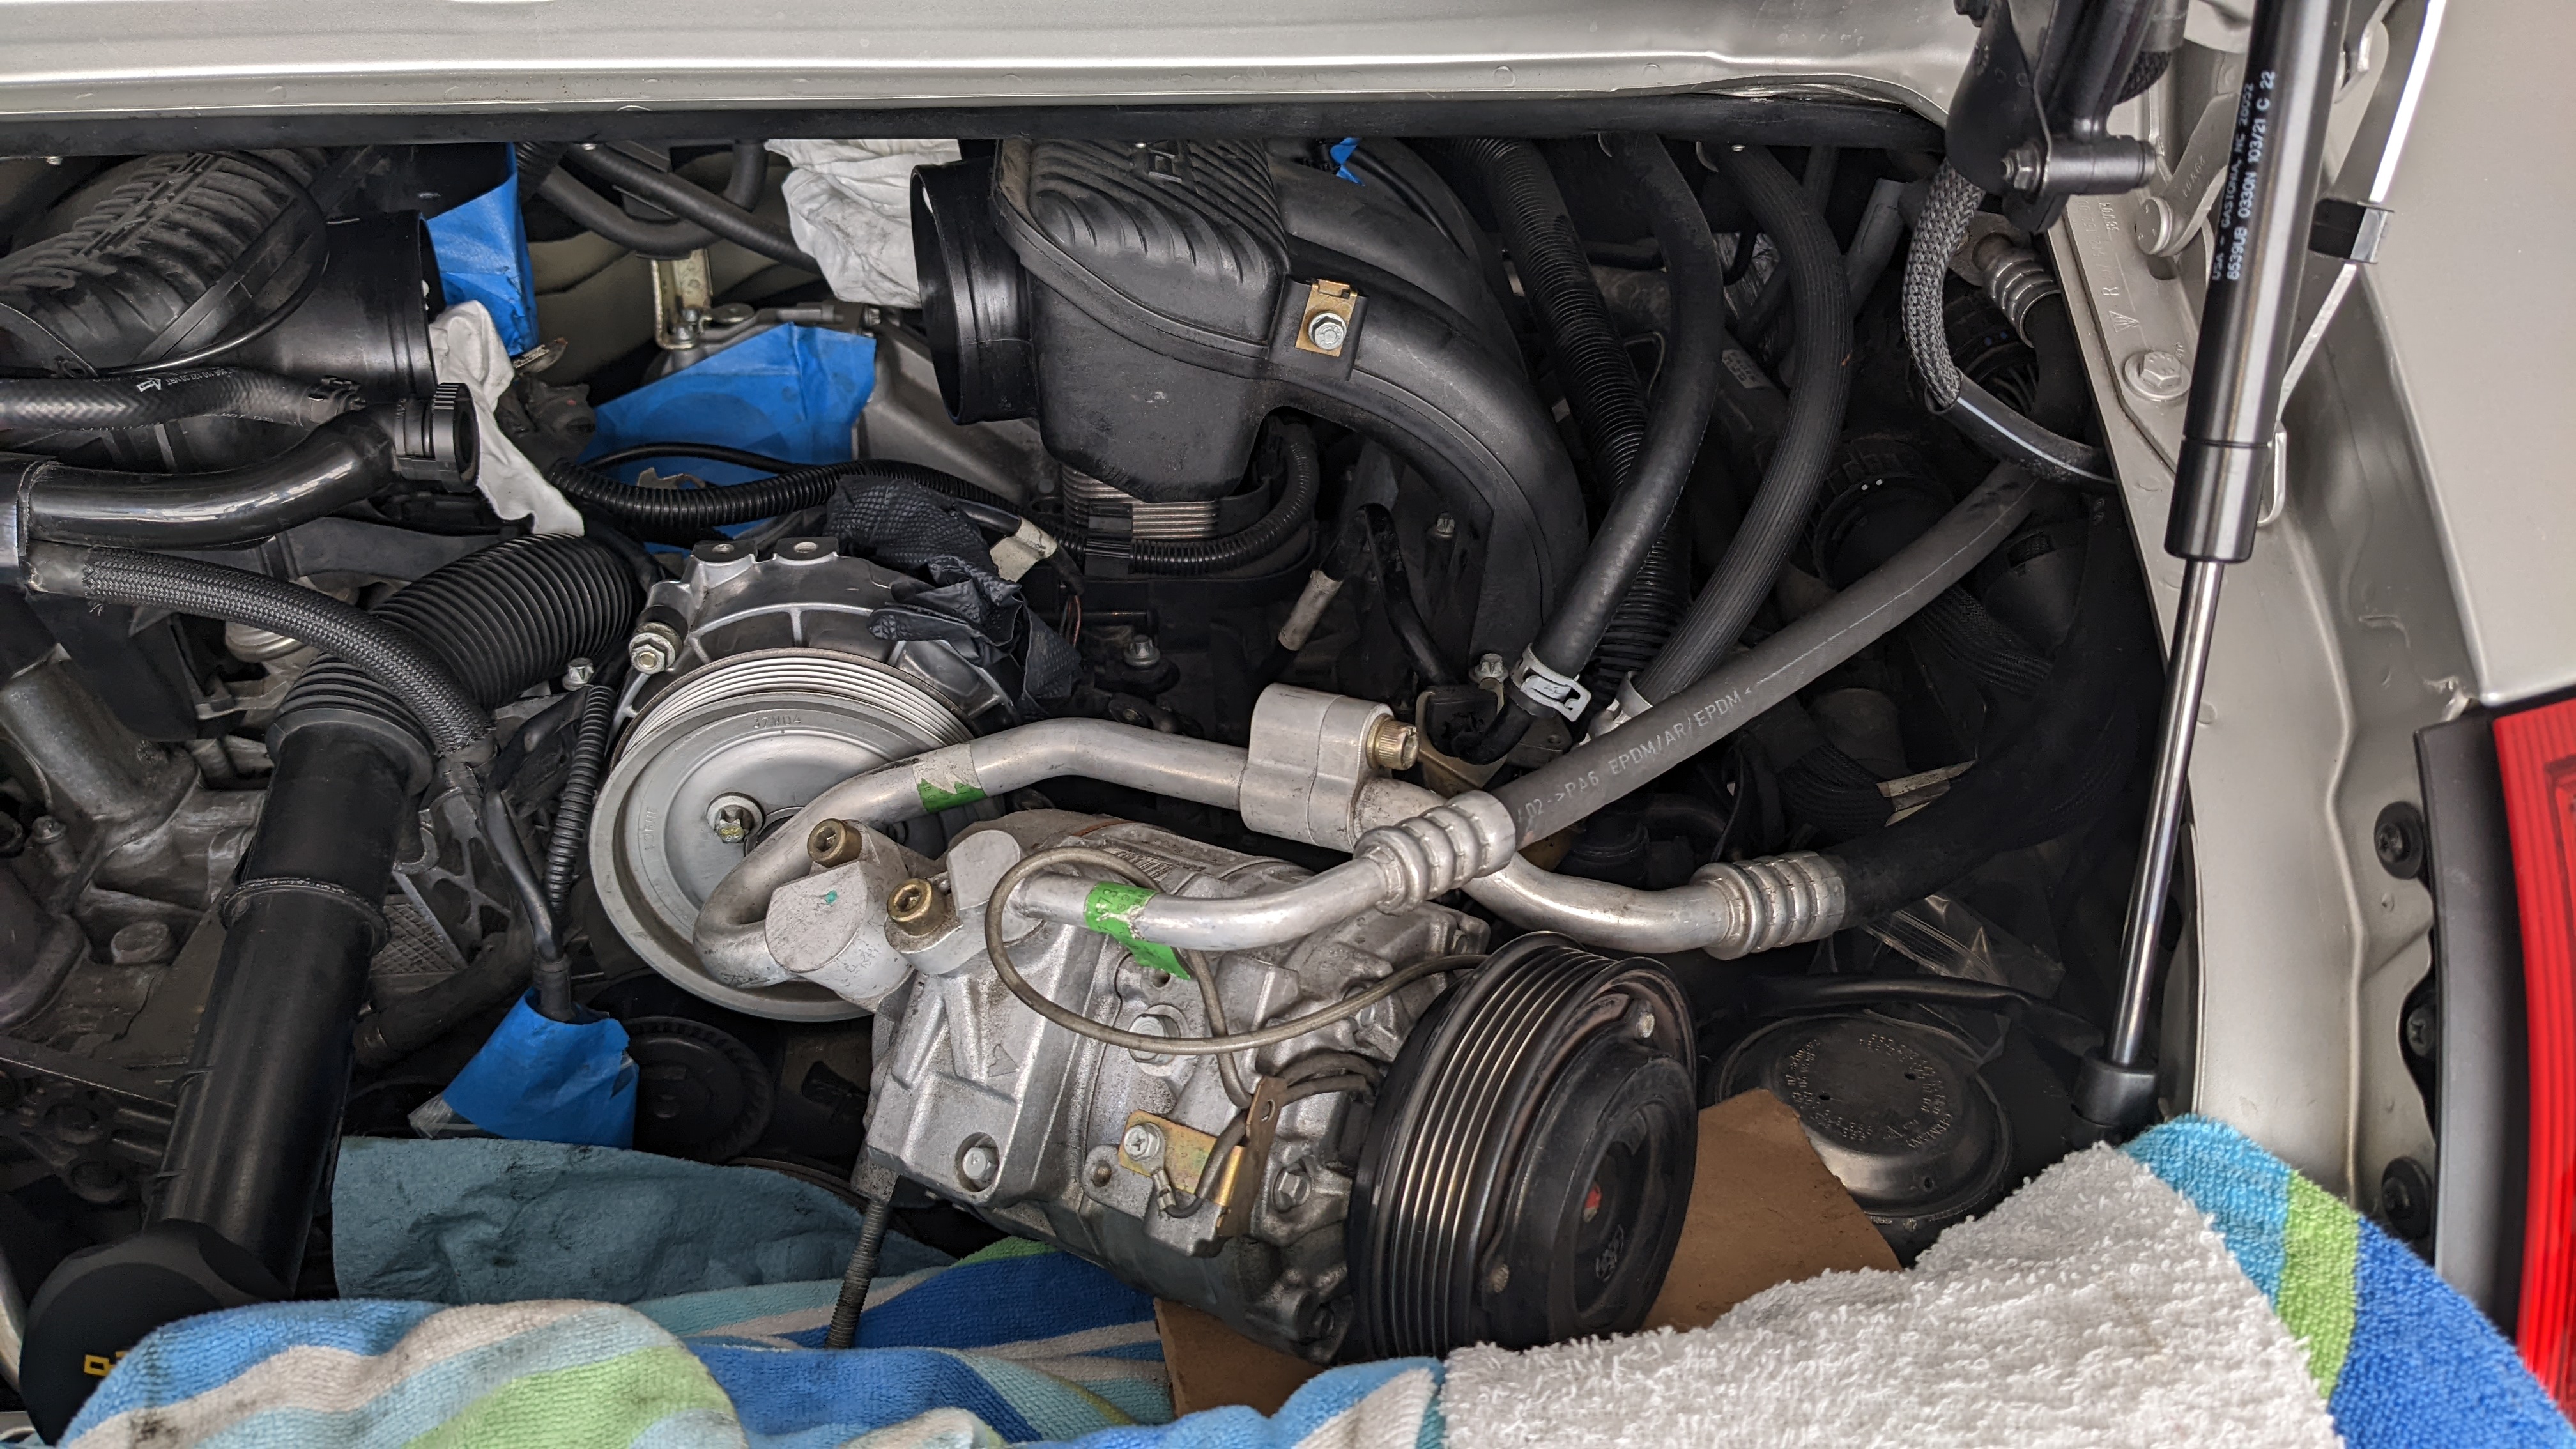
Now there's direct access to the clips that hold the battery cable in place. I took the advice of a tech and left the tangs in place while just opening the clips with a long screwdriver. The brittle nature of the plastic made it quite sketchy and I totally thought I broke it when it snapped, but fortunately not. Phew.

Then underneath to loosen the other end that's connected to the transmission.
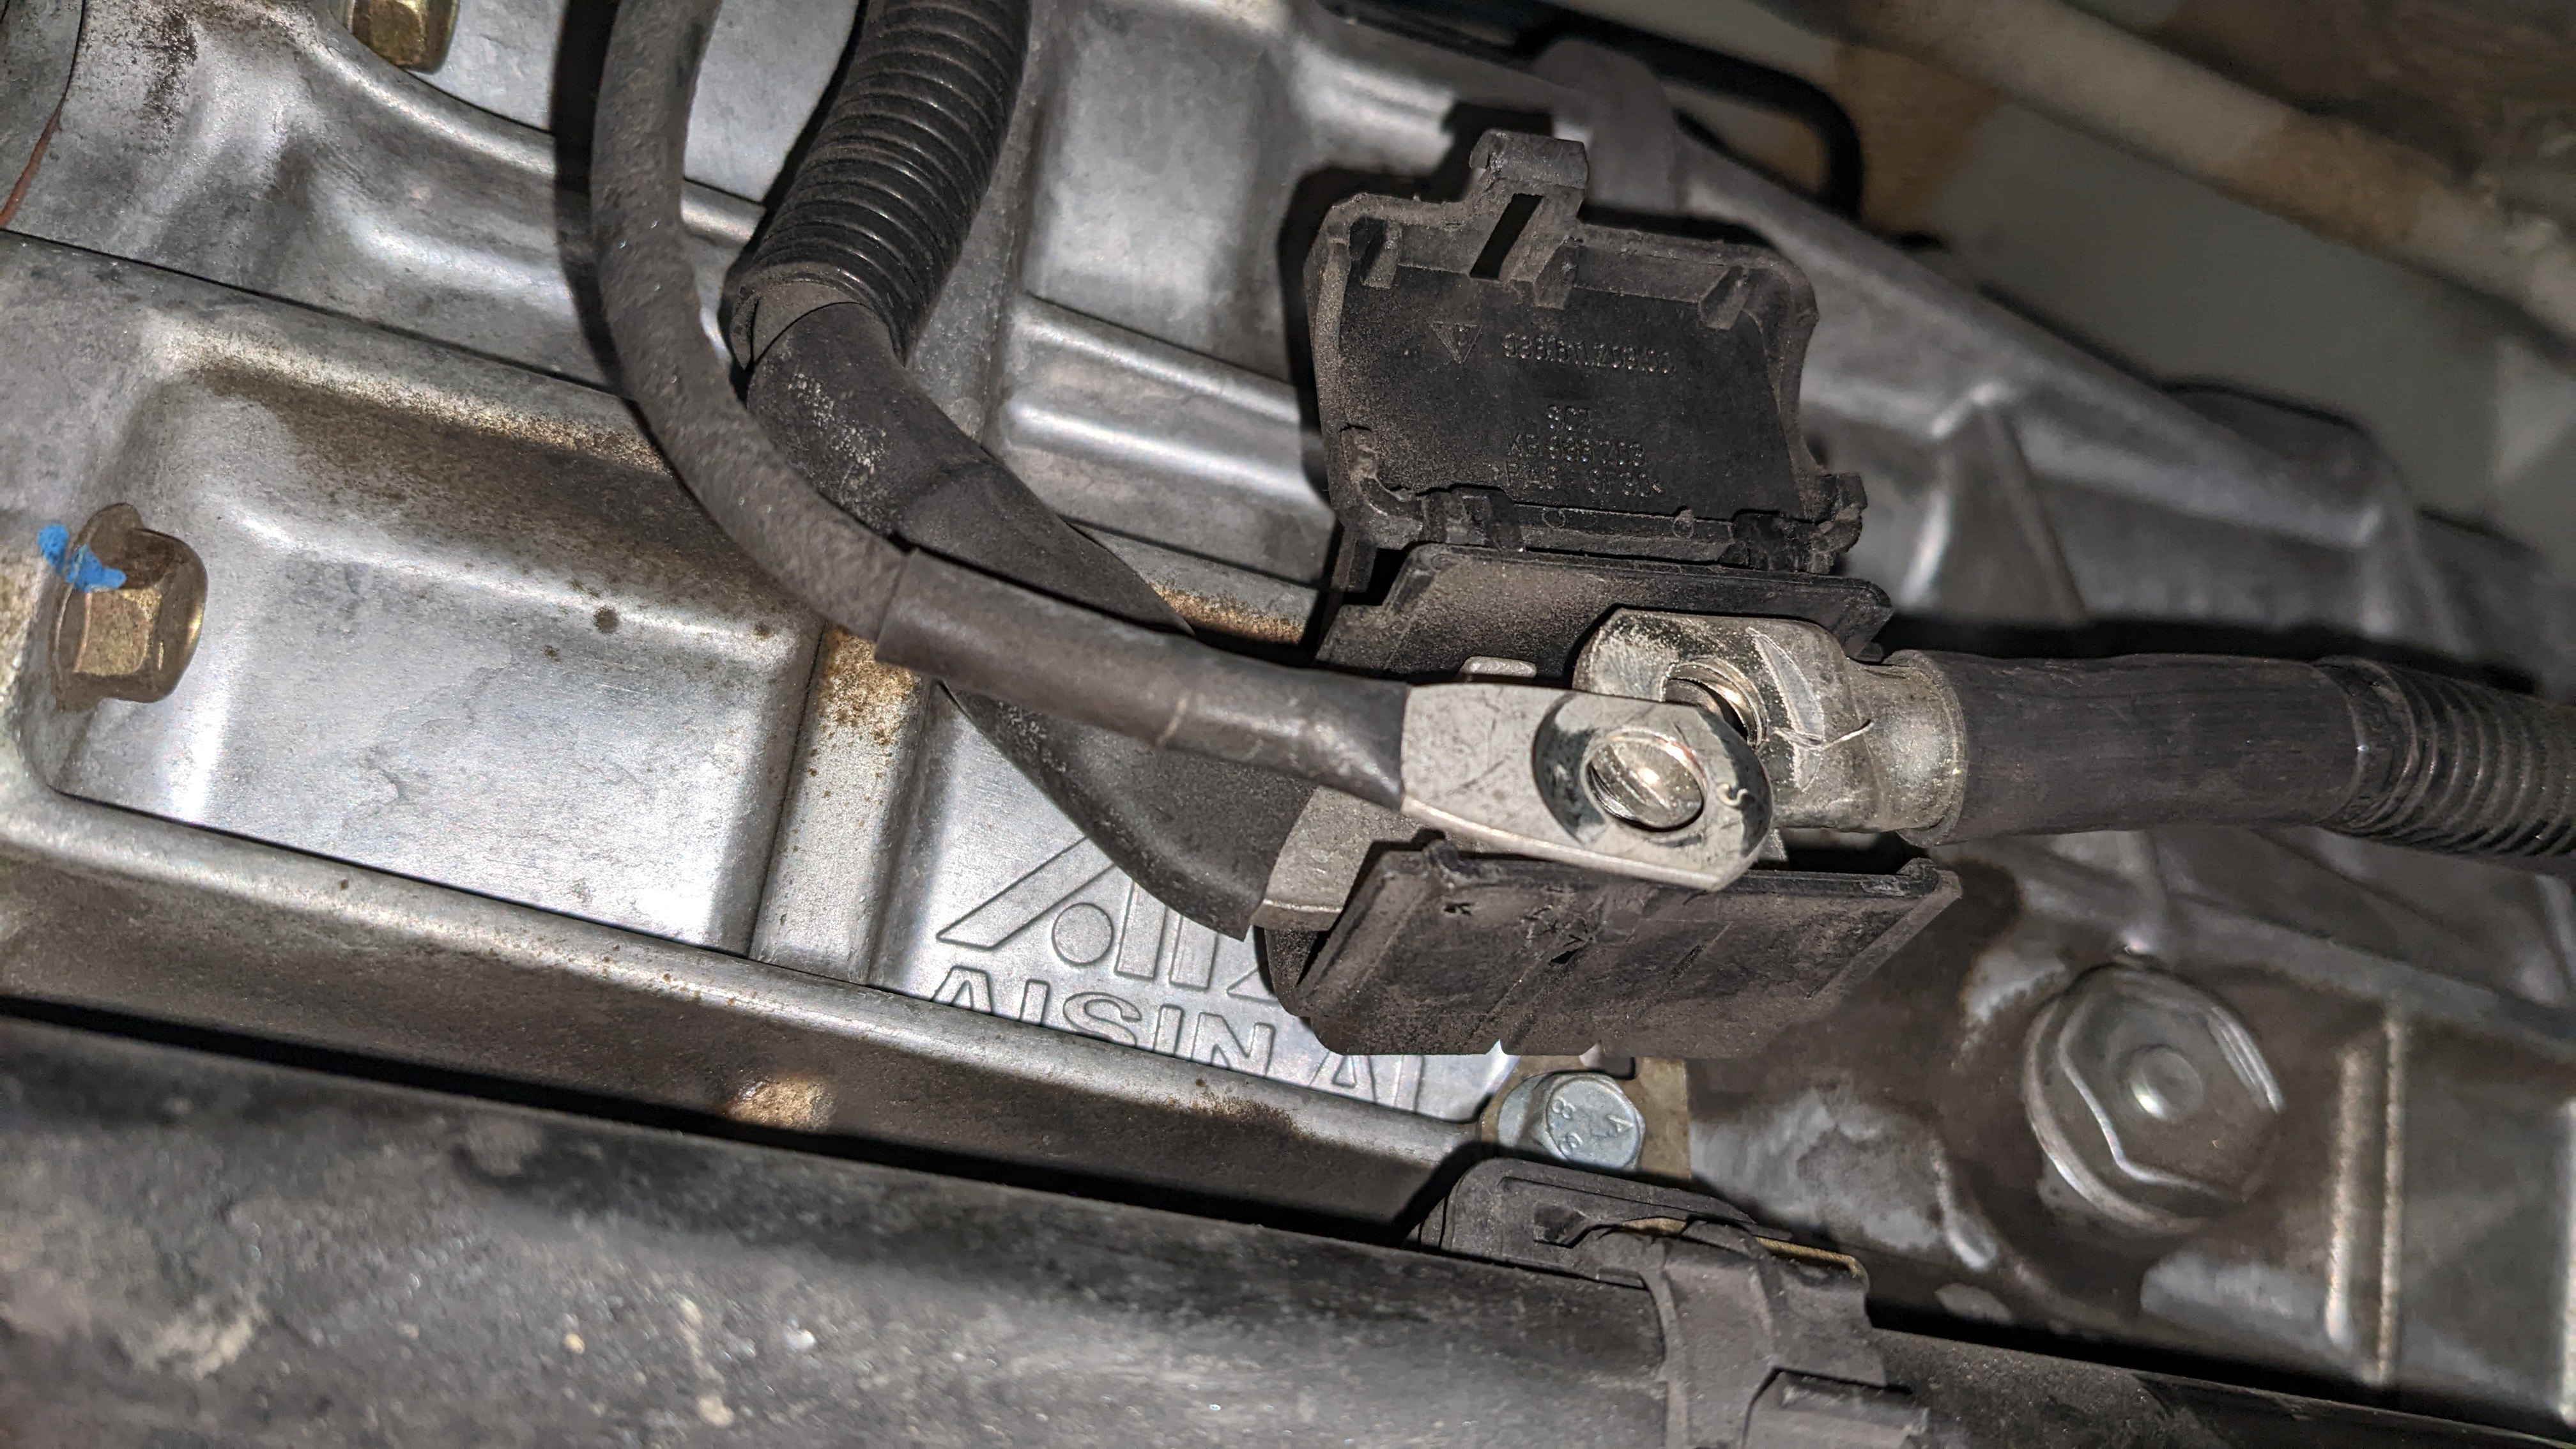
And it's out!
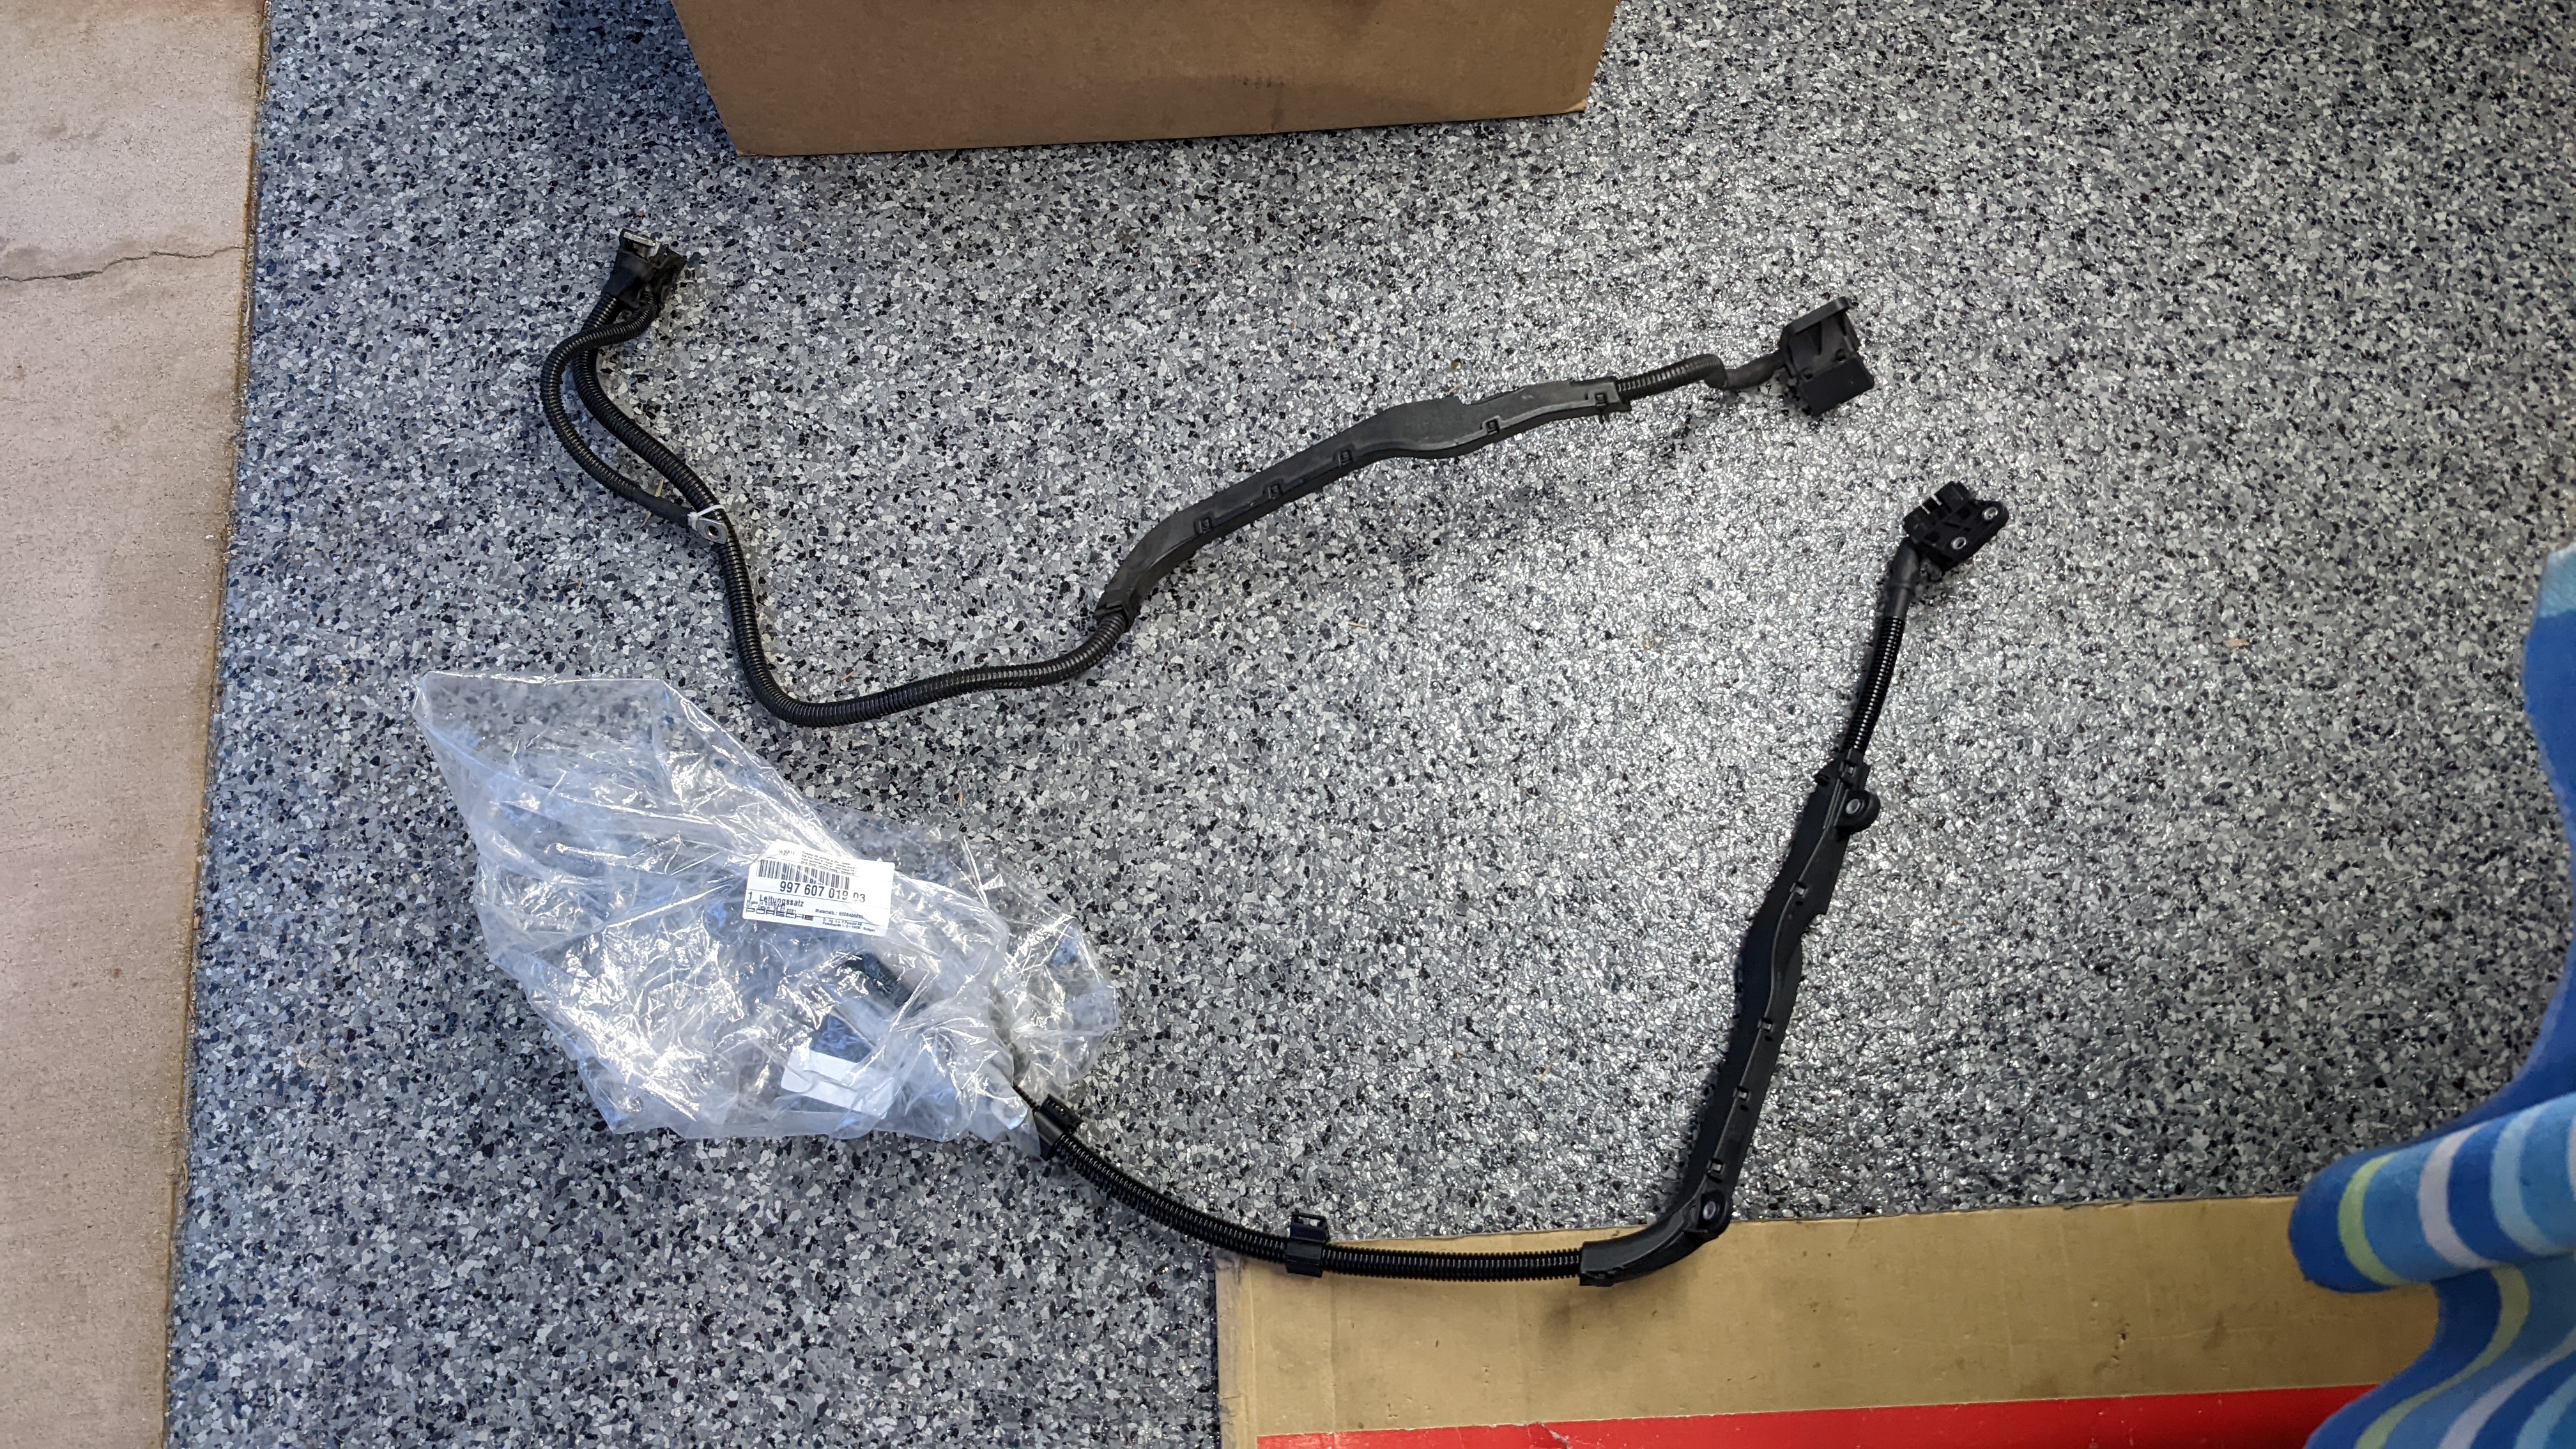
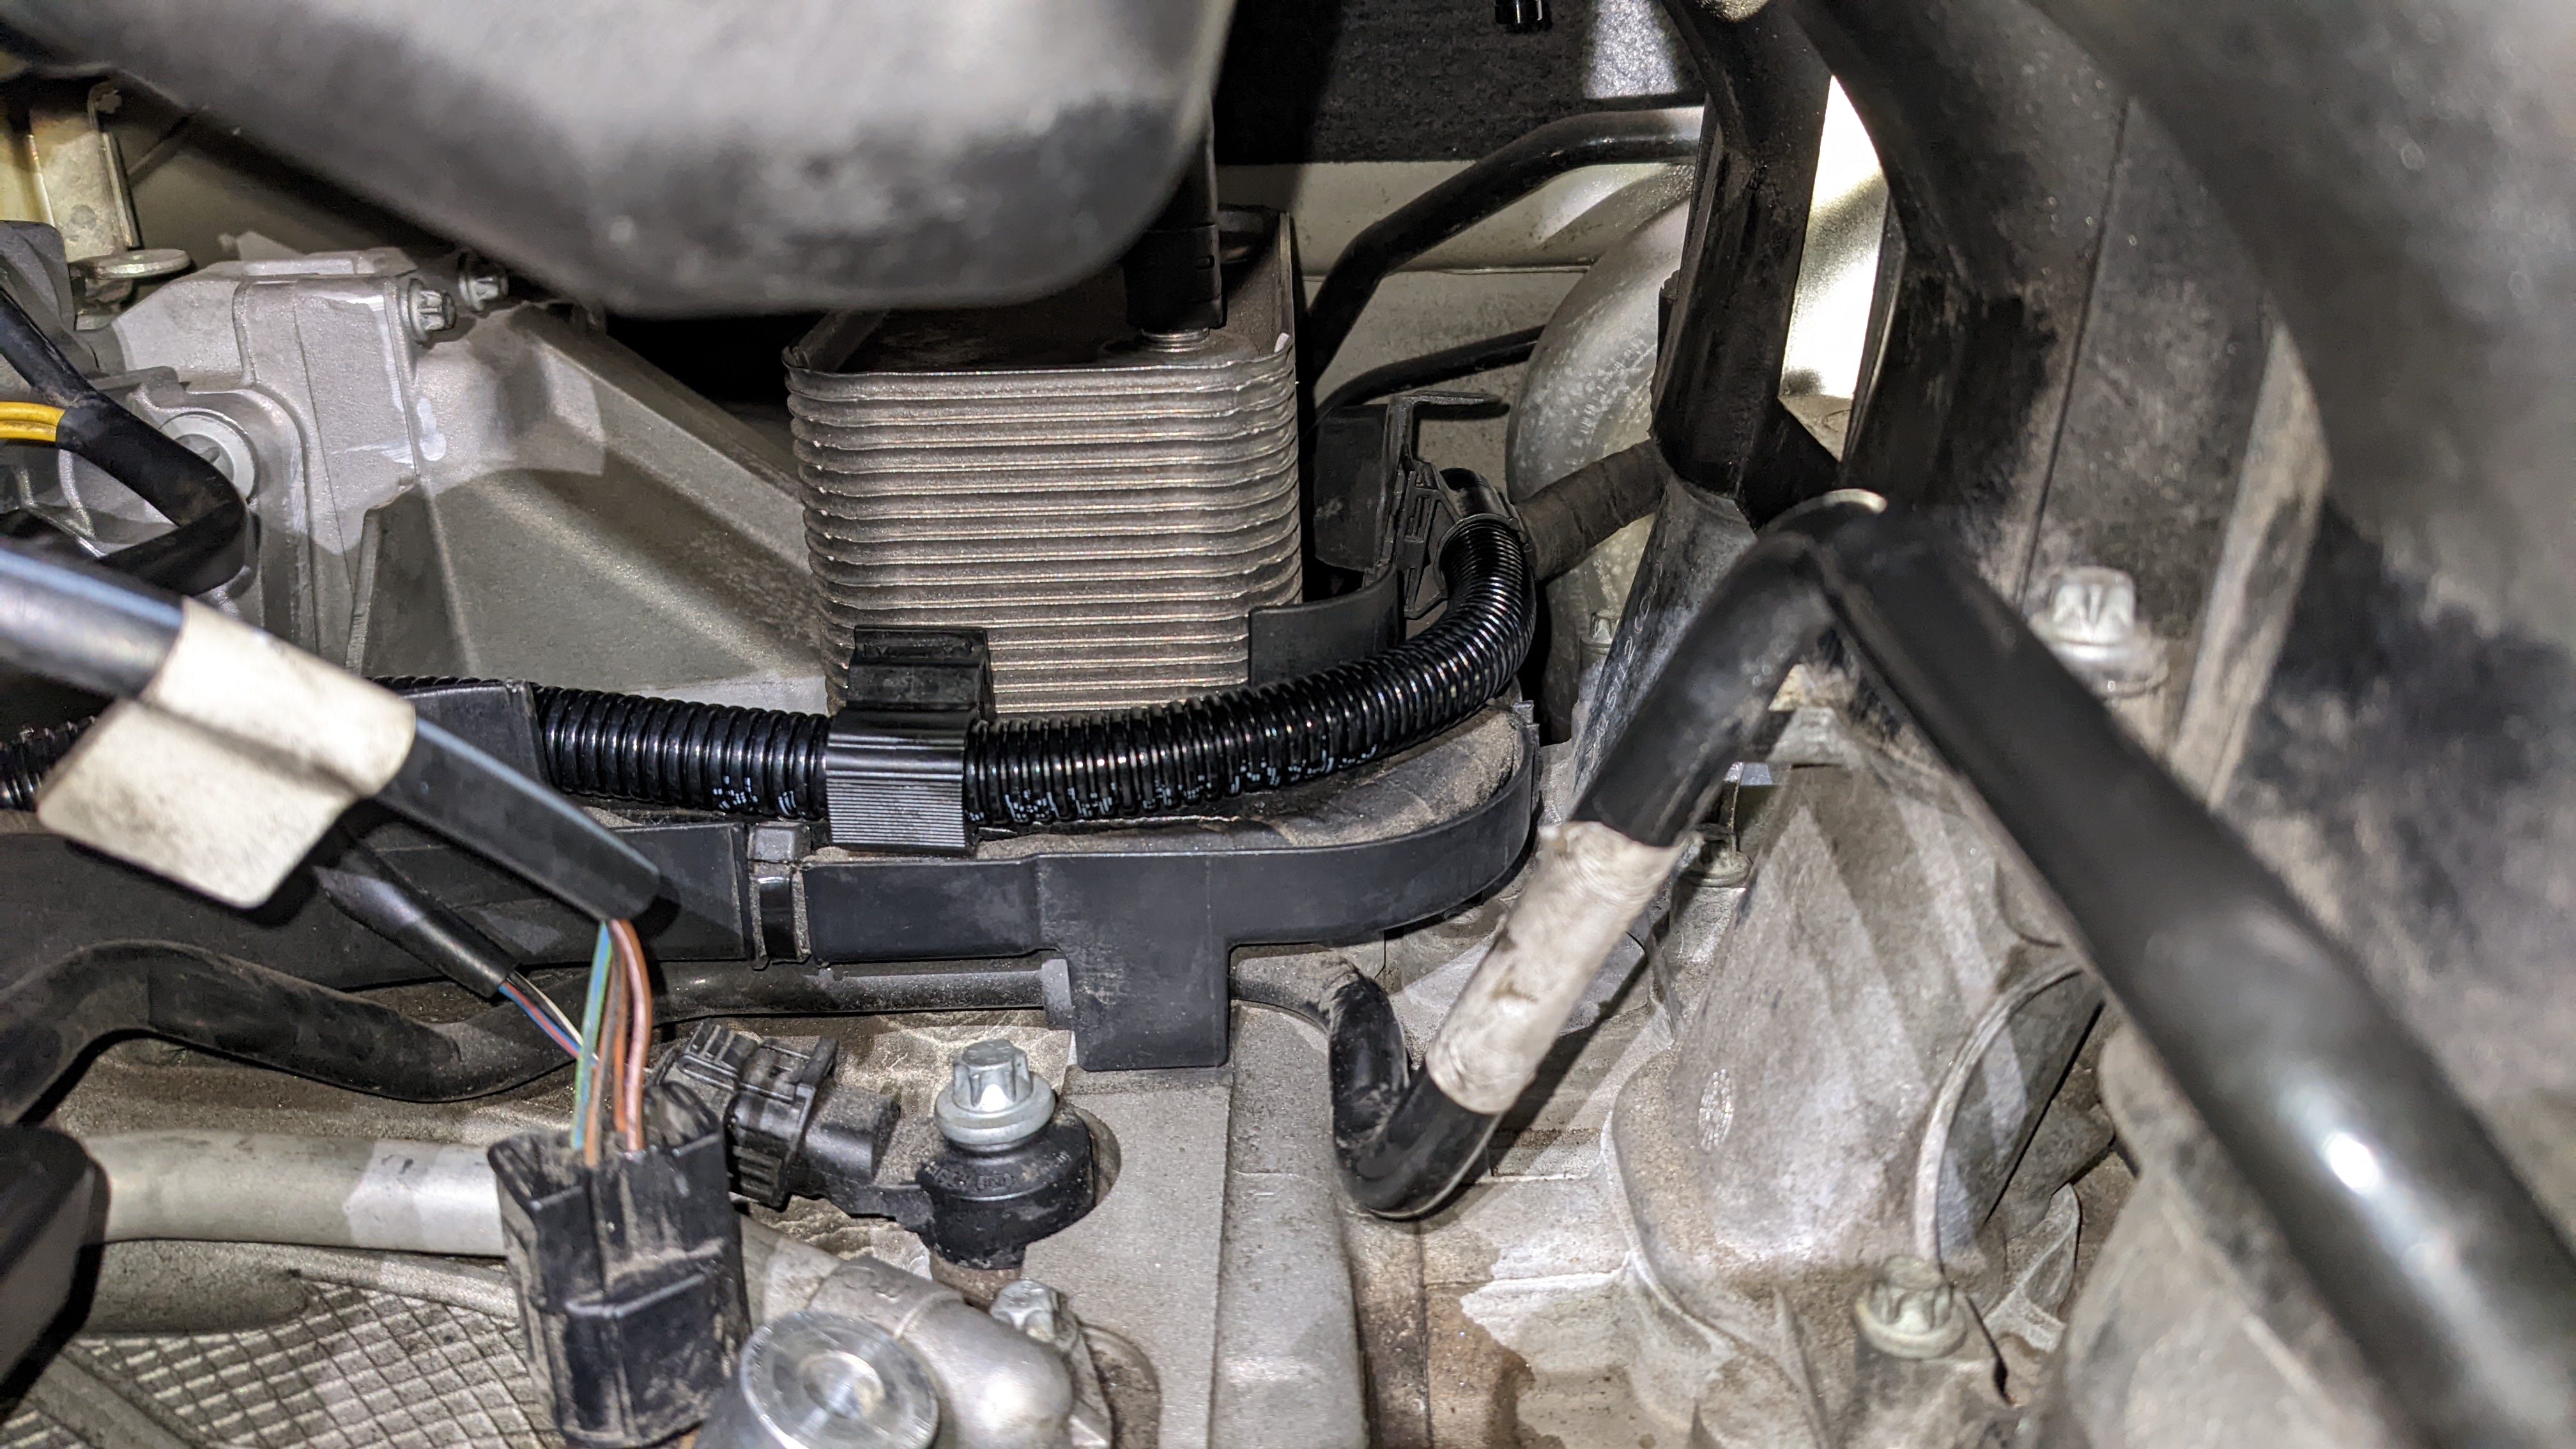
New cable installed with the shiny coating a la a brand new set of F1 tires.
Cleaned off the melted rubber and buffed it a bit.
Torqued the nuts on the new starter.
Now all's I gotta do is put everything back together, right? Well now I'm debating whether to address the AOS or not...
There's definitely some oil in the intake, more so in the tuning pipe than the distributor pipe but I'm leaning towards this amount being normal.
Most probably know replacing the AOS is challenging compared to the 3.8 motor and with only 40k miles, it would make seem reasonable the AOS is still fine, especially since the previous owner didn't indicate any oil consumption and there aren't any signs of failure.
Any thoughts given the amount of oil I've posted so far?
Started off with a measurement to record the position of the tuning pipe for reinstallation before I removed it.
Removed the wires from the starter.
Date code means it's already been replaced. I'll hold onto it for now.
New unit ready to go.
Then removed the engine bay temp sensor between the runners.
And removed the bolts for the A/C compressor.
Rear one is tricky but I got myself a borescope which was quite helpful. Needed a wobble extension to make it work.
And removed the ground wire as well.
Then set it aside while keeping the lines connected.
Now there's direct access to the clips that hold the battery cable in place. I took the advice of a tech and left the tangs in place while just opening the clips with a long screwdriver. The brittle nature of the plastic made it quite sketchy and I totally thought I broke it when it snapped, but fortunately not. Phew.
Then underneath to loosen the other end that's connected to the transmission.
And it's out!
New cable installed with the shiny coating a la a brand new set of F1 tires.
Cleaned off the melted rubber and buffed it a bit.
Torqued the nuts on the new starter.
Now all's I gotta do is put everything back together, right? Well now I'm debating whether to address the AOS or not...
There's definitely some oil in the intake, more so in the tuning pipe than the distributor pipe but I'm leaning towards this amount being normal.
Most probably know replacing the AOS is challenging compared to the 3.8 motor and with only 40k miles, it would make seem reasonable the AOS is still fine, especially since the previous owner didn't indicate any oil consumption and there aren't any signs of failure.
Any thoughts given the amount of oil I've posted so far?
03-28-2022, 09:01 AM
#37

I recently replaced my battery cable and noted a similar amount of oil in the plenum. My AOS has supposedly been replaced a few thousand miles ago. FWIW, When I posted the same question here, the general consensus was that that�s a normal amount.
03-29-2022, 05:36 PM
#38
Rennlist Member
Did you replace the battery cable with one that was larger in diameter? Is the new porsche part a beefier cable than what was originally installed? I may be missing something.. great write up / pics. Mine is a 3.8, but assuming the changeout / replacement would be very similar. I will bookmark this for the future! Thx!
03-30-2022, 12:34 AM
#39
Rennlist Member
Thread Starter
Did you replace the battery cable with one that was larger in diameter? Is the new porsche part a beefier cable than what was originally installed? I may be missing something.. great write up / pics. Mine is a 3.8, but assuming the changeout / replacement would be very similar. I will bookmark this for the future! Thx!
The 3.8 cable is the same but it's a different if you have the tiptronic transmission. I think it's longer in that scenario.
04-05-2022, 01:17 AM
#40
Rennlist Member
Thread Starter
After deciding to leave the AOS alone, I began the reassembly process as I pushed the rubber boot onto the starter.
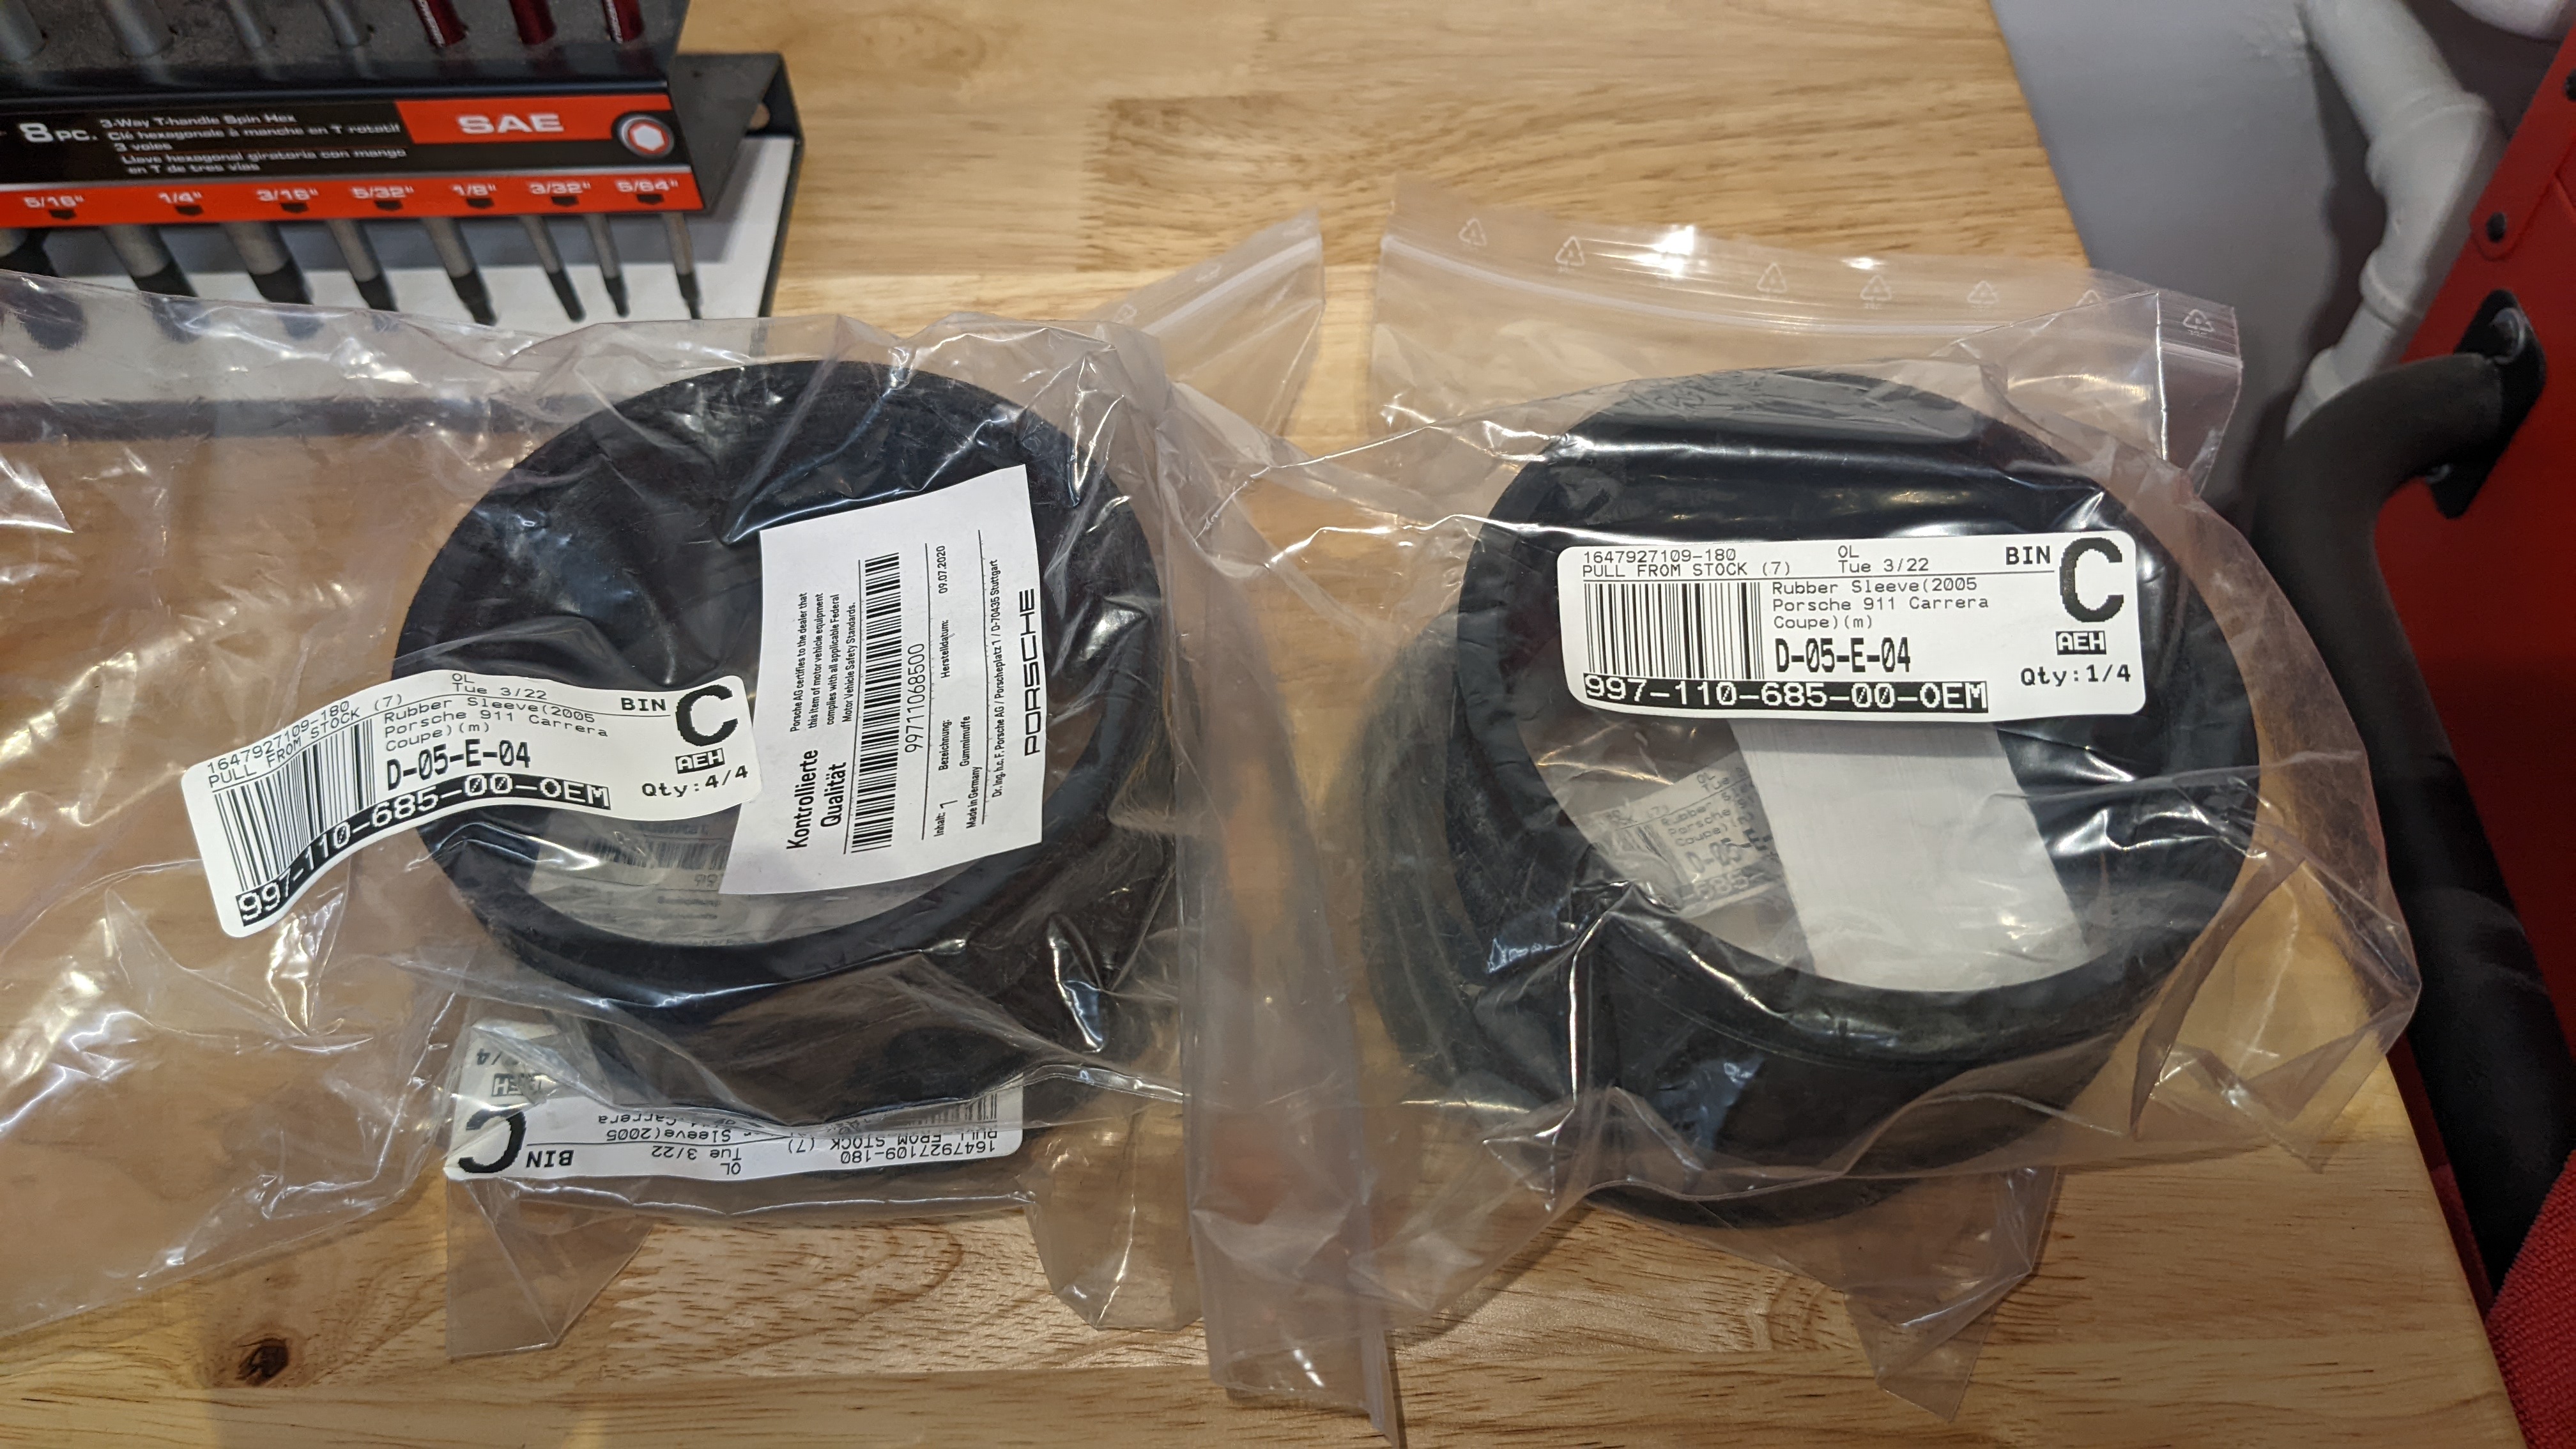
Got myself new rubber intake boots to make life easier.
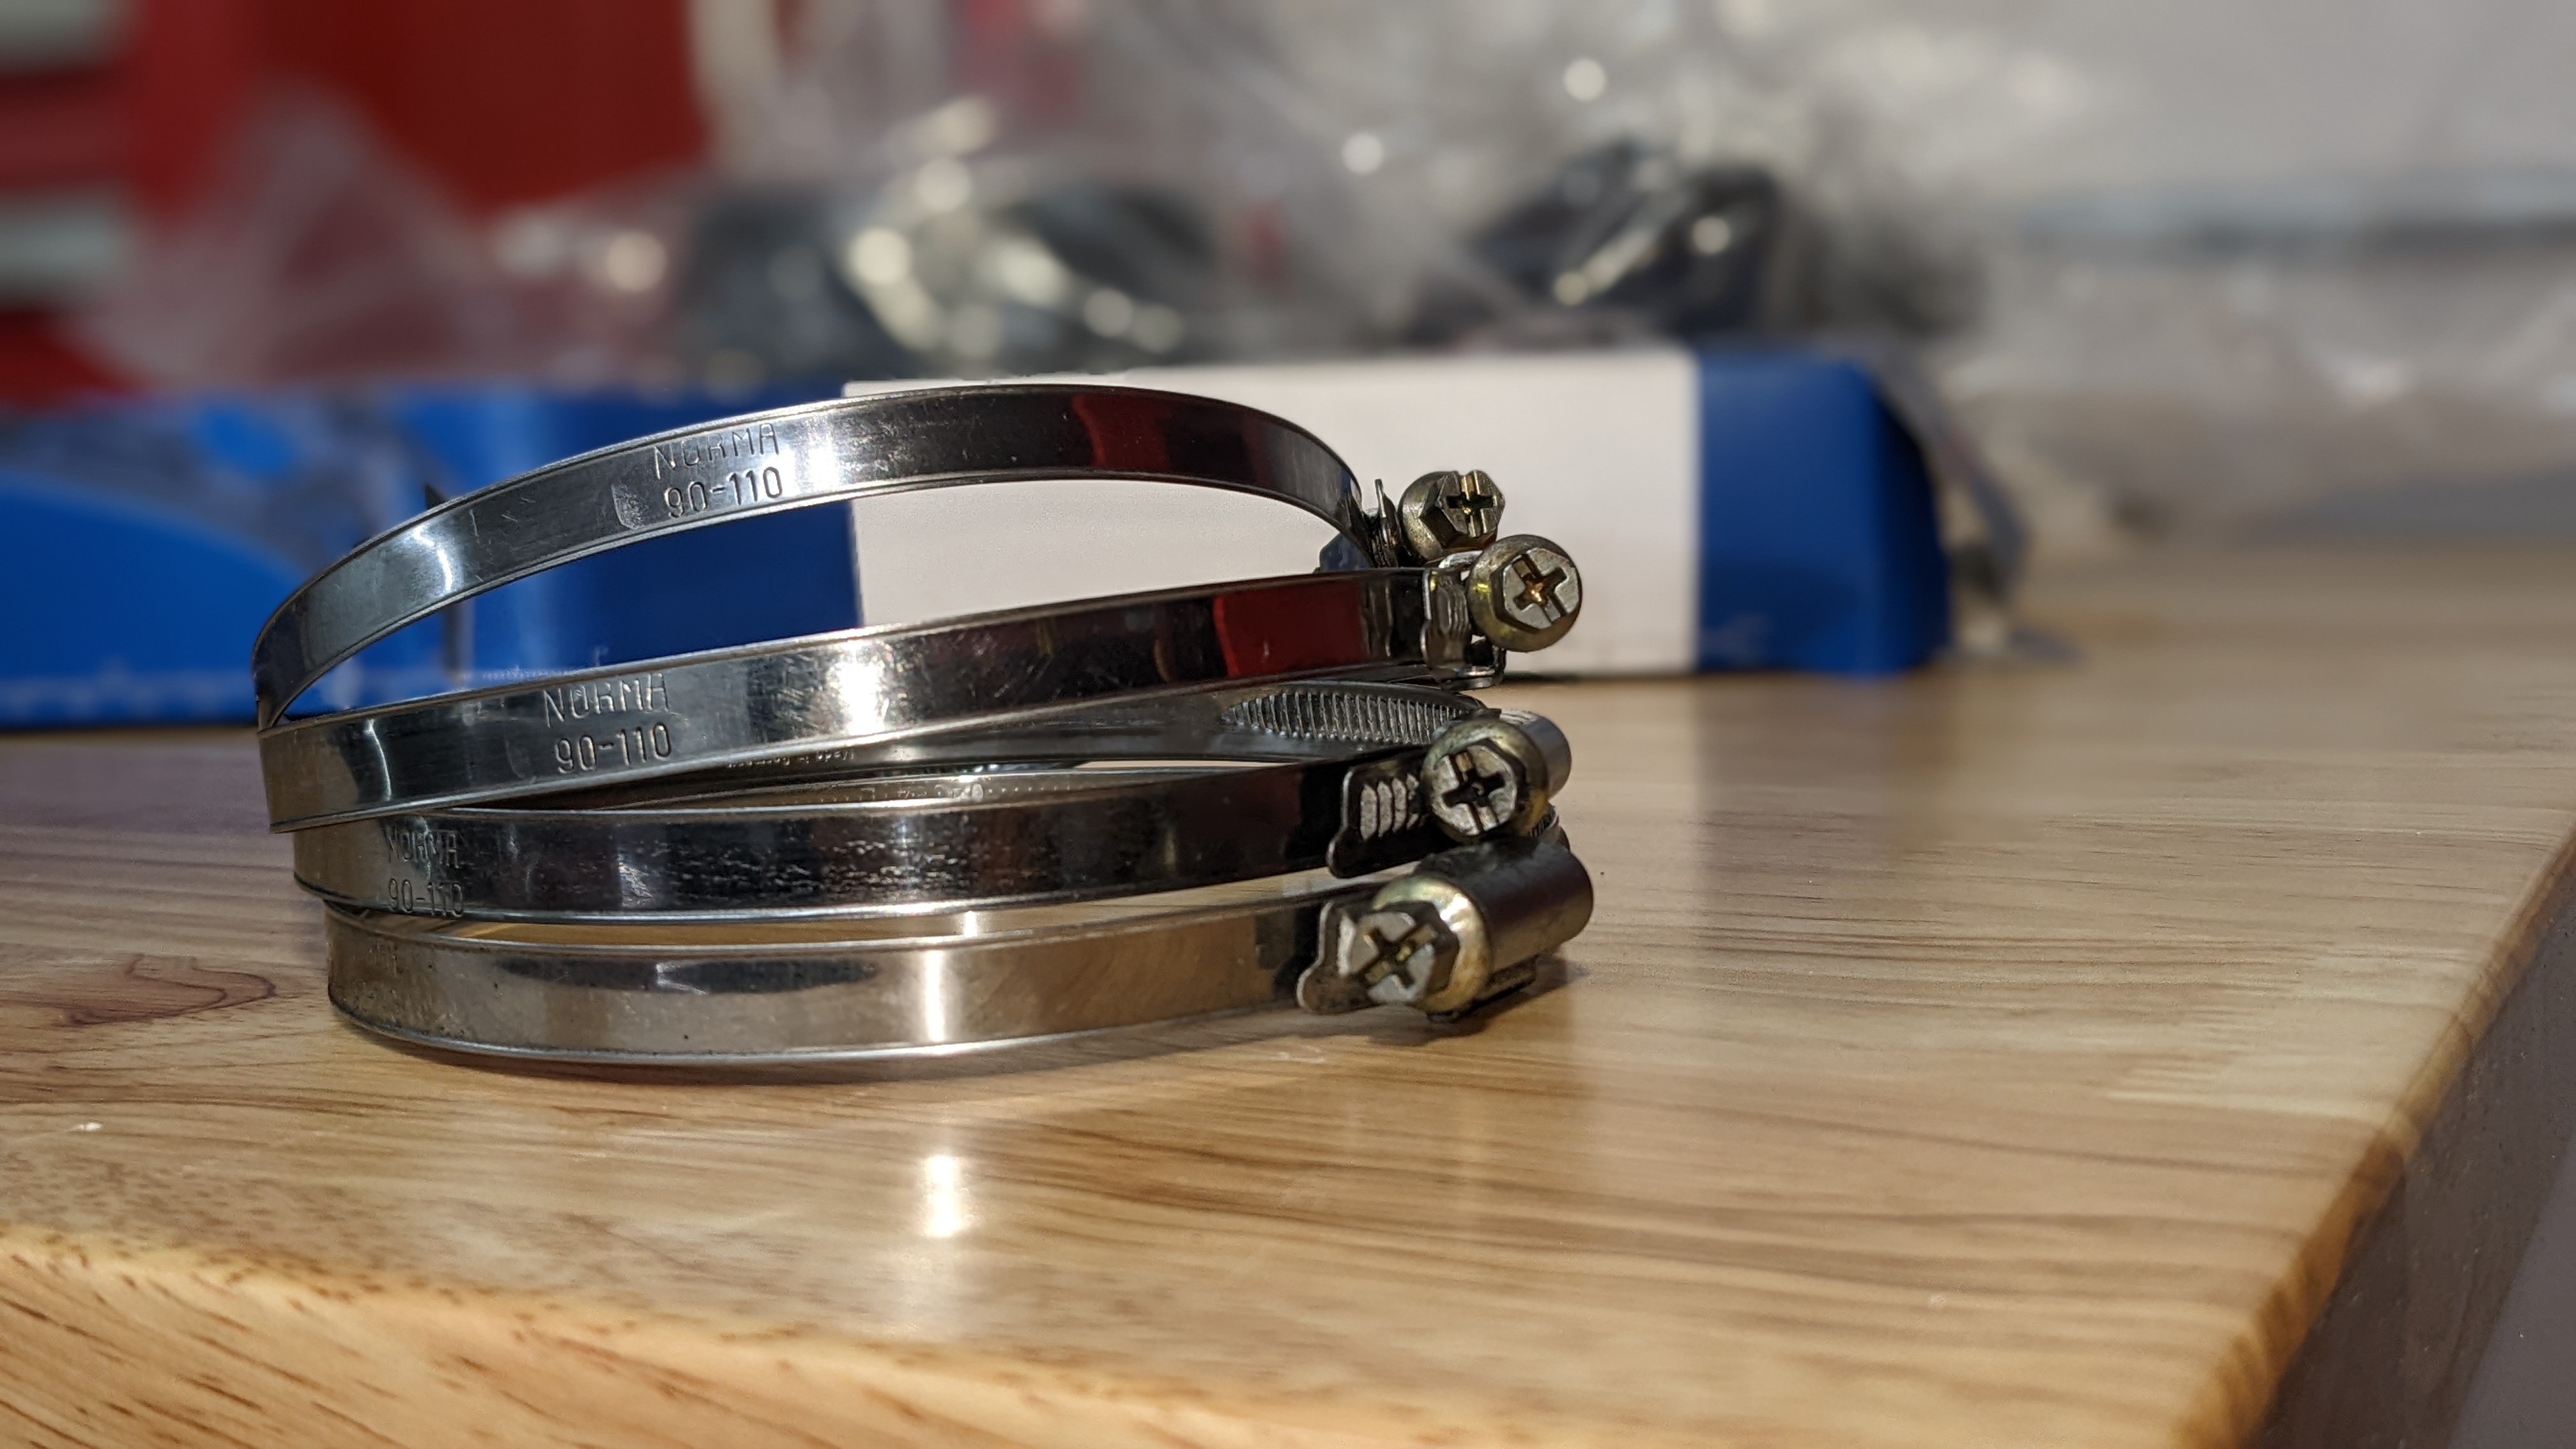
And cleaned up the hose clamps in preparation for Concours d'Ehhhhh good 'nuff.
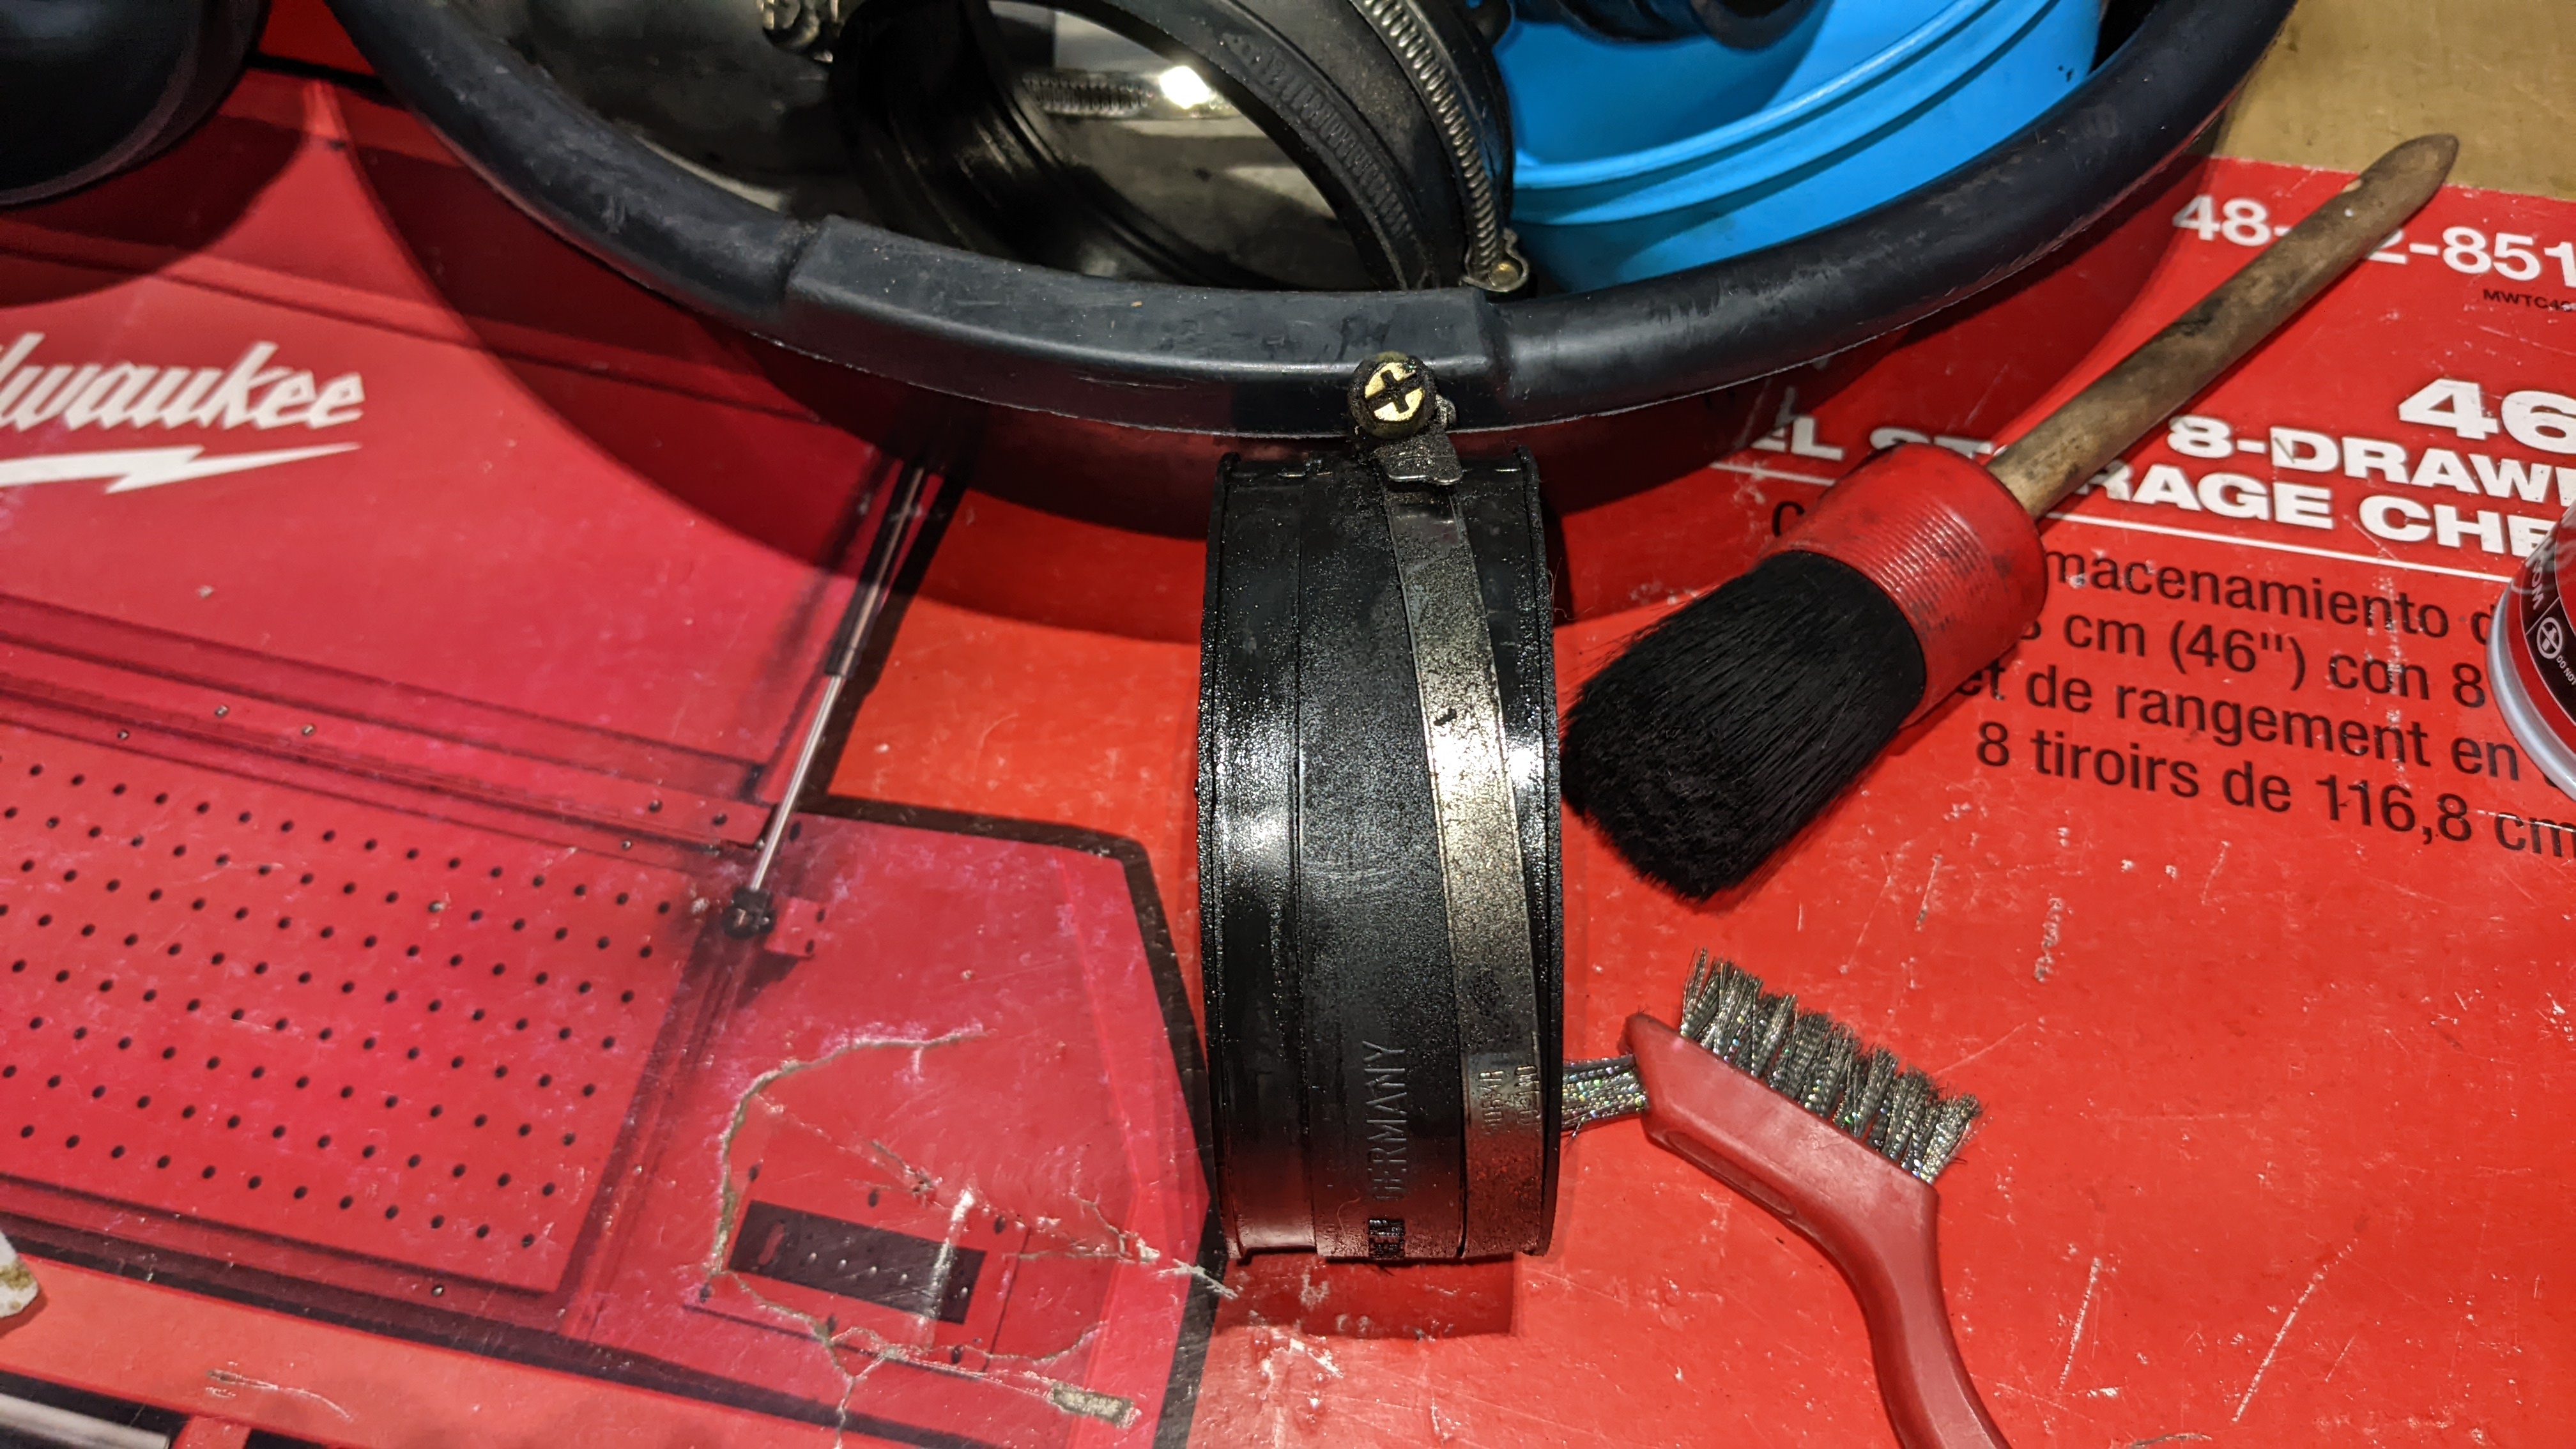
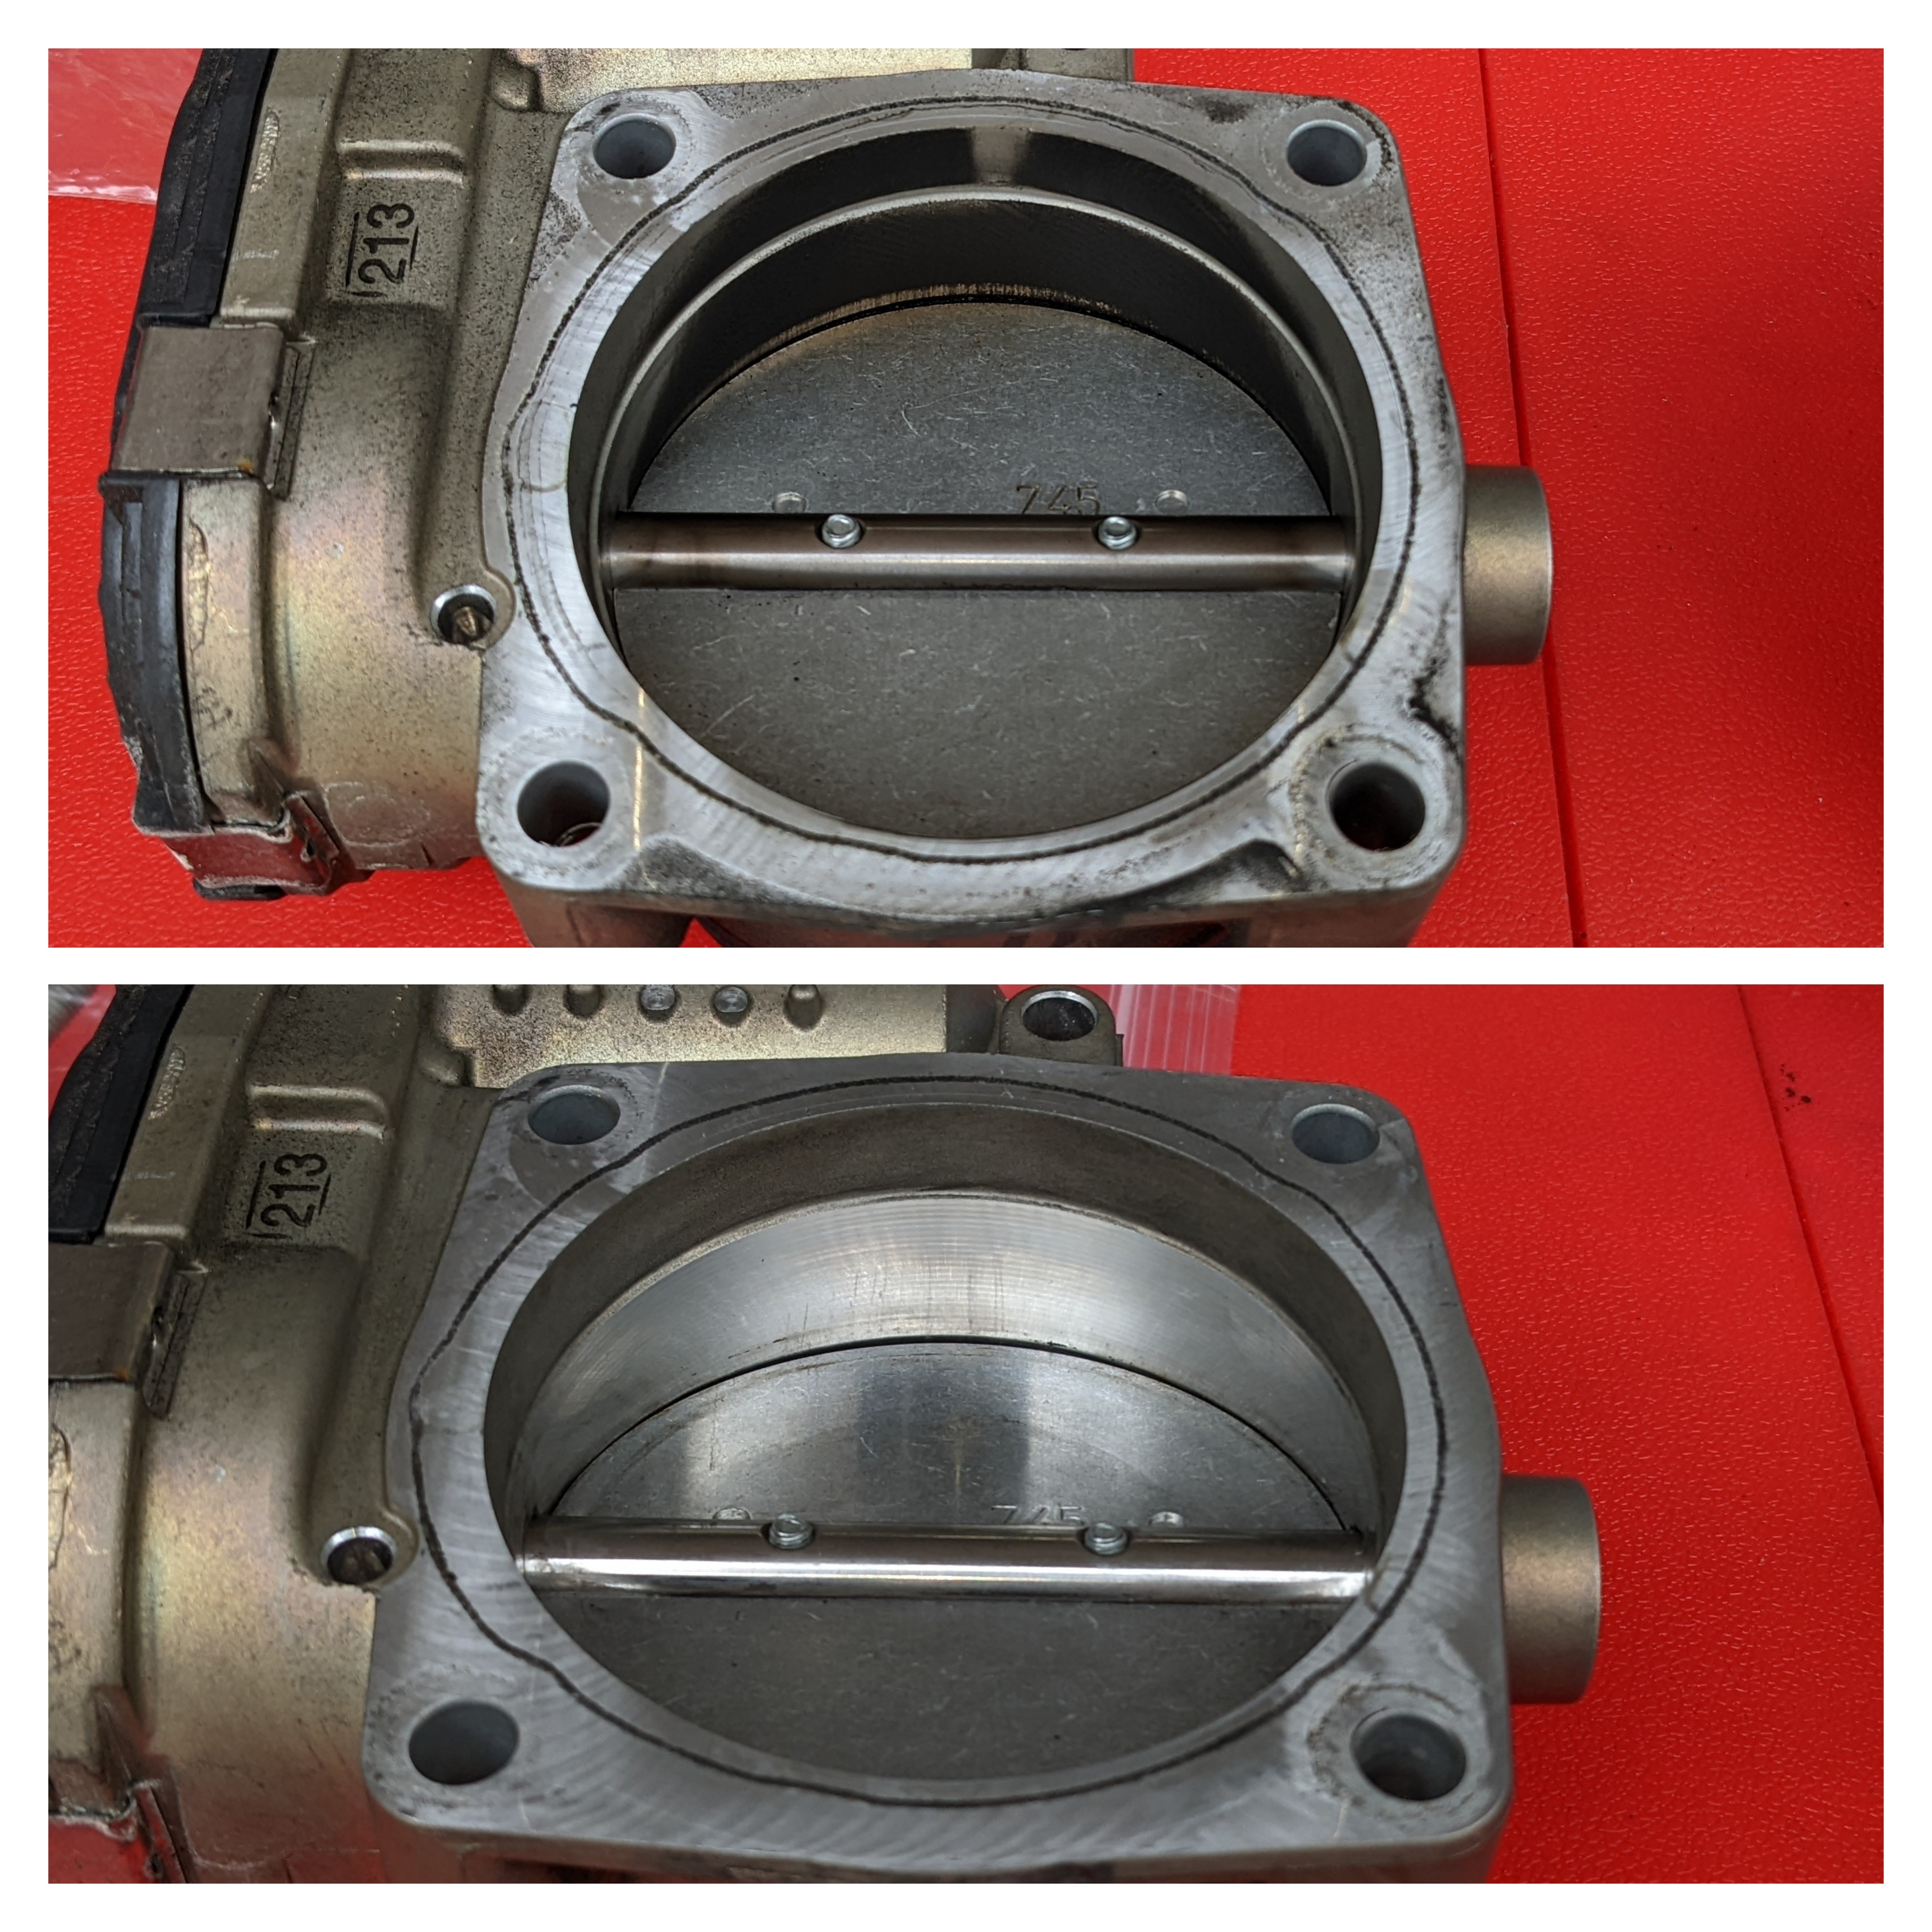
Perfect opportunity to clean the throttle body.
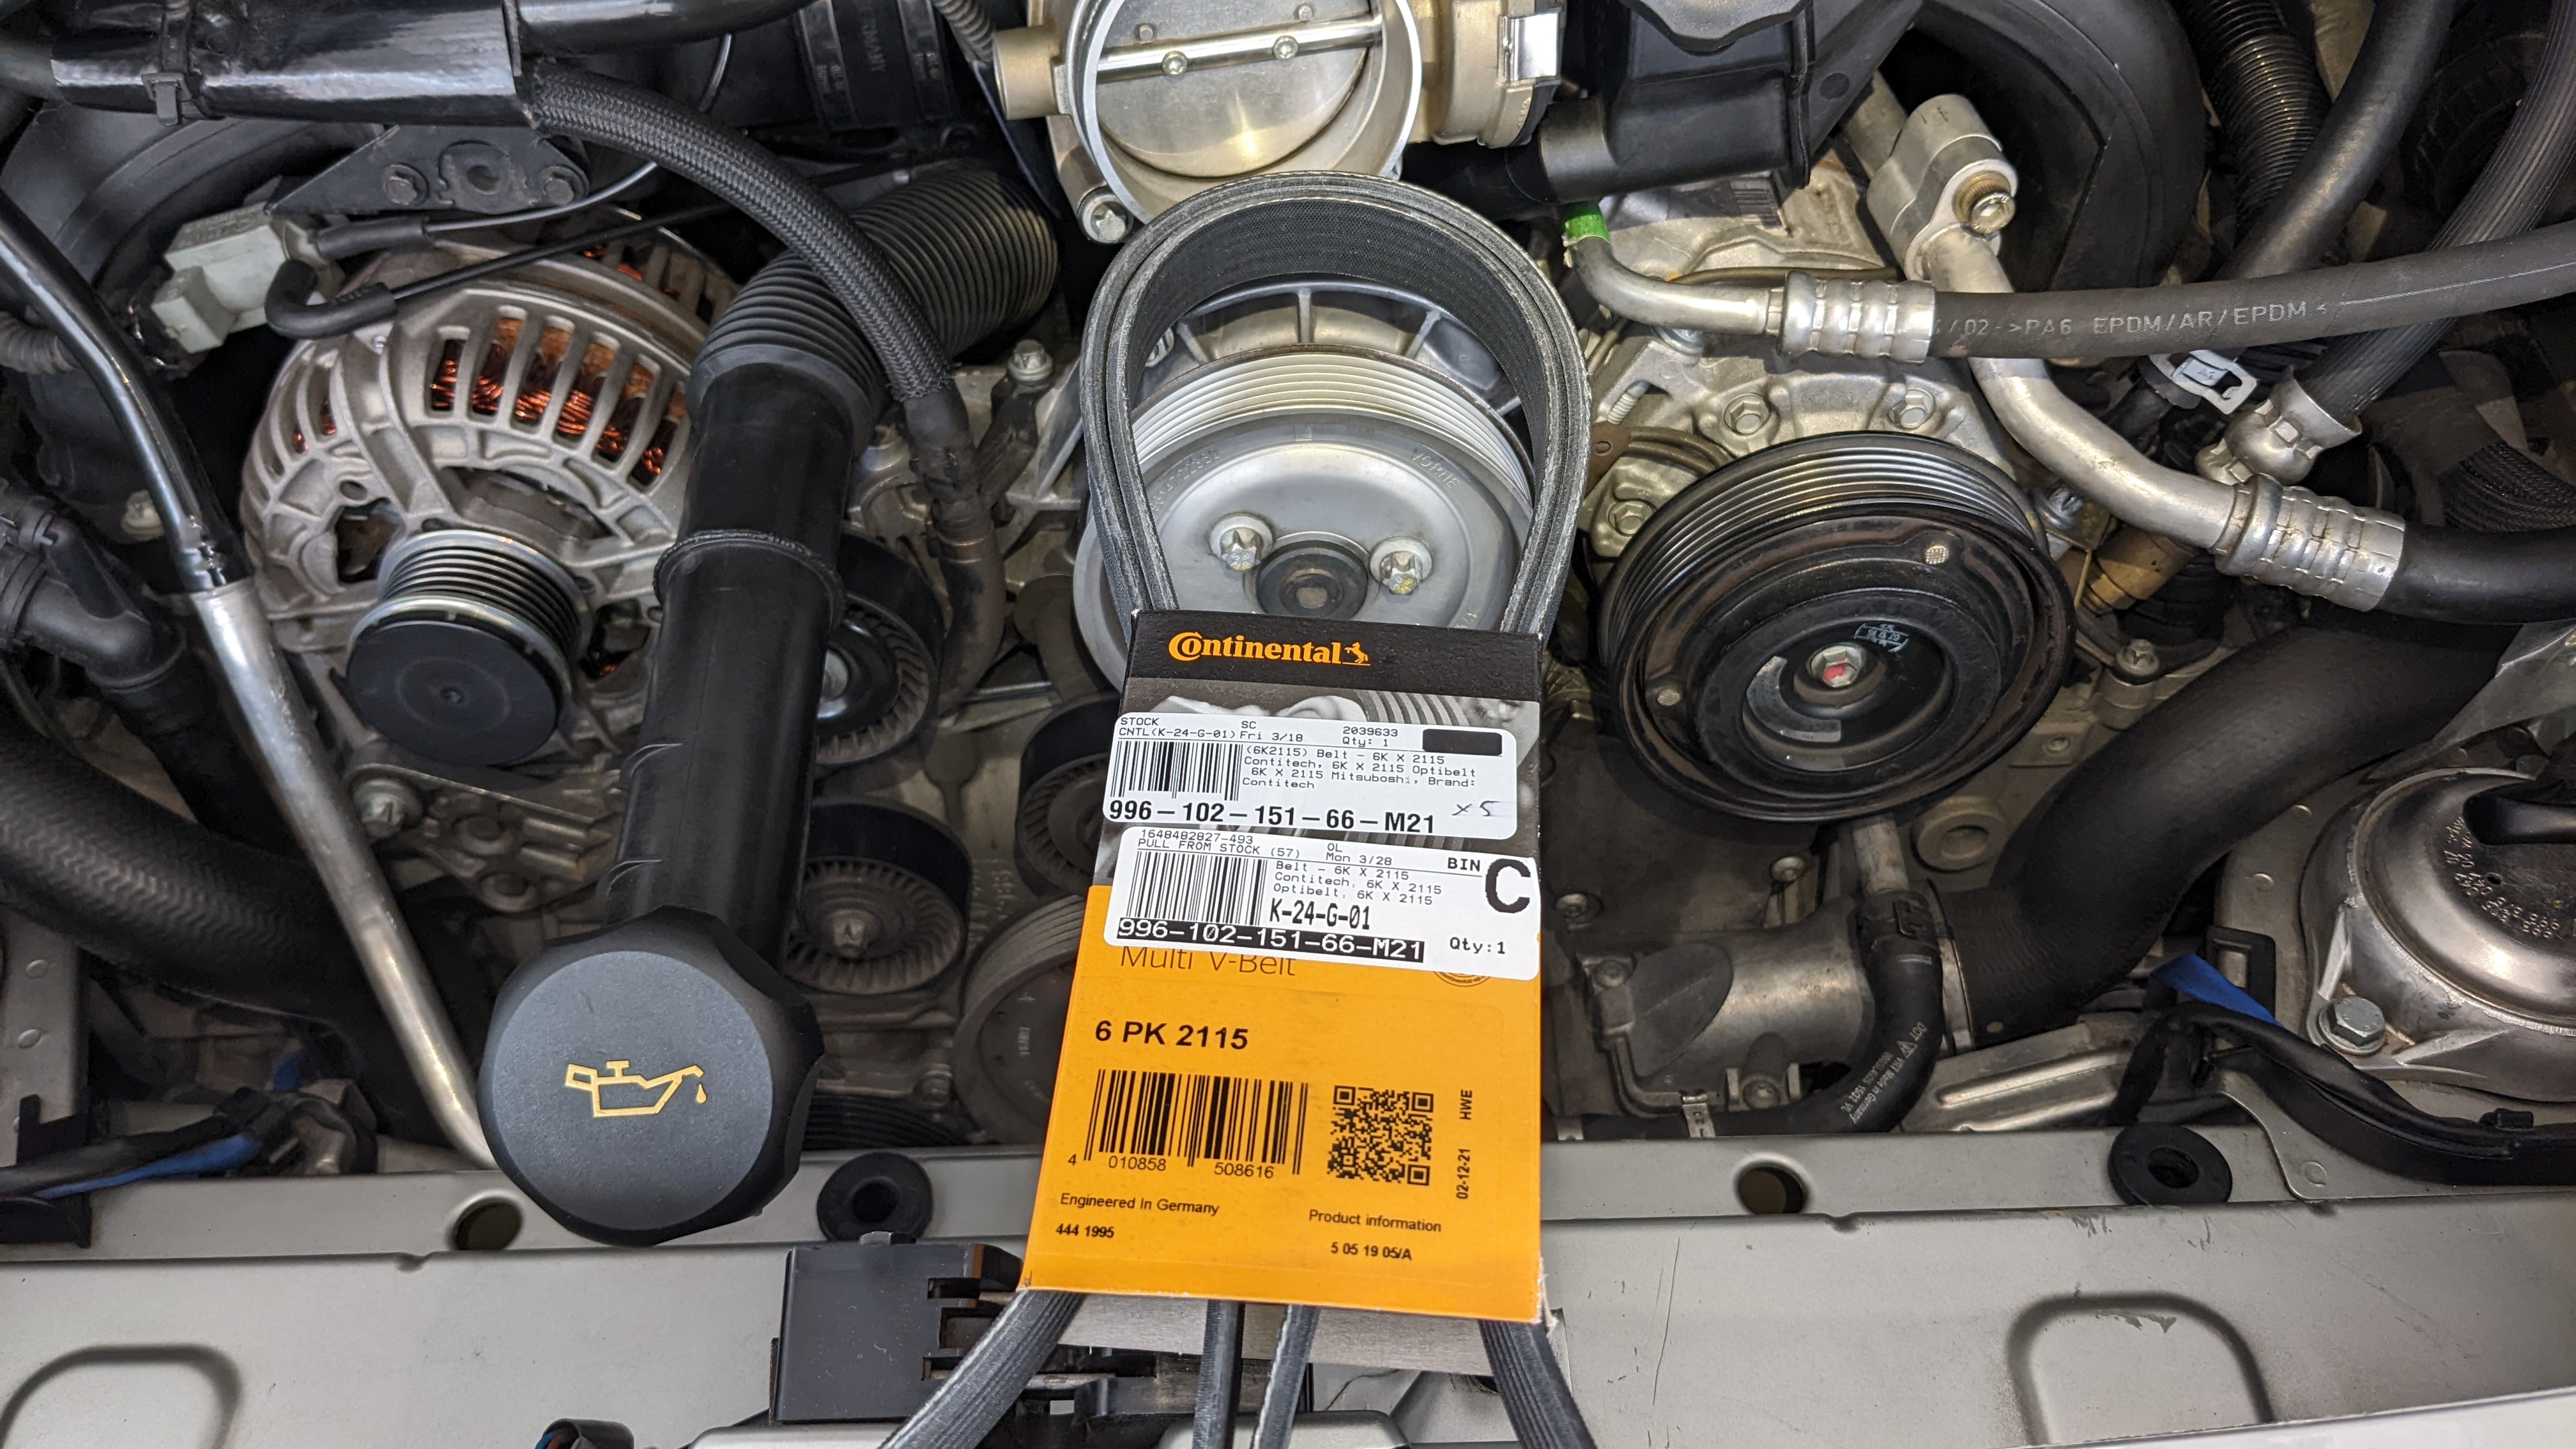
New belt.
This is how much old PS fluid I was able to extract. I replenished the same amount and will be extracting more after idling for a bit to mix the old with the new a few times.
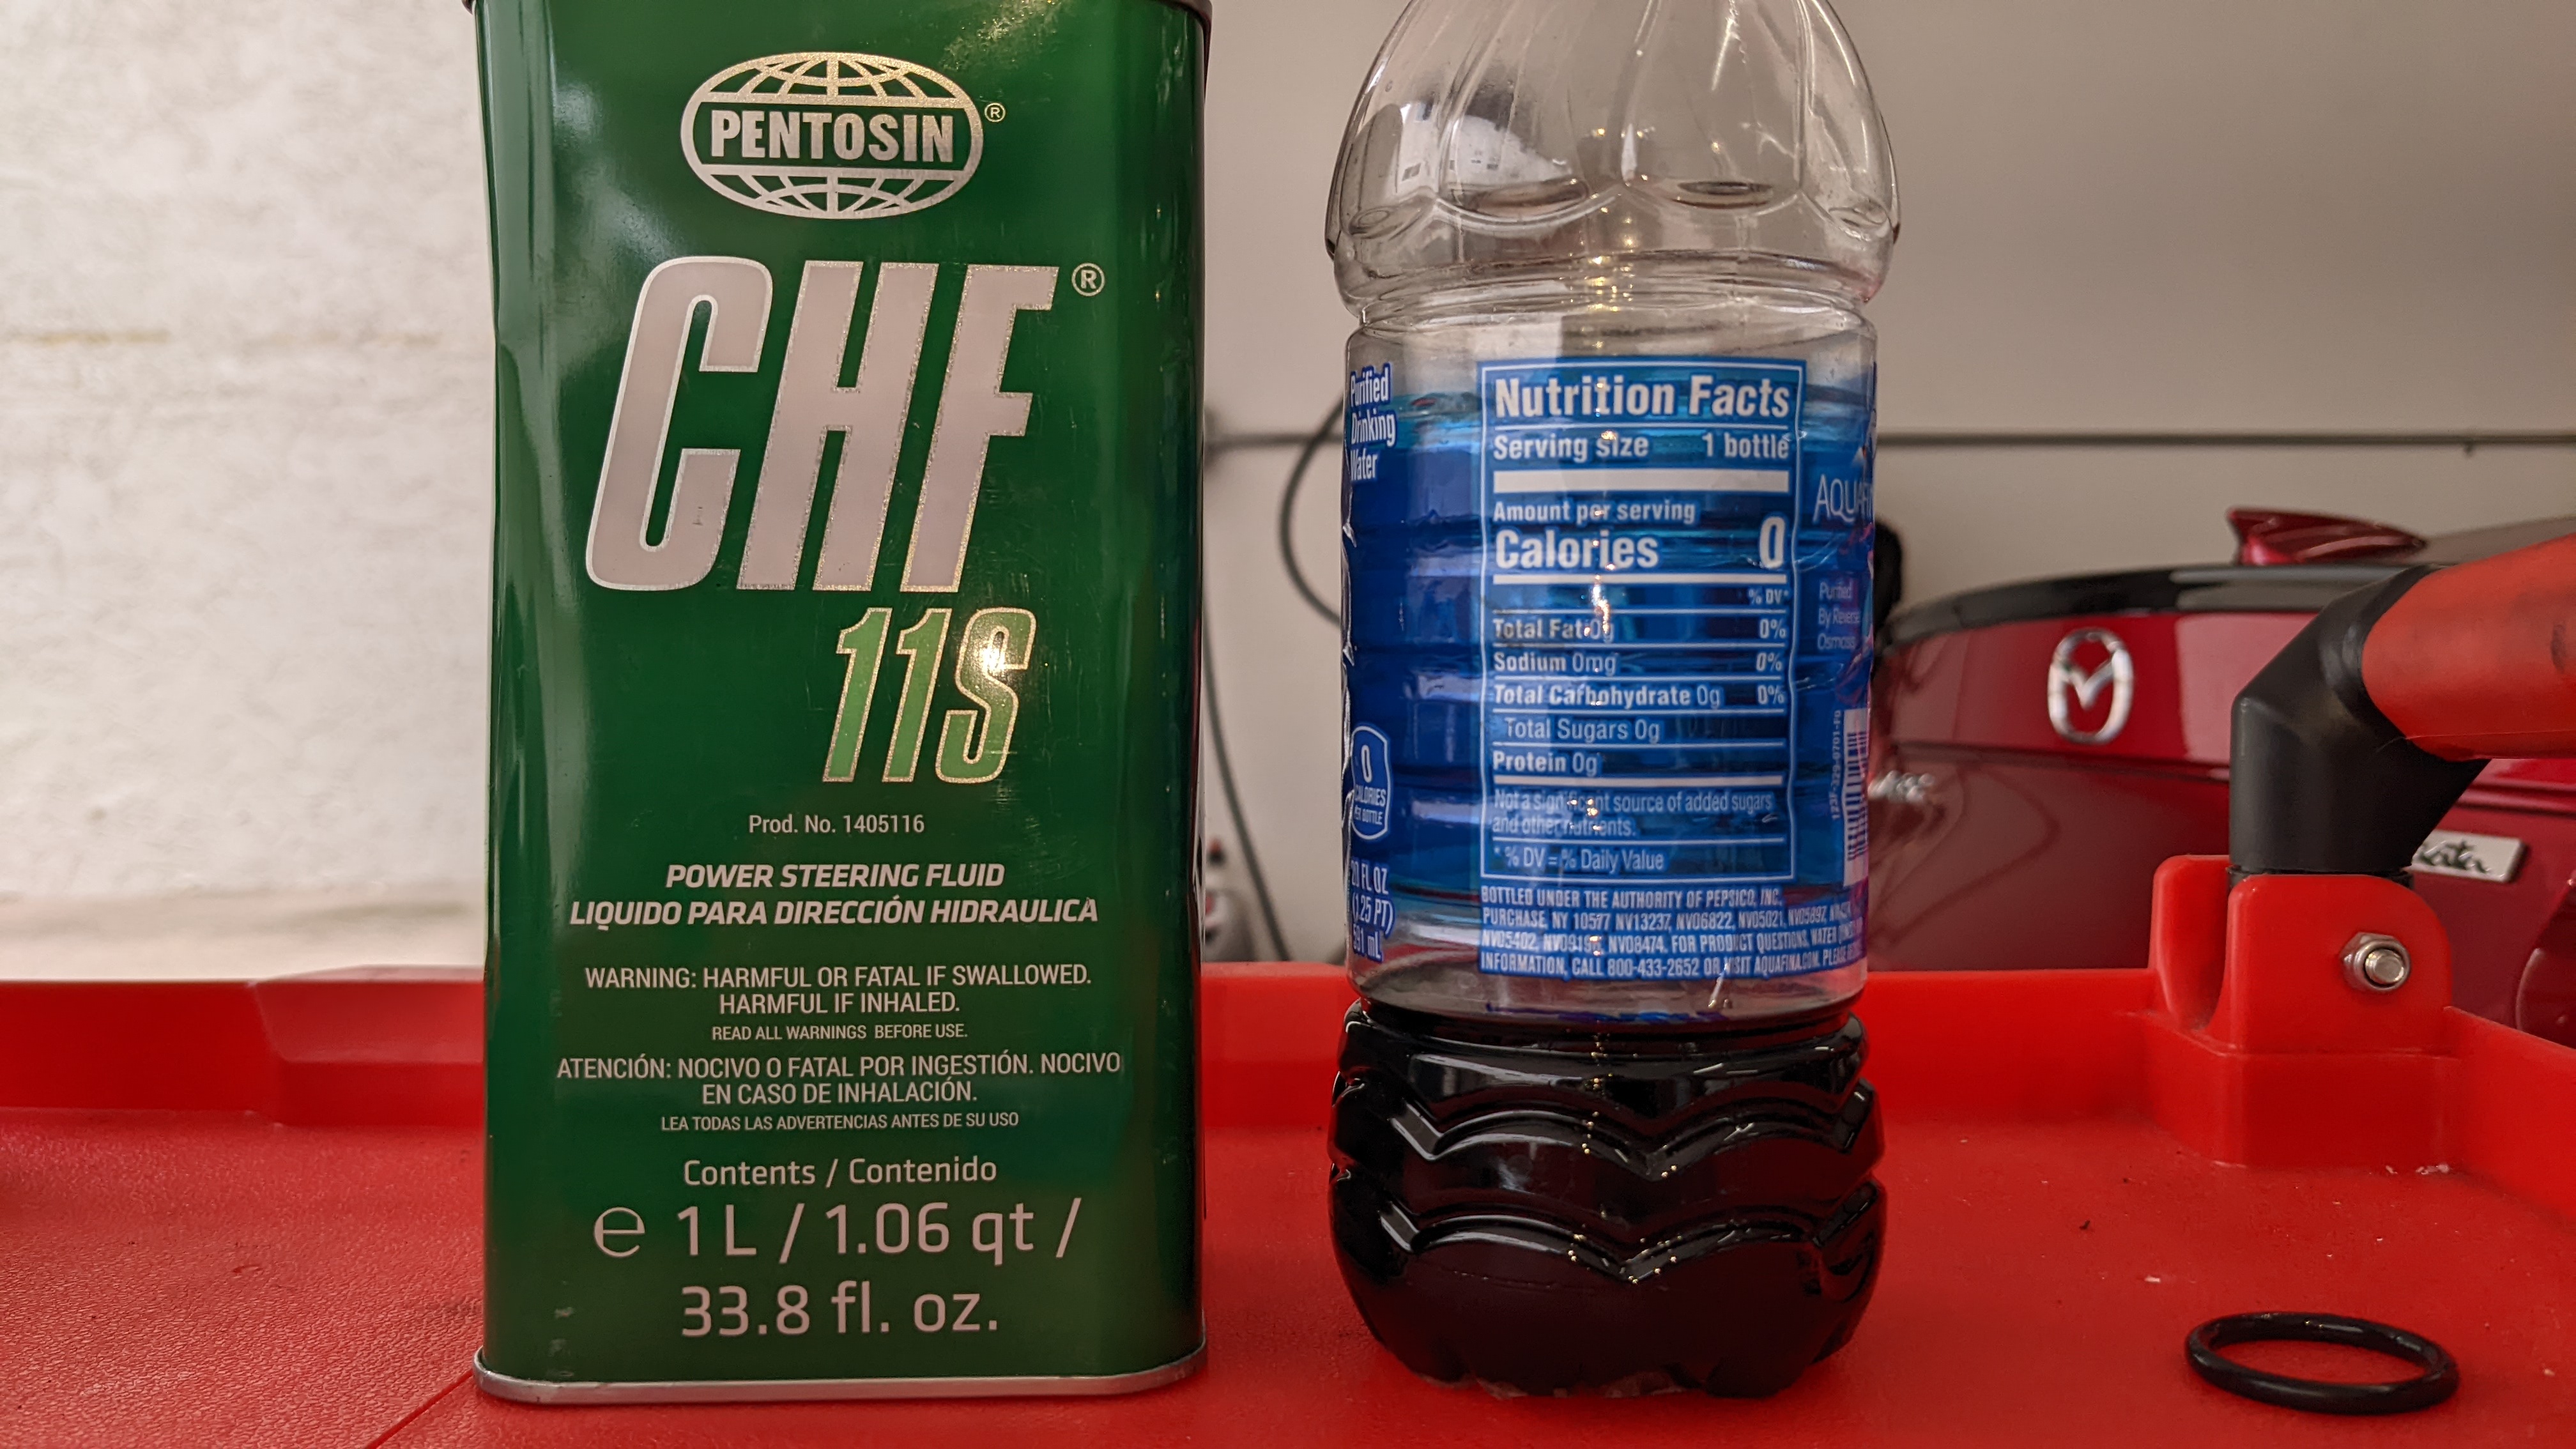
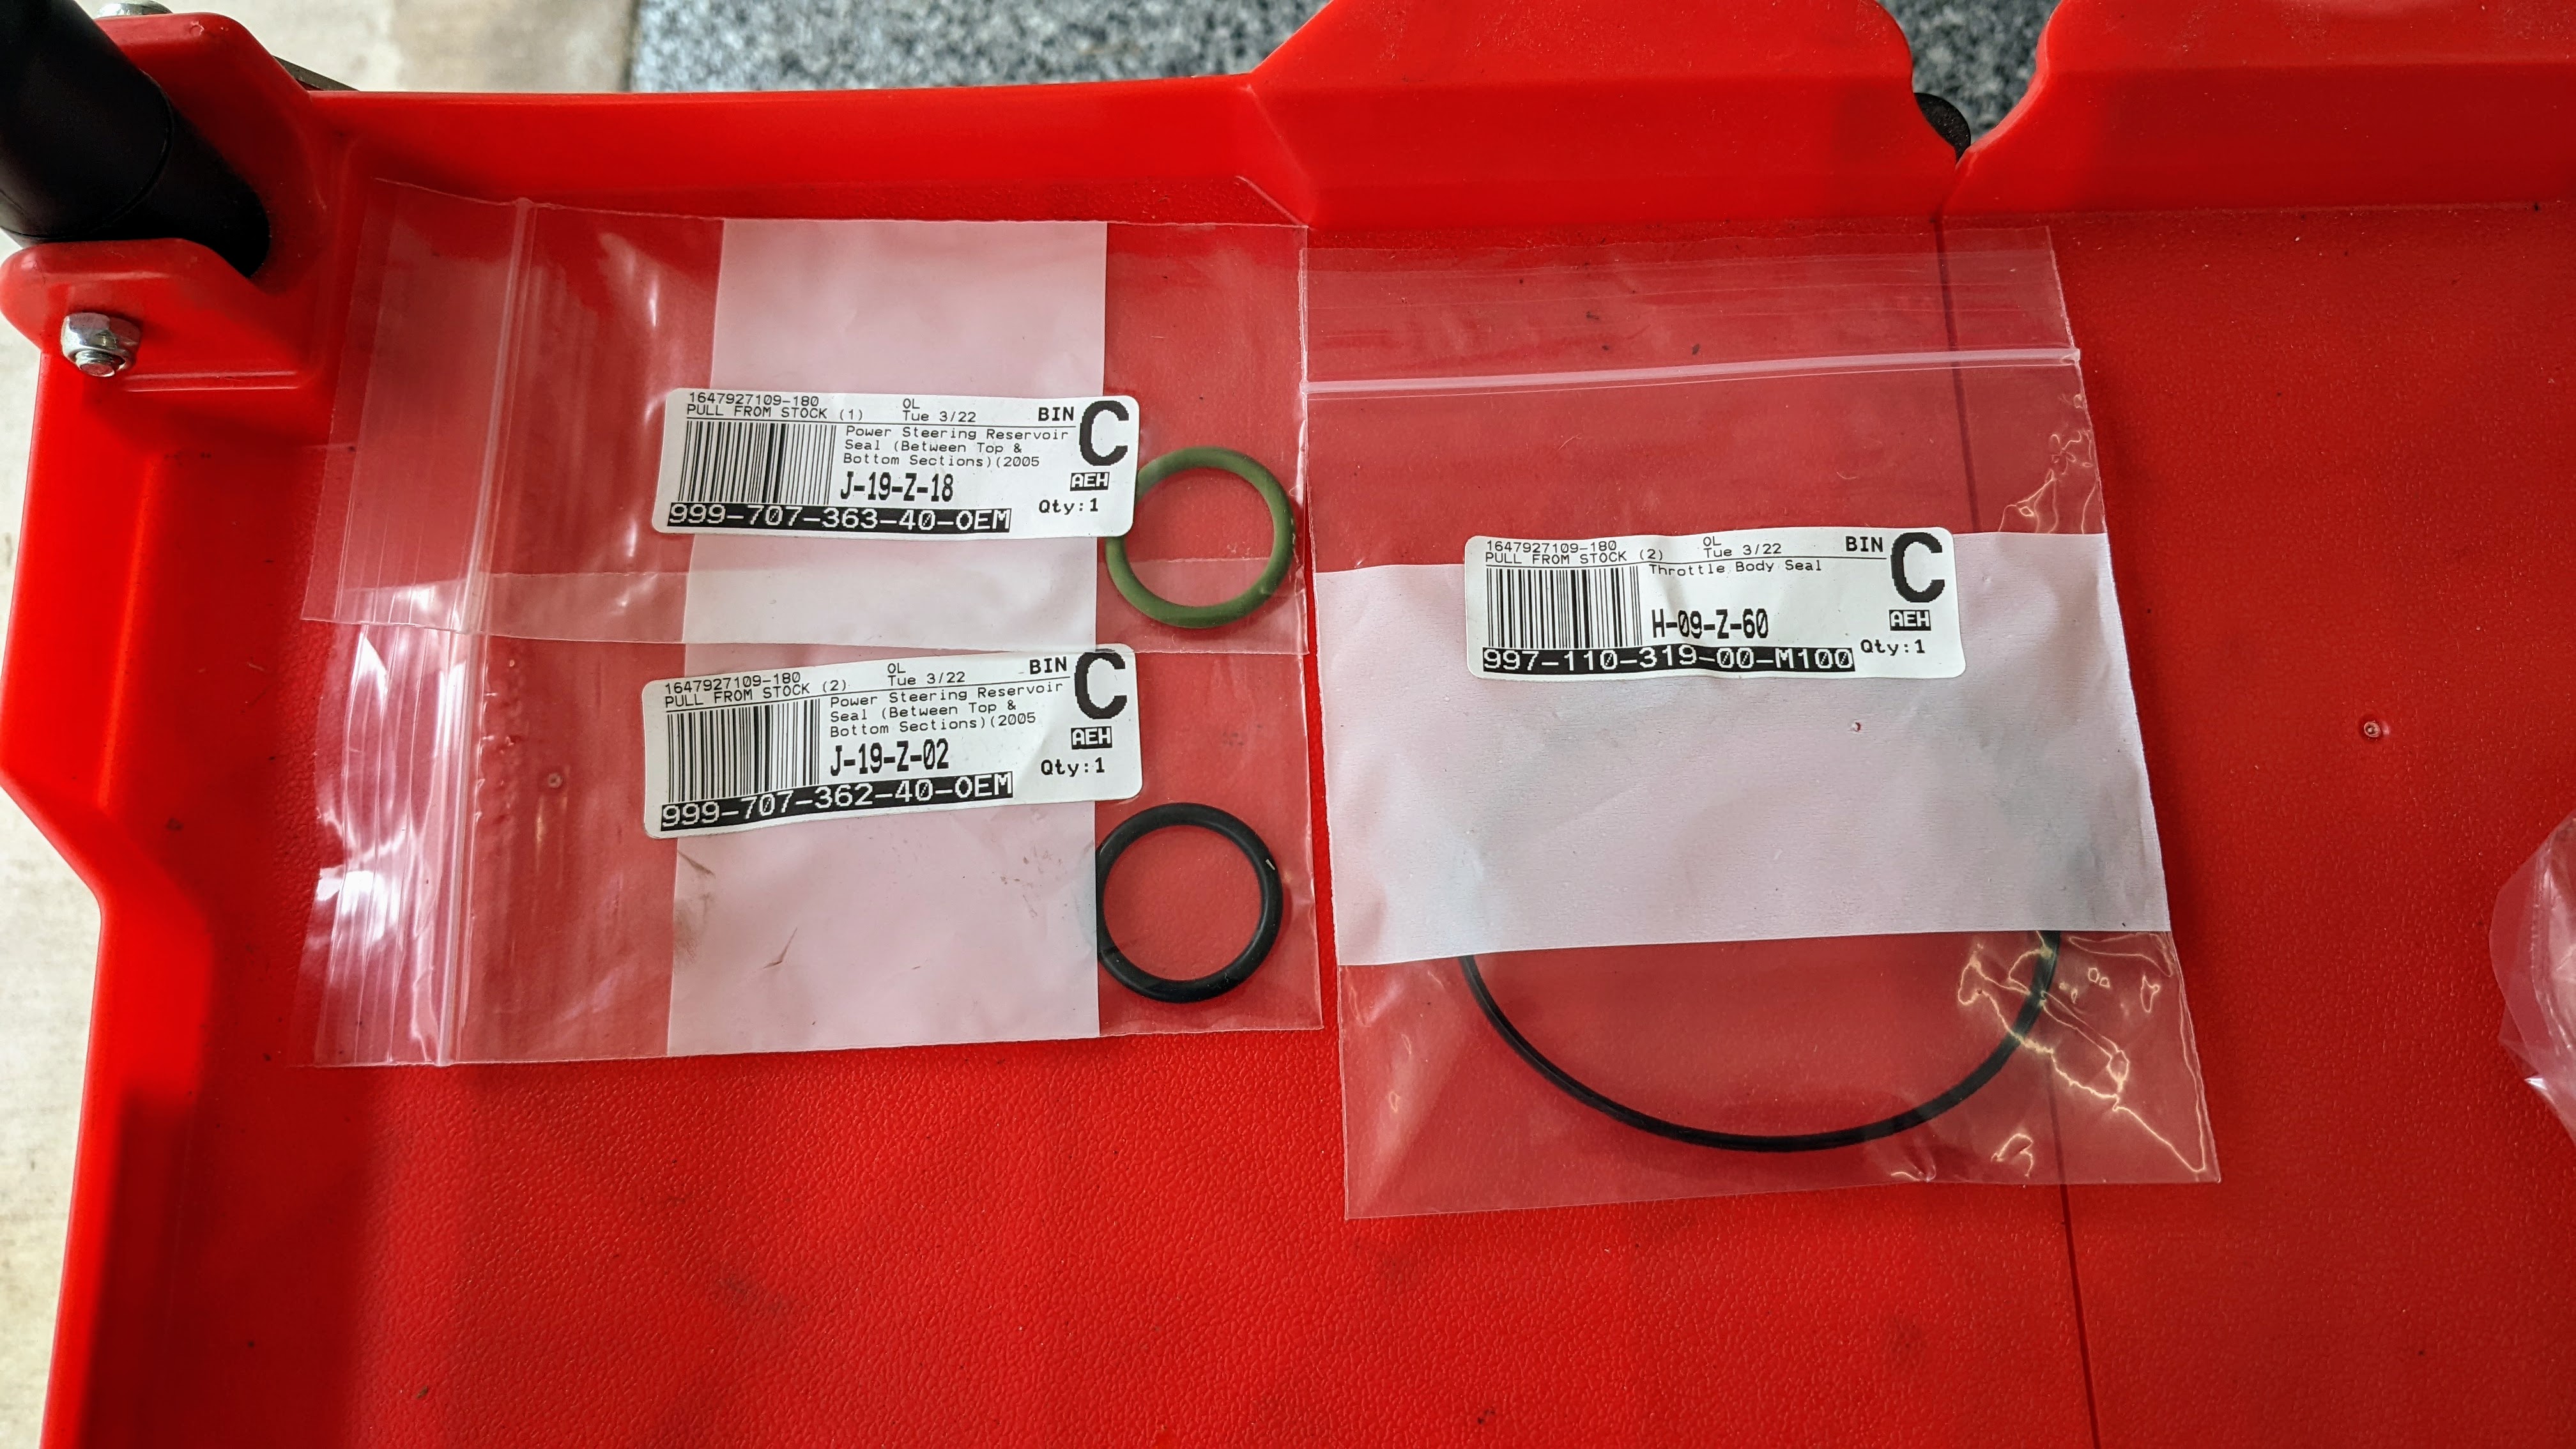
Also replaced the 2 O-rings on the PS reservoir dipstick and the throttle body gasket. I have 2 more on order for the reservoir assembly.
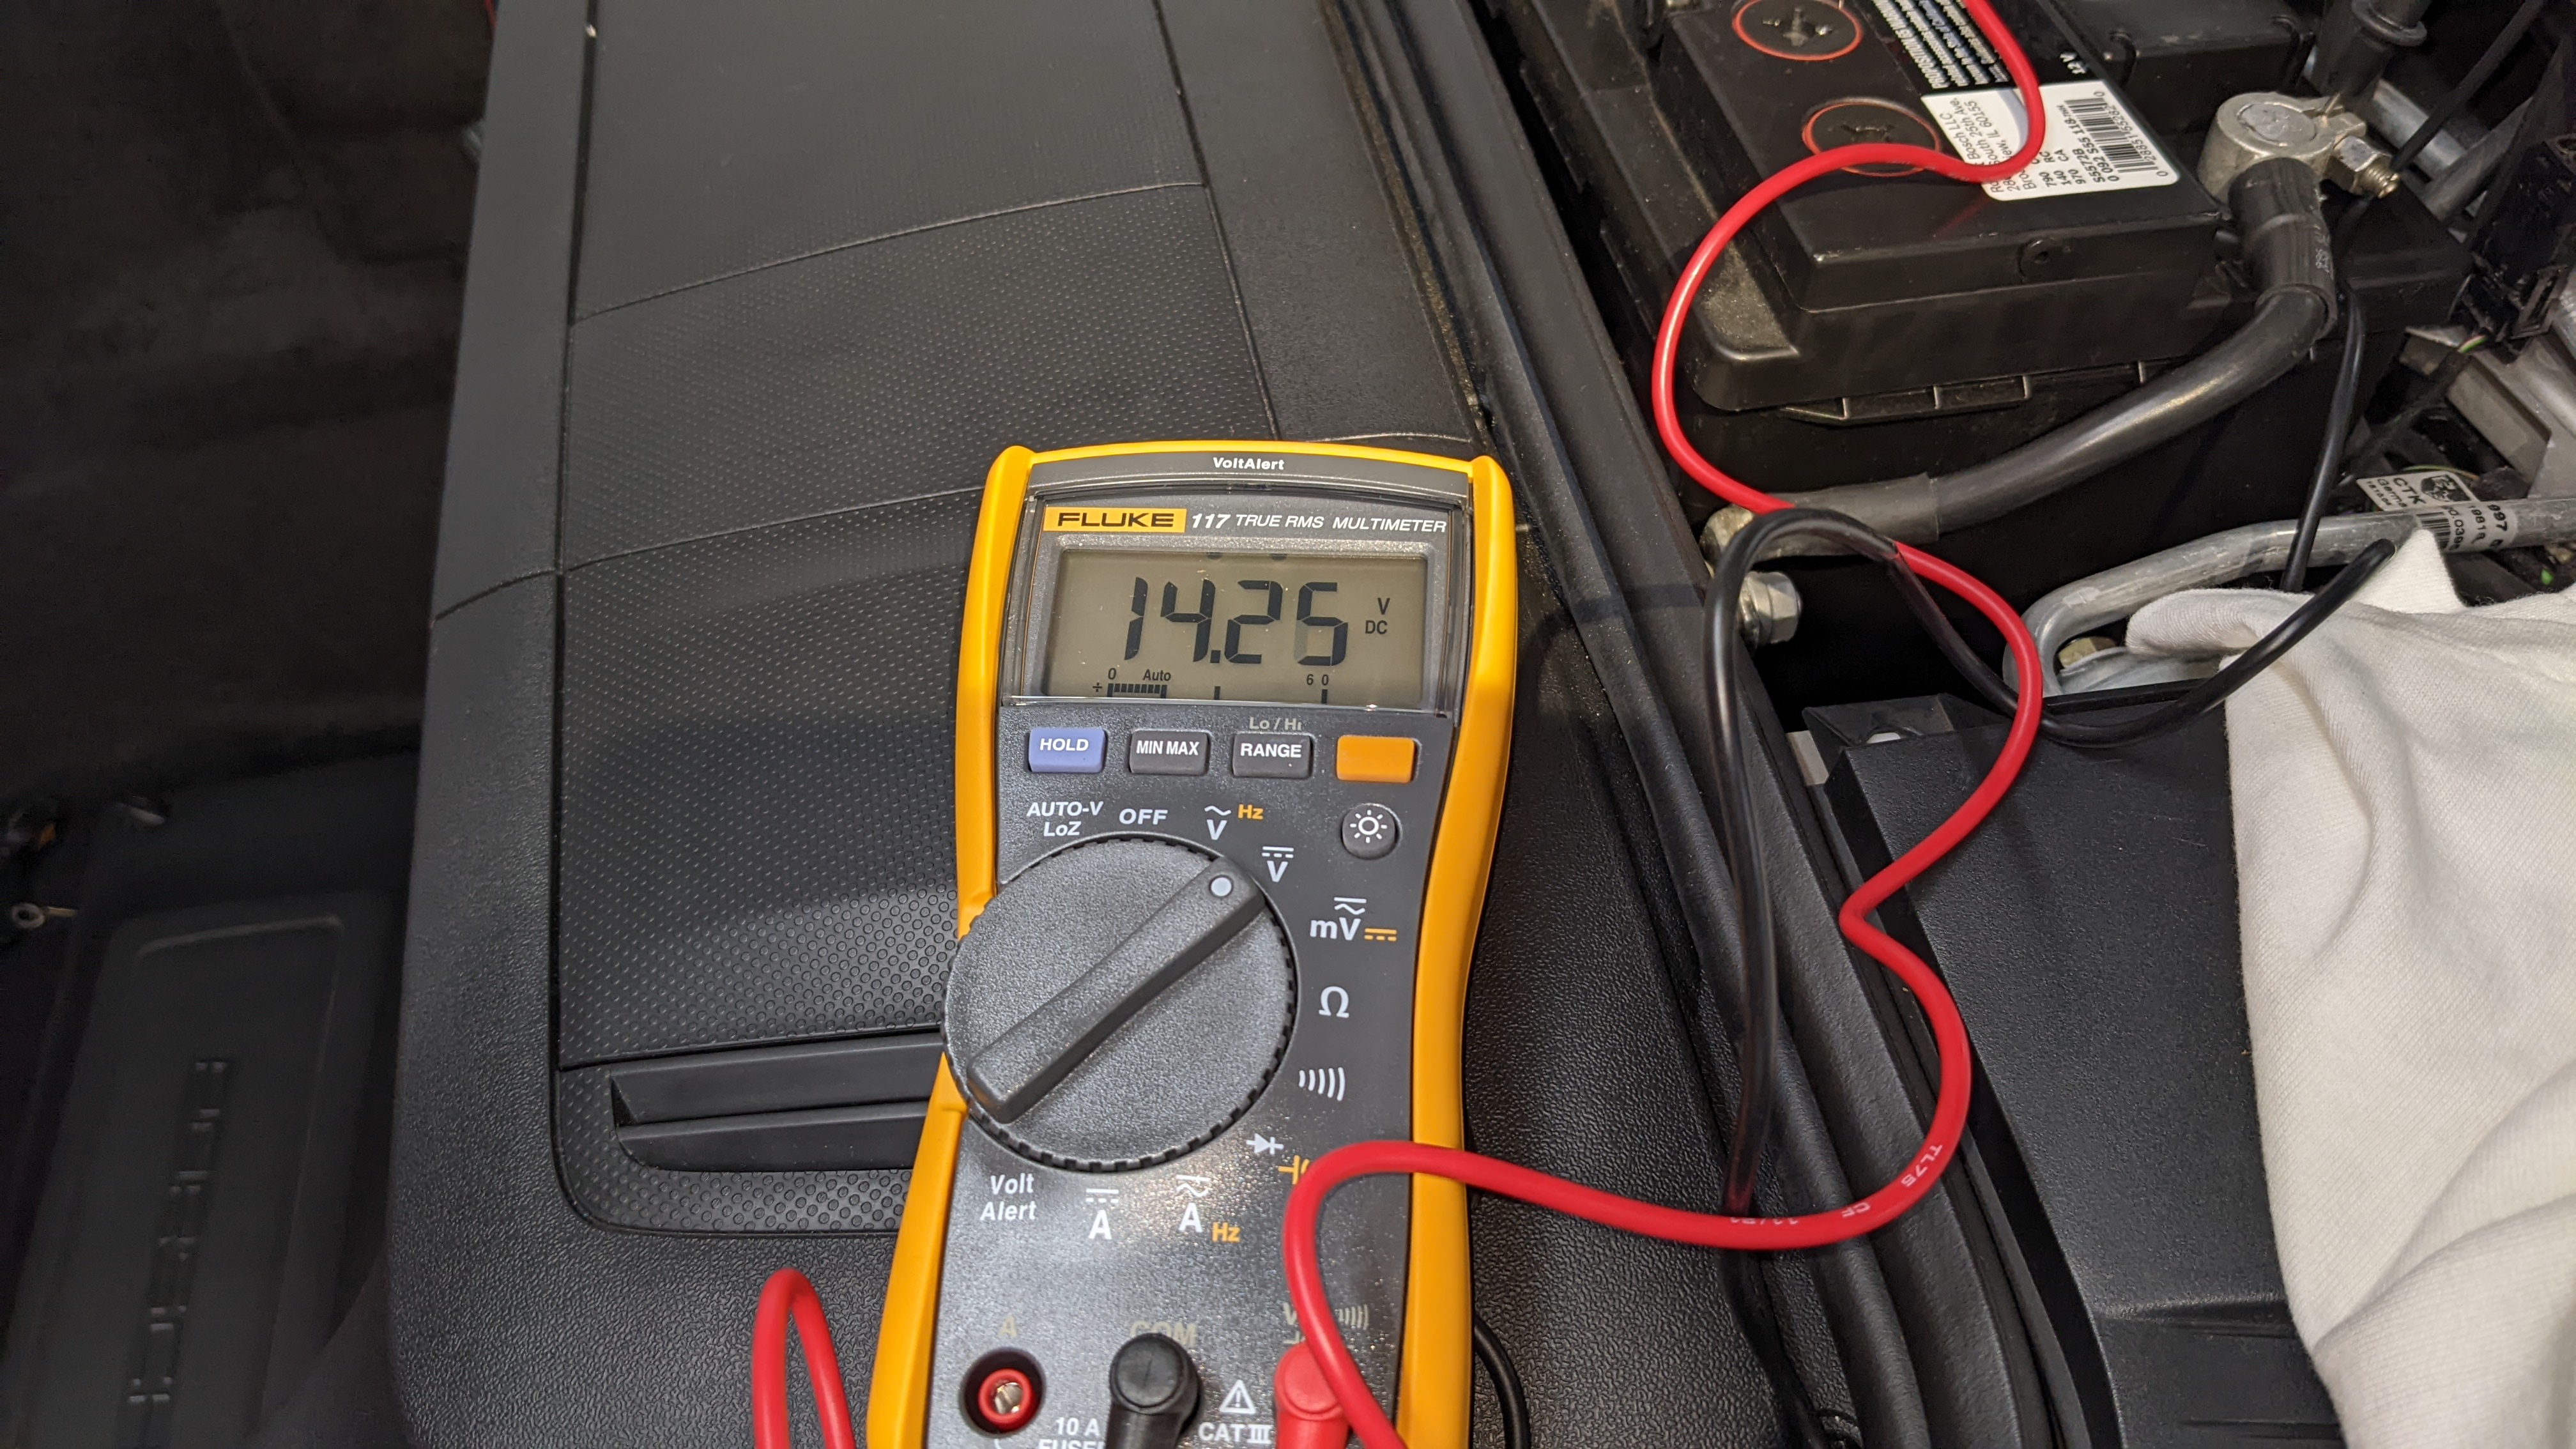
Got everything buttoned up and Sierra came roaring back to life. 14.25V is more like it!
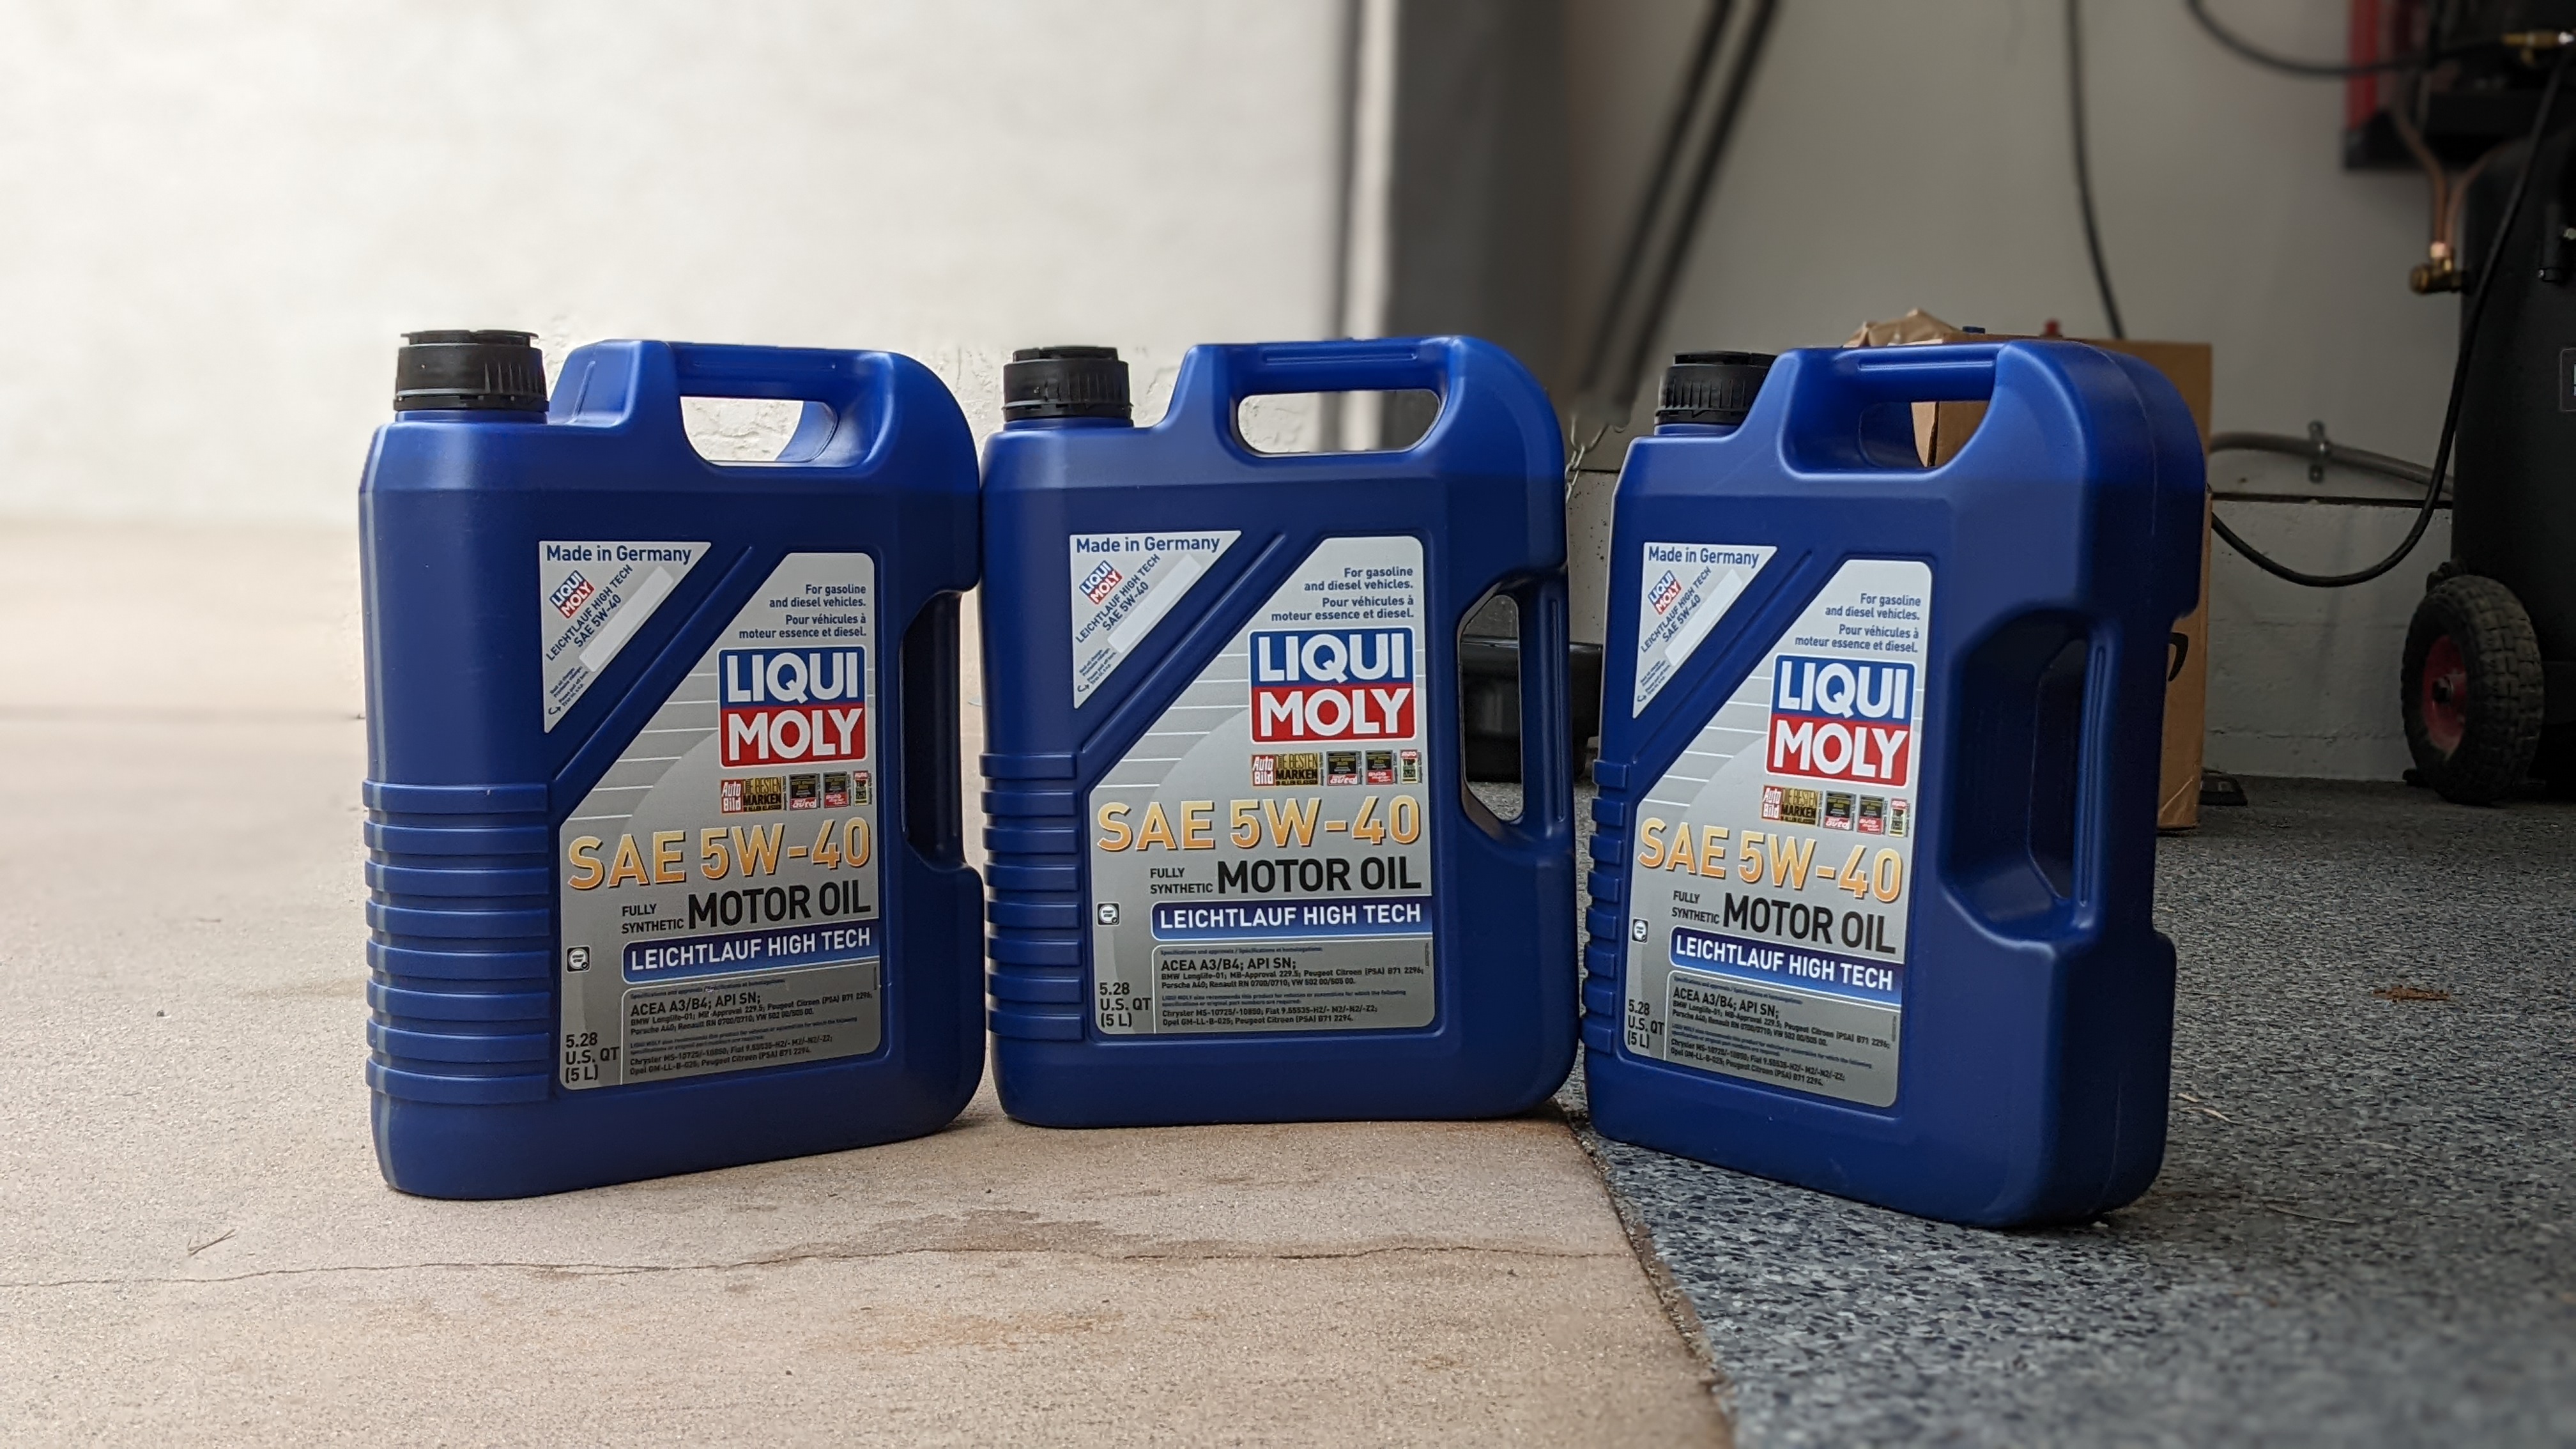
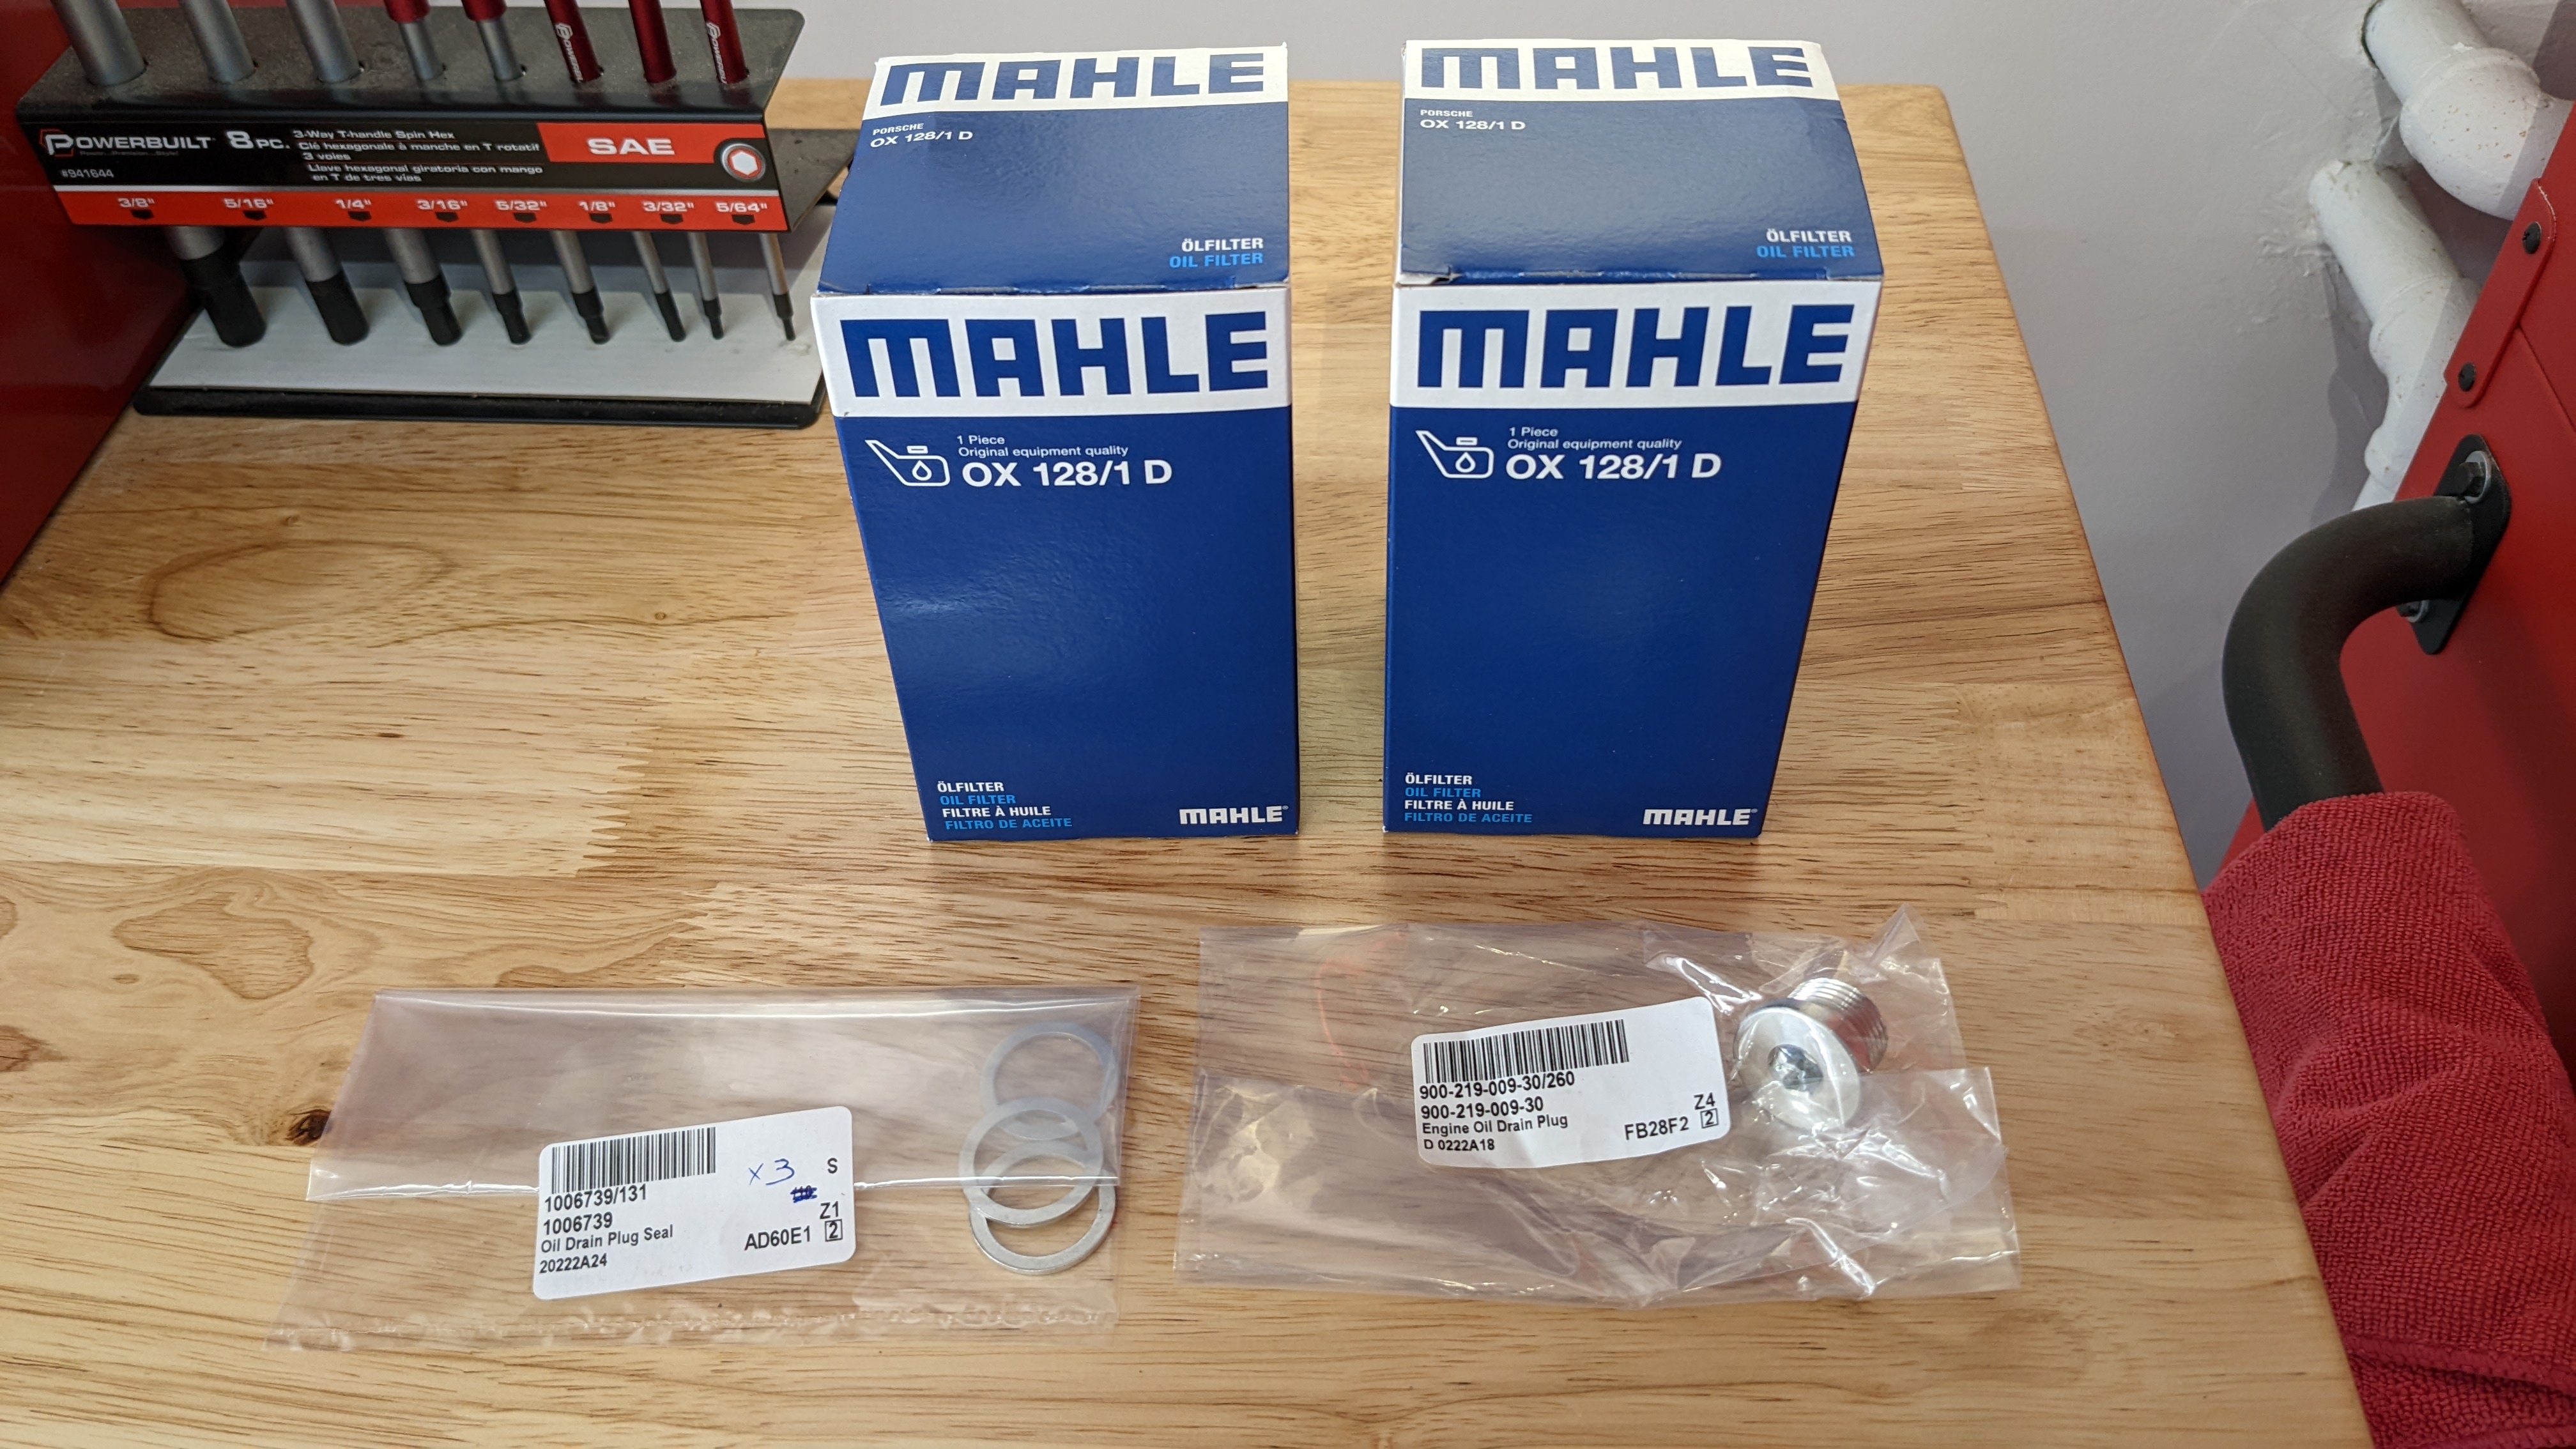
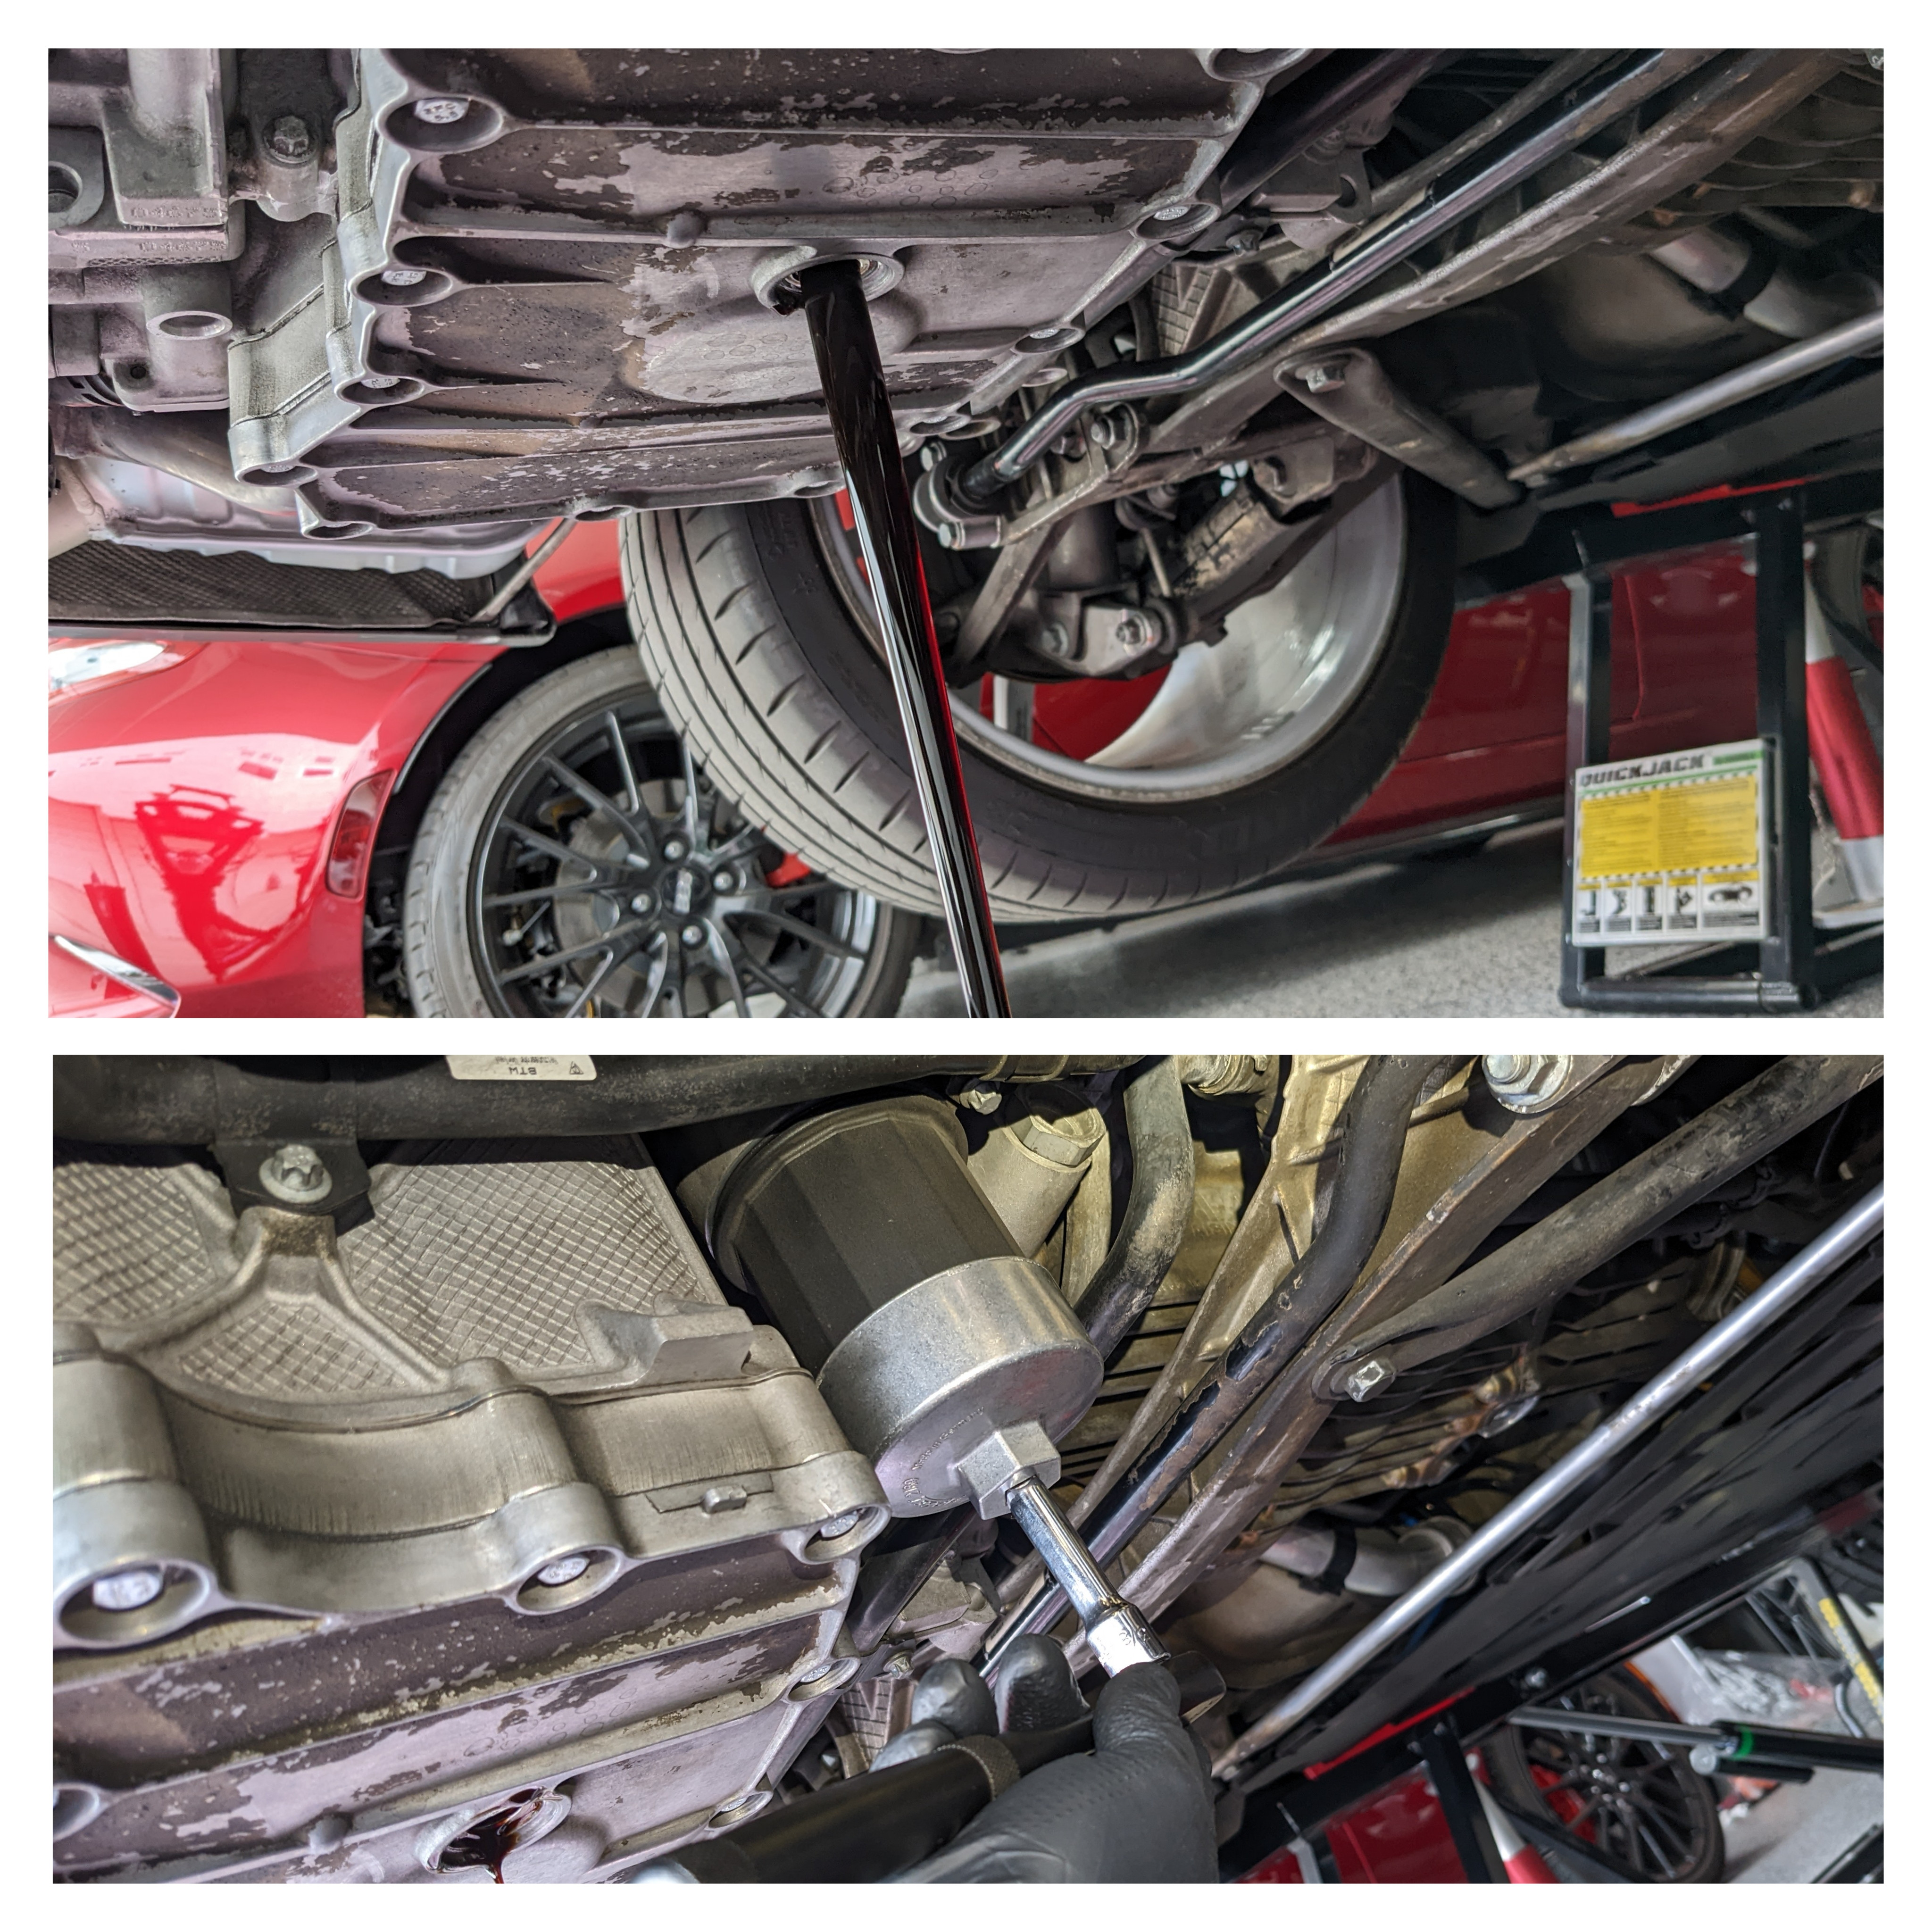
With that sorted, took advantage of the car being on QuickJacks and changed the oil. Always liked Liqui Moly so I'll be experimenting with it for a year instead of the 0W-40 from Mobil One.
1 drain plug, 2 oil filters, 3 crush washers. Seems random but it isn't.
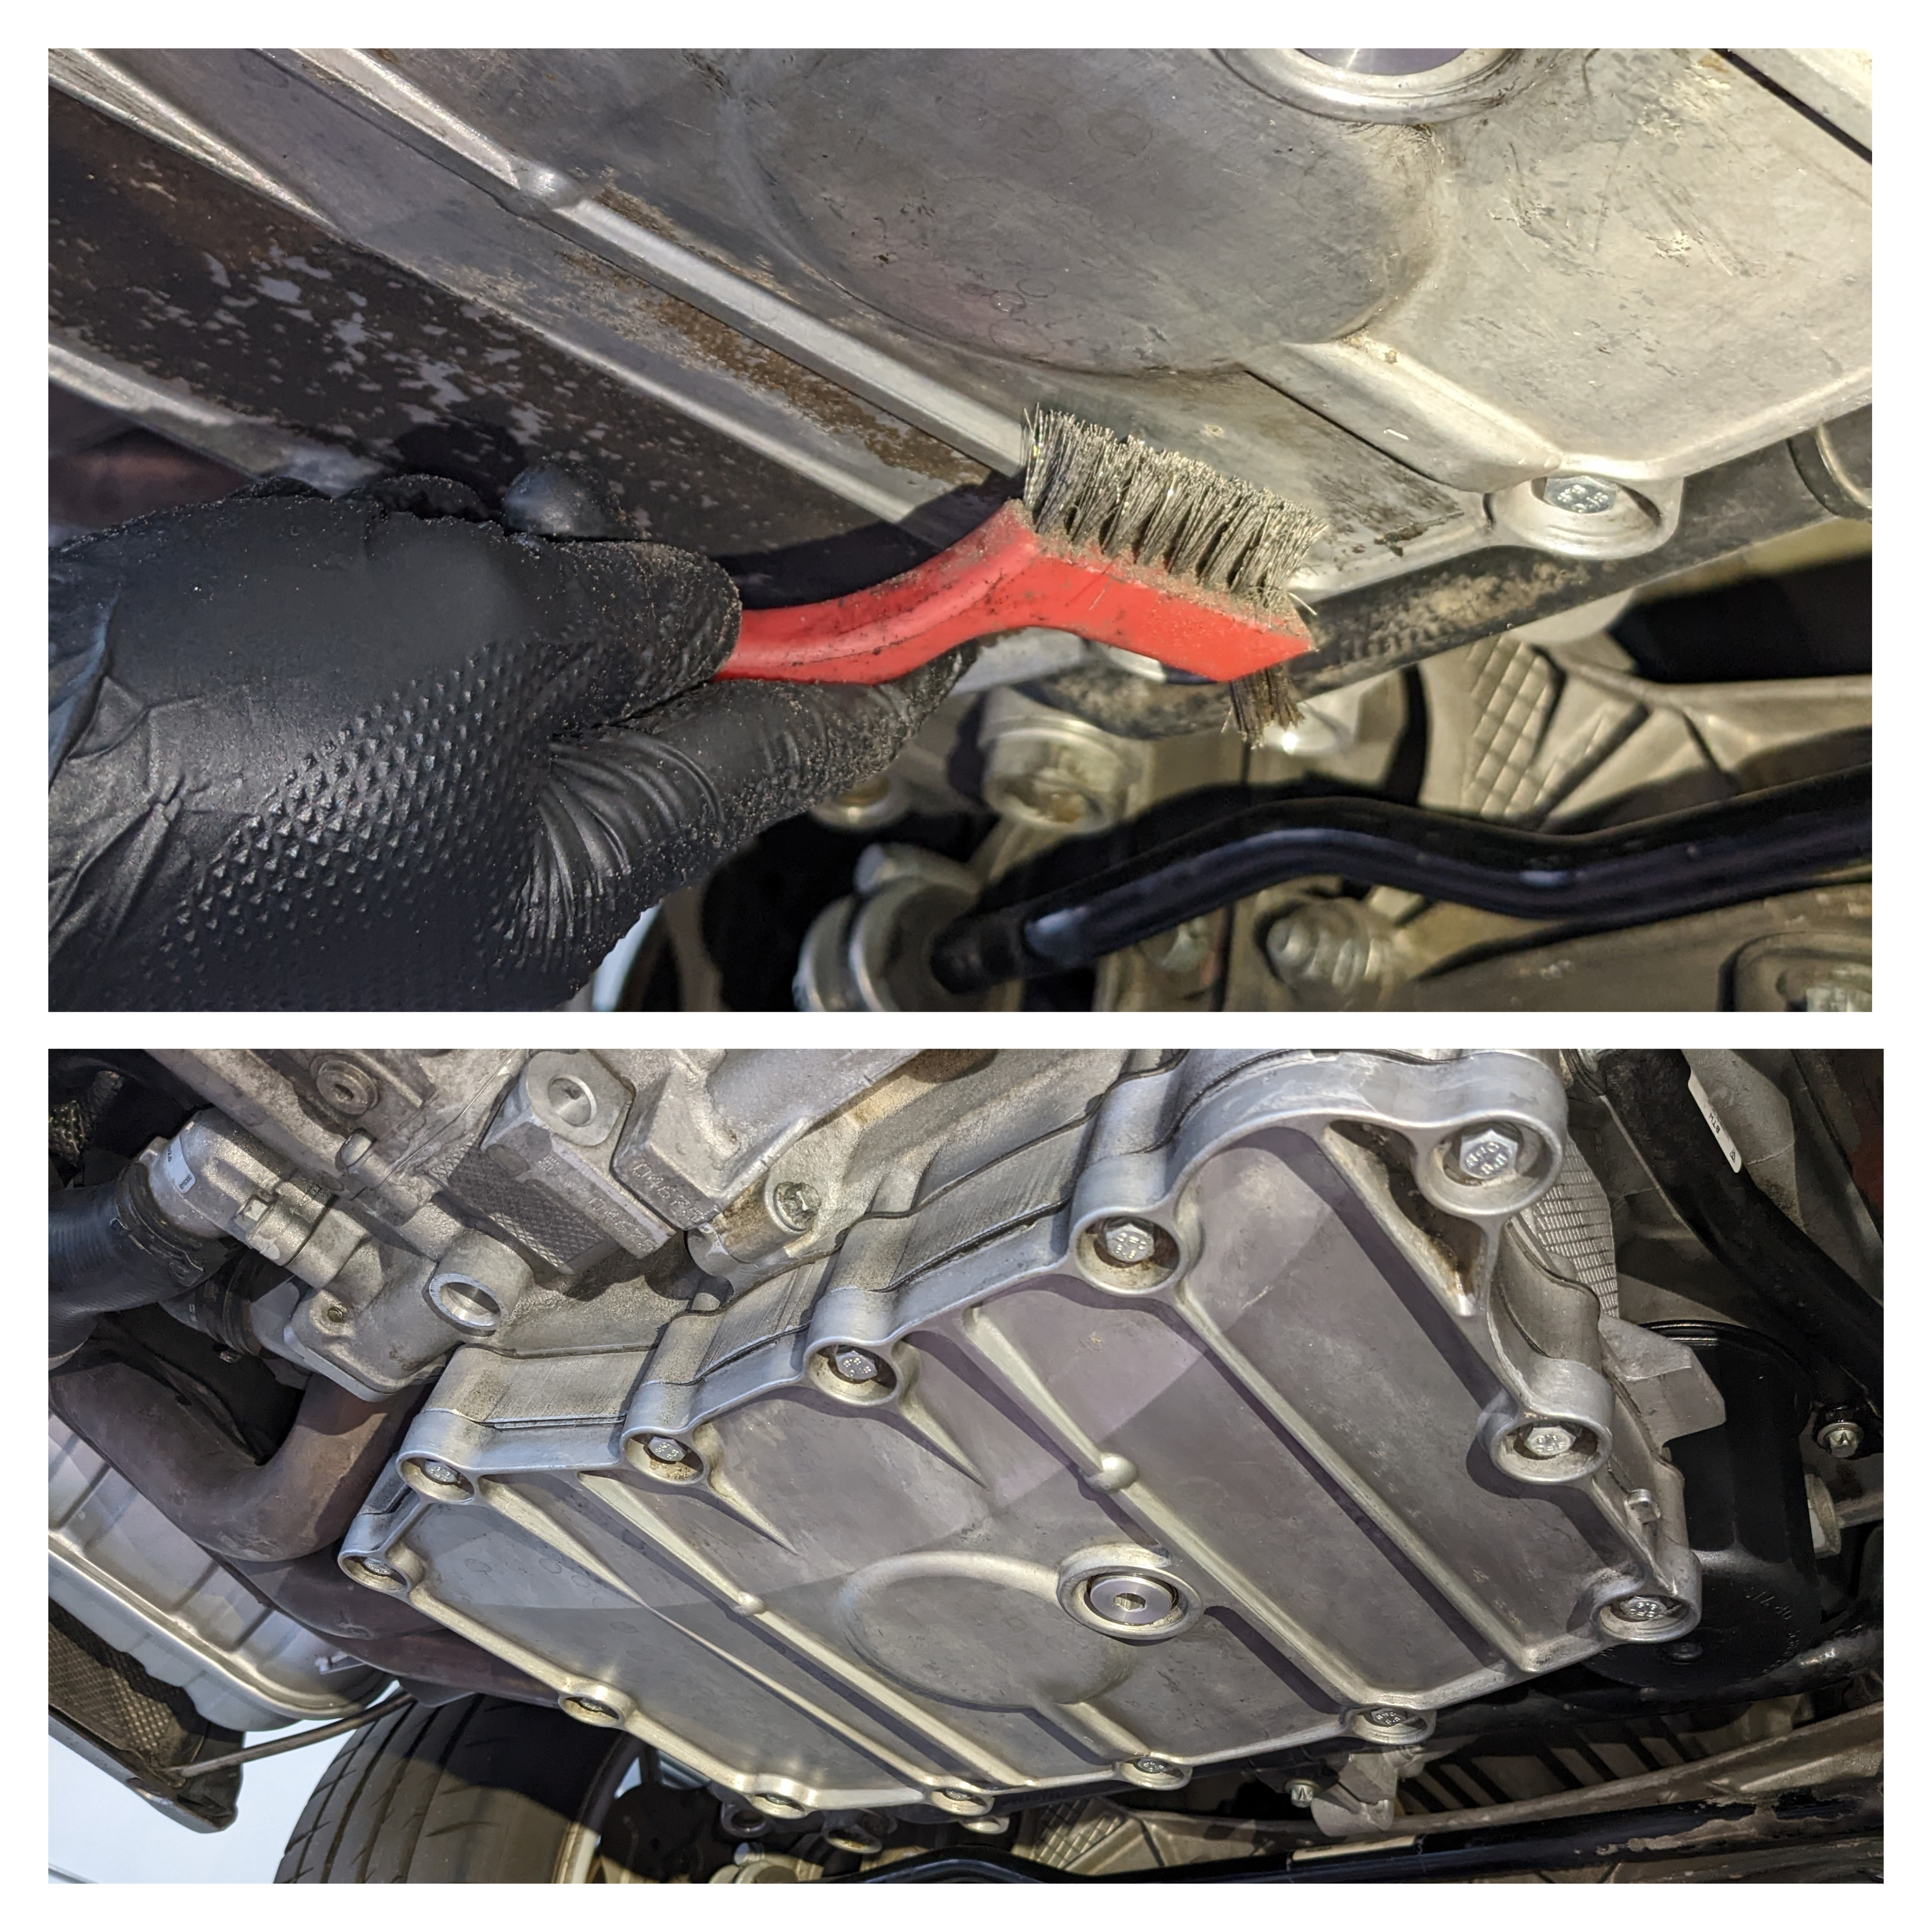
Oil pan is kinda dirty, no?
Can't have that so you know what that means...
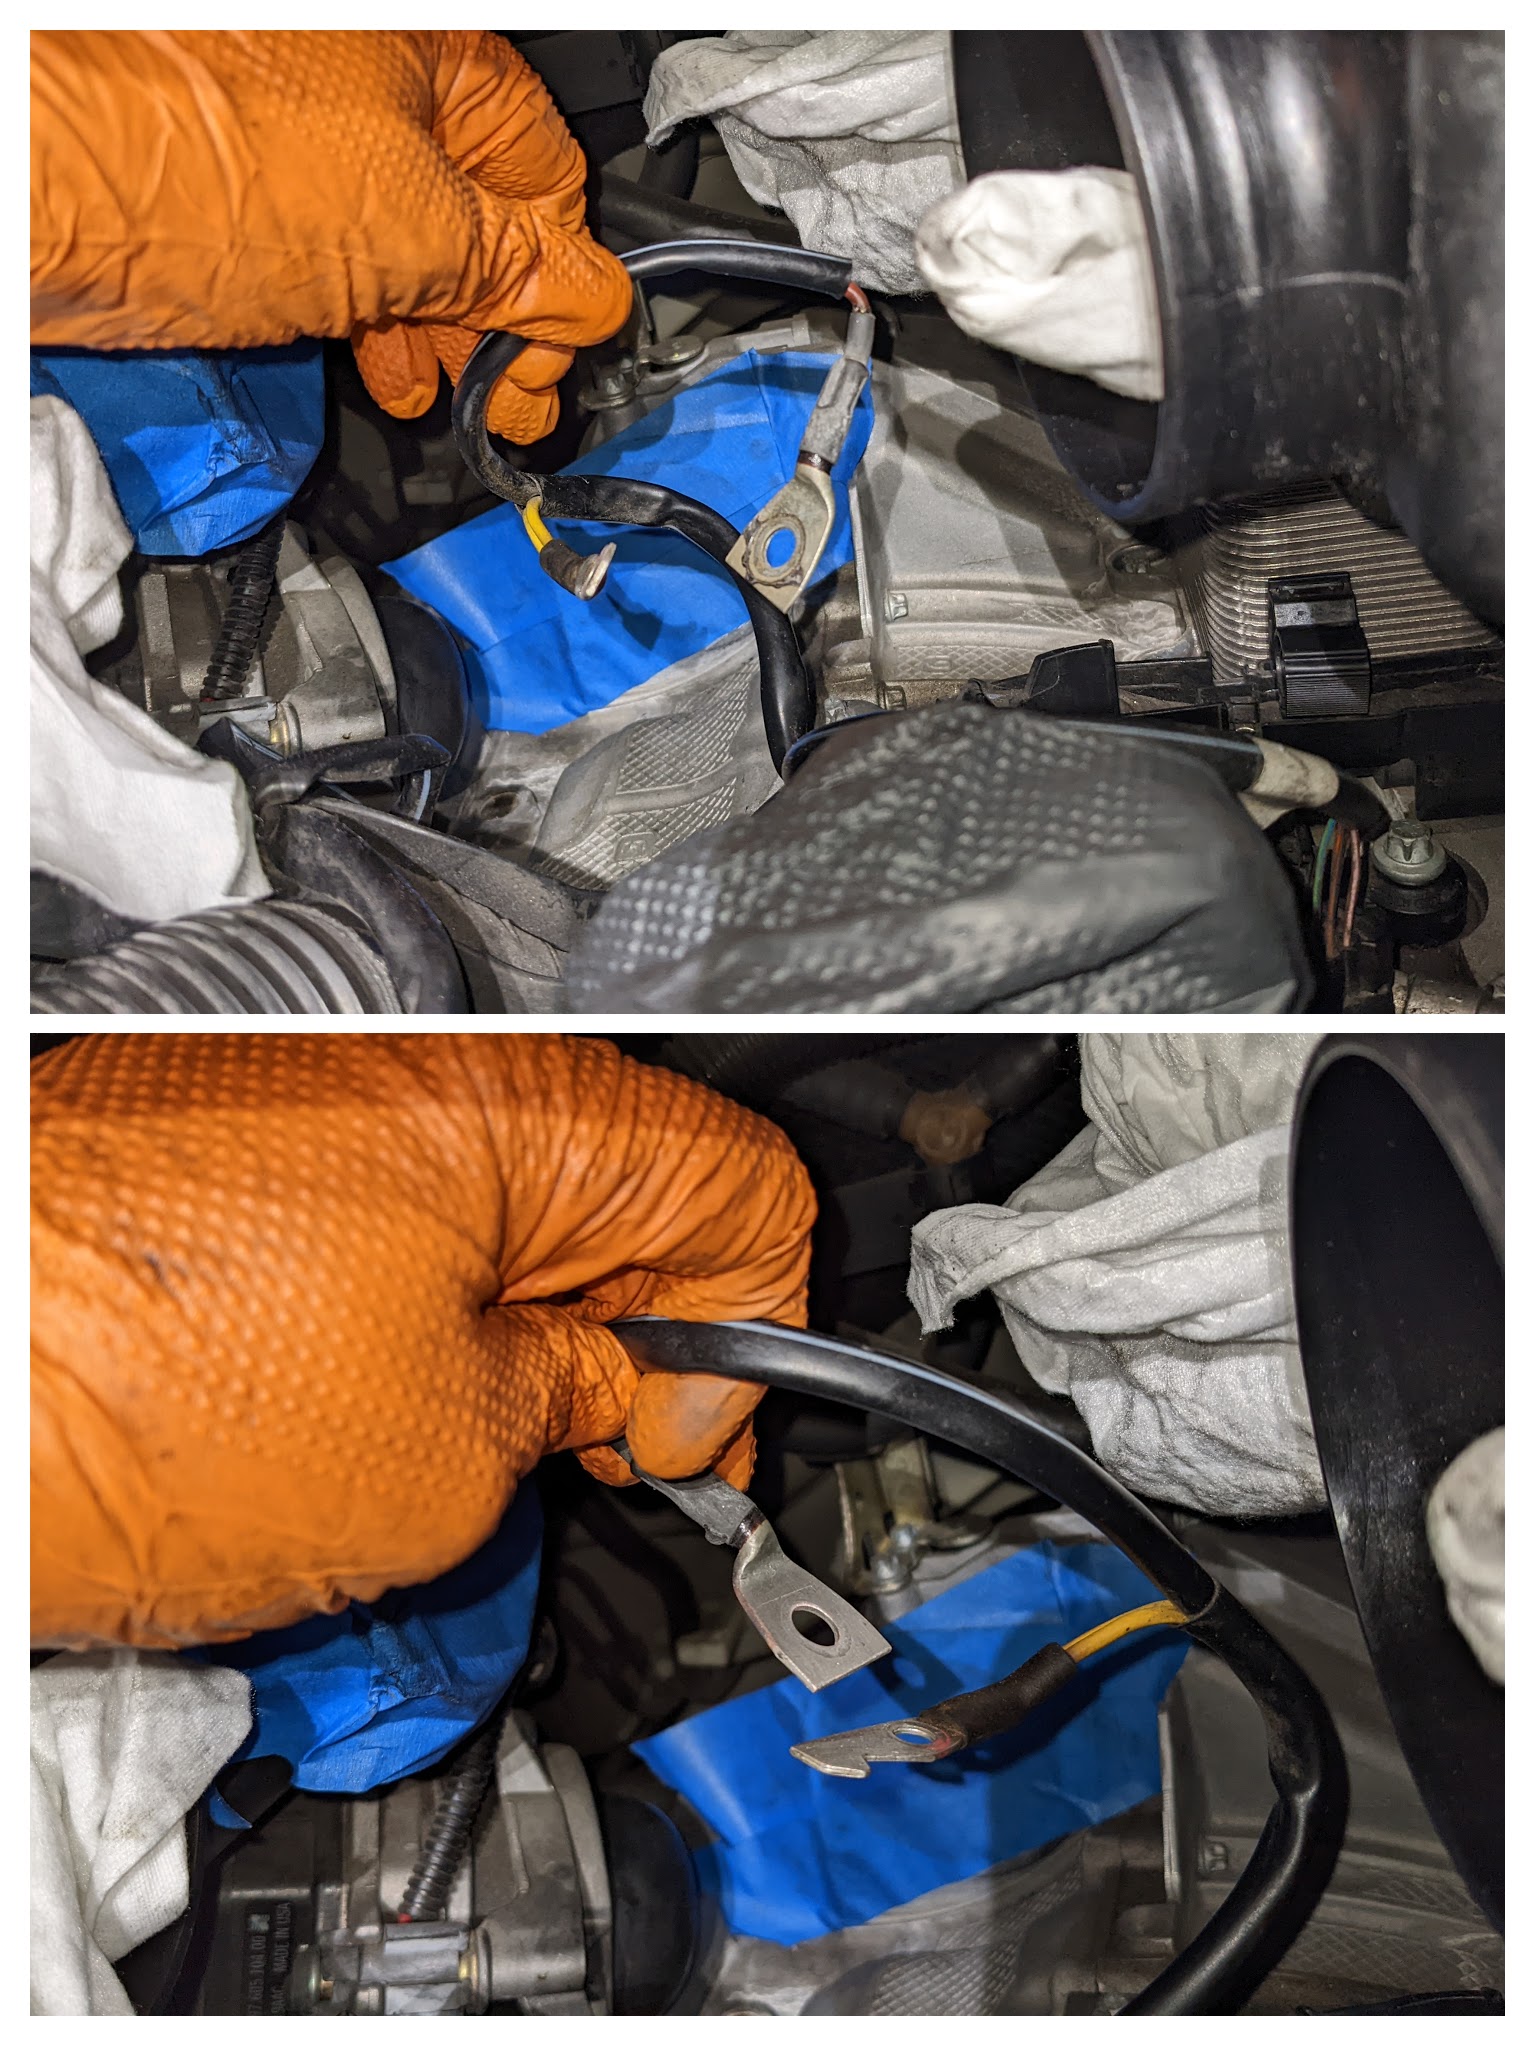
Here's another pic of the old cable. Not impressed.
With my mind at ease (at least with this car), I'm looking forward to washing it for the first time this week. Can't believe it's already been 2 months since I picked it up.
Terrific.
Got myself new rubber intake boots to make life easier.
And cleaned up the hose clamps in preparation for Concours d'Ehhhhh good 'nuff.
Perfect opportunity to clean the throttle body.
New belt.
This is how much old PS fluid I was able to extract. I replenished the same amount and will be extracting more after idling for a bit to mix the old with the new a few times.
Also replaced the 2 O-rings on the PS reservoir dipstick and the throttle body gasket. I have 2 more on order for the reservoir assembly.
Got everything buttoned up and Sierra came roaring back to life. 14.25V is more like it!
With that sorted, took advantage of the car being on QuickJacks and changed the oil. Always liked Liqui Moly so I'll be experimenting with it for a year instead of the 0W-40 from Mobil One.
1 drain plug, 2 oil filters, 3 crush washers. Seems random but it isn't.
Oil pan is kinda dirty, no?
Can't have that so you know what that means...
Here's another pic of the old cable. Not impressed.
With my mind at ease (at least with this car), I'm looking forward to washing it for the first time this week. Can't believe it's already been 2 months since I picked it up.
Terrific.
Last edited by kiznarsh; 04-09-2022 at 02:12 AM.
05-03-2022, 12:18 AM
#42
Rennlist Member
Thread Starter
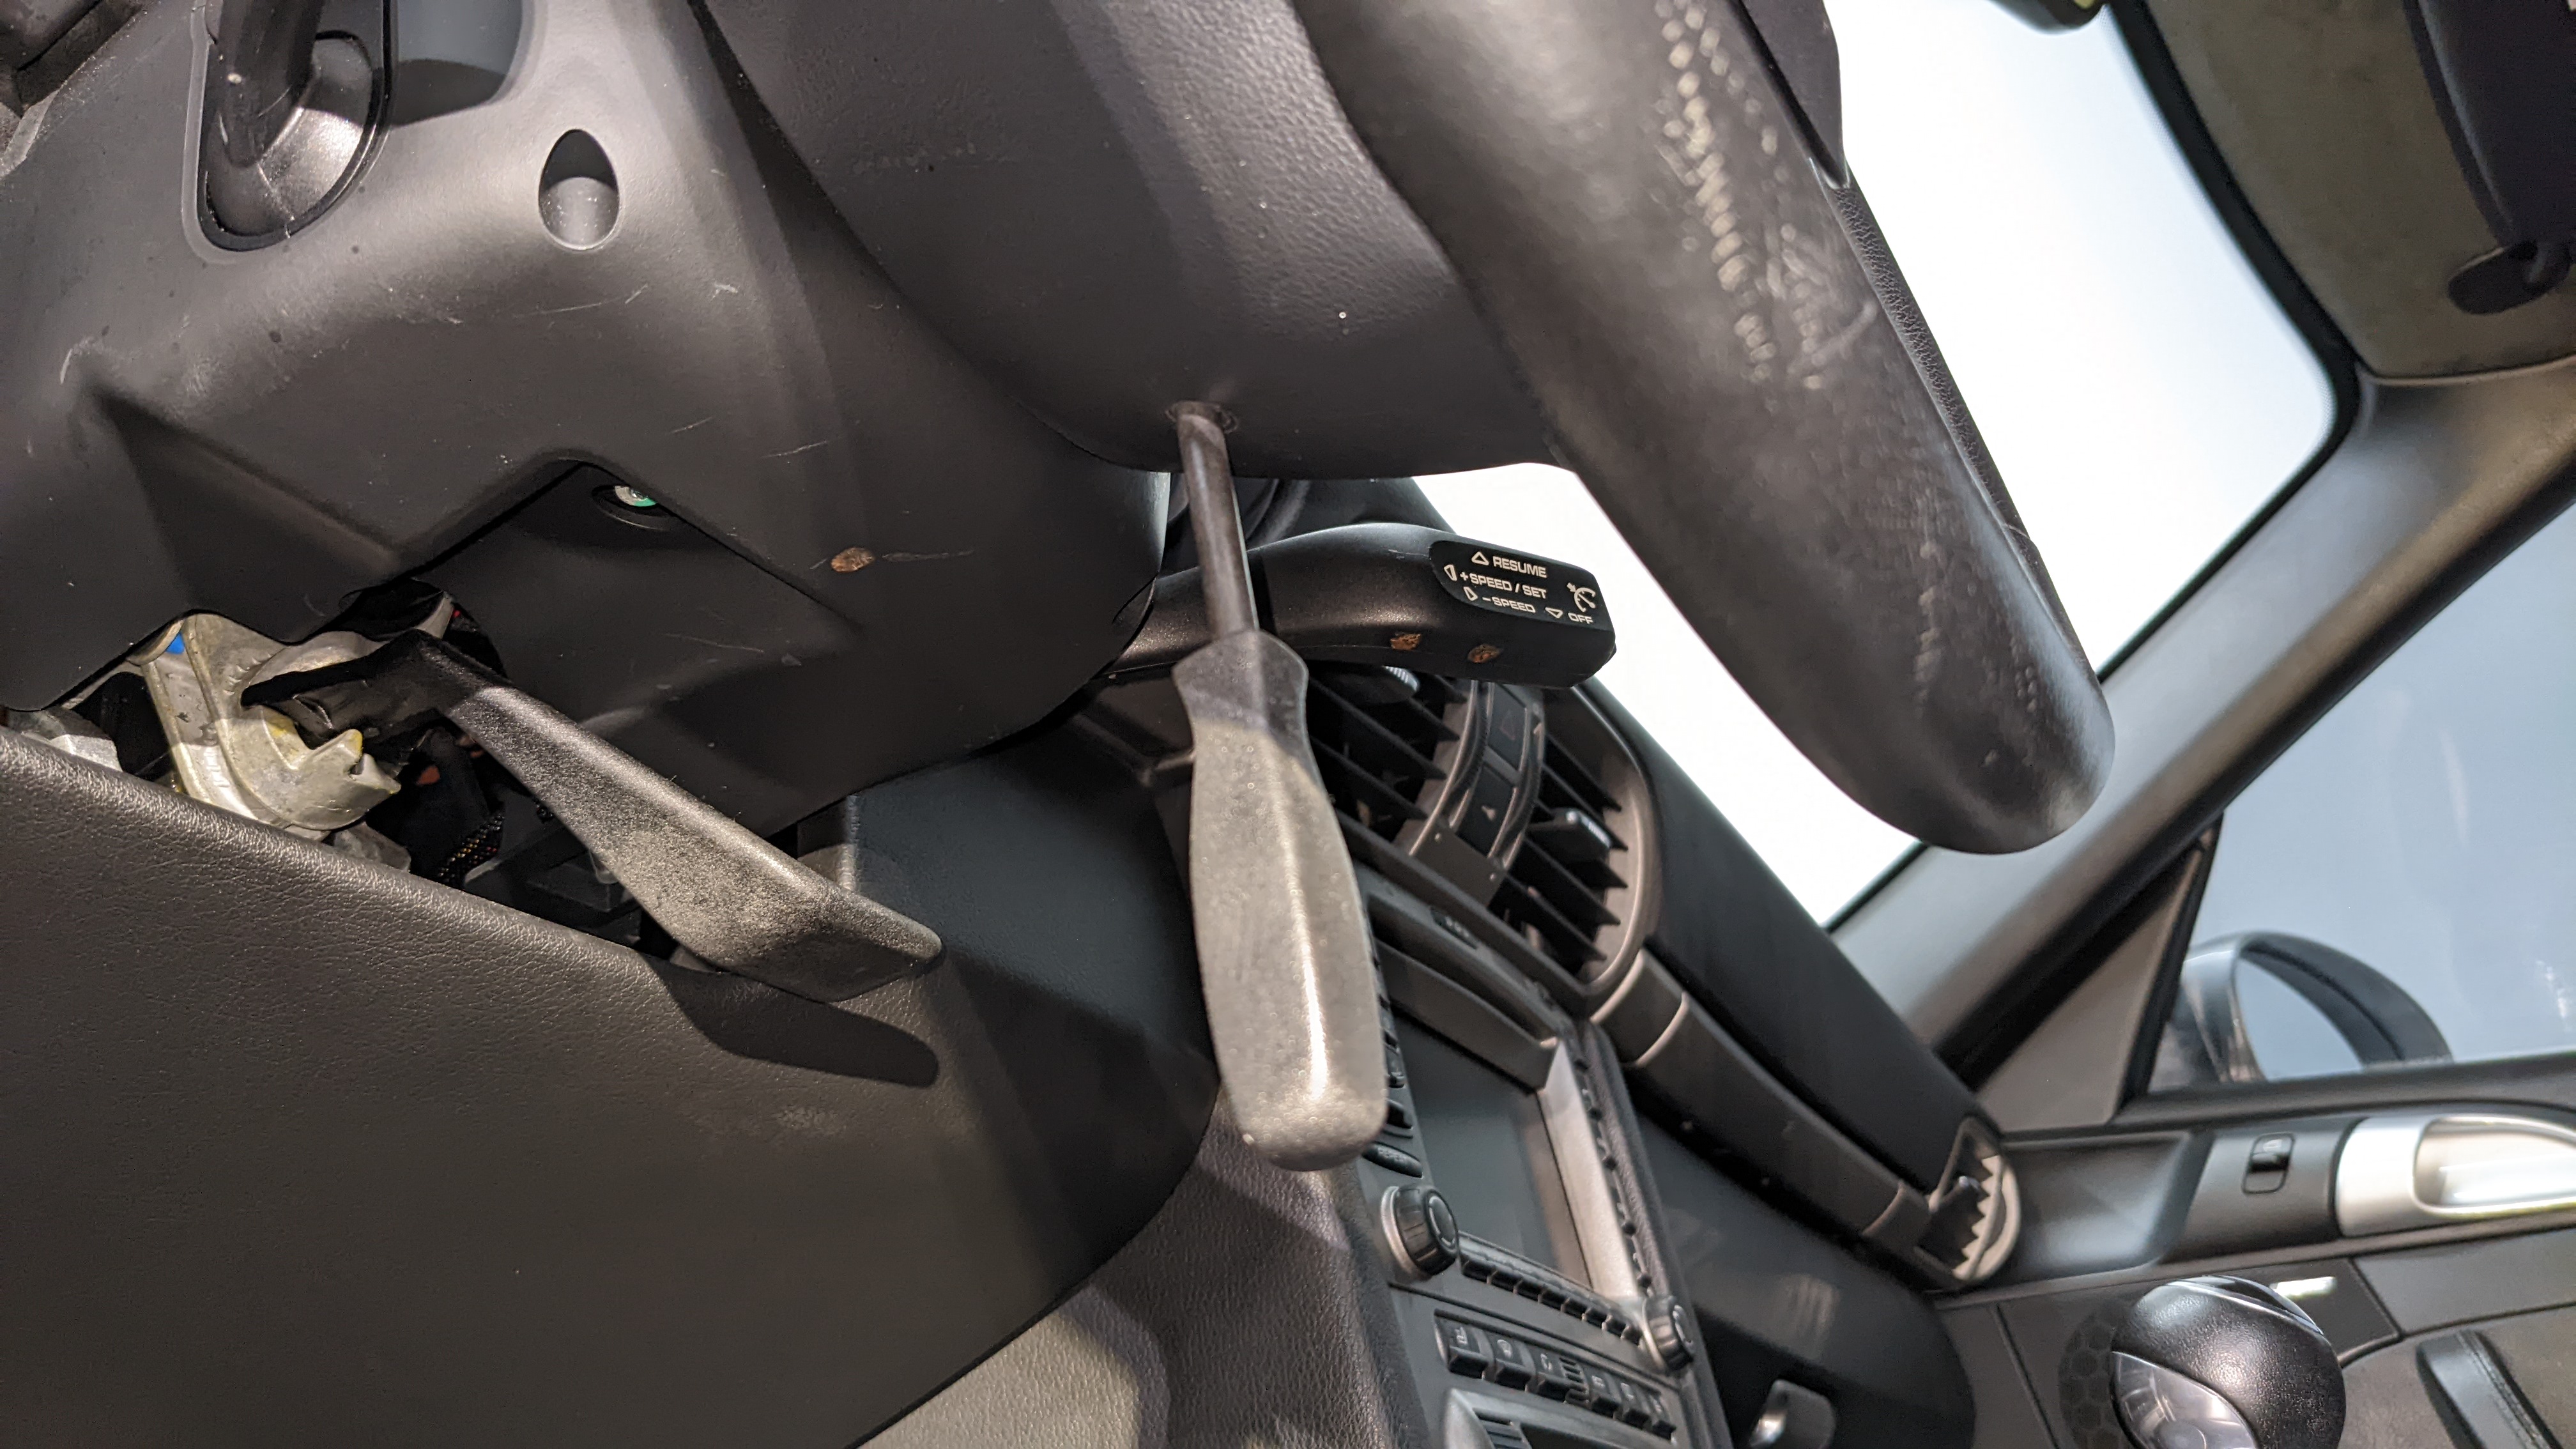
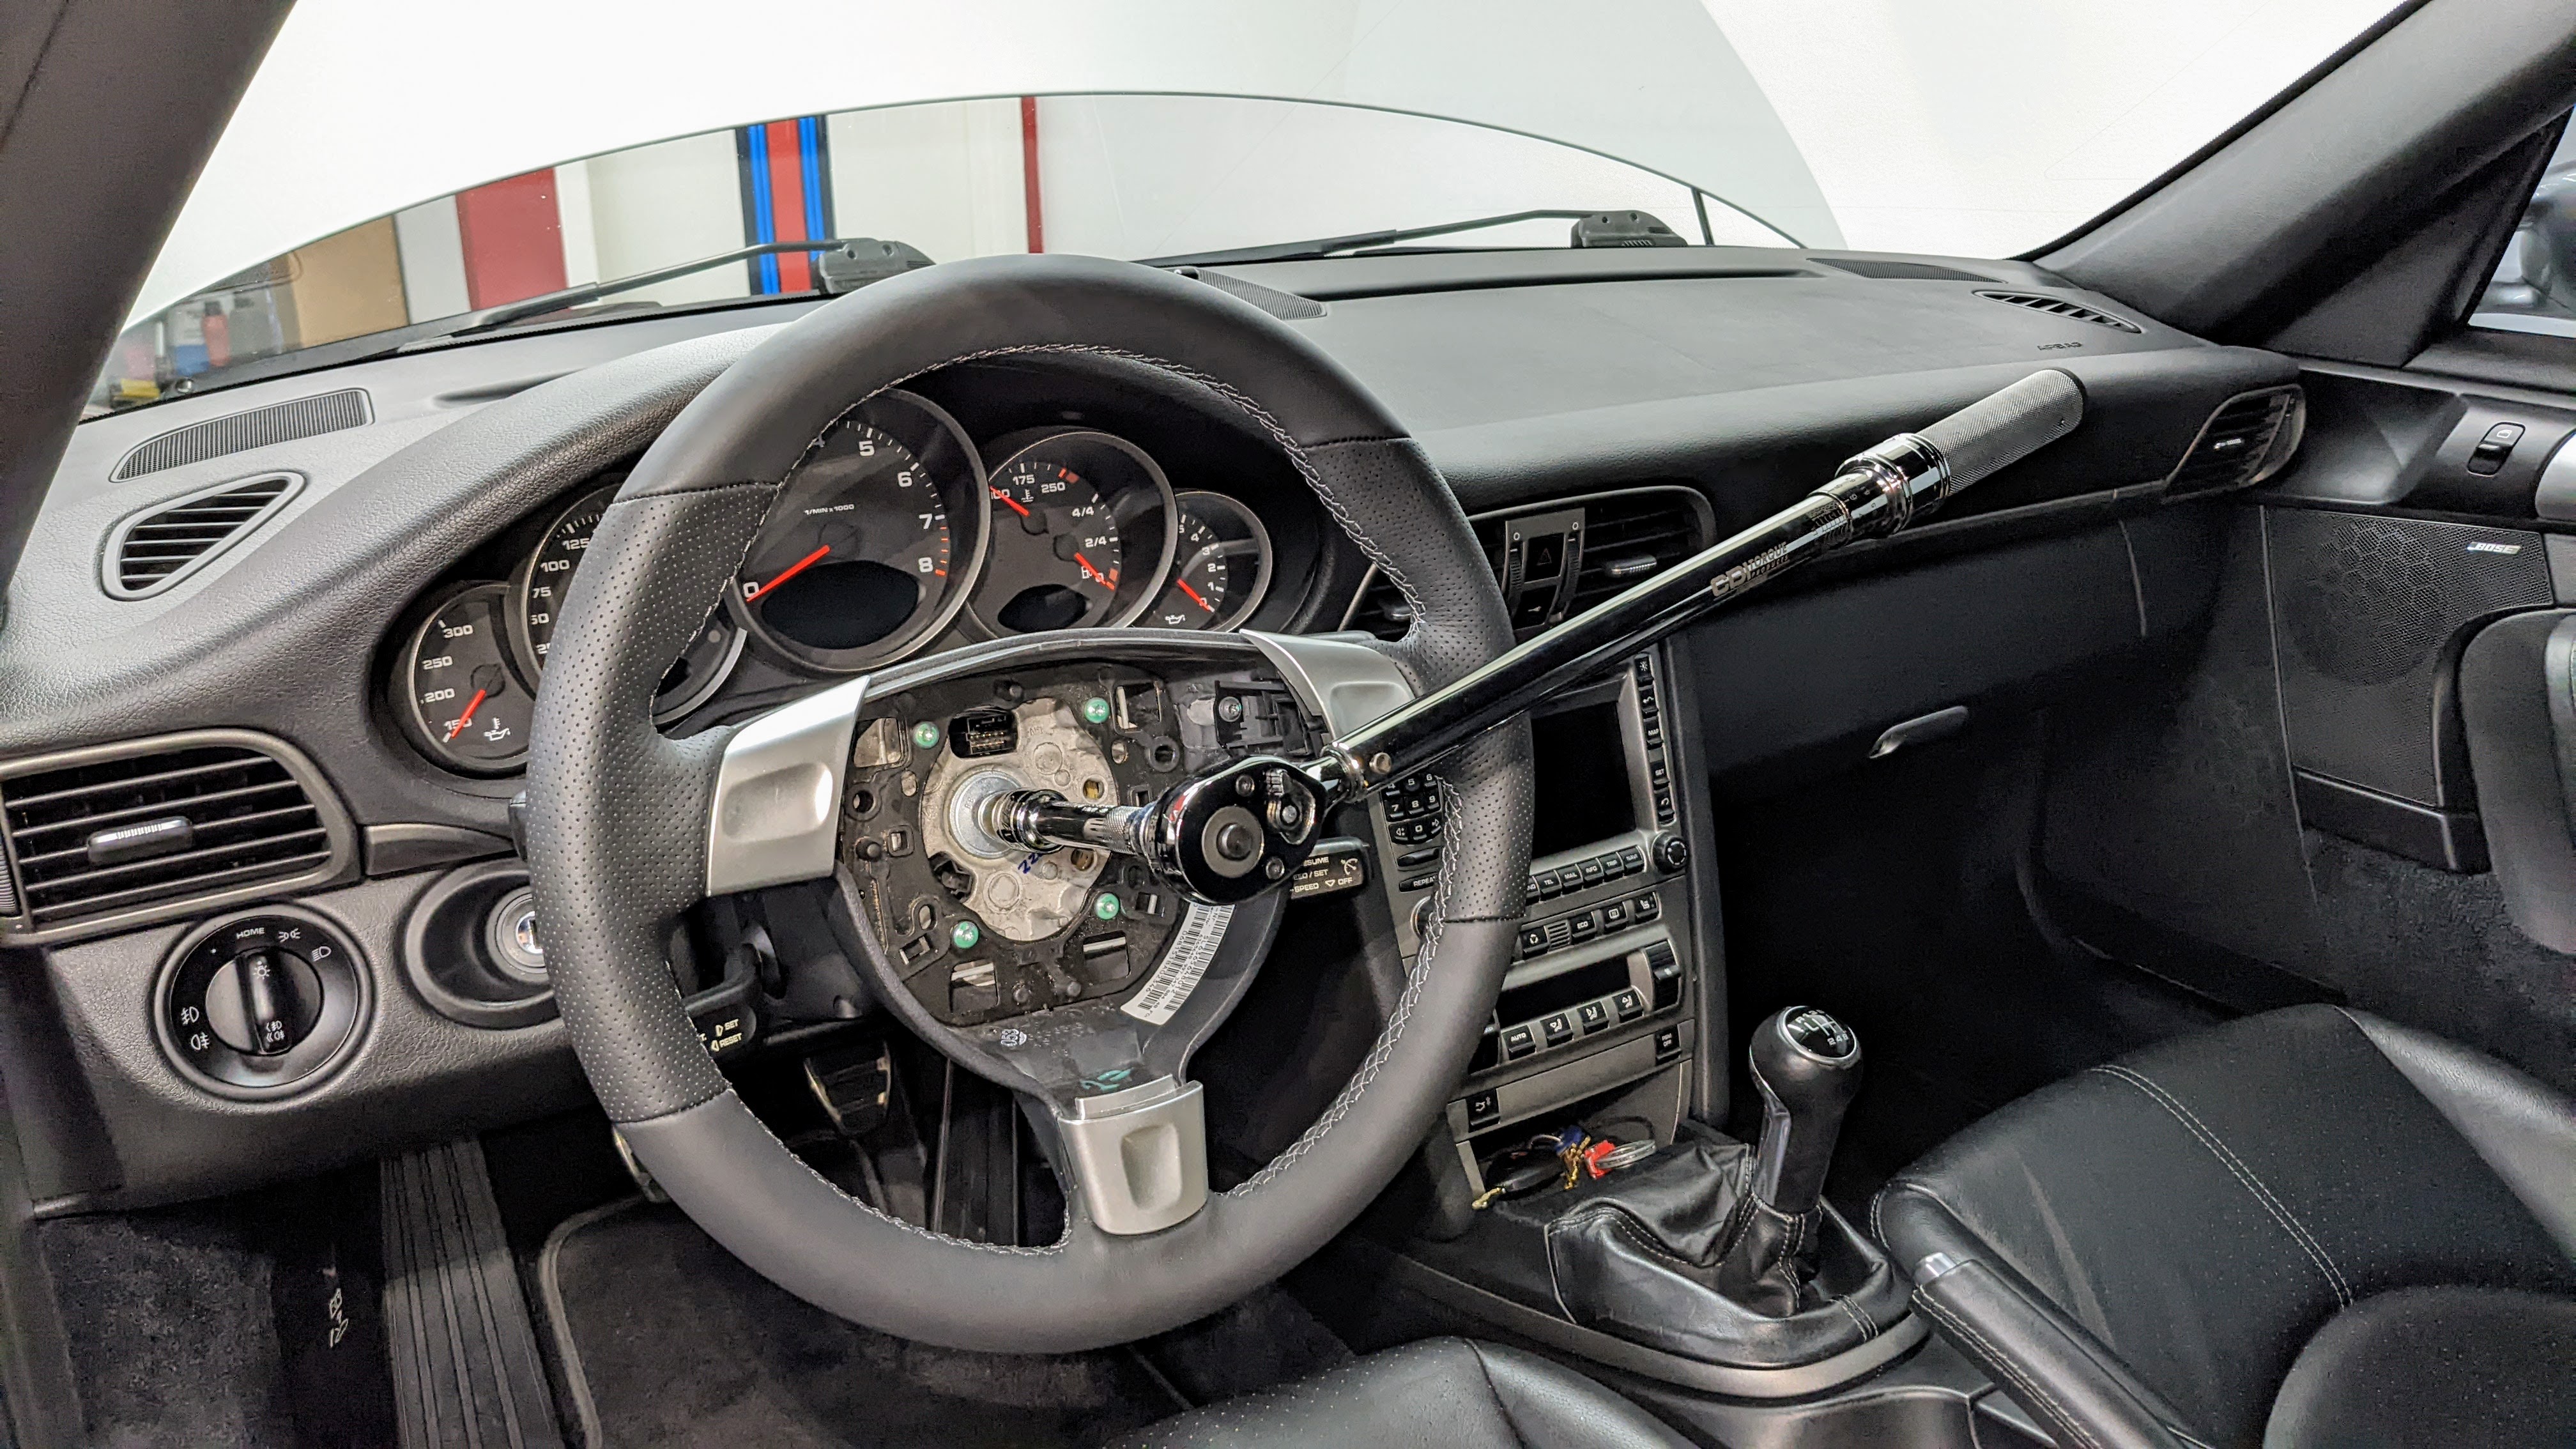
I always felt the triangular airbag/wheel design dated the car and decided to upgrade to a re-wrapped Sport steering wheel with a little extra padding:

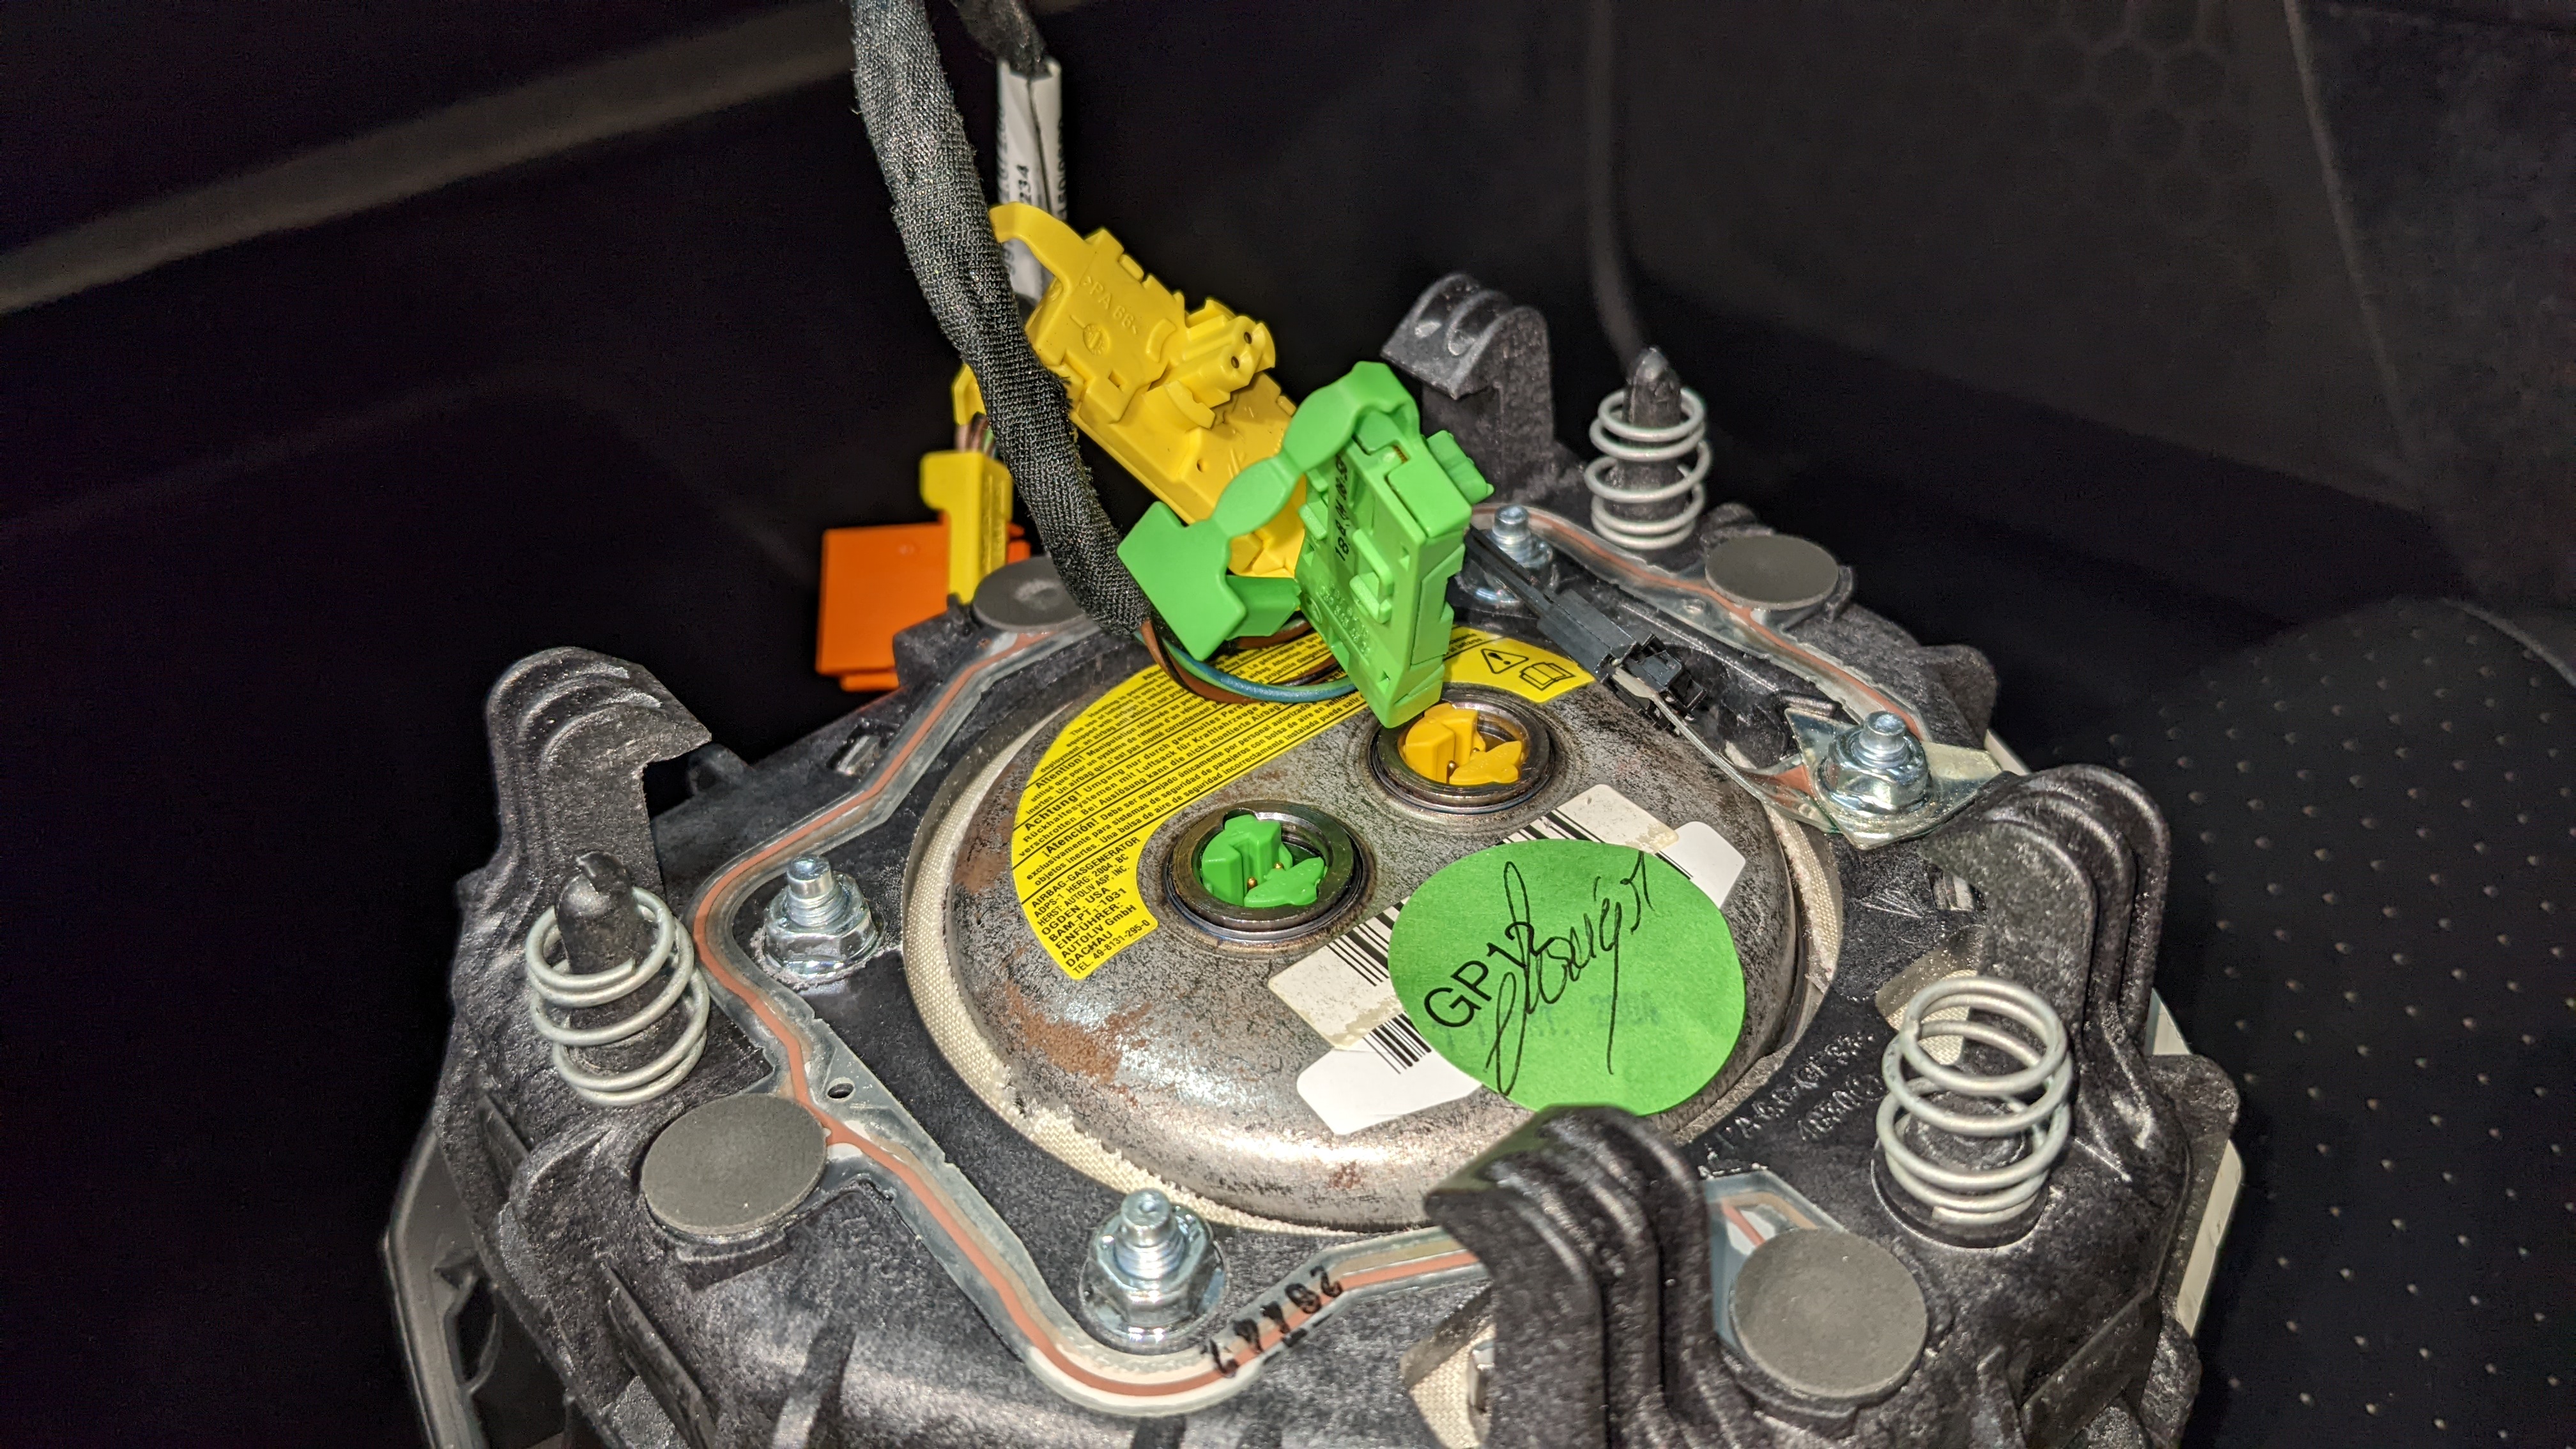
Used the tool I kept from my Miata swap, but it was still a little tricky removing the original wheel out given the stiff springs.
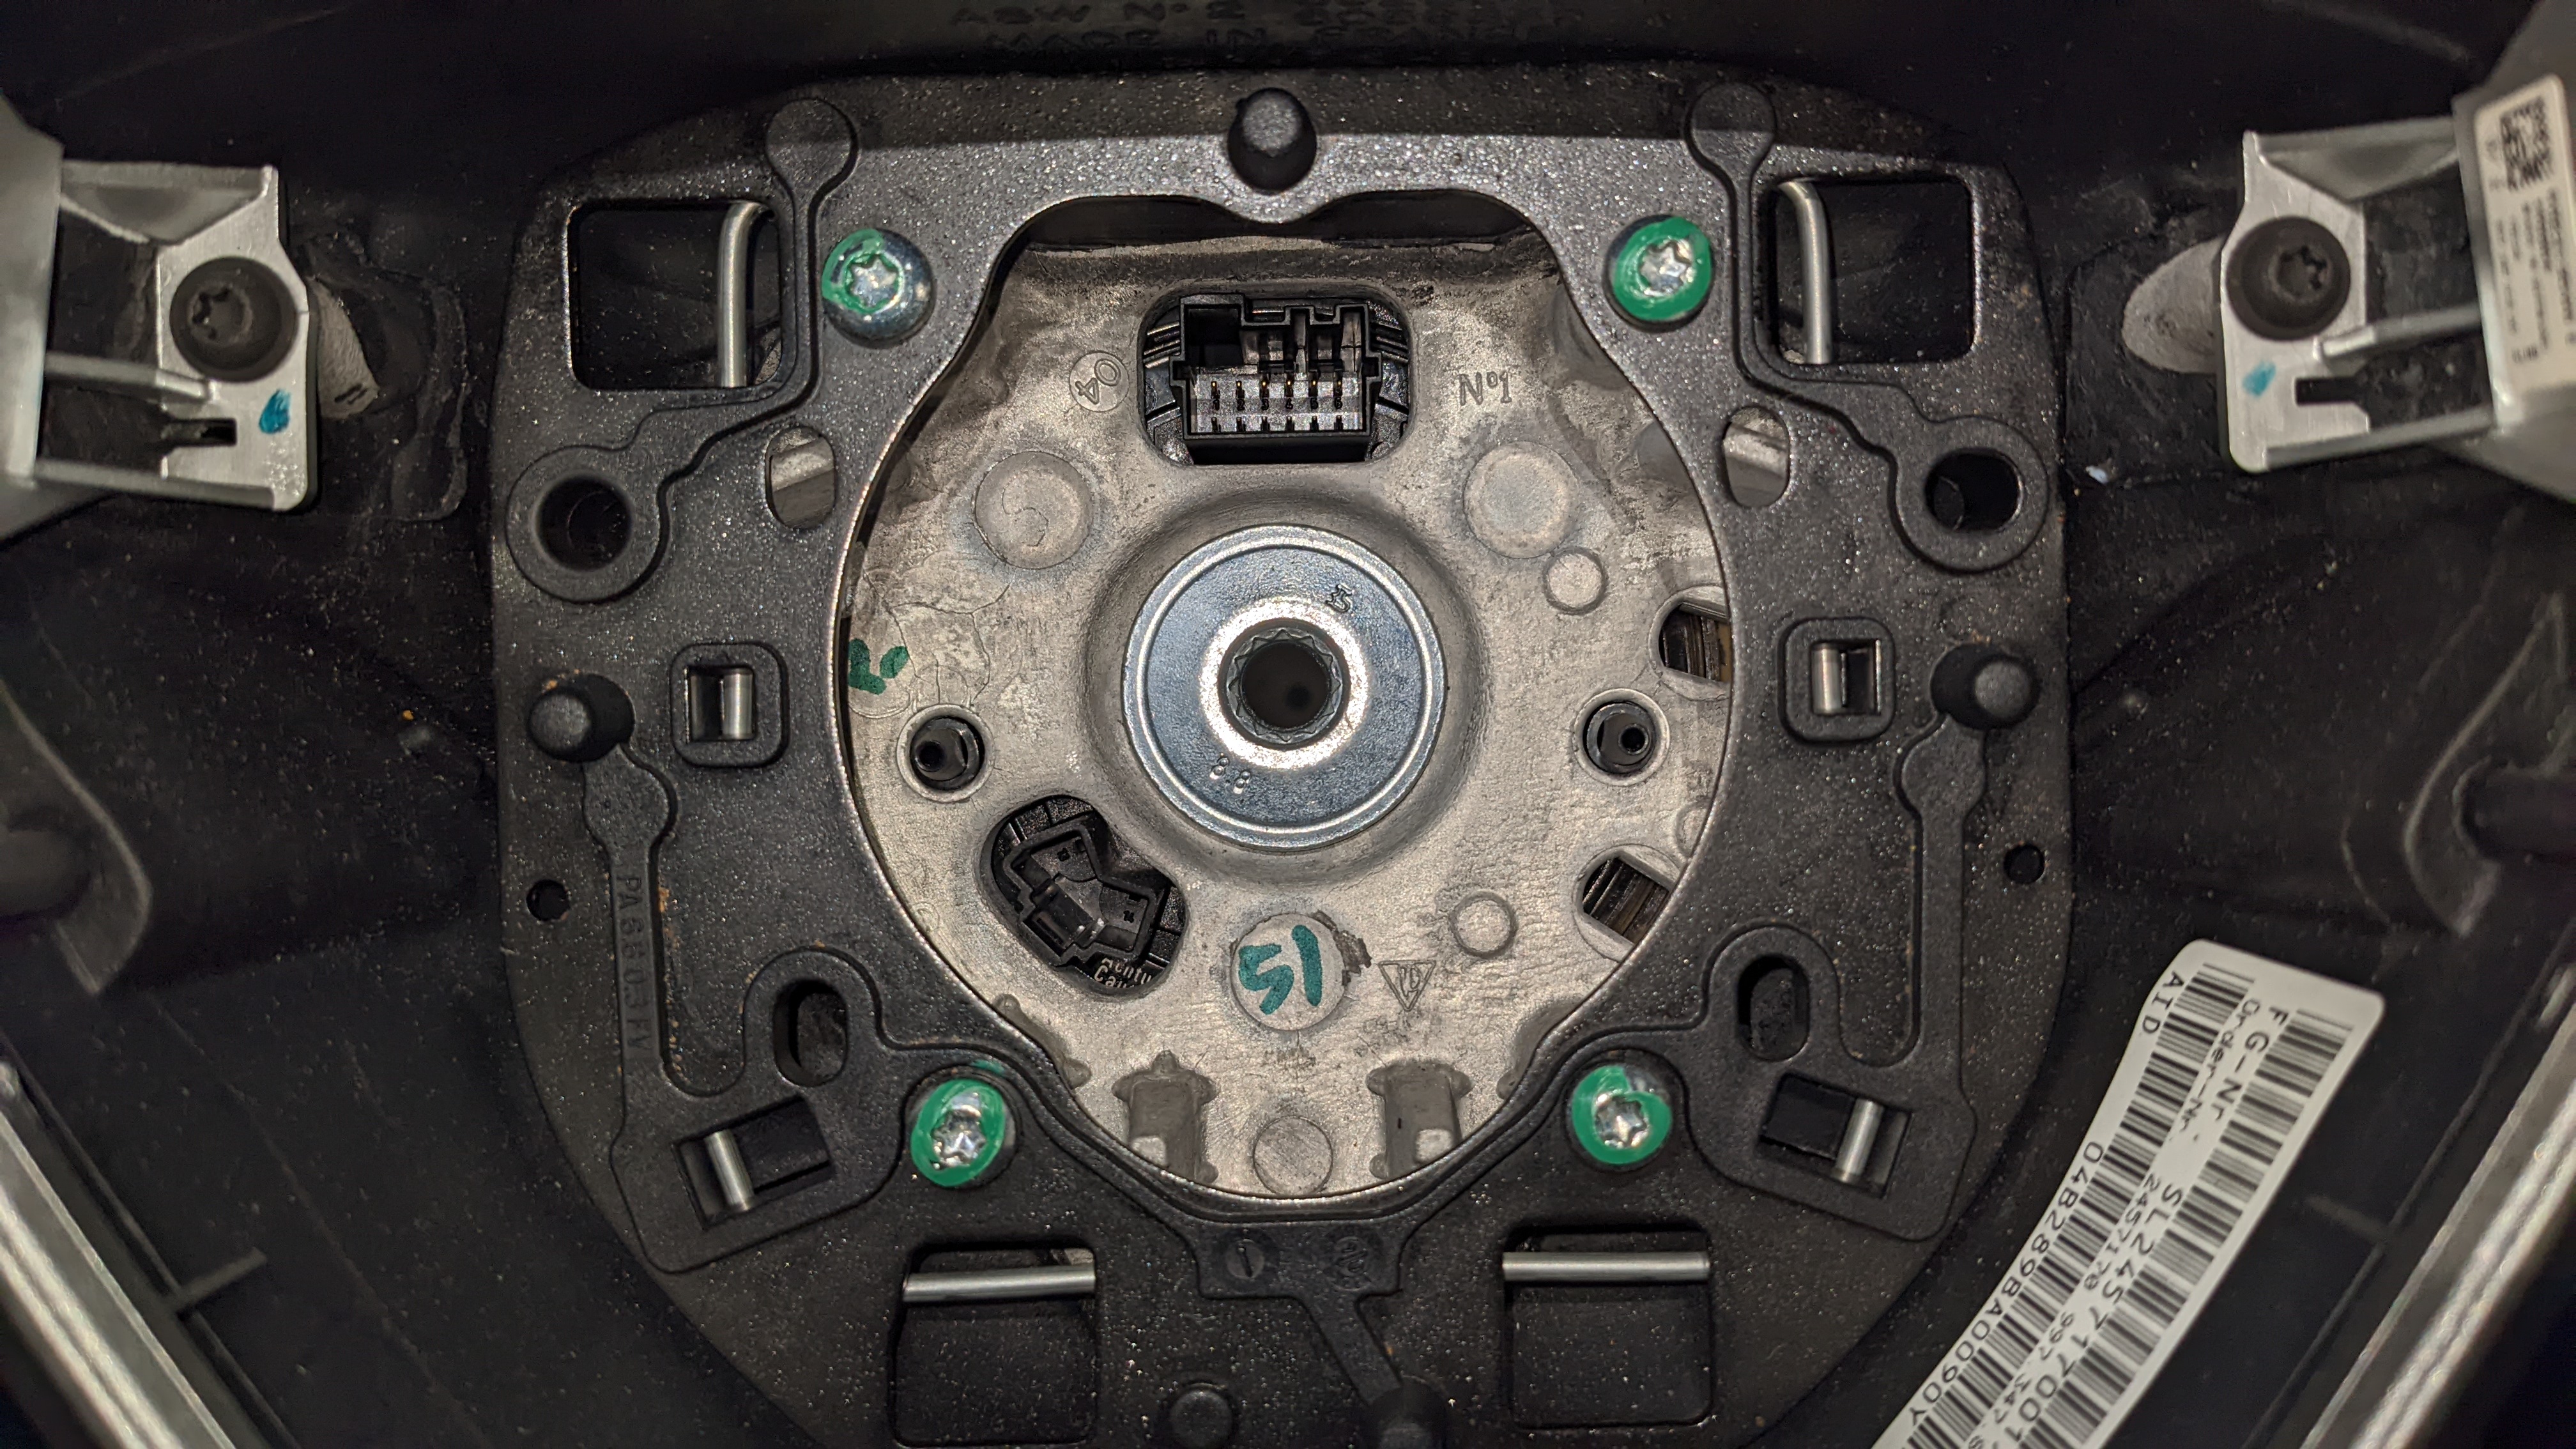
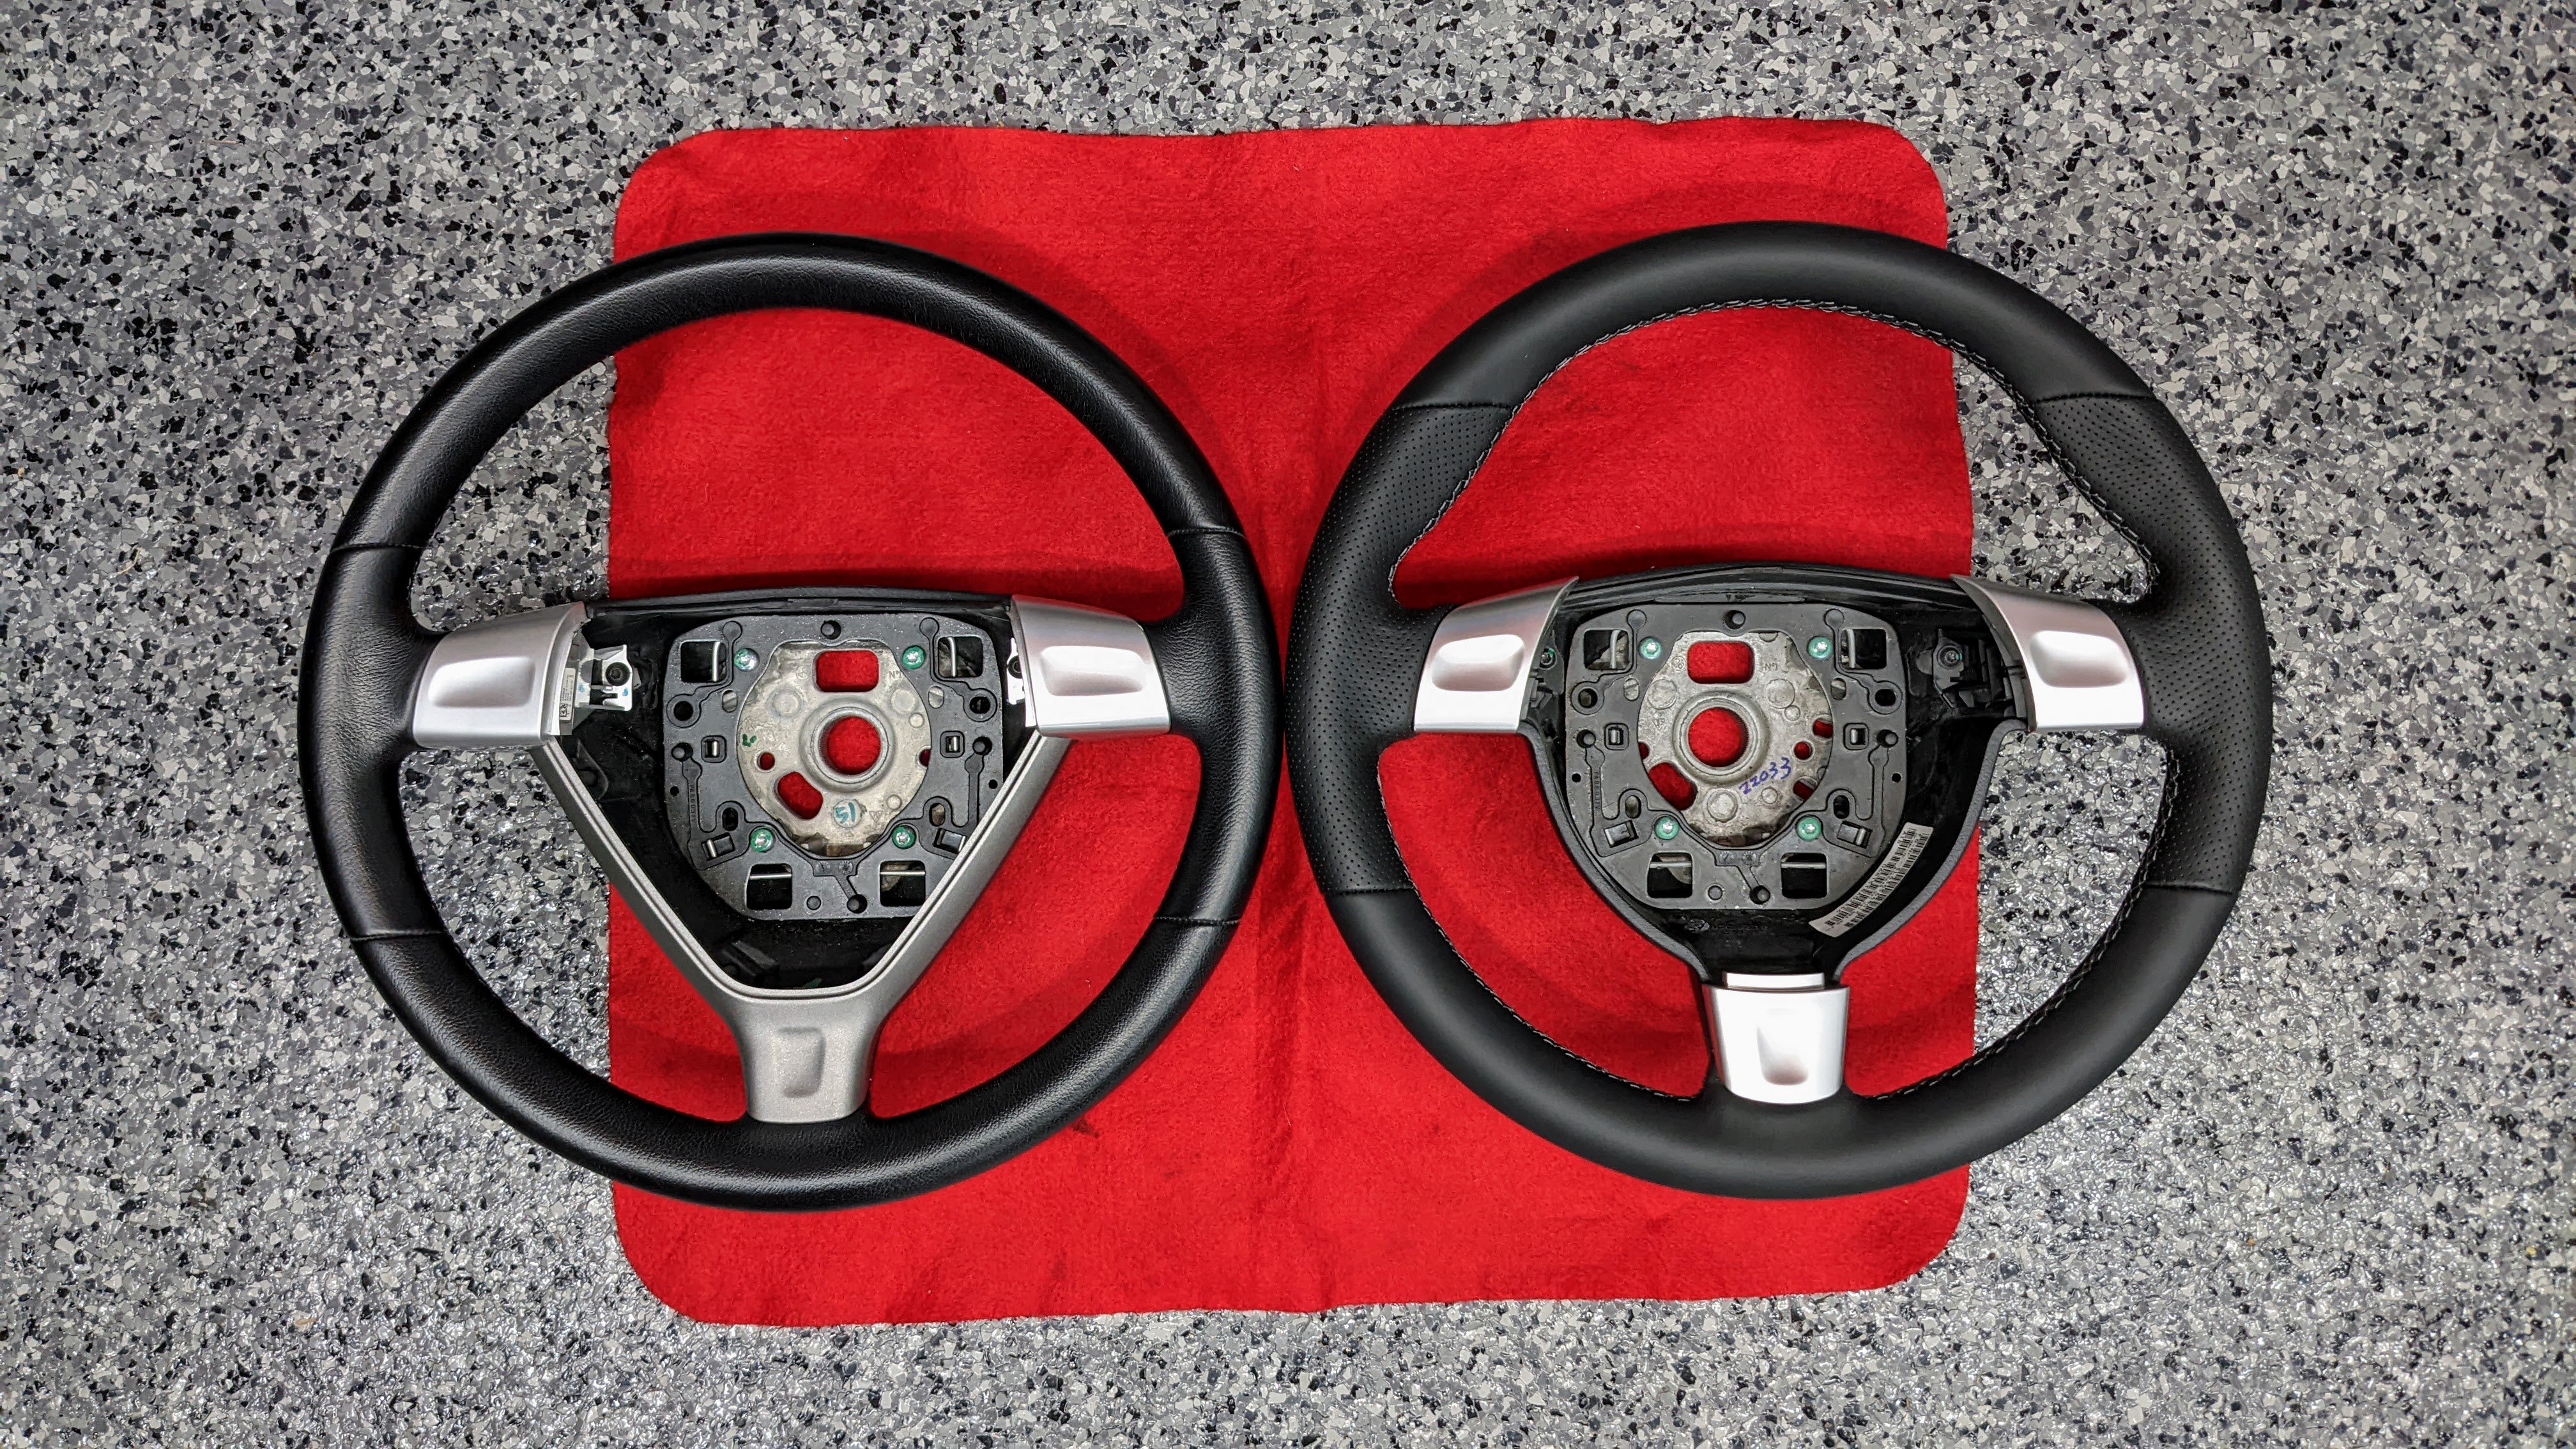
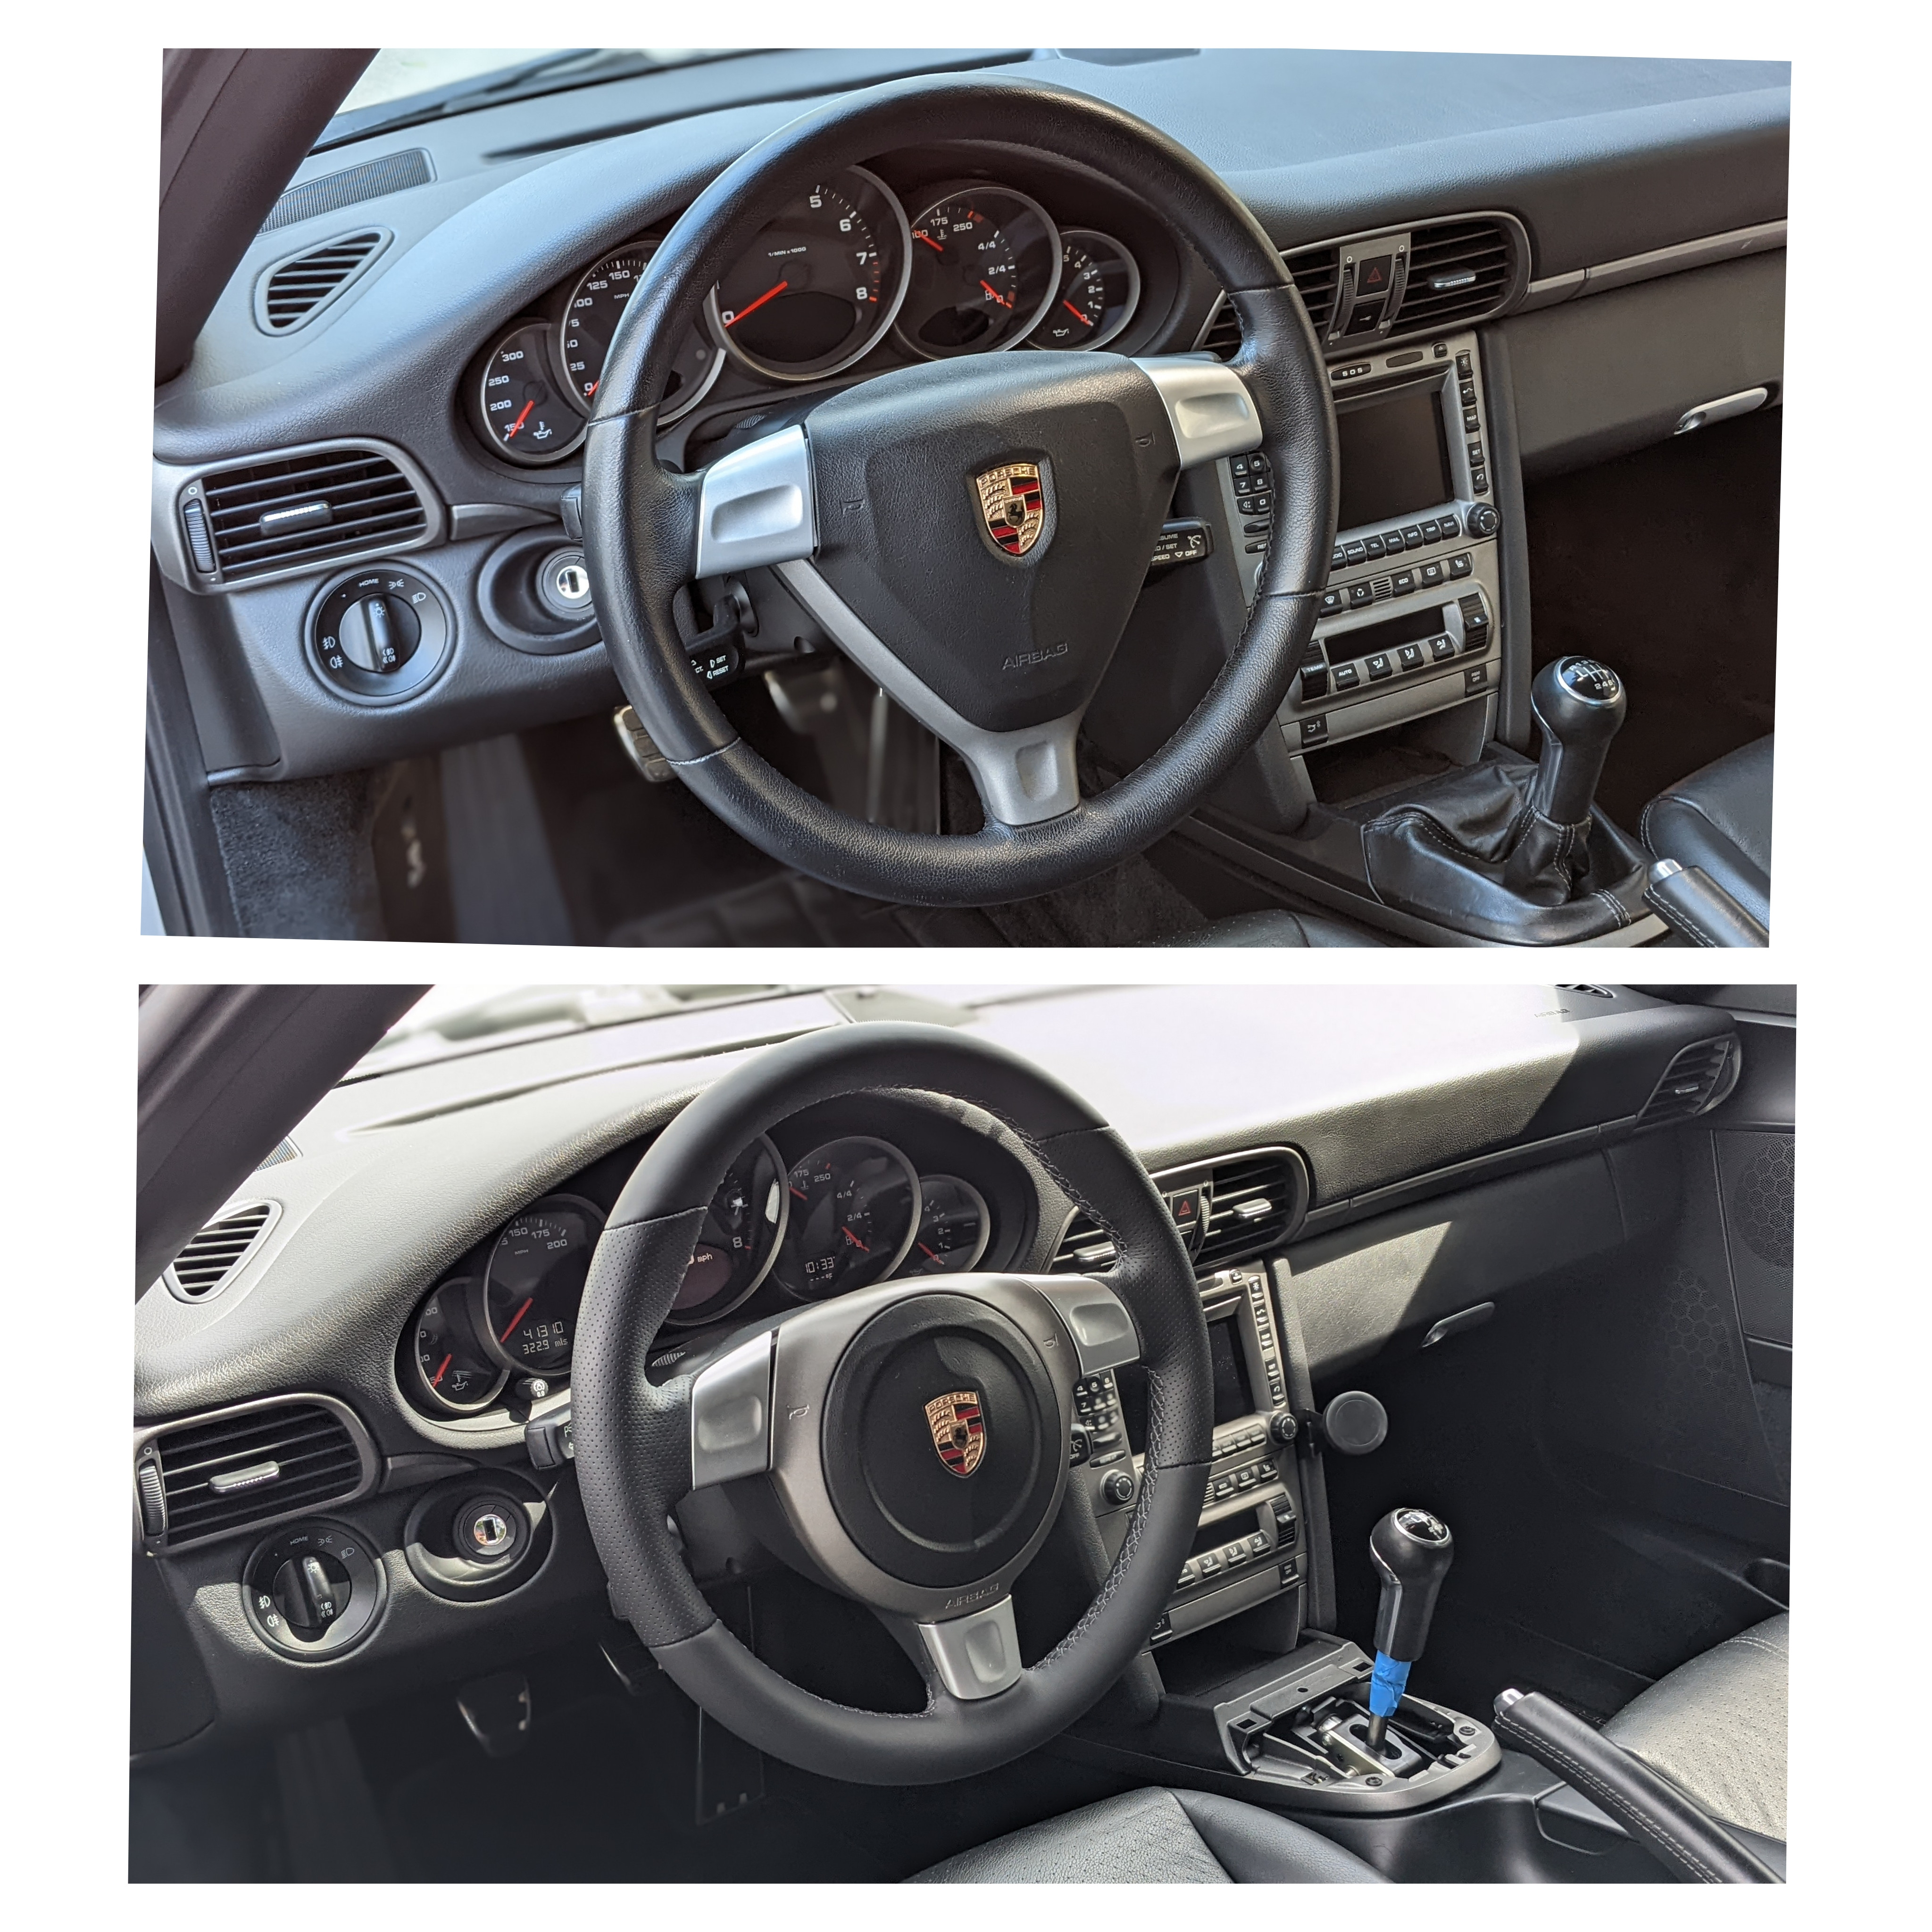
Some comparisons.
Fresh thread locker.
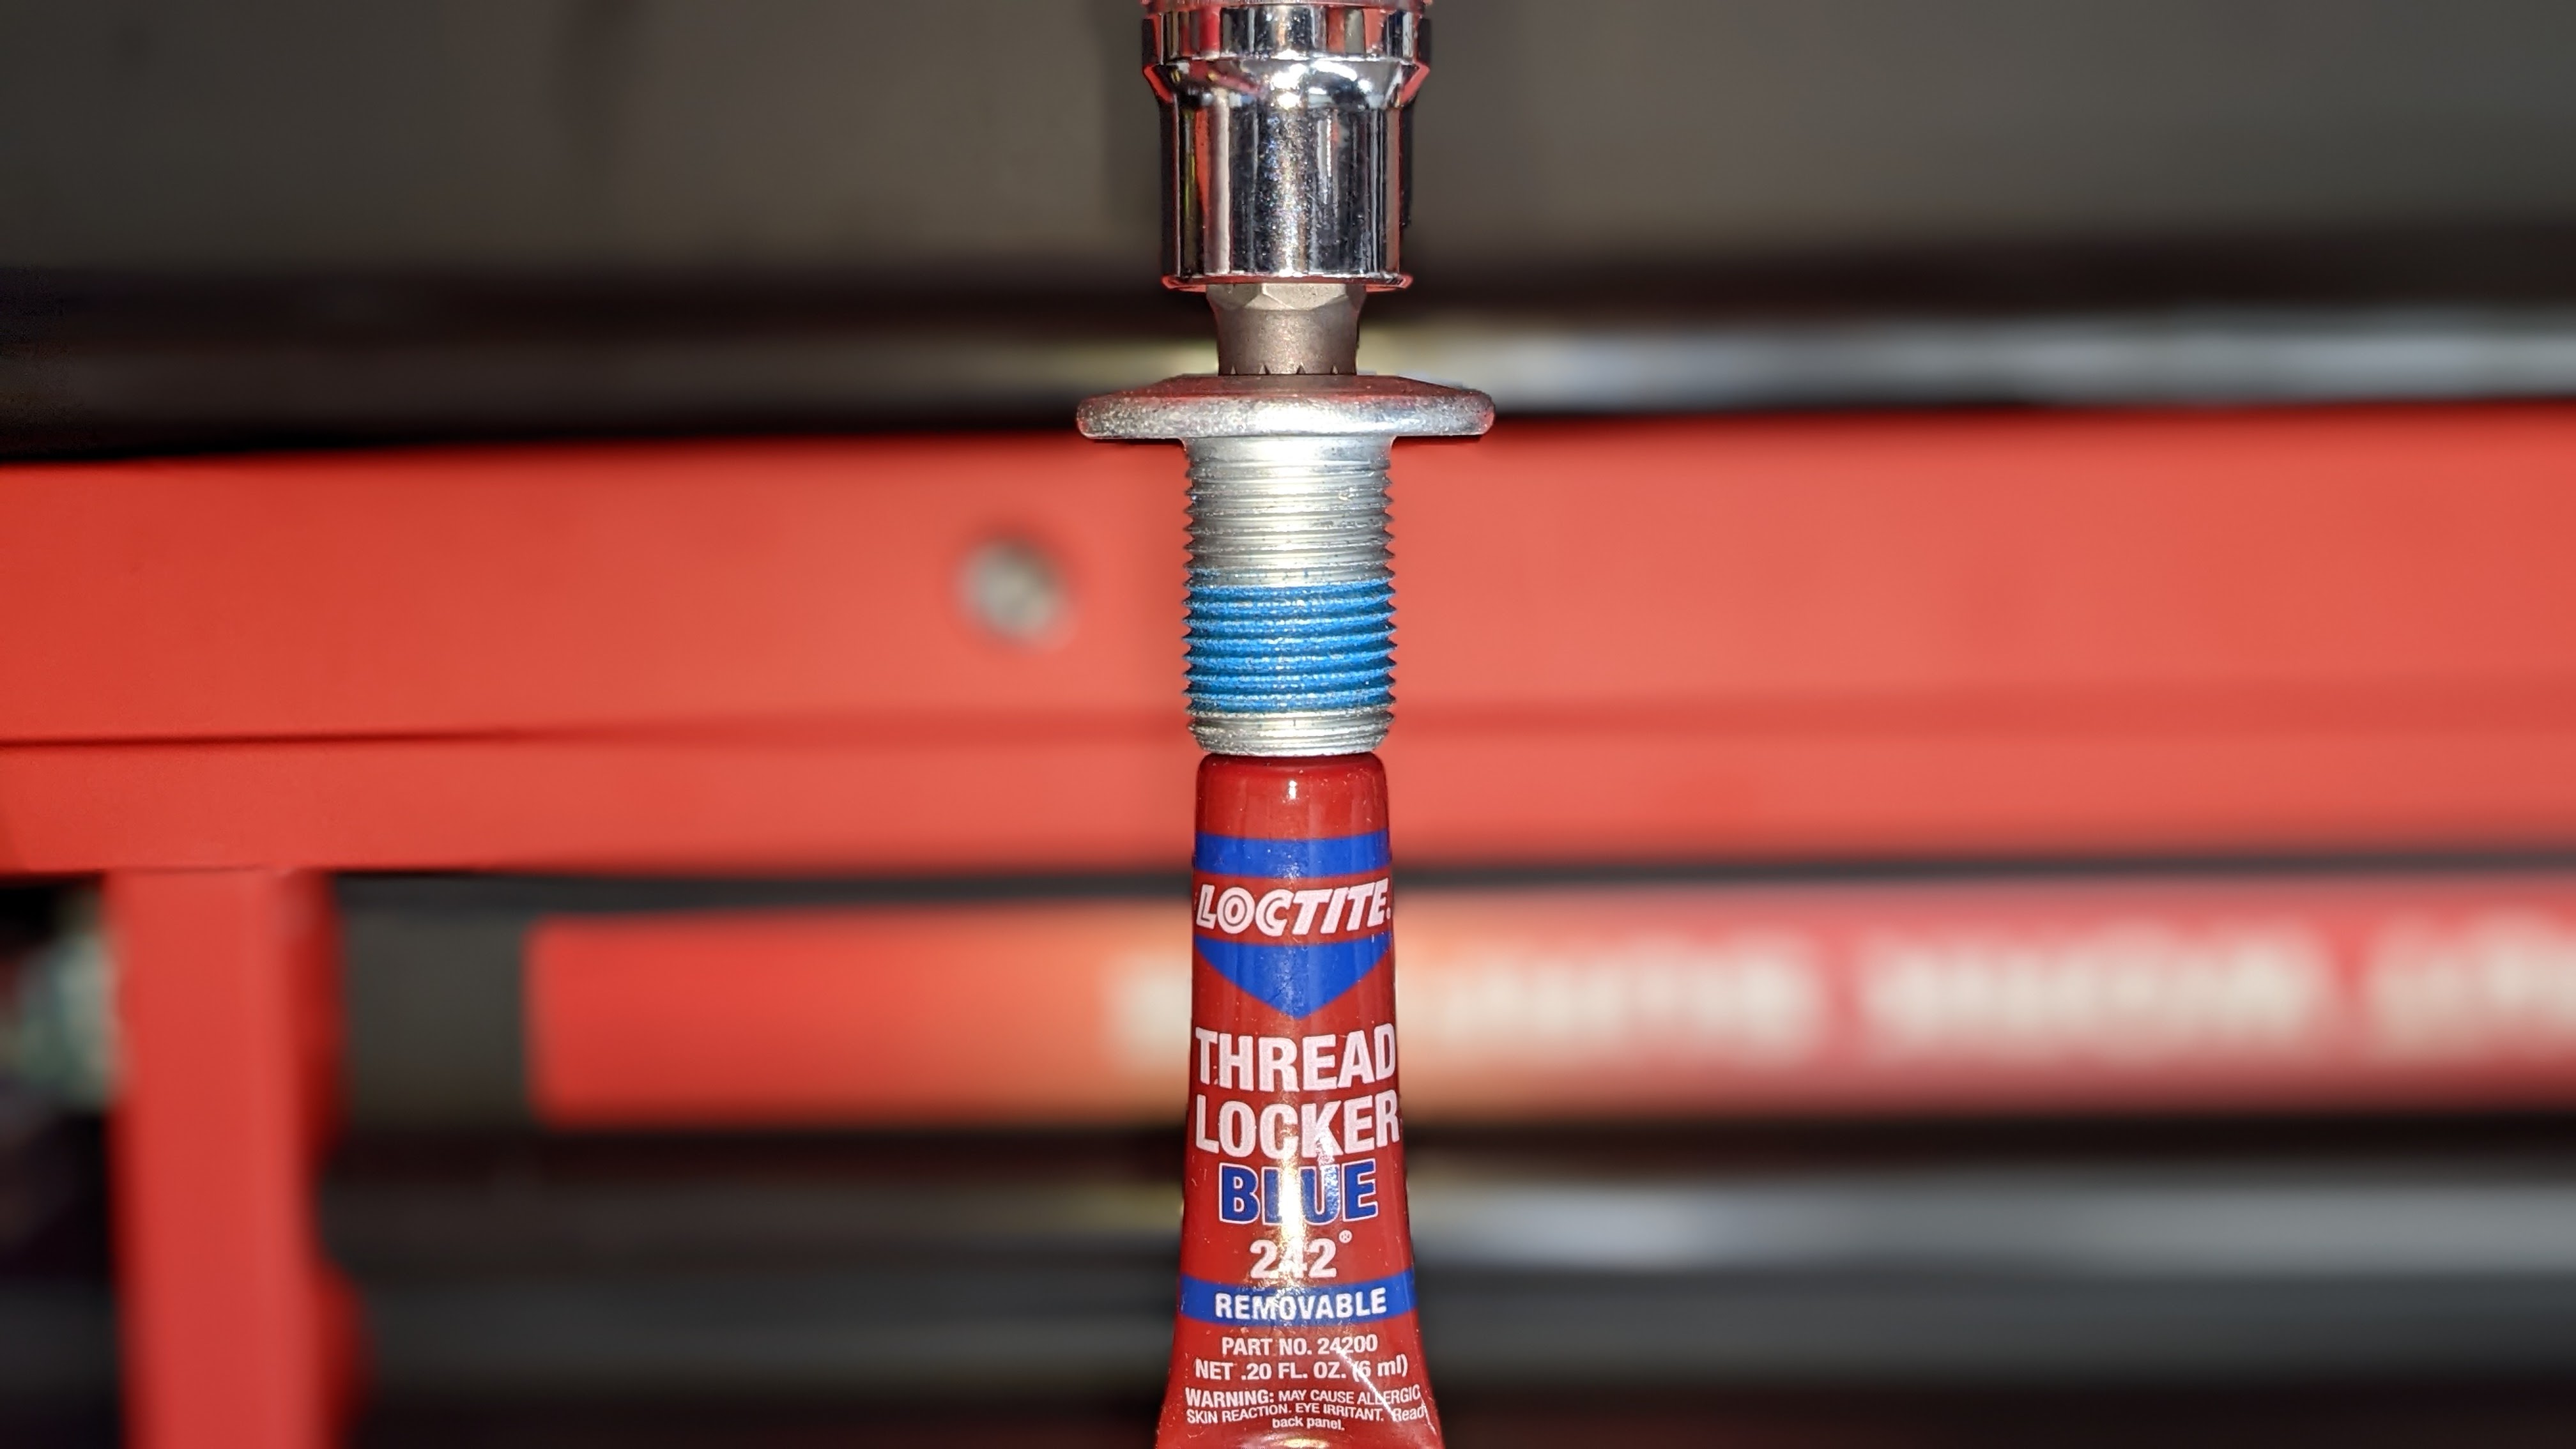
Torque to 37 ft-lbs with an M12 triple square socket:
And here we are:
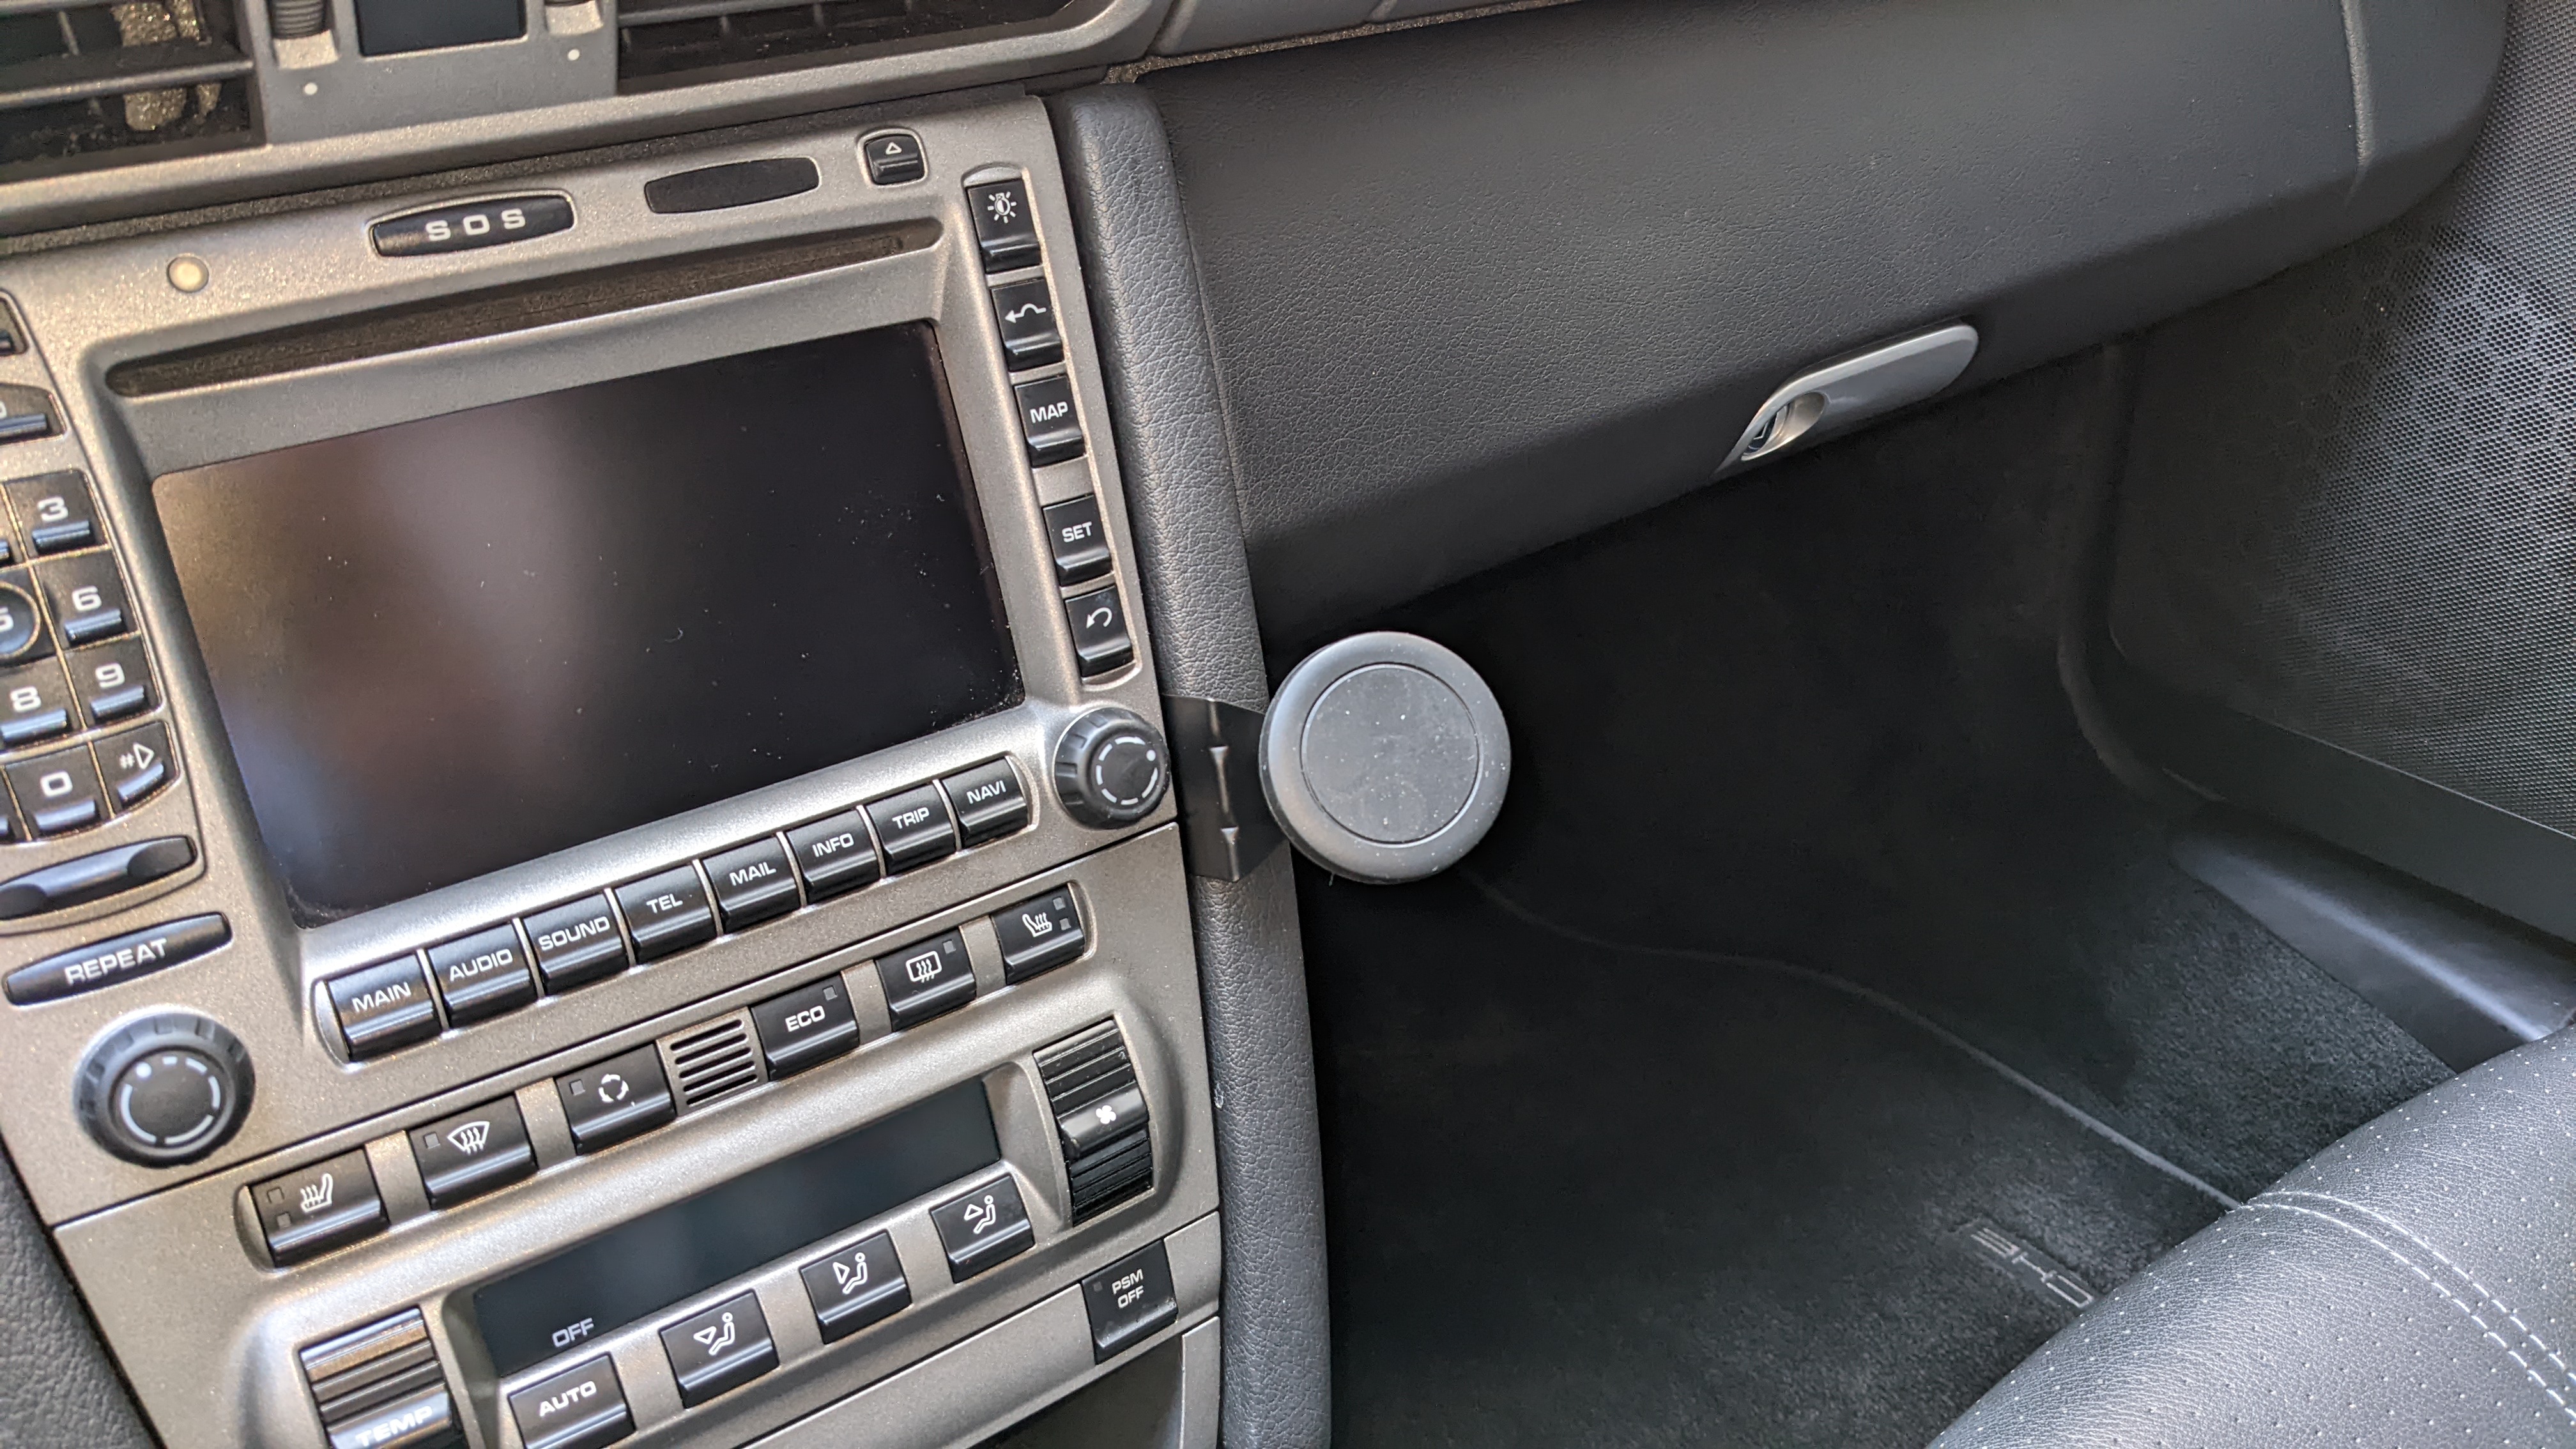
Also added the Rennline magnetic phone holder.
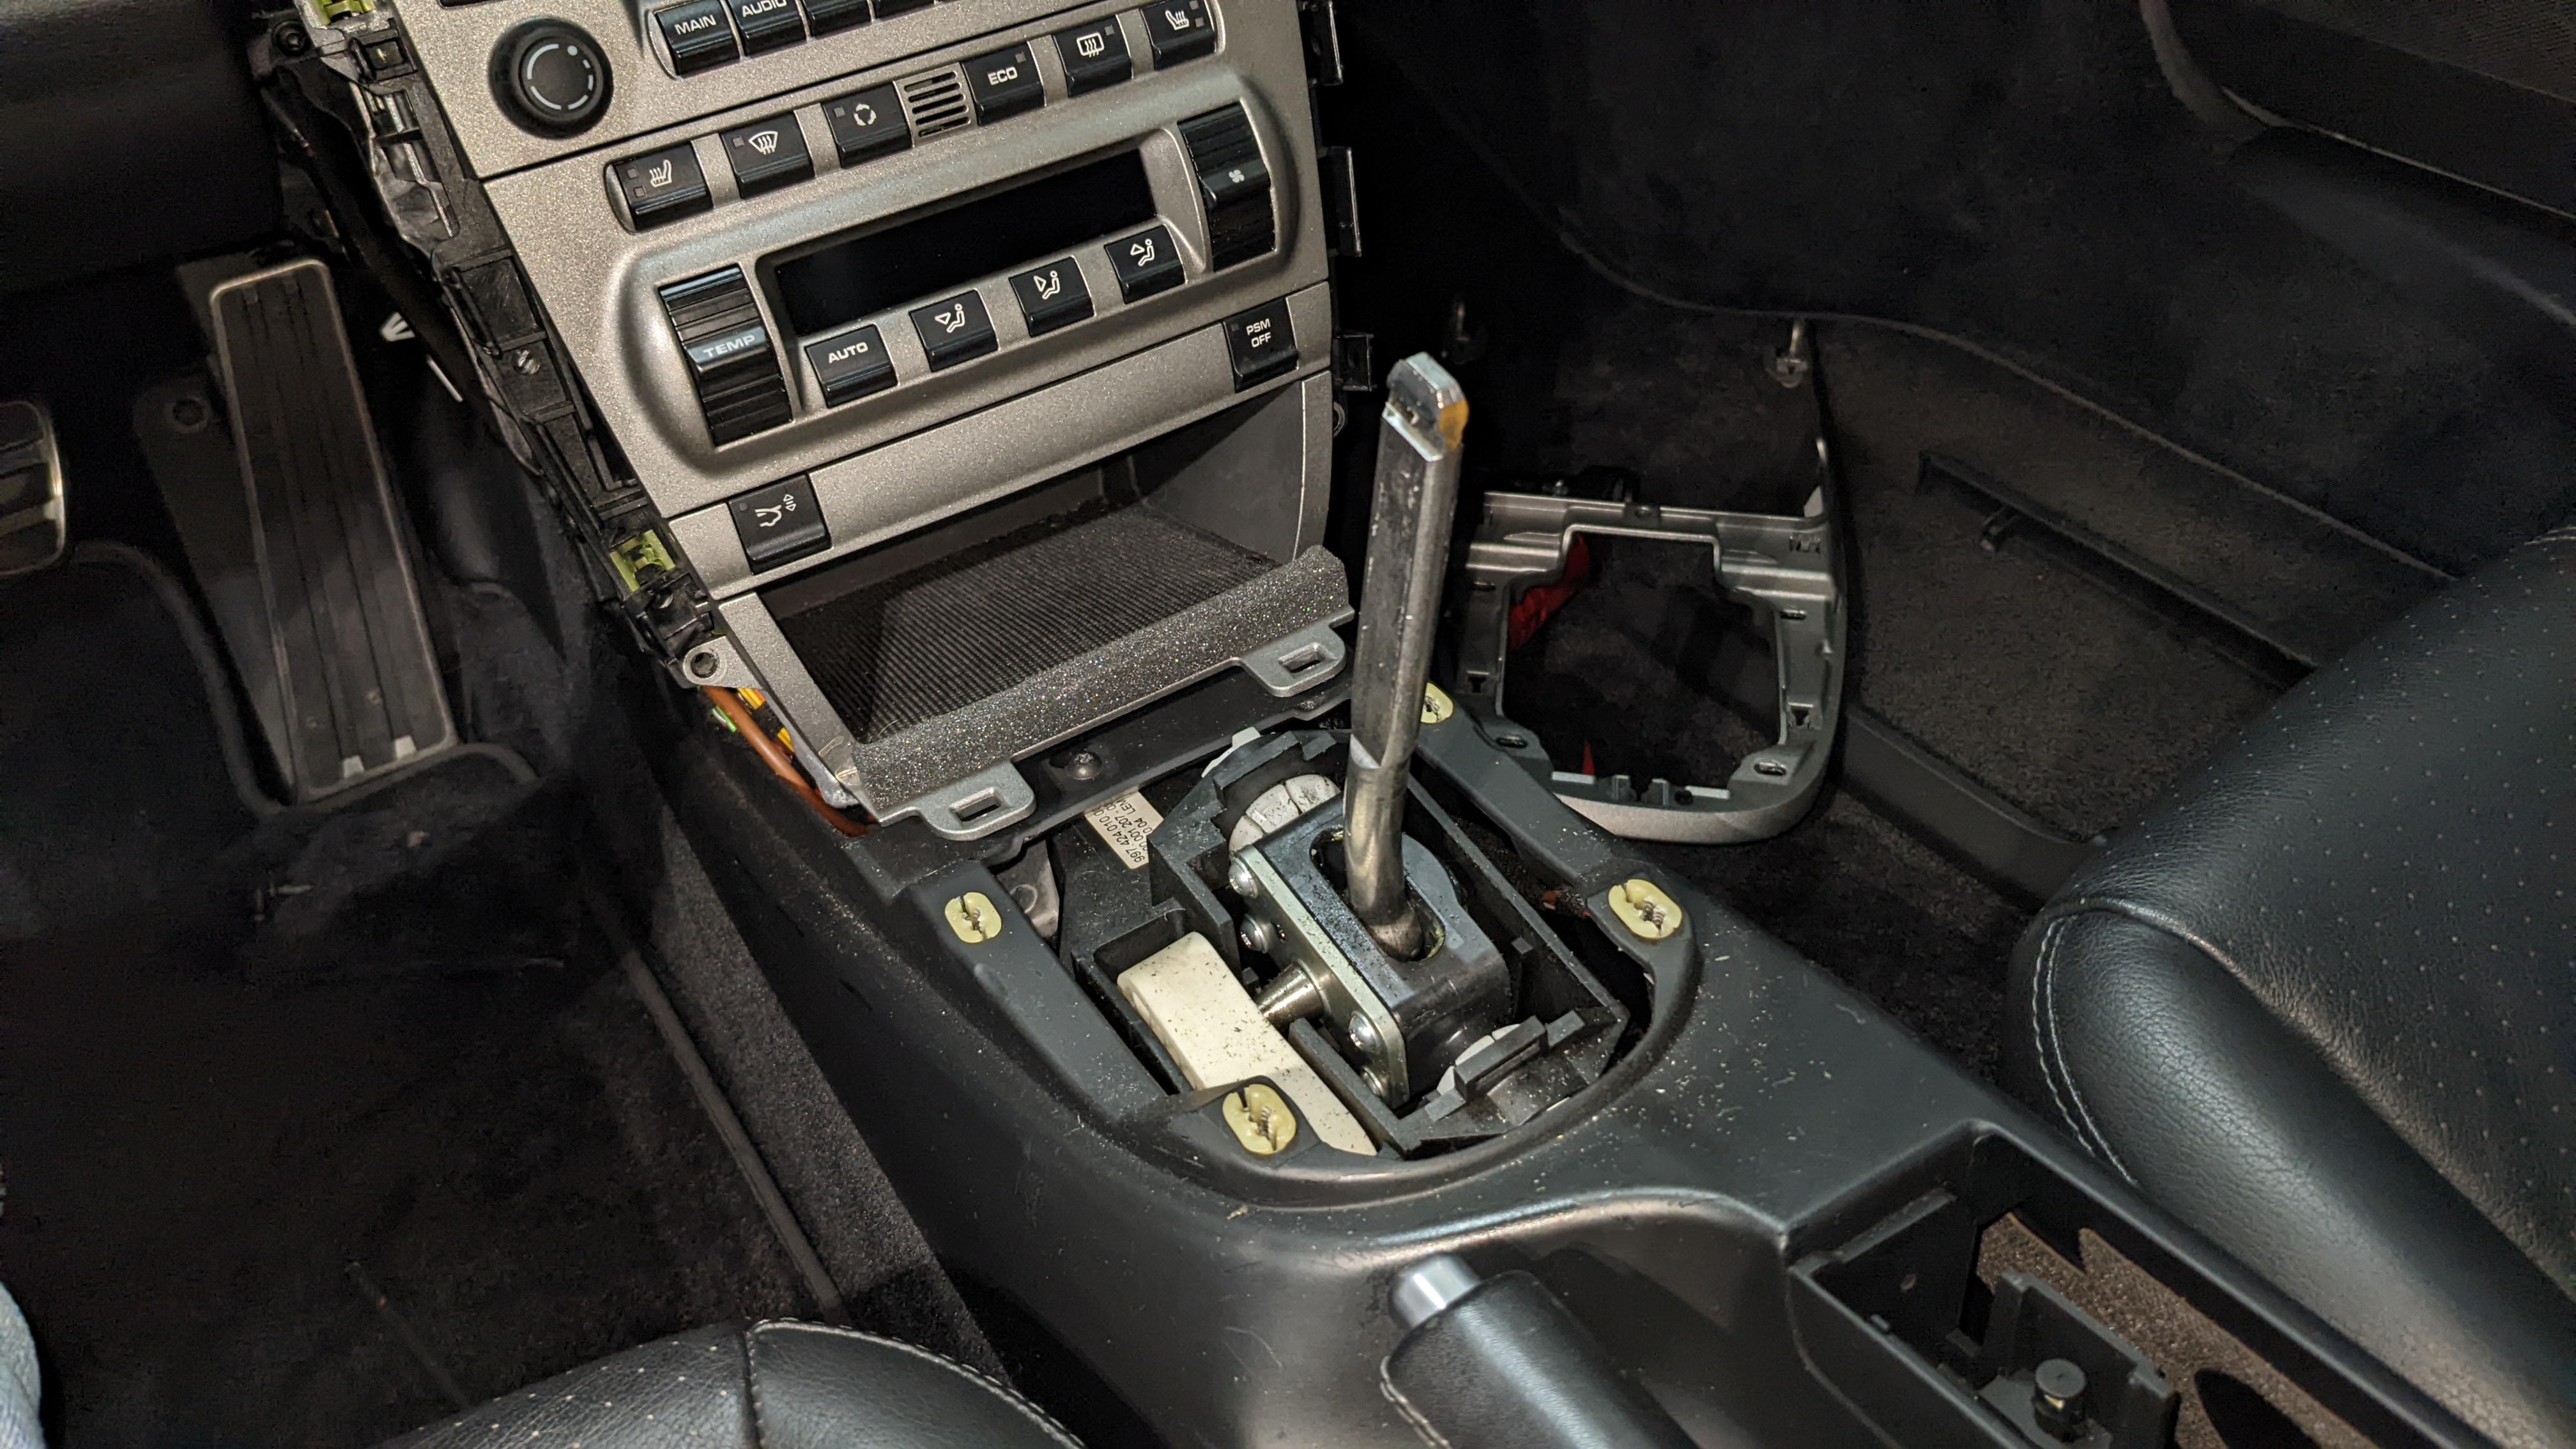
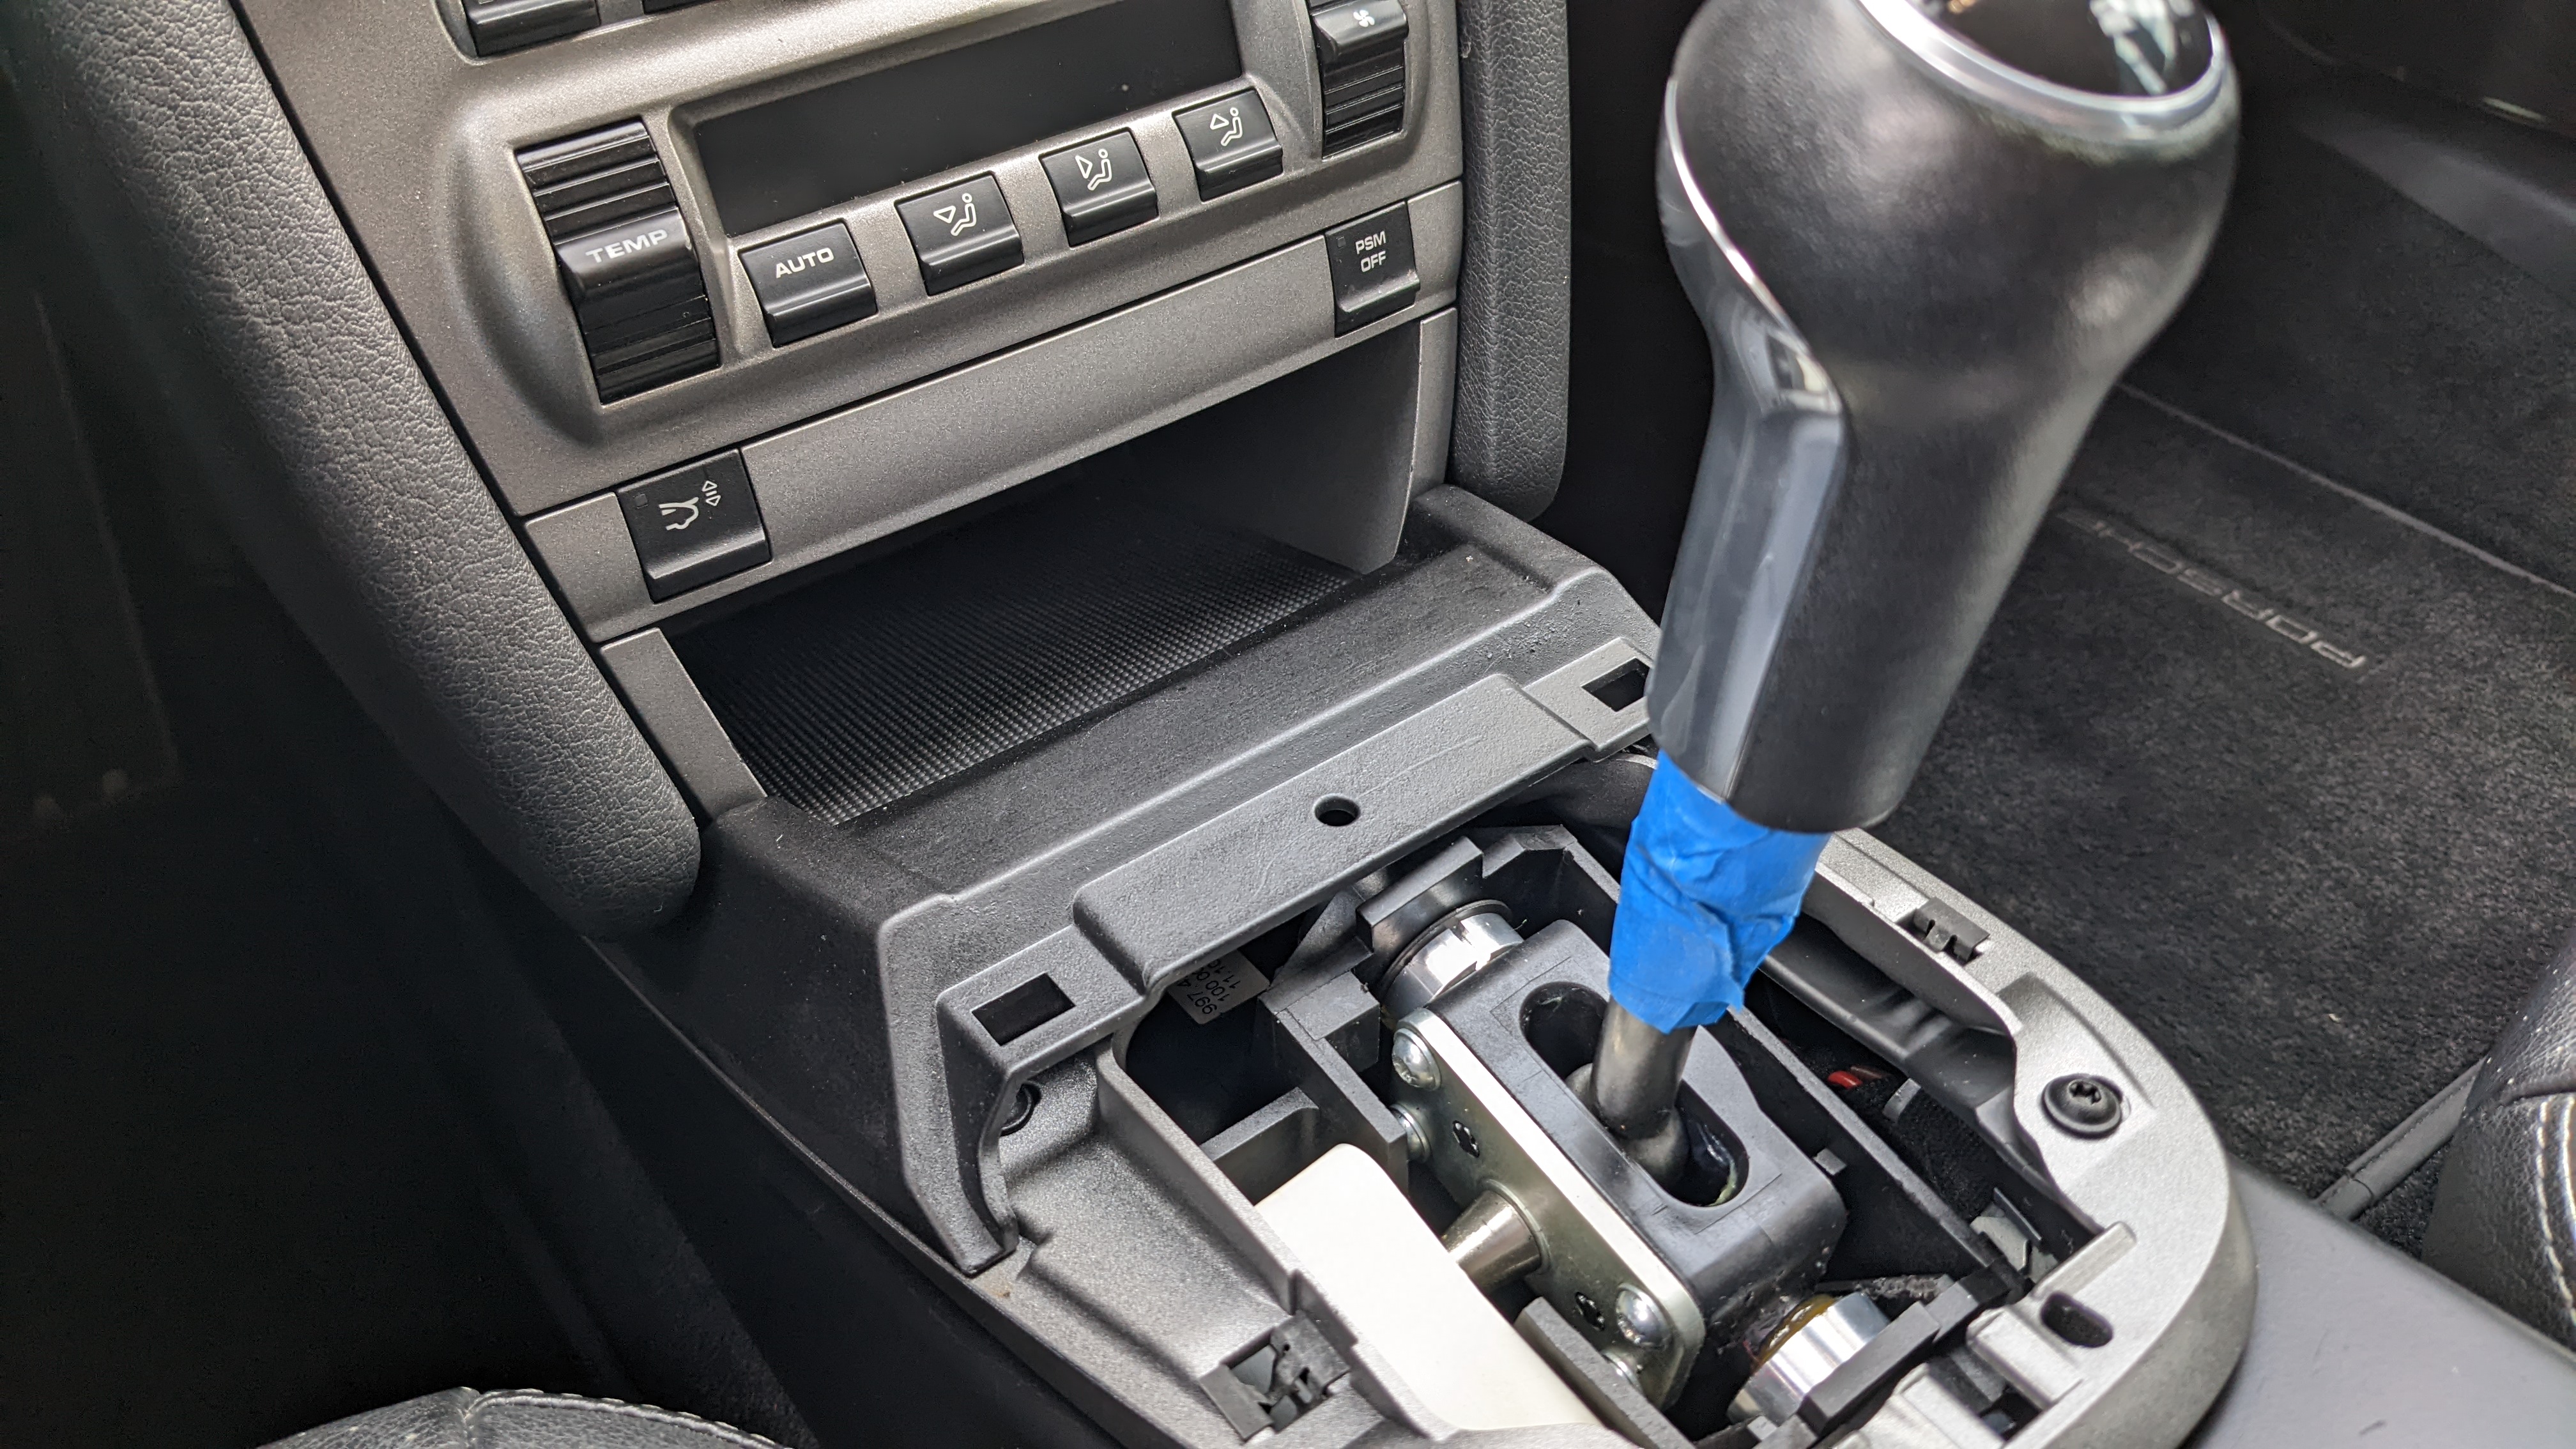
Now time to remove the shift **** so I could take out the center console to swap out the shifter bushings. It's just a friction fit but in certain cases, it's quite the friction fit.
After struggling with it for a while, I popped the cap off and removed the 2, T8 screws so I could split the ****. Figured this would possibly relieve some of the clamping force on the shift lever.
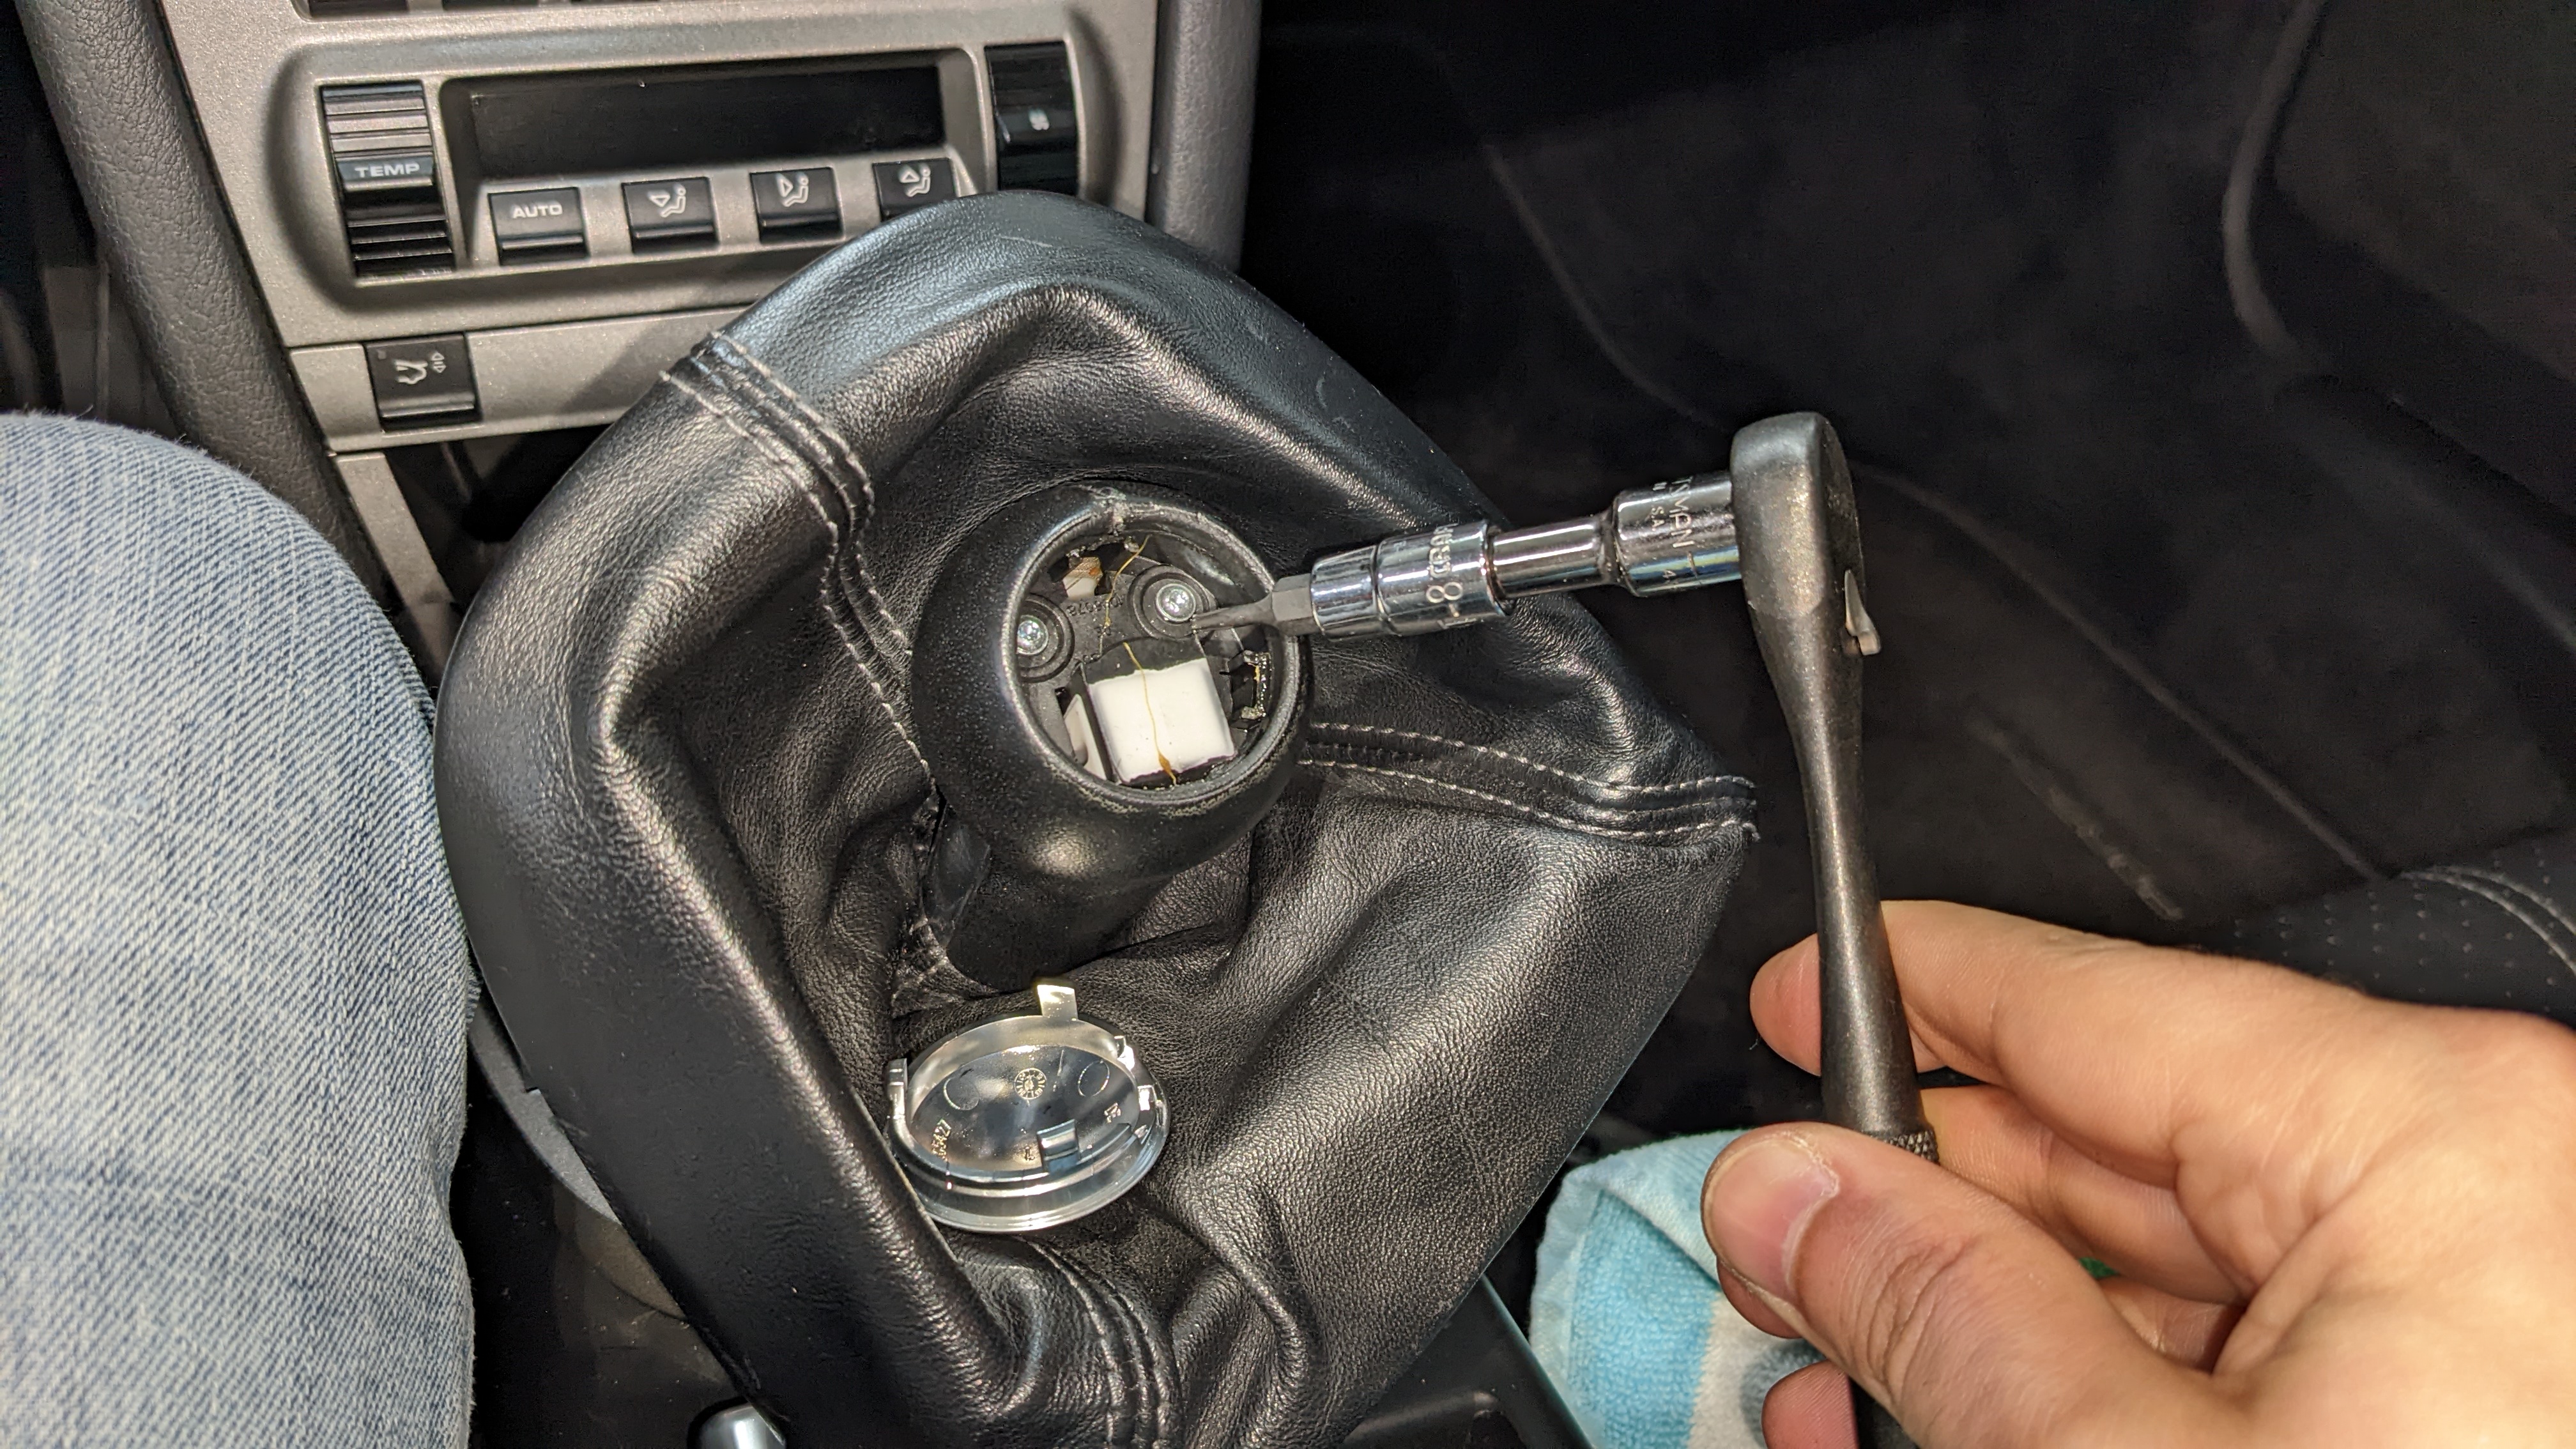
After straddling the center console and with a towel in my chest to prevent punching myself, I was able to pull the ****/boot off. Definitely one of those Arthur-Excalibur moments.
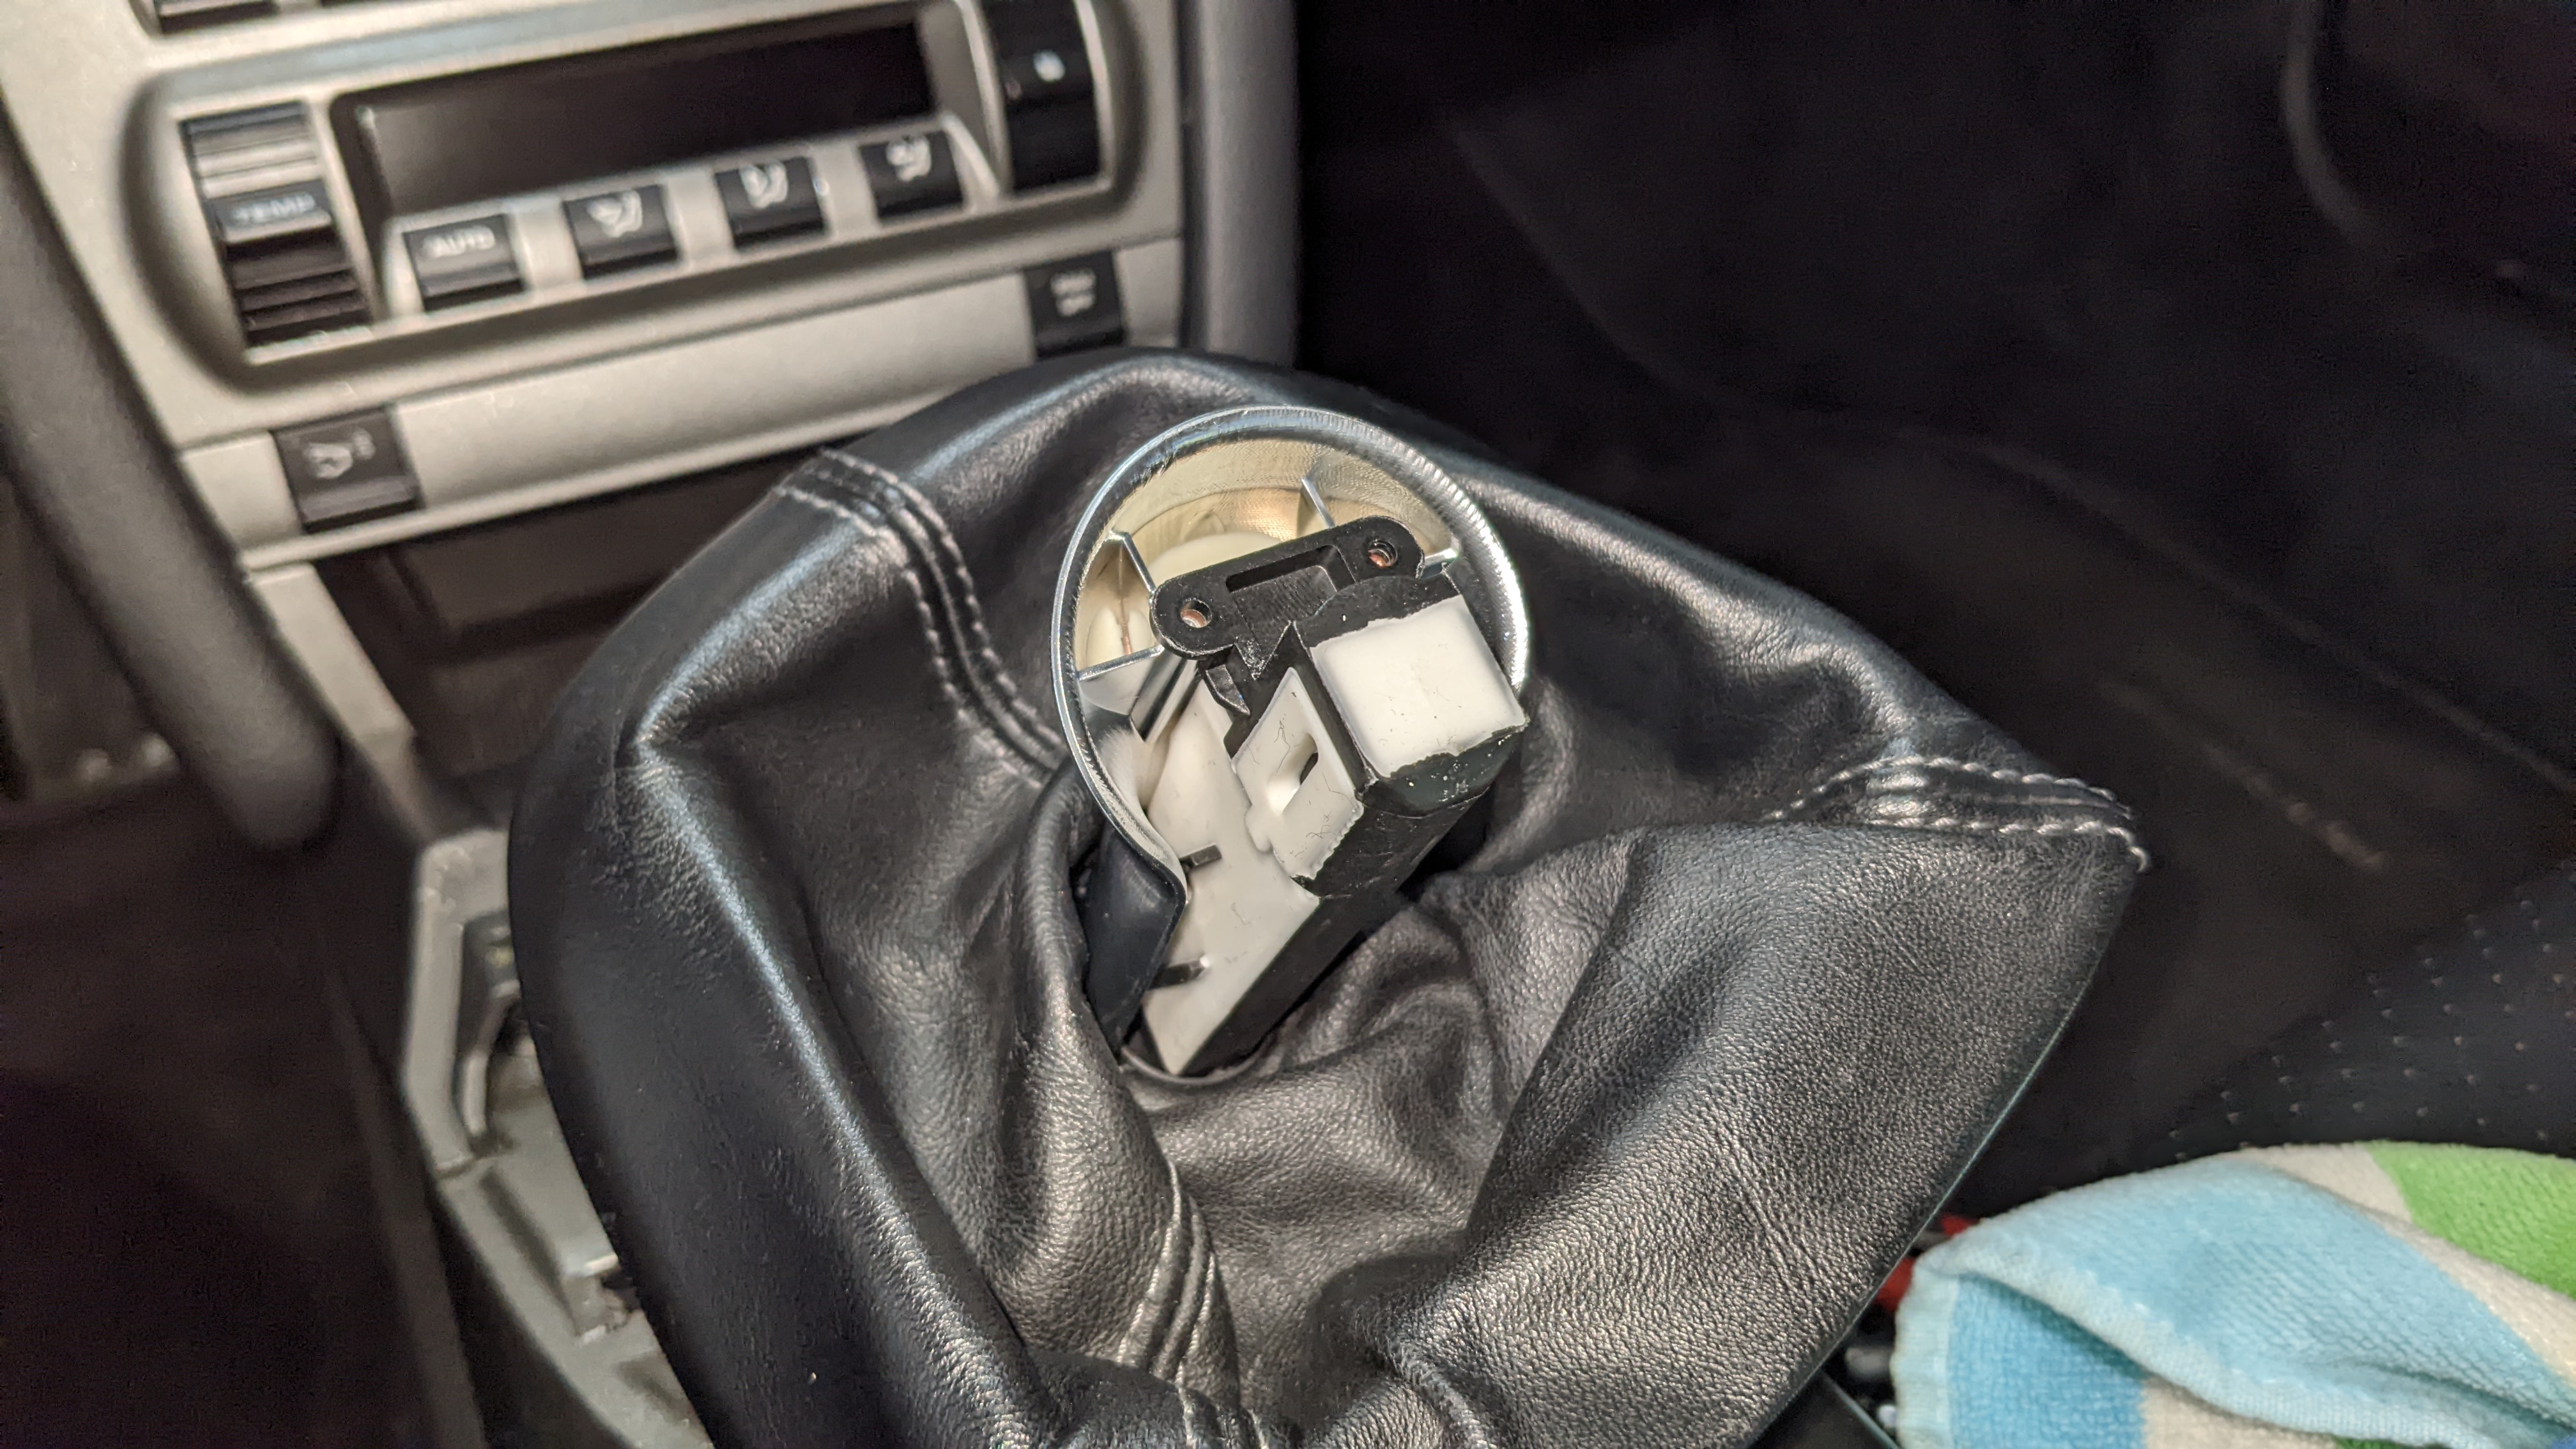
As you can see, the boot got pulled out of the **** assembly and while you can put it back, decided to bite the bullet and just replace the whole thing. Touch points are worthy investments. Lead time is about 30 days from Germany (997-424-075-00-FOT).
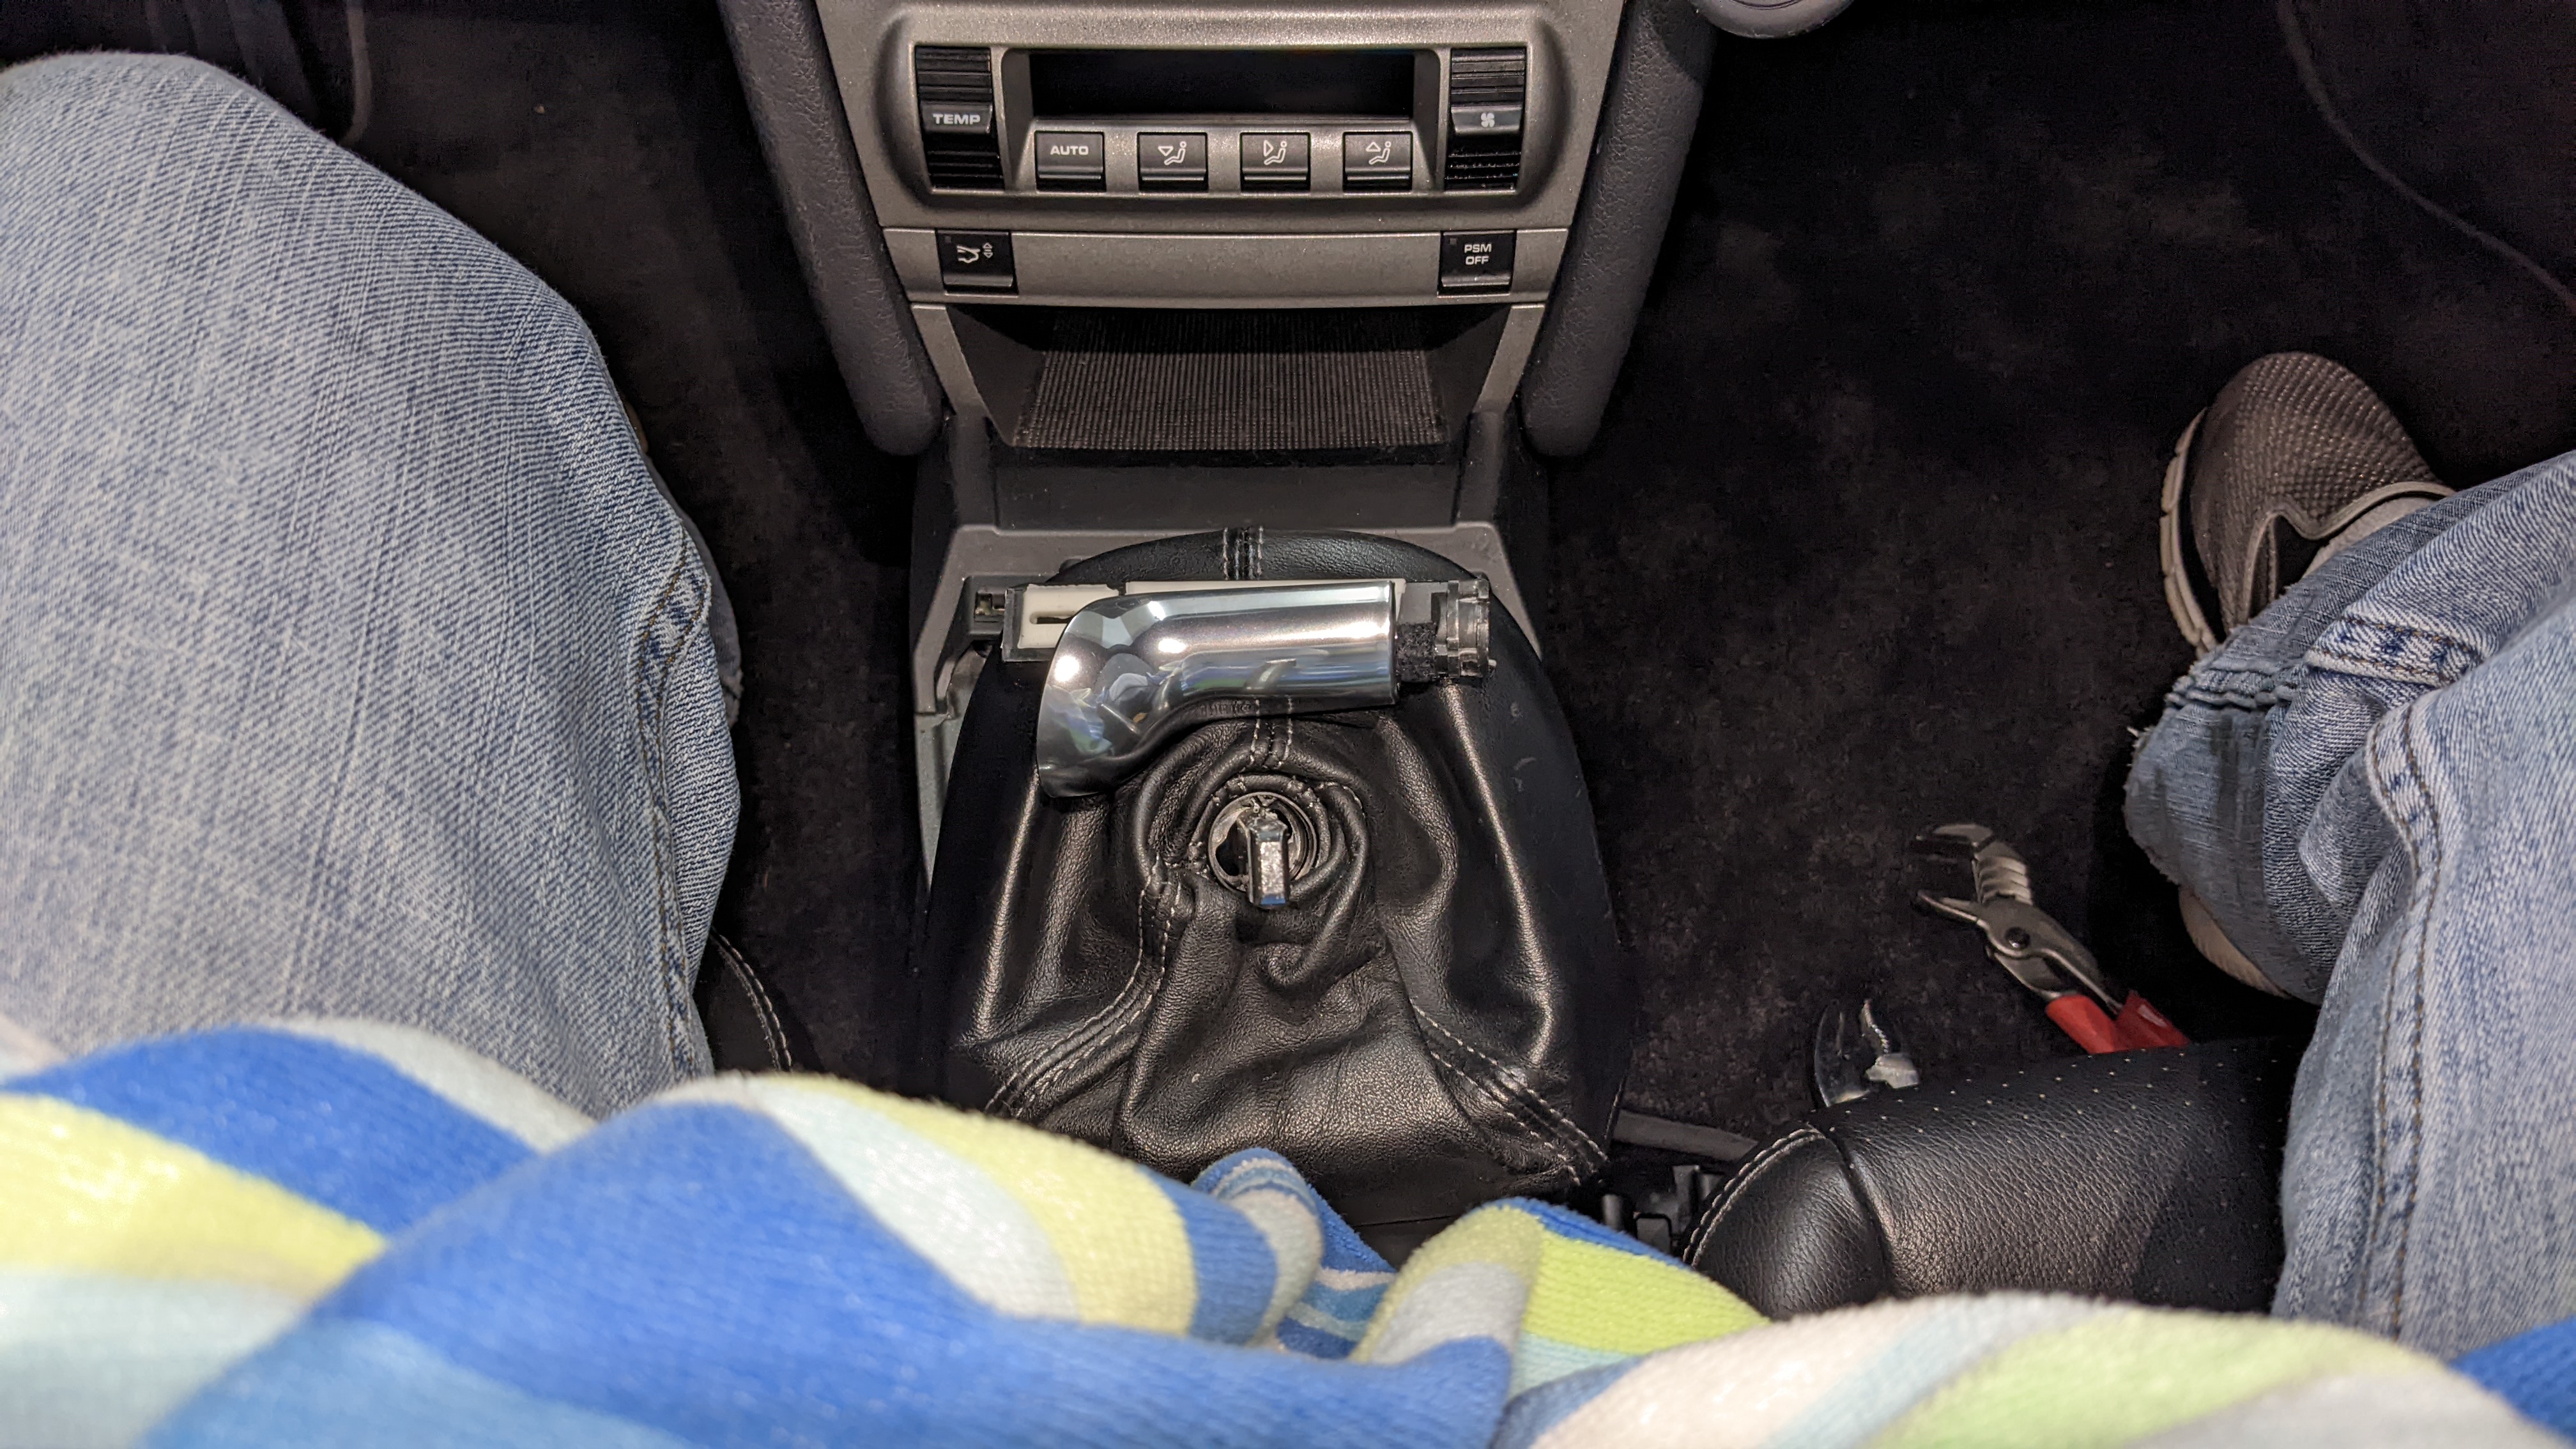
Anyway, back to more disassembly so I could remove the center console:
Glad I kept this rigging tool which was useful during reattachment of the cables. Also it's like $25 now but it was $5 three years ago.
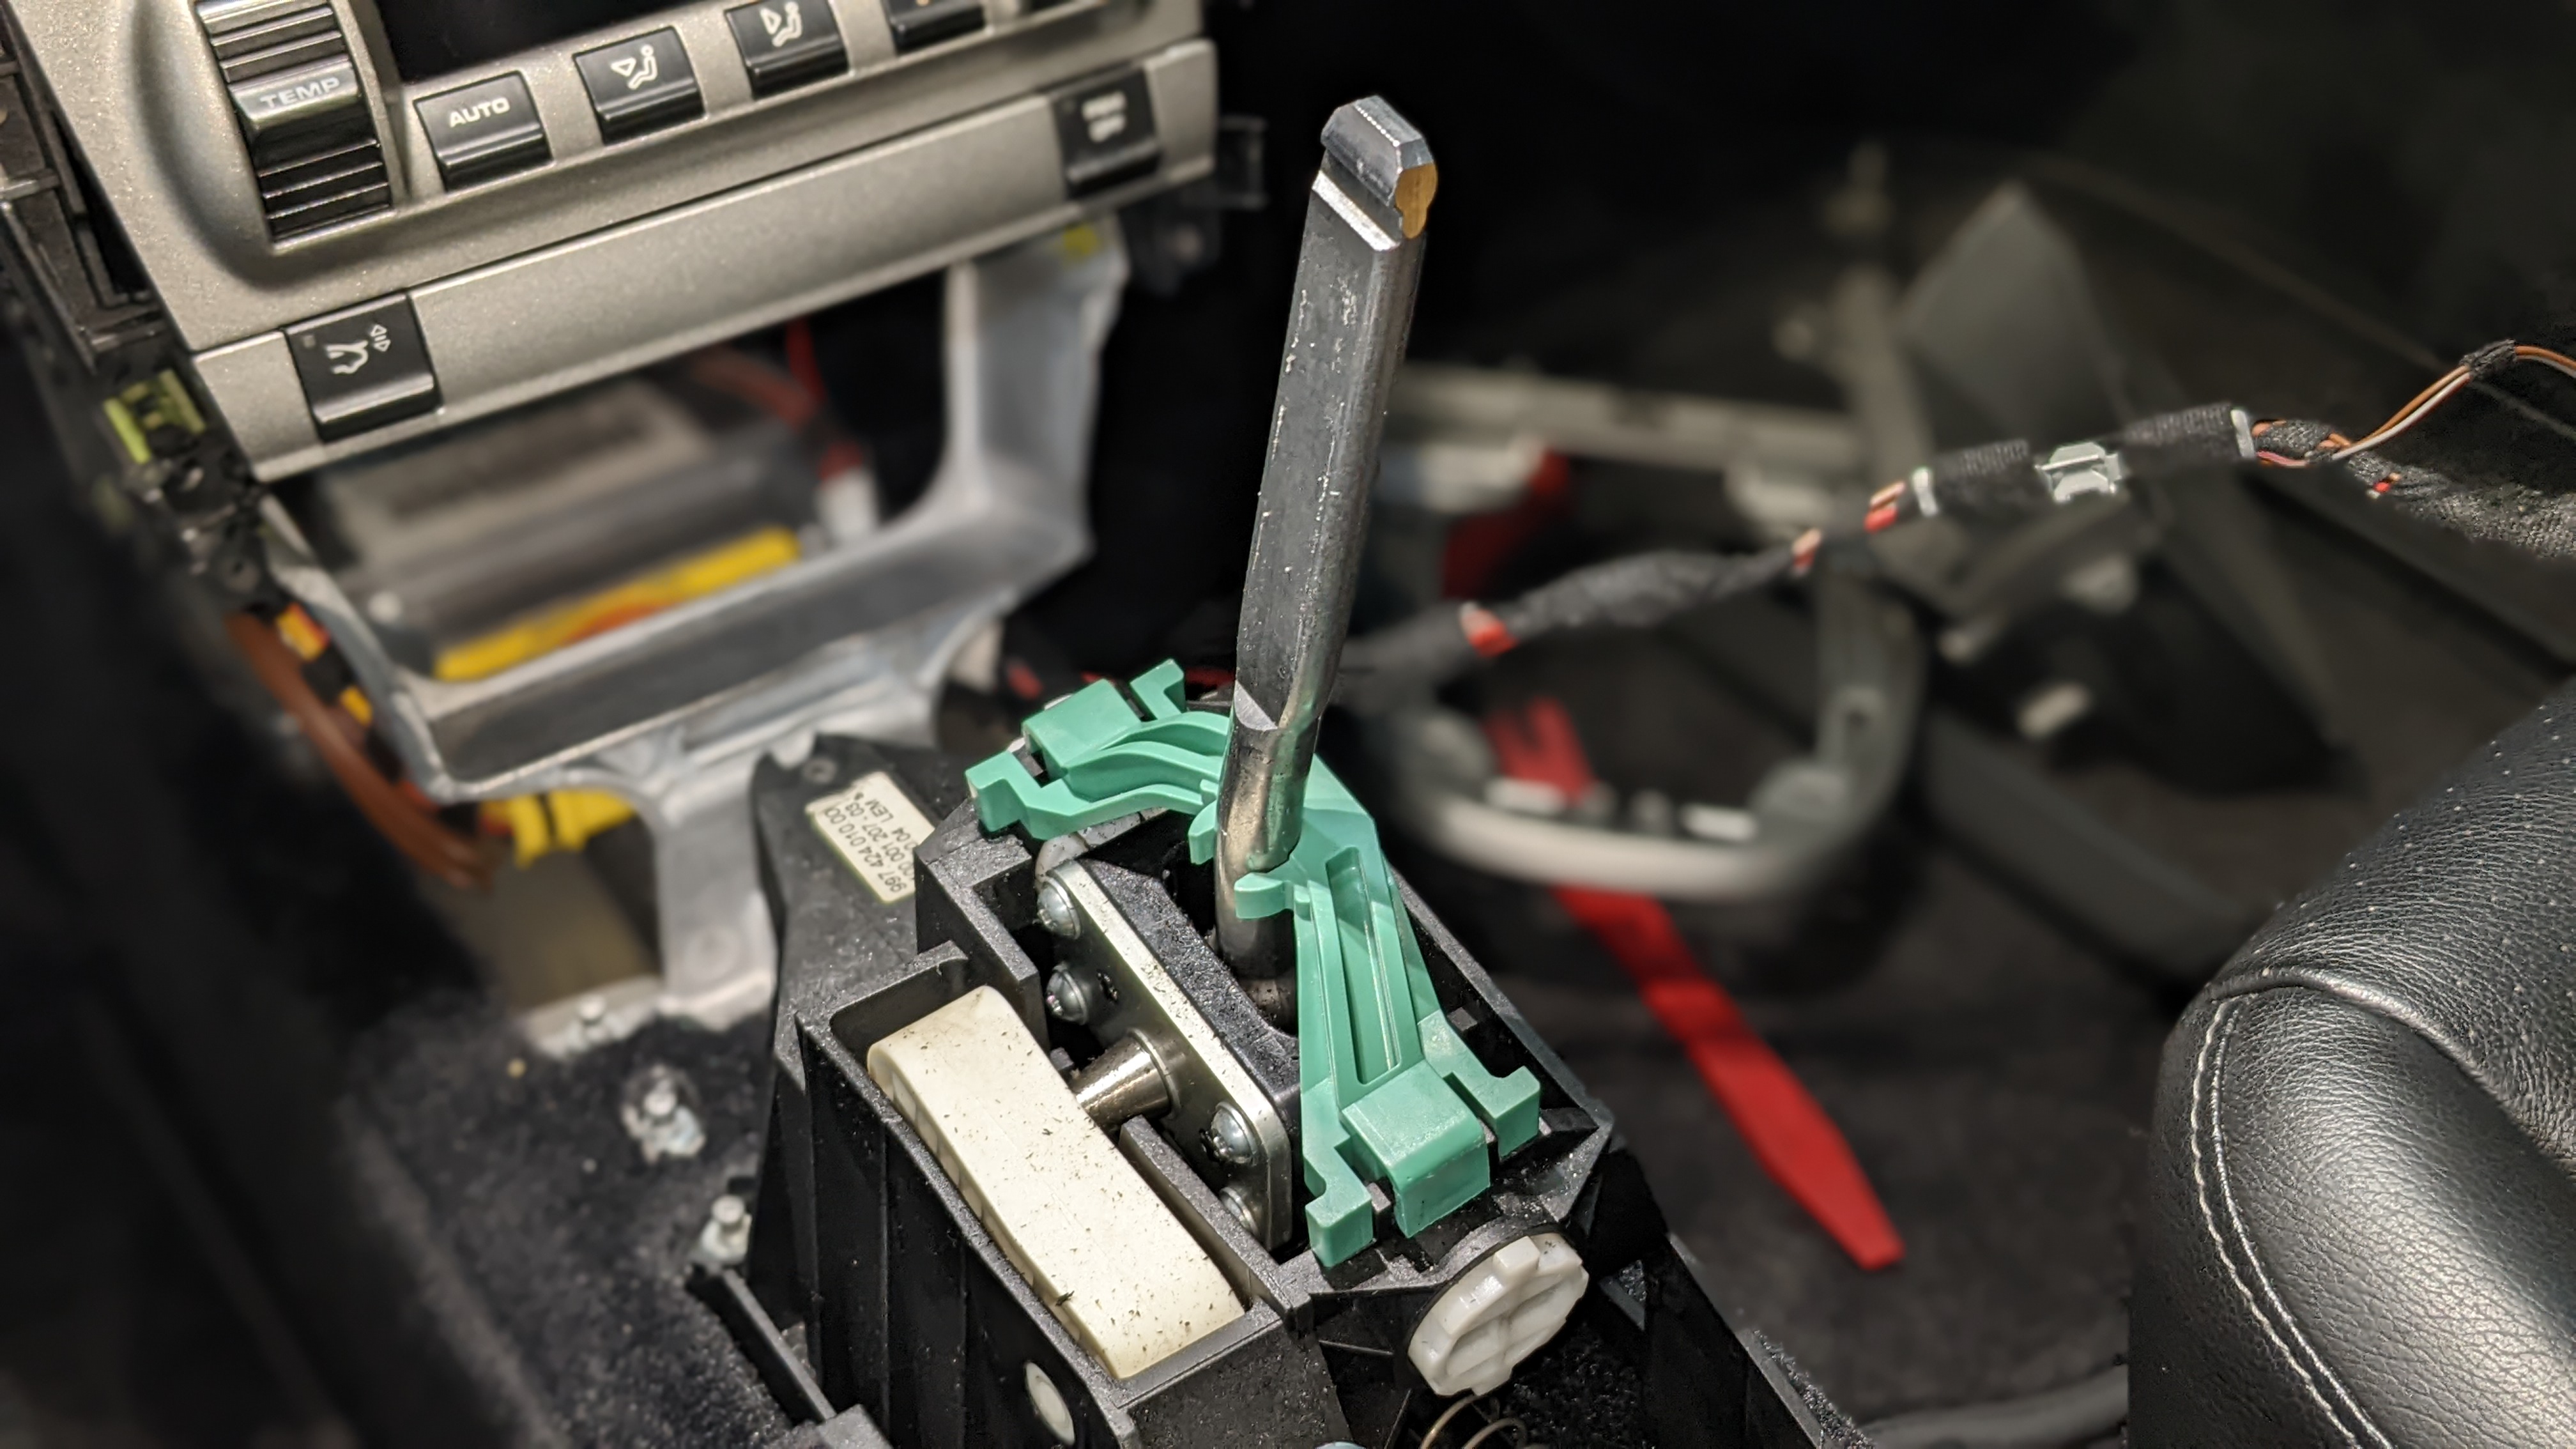
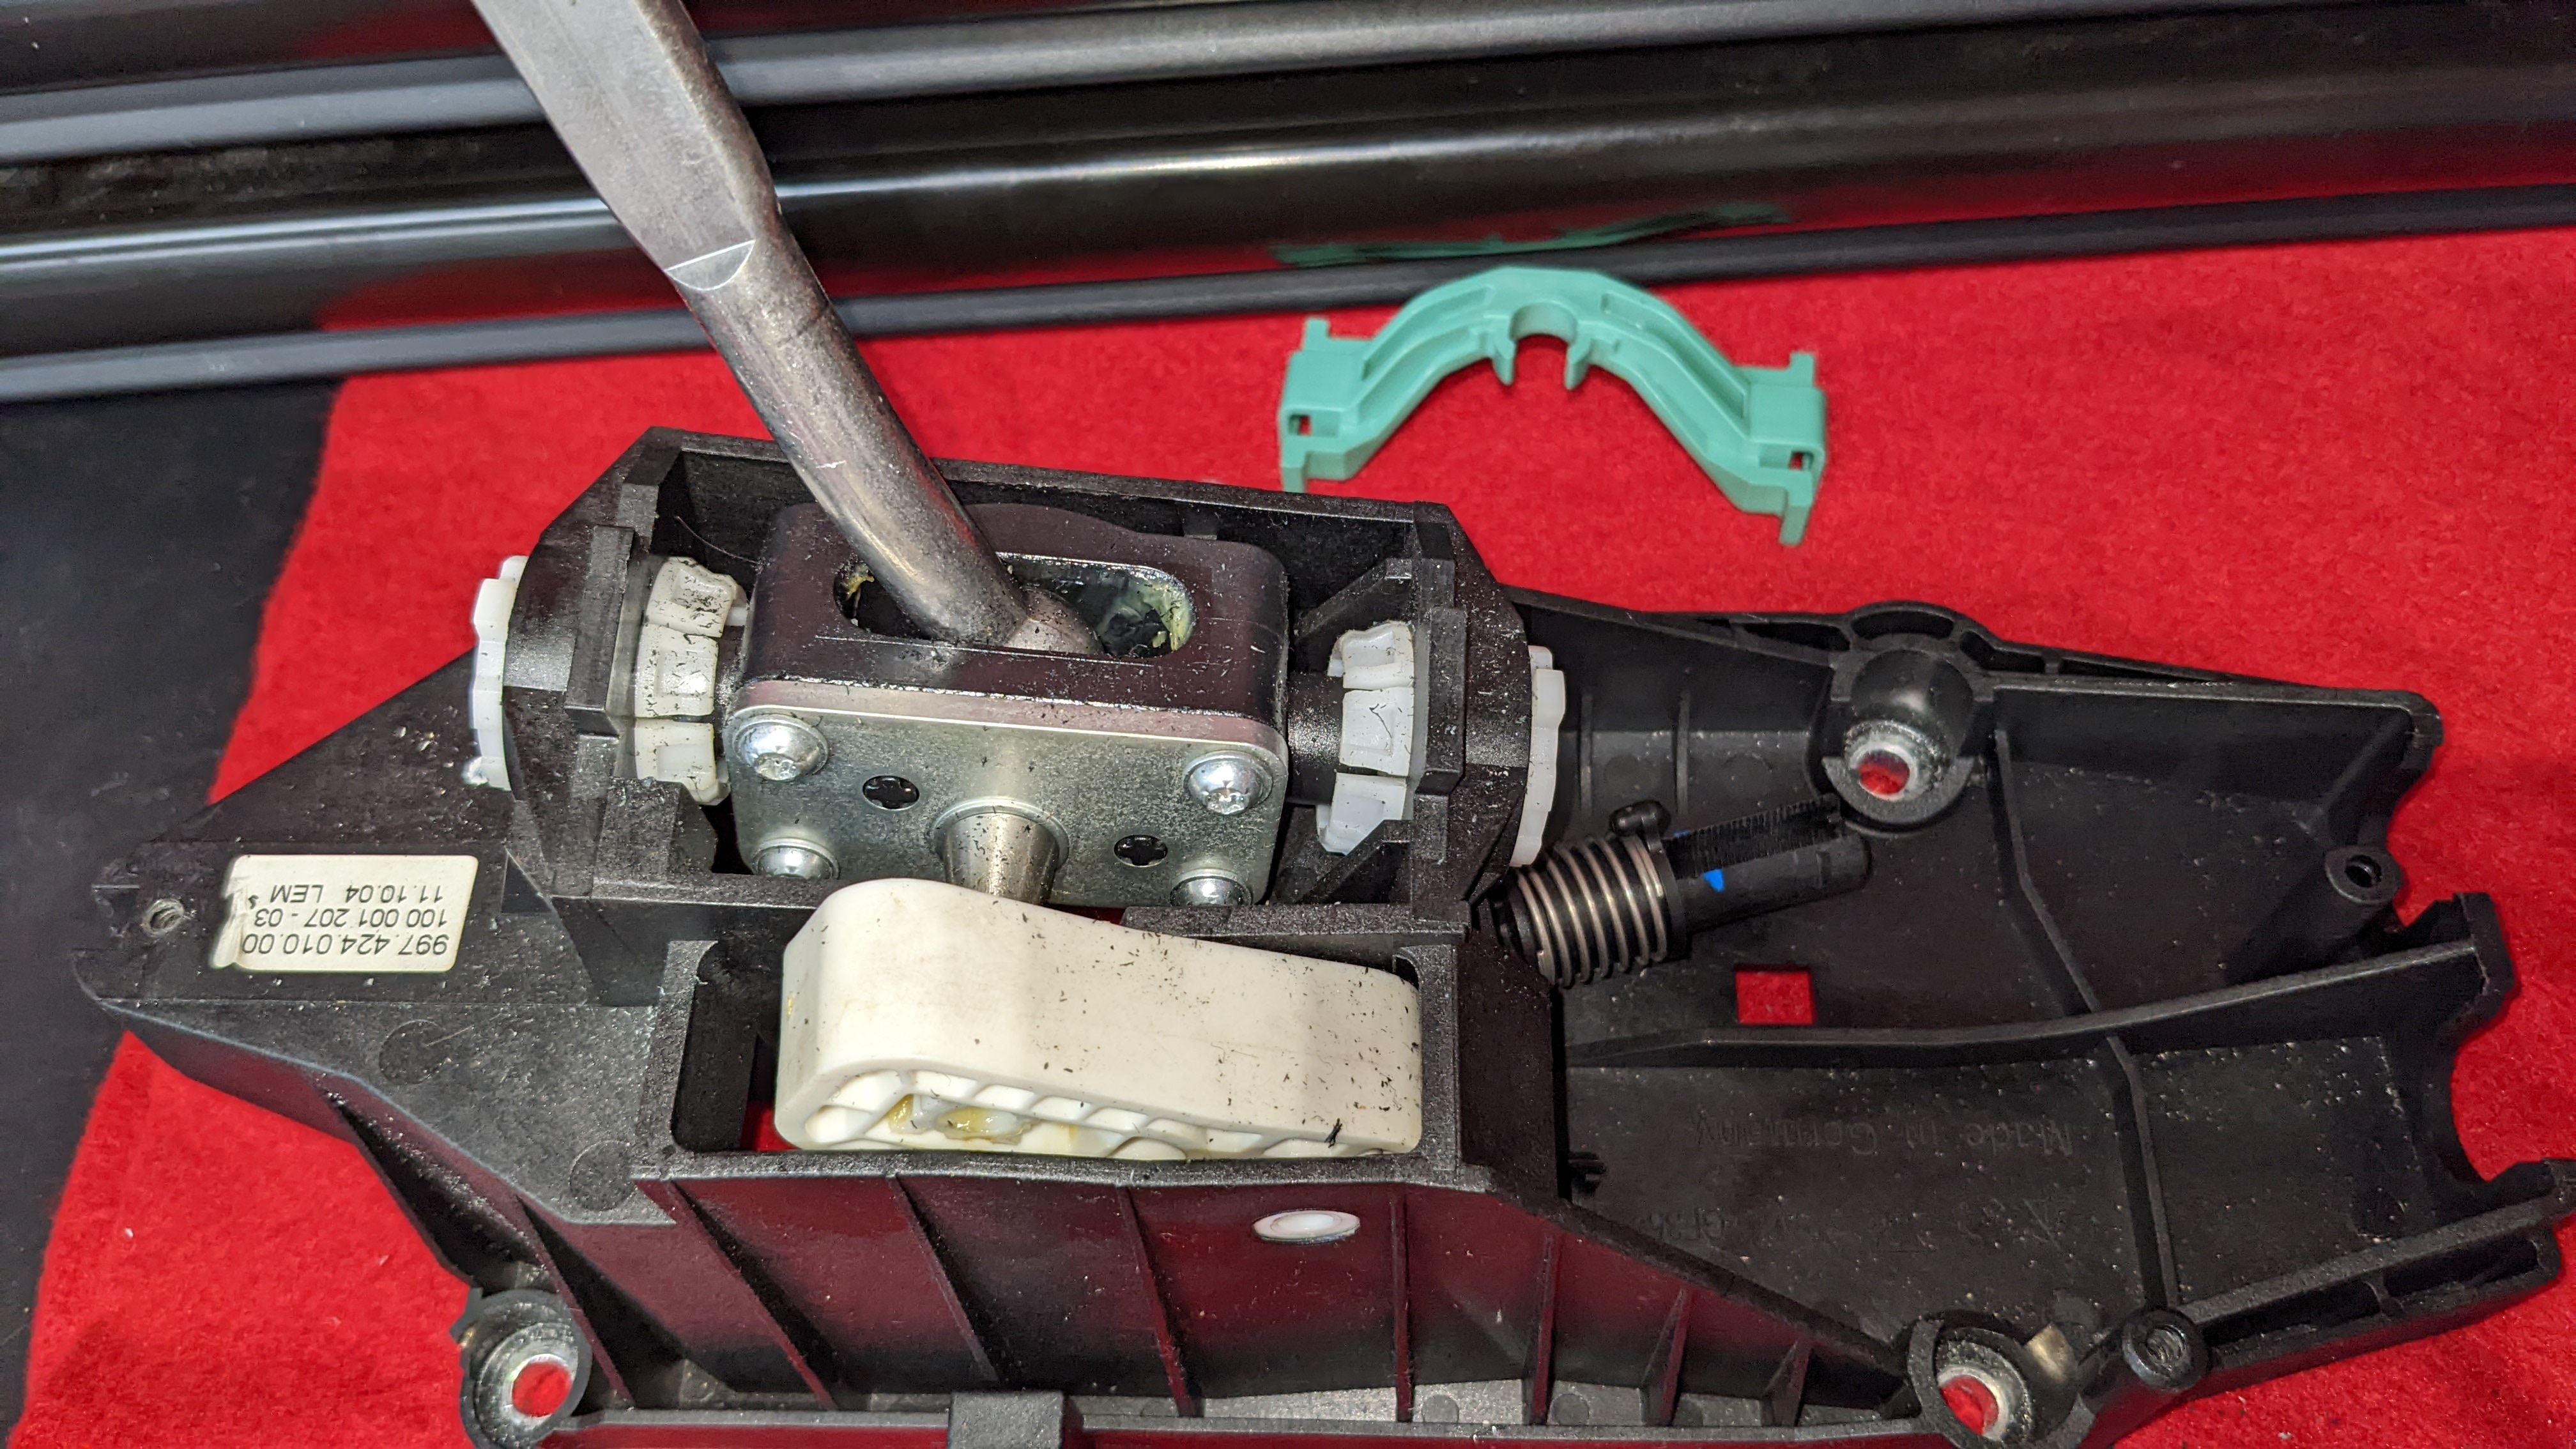
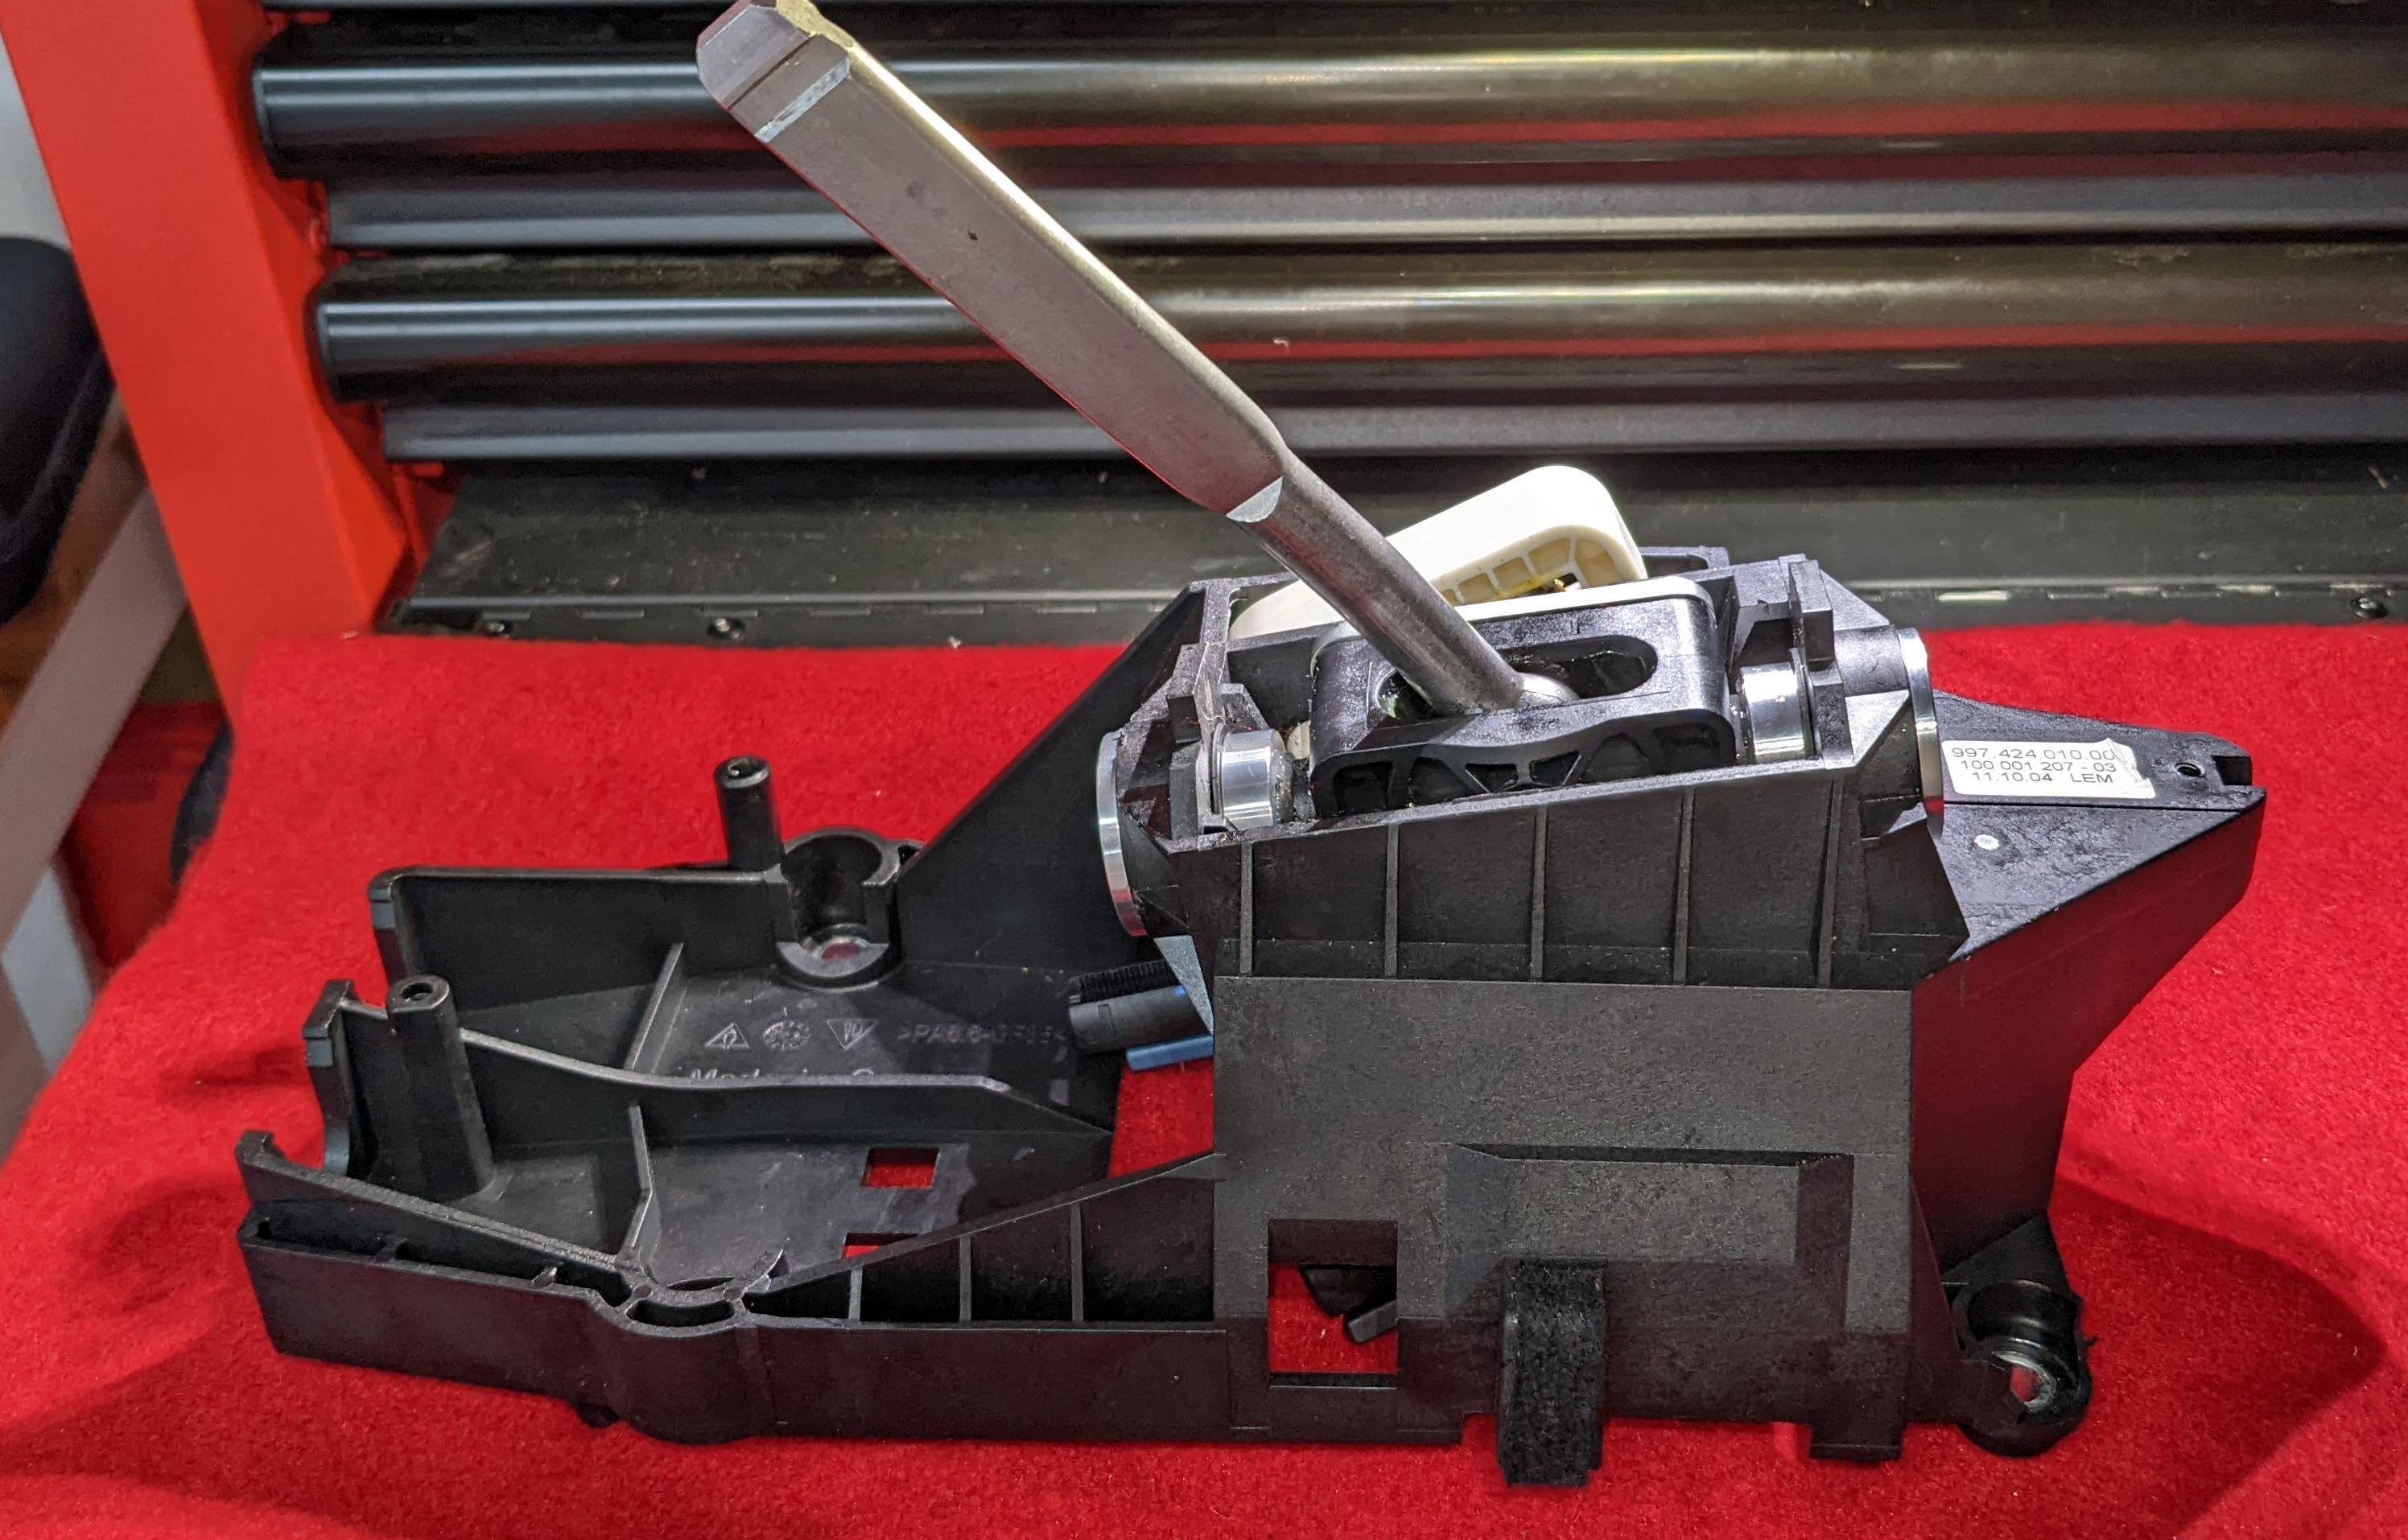
Shift assembly removed.
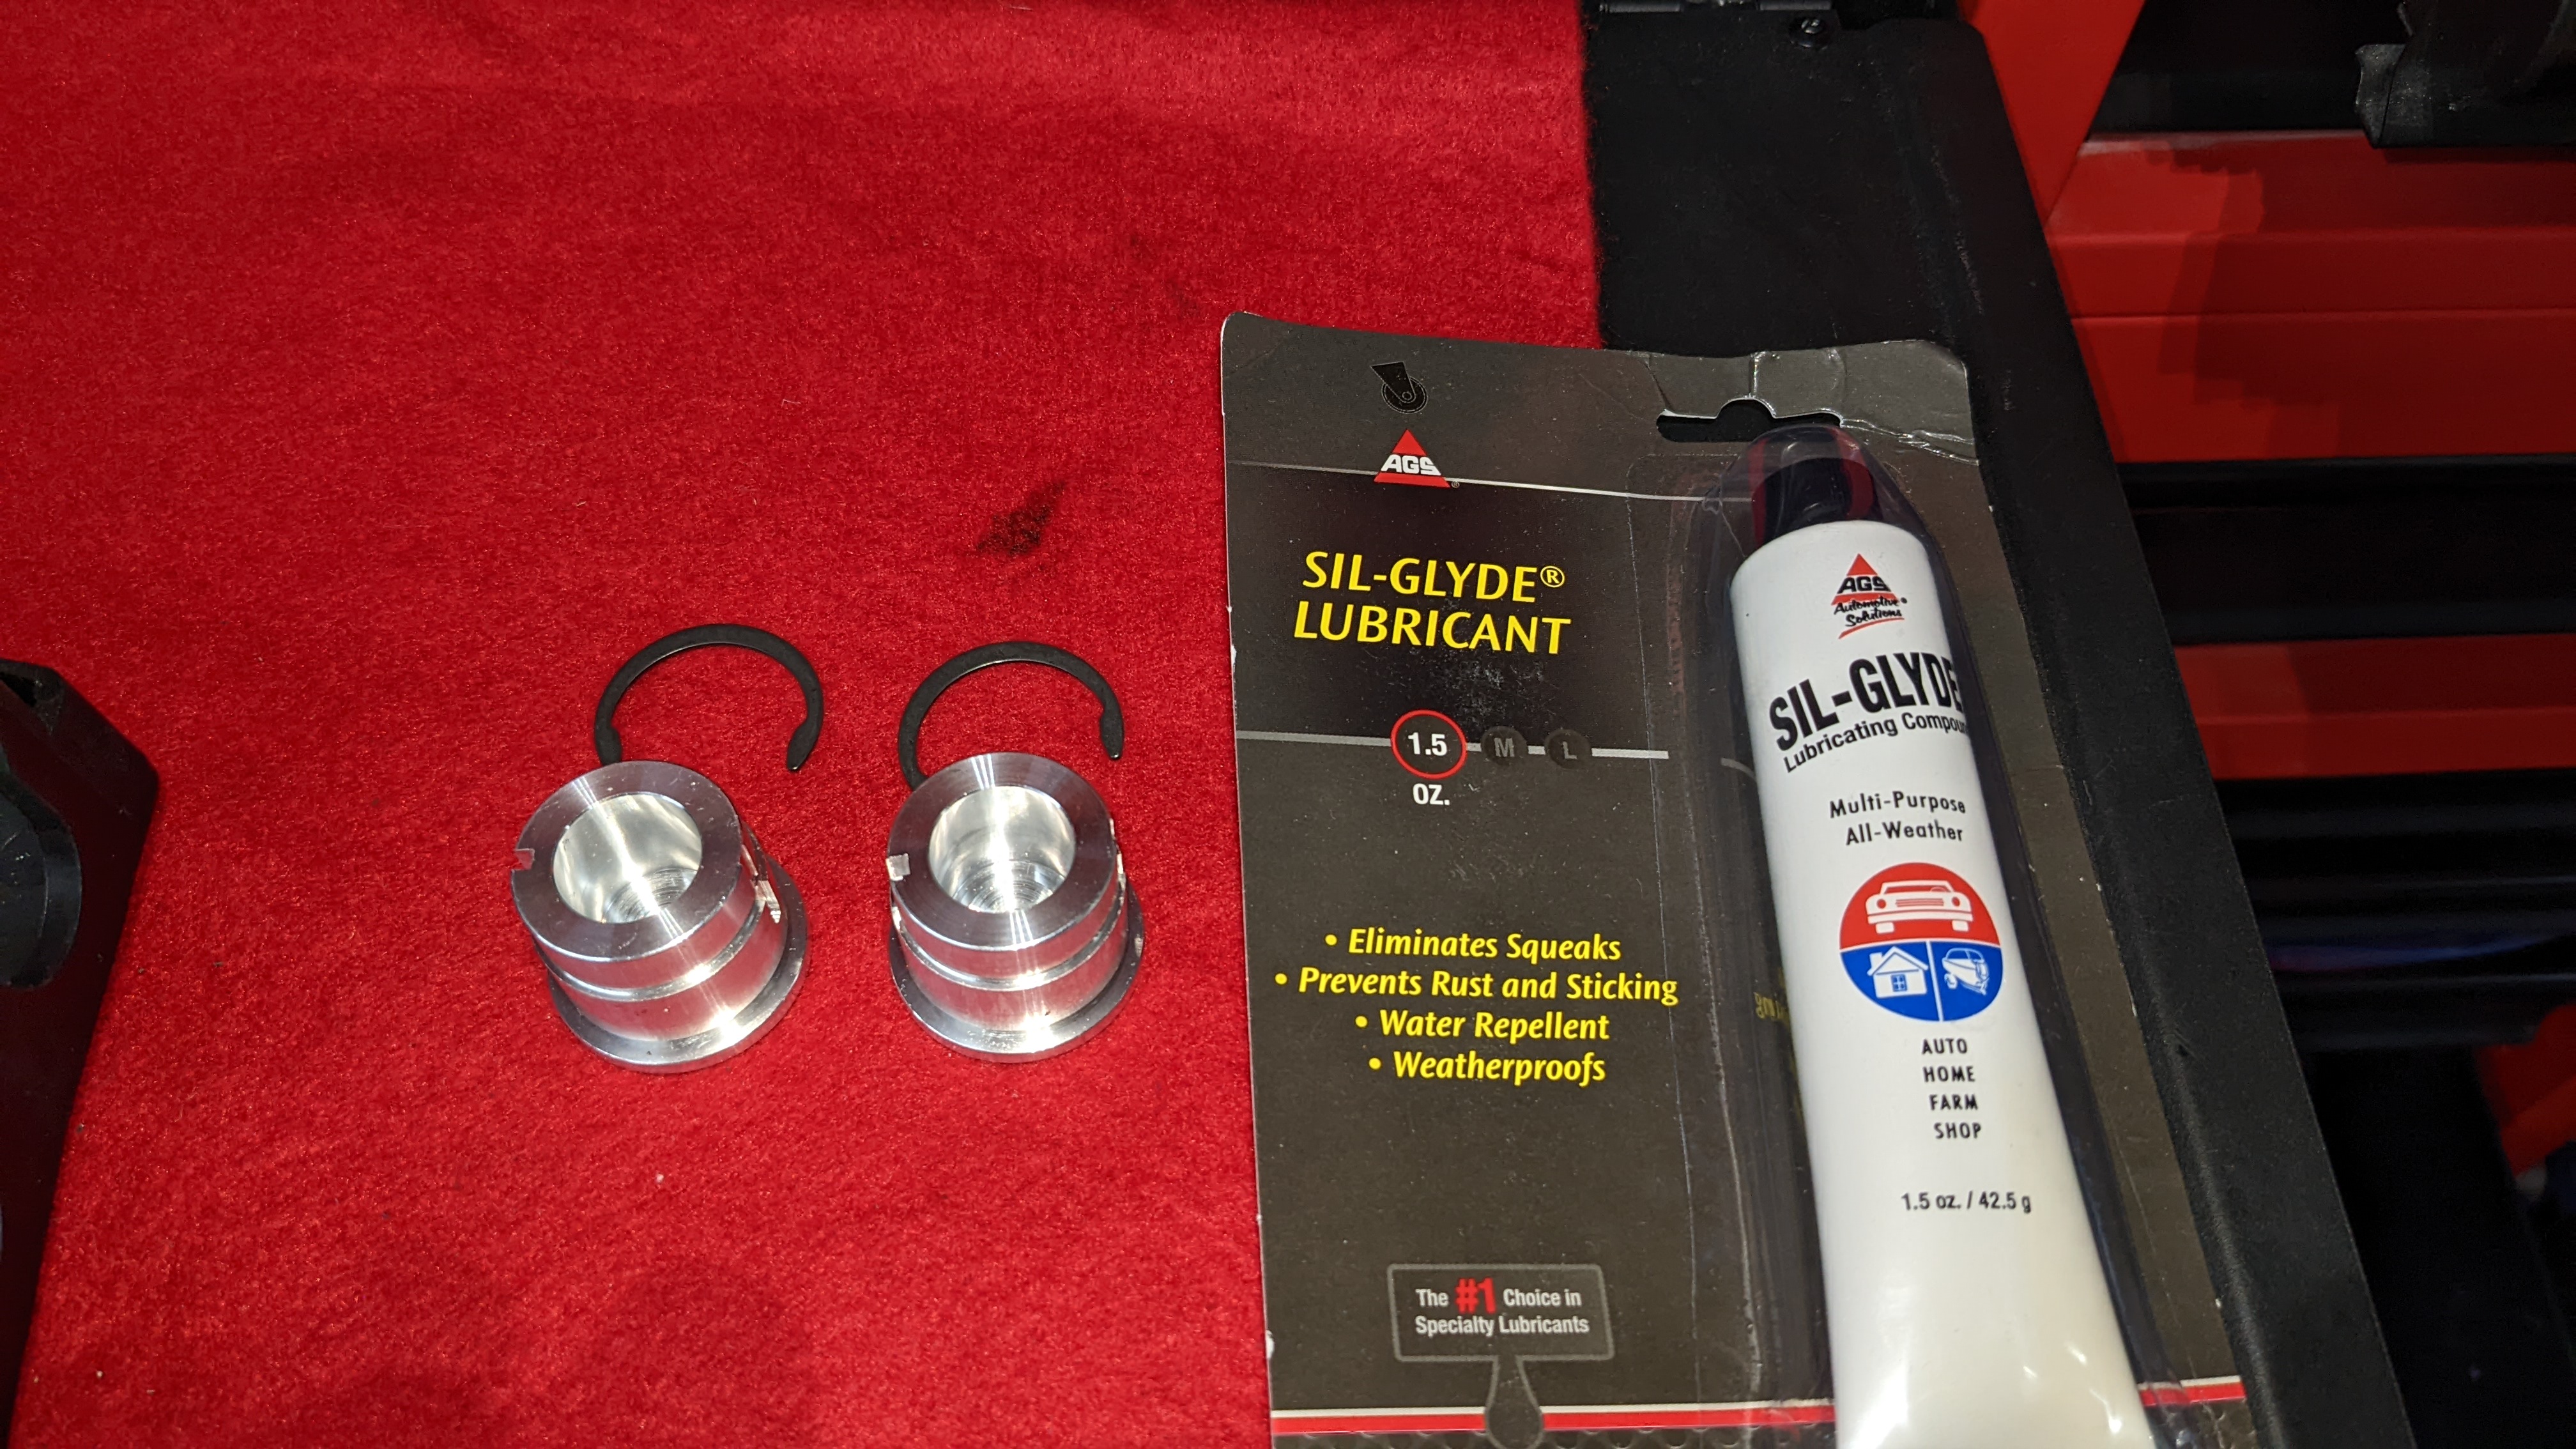
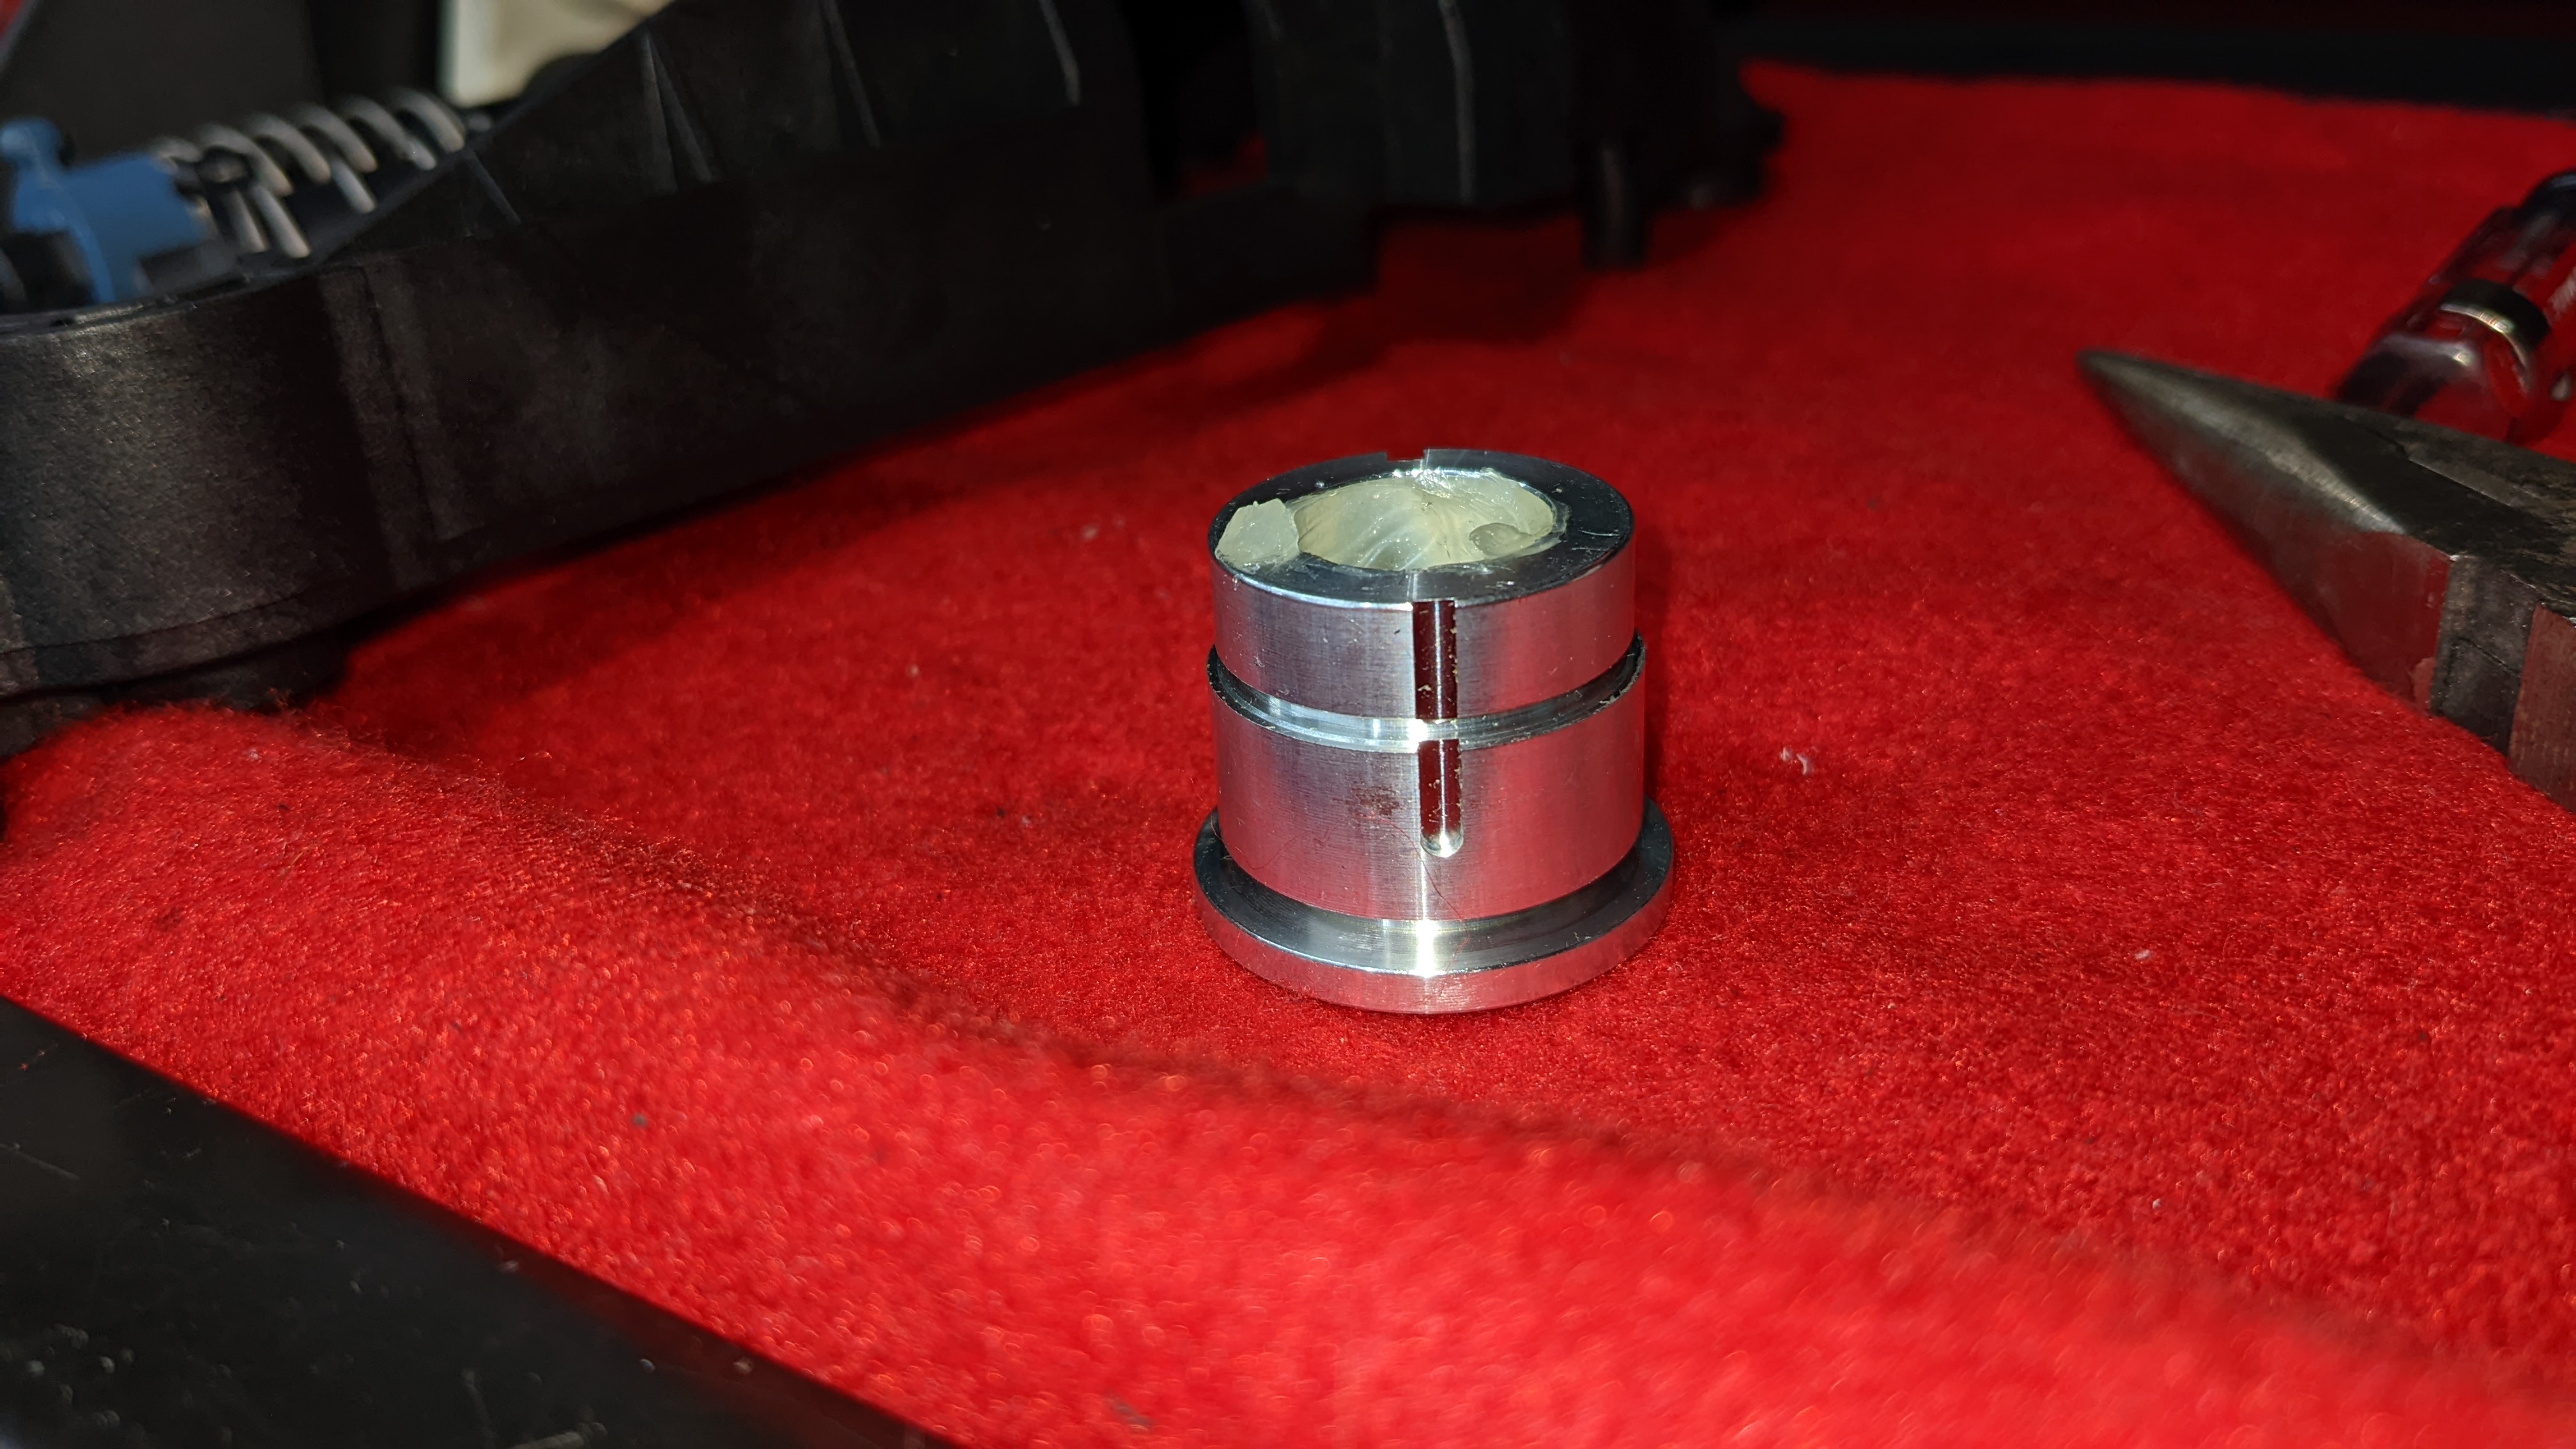
New aluminum bushings from Phenix Engineering. It's crazy how Porsche charges $500 for the GT3 shifter when the only difference seems to be the aluminum bushings.
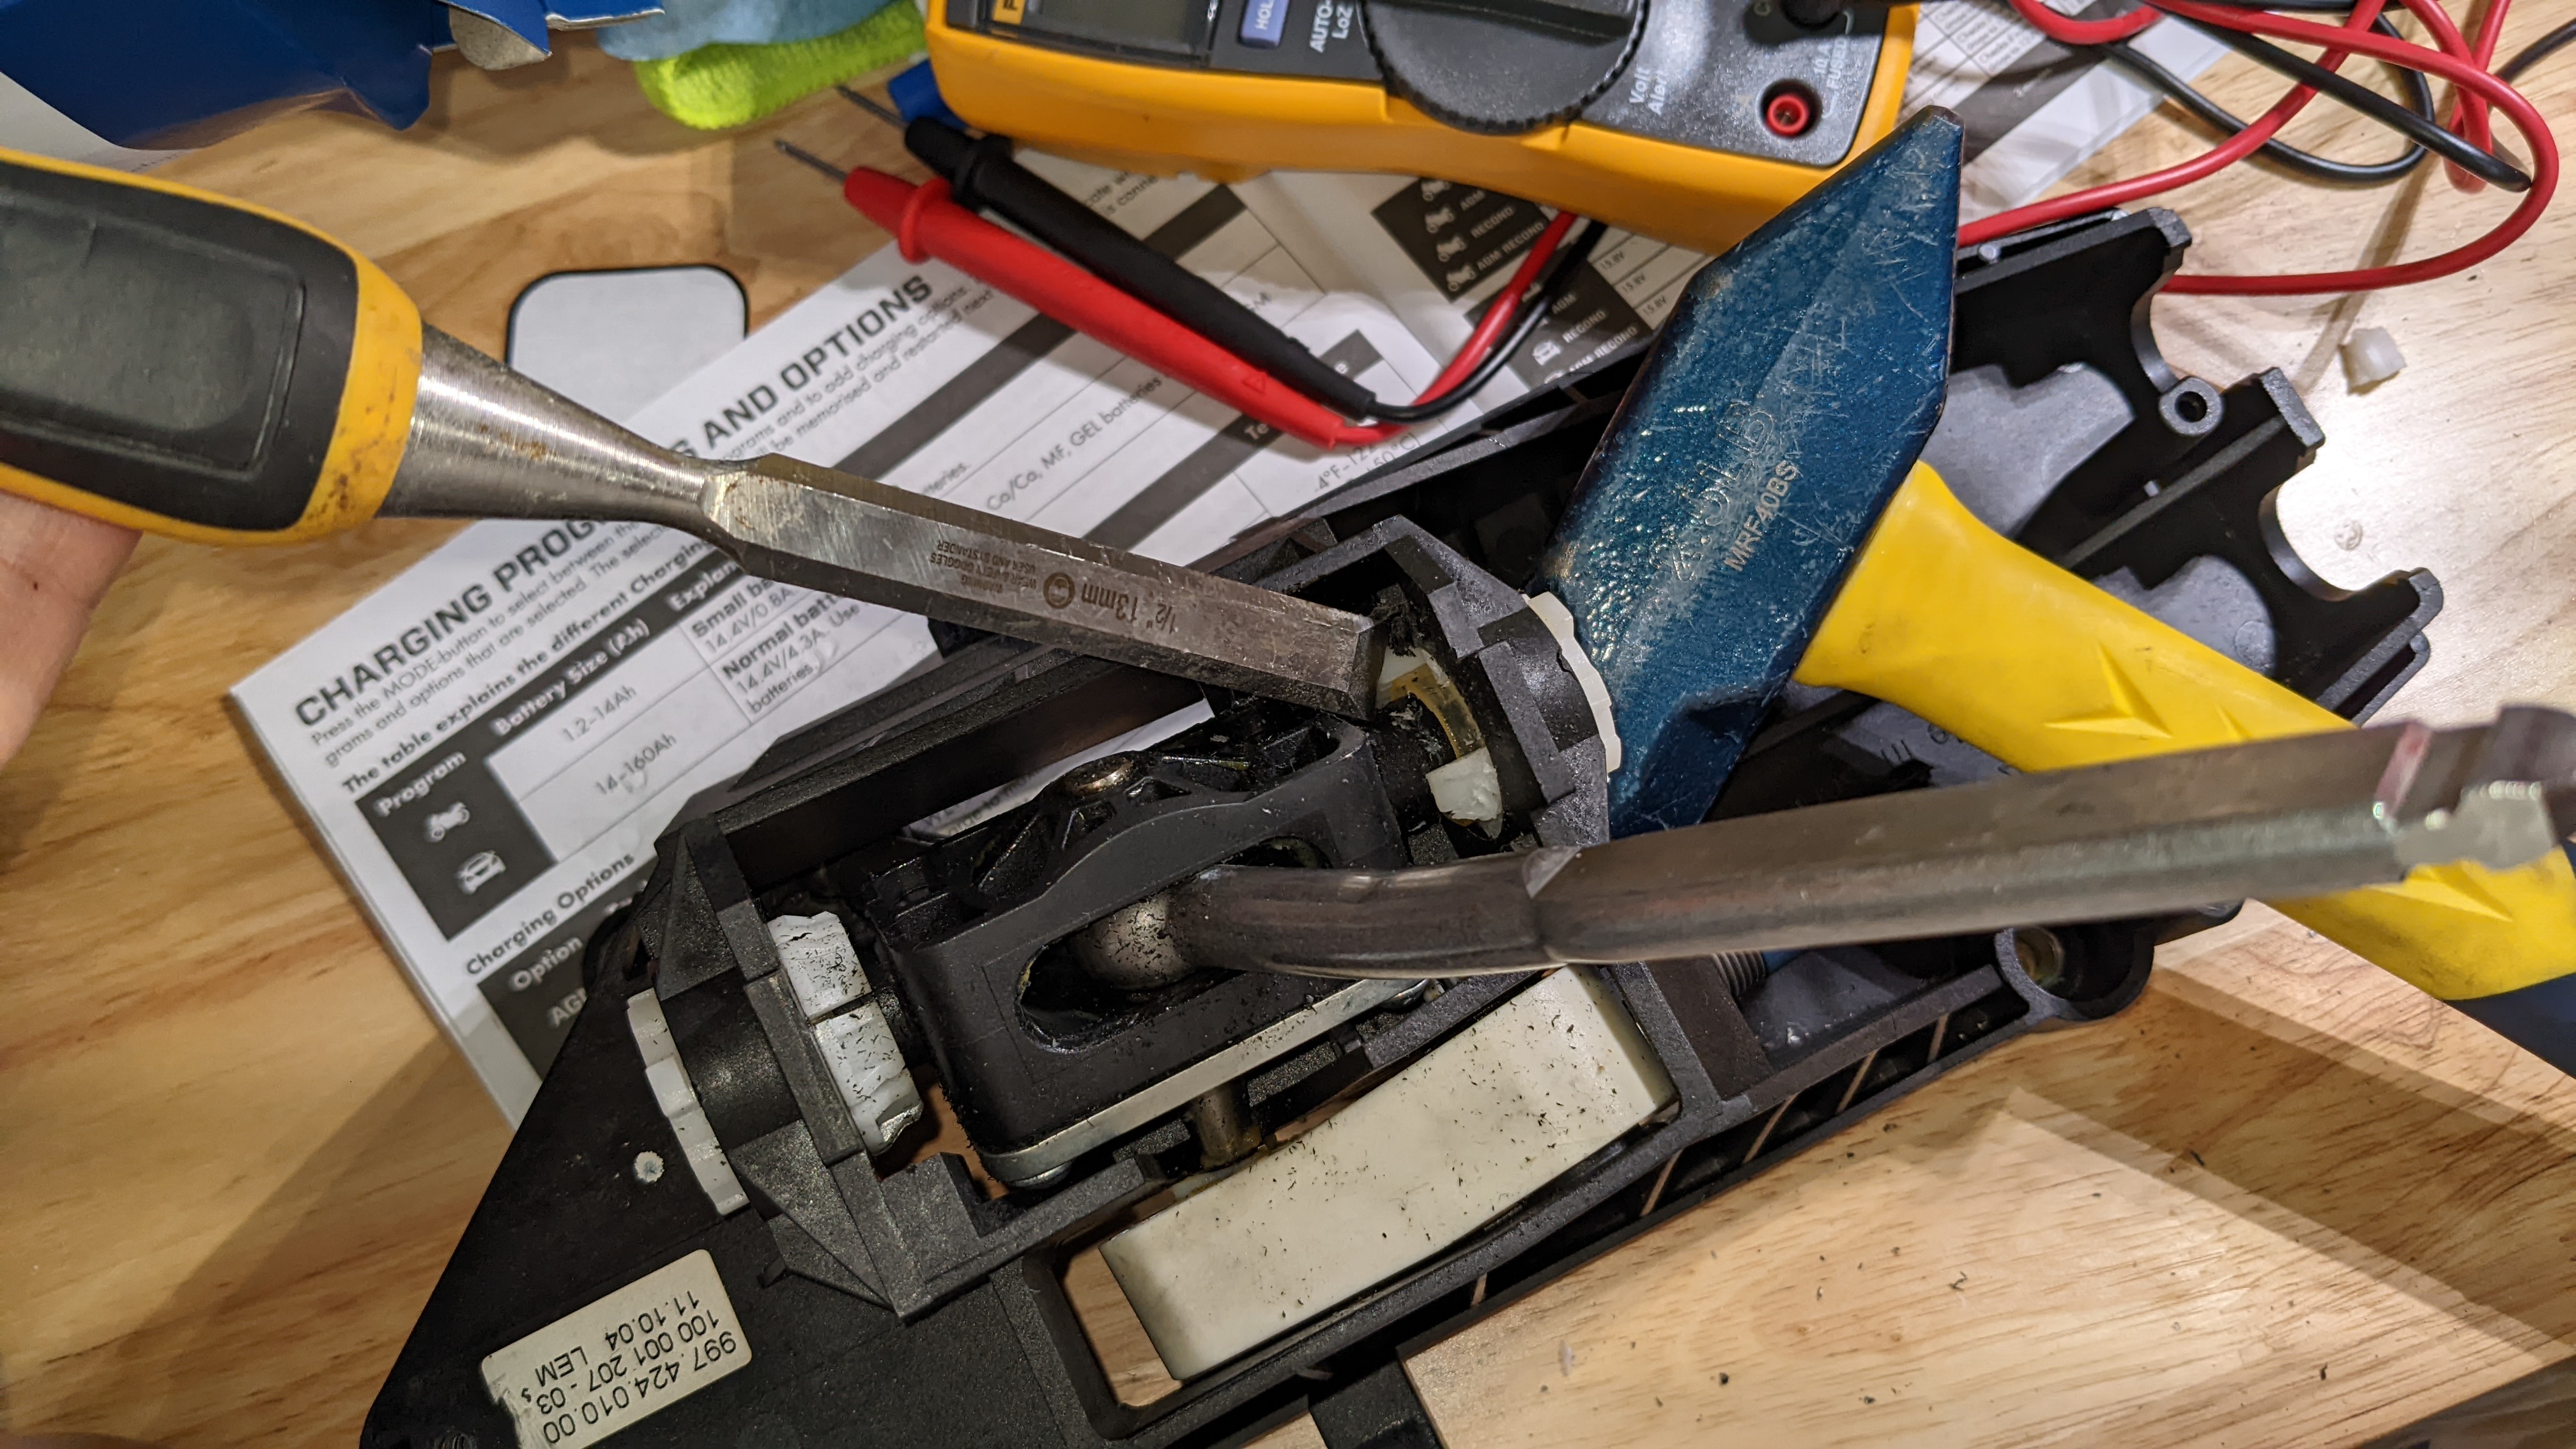
No easy way to remove the plastic ones so I chiseled off the tabs (eye protection 100% required here).
All lubed out and ready to go. The longer slot goes on the bottom.
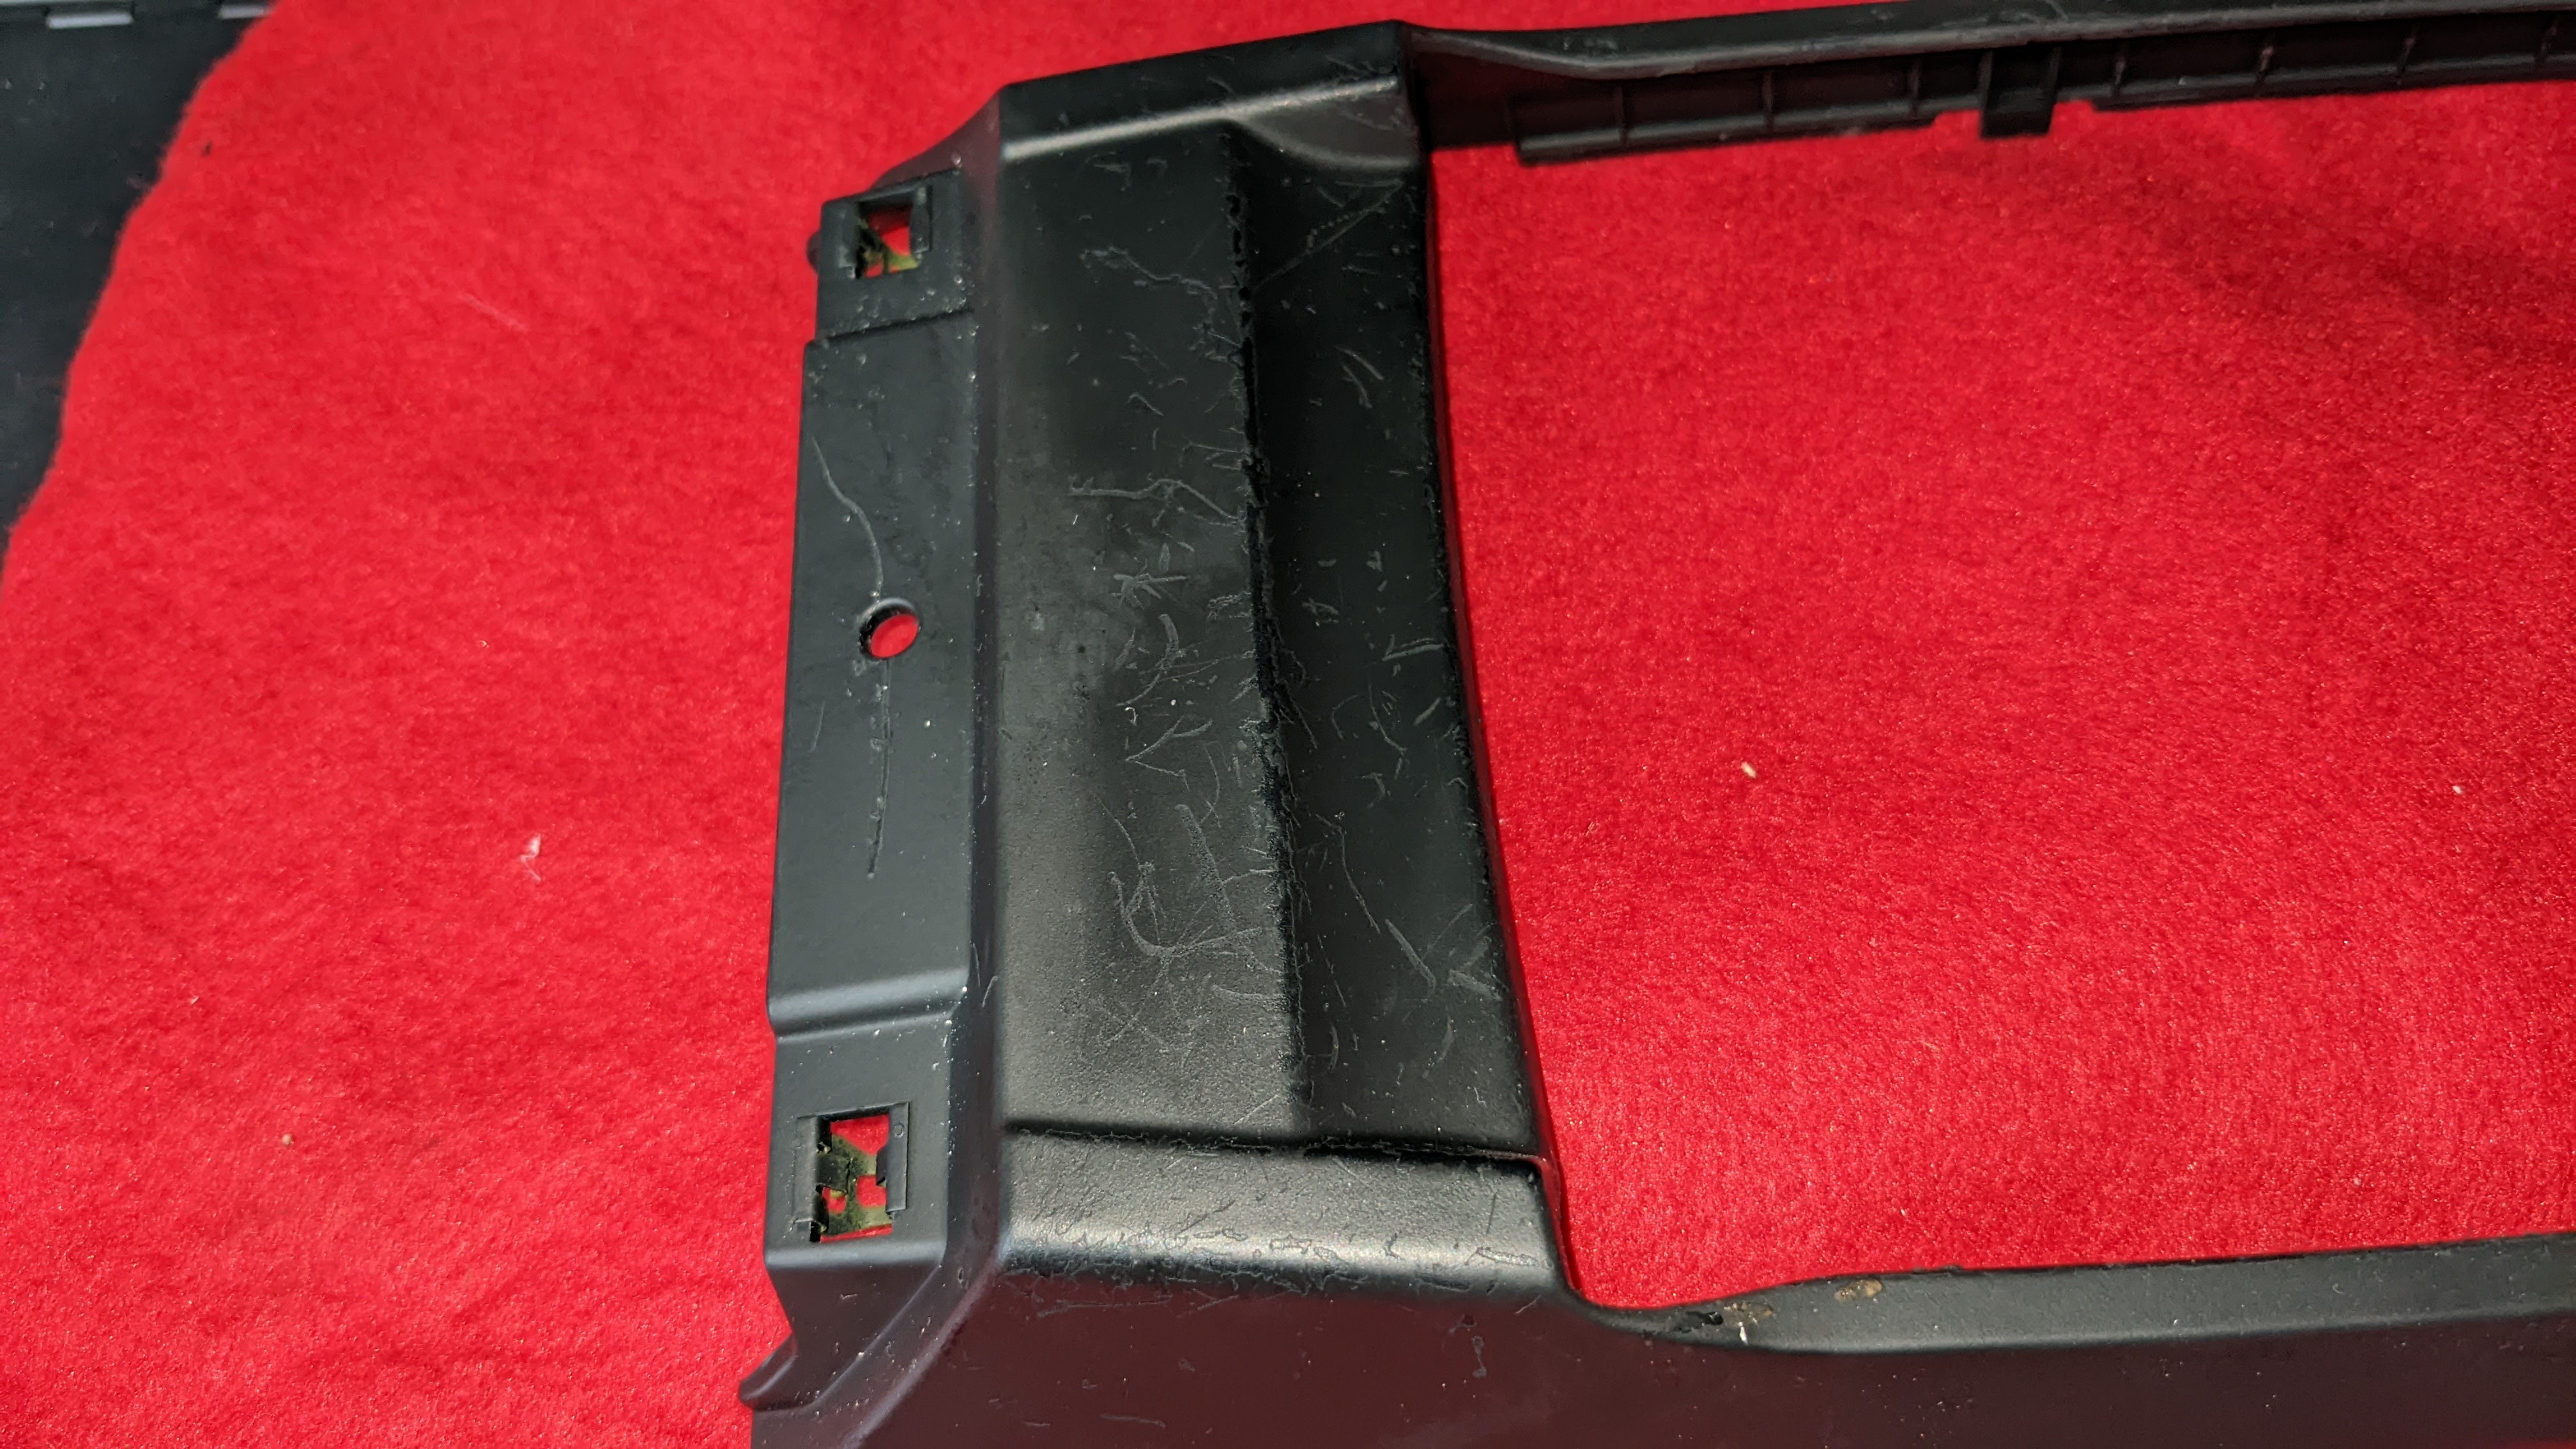
Cleaned it up and now we're in business.
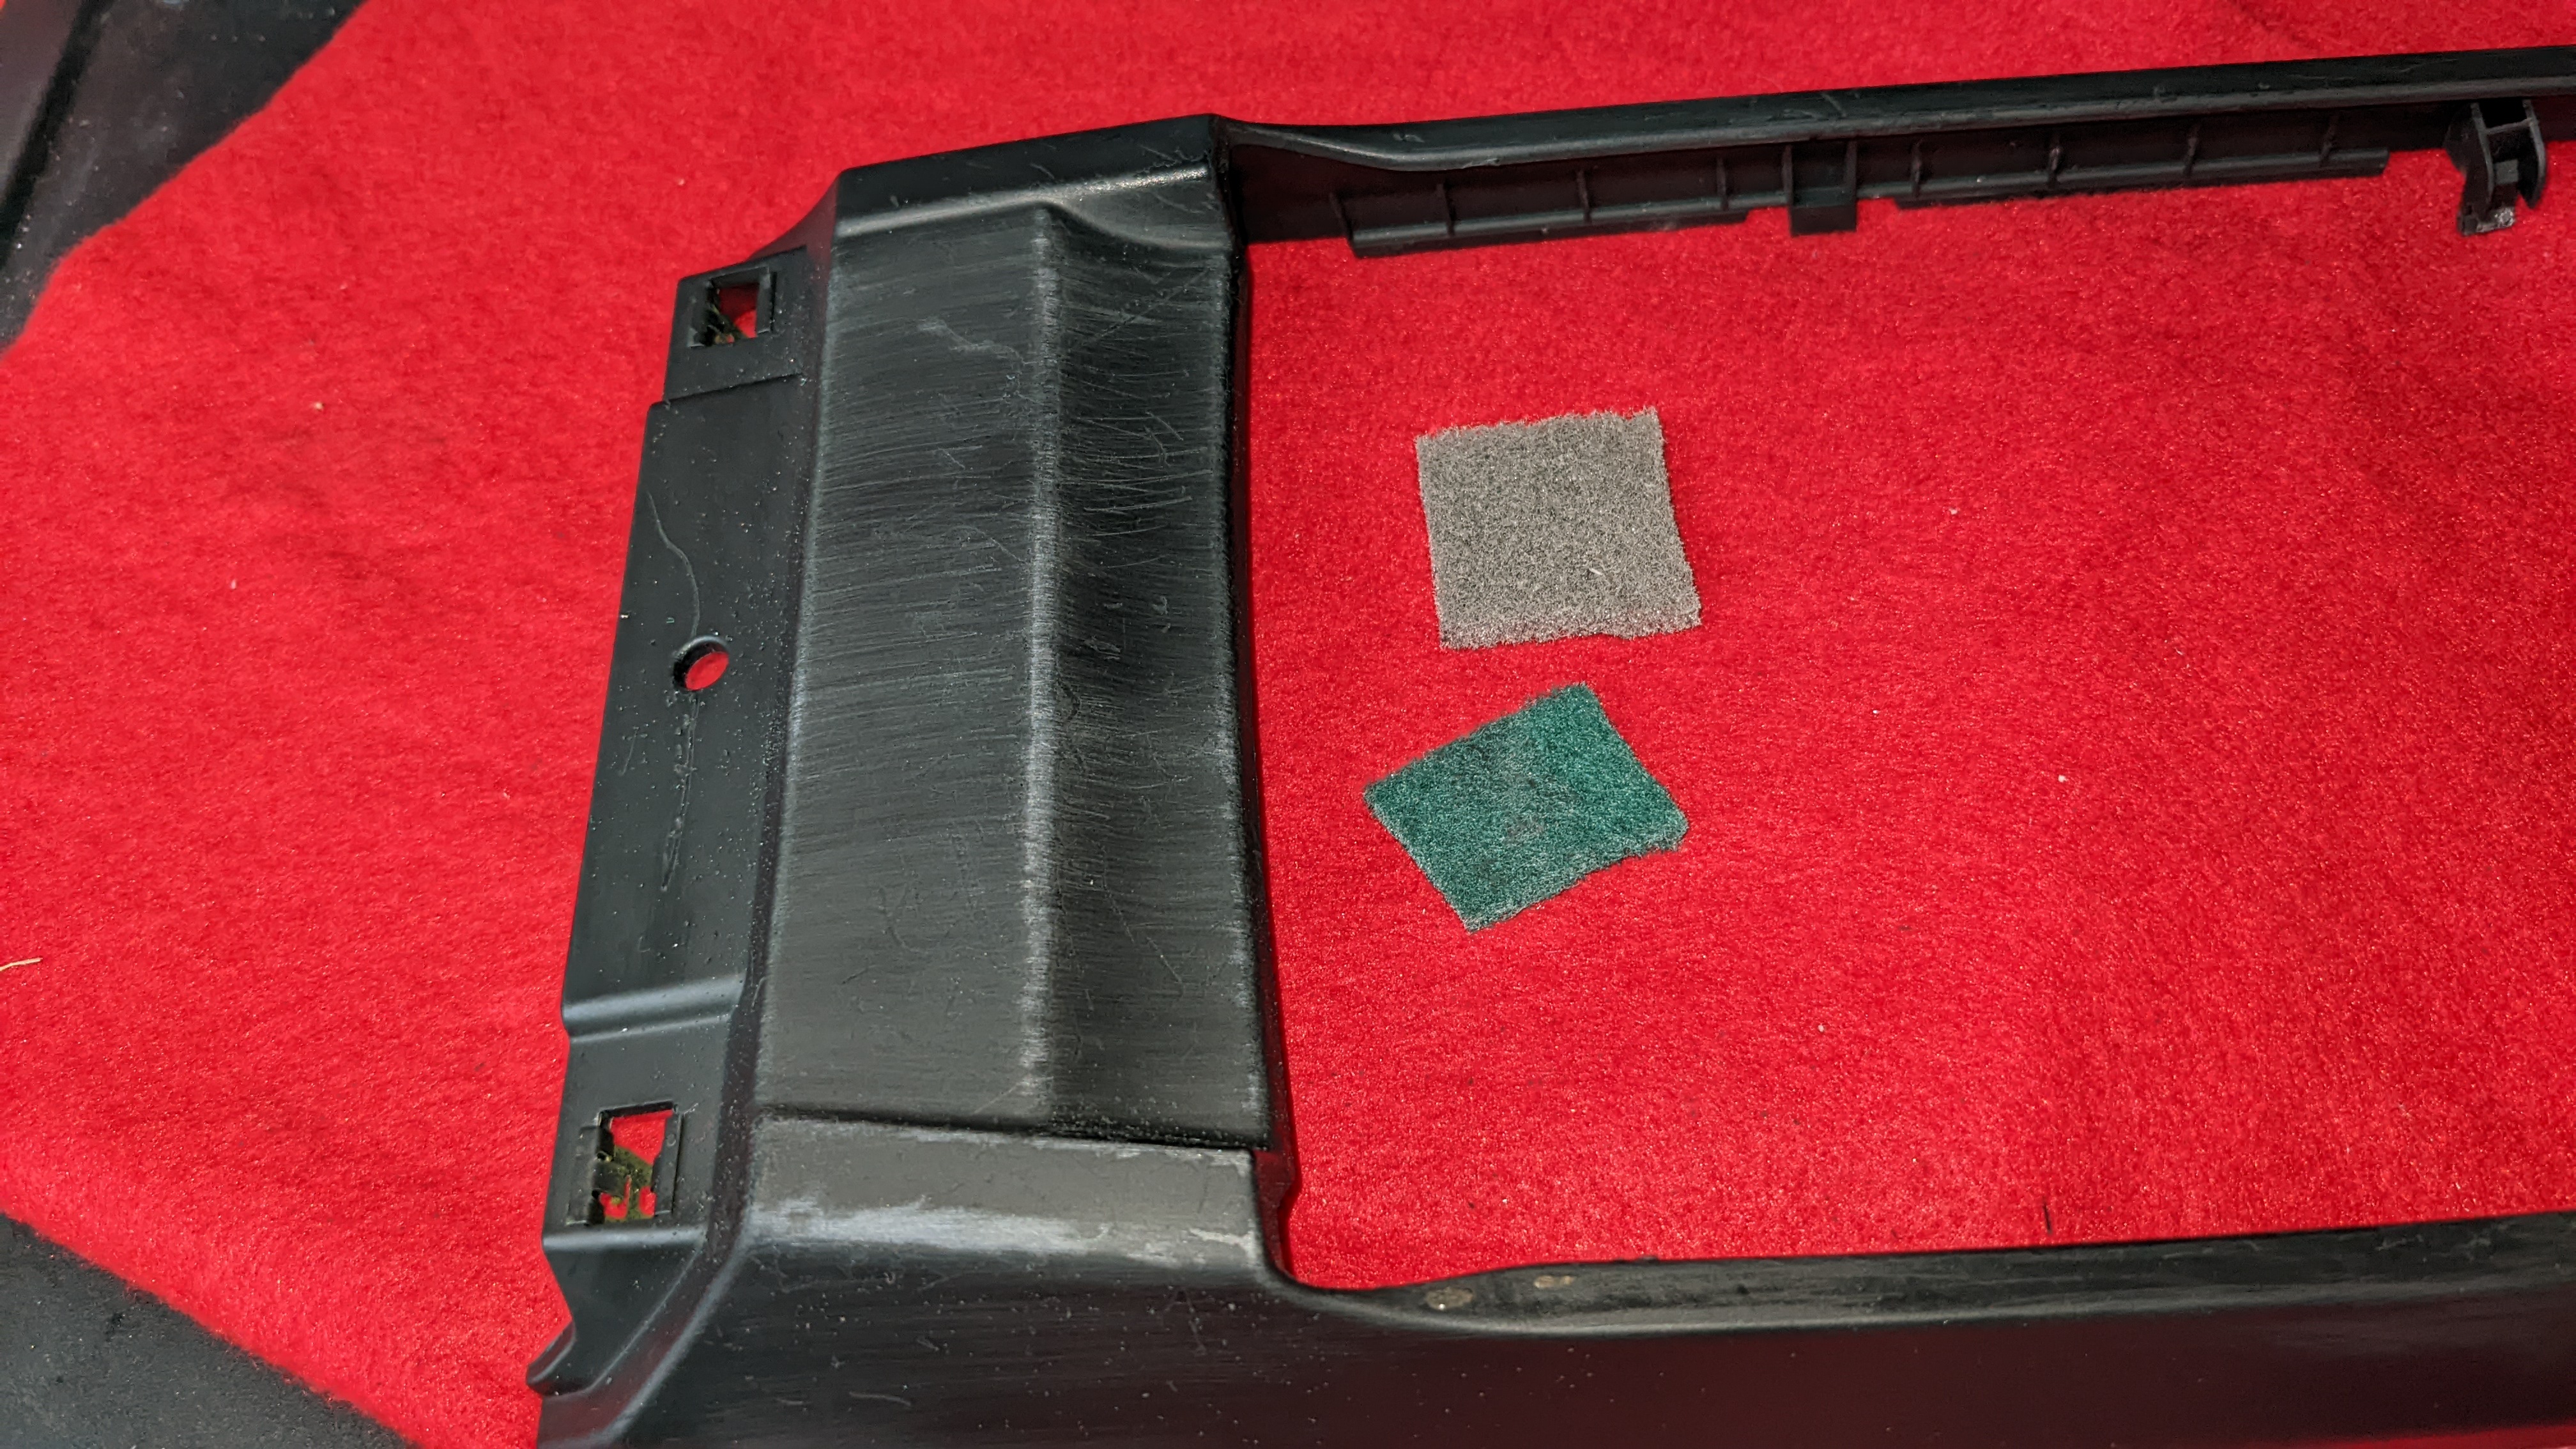
Before buttoning everything up, wanted to address these scratches that were bugging me:
Same old story with the lacquer that just isn't that durable. Started off with trying to sand it down:
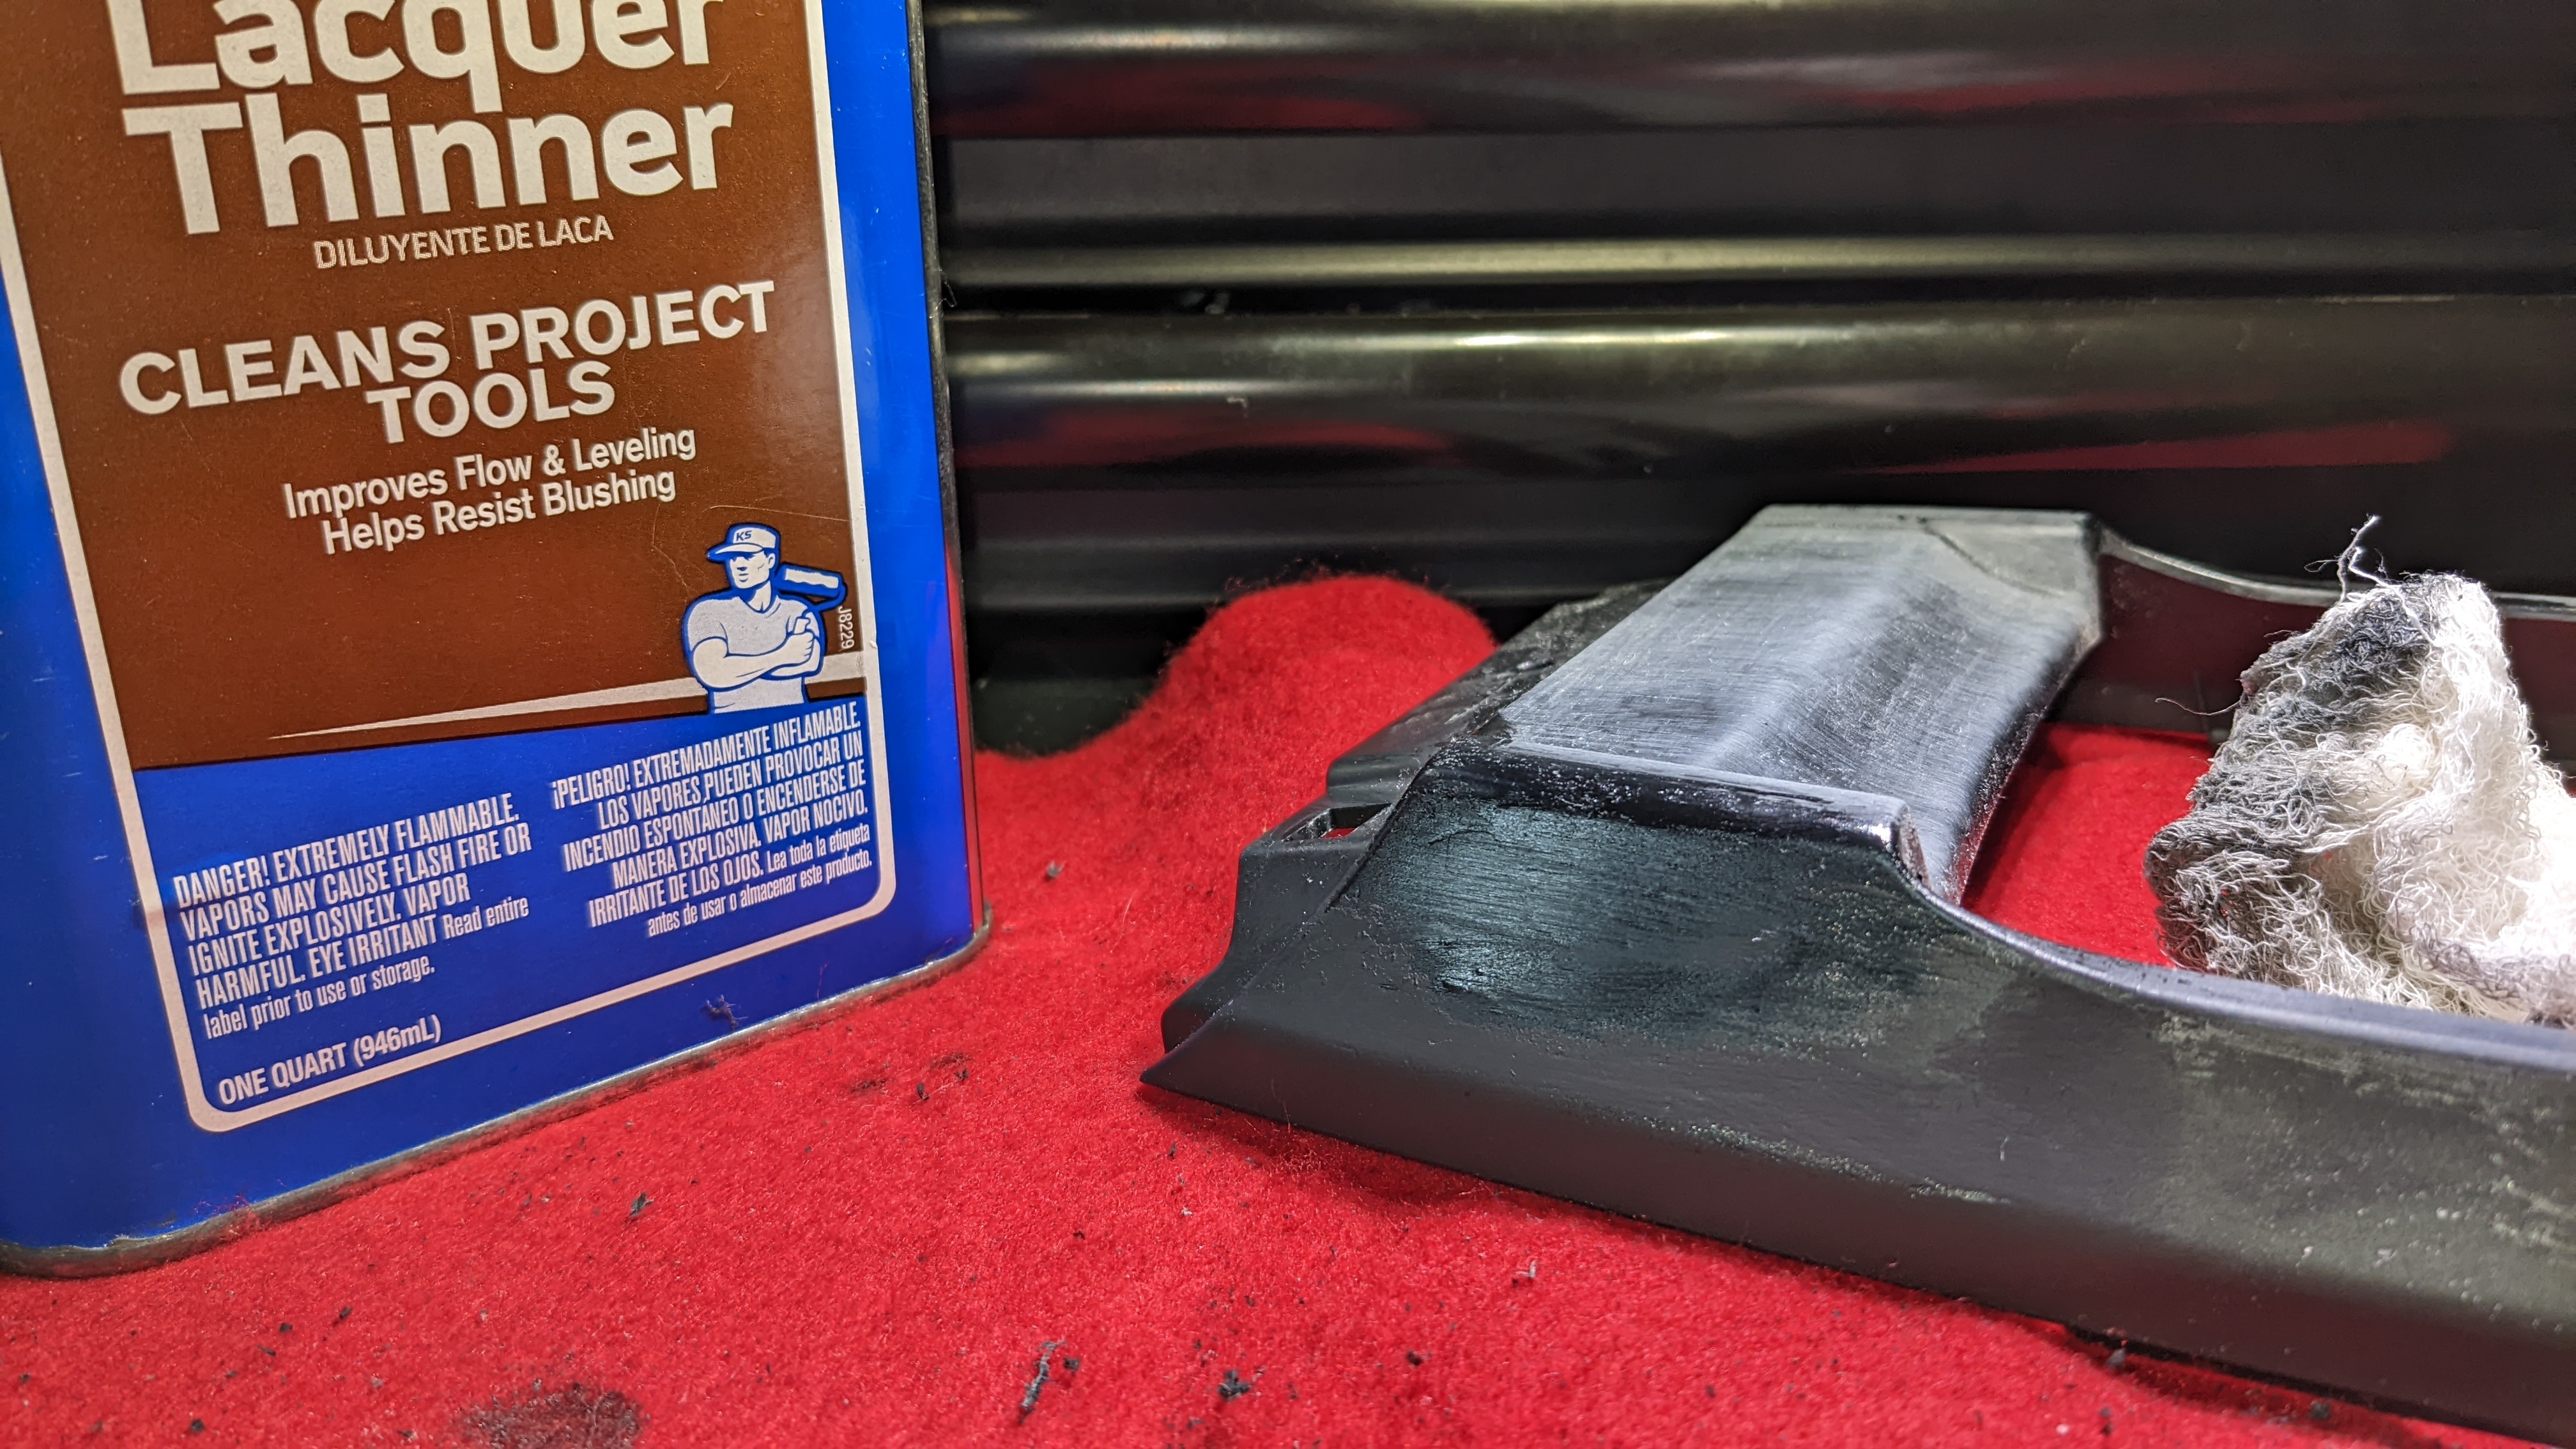
But that only goes so far, so then I used lacquer thinner to...well...thin the lacquer. It works but becomes a gooey mess so be patient.
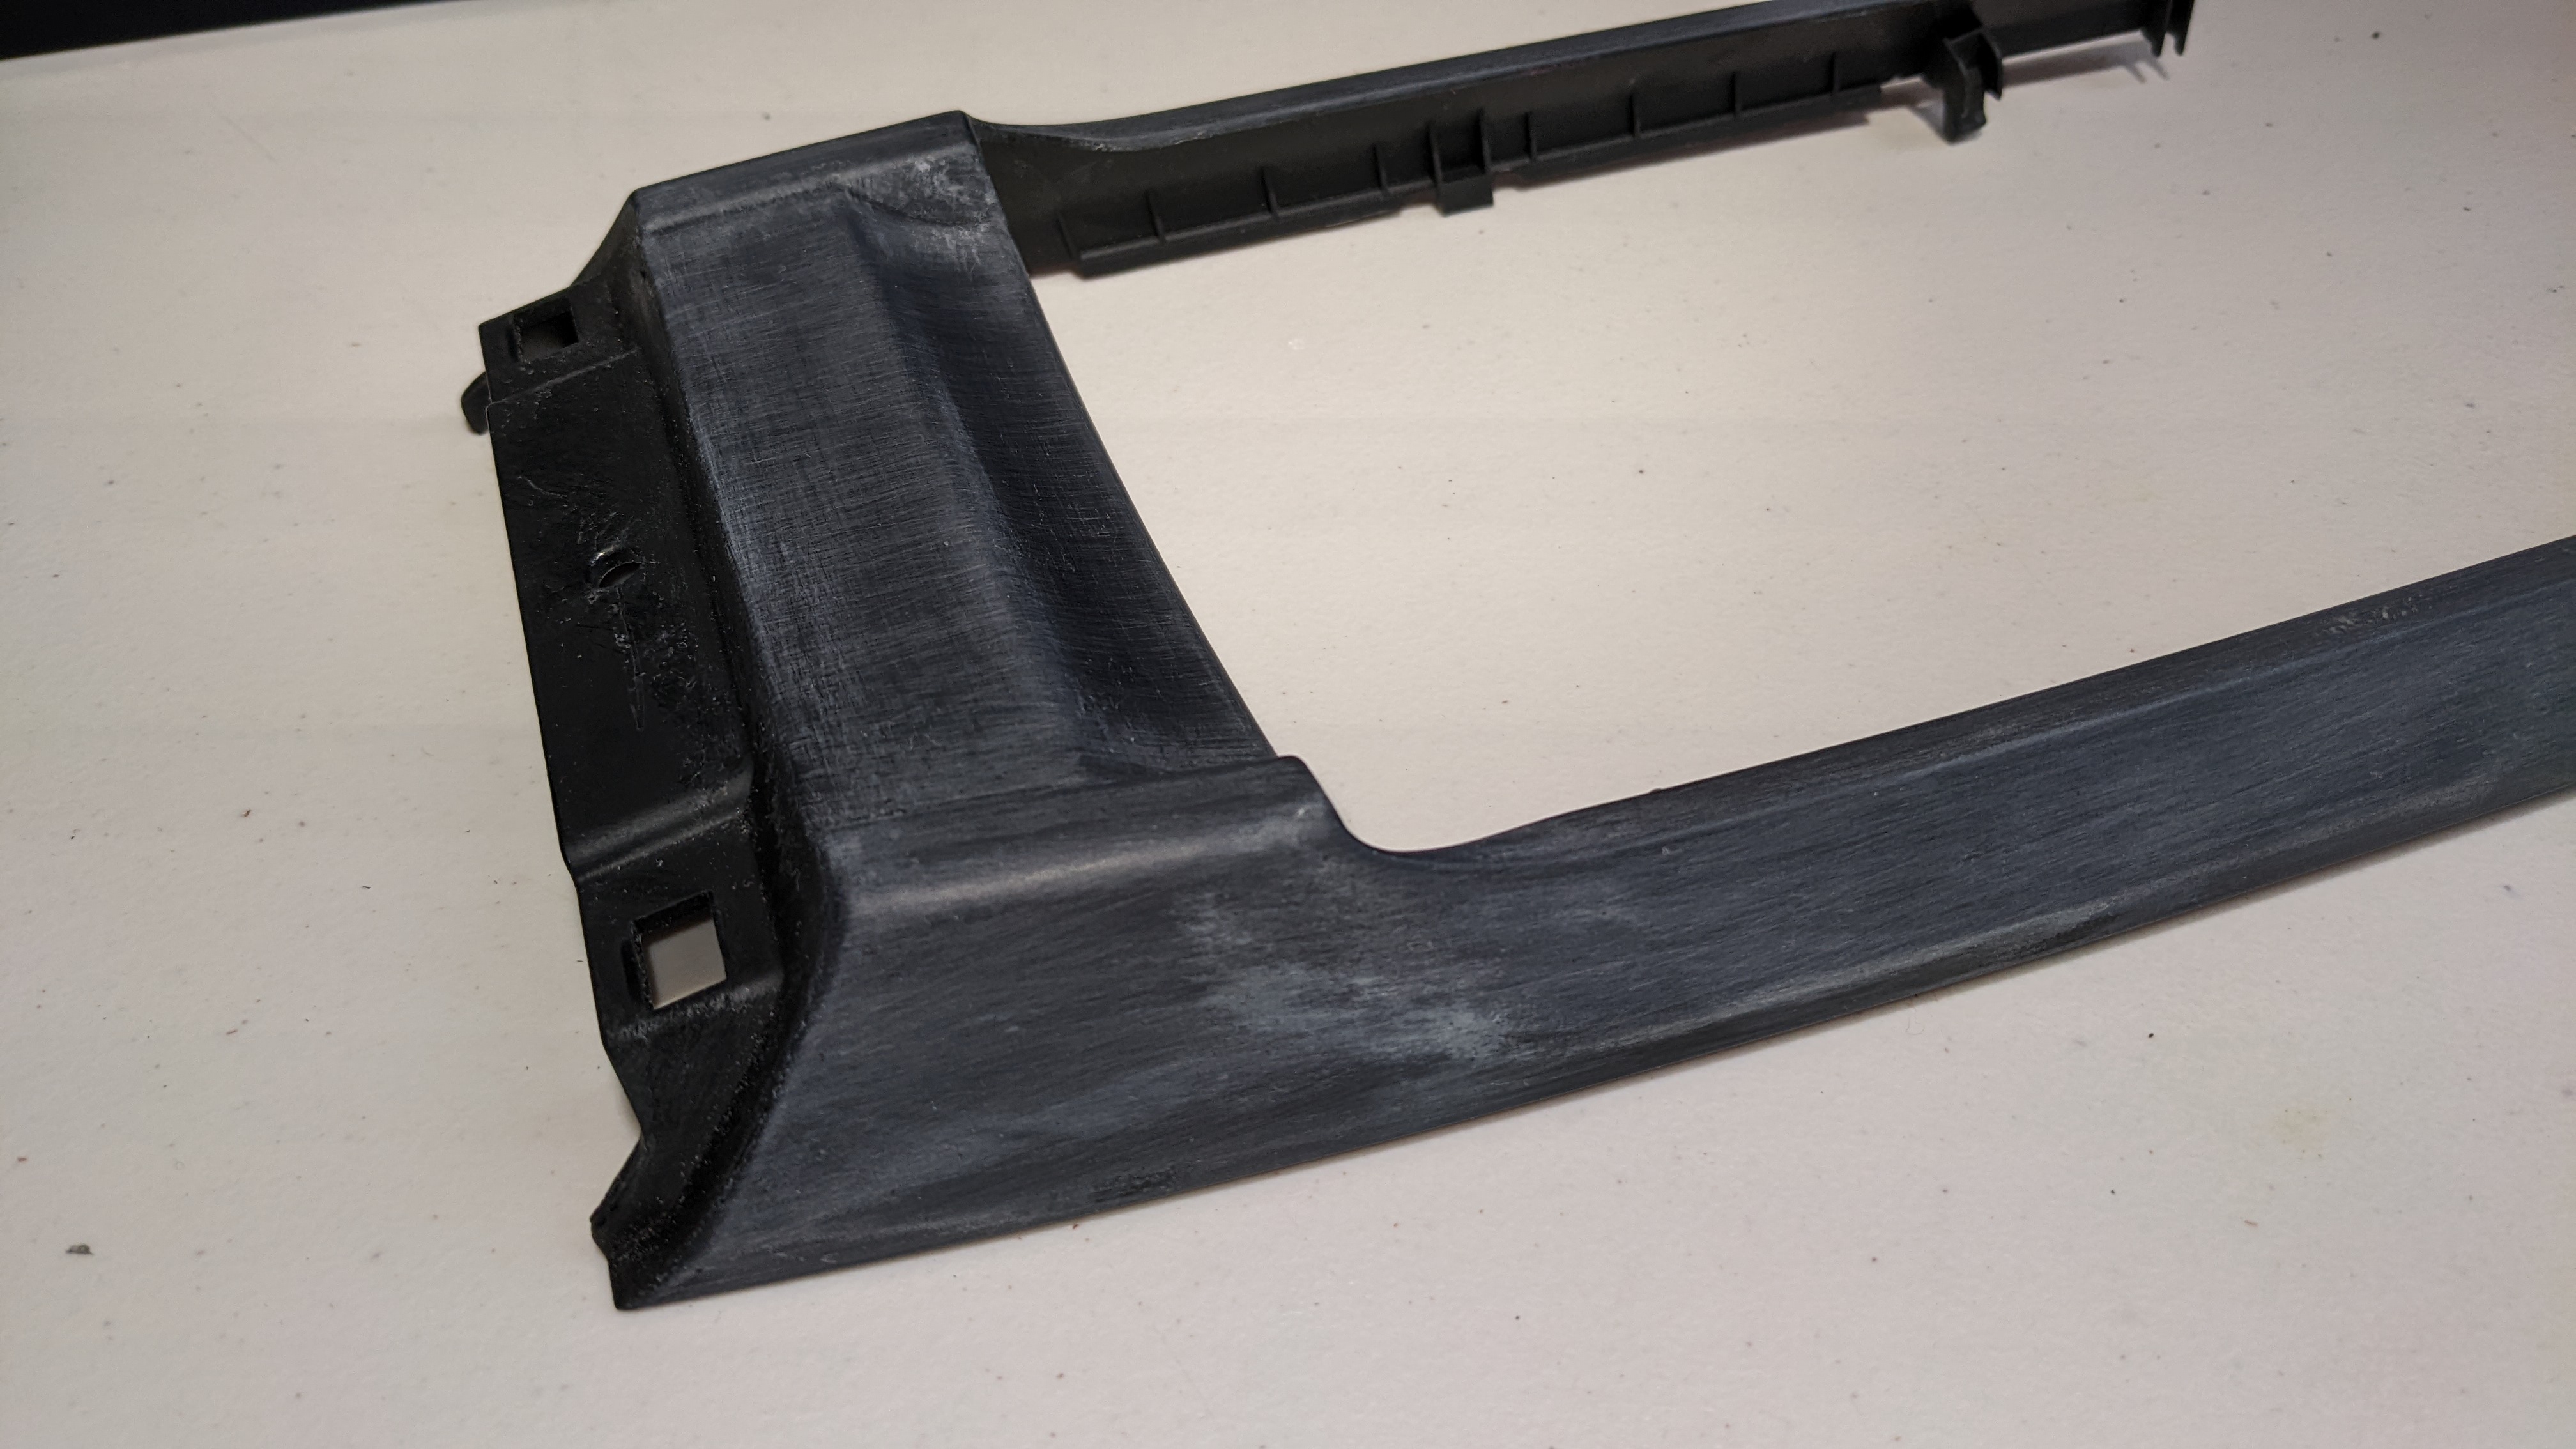
Got it to a point I was comfortable with...
...and applied 2 layers of flat black paint.
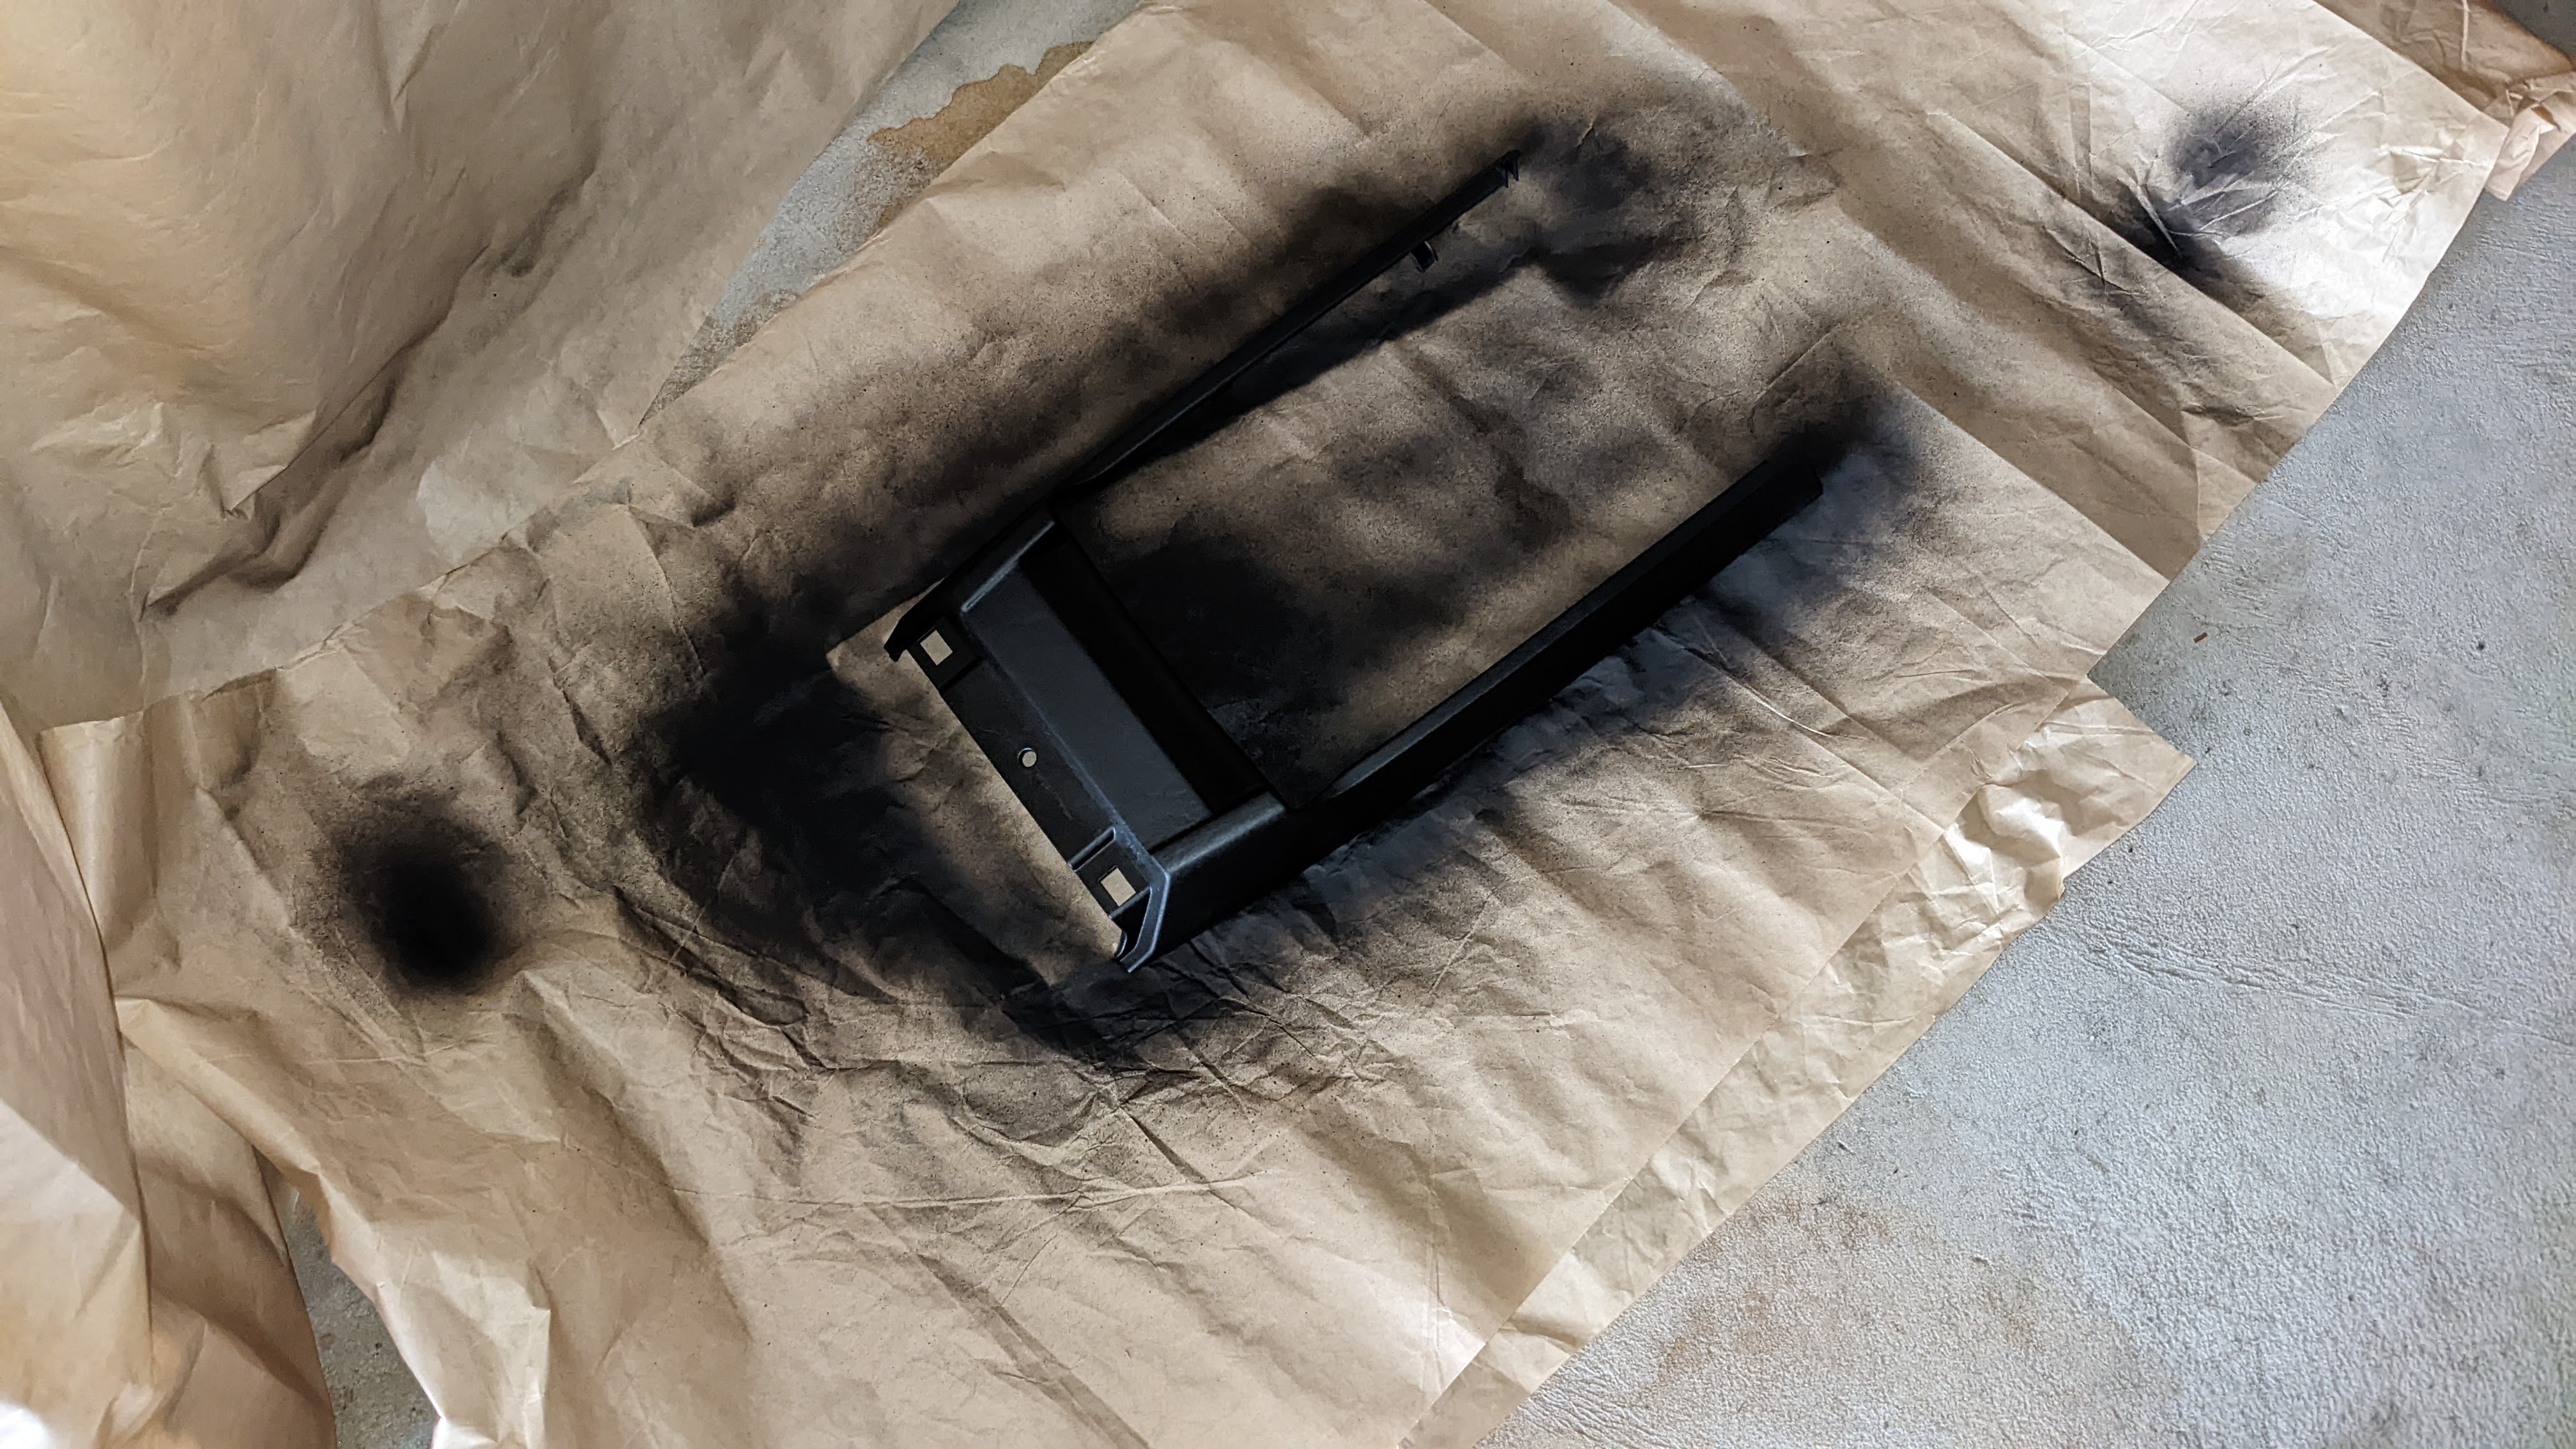
Not perfect but that center section no longer has visible scratches and blends in with the rest of the interior. A success in my book.
While the new bushings don't compare to the feel of the Numeric cables, the slop has definitely been reduced and I'm really liking it now. The the 4th to 5th shift was always really loose but that's no longer the case. There's a snapping sound from 2nd to 3rd that wasn't there before but I'm driving without the boot so maybe that'll suppress it.
More to come.
Used the tool I kept from my Miata swap, but it was still a little tricky removing the original wheel out given the stiff springs.
Some comparisons.
Fresh thread locker.
Torque to 37 ft-lbs with an M12 triple square socket:
And here we are:
Also added the Rennline magnetic phone holder.
Now time to remove the shift **** so I could take out the center console to swap out the shifter bushings. It's just a friction fit but in certain cases, it's quite the friction fit.
After struggling with it for a while, I popped the cap off and removed the 2, T8 screws so I could split the ****. Figured this would possibly relieve some of the clamping force on the shift lever.
After straddling the center console and with a towel in my chest to prevent punching myself, I was able to pull the ****/boot off. Definitely one of those Arthur-Excalibur moments.
As you can see, the boot got pulled out of the **** assembly and while you can put it back, decided to bite the bullet and just replace the whole thing. Touch points are worthy investments. Lead time is about 30 days from Germany (997-424-075-00-FOT).
Anyway, back to more disassembly so I could remove the center console:
Glad I kept this rigging tool which was useful during reattachment of the cables. Also it's like $25 now but it was $5 three years ago.
Shift assembly removed.
New aluminum bushings from Phenix Engineering. It's crazy how Porsche charges $500 for the GT3 shifter when the only difference seems to be the aluminum bushings.
No easy way to remove the plastic ones so I chiseled off the tabs (eye protection 100% required here).
All lubed out and ready to go. The longer slot goes on the bottom.
Cleaned it up and now we're in business.
Before buttoning everything up, wanted to address these scratches that were bugging me:
Same old story with the lacquer that just isn't that durable. Started off with trying to sand it down:
But that only goes so far, so then I used lacquer thinner to...well...thin the lacquer. It works but becomes a gooey mess so be patient.
Got it to a point I was comfortable with...
...and applied 2 layers of flat black paint.
Not perfect but that center section no longer has visible scratches and blends in with the rest of the interior. A success in my book.
While the new bushings don't compare to the feel of the Numeric cables, the slop has definitely been reduced and I'm really liking it now. The the 4th to 5th shift was always really loose but that's no longer the case. There's a snapping sound from 2nd to 3rd that wasn't there before but I'm driving without the boot so maybe that'll suppress it.
More to come.
05-25-2022, 01:22 PM
#43
Rennlist Member
Thread Starter
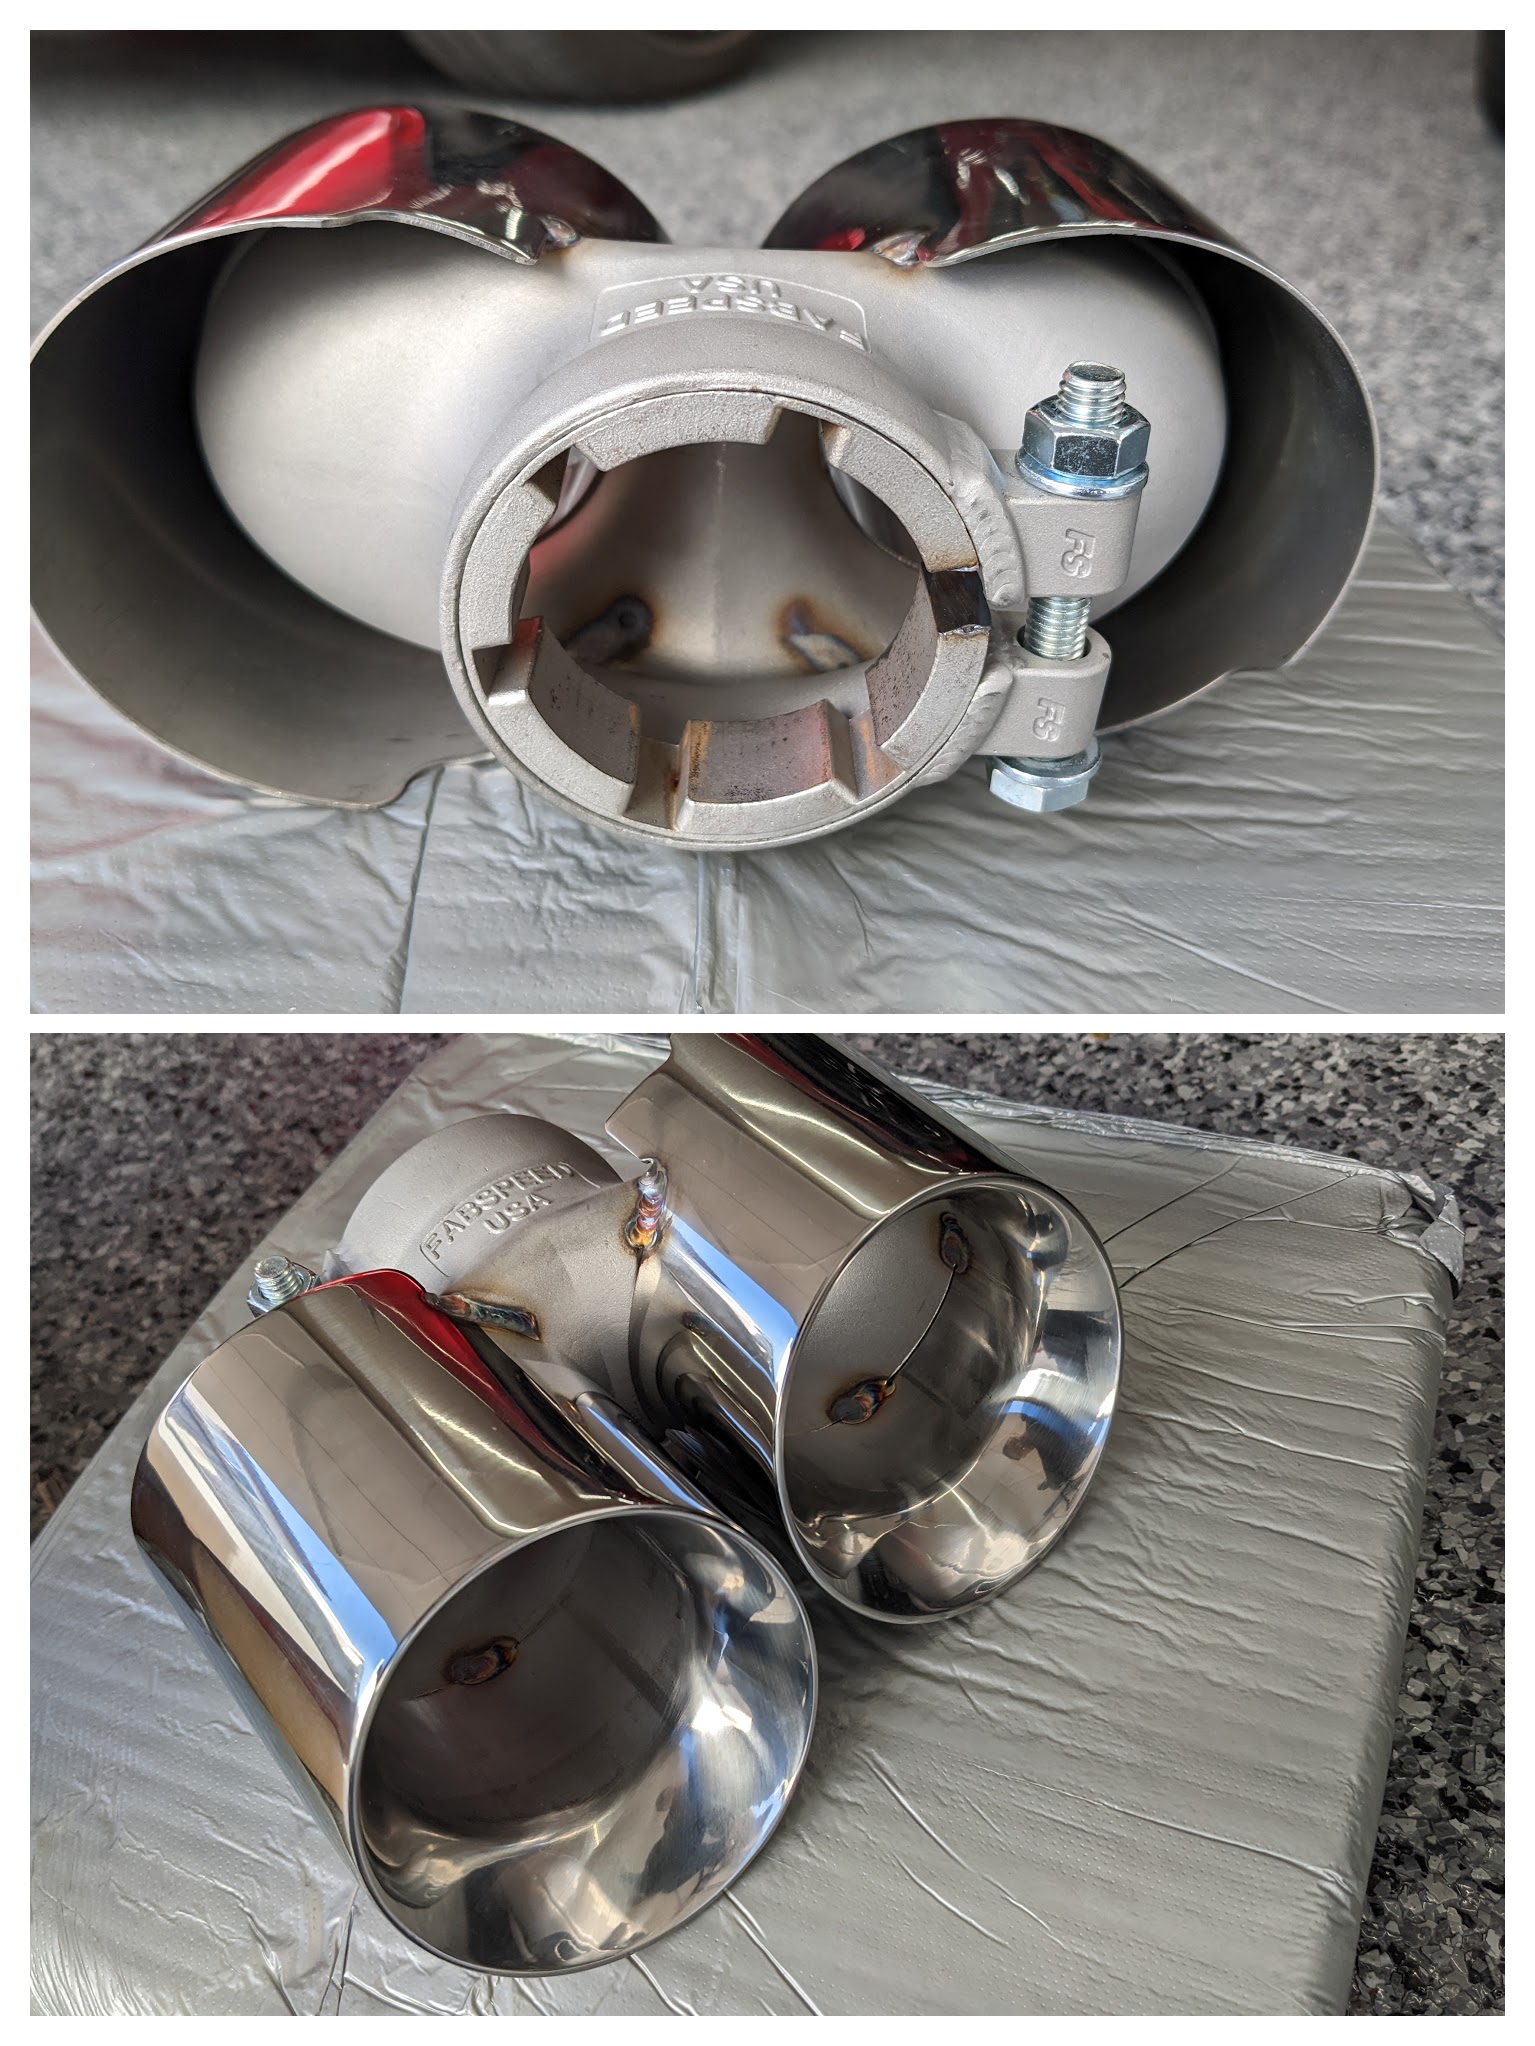
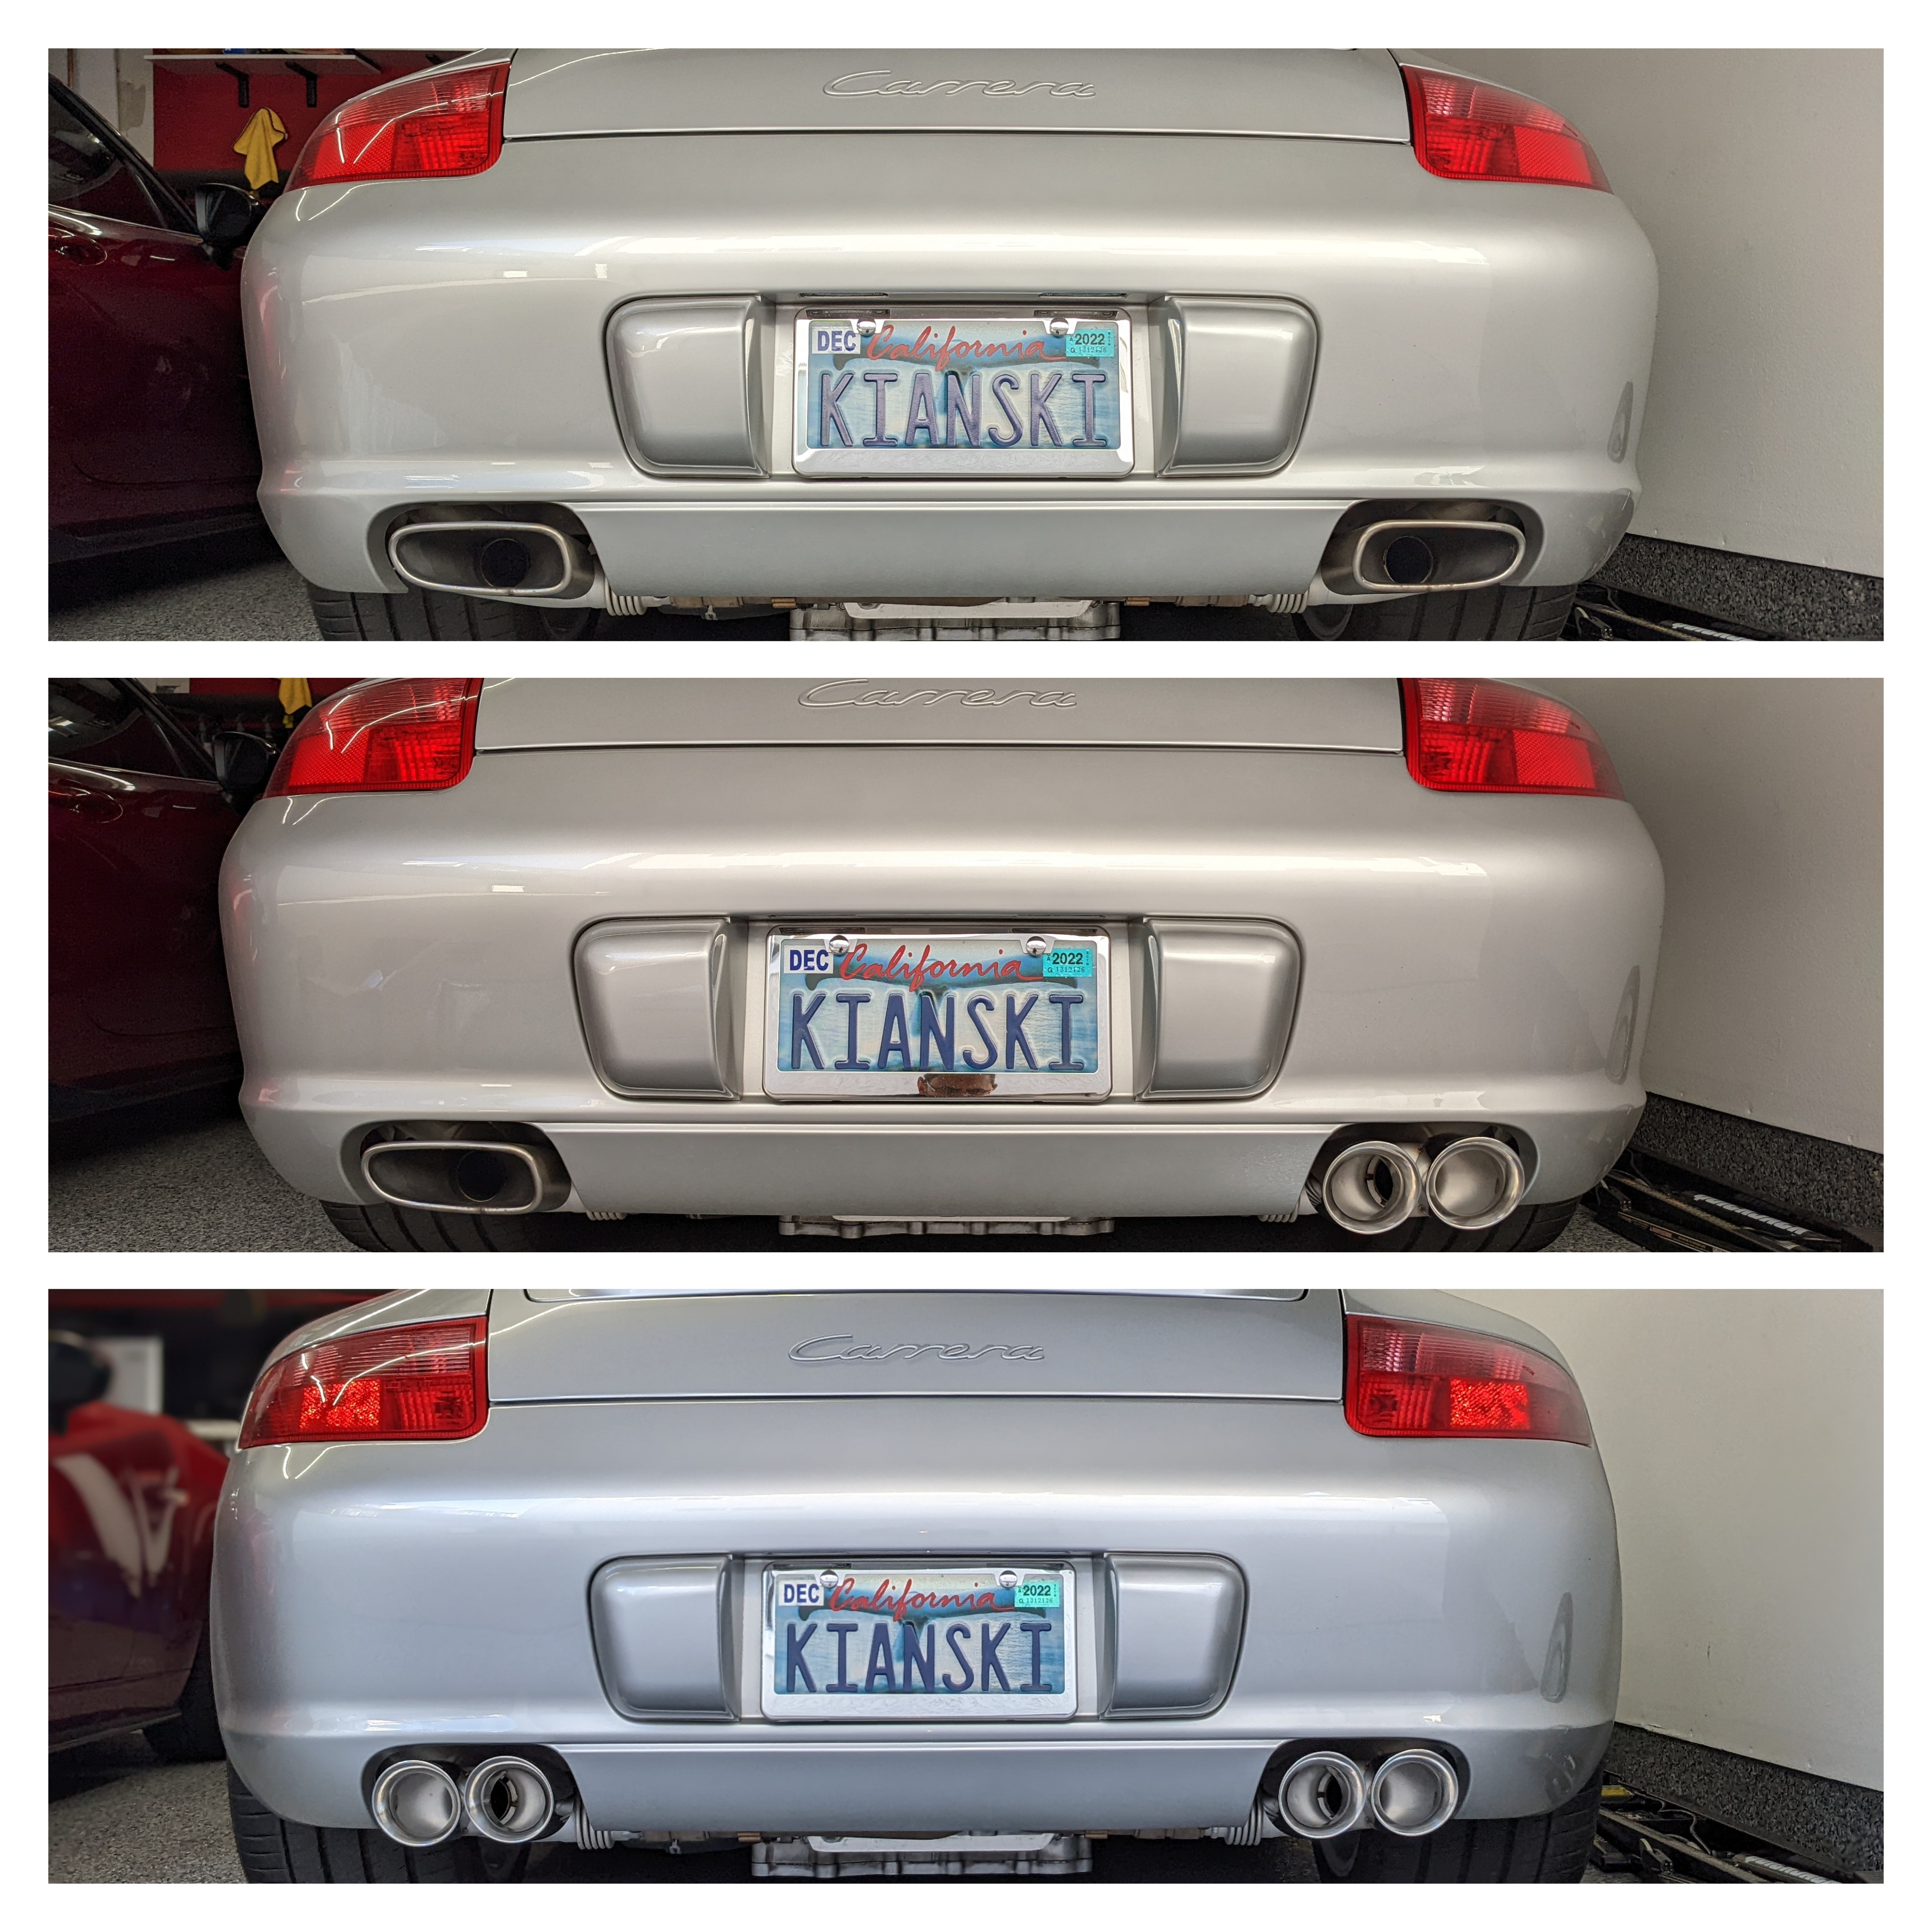
I always preferred the look of twin tips and was planning on sourcing them from Soul Performance, but they don't make them for the non-PSE mufflers for some reason. Went with Fabspeed instead and while I like them, I thought the quality of the Soul ones (especially the hardware) was better. But they're still polished and a quick rinse with every car wash will keep them shiny.
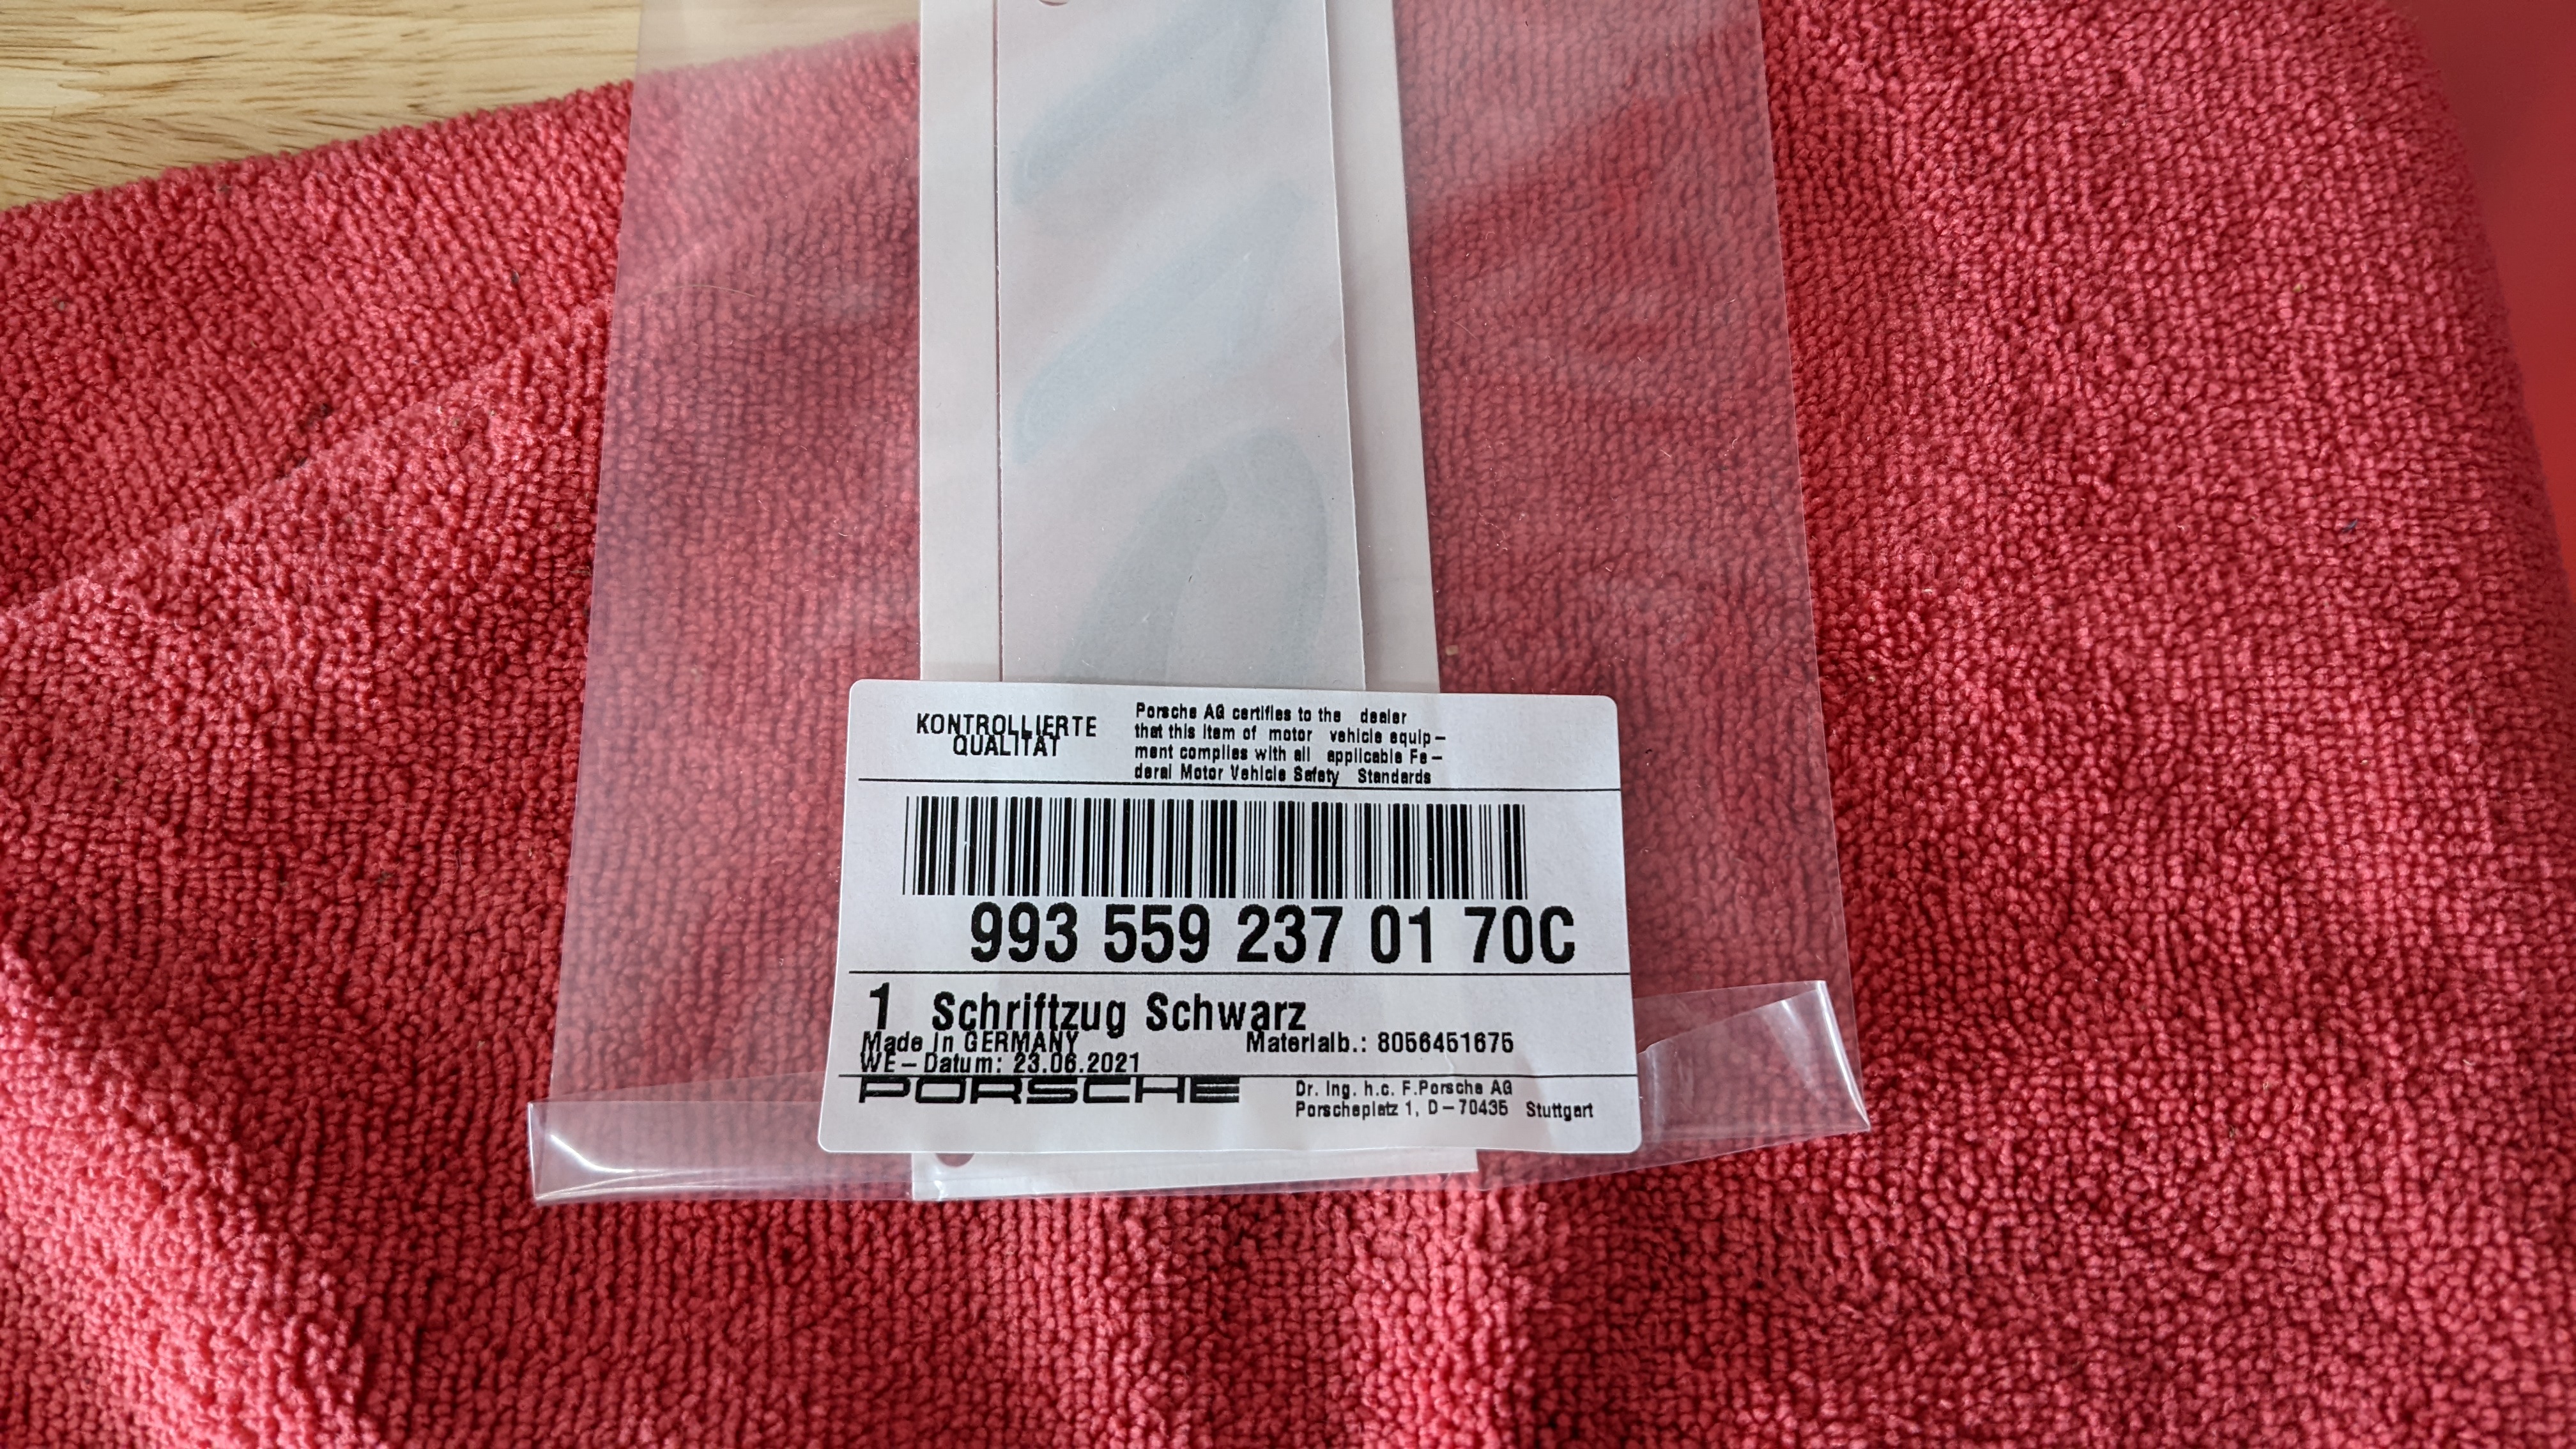
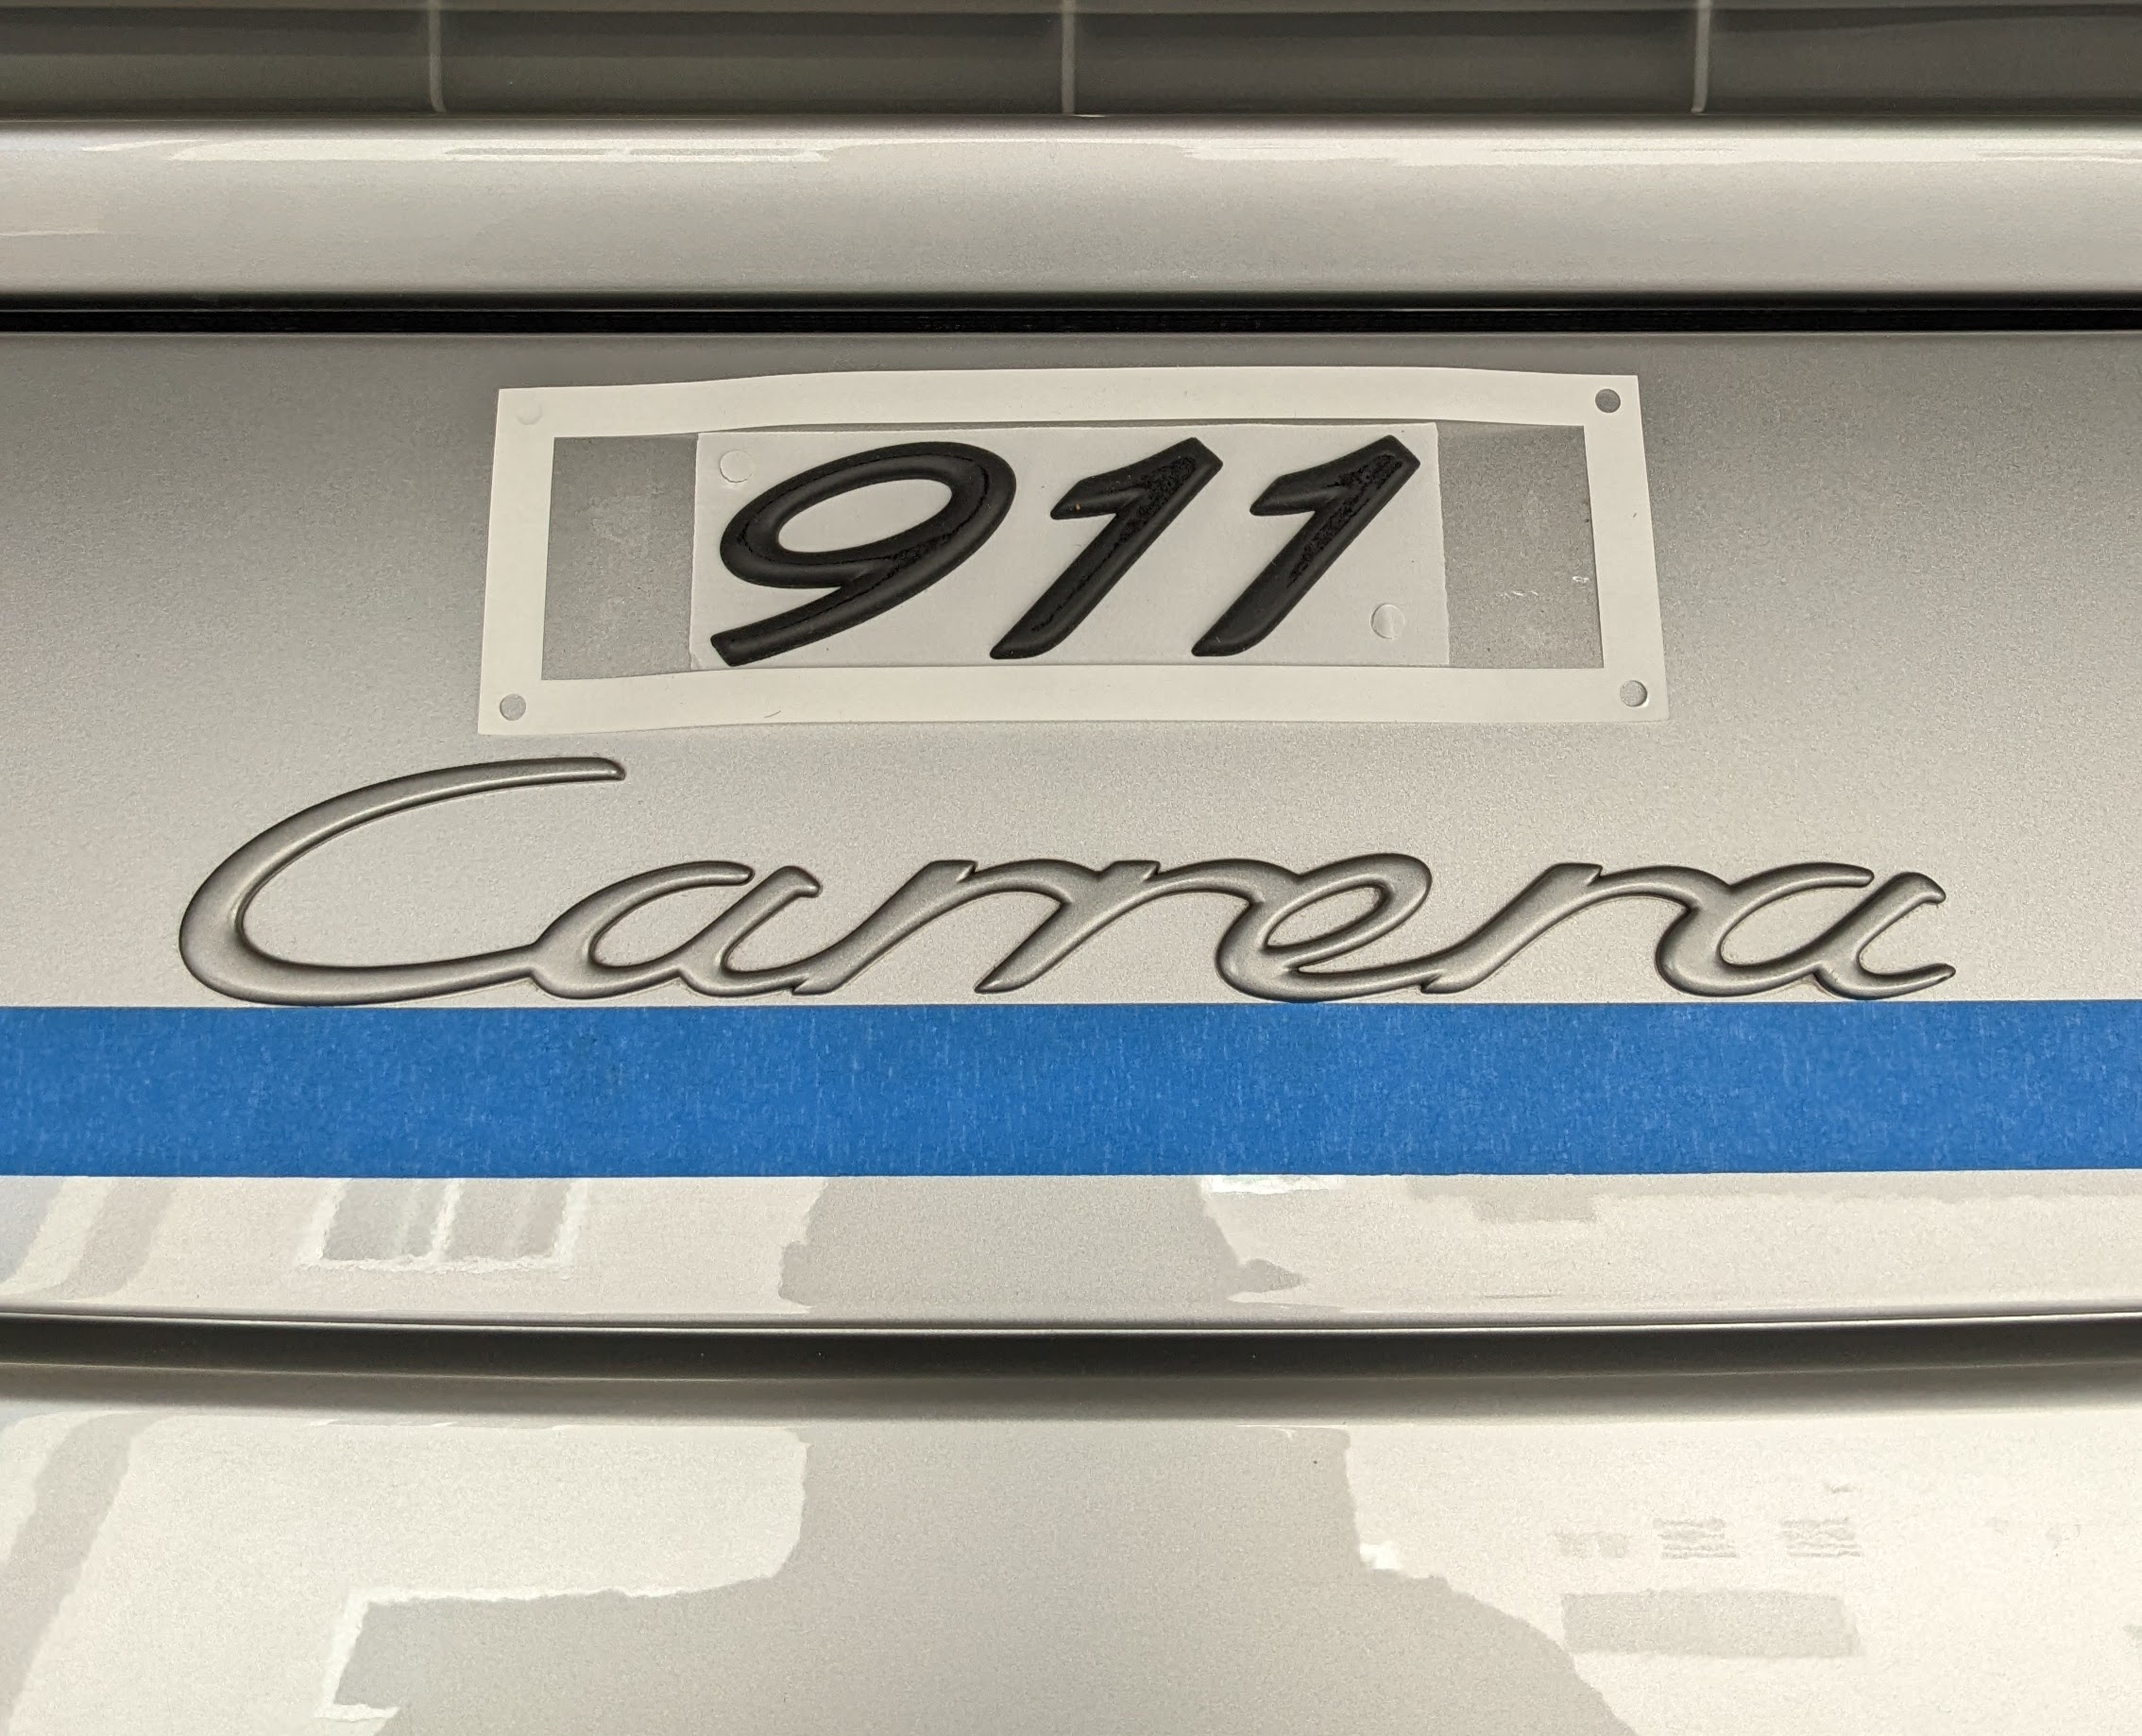
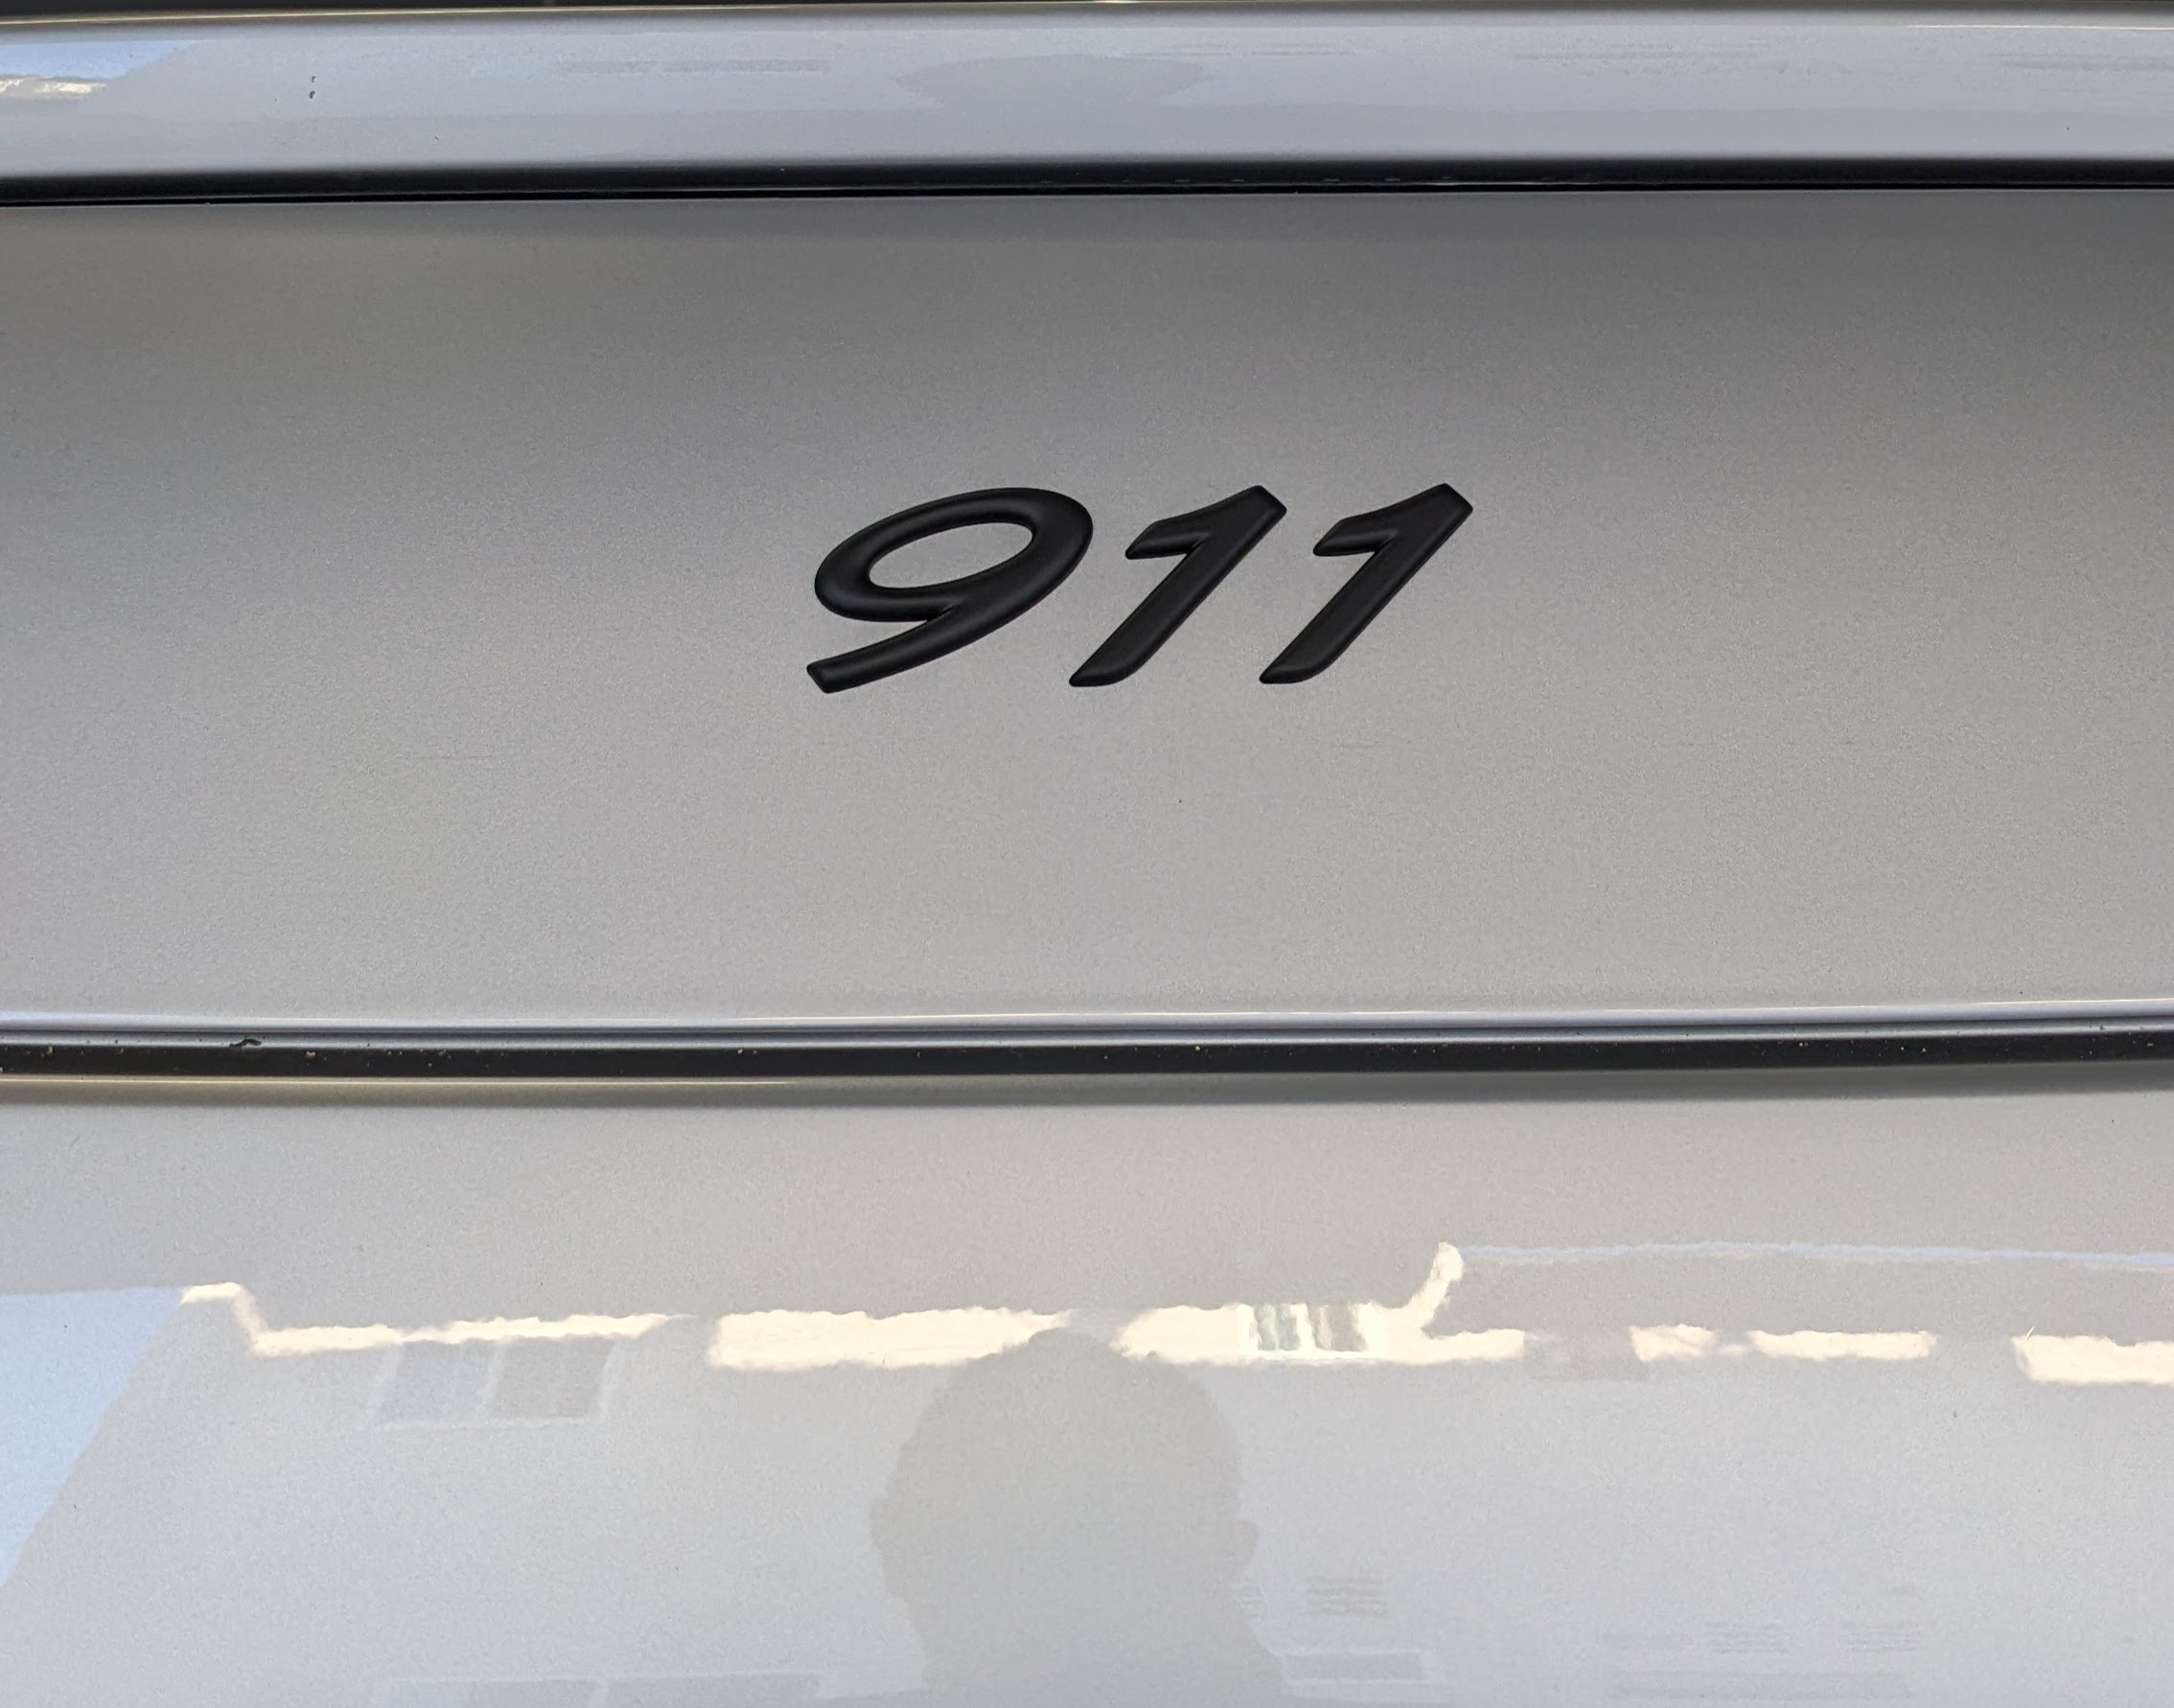
I also always wanted a 911, not necessarily a Carrera so got the flat black emblem from the 993 to add on there.
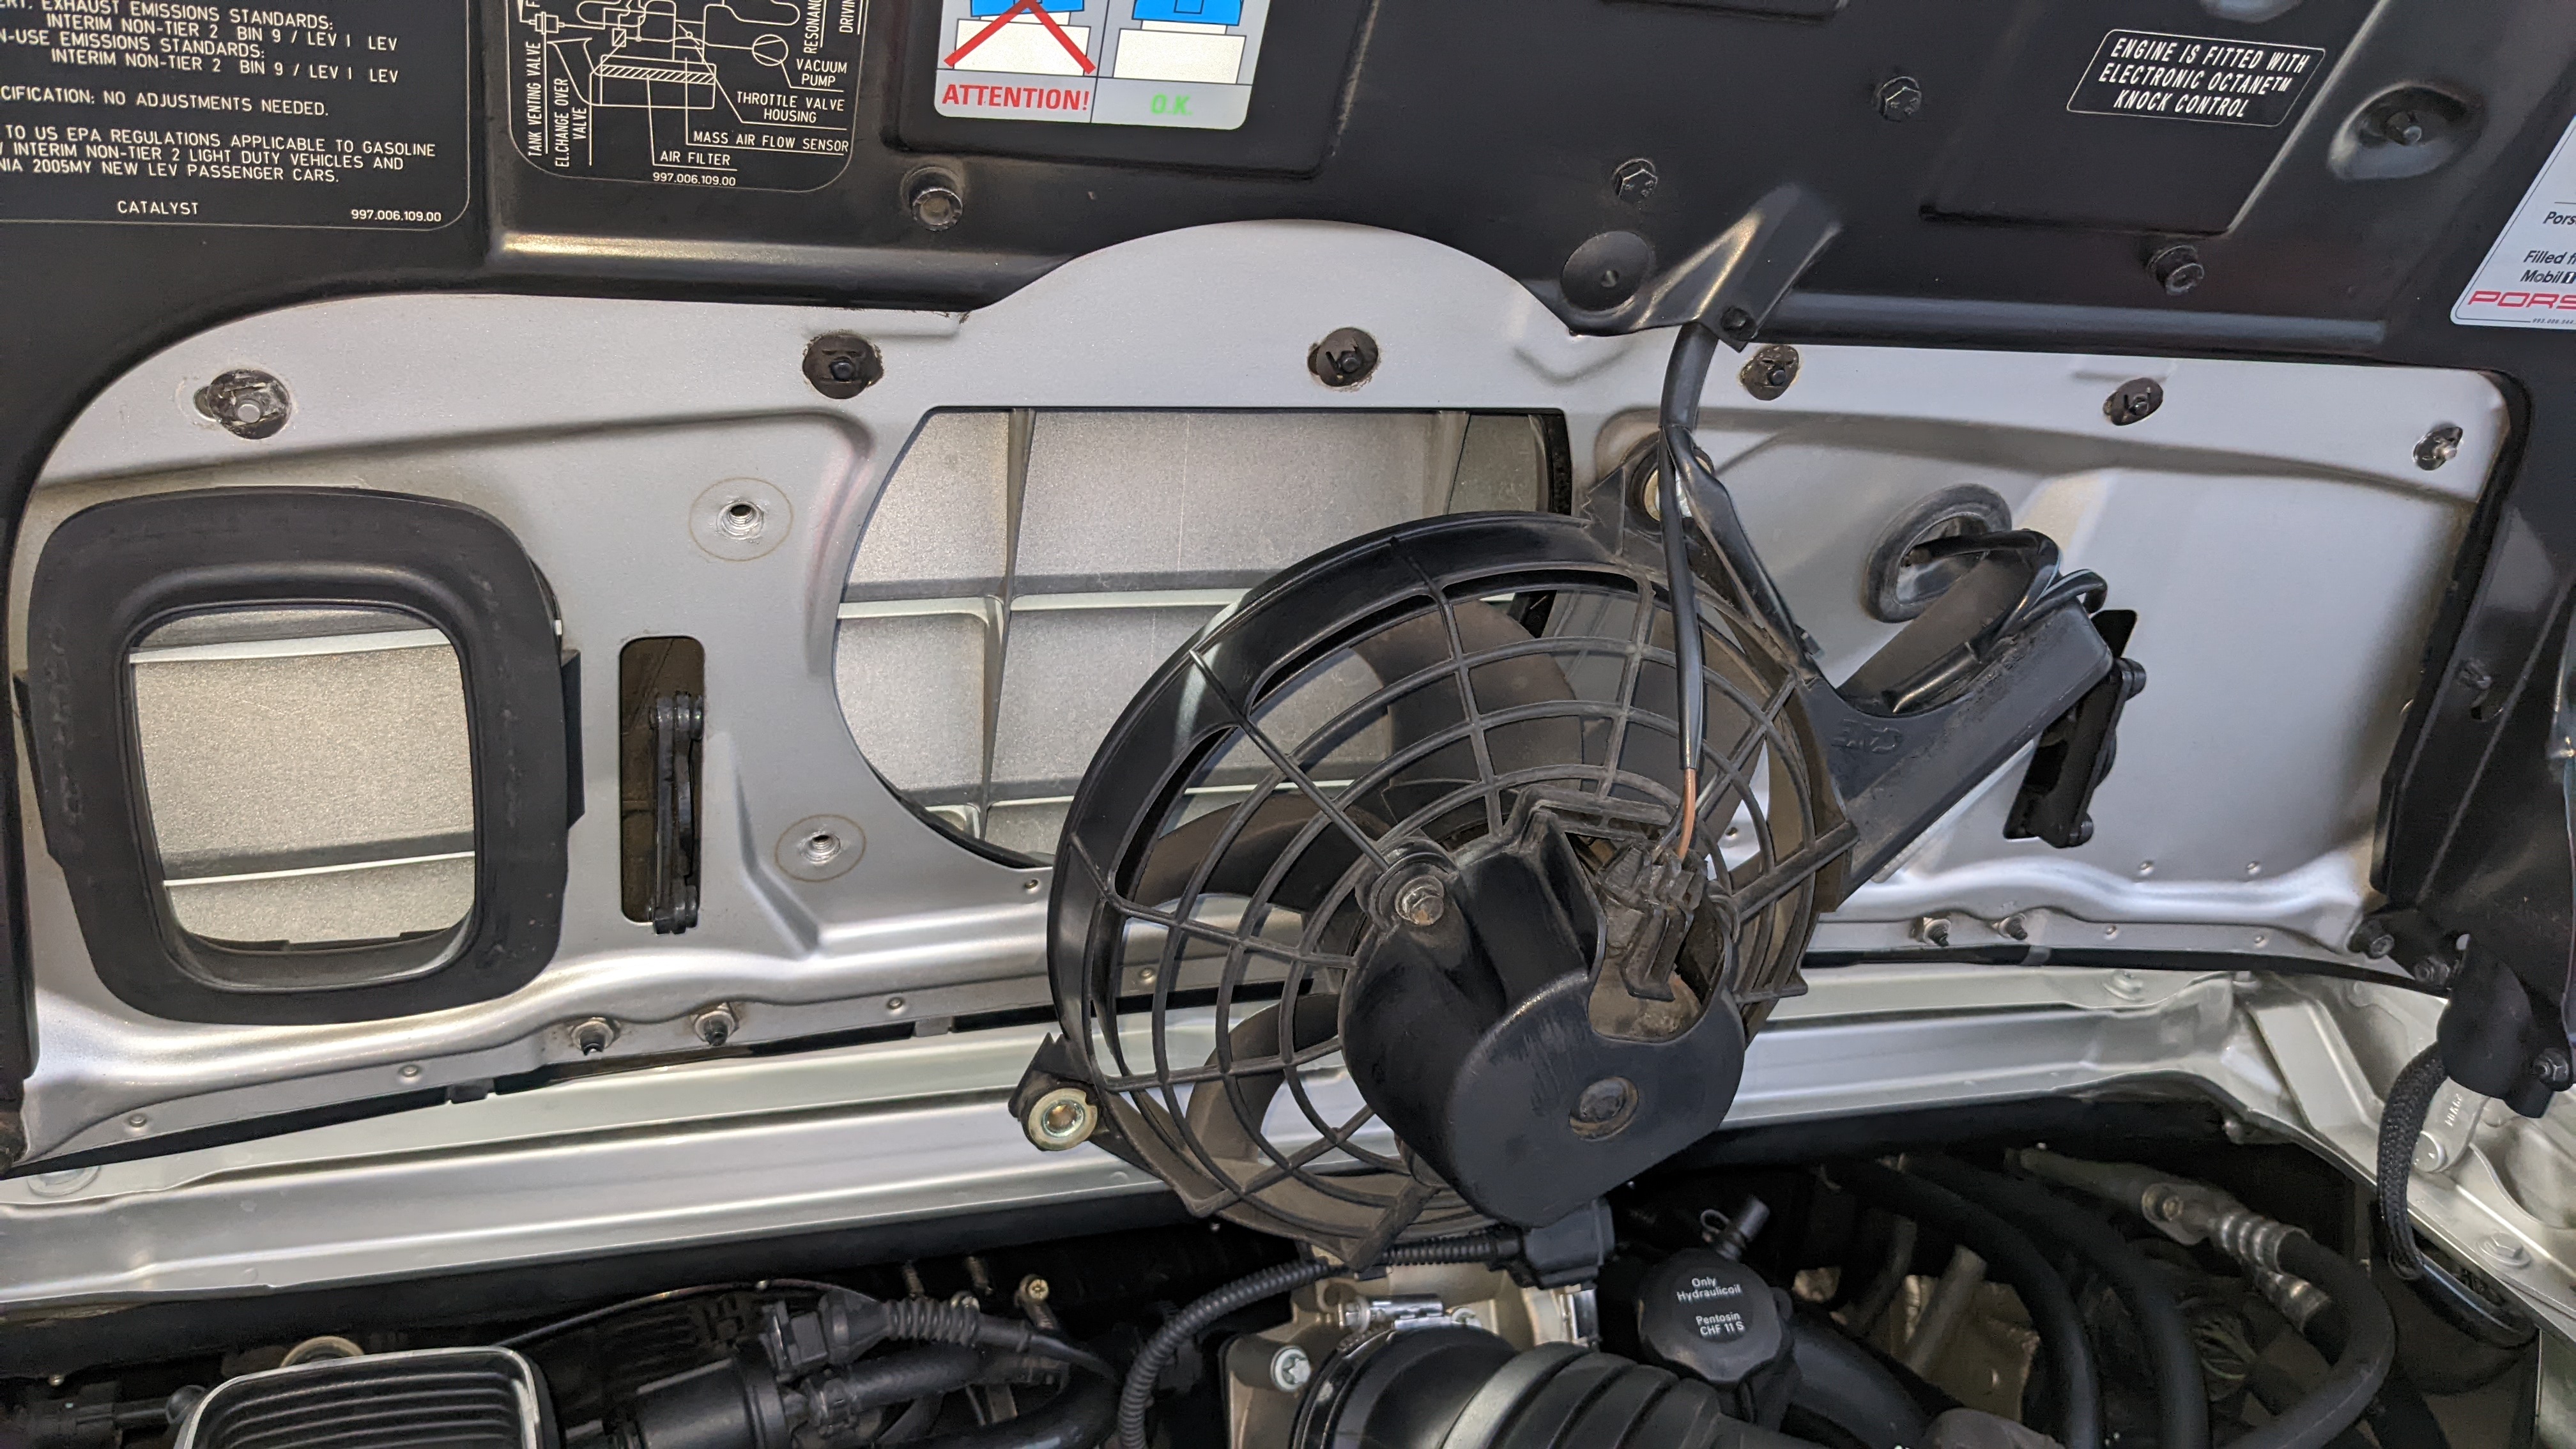
I noticed a lot of vibration coming from the decklid fan. Read about it being a common issue but wondered how many people bothered to replace the parts that tie it to the chassis: the rubber grommets.
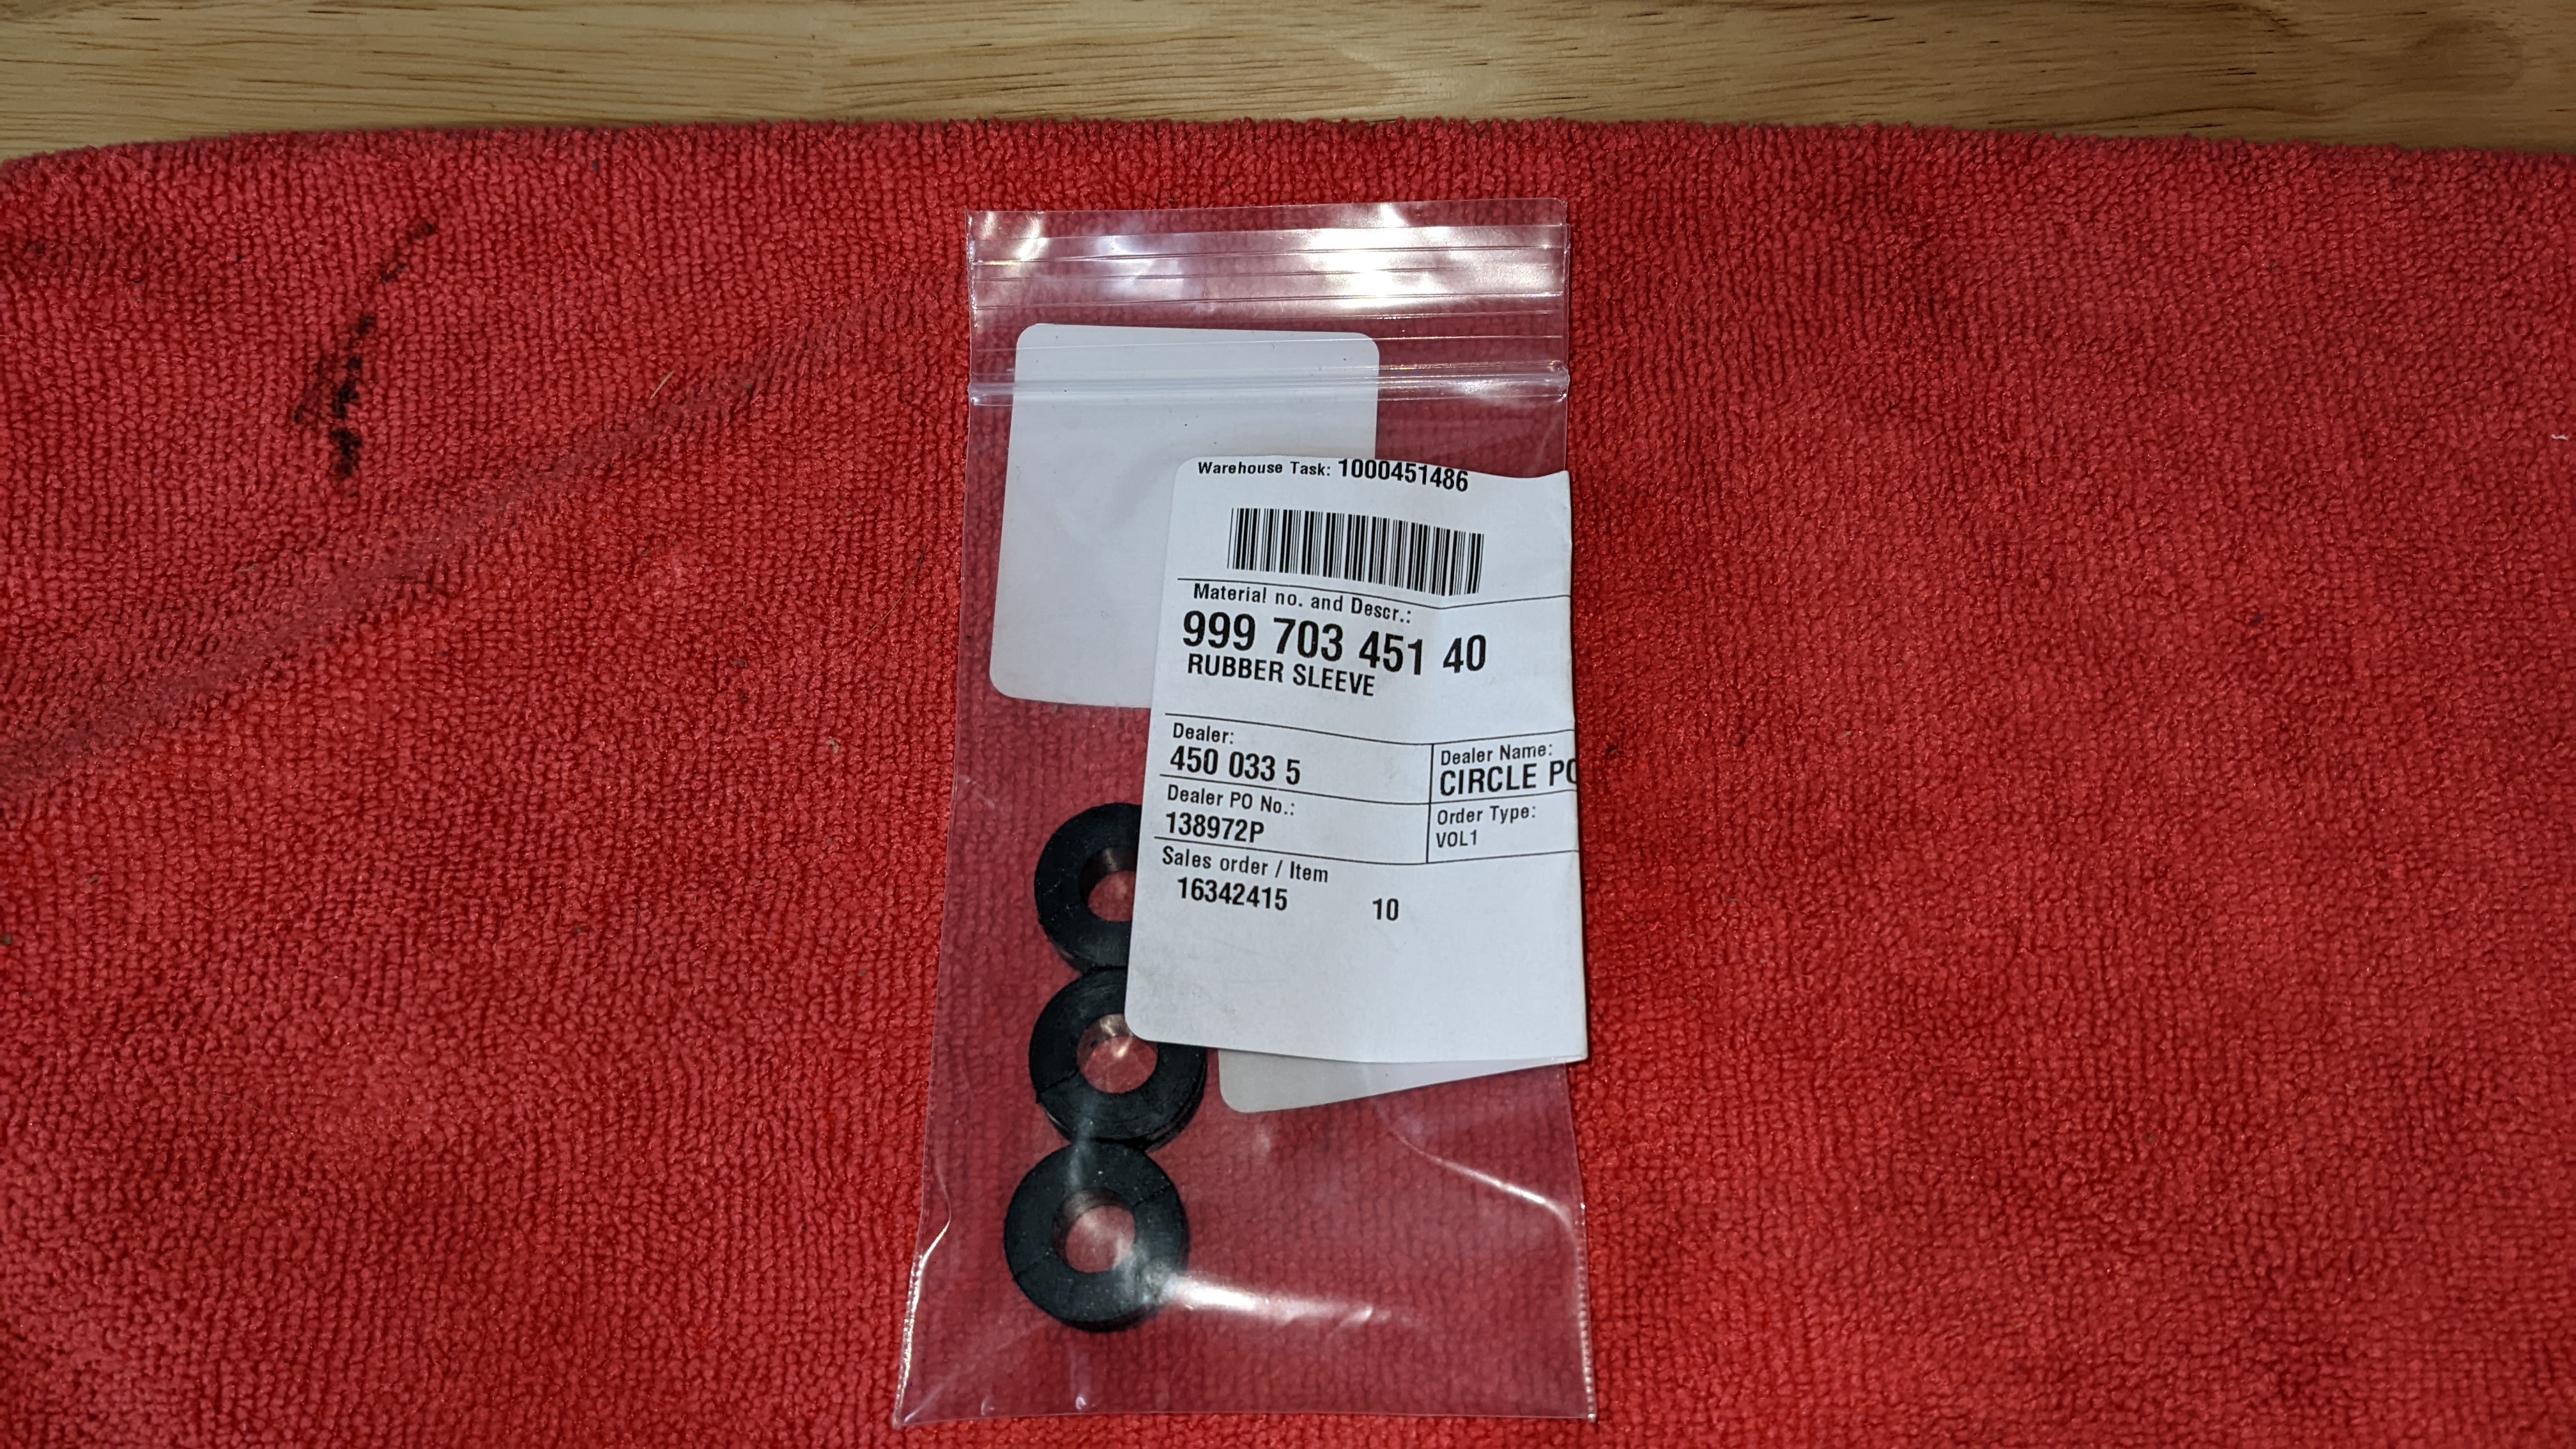
Easy enough to swap out.
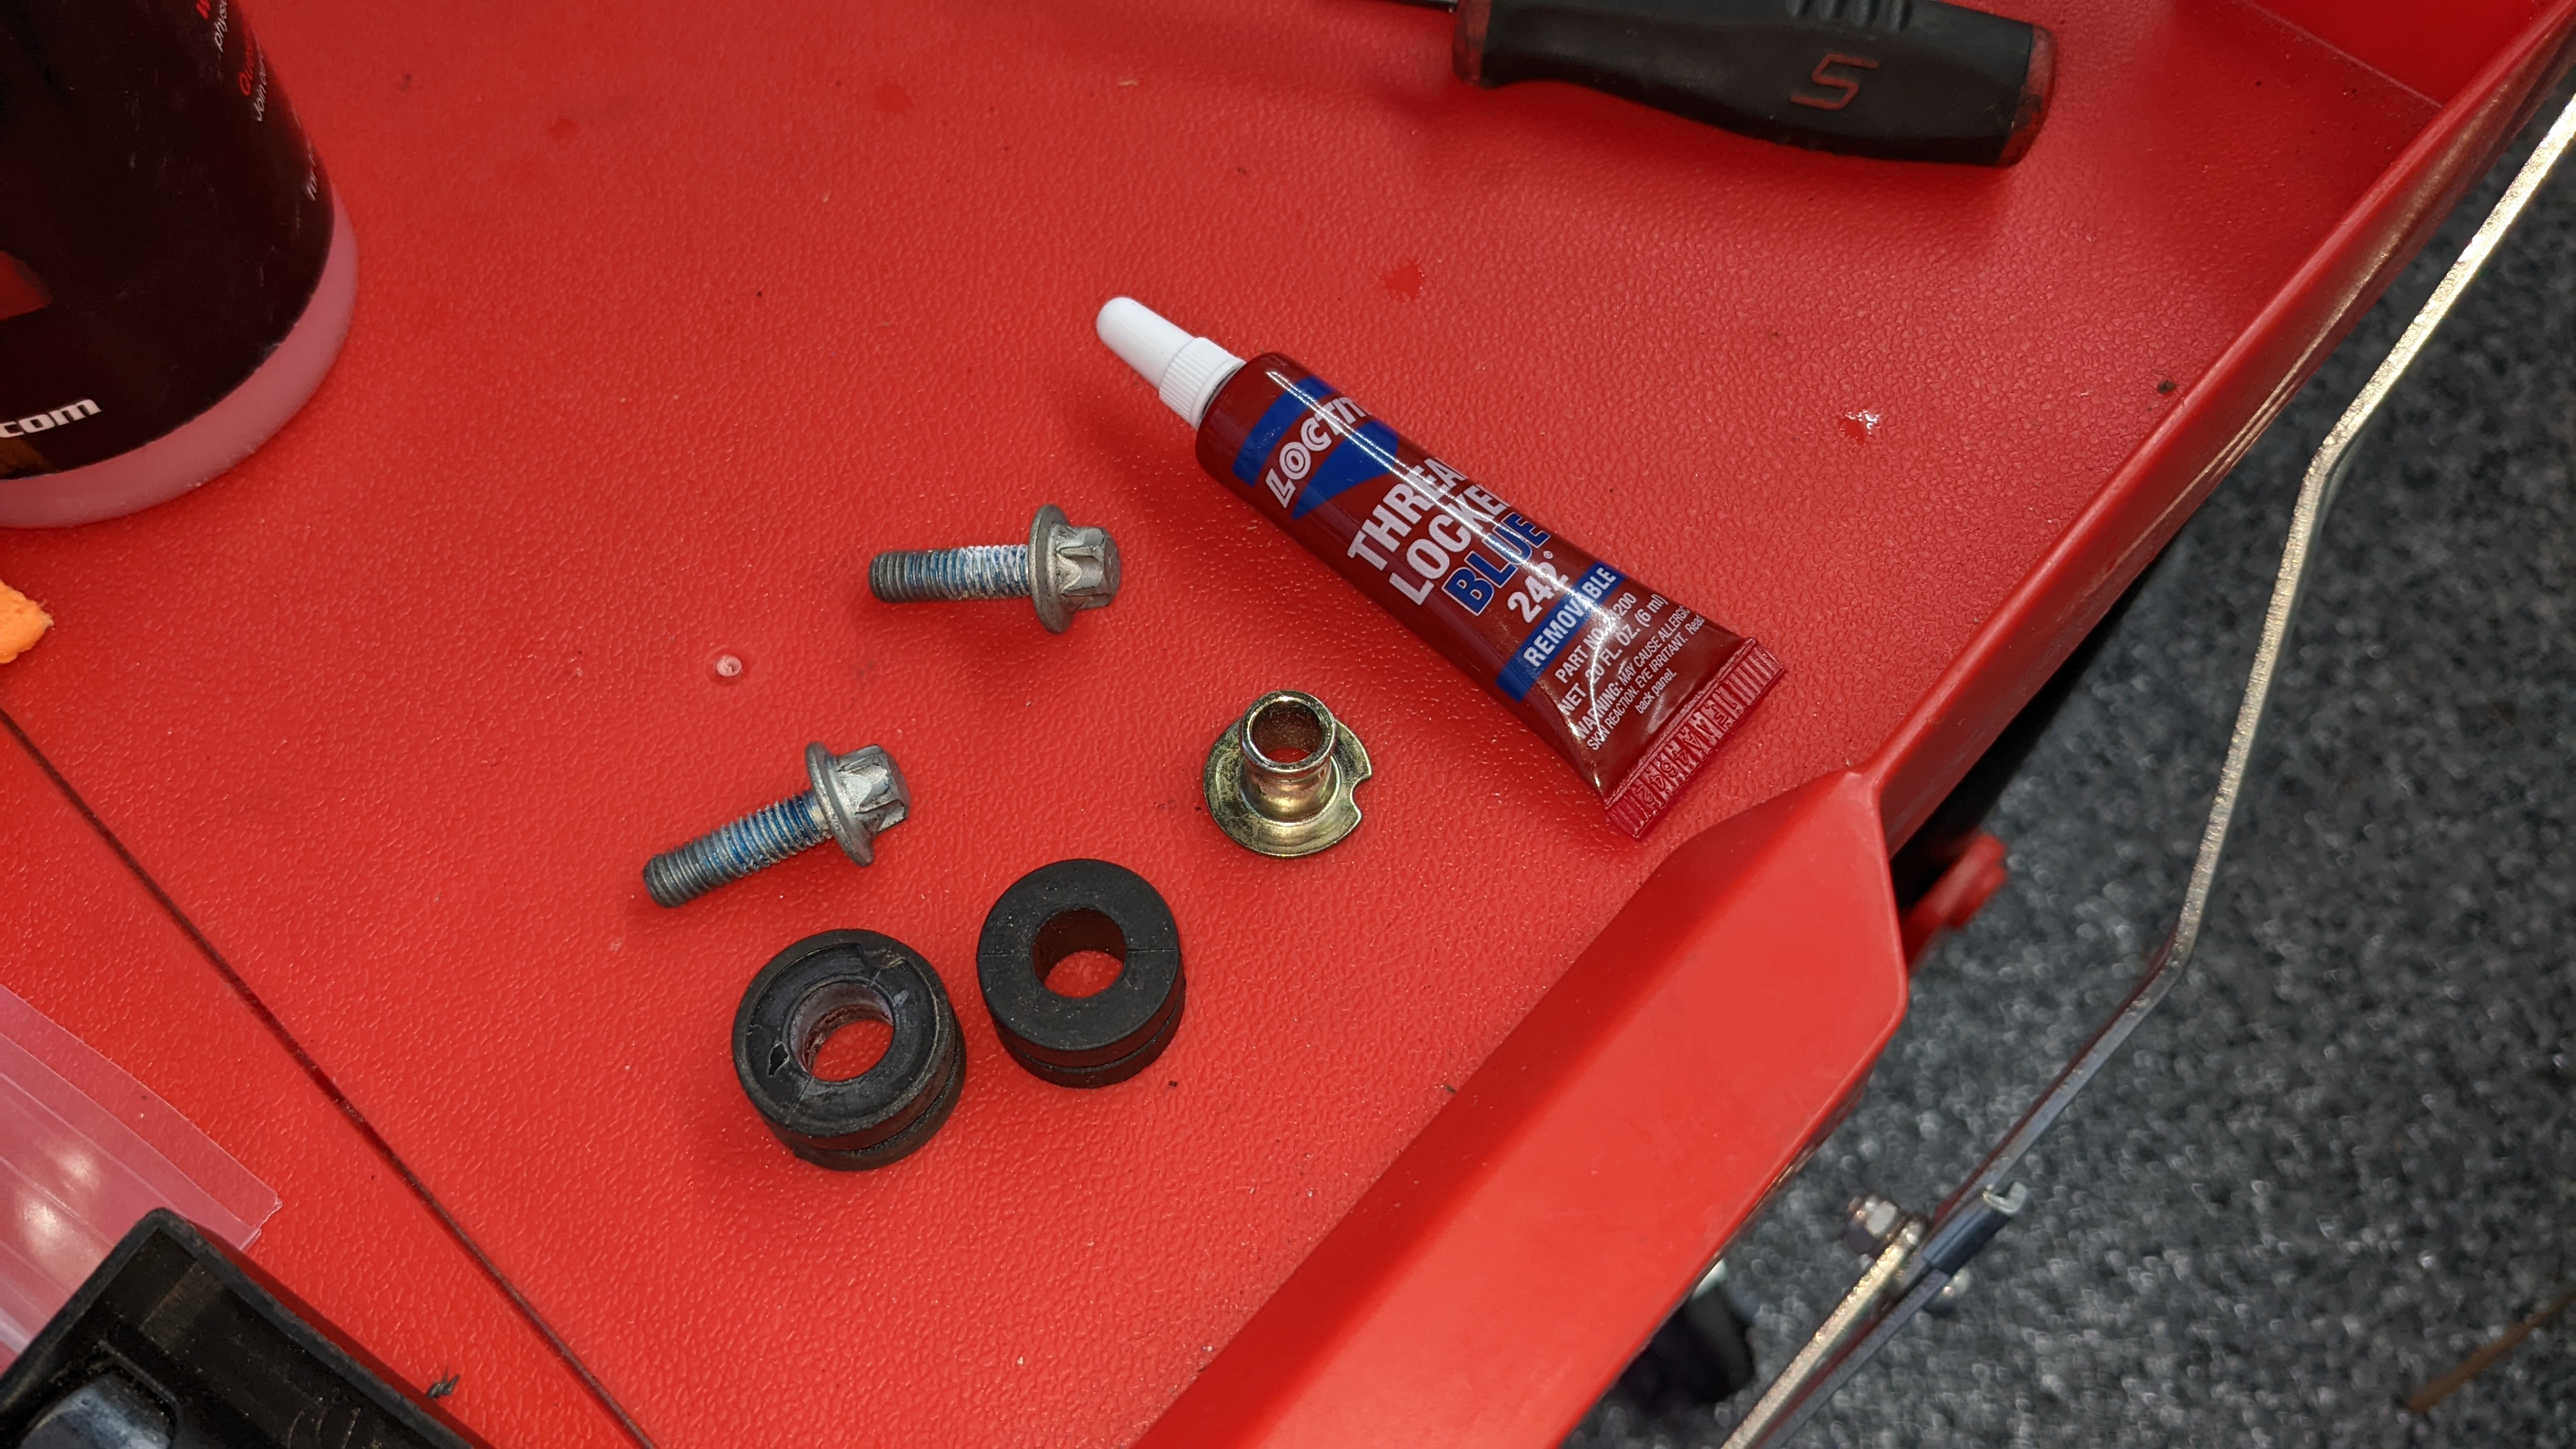
Should've hooked up an accelerometer to quantify the vibrations but in lieu of that, I can say they helped. Plus at $0.94 each, why not. They weren't in stock so they were shipped from Germany but it was coming in the same shipment as the new shift ****.
Speaking of which:
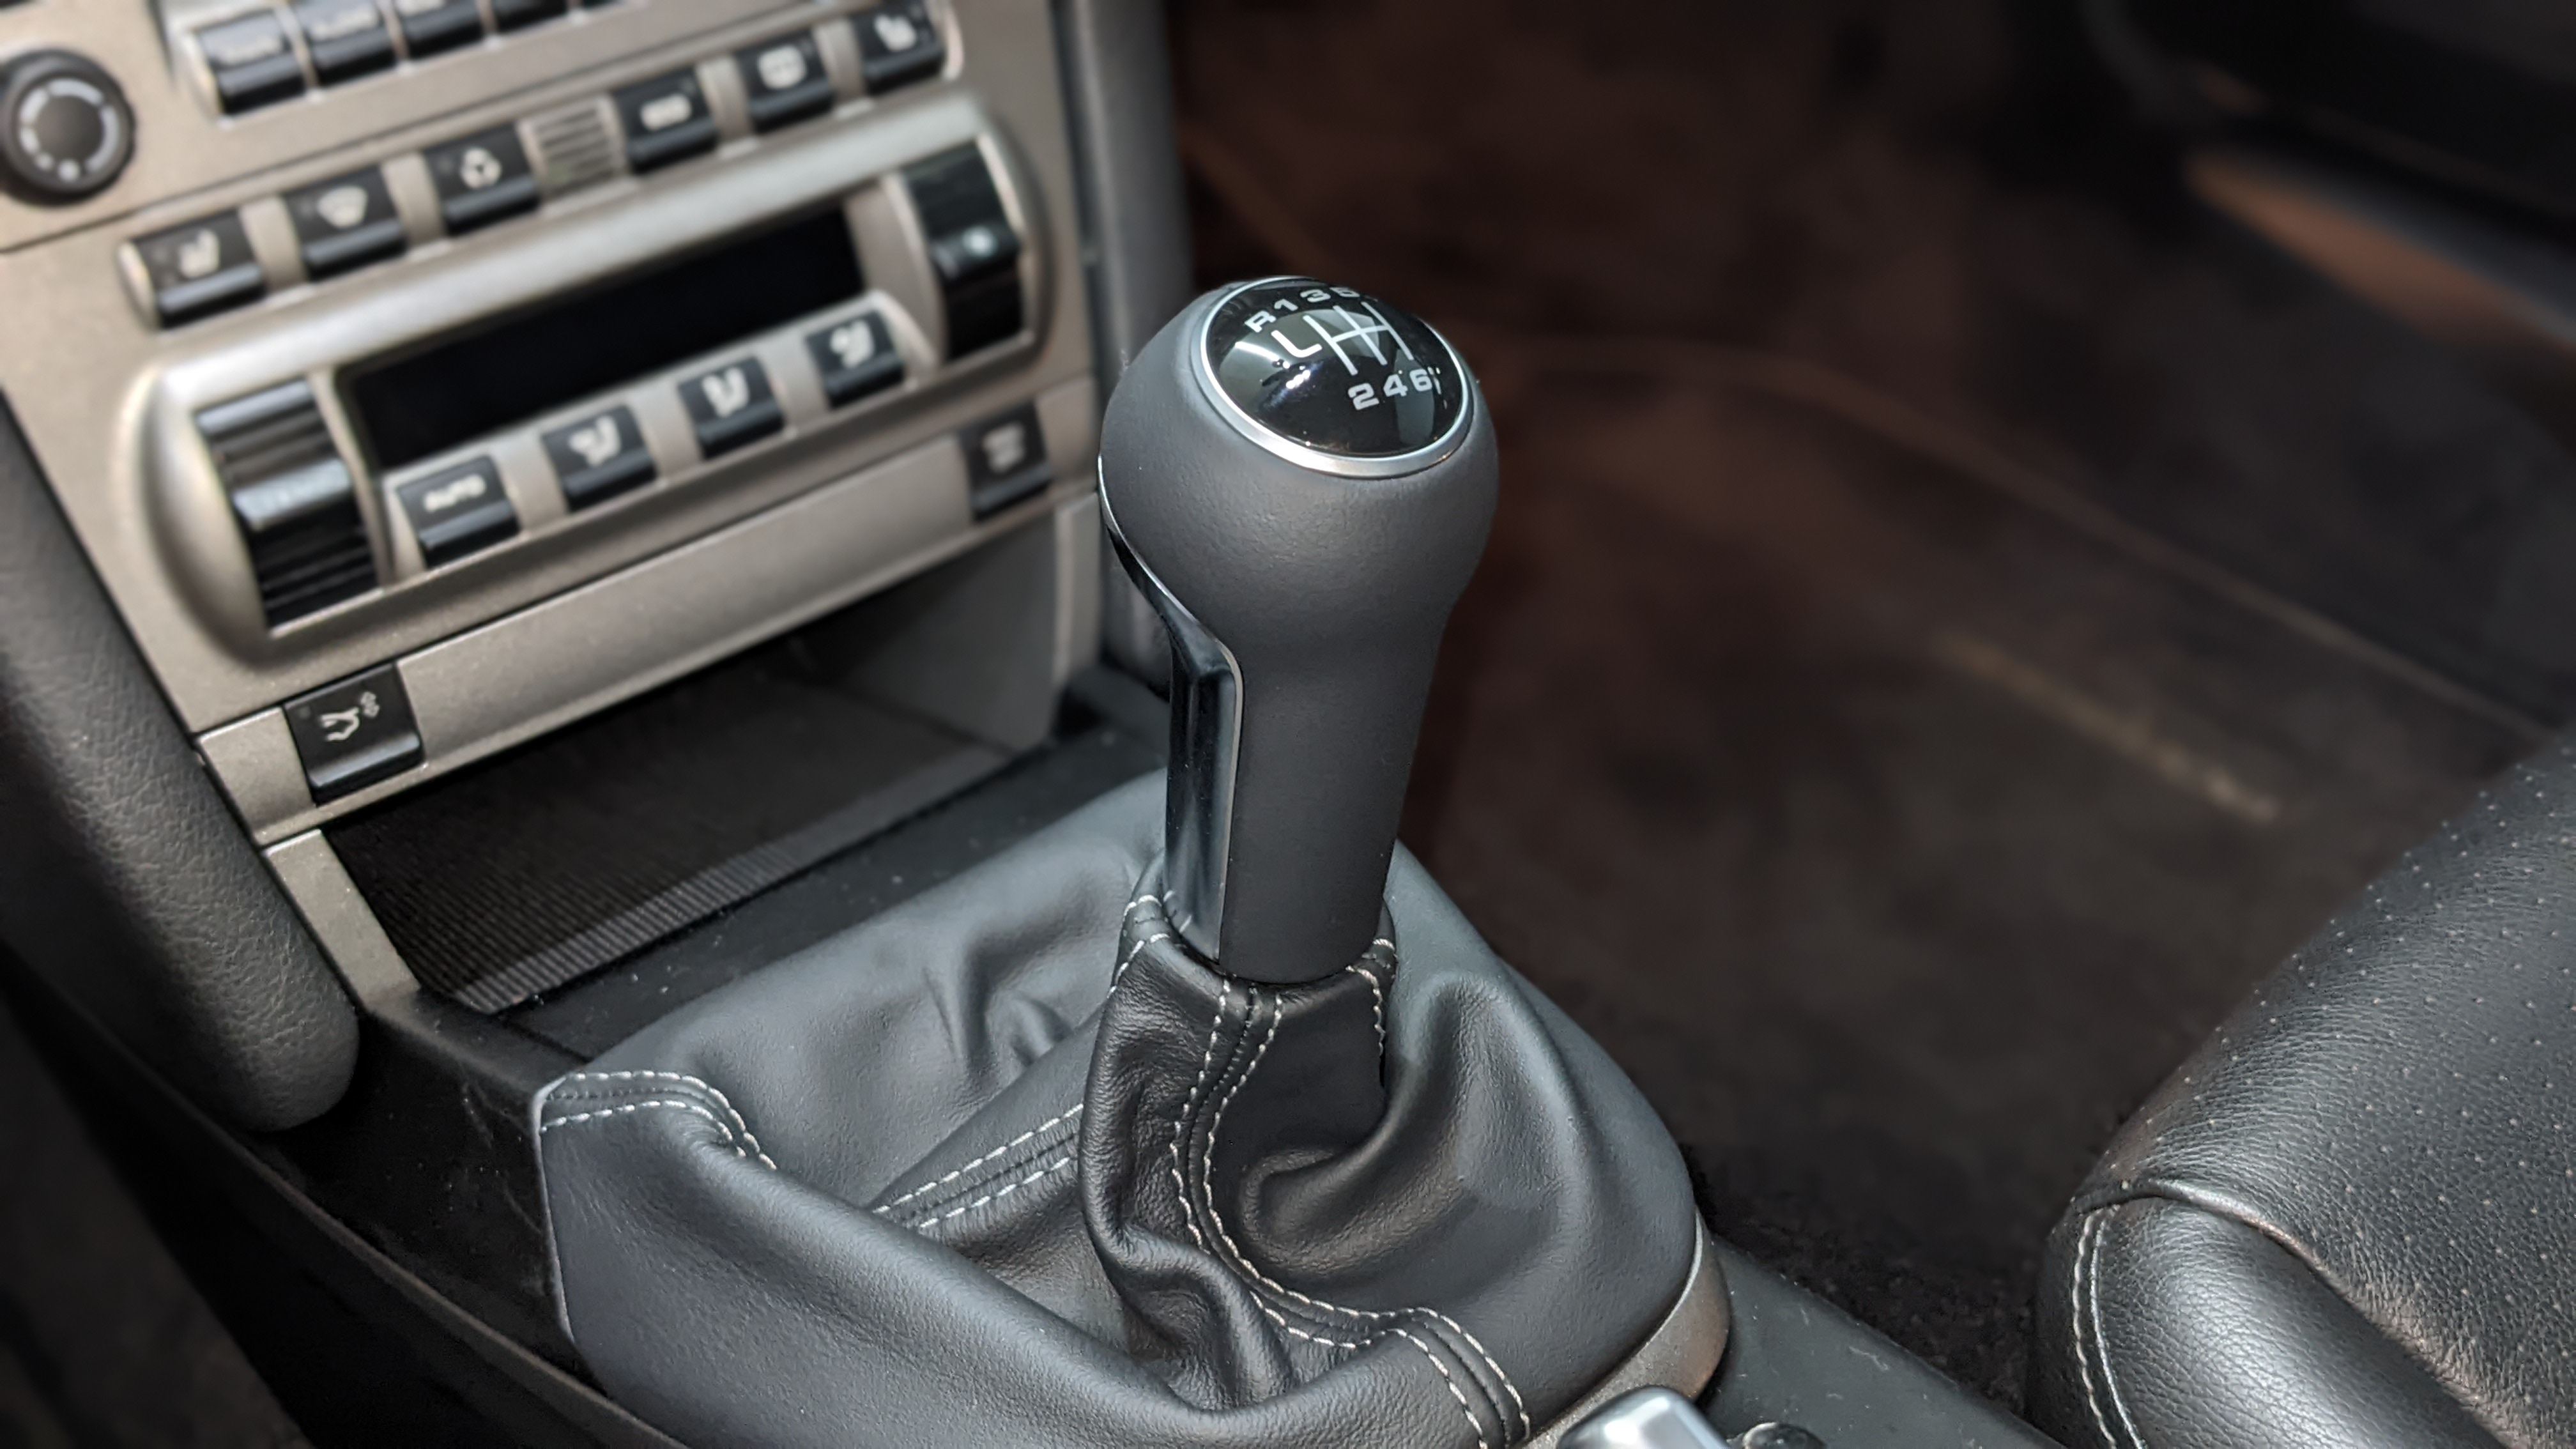
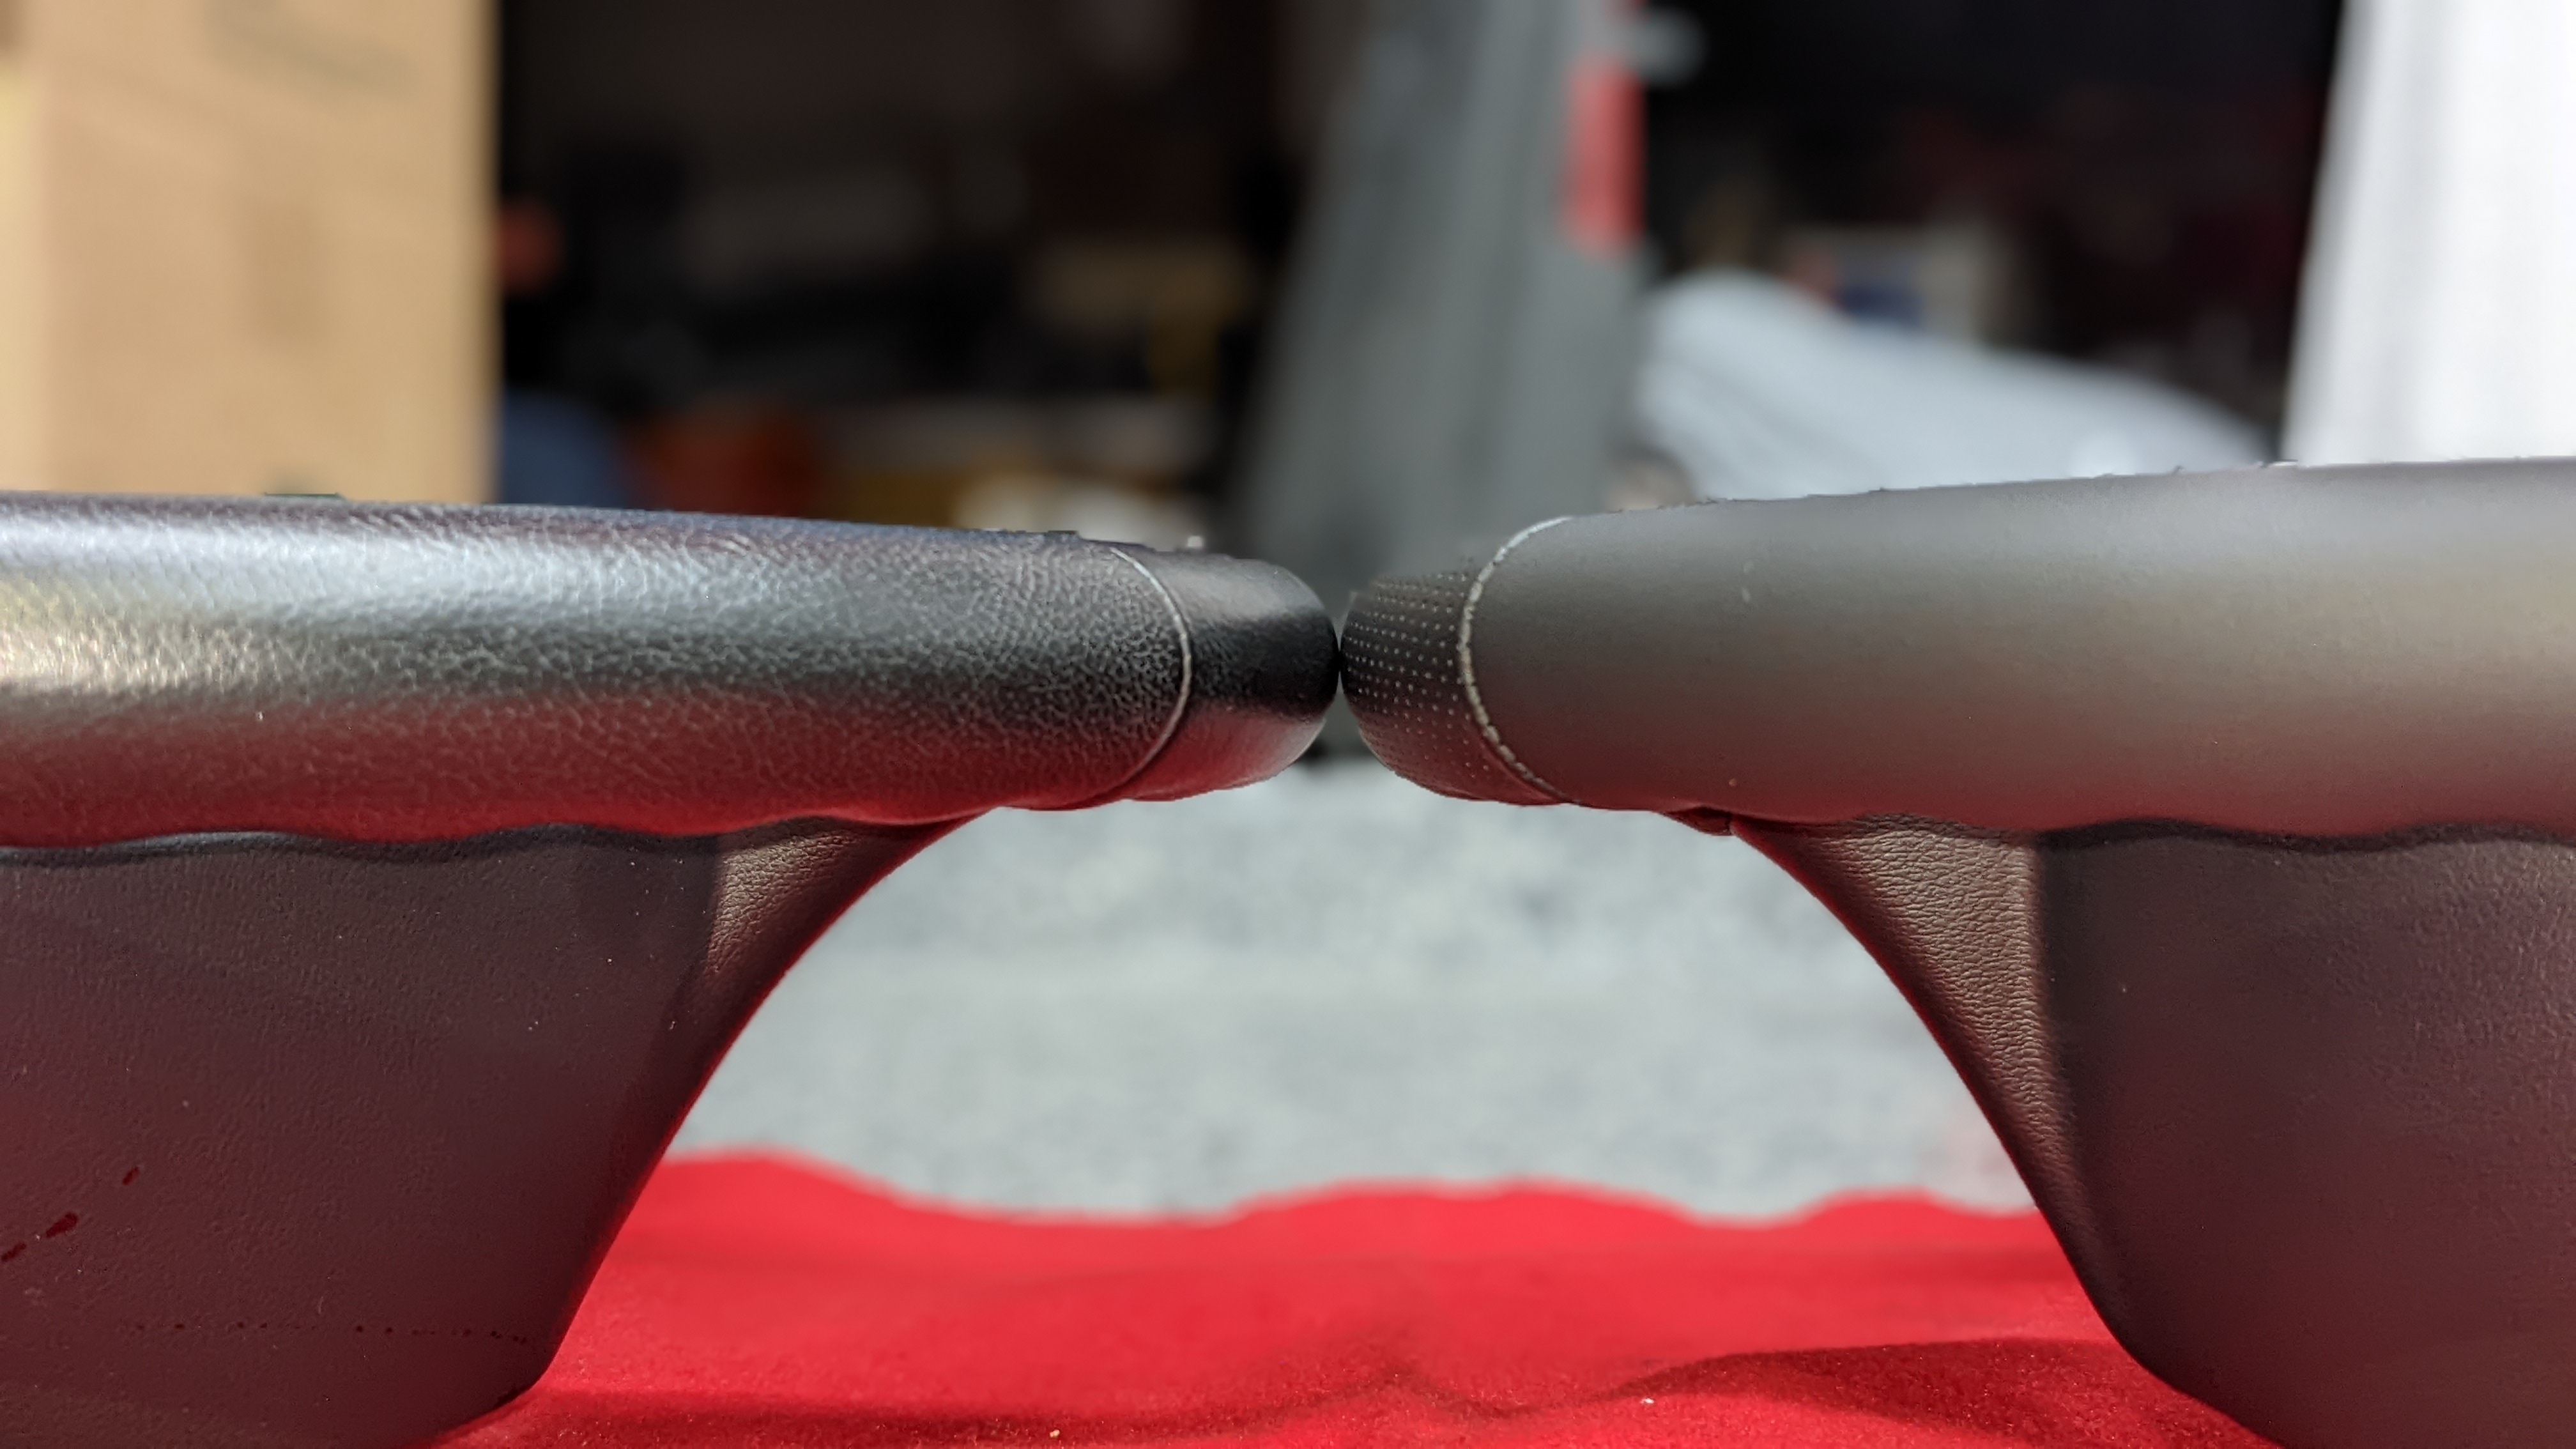
You don't always notice how old & weathered leather can get until you see a fresh part.
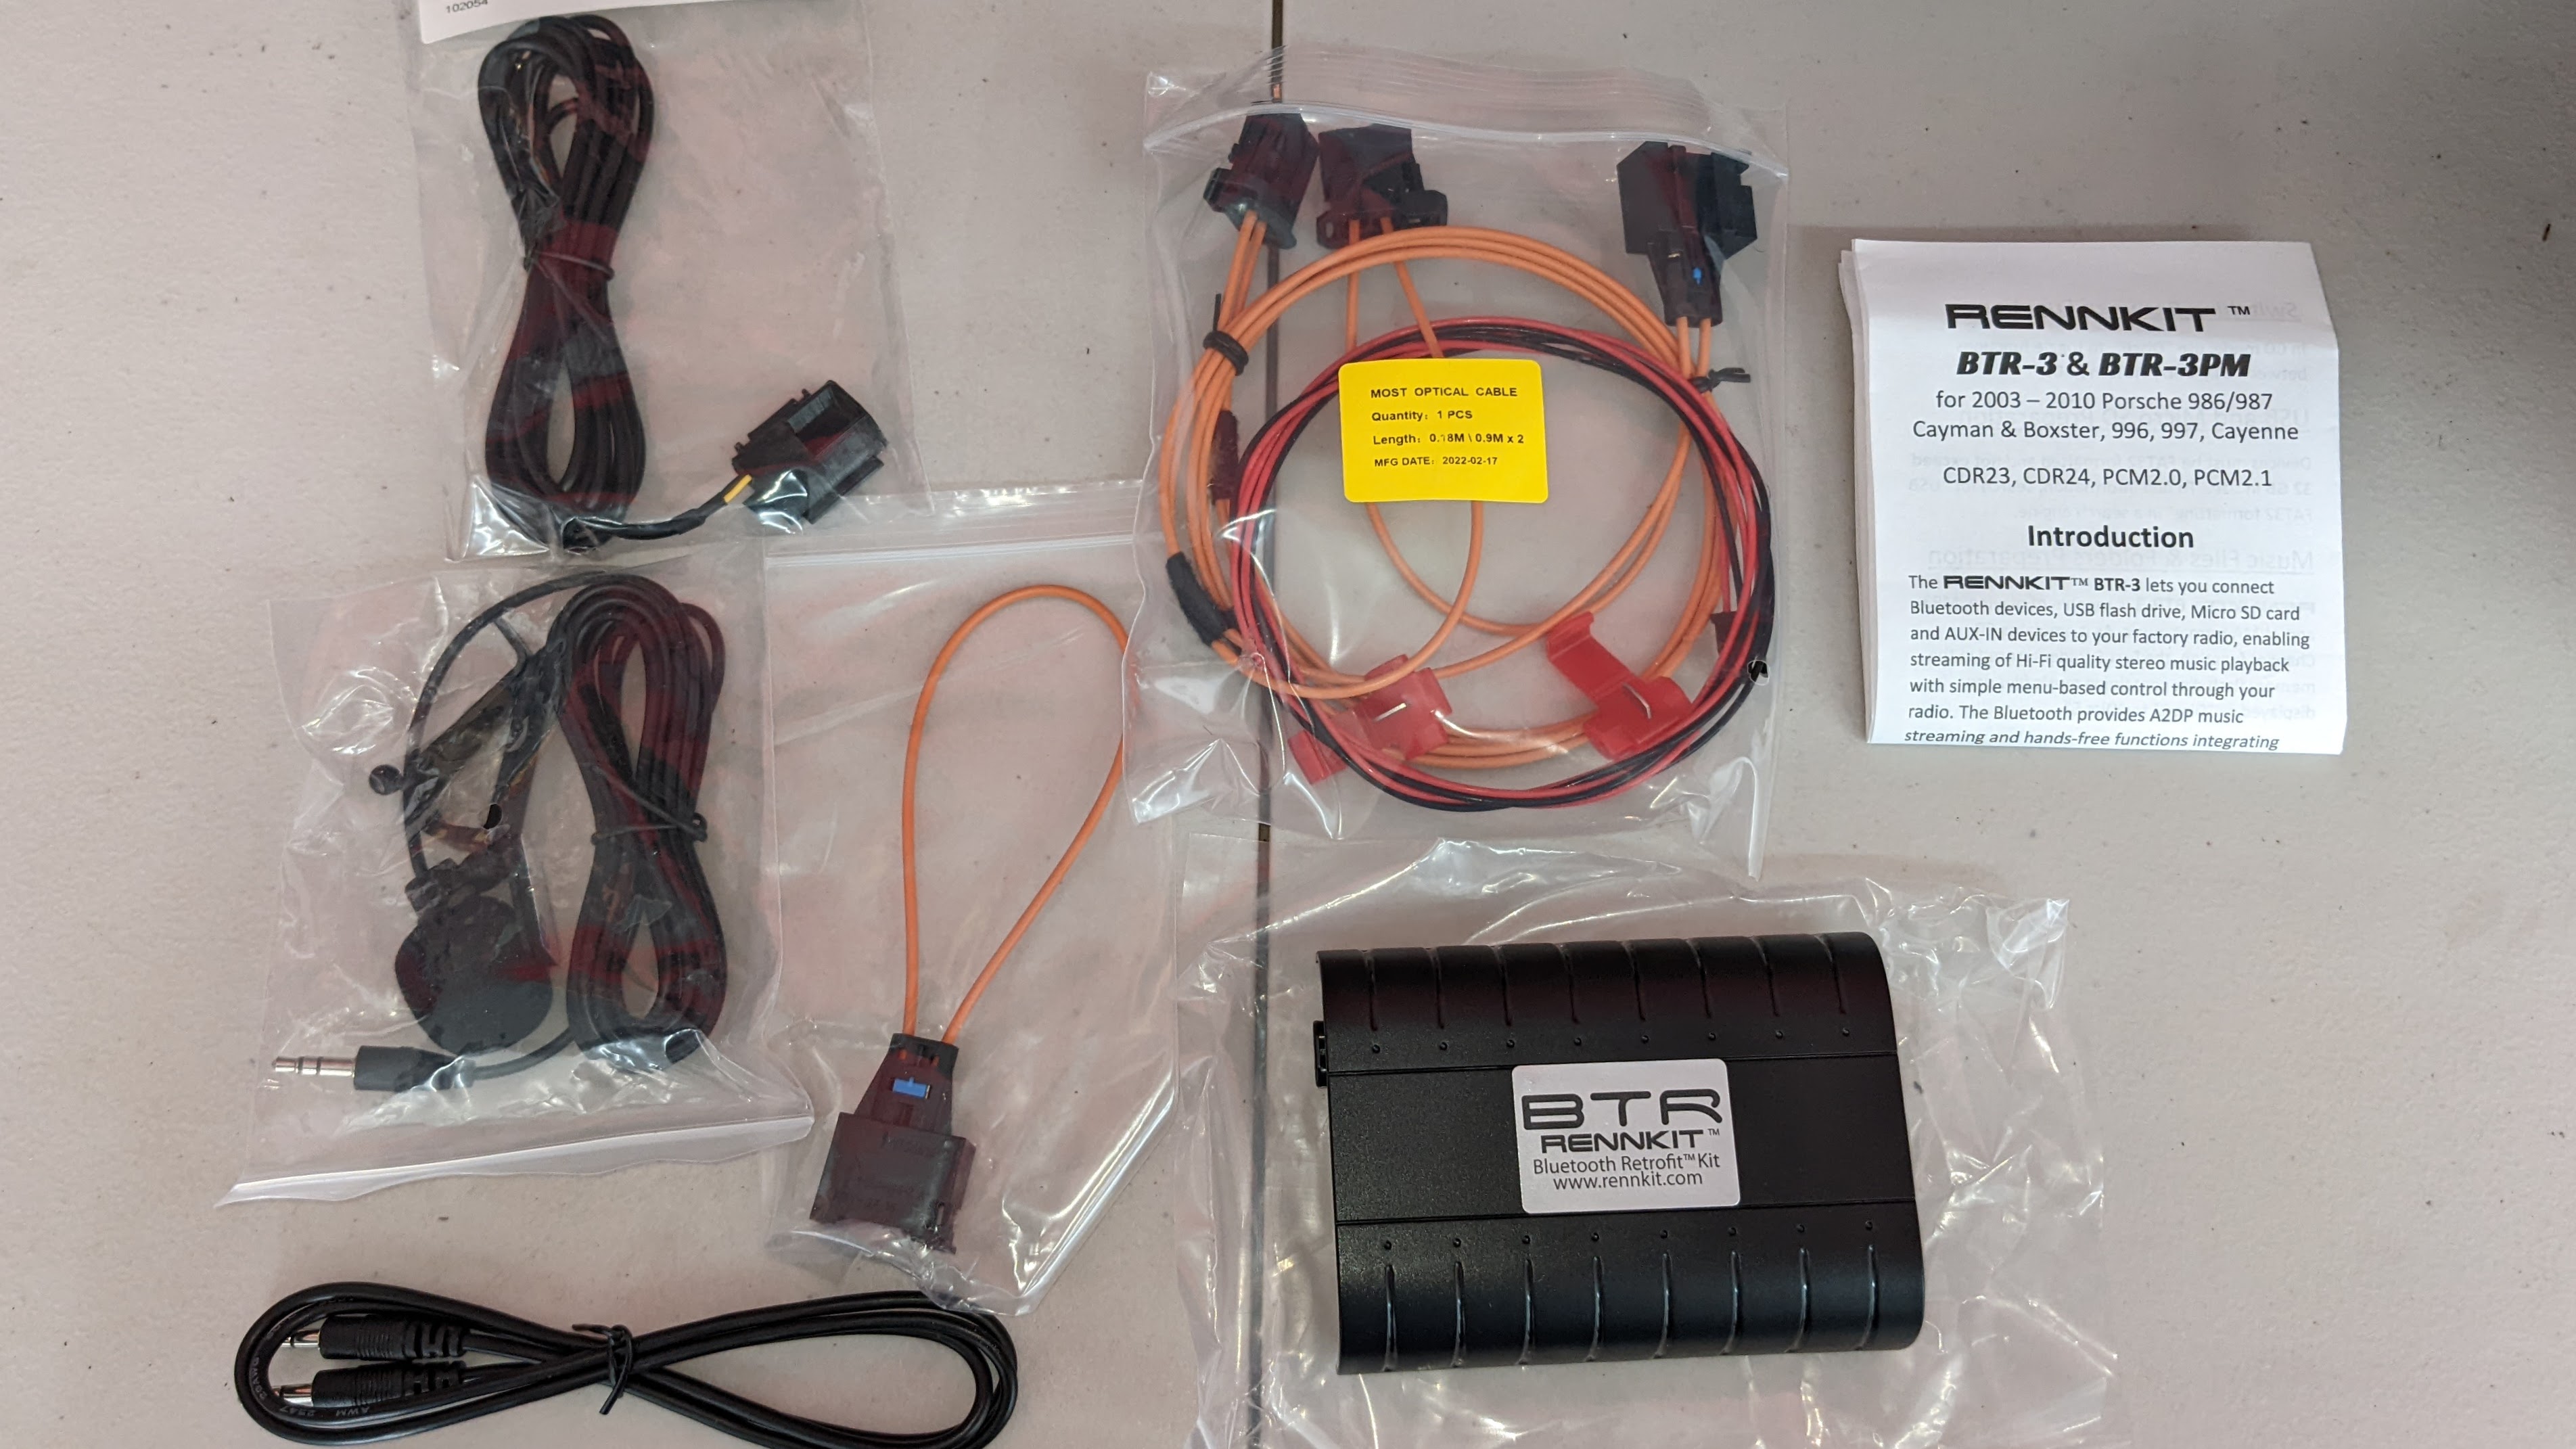
Then time to modernize the audio. Instead of continuing to wait for the Porsche Classic head unit, went with the Rennkit hardware (same as "MR12VOLT") for about $200.
First step is removing the frunk panels to get access to the CD changer.
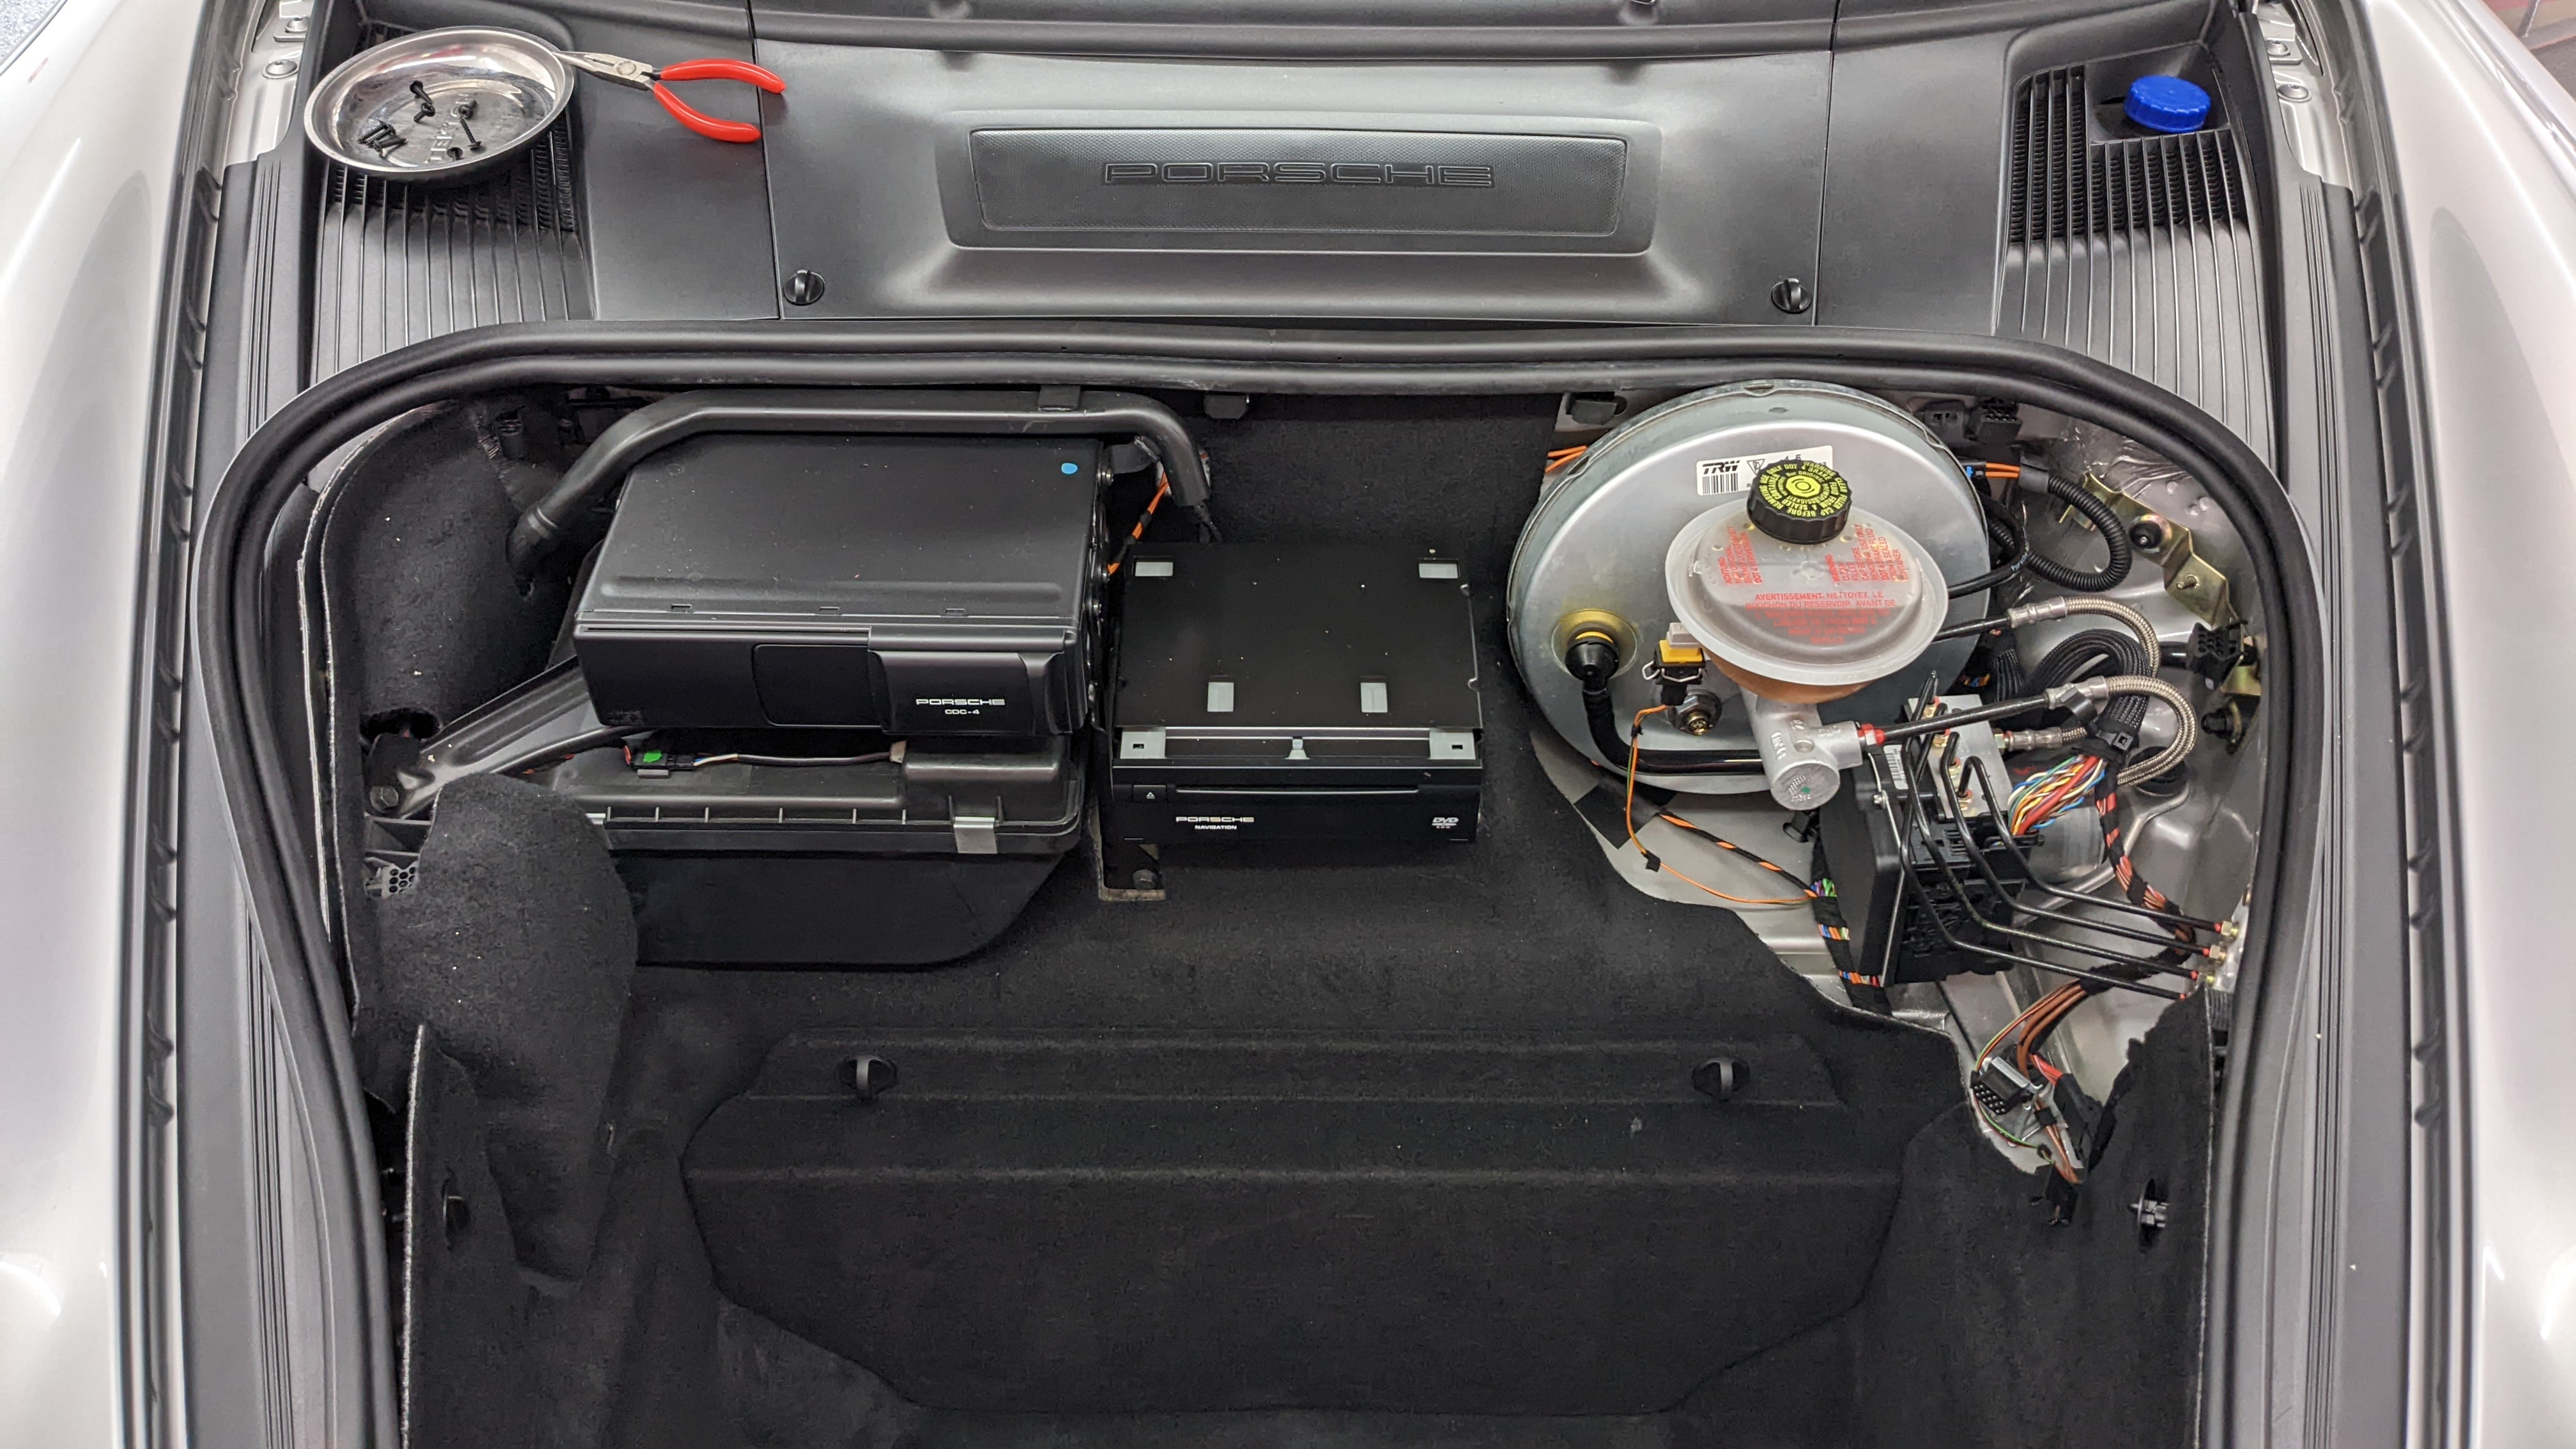
Disconnect the fiber optic cable and jump it so the system still recognizes it.
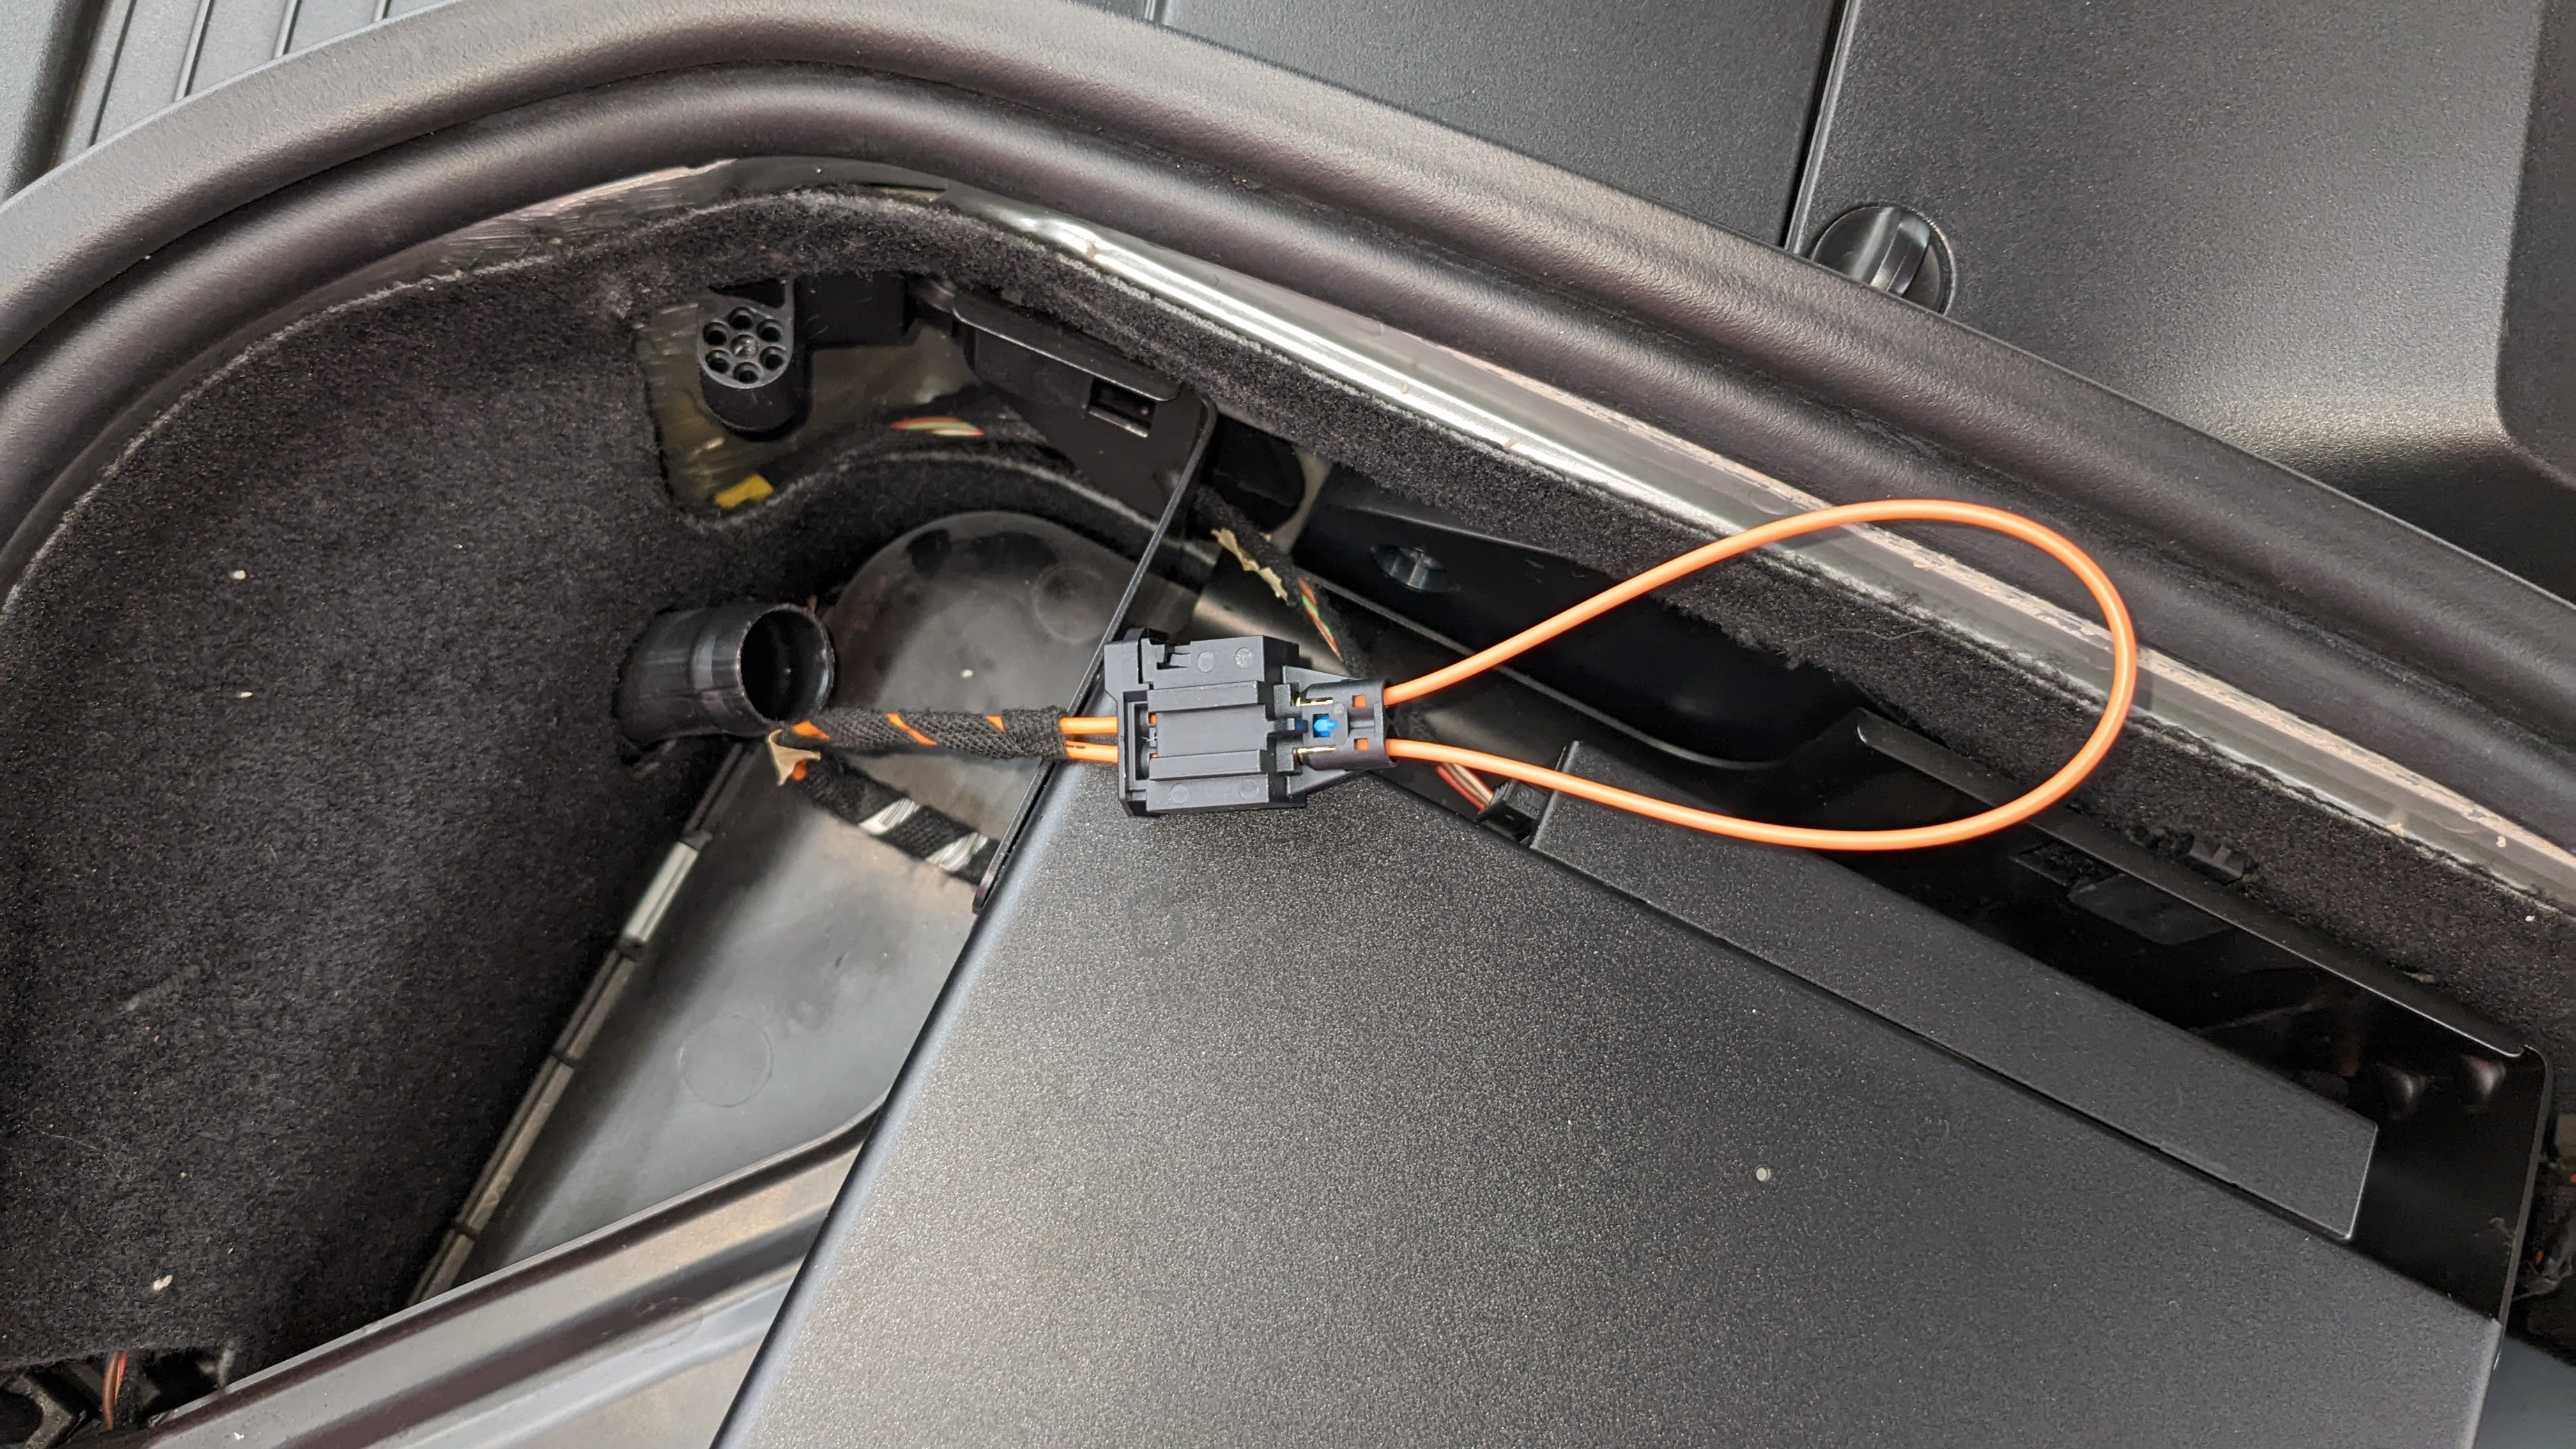
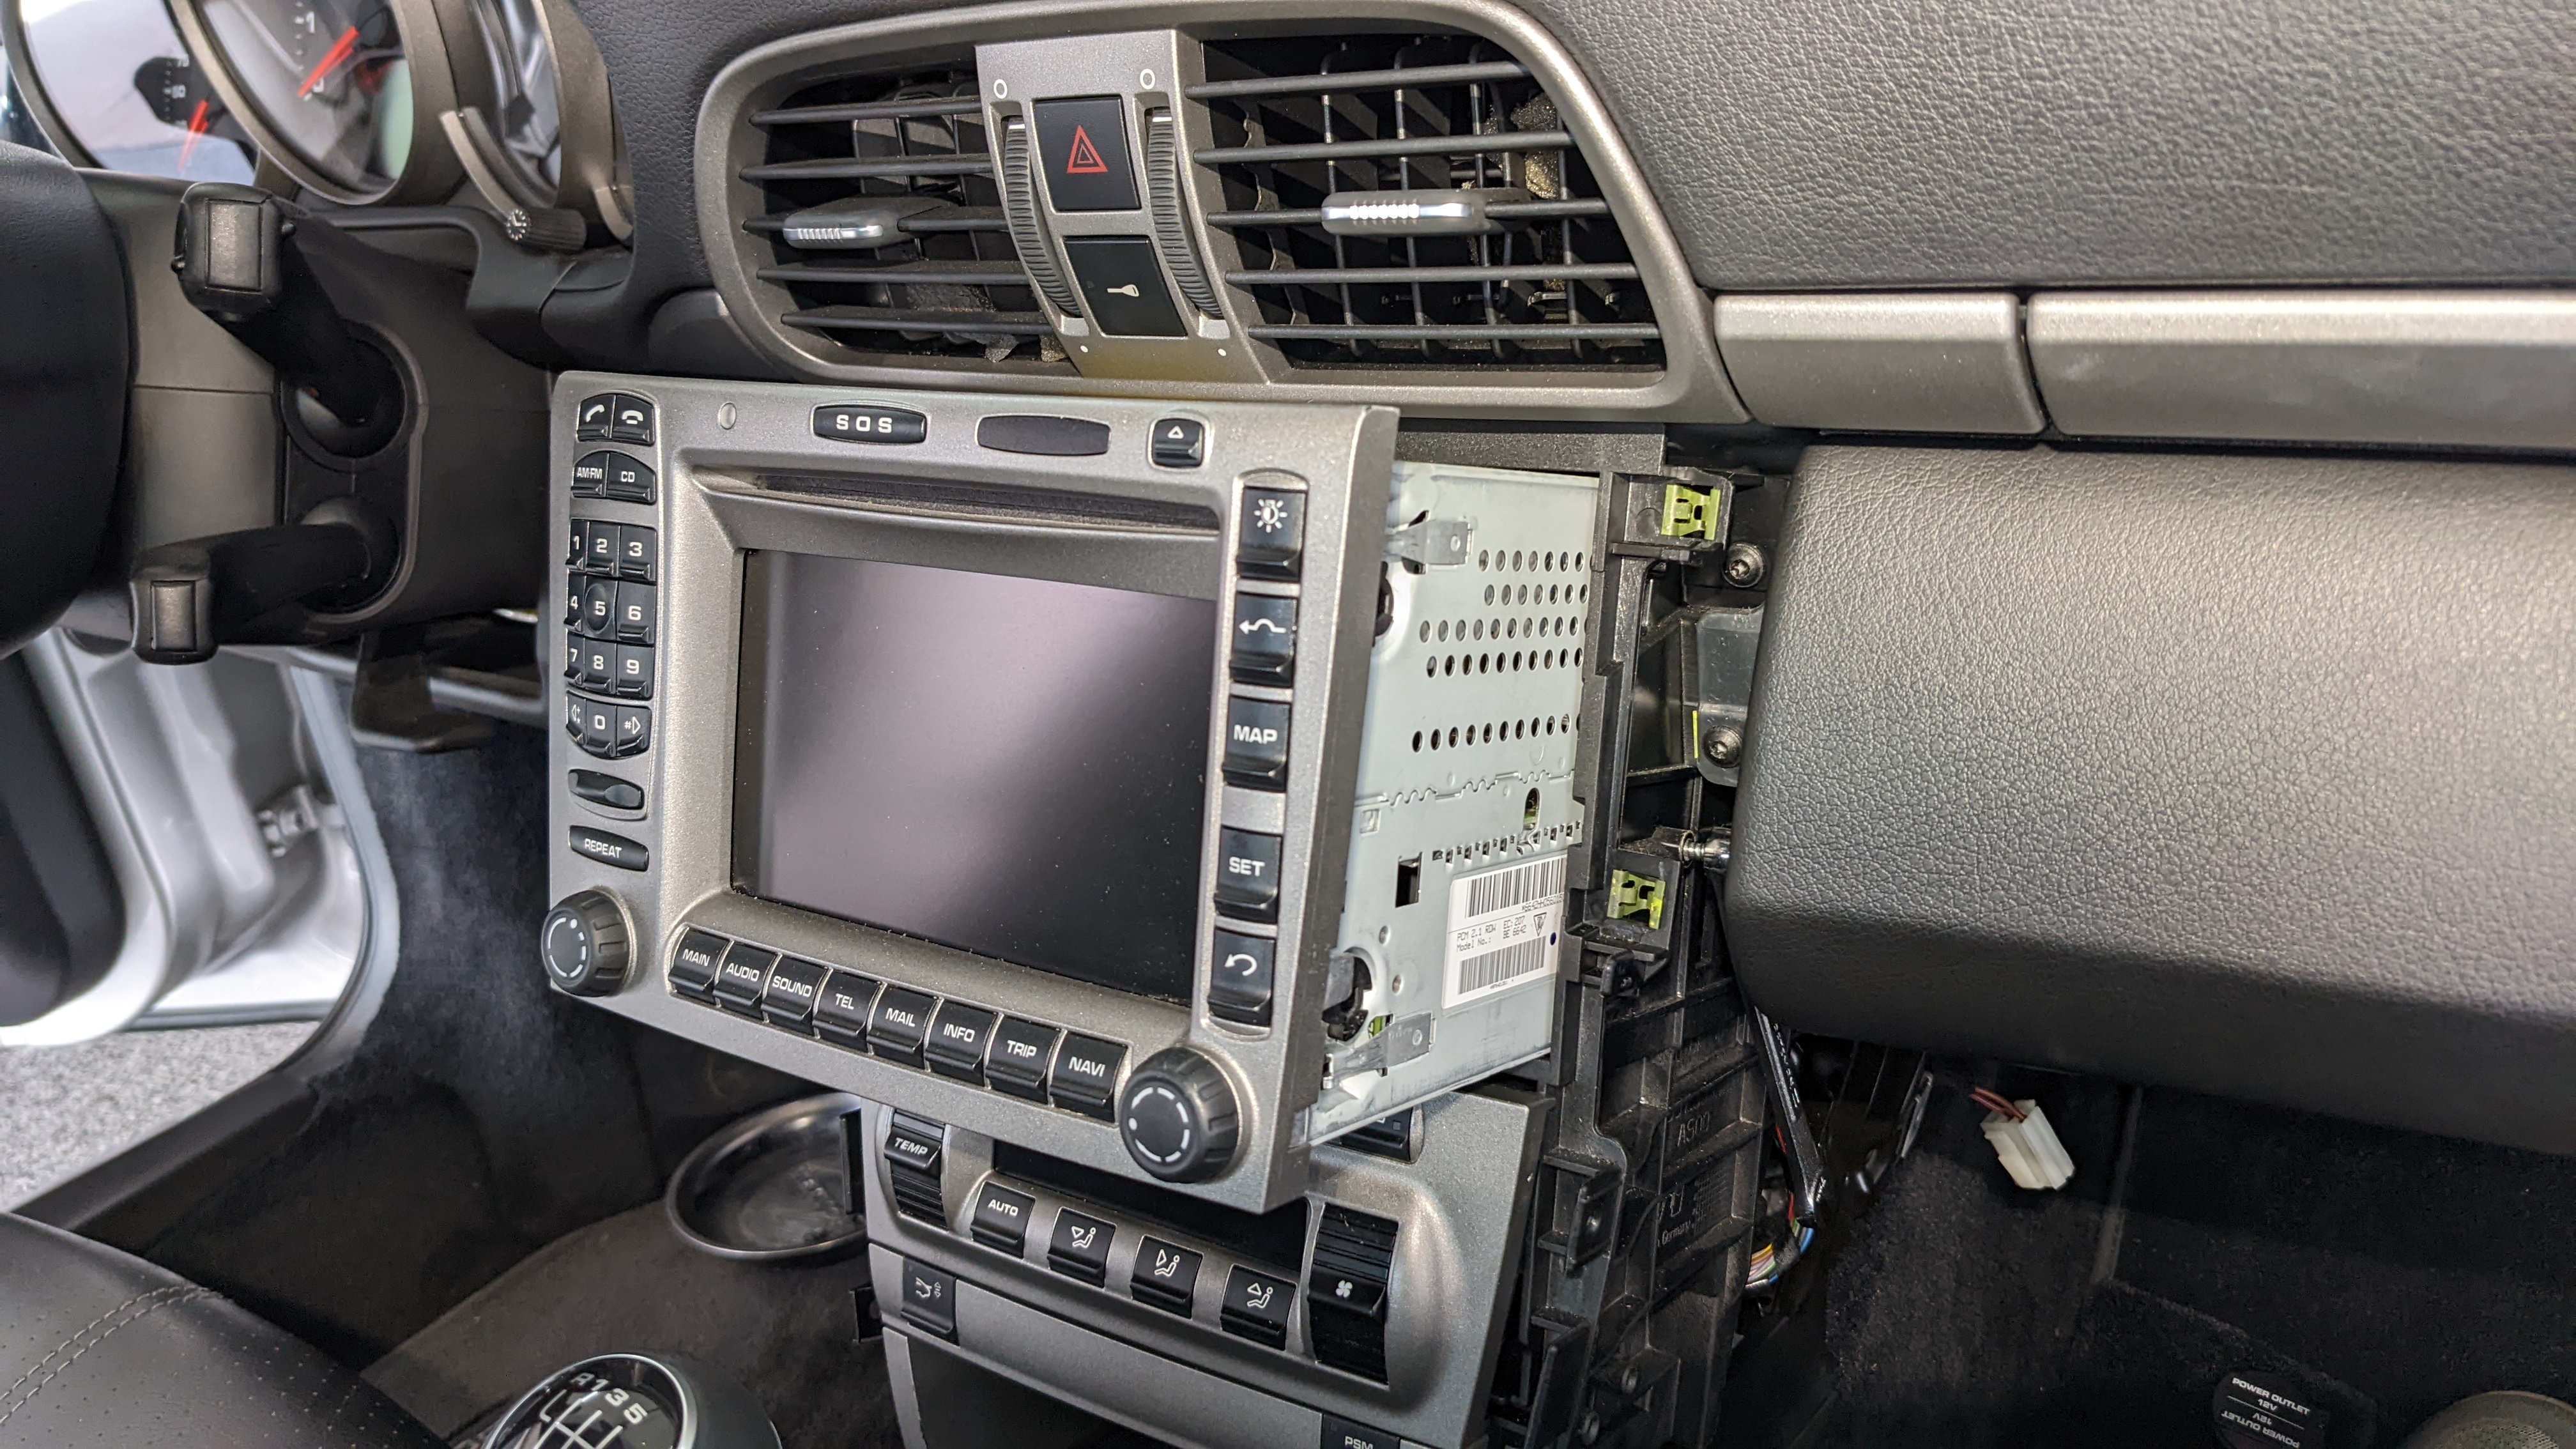
Removing a radio for the first time has never been so enjoyable. Just 2 quarter-turn screws on each side and another 7mm screw, then it easily slides out.
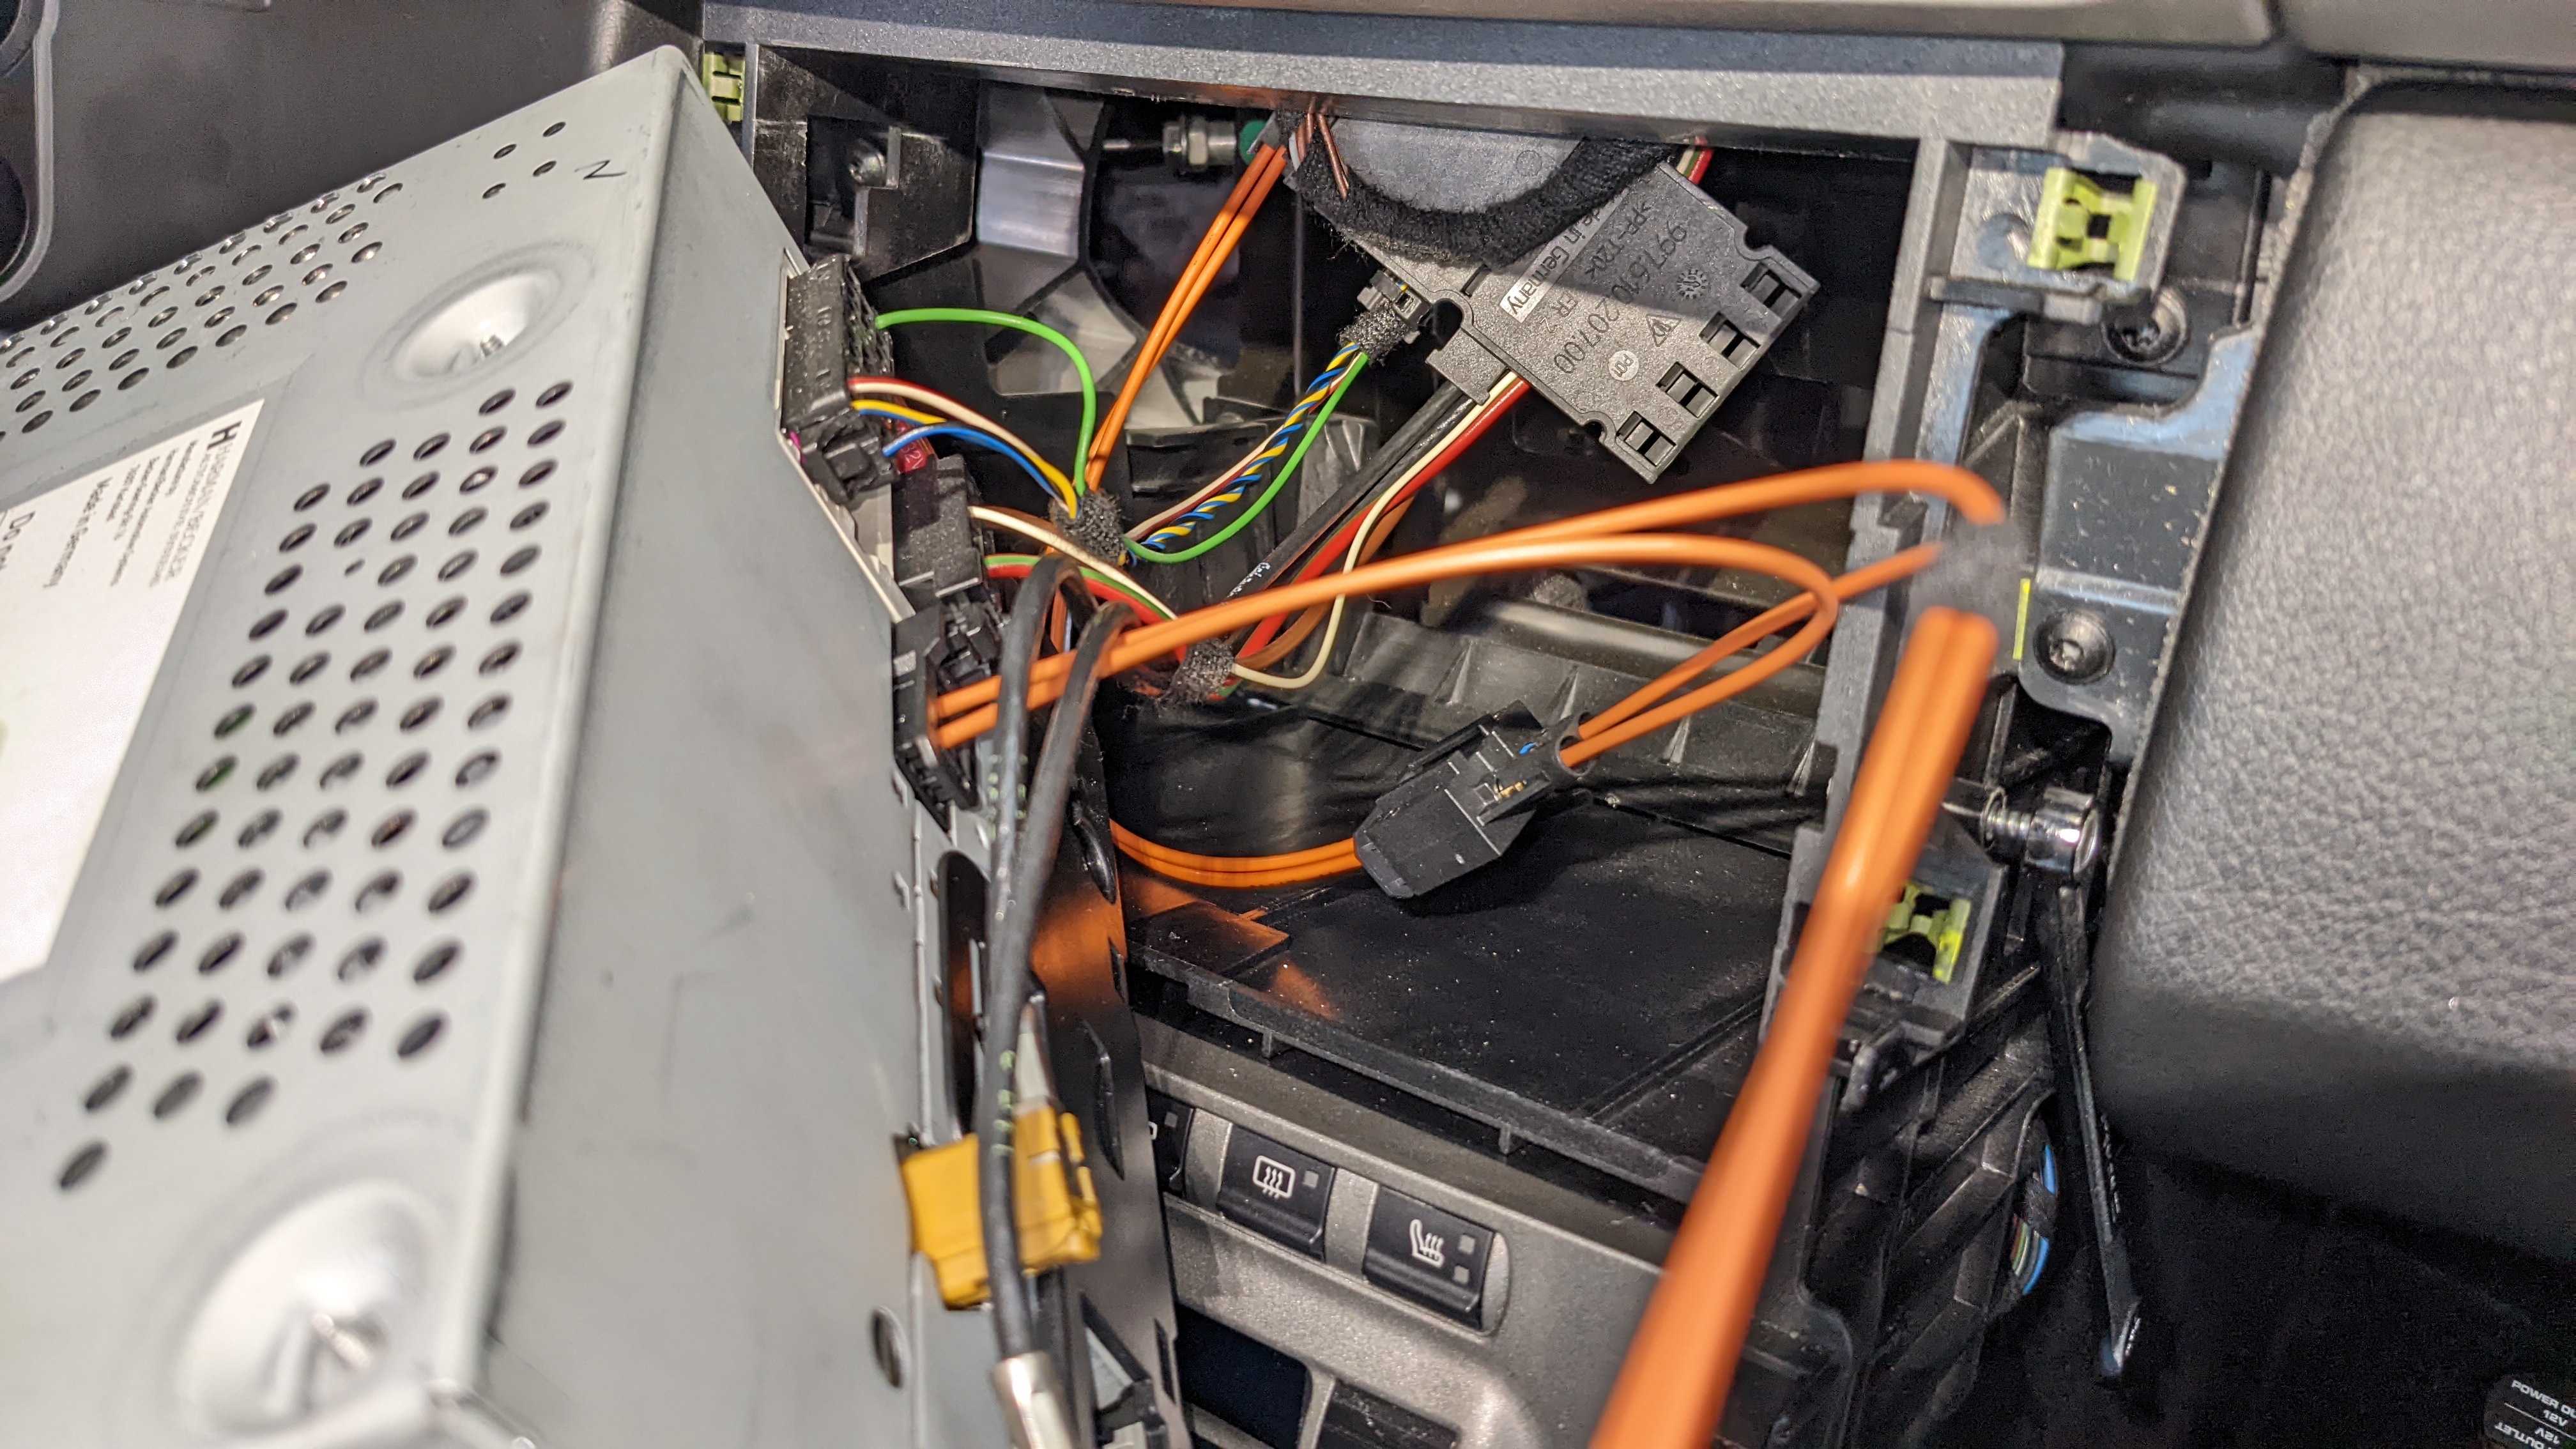
Remove the fiber optic connector and add the other 3-way loop that adds the module in series in place of the CD changer.
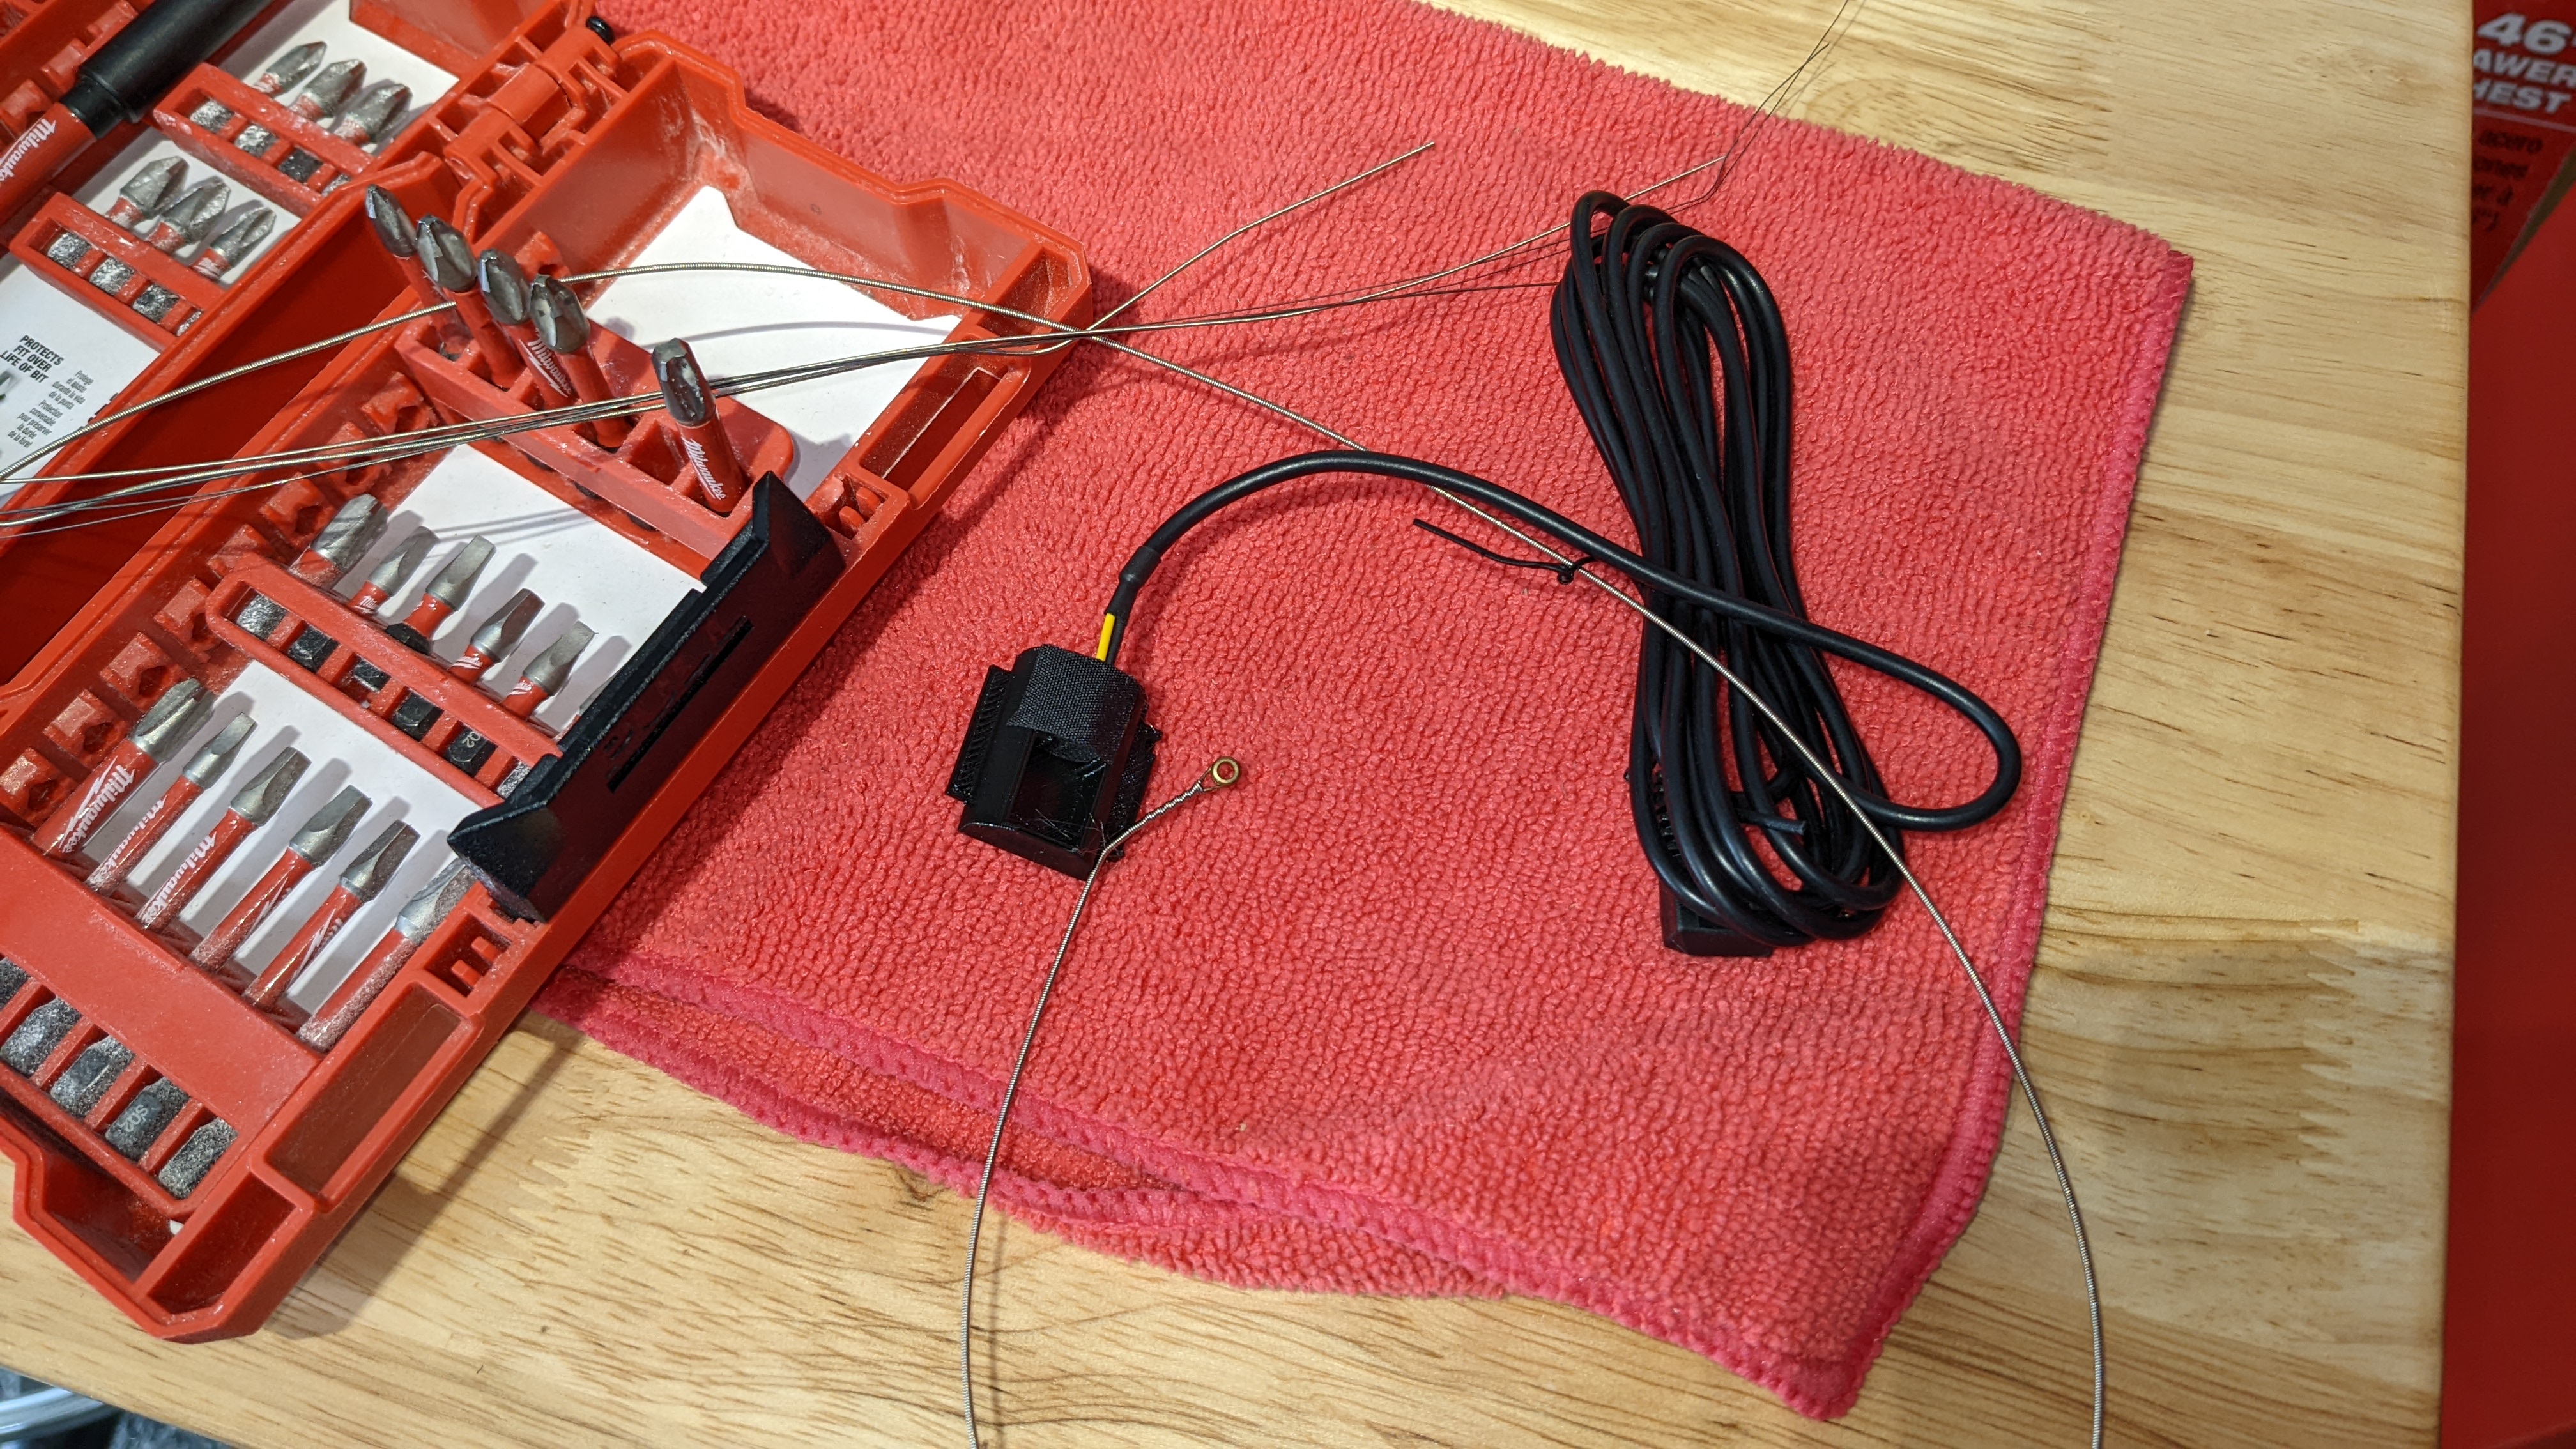
The kit includes a microphone you can run through the A-pillar and headliner, but I wanted something more sleek. So I got the customized mic from Enfig that fits the OEM location and used an old low-E string to route it.
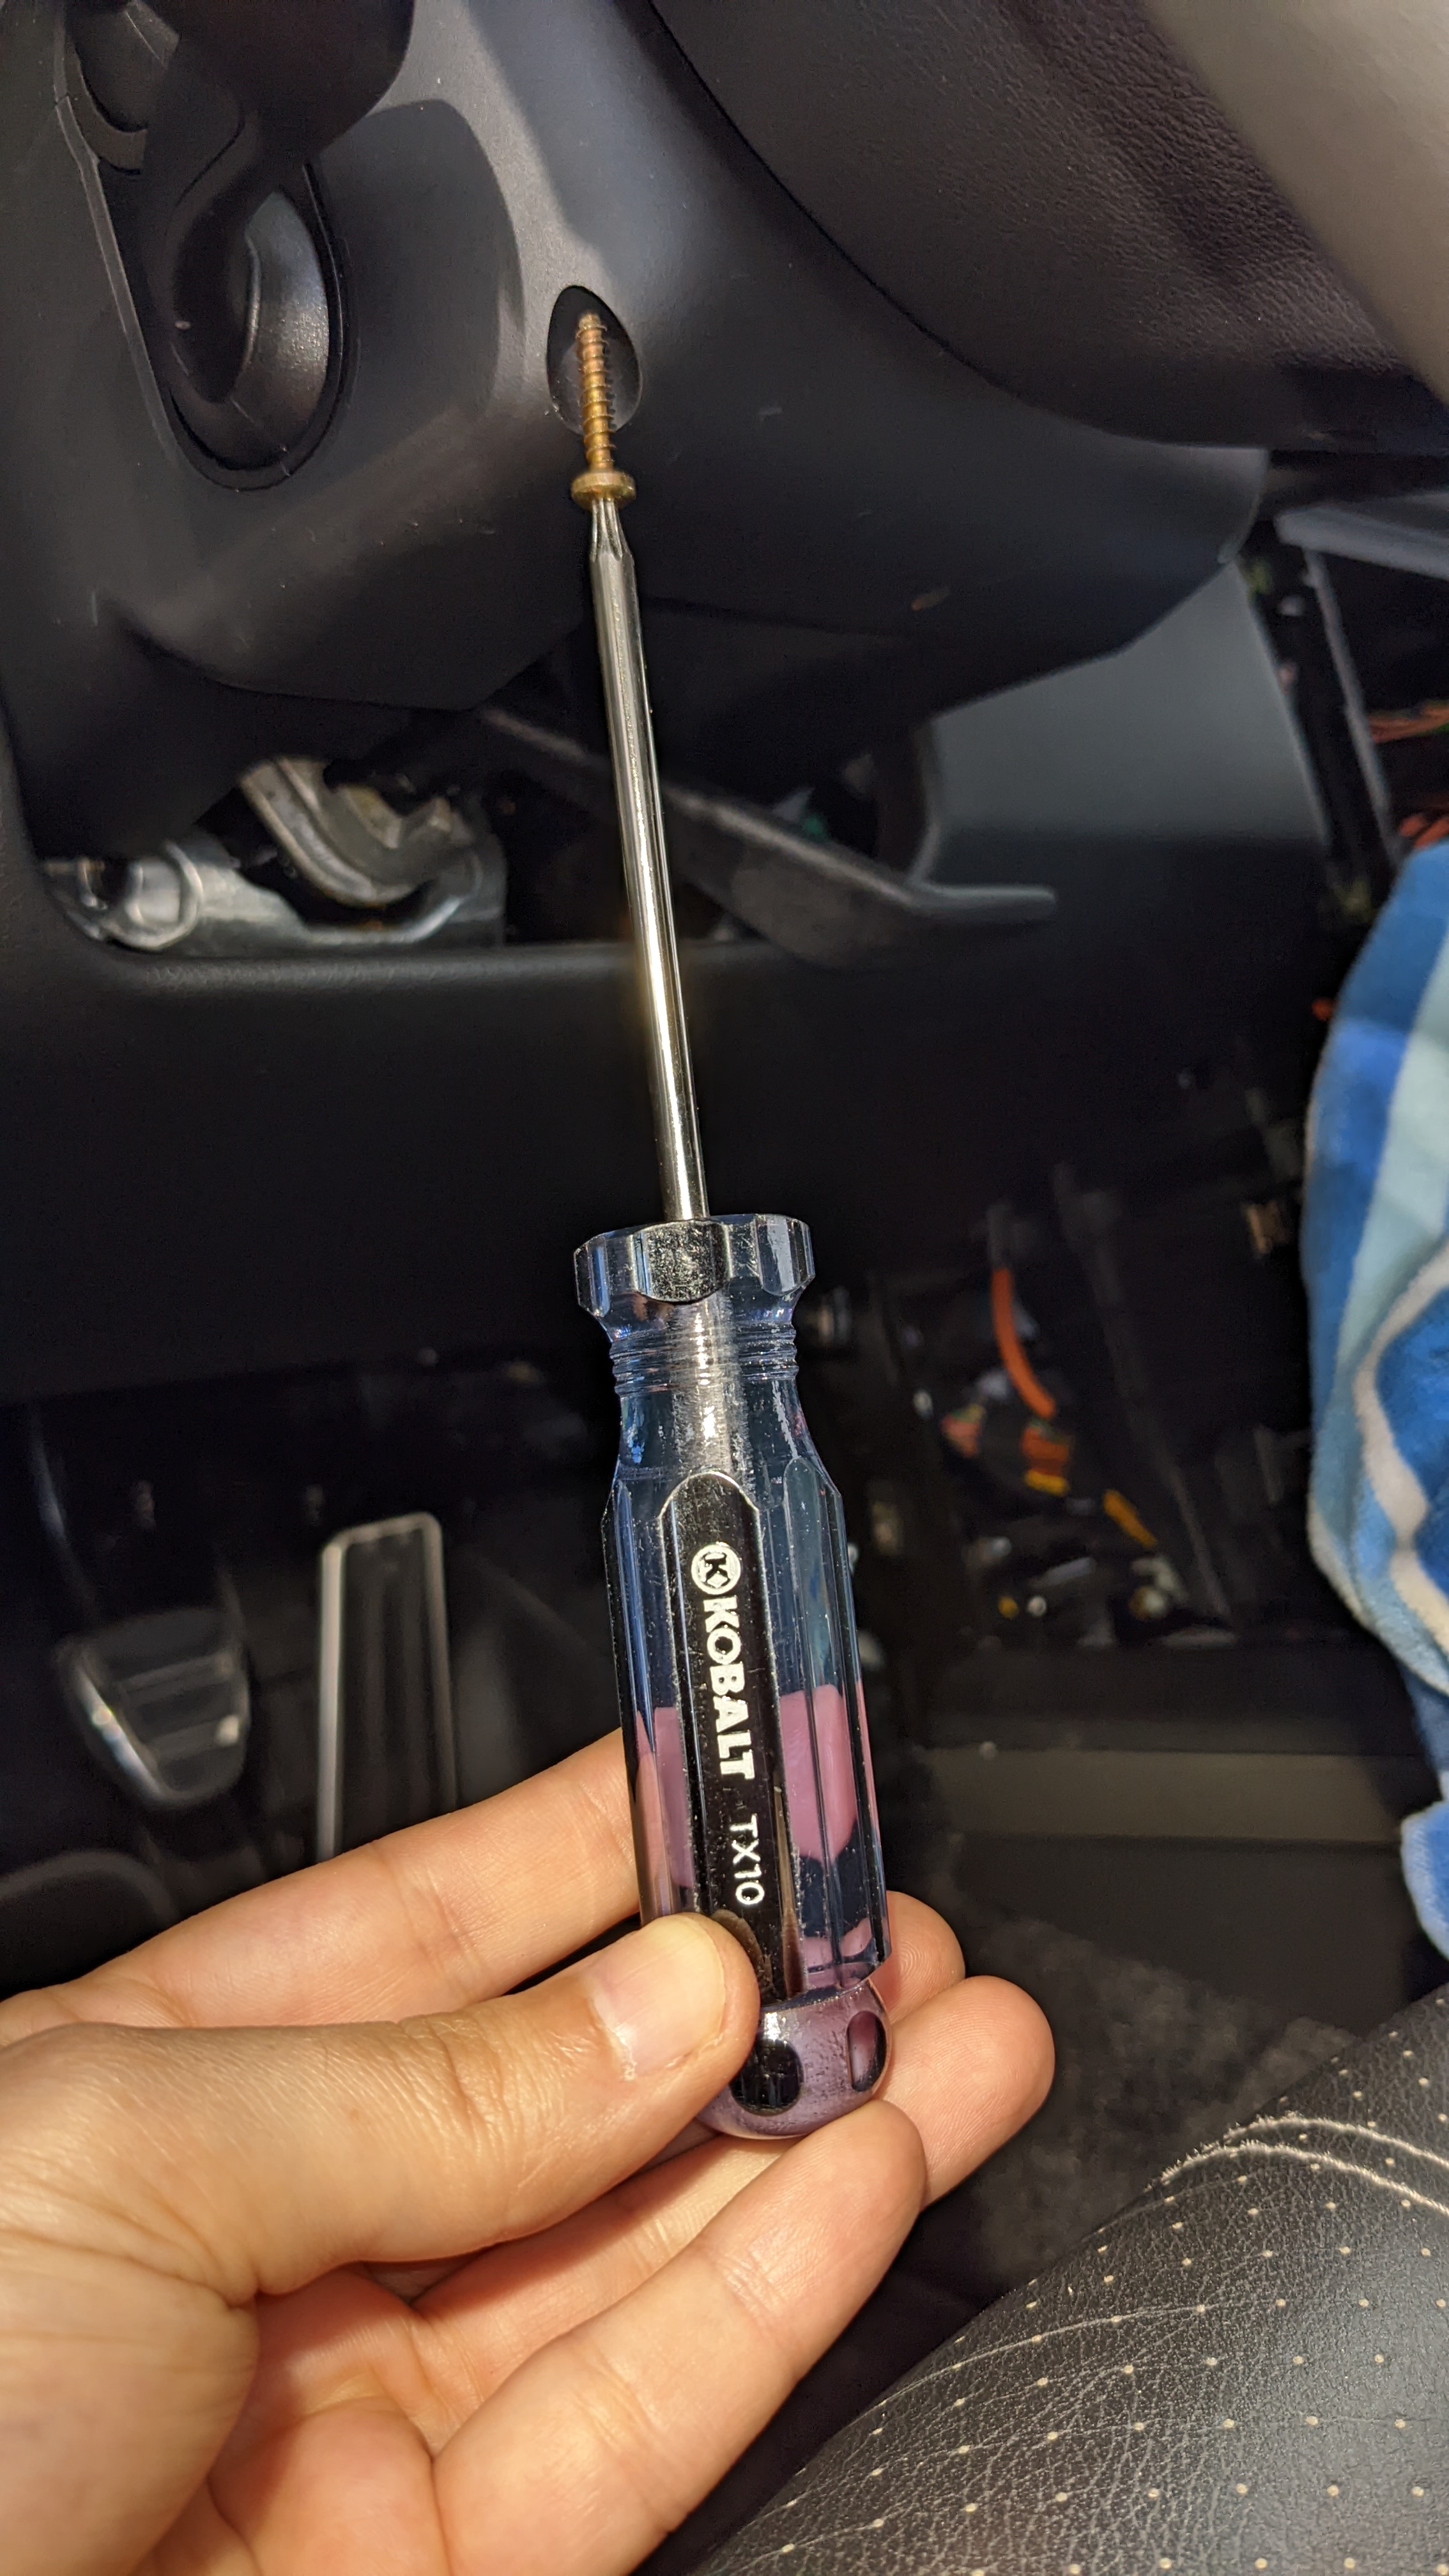
Removing the top clamshell of the steering column is accomplished by removing the 2, T10 screws as illustrated below.
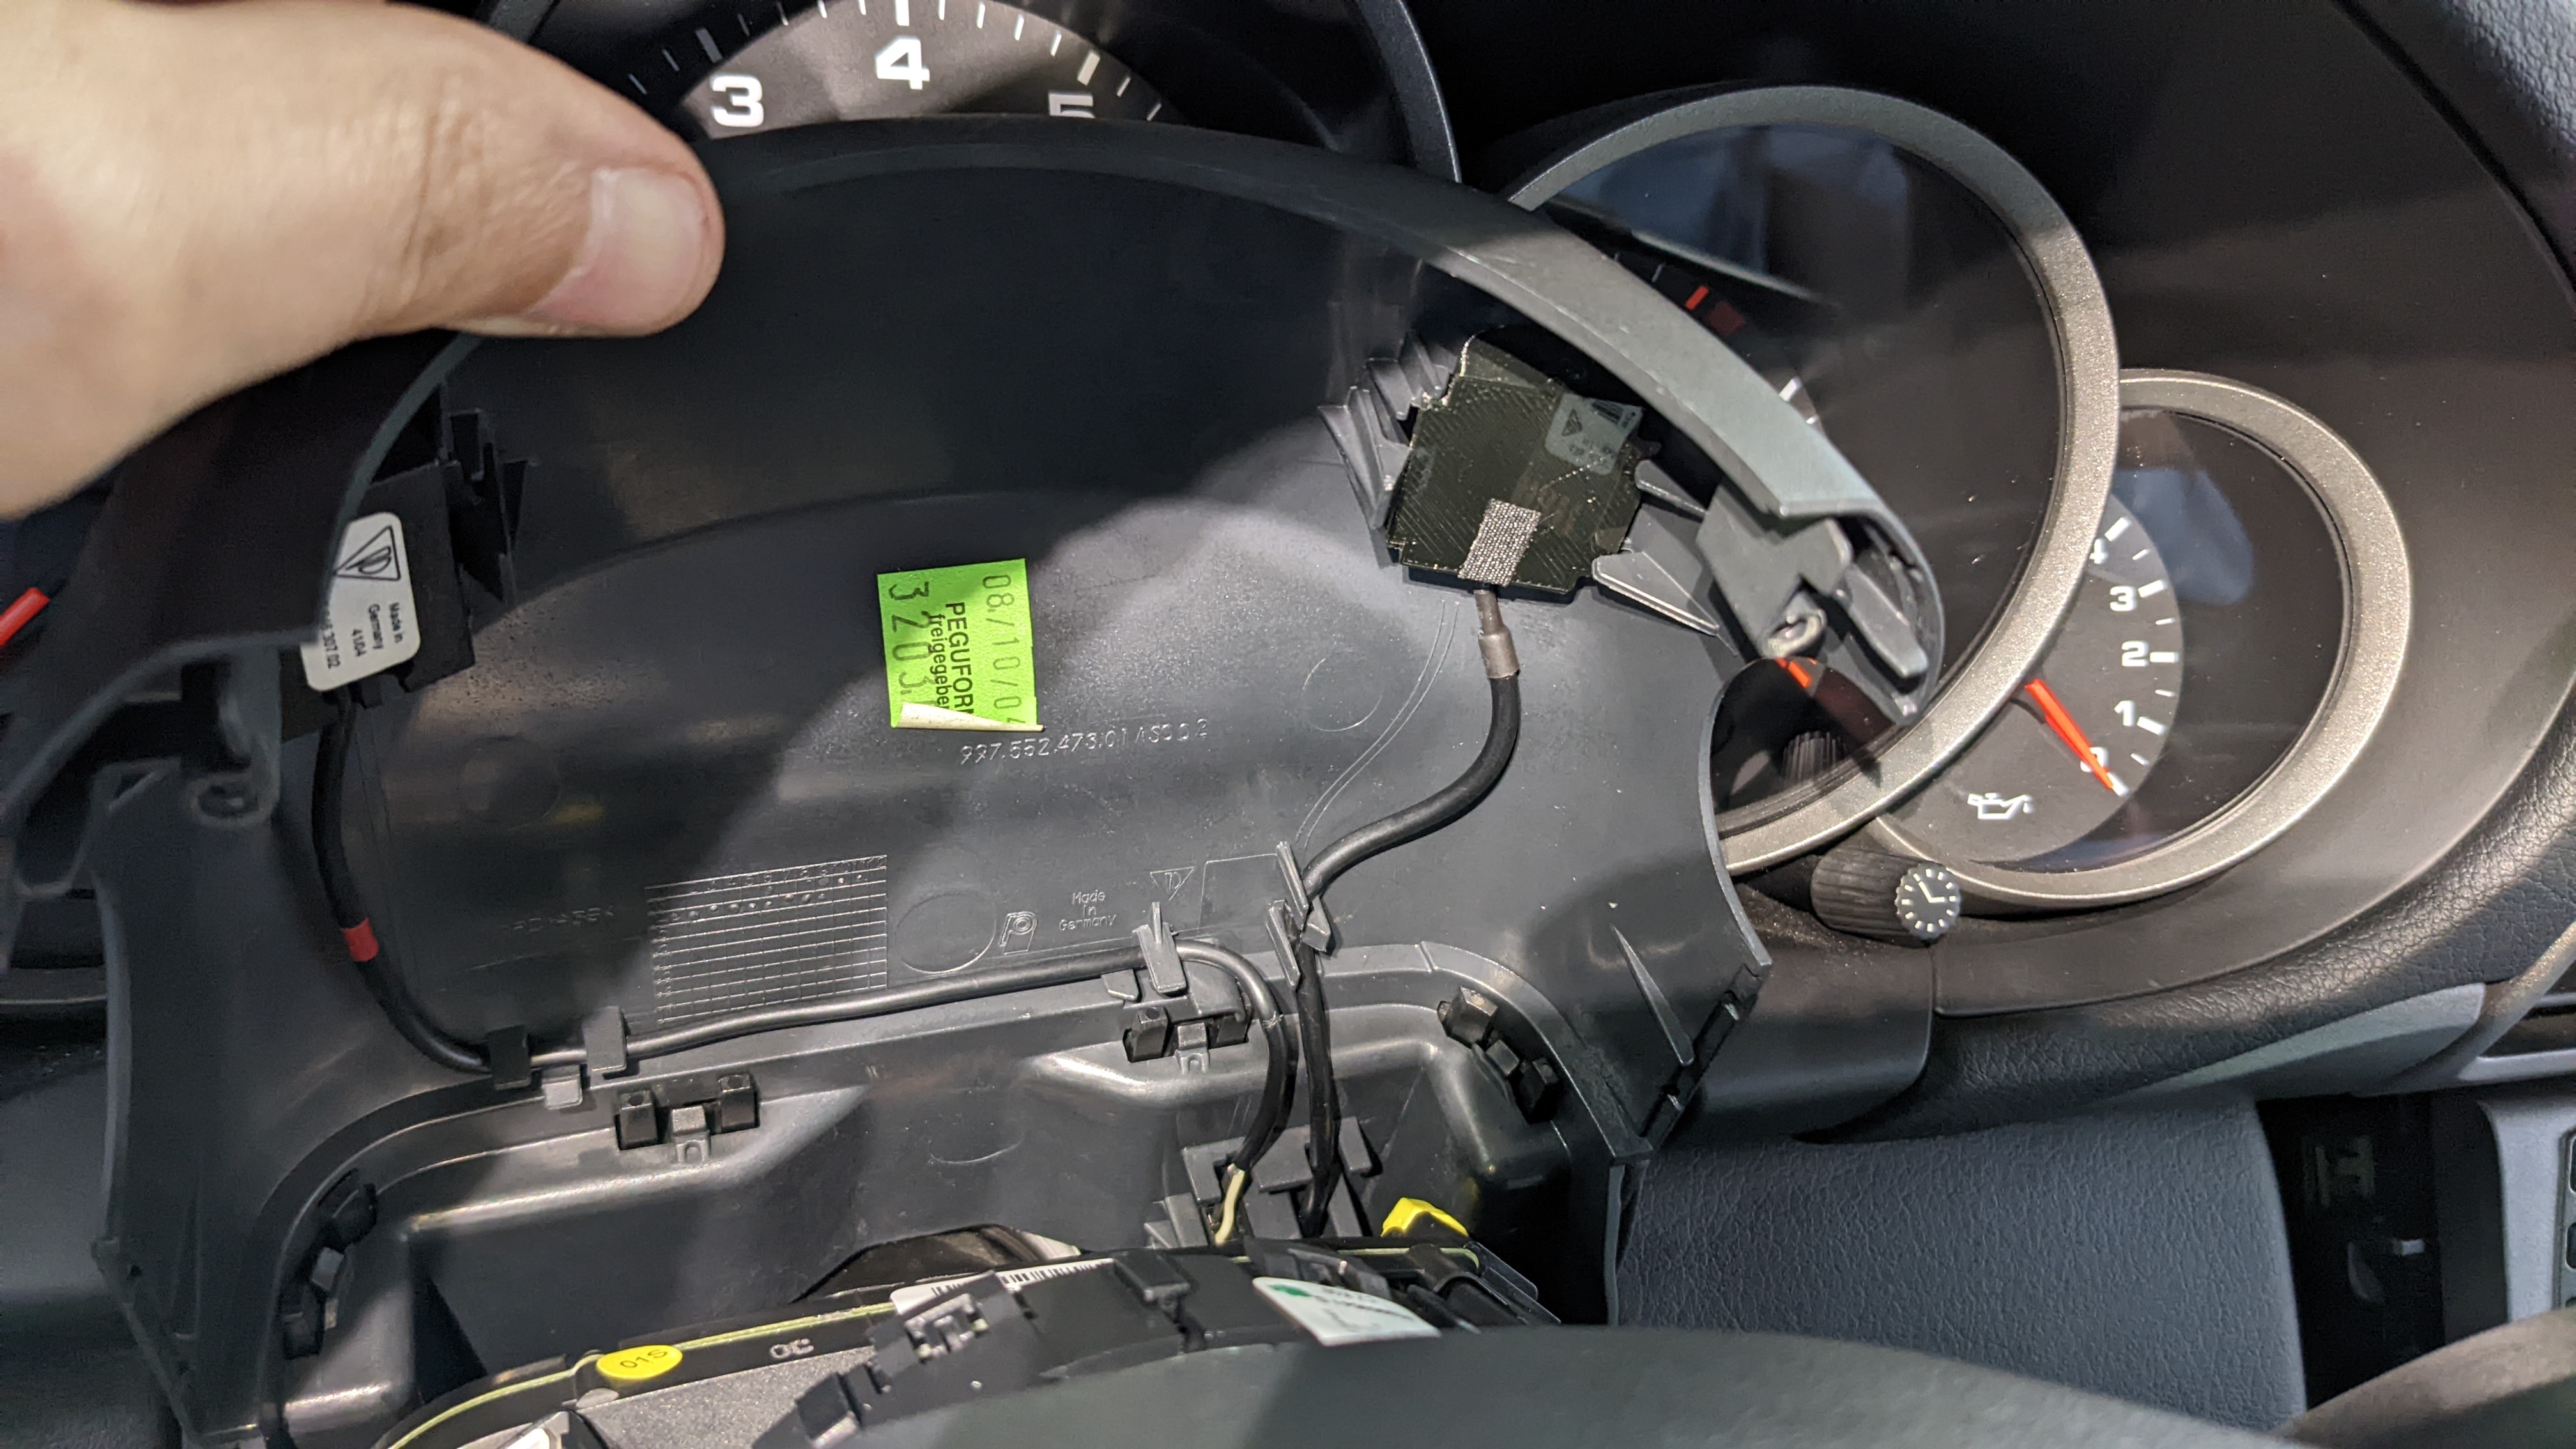
The base is a printed part and did require some sanding, but ultimately it snapped into place and it's completely hidden. The OEM microphone is already installed on the left side, but my car doesn't have the actual telephone module.
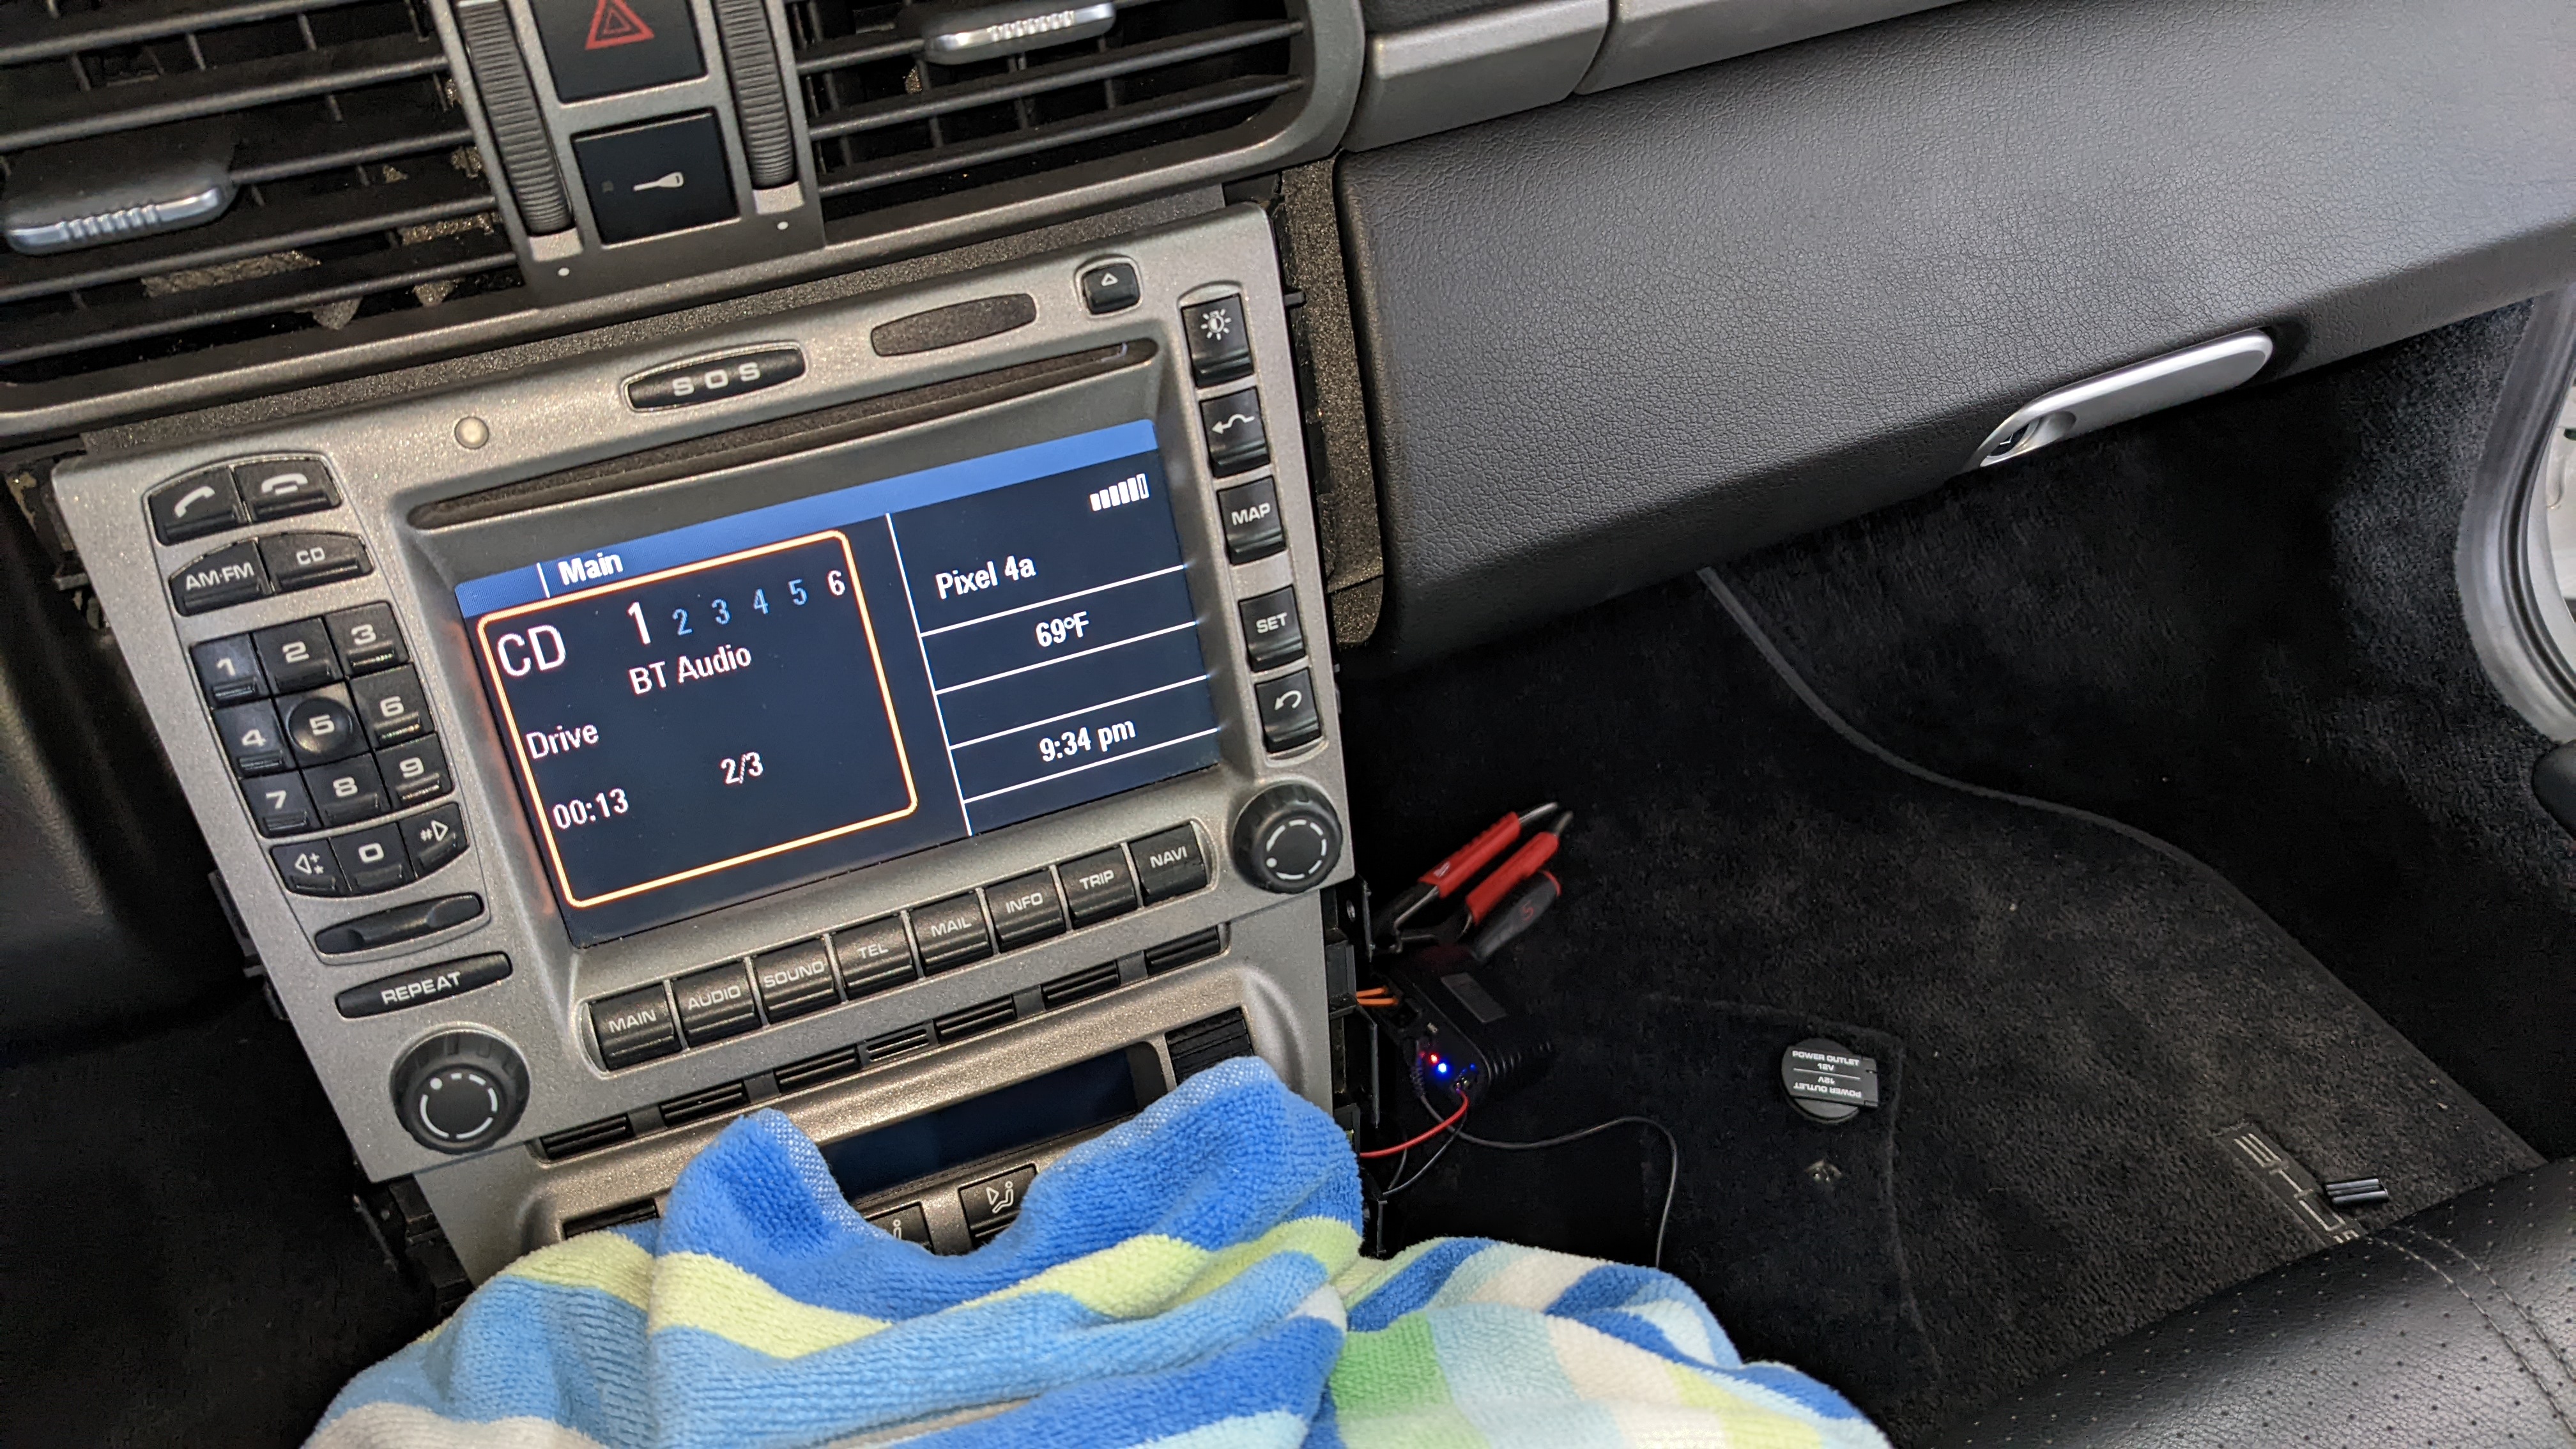
Tapped into the footwell power outlet for 12V power.

Everything paired up easily and boom, we have music! Your phone's name and the song title are displayed which is definitely sufficient. I actually haven't driven it yet to test out the sound quality on the road but did leave myself a voicemail at work that sounded pretty good. Audio quality is fine too, but I'll need to blast some Ludovico Einaudi to really test the system.
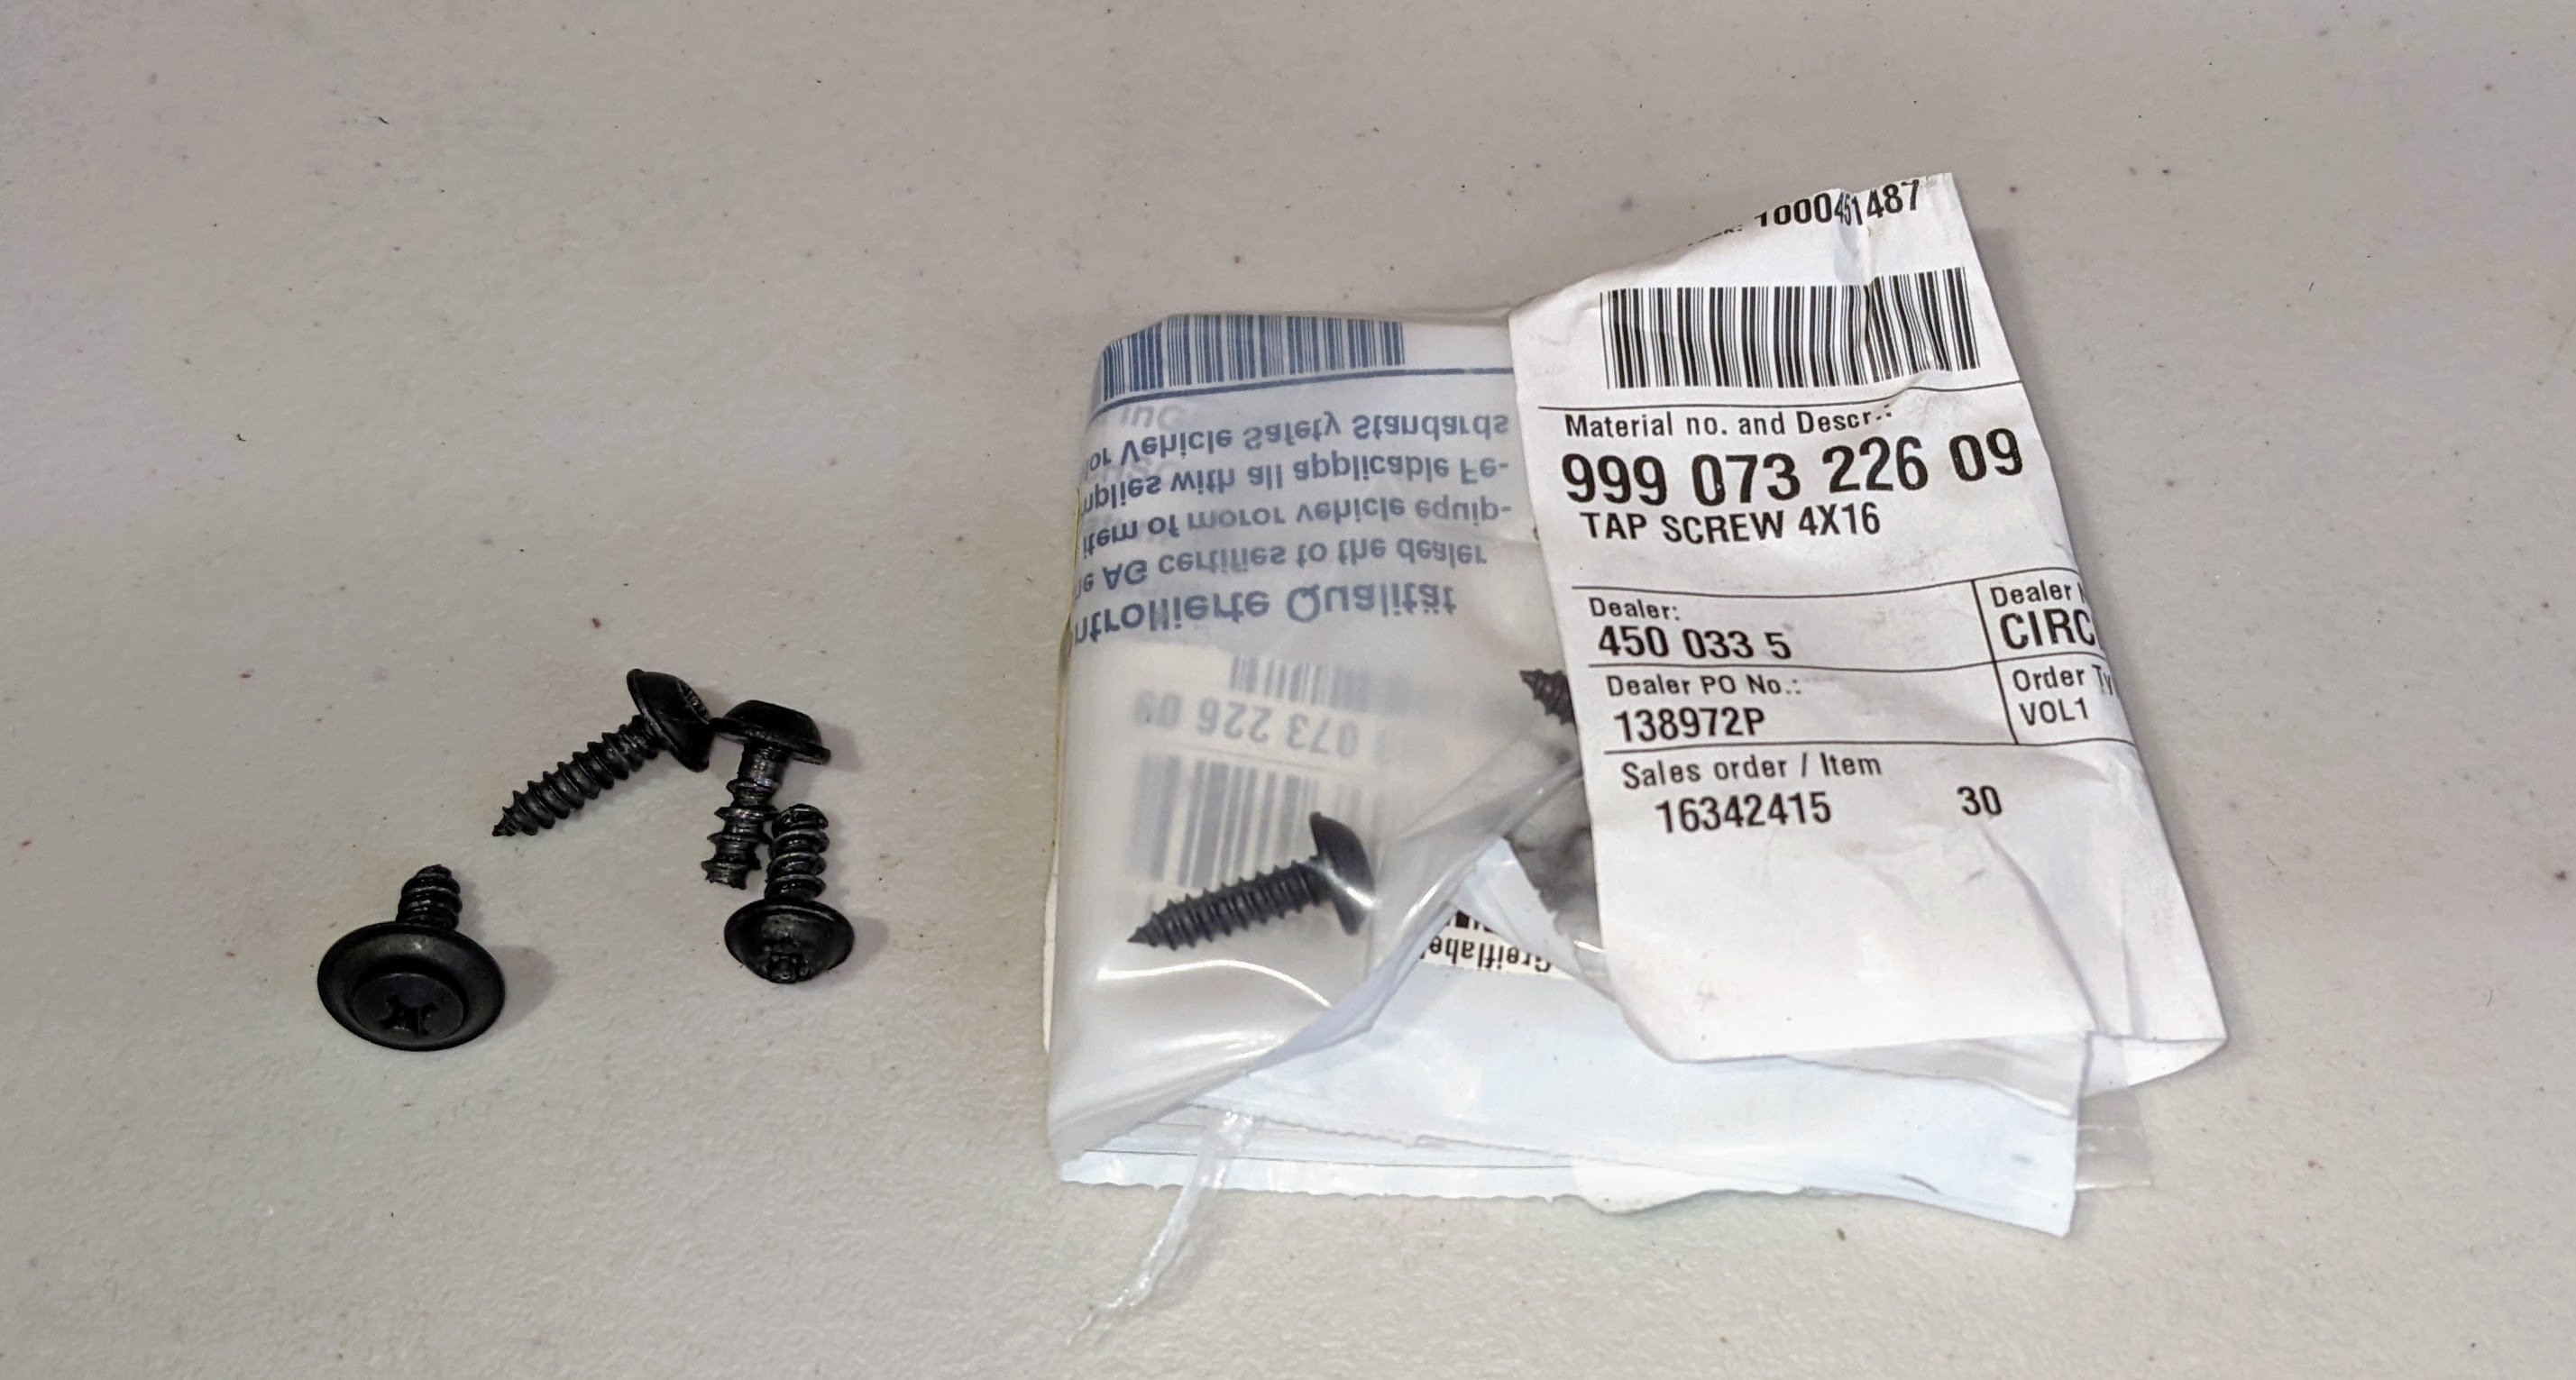
Lastly, I noticed the 4 screws that attach the leather side panels to the console were mismatched and wrong (one wasn't even a T20); guessing they got lost over the years. Can't have that of course...
I also always wanted a 911, not necessarily a Carrera so got the flat black emblem from the 993 to add on there.
I noticed a lot of vibration coming from the decklid fan. Read about it being a common issue but wondered how many people bothered to replace the parts that tie it to the chassis: the rubber grommets.
Easy enough to swap out.
Should've hooked up an accelerometer to quantify the vibrations but in lieu of that, I can say they helped. Plus at $0.94 each, why not. They weren't in stock so they were shipped from Germany but it was coming in the same shipment as the new shift ****.
Speaking of which:
You don't always notice how old & weathered leather can get until you see a fresh part.
Then time to modernize the audio. Instead of continuing to wait for the Porsche Classic head unit, went with the Rennkit hardware (same as "MR12VOLT") for about $200.
First step is removing the frunk panels to get access to the CD changer.
Disconnect the fiber optic cable and jump it so the system still recognizes it.
Removing a radio for the first time has never been so enjoyable. Just 2 quarter-turn screws on each side and another 7mm screw, then it easily slides out.
Remove the fiber optic connector and add the other 3-way loop that adds the module in series in place of the CD changer.
The kit includes a microphone you can run through the A-pillar and headliner, but I wanted something more sleek. So I got the customized mic from Enfig that fits the OEM location and used an old low-E string to route it.
Removing the top clamshell of the steering column is accomplished by removing the 2, T10 screws as illustrated below.
The base is a printed part and did require some sanding, but ultimately it snapped into place and it's completely hidden. The OEM microphone is already installed on the left side, but my car doesn't have the actual telephone module.
Tapped into the footwell power outlet for 12V power.
Everything paired up easily and boom, we have music! Your phone's name and the song title are displayed which is definitely sufficient. I actually haven't driven it yet to test out the sound quality on the road but did leave myself a voicemail at work that sounded pretty good. Audio quality is fine too, but I'll need to blast some Ludovico Einaudi to really test the system.
Lastly, I noticed the 4 screws that attach the leather side panels to the console were mismatched and wrong (one wasn't even a T20); guessing they got lost over the years. Can't have that of course...
The following 6 users liked this post by kiznarsh:
ElectricChair (05-26-2022),
myw (07-26-2022),
nydog (05-28-2022),
RennKit-Dave (05-26-2022),
tegraphile (01-04-2023),
and 1 others liked this post.
06-14-2022, 08:45 PM
#45
Rennlist Member
Thread Starter
Nostalgia is a hell of a drug so let's go old school.
Forget about those videos where you steam the stone guards and it all magically pulls off in one piece in a few minutes. Forget all of that.
Except the steamer. Don't forget that.
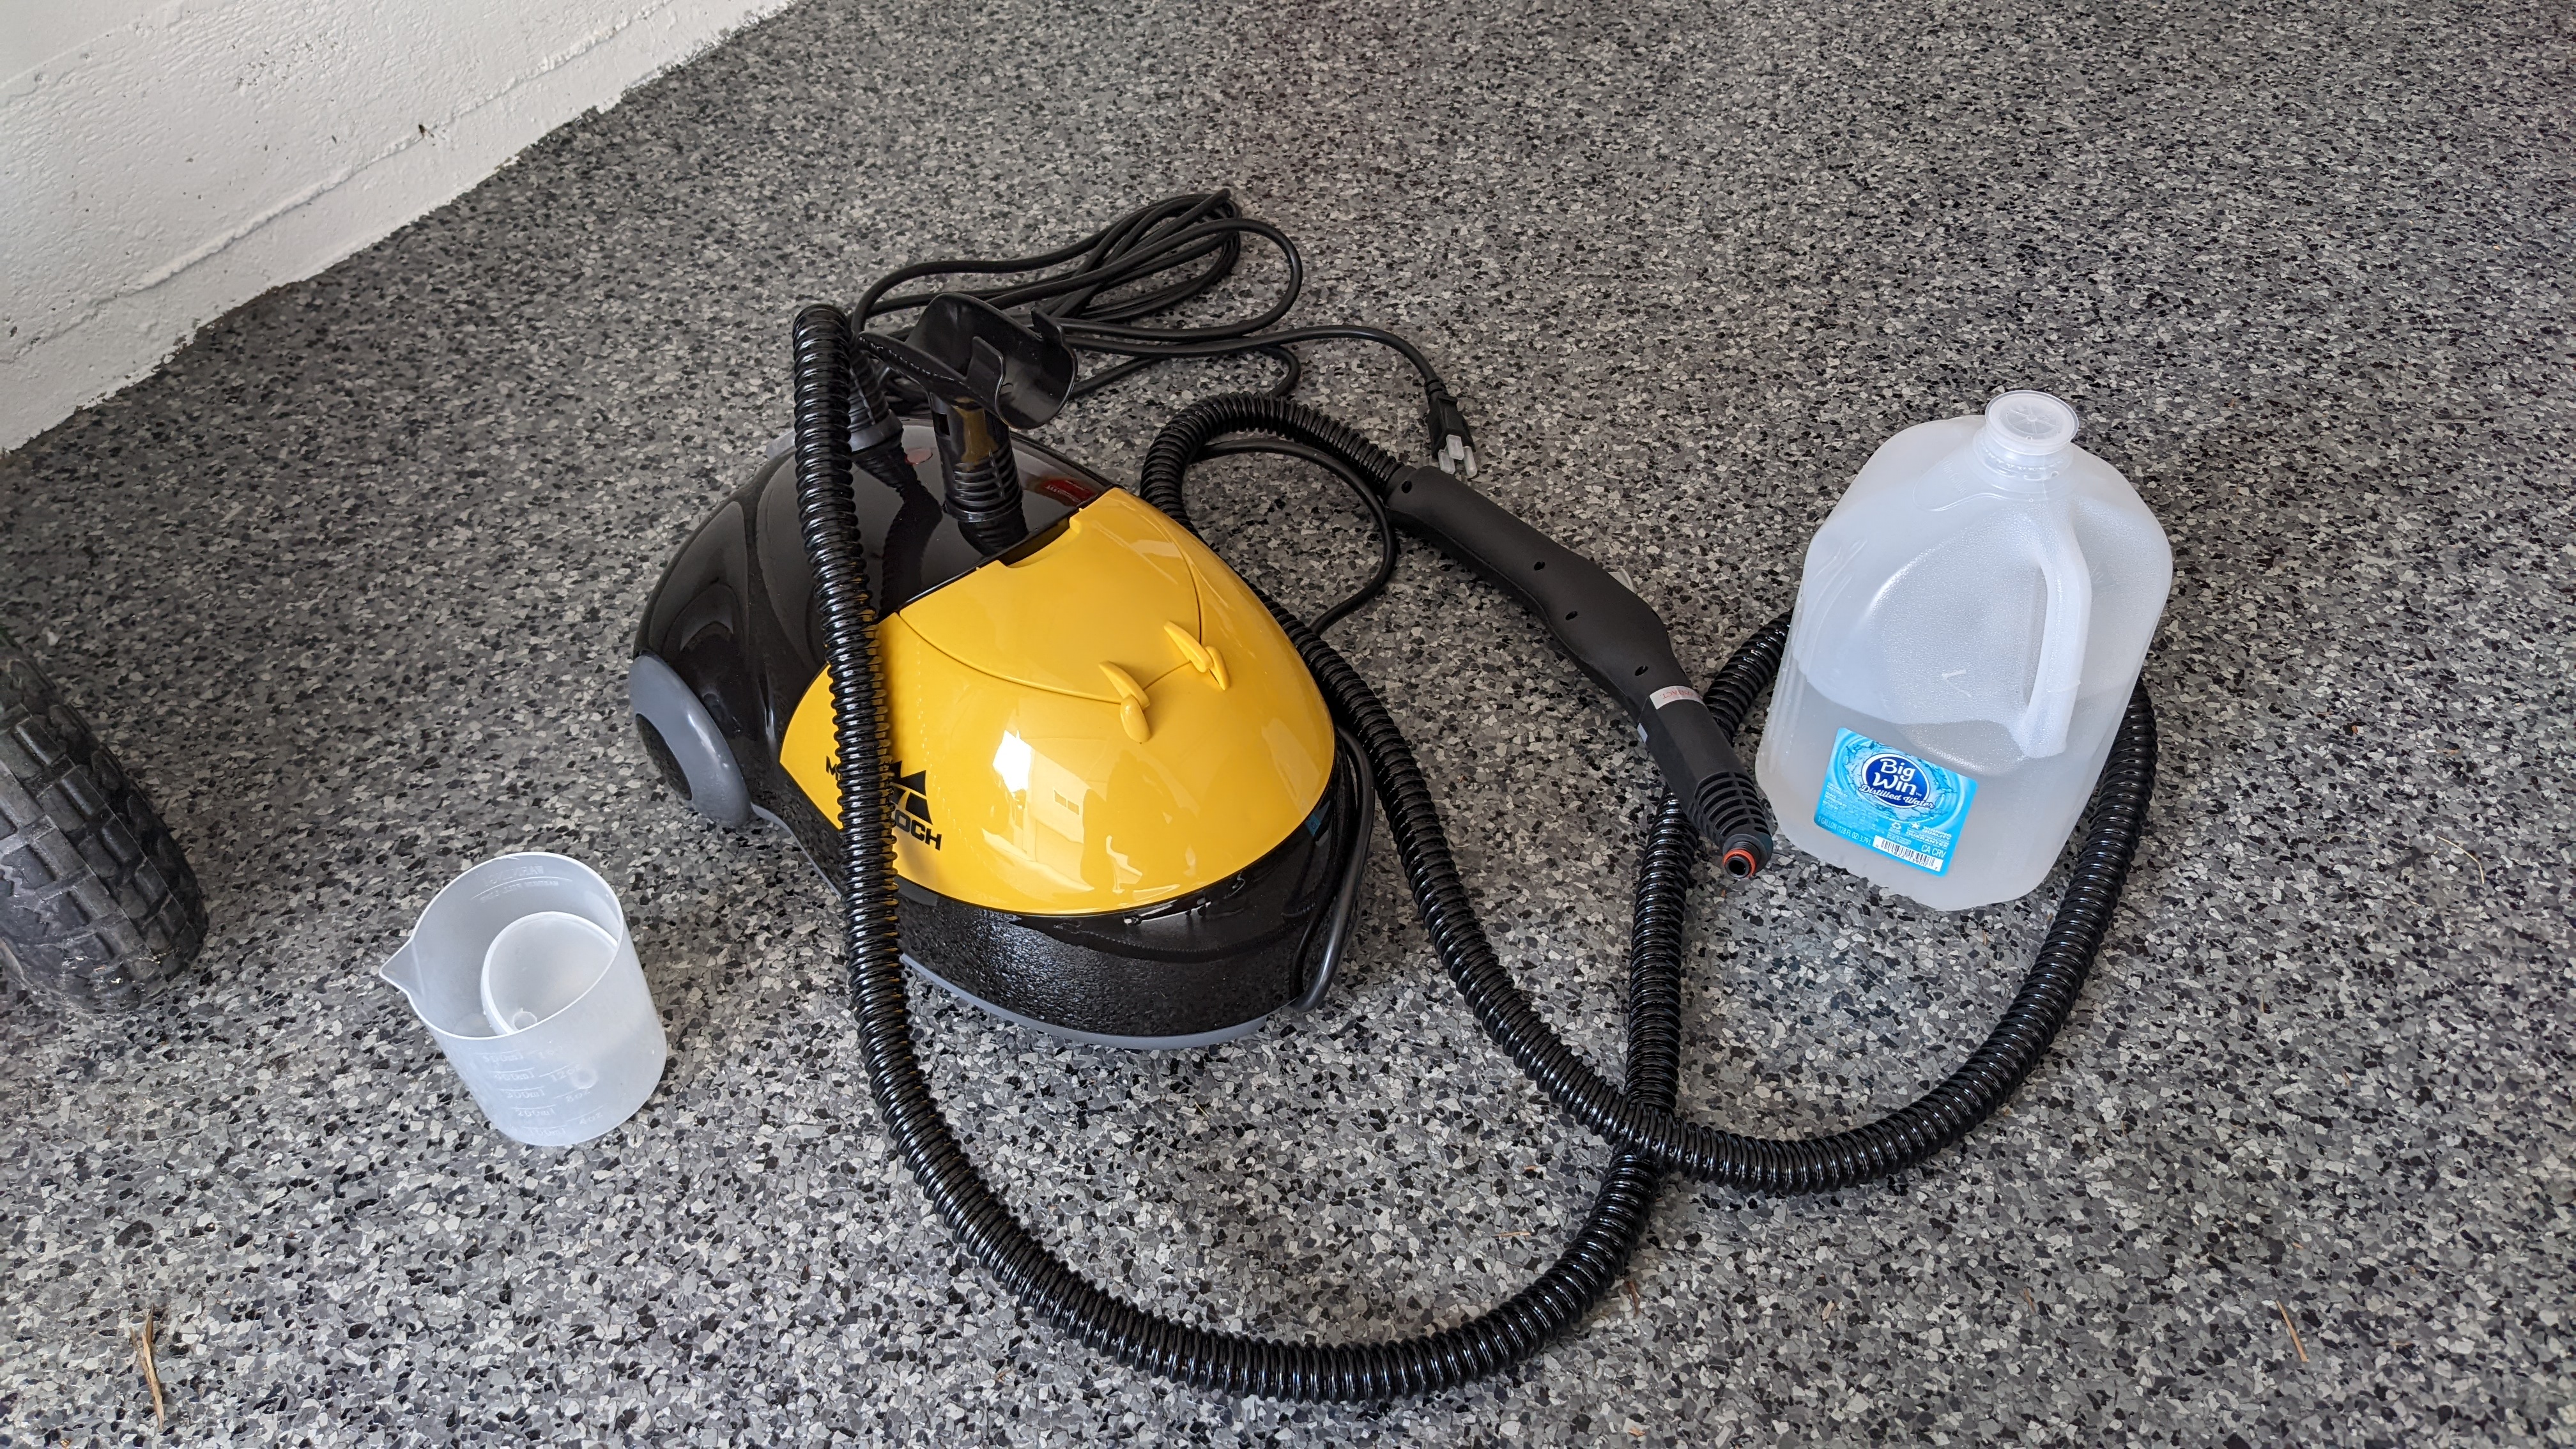
I think this stopped being clear a long time ago.

At nearly 18 years old, removing this was every bit as time consuming and tedious as you'd imagine, but I expected it so I just took my time (i.e. hours).
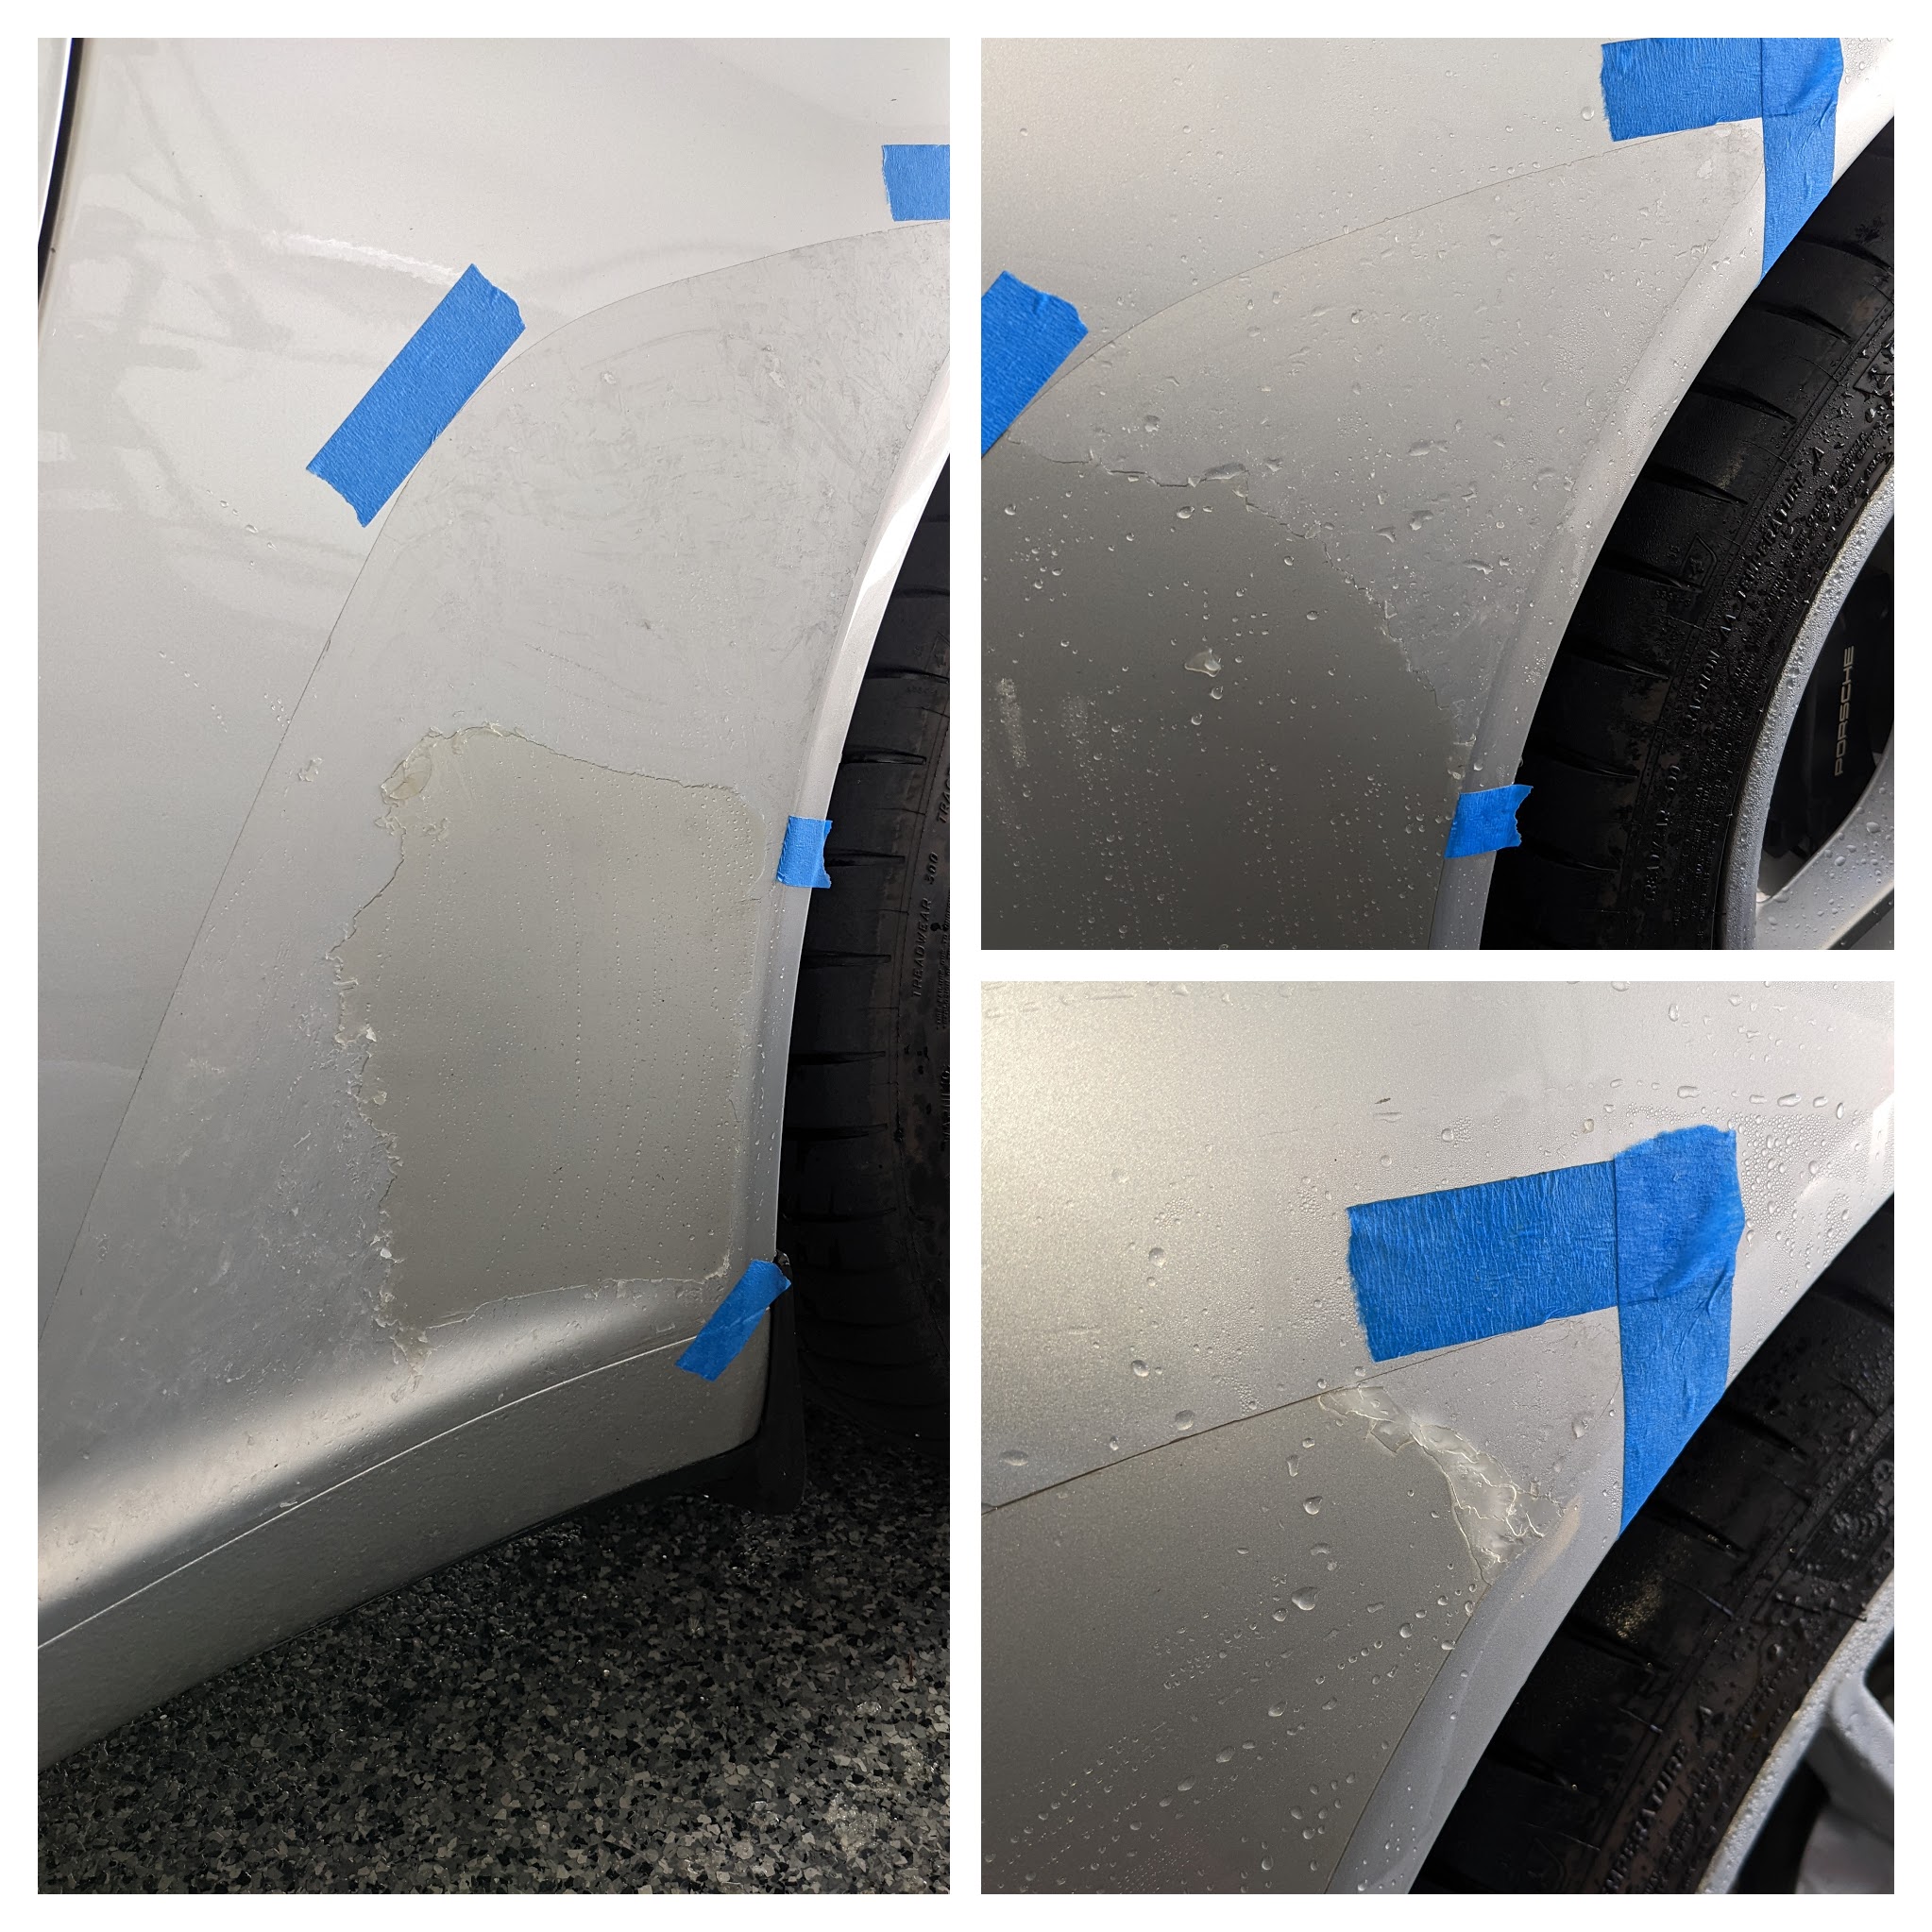
After using more steam, then alcohol and Goo Gone, I went with the rubber eraser for the knockout.
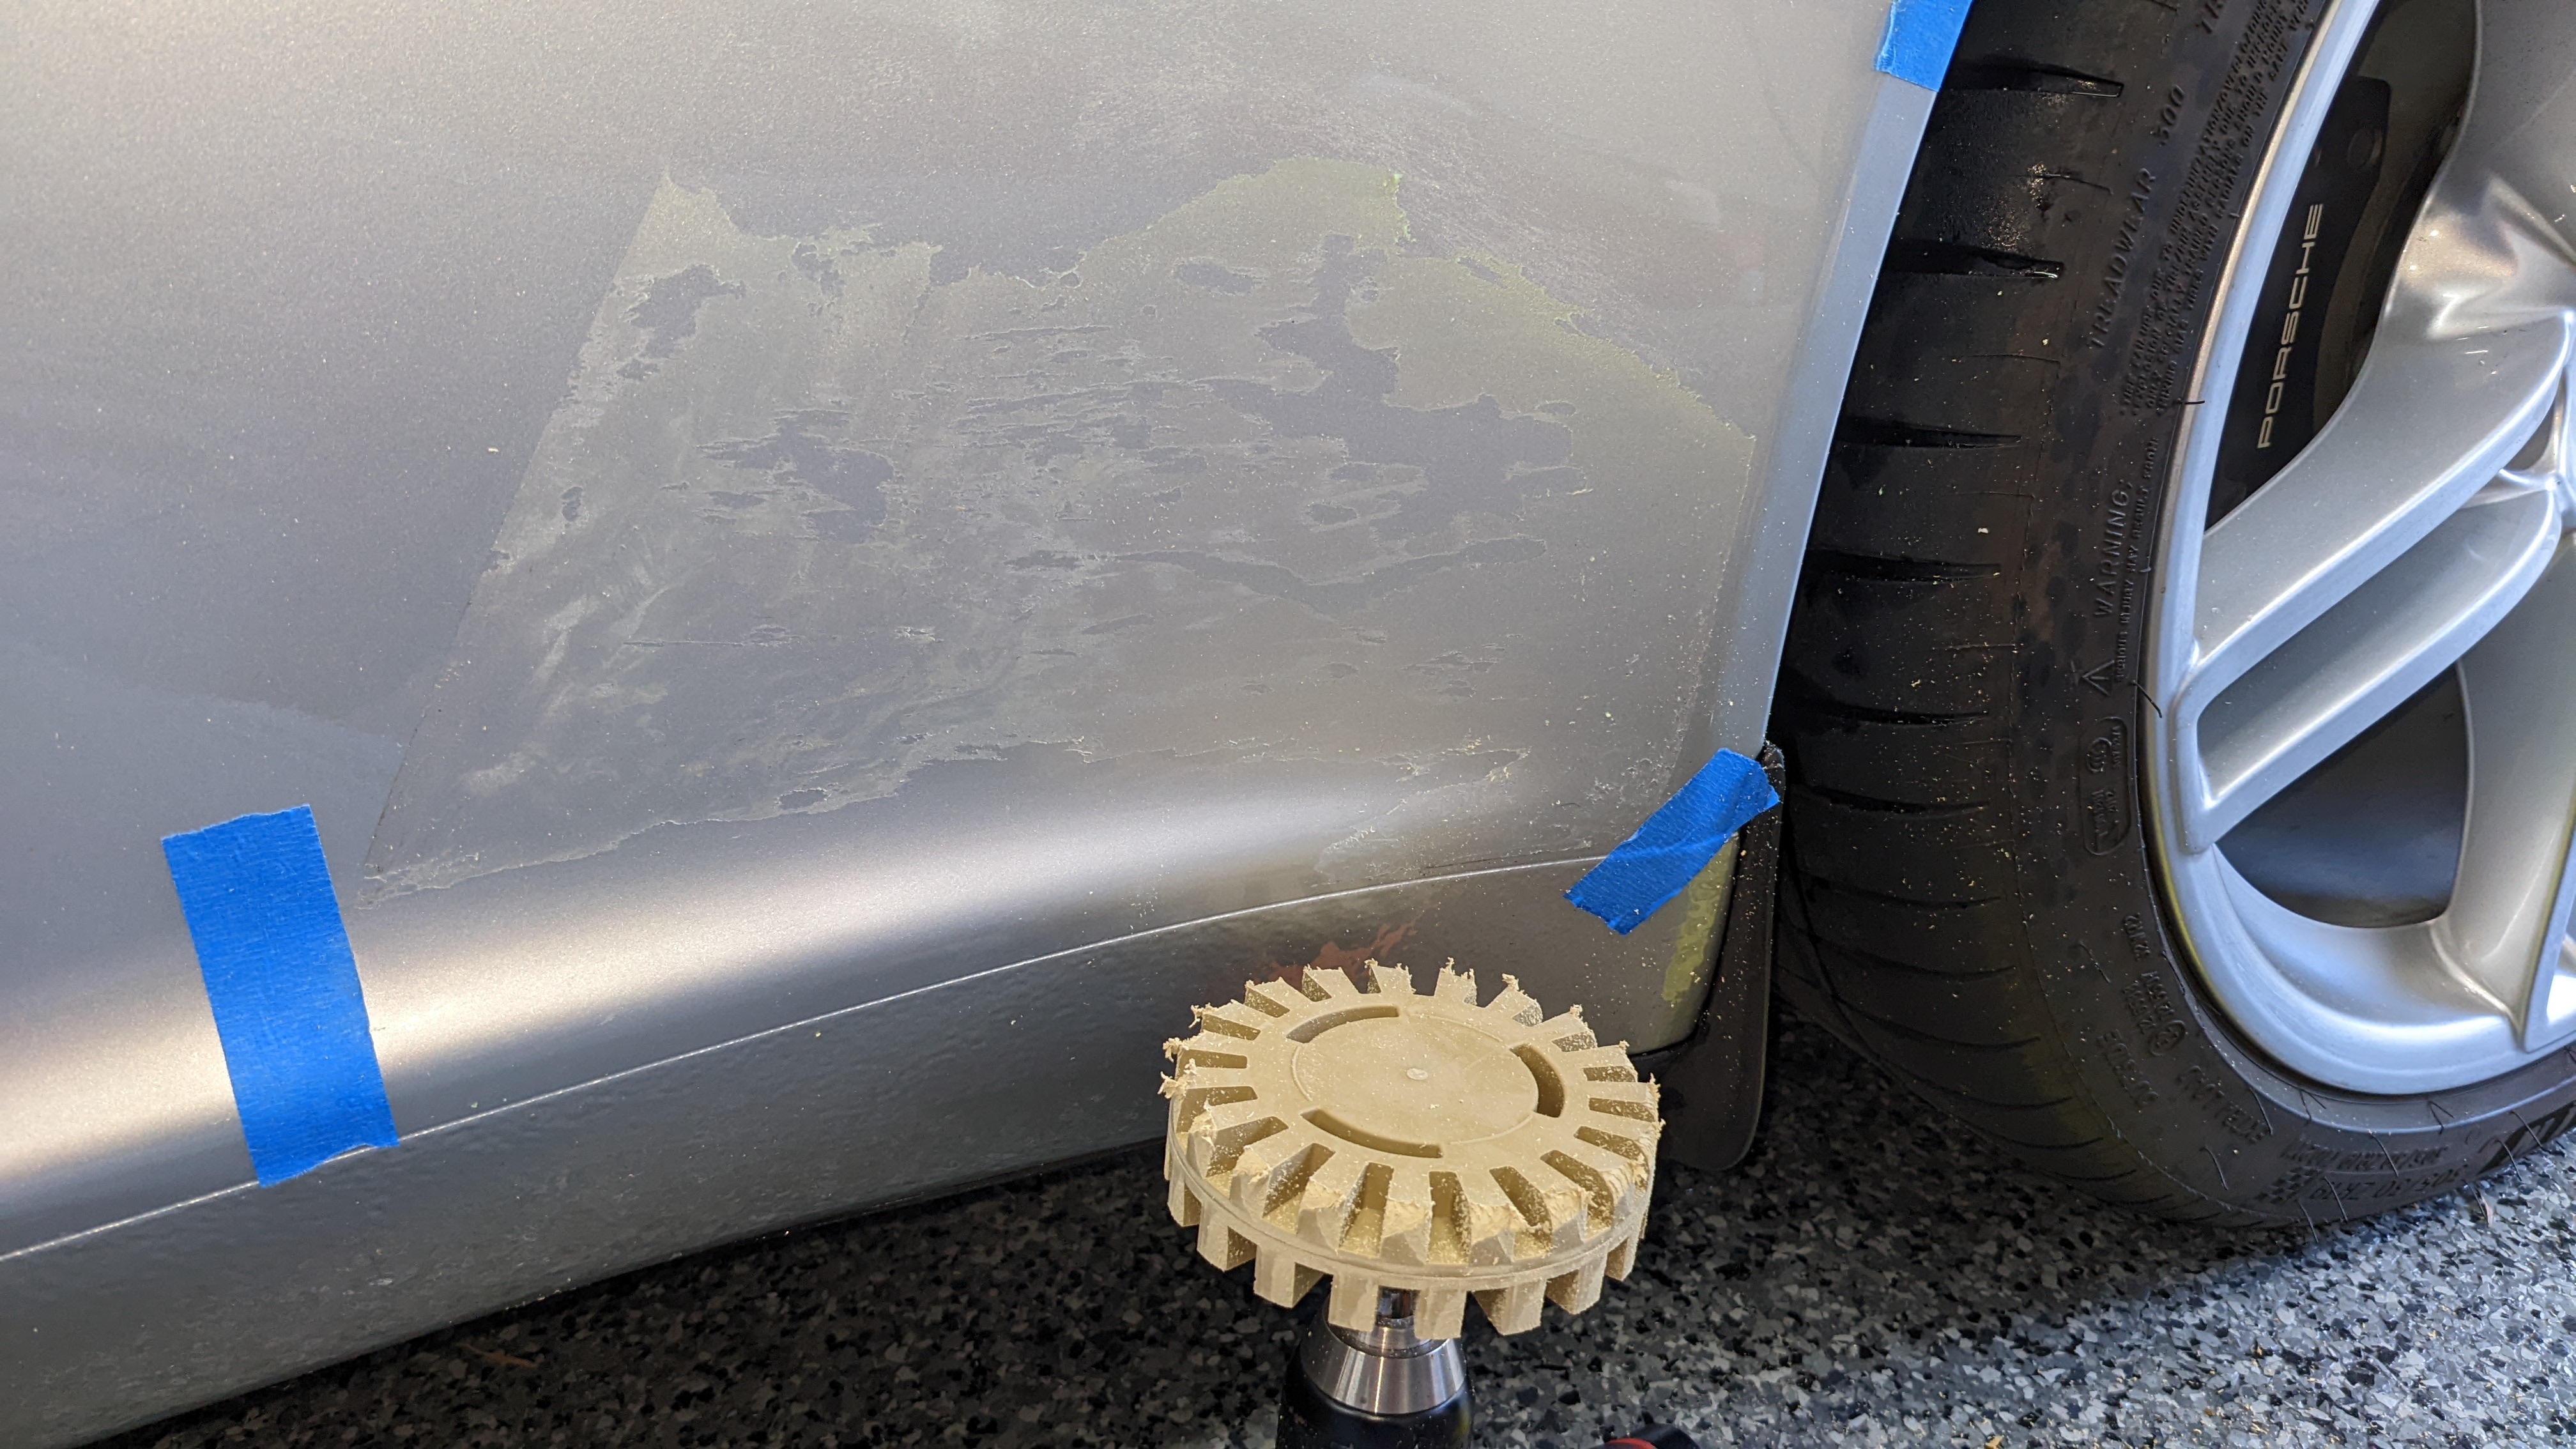
The other side went quicker as I kept the steam on constantly while using a plastic trim tool. Still a pain, but completely worth it in the end as you'll see below.
Tackled a couple other items: I was getting an annoying buzzing noise on the driver's door right behind the window switches. Foam tape did the trick, so now I can hear the buzzing on the passenger side, lol. I also added tape all around the perimeter for added peace of mind.
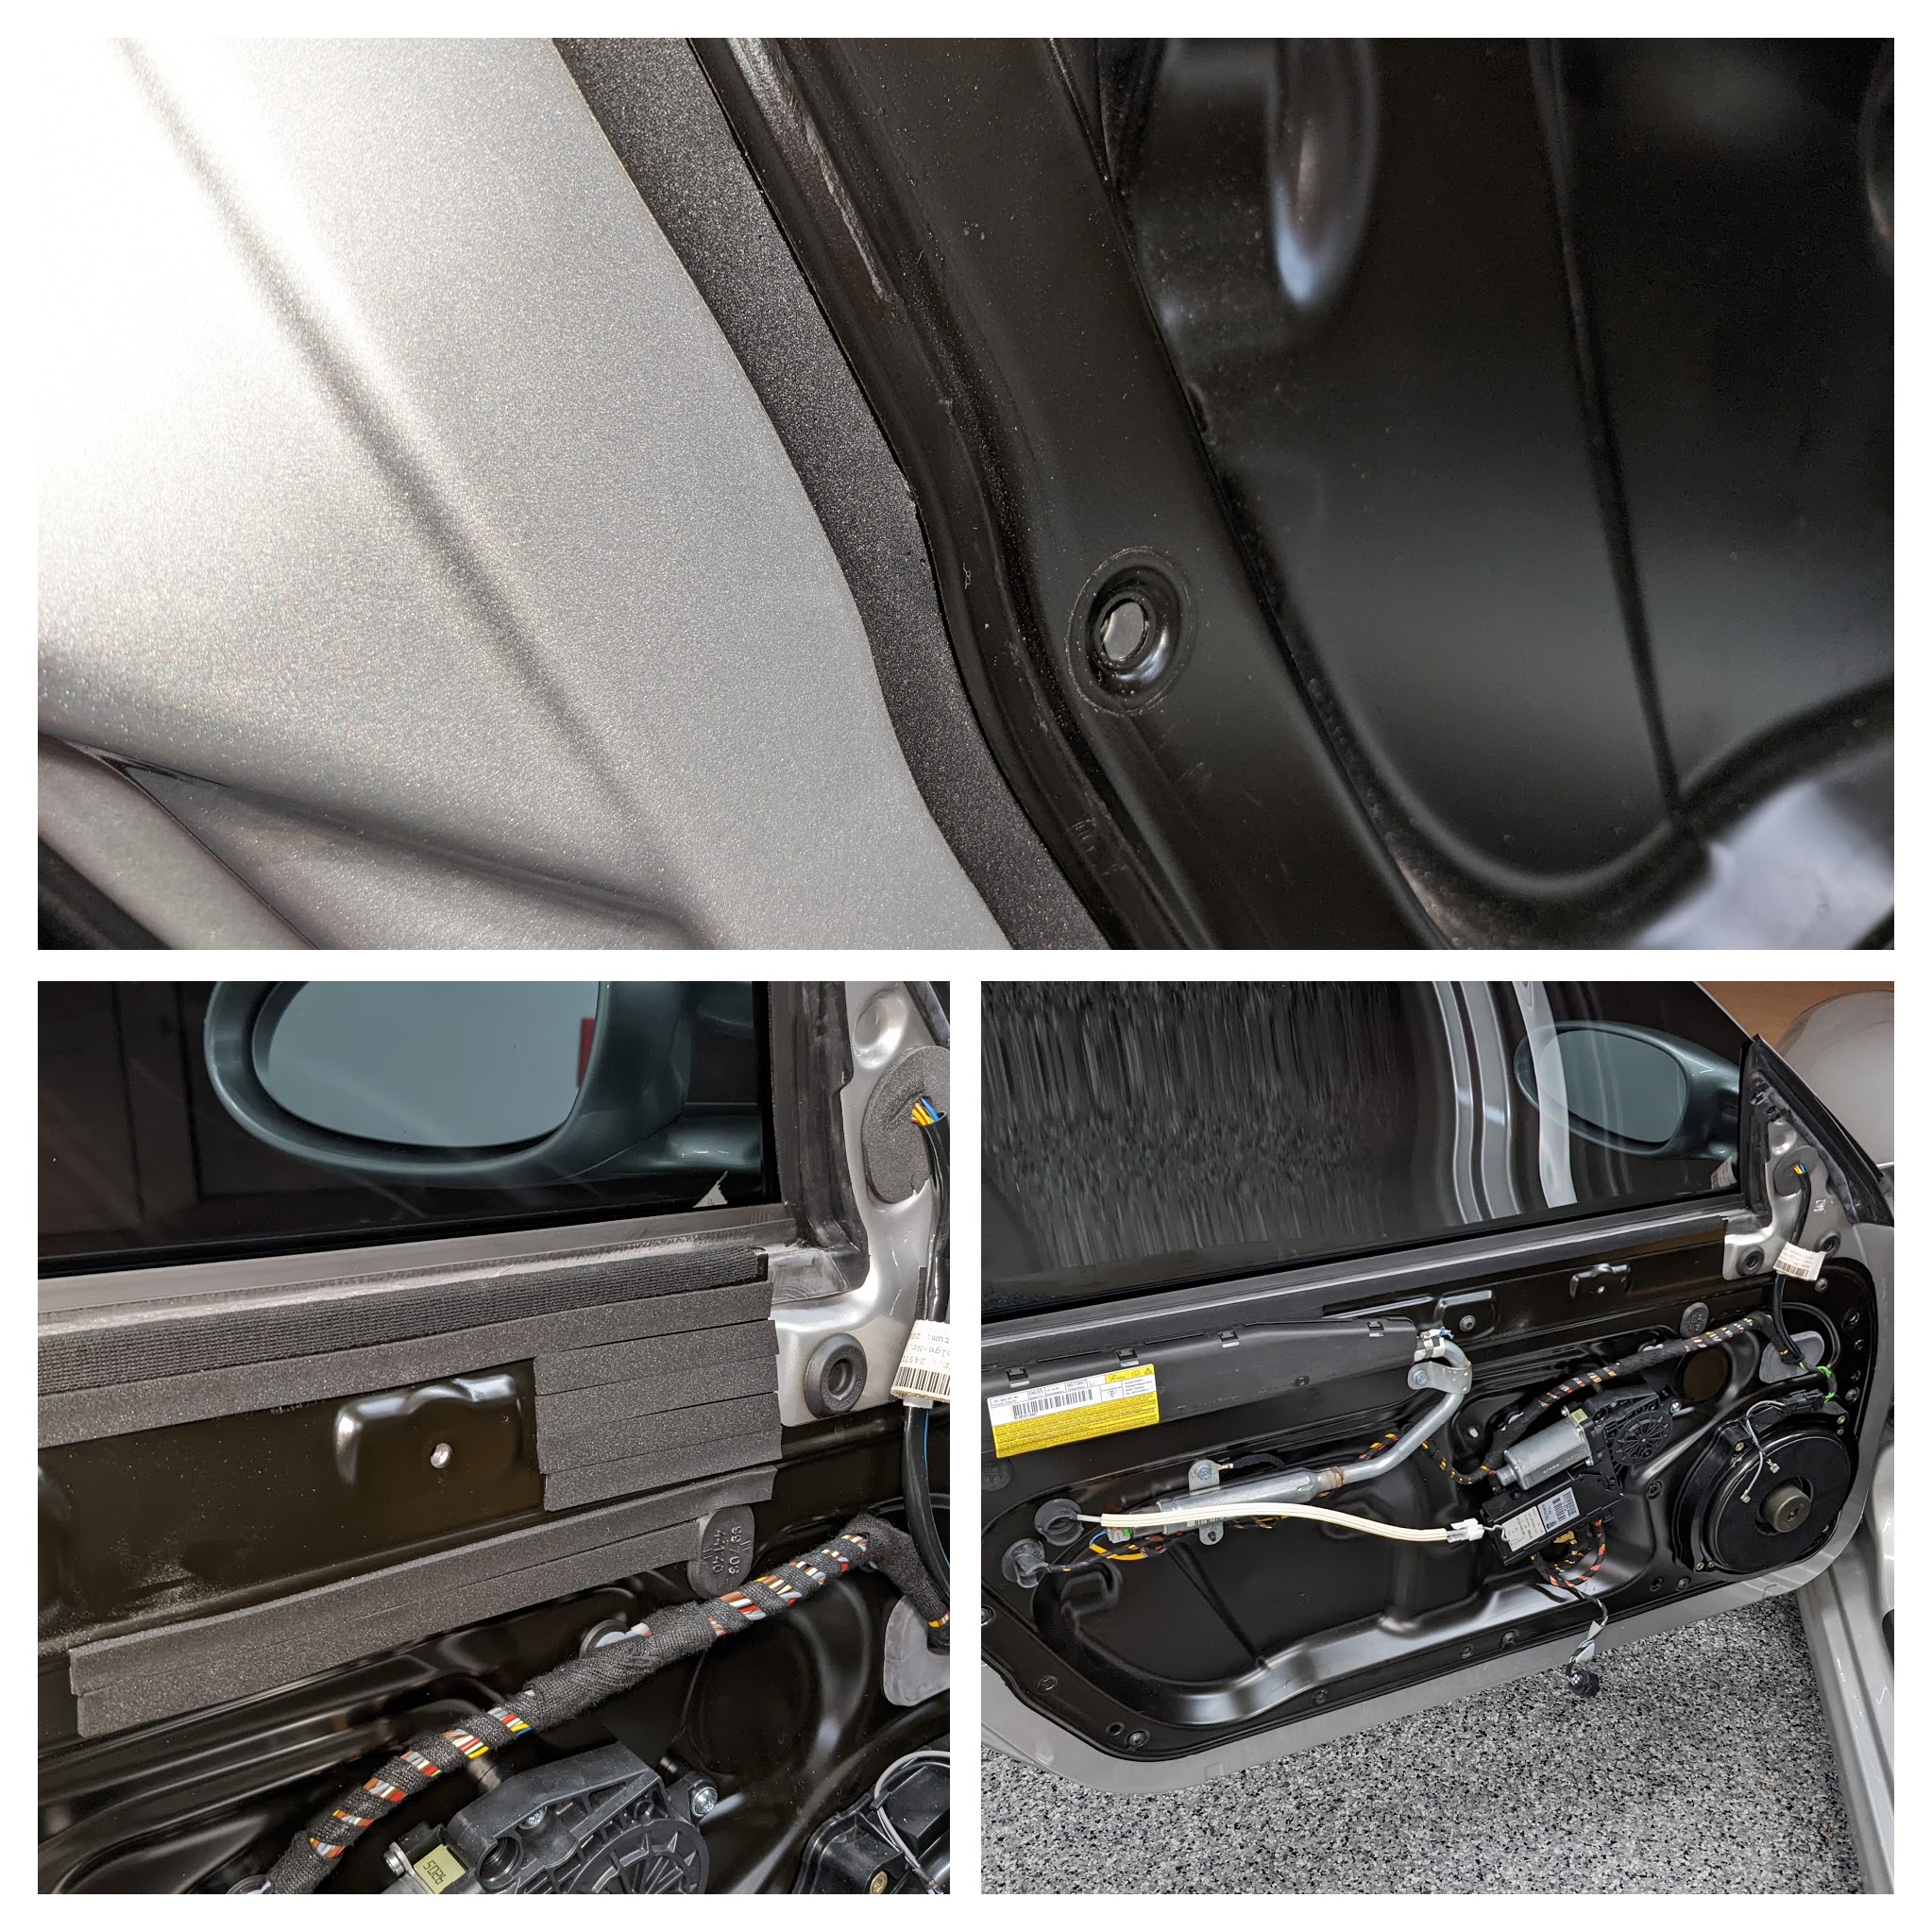
Broke a couple clips but replaced all of them. Honestly I think just new clips will likely reduce interior rattles.

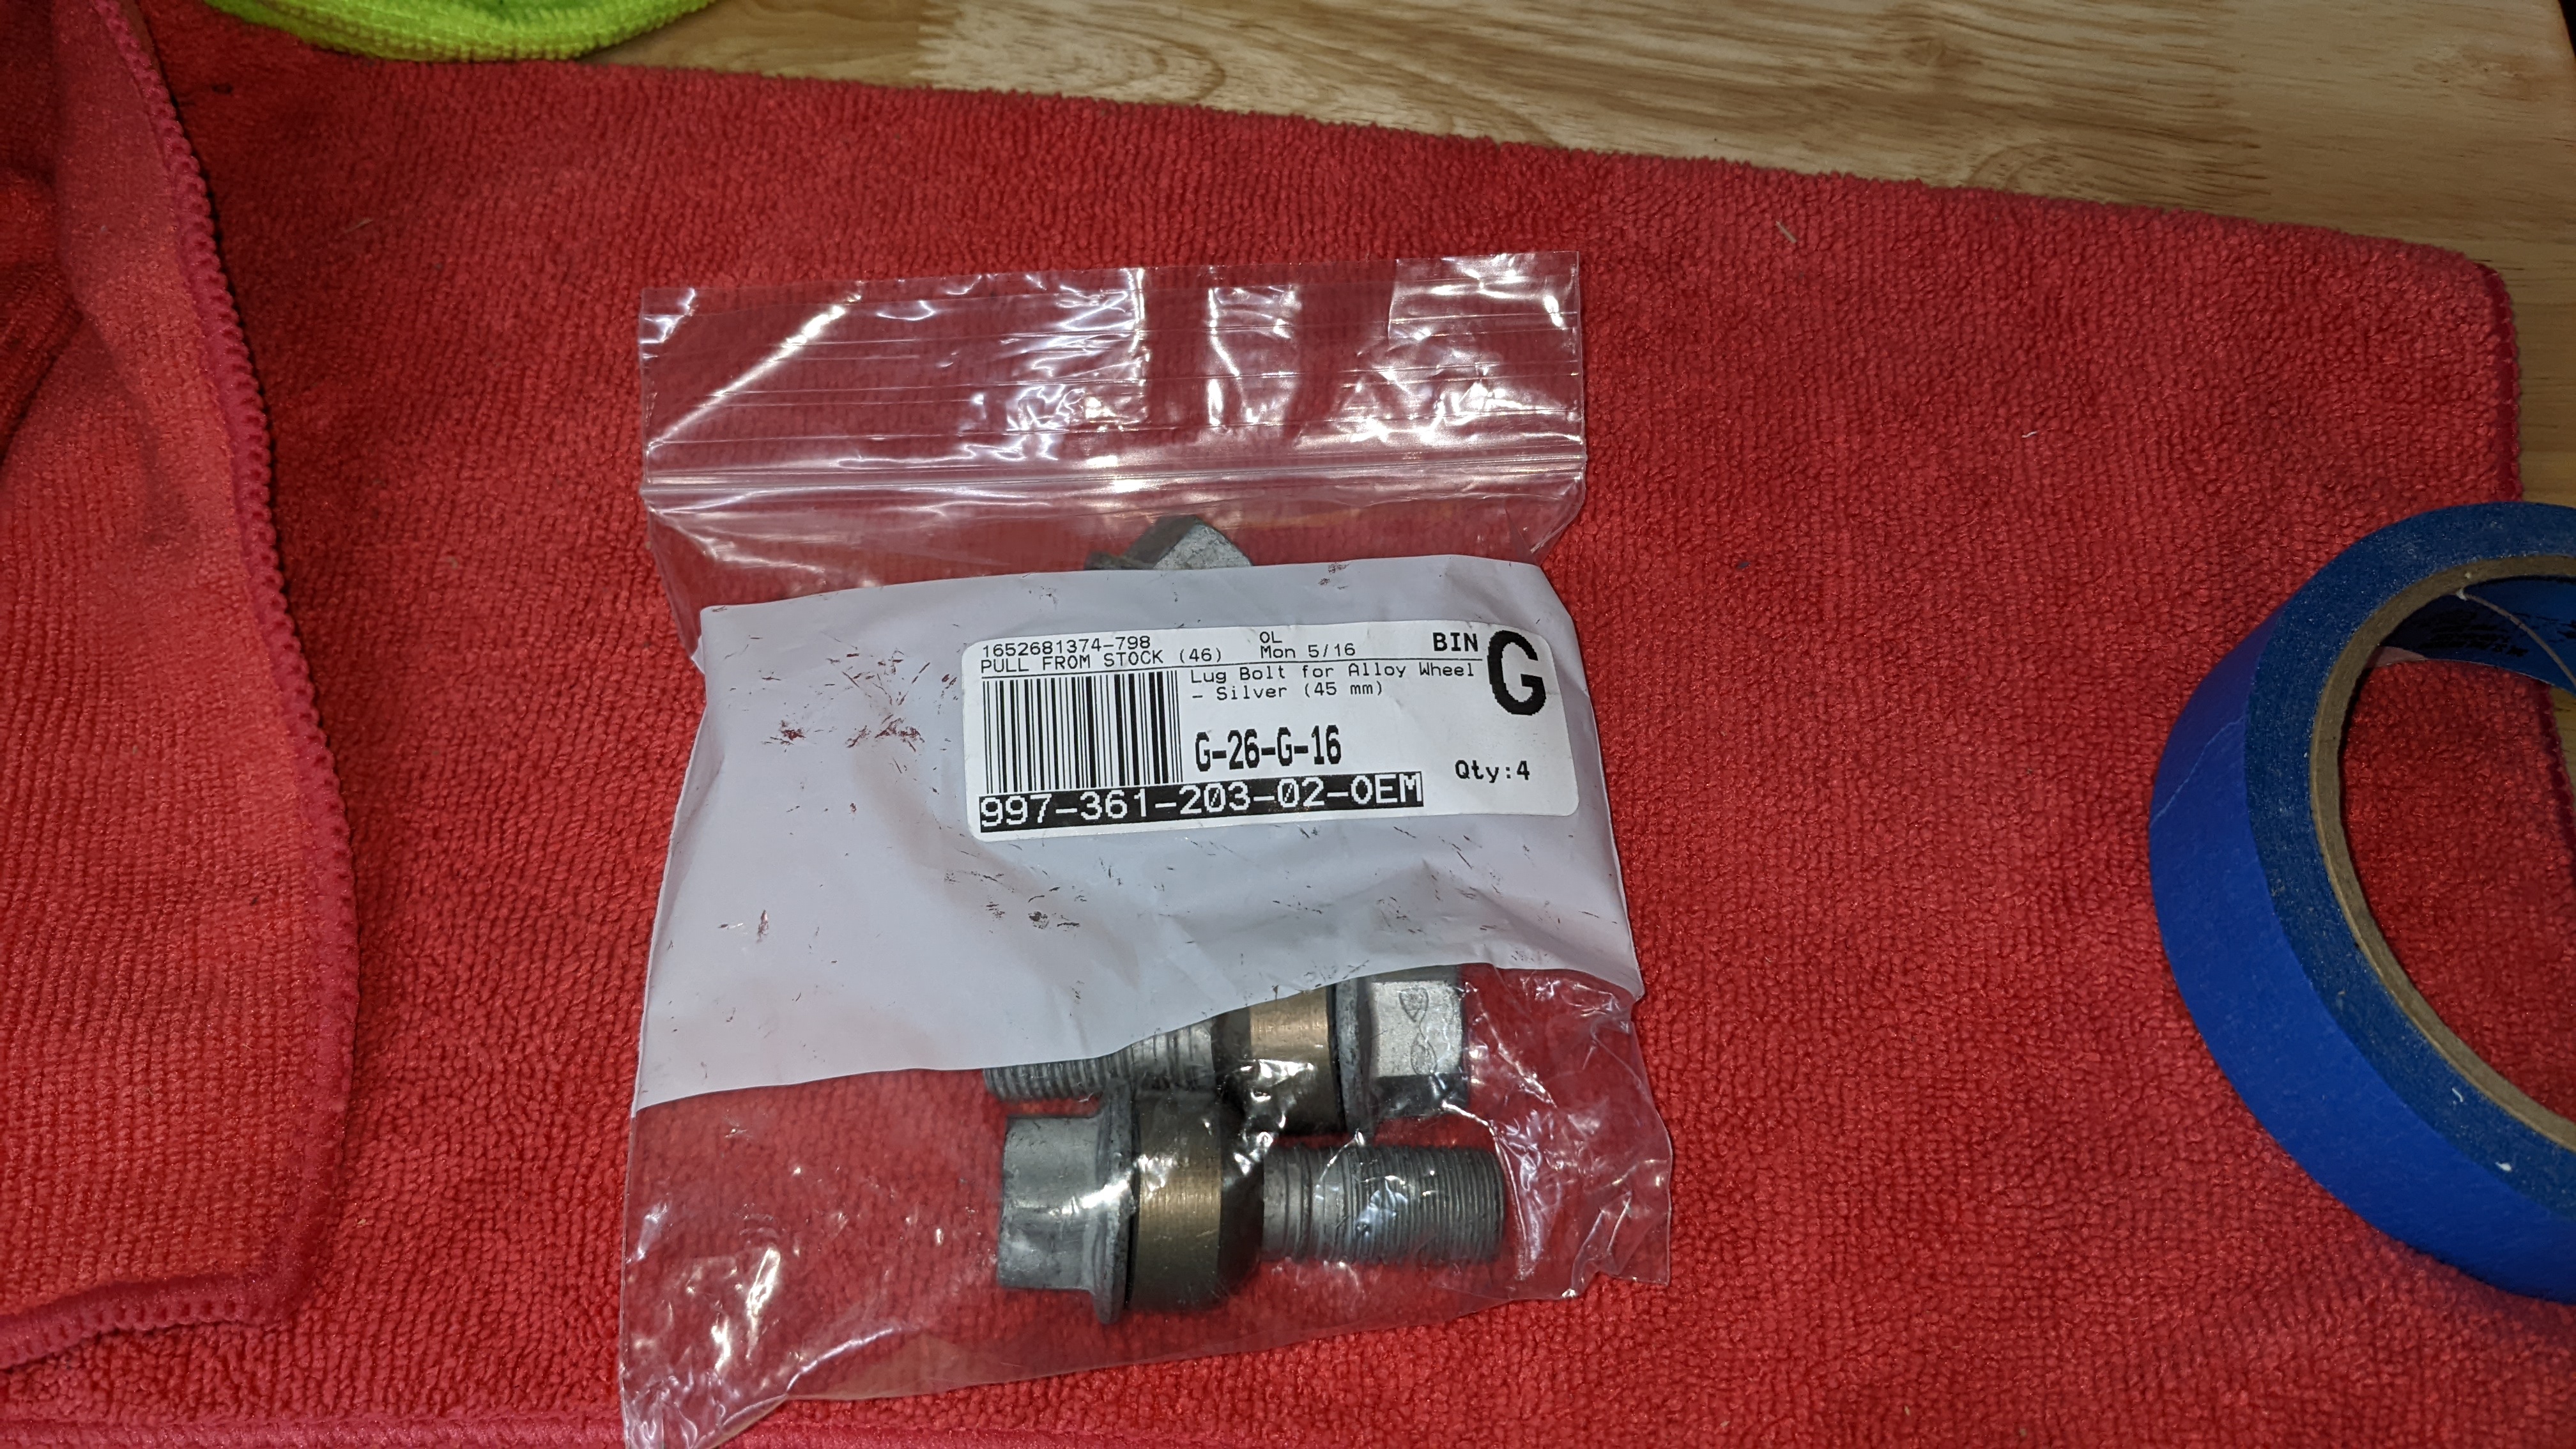
Four new bolts to replace the anti-theft ones. Having to grab the special socket cramps my style.
With all that sorted, washed it, then clay barred and waxed it for the first time...
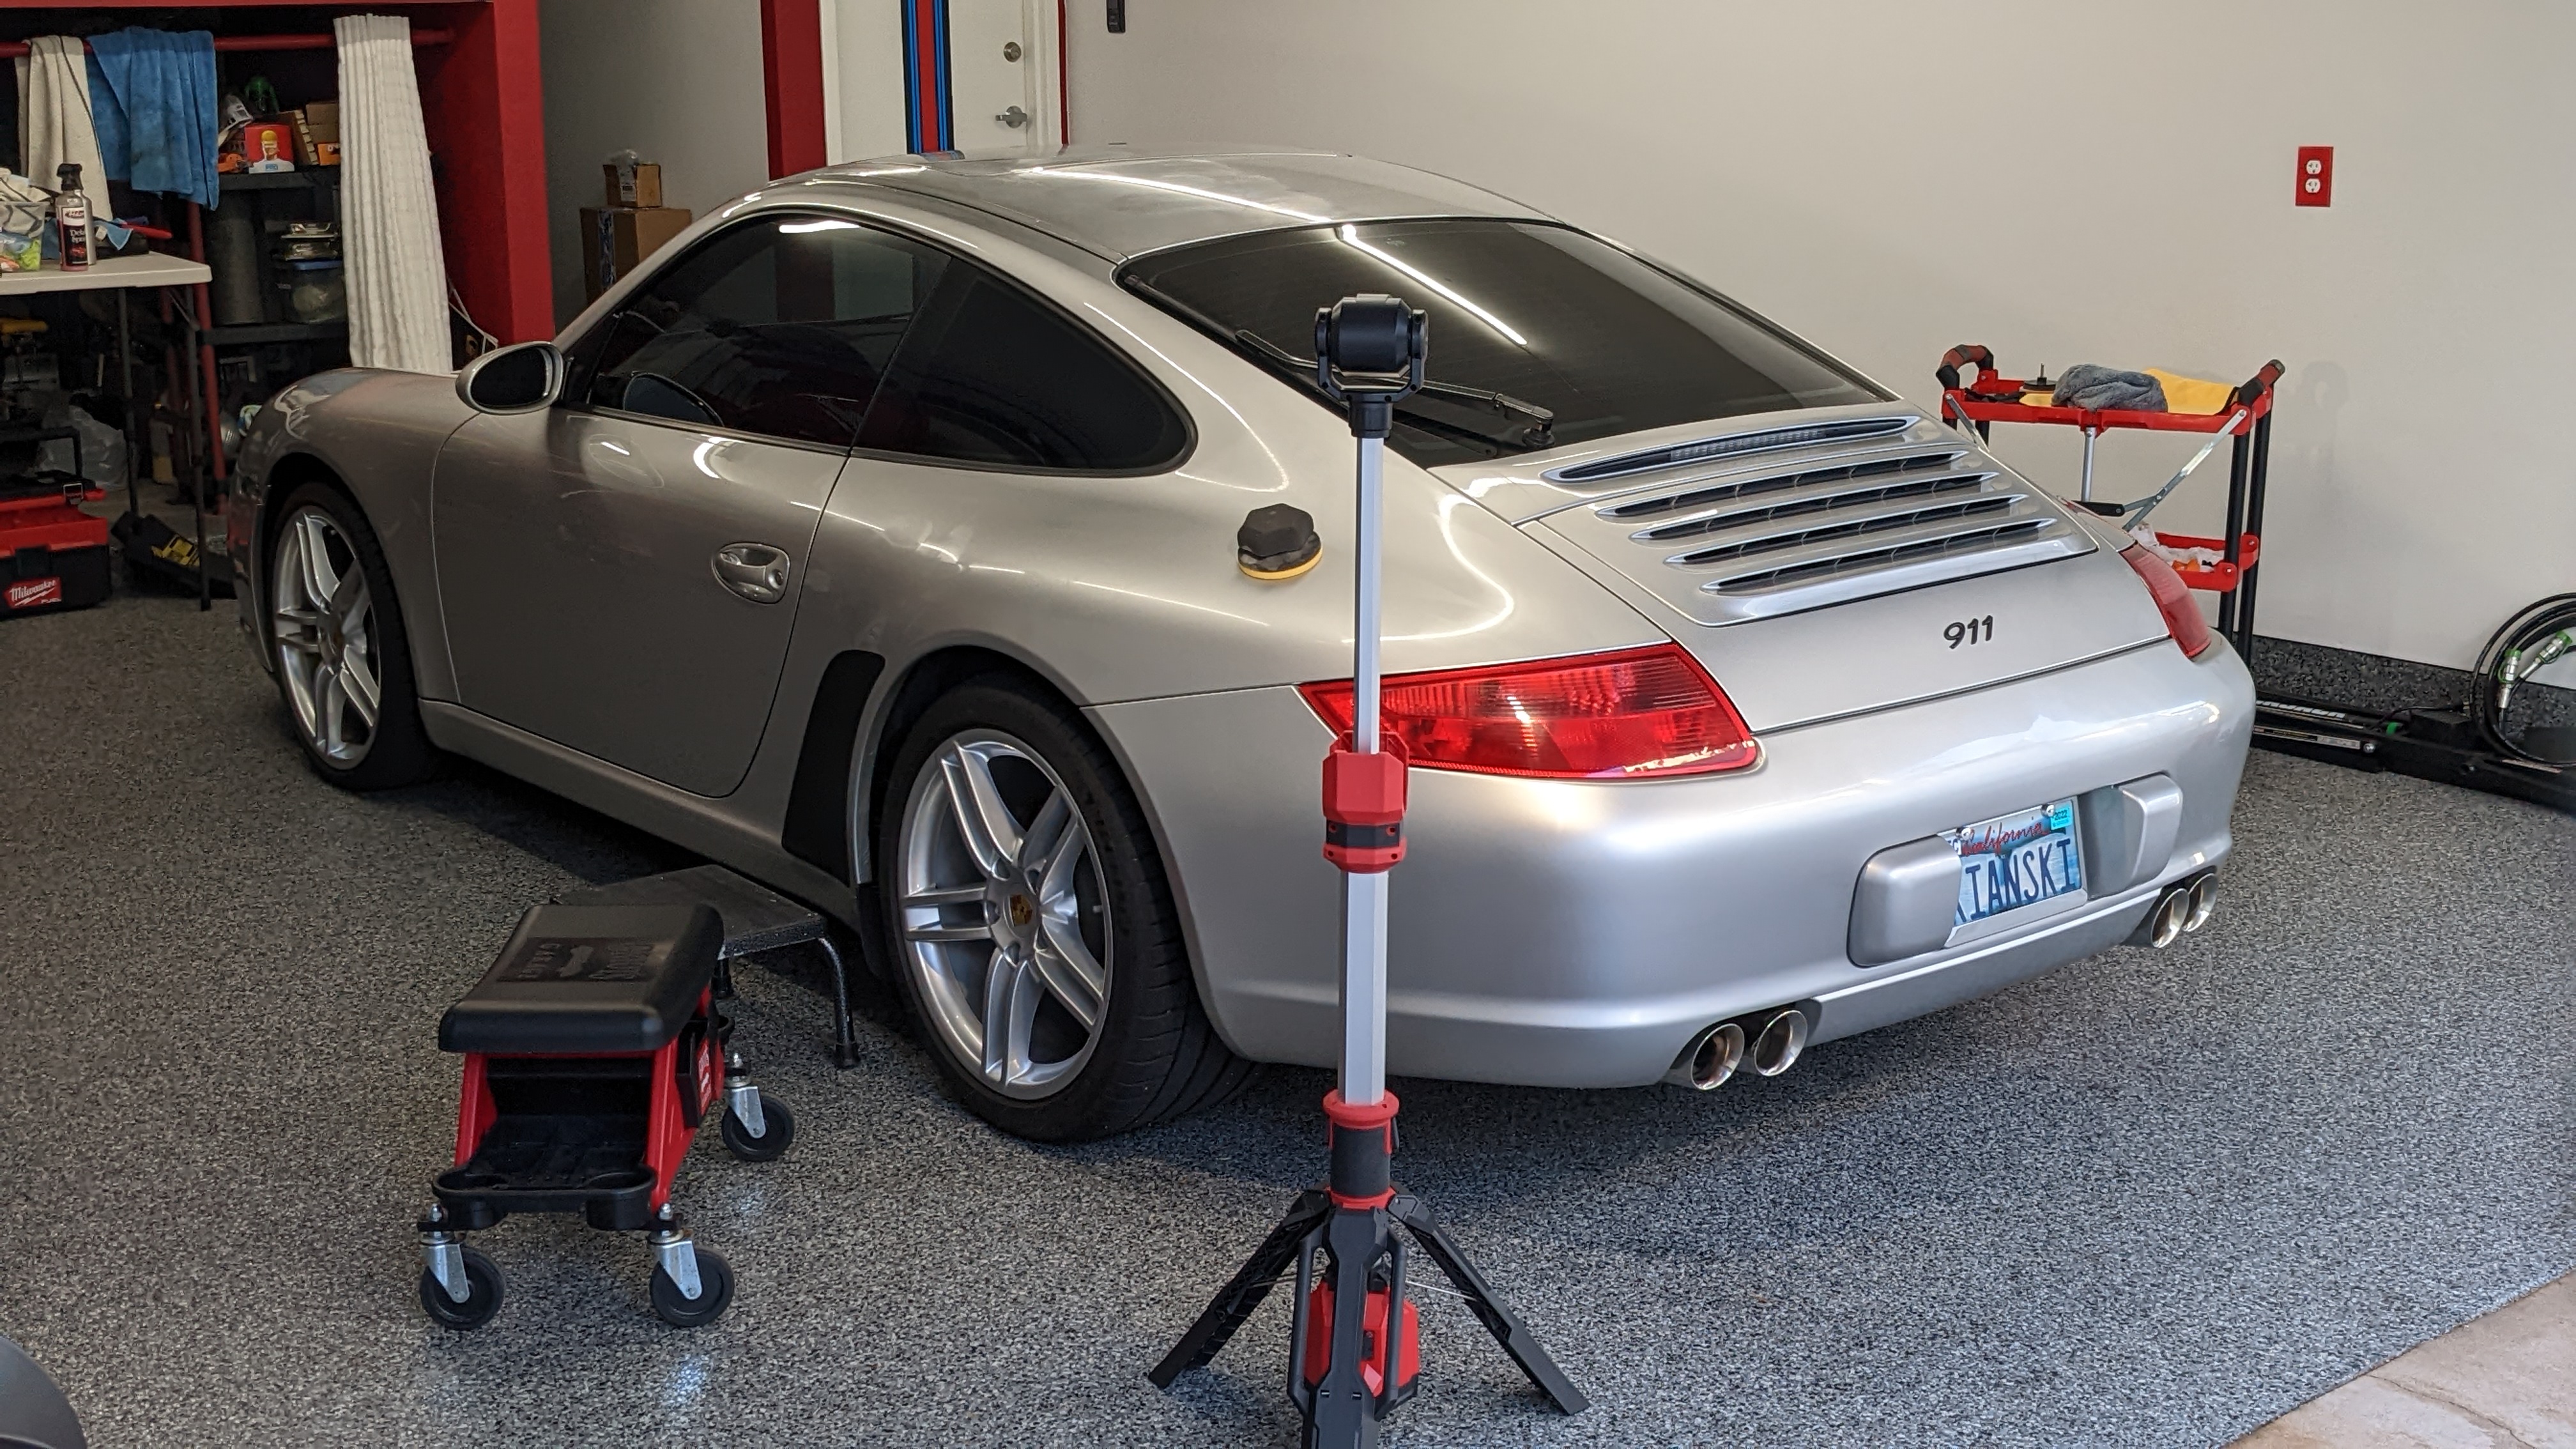
...to arrive here:

Then did a late-night shoot while the wax was still fresh.


Spot-metering for the win.

Forget about those videos where you steam the stone guards and it all magically pulls off in one piece in a few minutes. Forget all of that.
Except the steamer. Don't forget that.
I think this stopped being clear a long time ago.
At nearly 18 years old, removing this was every bit as time consuming and tedious as you'd imagine, but I expected it so I just took my time (i.e. hours).
After using more steam, then alcohol and Goo Gone, I went with the rubber eraser for the knockout.
The other side went quicker as I kept the steam on constantly while using a plastic trim tool. Still a pain, but completely worth it in the end as you'll see below.
Tackled a couple other items: I was getting an annoying buzzing noise on the driver's door right behind the window switches. Foam tape did the trick, so now I can hear the buzzing on the passenger side, lol. I also added tape all around the perimeter for added peace of mind.
Broke a couple clips but replaced all of them. Honestly I think just new clips will likely reduce interior rattles.
Four new bolts to replace the anti-theft ones. Having to grab the special socket cramps my style.
With all that sorted, washed it, then clay barred and waxed it for the first time...
...to arrive here:
Then did a late-night shoot while the wax was still fresh.
Spot-metering for the win.