When you click on links to various merchants on this site and make a purchase, this can result in this site earning a commission. Affiliate programs and affiliations include, but are not limited to, the eBay Partner Network.
Carrera 4 06, 4th of July new B6 and Eibachs are in
GOD I HOPE THIS OK.....note reverse chronological order of photos......
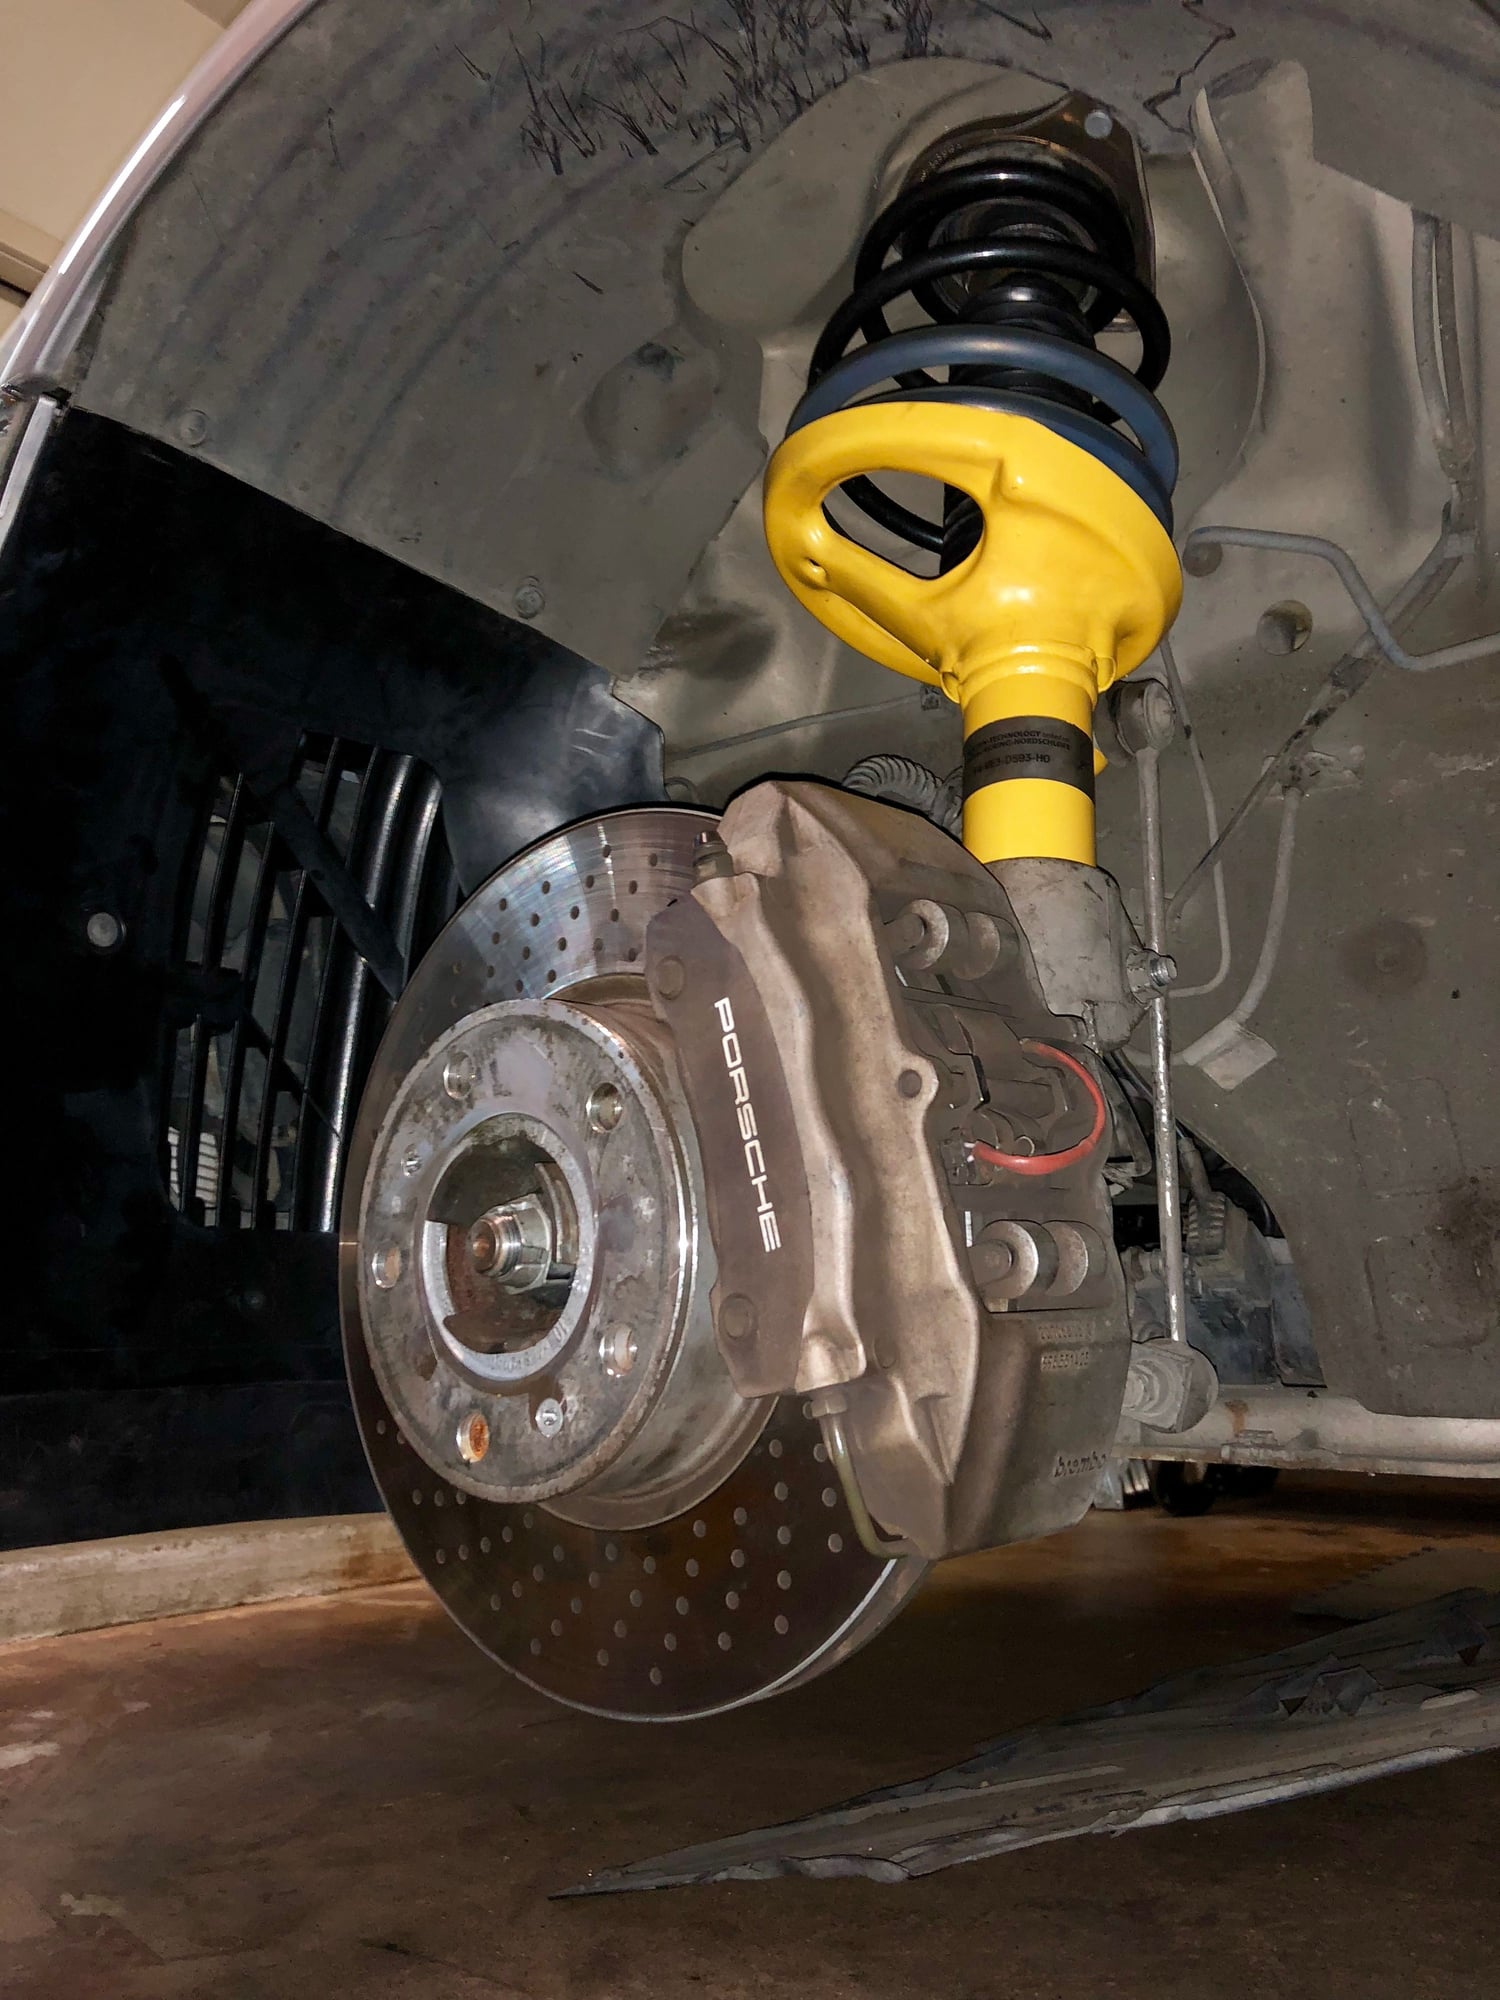
Mulled this over for a year and finally started. Eibach lowering springs and Bilsteins. No PASM. Read all the threads. Put car up on jckstands. I wrestled with front left wheel for 4hrs taking my time. Removed wheel, removed upper nuts and marked them, removed caliper, removed long link from strut to sway bar sensor wires, steering rod ball joint tapped and dropped right out, used a Schwaben ball joint tool on the carrier to coffin arm connection and it popped right out. I could not figure out how to loosen the subframe to coffin arm at the other end so I opted for the carrier end on that. I inserted a long pry bar underneath the sway to assist levering entire wheel carrier and strut assembly out.
WELL IT CAME OUT ALL RIGHT. I see no broken circlip etc so does that stubby end merely insert into AWD unit at from and is held in place by carrier assembly and suspension arms?
ENTIRE axle slide right out from the front AWD unit!!! Will you look at that! Now I see very few 4 AWD suspension changes on this forum so please somebody tell me wtf I just did???!
As im in ***** deep here could anyone in PCar land chime in here? I THINK I�m ok.......these struts are trashed, bearings are trashed, bumpstops chewed, it�s all going........on to R front!
I will reread that link asap!
So how did your make out? I did copmpress the carrier ball joint boot with my Schwaben bj tool. It�s not torn but compressed down on the bolt. I hope I wasn�t too forceful applying downward pressure with that breaker to help the coffin arm to drop sufficiently thus allowing the carrier removal.
I reseated the axle last before calling it an afternoon, but may just tap it a bit before reinstall tomorrow.
A porsche tech friend conferrred with me a bit ago and said nothing is out of the ordinary with how that happened.
She said be sure to reseat the inner stub with a purposeful nudge or greater. I�m thinking soft dead blow mallet. The outer stub was stuck in the carrier bearing.
Yep. What I did was remove the front underbody panel and then when I was reinstalling, just make sure the axle is seated flush against the differential. It takes a little bit of force to get it seated appropriately. That was over a month ago, and no leaks, no weird noises coming from the diff (knock on wood).
One corner done, much pain in the *** and 103F heat.
Next is RF corner. Should be muchisimo easier.
I�d rate this the job as gargantuan PITA but not overly complex. Count on being tired. I�ll check in tomorrow. One new fact I learned is the Bilstein sport oe replacement strut does not use a bump stop, who knew? I reused only the strut bearing mount and lower front shock absorber mount bushing.
I just spoke to a tech in CA and It’s recommended to remove the entire wheel carrier by removing the axle nut and replacing the axle nuts when I’m done. A little more heavy lifting but you can actually, when using lowering springs, install the entire assembly into the wheel well on the axle nut shaft and pivot it into place without compressing anything or using compressors at all. Learning as I went along and not rushing, it took me probably 7-8 hours to get the front left corner out and in, and probably half as much time to a third as much time to do the right front. Tomorrow I will do the rears. I still say this job is a bitch without some sort of lift but if you power through and persevere with all the proper tools it’s not too bad once you get past that first corner out and back in. Lowering springs a plus, I believe....One concern is final torque on the carrier ball joints (lower control arm/track bar/coffin arms) with the vehicle underload, on the ground. How you pull that off is a mystery with a car so low to the earth......anyone?
I’ve tried hard to get that lower arm ball joint to fully seat without luck I can’t turn the nut further even countering and laying into it won’t snug it up on LF or RF the last few mm. I was told to place a jack under the lower ball joint to seat it all the way. THEN torque. Anyone suffer the 2-3mm gap I’m seeing on each side?
Rears are easier for sure once you get the hang of moving the carrier around and the multi control arm setup. Last corner tomorrow AM. Moving slowly I have 14 hours in and one corner to go plus final torque.
Final corner unbuttoned and new shock/strut in place, needs a lower bolt, then lower ball joint and then upper arms bolted in and done until alignment. 2:20 in on this last corner. Found this rubber piece when i removed the child seat to access interior strut top mount bolts. WTF is it?
All done.
Wheels will go on shortly and then final torque of everything. Hope the front lower control arm ball joints tighten up or else I’m screwed. Can’t turn the nut really and that’s with a jack under the wheel carrier. Maybe wheels on sitting on the ground will seat it fully? Wish I had a second 911 to compare it to......Optimoly TA paste won’t be here until Tuesday so I’ll reinstall wheels afte alignment on Mon. Might drive it to the dealer and drop it off early.....
Well I torqued what I could considering that how could you if the balljoint is counterheld? Not sure. A torque wrench can only go on the nut but I suppose you tighten it to a point and then use the torque wrench? I did get the easy to reach ones though. I�m going to retorque the axle nuts up front to be sure tomorrow. When I lowered the car to the ground I heard small pops underneath the car and noticed the upper shock mounts in the frunk were magically longer so I�m assuming this �height� gained came from the lower control arm ballpoints popping into place a few mm on both carriers, etc. As I pulled out of the garage slowly I heard a small pop and then all was quiet for the test drive of about 3-5 easy miles. Initial impressions are my car feels new, alignment wasn�t terrible after, corners flatter than before and it�s �comfortably firm� over bad roads, and solid and smooth otherwise. I took it easy the whole time listening to everything and rewarded myself with a large pizza after 100F in the garage today. I did the project in four days and I think it took 17 hrs. I was hot and tired afterwards 100%. I would only do this again with help or a lift. Very doable with proper tools and time so you don�t kill yourself manhandling wheel carriers. The only thing I would�ve done differently is add a parts washer so I could have cleaned off the wheel carriers themselves on the inside where a previous failed CV boots left a greasy coating and the dirt that stuck to it afterward. I repaired them at the dealer in 2015. I�ll probably give the suspension and wheel wells a scrub soon. Alignment Monday at 7am and I�ll ask to have my control arm etc. torques checked there to be safe. Glad this is done.

 07-02-2018, 10:10 PM