Notices
997 Forum 2005-2012
Sponsored by:
Sponsored by:

DIY Rear Emblem Replacement

Thread Tools
 
Search this Thread
 
Old 05-18-2018, 07:08 PM
  #1  
swingwing
Pro
Thread Starter
 
swingwing's Avatar
 
Join Date: Dec 2017
Location: Arlington, Texas
Posts: 657
Received 93 Likes on 70 Posts
Default DIY Rear Emblem Replacement


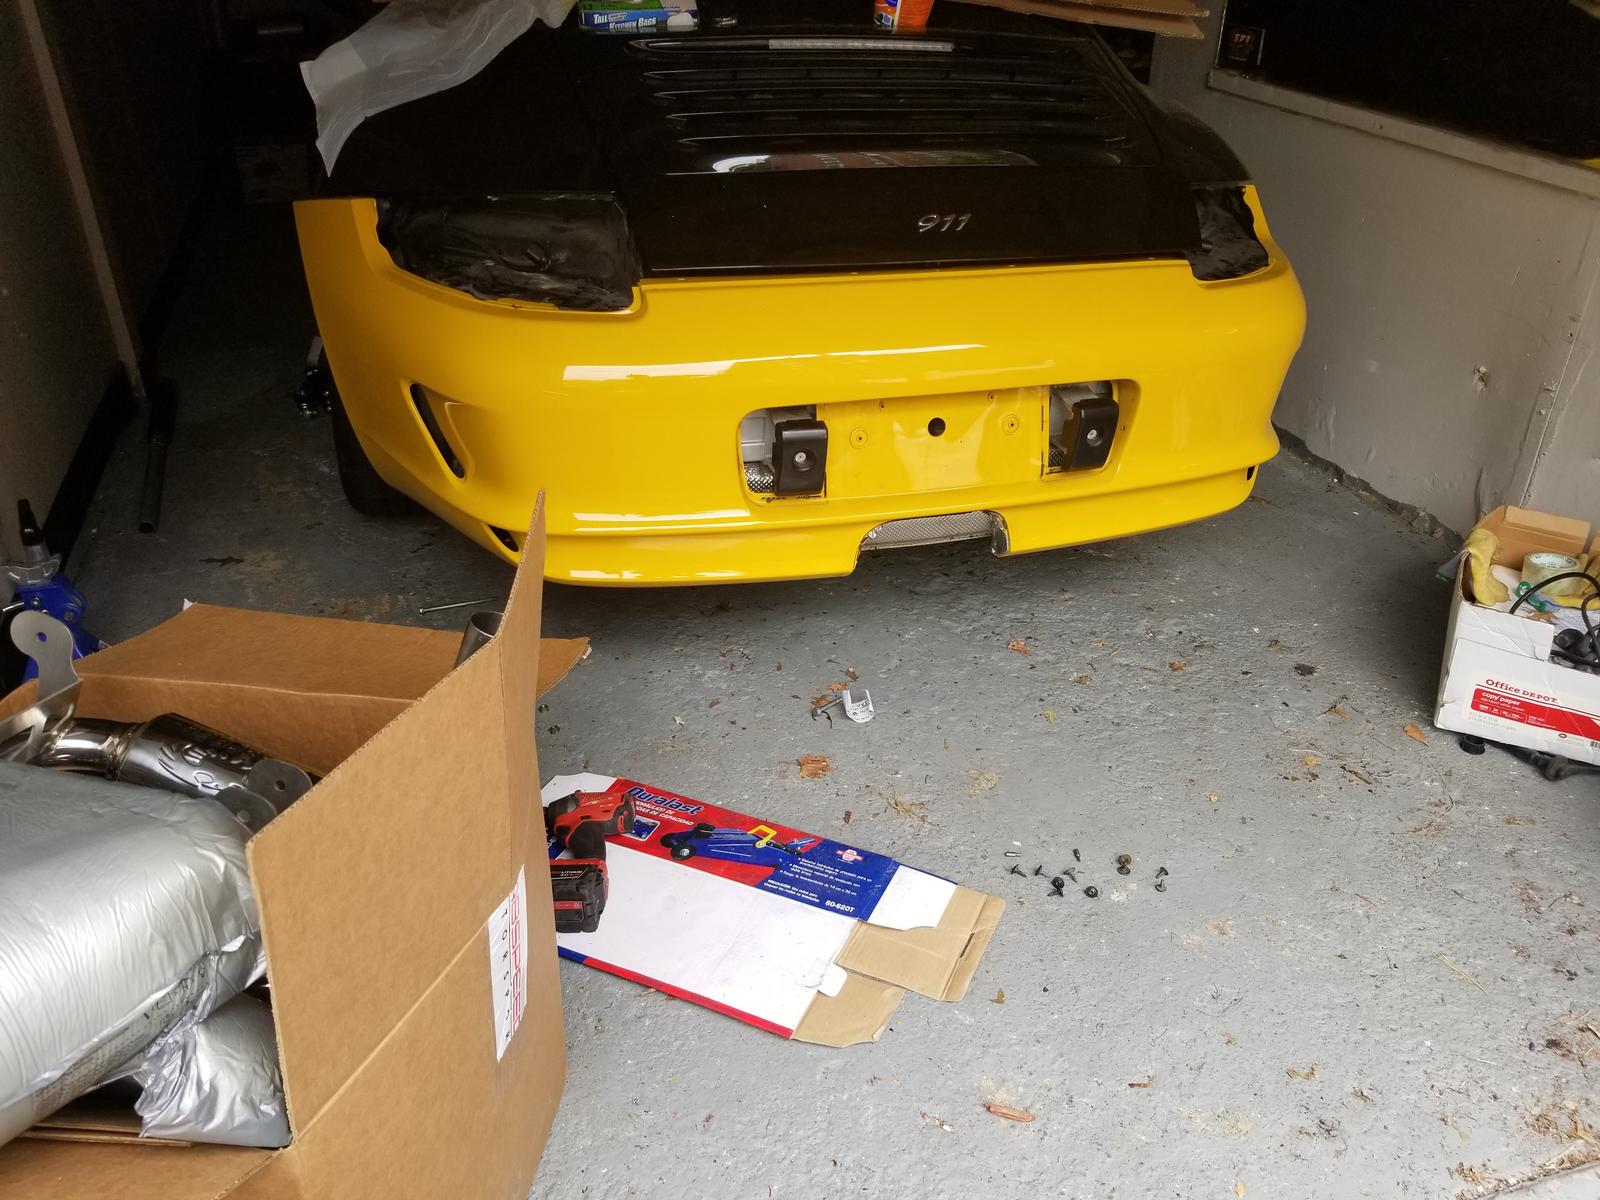
Original emblem looks OK, but I wanted a little more contrast. Ordered matt black emblem from Suncoast Parts, p/n 996 559 237 06 70C.


Go underneath emblem with dental floss to break seal of old emblem and remove. You can use solvent to remove residual adhesive, but I used my fingernail, then lightly cleaned the area with polish.


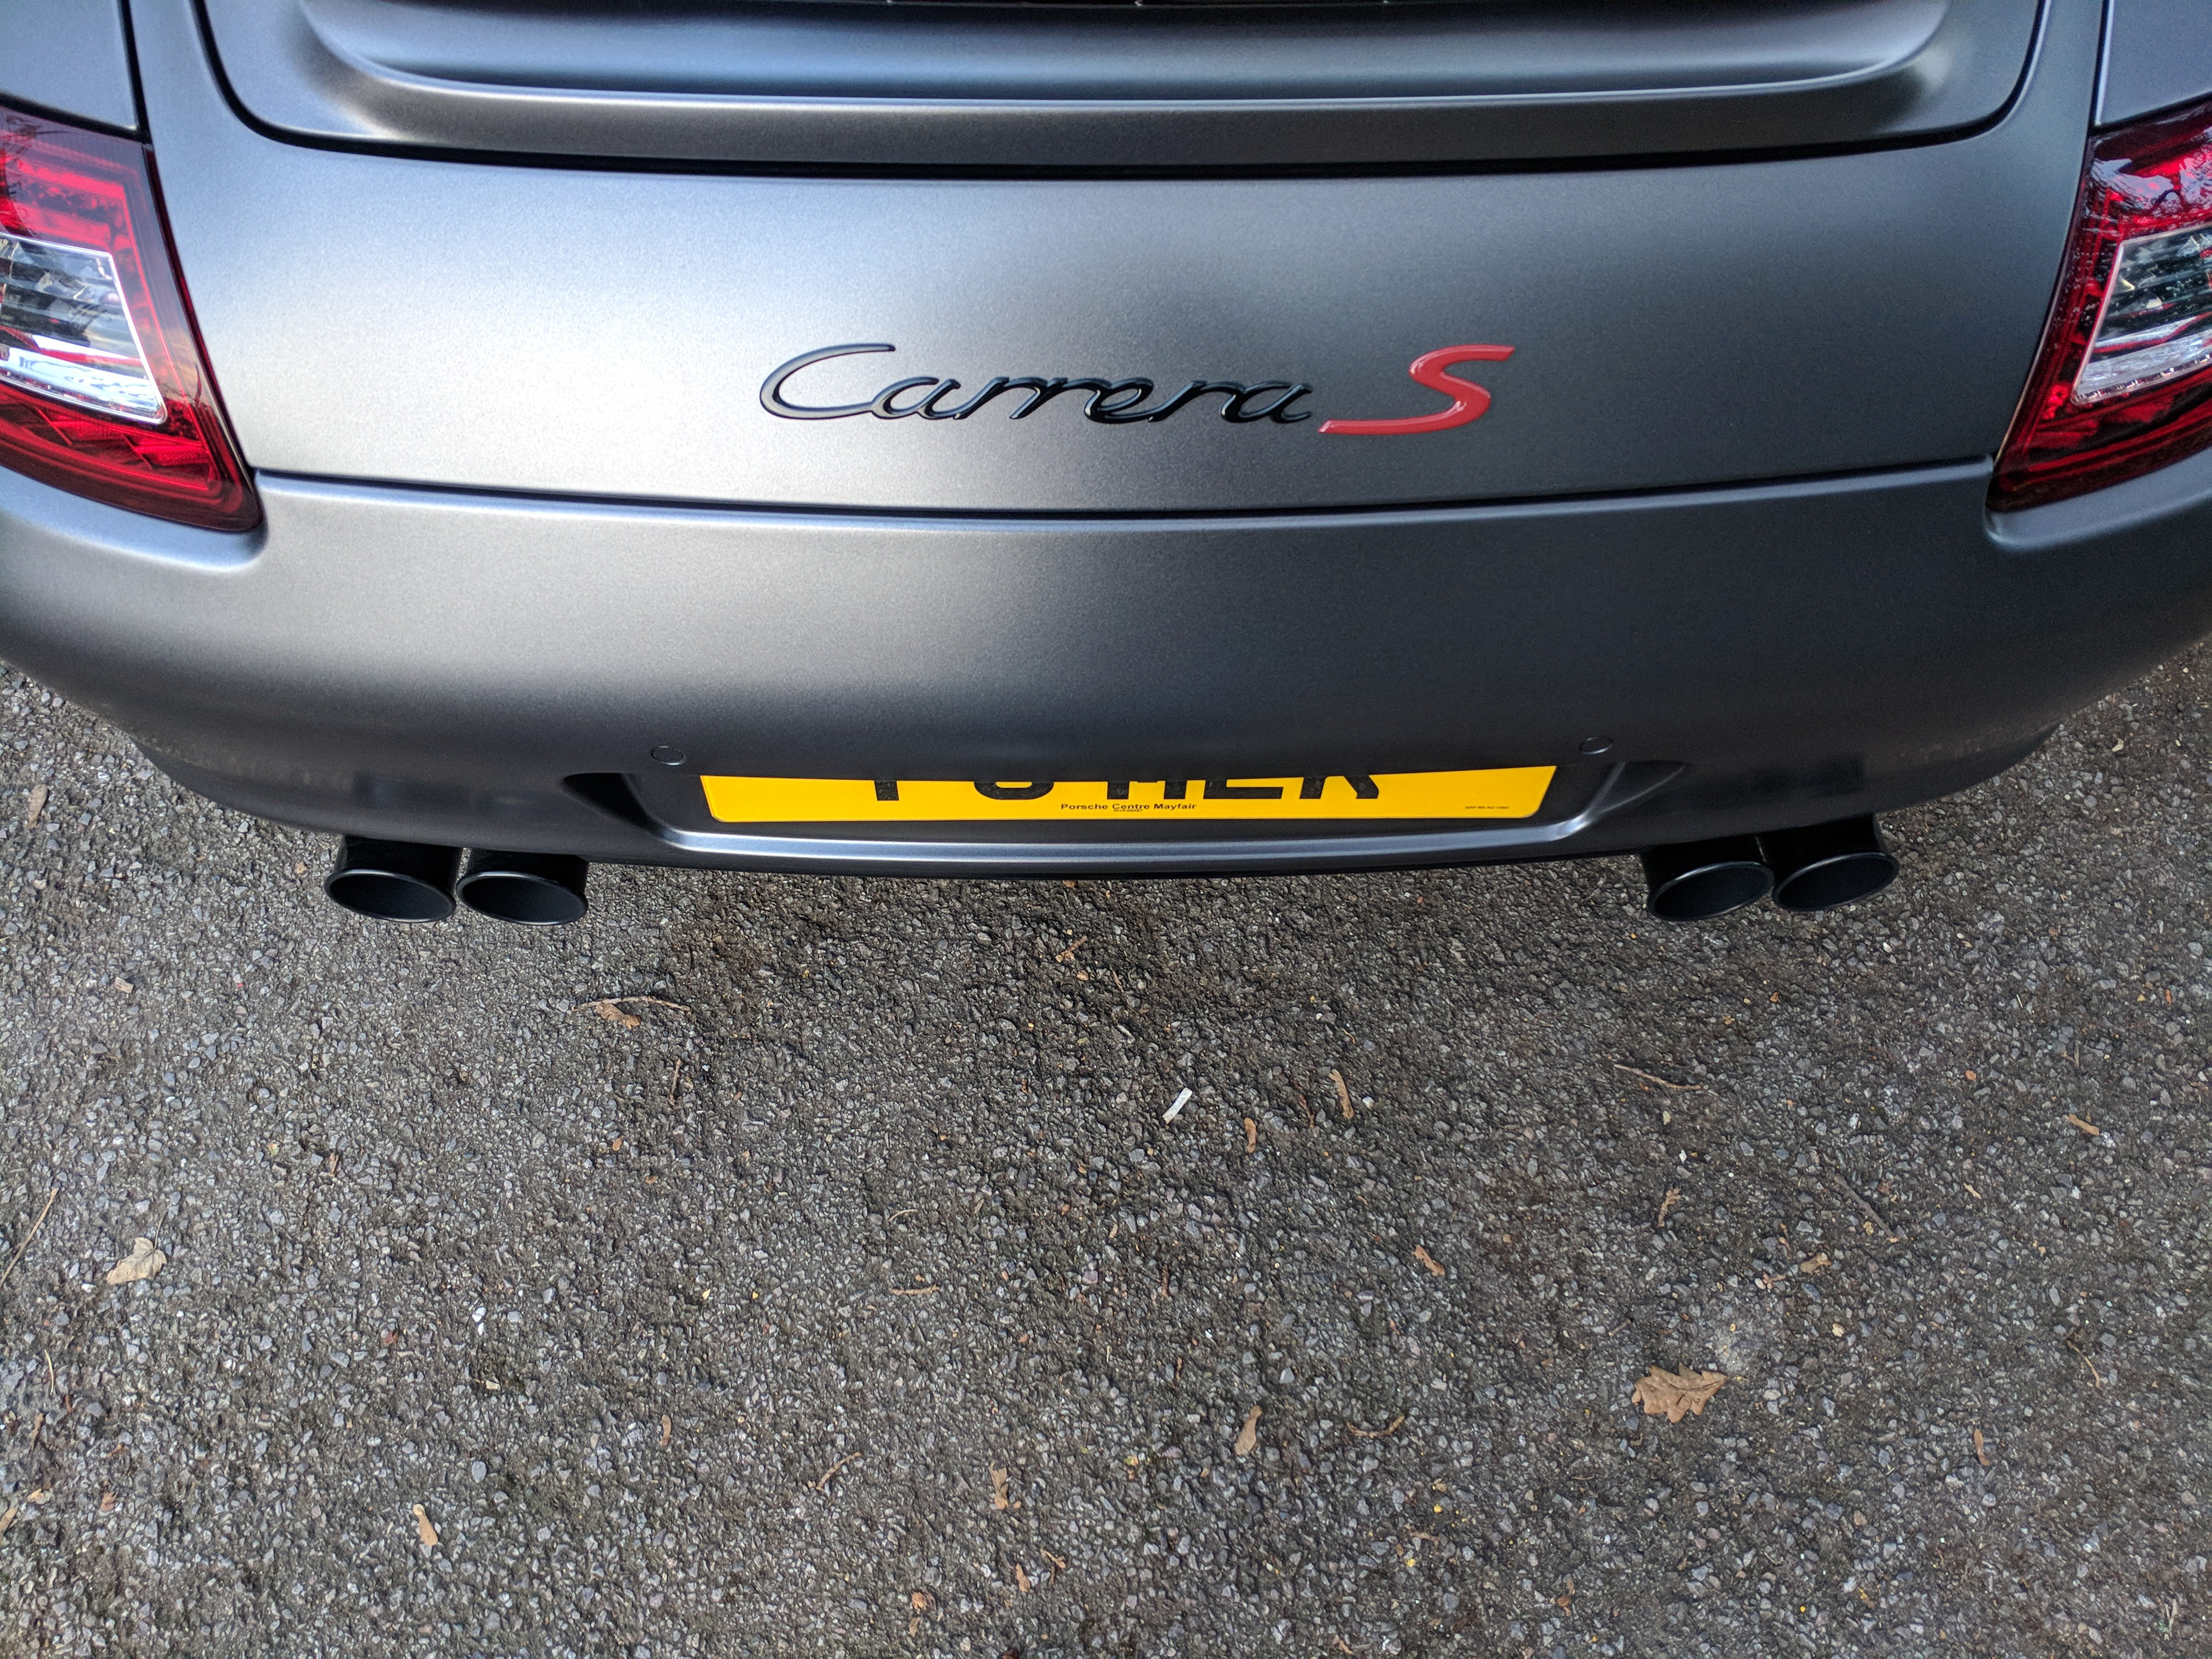
Then there's the moment of truth; take your time because there's prolly one shot at getting the alignment just so. Twenty minute job and I like the look.
Old 05-18-2018, 07:59 PM
  #2  
DesmoSD
Three Wheelin'
 
DesmoSD's Avatar
 
Join Date: Feb 2017
Location: San Diego <->Knoxville
Posts: 1,870
Received 355 Likes on 252 Posts
Default

Looks good! It could possibly be the camera angle but it looks a little crooked (negative slope)
Old 05-18-2018, 09:08 PM
  #3  
rwdds
Racer
 
rwdds's Avatar
 
Join Date: Apr 2017
Location: Philadelphia, PA
Posts: 291
Likes: 0
Received 70 Likes on 37 Posts
Default


Or, you could have spent $7.00 on a can of Plastidip and in been done in 20 minutes. That said, yours came out really nice and it is straight. The Plastidip is wonderful for prototyping... trying unique personalizing touches that you would never try to paint permanently. Then it peels off when you don't care for it any longer! Many threads here on this easy mod.
Old 05-18-2018, 09:44 PM
  #4  
swingwing
Pro
Thread Starter
 
swingwing's Avatar
 
Join Date: Dec 2017
Location: Arlington, Texas
Posts: 657
Received 93 Likes on 70 Posts
Default

Originally Posted by DesmoSD
Looks good! It could possibly be the camera angle but it looks a little crooked (negative slope)
Yikes! You an engineer? Nonetheless I ran right out to me garage, micrometer in hand. Whew! She's true alright. Your comment reminded me of learning to dive-bomb in the USAF: "Measure with a micrometer, mark with a grease pencil, cut with an ax." I'se happy with the work. Thanks for the comment.

Last edited by swingwing; 05-18-2018 at 09:49 PM. Reason: Added sentence.
Old 05-18-2018, 09:47 PM
  #5  
swingwing
Pro
Thread Starter
 
swingwing's Avatar
 
Join Date: Dec 2017
Location: Arlington, Texas
Posts: 657
Received 93 Likes on 70 Posts
Default

Originally Posted by rwdds

Or, you could have spent $7.00 on a can of Plastidip and in been done in 20 minutes. That said, yours came out really nice and it is straight. The Plastidip is wonderful for prototyping... trying unique personalizing touches that you would never try to paint permanently. Then it peels off when you don't care for it any longer! Many threads here on this easy mod.
Noted, but looks like a lot of masking work. I went back and checked my elapsed timer - 18:36.
Old 05-18-2018, 11:25 PM
  #6  
DesmoSD
Three Wheelin'
 
DesmoSD's Avatar
 
Join Date: Feb 2017
Location: San Diego <->Knoxville
Posts: 1,870
Received 355 Likes on 252 Posts
Default

Originally Posted by swingwing
Yikes! You an engineer? Nonetheless I ran right out to me garage, micrometer in hand. Whew! She's true alright. Your comment reminded me of learning to dive-bomb in the USAF: "Measure with a micrometer, mark with a grease pencil, cut with an ax." I'se happy with the work. Thanks for the comment.
Haha, that's good to hear. I recognize that avatar! 😉
Old 05-19-2018, 12:11 AM
  #7  
boisenelson
Rennlist Member
 
boisenelson's Avatar
 
Join Date: Apr 2018
Location: Southwest Idaho
Posts: 801
Received 177 Likes on 131 Posts
Default

In your picture #3, I was not aware there was a Bose option for the engine hatch......Learn something new on this forum every day! In all seriousness, nice job and it looks great. I'm nit picky when it comes to things looking a bit tattered so I'd be doing the exact same thing.
Old 05-19-2018, 08:26 AM
  #8  
swingwing
Pro
Thread Starter
 
swingwing's Avatar
 
Join Date: Dec 2017
Location: Arlington, Texas
Posts: 657
Received 93 Likes on 70 Posts
Default

Ha ha, one has to have some tunes going whilst giving these cars a little love, no? Seriously, a hat tip to Auto Amateur on YouTube. He has a good video on emblem replacement, including adding PORSCHE lettering that's a little more involved than what I wanted for now.
Old 05-20-2018, 10:42 PM
  #9  
sober_owl
Racer
 
sober_owl's Avatar
 
Join Date: Jan 2015
Posts: 351
Likes: 0
Received 1 Like on 1 Post
Default

i did 991 911 emblem on mines...dont mind yellow bumper.. was just test fitting..
Name:  20180514_125233.jpg
Views: 591
Size:  226.5 KB
Old 05-21-2018, 05:21 AM
  #10  
captainbaker
Burning Brakes
 
captainbaker's Avatar
 
Join Date: Aug 2015
Location: L.A.
Posts: 1,184
Likes: 0
Received 5 Likes on 5 Posts
Default

Originally Posted by swingwing
Yikes! You an engineer? Nonetheless I ran right out to me garage, micrometer in hand. Whew! She's true alright. Your comment reminded me of learning to dive-bomb in the USAF: "Measure with a micrometer, mark with a grease pencil, cut with an ax." I'se happy with the work. Thanks for the comment.
I thought the same thing...crooked. Glad to hear its actually straight. My architect neighbor buddy came home when I was doing the same job on my Range Rover. He took one look and bingo....one letter was off a MM or two. Argh.
Old 05-21-2018, 09:02 AM
  #11  
F6MLK
AutoX
 
F6MLK's Avatar
 
Join Date: May 2017
Posts: 13
Likes: 0
Received 0 Likes on 0 Posts
Default

I had mine done in black with a red S badge

Name:  iy3FdmG.jpg
Views: 114
Size:  3.12 MB
Old 05-21-2018, 11:42 AM
  #12  
El Dario Loco
Racer
 
El Dario Loco's Avatar
 
Join Date: May 2015
Location: Stockholm, Sweden
Posts: 295
Received 2 Likes on 2 Posts
Default

Tried that with my turbo and botched it badly, despite endless measuring and taping. Gave up and been going badge-less ever since...
Old 05-21-2018, 05:33 PM
  #13  
OnlineAlias
Rennlist Member
 
OnlineAlias's Avatar
 
Join Date: Nov 2013
Location: Indianapolis Indiana
Posts: 269
Likes: 0
Received 1 Like on 1 Post
Default

Just a pro tip, carefully make a square around the outside of the emblem's position with masking tape before you take it off. That way you know exactly where the new one goes back on.
Old 05-21-2018, 06:17 PM
  #14  
swingwing
Pro
Thread Starter
 
swingwing's Avatar
 
Join Date: Dec 2017
Location: Arlington, Texas
Posts: 657
Received 93 Likes on 70 Posts
Default

Yes! That would've been an excellent step. Good suggestion.
Old 05-22-2018, 06:54 AM
  #15  
El Dario Loco
Racer
 
El Dario Loco's Avatar
 
Join Date: May 2015
Location: Stockholm, Sweden
Posts: 295
Received 2 Likes on 2 Posts
Default

I changed to a GT2 decklid without an emblem so the tape method was not an option. But good tip.

Last edited by El Dario Loco; 05-22-2018 at 04:55 PM.


Quick Reply: DIY Rear Emblem Replacement


All times are GMT -3. The time now is 11:12 PM.