When you click on links to various merchants on this site and make a purchase, this can result in this site earning a commission. Affiliate programs and affiliations include, but are not limited to, the eBay Partner Network.
So the cloudiness on my headlights has been bugging the heck out of me. Final took the time to restore using the 3M drill kit. Took about an hour to do both headlights and I think they look a whole lot better. Not a bad investment in time and less than $20.
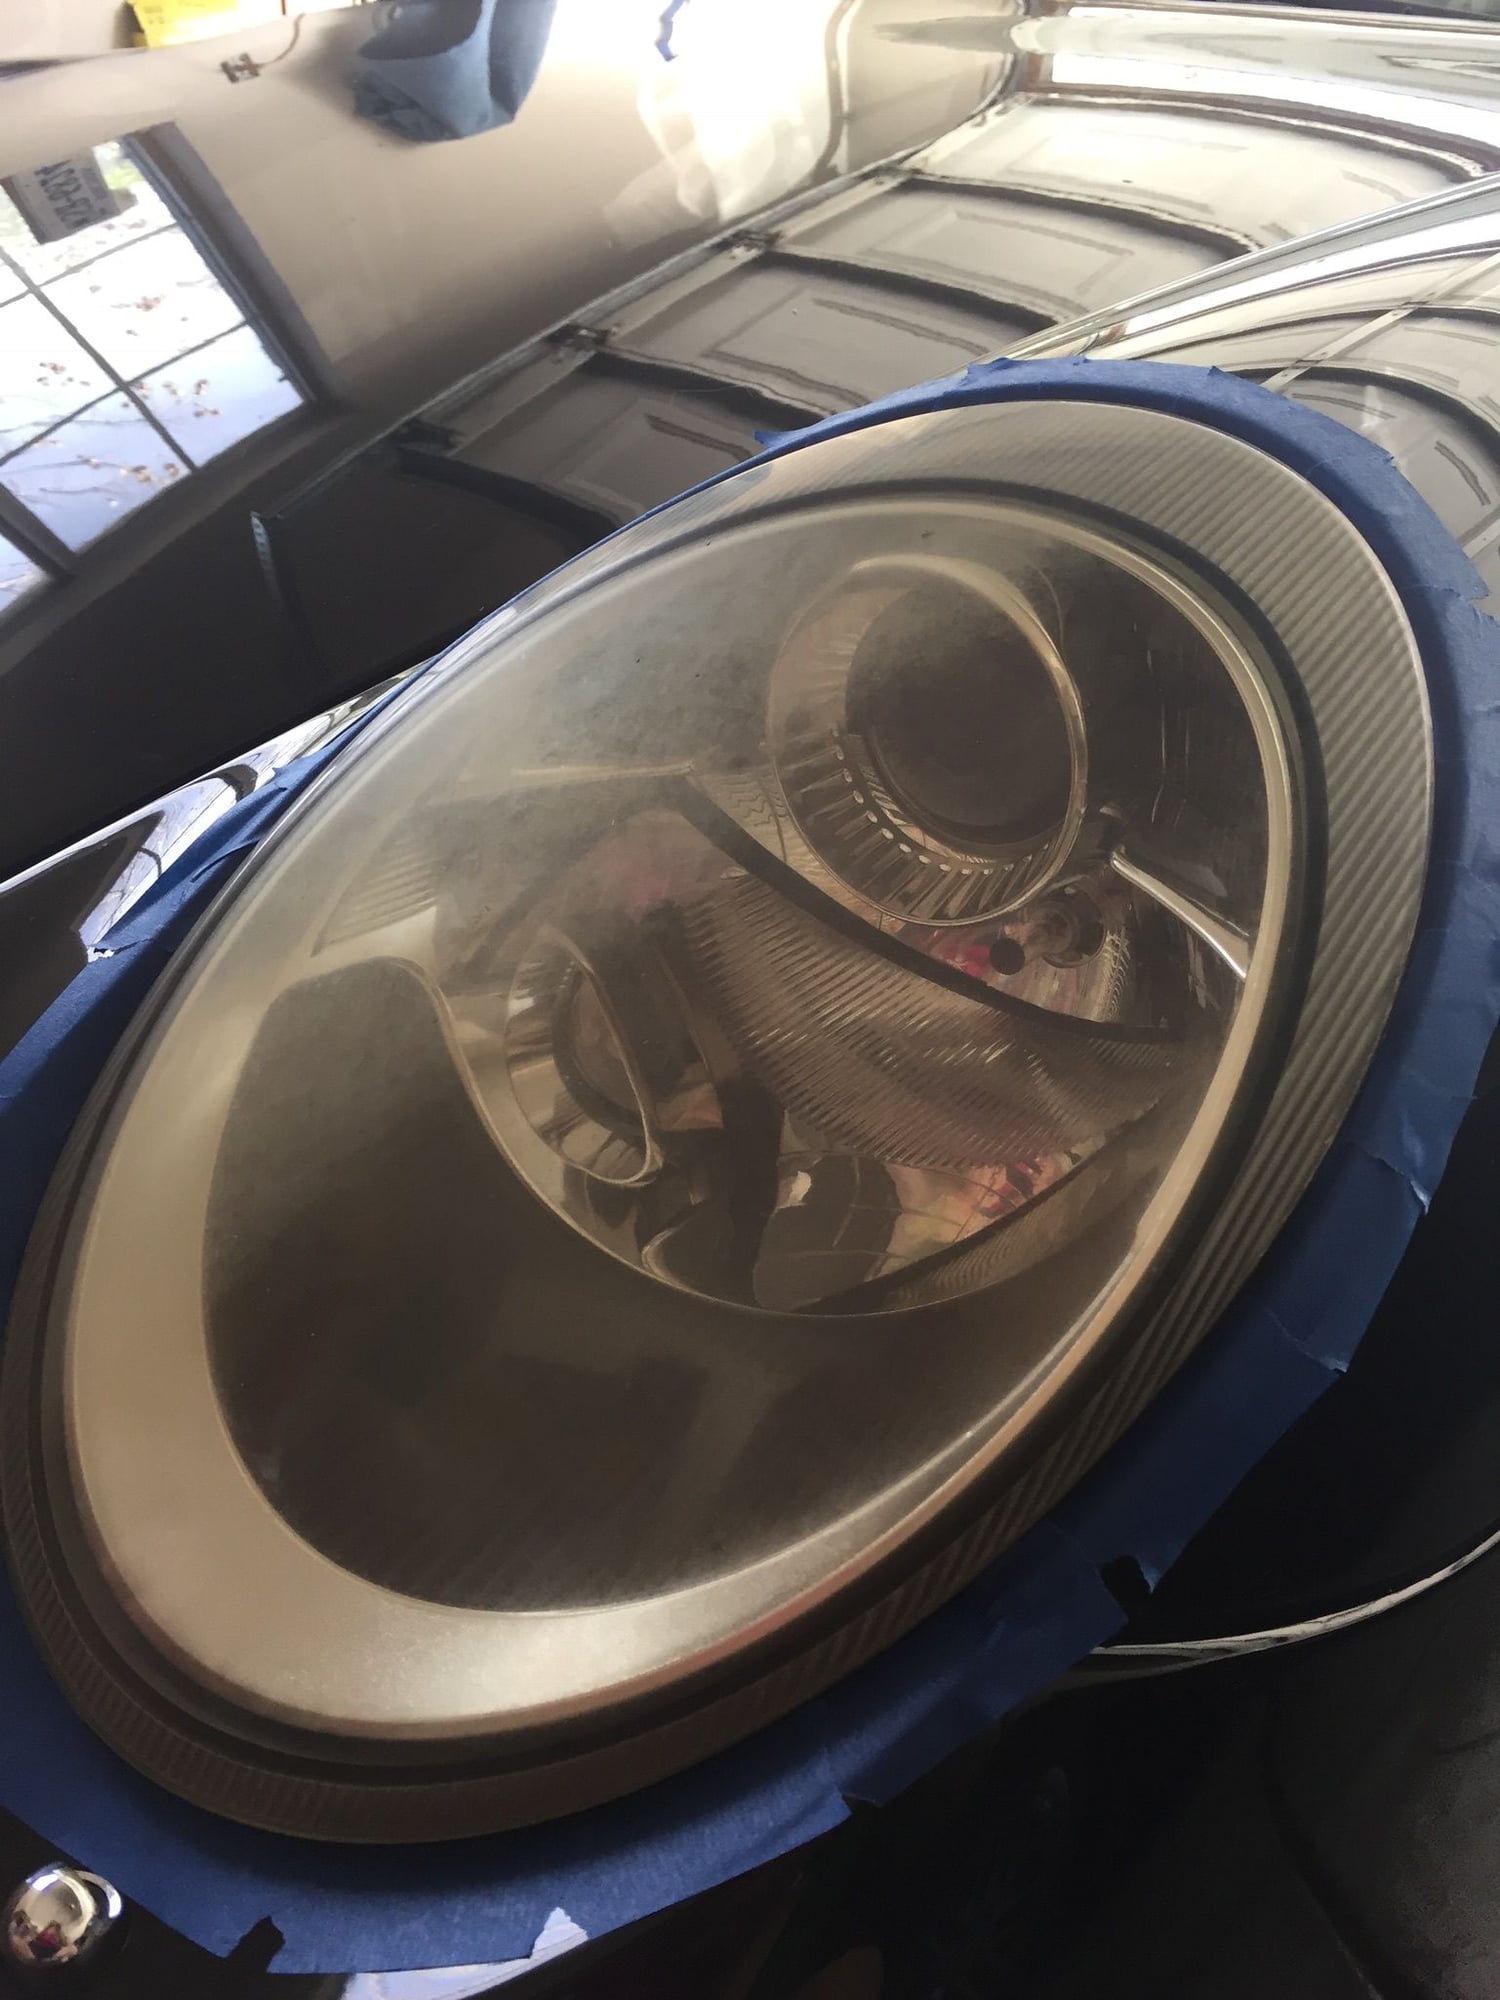
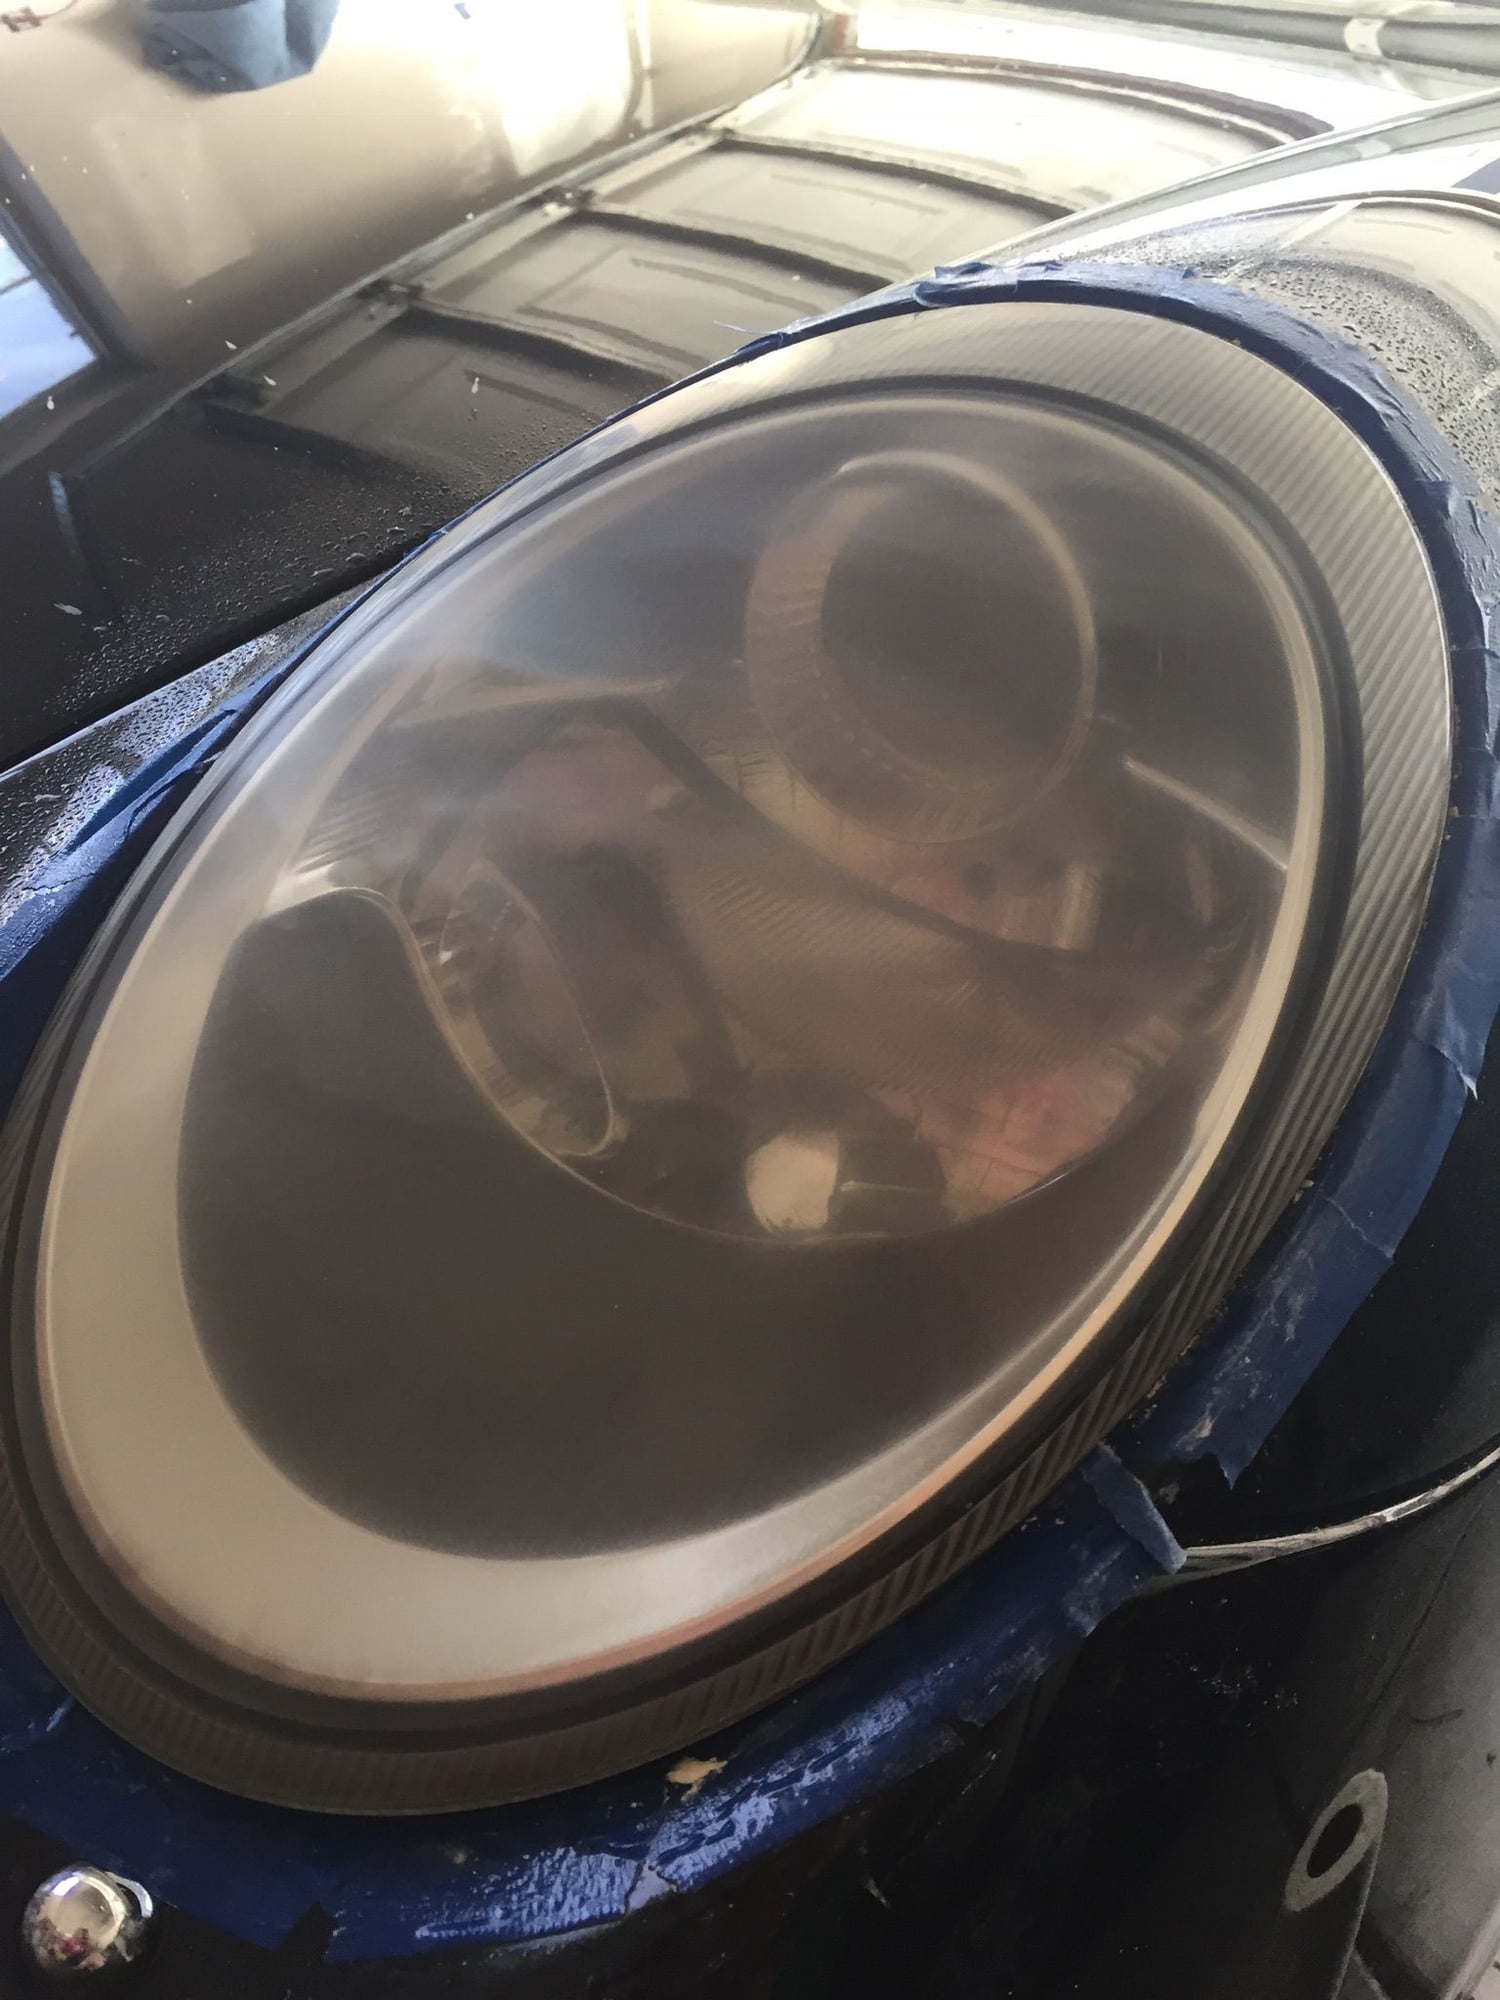
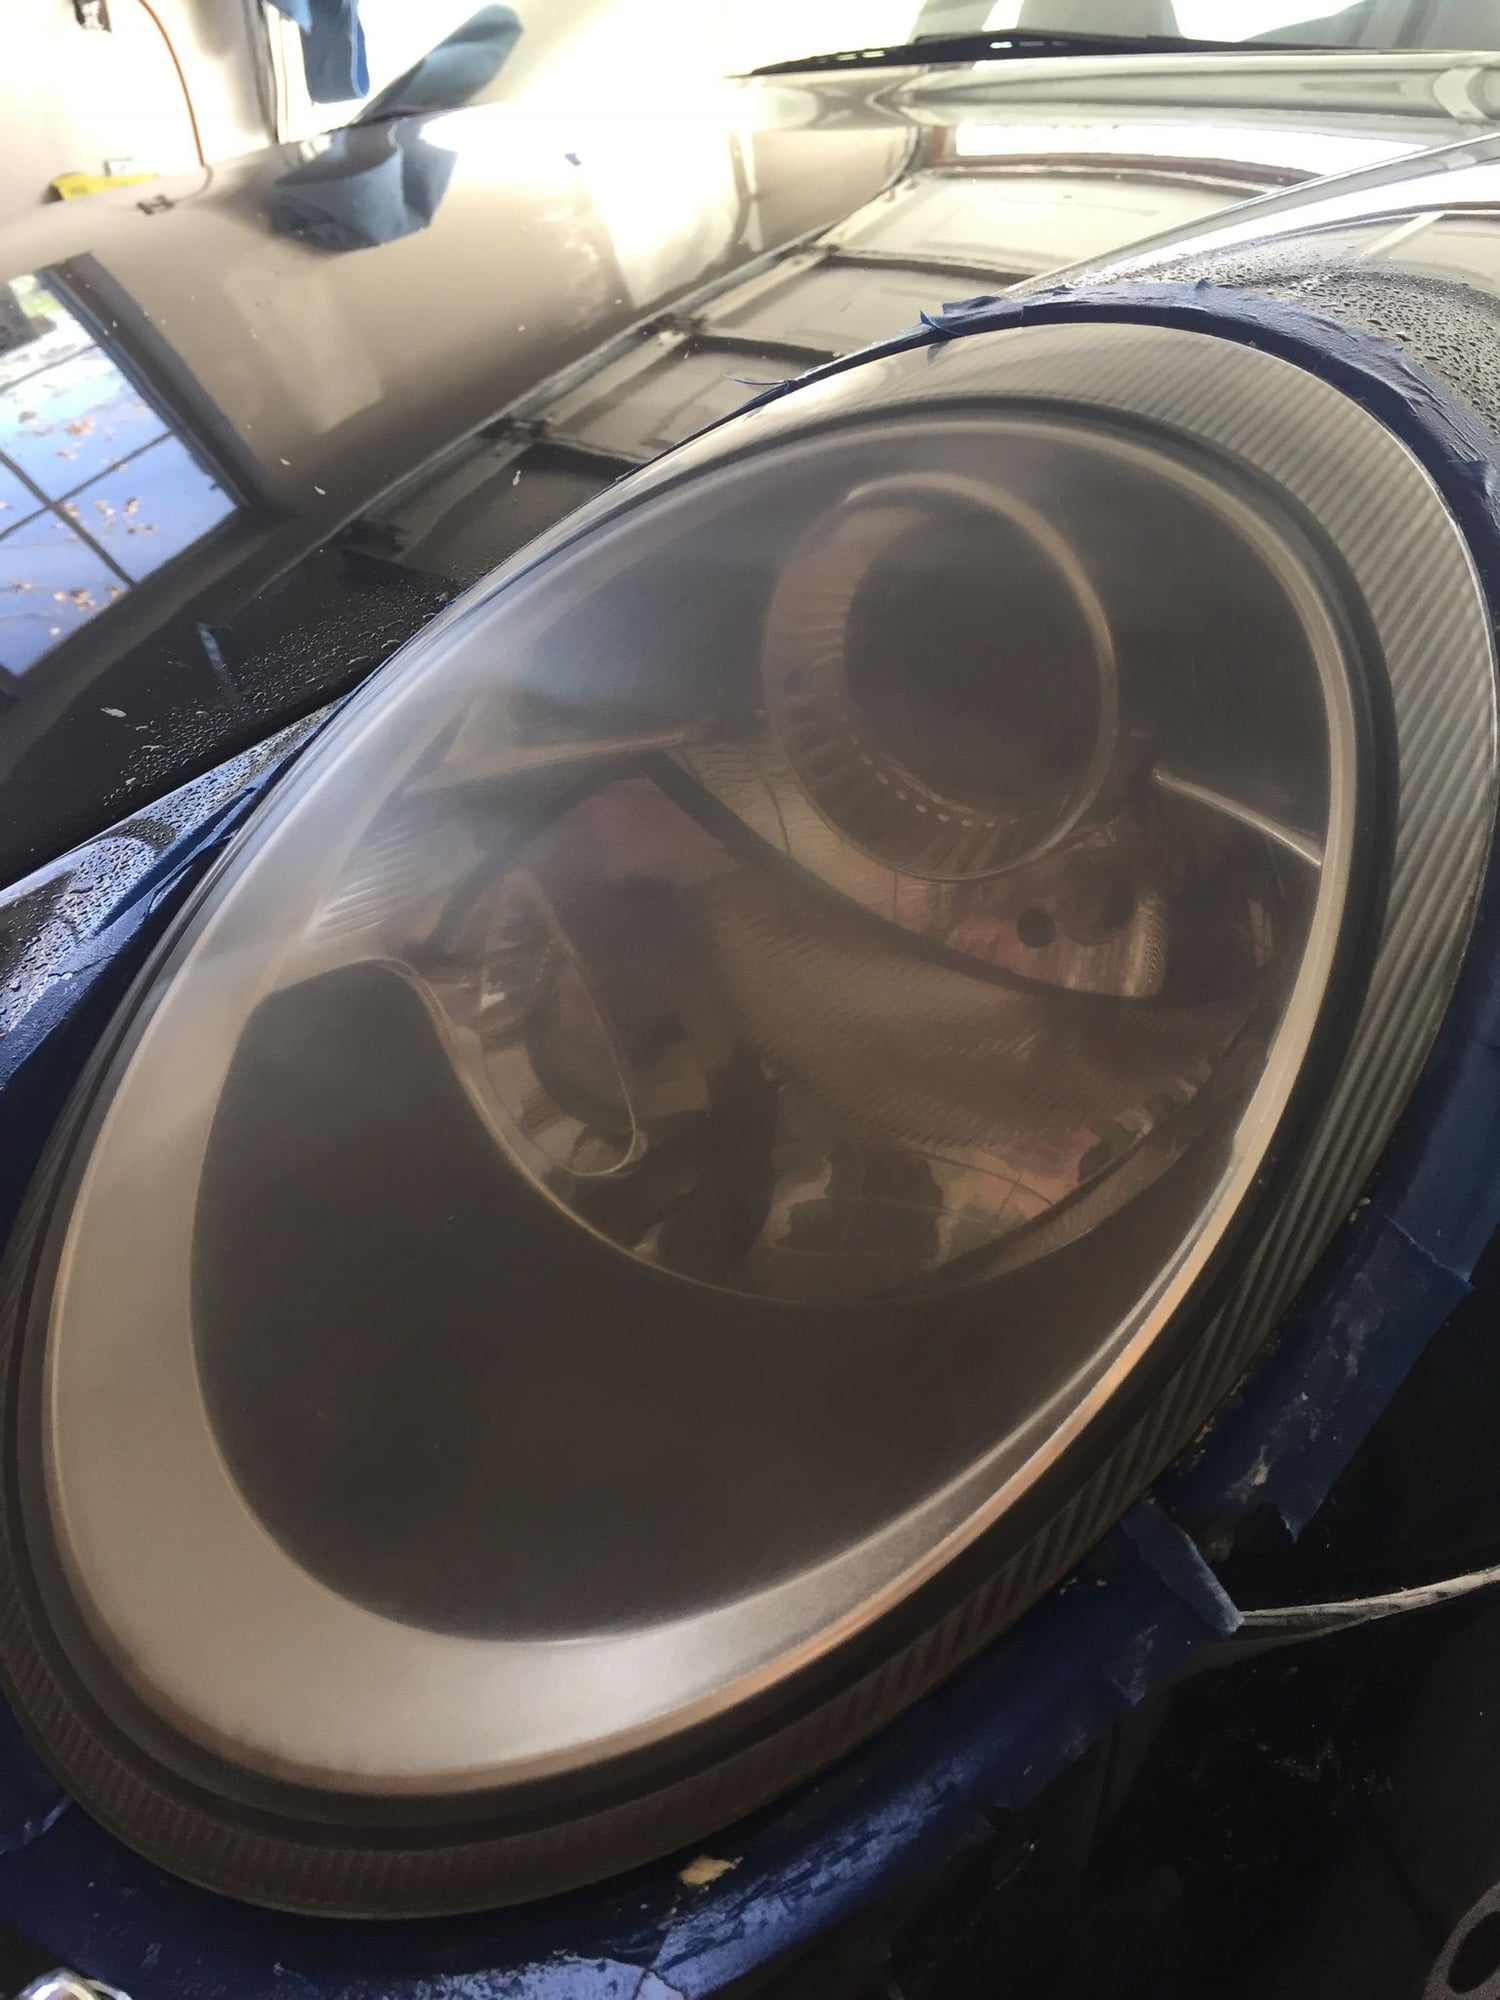
Pics of just one headlight which tells the story. Below is the all important "before" pic. Most of the cloudiness is in the upper left side of the light which looks like a reflection.
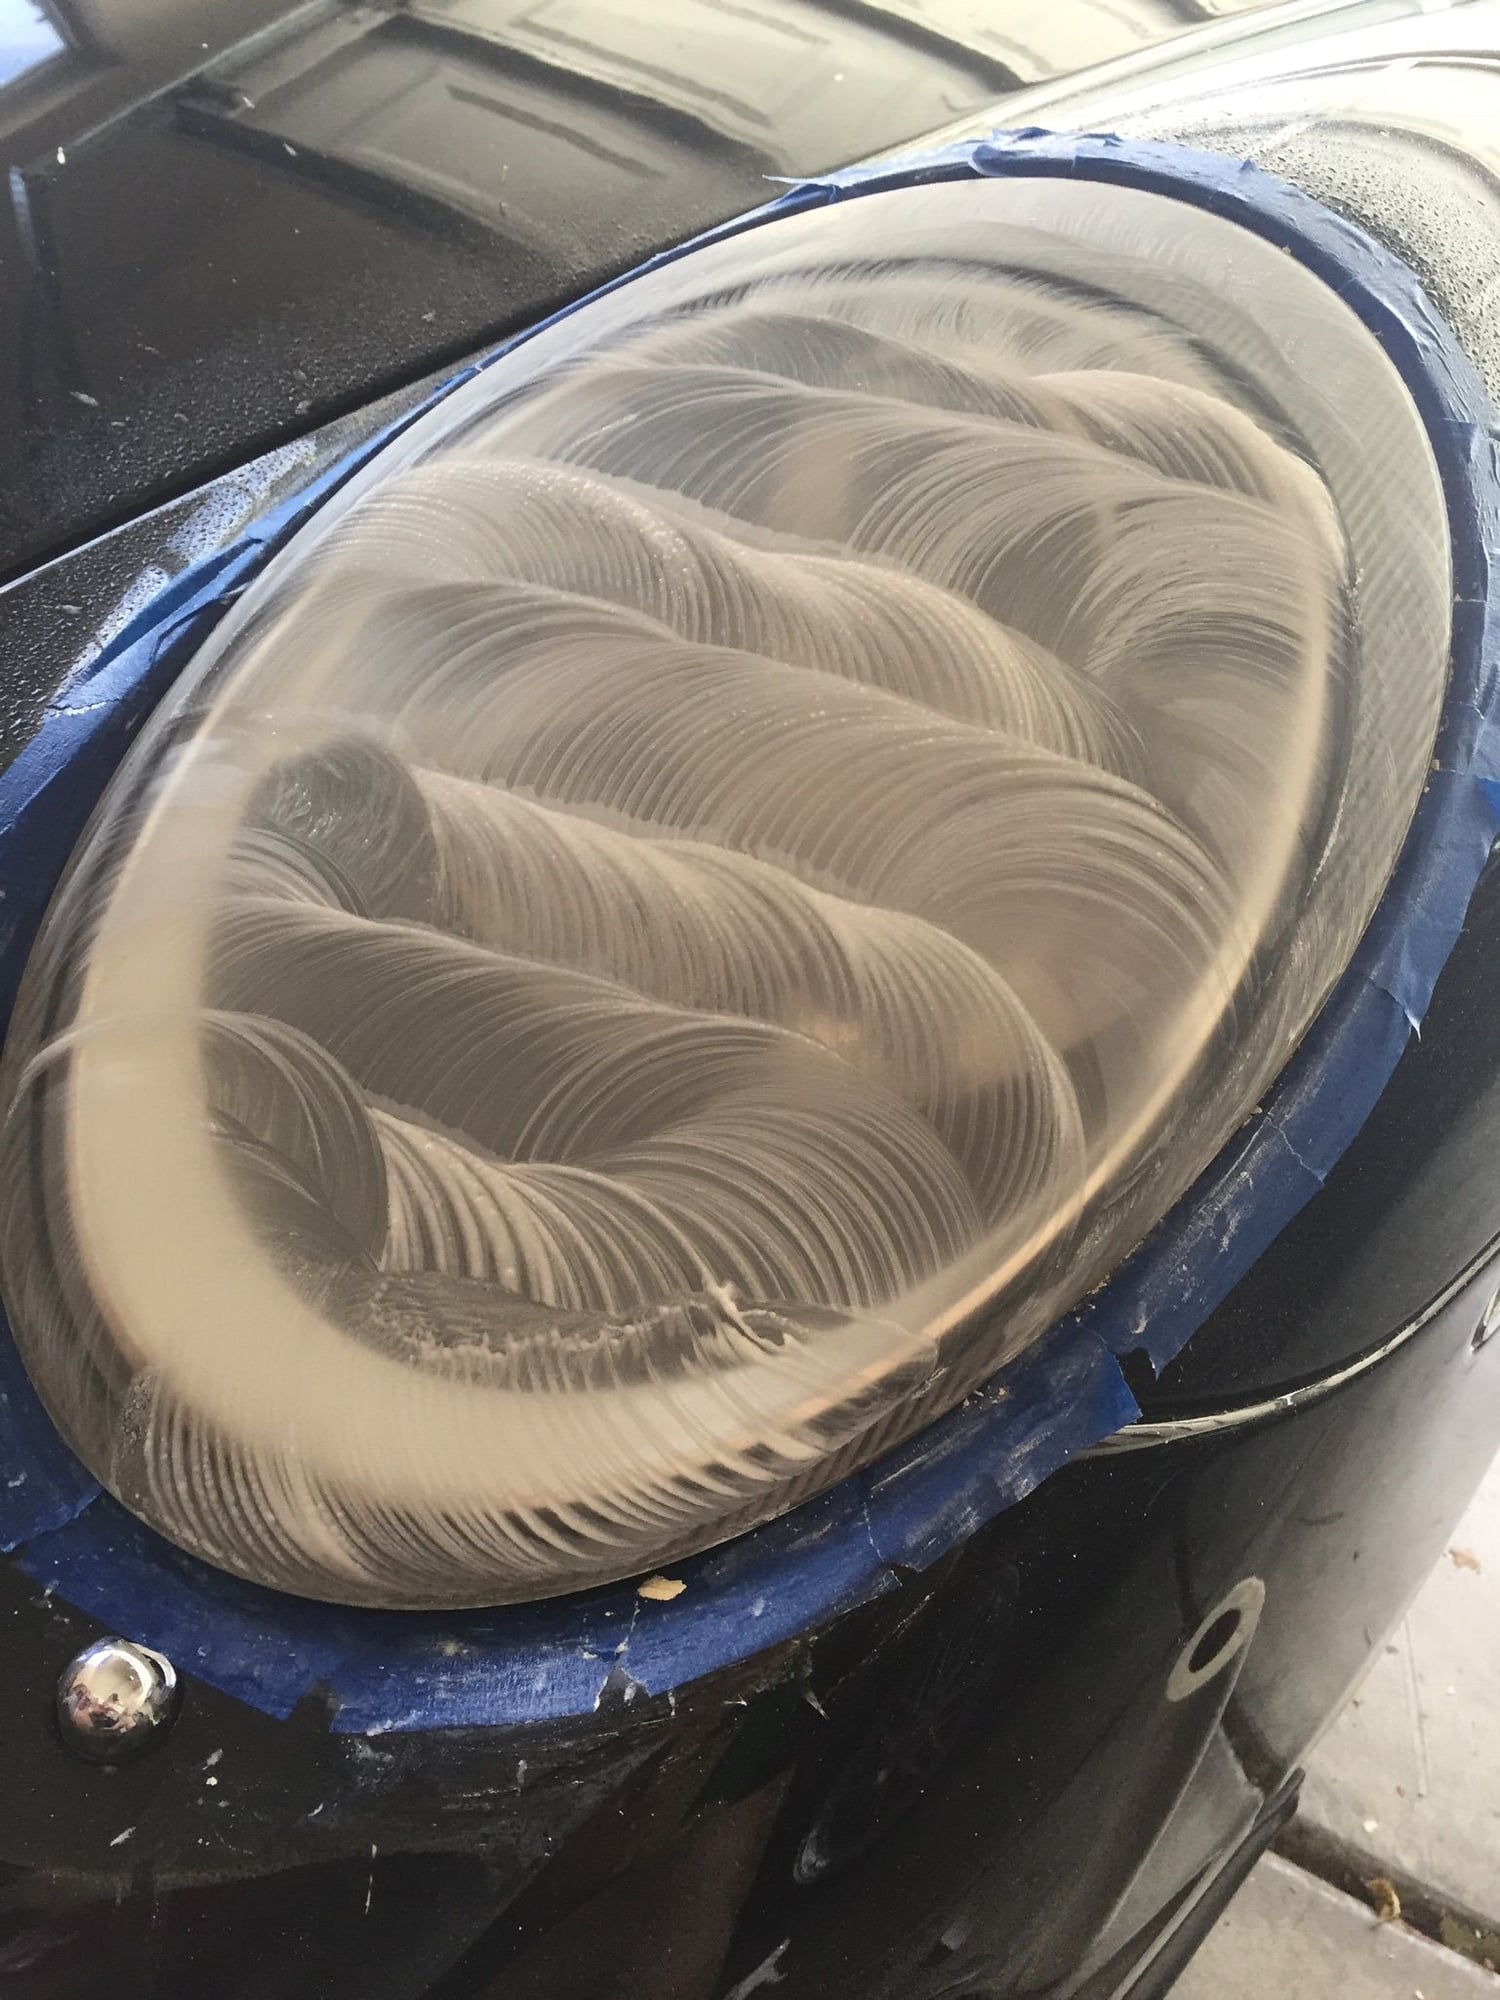
First wet sand with a 500 grit sanding disk.
Second wet wet sanding with 500 grit. Nasty!
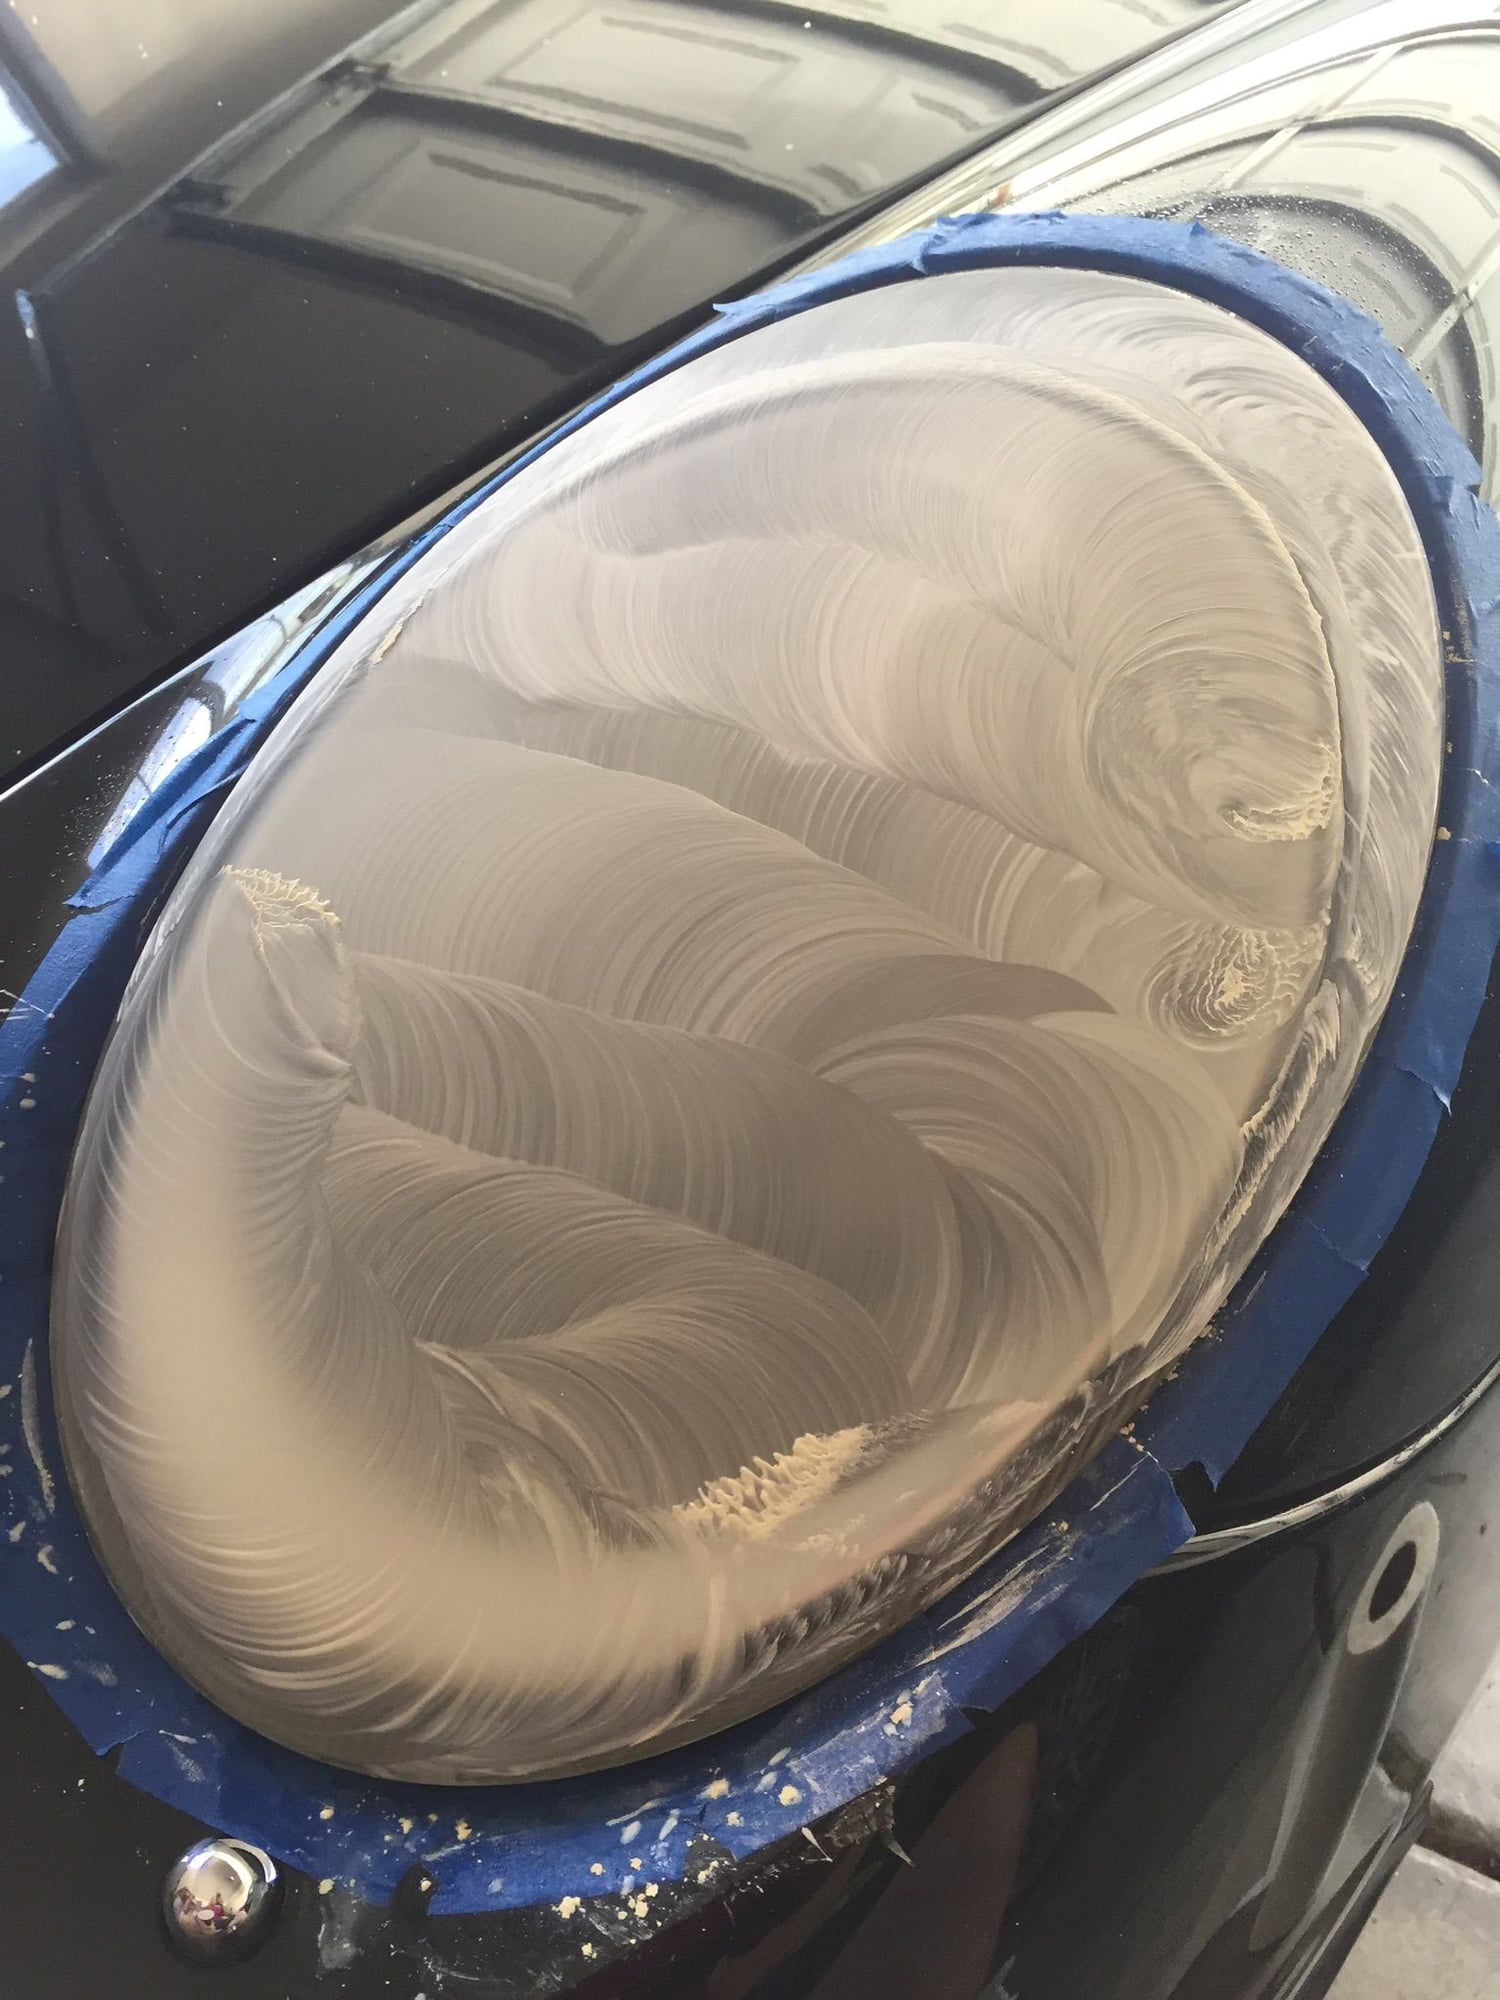
After 800 grit disk and cleaning off the slurry.
After an 3000 grit sanding disk. Looking better.
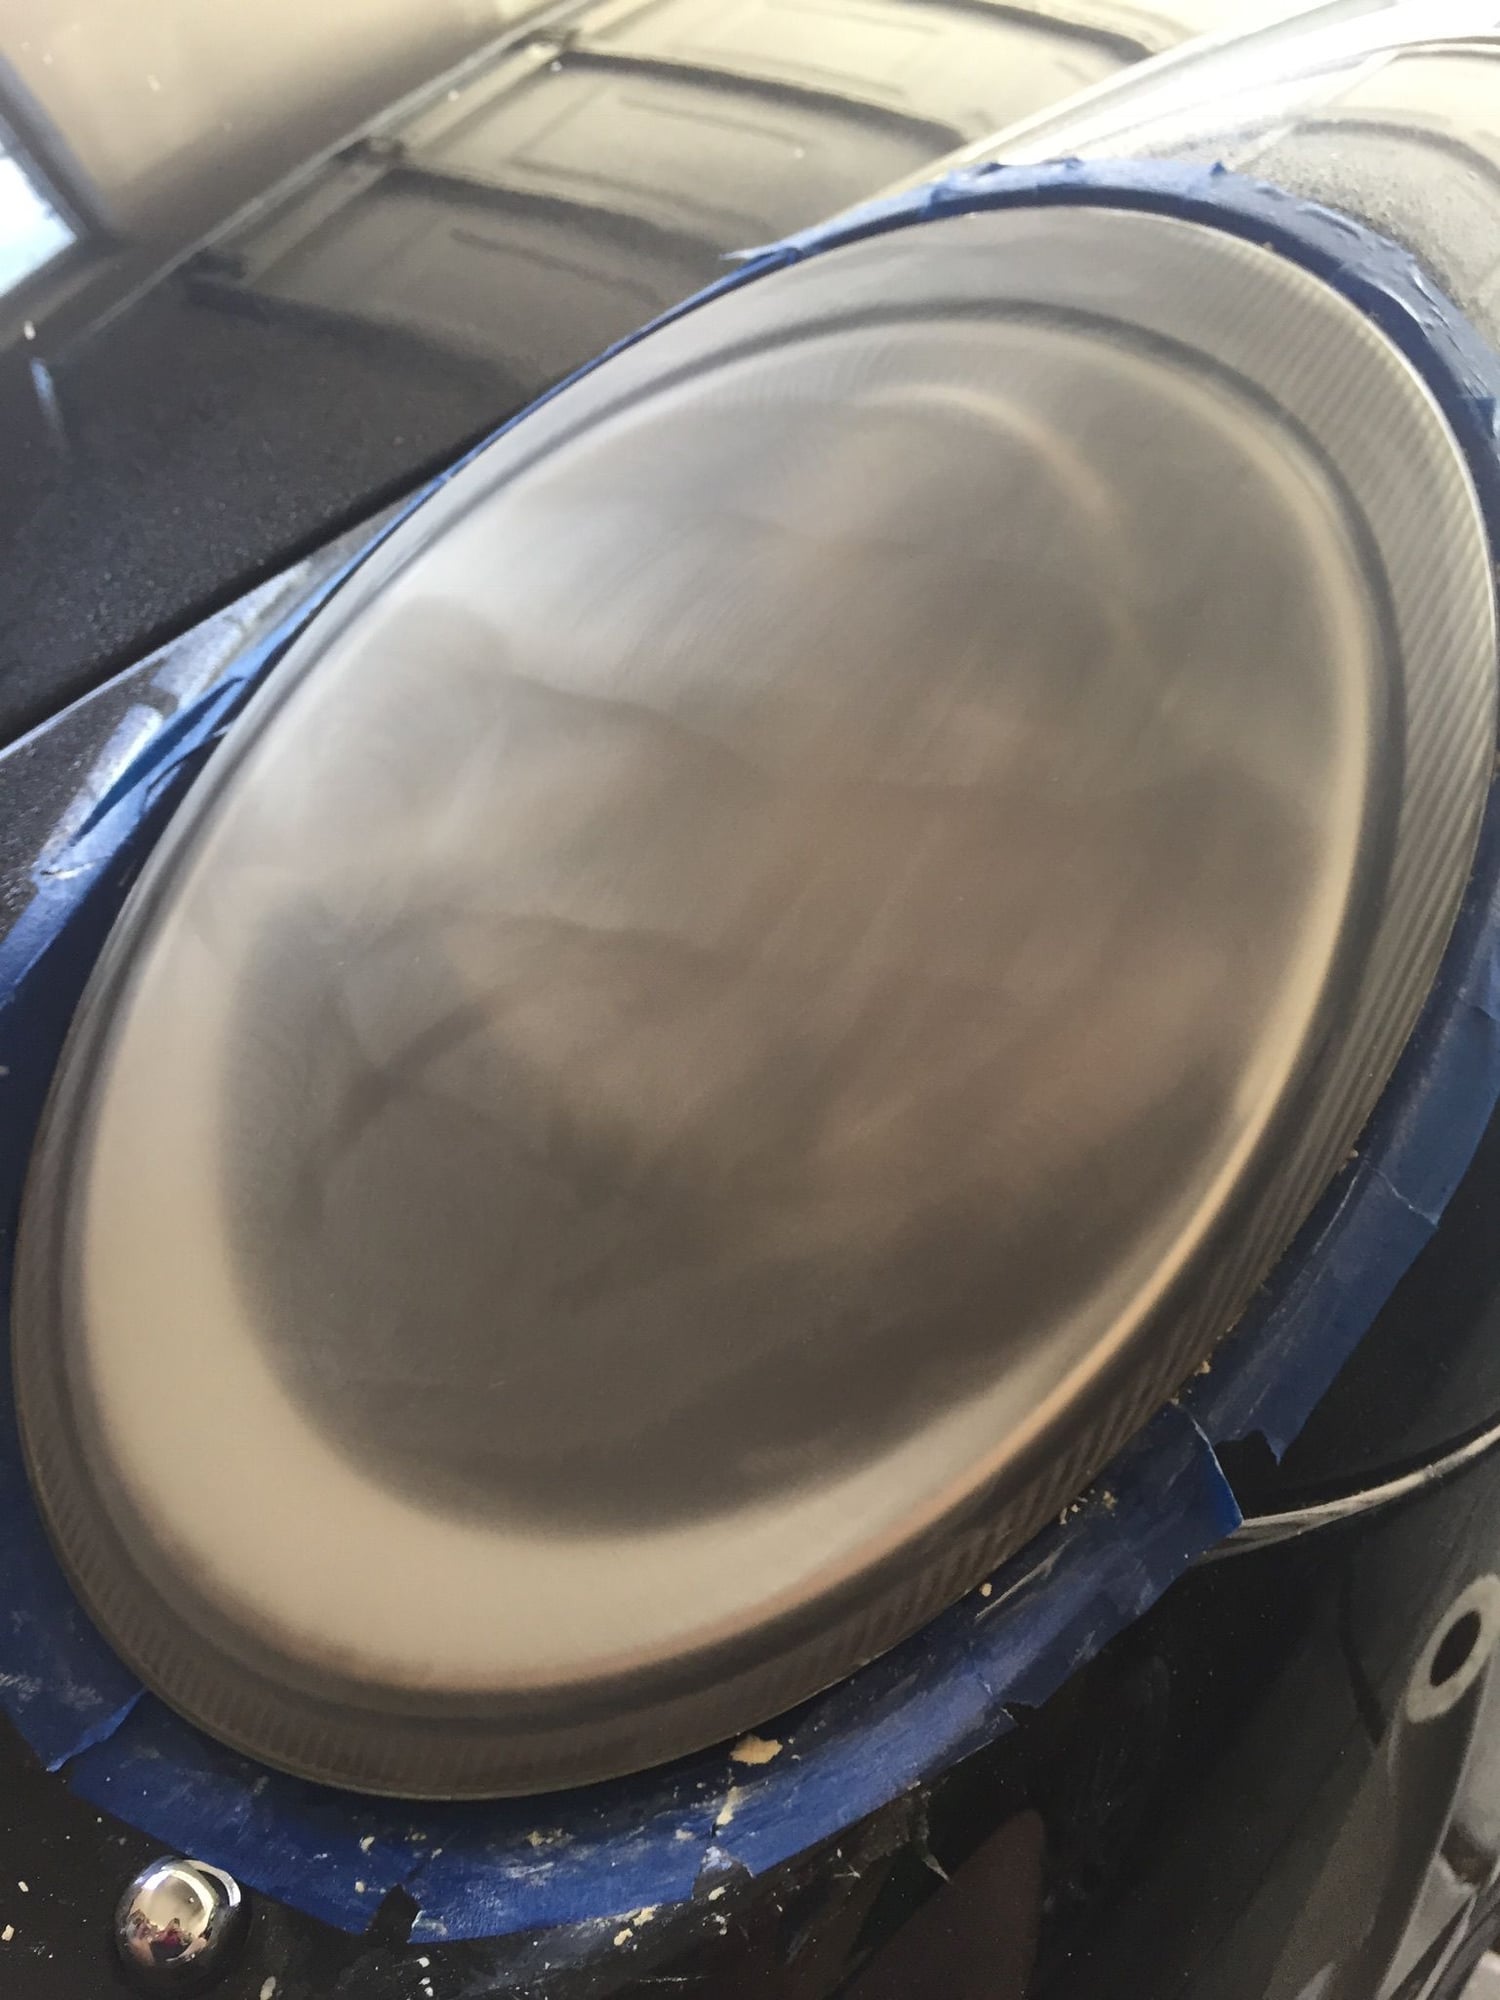
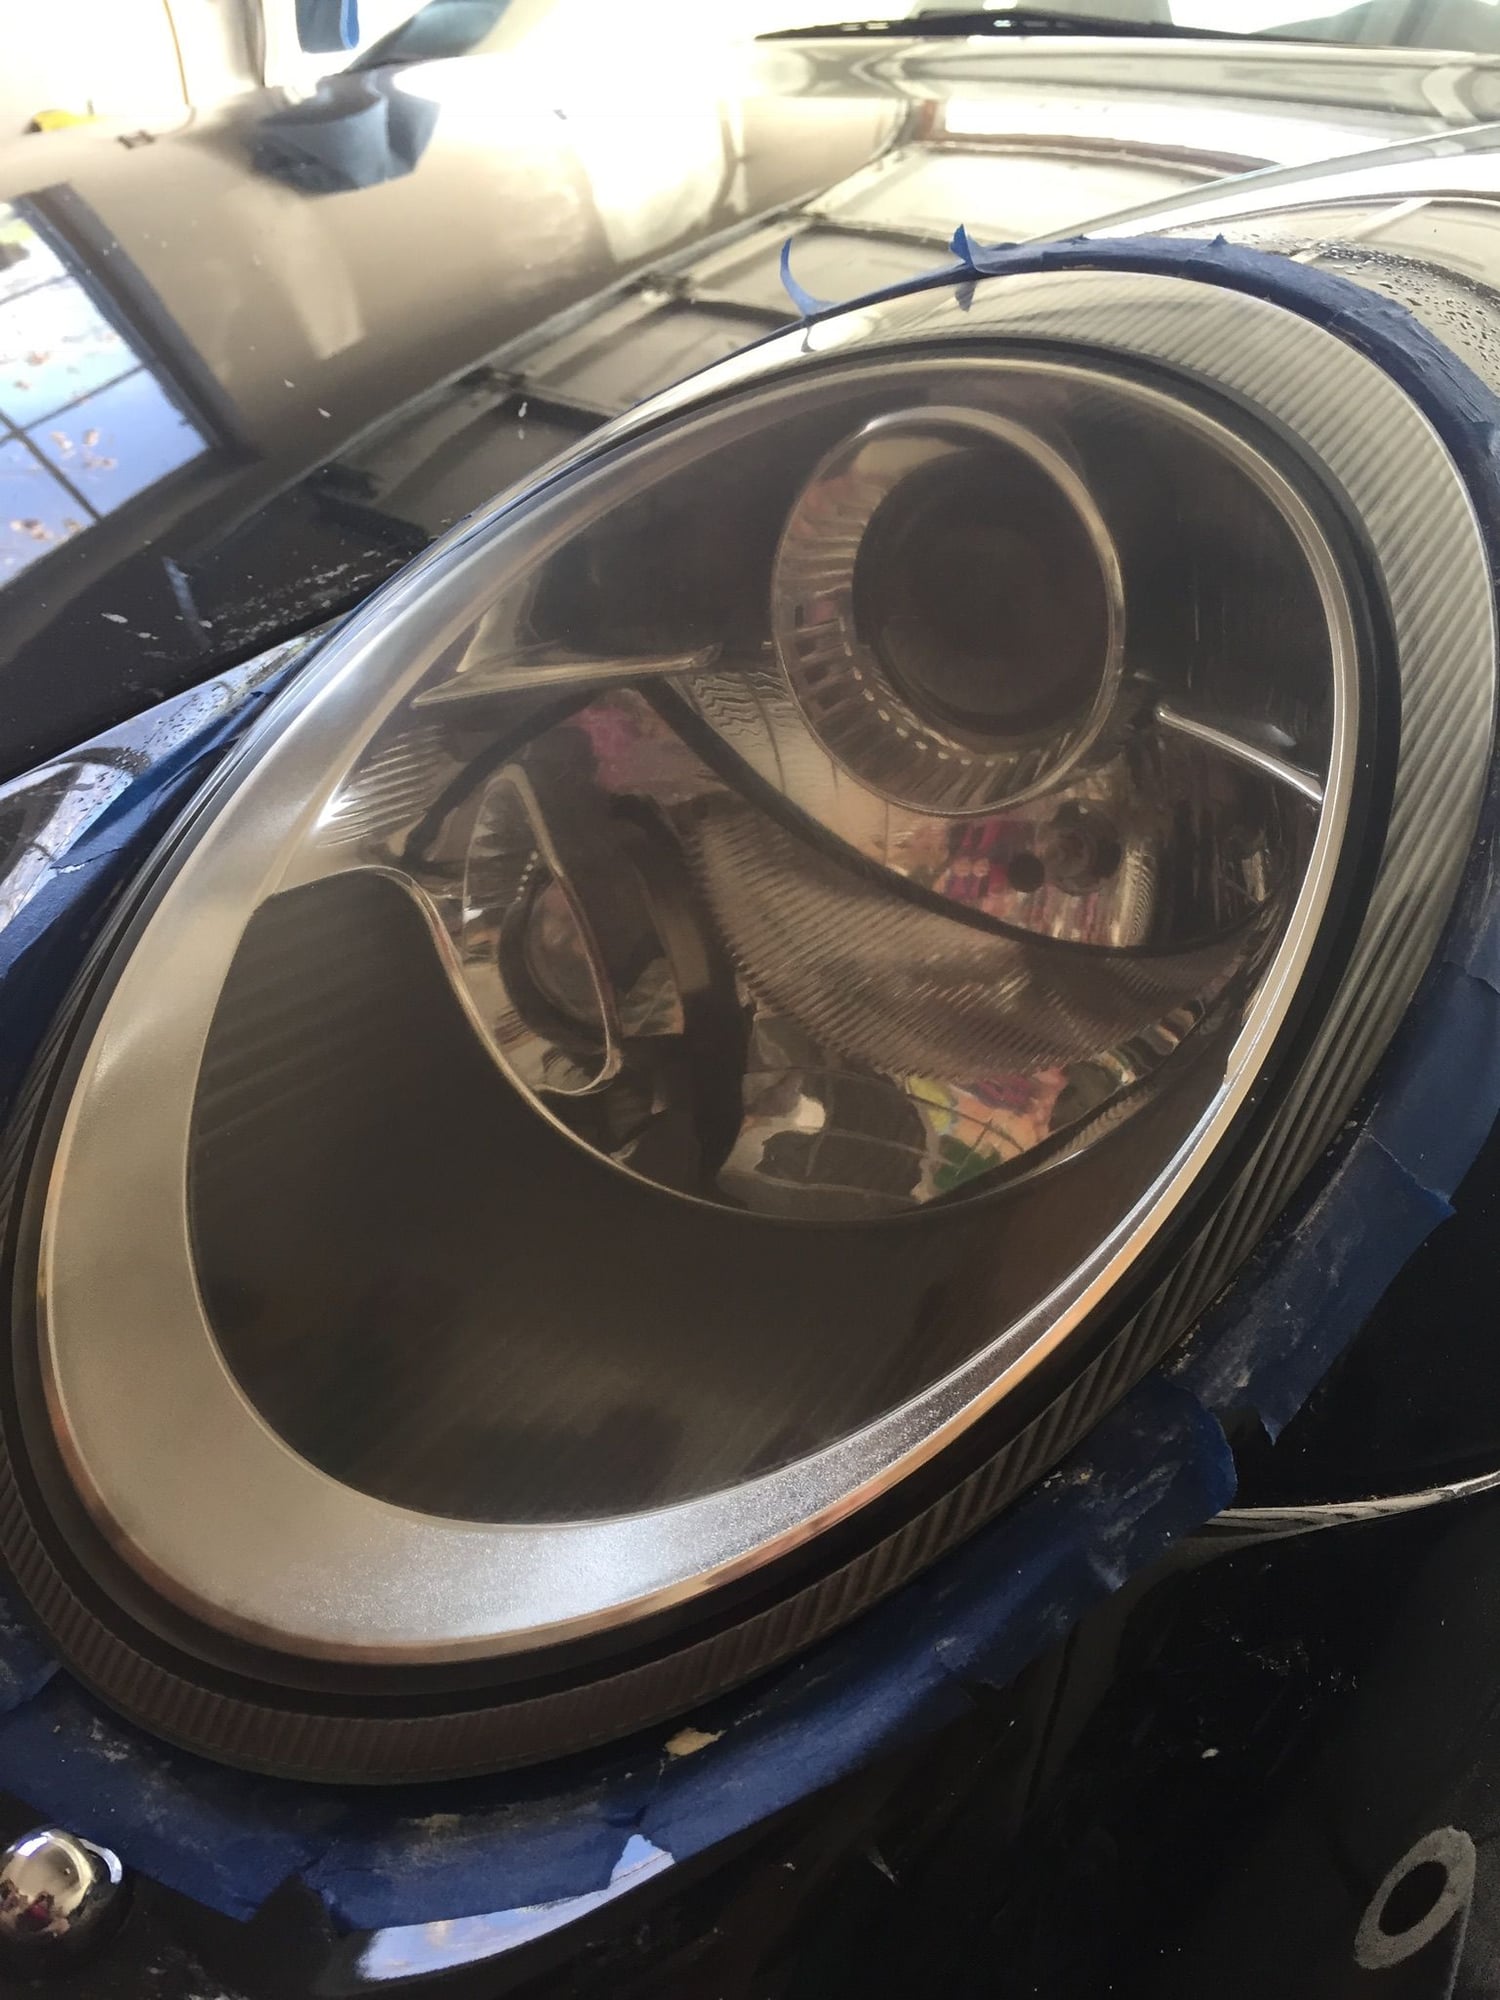
After using the polishing paste on a sponge disk. Almost done.
And the closing step using a UV sealant to protect all that hard work. Looking good!
Lamin-X film to be applied after the sealant dries. Good days work and DIY?
Great job and +1 for Lamin-X. I just replaced mine (had been on for too long and was a total paint to remove). When I finally got it off, the headlights looked showroom.
Would it have been easier to pop the light out of the car to do this?
Not only a little easier (they're easy to pop out), but I've heard doing it with them installed can risk shorting out the car's electronics from static buildup.
Can't speak for the OP, but I've thought about doing that. The issue I see is that it would required some kind of cradle (awkward shape) and way to anchor the cradle down. Sometimes need to able to put a little muscle into it. The sanding is wet-sanding and when polishing a little detail spray has kept the static down on other cars I've worked on. Dry MF towels can really be static generators.

 04-23-2018, 11:16 PM