When you click on links to various merchants on this site and make a purchase, this can result in this site earning a commission. Affiliate programs and affiliations include, but are not limited to, the eBay Partner Network.
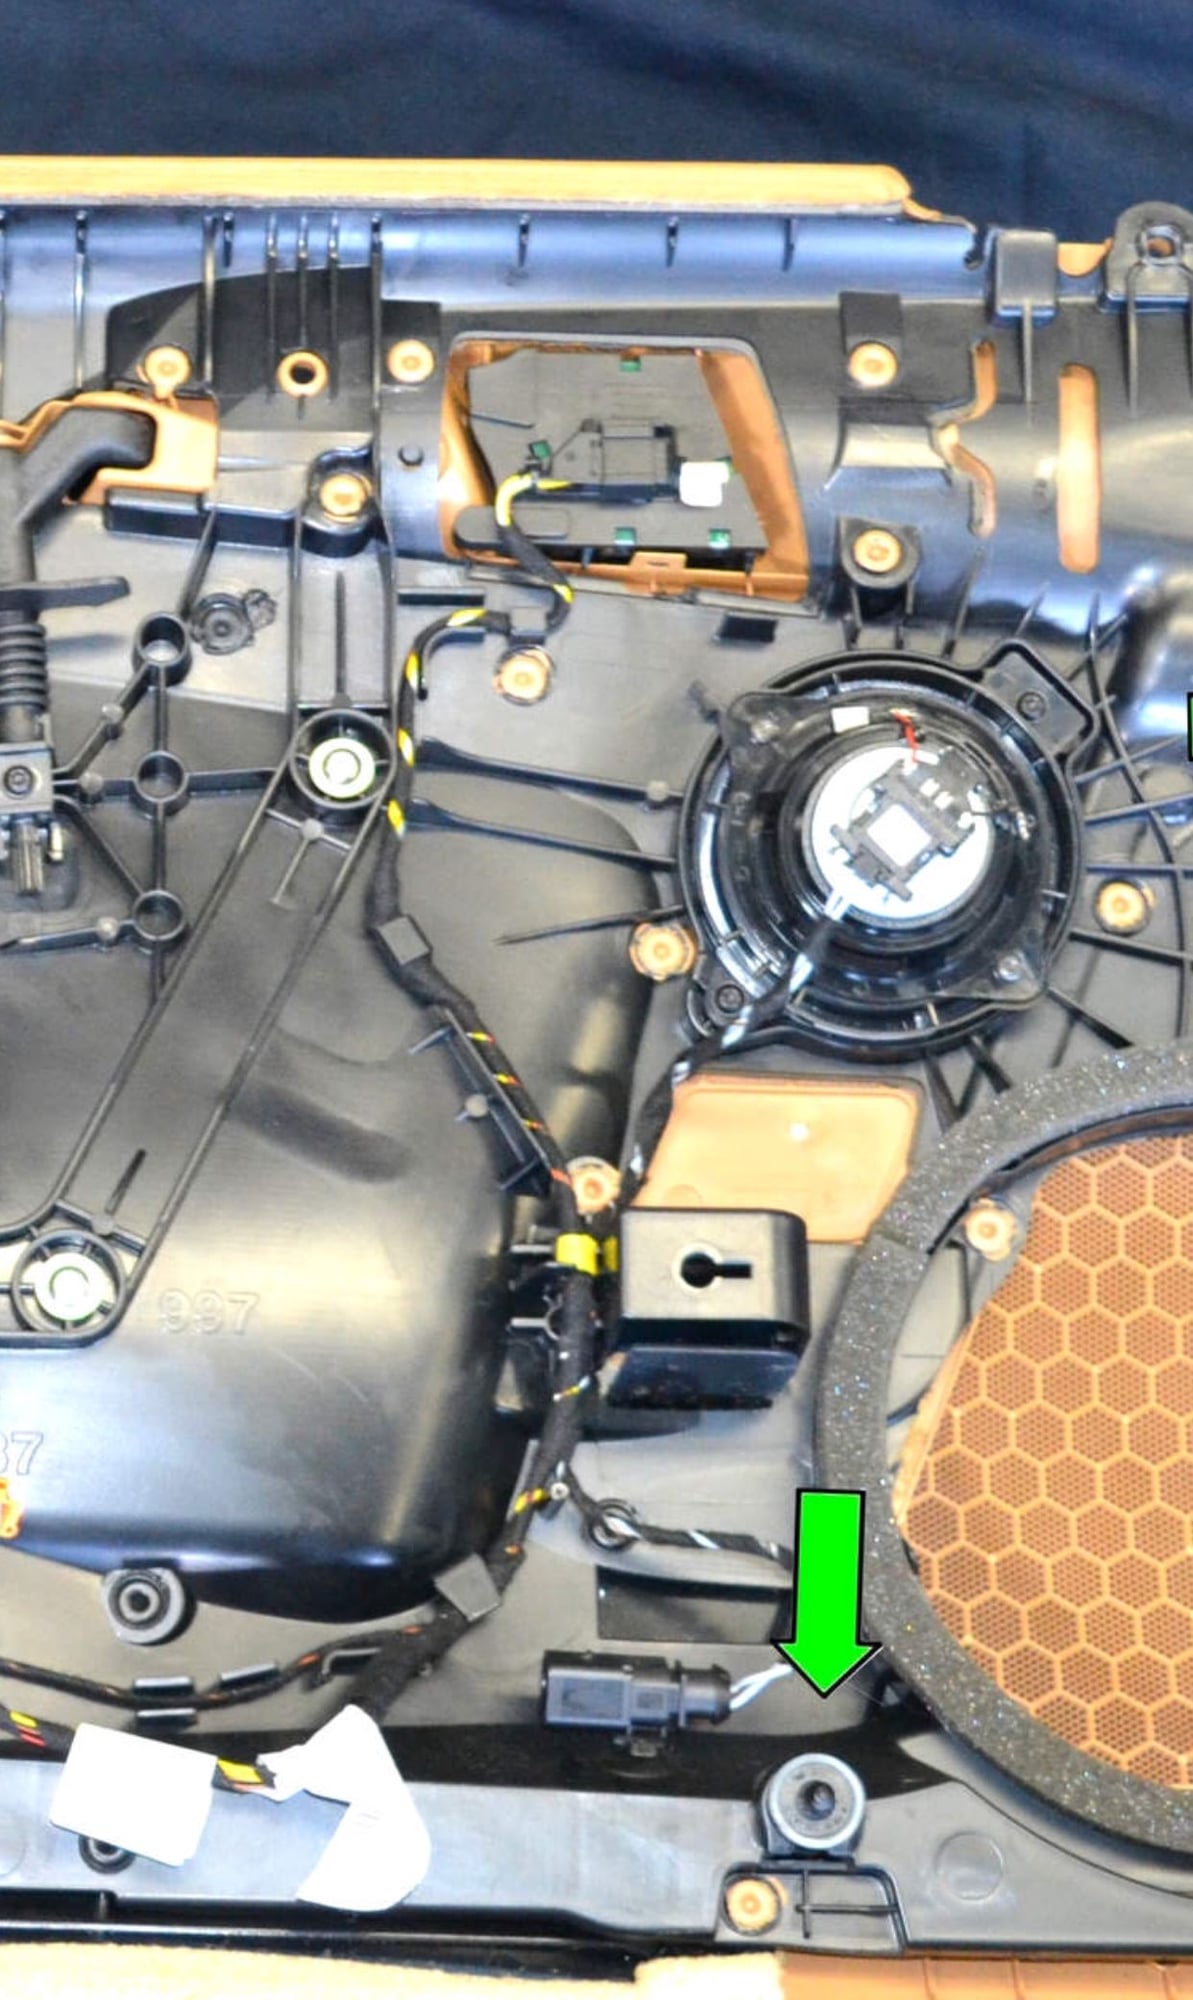
Has anyone ever installed this replacement trim piece for their door? I ordered a new one since my current unit is all scratched up. After digging on Pelican, I found the backside of a door panel pic below. Are are these pieces held on with rivets? What do I have to do for removal and install of the new piece?
You have to get a soldering iron and melt the rivets while using a trim tool on the other side to apply some pressure - stop melting as soon as that one pulls free and you'll also be able to salvage the old trim piece by reinstalling it using the screw method. Once one pops free, move on to the next one with the same process. I've installed 3 sets of these door spears into different panels, doing removal the same way each time, but different installation techniques. The first set I did were brand new with the long plastic tubes that you melt down like the way they were put together at the factory - this method sucks. They're very difficult to get tight and the plastic wants to be brittle and crack after it cools. On the next set I trimmed the long posts to be just short of sticking through the holes where they mount and found some low-profile stainless steel screws and washers and threaded the screw into the tubes/holes. This method is awesome as it allows you to fine tune the pressure at each attachment point for a nice tight install and perfect alignment on the front side of the panel. Then get some adhesive weatherstripping and apply a little square on-top of each screw before putting the panel back on to prevent the screw head from vibrating against the metal door liner and creating a buzzing.
Another tip, if you removed the 3 screws of the door handle post with the cable on it in order to not have to disconnect the cable but be able to get the door panel off the door, when you're putting things back together, remount the post assembly with the 3 screws, but before you tighten them and move on, put the inside door handle back on and adjust the position so it fits exactly the way it's supposed to in the recess, then tighten the 3 screws, pull the handle off again and continue the installation. If the handle isn't perfectly aligned in the door spear it will trip the little microswith that it presses on when shut and keep dropping and raising the window when you hit bumps - it will also rub the corner of the newly installed door spear.
Here's a link to an old classified ad of mine where I put a leftover set of door spears into some spare panels using the screw method so you can see what this looks like. These don't have the tape over the screw heads. https://rennlist.com/forums/parts-ma...e-upgrade.html
I used a soldering iron and melted the old one off and then melted the new one on. Been a year, no issues. Just hold pressure when you do it, should be fine.
those type of welds are ultrasonically welded , they use that sort of method for plastic all over the car. Personally, if its black I would sand that part and paint it with a satin black paint
Thank you everyone with the replies. I’ll go purchase a soldering iron and give it a go. Whoever took apart the door prior broke the sail, scratched the door spear up, and broke the piece of plastic on the rubber weatherstrip where the sail hangs on. I’m still waiting for the replacement weatherstrip to arrive.
Last edited by second2none; 02-04-2018 at 12:09 AM.
Reason: Mispelling
Thank you everyone with the replies. I�ll go purchase a soldering iron and give it a go. Whoever took apart the door prior broke the sail, scratched the door spear up, and broke the piece of plastic on the rubber weatherstrip where the sail hangs on. I�m still waiting for the replacement weatherstrip to arrive.
Aha, I see why you went with a replacement. Unless I had some other necessity to take the door card off I would mask, prep and paint. Any OEM color can be matched by taking the ashtray in to Home Depot. From experience, their paint can be applied with a brush or sponge and no telltale streaks. No need to spray.

 02-02-2018, 12:21 AM