When you click on links to various merchants on this site and make a purchase, this can result in this site earning a commission. Affiliate programs and affiliations include, but are not limited to, the eBay Partner Network.
I replaced the brake booster vacuum line on my 997.1 C4. The line was taped with automotive tape when I got the car, and this was missed by the PPI. I think this was contributing to why the engine was running rich, hopefully it didn't contribute to any scoring - haven't scoped the cylinder walls yet. I reinforced with some high heat tape and waited for the replacement to come in. I didn't see a DIY for this, and while it's straightforward, maybe it will help someone else. I was quoted $600 for this by a well-regarded Indy here in Houston... the part cost me $69 shipped and took about 20 minutes. In the PET diagram it is part number 99711005503.
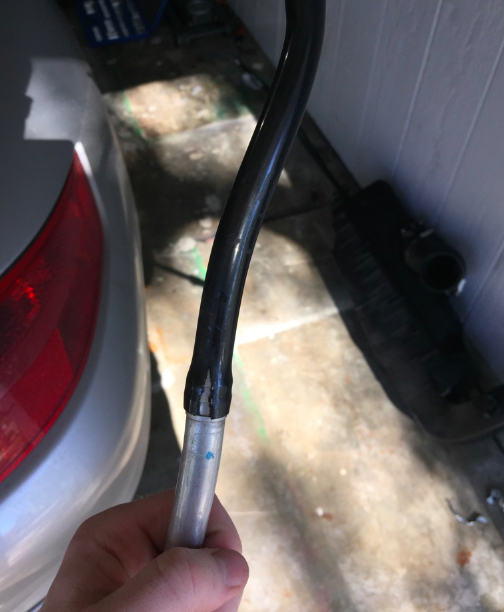
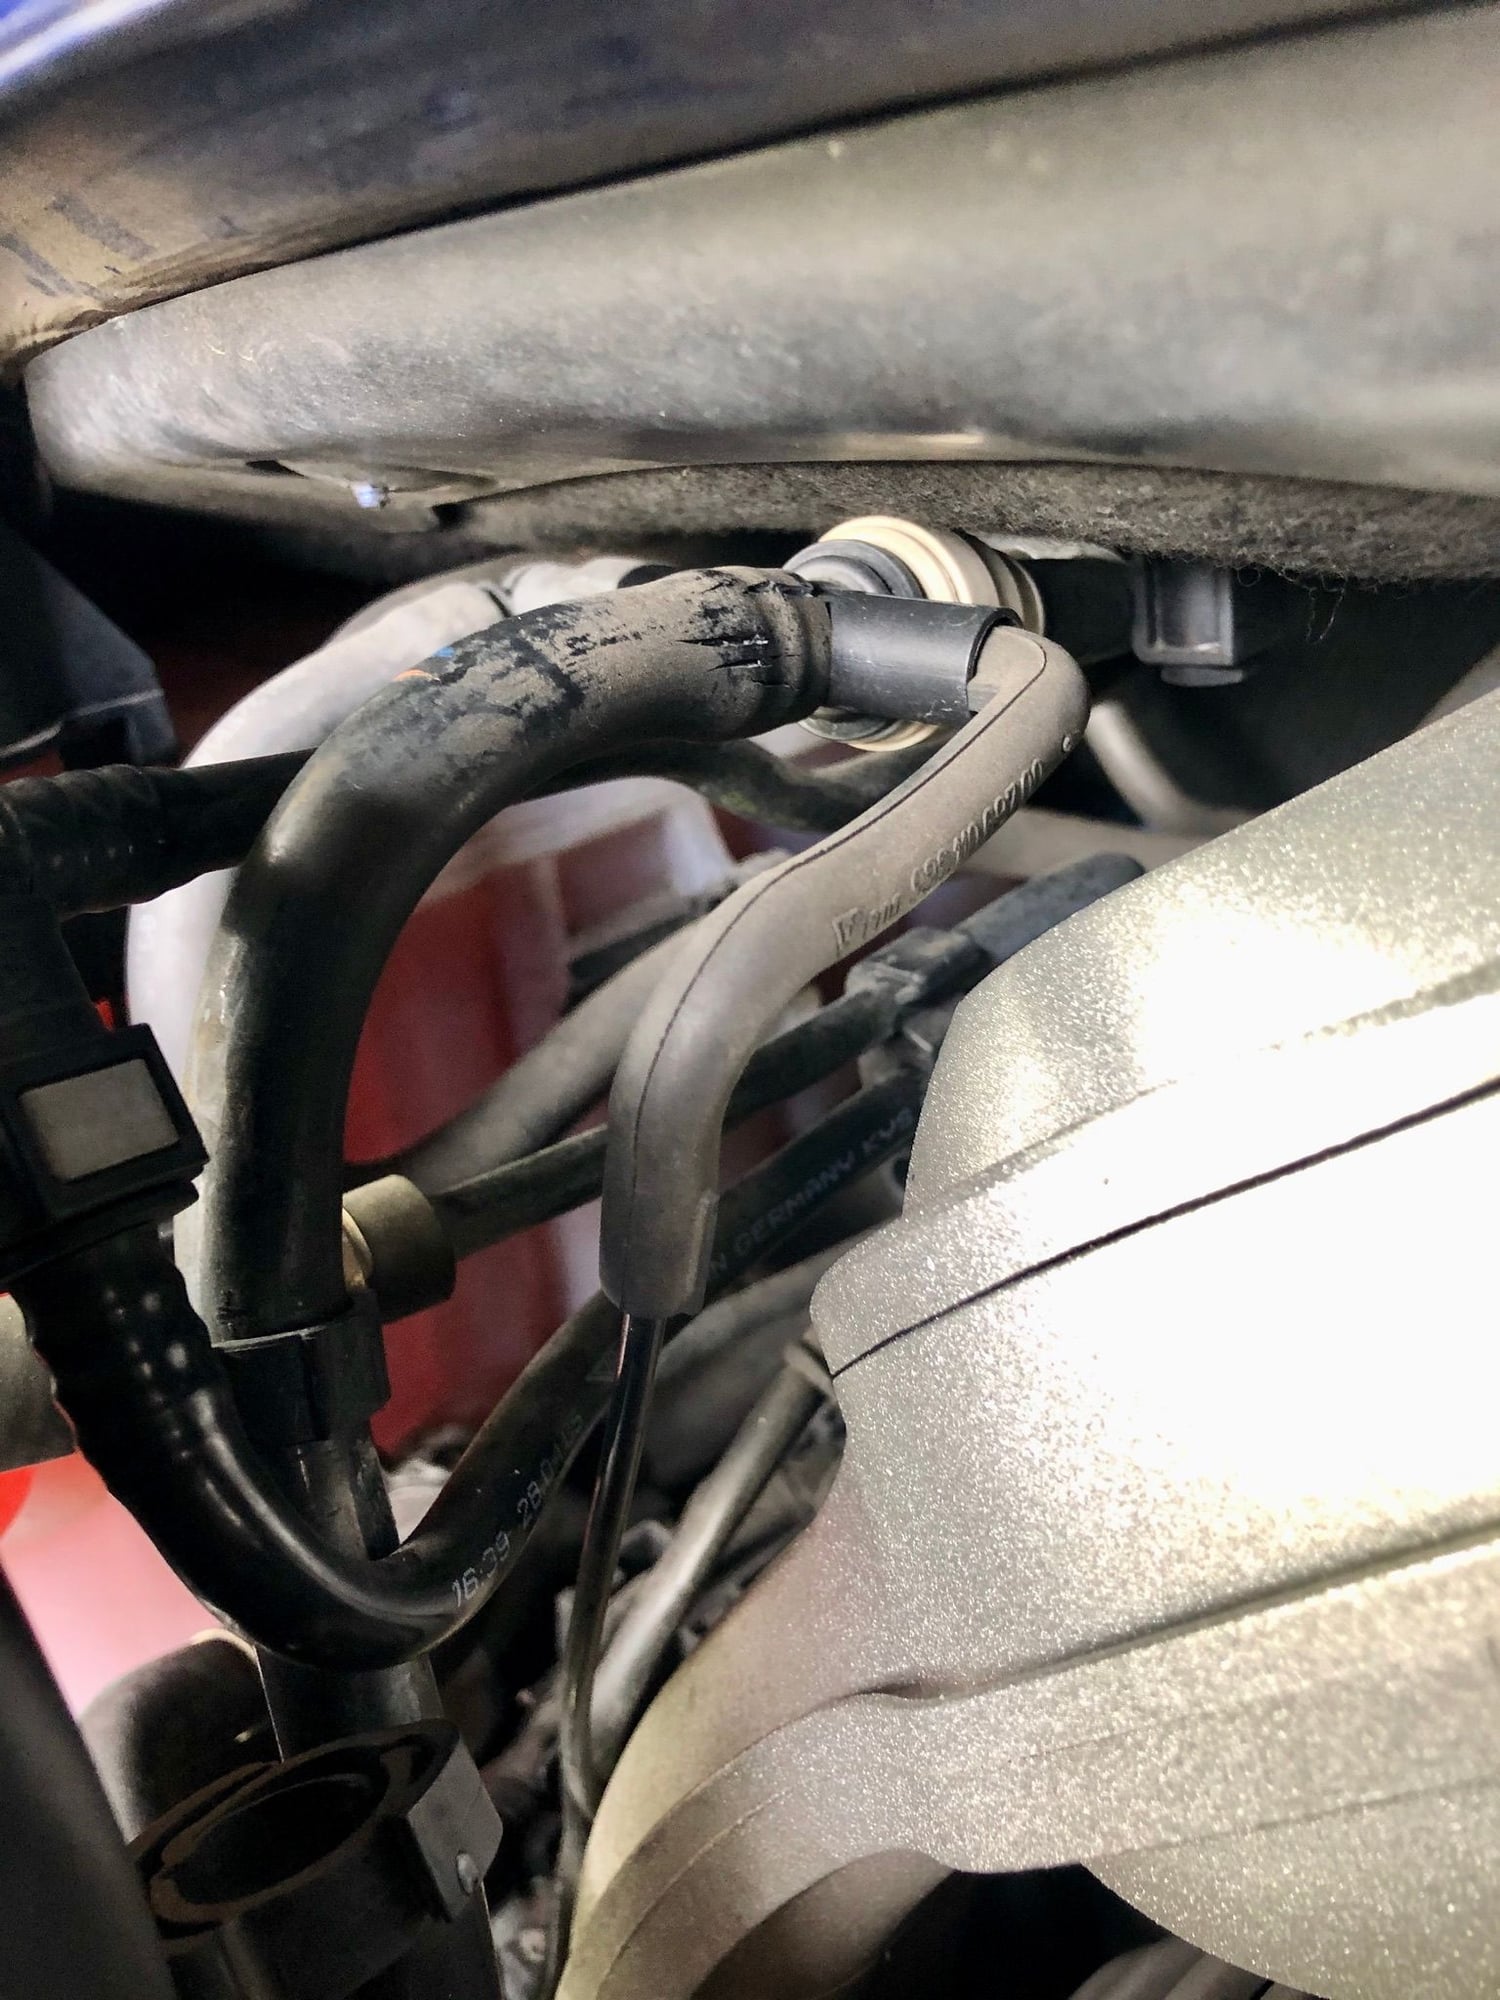
The line was cracked right at the junction of the aluminum pipe and the rubber line.
First, remove the airbox (not shown).
Cracked pipe removed - the culprit after removal of all tape.
Cracked pipe prior to removal, in all its taped glory
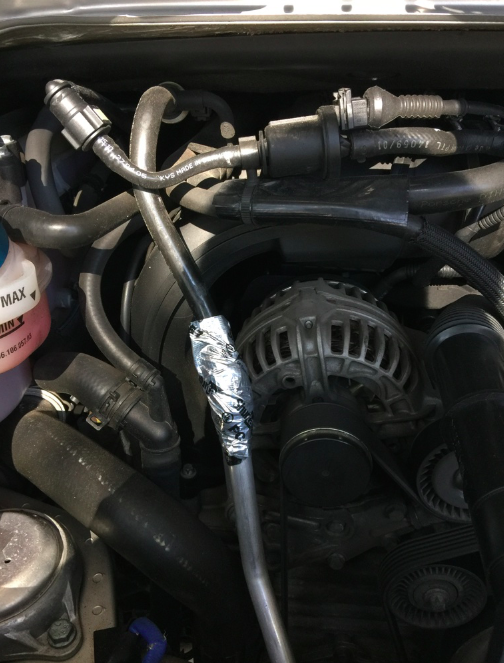
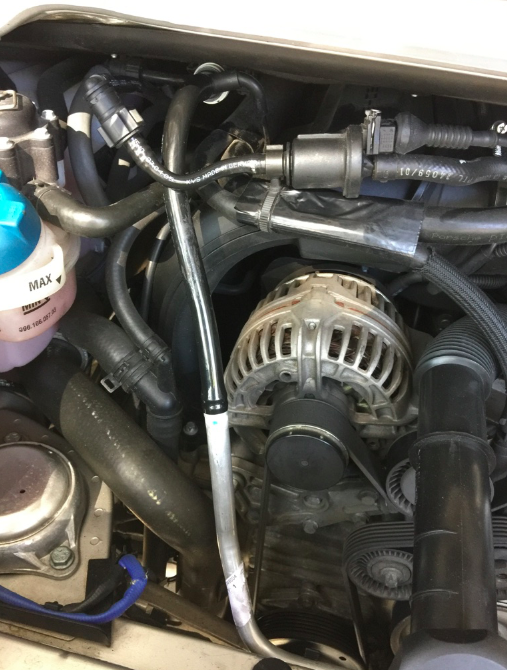
Old line attachment just above tandem pump
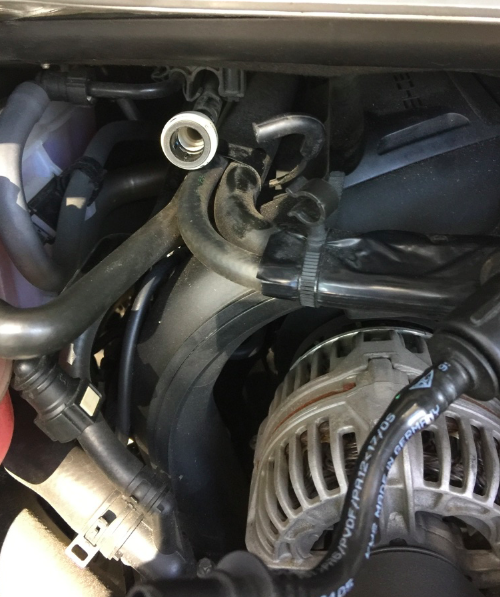
Unclip the lines in front of the brake booster pipe and set aside. Remove the superior attachment by pushing the white clip forward (towards the front of the car) and pulling the rubber line back. There is a small plastic spacer that helps with the seal.
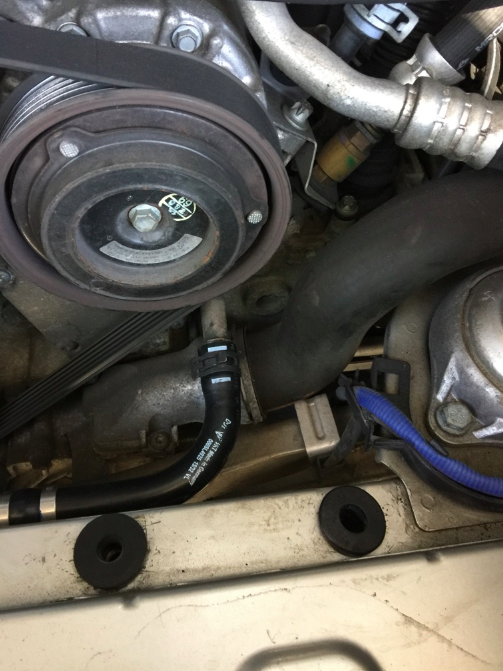
Use some pliers to help move the metal clip down the rubber line and pull the line off it's metal attachment
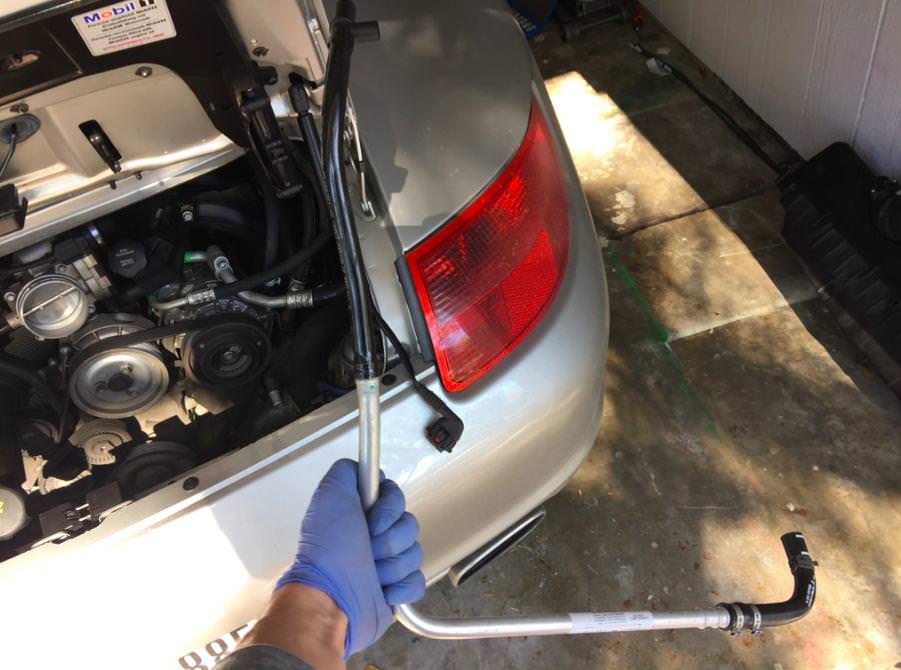
New pipe ready to go in
Installation is a reverse of the removal
Again, use pliers to help move the clip in place (between the white lines)
That's all there is to it. I dumped the oil and checked my filter the same day as well. Didn't find any metal particles this time, although it was only about 400 miles since my last change. I still have a bit of a tap only at warm idle, and it seems to be less apparent. Hopefully the fuel trims improve, although I haven't had a chance to check them yet.
Where did you get it for $69 shipped? Mine is also cracked and also tapped up and caused me some headache when I did a brake bleed and forgot about it!
I actually found it on Ebay. Other places were about $10 more expensive and with shipping it was closer to $20. Still a pretty inexpensive part, all things considered!
Thank you for posting this DIY as I am going to need to tackle this job next weekend. I discovered my vacuum line is cracked in exactly the same place as yours when I was replacing my engine mounts this morning (another easy DIY). Ordered my vacuum line from Pelican. I am also in Houston. Thanks again.
Thank you for posting this DIY as I am going to need to tackle this job next weekend. I discovered my vacuum line is cracked in exactly the same place as yours when I was replacing my engine mounts this morning (another easy DIY). Ordered my vacuum line from Pelican. I am also in Houston. Thanks again.
-Tom
Glad you found this useful! Send me a PM if you ever need another pair of hands.
Just a follow-up for others doing this DIY: The plastic c clip in the superior attachment is what allows the attachment point to keep a firm grip on the line being replaced. The clip has to be removed for the old part to be released from the attachment point. Once the clip is removed, everything is smooth sailing. I battled the attachment for about a half hour until I figured this out!
Just a follow-up for others doing this DIY: The plastic c clip in the superior attachment is what allows the attachment point to keep a firm grip on the line being replaced. The clip has to be removed for the old part to be released from the attachment point. Once the clip is removed, everything is smooth sailing. I battled the attachment for about a half hour until I figured this out!
I removed the clip and it still won't come out. What's the trick?
Last edited by Derek Zoolander; 05-17-2018 at 09:15 AM.
To the Op, thank you for the write up and photos.
Does anyone happen to know or have the part number for the spacer / C-clip. A picture is worth a thousand words.
I�ve searched Google and Porsche PET to no avail.
Any help please?
I have to thank the universe because I have some amazing people in my life!
So my Porsche parts guy was able to find the spacer after weeks of searching. For those of you who might be missing the lock washer that prevents the vacuum line from coming off, here’s the Part #: 99923051240
Installed and it fits snug like a bug. Perfect!
Nice! Thanks for following up. The lock washer does not appear to be in the parts catalog that I have. This will be super helpful to anyone else that needs to find that part.
Hey, so I just saw this thread and my vacuum line is also cracked but at the top near the white connector. My car currently has a really stiff brake pedal with no power assist (feels like pressing brake pedal when the car is off). By changing this part help my issue? And can this part cause the vehicle to run rich and become rough at idle?

 12-10-2017, 04:27 PM