When you click on links to various merchants on this site and make a purchase, this can result in this site earning a commission. Affiliate programs and affiliations include, but are not limited to, the eBay Partner Network.
I installed a C4S front lip on my TurboS - here is a guide
My Turbo S front lip gets scraped more often than I like. I live in mountain area where sloped entrances are very common. The center part of the lip is the only thing that rubs, so I decided to buy an aftermarket C4S lip. I know lots of owners prefer the stock lip aesthetically, but I really like this lip and it's better suited for the local terrain.
Below are some photos I took to prep and paint the new lip.
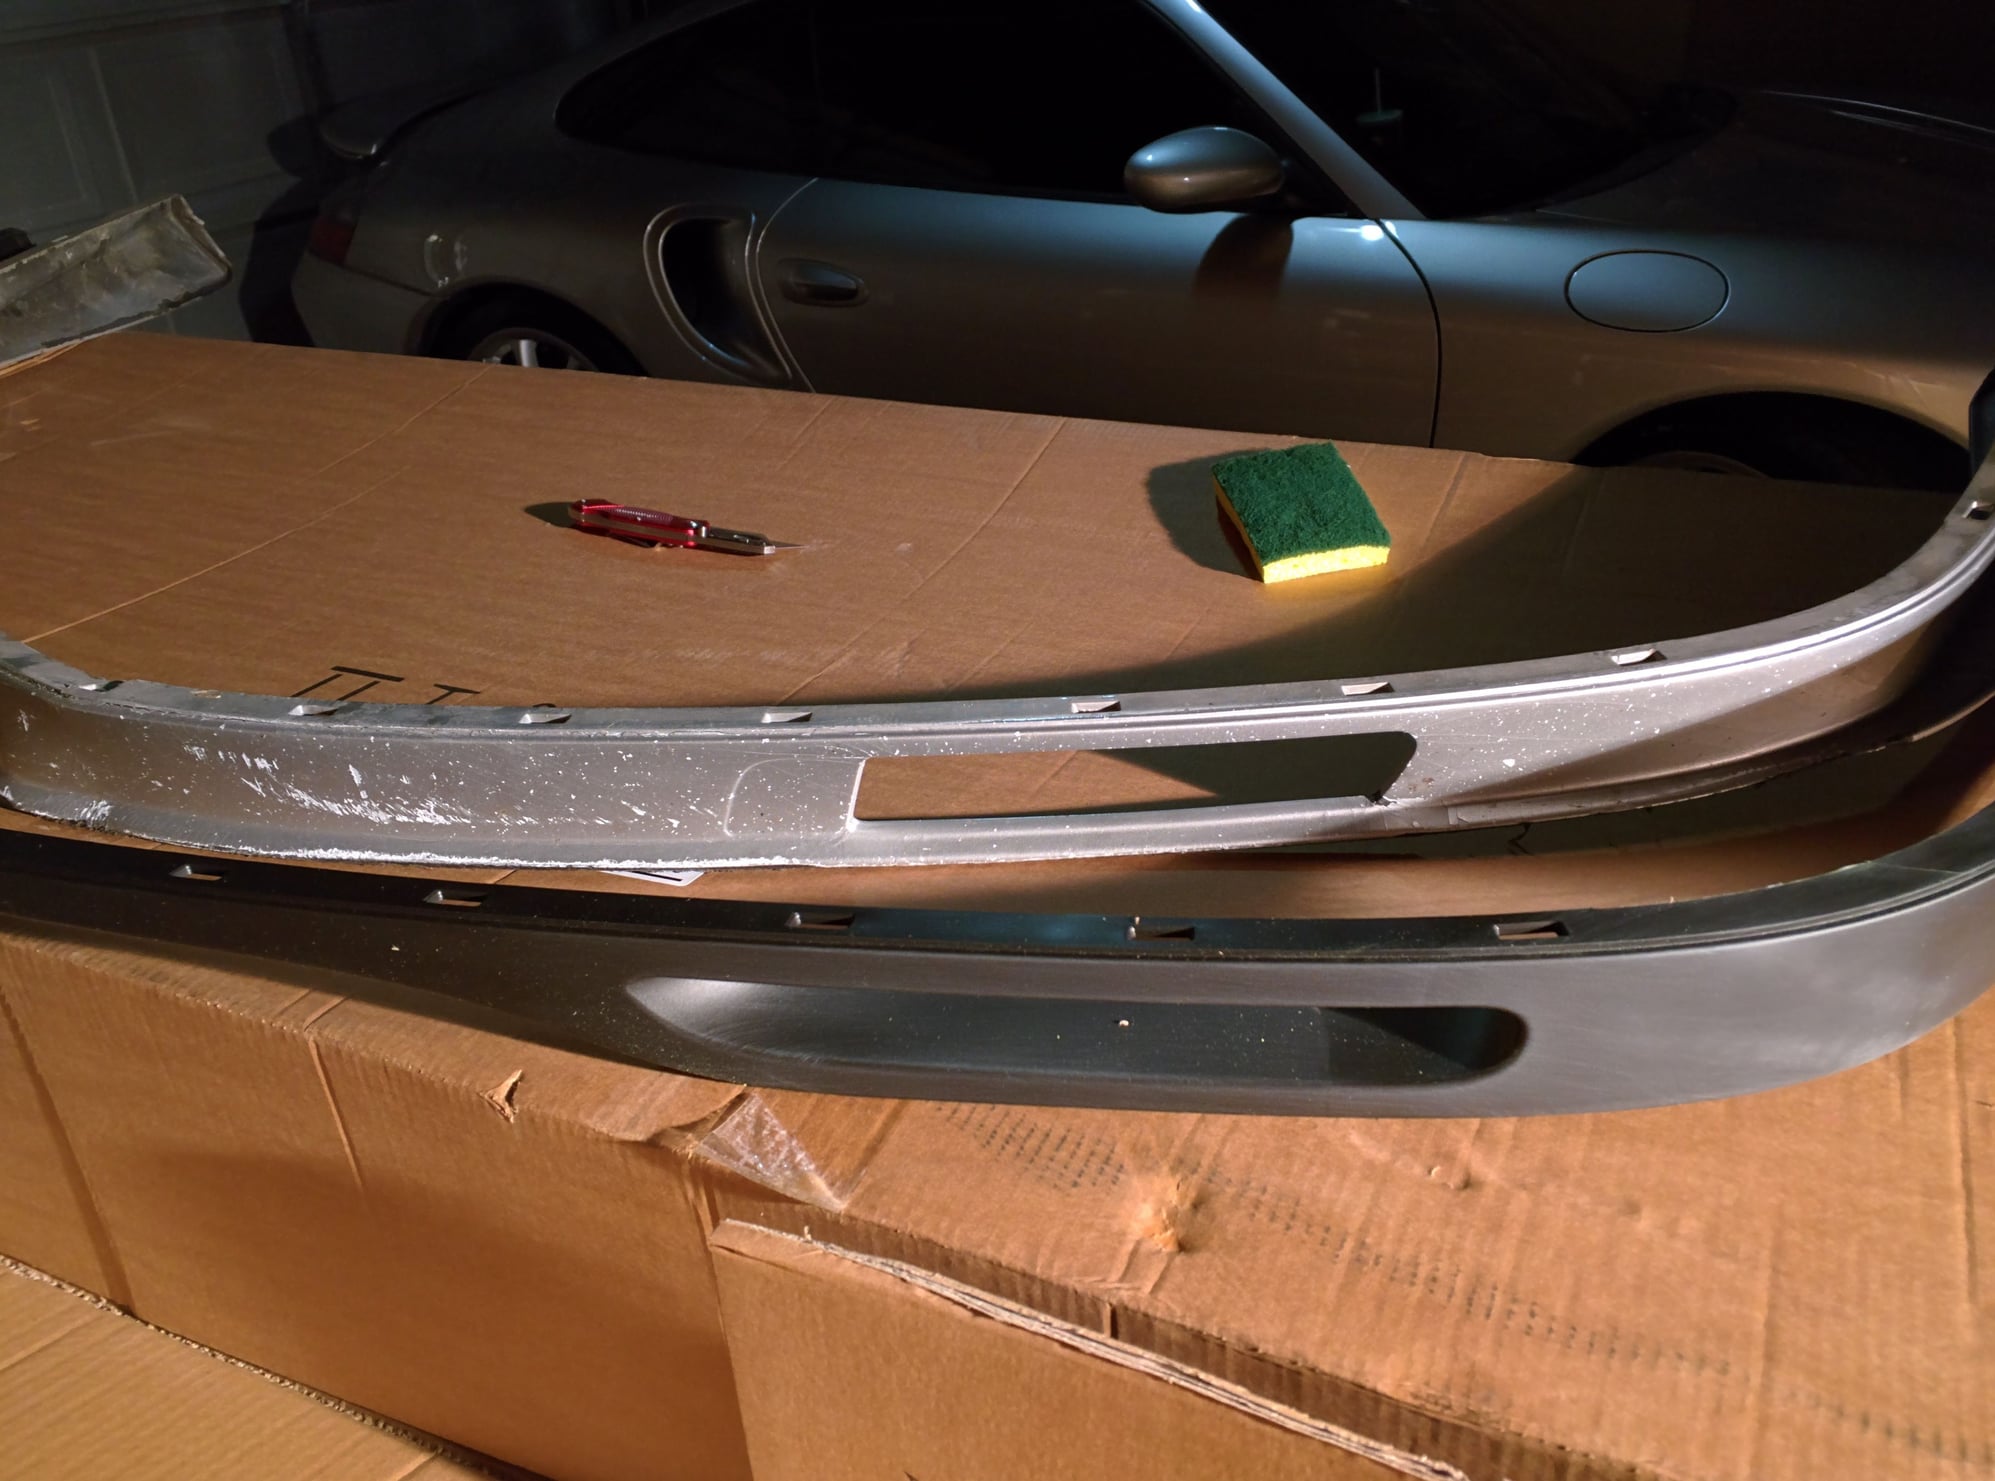
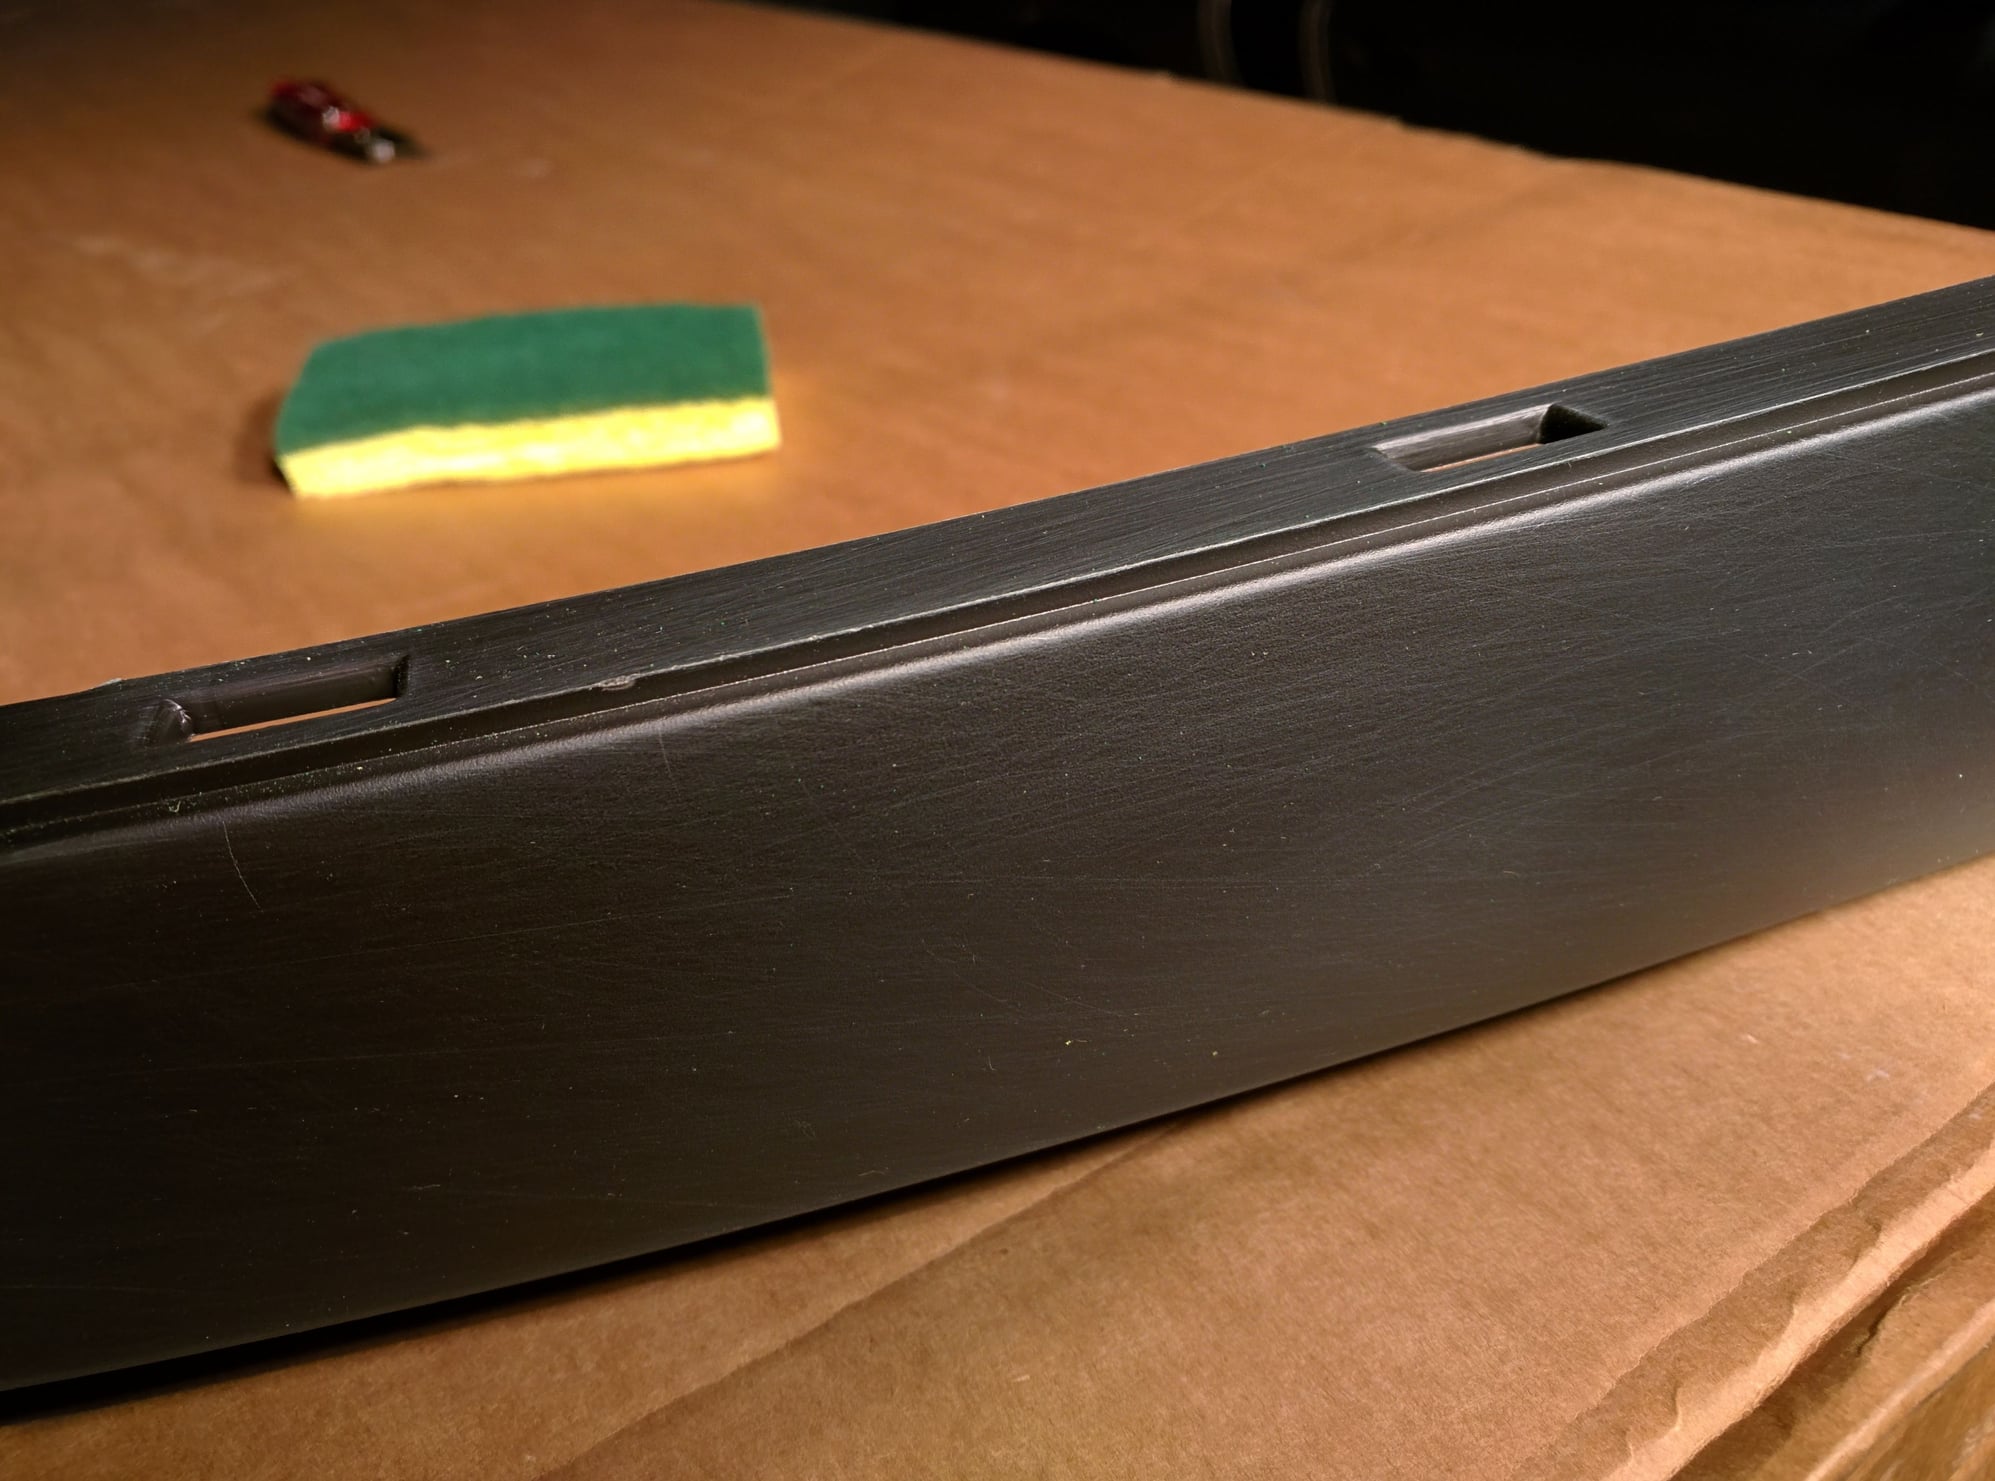
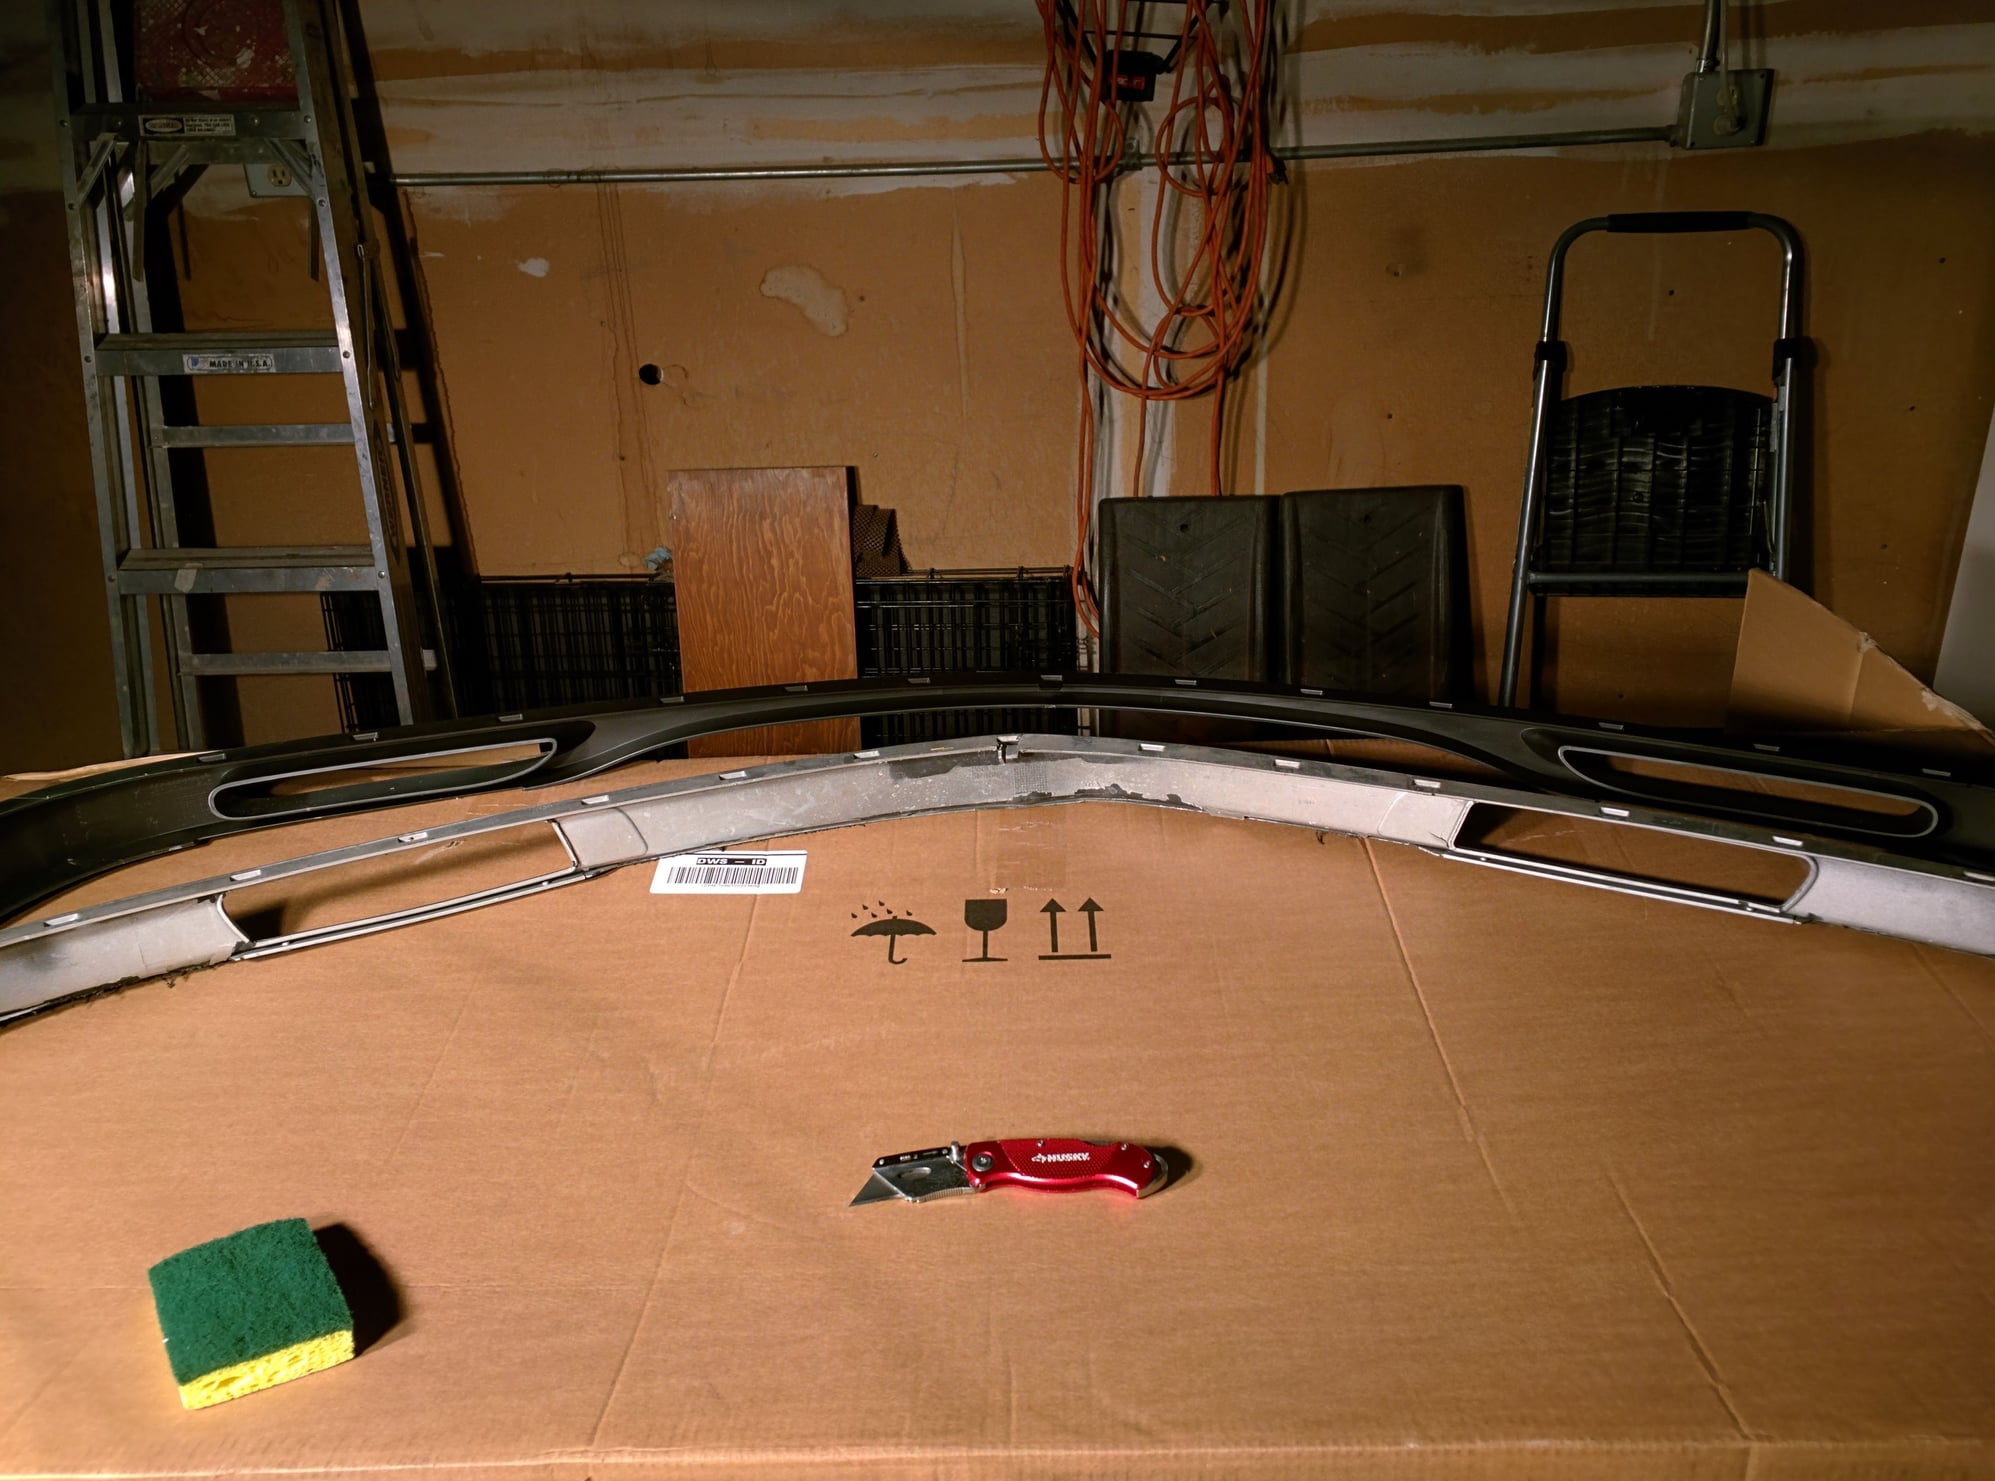
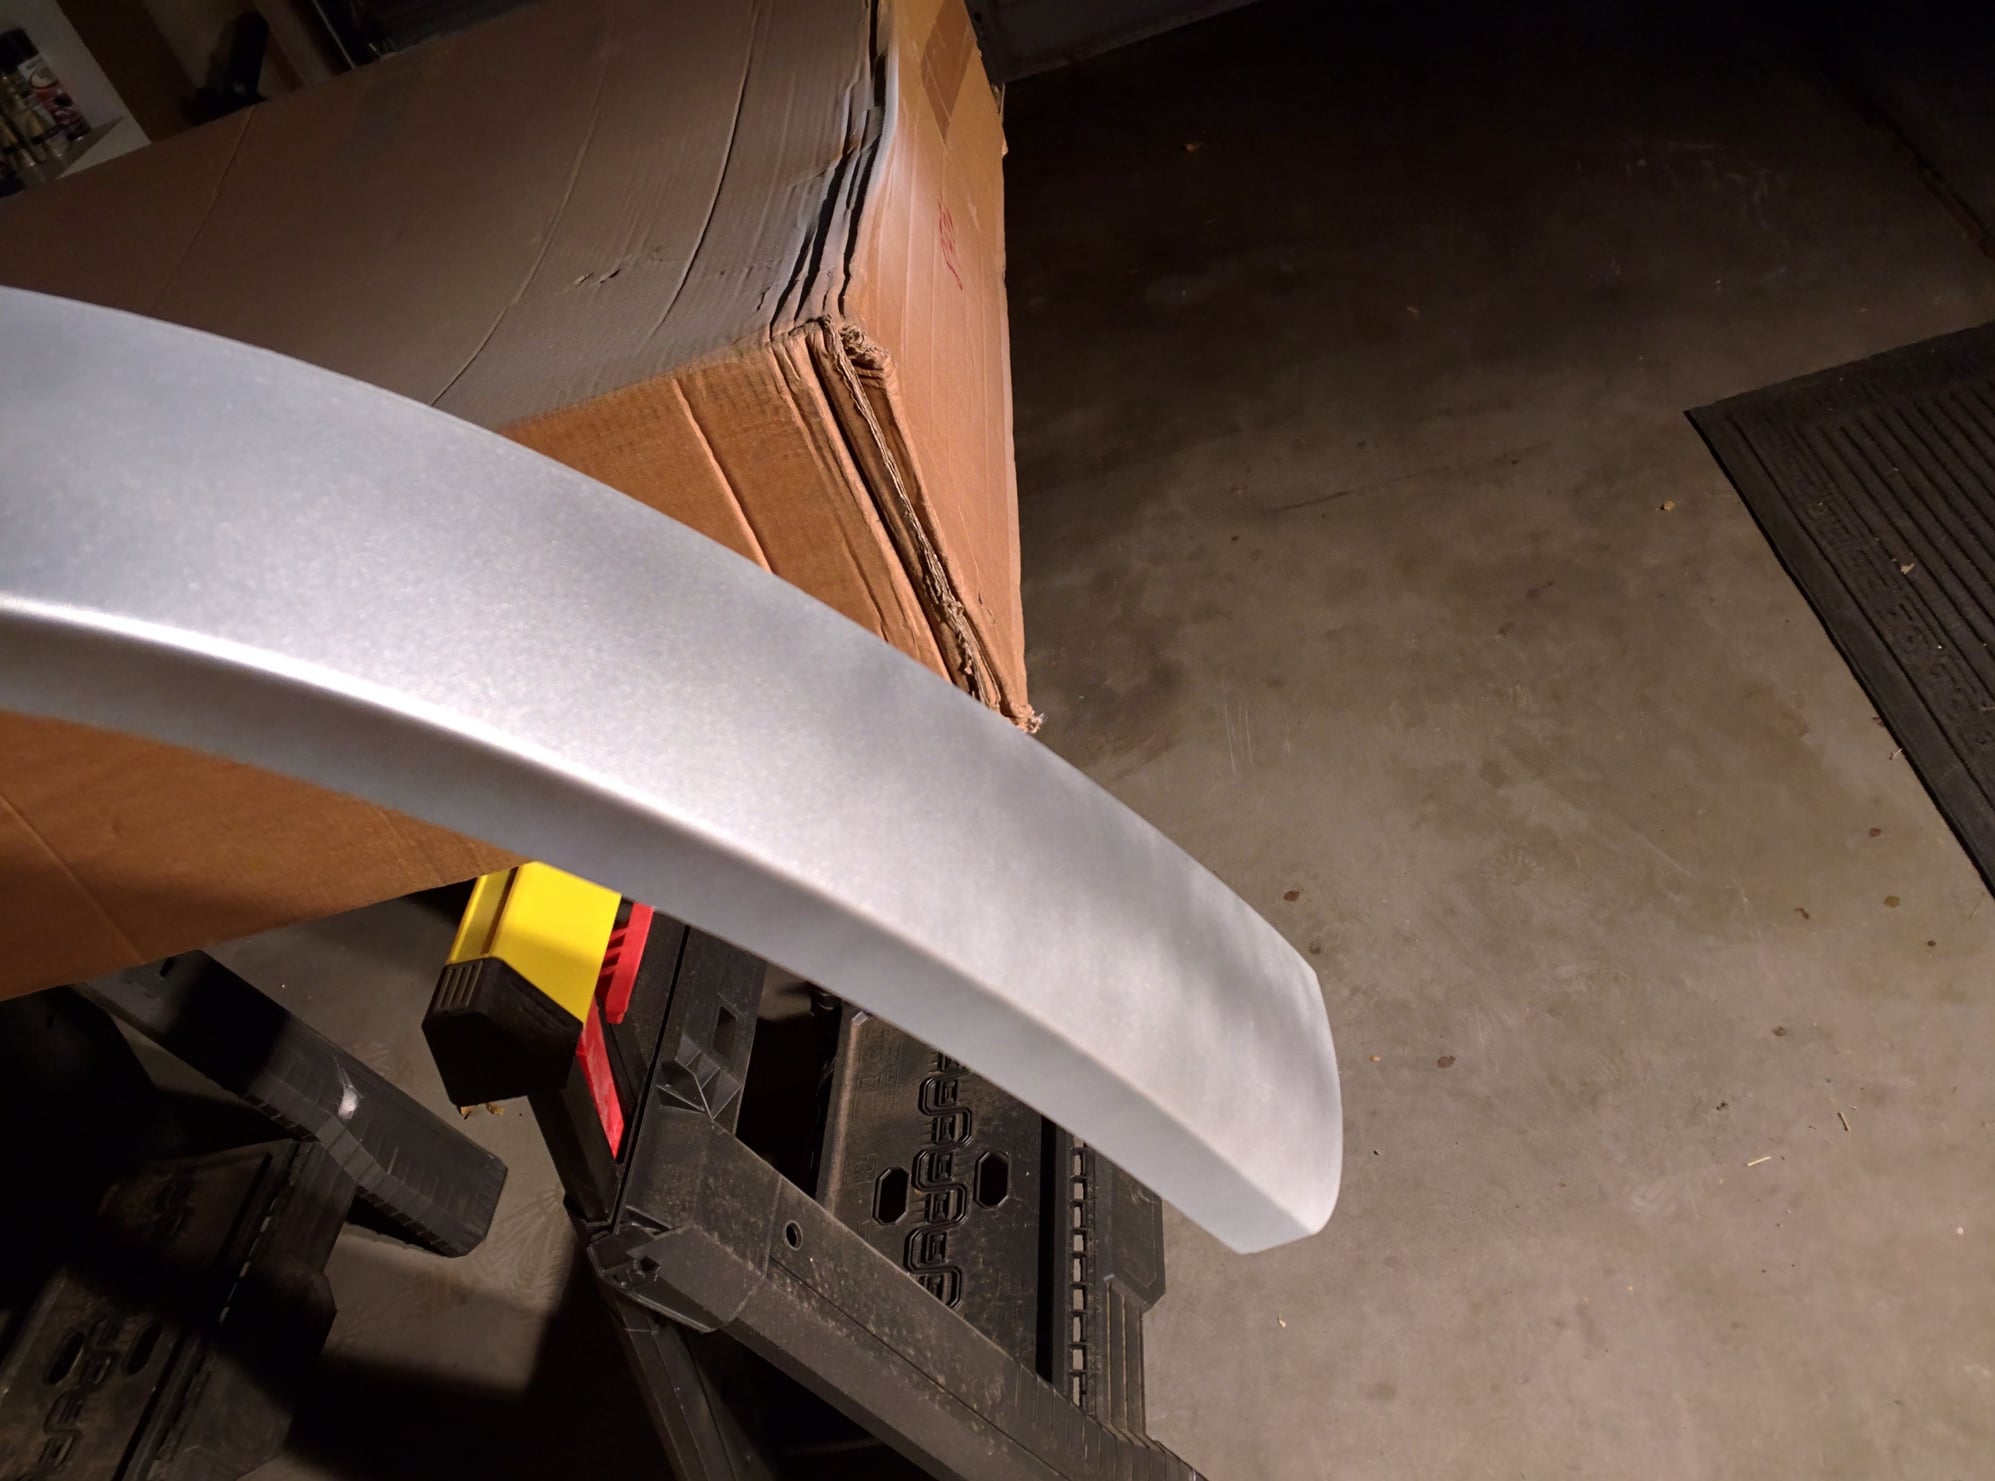
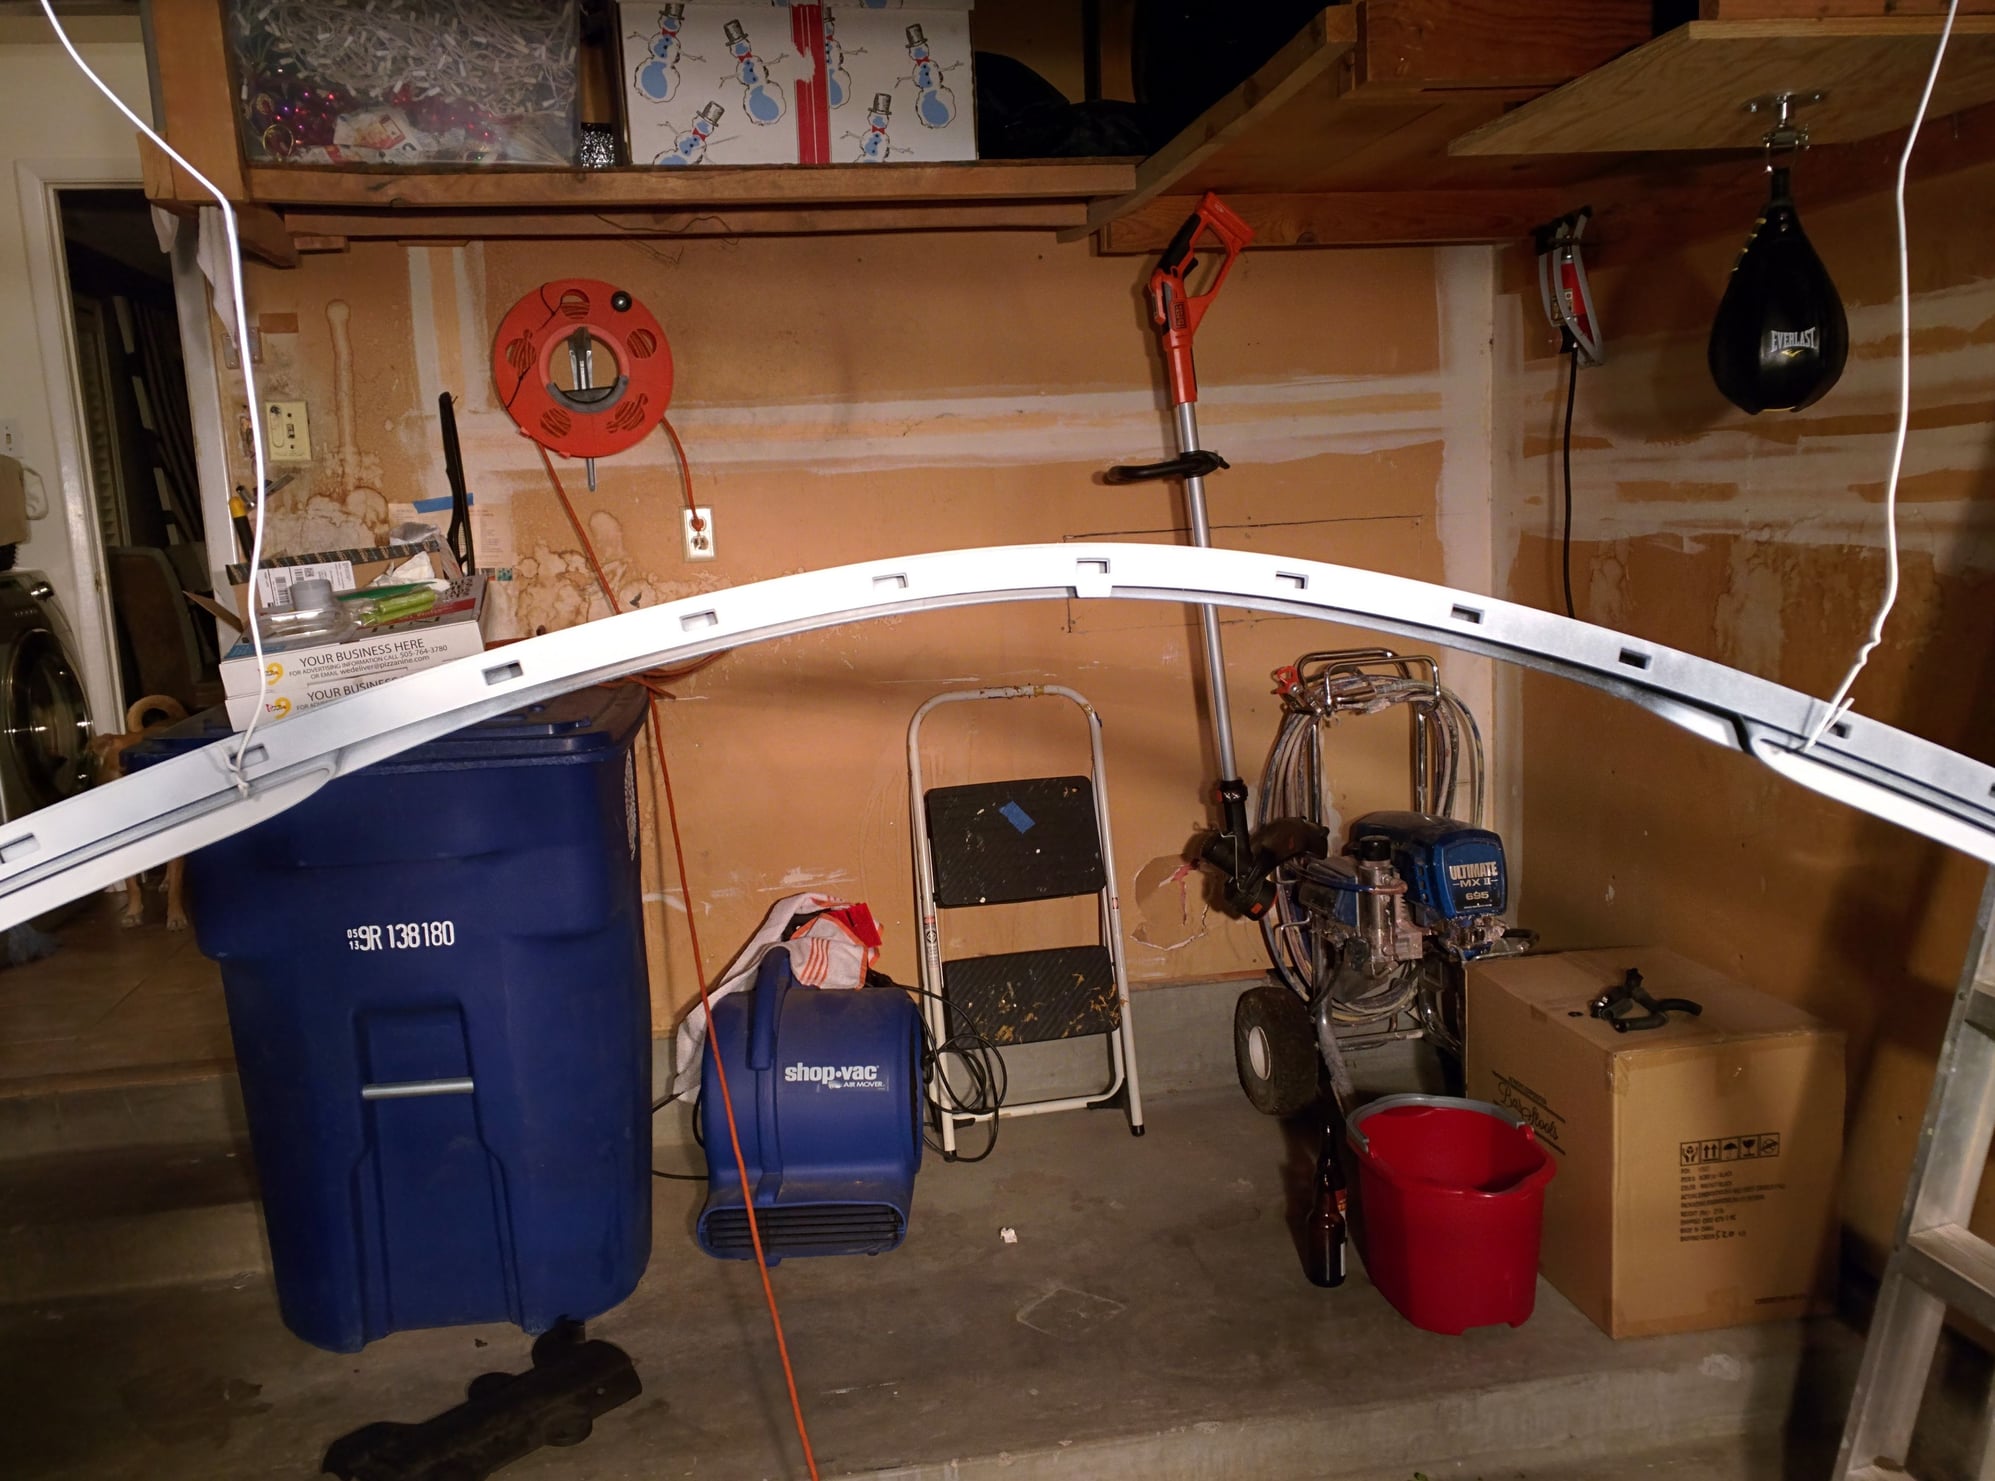
Using the box it was shipped in to inspect and begin scouring
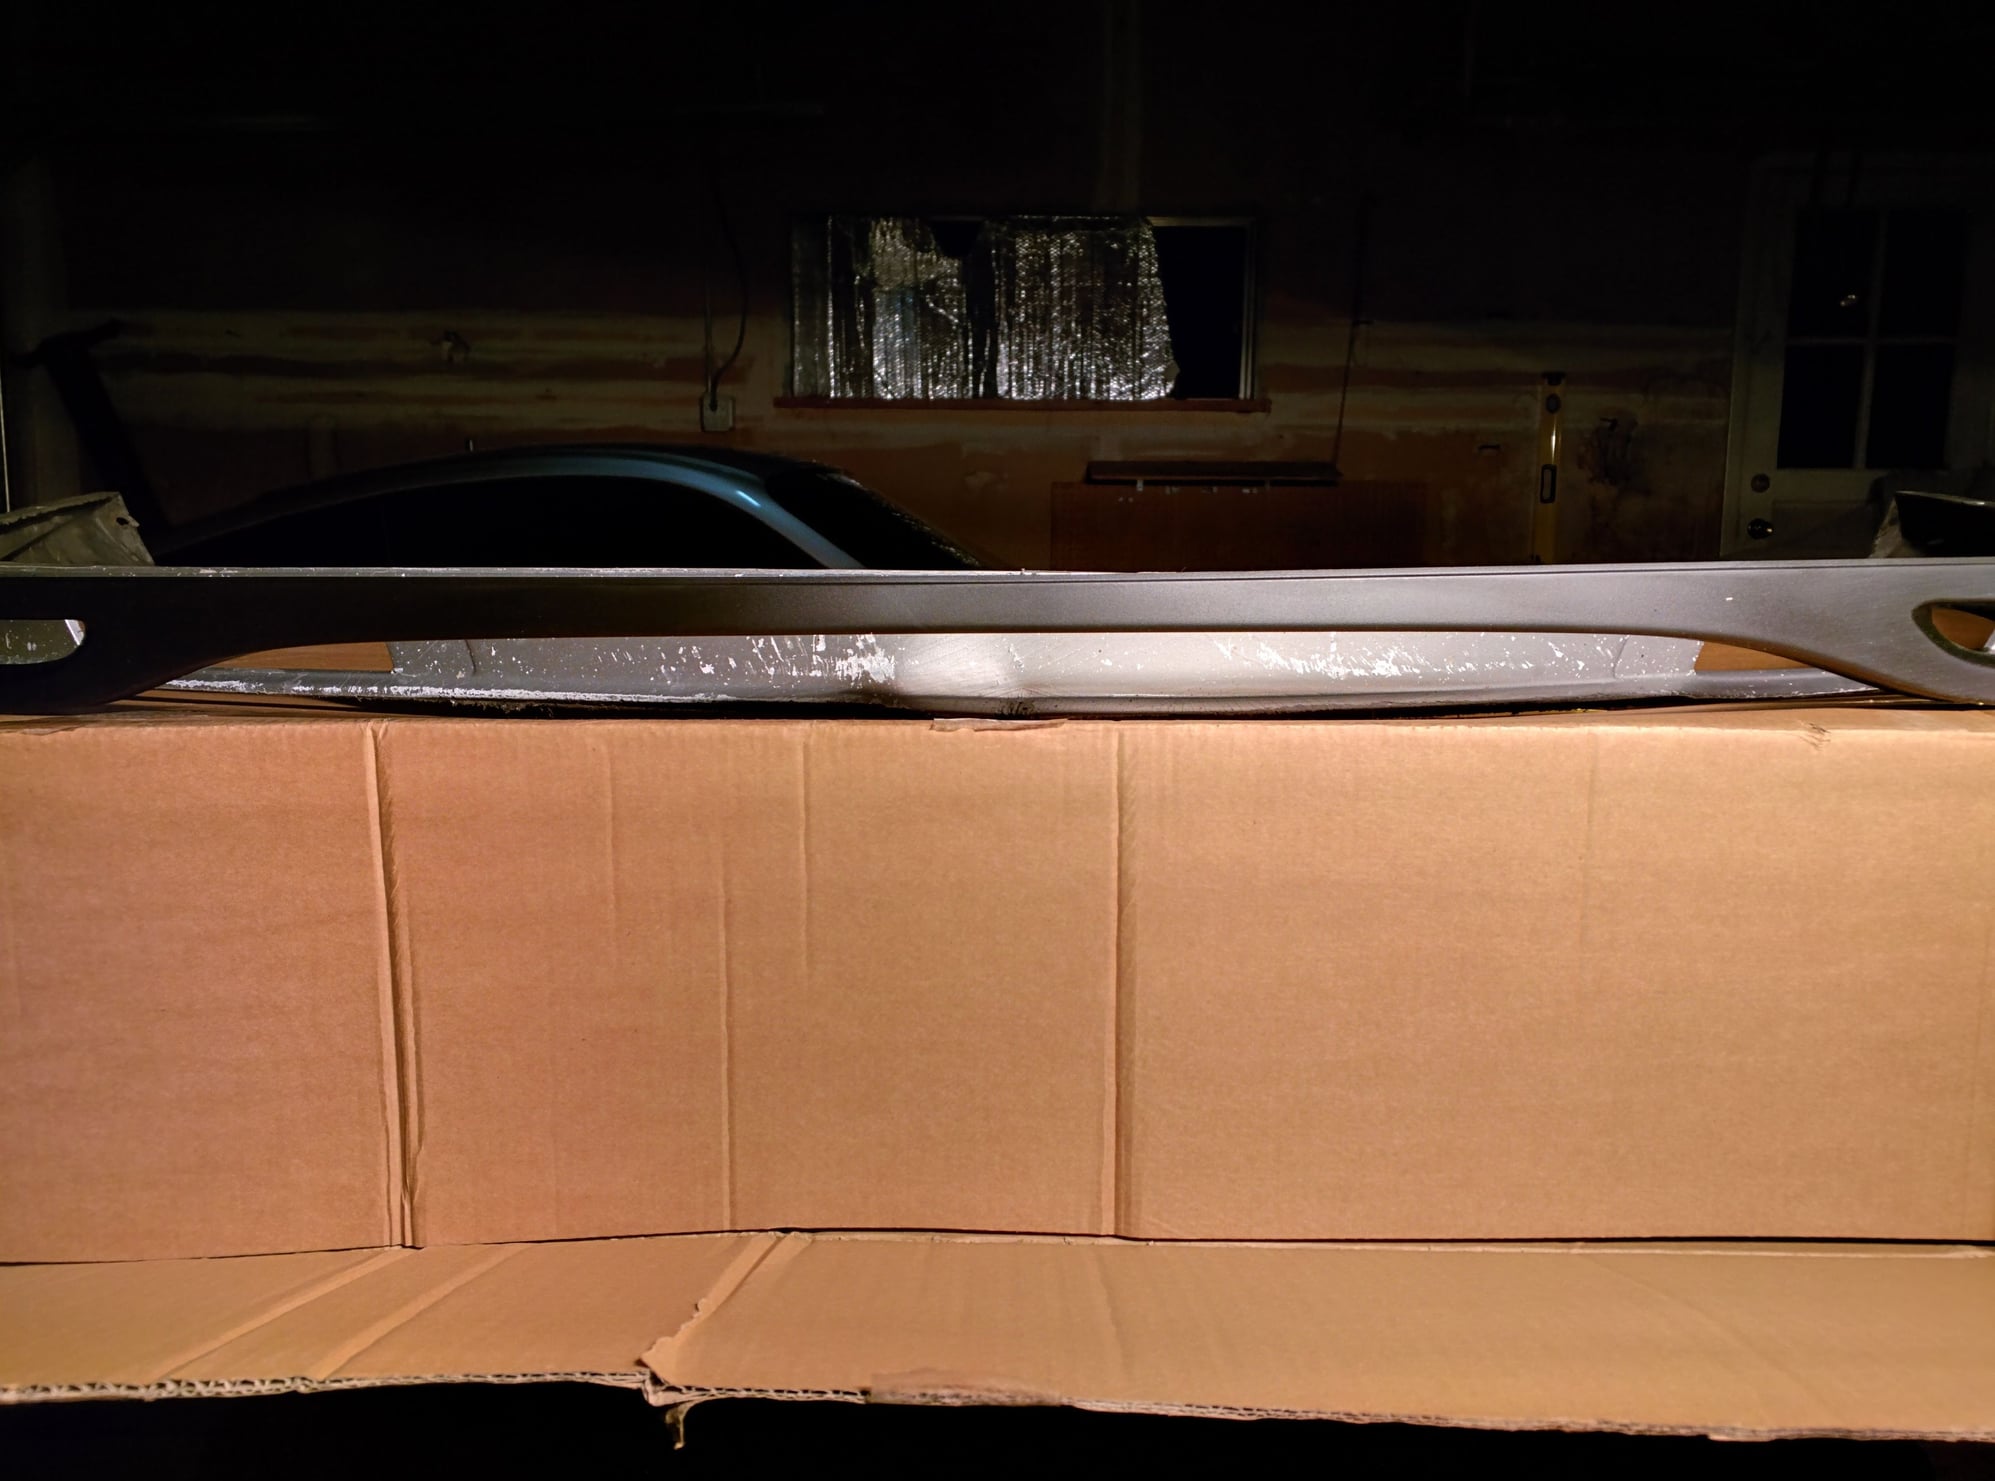
You can see the difference in clearance through the middle section
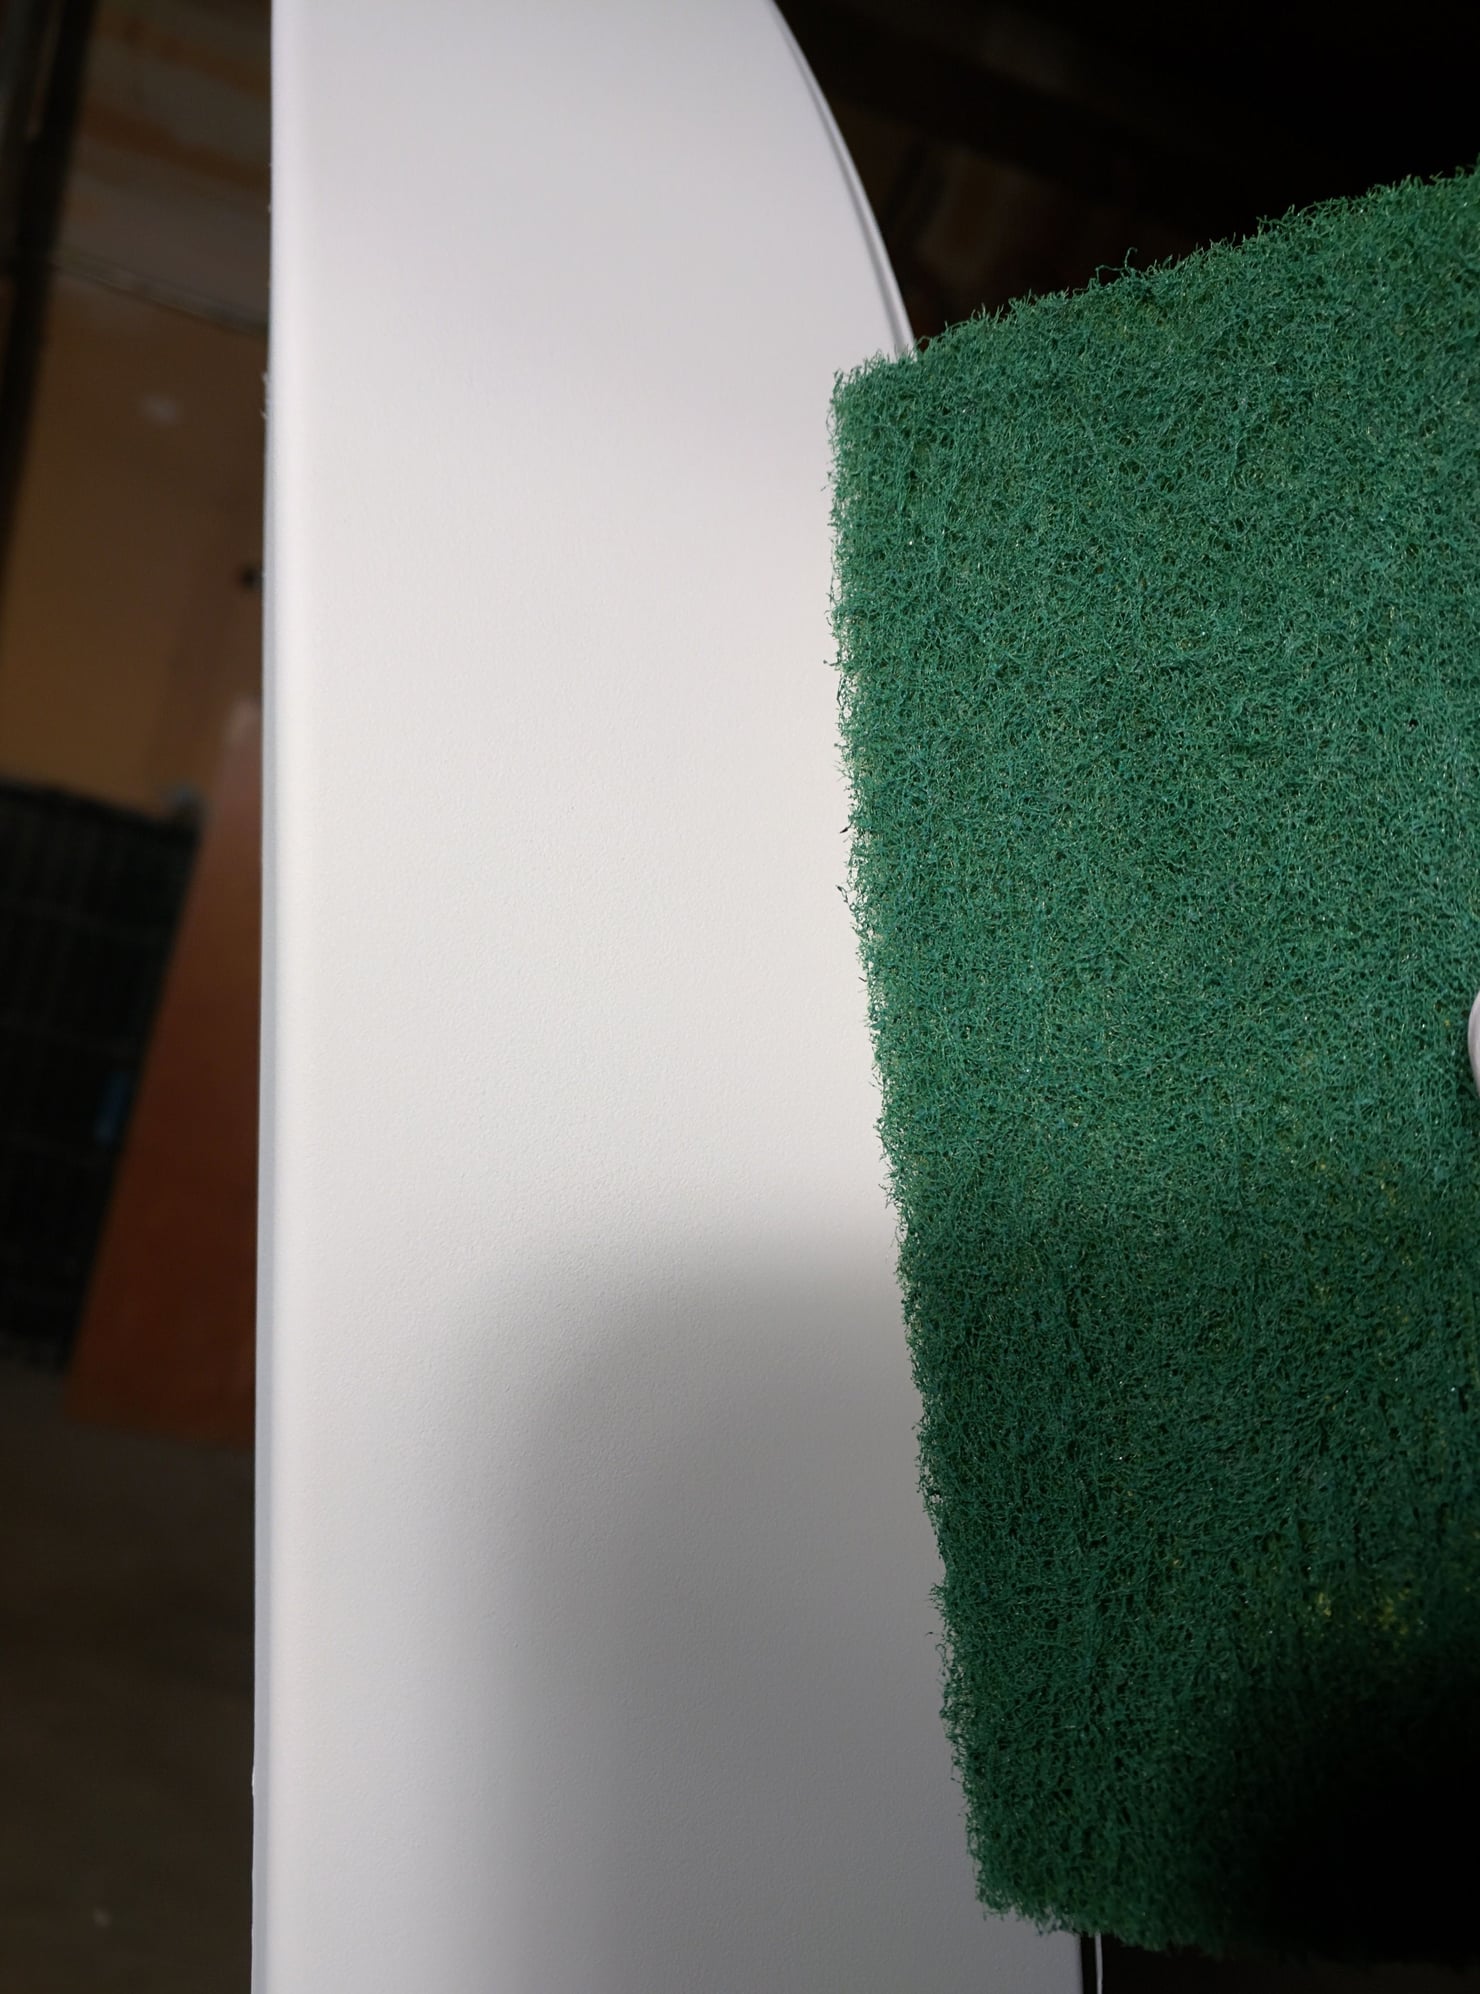
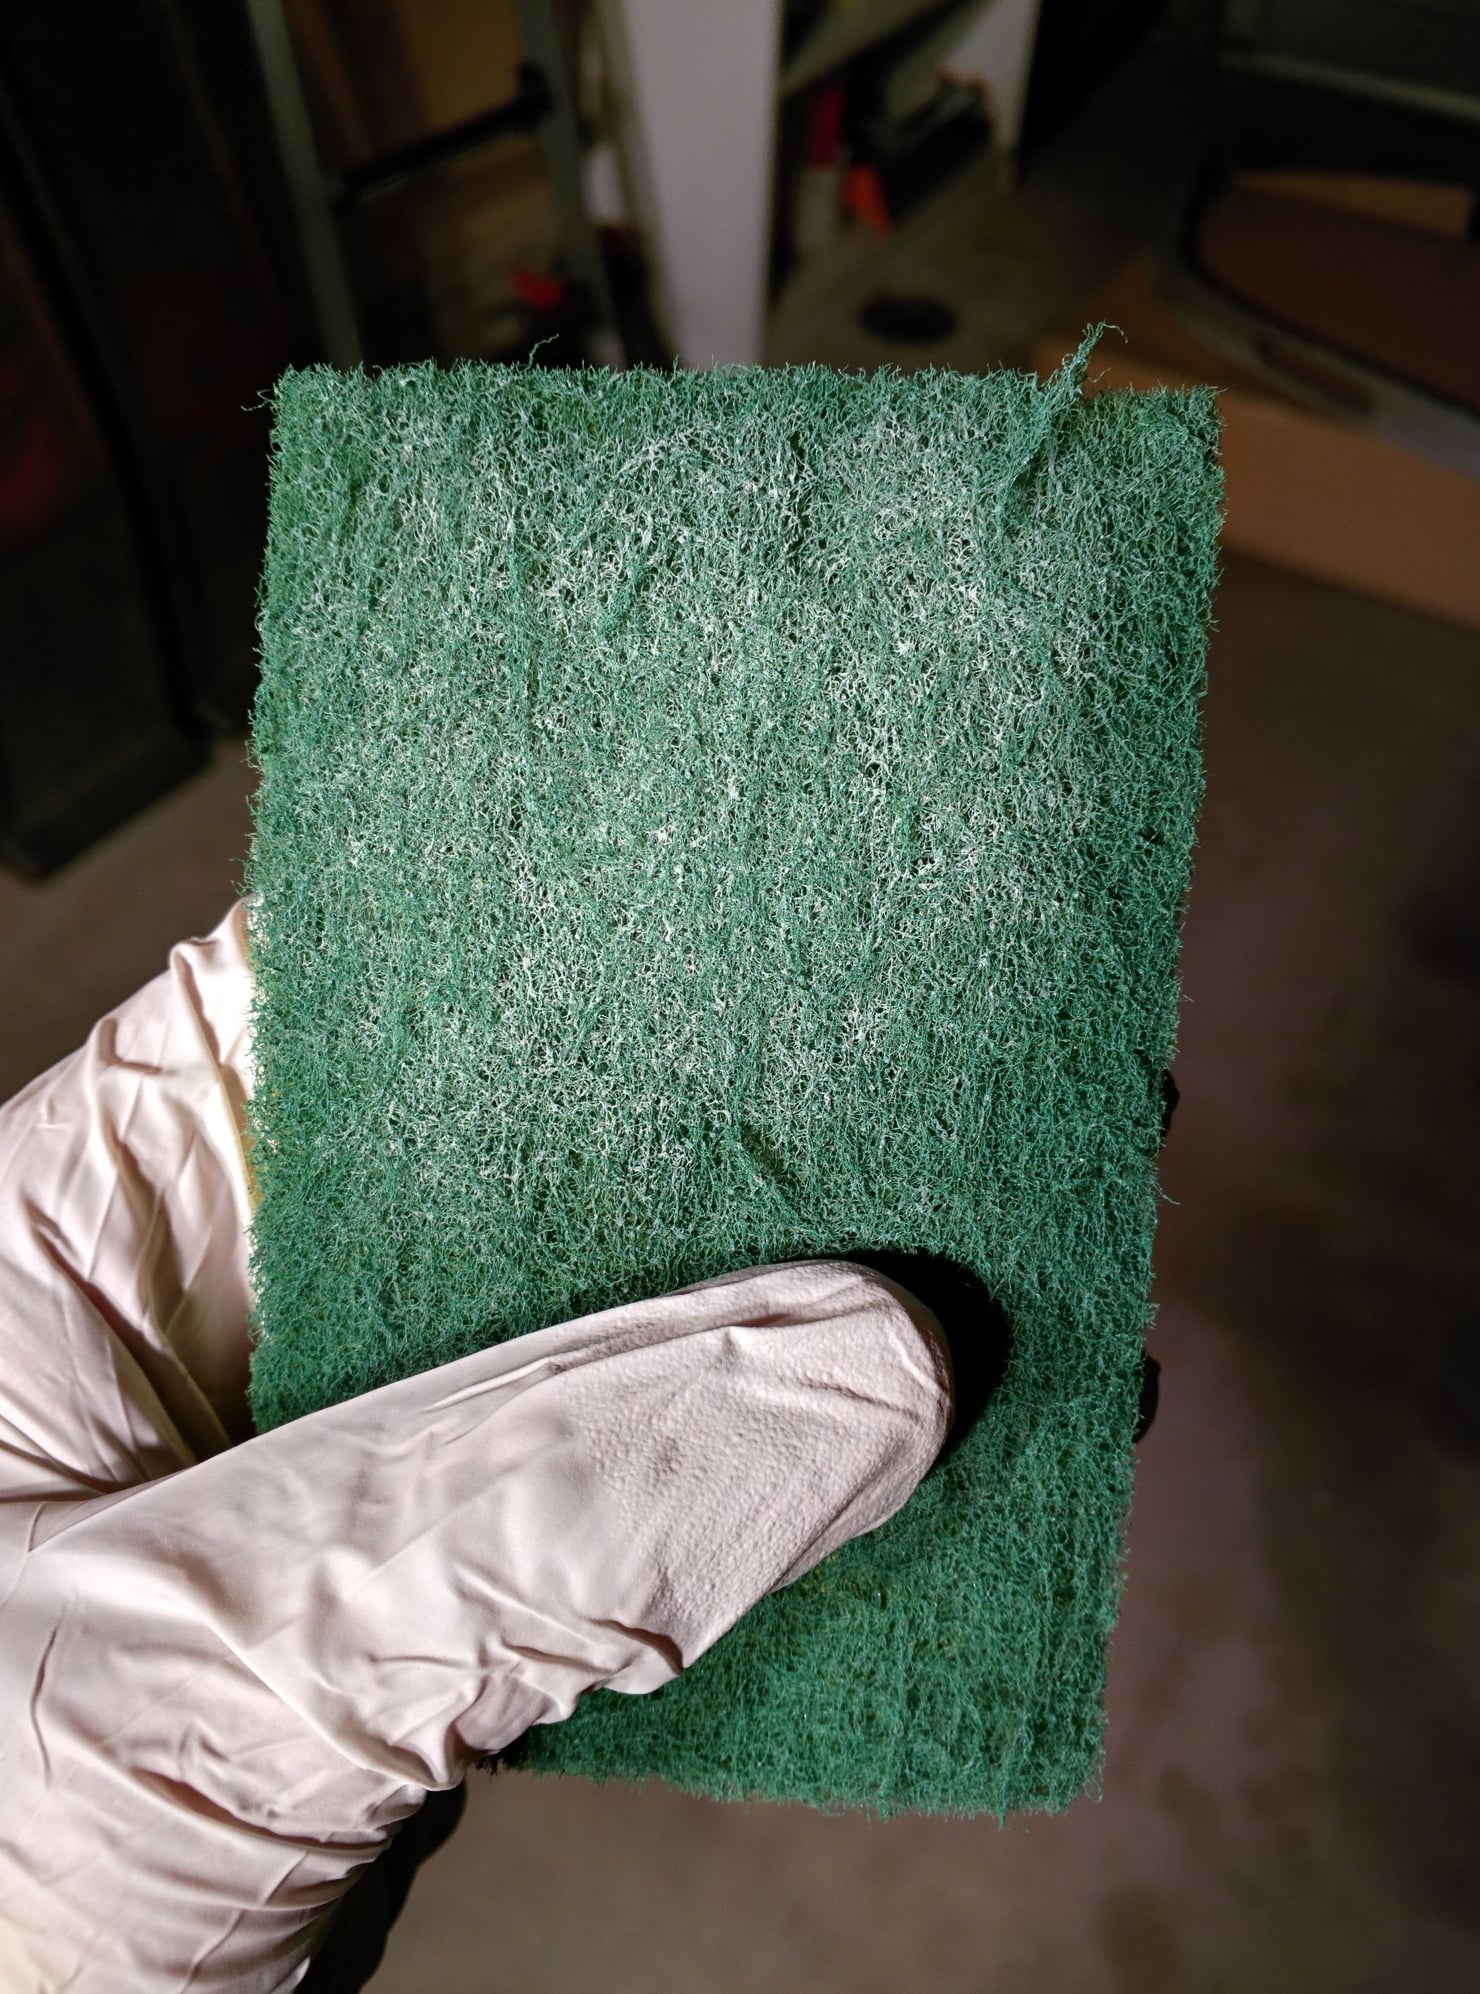
I normally use scotch-brite pads to scuff the surface. The back of this sponge was abrasive enough to promote adhesion.
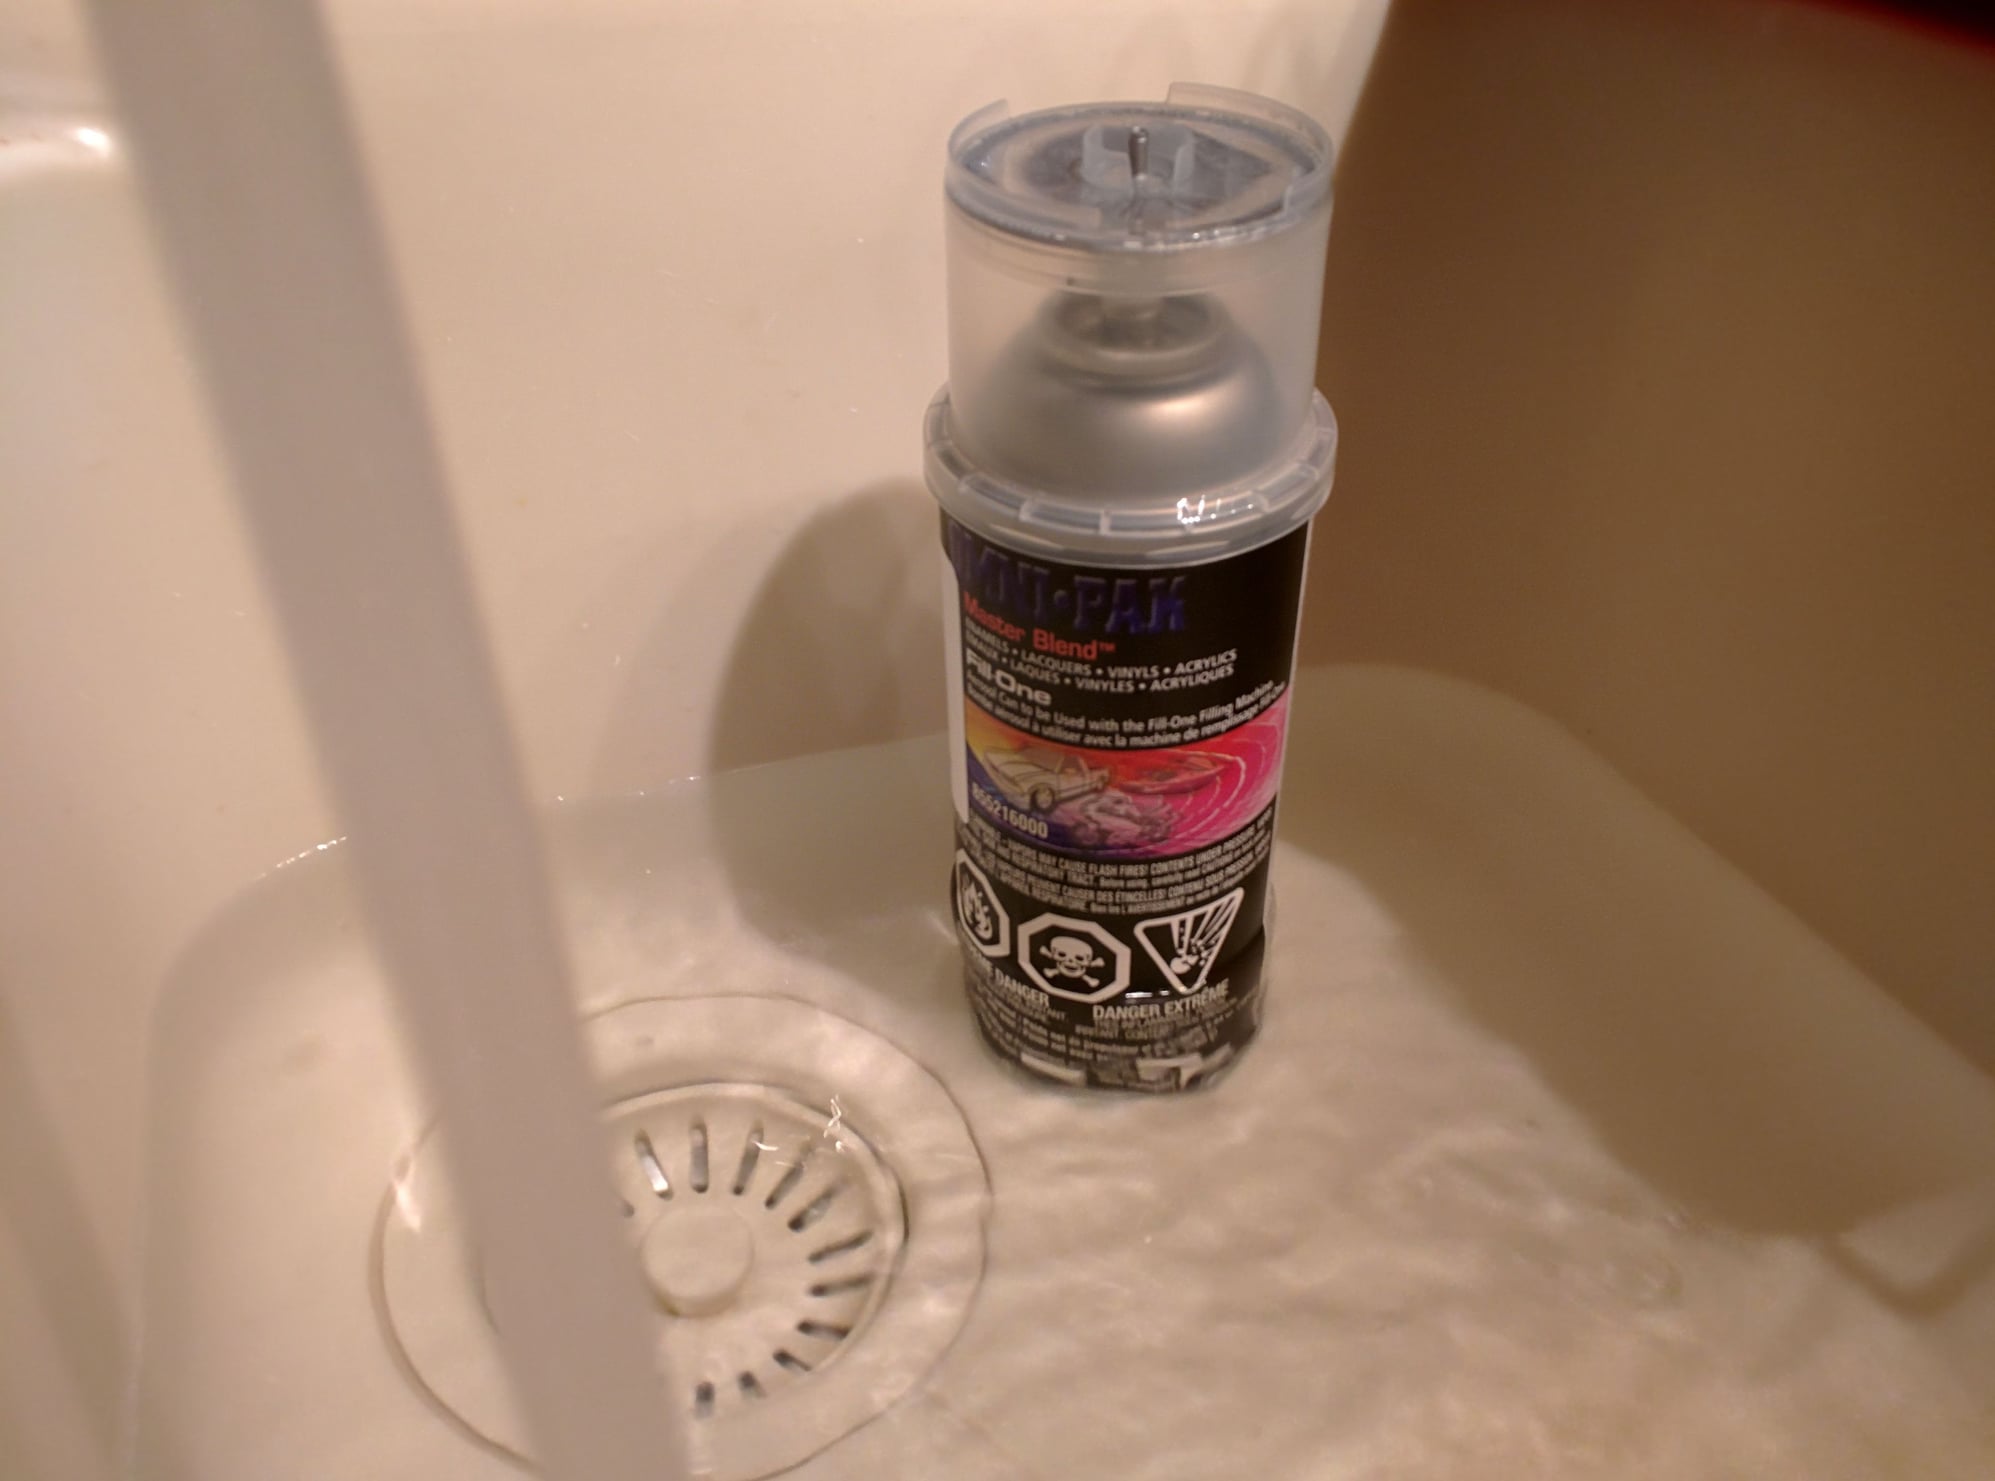
Make sure to use a good primer. Also, Artic Silver is paint code X1X1 if you want to have a paint supplier make a can like I did.
Warm paint lays better. I always make a hot water bath to get everything heated up. Better flow through the nozzle too.
Tack coat first! Don't go heavy on your first few.
Build your primer up till it's nice and creamy - that's what she said (boom i still got it)
Let the primer dry for an hour, then start scuffing again
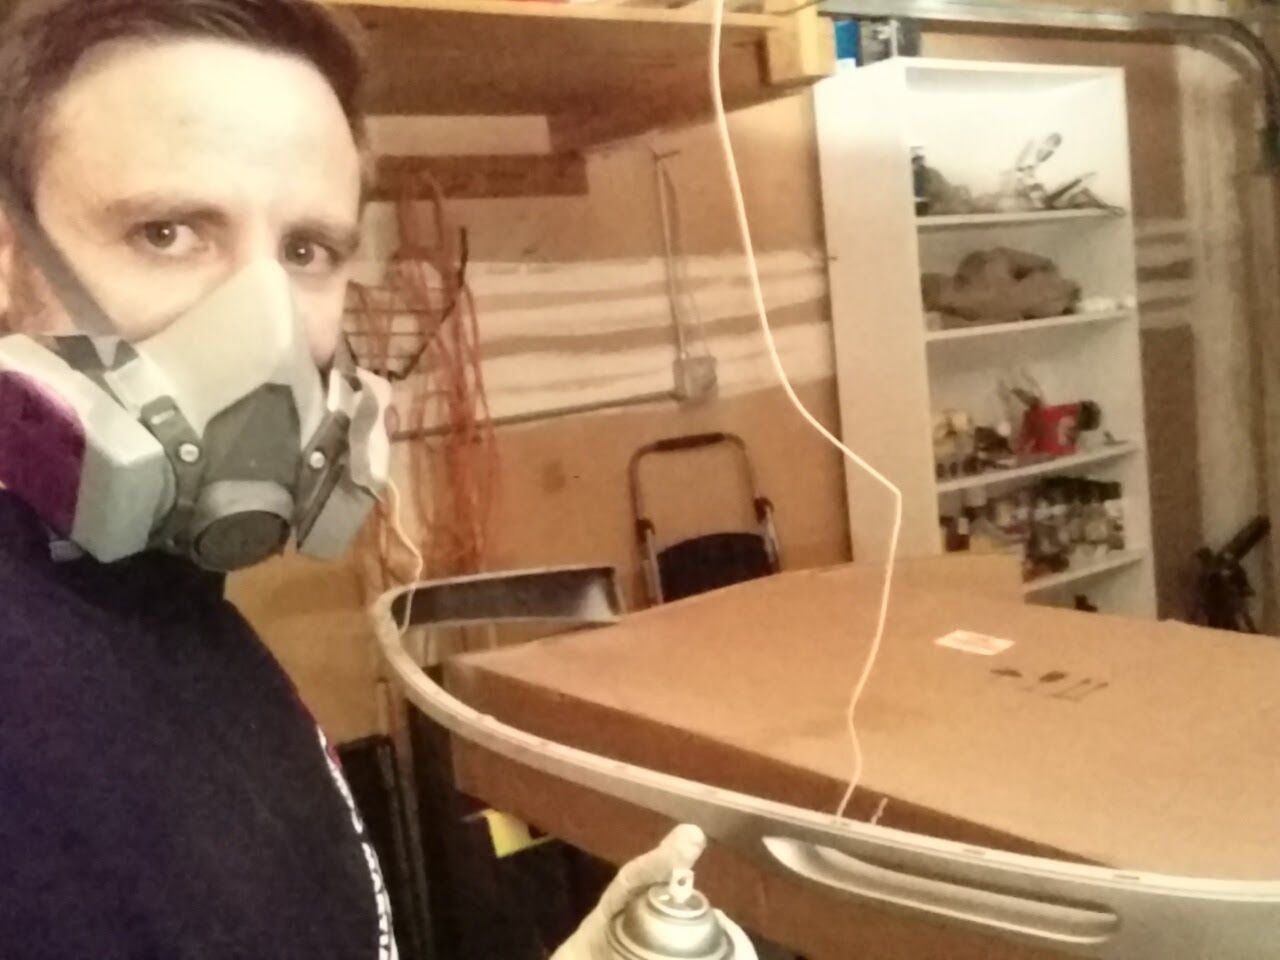
Pro-tip always use gloves. Your fingers are disgusting cess-pools that wreck your finish
It's even harder to resist heavy coats when you get to the actual paint stage. Tack coat only!
I like to use coat hangers to suspend while spraying. Once you get to the full coats, you can rotate it for coverage.
Selfie!!!!! FTW!!!! holla!!!!<br/>Wear a respirator please unless you enjoy lung cancer
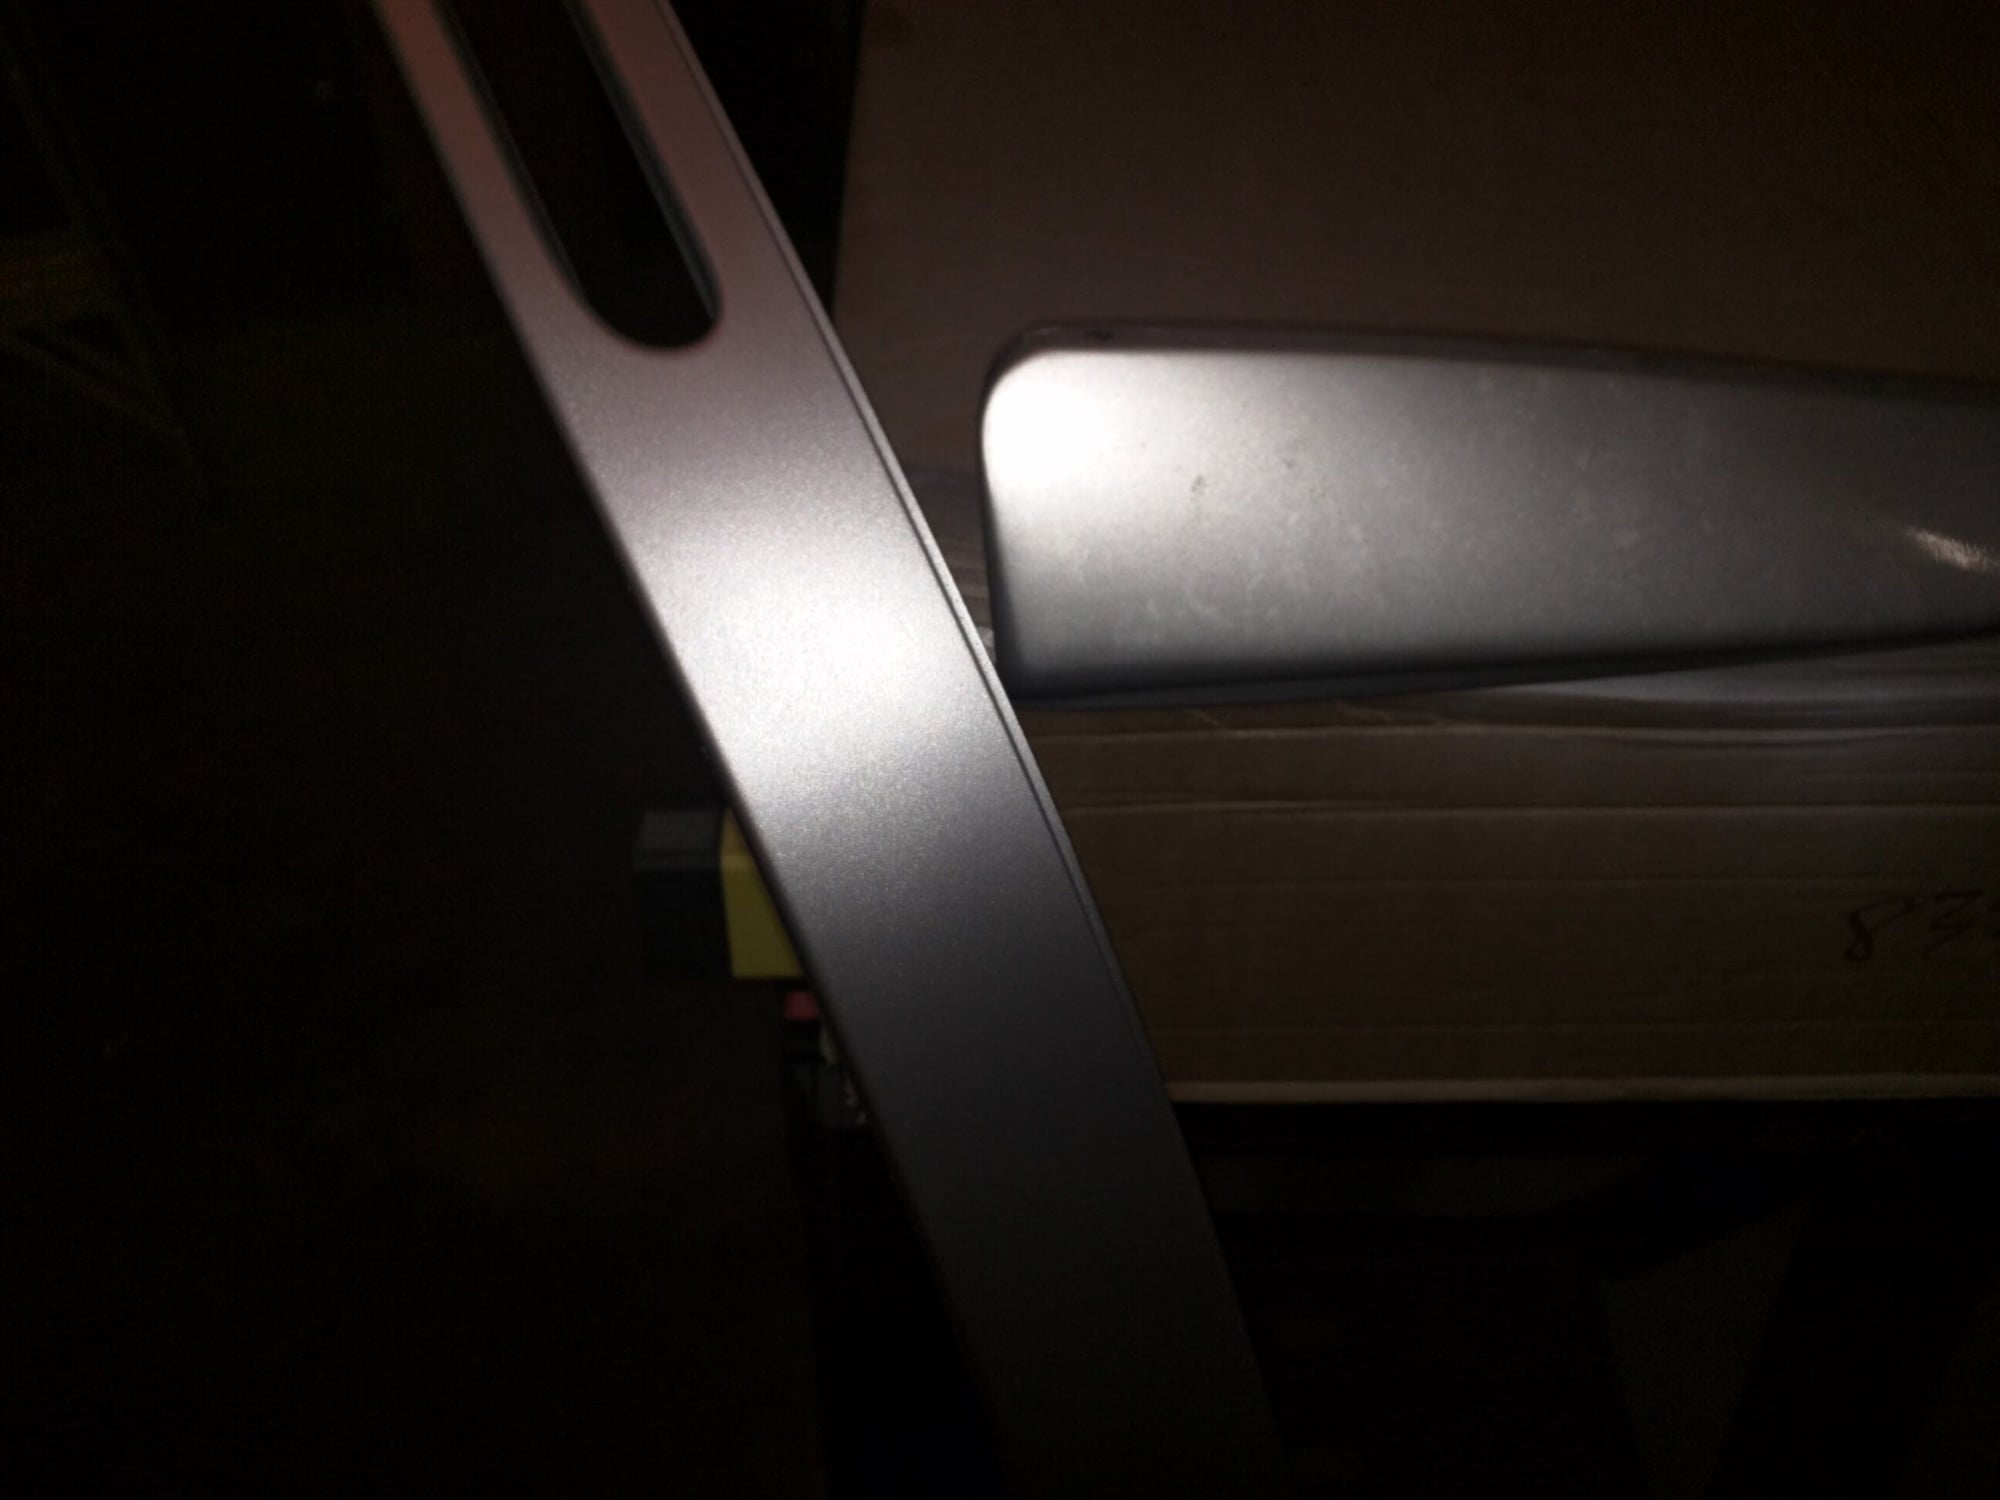
Color matches well. In my garage at night with very little lighting.
More photos to come; it's still drying in my rafters. I'll probably install it this evening and post some before-n-afters.
You should avoid using anything that's not a two part as a top coat. It won't hold up. I'm a body work guy. Your paint will stay slightly soft and probably get messed up while you install it. Also, you need to add a flex agent because the piece gets flexed a lot during install and after. The paint will spider. Good luck!
I've had good results with Duplicolor flex clear for plastic bumper applications (not pictured). When i update photos I'll include a picture of the can.
Edit: the paint supplier also added flex agent for plastic
Last edited by Jones R; 11-04-2015 at 04:50 PM.
Reason: additional info
I've had good results with Duplicolor flex clear for plastic bumper applications (not pictured). When i update photos I'll include a picture of the can.
Edit: the paint supplier also added flex agent for plastic
Ok, well it sounds like you are on track. As a side note, you can buy a HVLP gun from harbor freight for $15. It has a 1.5 tip that lays down primer better than my expensive guns. It does alright for paints and clears if you get it dialed in right. This way you could skip the rattle can and probably have better products available to you. I usually keep about 2-3 of them around as I hate cleaning my guns. I use them a couple times and toss them in the trash LOL. Can't wait to see the finished install!
Two part, two stage is what you should use if you want it to match and hold up. Use SprayMax (I buy from 66autocolor.com) which will ship a factory color in a special spray can with a hardener you push activate. This lays down the color. Then you use the 2k Clear coat (again a two part in a spray can) to make it look factory original. These spray can have a special nozzle that shoots a pattern that is just like a spray gun. I just did my lip and it looks factory.
Installation is easier with 2 people, but if you're solo just use stacks and slowly move everything into place. Don't force anything and wear gloves. You will eventually get it aligned
At most distances and angles it looks factory. Up close the lip has less gloss than an OEM piece, but I'm OK with that
Hopefully the weather clears and I can get some daylight photos
Total cost:
--Front lip $234 (shipped)
--Primer $20 (worth the money to get good plastic adhesion)
--Paint $32 mixed by supply store
--Clear $10 for flexible bumper clear
Total = $296
This is my daily driver. It has the 3M clear shield all over the front, but i accept minor chips and scratches that are unavoidable for the benefit of enjoying this machine on a daily basis.
I think $300 plus a little TLC is a fair price to keep DD'ing. If I have to do it again in 5 yrs, I'm OK with that!
Great looking car, the front spoiler looks sweet. Thanks for the write-up - I'm planning to replace the front lip and a rocker panel on my car in the spring. I really like the look when these lower parts are painted to match.
 11-04-2015, 01:57 PM