When you click on links to various merchants on this site and make a purchase, this can result in this site earning a commission. Affiliate programs and affiliations include, but are not limited to, the eBay Partner Network.
Recently did mine, they were bad.
They have a coating which once it starts to fail, yiou have to take it all off.....this is a fair amont of work and you can't start with polish or even 1000 grit unless you have a lifetine.
Start with 600 grit wet/dry, progress, using lots of fresh paper and lots of water to aviod deep scrates with 800/ or 1000, to 1200, to 1500. Then go at them with your buffer and medium polishing compound. Then a fresh polishing pad and a fine polish or glaze. Ypou could finish by hand with the Mcguires plasic polish.
To do this you need to remove them from the car, and remove the sqirter caps. Plann on 4 + hours or so.
Try the 3M Headlight Lens Restoration System (about $20 at AutoZone). This system utilizes a standard household drill. I've now used this system with great results on my Mercedes, her Jag, and two of my grandkids' beater cars. (Good enuf for high schoolers, I say.) Just follow the directions...job takes about 30 minutes, really.
My 996's headlights were fine, no haze or scatches, but I have now applied plastic overlays for additional piece of mind (ordered from Performance Products).
I fought this battle with my VW headlights, learning a lot in the process.
There's a hard surface layer to reduce/prevent scratching. Once that's penetrated by nick and scratches the only solution is removal with the sandpaper/polish. Problem is now you're left with the softer plastic exposed to the elements. It scratches easily and is affected (clouds) by some detergents and will absorb salt and hard water crystals.
You have to replace that hard surface with something, either a film or clear coat. I've heard of good results with the clear coat but never tried that.
If you just polish it out it'll look really good for a few washes/rains but then clouds quickly.
Just returned from the Mammoth High Sierra Tour at Mammoth Lakes Ca. During line up, was parked next to a pristine 996GT3 with very clear lenses. My grungy, yellowed lights made my car look like a wrecker, lenses were as bad if not worse then Steve's original pics.
So I decided that when I got home, I would remedy the situation
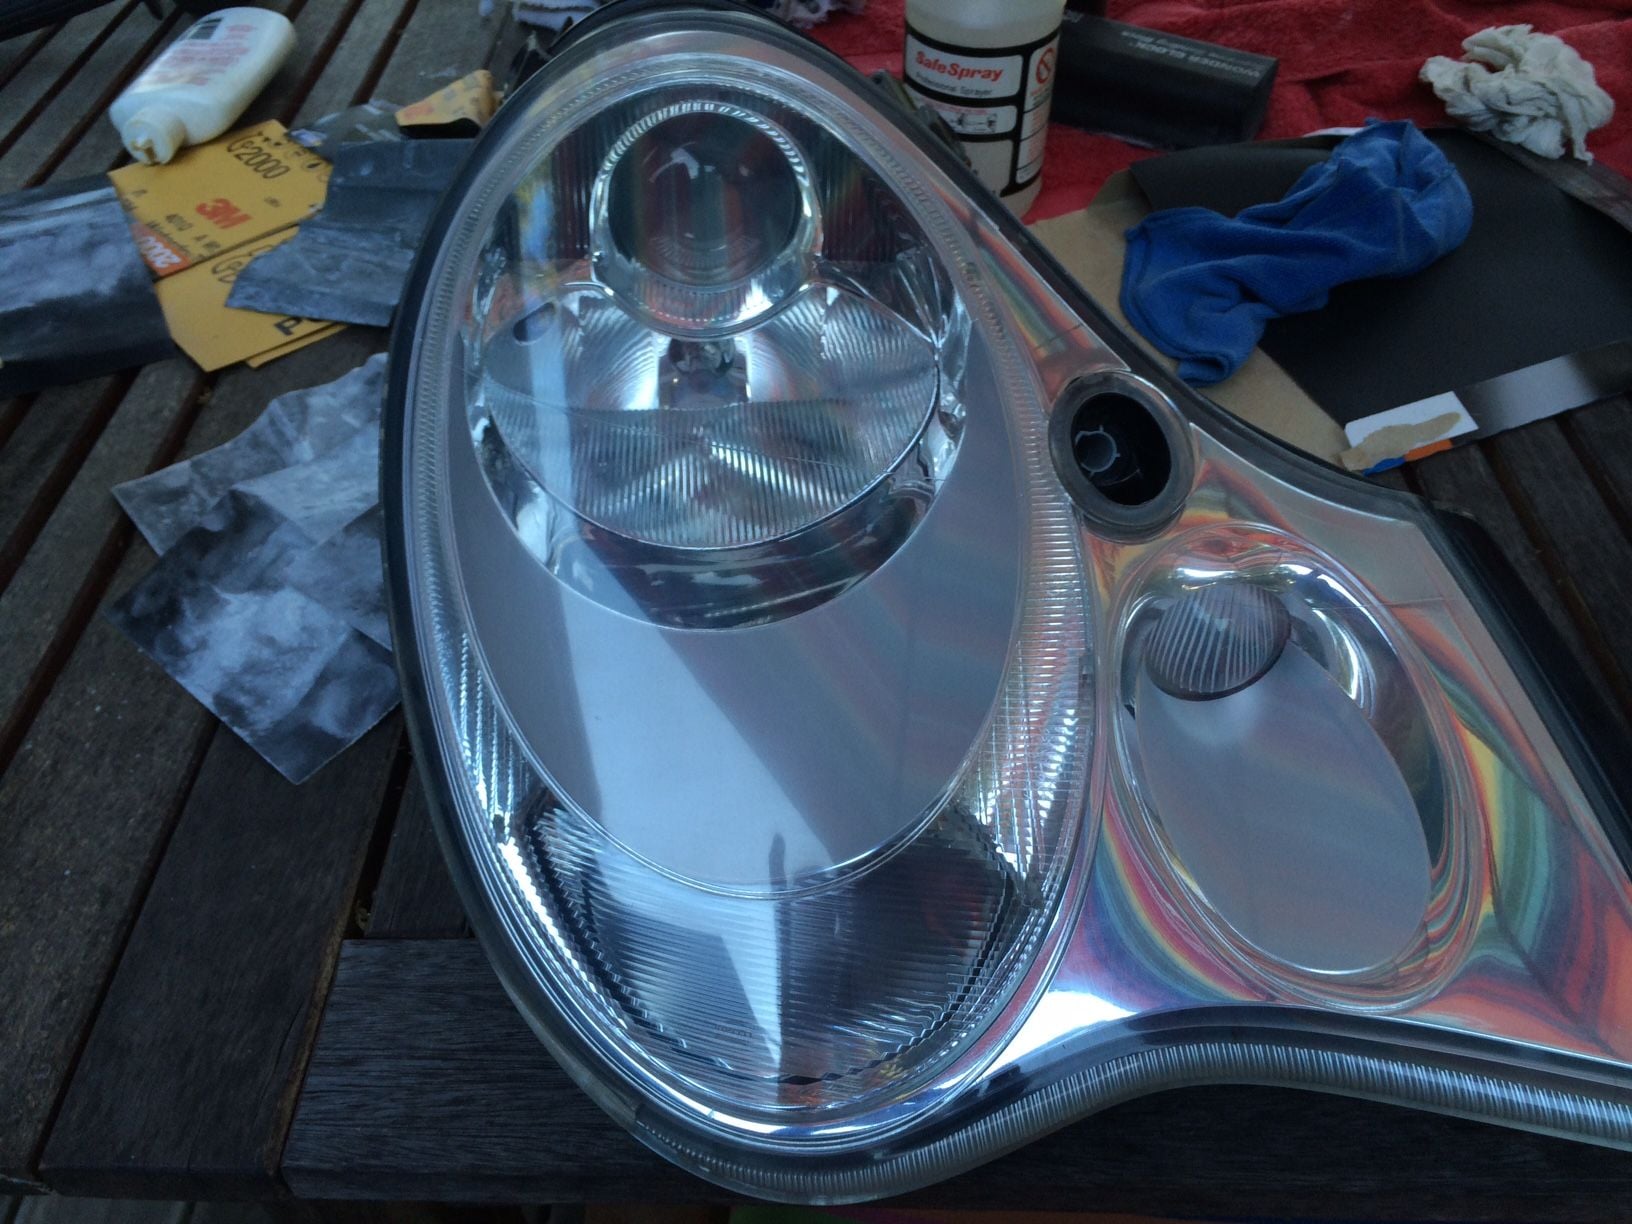
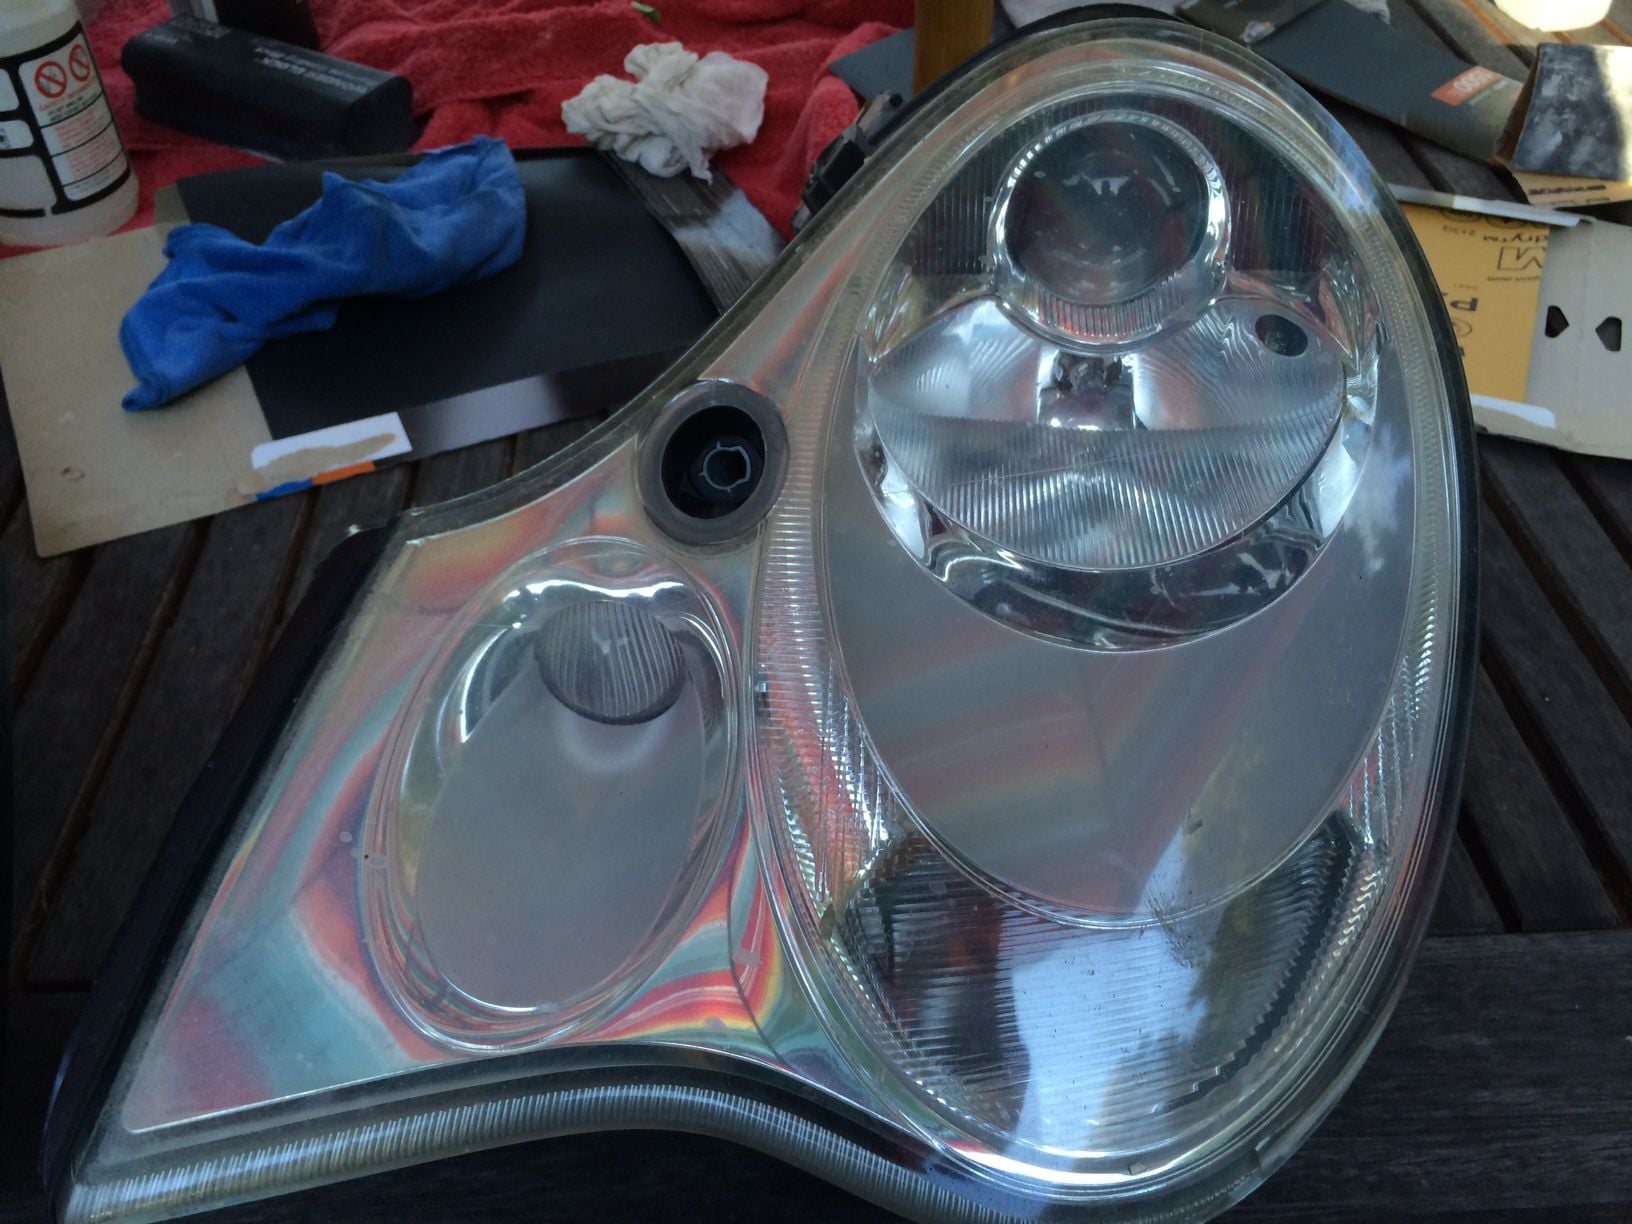
Been following this thread since Steve posted. Great information. I wanted to post what I did, after finding this on the web:
This guy is a professional detailer and I must say, I am very happy with the results.
The clear on the Porsche is very thick. Started wtih 220 wet or dry, then 400 and 600, all dry sanded. the went to 1000 wet, 1500 wet and finally 2000 wet. Finished with a mechanical cutting compound and finally a foam pad and polishing compound. Took about 45 minutes per side.
Used a spray on clearcoat with built in UV protection, Upol #1 clear. Very happy with the results

 03-29-2010, 12:16 PM