When you click on links to various merchants on this site and make a purchase, this can result in this site earning a commission. Affiliate programs and affiliations include, but are not limited to, the eBay Partner Network.
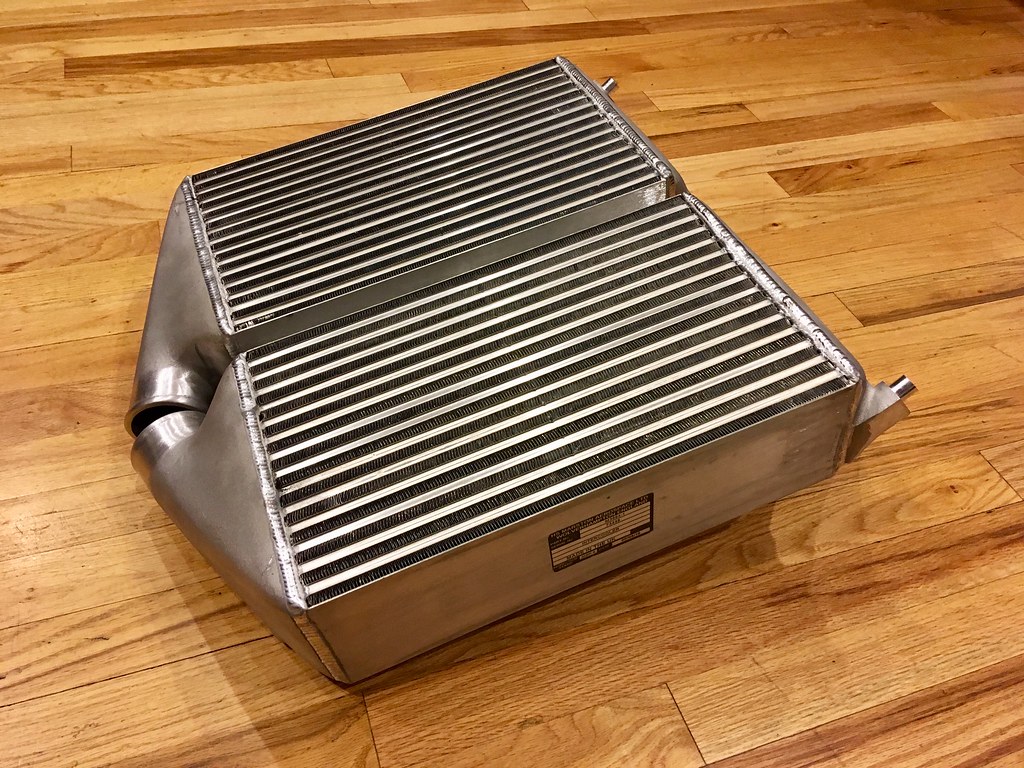
I finally got around to installing my 4.0" Marston Aerospace Intercoolers after having sat on them for over a year. After spending a few days of getting everything modded for a perfect fit, I figured I'd post up a few pics which may help those that end up going the aftermarket intercooler route. Having done the 997.2 install previously which required modding of the OEM ducts, I figured it would be equally straightforward. I will say that getting everything to fit properly when using thicker ICs beyond that of the 997.2s involves a lot of work to make everything fit just right. Believe me when I say that I have seen some real hack jobs out there on modified ducts. I always cringe when I see the ducting butchered to accommodate filters above the IC or the upper ducts removed altogether.
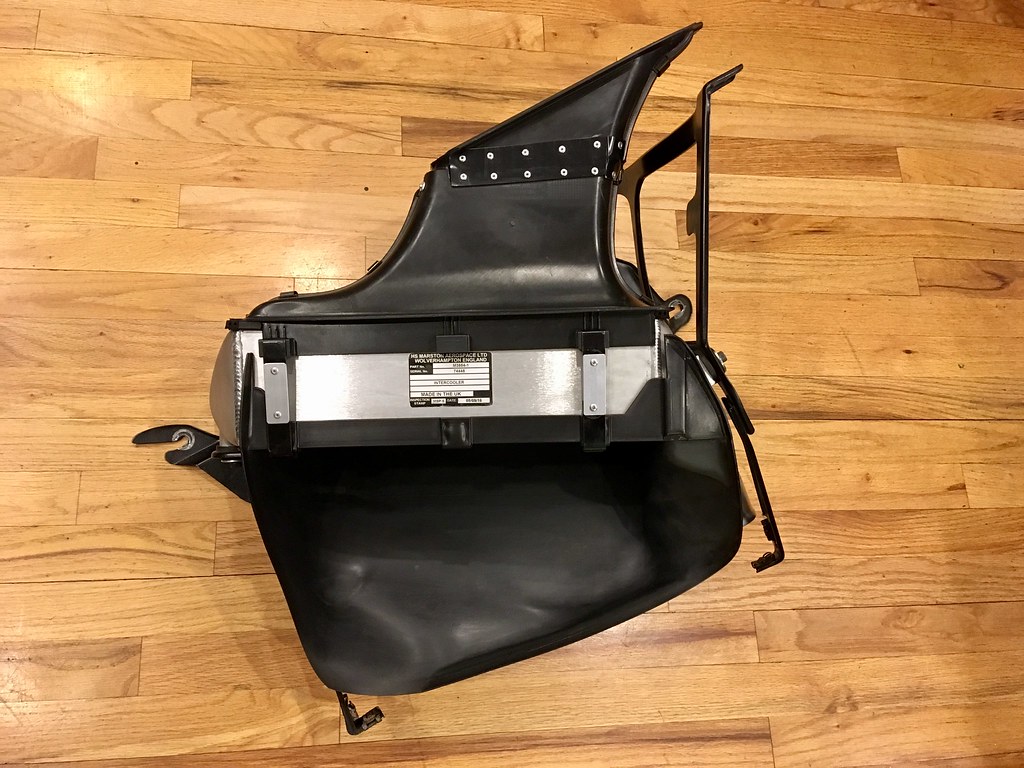
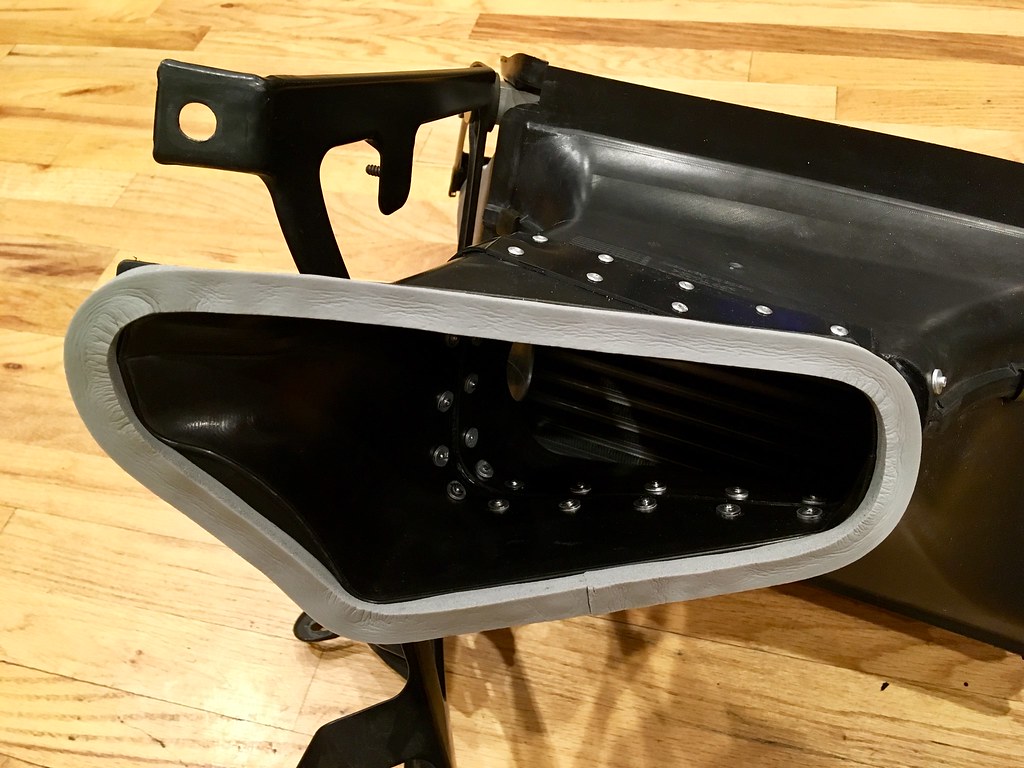
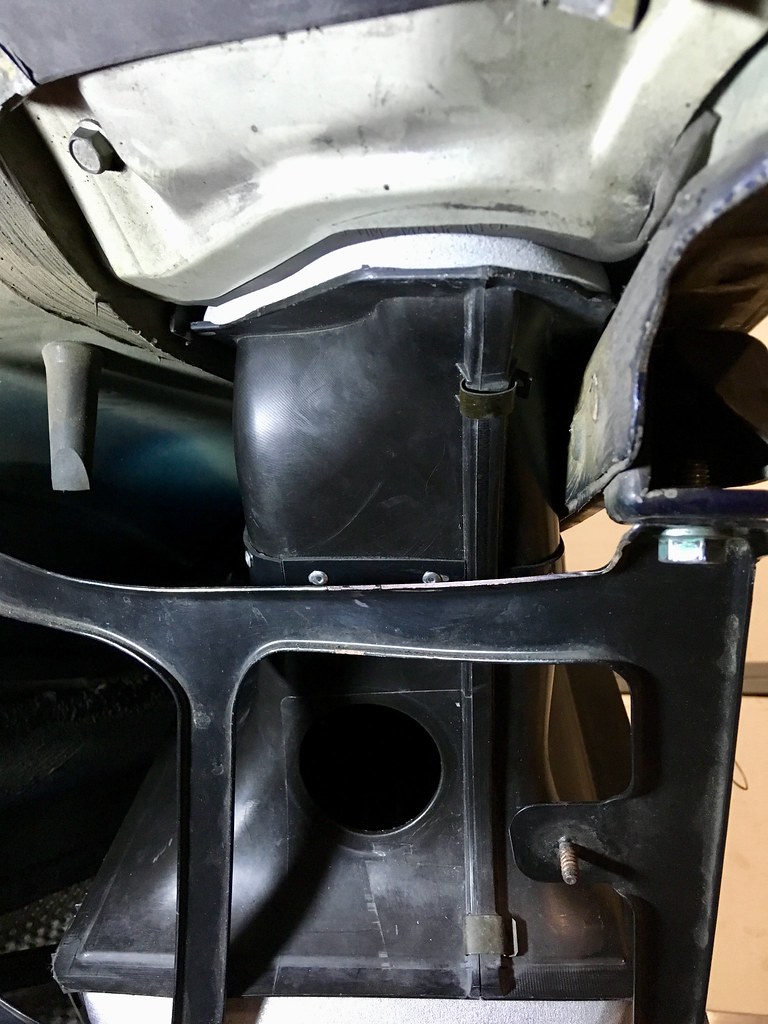
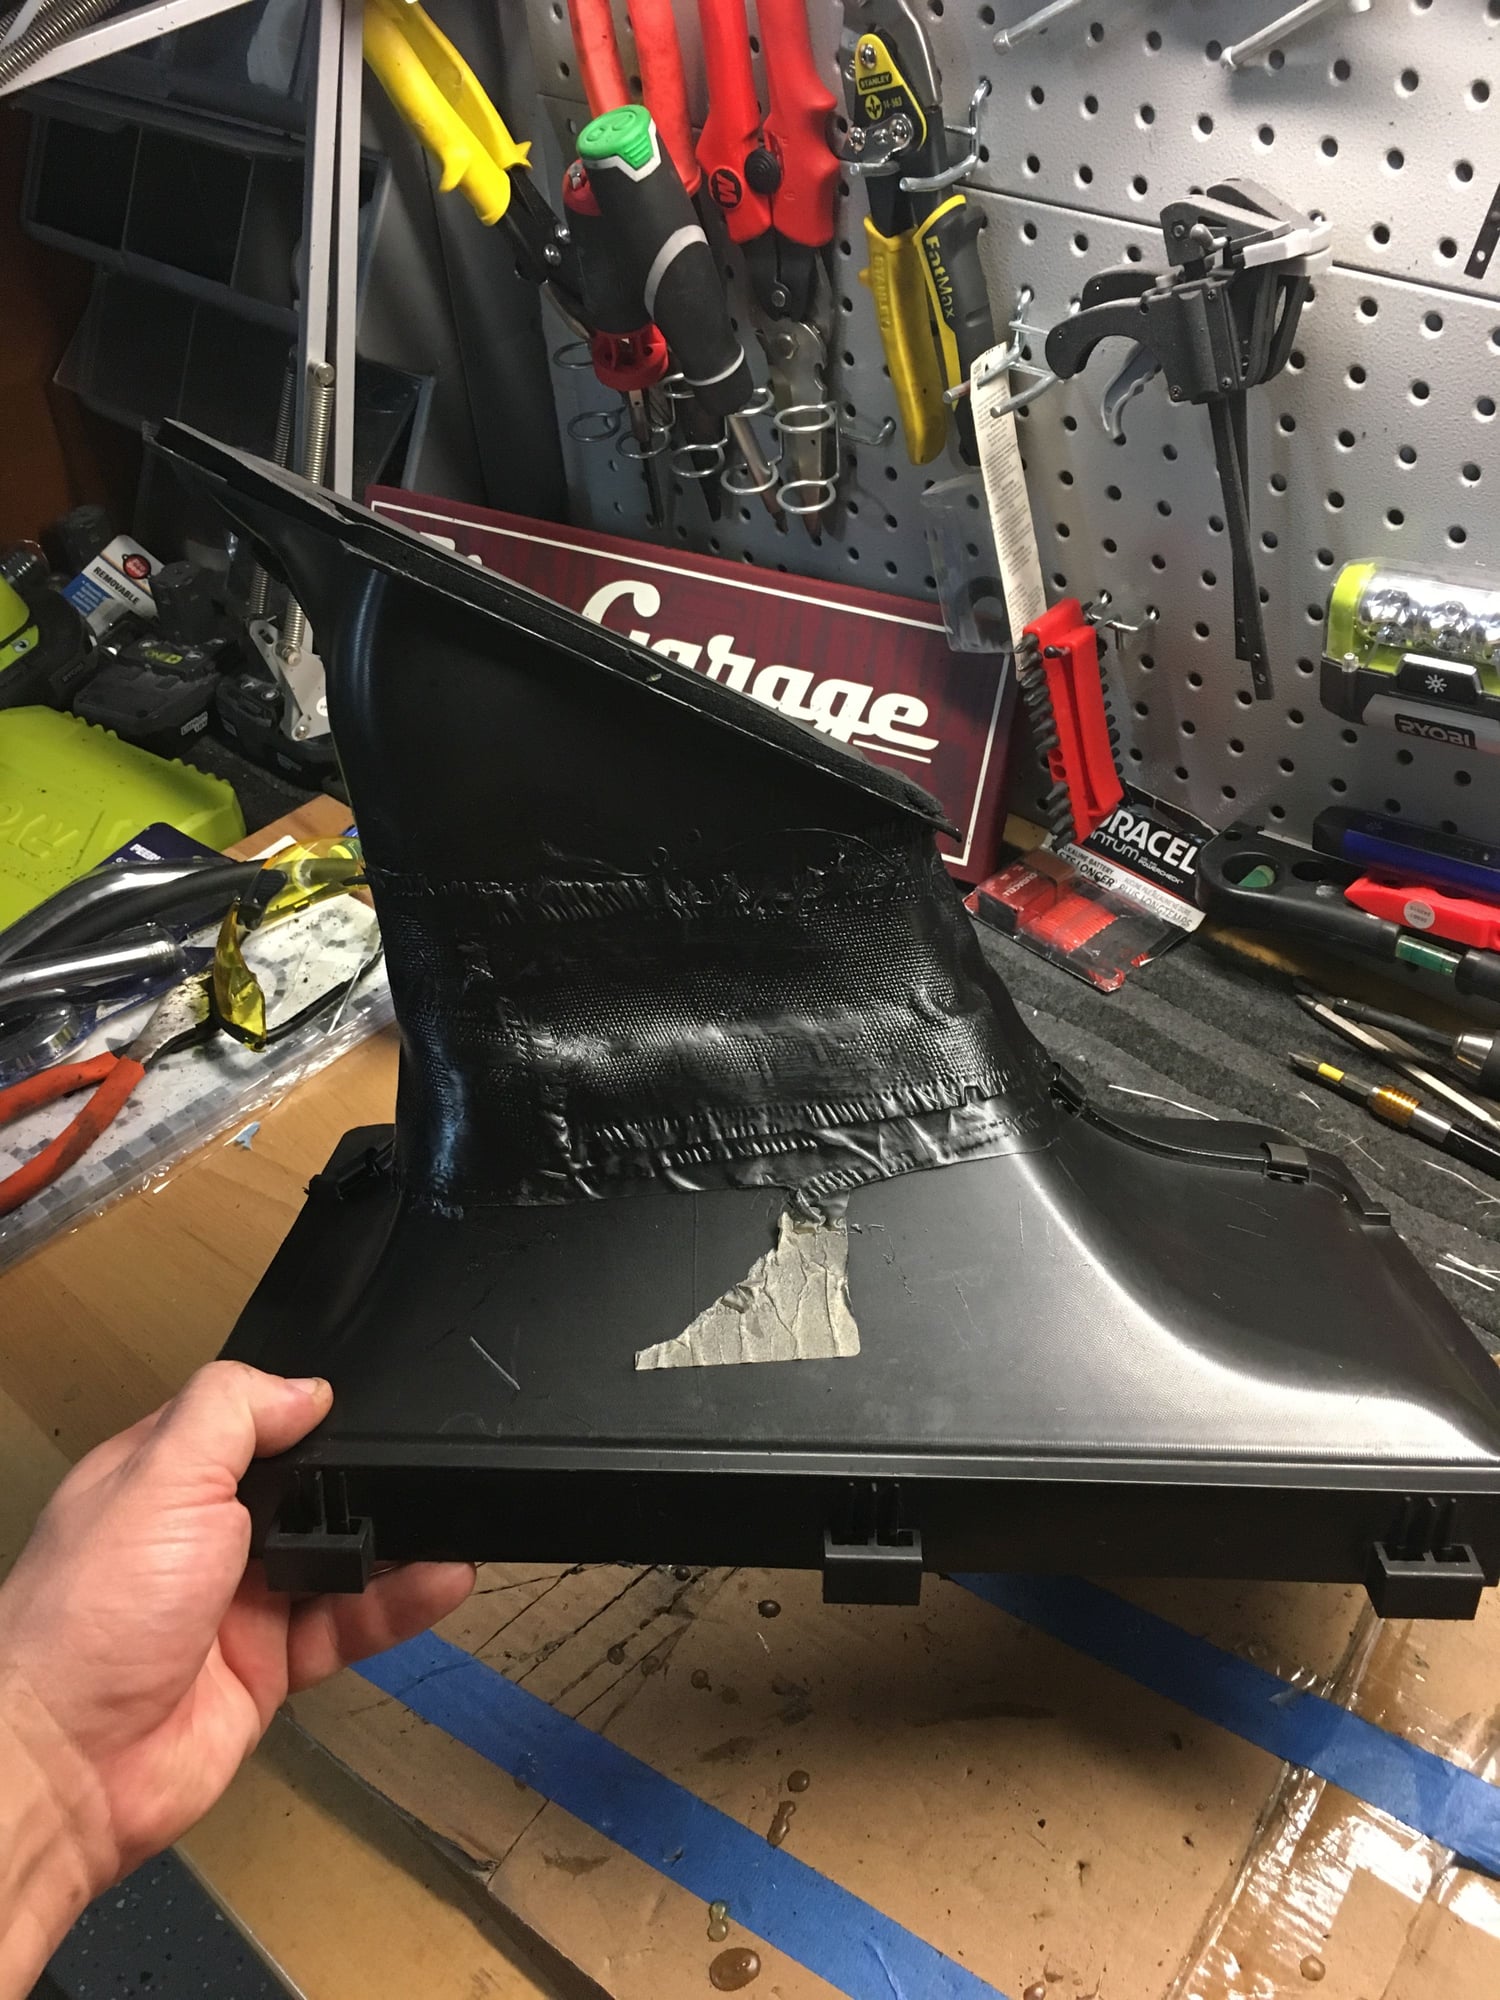
The secret of optimal performance is getting the ducting to seal perfectly onto the ducts and that having the ducts seal perfectly against the upper opening in the tub. This needs to be done in order for cool air to be efficiently though the intercooler air tunnel above the wheel well. This is accomplished via ram air from the upper opening behind the door and also via a Venturi effect from the low pressure area at the opening in the lower rear bumper. What complicates this is the fact that to accomodate thicker cores, the upper air duct chimney will need to be cut and shortened. This sounds simple but is a lot more complicated due to the fact that the chimney is not vertical but connects to the upper opening in the tub at an angle. As such, when you shorten the chimney, it will be misaligned. After countless trial fittings, I finally got everything aligned properly and the two sections mated together using 35mm wide strips I cut from a 1/16" thick ABS plastic sheet I had on hand. I then riveted these strips onto the two severed sections after carefully verifying that the shortened upper duct will align perfectly with the upper duct opening. Using a heat gun helps mold and bend the ABS plastic to assist fitment. Once the duct was riveted together, I used window weld to perfectly seal the joint from the inside this creating an air tight joint.
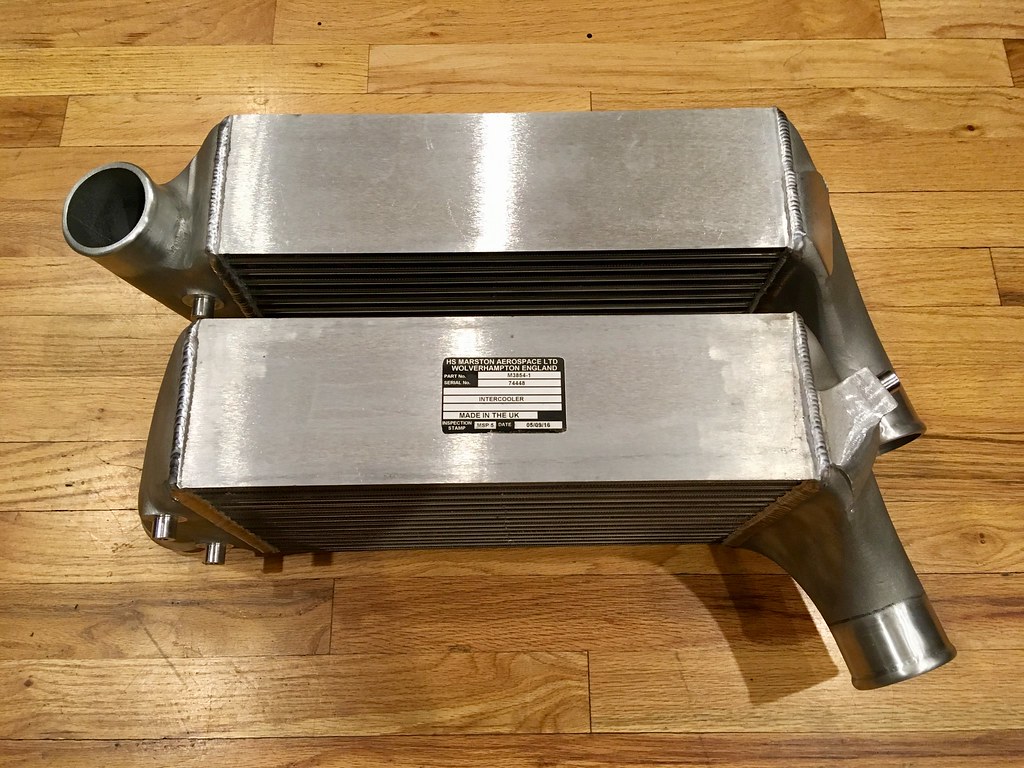
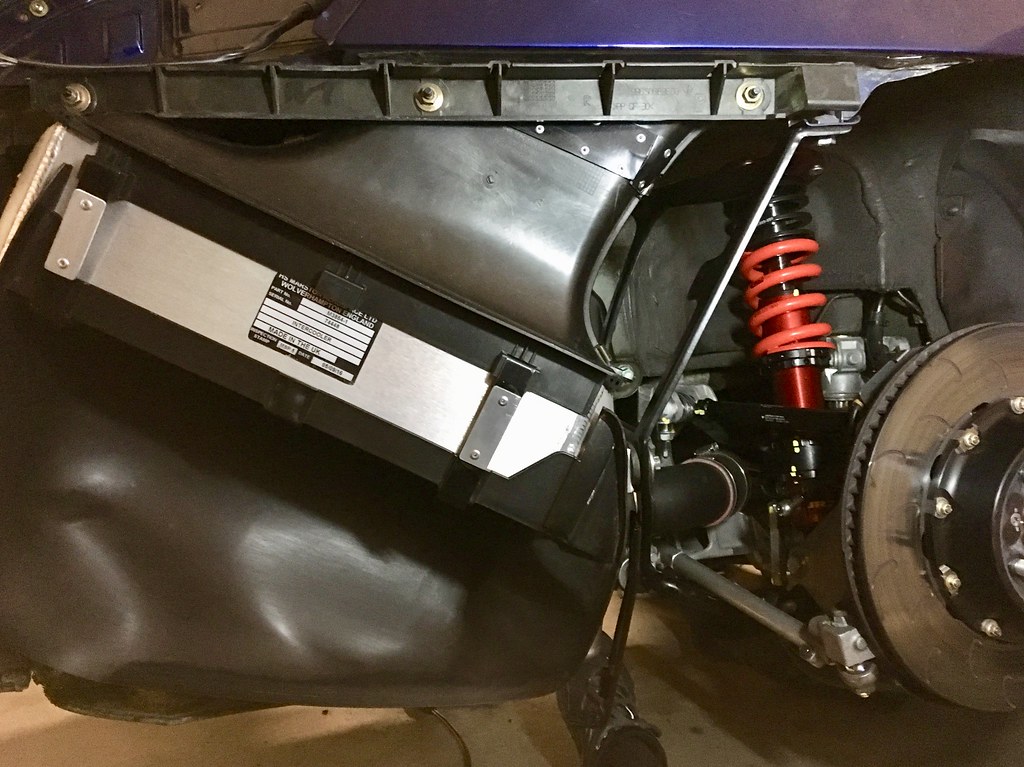
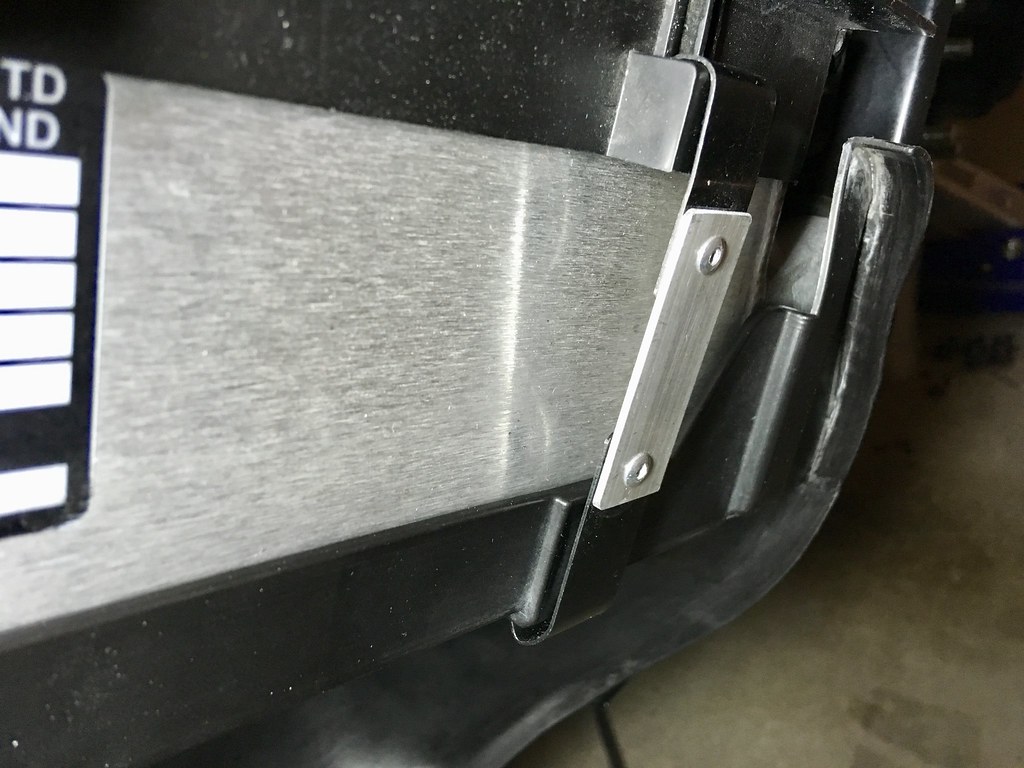
Since the cores are thicker, the steel bands that clamp the upper and lower duct onto the intercooler will naturally be too short. Since I did not want to resort to a less than elegant zip tie solution, I simply cut the OEM steel clamps and riveted on an aluminum center section which extended the bands by the required amount. Last step is to install a new foam seal strip to the top of the duct and install everything (I also installed marine grade rubber seals between the ducting and the intercooler cores themselves). It helps to remove the circular rubber seal from the upper duct as it allows you to peek into the upper duct to verify alignment and confirm a proper seal. Other mods I needed to do is enlarge the openings in the tub into the engine bay to allow the thicker silicone hoses to clear without any interference. I used a grinder with a carbide tip which made it rather easy to enlarge the opening cleanly if you take your time. Don't forget to use touch up paint to cover any exposed metal and protect it from corrosion. I will also mention that prior to the install I pressurized the intercoolers to 30psi to verify that everything was air tight and without any surprises. It's a lot of work but the end result is an OEM fit and finish. Cheers!
" target="_blank">
" target="_blank">
" target="_blank">
" target="_blank">
" target="_blank">
" target="_blank">
" target="_blank">
" target="_blank">
" target="_blank">
" target="_blank">
" target="_blank">
Last edited by powdrhound; 09-10-2019 at 11:32 AM.
Nice work. How much improvement do you think they make? I�m still new to the turbo car and this is a long way off if I even take it that far.
Significant......
For comparison, these 4" aerospace cores are 37% larger than the benchmark OEM 997.2 ICs, and 60% larger than the OEM 996TT/GT2/997.1 ICs (for those wondering, the 997.2s are 17% larger than 997.1s).
The performance data for each 4" aerospace core is as follows listed for both 600hp and 1200hp applications:
HP application:___________600whp (both cores)______________1200whp (both cores)
Charge Air Mass Flow______720 Kg/hr (per core)______________1420 Kg/hr (per core)
Charge Air Temp IN________180�C (356�F)__________________180�C (356�F)
Charge Air Temp OUT______35.6�C (96�F)___________________55.7�C (132.2F)
Ram Air Velocity___________10 m/s (22.4 mph)______________10 m/s (22.4 mph)
(speed of cooling air
through exterior of core)
(corresponds to vehicle
speed of 150mph)
Ram Air Temp IN___________30�C (86�F)____________________30�C (86�F)
Ram Air Temp OUT_________60.5�C (140.9�F)________________82.5�C (180.5�F)
Ram Air Press Drop_________20.7 mbar (0.3 psi)______________20.7 mbar (0.3 psi)
As can be seen by the numbers above, the efficiency of the 4" aerospace cores is quite astounding. Keep in mind that this data is for continuous duty replicating wide open full throttle operation where the core is fully heat soaked and thermally stable, not just a 20 or 30 second datalog snapshot of a highway pull.
Looking at the 600whp application column on the left, note the huge temperature drop of the boosted air entering and exiting the intercooler (356F vs. 96F). Keep in mind that the ECU starts pulling timing right around the 35C (95F) point. Also note the minuscule drop of 1.1 psi of boosted air through the core. This shows how free flowing this aerospace core is even at 1.8bar of boost. In comparison, the 997.2 core has almost 3x the resistance of 3 psi of pressure drop through the core at similar air flow but lower boost.
Even when using these cores in a 1200whp application, the performance is amazing but we see the intercooler outlet temps higher at 132.2F while the pressure drop through the core is now 3.43 psi. Again, keep in mind that these are fully heat soaked continuous wide open throttle #s.
The completed 4" IC with end tanks weighs 9.5 lbs. (4.3kg). This is only 2.5lbs more than the OEM 997.2 IC.
Very interesting data on those. So even on a mild build they would be a huge benefit just on how well they are working. But like everything else it costs to go fast. Thank you for the information hopefully some of us can put this to use.
If you get a second next time you are at CTS take a look at mine. very similar to yours including lengthening the strips. Though I did use zips on the outer mounts.
I put silicone on the chimney joints and used thin foam between the chimney and the IC. I also replaced the bottom seals with a thicker after-market seal. This causes the bumper to sit very tight against the exit, over time my old seals had been squished flat.
Most other pics I saw were people just slicing the ducts and inserting the top back into the bottom, but I found that this wouldn't fit as the shapes slightly changed when cut. I cut a section out of the middle and re-glassed/ painted it to make it one piece again.
If you get a second next time you are at CTS take a look at mine. very similar to yours including lengthening the strips. Though I did use zips on the outer mounts.
I put silicone on the chimney joints and used thin foam between the chimney and the IC. I also replaced the bottom seals with a thicker after-market seal. This causes the bumper to sit very tight against the exit, over time my old seals had been squished flat.
Excellent, will do. I’m gonna swing by later this week I think. Sounds like Chris is building a nice 3.8 for you!
Excellent, will do. I’m gonna swing by later this week I think. Sounds like Chris is building a nice 3.8 for you!
The slippery slope adage is for sure being proven true on this project. But after being down since last august I'm excited to finally get it back in fighting shape. I can't thank you enough for putting me in touch with Chris, the pace they work at is insane.
 03-25-2019, 03:33 AM