When you click on links to various merchants on this site and make a purchase, this can result in this site earning a commission. Affiliate programs and affiliations include, but are not limited to, the eBay Partner Network.
Hi Guys,
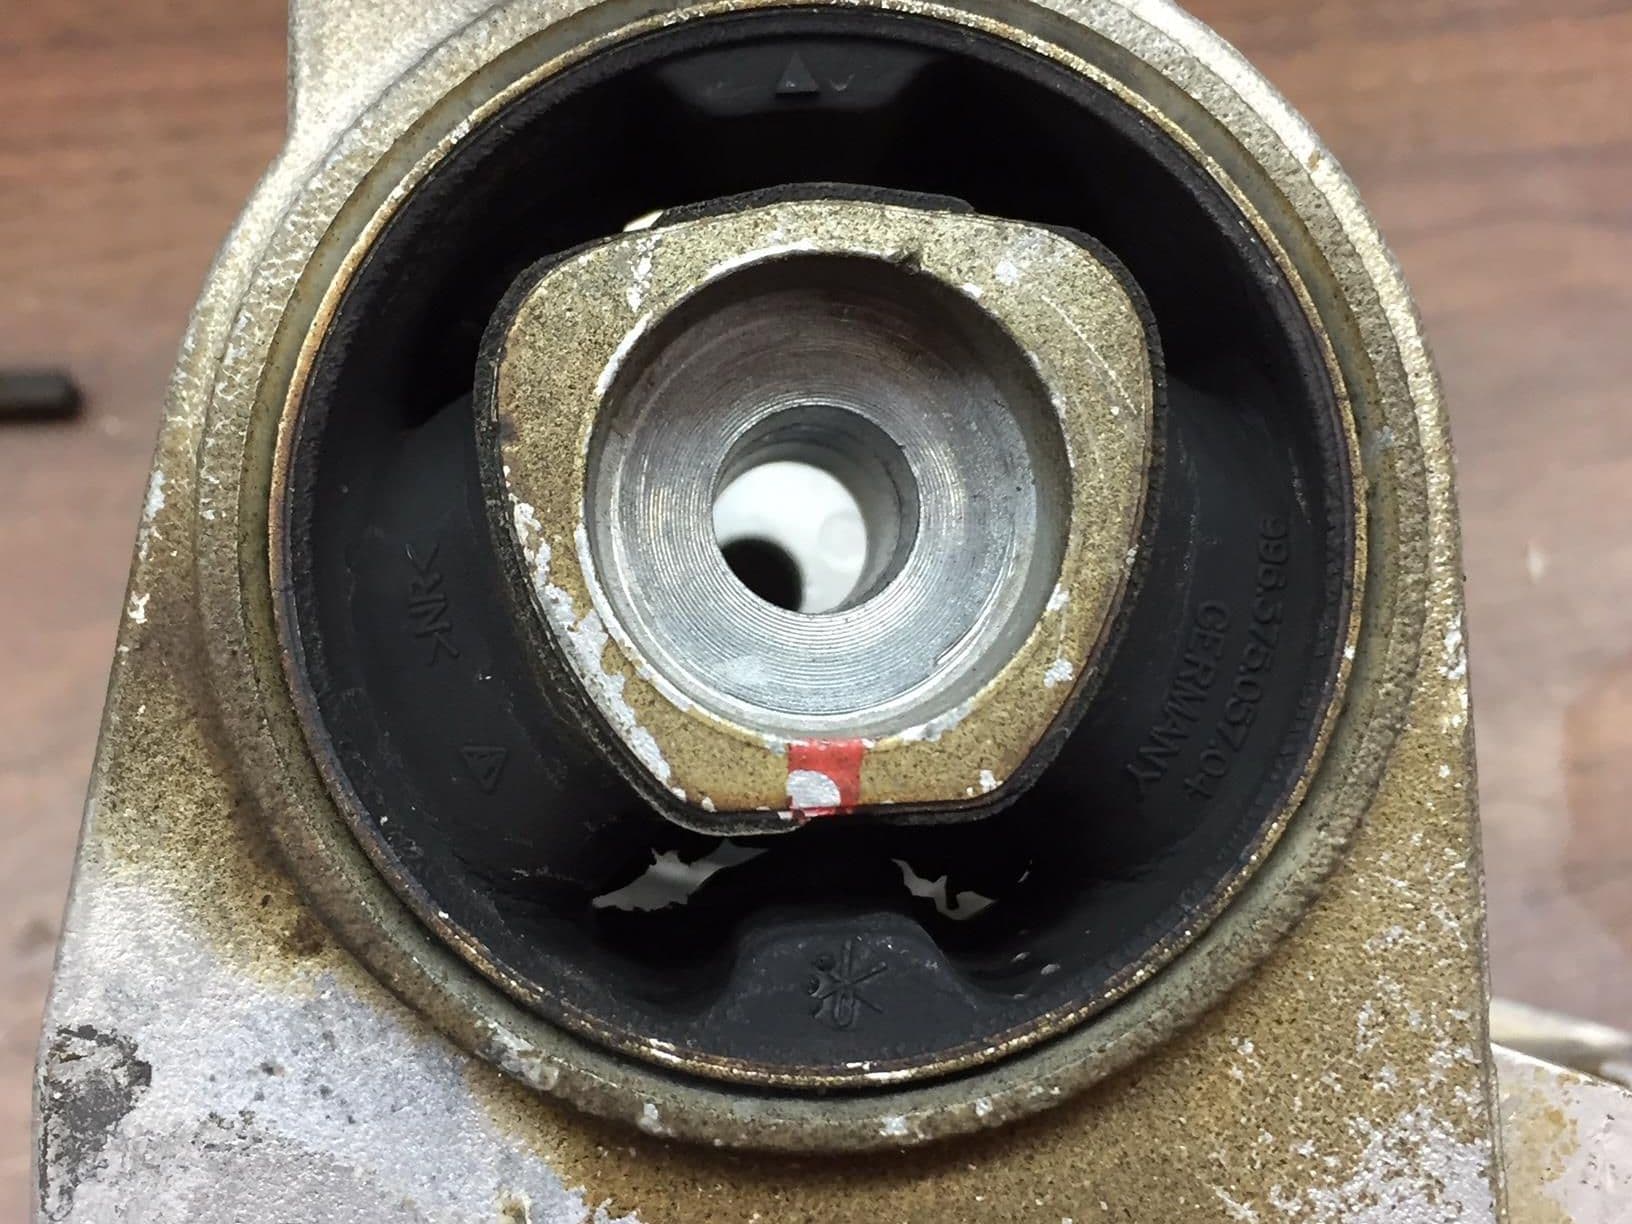
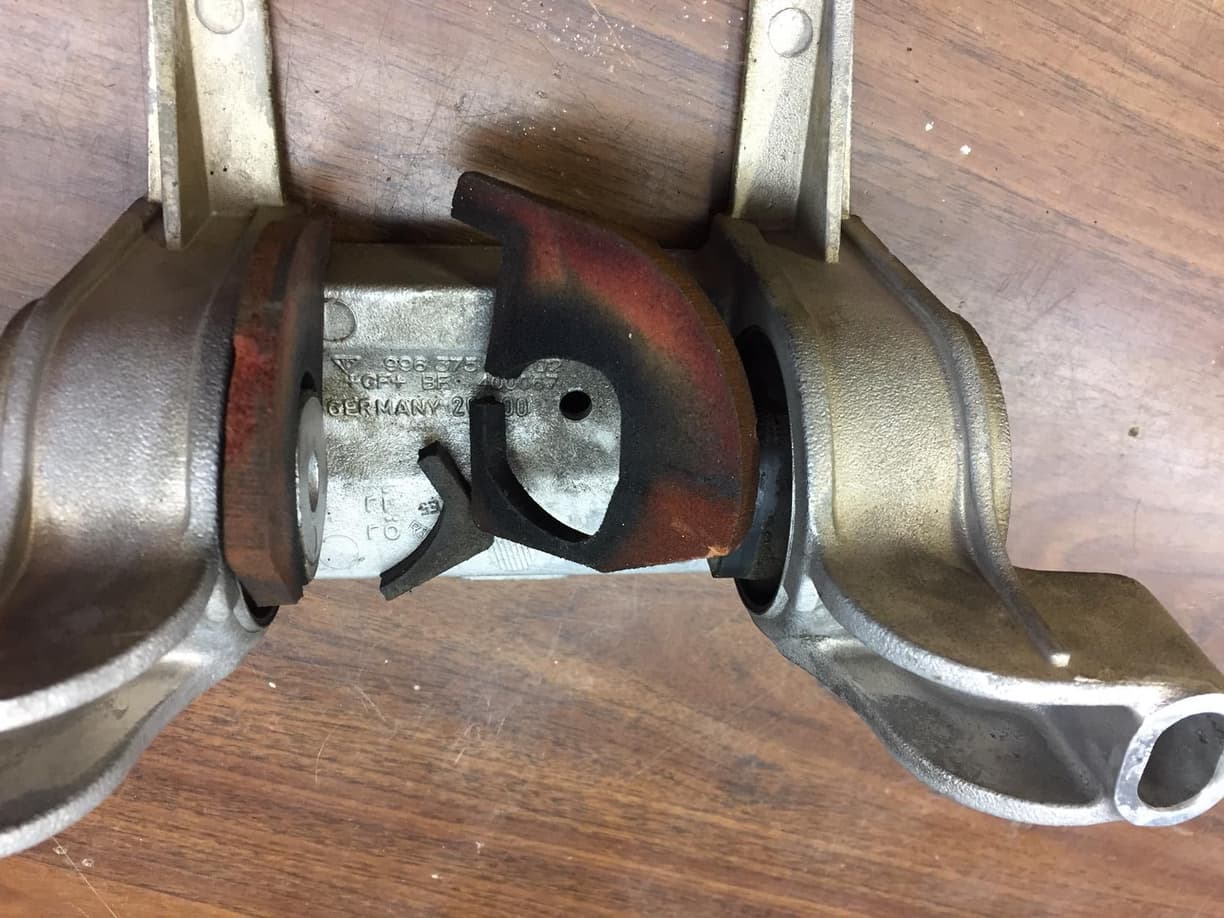
I think my trans mounts are fine, but opinions?
I think the rubber parts that look deteriorated are just from the rubber casting?
What's with hard foam spacers? Looks like something for vibration added after?
If it's filler, someone added it to try and reinforce or save the mount.
Since it's the older, perhaps original 996 part number and out of the car, I'd just replace with a new 997 version and be done for a while.
Mounts look okay to me. I had the same "spacers" on mine when I added function first spacers. I would just add ff spacers or go with new 997 bushings. How many miles?
Mounts look okay to me. I had the same "spacers" on mine when I added function first spacers. I would just add ff spacers or go with new 997 bushings. How many miles?
I disagree with all of this, and am confused on how one would go with "997 bushings".
Just replace the whole carrier with the 997 part. If you've already got the old mount out of the car, it's a no brainer, even if it was fine.
Various people run this setup with no issues. Should give you something slightly firmer then OEM rubber bushings but more forgiving then polyurethane bushings.
I myself went with a 997 trans mount recently and felt ZERO difference between my aged 996 mount and a new 997 mount. Meaning the 996 mount was probably just fine.
clean the rubber area as well as you can. w/w uses a caulking gun to apply. fill all the holes and make a even surface all around the metal of the mount. soap up your hands really well and use your fingers to push the w/w down into any cracks and holes and smooth it out at the edges. let it cure completely for about 24-48 hrs.
 05-22-2018, 07:15 PM