When you click on links to various merchants on this site and make a purchase, this can result in this site earning a commission. Affiliate programs and affiliations include, but are not limited to, the eBay Partner Network.
Finally after Dave’s first post years ago I installed his 4.75” kit.
Ive had the car 4 years and have had to rebleed twice. I had enough when it started failing again:
The fluid was leaking from rams and pump and was getting on engine and bodywork. The fluid is not good for either.
I am by no means a mechanic or an electrician, so I was a tad apprehensive when I started reading the lengthy instructions.
After reading instructions a few times I dove right in. Install was easier than I anticipated, and these things really are cool.
Couple of notes for those hose on the fence.
Dave is first and foremost a 996tt owner, and that shows in his attention to detail with what he has engineered here. It’s well built and lightweight.
When attaching wing bushings get the biggest flat head with flat five sided shaft. That for me was hardest part of the install.
Once weather improves ill I’ll take some more photos.
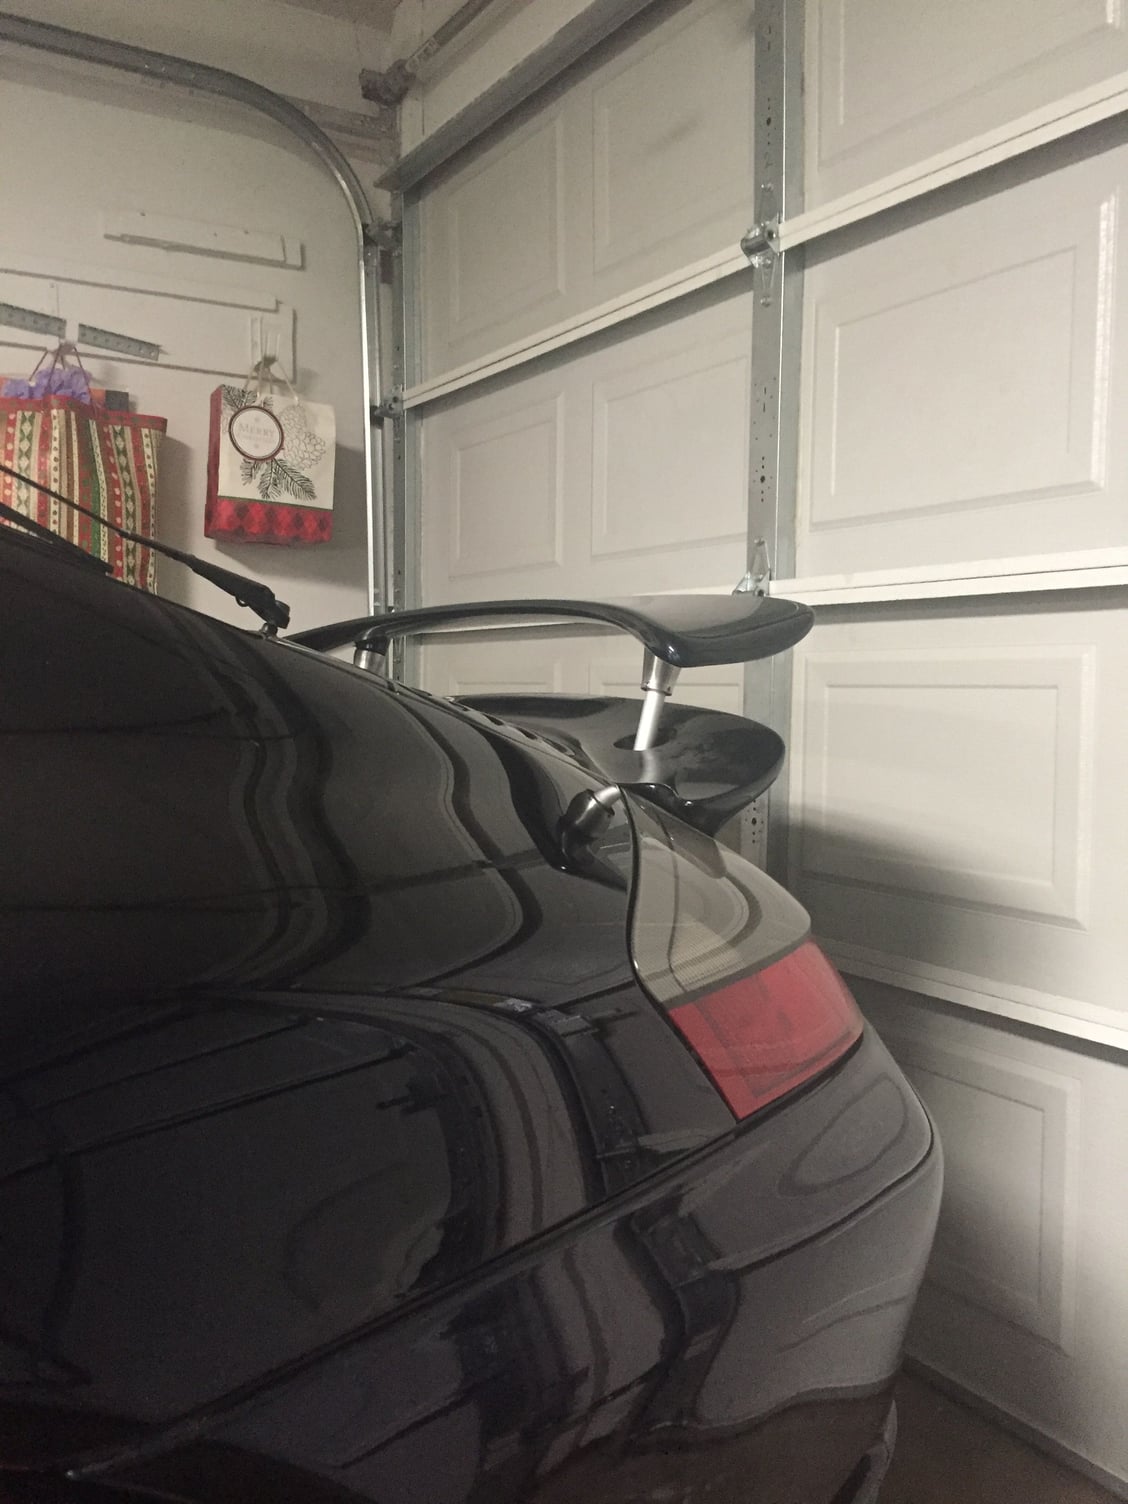
I bought the kit about a month ago and finally got around to installing it last weekend. I think I got the one with an additional 1/2 rise. I have a CF GT2 replica blade so it already has about a 3" rise on the bottom of the wing. When fully extended it is about 8" above the fixed portion.
Took about 4 1/2 hours with rest breaks.Sat on my rolling stool to do almost the whole job. I soldered all the connections except the one to the gray power wire. Hardest part was trying to figure out the instructions for how to finish mounting the rams to the hood. A lighter picture of the finished mounting from the under hood side would help in the instructions. One other thing plan your routing of the wires above the fan mount before bolting it on. Other than that easy to do. Took it out for the first time yesterday and everything works as advertised.
Replaced mine with the Rennkit about a month ago and very pleased with it and Daves service. The only problem I’m having now
it that every time I drive it I have to run it up over 75 so I can watch it go up!
Thanks Dave
Replaced mine with the Rennkit about a month ago and very pleased with it and Daves service. The only problem I’m having now
it that every time I drive it I have to run it up over 75 so I can watch it go up!
Thanks Dave
No bought it off of ebay for $600 about 10 years ago. Still looks like new after all these years in the Florida sun. I had to put the bigger lip on the front to balance it out. Made it feel light in the front sometimes.
Installed the 3" kit a few weeks ago and works perfectly so far. Regardless of your thoughts on needing this kit to retain reliable functionality - it just works. Mileage is not the issue as stated many times before, but rather heat. My 996tt has only 17k original miles on it and the petosin flowed freely.
 02-21-2018, 10:40 PM