When you click on links to various merchants on this site and make a purchase, this can result in this site earning a commission. Affiliate programs and affiliations include, but are not limited to, the eBay Partner Network.
Hello,
I found a youtube video showing the removal of a 996 non turbo. Is it the same for the turbo as the non turbo? The search on the forum didn't yield a step by step description
The first time I did this job I used the repair manual instruction and it was helpful...Page 930-933.
If you are Renntech.org contributor you have access to a complete removal installation of the front bumper cover here: https://www.renntech.org/forums/tuto...r-replacement/
The first time I did this job I used the repair manual instruction and it was helpful...Page 930-933.
If you are Renntech.org contributor you have access to a complete removal installation of the front bumper cover here: https://www.renntech.org/forums/tuto...r-replacement/
This is a great write up. Thanks for taking the time to do it JP
Pretty easy job, you'll be surprised how easily it all comes off after you do it the first time.
It is the screw that was 'missing' on your car that is the trickiest to get to, mostly because you kind of do it by feel, hard to see, and you have to partially remove the front fender liner to get to it... Partially removing the wheel liner for access to that screw, and removing the front wheels so you can remove the fender liner, are the biggest pain of the job, which might be why someone left that screw off your car last time they removed the bumper cover!
A couple of additional thoughts:
Lay out a moving blanket to put the bumper cover on before you have it in your arms looking for a place to put it down...
Put the car on jackstands and remove the front wheels if you are removing the wheel liners. Not absolutely necessary, but the increased difficulty in removing the fender liners with the wheel in place more than offsets the time spent doing this step.
Take pictures / keep track of the fasteners as they come off... Several different types that are pretty close.
The fender liners can get a bit brittle and can crack when flexed a bit to get them loose... Be careful and don't do it on a cold day.
This page from the service manual shows the tricky to get to screw that was missing in the linked write up. It is the vertical parts 6 and 7 in bubble 3.
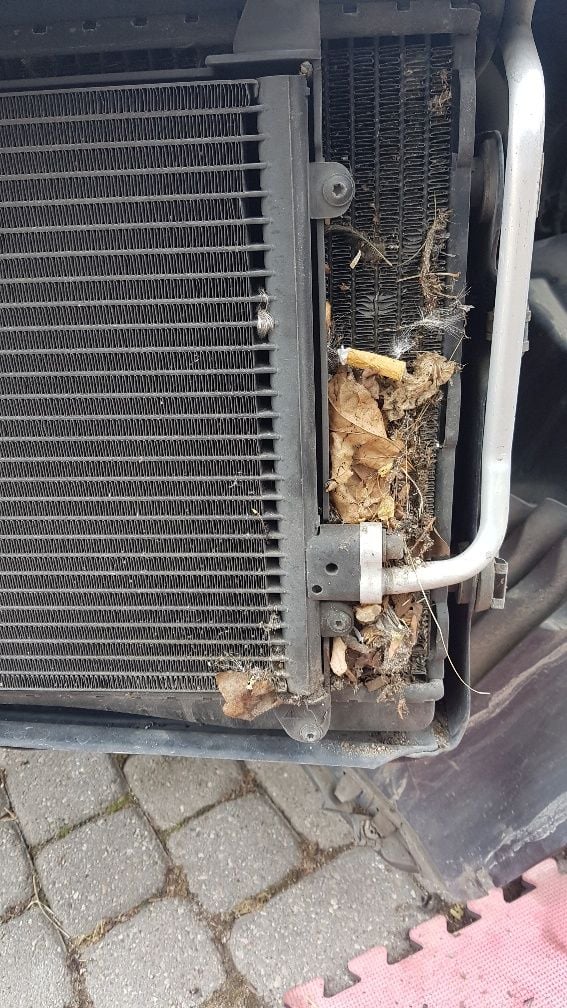
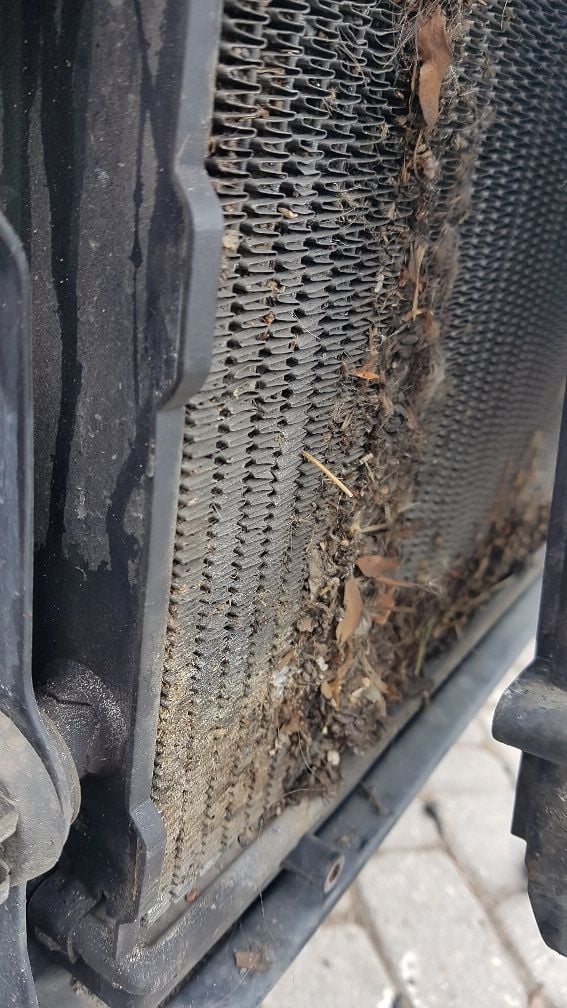
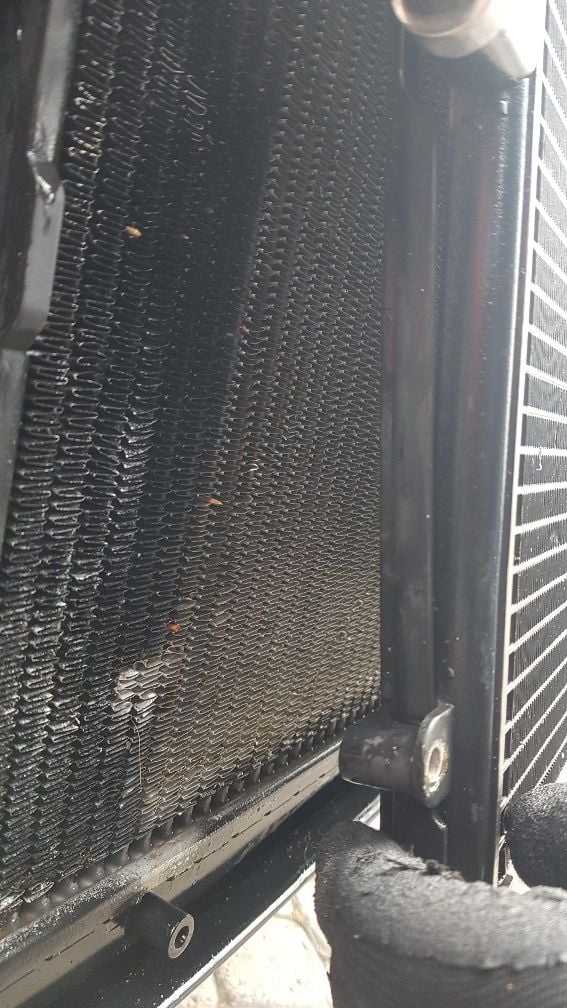
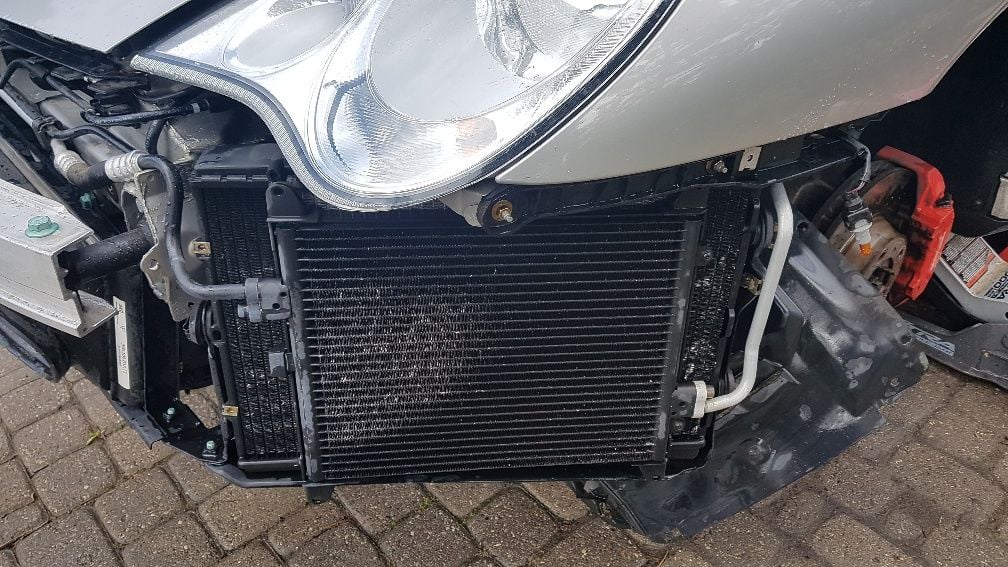
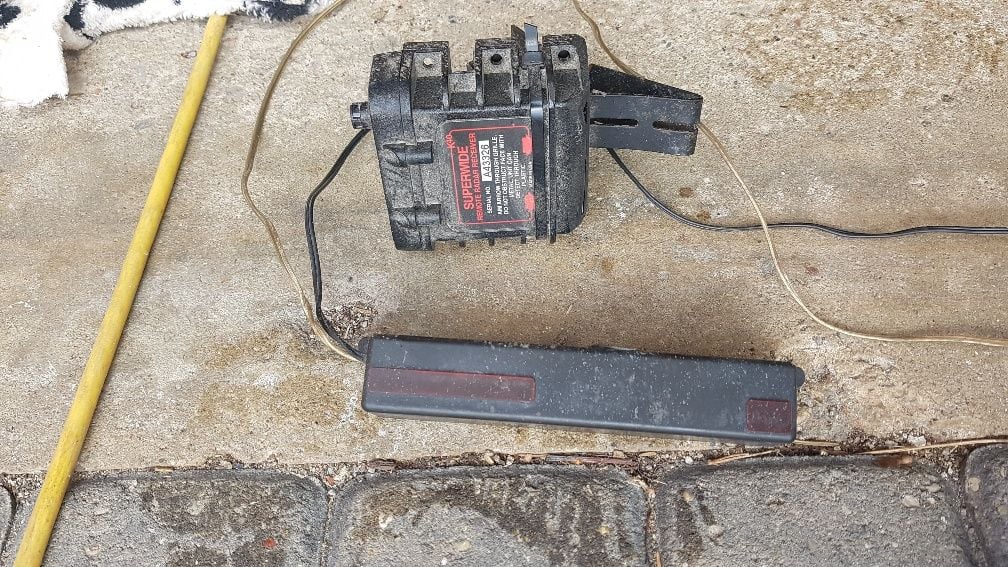
I cleaned out the front radiators today. They were not as dirty as I expected but were dirty. It was a great feeling putting it back together all clean. I removed the front wheels to get at the screw behind the fender well but did not put that screw back so I can have easy access. Also found a radar detector which I removed. I assume it is pretty worthless?
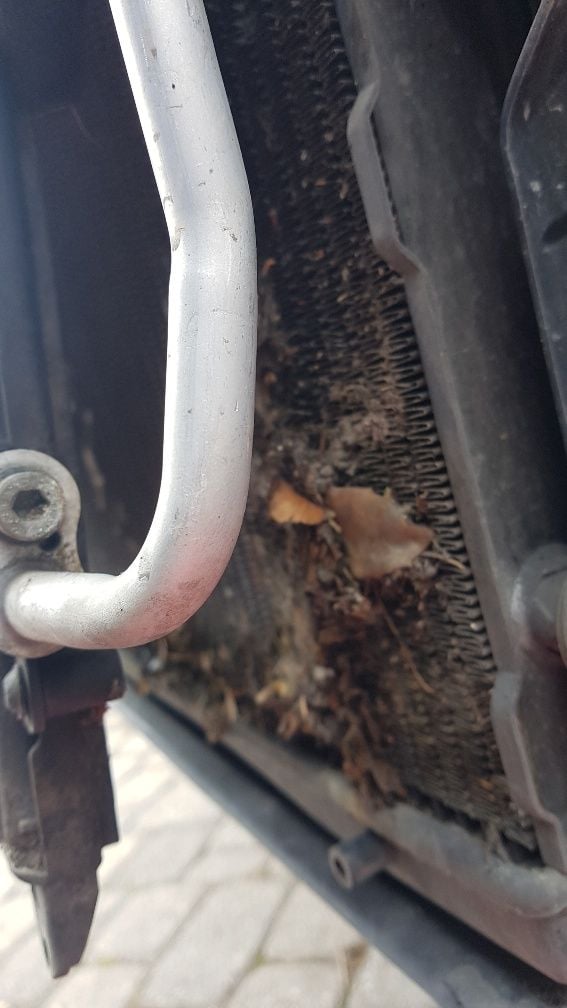
The second and third pics show water but your front is dry, I assume it’s not a leak but where you haven’t sprayed the rads yet?
k40s are high end radars and are still made today. If you can get it working, there is value to it. What I do t know but the new ones are in the 2500-3500 range iirc. Perhaps $1000-1200 if you can get it working and have everything? Maybe see if the company can update it and tell you the age based on the serial number.
thanks IP man. In reviewing the pics I see what you are referring to but it was not really wet. I don't think it is an issue but will monitor it.
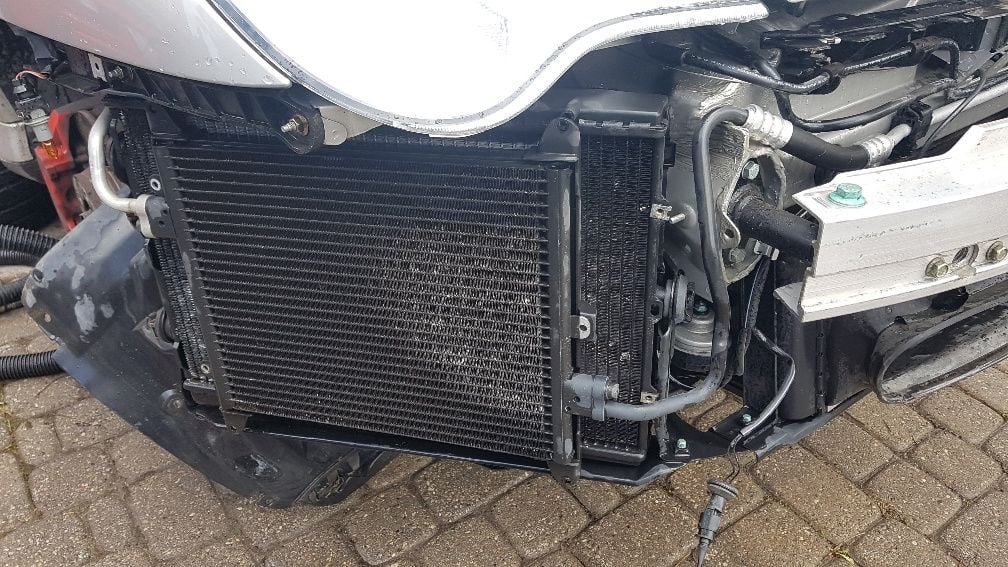
Stay safe everybody and clean those rads! I plan to put some screens in some time soon as well.
You likely also have a crap-ton of K40 wiring and modules under your dash as well. Possibly another antenna module under the rear bumper cover as well.
The first time it probably take you two hours or so to remove the bumper but I guarantee that the second time it will take you 15-30 minutes. Super easy once you know the process.
The first time it probably take you two hours or so to remove the bumper but I guarantee that the second time it will take you 15-30 minutes. Super easy once you know the process.
 11-08-2017, 04:09 AM