When you click on links to various merchants on this site and make a purchase, this can result in this site earning a commission. Affiliate programs and affiliations include, but are not limited to, the eBay Partner Network.
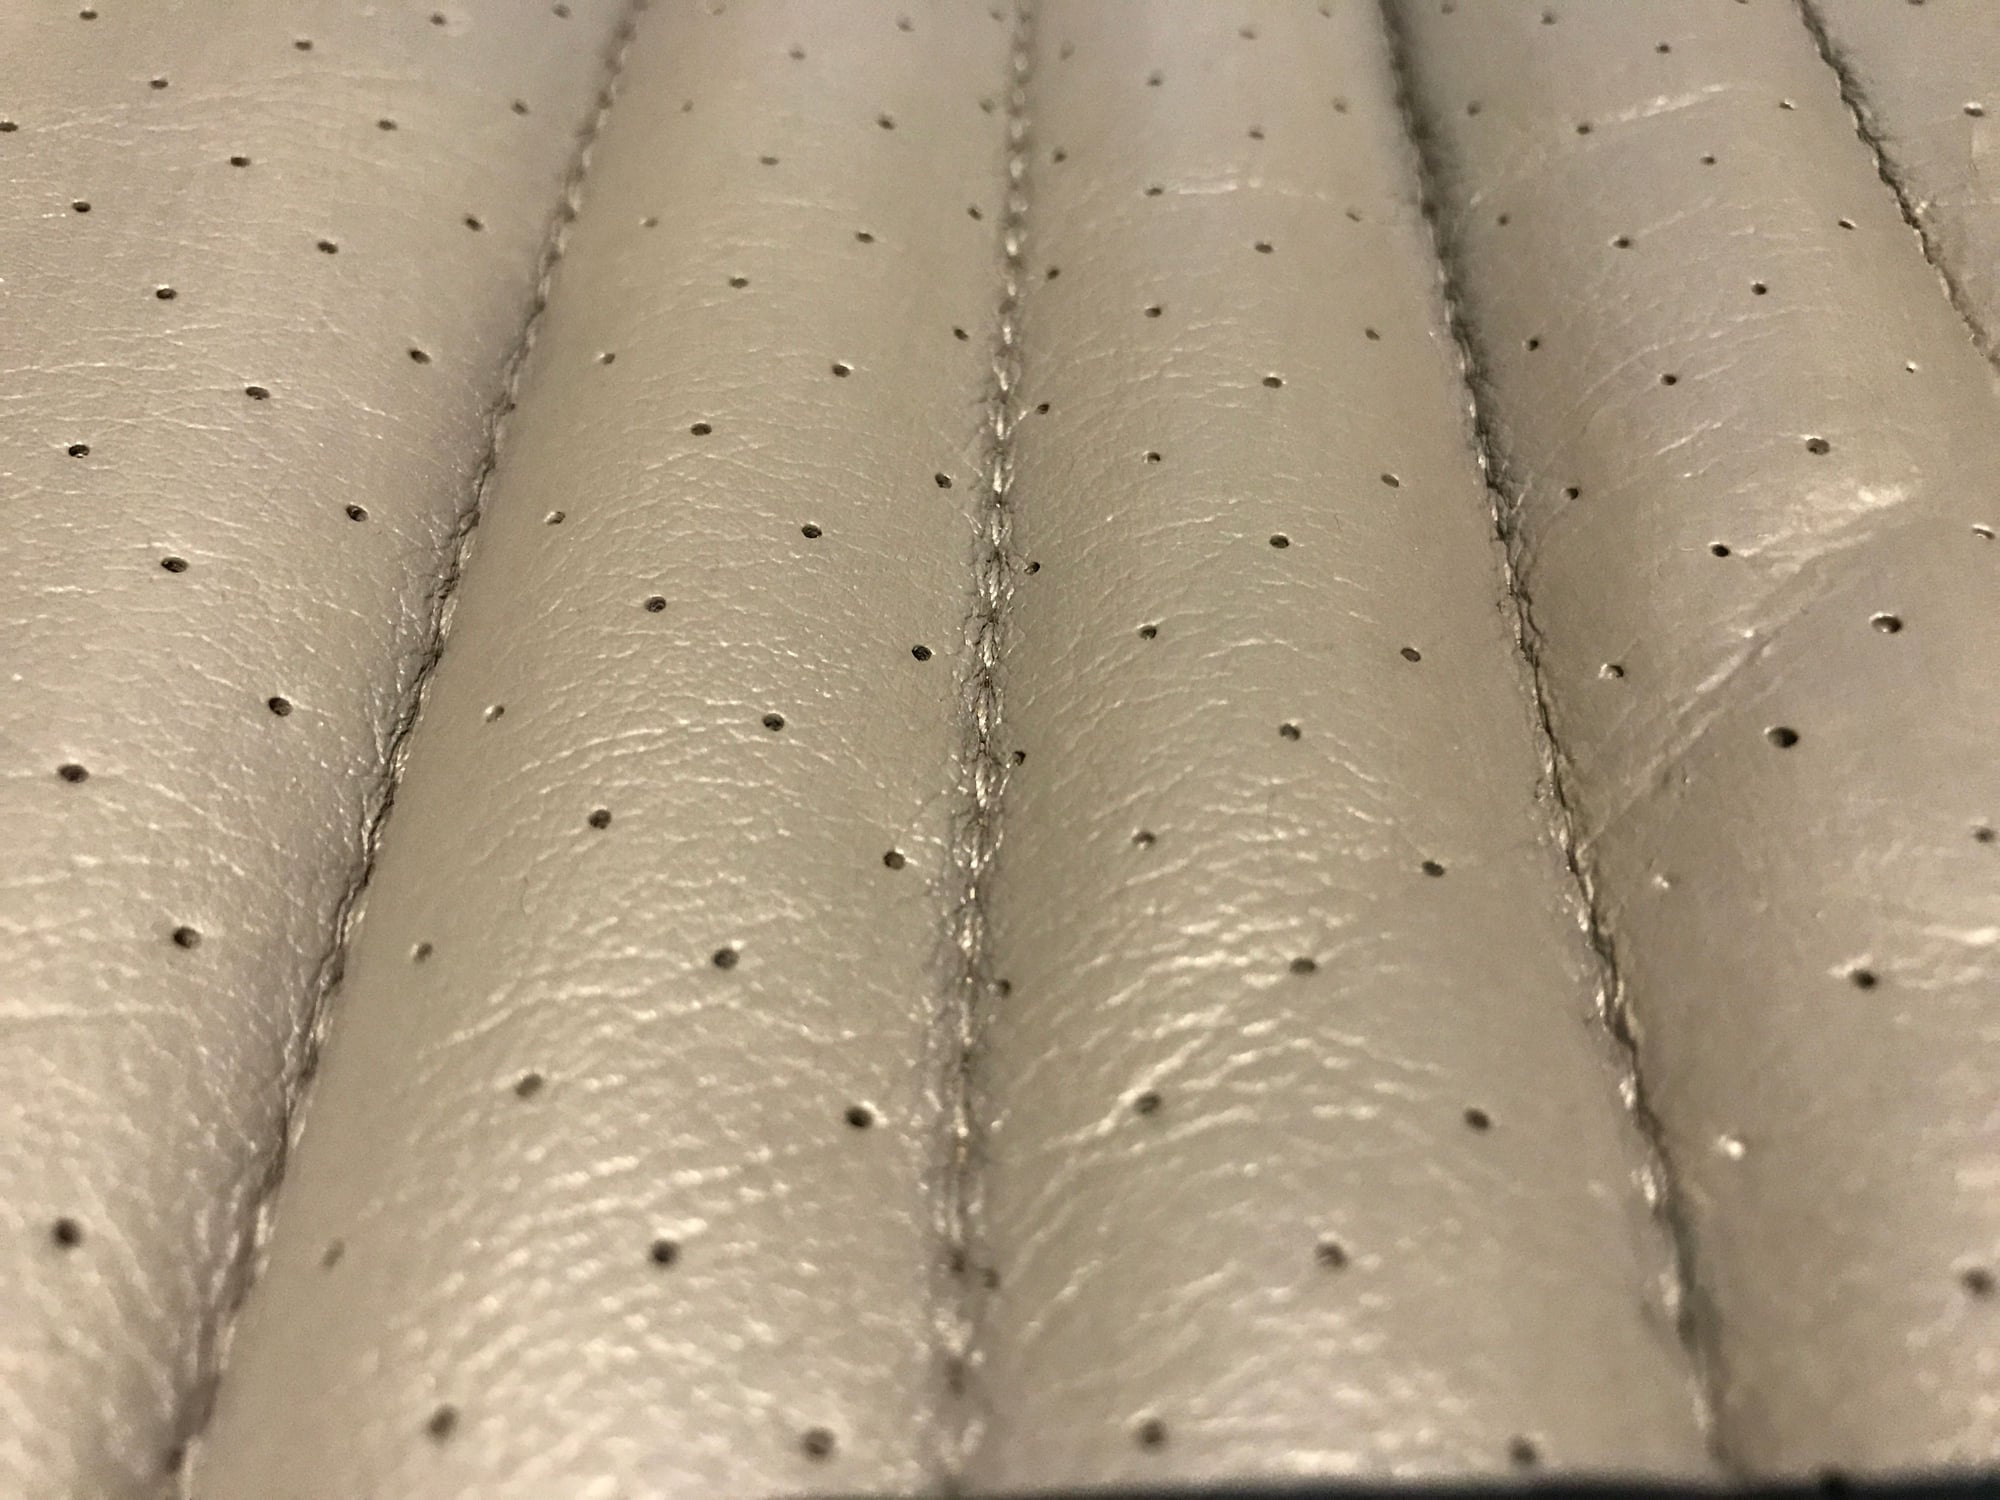
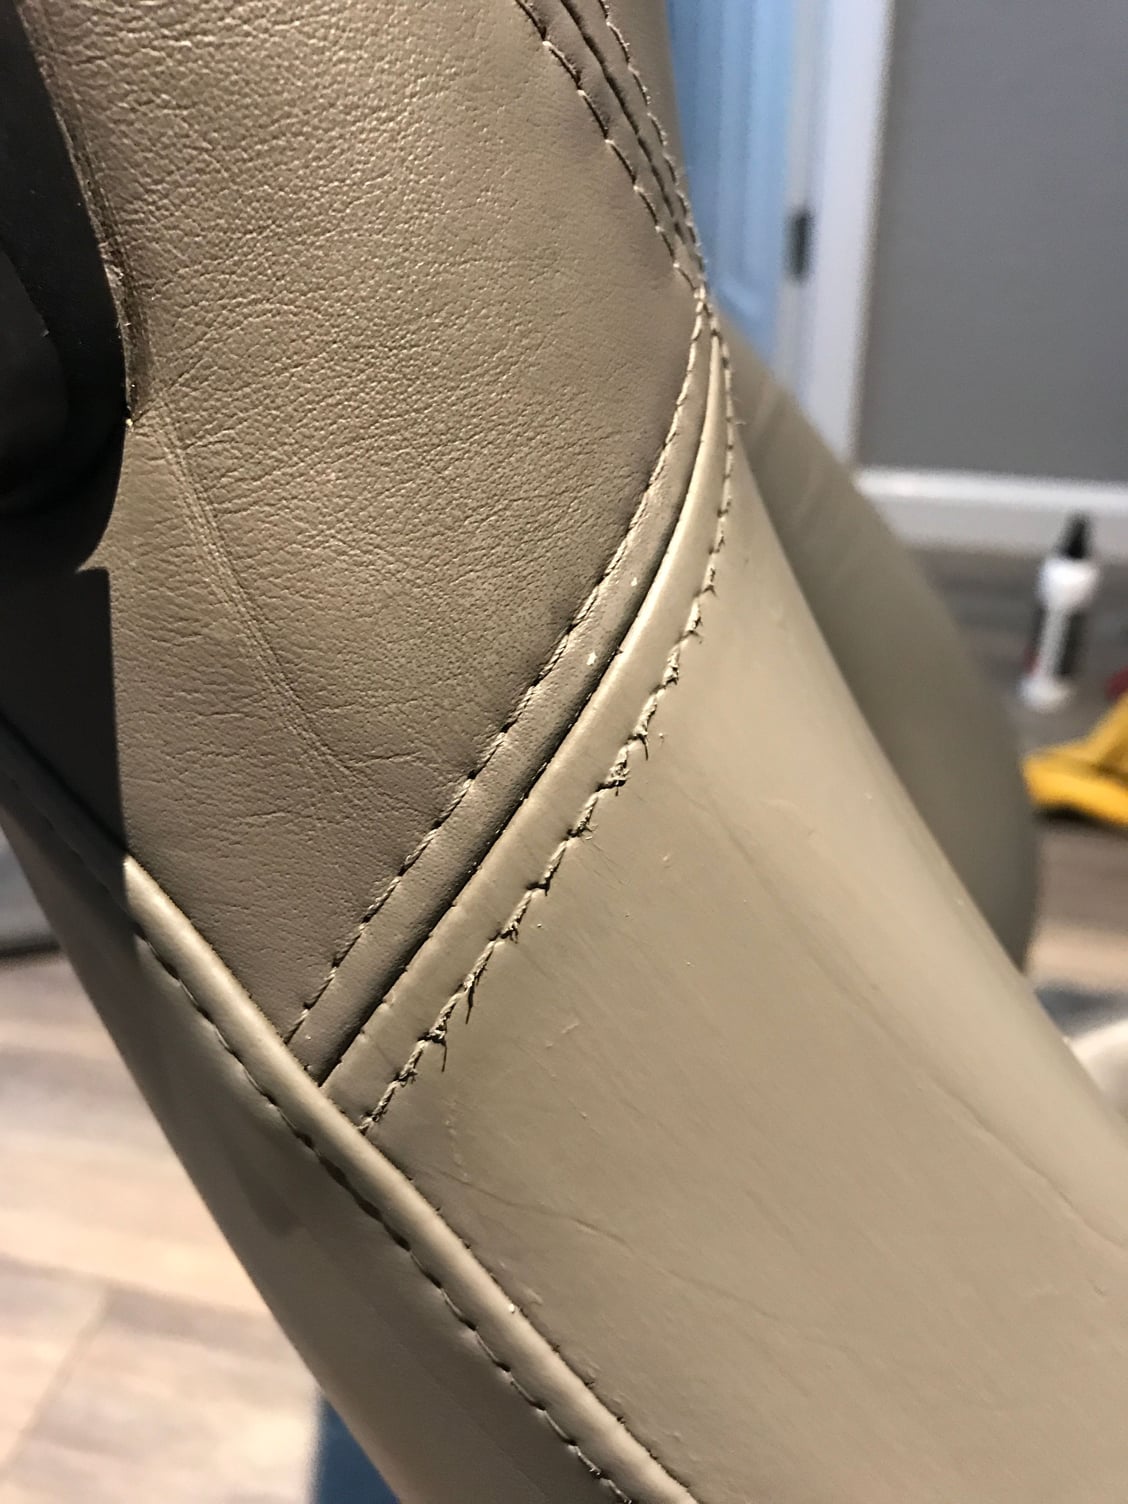
last coat went on and 24 hr later i am poking holes all day long to get the perforations back. I used a toothpick
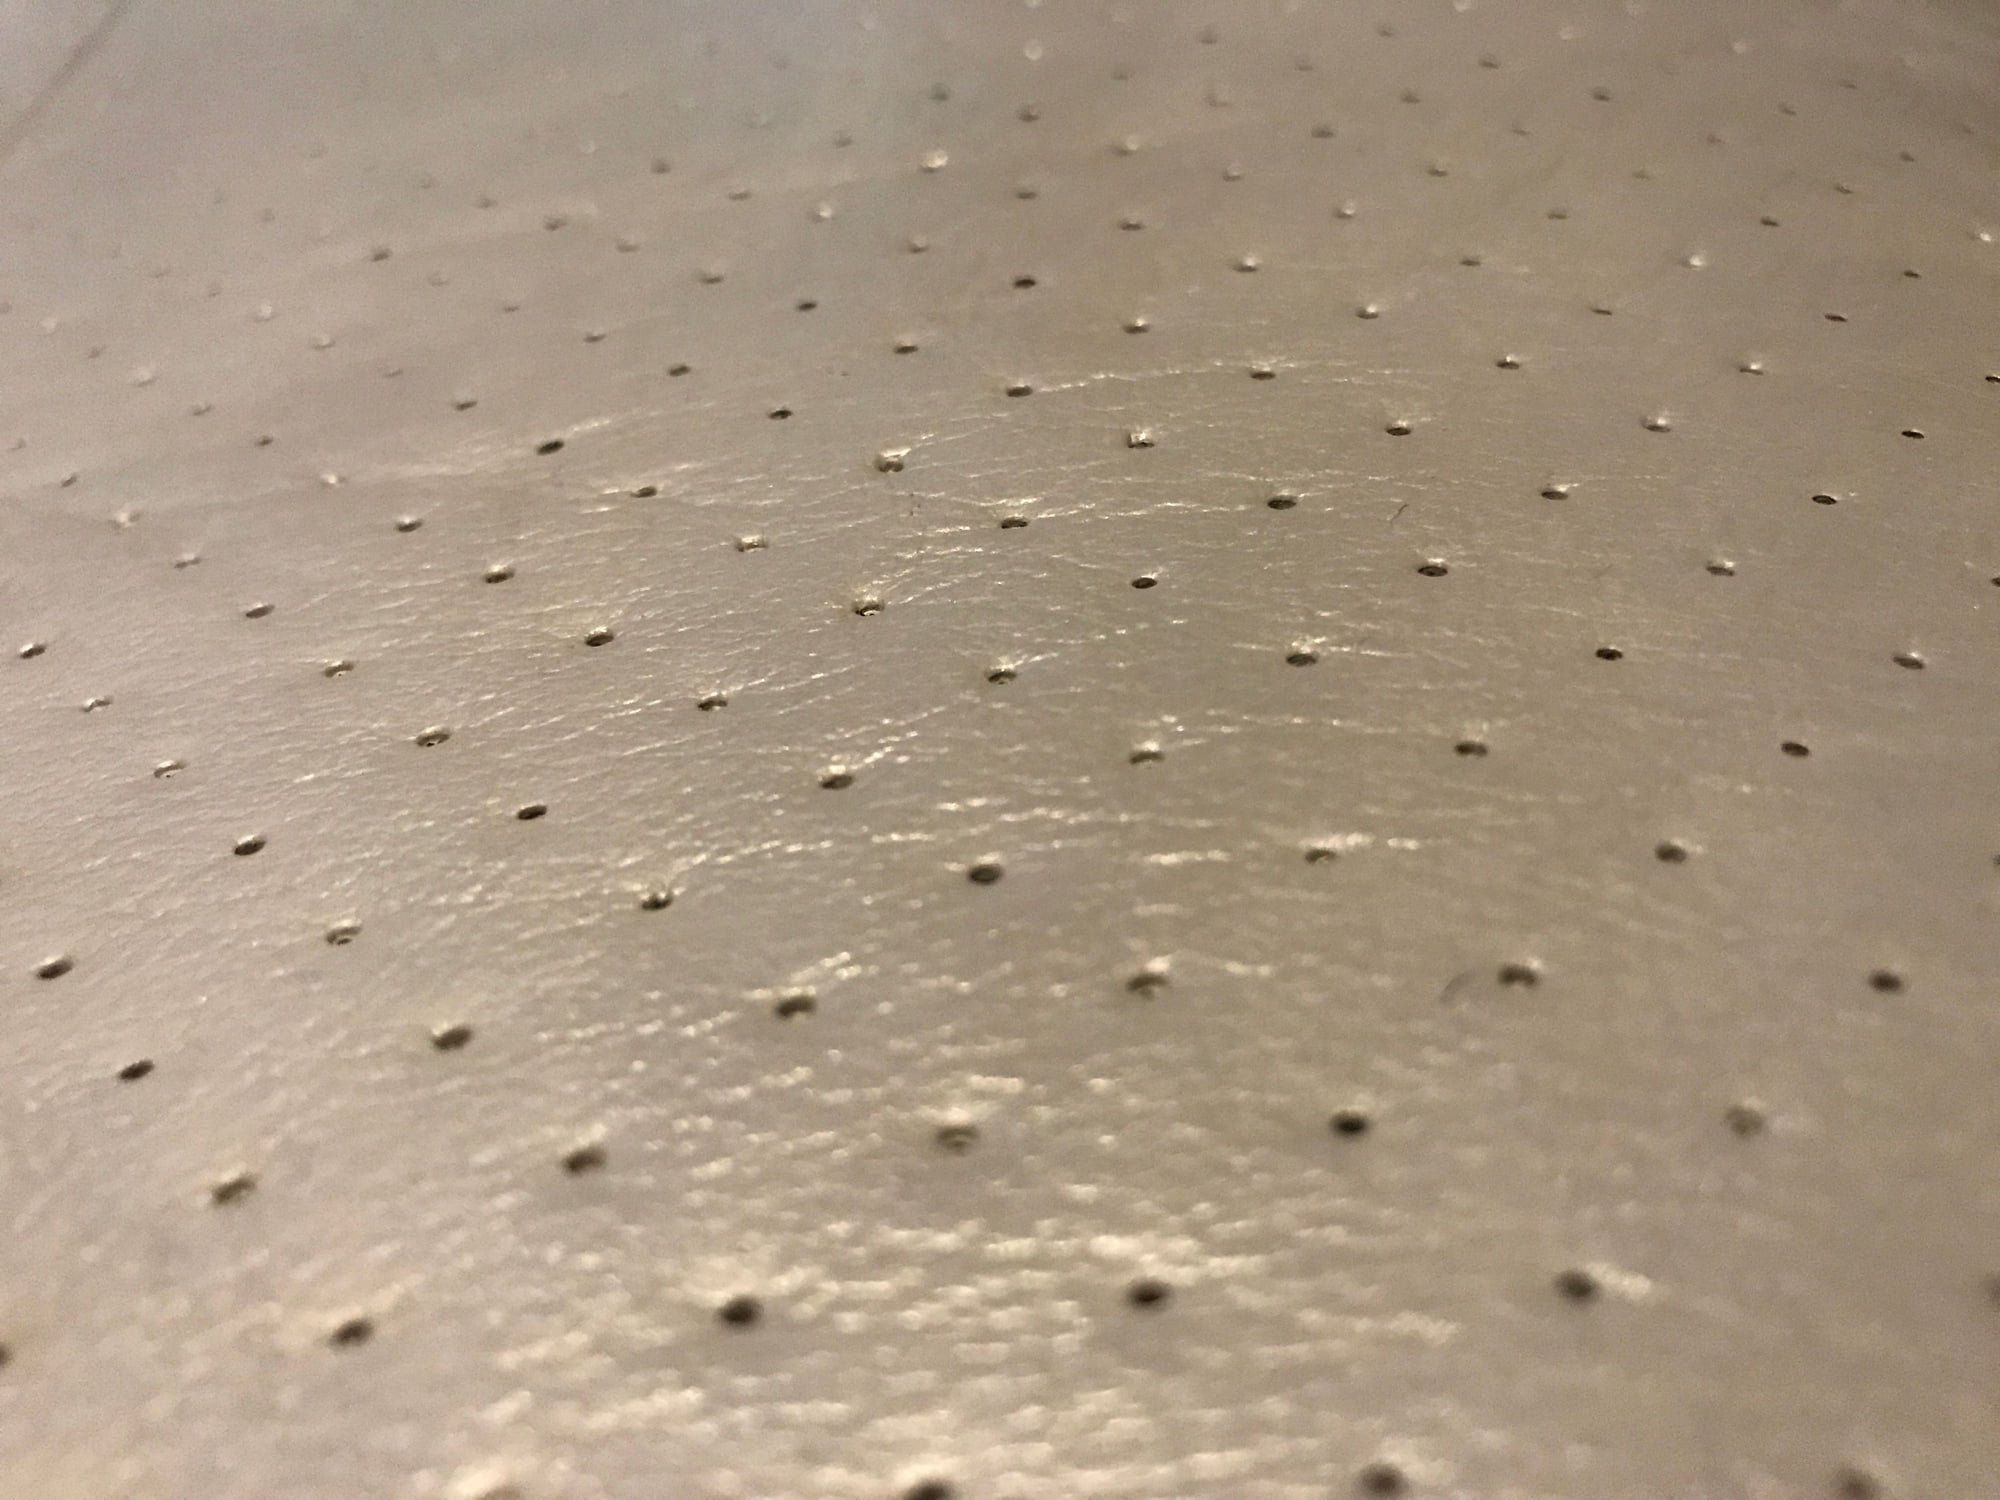
You can see some of the holes filled in Poking completed with a toothpick The bottom side bolster that was in the worst shape Just needs the protective coat 48/72 hr after last due coat I did't do the headrest so you can see the transition. I think this will be taken care of by the top coat which darkens it and a little sun to fade it together
Huge improvement over before. You should post your before and after pictures side by side at the top or here so folks can appreciate where it came from and where it ended up. Good work and you should be proud taking that on yourself.
... i am poking holes all day long to get the perforations back. I used a toothpick
Crikey, talk about a labor of love. I bet every time you sit down you will think about that toothpick! Final result looks fantastic though, thanks for documenting this process for us.
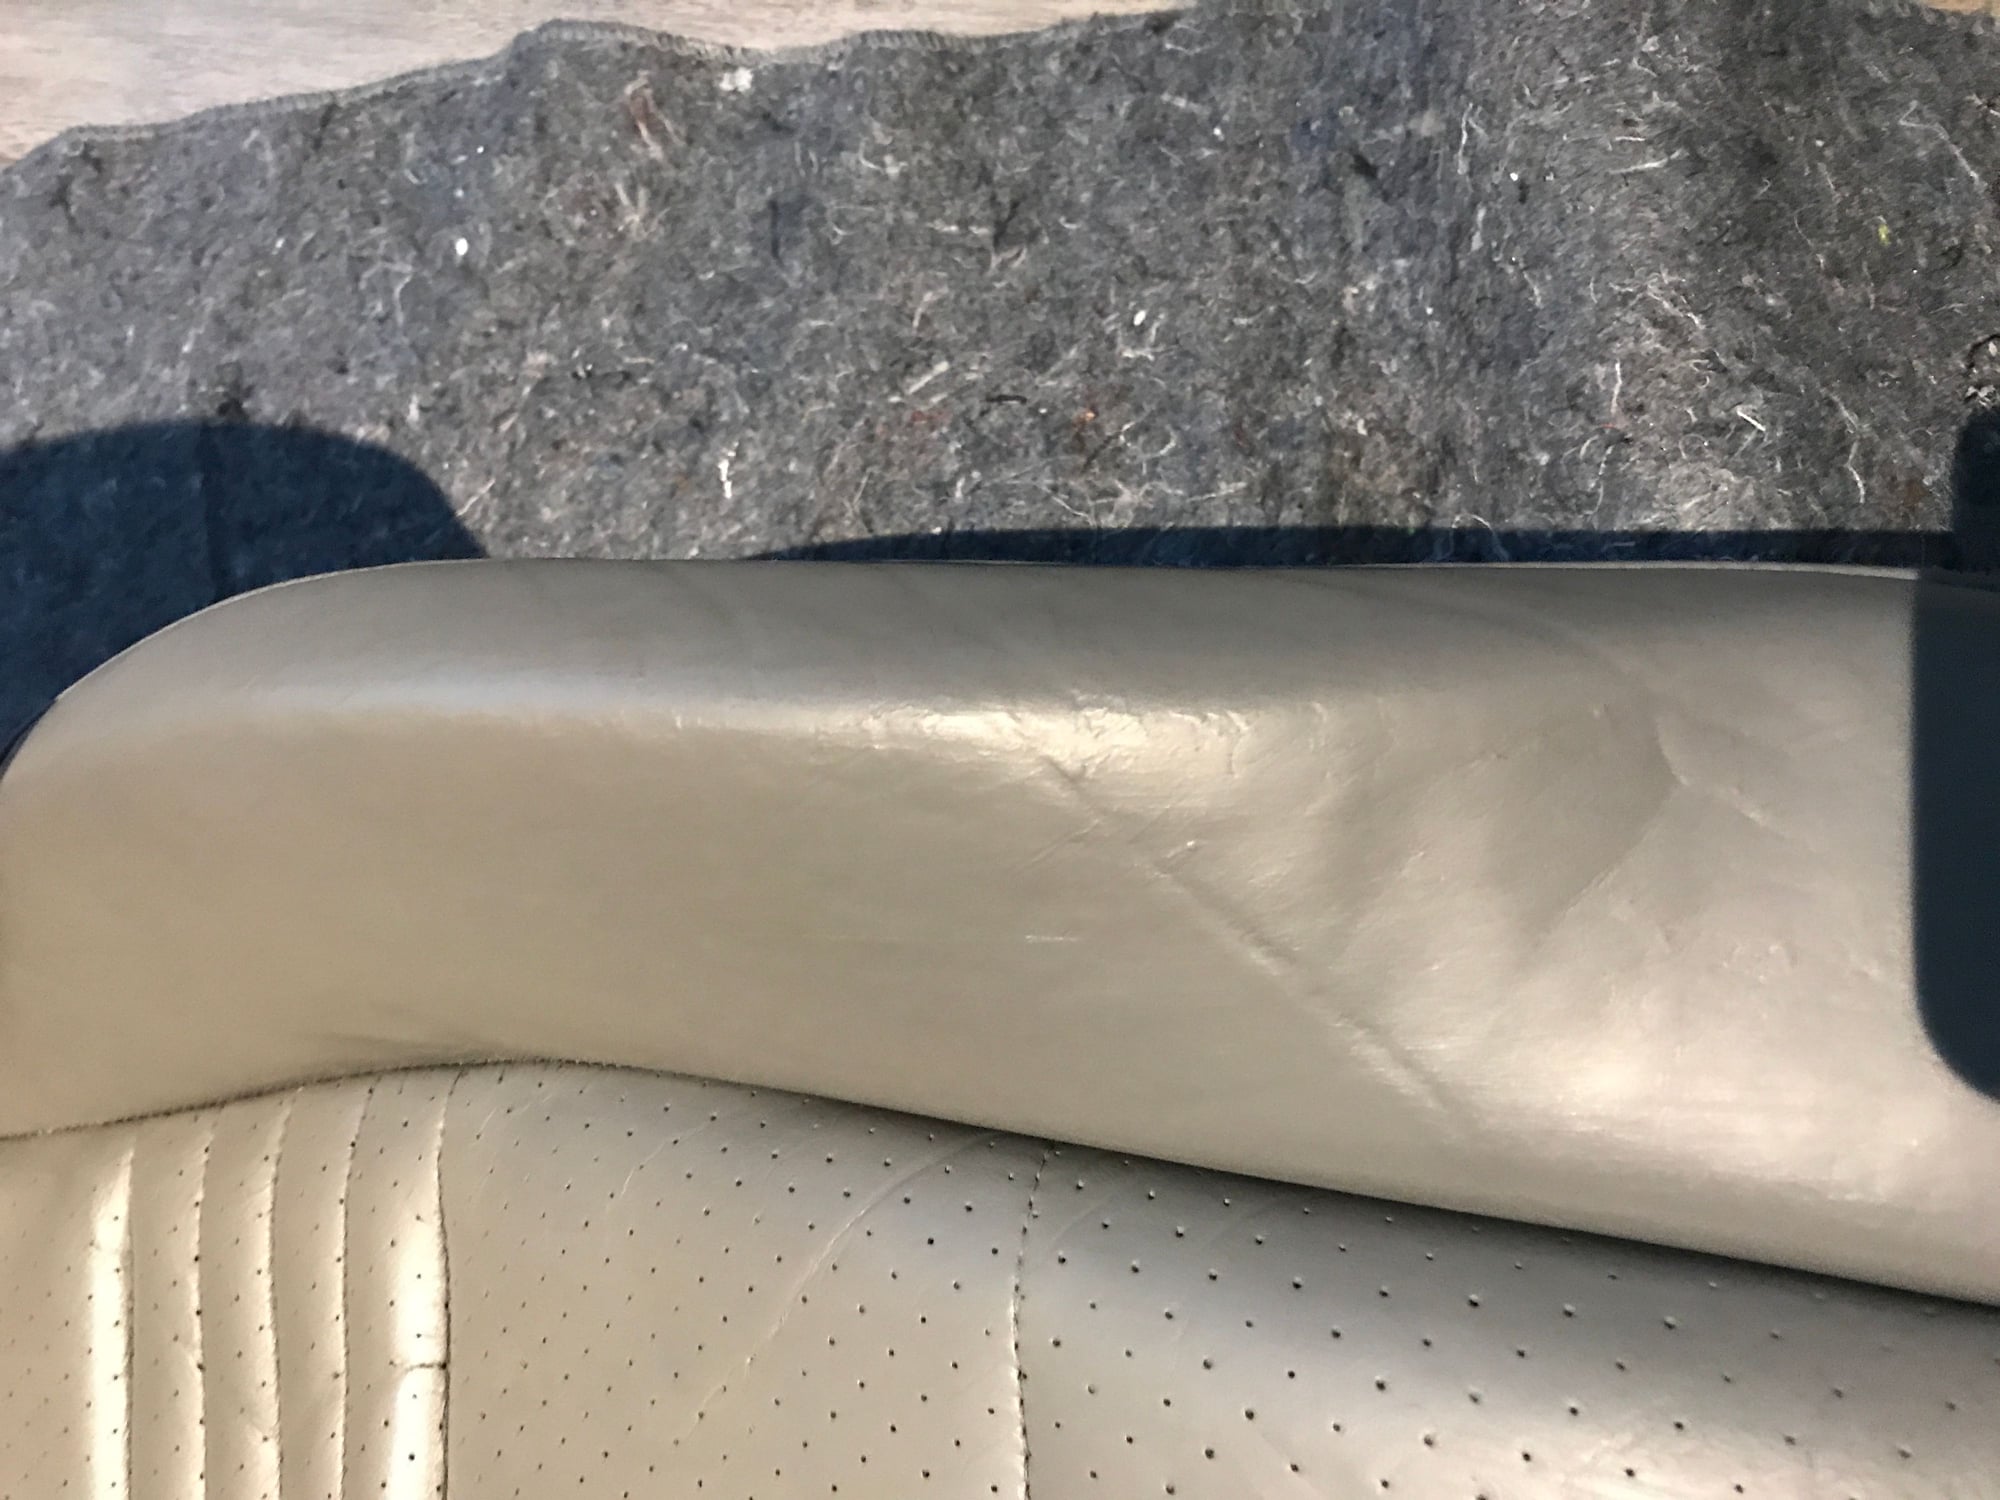
Spread the filler on lightly each coat and make sure you sand with 600+ grit between would be my suggestion to get a smoother finish. I was getting impatient as my seats were in my wife's work out room so there was some pressure to finish it. The close up's show the imperfections but I was not sweating it as you can't see it unless you put your face close to the seat.
Originally Posted by Jnelso
Just recd my Leatherworld kit for my Savannah Beige seat bolster, hope it comes out as nice as yours.
Ok, I'll say it, that doesn't not look very good. Has a very "painted" appearance and there was obviously some dirt or grit in the finish. I'm not saying you could have done any better, may just be the nature of the product or the condition of the seats. Looks better than before from a distance though so if that was the only goal, well done.
^It certainly looks much better than before^. To get more of a natural leather look, you should use more of a dabbing technique with the sponge, otherwise you get the painted/wiped on look. I think the photo's make it stand out - I don't think it's something that anyone who didn't know about it would notice when getting in the car...
No offense taken. The filler does definitely change thne texture of the leather as it fills it all in. I did go a little too heavy with the filler on just a couple coats and not enough sanding. I would have preferred to air brush it and the contamination is from the sponge as I rinsed it but dried it outside so dust probably got it in.
I switched from just whiping it on with the sponge to dabbing it and pulling the dye to lay it on thicker. I used the whole bottle of dye and probably wasted a lot with the first few coats as it absorbed into the sponge rather then getting it on the leather.
Your spot on and it looks great from anywhere but up close but way better than before. Reapolster is the only way to get it back to new but at $70 it is a great alternative.
Originally Posted by Quadcammer
Ok, I'll say it, that doesn't not look very good. Has a very "painted" appearance and there was obviously some dirt or grit in the finish. I'm not saying you could have done any better, may just be the nature of the product or the condition of the seats. Looks better than before from a distance though so if that was the only goal, well done.
"I switched from just whiping it on with the sponge to dabbing it and pulling the dye to lay it on thicker. I used the whole bottle of dye and probably wasted a lot with the first few coats as it absorbed into the sponge rather then getting it on the leather."
That's always the problem with DIY'ing things, we all learn as we go. By the time we're done, we've got it down - but will probably never do it again! I got the bottom seat bolster, the side bolster, a steering wheel, shifter & boot and various other little spots throughout the interior. I've still got an oz. or two left that I use for little touch ups here and there. The nice thing about the kit, is that you can just buy the dye now if you need more, since I'm sure you have plenty of the filler and the conditioner left over.
 06-25-2017, 03:27 PM


 Nice job!
 Crikey, talk about a labor of love. I bet every time you sit down you will think about that toothpick! Final result looks fantastic though, thanks for documenting this process for us.


