When you click on links to various merchants on this site and make a purchase, this can result in this site earning a commission. Affiliate programs and affiliations include, but are not limited to, the eBay Partner Network.
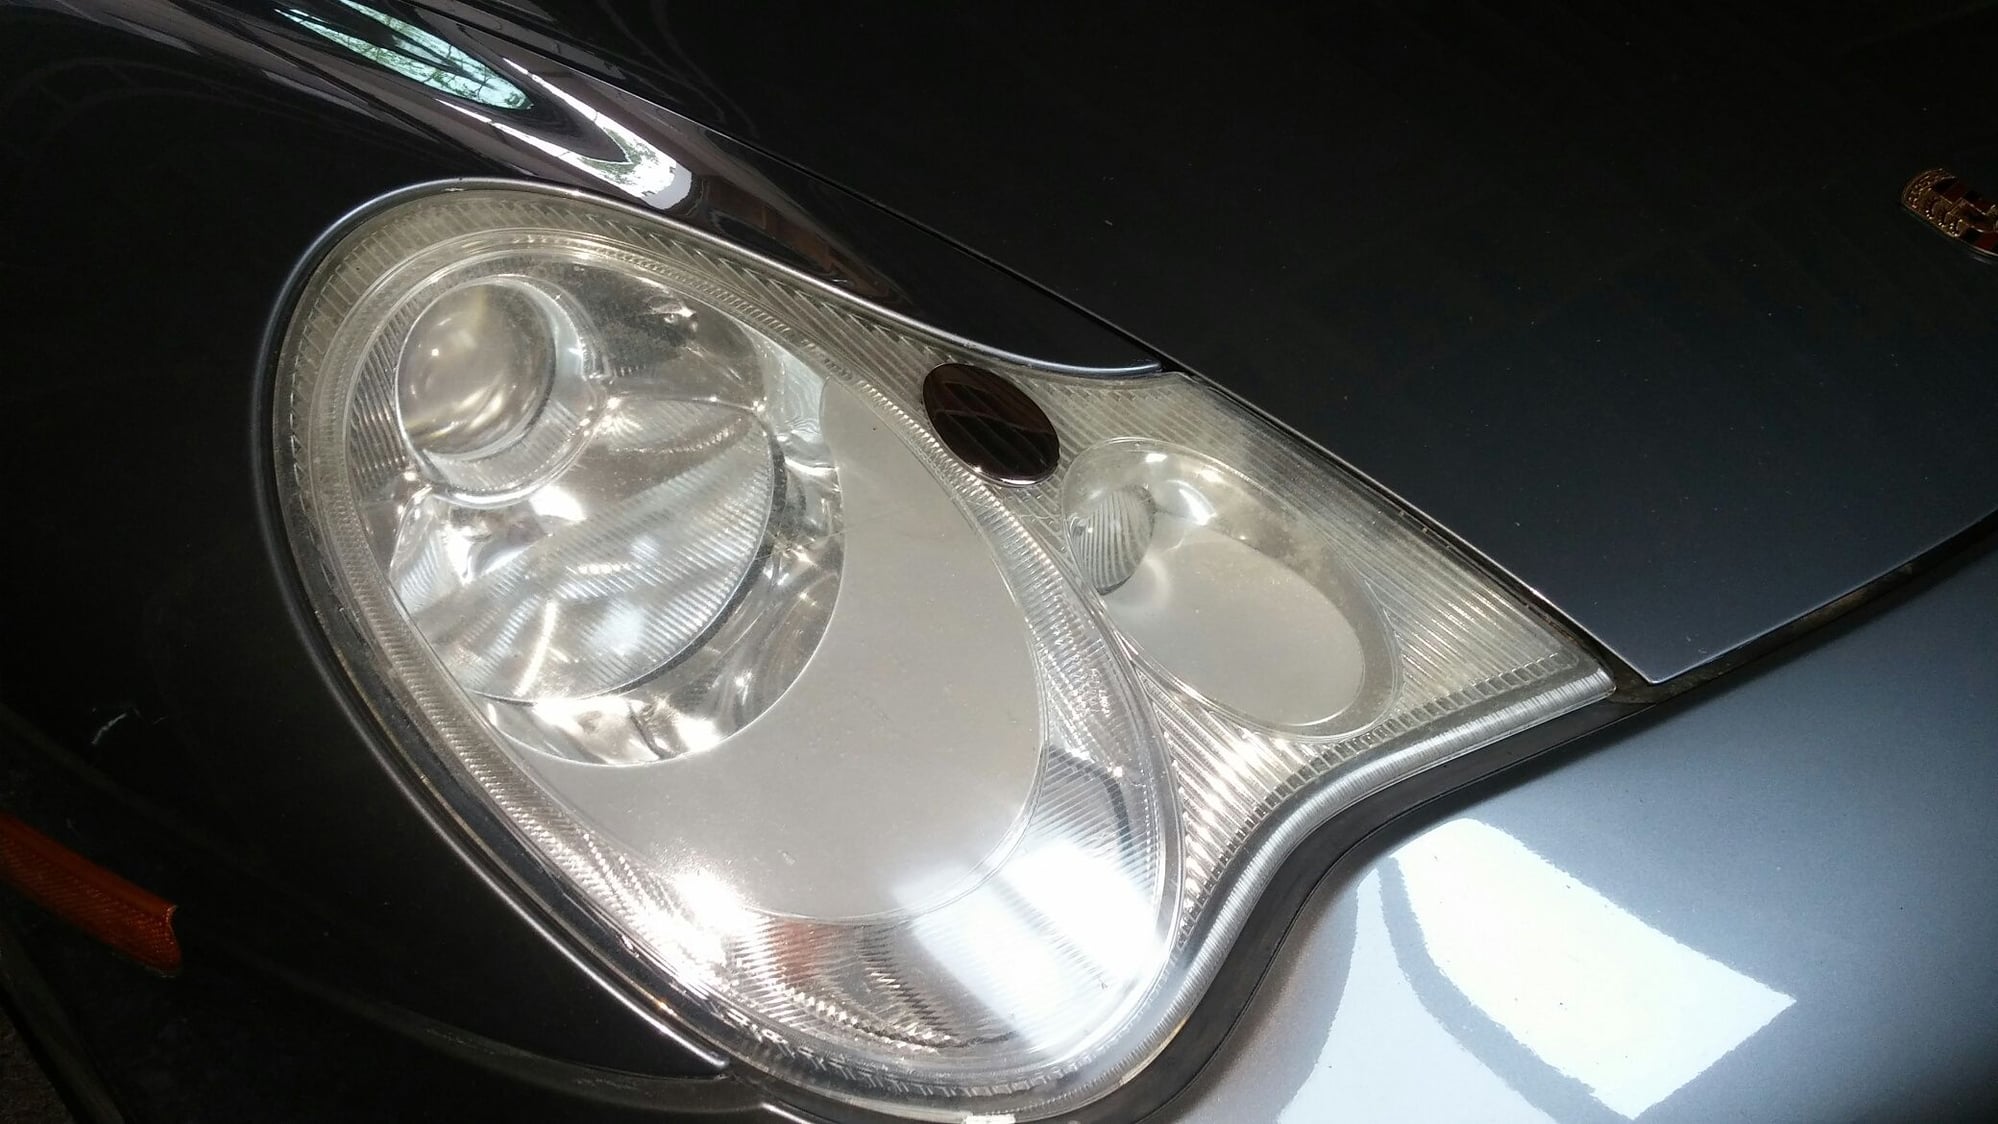
Though I suspect this is not unusual for a 996 Porsche, my 2002 Carerra had discolored (yellowish) and somewhat cloudy headlights. After reading a bunch of online reviews I settled on the SYLVANIA Headlight Restoration Kit to address the problem. It's available for under $20 at Amazon and elsewhere.
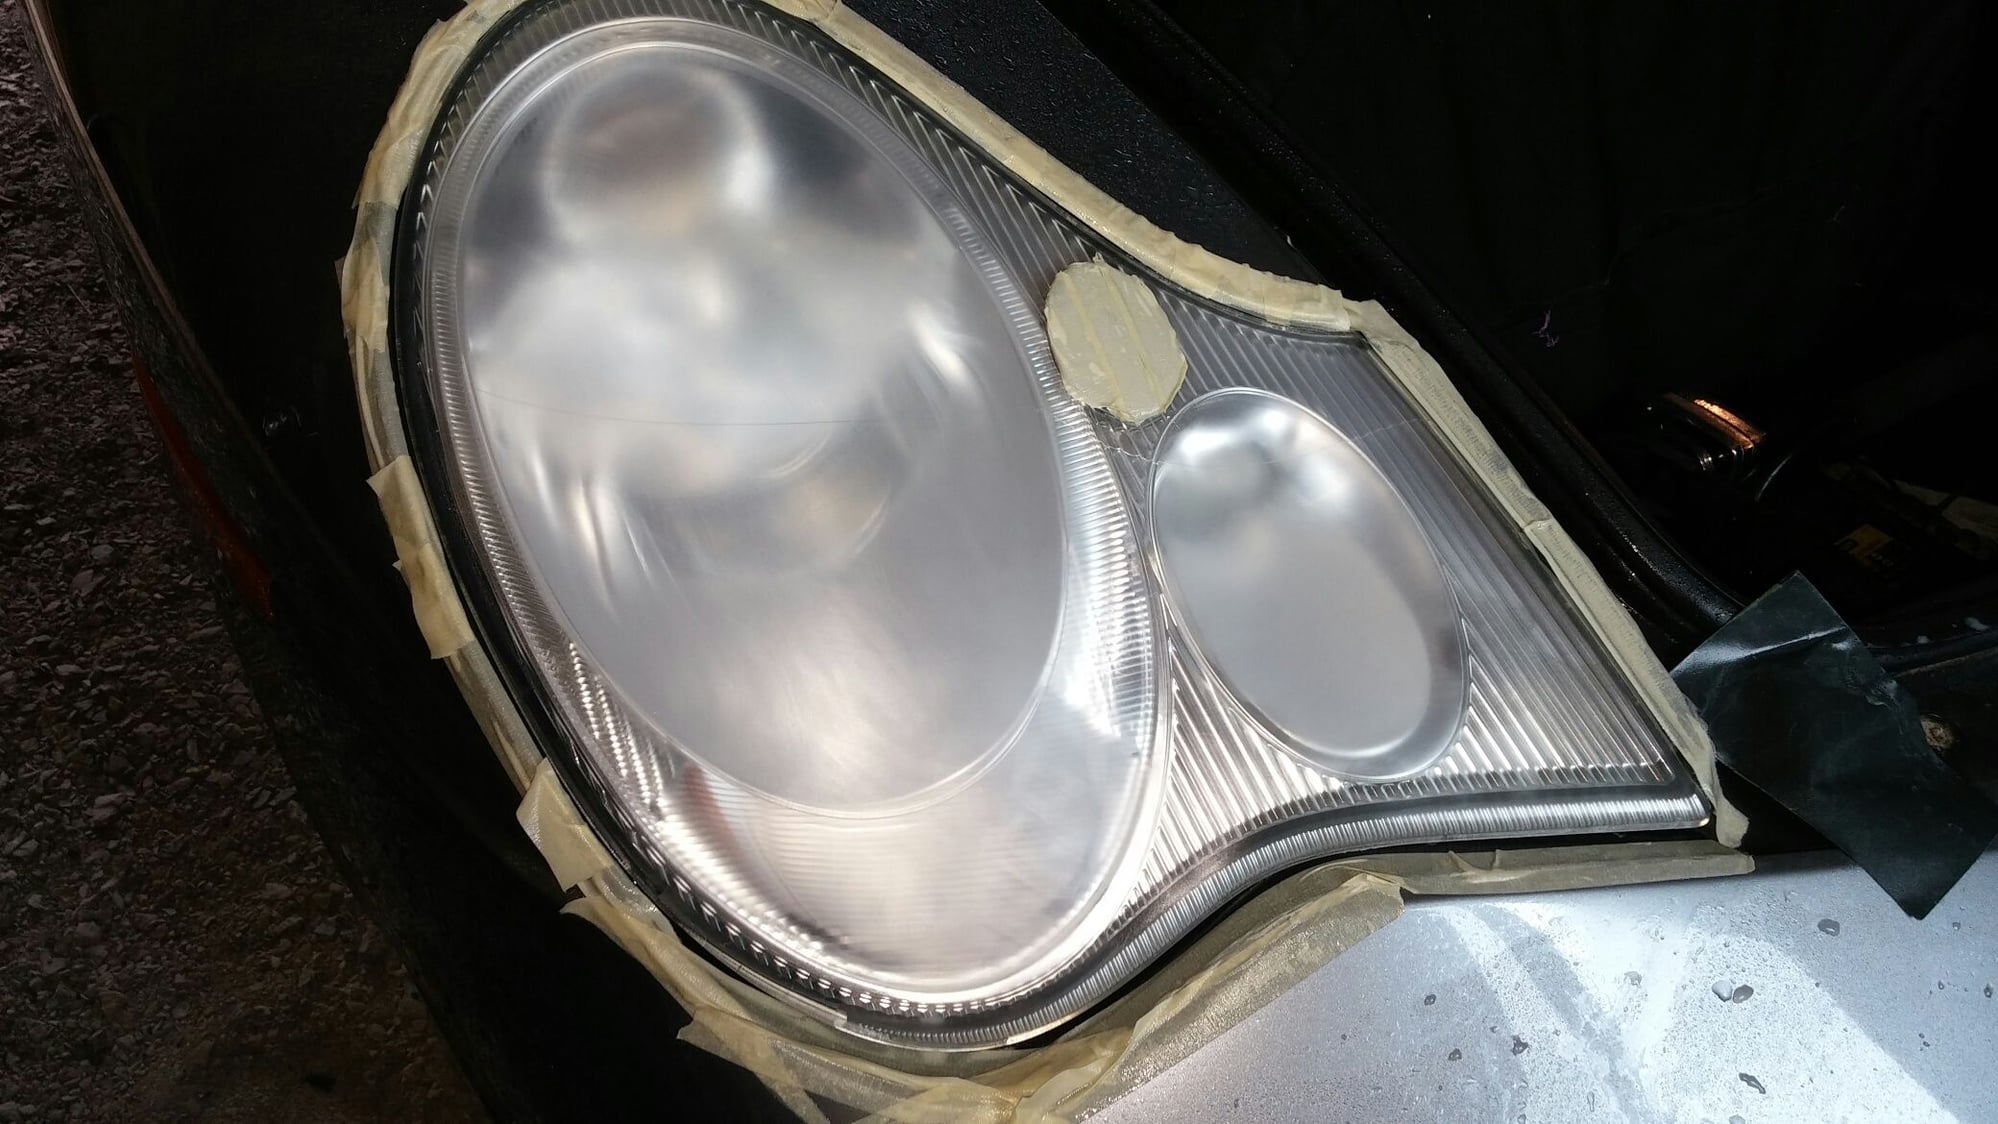
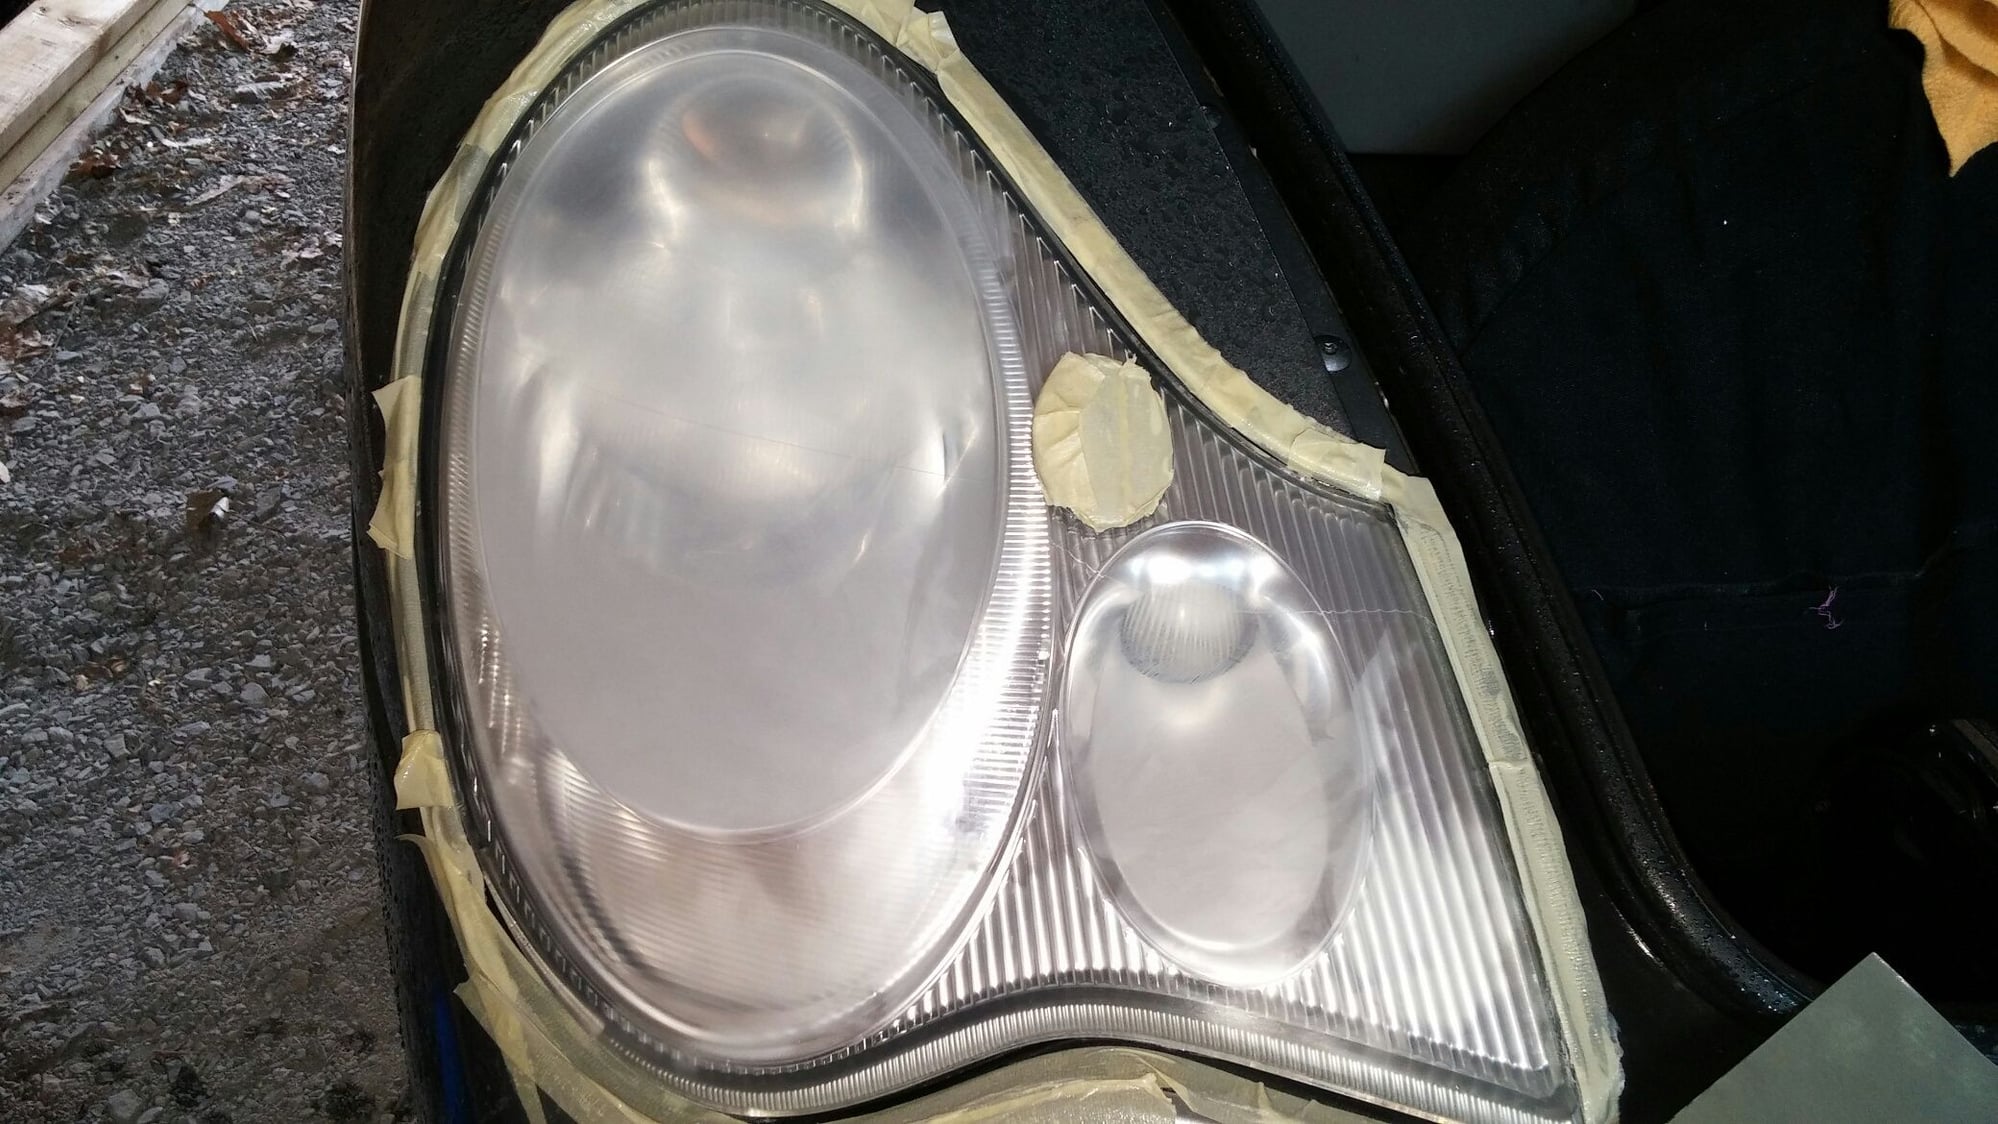
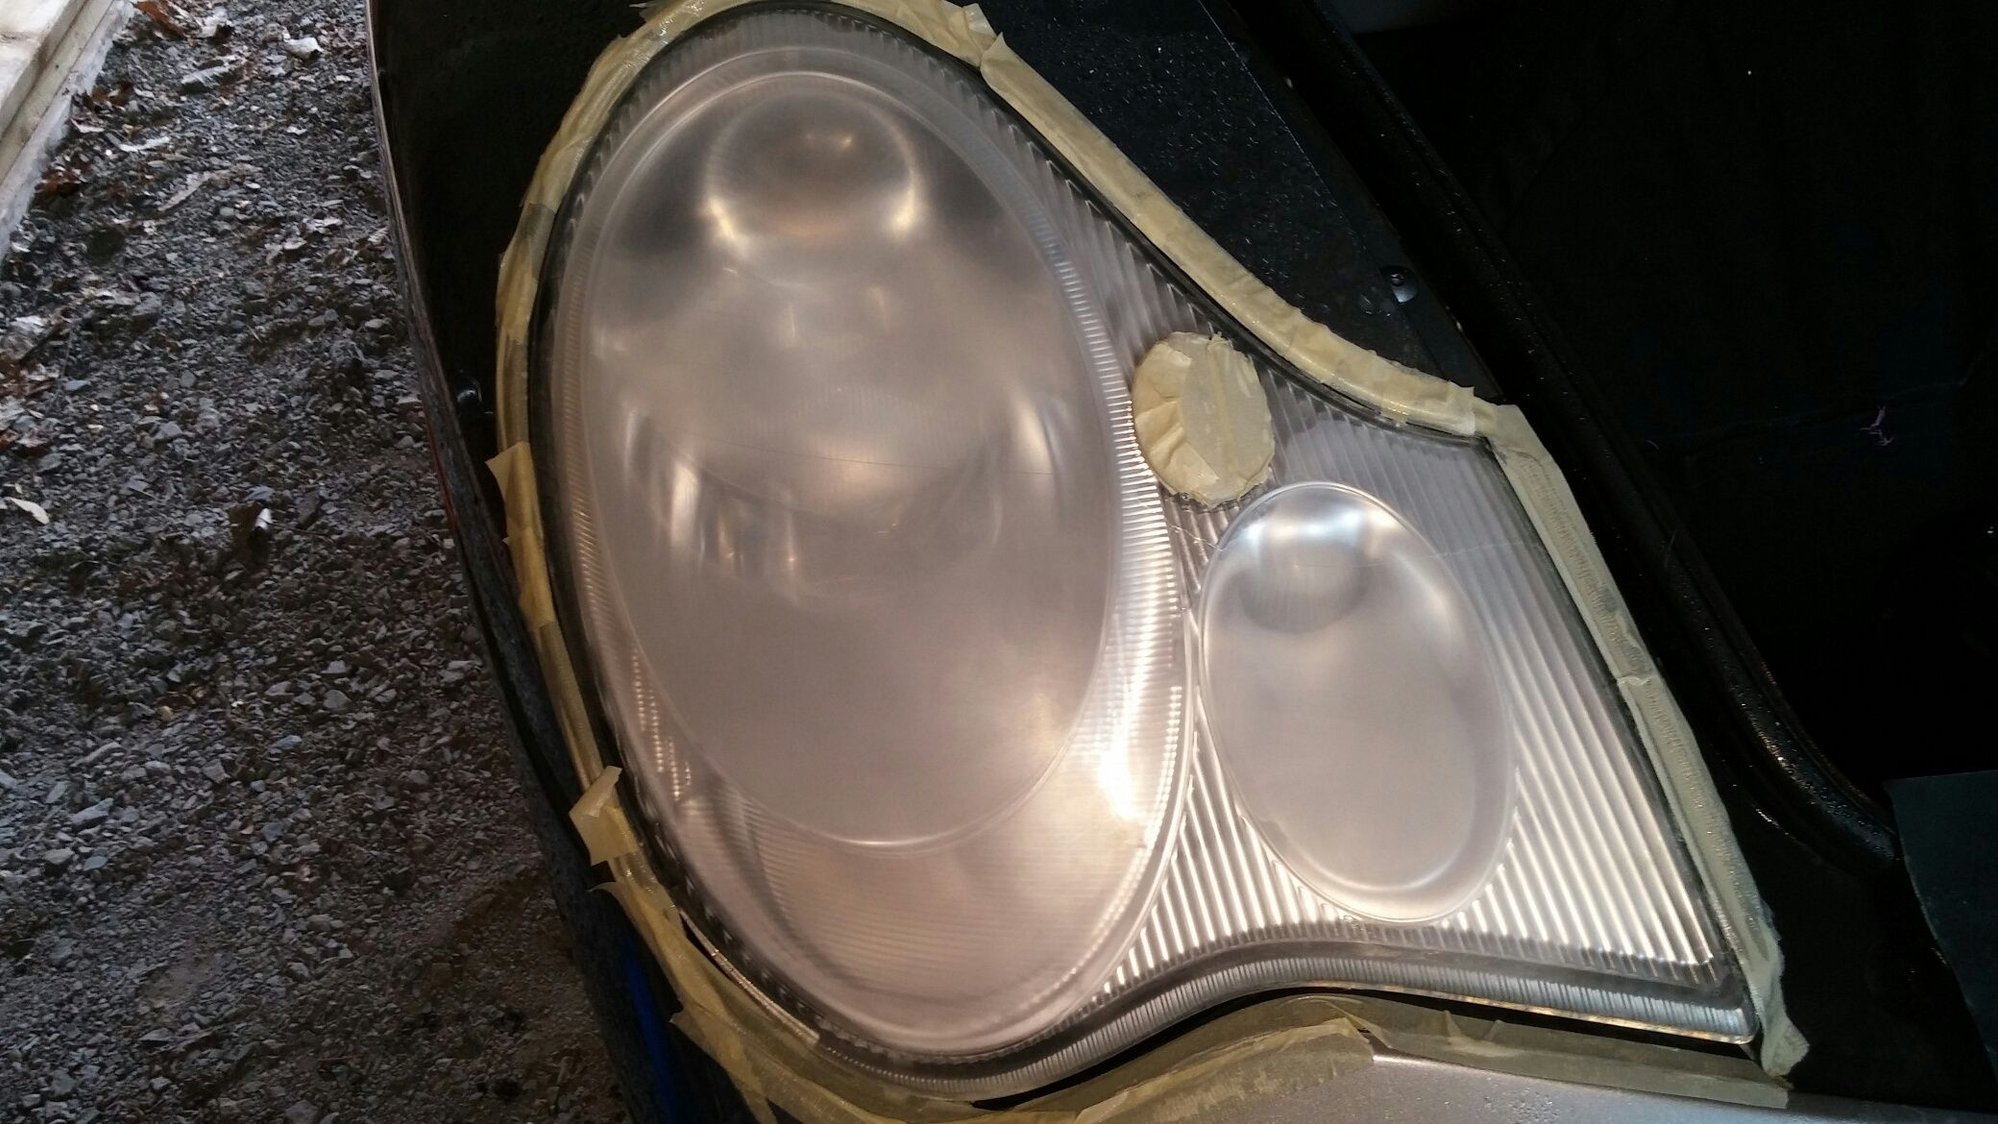
Step one is prep (tape and a spray). Step two is sanding. A LOT OF SANDING. First 400 grit, then 1000 grit, and finally 2000 grit. The instructions say that each step should take just 5 minutes per headlight. Perhaps because a 996 headlight is so large, the first sanding (400 grit) took me a full 20 minutes per headlight. 1000 grit took 10 minutes each. By the time I got to 2000 grit, I was decidedly short on elbow grease and I only spent the recommended 5 minutes per side. Getting started with the 400 grit, it took a lot of time and a surprisingly very firm pressure to result in the universally cloudy appearance specified in the instructions. Wiping the headlight dry every so often helped to reveal the areas still in need of attention. The polish step following all the sanding is really just another abrasive. It took 5 minutes to apply to each headlight. But I had more polish in the packet and I wasn't really happy with coverage, so I ended up doing both sides twice.
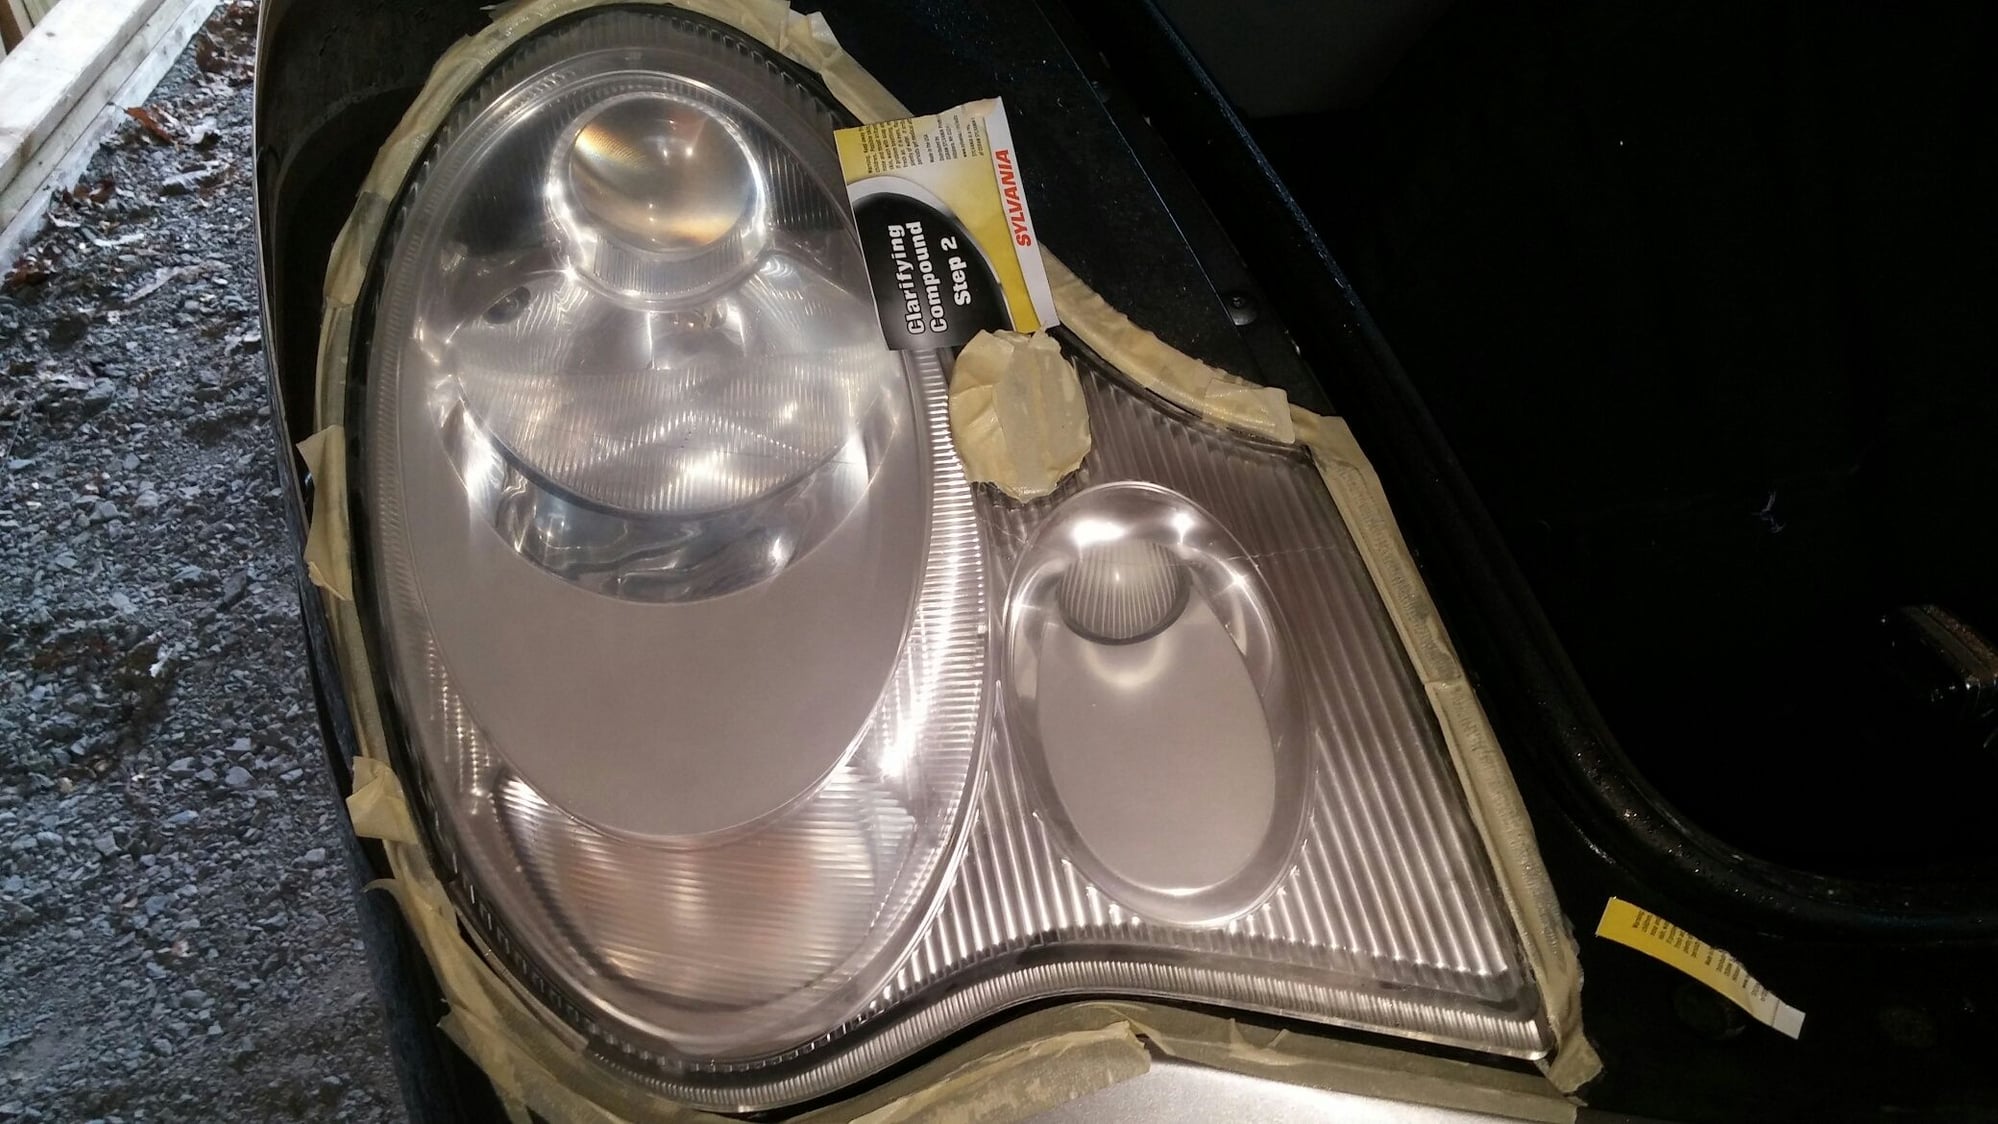
I have to say, the sanding steps were very disconcerting. I went from a marginally bad headlight before the work to an extremely cloudy headlight then eventually a moderately cloudy headlight, The polish helped to the point where when done, the headlights looked just like what I had started with.
All in so far... about 3 hours and a LOT of effort. Maybe on of the kits that connect to a drill is the way to go.
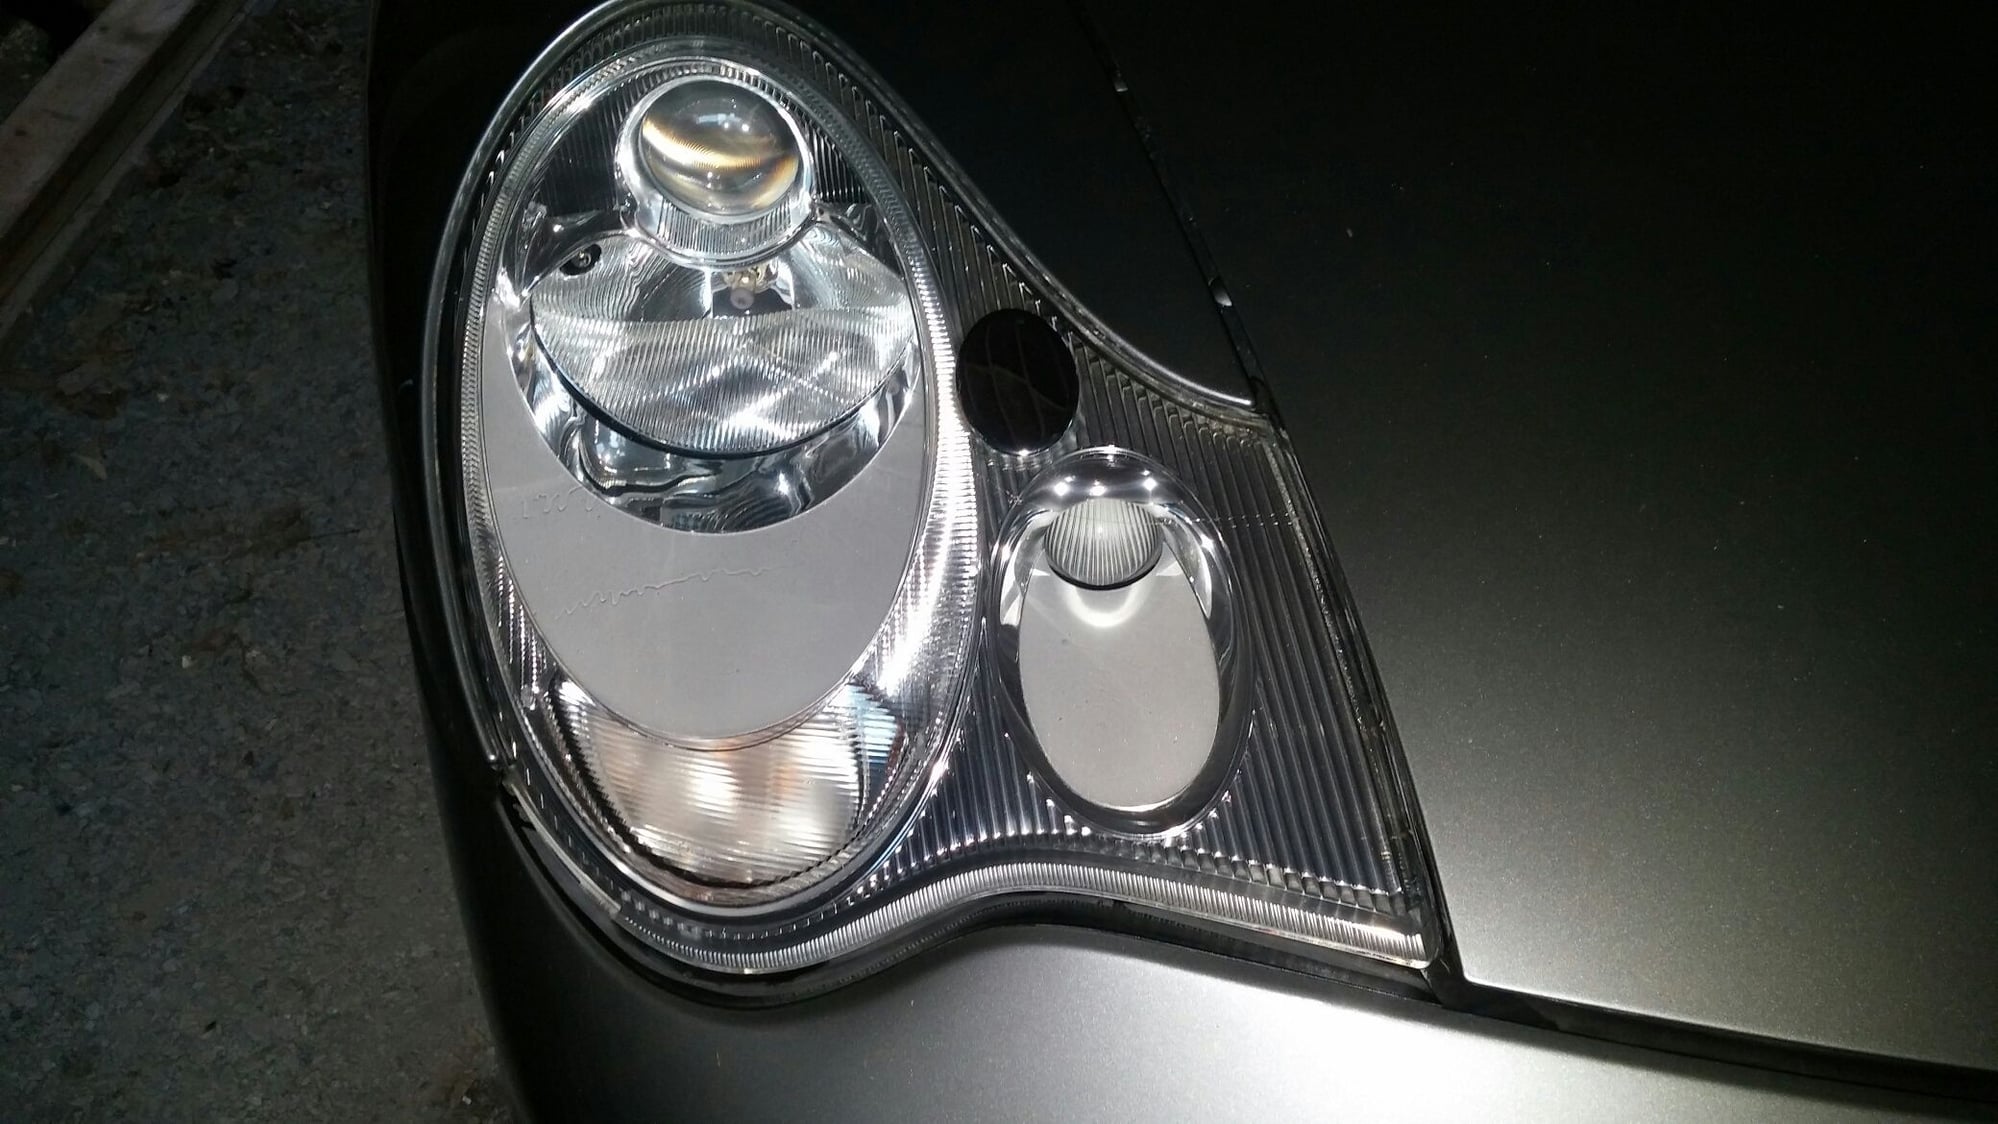
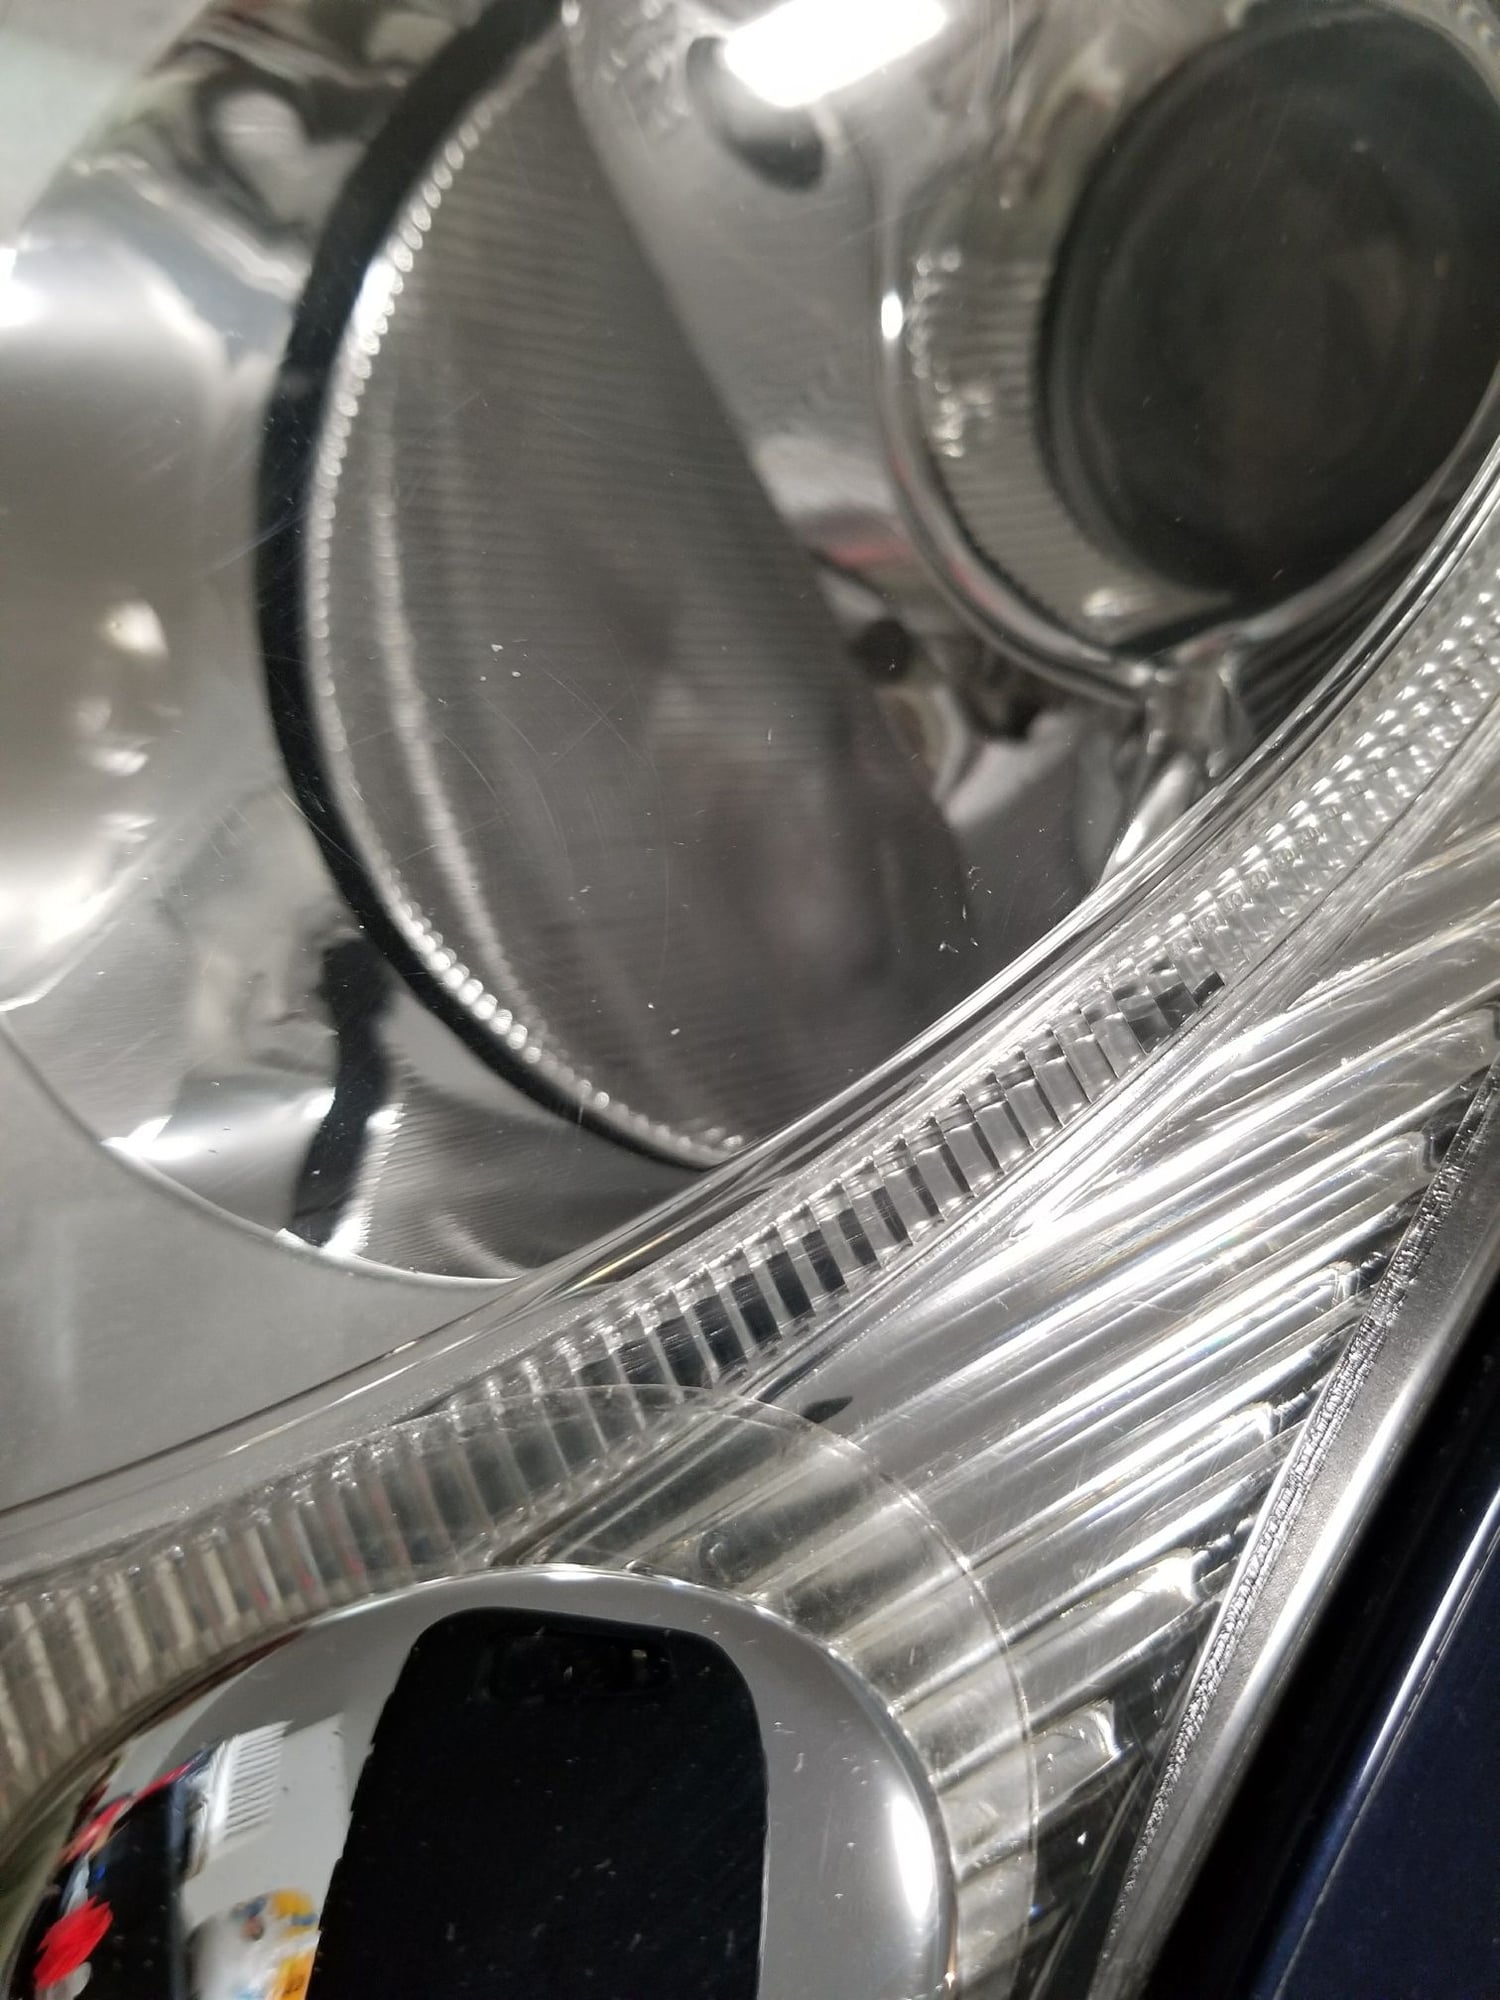
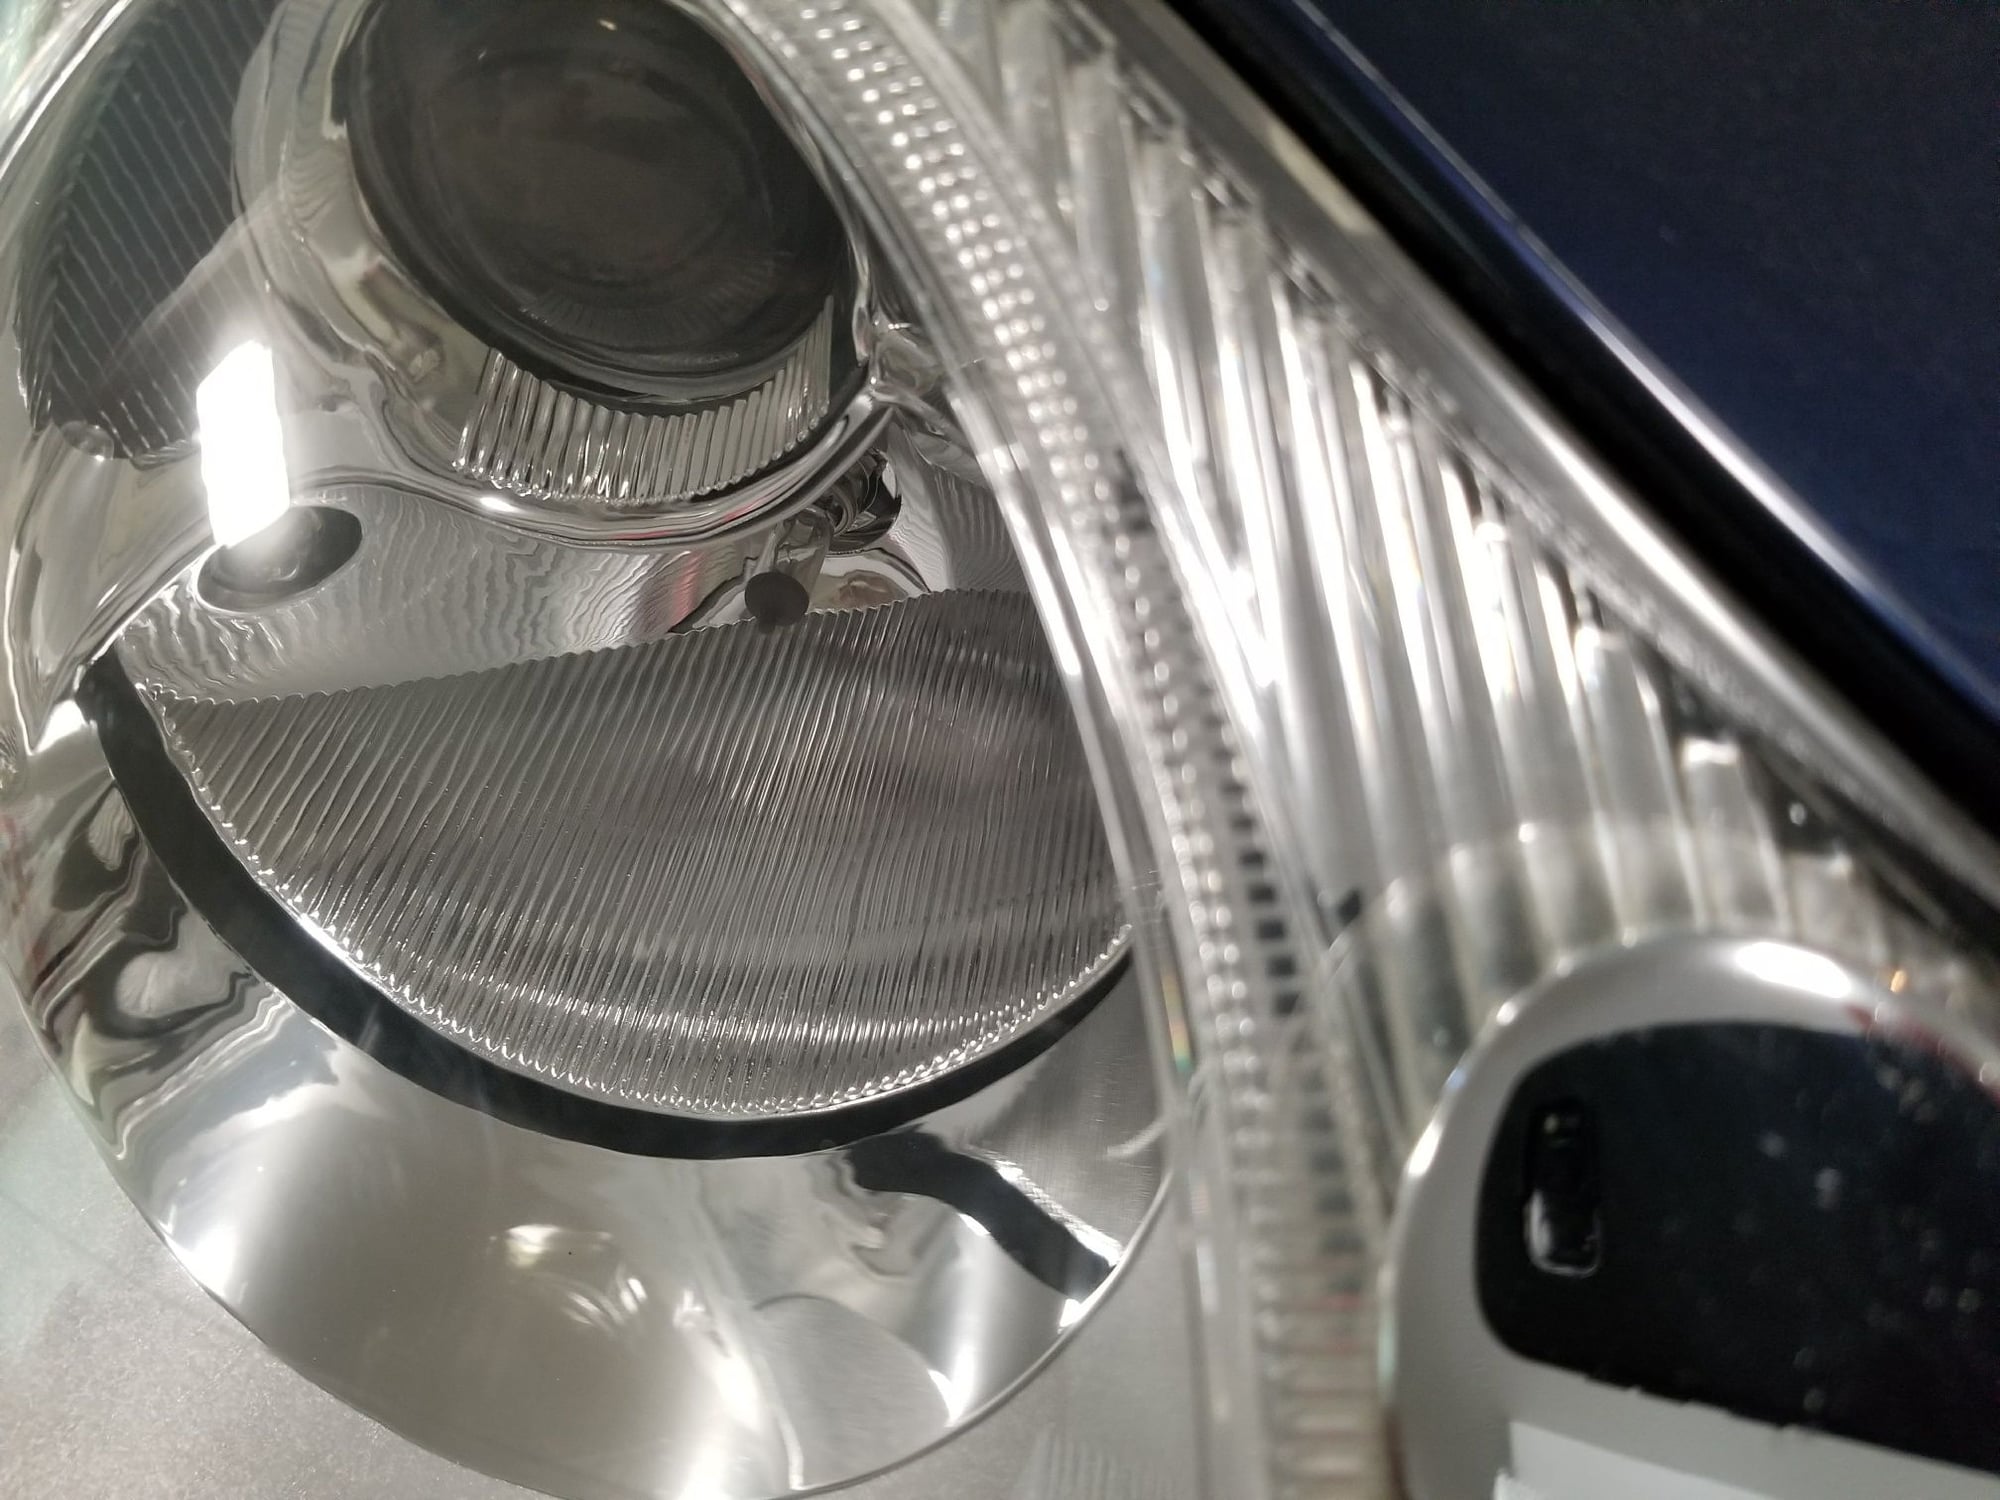
But what a difference after the final step. Upon applying the last step's UV block (which took all of 30 seconds per headlight), I ended up with unbelievably clear headlights. Check out the pictures. What a difference! I note now too, that the spray and UV block is available for just $10. Probably an annual application will keep the headlights looking new.
I know it's hard to see, but both headlights where pretty cloudy to start.
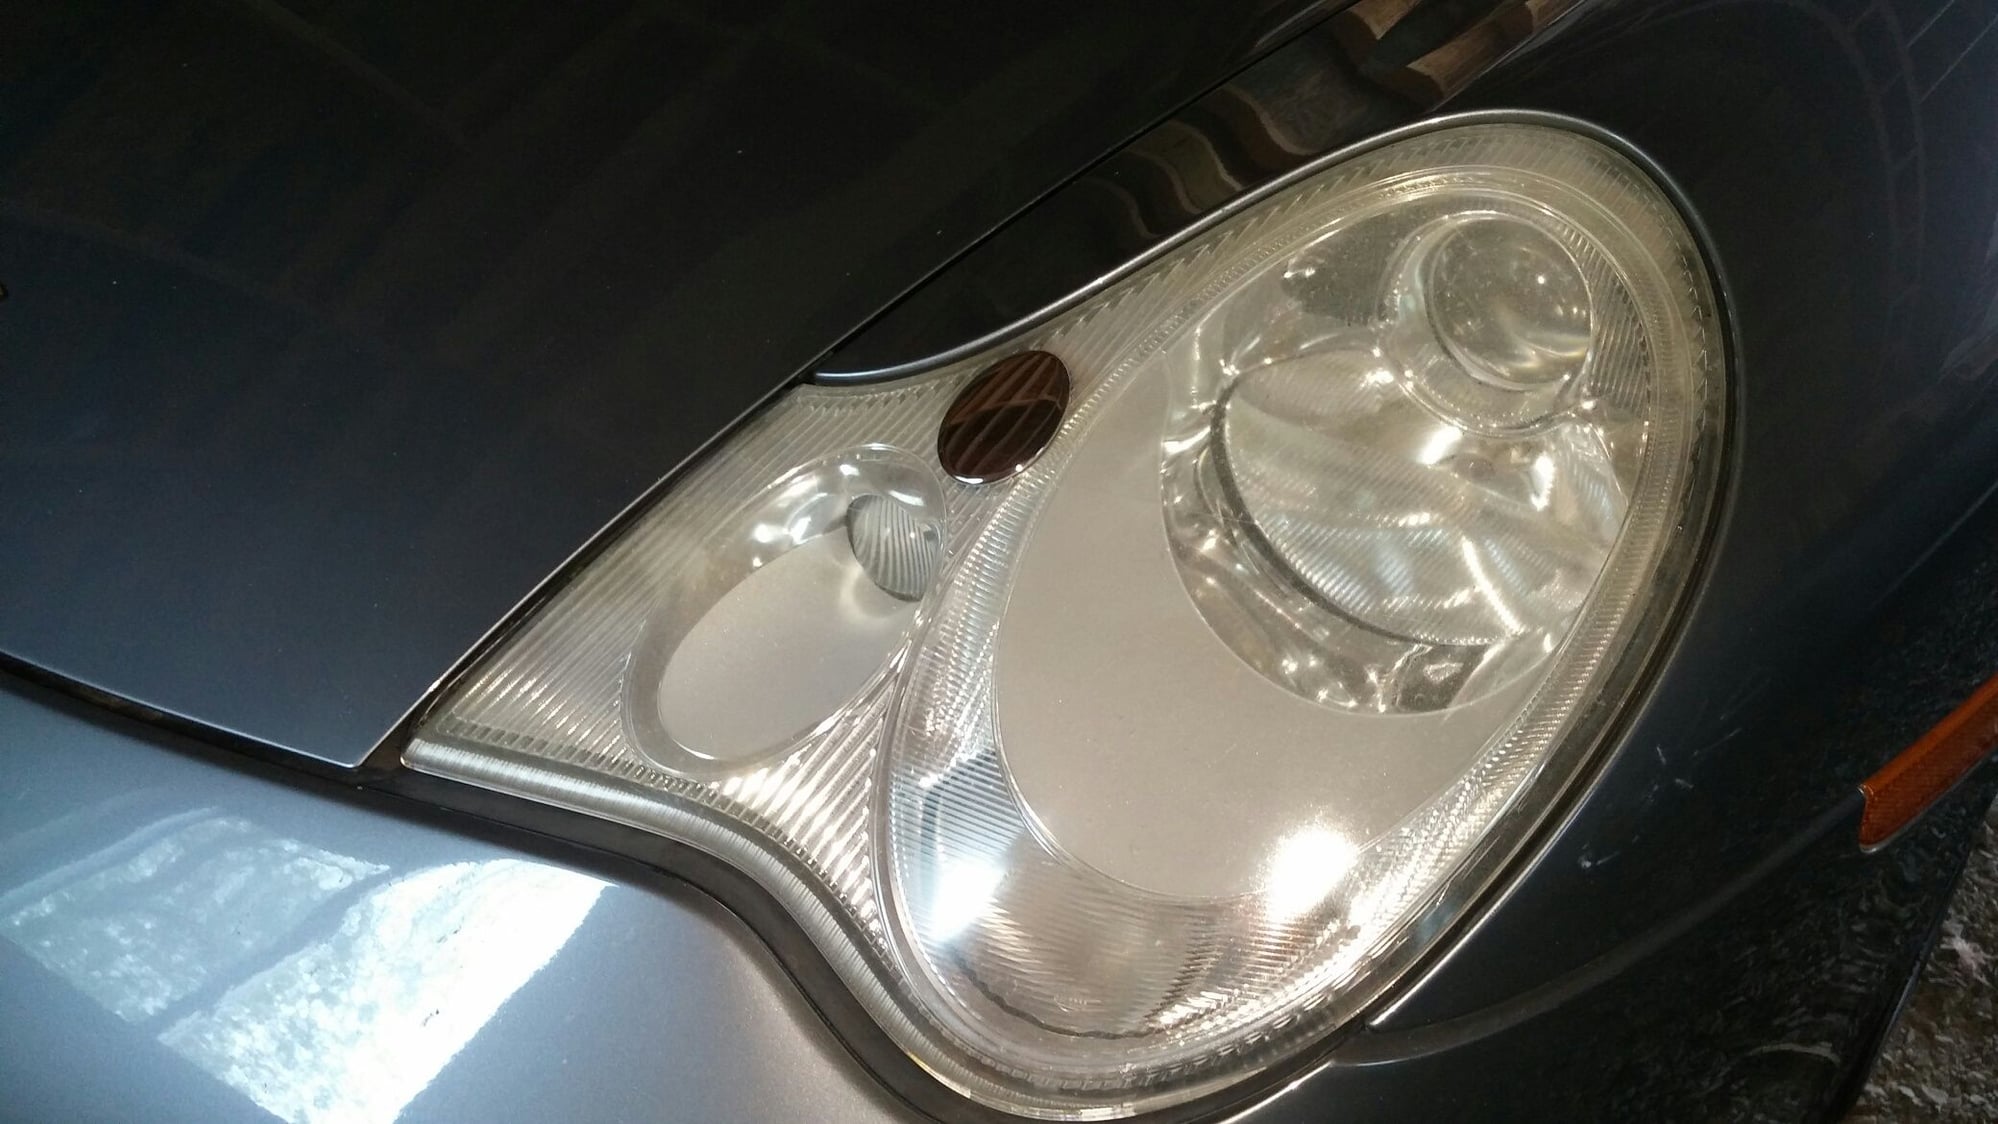
Here's the other side. I thought it would be easier to see the BEFORE look here.
I also used the Sylvania Headlight Restoration Kit. My headlights were milky white and opaque when I bought the car. I could barely see through them. I spent about an hour and a half per headlight and ended up with headlights almost as clear as yours. I was very pleased. I bought my kit at Advance Auto Parts.
You have to be careful with power sanders. They can put too much heat into the plastic and ruin it. The surface will melt and become misshapen. It can crack too.
Next time, and there will be a next time, pop the headlights out. It's so easy in these cars and then there is zero risk of getting the paint by accident.
It was only a couple of months after I did mine that they yellowed again. A year later and they are as bad as they were before I did them.
In regards to "there will be a next time", not necessarily. I did mine with the 3M kit and then added Lamin-X clear covers and they are as good as the day I did them.
In regards to "there will be a next time", not necessarily. I did mine with the 3M kit and then added Lamin-X clear covers and they are as good as the day I did them.
I used one of the recommended spray sealers/protectors. It obviously did nothing.
I've heard great things about Lamin-X and plan to do that the next time we have clear lenses.
Couple of pics. These covers came with the cutout for the headlight washers which is oversized. Note the area where it is 'unprotected' has yellowed some compared to the covered area. I installed these in November of 2015.
I tried 4 of the others and nothing was really close to as good as the Sylvania kit. Consumer Reports and Pop Mech agree. The extra effort required was worth the fine control and reduced risk of damaging bits with a drill. I was stunned with the results on the 996 and 955. Nothing like fresh lenses on our expensive 'peepers'!
Not exactly the same application, but i use colgate toothpaste on my swim goggles when they get scratched and cloudy and it clears them up every time. Maybe I'll try them on my headlights when they turn yellow and cloudy.
 05-26-2017, 08:05 PM