When you click on links to various merchants on this site and make a purchase, this can result in this site earning a commission. Affiliate programs and affiliations include, but are not limited to, the eBay Partner Network.
I already wrote this up as part of my New Owner thread, but figured that a separate topic might be useful for future searches.
The Fisters are in! The instructions that Darin provided by email were very useful. I removed them as follows:
Jack up the rear of the car.
Rubber gloves and eye protection are helpful - it is absolutely filthy and there's a lot of crud under there that's waiting to drop into your eyes. Eyeglasses aren't enough (ask me how I know).
Spray your favorite penetrating oil on the various nuts described below.
If you have them, air tools are your friend.
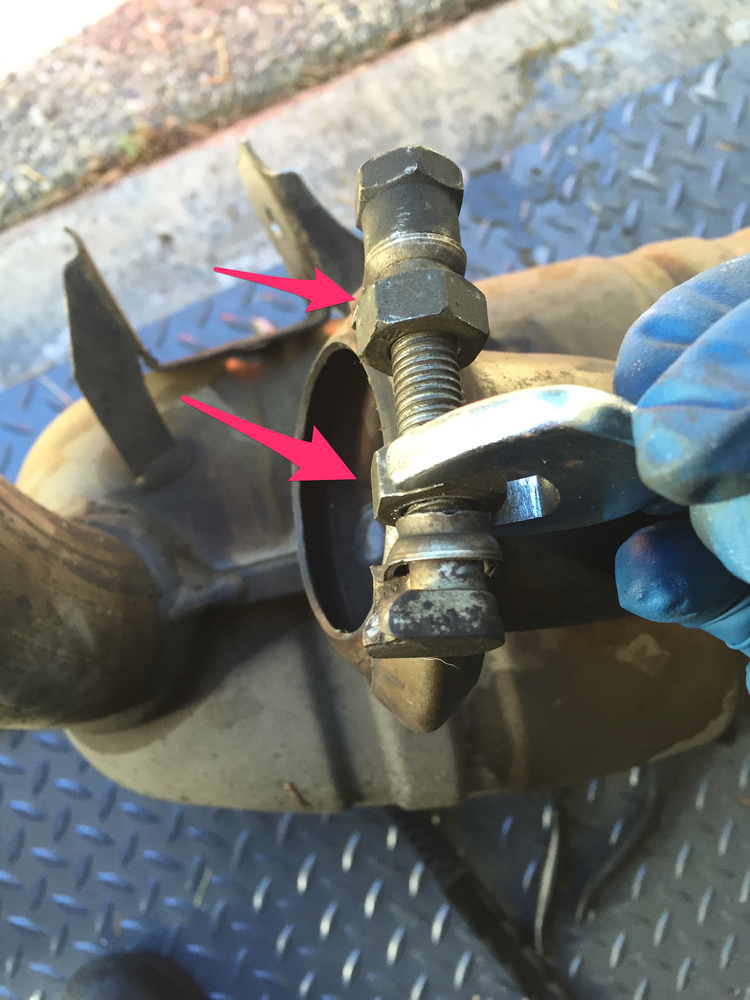
Disconnect the muffler from the catalytic converter. There is a clamp that connects them that is secured by two 17mm bolts. Slide the clamp towards the center of the car. If the clamp comes off, when it comes time to put everything back together again, be sure that the bolt part is oriented to the front of the car AND that the square cut outs for the bolts are at the top, so that the nuts will go underneath in order for you to tighten them.
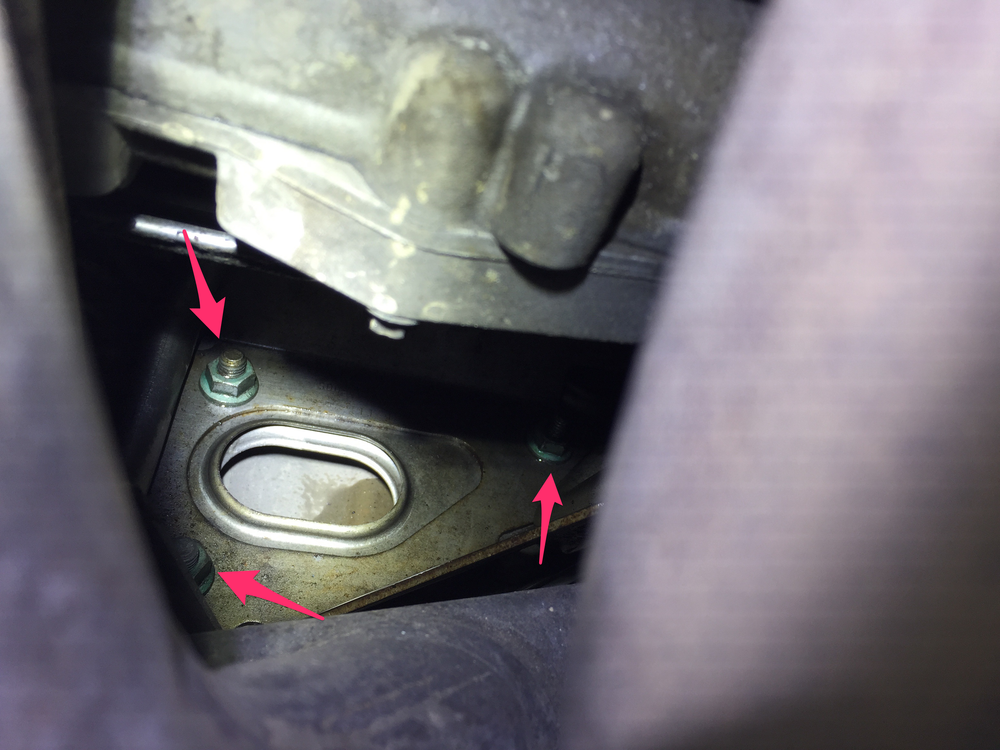
There is a muffler bracket above the headers and it is secure to the engine bracket by 3 13mm nuts in a triangle pattern (see picture below.) Remove these nuts - the threaded part will not come out.
Pull the muffler towards the side of the car so that it is free from the engine mount. It can be removed from the car. I found that removing the rear wheels afforded me a lot of extra working space so I would recommend doing so, although this is apparently not strictly necessary.
Once the muffler has been removed from the car you need to remove the bracket, which is secured with two 13mm bolts (one very long, the other much shorter).
Now you can remove the exhaust tip, which is secured using a narrow clamp and a 16mm bolt. You will probably find that tip is still captive in the clamp after the bolt. See the picture below for a way to spread the clamp because it is a complete b'stard to remove.
Once the tip has been removed, also remove the clamp.
The exhaust bracket, tip clamp and tip itself as all re-used on the Fisters.
Installation is the reverse are removal but here are some tips:
Check that the muffler/catalytic converter clamp is still attached to the pipe from the cat and that its orientation is correct (see above).
Assemble the entire muffler before you attempt to install it.
You might find that the exhaust bracket is hard to slide into the welded supports on the muffler (it was on one of my Fisters). I found that inserting the smaller side first and passing the bolt through to secure that side made it possible.
Reconnect the exhaust tip and clamp. So that you can tighten it, the nut should be oriented towards to engine when you reinstall the muffler. The bolt for the clamp has a detent that fits into the V-shape of the clamp, so make sure that it is correctly located. There is also a washer with a similar detent that goes between the clamp and the nut. The nut itself should have the smooth portion towards the clamp. Tighten the whole assembly so that it is not flopping around, but not so tight that you cannot turn the tip. You should make sure that the tip pipe is snug with the the muffler.
You might need an extra pair of hands to support the muffler while you align the threads on the muffler bracket with the engine bracket (you'll be underneath the car as you do this). Once aligned, thread on the nuts (but do not tighten) so that the muffler can't fall off.
Give the muffler a good shove from the side bumper towards the engine to make sure that it is well situated.
Reattach the muffler to the catalytic converter by sliding clamp over. You will undoubtedly be pulling on the muffler pipe to line it up, which is why you didn't tighten those nuts on the bracket...
During all of this, you might need to move the tip around - that's why you didn't tighten it.
When everything looks good, you can tighten the nuts to the engine bracket and line up the tip and tighten the 16mm nut. I found that despite all of my tools, I did not have a 16mm wrench. If you don't have one, you would be well advised to purchase a ratcheting one.
Finally, you can tighten the bolts on the muffler/catalytic converter clamp.
Some pictures for your viewing pleasure...
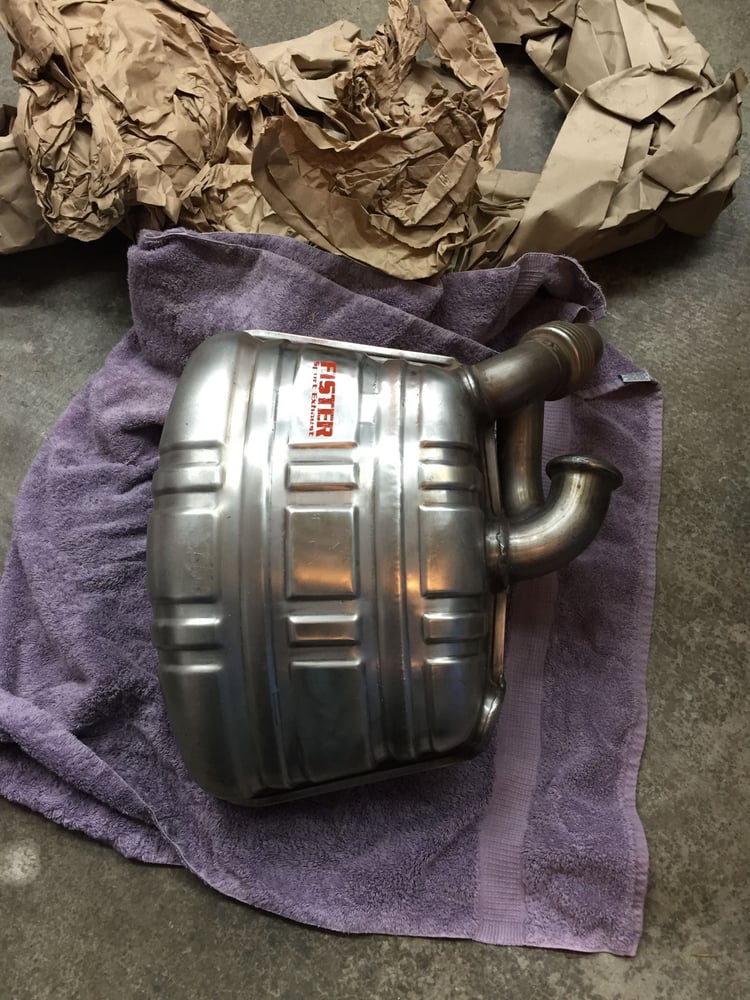
^ Its a big heavy box (the return shipping label is in the plastic pouch)
^ The last time it will be this shiny
^ Arrows indicate 13mm nuts that secure muffler bracket to engine bracket.
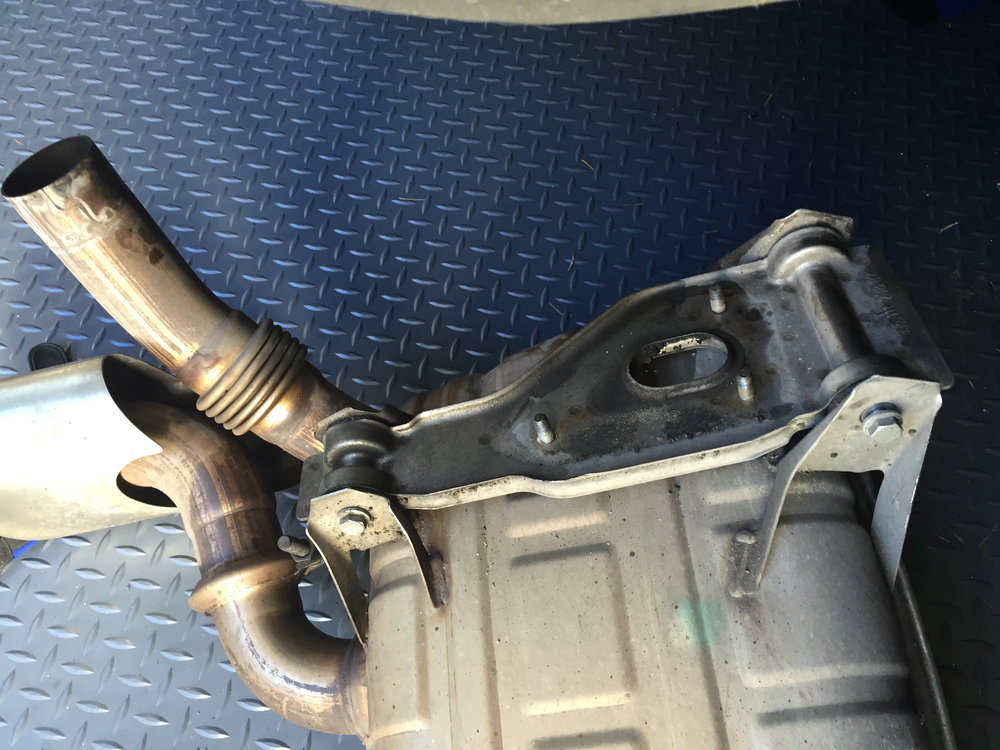
^ Removed muffler with bracket still attached.
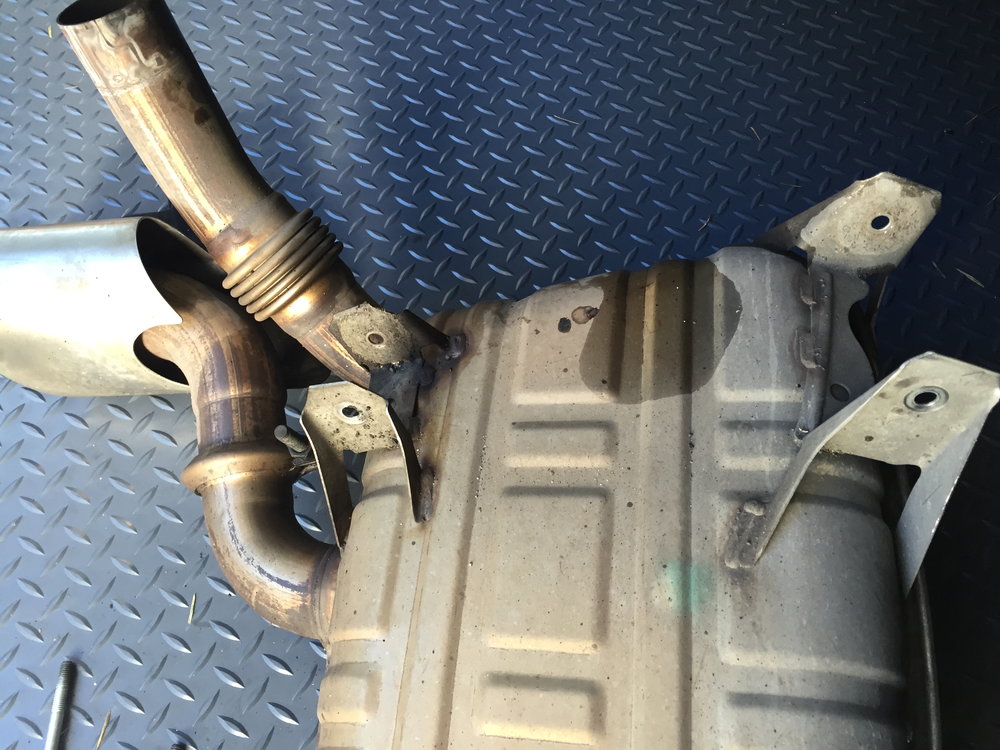
^ Bracket removed.
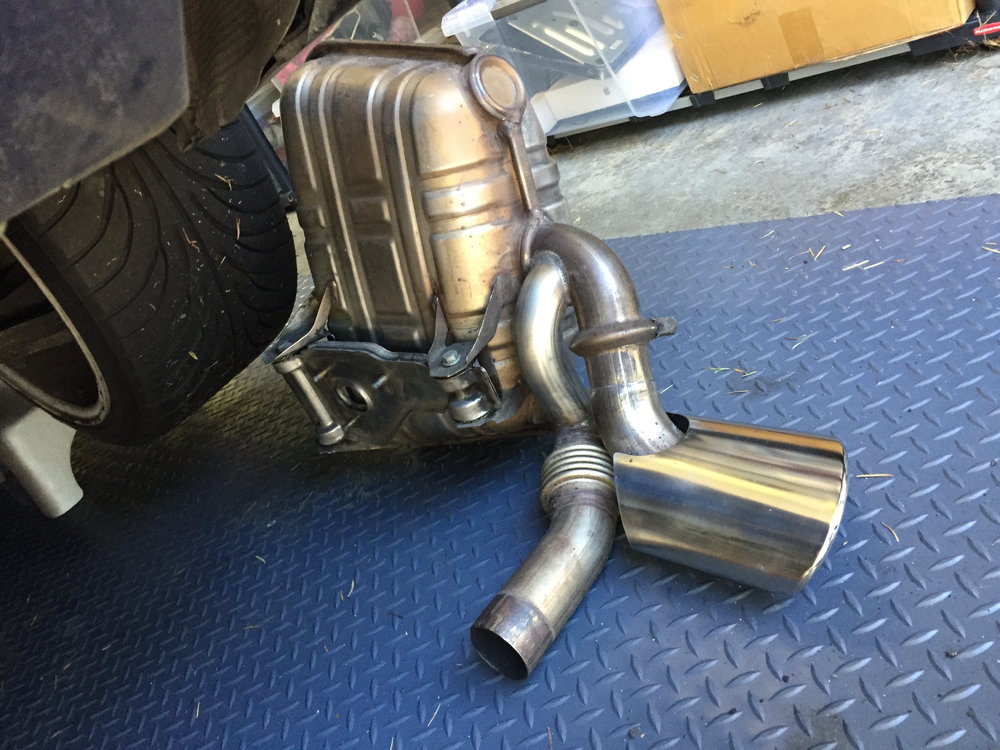
^ Back: original muffler. Front: Fister D muffler.
^ Using bolt and nuts to spread the clamp.
^ Assembled Fister-D unit ready for installation. Refer to picture below for correct orientation of bolt for the exhaust tip clamp.l
^ Detail showing correct orientation of bolt for the exhaust tip clamp (picture courtesy of Darin Fister)l
Nice write up and pics. Only one suggestion....install the 2 vertical bolts from bottom up instead of top down. That way the removal will be faster and easier in the future.
Nice write up and pics. Only one suggestion....install the 2 vertical bolts from bottom up instead of top down. That way the removal will be faster and easier in the future.
That's a great point and presumably there would be no need to remove the muffler to engine bracket once the bolts drop out from the bottom. My only comment is that in my case, the left muffler was a really tight fit into the bracket (on one side) and I'm not sure I would be able to slot the muffler back in with the bracket attached to the car.
Thanks for the nice write up Bal. After 3 years of ownership, I finally bit the bullet and placed my order with Darin yesterday. I had my exhaust off when I did my plugs and coils last year and did the reverse the bolts trick at that time, so I'm hoping for a very quick swap out. Can't wait to hear it with the Fister on.
Looks like another nice smooth install. Darin's work is great - everyone should make a pair of Fister's #1 on the "to-do" list. Take some good pictures and he'll put them on his website wall of fame!
Great write up!
The only thing I would add is that I like to install the tip clamp as per the pic below. It allows you to install it "almost tight." Then once muffler is tight, it allows for tip adjustment and gives you a little access to fully tighten the tip clamp.
That's actually how I did it Darin (and thanks for your picture) - My photo shows how I put it the wrong way around the first time. I'll edit the post to reflect this if I still can.
I wonder about adding the Fisters to my already modded exhaust (200 cel cats and fabspeed center muffler delete)
Does any one have similar system and can tell me if it is good or too over the top noise wise?
 02-01-2015, 03:00 PM