When you click on links to various merchants on this site and make a purchase, this can result in this site earning a commission. Affiliate programs and affiliations include, but are not limited to, the eBay Partner Network.
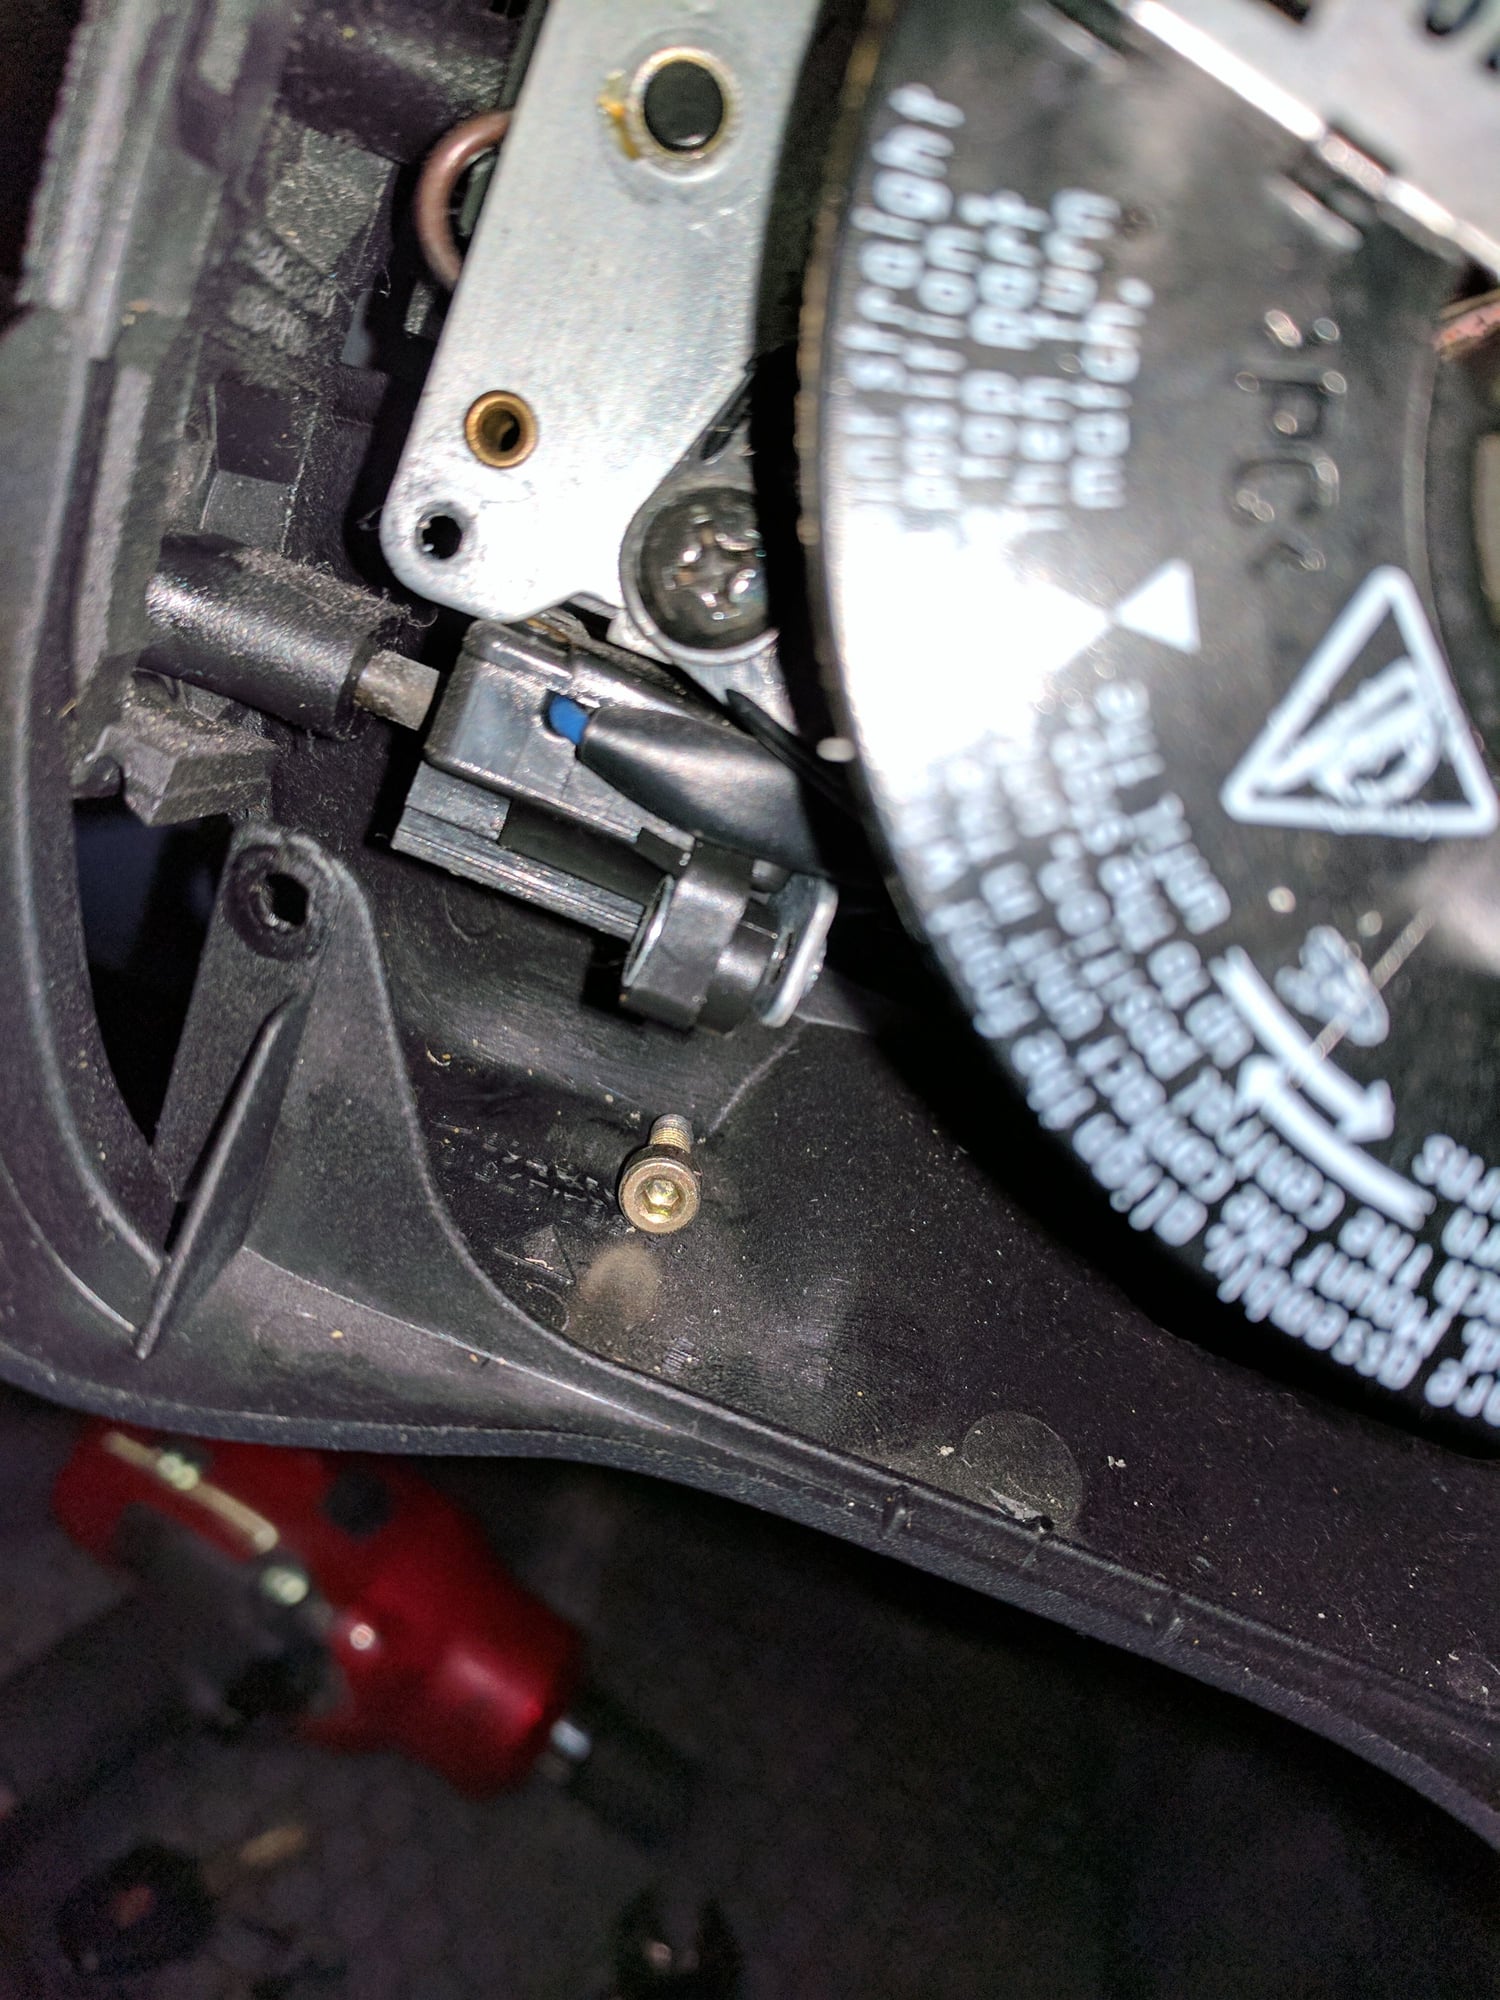
Remember my OBC stalk went limp and Groovzilla gave me a stalk with the switch? Turns out one of the bolts of the switch fell off and the other one was very loose. Replaced the bolt. Added some loctite and it's good to go.
Bolt at the bottom of the combination switch cover
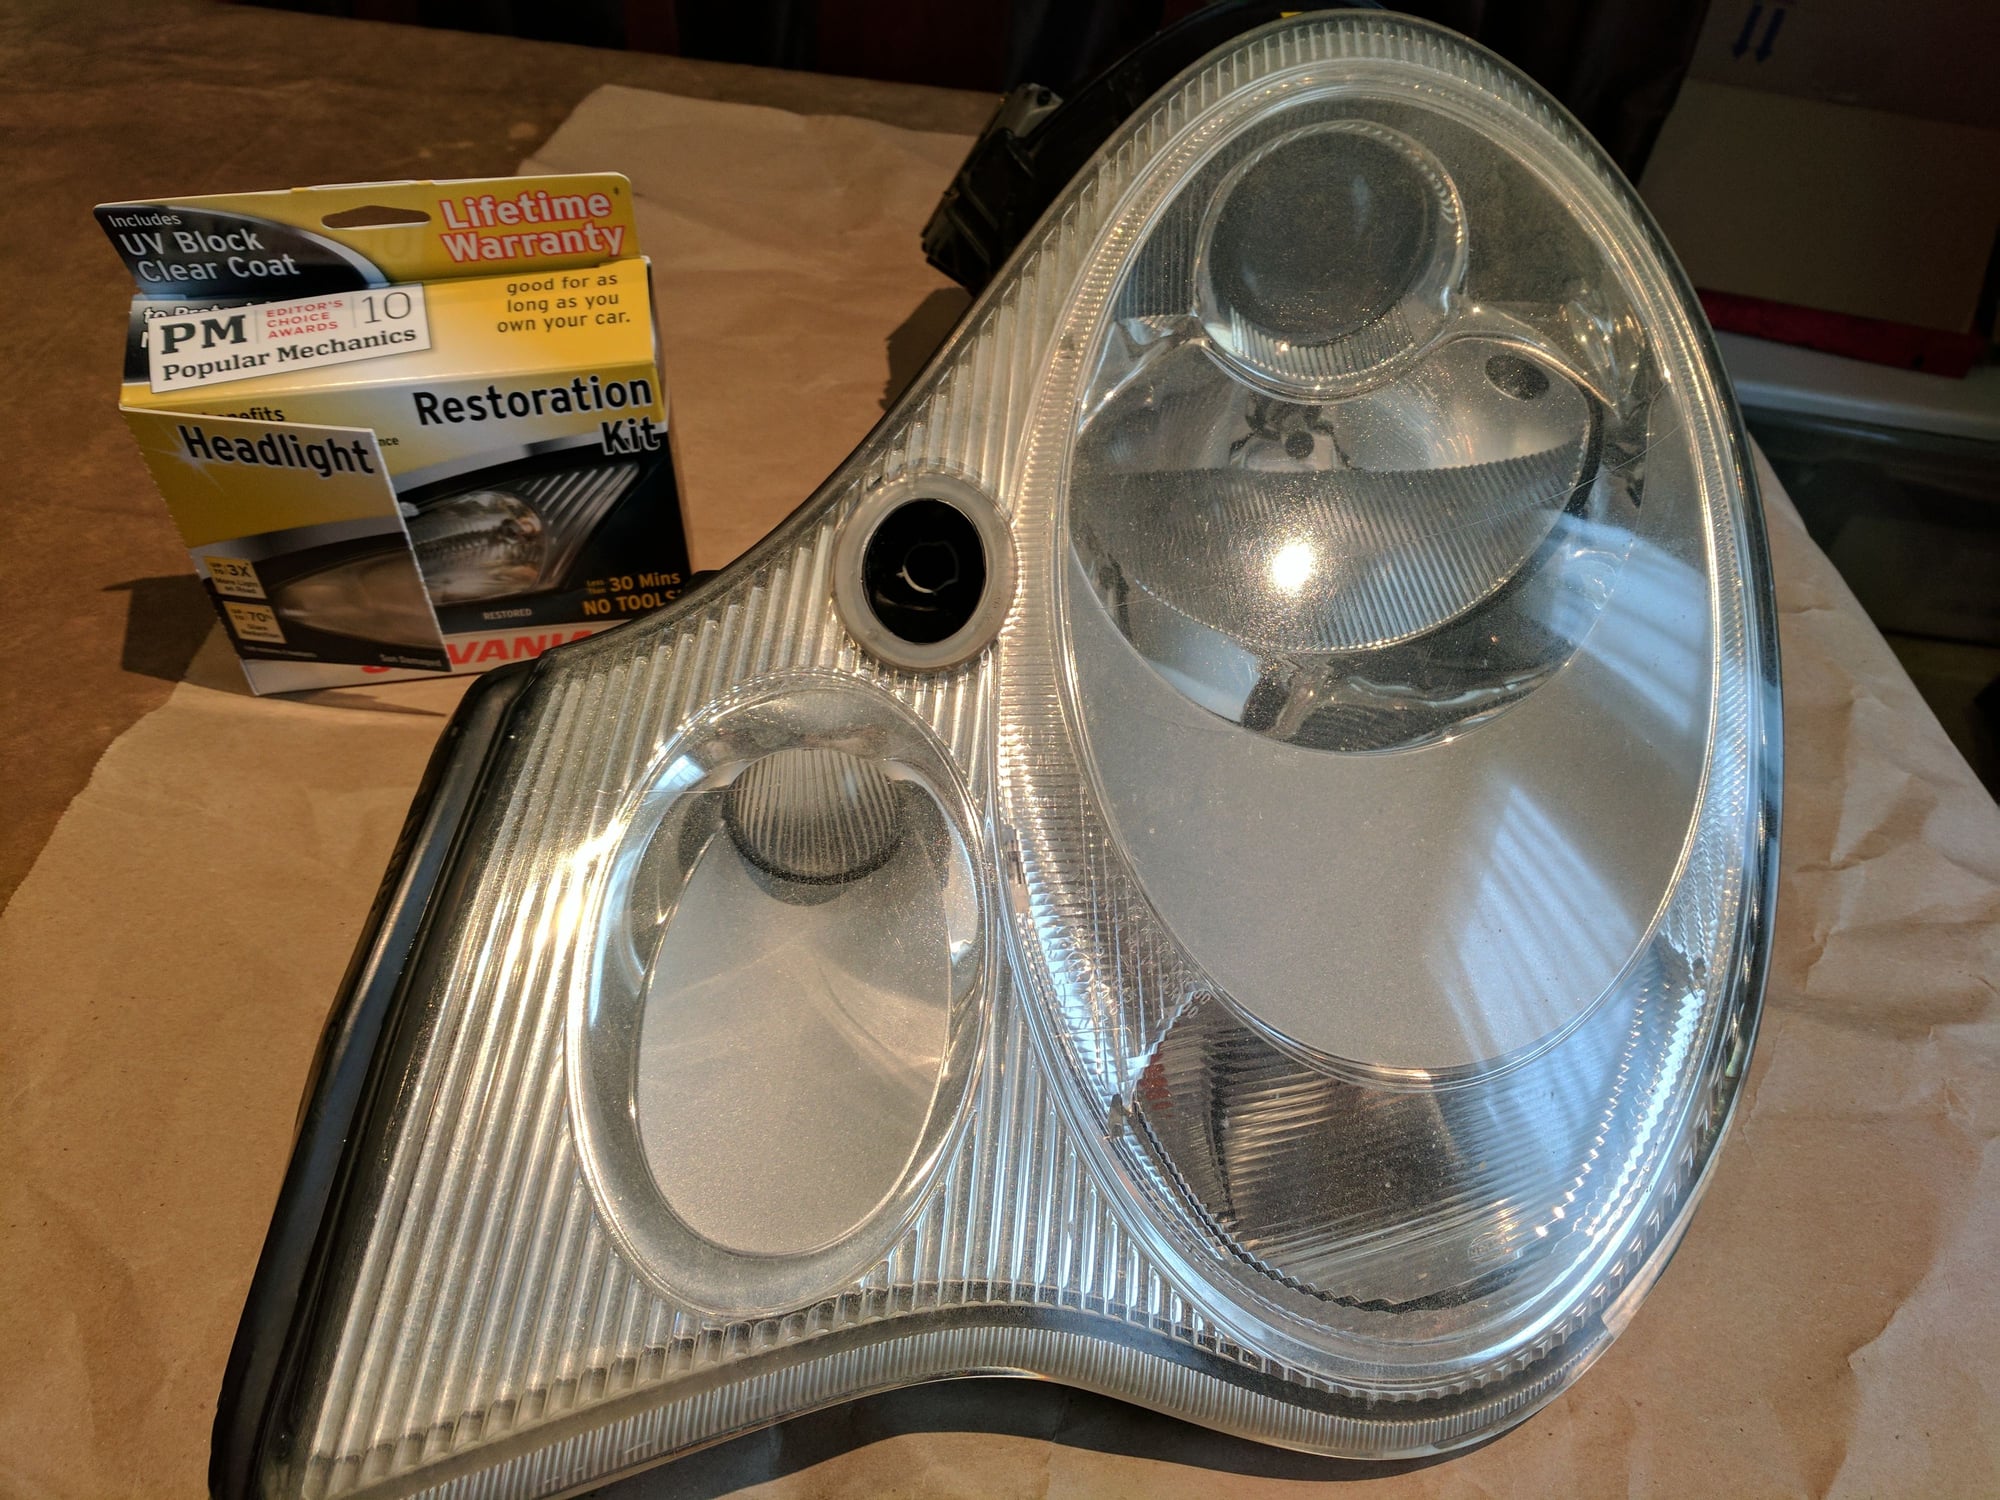
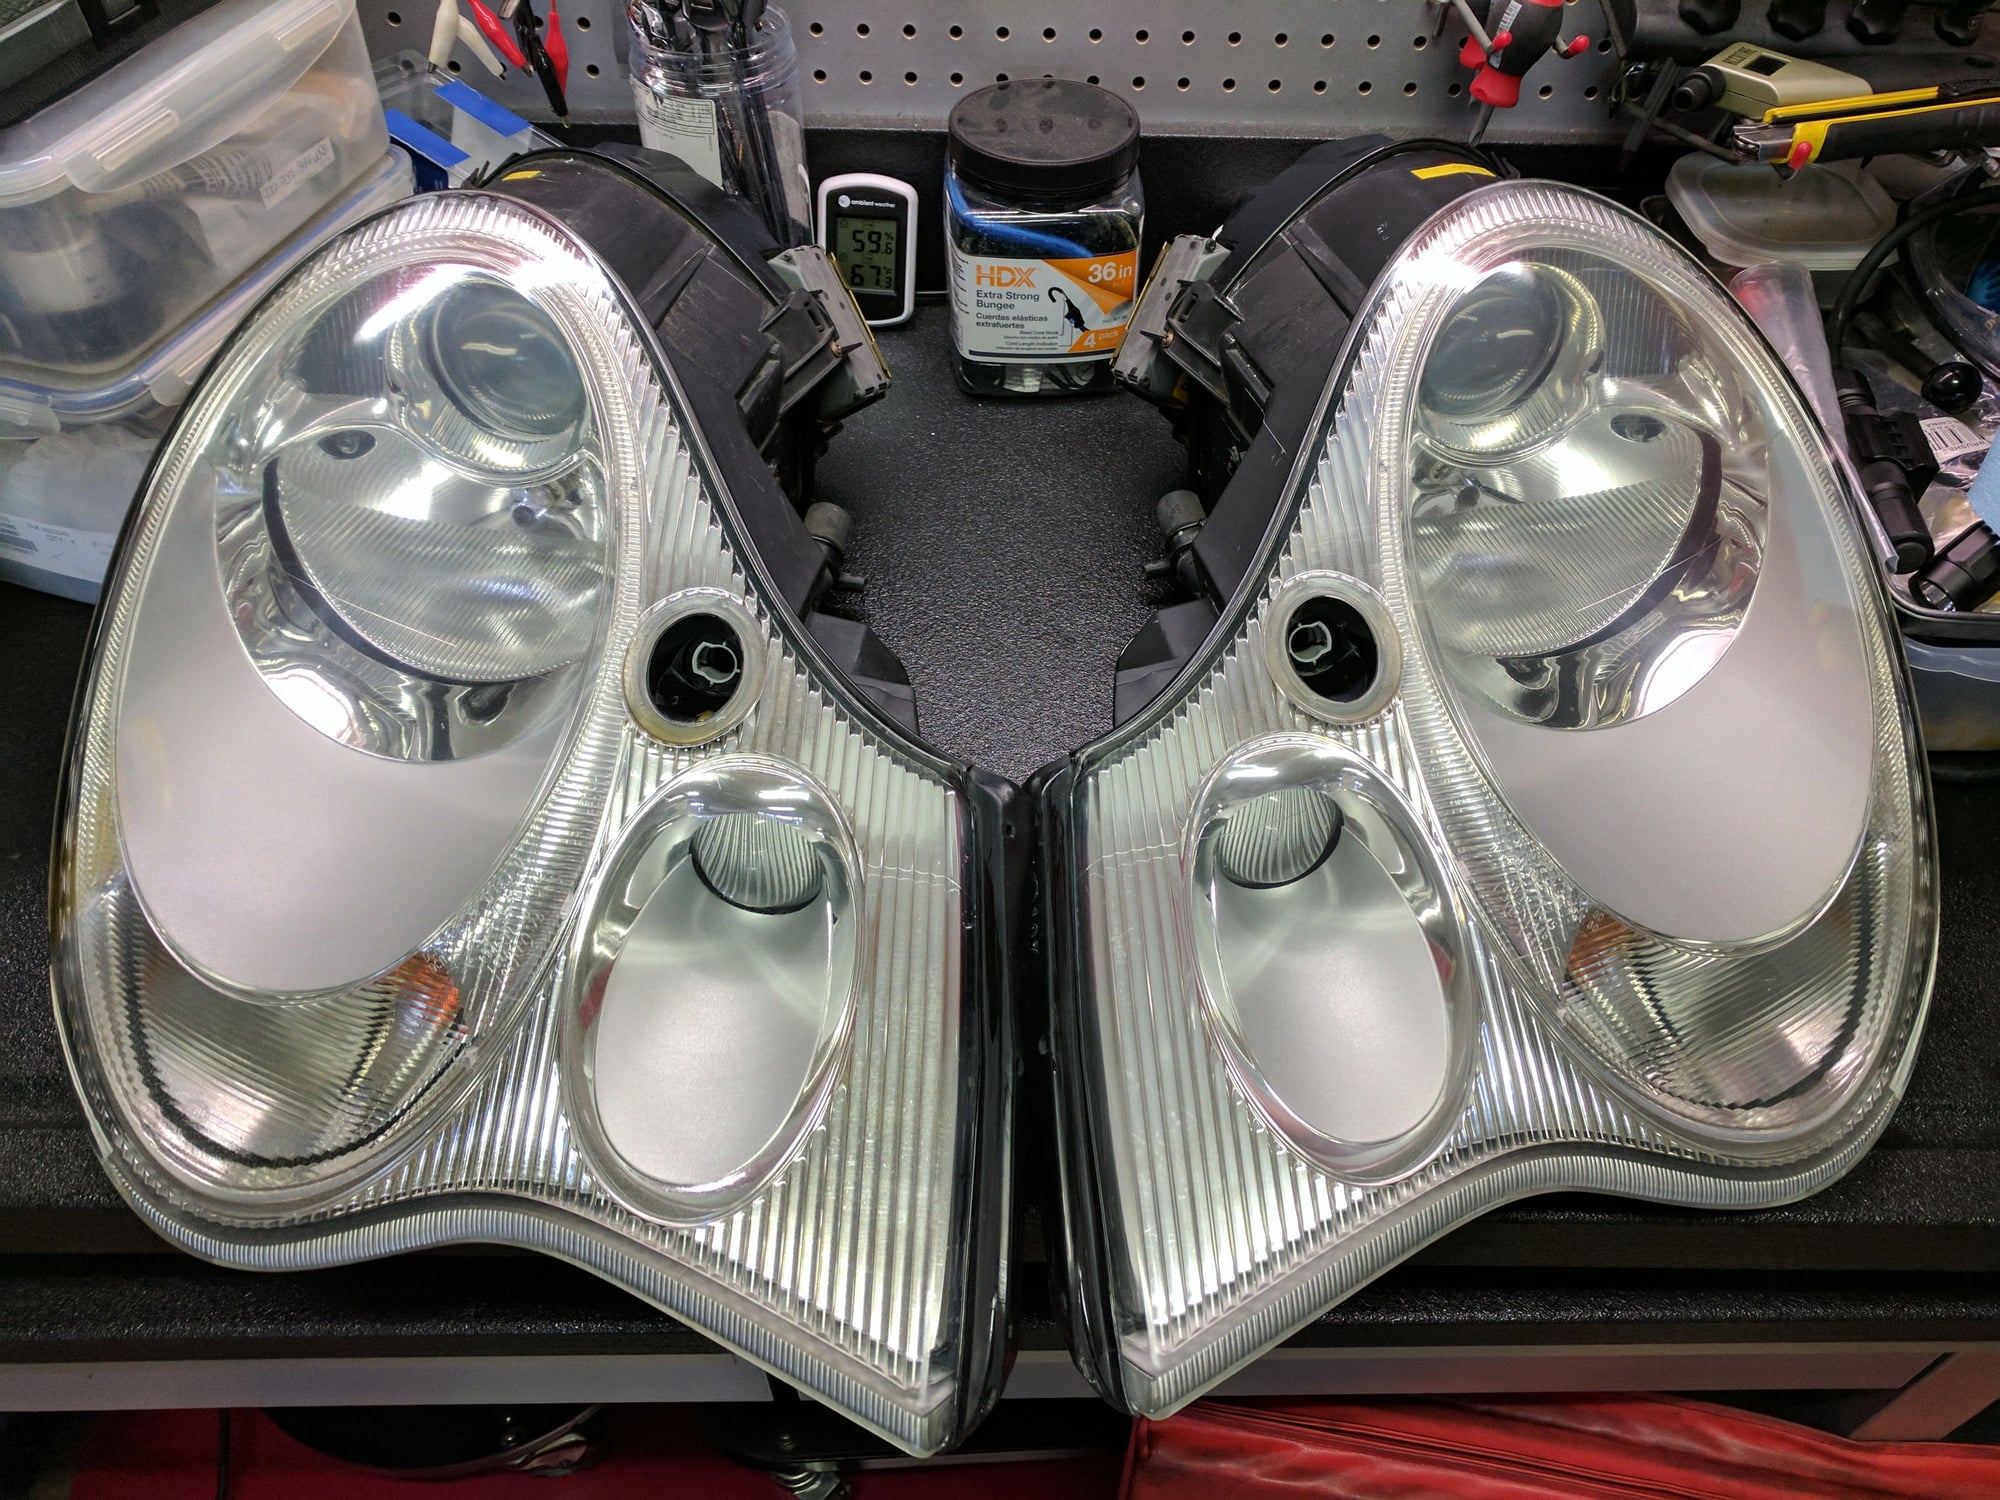
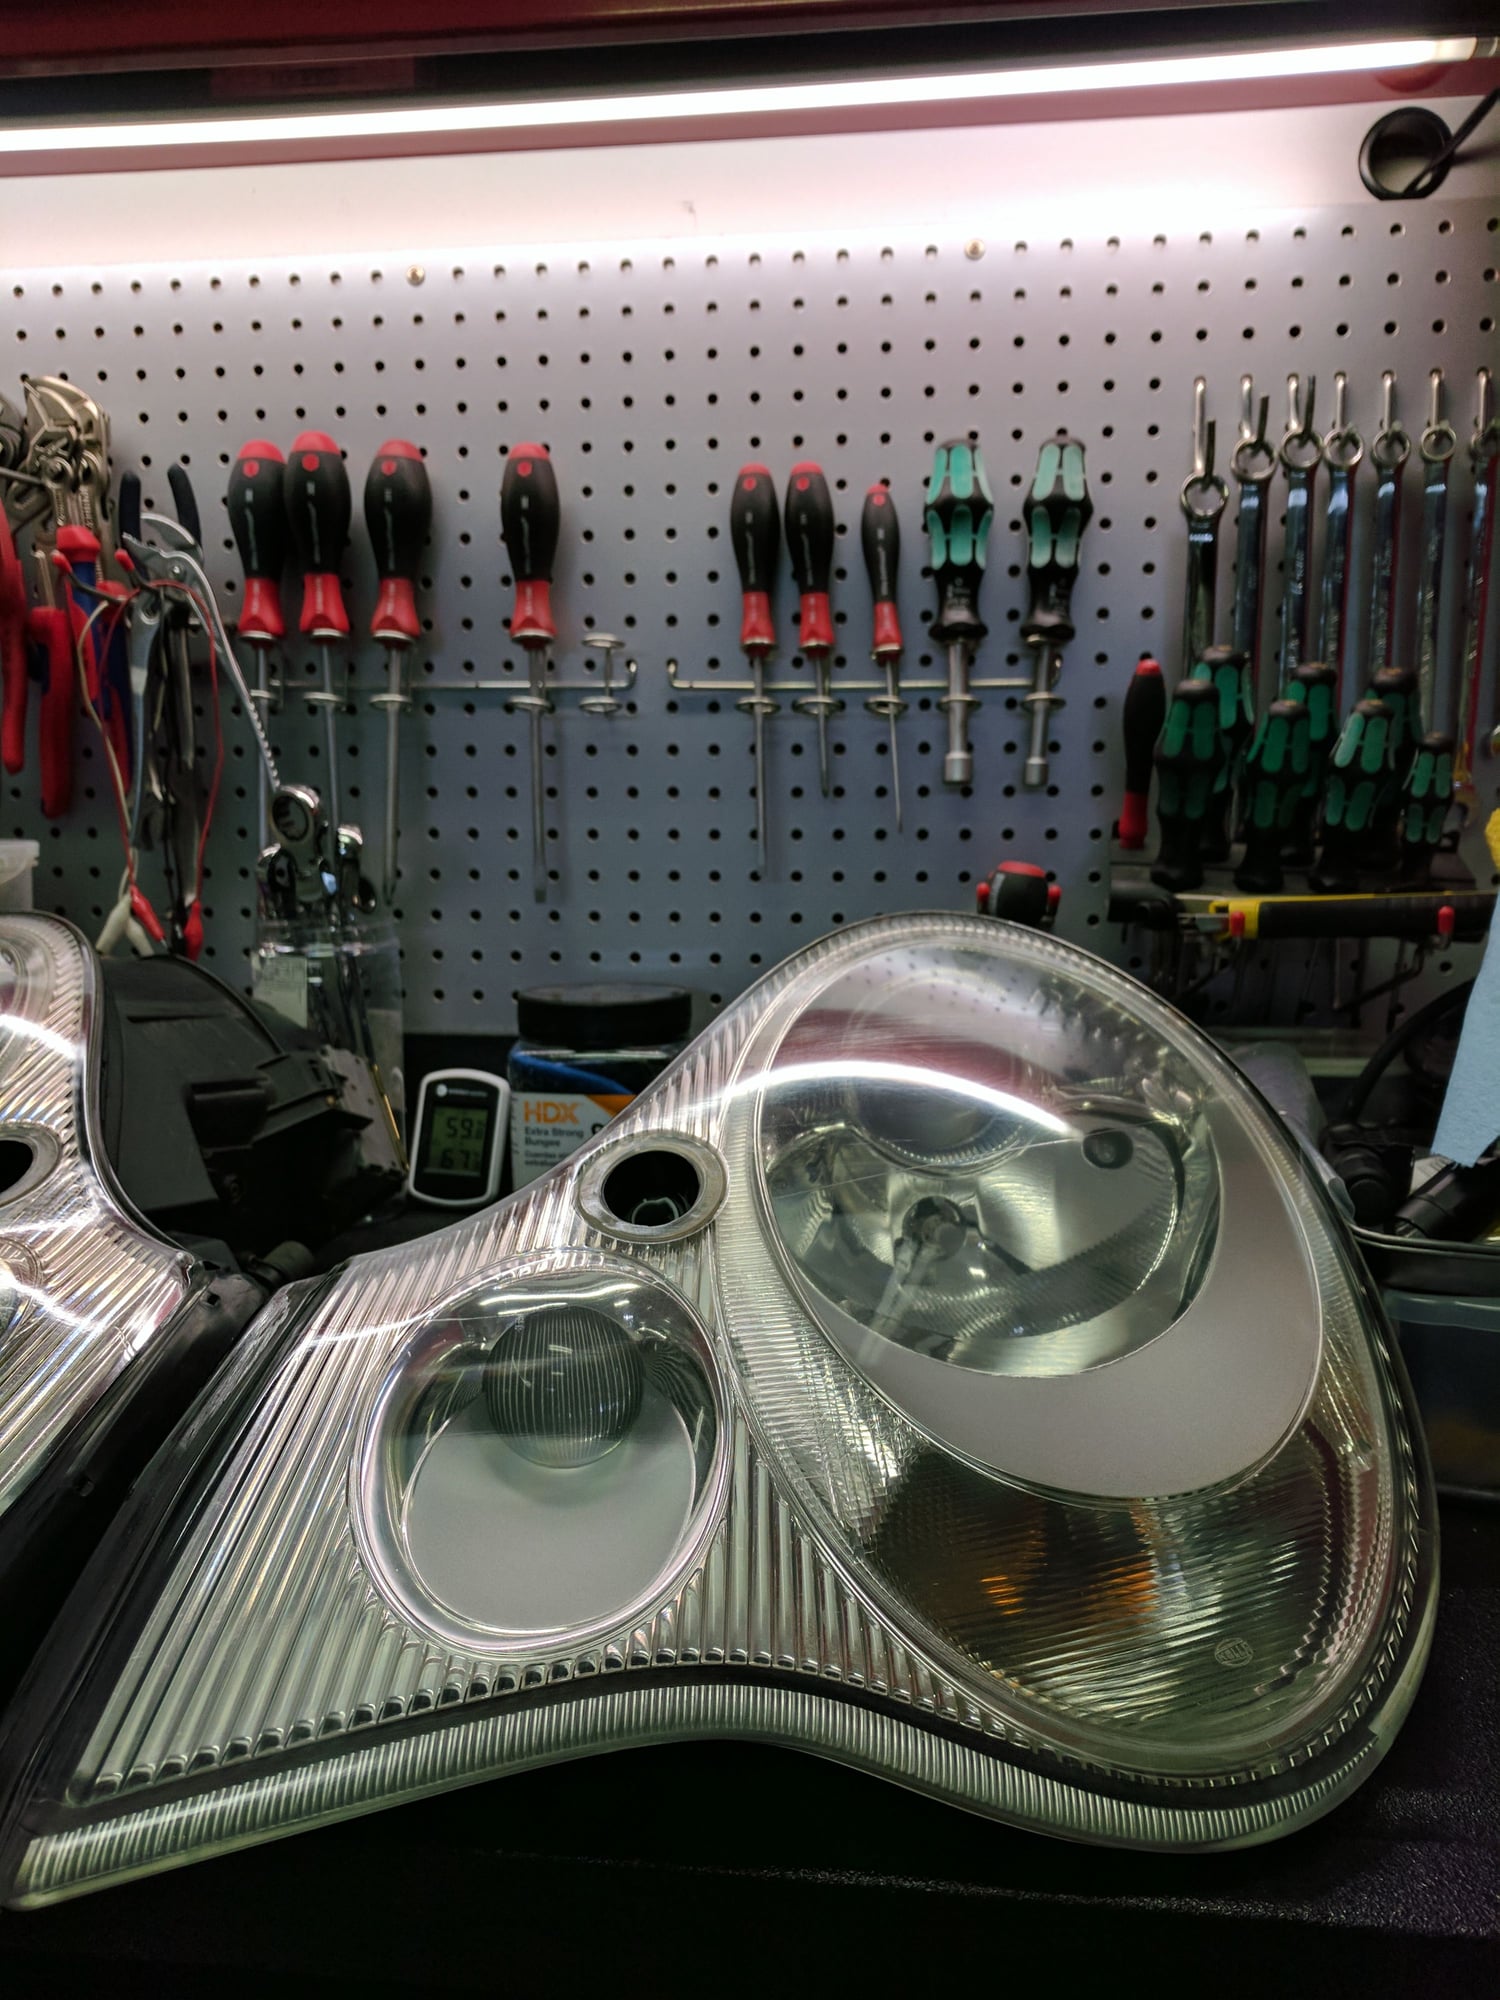
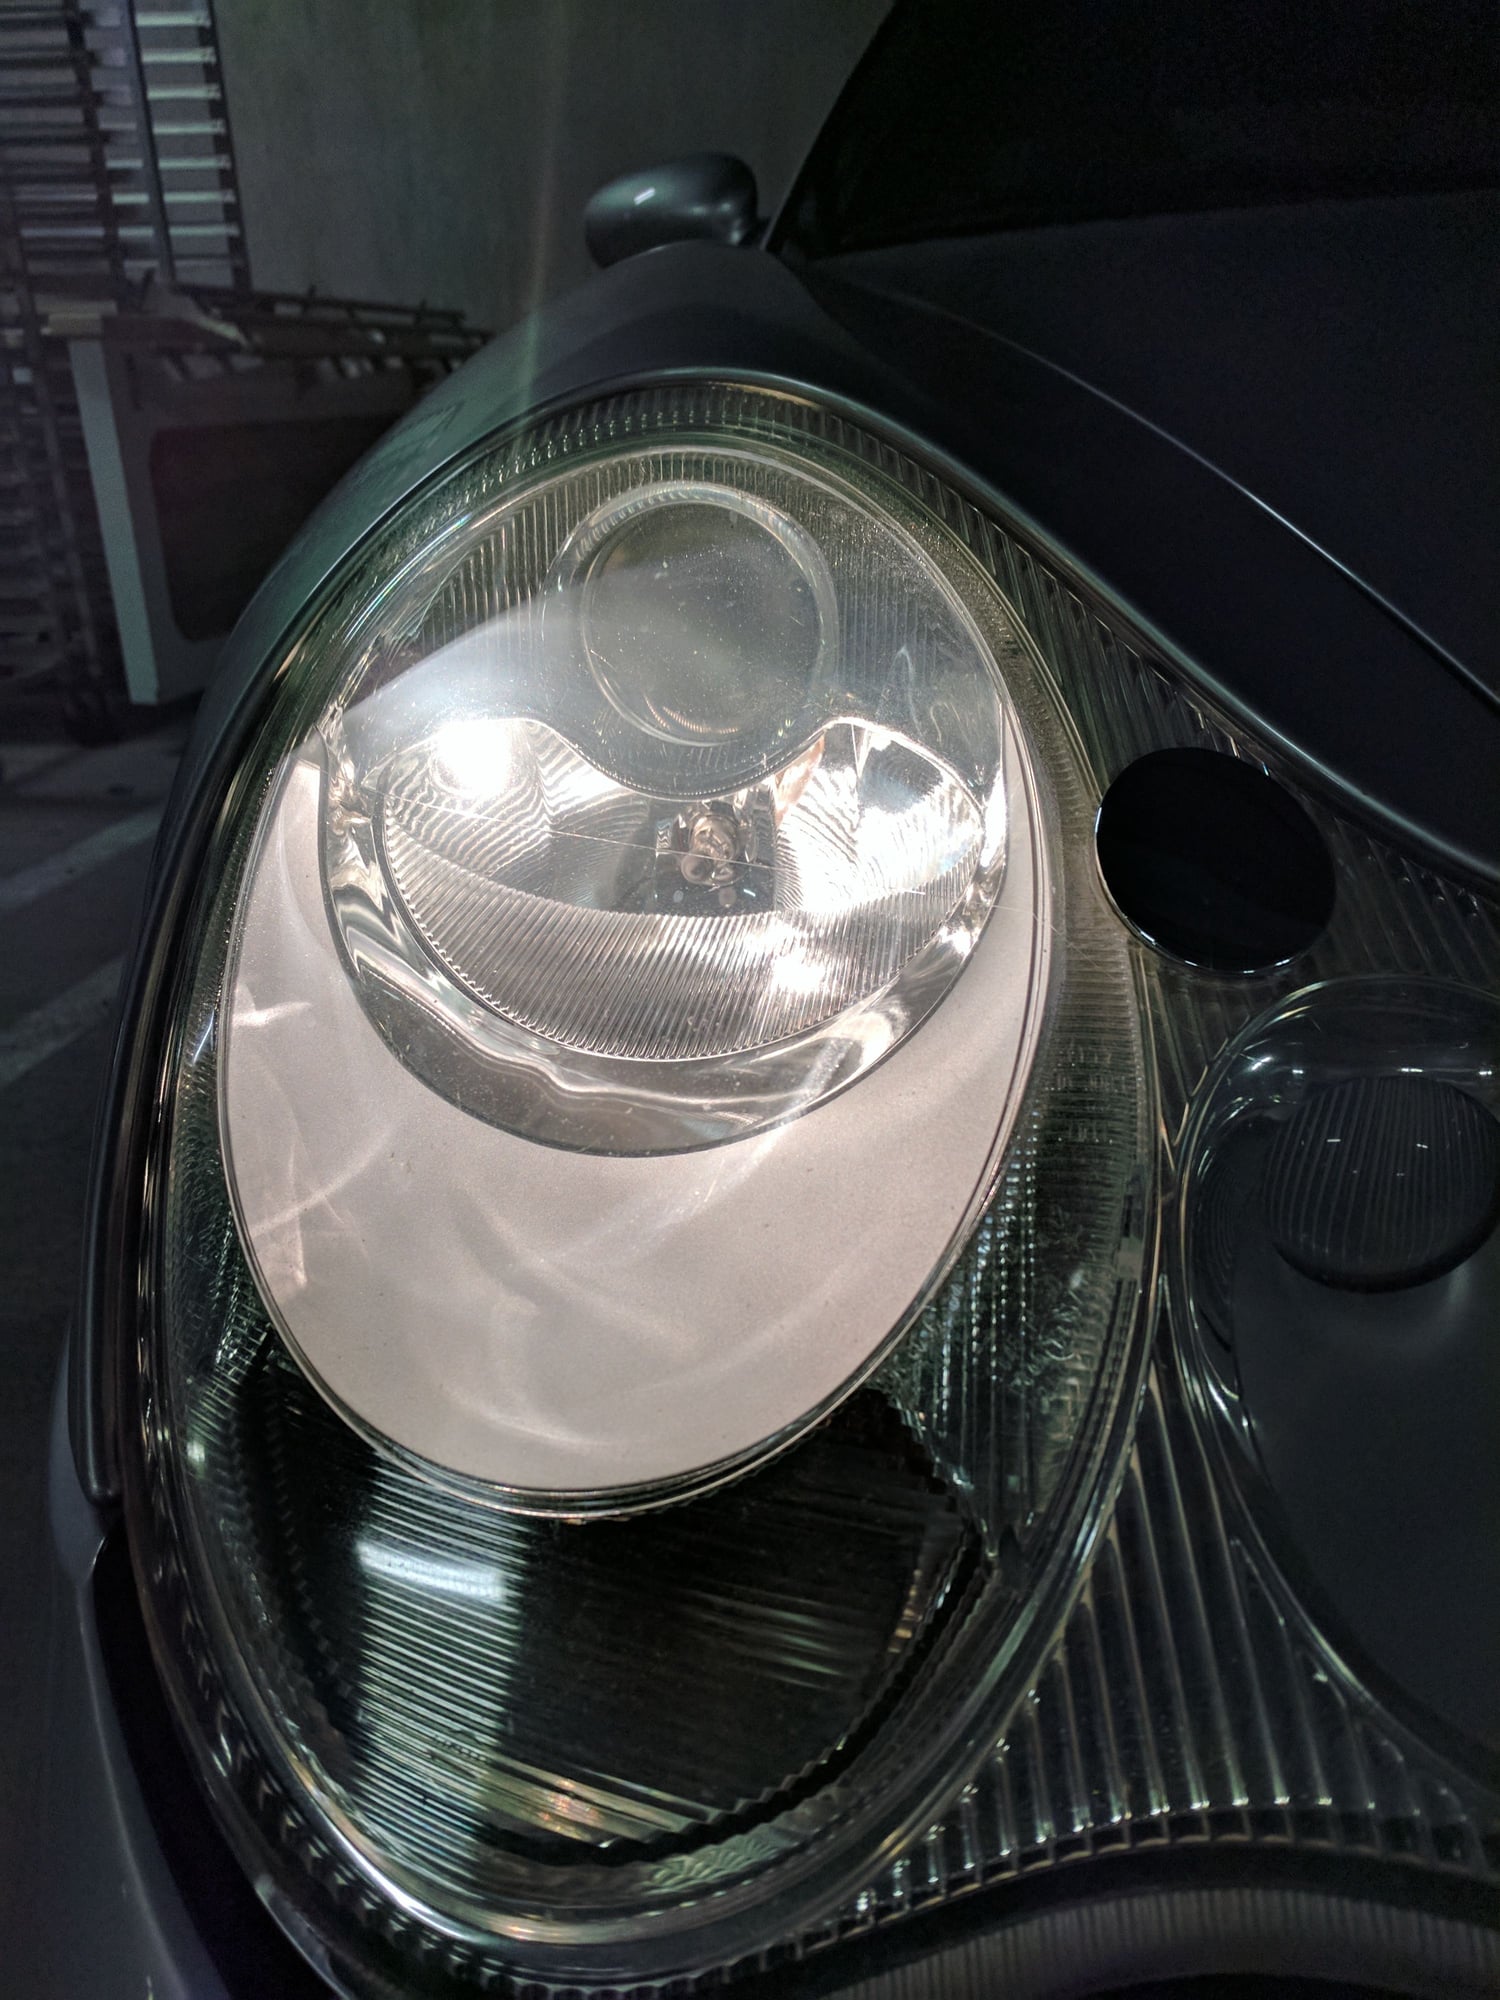
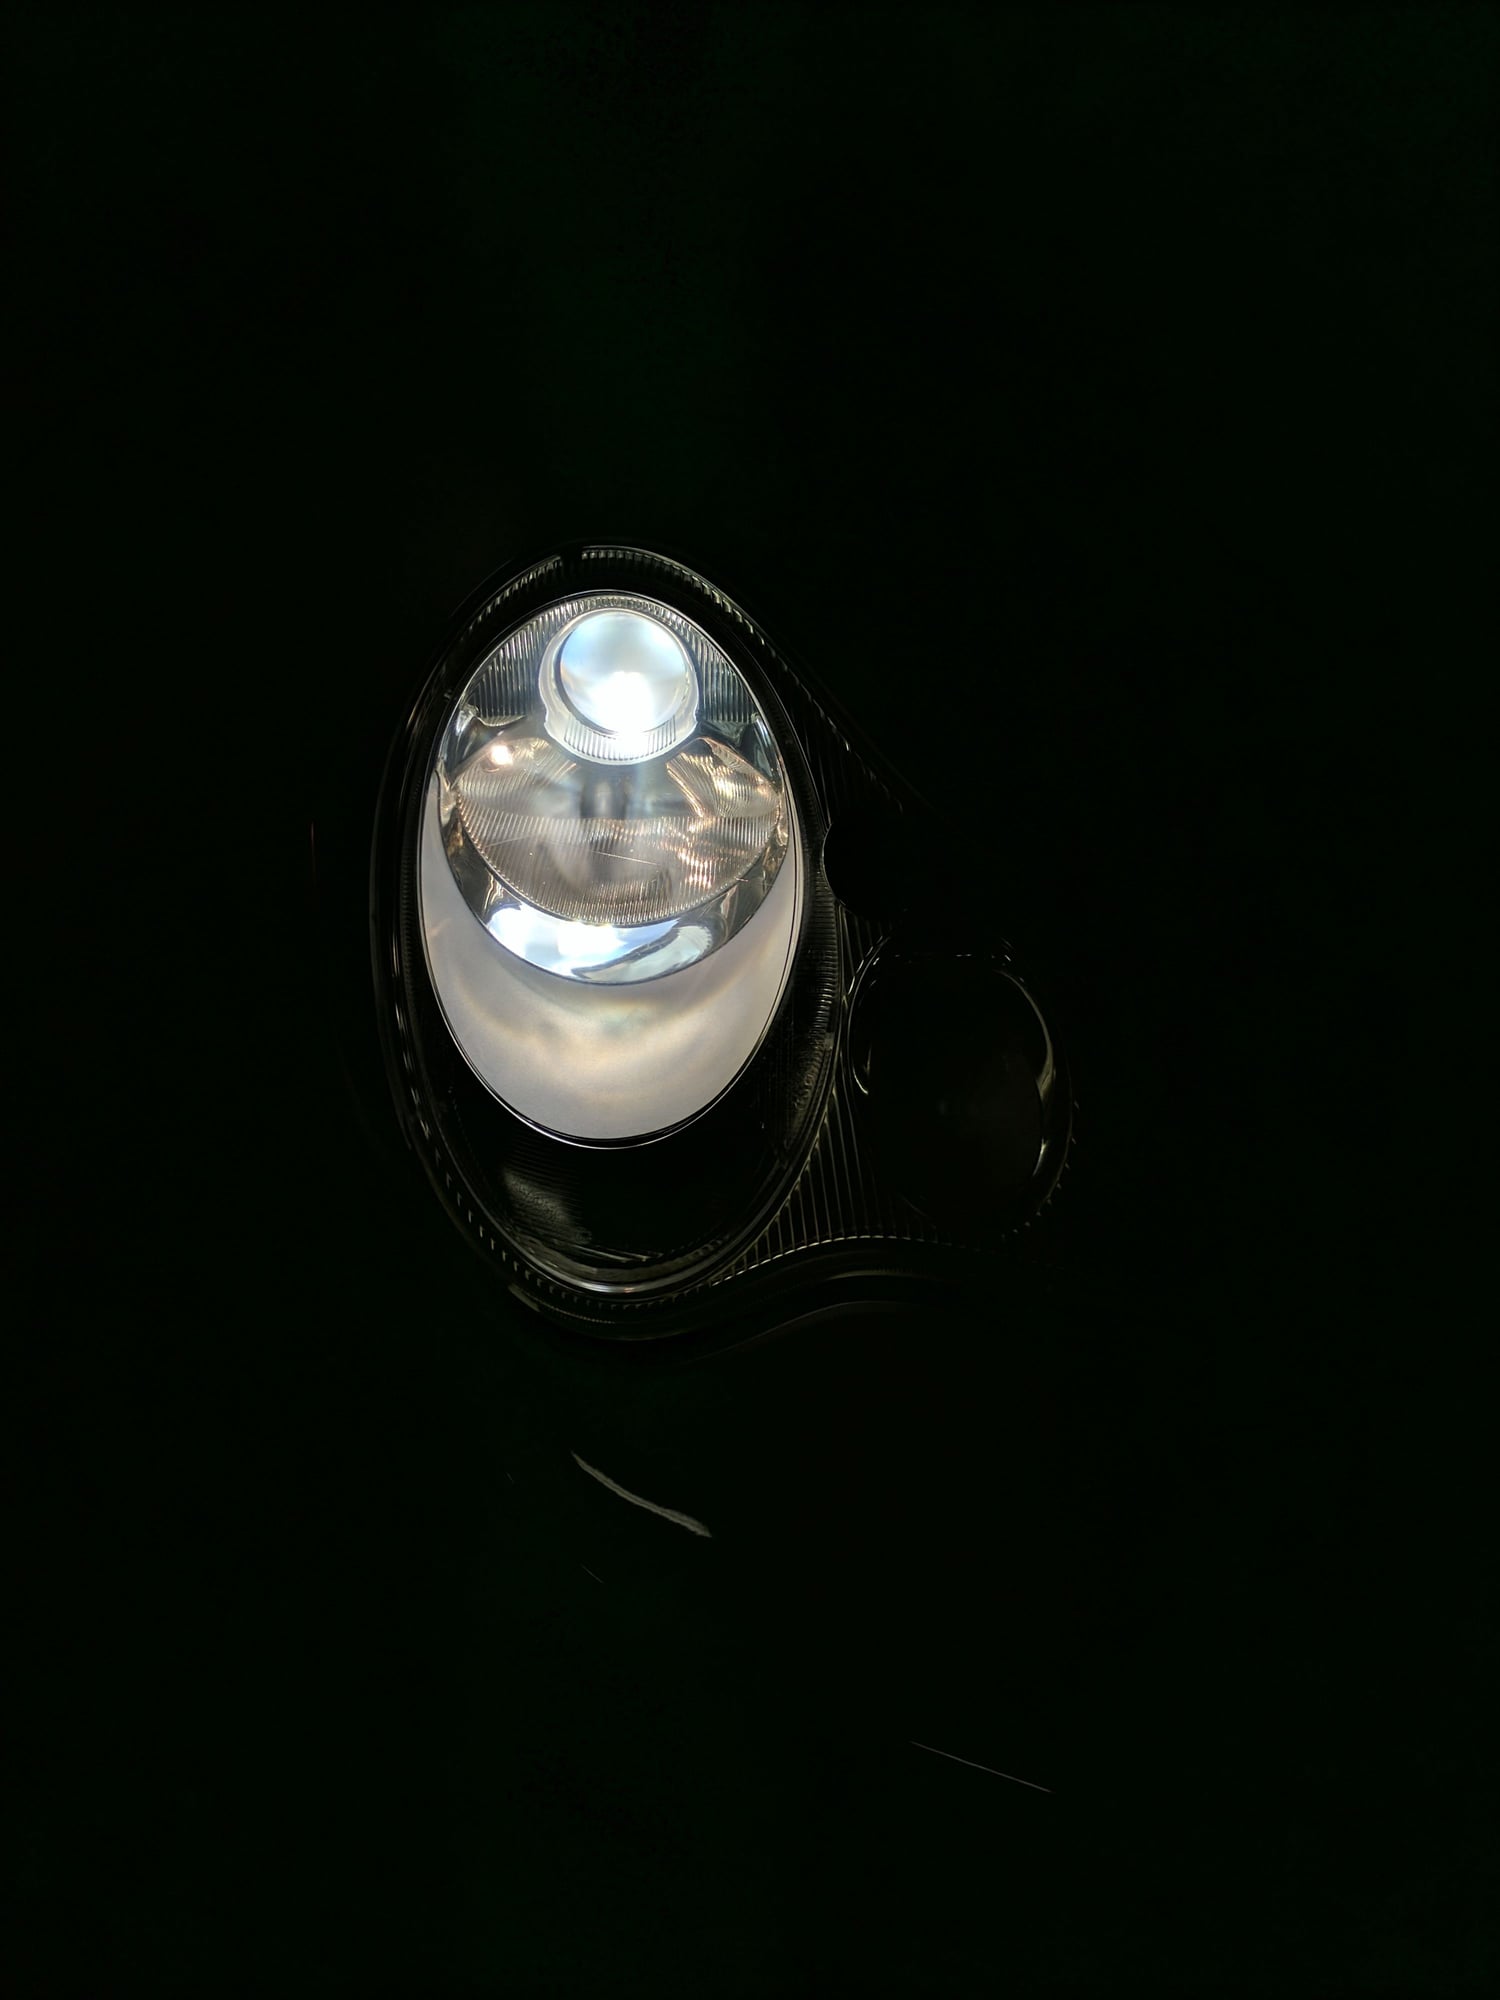
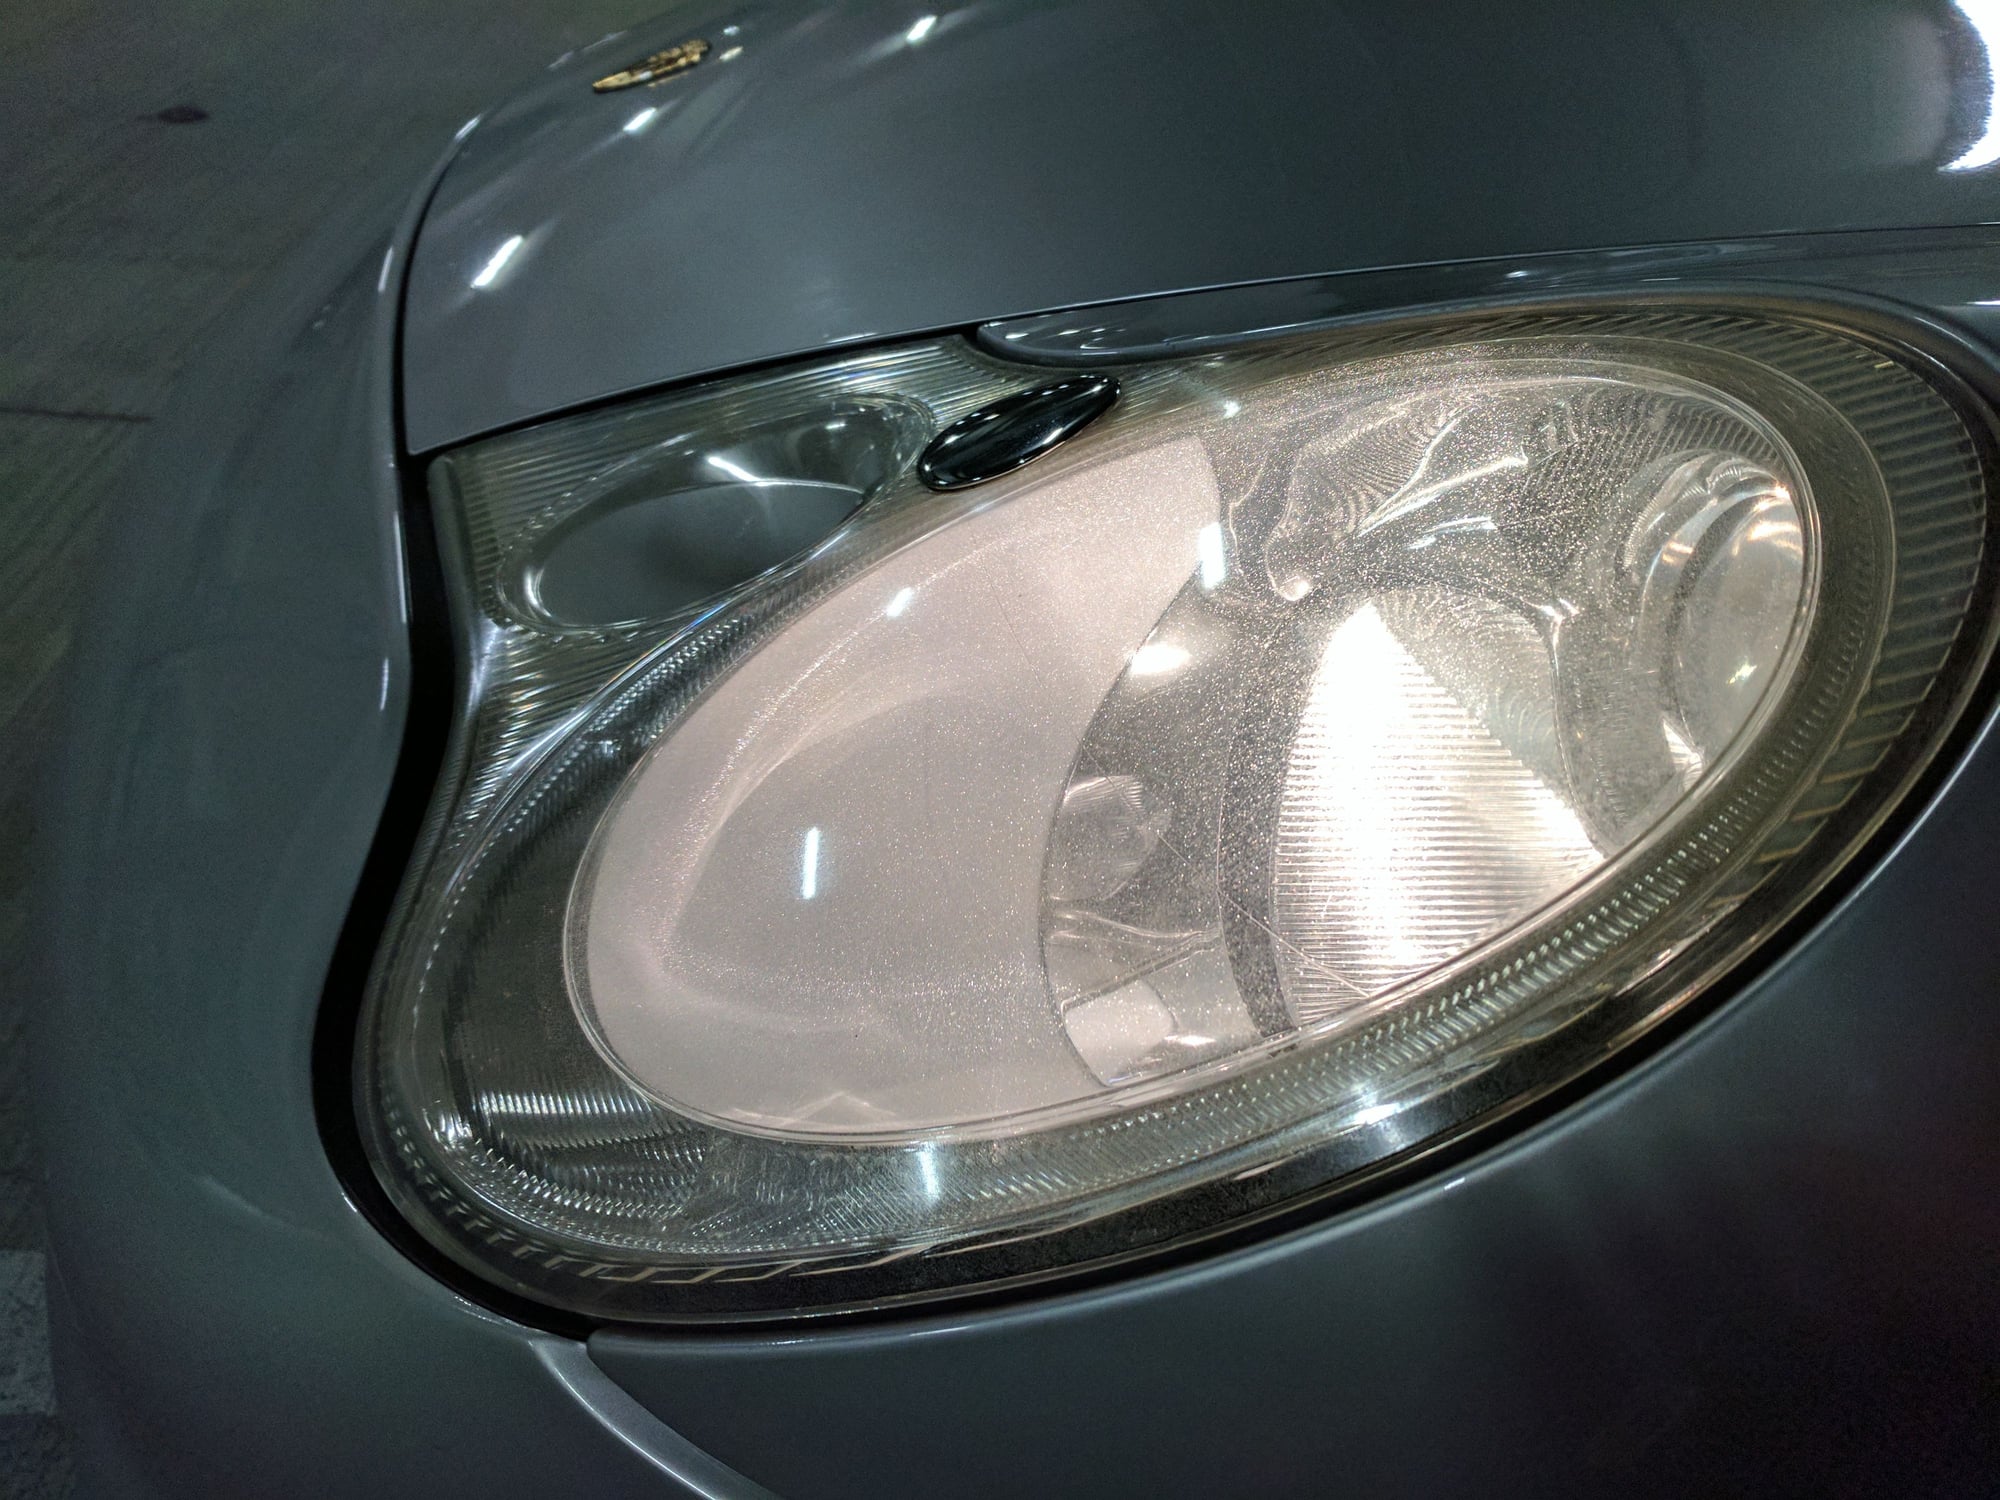
The stock lights are in a pretty sad state. Yellowed and pitted.
Very nice. I also had good success with the Sylvania kit. I did use a little too much of the clear though and got a faint run line between "strokes". Yours look perfect.
Thanks, guys. Yeah, I only used the kit and more 400 grit sandpaper which I already had. All hand wet sanded and polished about 1hr per light.
The kit comes with 400, 1000 and 2000 grits sandpapers, a surface activator, clarifying polish and uv coat. The plastic lens is very hard so I needed to use more 400 grit sandpaper than the kit supplied. The trick is to wet sand with 400 to remove the top yellowed dead layer. Figure at least half an hr for that per light. Followed by 1000 and 2000 for maybe 5min each. Then buff with the clarifying polish for a few minutes. Then the lens will still have a white haze but once you apply the uv coat, they ill become crystal clear. You can see my drivers side light still has some yellow tint on it picked up by the camera. In person both lights have no such tint.
Put 280 miles on it so far. Got a set of new Continental DW's on it (great deal btw at $750 out the door) and they totally transformed the car! I guess I was driving on 8yrs old flat spot tires before.
Returned 28mpg on pure non-stop freeway drive at around 70mph. Engine feels very strong and smooth. Definitely enjoying the extra torque above 3k rpm. No leaks, no warning lights and no issues. All my Durametric numbers stay practically the same.
Just as a reference point, for the 23,386 miles I drove it as a daily driver (inc. 1 DE school and one road trip), I averaged 24.2 MPG. The road trip {San Diego to Ohio and back (via North Dakota)} was 5,469 miles, averaging 69.2 MPH and 26.9 MPG.
Also, the computer indicated MPG reads about 0.48 MPG higher than the actual numbers (my current 997 reads 1.7 MPG high)
Yeah, I saw your post and pics before and thought it was pretty amazing. Do you recall what oil you used at the time?
As I said before your old engine was really healthy and efficient for a 100k engine. Looks like my rebuilt engine is also as good. Hope it gets even better mpg after fully broken in. With the new found torque, it's difficult to keep a light foot at times though
Mobile 1 initially, then switched to Total 5W40 (per suggestion of the guys at Black Forest)
 02-15-2017, 04:55 PM