springs removal question, Shock finally out!!!!!


 02-18-2011, 07:12 PM
#17
Drifting
OK, I hope you have a lot of zip ties, very heavy duty ones. Do your self a favor and go spend a few bucks on a set of spring compressors. I think I paid less than $15 at Harbor Freights. There is a lot of compression on the springs. Trying it with zip ties is dangerous to both you and to your car. I hope your marked the three nuts at the top of the strut so you can put it back in at the same location, you will still need an alignment when all is said and done. The top plate on a C4 has a bearing assembly in it, clean it and grease it while you are in there. You will need the spring compressors to get the top of the strut off and to get it back on.
If you have a C4 your are not going to get the springs/shocks out from under the fenders with some more Work. With a C2 the wheel carrier will usually drop down enough that you can get the top of the strut out from under the fender. With a C4 the drive shaft prevents this. You will need a ball joint separator. You have to separate the ball joint that holds the the wheels carrier to the lower controls arm, and may have to separate the ball joint that holds the main control arm to the front control arm. With this done you will be able to pull the wheel carrier out enough that is can lower enough to get the shock out. You also have to deal with the drive shaft which is held into the wheel carrier with a nut on the end of a splined shaft. The torque on the nut is 300 ft. lbs. I undid one with an air impact wrench put could not get the splined shaft out of the wheel carrier, I think you need a press of some kind. Rather than taking the drive shaft out of the wheel carrier I slid the other end out of the differential. The splined shaft on the differential end just slides in and out of the differential. To really see what you are doing you need to take the plastic shield off the bottom of the car. Once the shaft is out of the differential protect the splined end with a cloth.
Once the shaft is out of the differential you can basically take the whole strut, wheel carrier and drive shaft out as an assembly. Loosen the blots on the carrier that holds the strut in and you can remove the strut.
Do you have manuals, there are some diagrams of this in the manuals. Don't have pictures but I can help guide you through this.
02-18-2011, 07:55 PM
#18
Odd Posts
Rennlist Member
Rennlist Member
You will need a ball joint separator. You have to separate the ball joint that holds the the wheels carrier to the lower controls arm, and may have to separate the ball joint that holds the main control arm to the front control arm. With this done you will be able to pull the wheel carrier out enough that is can lower enough to get the shock out. You also have to deal with the drive shaft which is held into the wheel carrier with a nut on the end of a splined shaft. The torque on the nut is 300 ft. lbs. I undid one with an air impact wrench put could not get the splined shaft out of the wheel carrier, I think you need a press of some kind. Rather than taking the drive shaft out of the wheel carrier I slid the other end out of the differential. The splined shaft on the differential end just slides in and out of the differential. To really see what you are doing you need to take the plastic shield off the bottom of the car. Once the shaft is out of the differential protect the splined end with a cloth
02-18-2011, 09:16 PM
#19
Rennlist Member
Join Date: Nov 2008
Location: Mooresville, IN (Life Long Cheesehead)
Posts: 5,815
Likes: 0
Received 54 Likes
on
35 Posts
That is exactly what I did and worked like a charm. Loosened bolts removed the cross bracing without getting into splines and other ugly stuff. It creates a teeter totter effect from LF to RF. Once the 1st comes out the 2nd just falls out. Still have to be careful not to scratch the fender.
02-19-2011, 12:38 AM
#20
Three Wheelin'
I did this last summer and posted some pictures and words which may help here:
https://rennlist.com/forums/7391952-post19.html
Three points:
1) At first I did not remove my sway bar link. This prevented me from bringing the top of the strut low enough to clear the fender. I also bent that sway bar link. It's written in my post.
2) I used an impact wrench to spin off the top nut. With the impact wrench I did not have to hold the centre post in place.
3) There was no tension on the spring at all. I took off the nut and the whole thing came apart very easily. I did not have to use spring compressors. I think you could tell if the spring is tensioned. If it wiggles up and down or back and forth at all, then there is no tension.
Mis en garde, bon chance.
02-19-2011, 10:36 AM
#21
Race Car
Thread Starter
i dont see the information on how to remove the diffential stuff...
slackening the differential bolts
where is that??? any picture
seems like im at a dead end and need to remove those
slackening the differential bolts
where is that??? any picture
seems like im at a dead end and need to remove those
02-19-2011, 11:41 AM
#22
Drifting
Jasper's pictures are for a C2, no drive shafts to deal with. I did not try to loosen the differential bolts to get some play in the drive shafts so I am not sure how this would work. But I can tell you that the shafts slide right in and out of the differential. What I forgot to say in my post is that when you slide the splned shafts back into the differential you have to make sure they go all the way in. There are races on the shaft and bearings in the case. Use a wooden drift and a small hammer to lightly tap the shafts back in until the races are all the way into the bearings. This is why you need to remove the plastic shield on the bottom. You can do it with the shield in place but it is harder to see. When I first put mine back together I only slid the shafts in by hand and they were not all the way in. Went for a drive and had differential fluid spraying all over. Had to tap the shafts the rest of the way in and refill the differential (the fluid is expensive and hard to find unless you want to buy a big container).
Not sure but I think it might be easier/faster to slide the shafts out than to loosen/lower the differential. With the PSS10's you use some of the parts from the original struts including the top bearing plates adn the spring compressors were definitely required. And if there is compression/tension on the springs zip ties are just an accident waiting to happen.
Not sure but I think it might be easier/faster to slide the shafts out than to loosen/lower the differential. With the PSS10's you use some of the parts from the original struts including the top bearing plates adn the spring compressors were definitely required. And if there is compression/tension on the springs zip ties are just an accident waiting to happen.
02-19-2011, 12:41 PM
#24
Rennlist Member
Join Date: Nov 2008
Location: Mooresville, IN (Life Long Cheesehead)
Posts: 5,815
Likes: 0
Received 54 Likes
on
35 Posts
Seb- The biggest tip is to remove the plastic underbody cover if you have not done so yet. Crawl underneath and you will see what is in the way. I'm sorry but don't have pics.
02-19-2011, 03:05 PM
#25
Race Car
Thread Starter
alright, i will remove the plastic and see if i see the nut
do i only need to remove the shaft from the differential and/or the one in the wheel carrier...
do i only need to remove the shaft from the differential and/or the one in the wheel carrier...
02-19-2011, 04:01 PM
#26
Race Car
Thread Starter
are you guys talking about the 6-7 bolts that hold the boot to the differential, are you talking about that when you say loose them...
heres some pictures from underneath, do i have a fluid leak in the driver boot?
also, in another picture, is my swaybar bushing done?
also, is it normal that my swaybar is rubbing the arm? that might explains the knock i hear when driving
also, leak driver wheel boot???
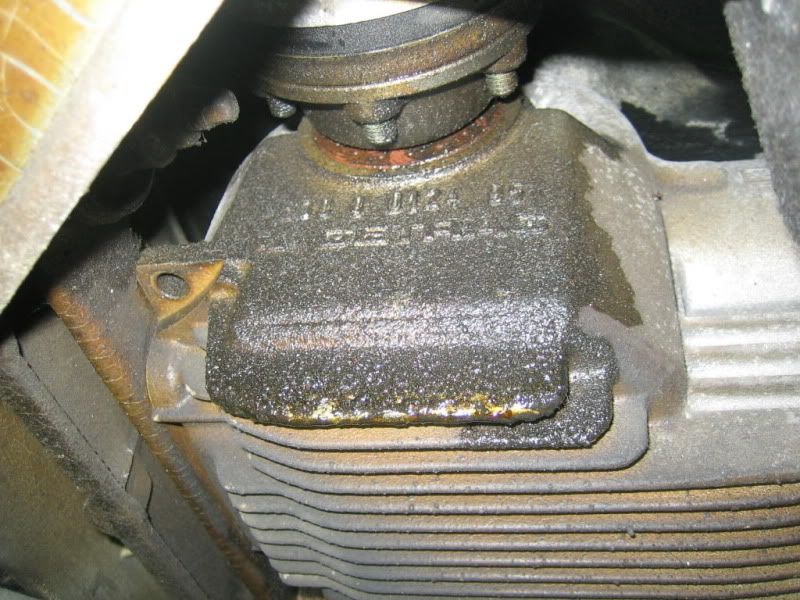
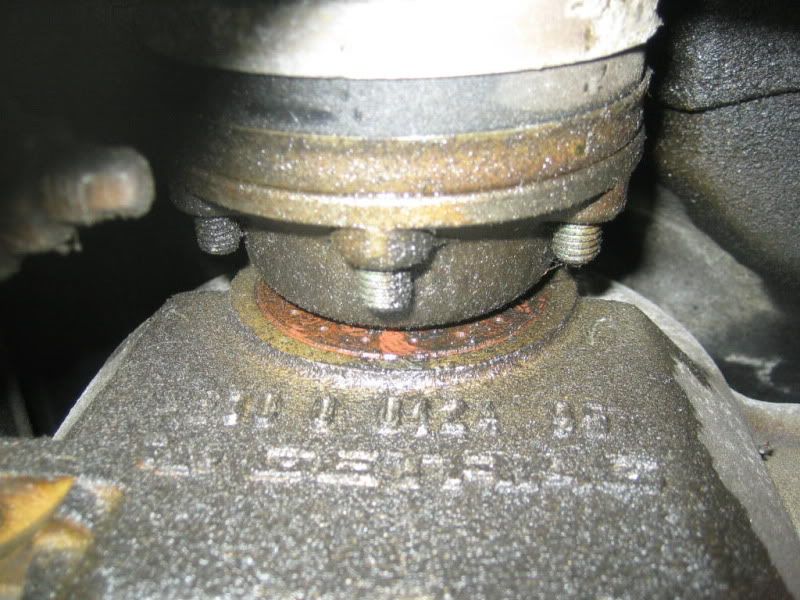
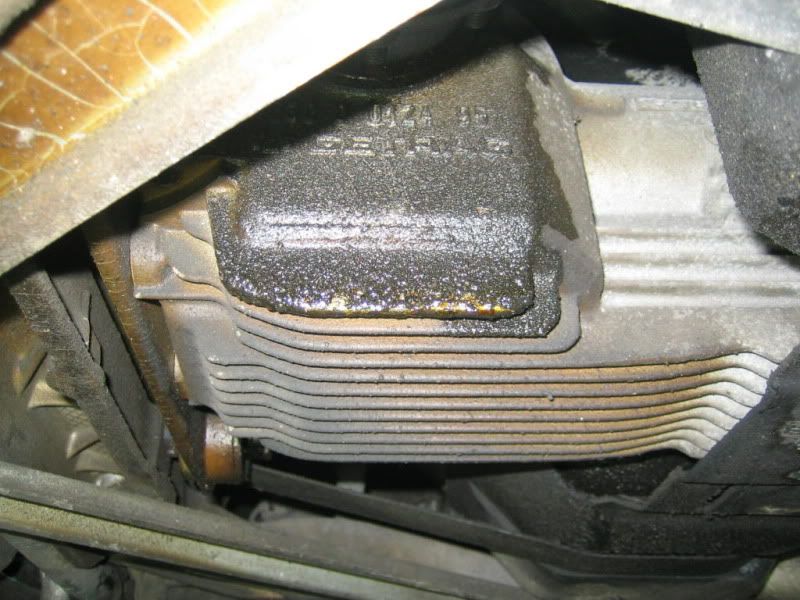
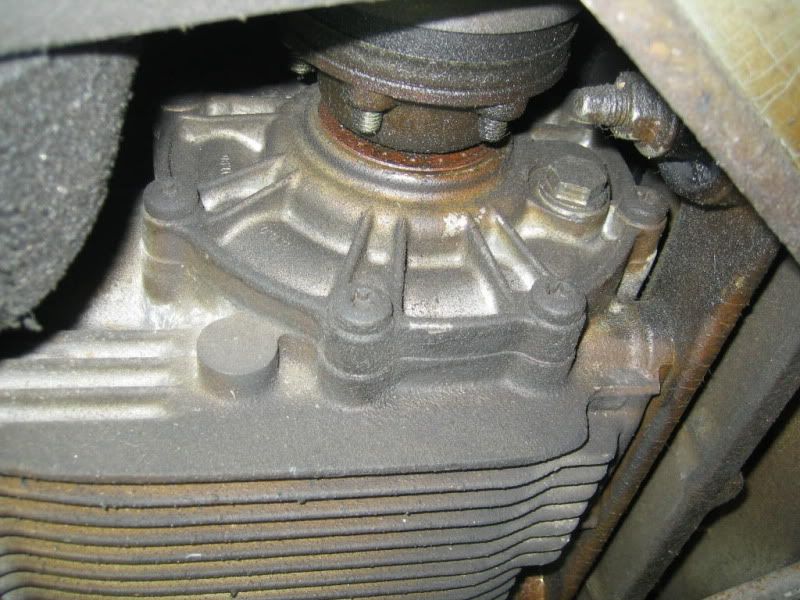
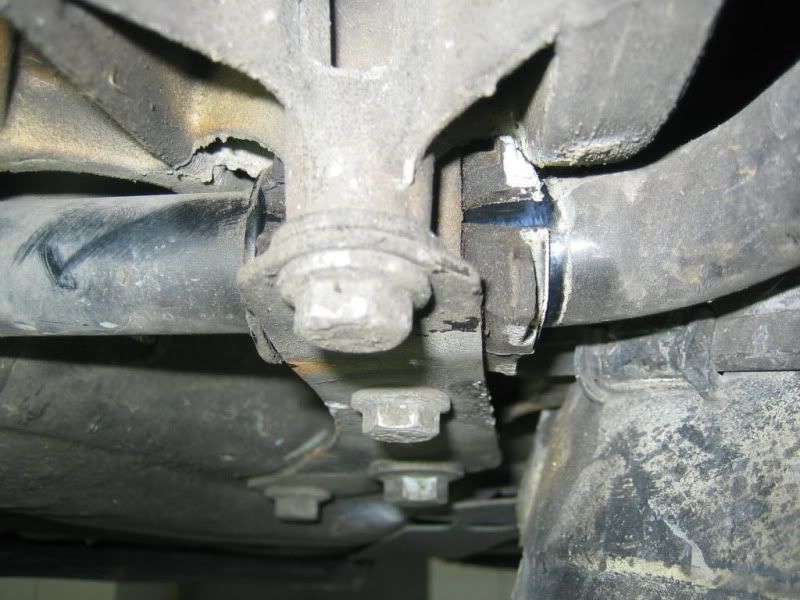
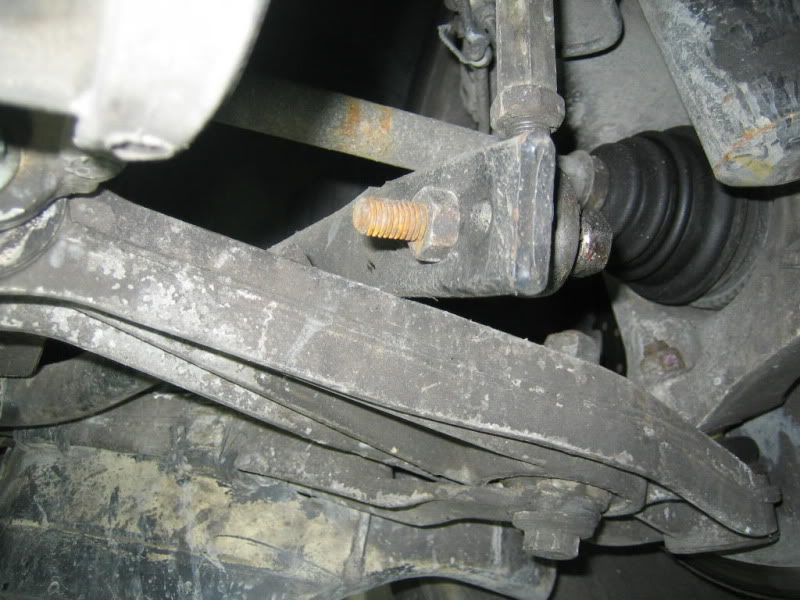
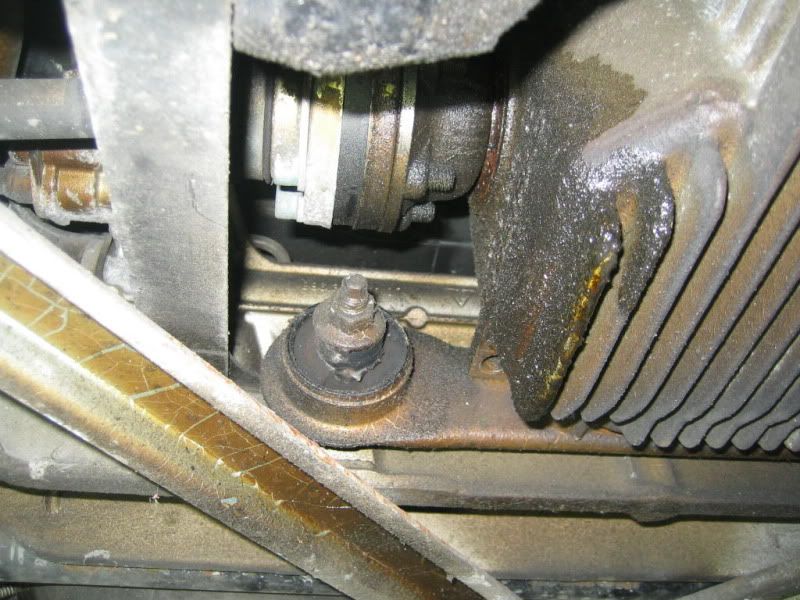
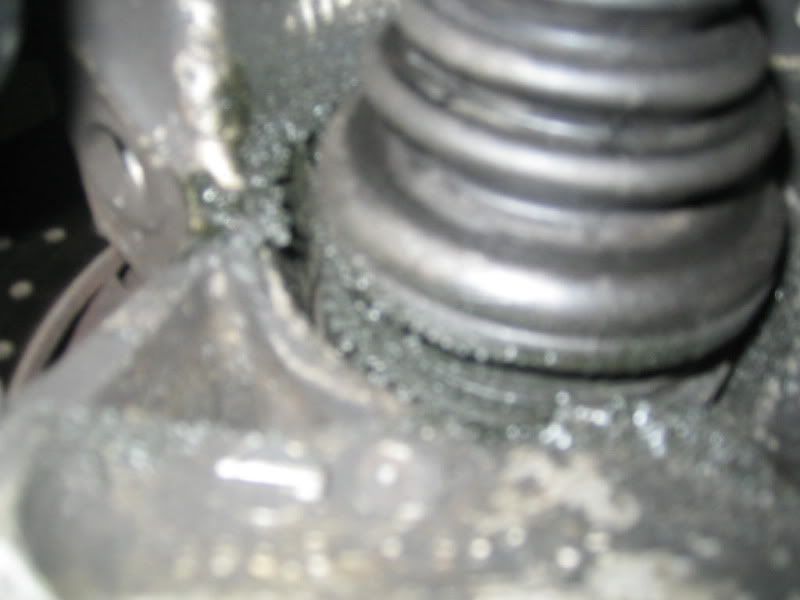
heres some pictures from underneath, do i have a fluid leak in the driver boot?
also, in another picture, is my swaybar bushing done?
also, is it normal that my swaybar is rubbing the arm? that might explains the knock i hear when driving
also, leak driver wheel boot???
02-19-2011, 06:03 PM
#27
Race Car
Thread Starter
hehe, im so happy, finally the driver front shock is out,
thanks everyone,
i did remove the 6 shaft bolts, and damnit you need to pry so much to get the shock out
but its done,
more update tomorrow
thanks everyone,
i did remove the 6 shaft bolts, and damnit you need to pry so much to get the shock out
but its done,
more update tomorrow