When you click on links to various merchants on this site and make a purchase, this can result in this site earning a commission. Affiliate programs and affiliations include, but are not limited to, the eBay Partner Network.
Ever get that dreaded, sinking feeling everything is going to well w repair ?
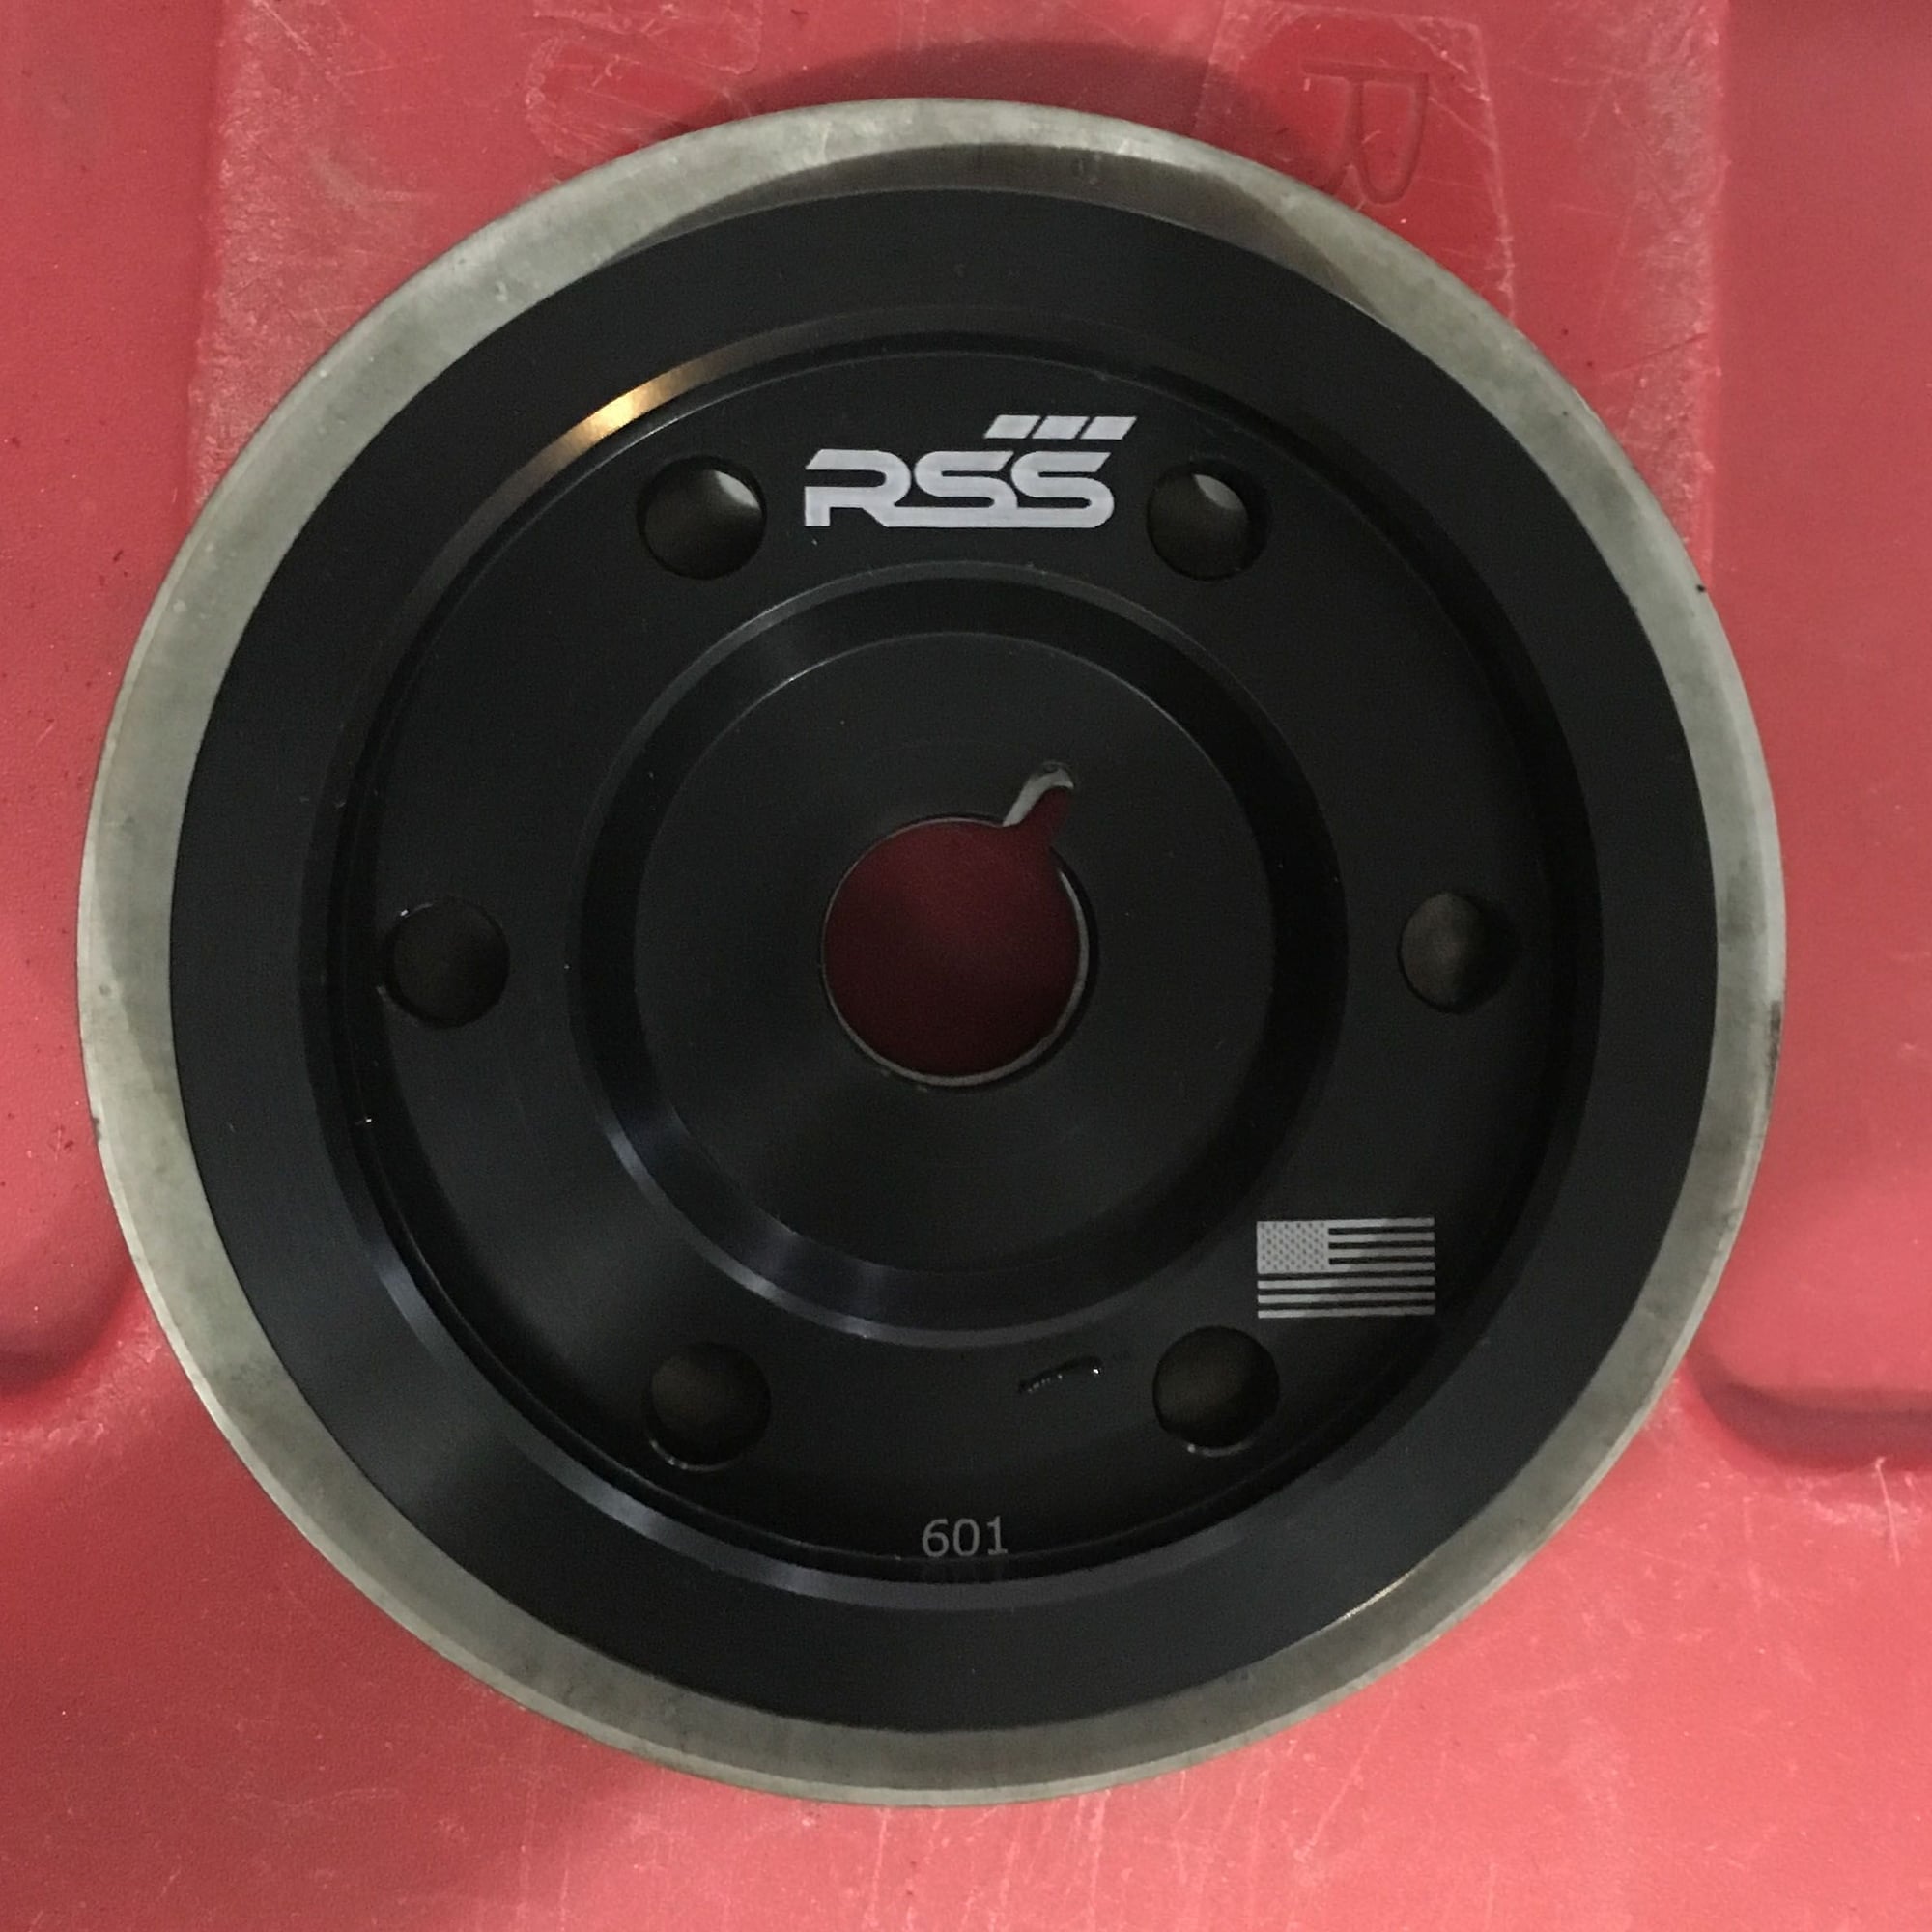
So I had bought one of RSS Mike's (Thank you for Rennlist discount, Great product by the way ) Under-drive Pulley's and after recently changing my motor mounts and oil pressure sensor ( in what have you done to Your 996 today ?) I decided I needed to change it out.
I found some free time a few nights later this week during an evening rain storm to tackle replacing my crank pulley with one of RSS's under-drive pulleys I had bought late last year.
I got started, I got out 1/4 socket set ,1/2" ratchet and breaker bar w 24 and 12mm sockets , removed airbox, and was staring at crankshaft pulley and bolt under the white cast cast of a 60W CFL...
I turned crankshaft over to TDC on pulley mark and inserted 8mm supplied bolt. I proceeded to take the 24" 1/2" breaker bar w/ 24mm 6 point attached and started to remove crank bolt.
The Bolt took some extra effort to break loose, but no issues. I removed pulley. cleaned up area, taped off end of crankshaft w foil duct tape to protect as much as I could for next step.
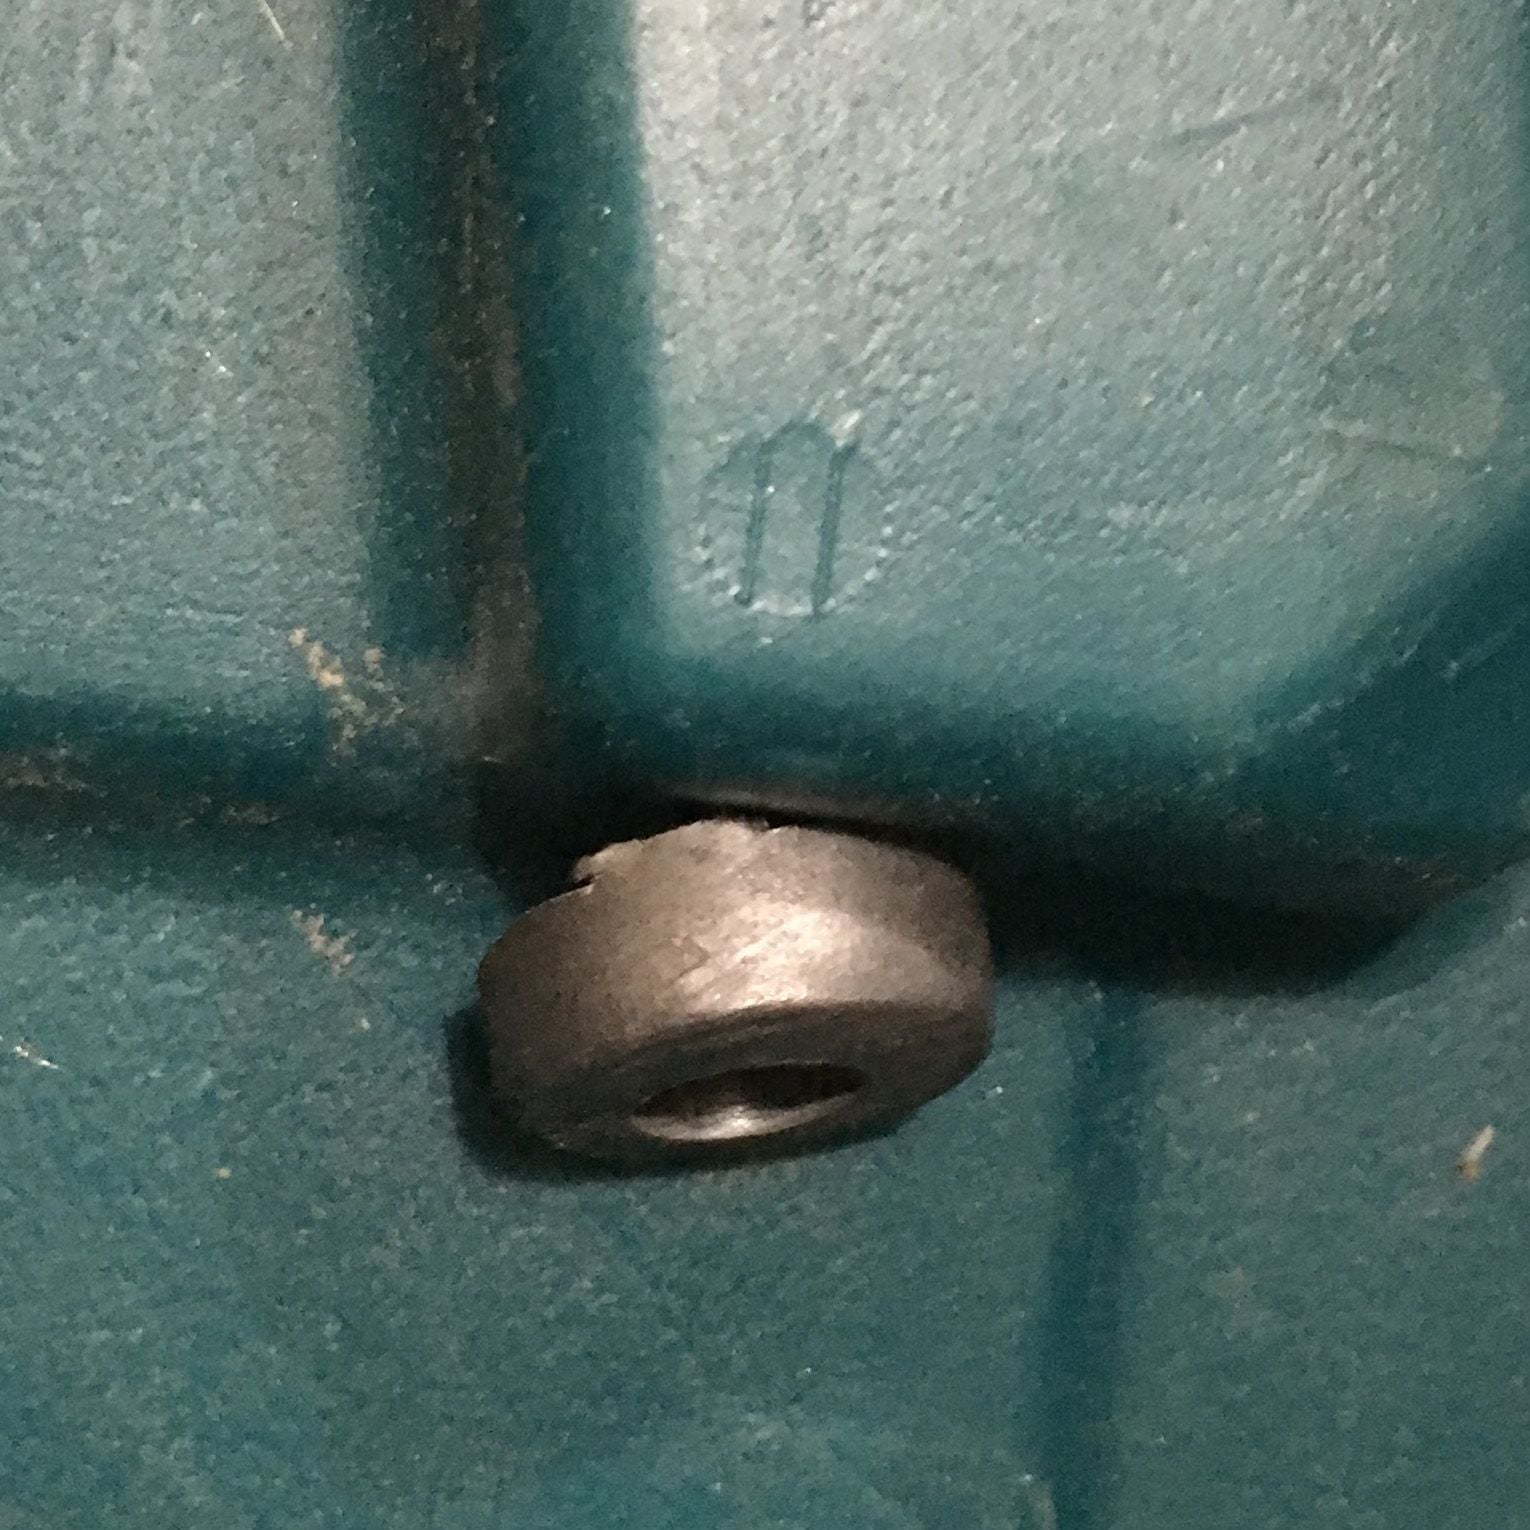
Next, I used my Makita multi-tool w/ a new Bi-Metal blade and proceeded to cut off approx. 1/4 " from the TDC timing boss casting. (where 8mm bolt held pulley above)
No issues, I had to make a secondary cut to get the total 1/4", as I didn't want to cut to much. It looked good, pulley fit good, I then took 90 deg die grinder and cleaned up boss casting area on engine (not in pictures)
Good so far. l cleaned up area, removed all filings, w/ low pressure air blow nozzle. (no pictures ), I got out new Porsche supplied crankbolt and thrust washer I previously purchased from Porsche of Village in Cincinnati. Order ahead as washer was not a stocked Item this time.
Bolt $3.80 - Washer $8.50 (first time for everything !!!)
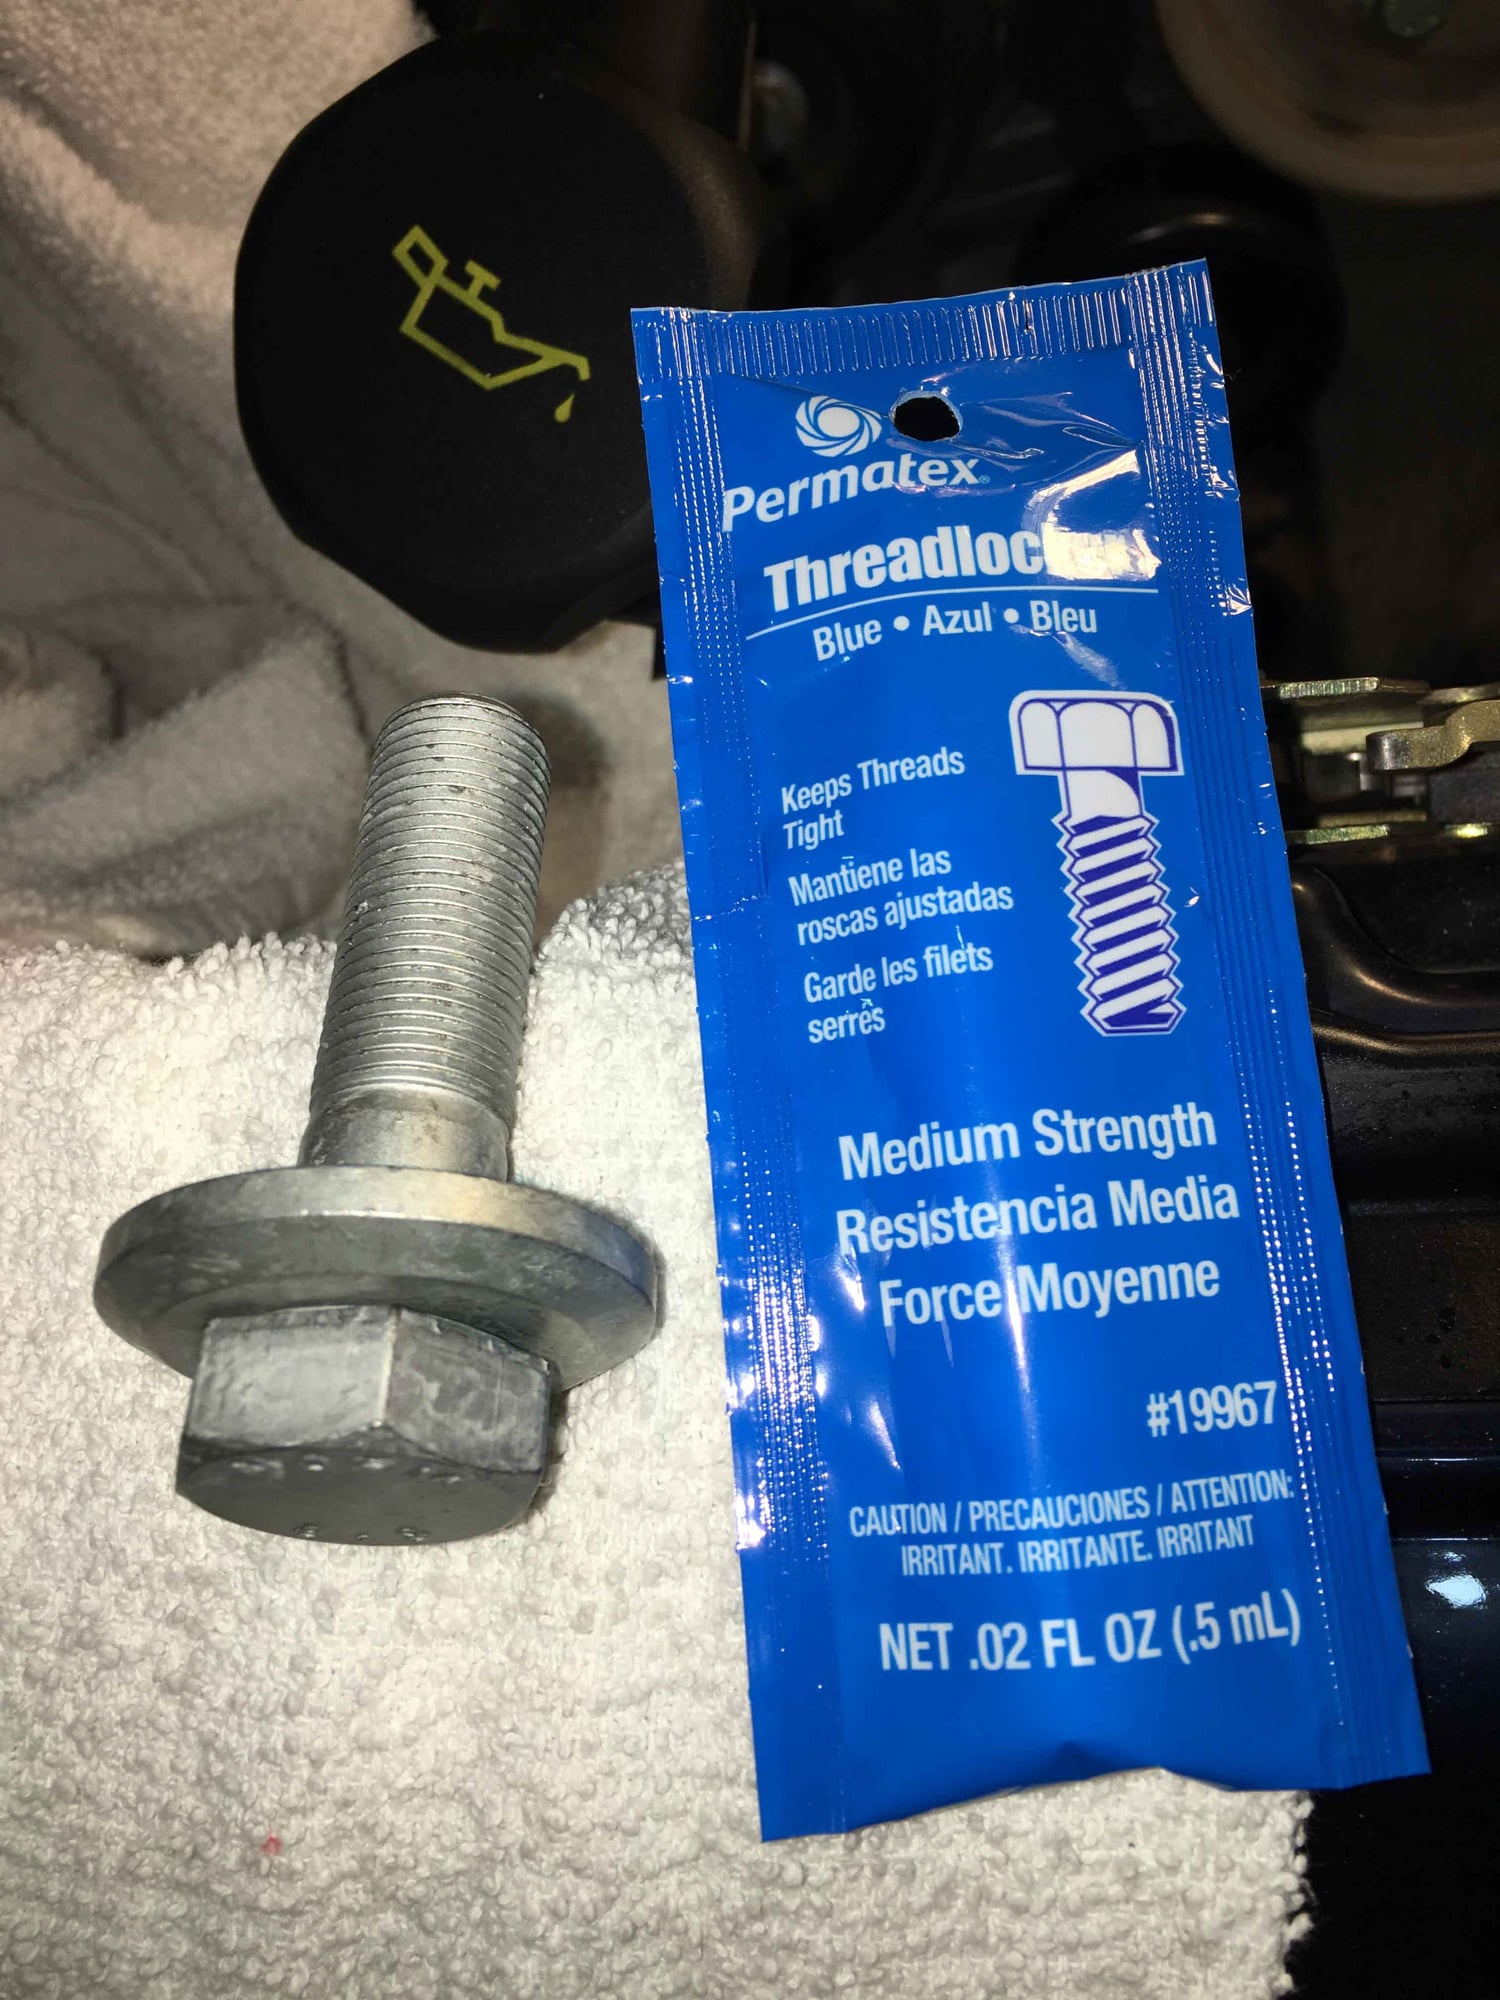
I cleaned crank bolt hole again w/ air, I put on small dab of Permatex Blue thread locker (medium hold), and placed pulley and then threaded bolt/washer in.
I tightened w torque wrench w multiple incremental passes of 5 ft lb. to the specified 37 ft lbs. plus 90 Deg additional turn.
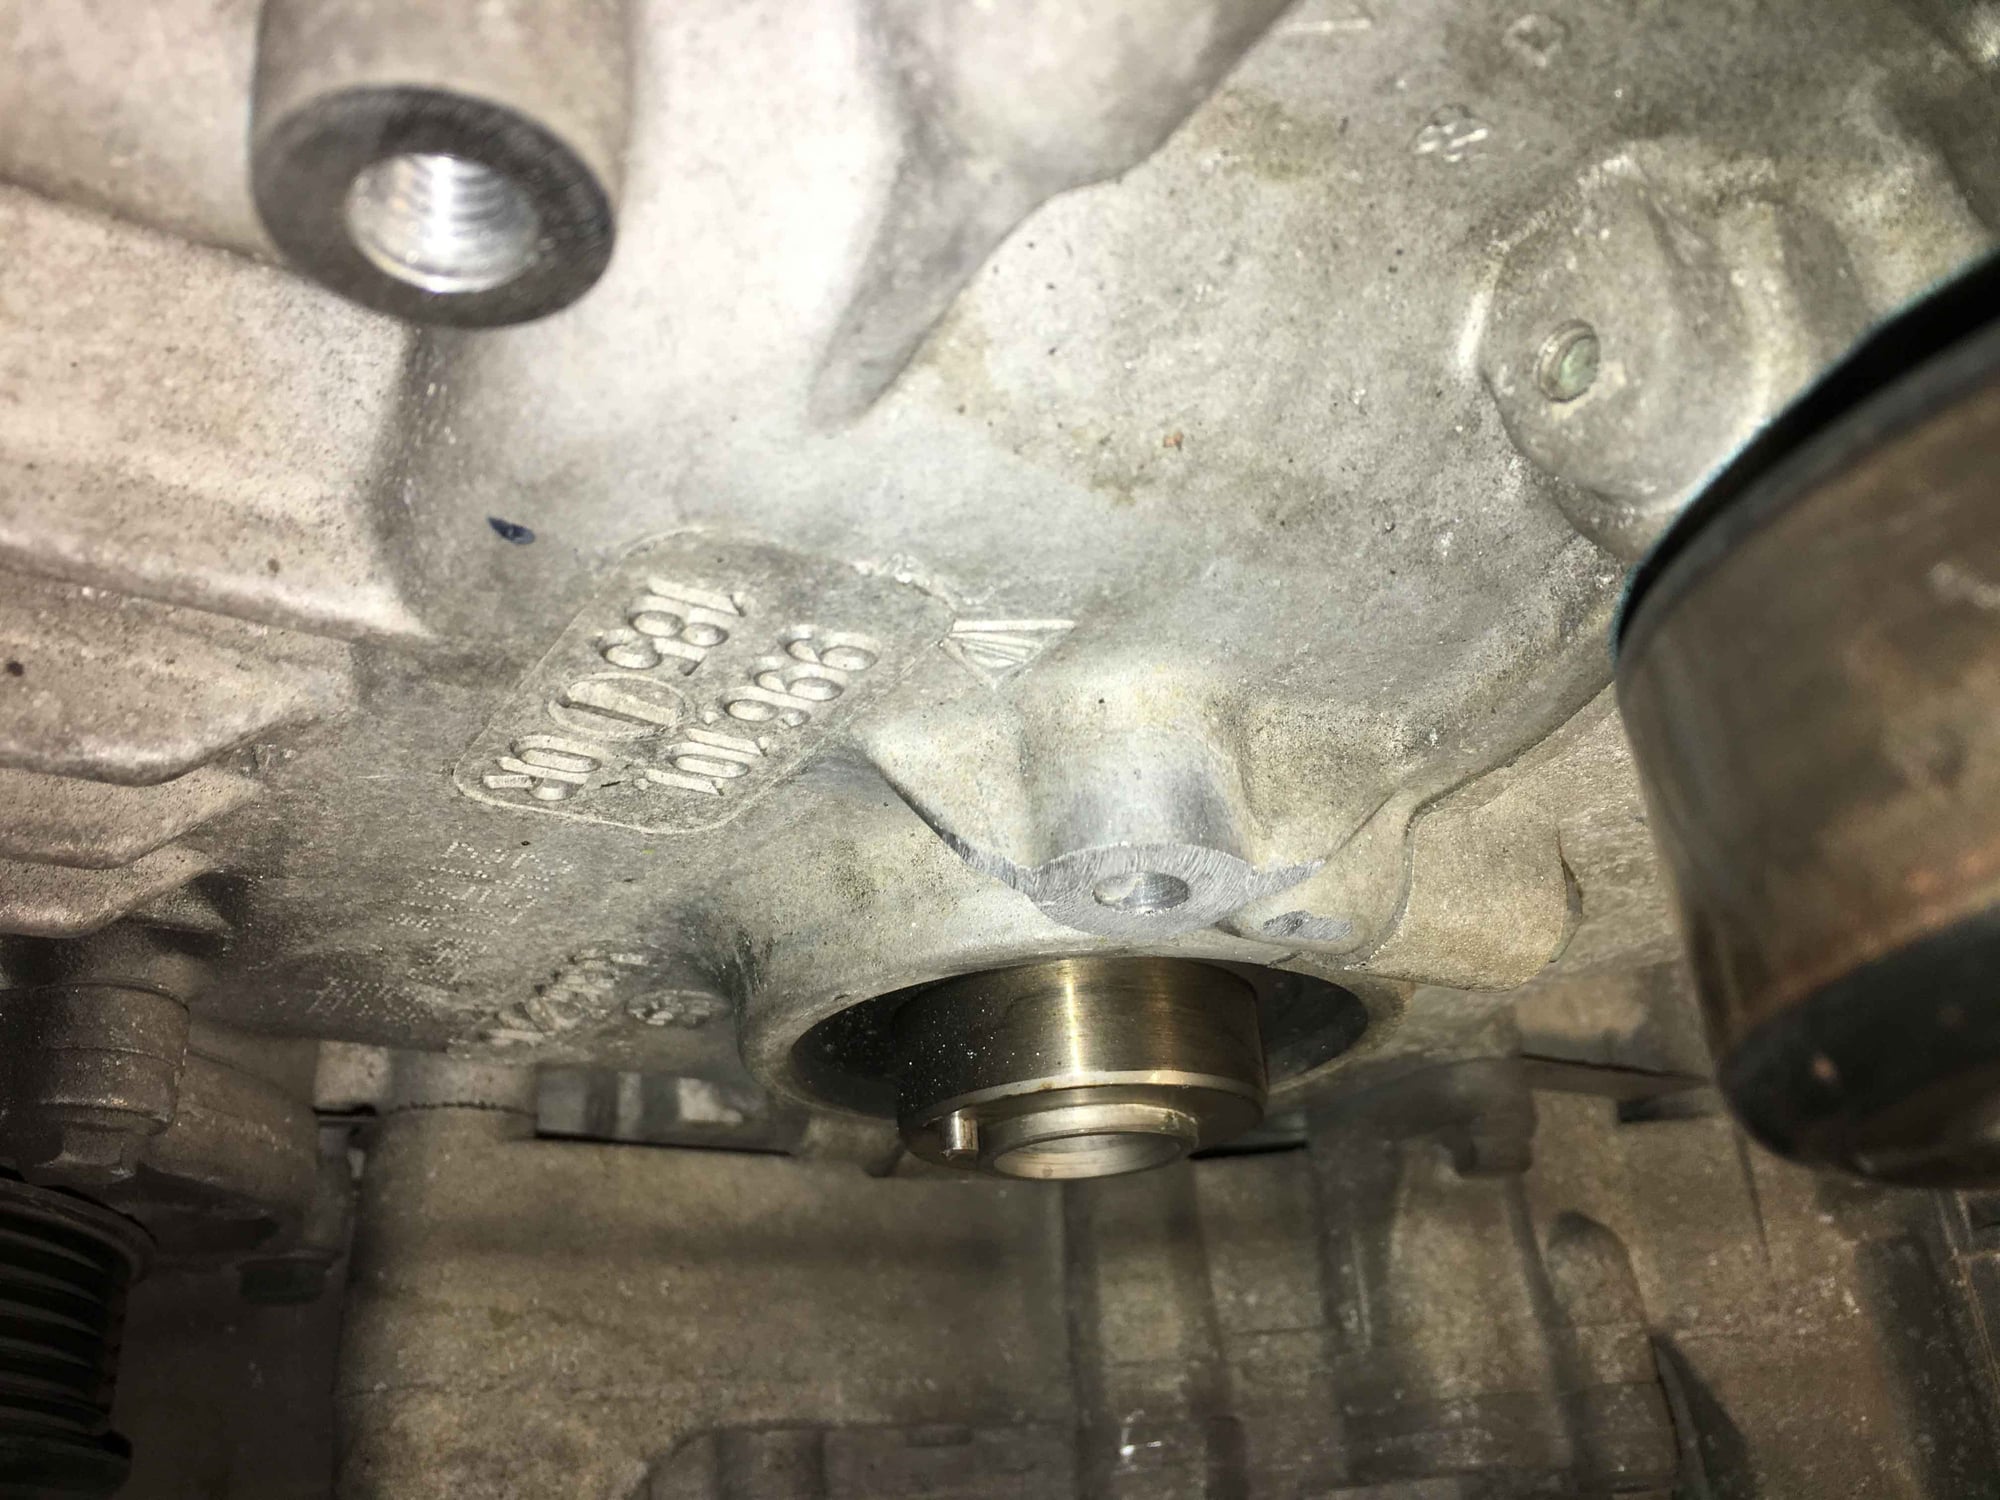
OK, everything looking great, I grabbed the Idler pulley , green colored bolt and finishing disc (looks like washer but mounting plate usage. Then proceeded to thread assembly into open threaded boss hole above crankshaft. I hand tightened till too hard to proceed which possibly was 1 turn from tight on pulley !
Then I grabbed A 12"- 3/8" Rachet and proceeded to tighten to 25 ft lbs. Ii kept turning and it felt like it was getting tighter. Tten I thought something is WRONG just as Bolt snapped off. ( see Picture w Yellow towel)
:banged: WTF dude,
I'm staring at end of remaining bolt bit flush w perfectly good engine casting, The Bolt that points directly at the close metal rear cross member in engine compartment,
Yeah the one 5 inches away from broken bolt that will keep you from drilling it out and using an easy out to remove left over piece.
As my late Mom would say at times like these; **** the Bed !
So after some thinking and pissing my pants (figuratively) and I proceeded to get some more tools out and used my Dremel w Flexible shaft, and spotted the end of remaining bolt to drilling.
That went good, but all of my drill bits were of standard tool length,wWay to long for angled head drill and bit to get at broken bolt.
No problem, grind one or two down. Yeah in 3 years maybe. I proceeded to think about finding a Hi Speed machine bit (Shorter length for machine shop use where stability is needed.
I didn't any have of those bits any but knew they existed from my machine tool service days in 1980.
I found them online at Grainger , Saw they had ones local to me in Fairfield OH.
I went the next morning and picked up one each, a 1/16", 1/8", 3/16" and 1/4" bits just in case I ran into issues getting it drilled out.
Also I picked up 1 new EZ Out for 3/16" hole (Total cost less than $12.00 everything.
Using my 3/8 right angle Milwaukee M18 drill, I started w/ the 1/8 " bit knowing I'd break the 1/16 bit off in short order.
Wow, the new bit started cutting right into the broken bolt threads that were in the boss remaining.
I changed the bit to a 3/16" and again drilled l it out wider, though not as deep (1/8") . I cleaned out hole cutting oil, shavings, etc.
Using the new easy out and a tap wrench, I proceeded to left turn the tool/wrench into remaining bolt and instantly the remaining bolt is backing out of the hole,
Bolt fragment removed, I took a deep breath, and proceeded to thread chase block boss threads for replacement bolt. !!s Important note in that, when I first started bolt into hole, the residual corrosion dust from previous bolt had made new bolt also hard to thread into hole. Which is what I think kept old bolt from going in smoothly and easily as bolt threads were clean.
Again replaced idler assembly on new 8mm x 60mm-1.25 pitch Grade 10.9 bolt (very similar to Grade 8 in SAE ?) I threaded it in and proceeded to tighten to 25 ft lbs.
No issues this time. Replaced the Serpentine belt with one purchased from RSS and rest went as expected.
I haven't tried driving car yet,but did start it up and run for 45-60 seconds as I'm still awaiting factory bol that t is on way, though which I might not replace .
I will follow up on that soon . Reason is old bolt(s) have the green coating on them which I'm assuming helps with anti corrosion properties
Sorry for long winded story, but hopefully someone will read and learn from experience,
Make sure threads are extra clean in bolt holes as possible, or better yet and I know better, If something feels wrong, STOP sooner
I can supply part numbers for Bolts, Washer Bits etc. if anyone interested.
Everyone have a good weekend
2 pulleys original n RSS Ready to cut TDC Boss Under Idler Pulley, Crank is under Foil/ Factory Crank Pullet removed Makita Multi Tool w BiMetal blade Cut off Boss approx 1/4" needed, Boss cut, right be blowing off residual aluminum flakes, Idler Bolt boss still clean but awaits my lucky day timing.... New Crank Bolt and Thrust washer w Med Thread locker Torque to 37 ft lbs plus additional 90 deg turn Oh **** Broke bolt remaining EZ Out to rescue Broken bolt right of new 8x60mm 1.25 pitch 10.9 bolt
Last edited by Mike Mullins; 06-08-2019 at 02:09 AM.
Well done Mike! I hate when stuff like that happens, but love it when a plan comes together to fix it! I just had one last night with a rubber electrical connector waterproofing seal disintegrating on me, but still don't have the "plan coming together" part just yet
I even started tourqing at lower number < 20 ft lbs
Originally Posted by 808Bill
Nice save..Another reason to confirm your torque wrench is accurately calibrated.
I used to be calibration tech in Navy , NWC Calibration Lab. I had it checked couple years by a old Cal Tech workmate that does that here in Cincinnati.
I think bolt was previously fatigued, threads dry from corrosive removal. I call it dry farting.
I made mistake of not cleaning hole or oiling threads on bolt possibly. Both were clean to eye. I was afraid oil give false reading, should have known better.
I also should have used my smaller torque wrench 3/8" drive beam type. I had just tightened Crank bolt.
Best investment ever,, a set of nitride reverse rotation drill bits and a right angle drill,,
use a dremel for a center punch and when you start drilling it almost always walks the broken one out..
if you get the hole deep, an extension tip on a cam of circuit freeze in the hole will help..
 06-07-2019, 11:36 PM