When you click on links to various merchants on this site and make a purchase, this can result in this site earning a commission. Affiliate programs and affiliations include, but are not limited to, the eBay Partner Network.
This was my first attempt to restore the headlights of my 996 C4S 02'
I tought I would share my experience with others as I learned alot during this project.
I started from zero and had no experience at all with sanding paint and buffing.
I wont cover how to take off the light water jet as it can be found pretty much everywhere but I used the technique with the air compressor to get them out.
So here the material list I used:
-800 grit water sandpaper
-1000 grit water/dry sandpaper ( square for water, 5in round dry)
-1500 grit dry sandpaper (5in round)
-Orbital sander
-SprayMax 2K clear galmour clear coat 3680061 -Meguiars Ultimate compound -Isopropylic alcohol -6inch electric buffer with polishing pad -Caruba wax
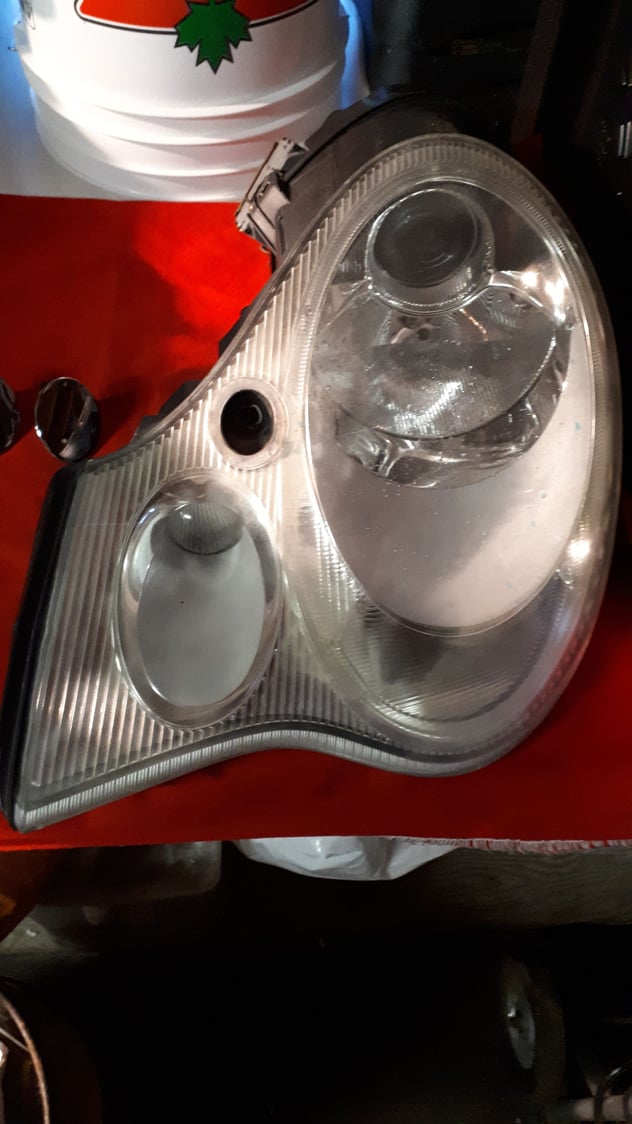
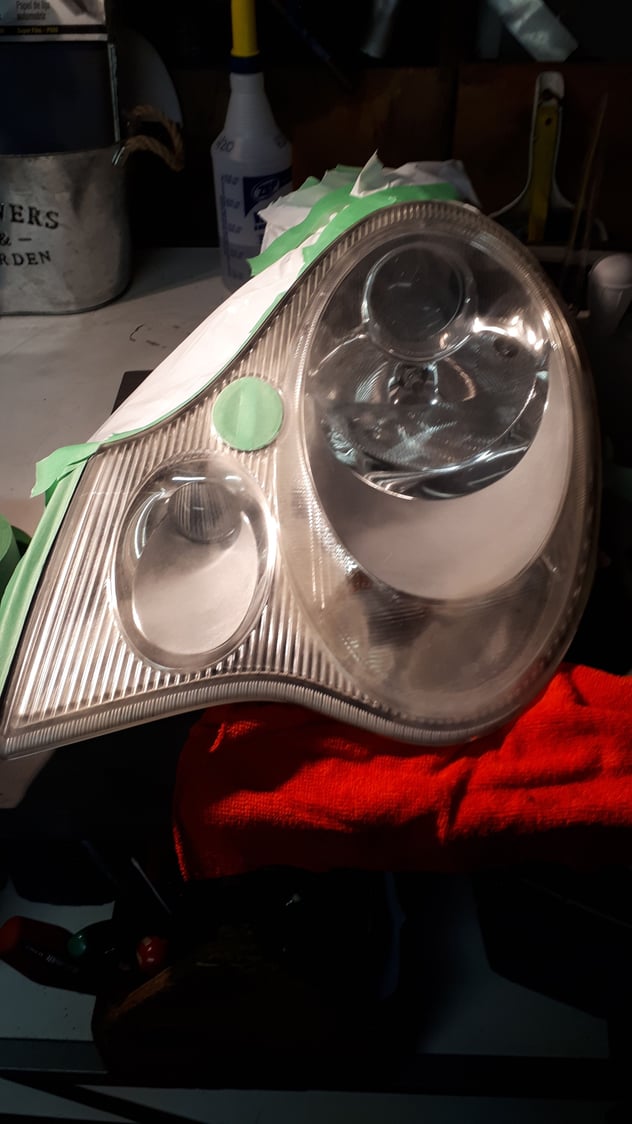
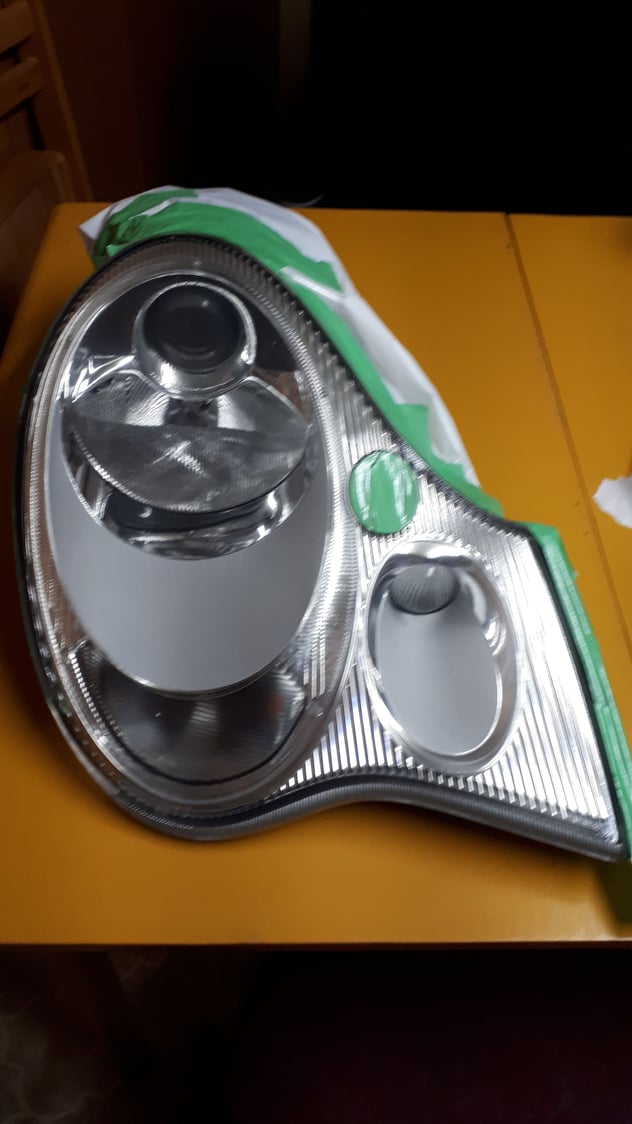
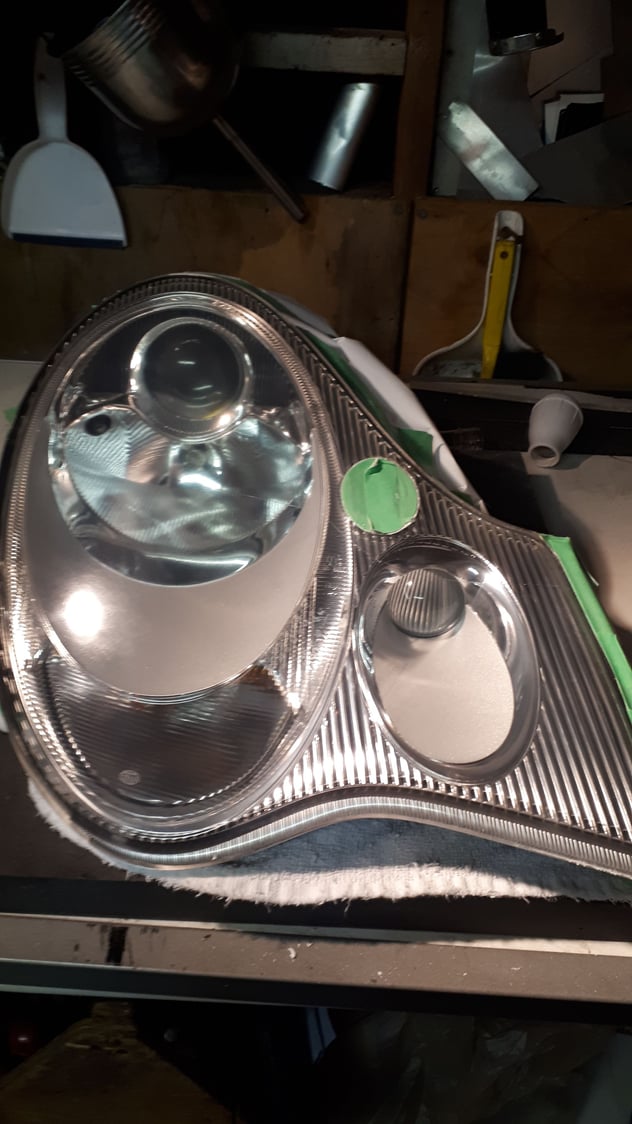
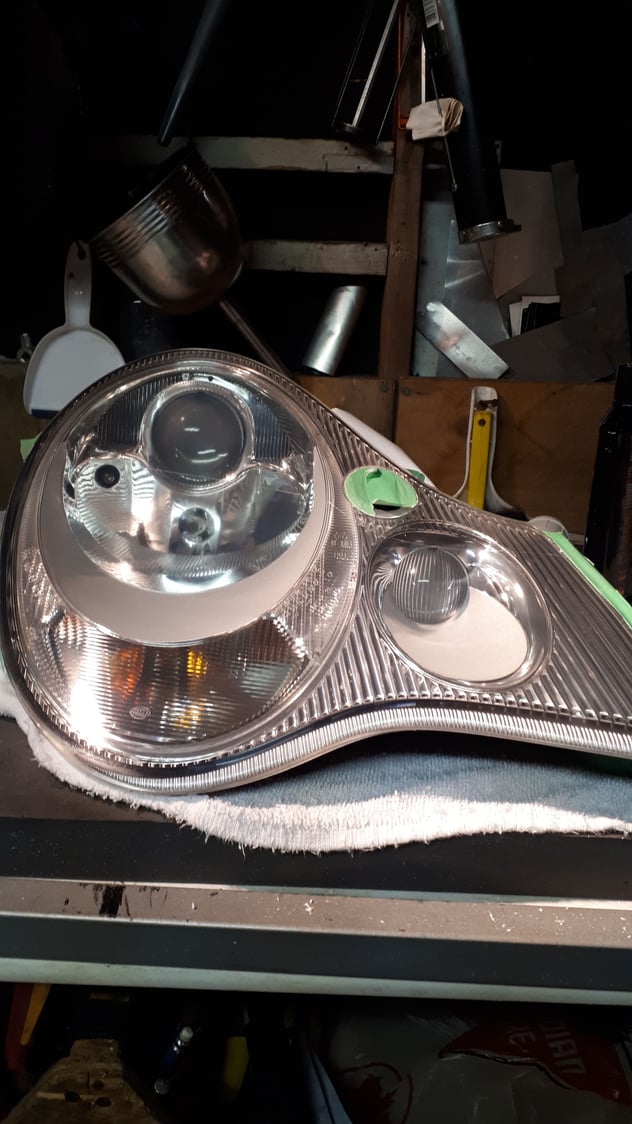
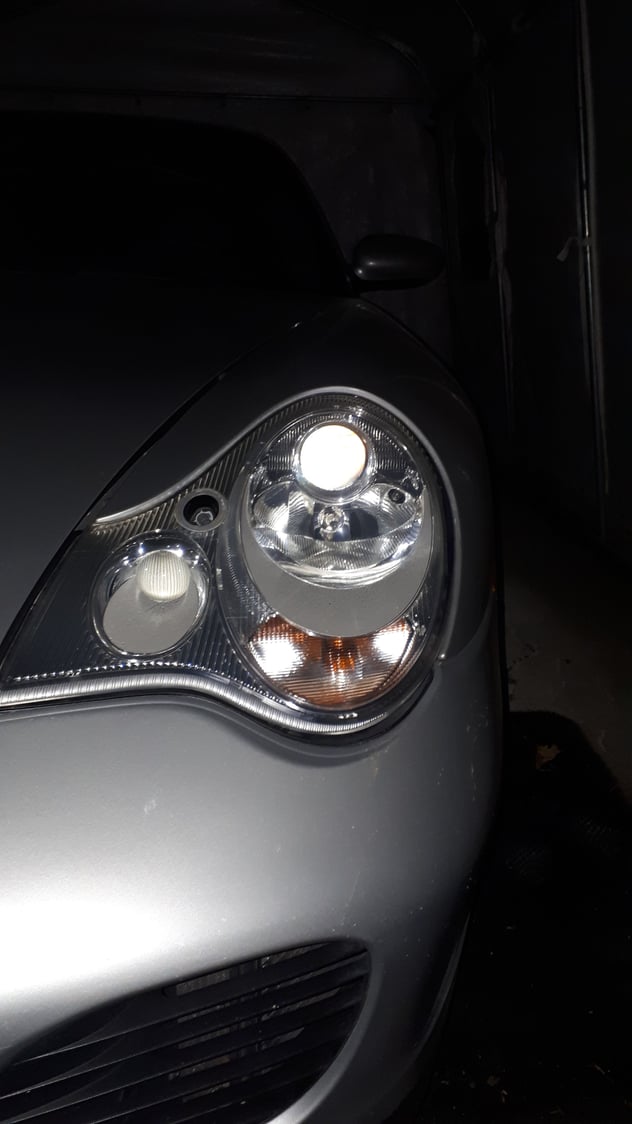
So to begin with I took some pictures of how they look like before doing anything: The yellowing was pretty bad on both lights
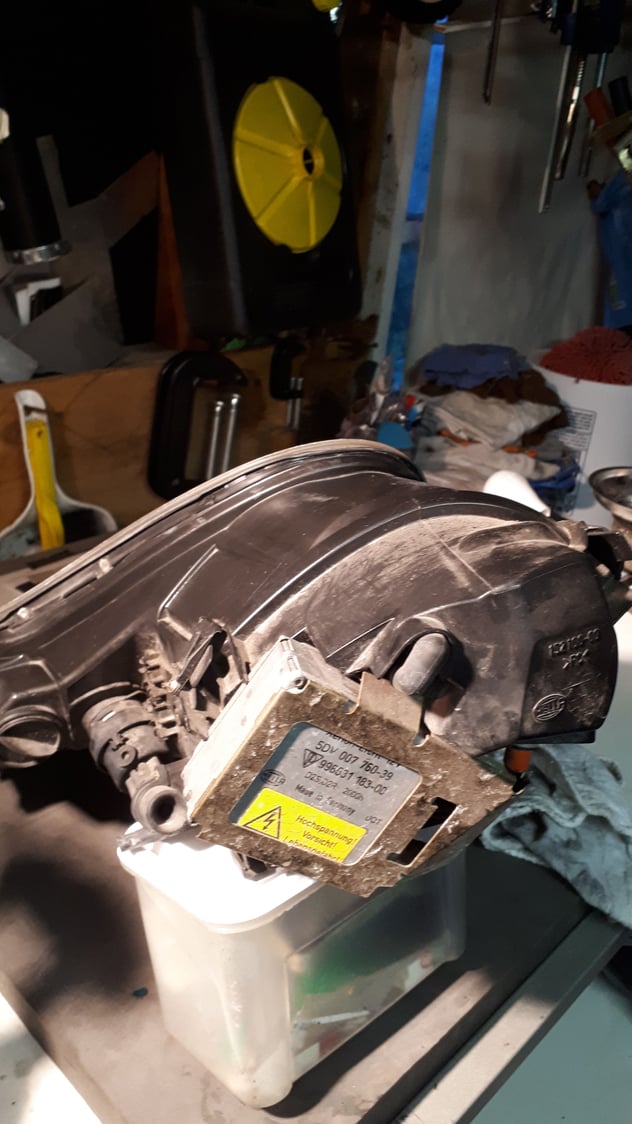
The back side were also really dirty!
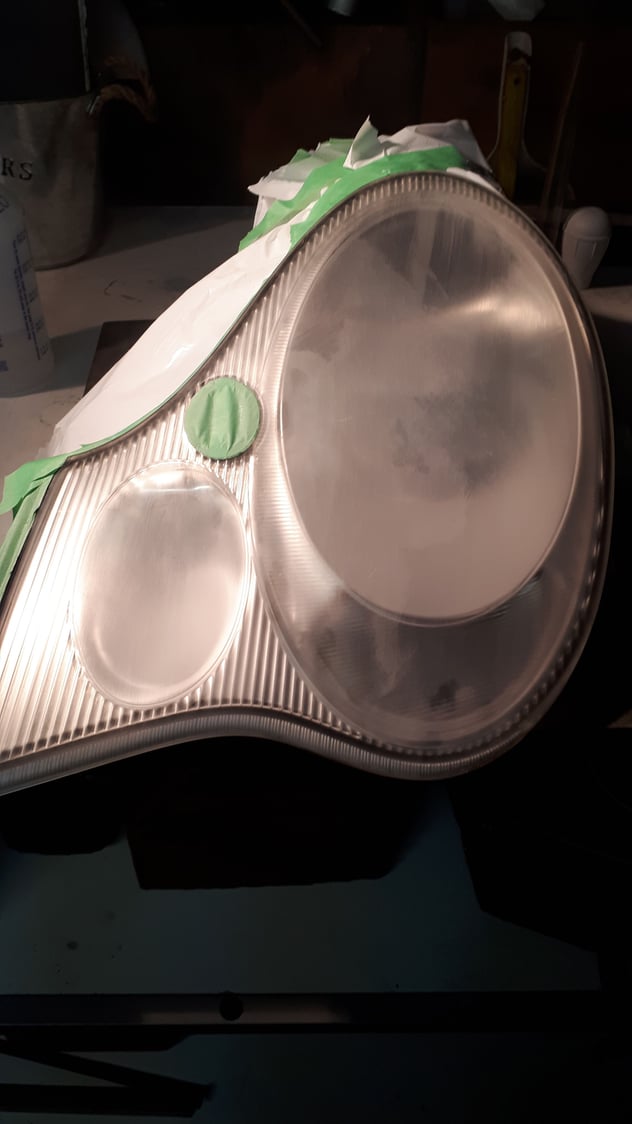
My first step was to clean the backside of the light before covering everything. I didnt was to do this job once the light have been perfectly buffed!
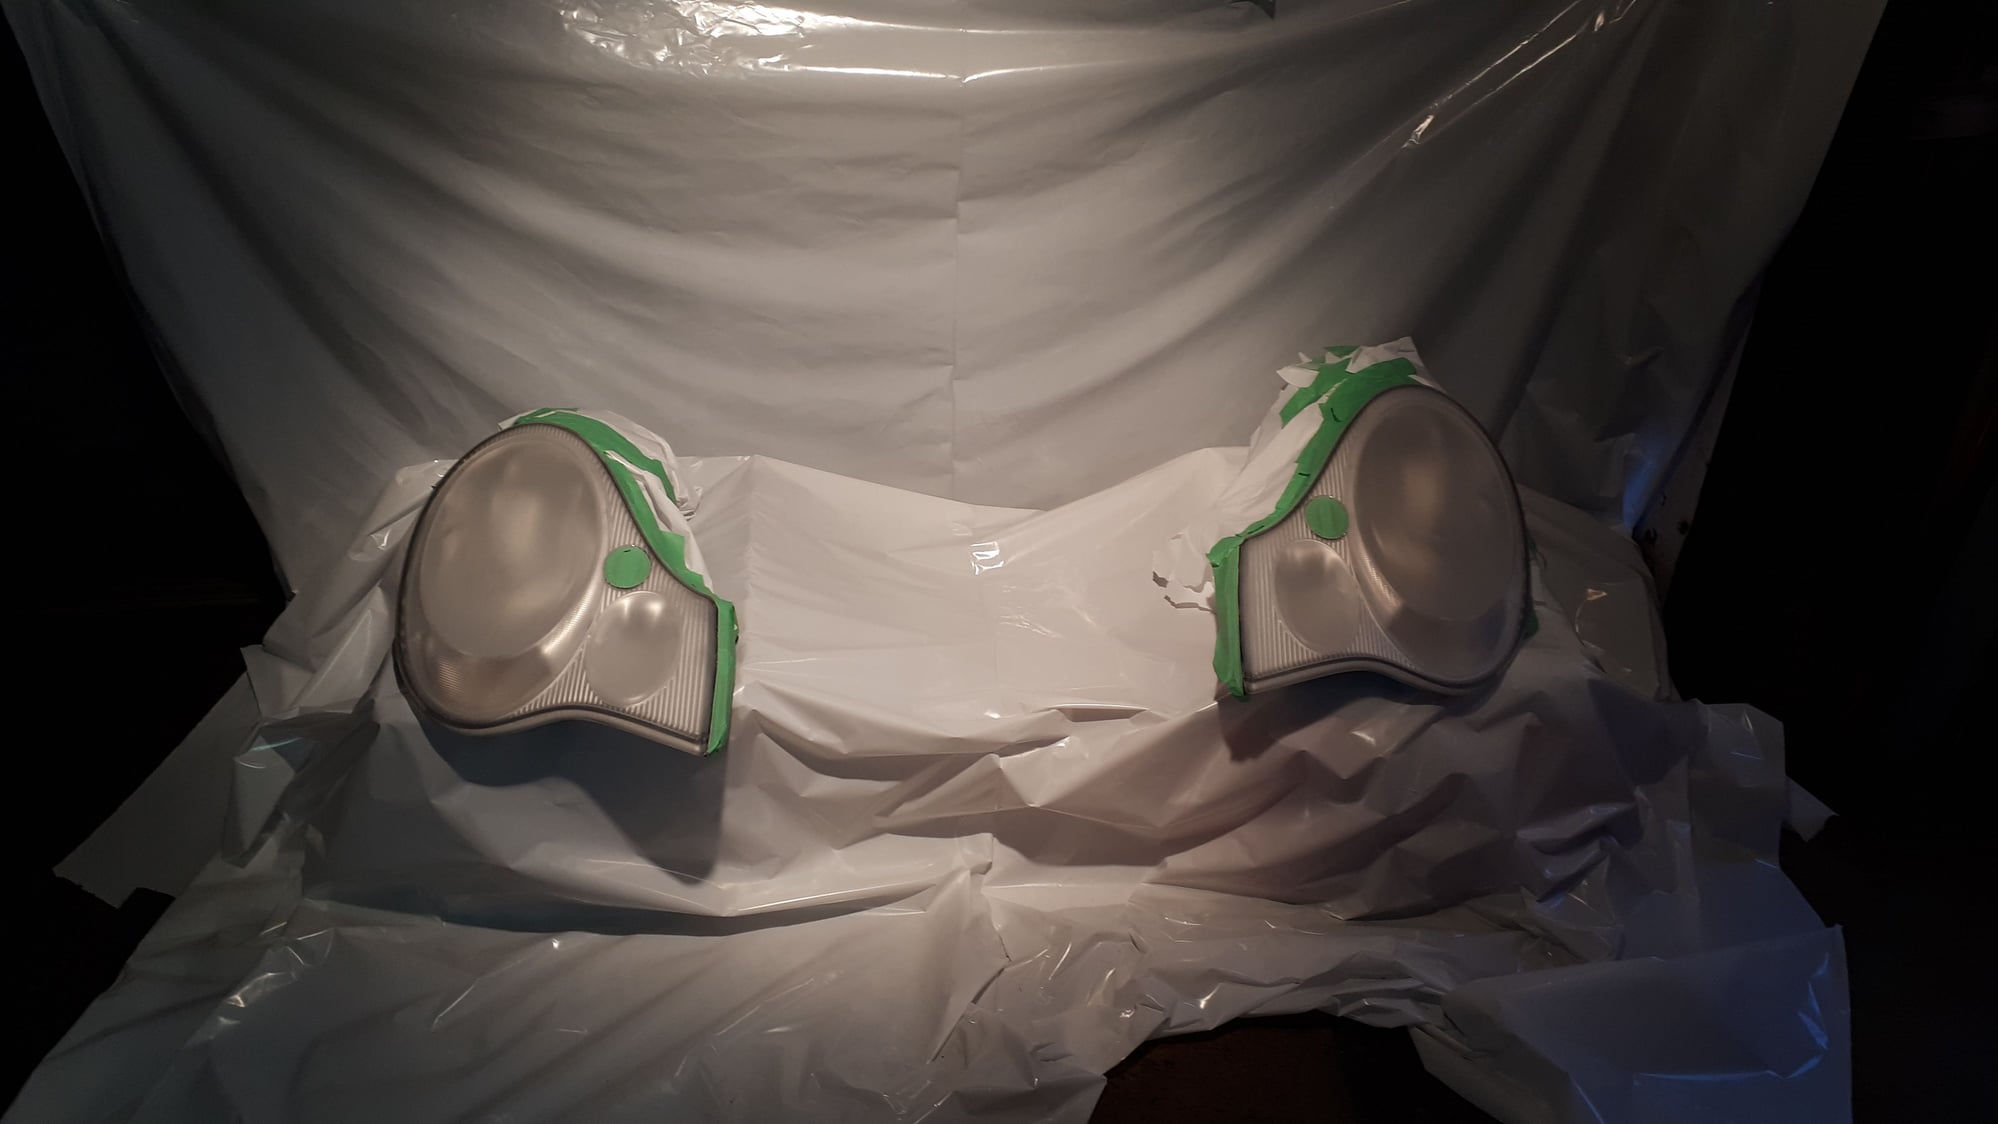
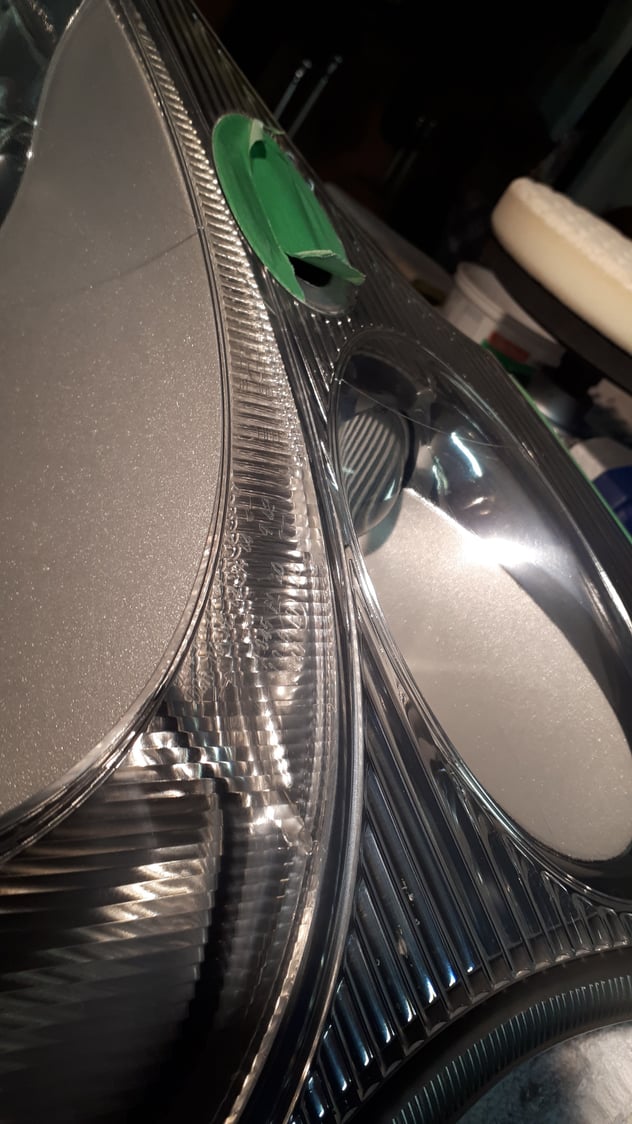
Its now time to cover everything that wont be sanded / painted
I used some plastic bag and paint tape to cover everything. To cover the hole of the water jet I simply put the tape over it, rub it against the surface to make sure it adhere and cut the rest with a knife.
And now the sanding can begin.
I did the first steps of sanding by hand starting with 800 grit and water followed by a pass of 1000 grit and water. I sanded in a criss-cross pattern until I see no more yellowing and the surface was smooth to touch.
Quick picture during the work: Partial sanding of the light with 800-1000 grit sandpaper
Once both light have been sanded correctly you can ckean them with Isopropylic alcohol to take off all the residues.
You will see the light become clear but fade right away as the alcohol evaporate.
And we are now ready to shoot the 2k clear.
I did a mistake at this step but I will show you how its easy to correct and make it look perfect.
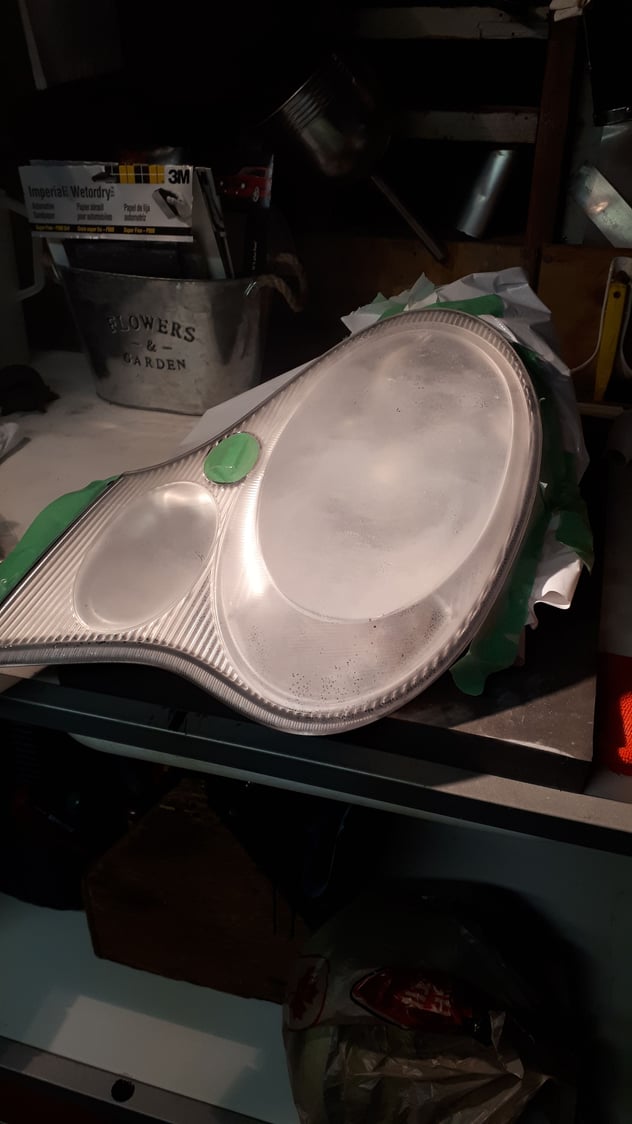
So to make a long story short my finish after shooting the clear was not the best at all. Lights ready to be painted with 2k clear
The finish that is defenatly not what I was expecting. This is the second coat.
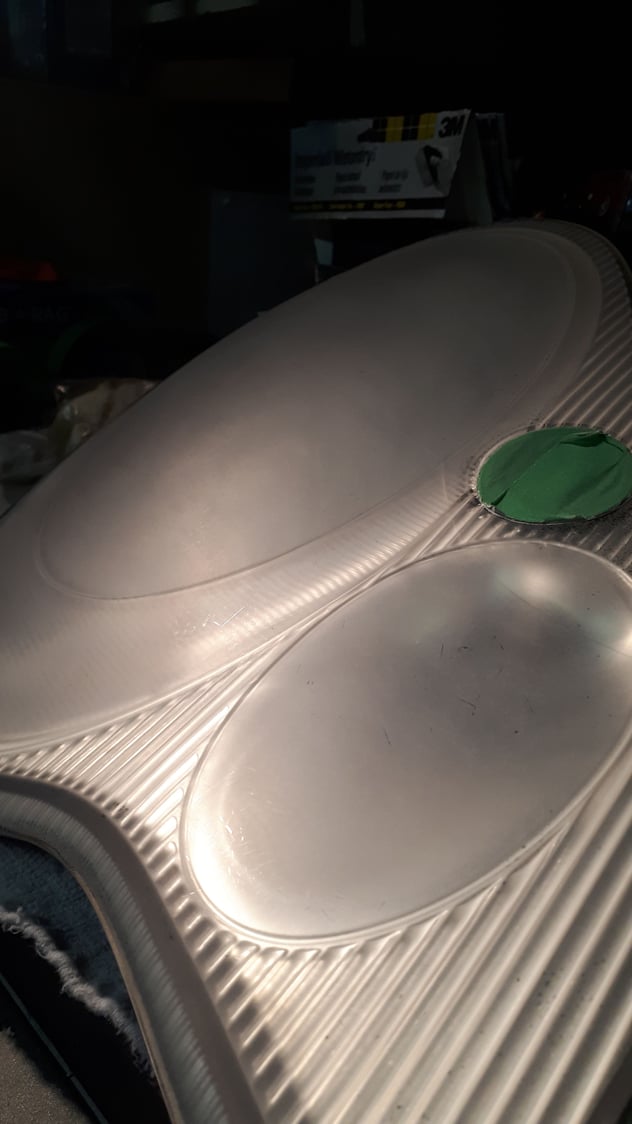
Once cured after 24hrs. This picture doesnt look bad but the finish was really rough to the touch and was not looking good at any other angles
I realise that I woukd have to sand everything to get a perfect finish. Polishing only wont do much to a surface like this.
So first I used my orbital sander with 1000 grit dry followed with 1500 grit dry:
At this step you want to correct each and every details with 1000 grit dry. Sanding is easy, doesnt require pressure
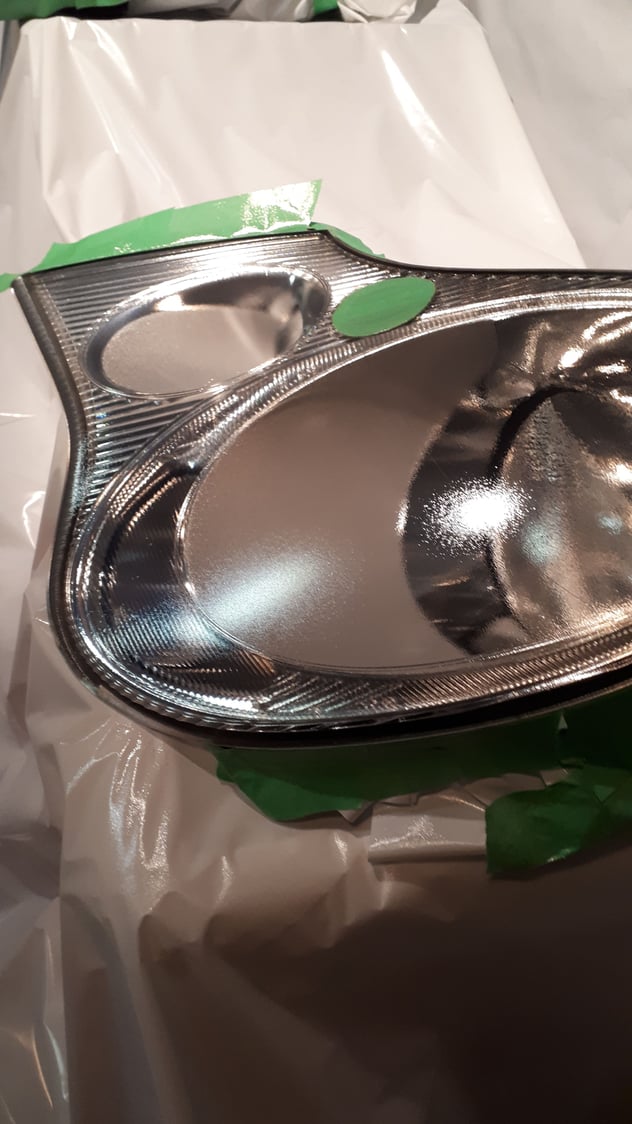
Continue with 1500 grit and correct each and every remaining flaws. The finish should look like this. As you can see there is still minor flaws to be corrected.
Once done we are ready to polish the lights.
I tried different produts but I found Meguiars Ultimate compound to work the best. I used an 6inch electric buffer with polishing pad at medium speed.
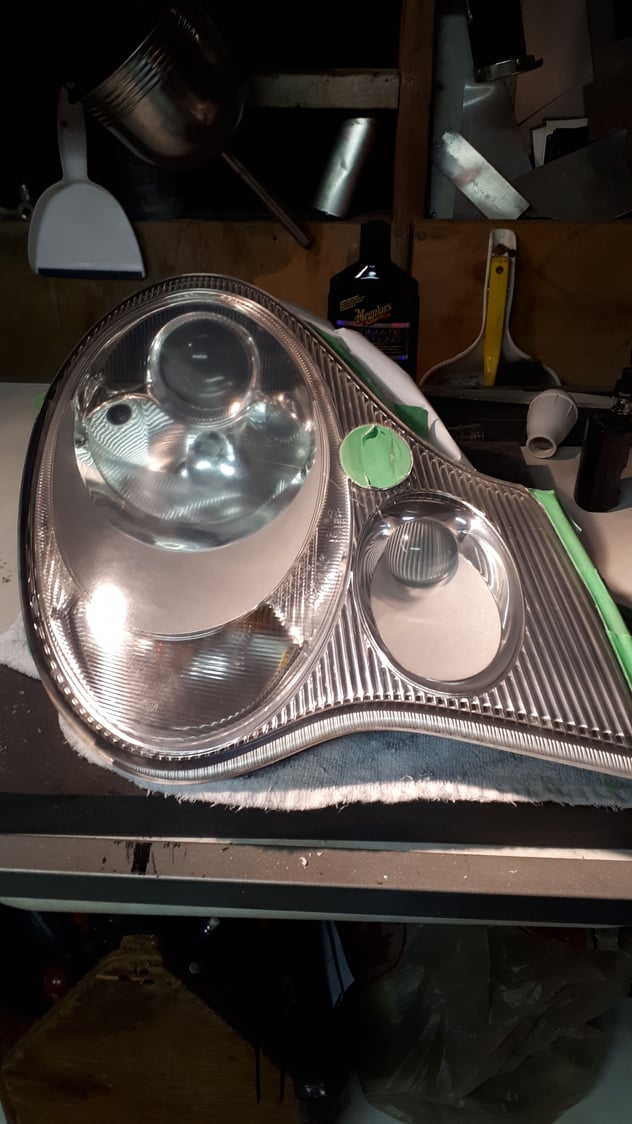
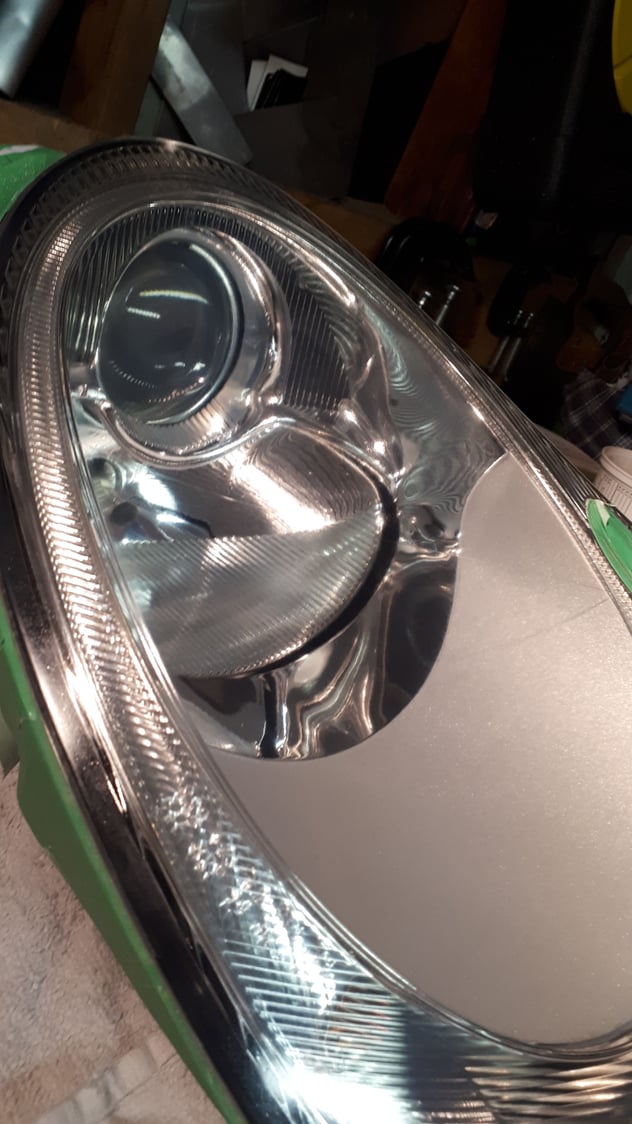
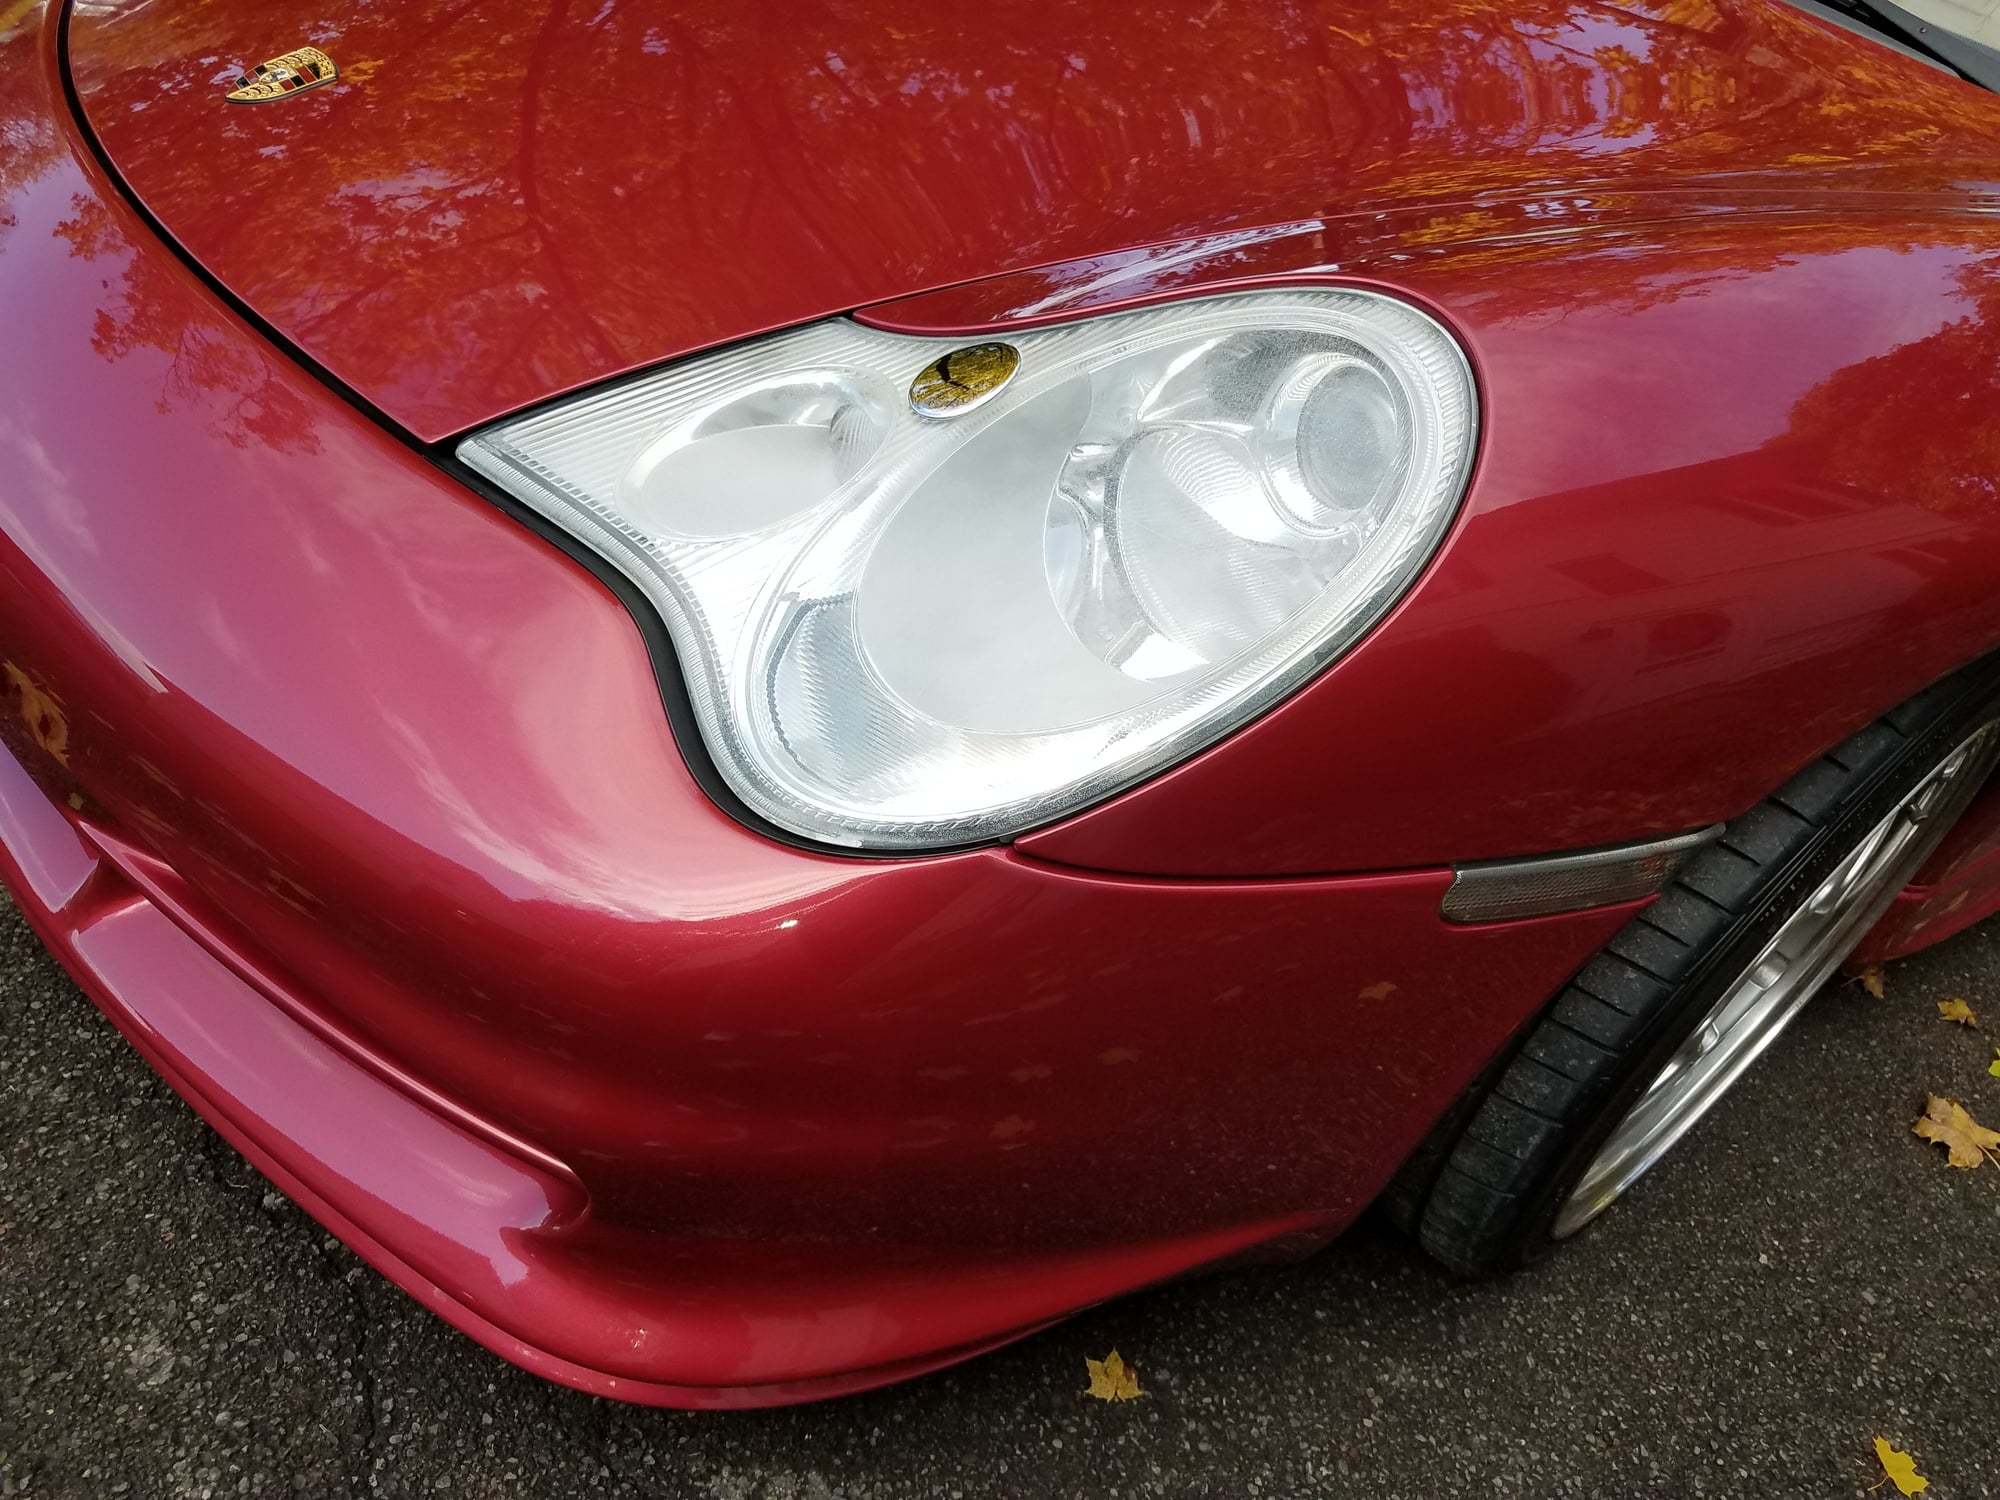
It will require a couple pass and the finish will clear-up after each and every pass. First pass Second pass Third pass Finished Finished Re-installed
I would also add a step:
Wax the lights with Caruba wax
And voil�! You should have new lights that will last you a couple years without fading or discoloring.
Nice write up....I have a question though....if you have to sand and polish the clear coat, would it not make sense to just du that on the lens itself and buff the plastic? You can then just put XPEL or something on it to prevent UV aging.
Nice write up....I have a question though....if you have to sand and polish the clear coat, would it not make sense to just du that on the lens itself and buff the plastic? You can then just put XPEL or something on it to prevent UV aging.
Sure you can always use XPEL so basicly do all the steps above except using the 2k clear but I decided to go this route for 3 reasons.
1st: I read multiple time that XPEL films are hard to install and find some reviews that changed my mind on installing theses ( that was my first plan)
2s: The price! The XPEL films are a bit expensive compared to the 2k clear
3rd: Ive rear some bad reviews about XPEL film burning the lens in itself as it keep the heat and "insulate" the lens that cant be cooled off
In fact at some point I even tough about doing this project with the 2k clear and add XPEL film on top of this to make theses lenses bullet proof. But the 3rd point made me change my mind. Its still not too late if I want to install the film.
I remeber looking at the pre-cut kit back in the days...
Is there another company that produce this type of film pre-cutted?
Anyway to make a long story short. Ive read good things about the 2K clear , it was available near my place and the difference before and after is amazing.
My mistake was: Im a poor painter and I should pratice more before working on the Porsche.....But I guess someone skilled enought wont even have to bother sanding and buffing the finish. But after I did it I can say its doable and easy to work on. For the results it give I want you to know it work even for an inexperienced DIYers.
Thanks for thorough response....I have been using XPEL but I hate all the work in buffing the plastic lens. So I am intrigued by your method and in fact I prefer it....so you are saying if you where good at painting no polishing is required....I may practice your method on a cracked headlight assembly and see if I can paint the 2K smoothly....
My first pass with headlights was a giant improvement, but not as fine as your finish. I used wet/dry 600/1000/1500/2000, then rubbing compound on a wheel and finally polishing compound. All was good except for a line where a bra had been on the front for years (I guess).
My next pass to remove that line will use your method. Good write-up
Thanks for thorough response....I have been using XPEL but I hate all the work in buffing the plastic lens. So I am intrigued by your method and in fact I prefer it....so you are saying if you where good at painting no polishing is required....I may practice your method on a cracked headlight assembly and see if I can paint the 2K smoothly....
Very good idea.
Just to let you know Ive read all type of advise for the SprayMax 2k clear.
Ex: pPut the can in warm water for X time before spraying ect.
I suggest you to read about this product.
I followed all the instructions except my second coat was not thick enough and I should have know that...
Let us know how it went if you decide to give it a try.
Nice write up
I am not confident about doing mine. They are fine scratches on the surfaces.
I may investigate some shop on here and ship them out to be done.
No one in our small community wants to take a wack at them.
Nice write up
I am not confident about doing mine. They are fine scratches on the surfaces.
I may investigate some shop on here and ship them out to be done.
No one in our small community wants to take a wack at them.
Thanks!
They are in pretty good shape compared to mine before the work.
The only reason why I would stay away from a project like this is because I dont have the tools (Orbital sander + 6in buffer) and dont want to invest in this type of tool.
Other than that I can assure you there is no way you will make it worst.
If you ever go through the epoxy clear and plastic using 1000 and 1500 grit sand paper its because you did it on purpose.
For 99$ and they do this type of job with epoxy clear and you dont want to invest in tools I would say its not a bad deal.
To let you know my total cost for this project is 100$ but I got a brand new buffer and used an old orbital sander that I found in the trash and repaired.
I have been to the closest Porsche Dealer, Syracuse 100 miles one way. They said they could not do anything for them, they attempted buffing only I think.
The re-con shop down the street is really good, I went down there and he took a quick try on them, and said he didn't want to go with abrasive sand paper, and he didn"t want to pull off the car to do it.
So if I understand correctly, without the clear spray at the end of sanding and buffing, then the fi nish product won"t look right.
My entire car spent 4 weeks a the dealership last fall restoring the finish , removing all little chips, so the headlights need to be redone.
I live in Binghamton, NY area.
So if I understand correctly, without the clear spray at the end of sanding and buffing, then the fi nish product won"t look right.
Yes and no!
You have to sand first, apply the clear, sand again if needed , then buff.
You cant sand, buff and apply the clear as it wont have enought "scratches" to hold.
Basicly what happen is the clear will fill all the scratch mark made by the sandpaper.
 06-02-2019, 09:52 AM