When you click on links to various merchants on this site and make a purchase, this can result in this site earning a commission. Affiliate programs and affiliations include, but are not limited to, the eBay Partner Network.
Wait until you pull the IMS flange to decide which parts to buy. There is no way to know what you are dealing with until you can see the flange, or even better, visually inspect the bearing
You need to lock the crank pulley and cams. The LN tools are great. I highly recommend them.
You�ll need a large socket to remove the tensioners. 32mm IIRC.
If you know how to get as far as the flange, I�ll assume you have the typical tools for working on porsche/vw cars and a large assortment of sockets and extensions of all sizes. There are some odd ones like triple square that you�ll need to remove the transmission.
Mbren1979 - very sweet cab! If mine ends up half as nice I'll be happy.
cds72911 - I went ahead and got the LN tools and the LN dual row ceramic. OEM bimmer parts had the best price and they take returns for 30 days. So if I find a single row, I'll just send it back. Engine code indicates an early 2000 which increases the chances of it being a dual row.
So some updates. Got a Durametric Pro, which seems to be essentially no better than an enthusiast for these cars. Measured the camshaft deviations with the car nice and hot:
Bank 1: -9.44
Bank 2: -4.02
Well shoot. Looks like this is super common for the 5 chains even with <50k on it. Dependent on driving patterns though. So my plan goes from RMS/IMS/AOS/Plugs+Wells to pulling the engine and doing the Variocam pads. I've read it can be done in place, but considering my other work plans I don't think it's worth trying.
So I'm gonna need to re-time after replacing these. Found this kit for pretty cheap:
Picked up a harbor freight 1000lb engine stand to hold things and will be borrowing a neighbors transmission jack + my jack to roll everything out from under the car.
Any other recommendations on "while you're in there" things to do? Will be posting up pics of the progress. Hopefully can get most of this done this week while my dad is in town to help out.
Mbren1979 - very sweet cab! If mine ends up half as nice I'll be happy.
cds72911 - I went ahead and got the LN tools and the LN dual row ceramic. OEM bimmer parts had the best price and they take returns for 30 days. So if I find a single row, I'll just send it back. Engine code indicates an early 2000 which increases the chances of it being a dual row.
So some updates. Got a Durametric Pro, which seems to be essentially no better than an enthusiast for these cars. Measured the camshaft deviations with the car nice and hot:
Bank 1: -9.44
Bank 2: -4.02
Well shoot. Looks like this is super common for the 5 chains even with <50k on it. Dependent on driving patterns though. So my plan goes from RMS/IMS/AOS/Plugs+Wells to pulling the engine and doing the Variocam pads. I've read it can be done in place, but considering my other work plans I don't think it's worth trying.
Picked up a harbor freight 1000lb engine stand to hold things and will be borrowing a neighbors transmission jack + my jack to roll everything out from under the car.
Any other recommendations on "while you're in there" things to do? Will be posting up pics of the progress. Hopefully can get most of this done this week while my dad is in town to help out.
please document your variocam pads. Would love to see some pics on it. My cam dev isnt nearly that bad but it has been on the mind to do the chain guides
Congrats! I've used this "Rider Vest" with my daughter since she was 4 yrs old. She's almost 7 now and tall enough where just the booster seat is needed. The vest worked great with the booster and takes up no space in the back seat. I'll be putting it up on the Marketplace probably since I no longer need it. https://ridesafertravelvest.com/
If you haven't sold it, I would be interested in your RiderVest. My 3yo little guy wants to ride with me but his car seat would never fit in the back of my 99' Cab. PM me to discuss. Thanks.
Porsche makes an airbag cutoff device that allows you to put a car seat in the front. I used it for several years sold it a few months ago to a Rennlister. My grown-up kids still remember and talk about their rides to school in the P-car! with the top down!
Well we did it. Backed the car into the garage last Wednesday and finally drove it out last night. It was a hell of job to do in a short amount of time with just me and my dad - having never worked on a Porsche before. Lots of forum searches, Pelican parts photos, and referencing the FSM. Incoming photo drop...
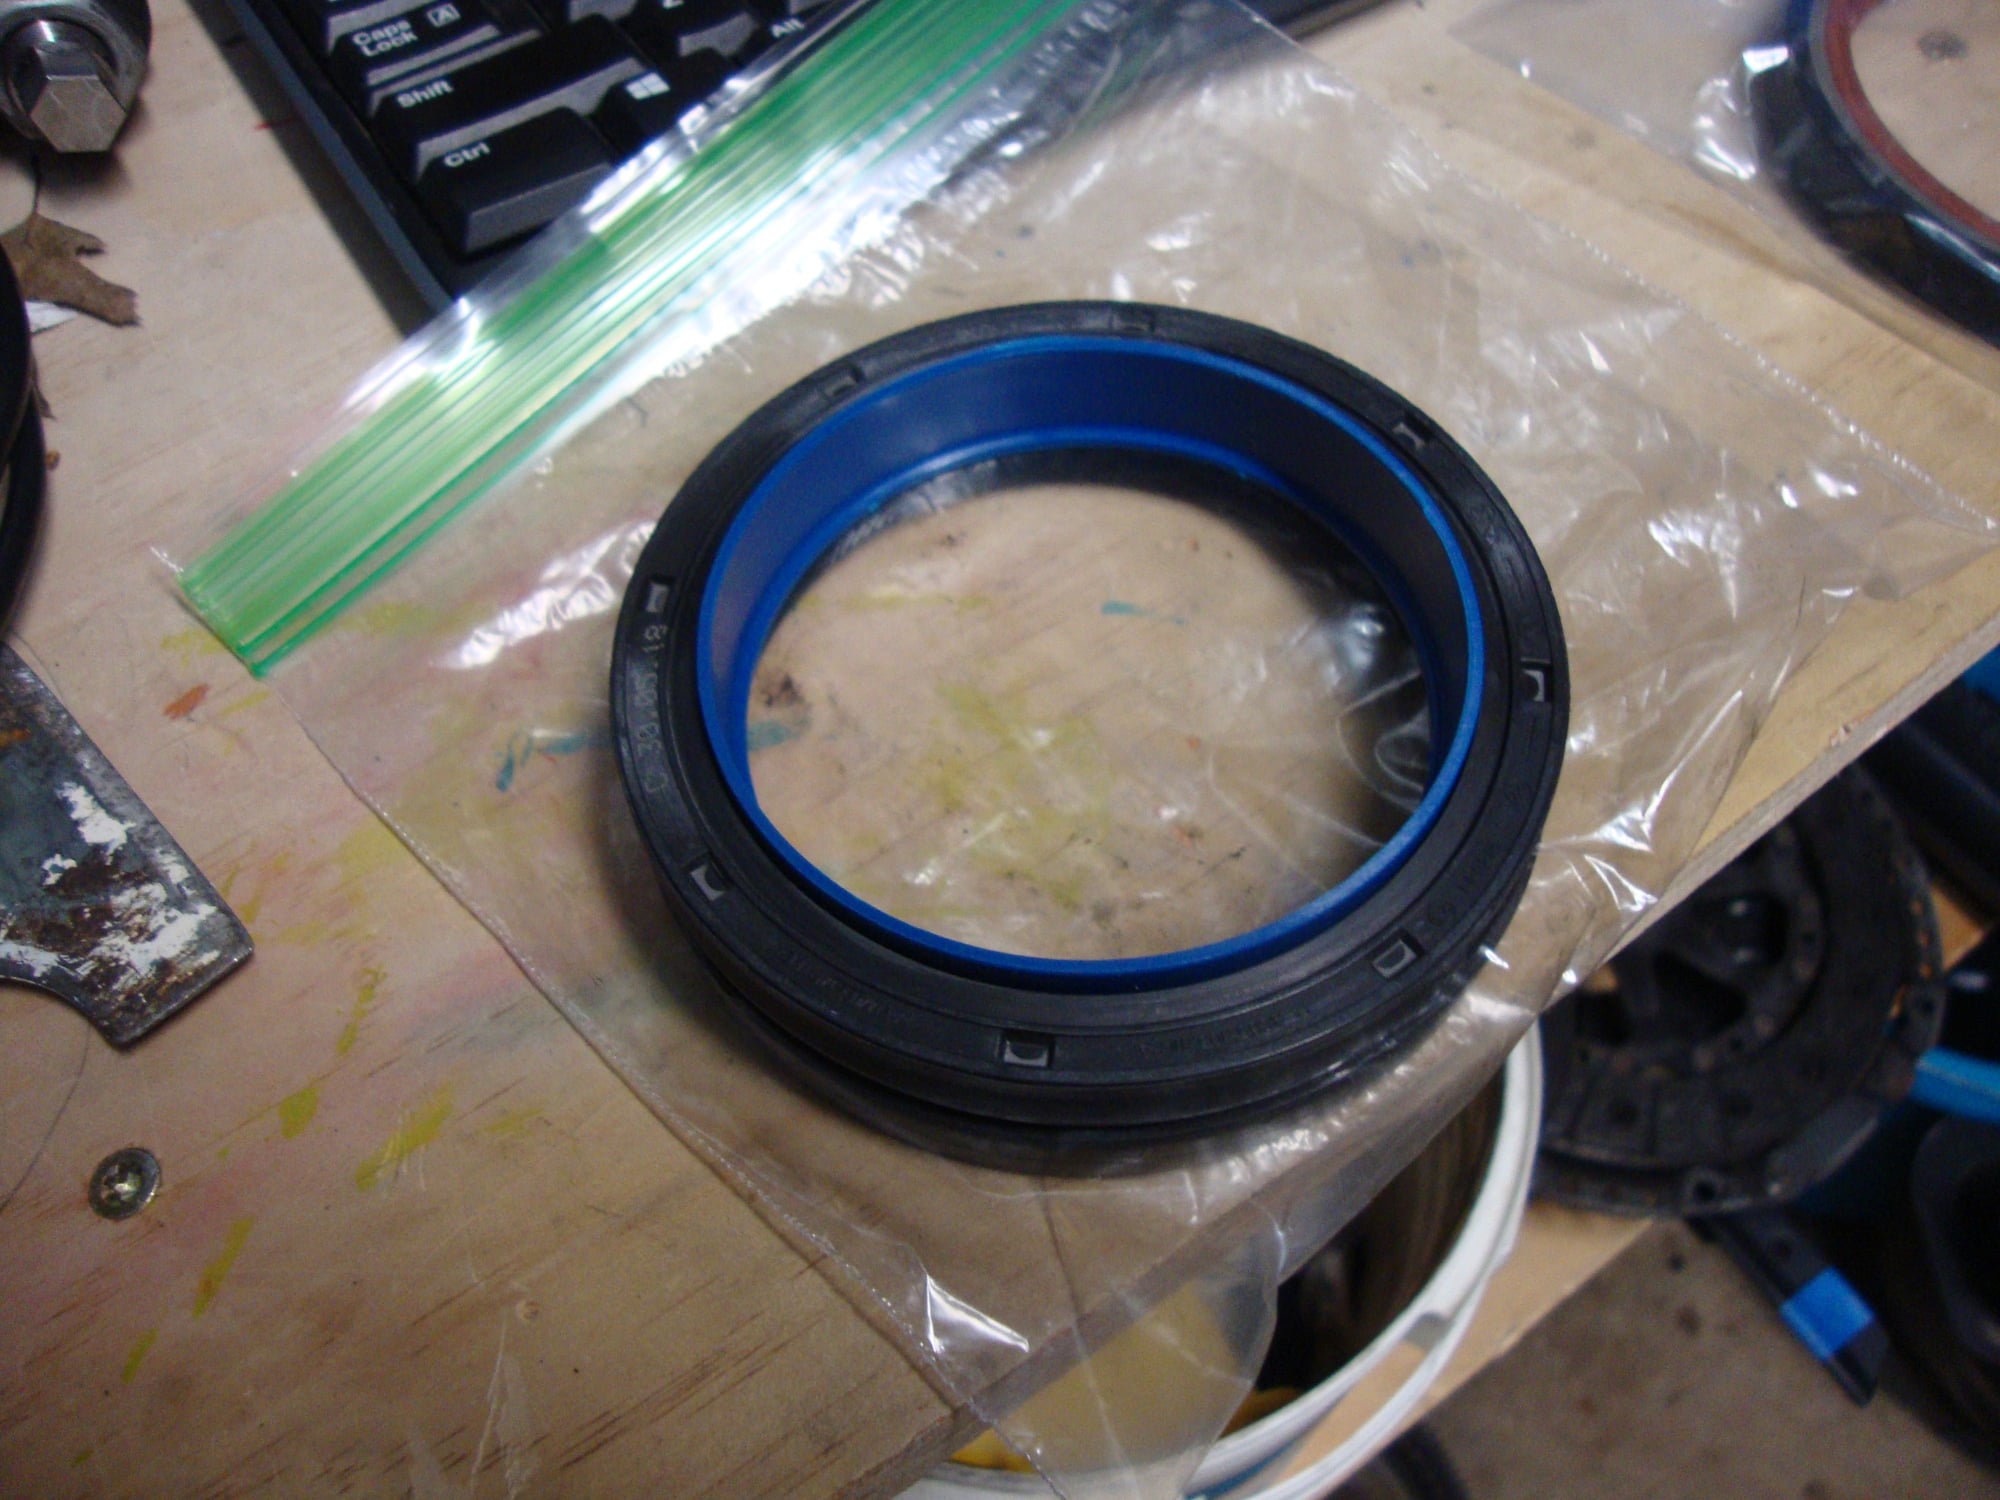
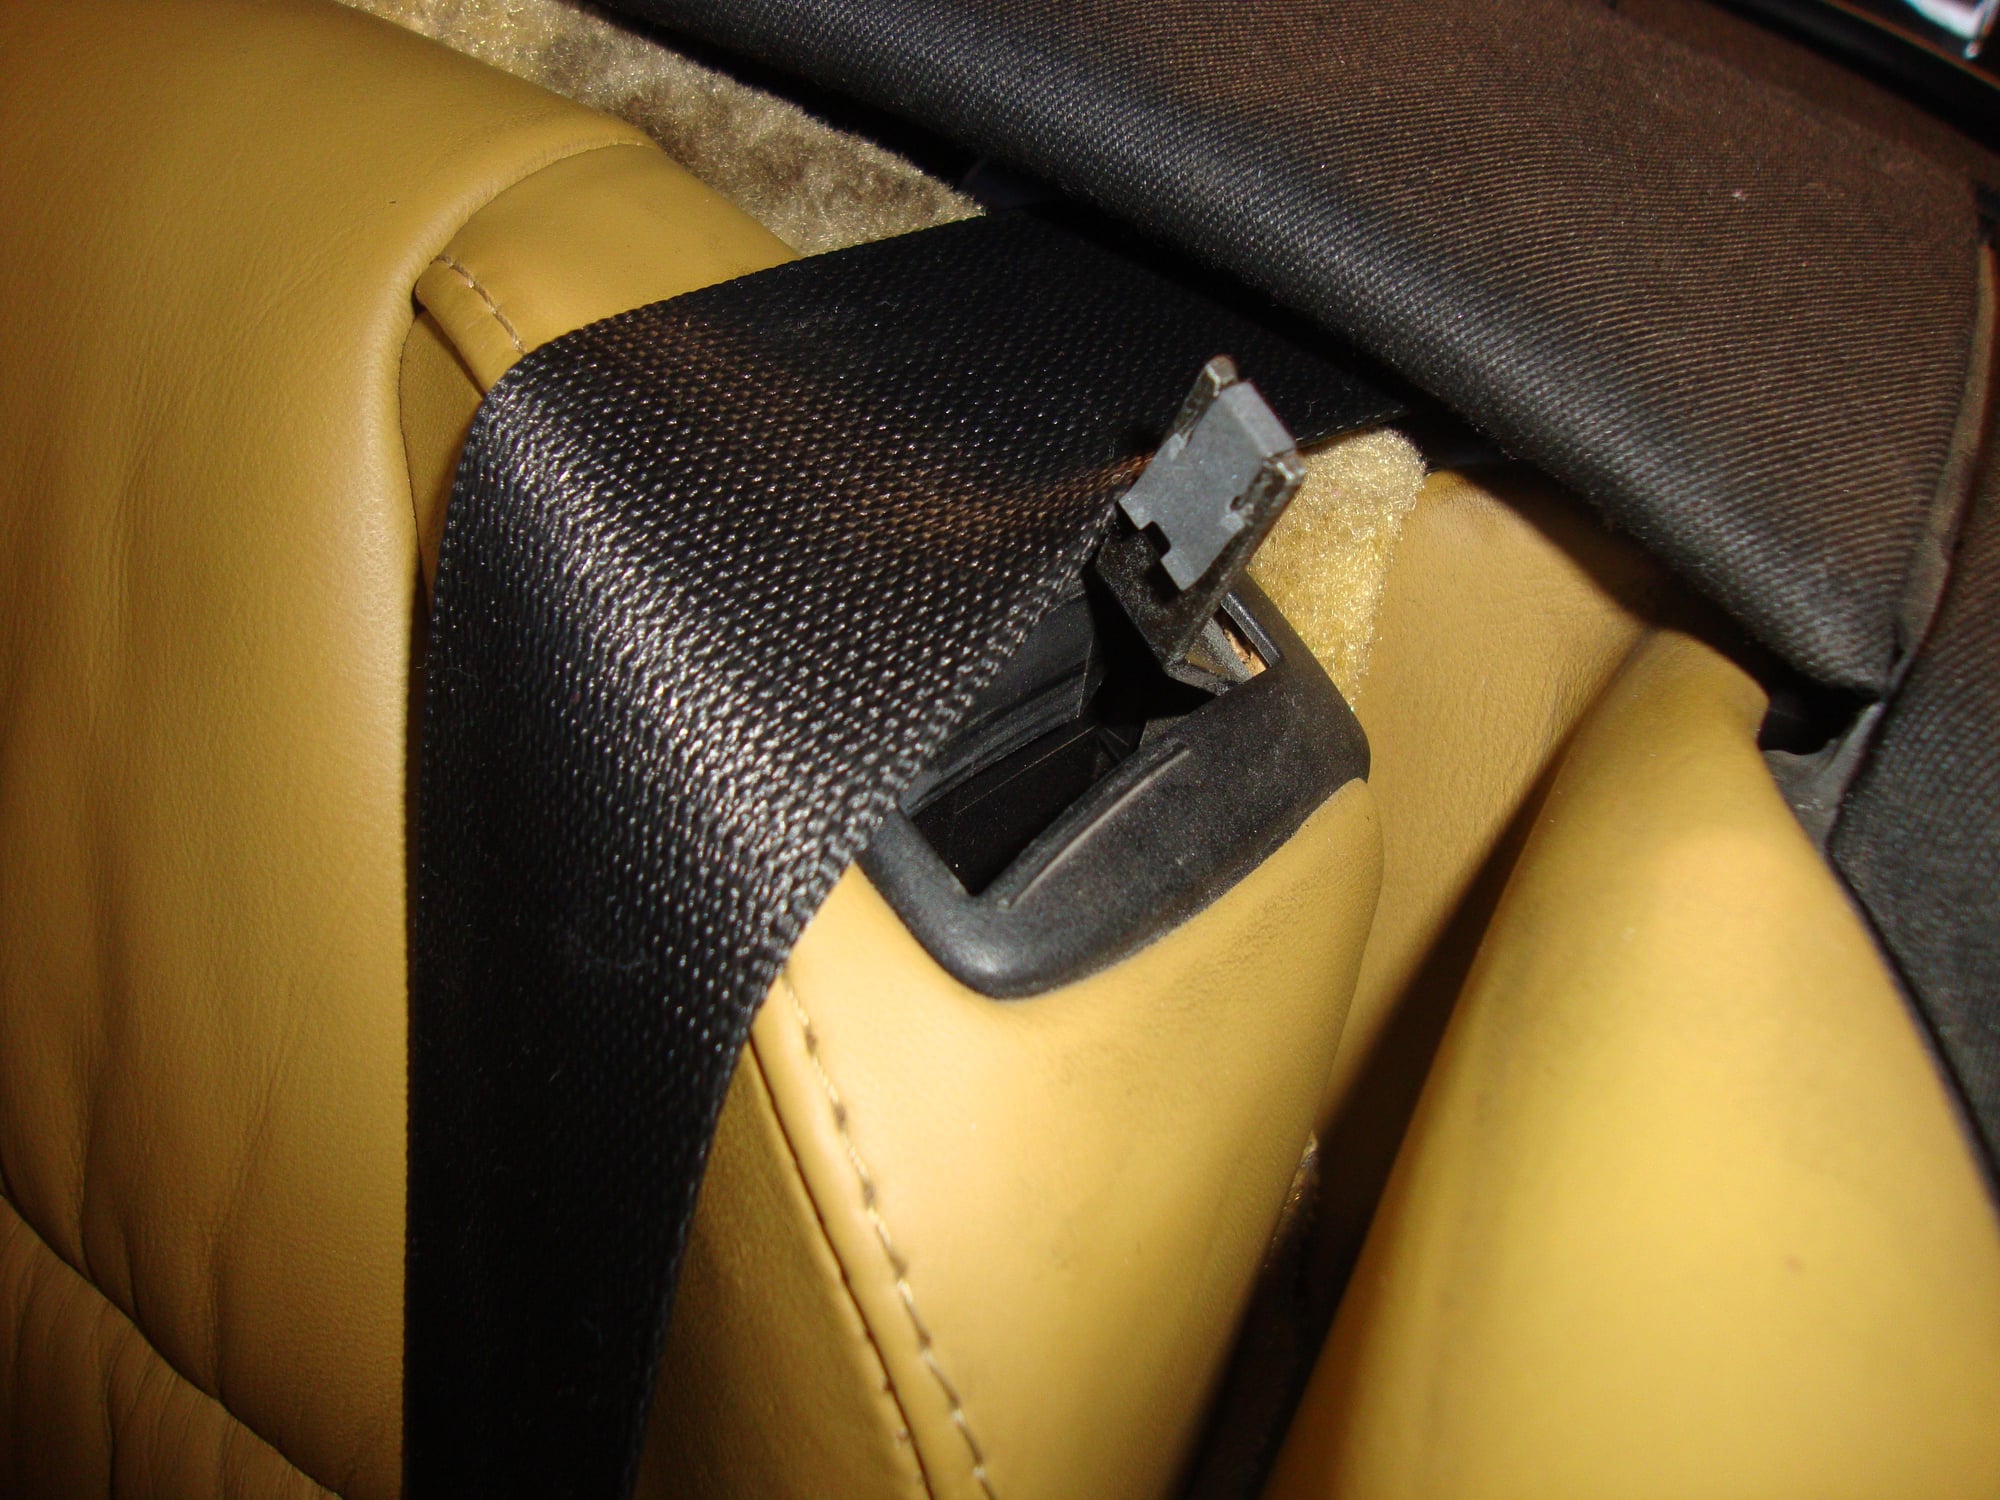
Bumper off and ready to go Variocam pad bits were the only anomalies in the oil filter Variocam pad bits and 1 small aluminum shaving were the only things in the pan. Lucky 2k car with a fuel cooler. Makes fooling with the A/C compressor even more of a pain. We used a scope to confirm that we got the socket on the 3rd bolt after removing the temp sensor to get access. This HF combo worked pretty well Engine dropped Exhaust off. Flipped the long bolts so it's easier next time. Flywheel ready to come off. Surface looked pretty good. I think we found the oil leak. Always have a tough time guessing IMS/RMS or both. But I'd say at least the IMS flange in this one. All cleaned up with a combo of simple green and brake cleaner. Old flange off Pulling a dual row bearing takes a bit of force but it popped eventually A good amount of oil came out. No evidence of metal shavings. Forgot to put the bearing in the freezer so we moved on to auxiliary items. Hate to replace this perfectly good <45k mile pump, but I ready the forums too much I suspect a spark plug tube leak See top o-ring for leak source New and old AOS I got mad respect for someone who does the AOS in the car New Porsche RMS - only $34 after tax from the local stealership. Plus they gave me a snack a drink and my kids some hotweels. Helluva deal 4" PVC Snap in drain <$3 at home depot. Did the trick for me. Of course without a stop you have to be **** about the number of turns to be sure you hit your target. New LN dual row ceramic bearing stuffed in. Keeping it straight was a bit scary, but I think the night the freezer probably helped. Flange on with all the required flange and thread treatments per the instructions Spark plugs make me feel good about how the engine is running. Very little wear on the guides Next set of plugs looking good as well The target of this operation. I used a cheapo HF engine stand to hold this which I picked up 2nd hand for even cheaper. Was able to lift it from the jack with just 2 guys. I'd recommend a 3rd for safety next time. Snap - replaced! It's pretty straightforward. I tried the zip tie method. It broke on me and sent pieces flying. I ended up just using a regular clamp to compress it. I recommend making the bolt to compress it. Would make re-installing the cams easier too. Bank 2 on the left, Bank 1 on the right (I snapped the top one when my zip tie broke and sent it flying). I was expecting to see more wear for my >9 degree dev on bank1. Bank 2 was ~4 degrees The timing operation is straightforward. But do read up. I missed the 360 degree turn between bank 1 and bank 2 the first time. First search for no firing on bank 2 found Jake Raby's post about the most common error timing these engines. Feel like a fool, but it certainly could have been a lot worse. Clutch with decent life left. Ah the simple things. This little clip was missing, came in with my order. So happy to have the handle stay on how. My organization method. Don't bother trying to read those, I can't even read my handwriting. Stuffing the turkey. It's really amazing how this puppy fits up in there. OEM Tools 24444 (knockoff uview?) worked perfectly. I recommend this far and away over the standard fill method.
Overall a successful operation. To summarize, I replaced the RMS, IMS, AOS, WP, Thermostat (LT Wahler), Variocam pads, plugs, plug tubes, and oil pump bypass valve/spring. Switched to motul x-cess 8100 5W-40 in the engine and lubri moly in the tranny. By the way, this thing took every last drop of 10L of motul to get to the 3/4 mark on the dip stick. Kept 2nd guessing myself when filling it. But I also dumped out a lot of oil that draining the pan doesn't usually get.
Lots of fun as a father / son project. Hope my son and I get the chance to do something similar when he's older.
The results are still coming in. But I've seen a bit of a drop in the location of the temp needle for steady state. The engine is running solid. Oil pressure hasn't gone below 1 bar at hot idle (used to come down to 0.5 bar). Transmission feels great, but it always did. And time will tell on the leaks. I do see a bit of oil on one of the cam adjuster seals we replaced, not sure how we messed up a new one of those. It's easy to reach, so I might just pop it off, clean it up and replace.
Edit - forgot the big one. Camshaft deviation hot is now -3 deg bank 1 and -2.77 deg bank 2.
Not to be a Debbie downer on the oil leak thing, but I have seen many a seal blamed for the leak at the solenoid when the leak is the solenoid itself. Can leak from the end where the wires come out, not sure if it can sealed with something, I have never tried that.
Not to be a Debbie downer on the oil leak thing, but I have seen many a seal blamed for the leak at the solenoid when the leak is the solenoid itself. Can leak from the end where the wires come out, not sure if it can sealed with something, I have never tried that.
Good point. I hadn't considered the solenoid on this side because it wasn't leaking here before. I guess we might have caused it to start leaking from handling of the wire when removing the cam covers. With everything clean, it should be easy to nail down if it's the solenoid or not. Probably wait a few months to make sure there are no others leaks if it is the solenoid to determine the total work needed.
Bank2 was leaking near the camshaft adjuster, but there's a little Y valve (996-107-047-51) that had an obvious leak up above there that definitely could have been the source. So far no oil from that one.
I'm curious if anyone can comment on the cam deviations after pad replacement. I was expecting them to come down closer to zero. But then there are some comments that the chains will wear into the pad until they get to the rollers - so maybe my deviations will change a bit in the coming miles as they wear in?
Could the -3 dev on each bank indicate chain stretch or slight mistiming? Would love some input here. I'm finding a lot of people who replaced variocam pads but so far none with post pad replacement deviation numbers.
I'm replacing my pads within the next two weeks. I'll post my before and after durametric once they are done.
Thanks! Mine have shifted just a bit more to -3.5 each. I'm going to wait a couple of weeks and keep taking readings before re-timing bank2 since it's the easiest to do with the engine in the car. I'll use the crank method this time:
Turn crank until camshaft is aligned
Insert locking tool (IMS Pro is the one that fits best in the car
Loosen exhaust sprocket bolts
Turn crank to TDC and lock
Tighten exhaust sprocket bolts + loctite
I'll run that for a week or 2 to confirm it was effective at getting me close to 0 before attempting to re-time bank 1. My understanding is that getting the bank 1 scavenge pump out requires loosing the transmission mount bolts and maybe the engine.


 02-26-2019, 11:02 PM