When you click on links to various merchants on this site and make a purchase, this can result in this site earning a commission. Affiliate programs and affiliations include, but are not limited to, the eBay Partner Network.
12) Make sure batt is disconnected. Use a 13mm socket to unbolt the pos terminal next to PS reservoir housing.
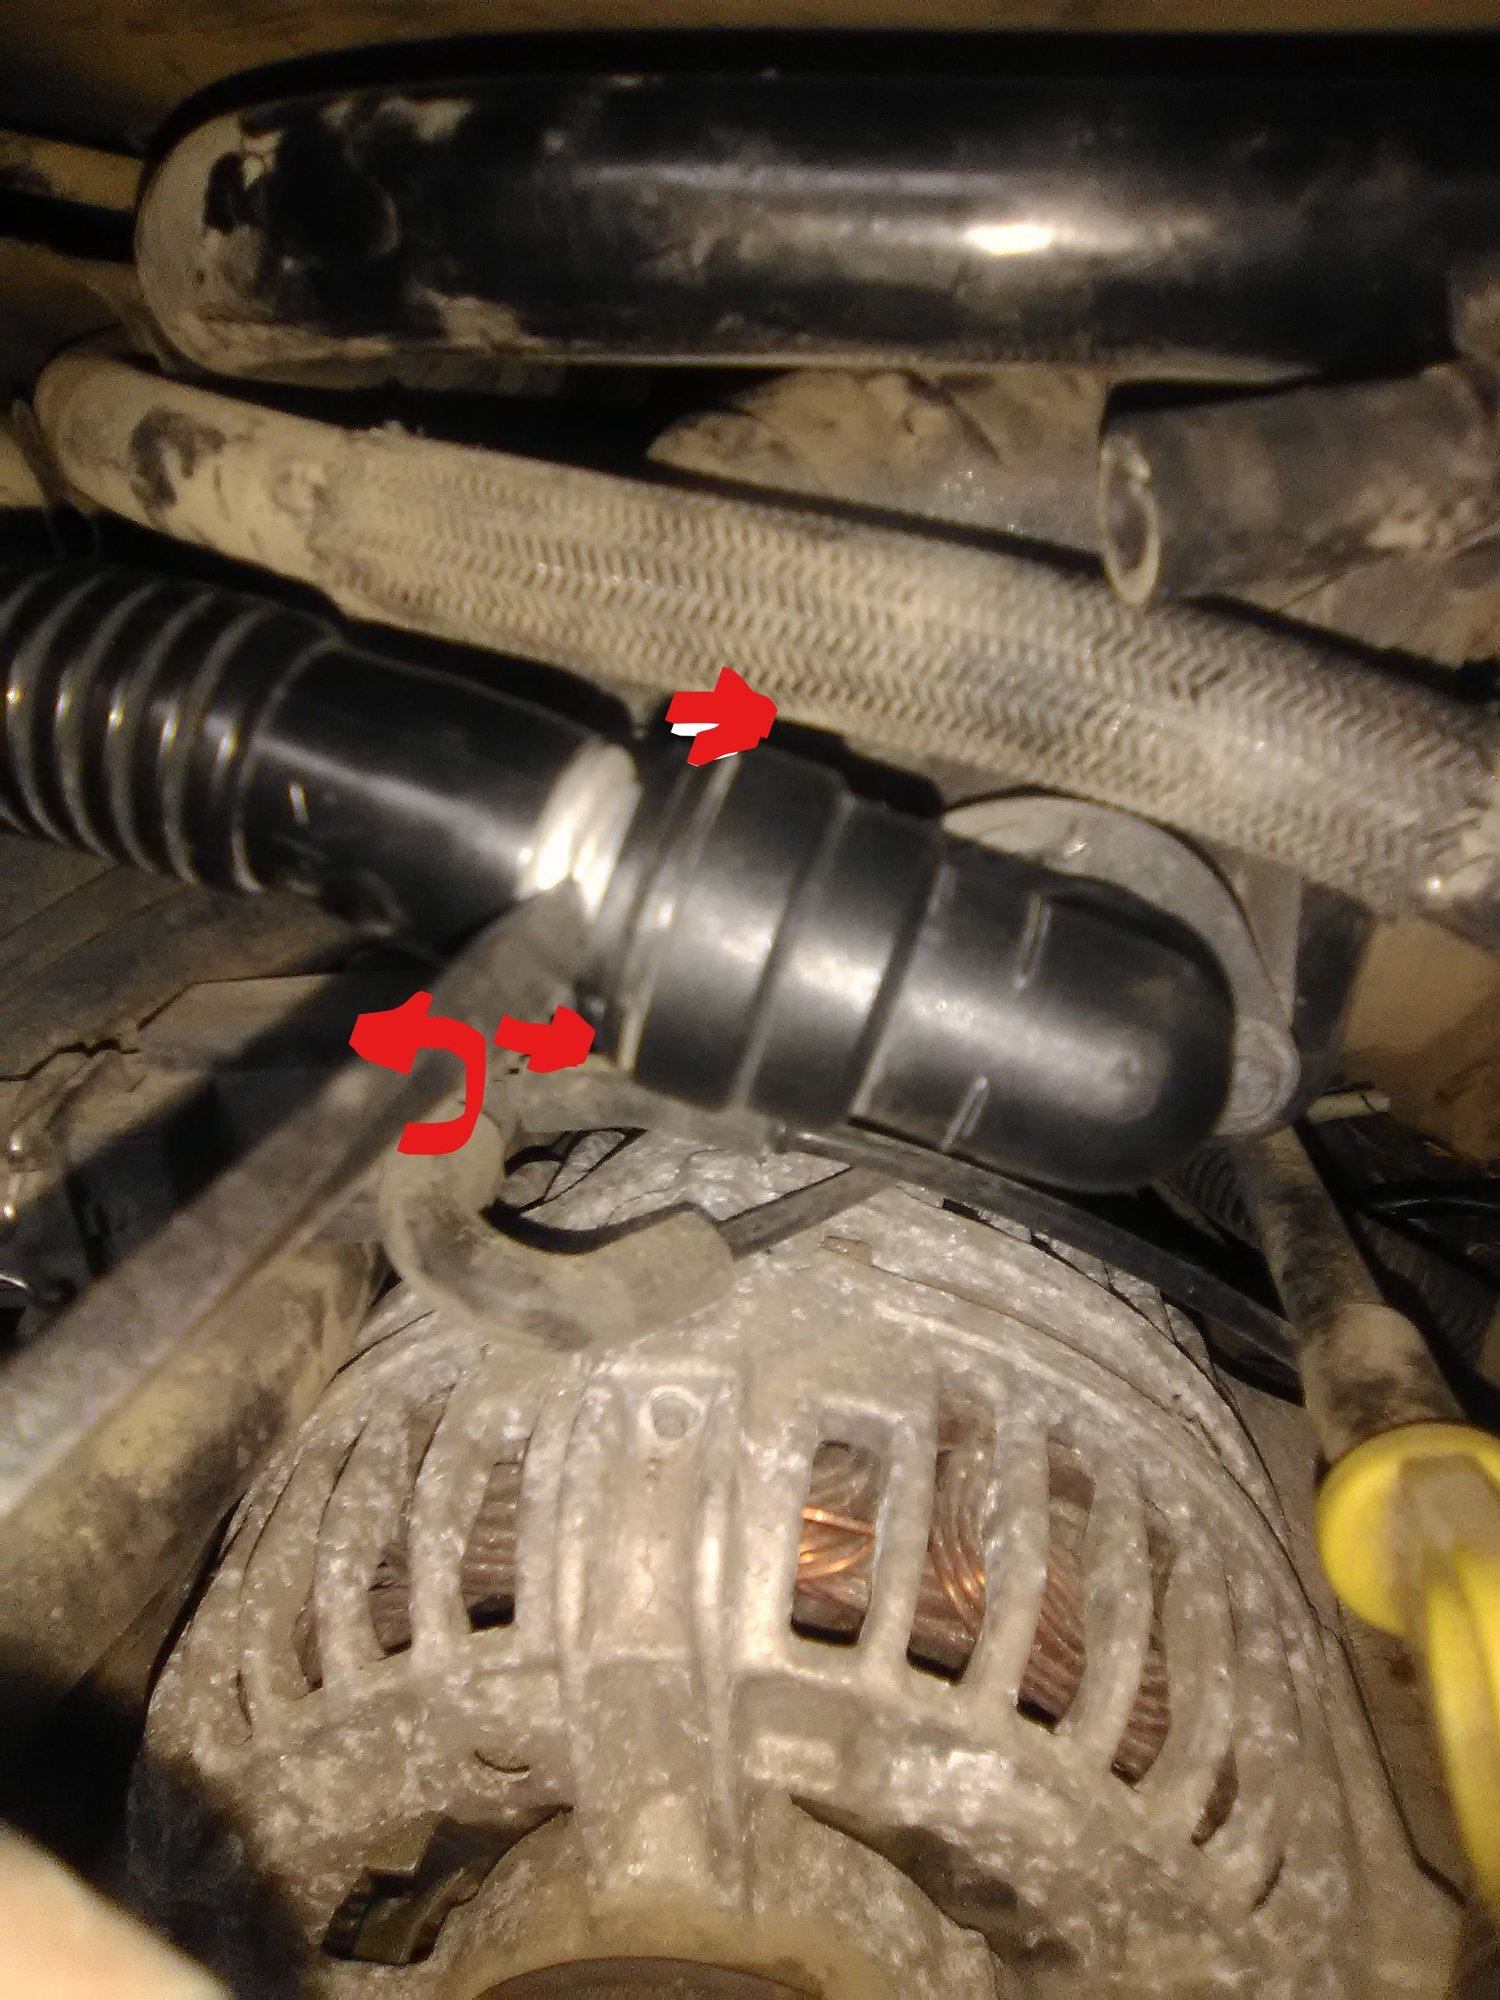
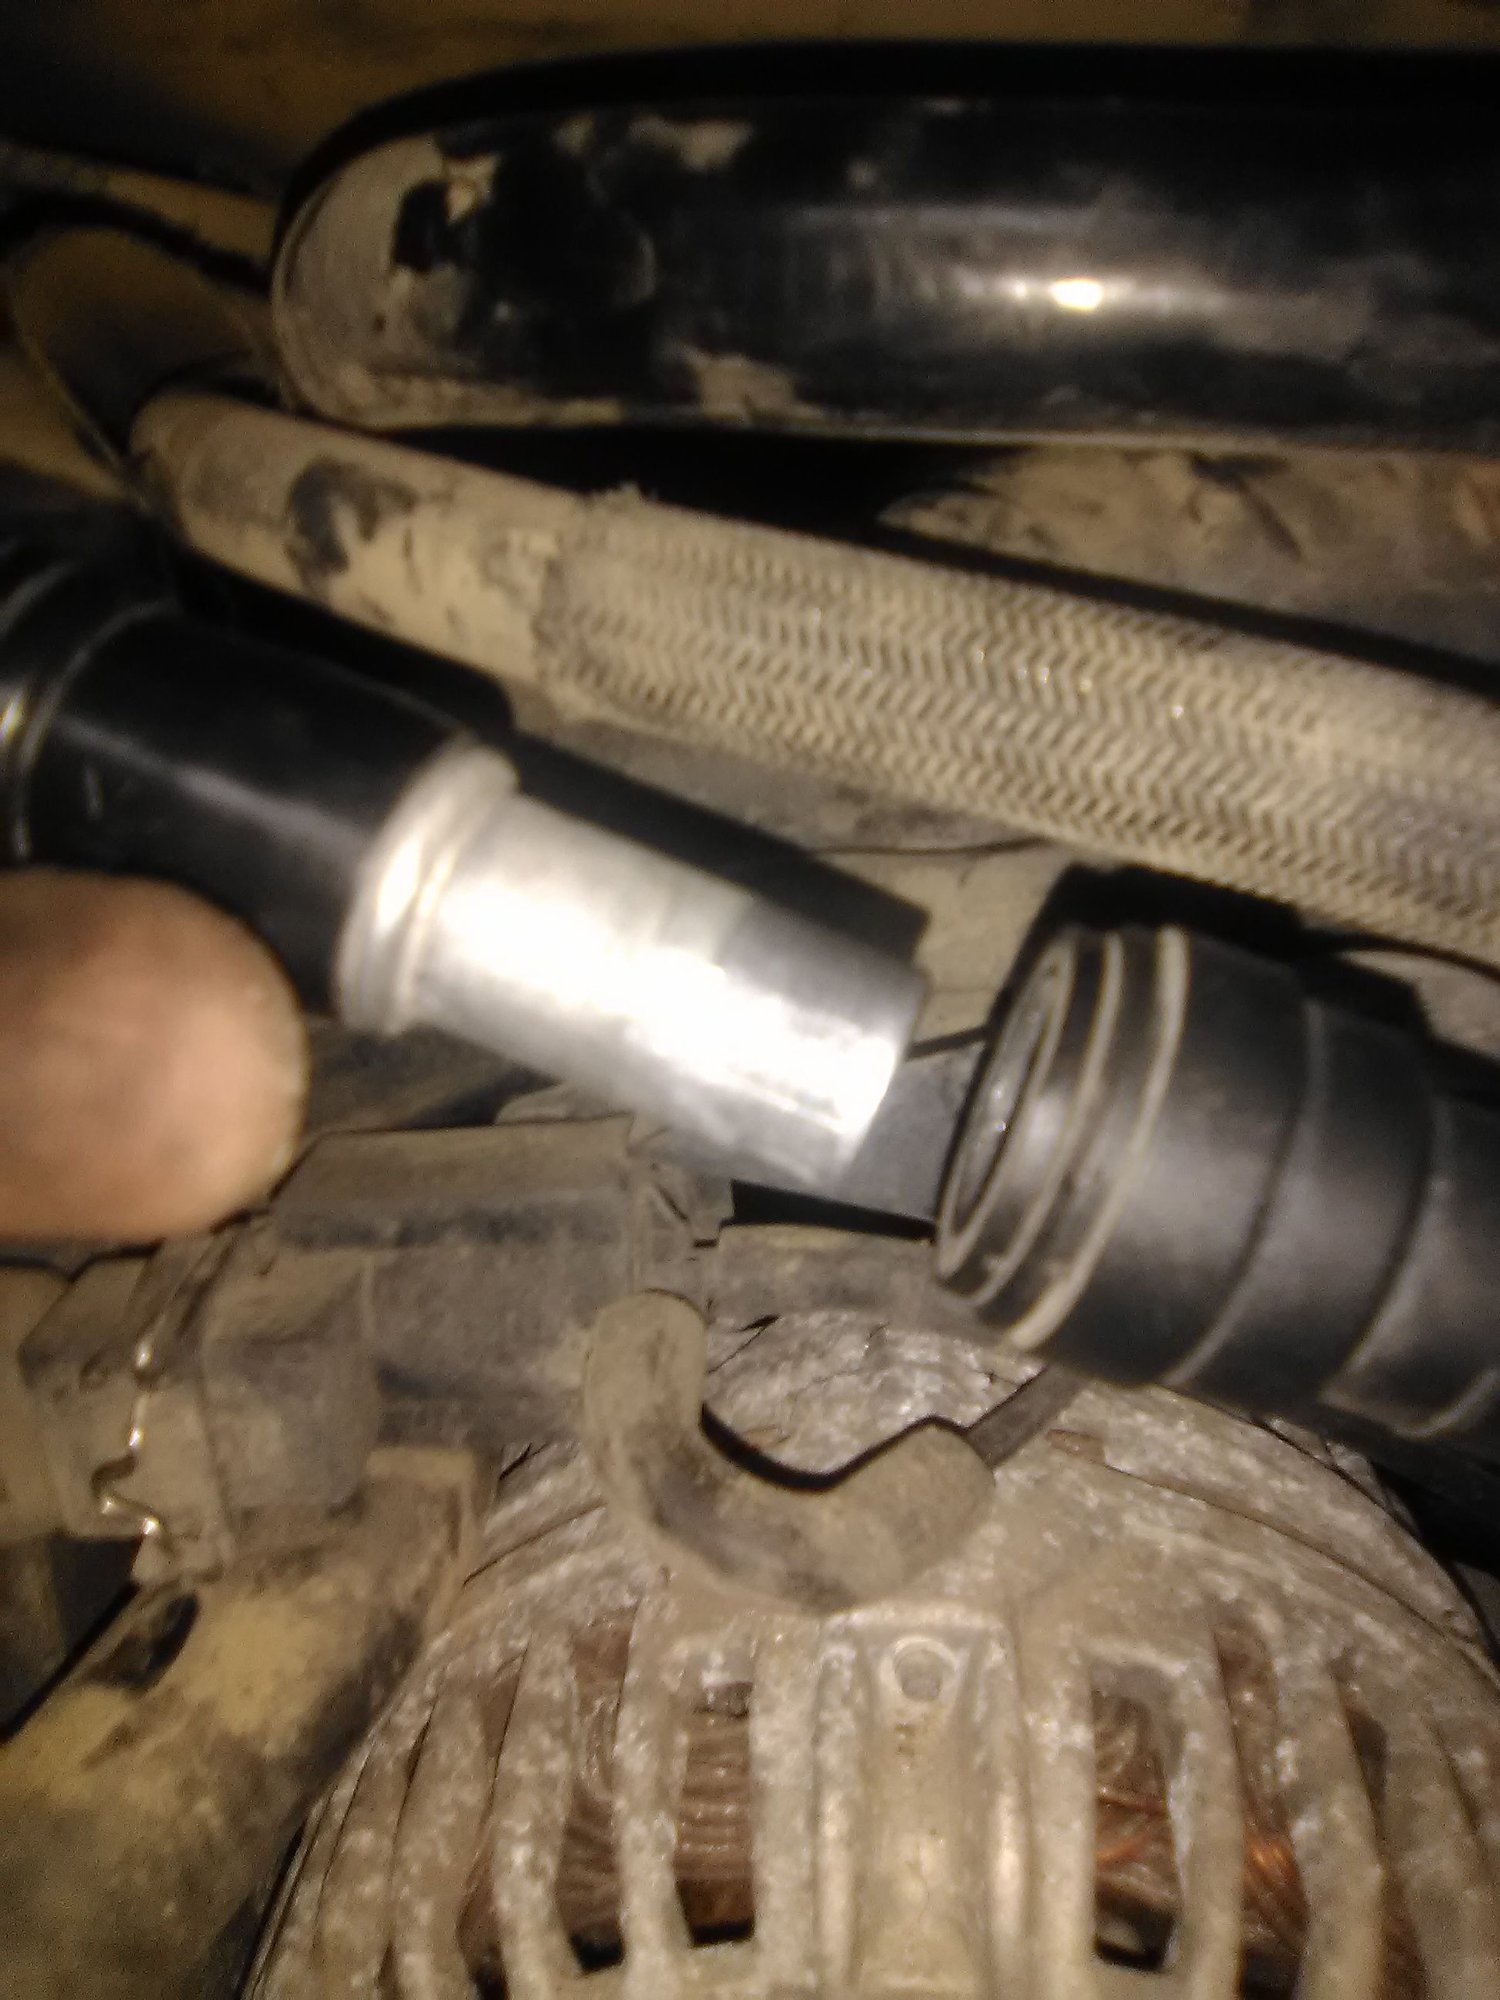
13) Unhook various vacuum fittings. Most of these quick disconnect by removing a cir-clip then prying down on the inner sleeve; push/pull to disconnect. Re-install c-clip so it doesn't get lost.
14) Mark and disconnect O2 sensors by prying up on the connector lock with a flat-blade screwdriver.
15) Unhook the engine wiring harness by twisting the connectors 1/4 turn CCW, then pull apart.
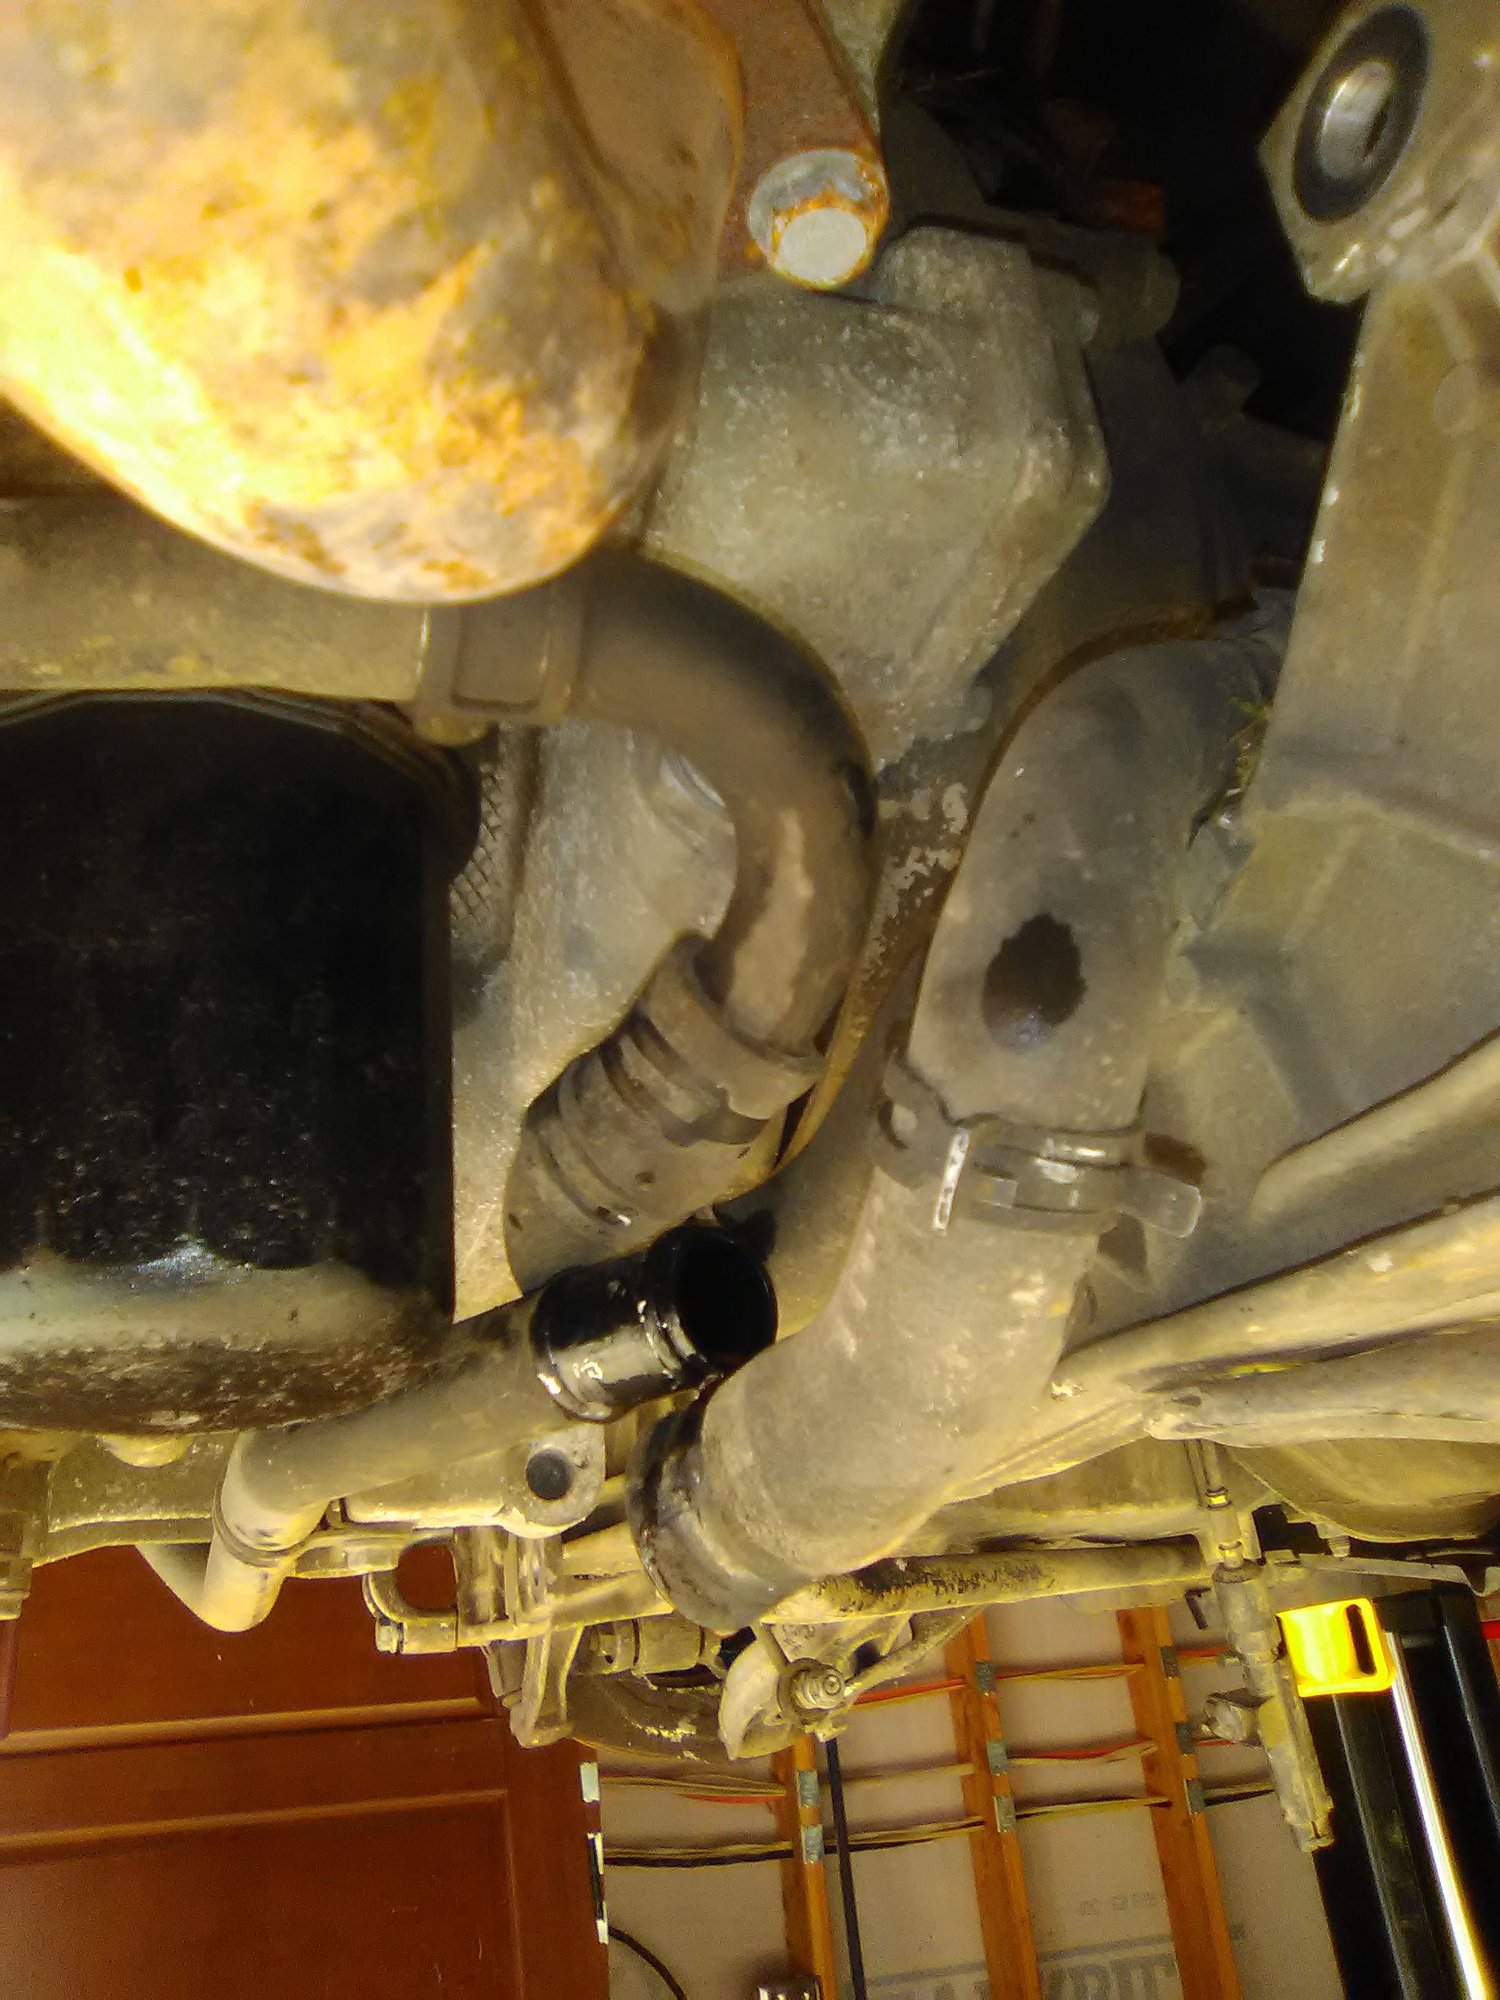
16)Now is a good time to empty the coolant. Expect several gallons, so have a couple of buckets handy. (unless, like me you cooked your motor by letting your coolant all drain out). Also remember that coolant is sweet and your animals will drink it; killing them... so take precautions! I unclamped the engine--->underbody pipe connections to drain my remaining fluid:
17) Now is as good a time as ever to drain your oil. Expect about 2 gallons. (I on the other hand drained several gallons of a nasty oil/coolant mix. No worries about the animals drinking that gunk!)
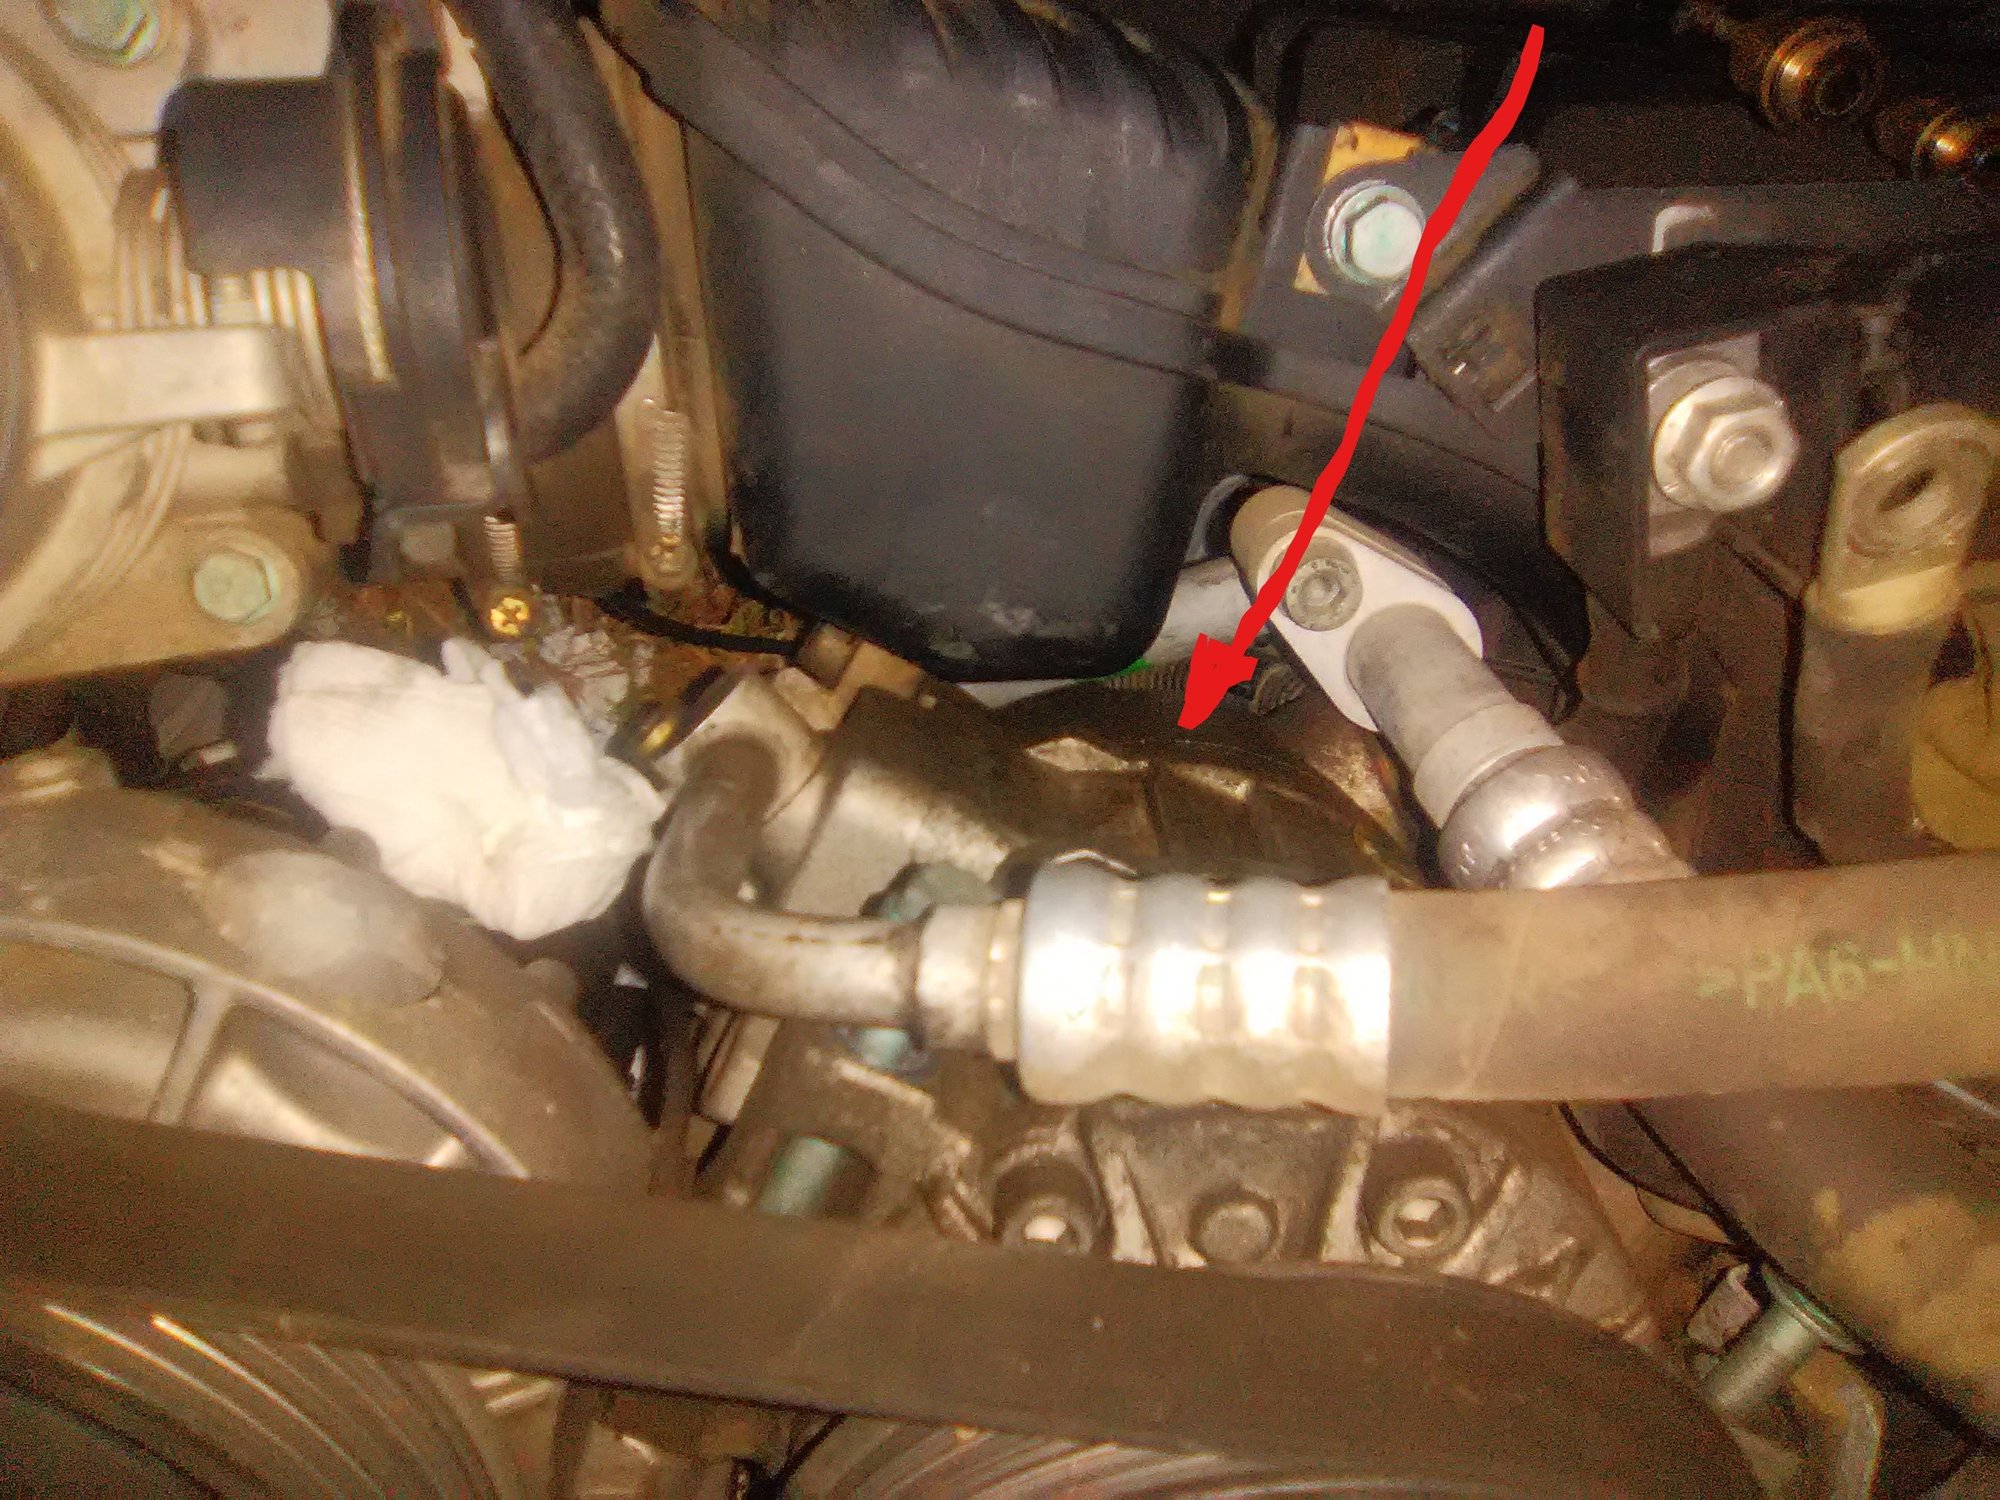
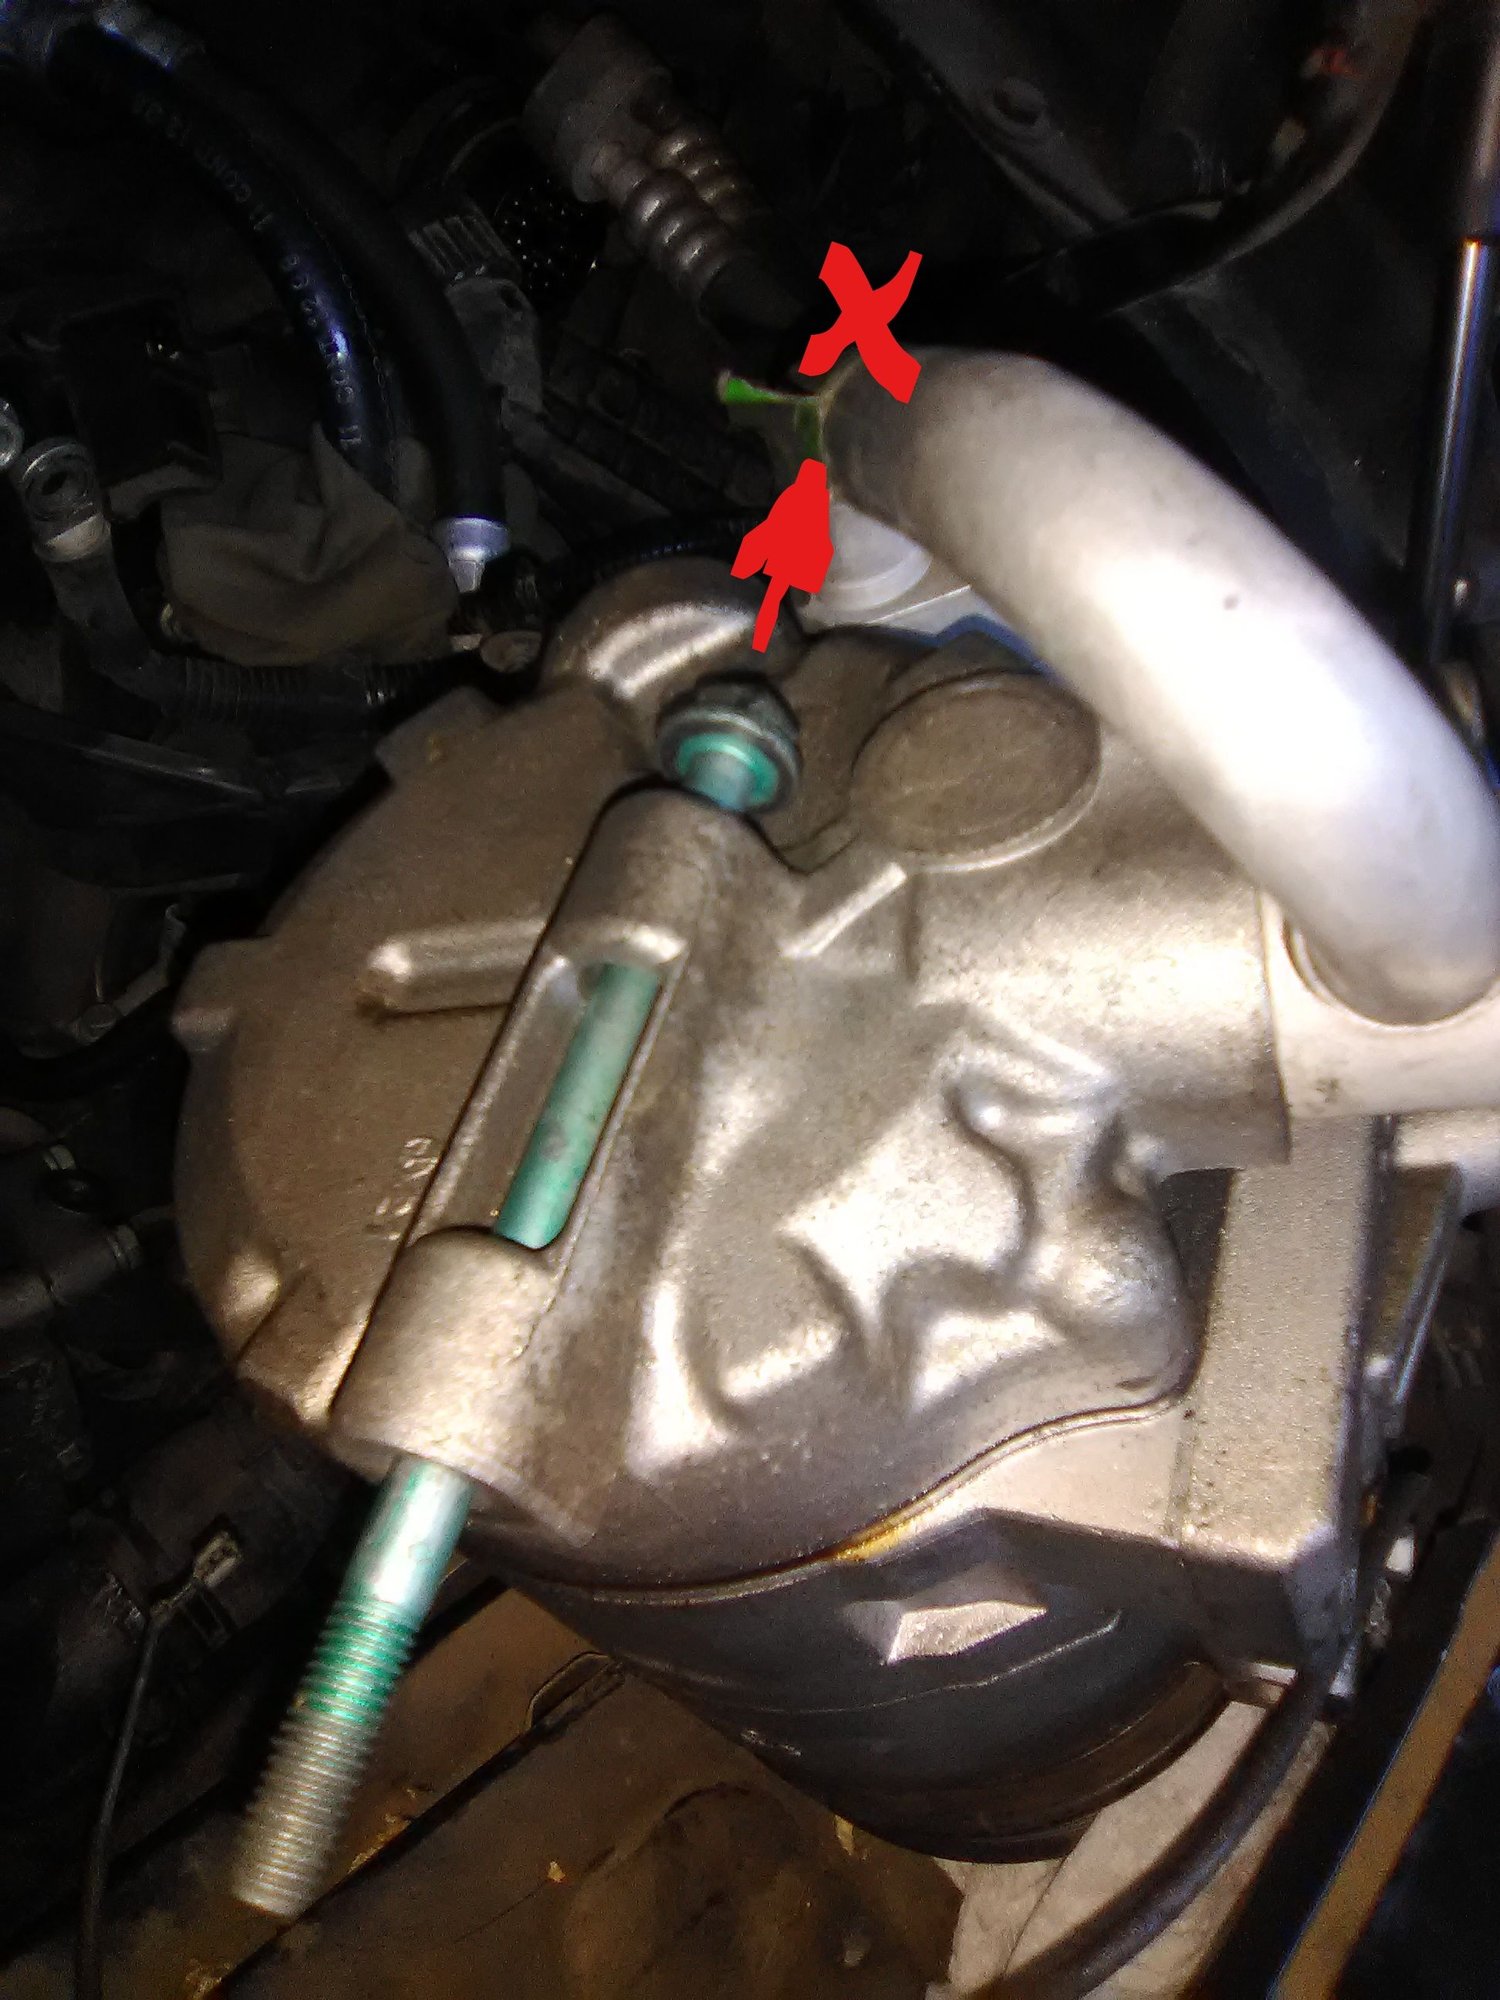
18) Unbolt the A/C pump, paying attention to finding the "hidden bolt"... This is TBA as I have yet to find it. In the meantime I will work on developing my Superman X-ray vision, Plastigirl flexibility and my Spidy senses. It is said to be here:
BTW: What is a shade-tree mechanic supposed to do in the "Fall"? All of the leaves are pretty though.
It's now time to reposition my lift pads, disconnect the under-tray and cross brace so that I can work on removing the shift cables/linkages/reverse light plug/clutch slave and then move onto removing the rear axle cross bracing/reinforcement and sway bar. Also, ...notice the mouse nest in the rear tail light housing, and in one of the previous pics, on top of the motor. There is something "special" about country living...
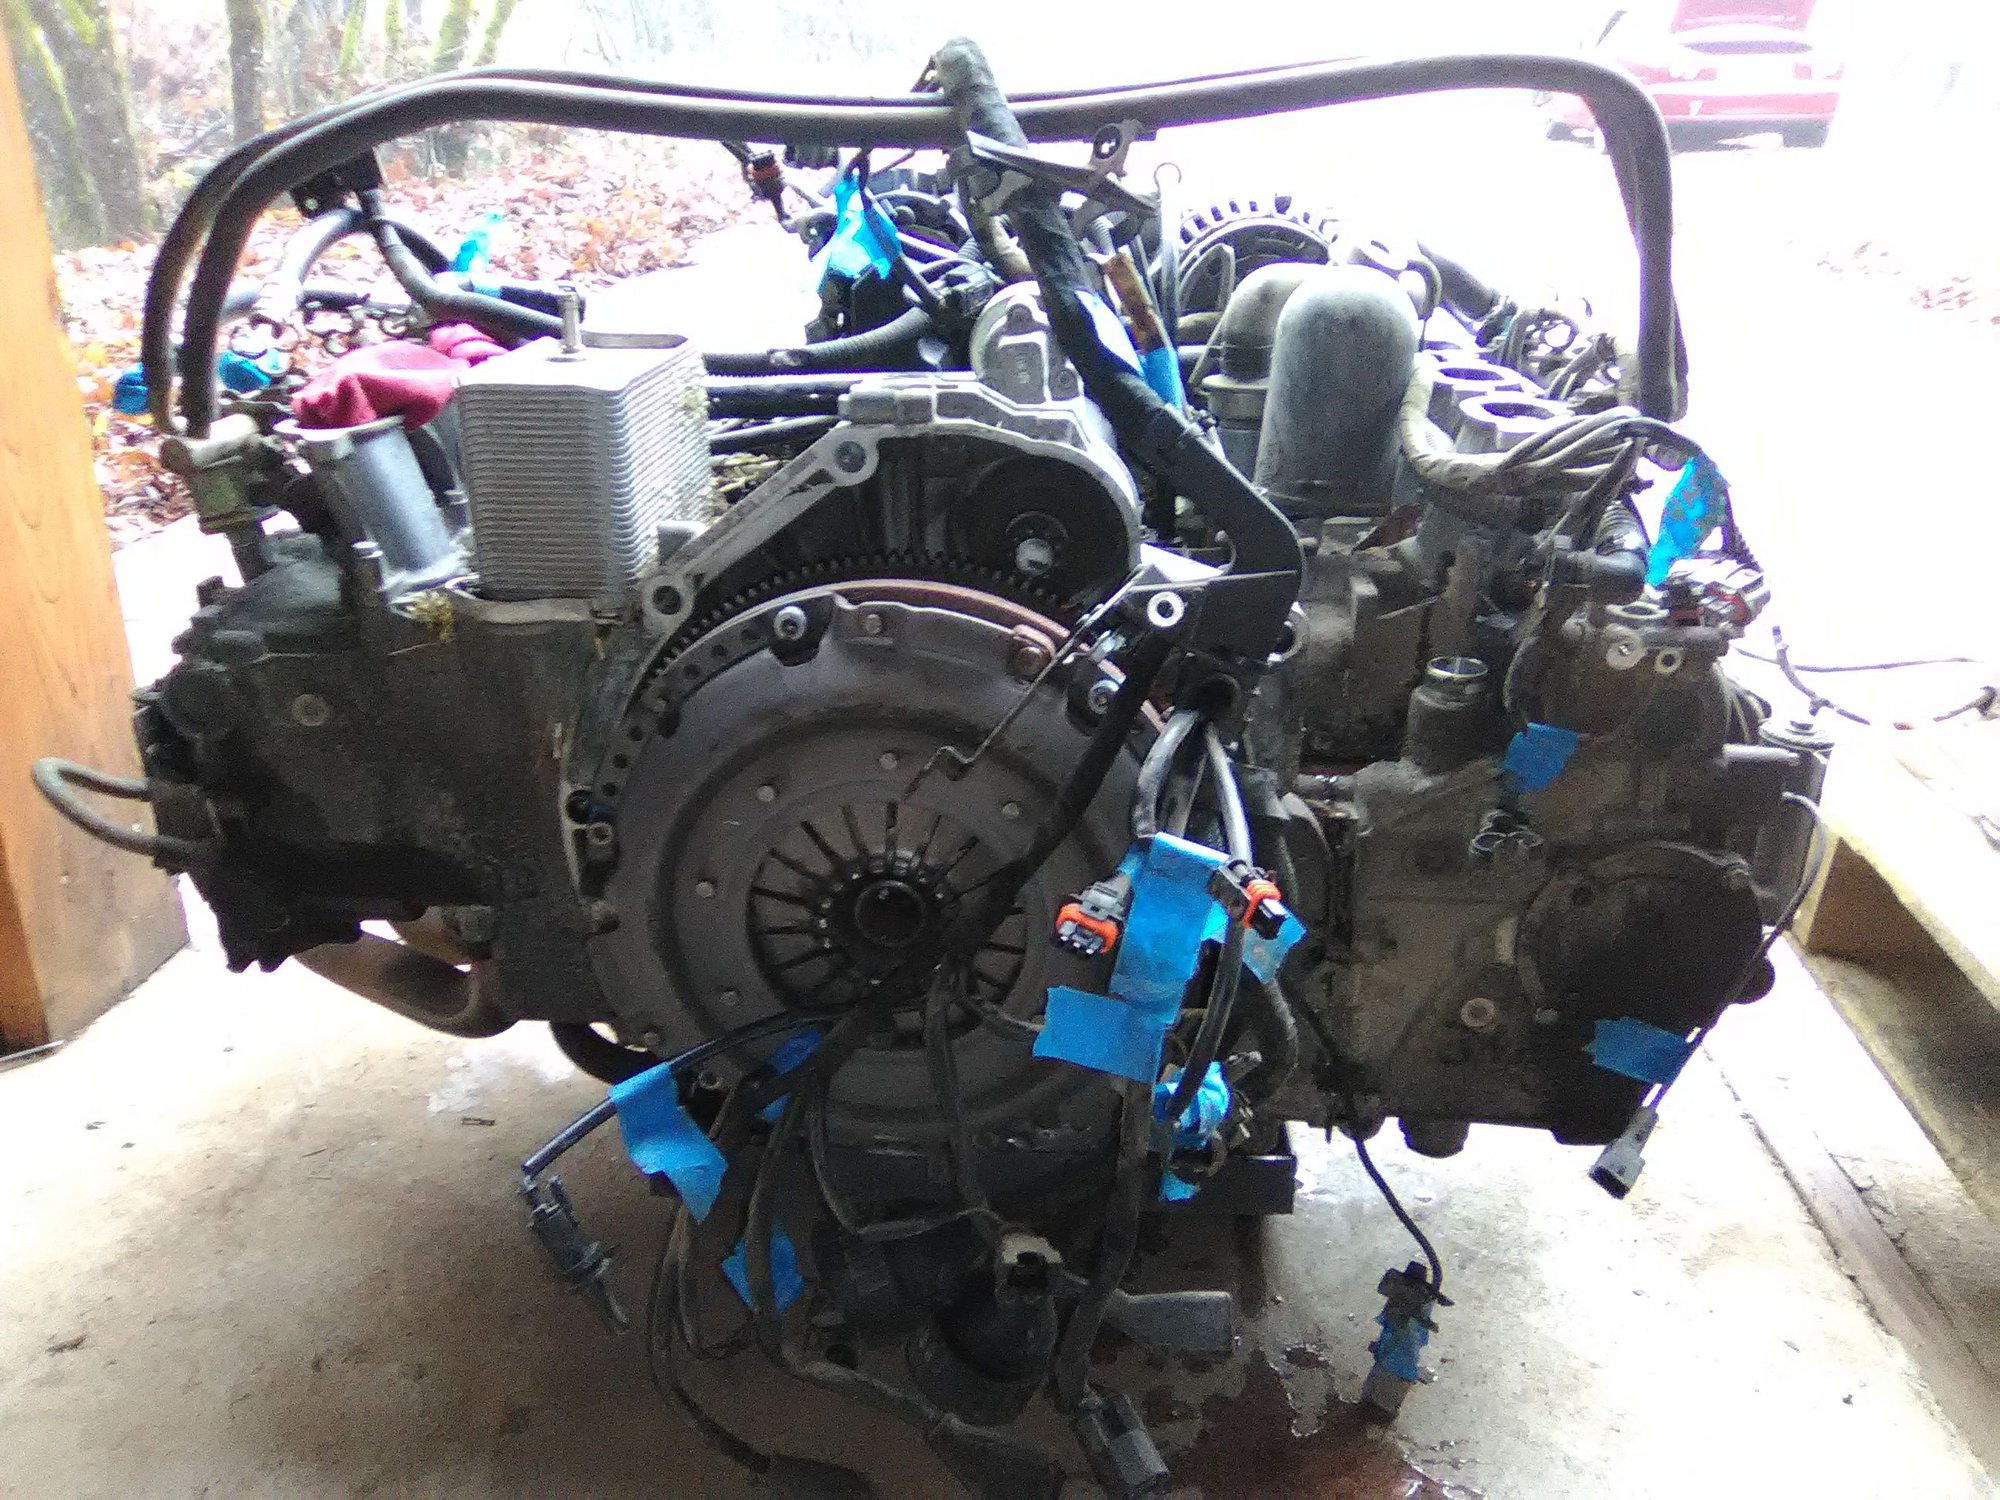
Success!! Once the mystery bolt (from the a/c pump) was out, the rest was easy! Just 4 bolts and raise the body off the motor.
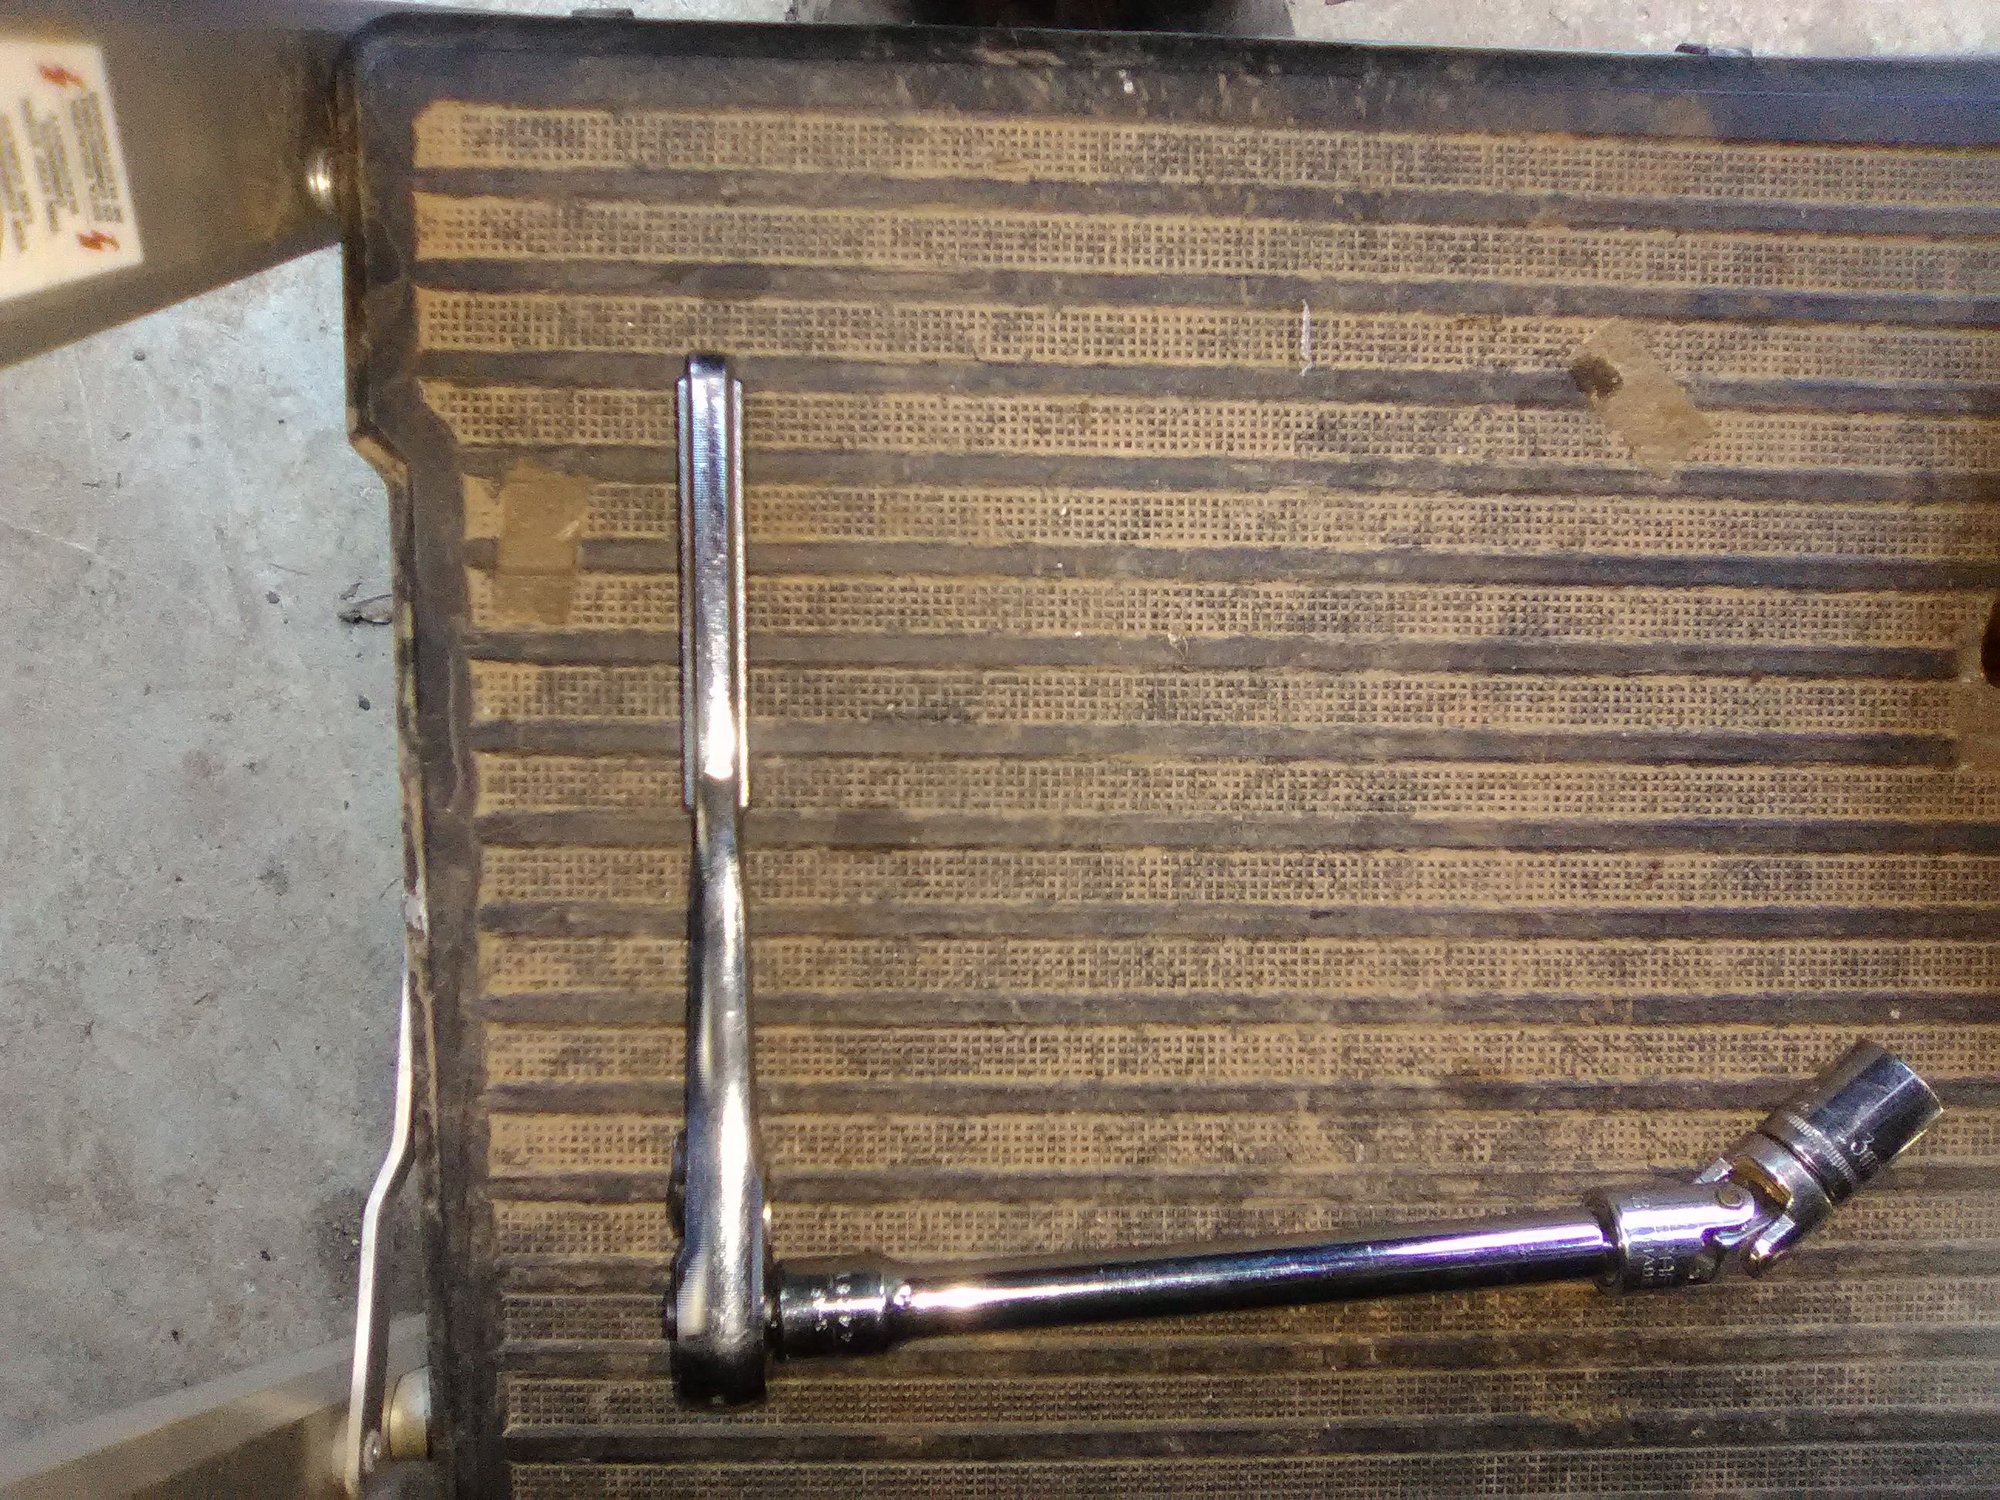
Thx for the suggestions on the a/c pump bolt..."Remove the air temp sensor and you've got a straighter shot at it"... Thanks 808bill. Also, I removed the throttle body and t-tube which allowed me to get a finger on and stabilize the socket while I reefed on it as the bolt was in poor shape from the previous disassembly... This was the hardest part of the entire process. Thx for all of your suggestions. Pics to follow.
Phil had asked me to share a pic of the temp sensor and A/C compressor bolt: This is a view of the temp sensor. You just pull it straight up. Then you can slide the rubber grommet out of the way to allow for a little better angle on the rear A/C bolt.
Then a look at the back of the A/C compressor. This is the set-up that got it done for me:
This is why you can't just use a straight extension; the hard line gets into the way and you just bugger up the bolt head:
Worst of all, if you (or the previous mechanics) mess up the bolt head then you can't replace it without discharging your A/C system as it hits the hard line.
Ok, so back to the steps:
19) Remove rear wheels. Be sure to separate them with wood slats or cardboard as the back of the rim on top will contact and scratch the front of the adjacent rim below.
20) Split the throttle cable (if it's a mechanical cable). 21) Remove various crossbraces. 22) Remove two 6mm hex bolts from clutch slave cyld and slide it forward, out of the bellhousing.
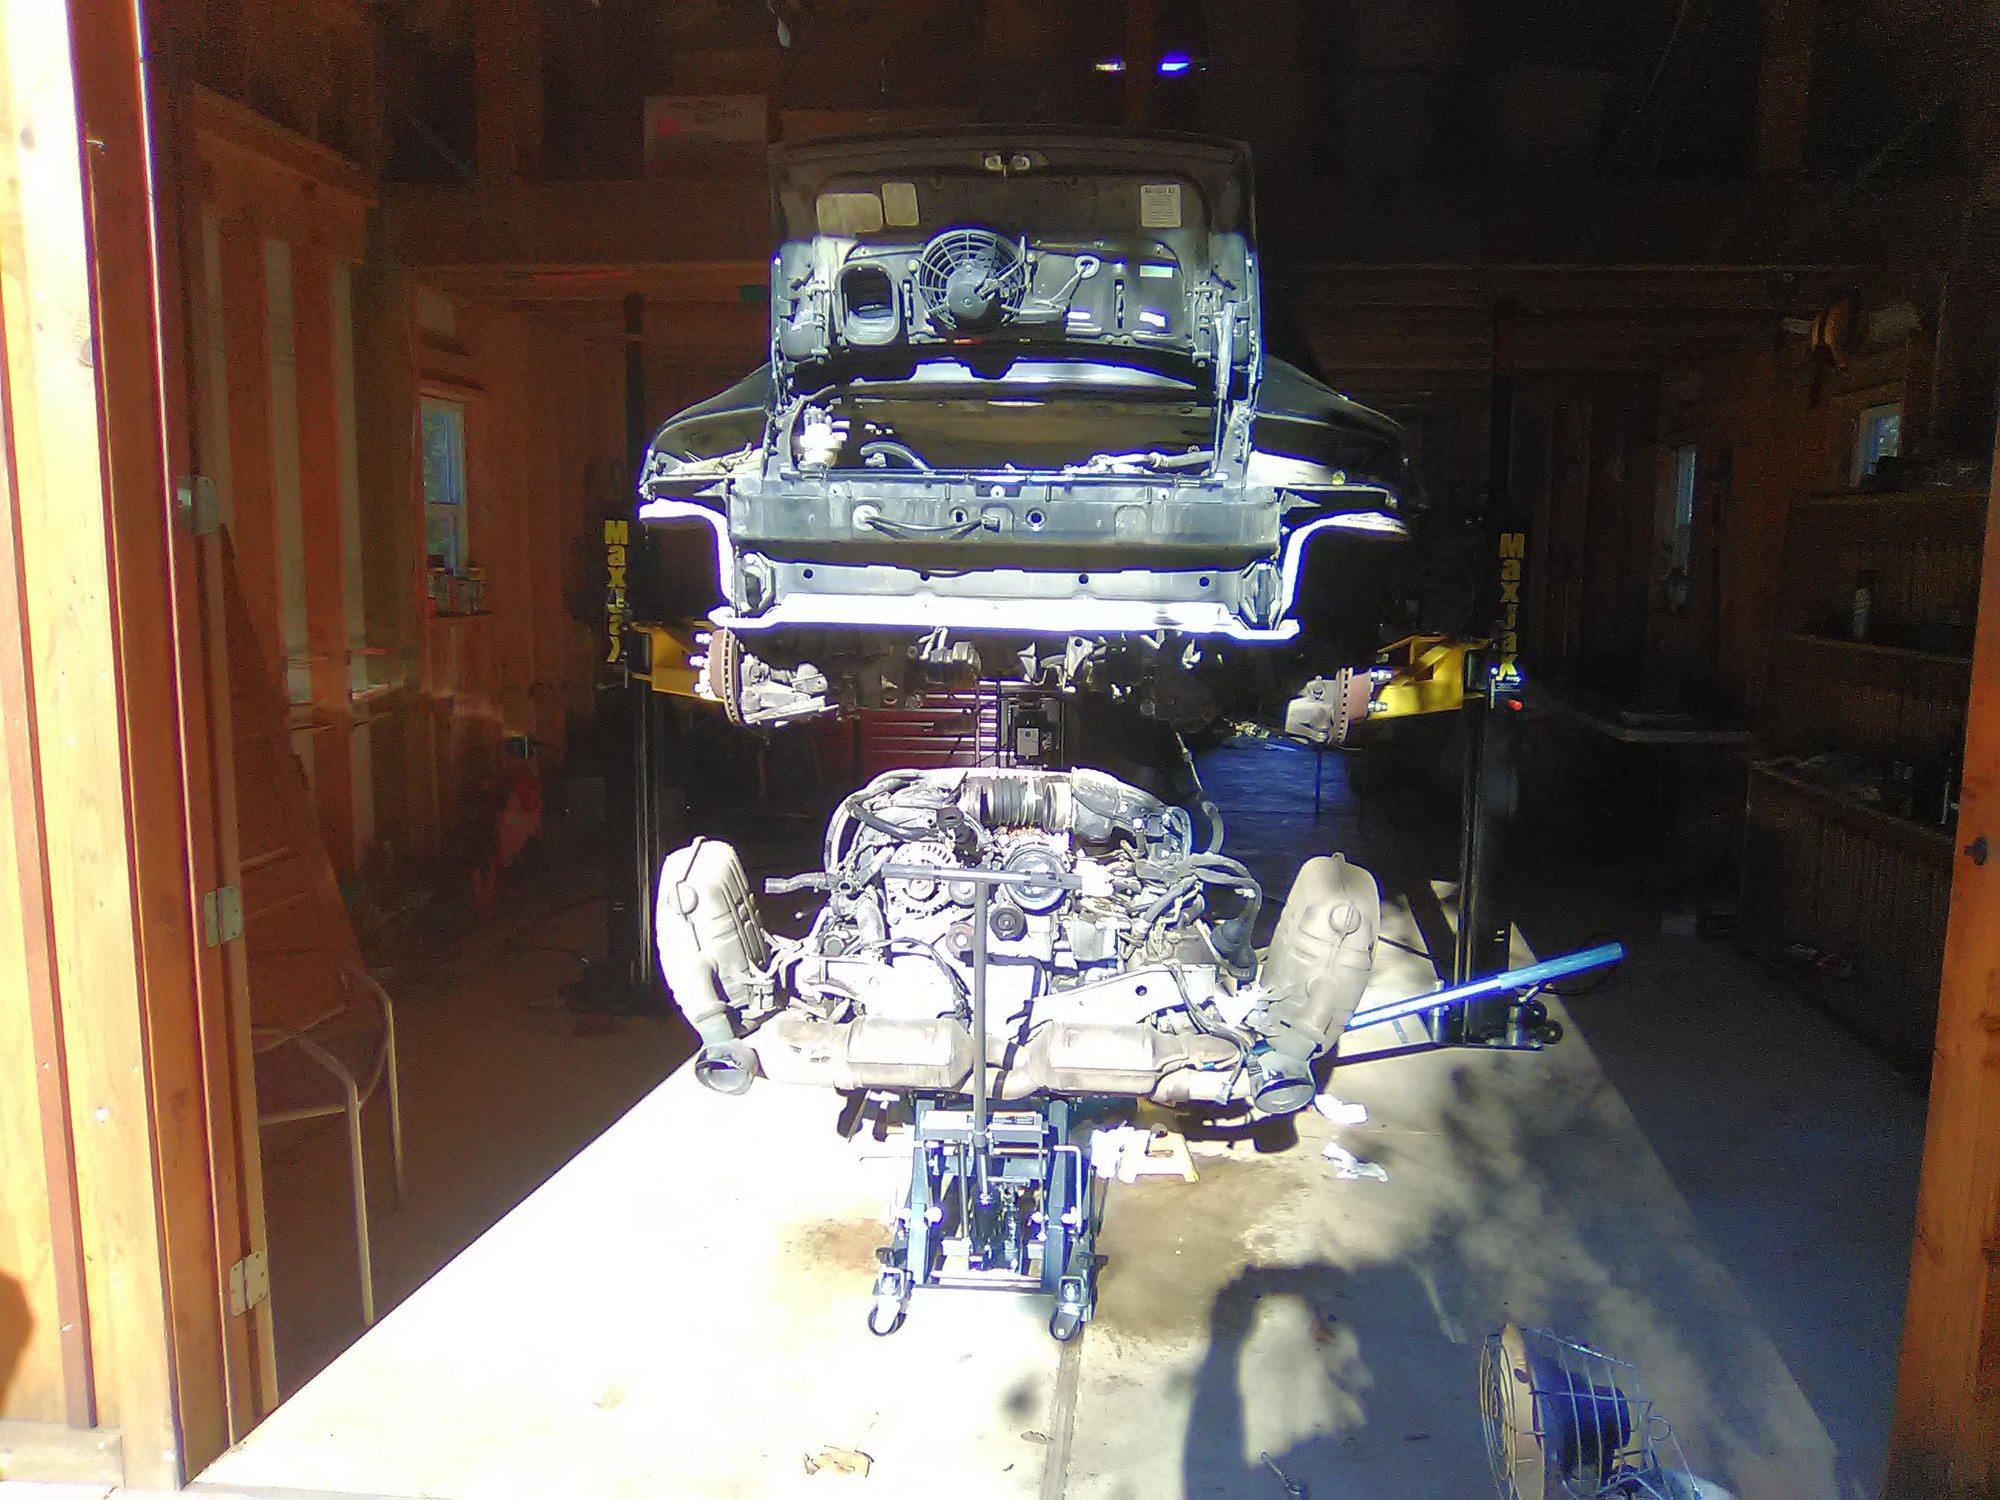
23) Remove axle bolts. 24) make sure that both the motor and transmission are supported. Remove the 2 trans mount bolts and 2 engine mount nuts. ...then raise the body off the engine!
Now the task of disassembling the admirable packaging/layering of the various accessory systems. I am convinced of an analogy: "if the rest of the world were to build a clock, it would be a sundial... simple and easy to maintain. If Porsche were to build a clock, it would resemble a Rolex... layers of gears and cogs... fabulous, yet exceedingly complex". I'm unsure whether I should be impressed, ...or worried about the reassembly!
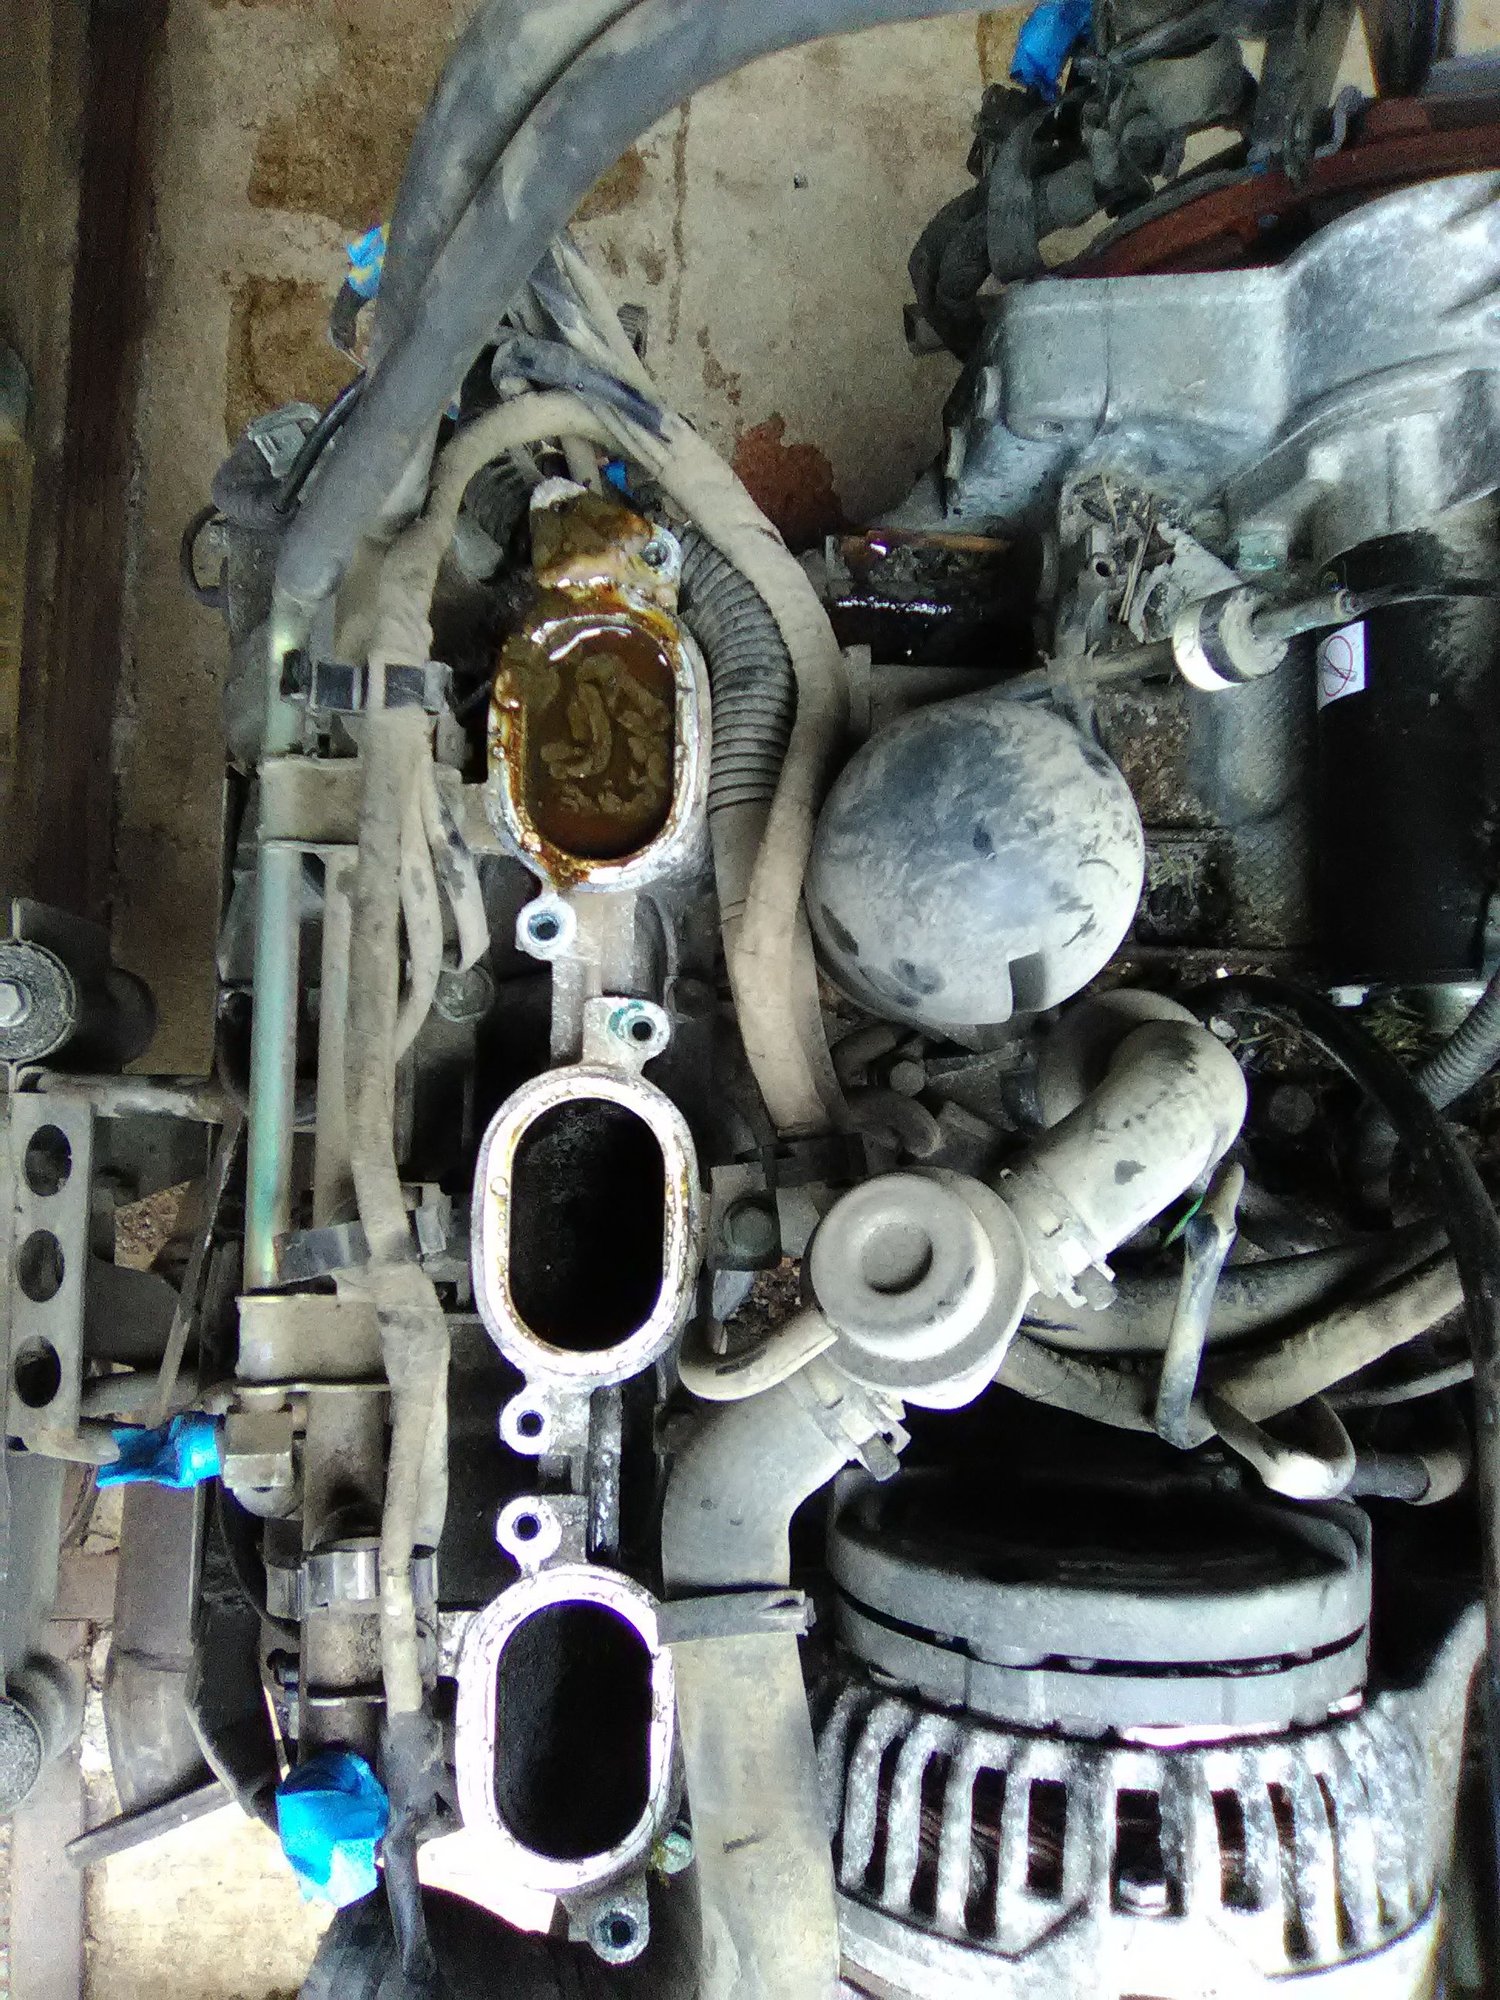
This is the layout of the Air-oil separator system:
Uh oh, water is not supposed to be in here!:
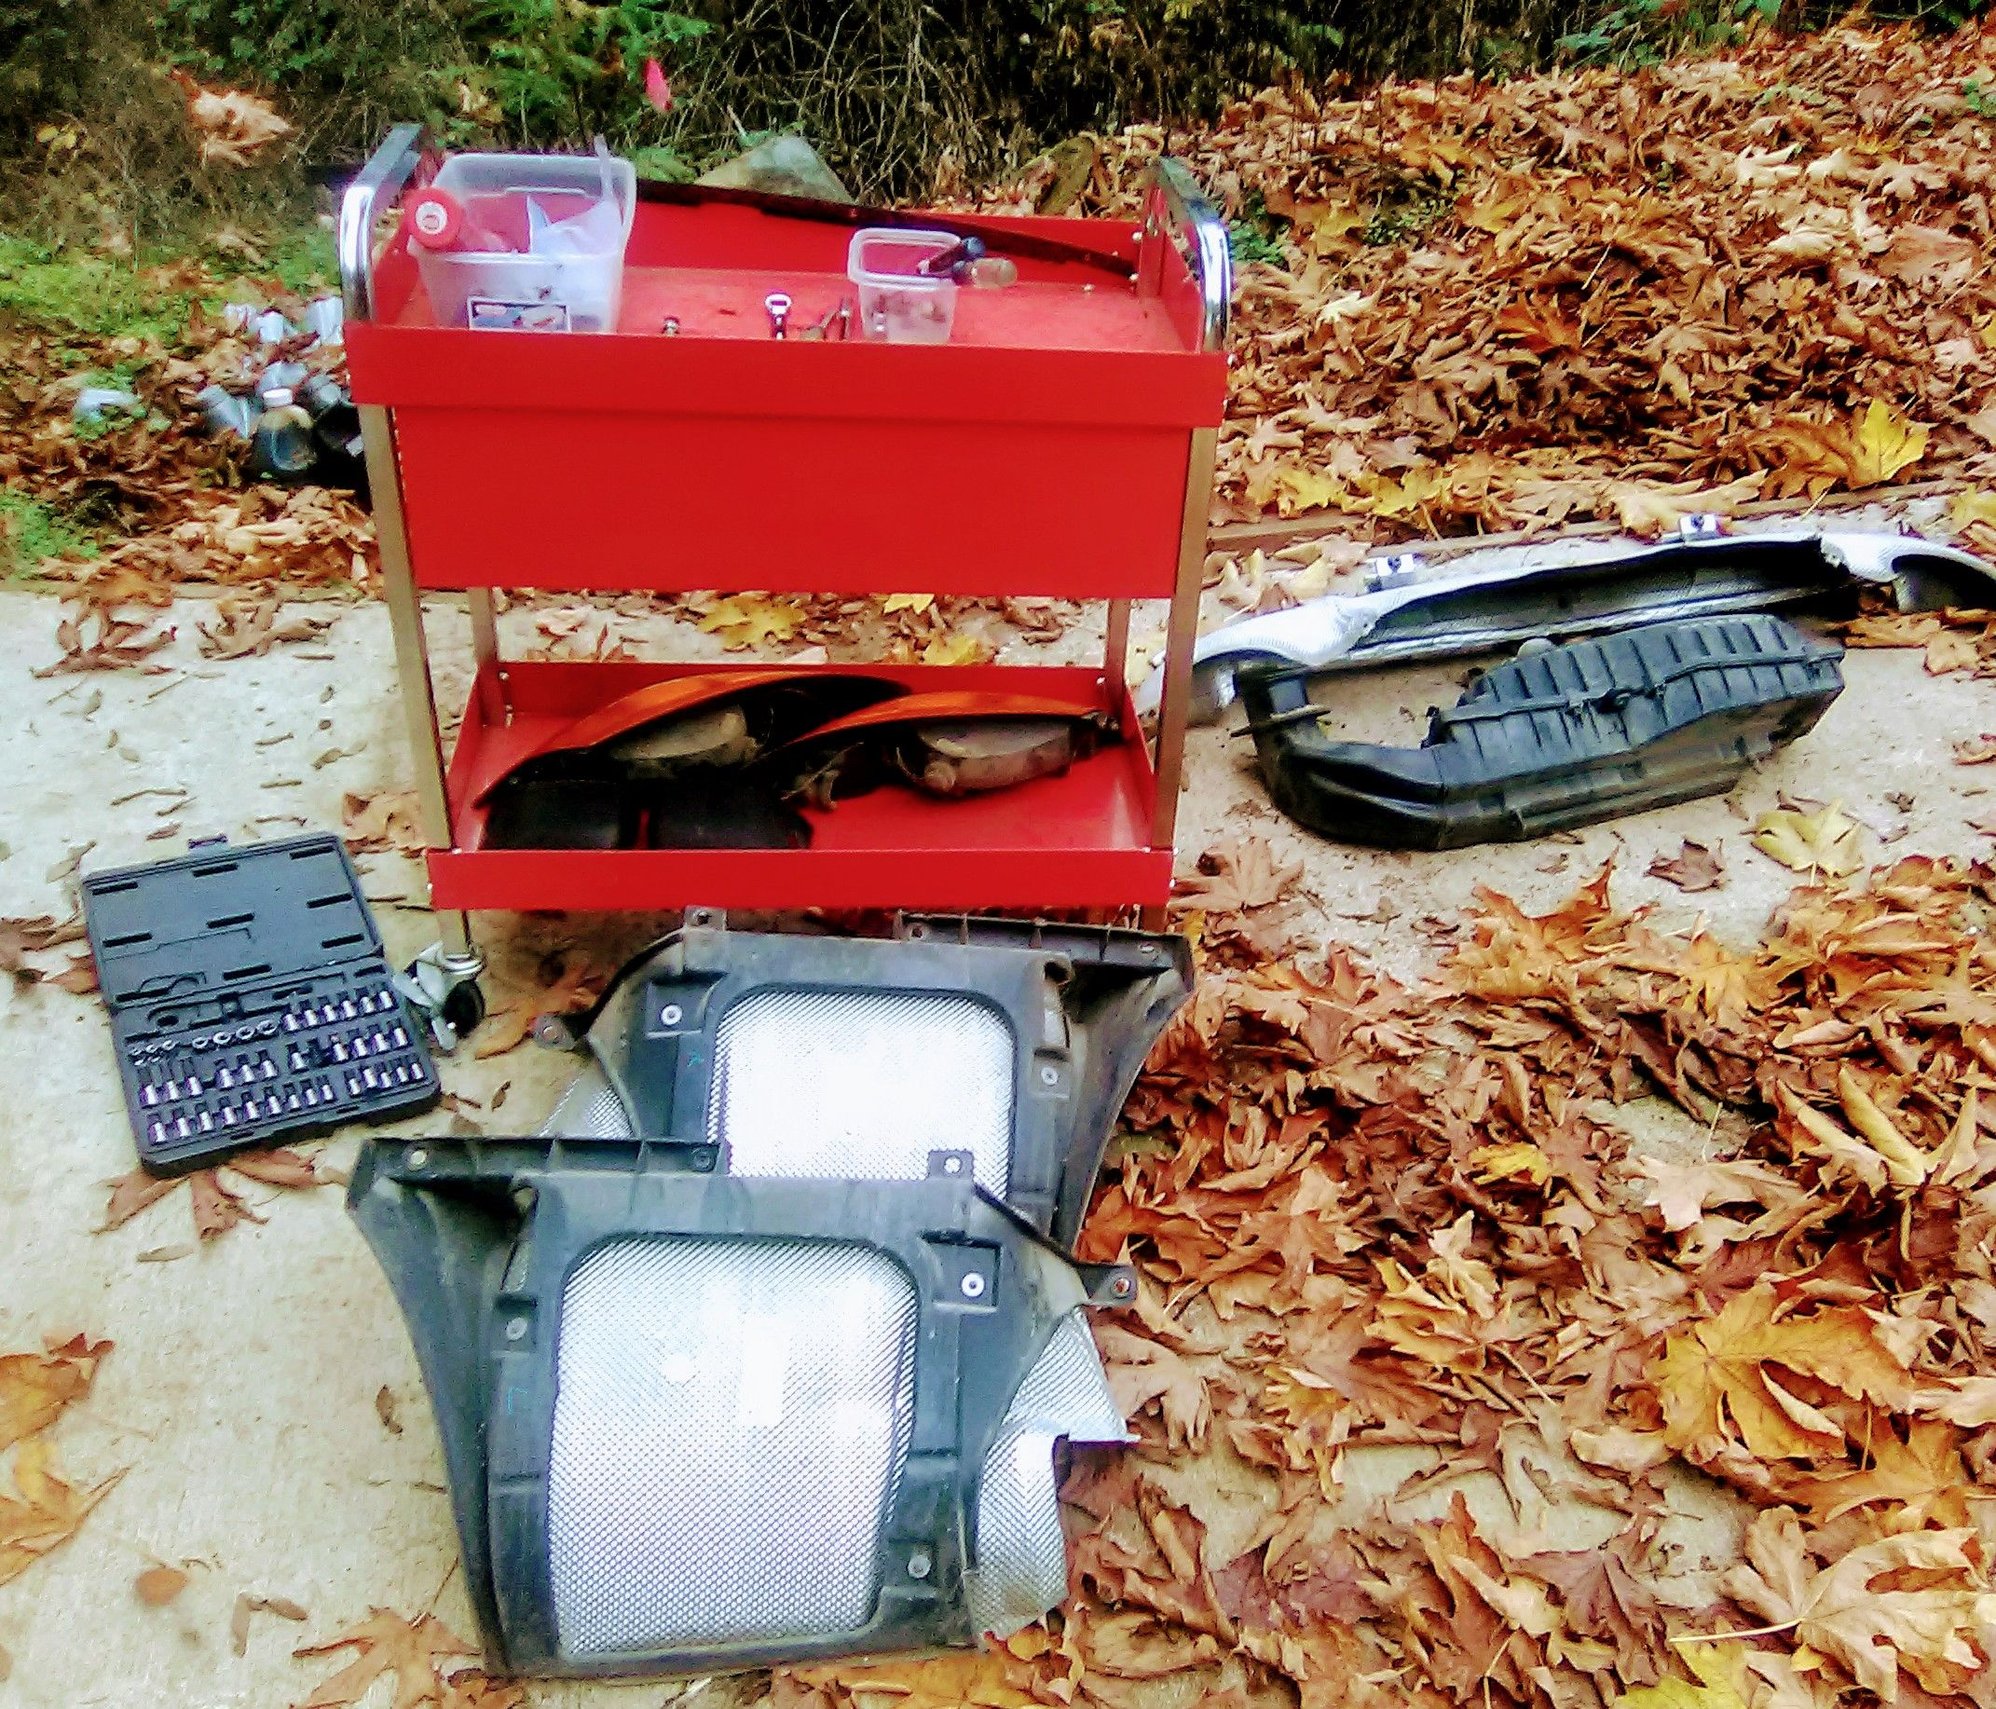
I'm finally down to a bare block. All of the accessory components, hoses, wires and bolts are labeled and boxed up. Now down to the actual fun part of the engine tear down, failure forensics and planning the build(s).
I had previously purchased a core motor with the plan of using the broken short-block (rod bolt failure) as a core for a new factory short-block. I believe it costs in the $5K - $5.5K range and will include the latest update to the IMS bearing (997 style). I am unsure if it comes with a new oil pump. My plan was to hopefully have enough parts to salvage a nice OEM build for the cabriolet and then also have a usable core for a build for my trackday car. The prospect of 2 usable motors is not looking real good right now. Even if the overheated motor's short block can be resleeved (oversize to a 3.8 + Carillo rods was the plan), it is likely that the heads are cracked and I don't think that welding and re-installing seats would work reliably on a motor geared for track service. Cross my fingers!

 11-16-2018, 03:22 PM