When you click on links to various merchants on this site and make a purchase, this can result in this site earning a commission. Affiliate programs and affiliations include, but are not limited to, the eBay Partner Network.
So the first few steps, ....after the token "make sure that the car is secure on the lift and that you have your battery disconnected" should read: 1) be sure that your jack pads do not cover the screws to your rear tray or the bolts to your rear cross bracing, as you will need to remove these.
2) There is a "hidden bolt" behind the a/c compressor. (Why, with all of the great engineering at his disposal did Mr. Porsche decided to hide this bolt ? ... one can only speculate). With the "proper" swivel and extension it is said to be doable. However, you can't see it. You can't feel for it. The swivel and extension that I had didn't do the trick. Why didn't Porsche merely cast a relief in the intake runners to accommodate this? My suggestion is to pull this bolt first. If you can't get it, then reconsider dropping the engine yourself. I'm on my phone now, pics to come!
But, what are you going to do about the road and the chance of the same happening again?
I bought a Mezger for the replacement car... Nothing delicate hanging down low like the 996na. For this 996na rebuild I will use s 1/2" pan extension which will make the oil pan cover lower than the water hose. I will also be sure to use a factory "spring" clamp and not a worm clamp like the one that was damaged. Then a factory skid plate.
So the first few steps, ....after the token "make sure that the car is secure on the lift and that you have your battery disconnected" should read: 1) be sure that your jack pads do not cover the screws to your rear tray or the bolts to your rear cross bracing, as you will need to remove these.
2) There is a "hidden bolt" behind the a/c compressor. (Why, with all of the great engineering at his disposal did Mr. Porsche decided to hide this bolt ? ... one can only speculate). With the "proper" swivel and extension it is said to be doable. However, you can't see it. You can't feel for it. The swivel and extension that I had didn't do the trick. Why didn't Porsche merely cast a relief in the intake runners to accommodate this? My suggestion is to pull this bolt first. If you can't get it, then reconsider dropping the engine yourself. I'm on my phone now, pics to come!
There are threads that discuss the easiest way to get the AC bolt out.
If I recall correctly, a 1/4� ratchet with a short extension (3�-ish) makes short work of that bolt once you take out the temp sensor and grommet. You can do it by feel.
Use a crows foot, an extension-universal-extension and it will work. Once you get a mirror position and figure out the angle you'll be able to do it with your eyes closed...Lower the engine a few inches too.
Lowering the engine a few inches is a great suggestion! Even so, I think I removed mine before lowering the engine - it really isn't that difficult. It is however, slow and annoying! Re-connecting the hard line to the clutch slave cylinder is more difficult and annoying by far (at least it was for me...). Good luck, and take your time - you'll get it
I left my hard lines attached and just hung the CSC.
Yeah, I knew that's how many people do it but I rolled the dice on the hard line. My logic was, that it was only one nut as opposed to two, and I wouldn't have to deal with aligning the slave cylinder afterward (it seems like many folks have problems with that). In hindsight, while I didn't have any problems aligning the slave cylinder, getting that nut to thread in with the hard-line attached was a bitch!
So the steps so far are:
1) Pop open front/rear bonnets and roll down side glass slightly before unhooking battery. Also, pull on E-brake to keep axel shafts from turning during disassembly.
2) Either unhook and remove rearmost undertray and cross bracing bolt, or make accommodation for thier removal once in the air (as the lift pad may cover).
3) Use a T-20 to loosen the tailight mount and pull light housing straight backwards. Unclip connector and stow out of harms way.
4) Unscrew bumper cover (phillips or torque bit) at top reinforcement plate; bottom attached to heat shield; sides attached to heat shield and one inside fender well.
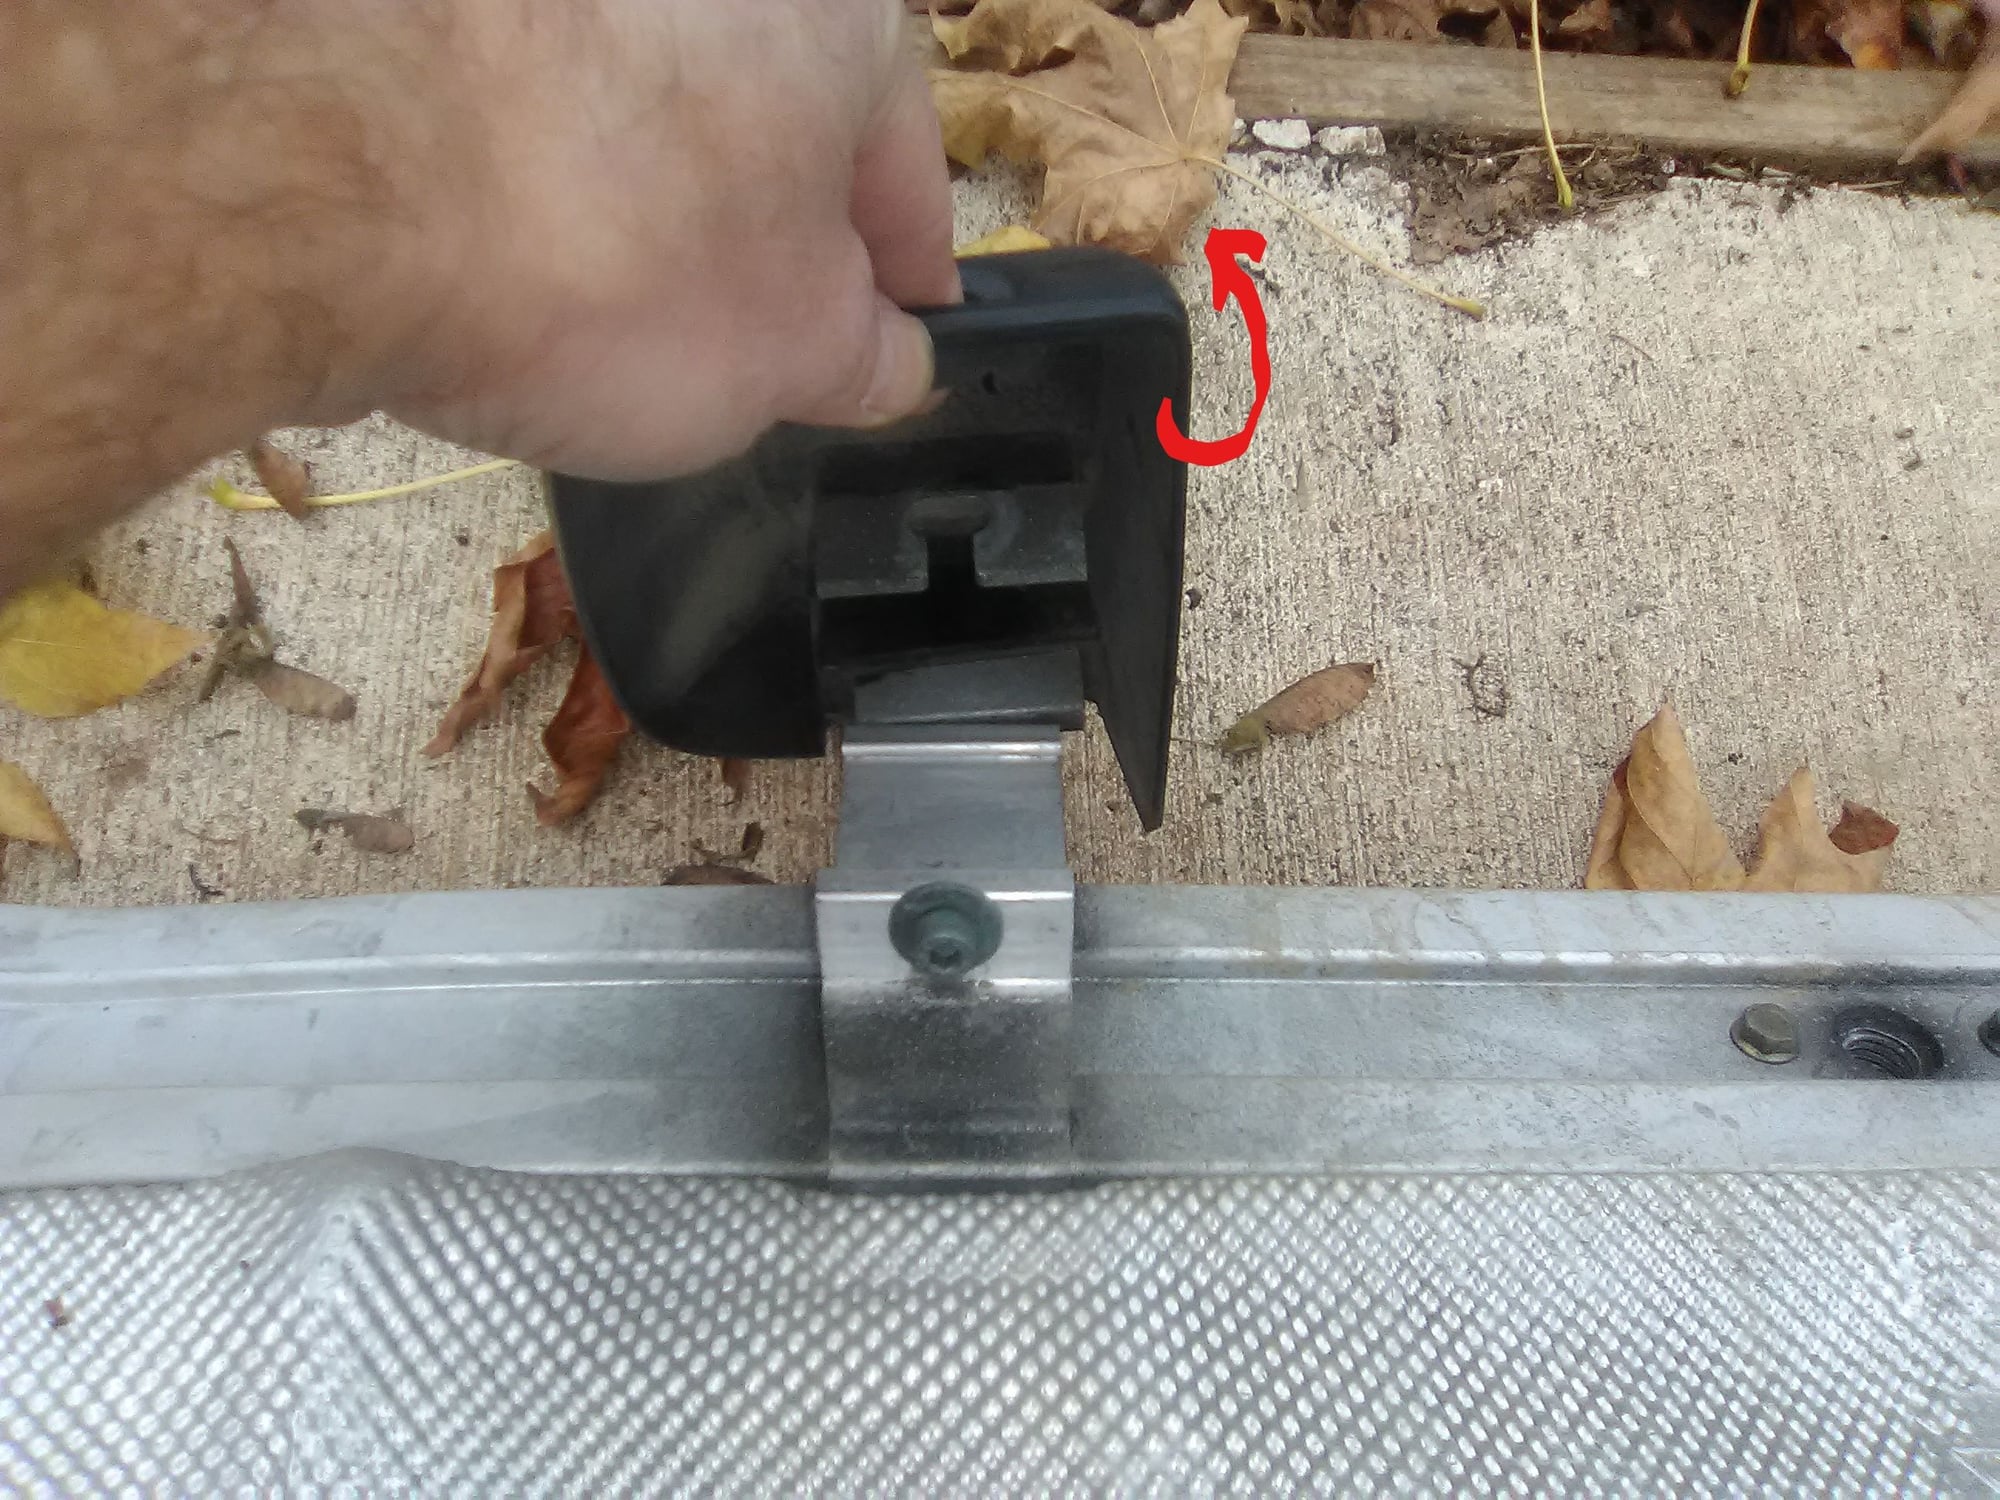
5) Use a 6mm hex to remove bumperettes. These can be reached by prying off the cap at the bottom of the bumperette. Loosen the bolt and rotate the bumperette from the bottom to up to remove.
6) Remove bumper cover and be ready to catch it as it will be restrained by a small wiring harness. Disconnect and stow out of harms way.
7) Remove side skirts/heat shields. Stow out of harms way.
8) Unscrew clamp on throttle body. Use a 10mm socket to remove air cleaner retaining bolt. Remove housing and stow out of harms way.
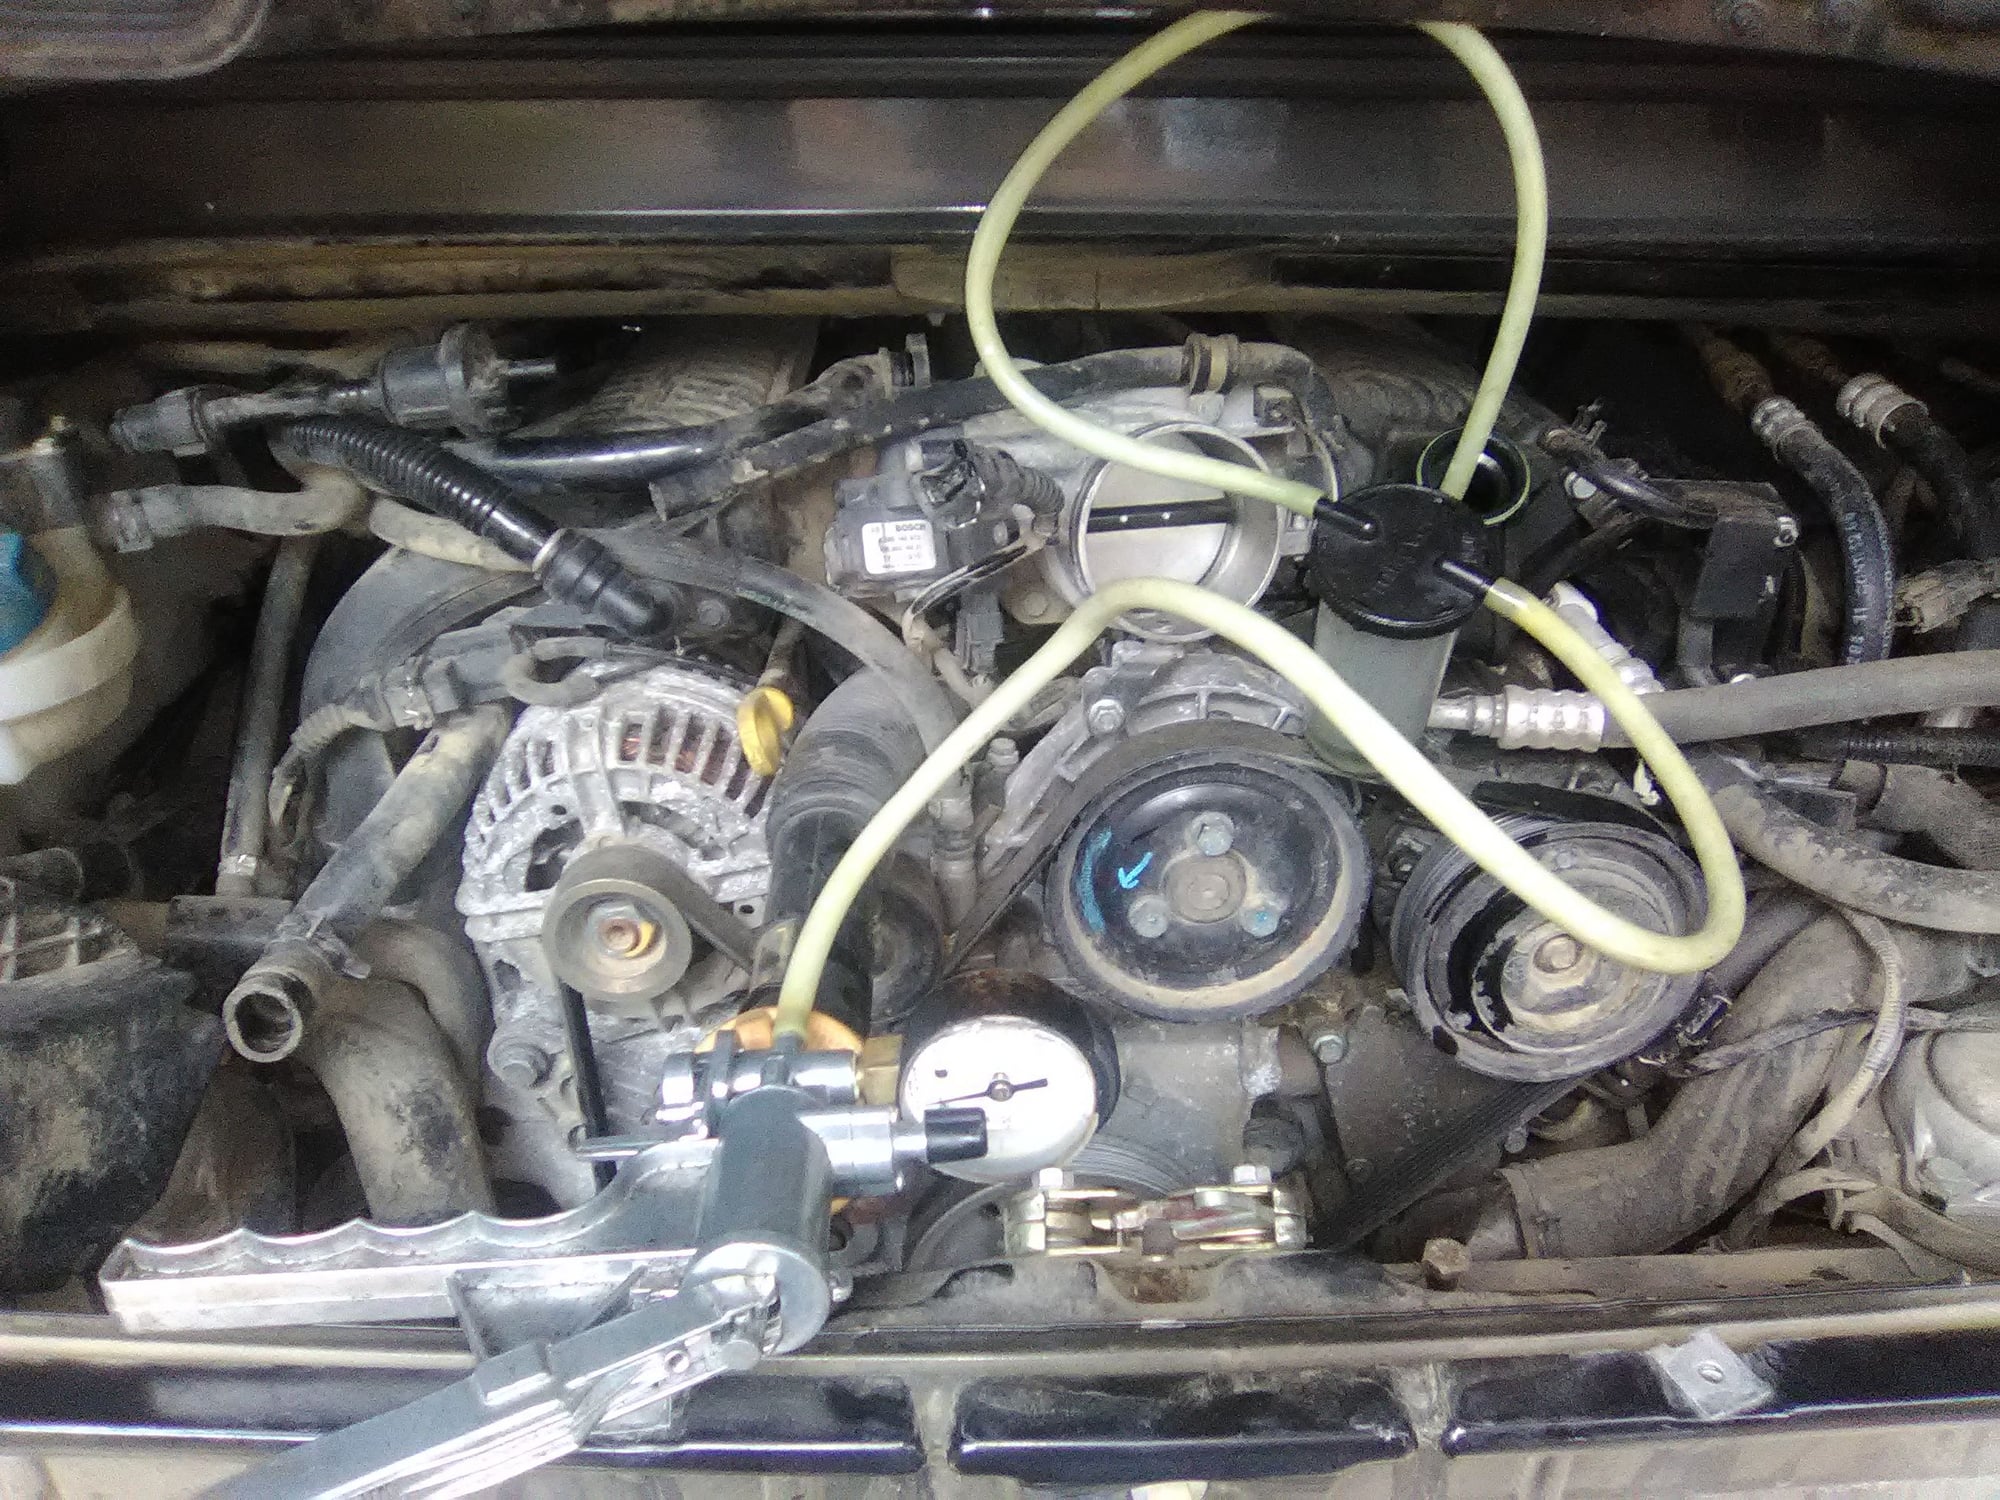
9) Suck out petosin from power steering pump (I used a vacuum brake bleeder). Remove 10mm mounting bolt. Using a flat-blade screwdriver, pry/twist the plastic collar at the reservoir's base approx 1/4 turn CCW and pull the reservoir out.
10) Then suck the rest of the petosin out of the pump housing; then plug with toweling.
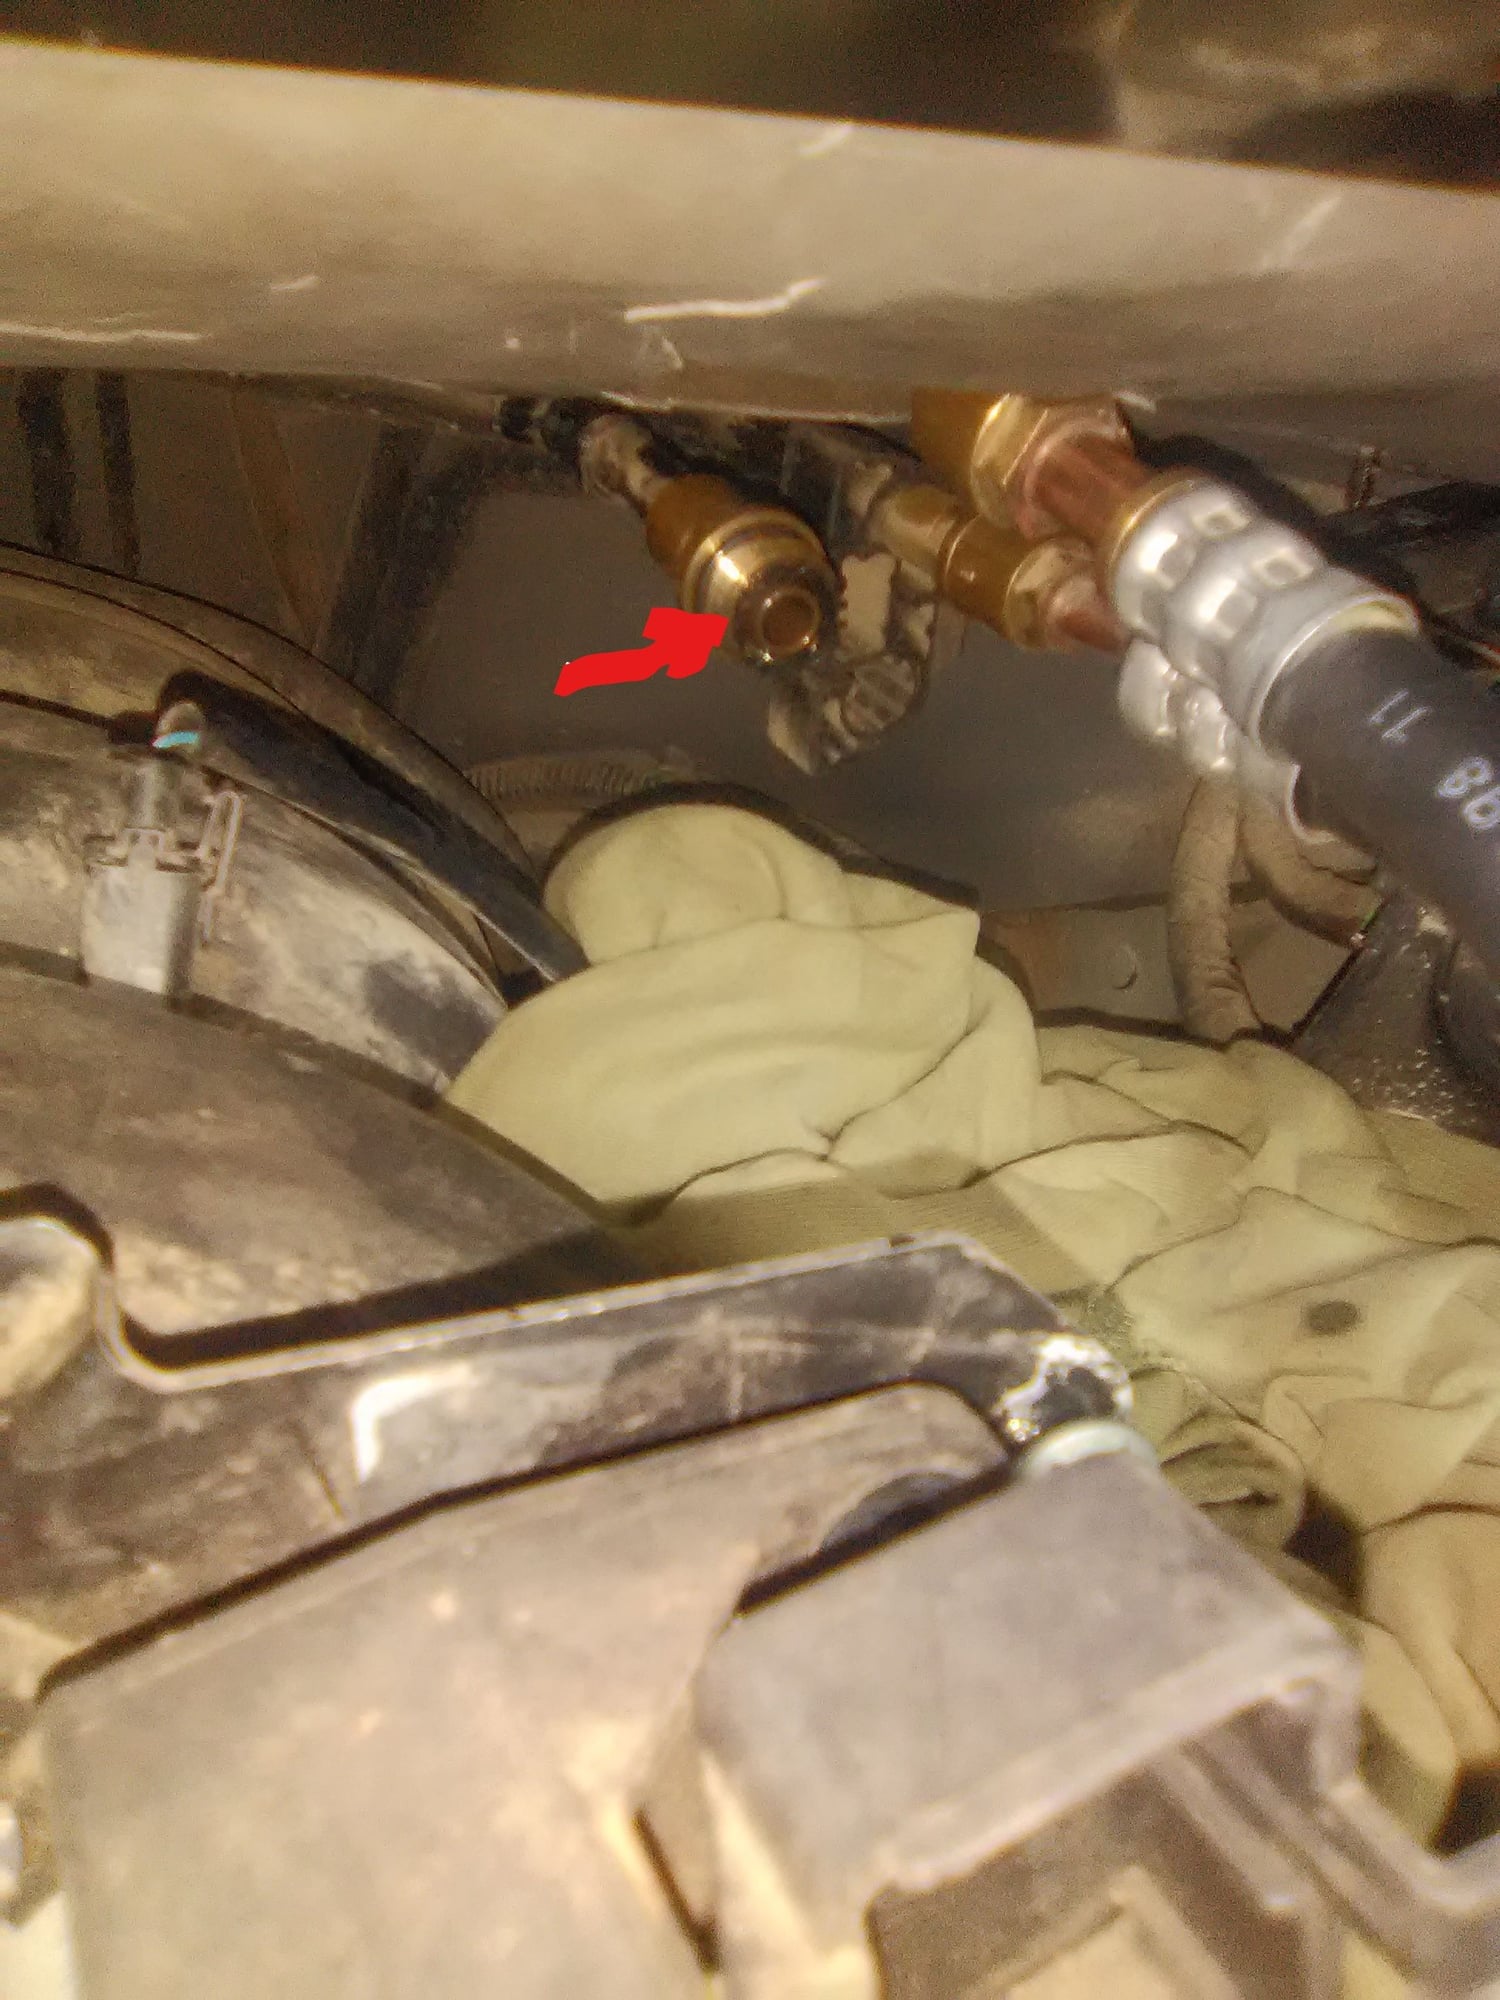
11) Using a set of two 19mm end wrenches; and then a set of two 15mm wrenches, unscrew the power steering fittings. Pay attention to the weird little internal clips/collars... They look important! Remove and stor in a safe place. ?(I don't really understand what these do)? ...perhaps I'll figure it out before re-assembly.
 11-15-2018, 07:14 PM