When you click on links to various merchants on this site and make a purchase, this can result in this site earning a commission. Affiliate programs and affiliations include, but are not limited to, the eBay Partner Network.
I’ve stated elsewhere here in the forums, the soft touch paint on the center console was the worst mistake Porsche made in the interior of the 996. My car has the full leather interior and why the center console isn’t cover is beyond me. Since the day I got the car it’s been on my list to change, and today, I started the process.
ive spent the last year collecting bits and pieces and a spare console. Since I’m covering it I only needed one that wasn’t cracked and got one for $30 on eBay. I’ve decided that covering it in leather wasn’t going to properly tickle my fancy, I couldn’t decide what to do with the ashtray. Do I keep it or go with the delete? I couldn’t decide on either, so I decided to get rid of it altogether. I’ll be relocating the window switches to the horseshoe as I’ve got two blank spots.
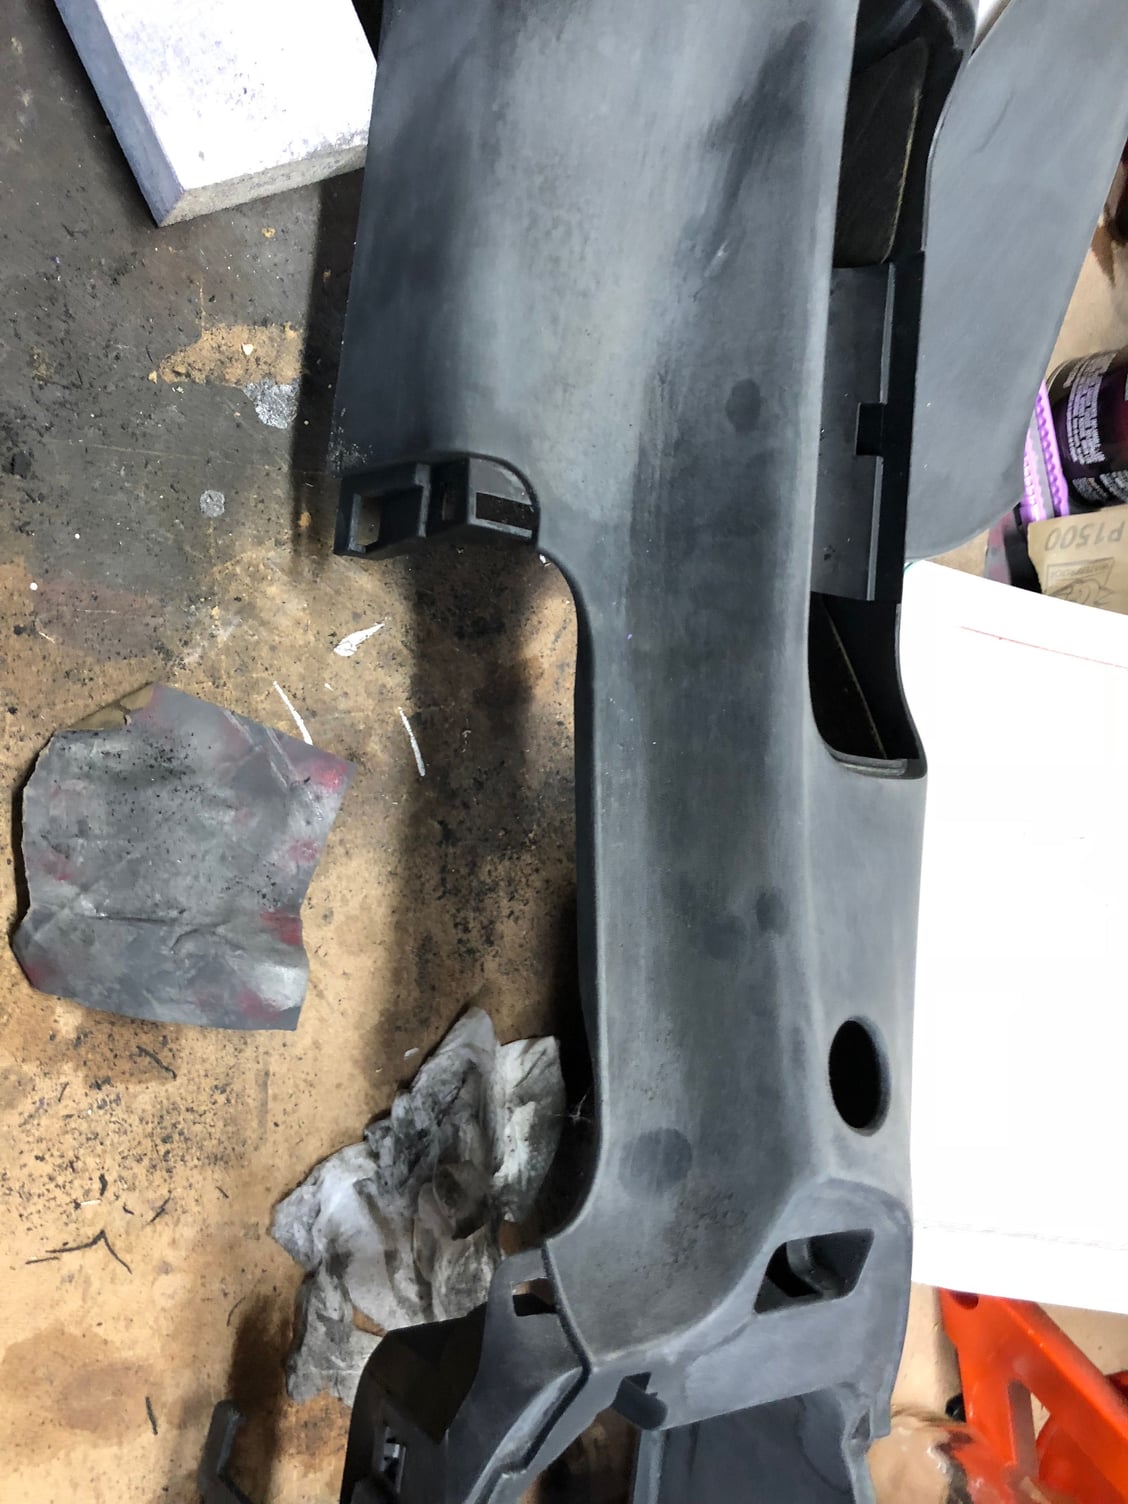
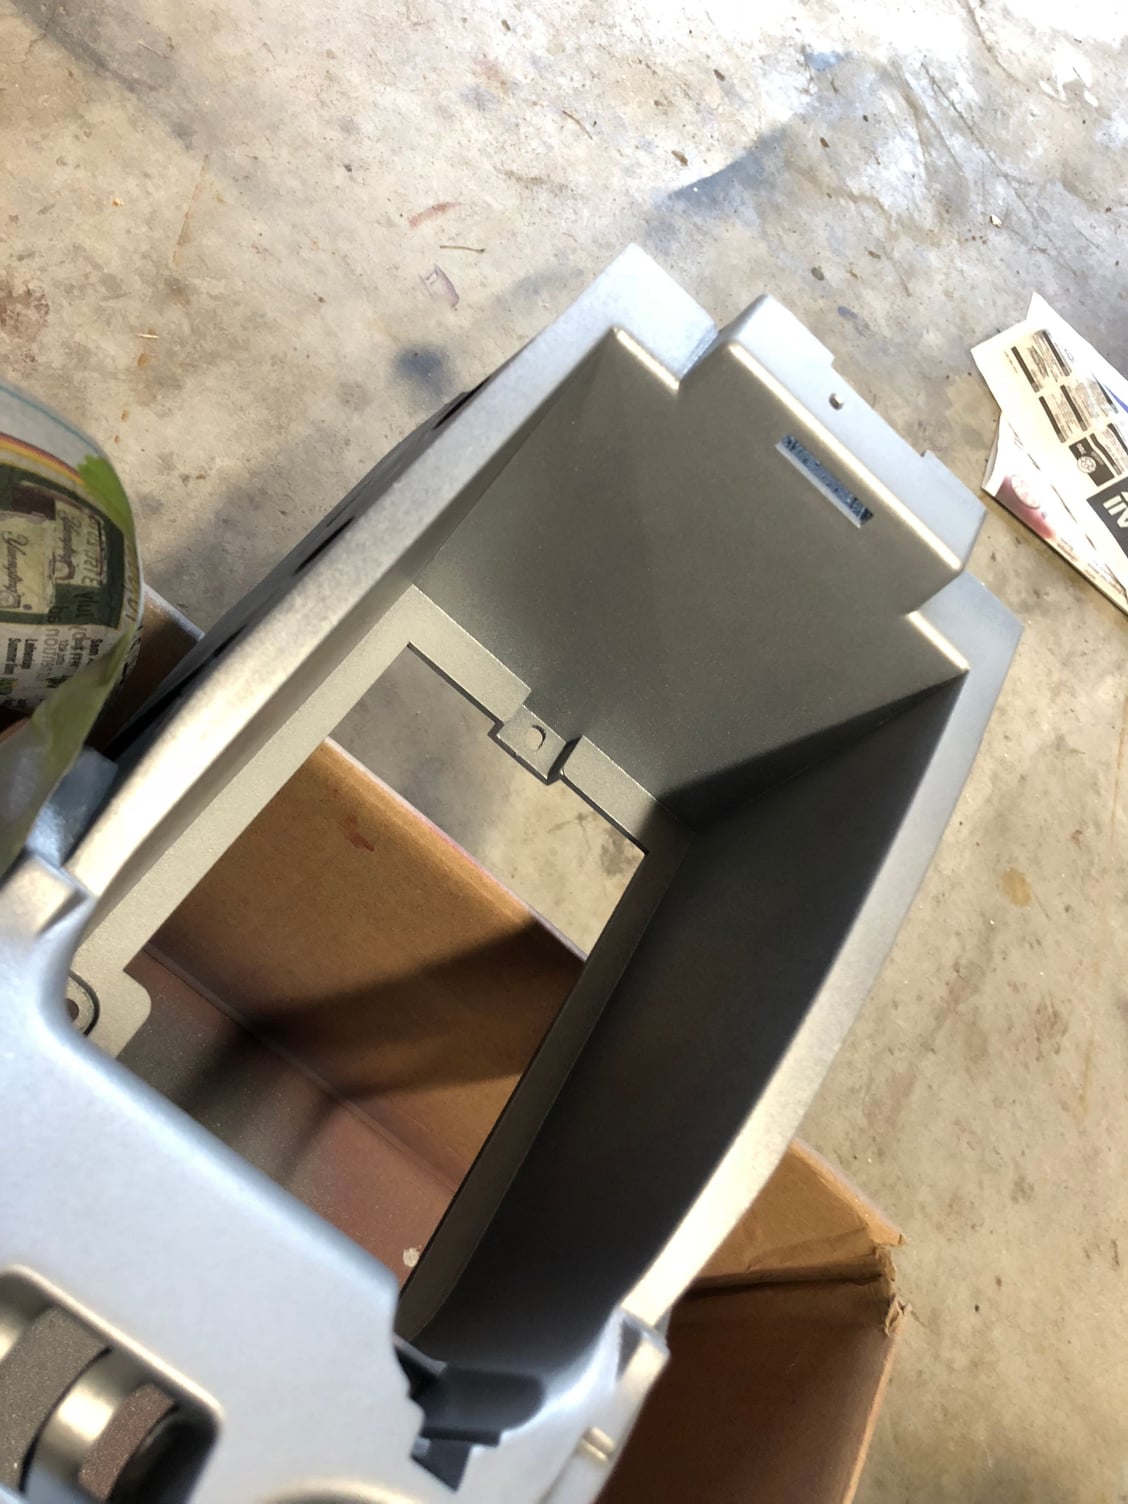
The first step is to remove the old soft touch paint. I scoured the forums and YouTube and the Googler said the best way was to use alcohol and a green scouring pad.
I found a combination of that and some good old 220 got the job done, but it took about two hours to get it right. I had to spay special attention to the inside of the center console bin as I’d it too is painted in the stuff and I am going to be repainting it in “alumalook”.
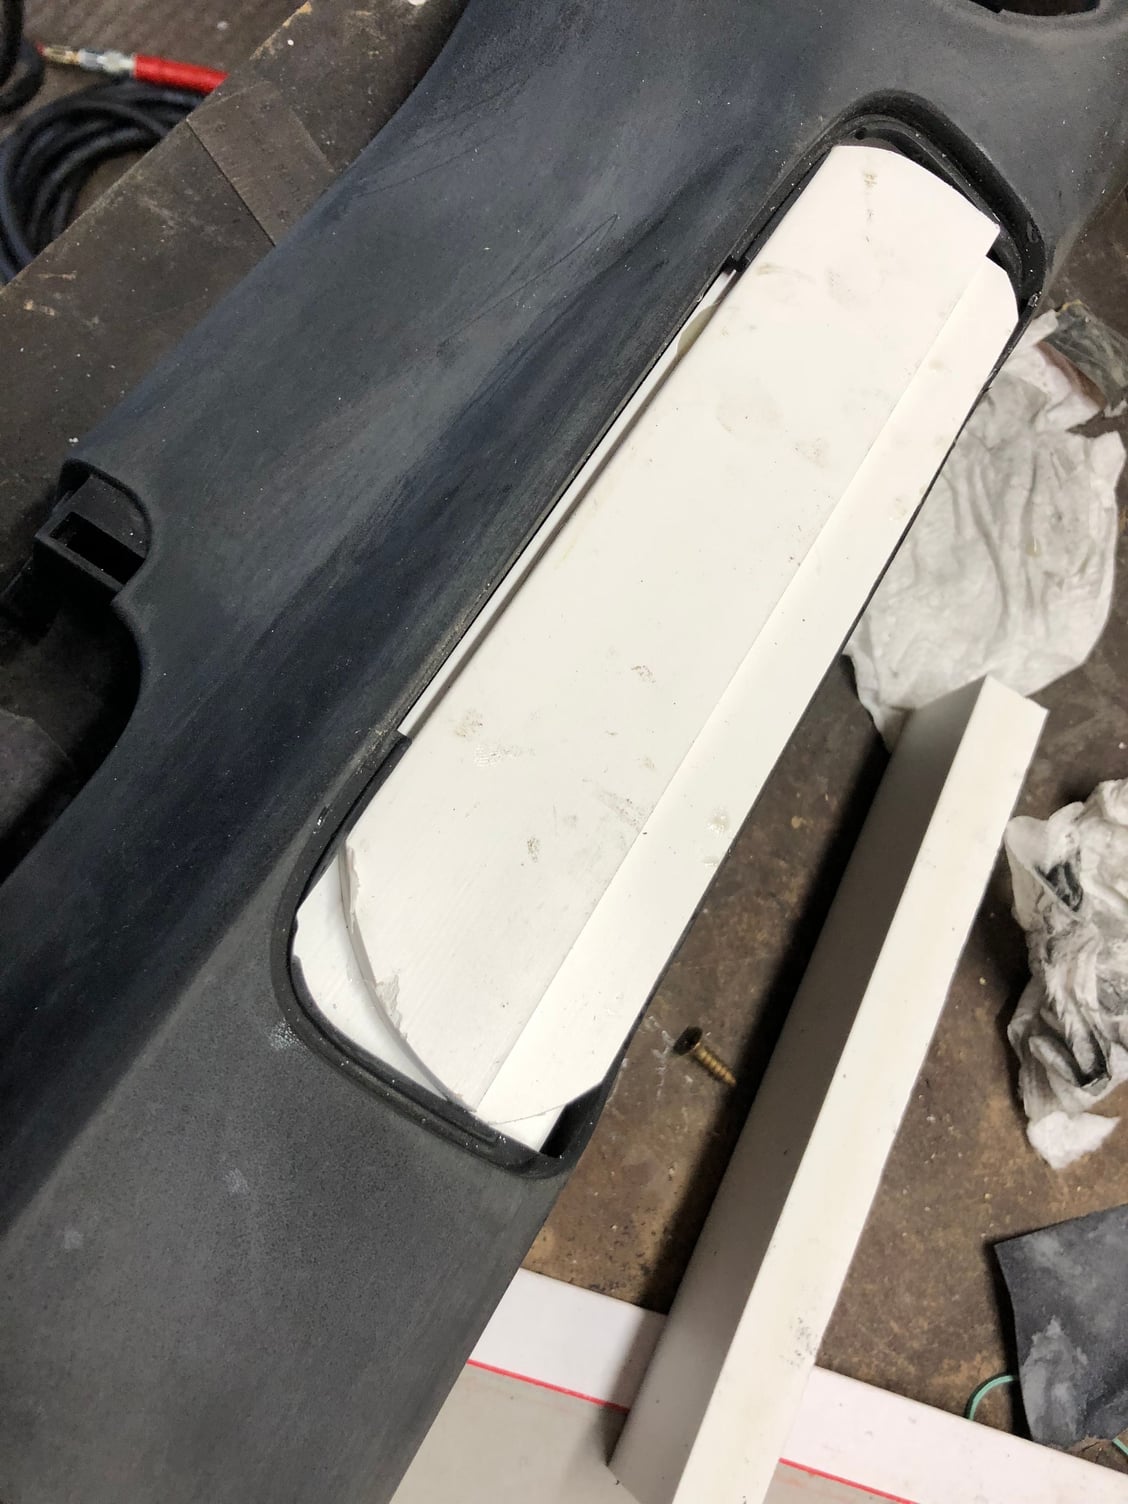
The next step was to “fill in” the ashtray. I needed something that was stable in all conditions and possibly sandable. The best I could come up with was some solid vinyl trim pieces from the Home Depot. I was able to cut and epoxy them together into a rough shape that filled the spot that wasformerly by the ashtray.
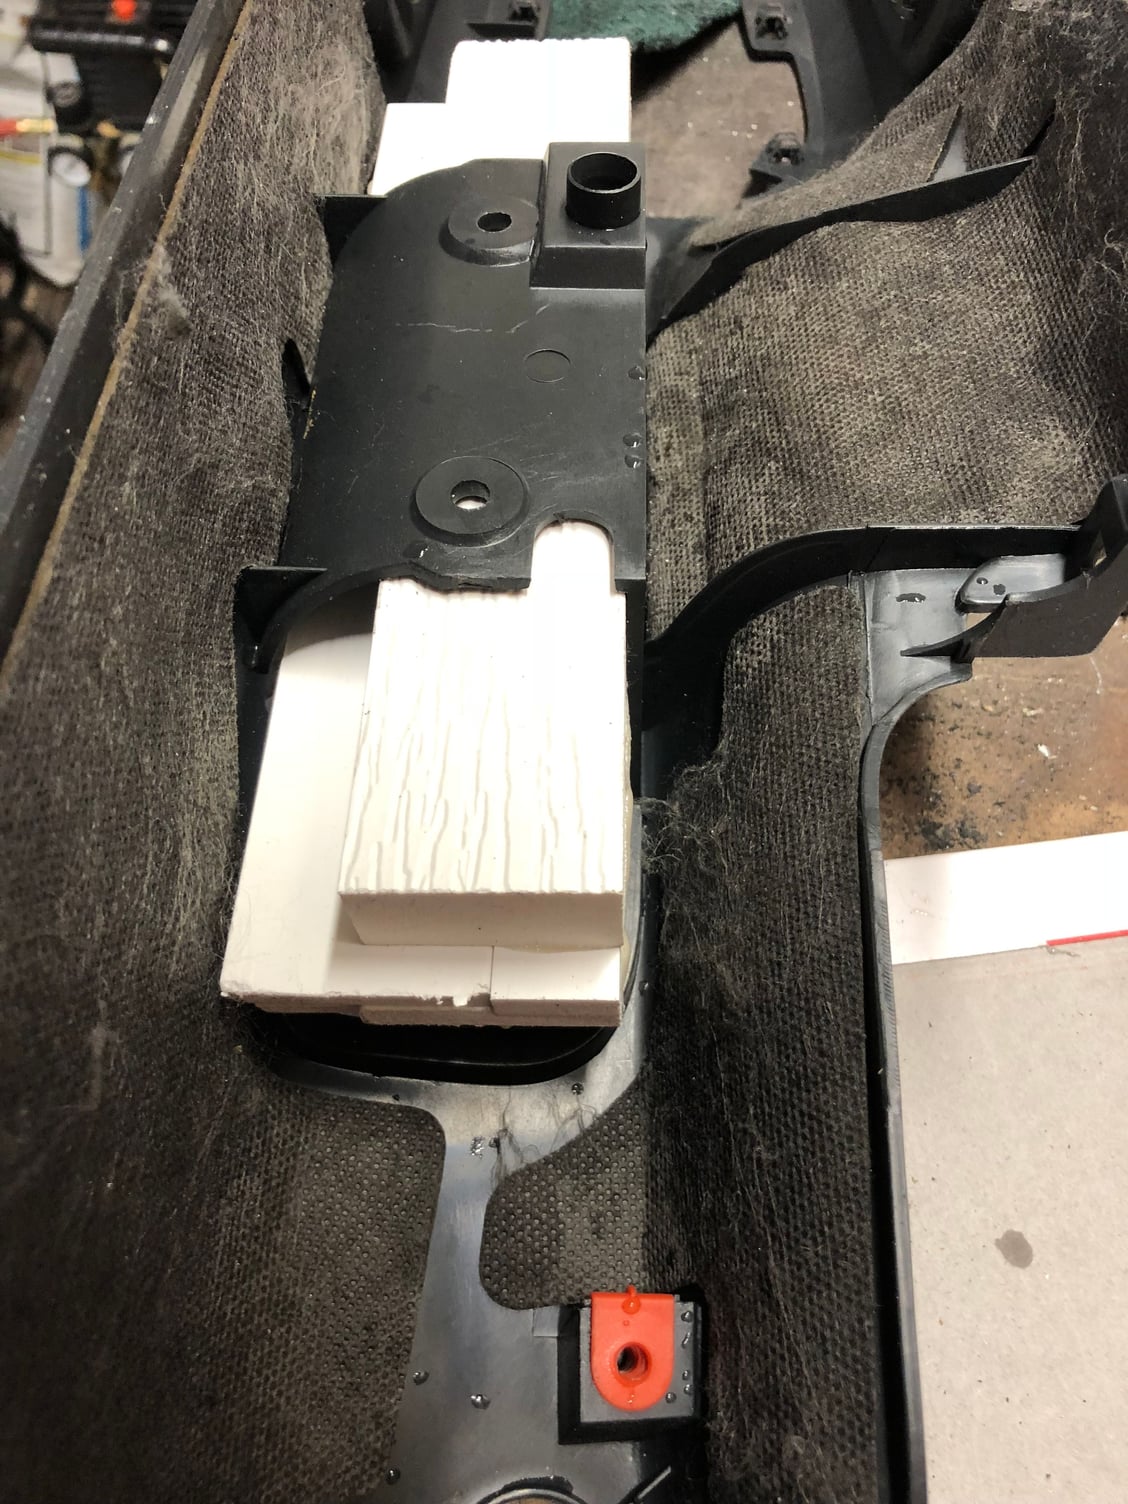
On the bottom side there are two holes in the ashtray support. I pre-drilled two holes in the vinyls and used some screws to anchor it in.
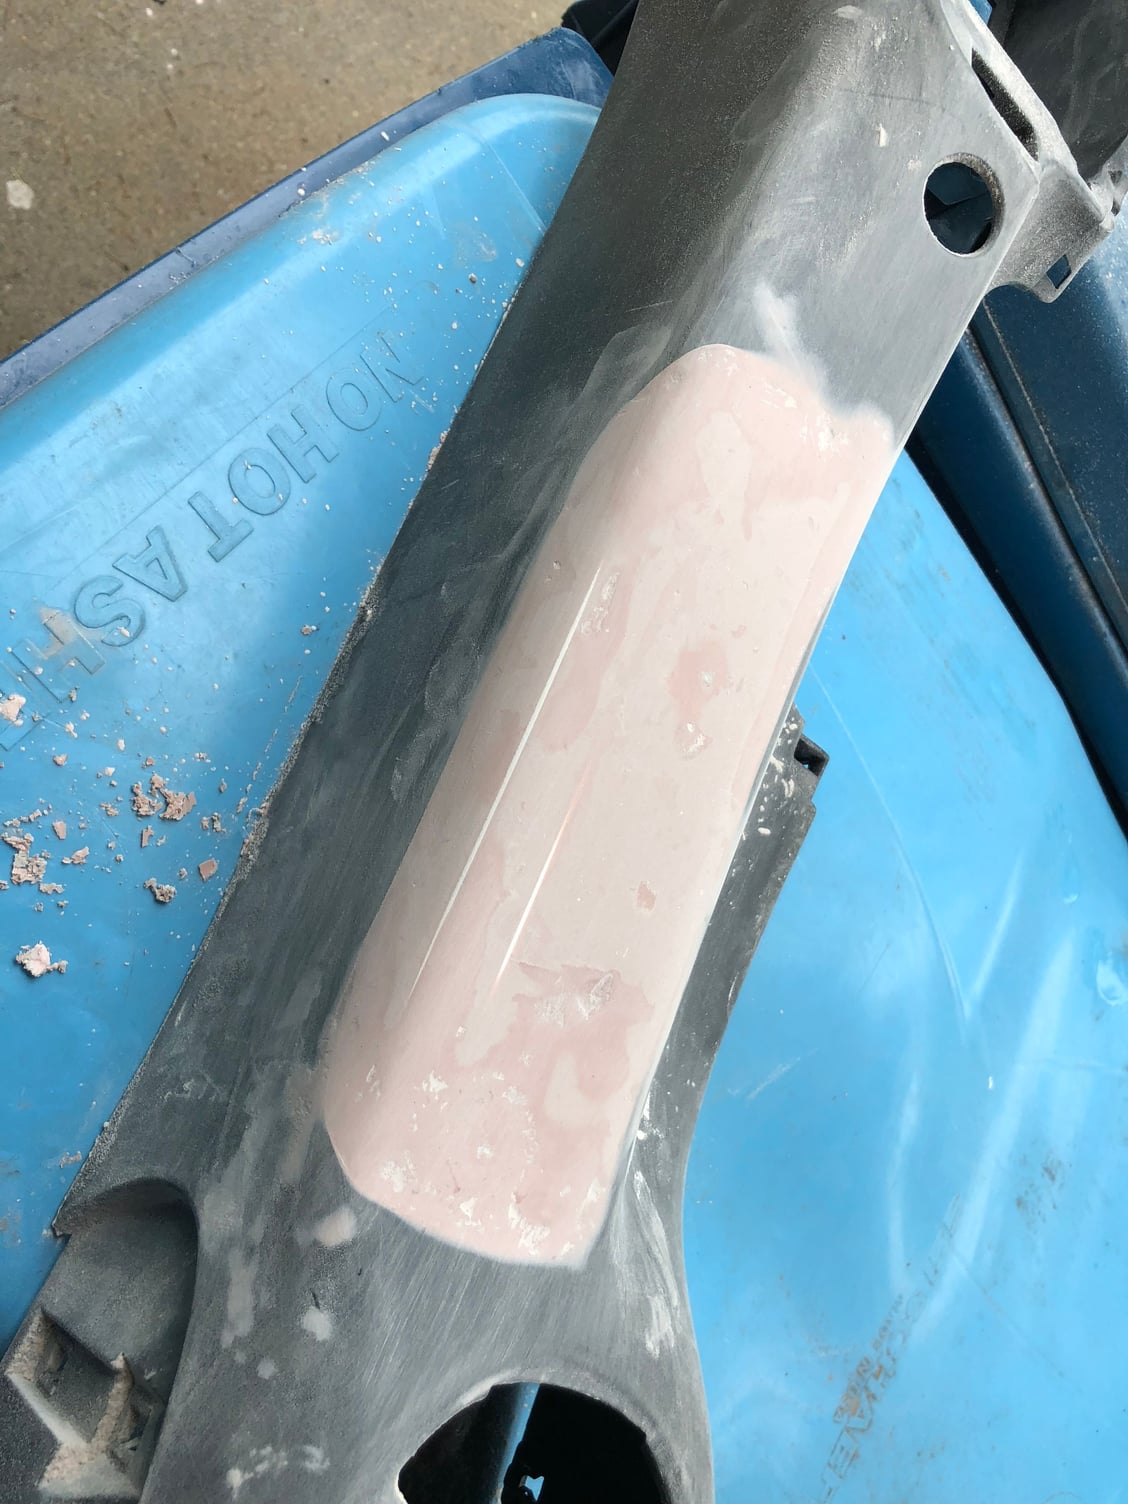
Next was Bondo time.
While the Bondo cures I put a couple of coats of primer and a coat of “alumalook” in the console storage bin.
Next up will be a few more coats of color and clear in the bin, some sanding...and then onto the leather. Stay tuned!
I recovered mine in leather as well and went with a center stitch. Worlds better now.
interesting choice in removing the ashtray. Why not choose the delete kit?
I’ve been following your thread. There are several reasons why I totally deleted it. First, if I were to stitch the center console, I’d have more stitching options. I could do two or even three lines, but I don’t know if I’m going to do any. Second, I’m changing some things over to alumalook. I couldn’t find an alumalook delete and the task of striping the soft touch paint off of another and getting it right was just too daunting. I hope to eventually end up with a double din screen with a silver bezel, relocating the climate control down with a silver bezel, and painting just the bezel on the remaining storage bin. I also have an alumalook horseshoe for around the shifter. Lastly, if I can get away with not stitching it, the console will look like it came from the factory, but less busy. Really, this is just an experiment. I’ve never done any of this, hence my use of eBay parts. I haven’t touched anything original. If it works I can box up the originals.
Once this is done I’m considering recovering my extra “pads” in red. The ones on either side of the console, plus the arm rest and the rear pads. I’ve also got a turbo shift **** that would get a red boot. So far, I’ve run into a major stumbling block. The car is Guards Red and I can’t find leather anywhere that matches it. In fact, any help anyone can offer on finding some “Guards Red” leather would be great!
I recovered mine in leather as well and went with a center stitch. Worlds better now.
interesting choice in removing the ashtray. Why not choose the delete kit?
Question for you, did you have to trim any of the edges to get them to fit? To account for the leather? Looking at some of my pieces there are gaps, but I don’t know if they are enough to account for the leather. For instance, the piece that goes by the e-brake.
Last edited by Always wanted 1; 06-11-2018 at 09:33 AM.
No I didn't need to trim any plastic to get it to work. I used a thin vinyl and it all turned out pretty good. Now if your leather is thick, then yes, I imagine you'll need to dremel out some plastic to make the gap larger.
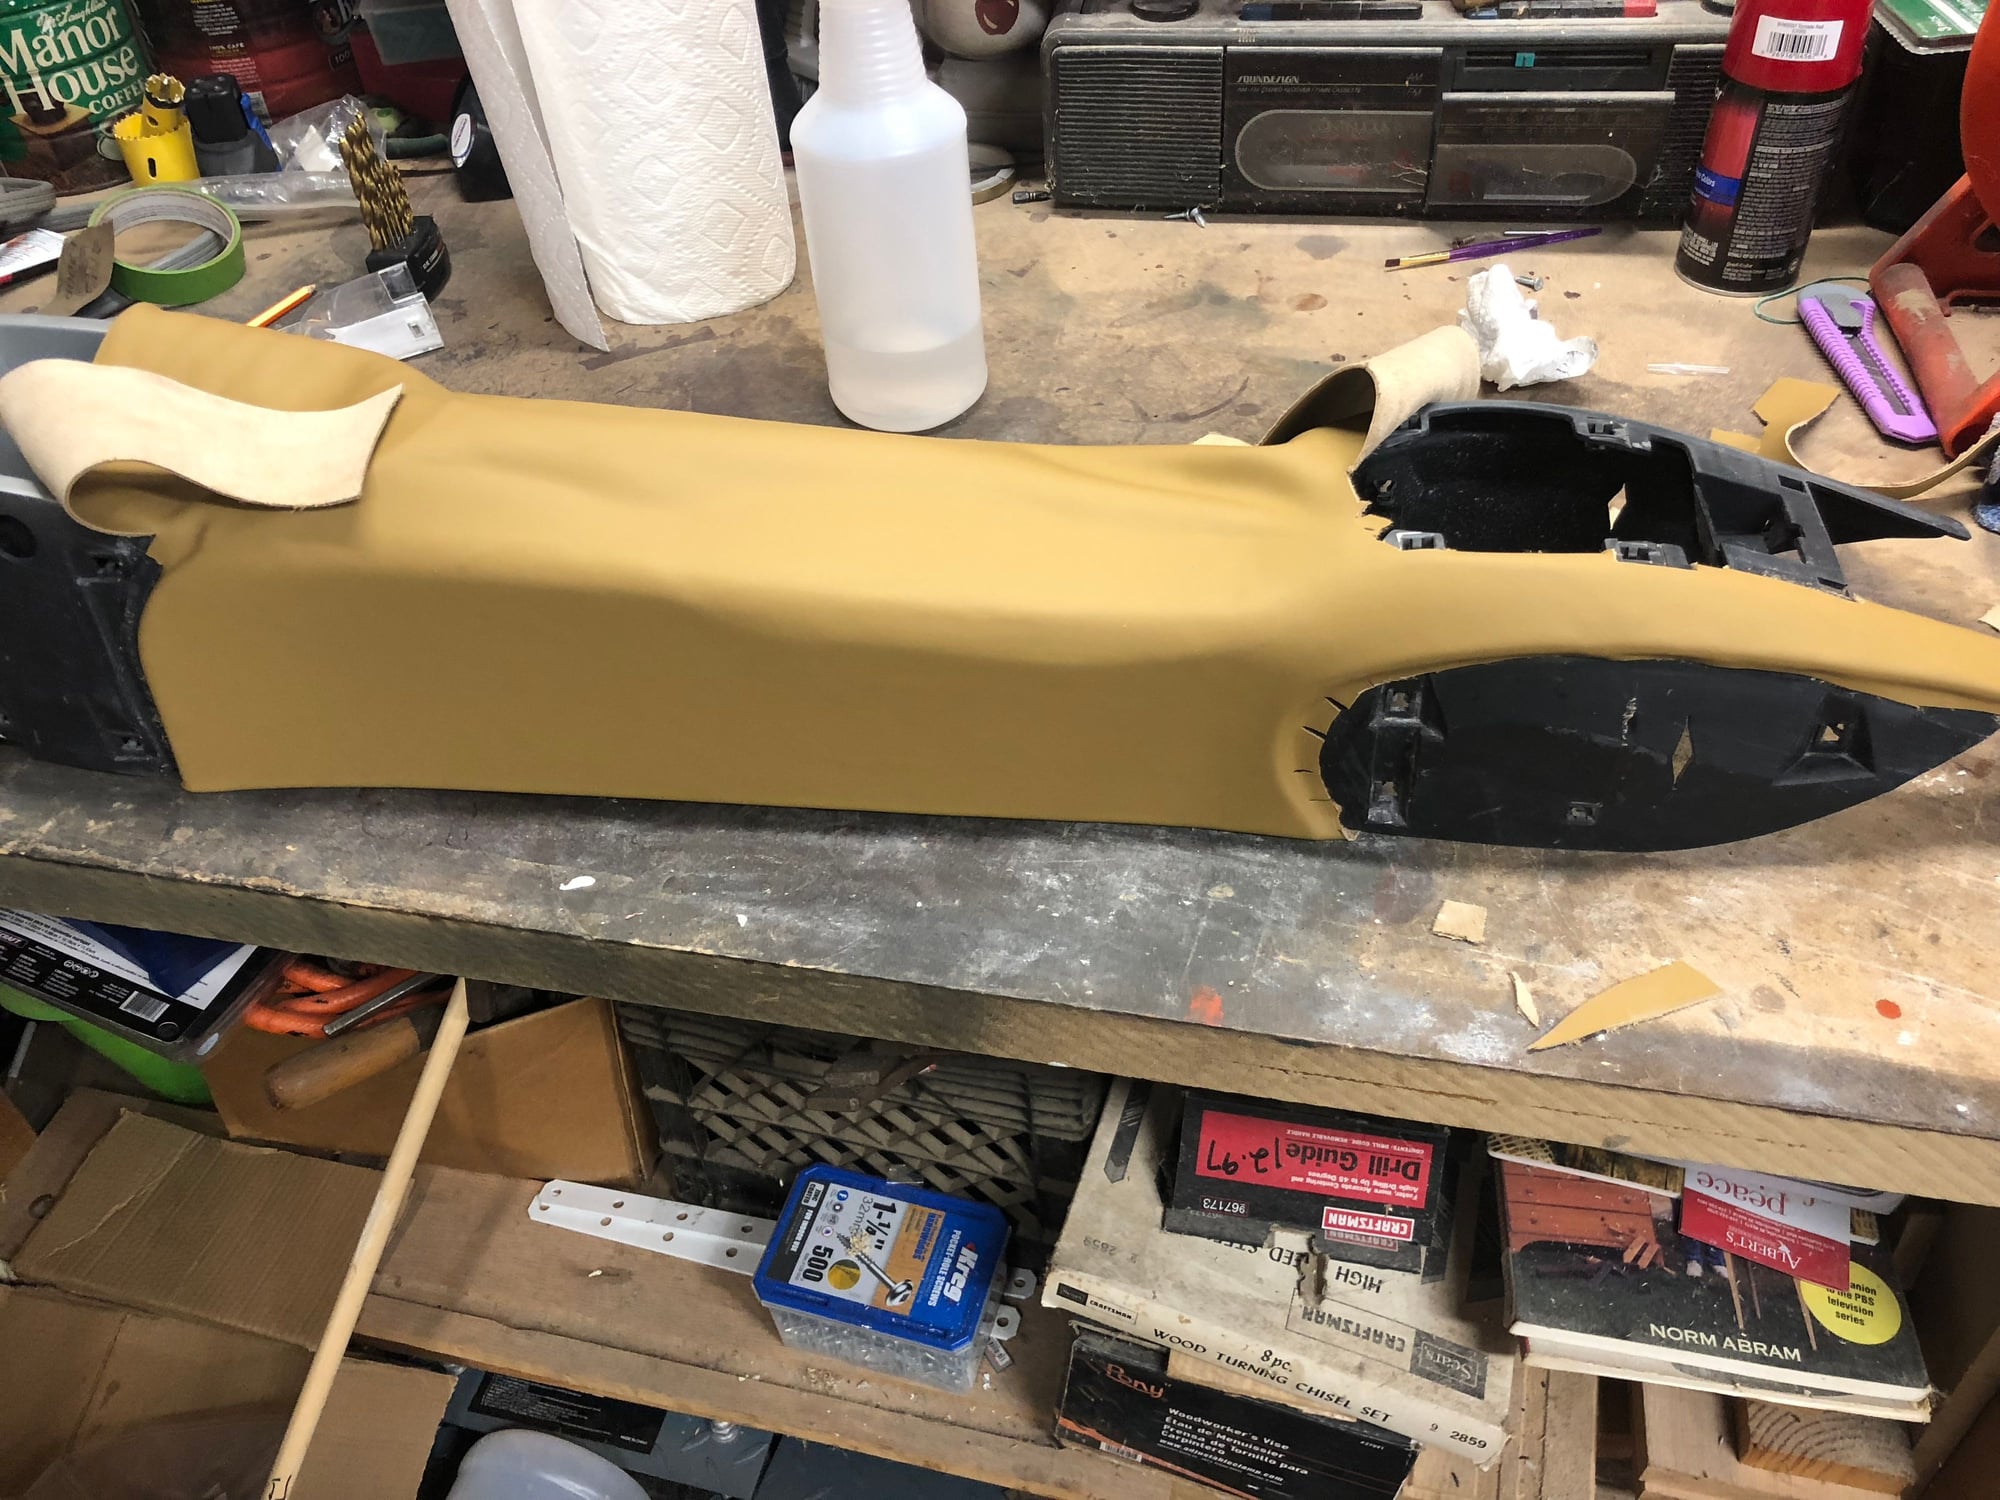
Made a LOT of progress. Here are a couple of in action pictures culminating in a mock up in the car. I went to relocate the window switches only to find that the window wiring goes under the shifter. It’s a little too late in the day to start removing the shifter. It appears that mine goes under the carpet as well. If anyone’s relocated their window switches to the dash, any pointers would be greatly appreciated. I also managed to break the locating tab for the ebrake cover, I’ll figure that one out later as well..
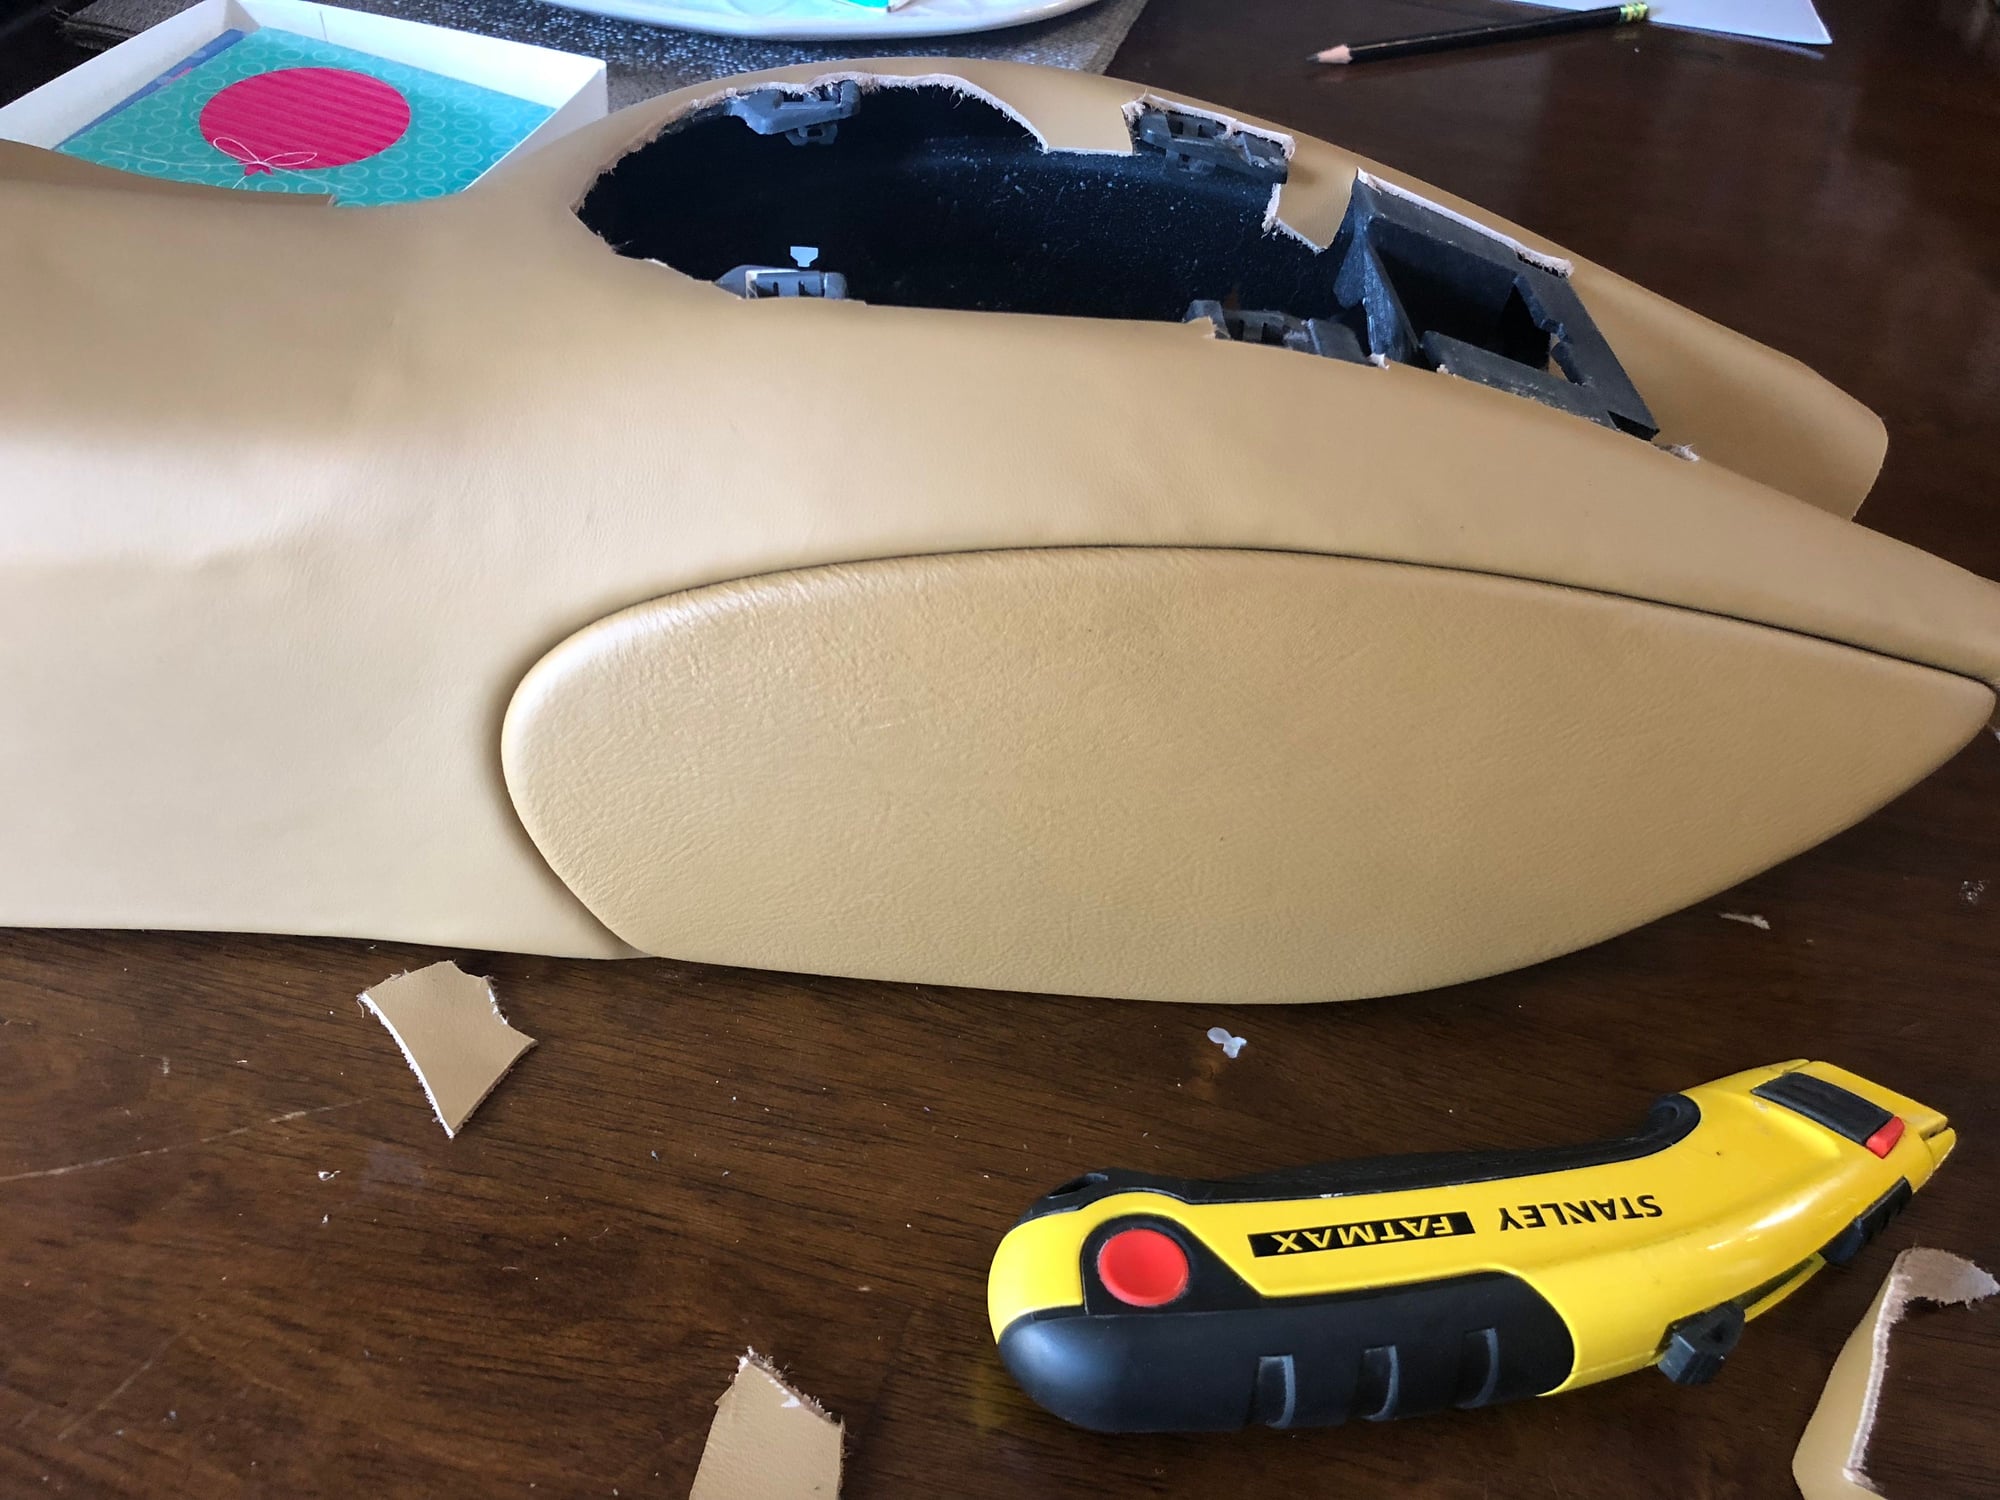
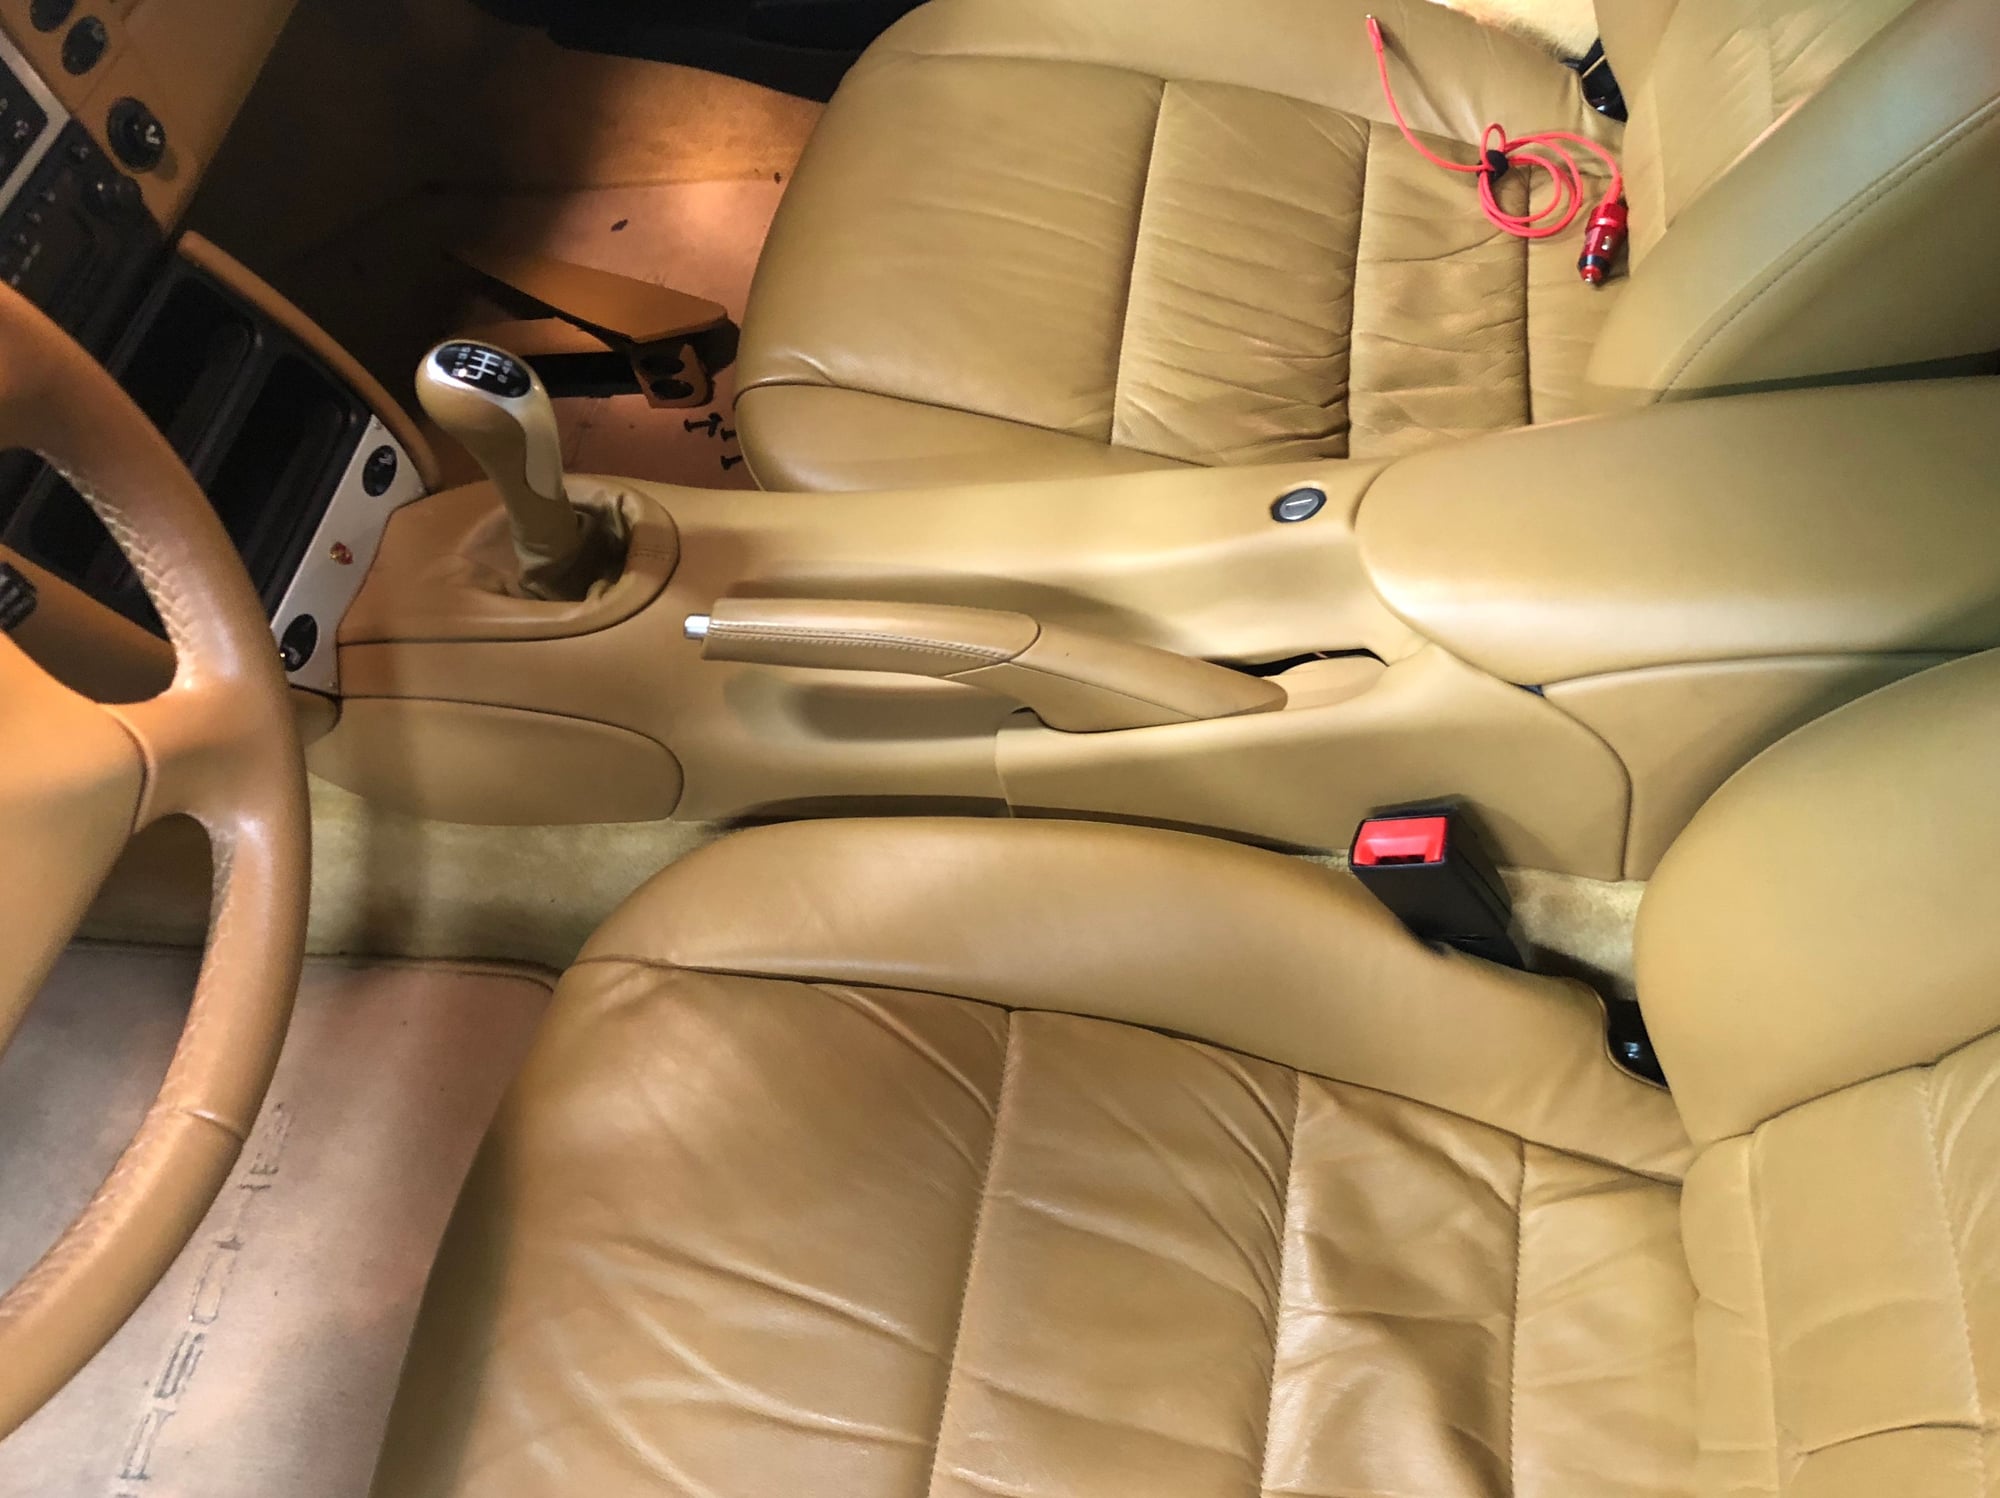
Here are the pics, if anyone wondered how Porsche should have delivered the center console, here’s my rendition-
and the more or less finished product:
Very nice. Where did you get the leather and how is it attached?
If you haven't done it already, add the upgraded hinge for the oddments tray cover. It's around $35 and is way better than the original. (Plus adds 27 hp)
Very nice. Where did you get the leather and how is it attached?
If you haven't done it already, add the upgraded hinge for the oddments tray cover. It's around $35 and is way better than the original. (Plus adds 27 hp)
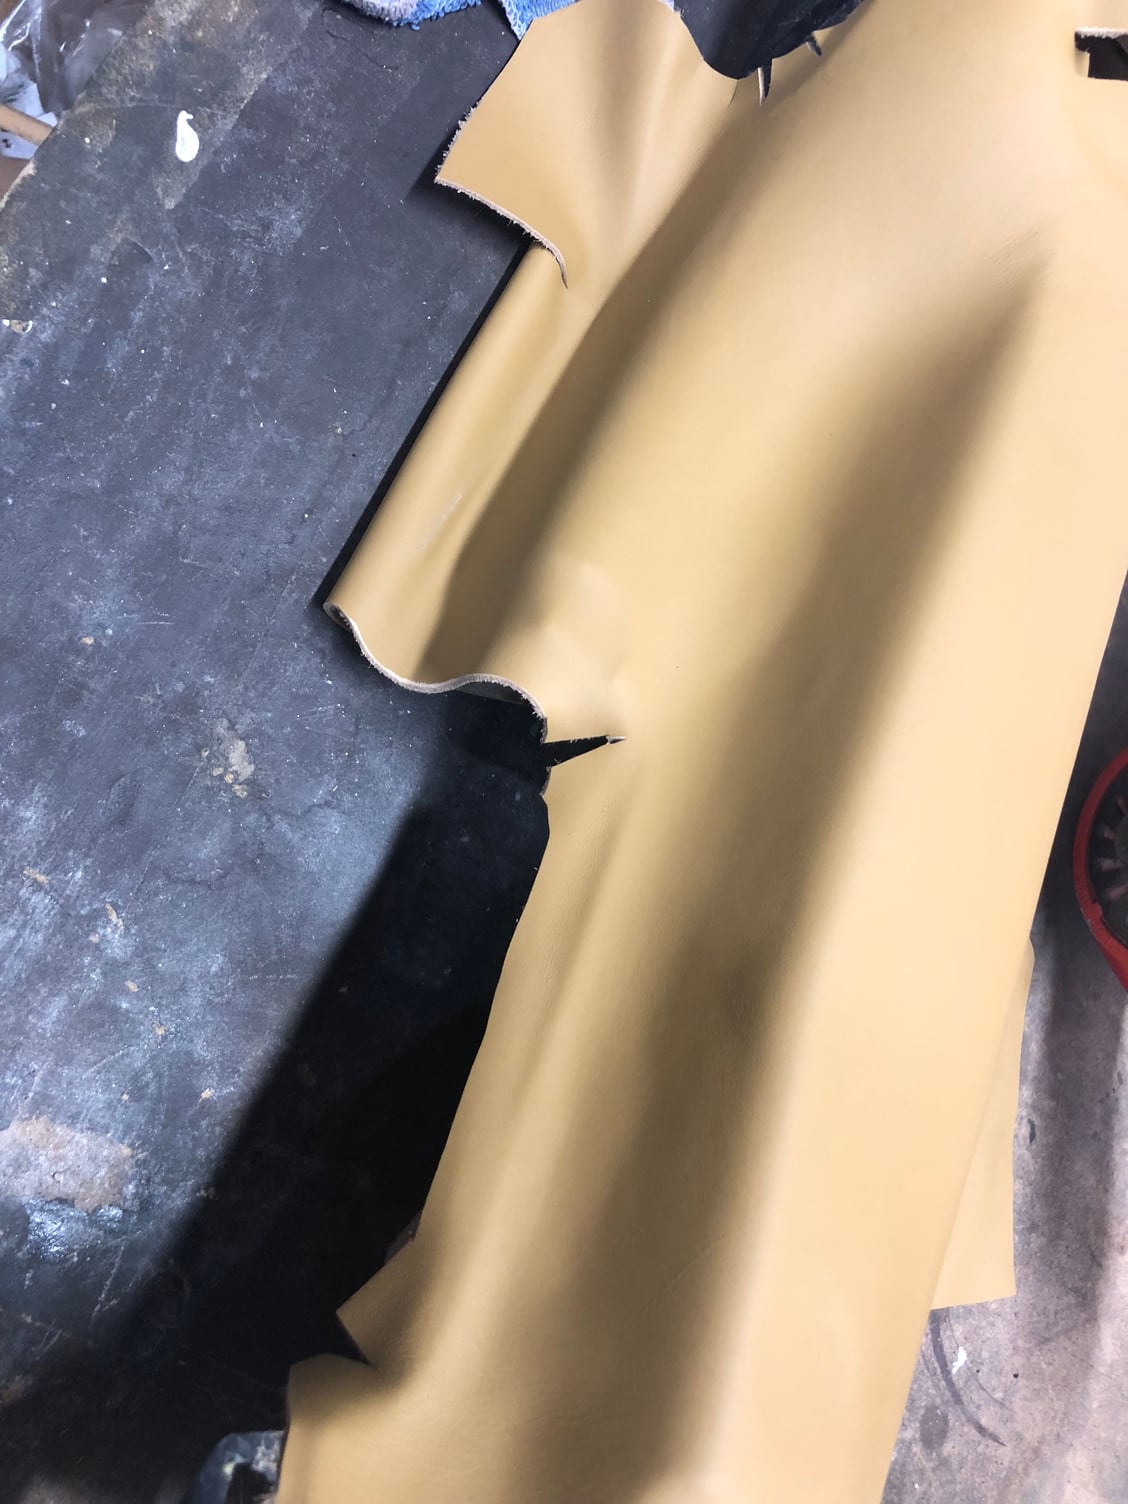
I got the leather at Global Upholstery Supply. I will warn anyone considering this; The leather the factory used to cover interior bits is MUCH thinner than what they sell. It’s more akin to the leather used for the seats. This makes it very difficult to do what I did and required trimming plastic to get things to fit right. That being said, it looks identical in texture to the rest of the leather in the car. The color is a bit lighter but I’d attribute that to the car being almost 20 years old. It’s more than close enough.
I used contact cement for the entire job. There’s a couple of YouTube videos on how to do it. You start by picking one spot and glueing a line. Then you glue another inch, then another. You also have to pay attention and plan the orientation of the leather as it only really stretches in one direction.
 06-10-2018, 10:23 PM