When you click on links to various merchants on this site and make a purchase, this can result in this site earning a commission. Affiliate programs and affiliations include, but are not limited to, the eBay Partner Network.
^^The price is seemingly pretty steep but they do look nice, and they fit properly - I imagine a DIY set would take quite a bit of trial/error, and they still may not look as good... I'll probably bite the bullet and drop the $300
I put these on for $5 two years ago. Galvanized leaf guards. It took me less than 2 hours DIY. Same condition as the day I put them on the car. I added the DRLs which come on with the ignition.
Less than two hours? It takes me that long to go to Home Depot and get the gutter guard... Then I'd have to remove the front bumper, measure, cut, bend/fit, attach etc...etc...etc... I just don't see it happening that quickly - glad it worked for you, but I see it turning into a tar baby for me. I'll buy them pre-cut and ready to mount.
I put these on for $5 two years ago. Galvanized leaf guards. It took me less than 2 hours DIY. Same condition as the day I put them on the car. I added the DRLs which come on with the ignition.
I think I will do it from Home Depot, but I will paint them black. I like the black look. What did you use to cut it? Wire snipper or which power tools? What did you use to secure it?
yes, $300 rennline. Search YouTube for rennline install video. Imo, i think you'll spend more time trying to attach your homemade screen, short of running srews through your bumper, than just spending the money on the kit.
Even with the screens, depending on miles and conditions, you're going to need to pull bumper and clean radiators. Stuff still gets past, especially sand and will build up over time.
I think I will do it from Home Depot, but I will paint them black. I like the black look. What did you use to cut it? Wire snipper or which power tools? What did you use to secure it?
Did you buy yours pre-cut?
Don't paint them black as they will start to look horrible after a few thousand miles. Buy black or get them powder coated.
To those with more money than sense, do what ever floats your boat. The extra 295$ I saved on doing my own, I put to petrol in MY BOAT. BTW I used tin snips and short self tapping screws to complete the DIY job.
Can you post a copy of the screen template?And tell us how you attached it to the bumper?Did you have to take the bumper off to do it?
MNC-I
simply remove the front bumper. Its feather light and half a dozen screws. Lay bumper on the floor upside down. Place screen over the spaces and cut about an inch wider all around with tin snips. Bend the ends over half an inch and screw guard to inside of bumper. Select the thickest part of the bumper for obvious reasons to hold with screws. The gutter guards are again feather light and very easy to hold up with a couple of screws and washers. It's self explanatory when you see what is required.
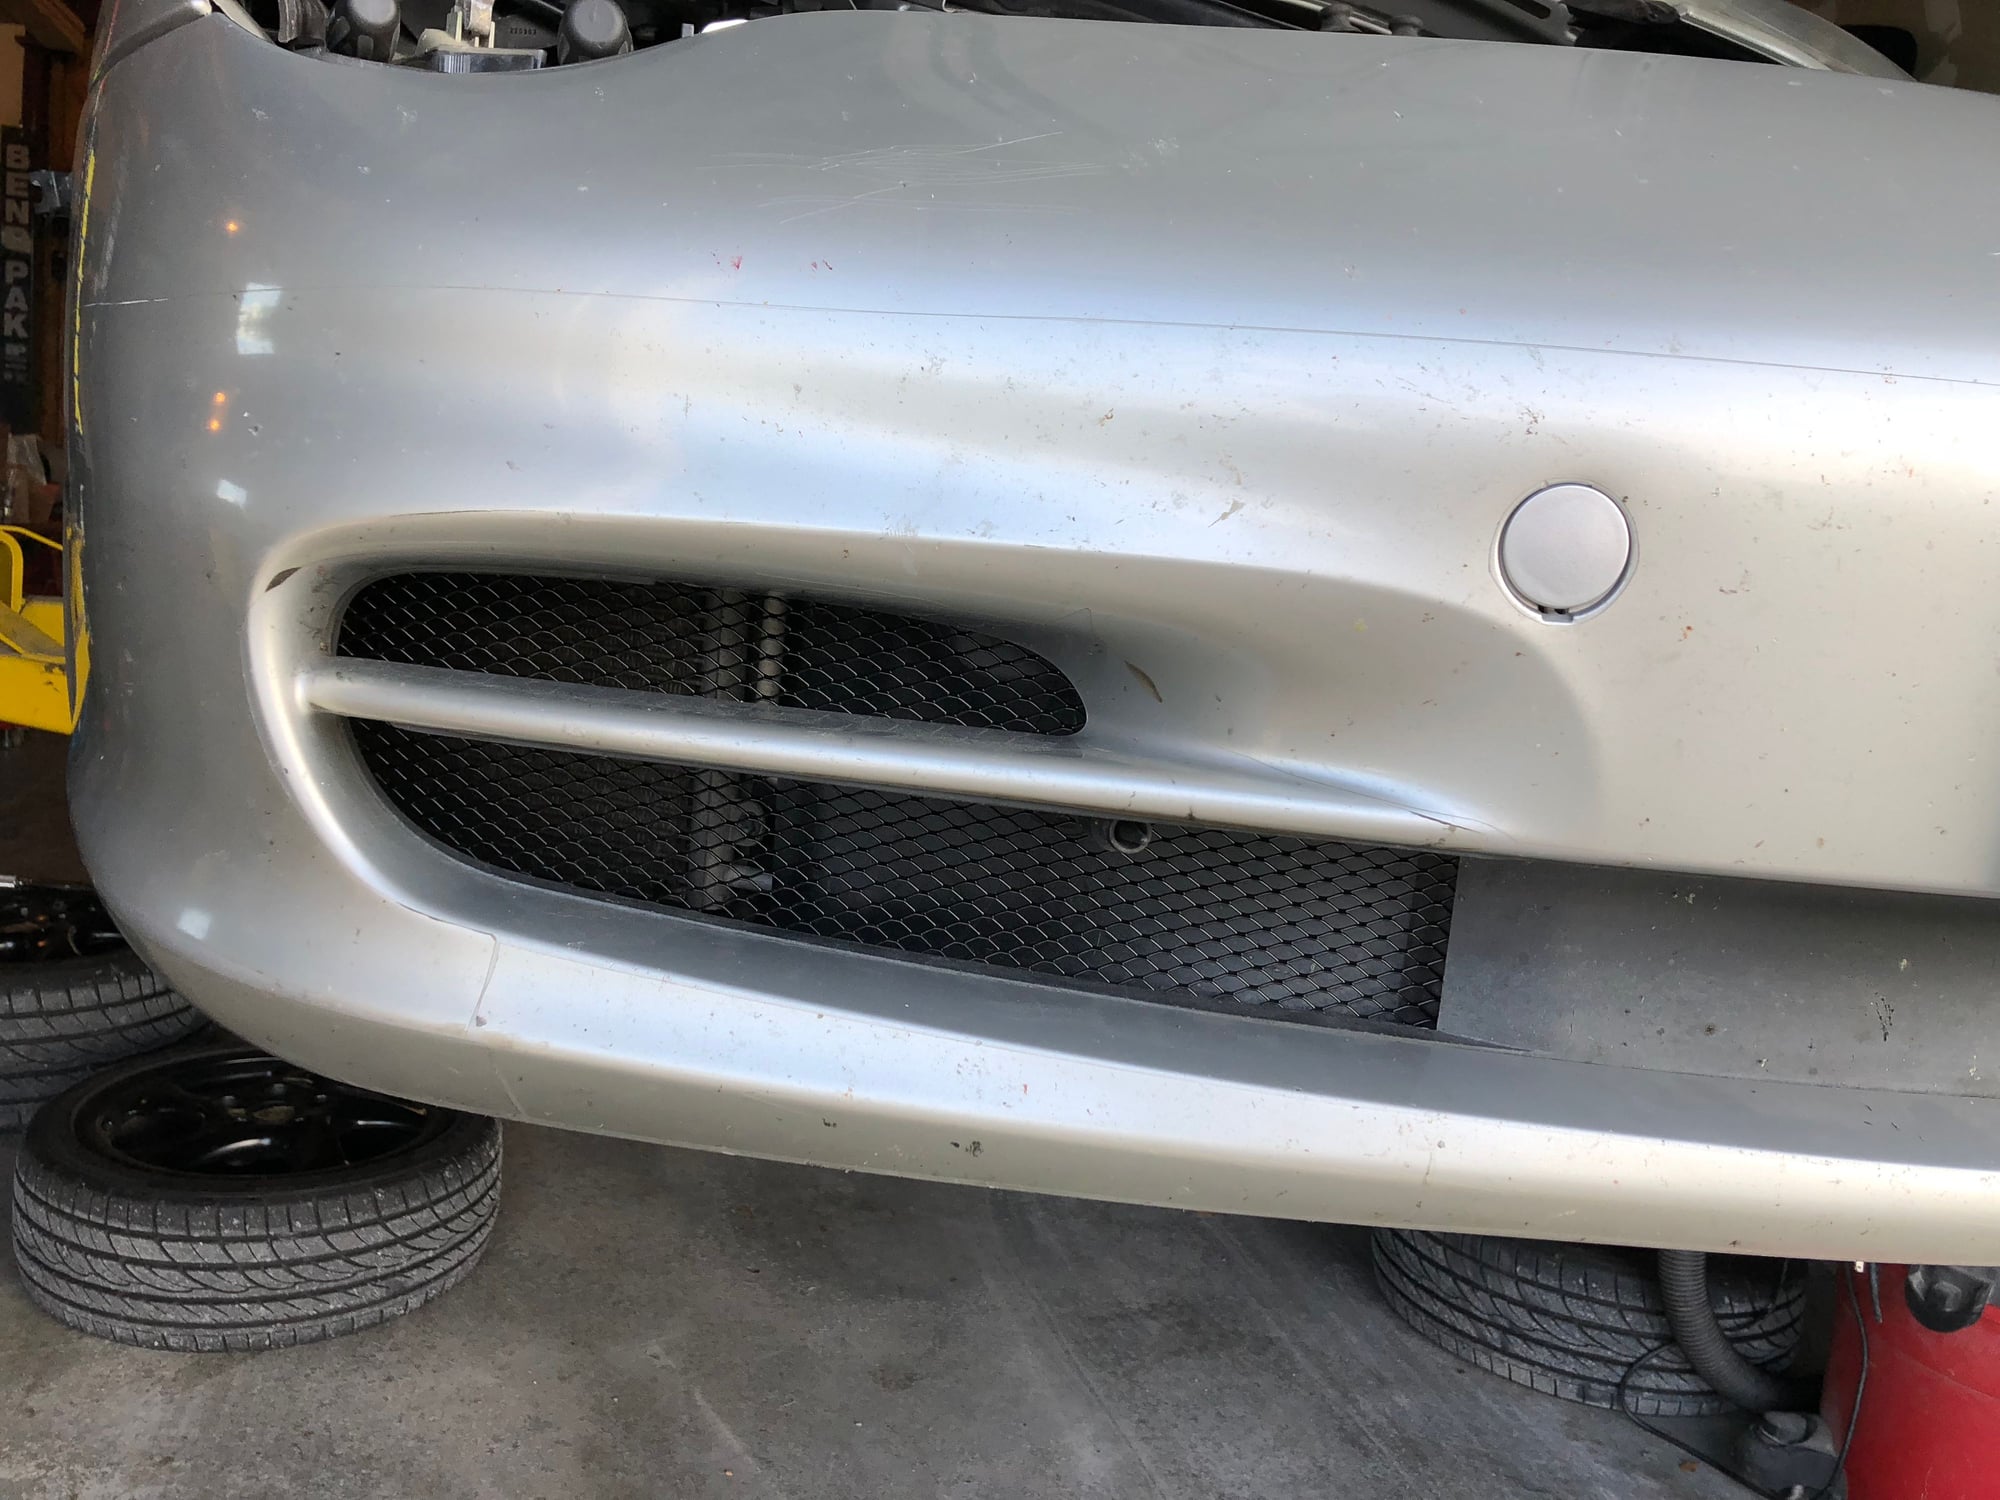
I just did this yesterday. $6 of black powdercoated gutter screen (from an online store (guttersupply.com) recommended by another rennlister), and a couple of short screws I already had.
This really couldn�t be an easier project. I can�t imagine that there is ~$294 of additional value in a set of preformed guards. This is an easy DIY.
It is barely visible, and fhe material shouldn�t block much air.
Incidentally, I was shocked by the amount of stuff (leaves, cigarette butts, sand, tire boogers from track use, etc.) in the radiators on this car. By far the most junk I�ve seen in one so far. Cleaning it out has to improve cooling.
I was going to advise that when you have the bumper off is a great time to add that third center radiator. If you take the DIY route on the screens, you can put that money toward the center rad kit. It was the best upgrade I did to my car. Maybe not important if you live in CT or WA state where it doesn't get hot, but if you live in the southern tier, it really makes a difference in everyday city driving.
I was going to advise that when you have the bumper off is a great time to add that third center radiator. If you take the DIY route on the screens, you can put that money toward the center rad kit. It was the best upgrade I did to my car. Maybe not important if you live in CT or WA state where it doesn't get hot, but if you live in the southern tier, it really makes a difference in everyday city driving.
I did it backward. Literally just finished my center radiator install yesterday (including putting the bumper back on). Now I see this thread and know I need to take the bumper back off. Good thing it is quick (jacking the car up takes the most amount of time).
Also question for anyone that did the DIY. Can you circle on one of your images where the screws are? Looking at the pictures, I do not see an screws, but knowing how thin the bumper is, I don't know how that could be possible. Or is there another layer of bumper that I am forgetting about?
 05-29-2018, 06:41 AM