When you click on links to various merchants on this site and make a purchase, this can result in this site earning a commission. Affiliate programs and affiliations include, but are not limited to, the eBay Partner Network.
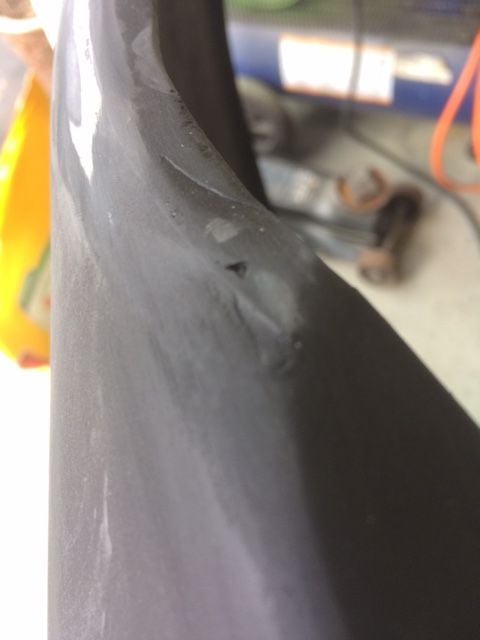
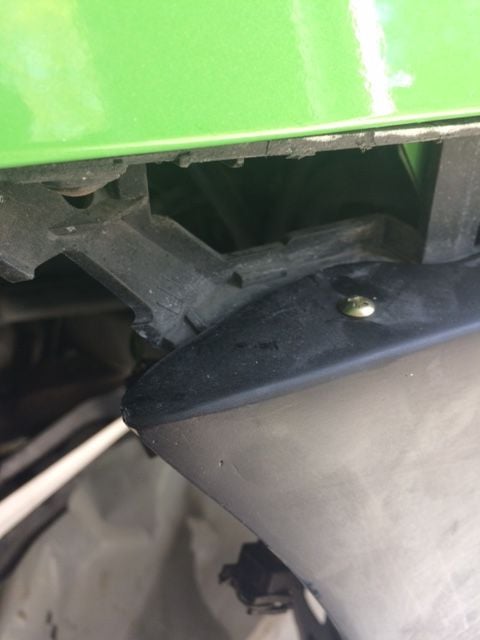
Hey guys, nothing to exciting today. Most of the stuff I've been doing is small check list stuff that isn't to excited. Since last post I have finished putting on the suspension, put on the driver side front fender, did some painting on the underside and finally have the rear tires on there.
So I've seen the "one man brake kit" for years but always blew it off as a cheap scam tool that someone is making a fortune off of selling them for $7 each... so ya I bought one lol and wow I was able to bleed all four brakes in about 35 minutes. Super crazy easy and quicker than having my wife pump the brakes 50 times while I loosen the bleed screw.
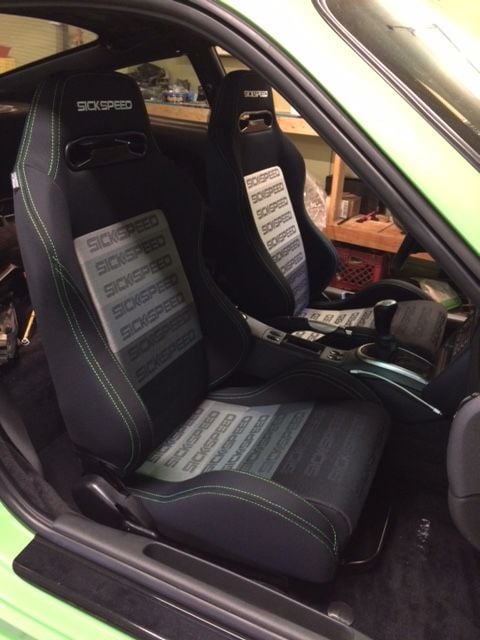
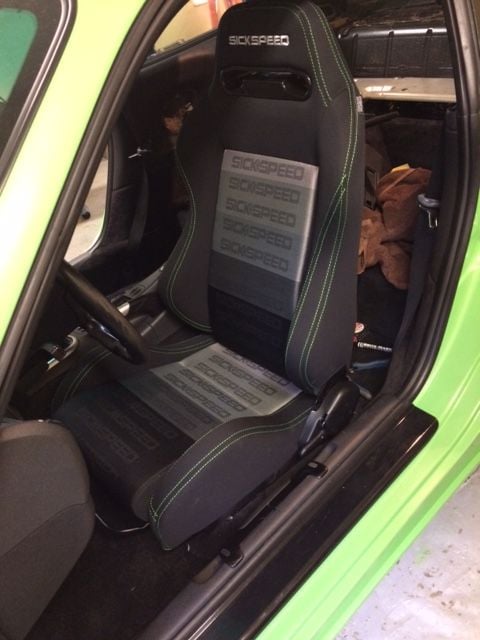
oh almost forgot.. the seats came in and I set them in the car so see how they look. I like them, the green stitching looks great and they fit in there quite well
pics.
brake kit thingy
view from the rear of the rear tires mounted.. so fat lol
front fender
seats
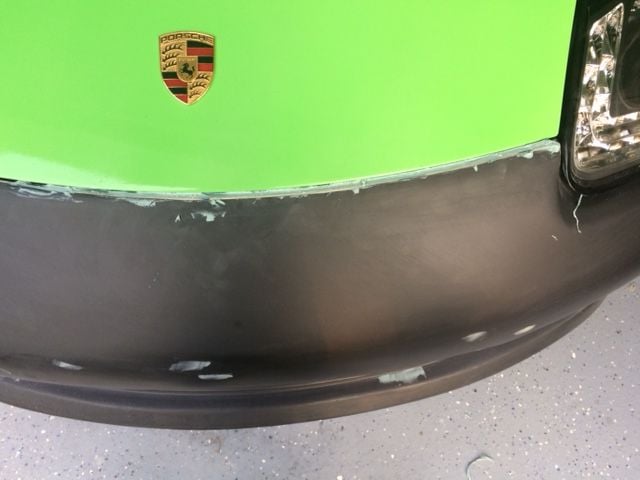
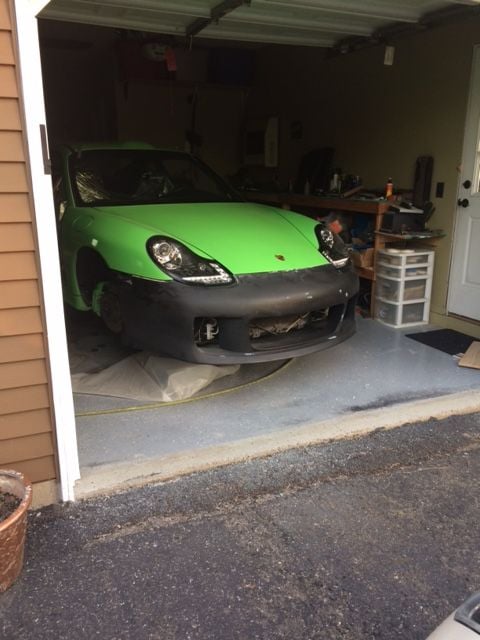
Hey everybody, again nothing to big but thought I'd show some pics of the front bumper like I did the rear to show the imperfections with duraflex. That's not a slam on them just hope anyone who buys them knows what there getting into. so below is pics of the pits, cracks and surfaces that looked messy. I'm finally working on the front bumper, really trying to get this done within the next two weeks so I can make it to our church's fathers day car show
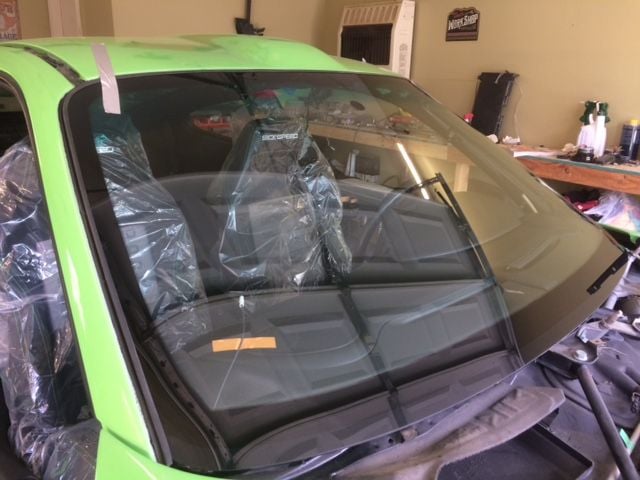
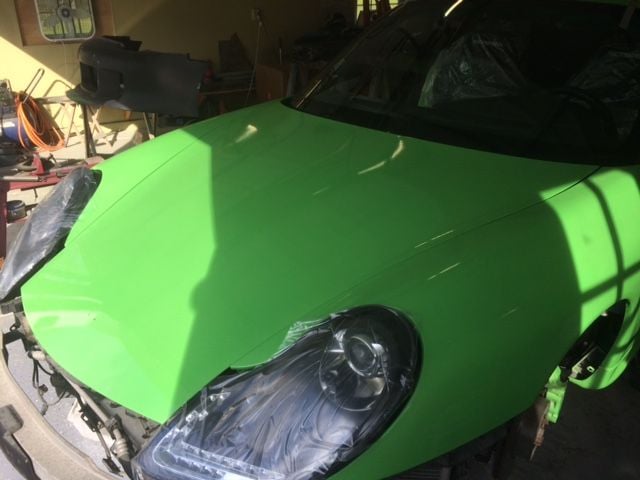
also below is the windshield that finally got put in along with the hood I put back on last night after the glass guy left.
Hey guys, well another quick update. kinda feel like these latest updates are kind of a waist for everyone just because I'm down to a lot of the little stuff that's not all that interesting .. but keeping with the theme of documenting all this. so sorry if I'm boring anyone
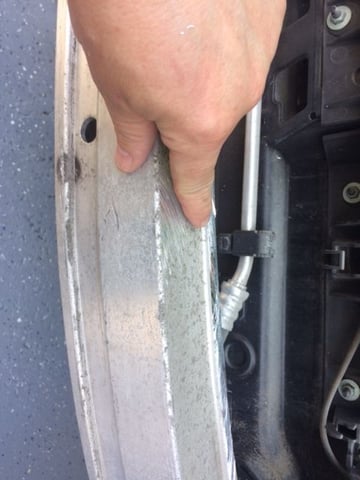
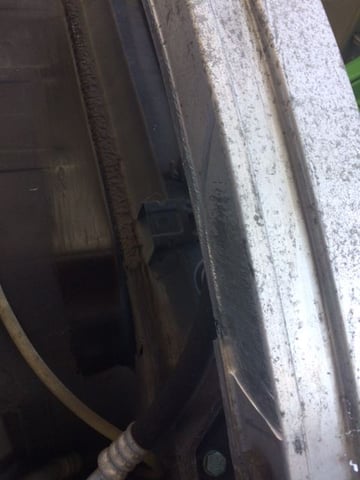
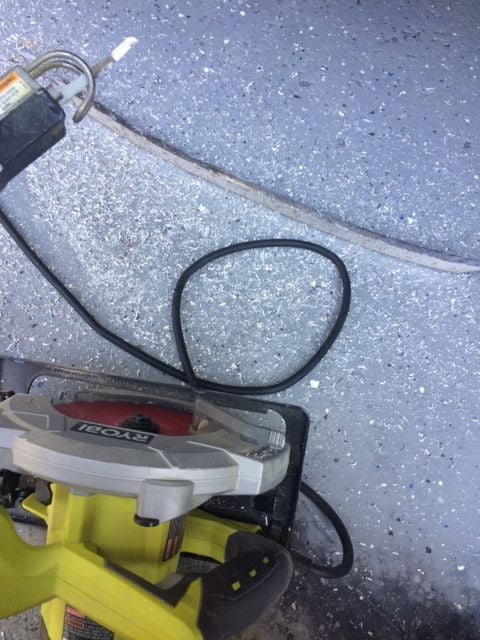
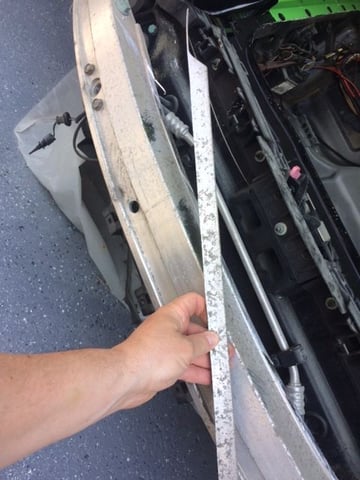
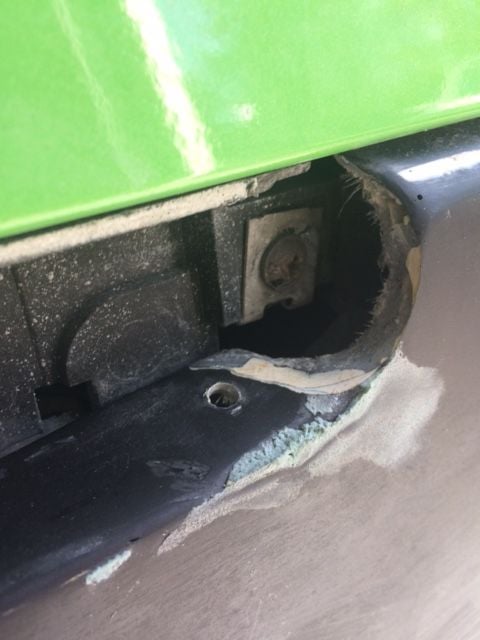
so last night I attached the bumper and worked on getting everything fitted in. so in the pics you can see how much I had to cut out for the side markers. i'll have to refill the back side with glass and bondo now that placement is fitted. the pic with the wook block in it is the bottom where the bumper fall short on touching the mounting surface this was the same with the last bumper I bought for the boxster. the pics with the saw and aluminum in them is the top and bottom lip of the front bumper. they get in the way of the bumper being able to go rear ward enough to the mounting screws. The pic with the hood and bumper gap is so you can see the gap between the two. Before and after the bondo. This same gap was on the boxster bumper as well. it must be duraflexes mold. so what I did was put some tape ont he hood and some bondo on the bumper and closed the hood making an impression in the wet bondo. no I can clean it up a bit, sand the gap to look uniformed and hopefully it will end up looking good.
Looks awesome! I love the pace! I can't imagine how many hours you have in this.....you could of easily gutted your kitchen, replaced the flooring including the sub floor down to the joists, rebuilt everything and probably still have less hours!
Looks awesome! I love the pace! I can't imagine how many hours you have in this.....you could of easily gutted your kitchen, replaced the flooring including the sub floor down to the joists, rebuilt everything and probably still have less hours!
umm actually I did that as well lol we are remodeling our house since the last year and I don't believe in paying people to work on my homes when I can do the work myself. I'm actually surprised this build has gone as fast as it has (roughly 5months) with all the other stuff we have going on. life is busy... just gotta make things happen I guess.
Thanks for the encouragement guys.. much appreciated.
umm actually I did that as well lol we are remodeling our house since the last year and I don't believe in paying people to work on my homes when I can do the work myself. I'm actually surprised this build has gone as fast as it has (roughly 5months) with all the other stuff we have going on. life is busy... just gotta make things happen I guess.
Don't tell me this....As I have been looking forward to every update as well....You have in my mind achieved god like status compared to my own capabilities...now that I know you are remodeling your house well...you have made me feel like an irrelevant useless bum around my own home.
Not only that, but I am getting depressed ahead of time, knowing the project will be done soon and I will have nothing to look forward to on RL.
lol to funny.
Well fear not cuz the thread will only slow down for a couple months when the body is finished and then I will come back and start the engine swap it will be epic I will also be doing the interior along with the engine.
Hey guy, nothing to important but I feel bad if I go longer than a week without posting a pic lol
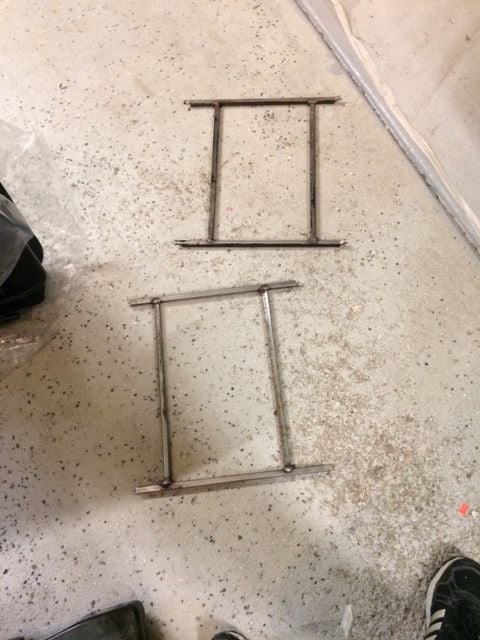
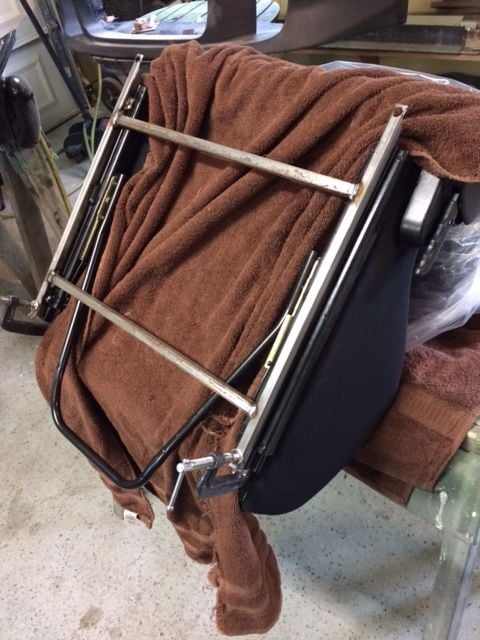
Made the seat tracks for the new seats. Mounted them last night and they fit and look .. AWESOME!!!.. in my humble opinion
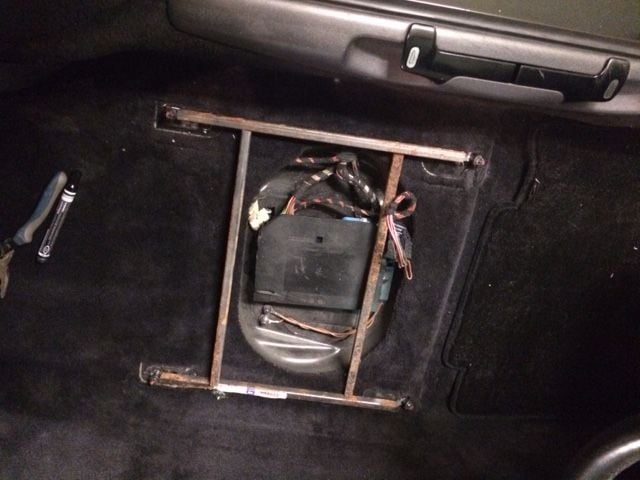
Started tearing apart the door panels... that bites. Those things are on there really good.
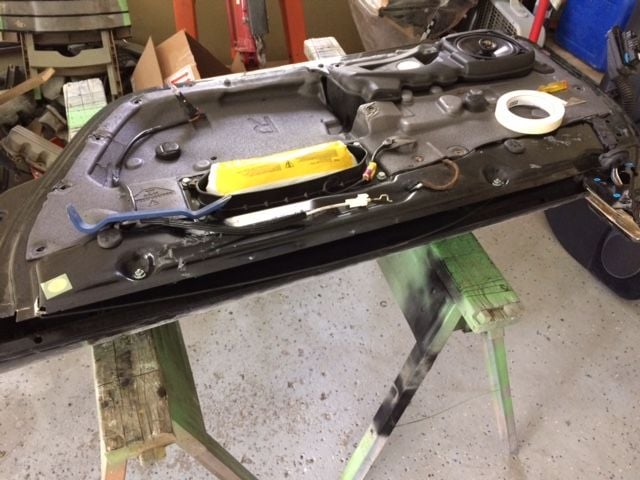
Lastly I dropped of my rear seats to be reupholstered. They weren't in bad shape but I want green stitching so there getting new leather and green thread. They will also be doing the headliner in a few weeks which will also be black with green stitching but I'm not sure what material I want to use yet.
I'm trying not to get to far into the interior until next winter but these things just made sense to do now.
Hoping to do the bit of painting within the next few days and then its put it all back together.
 05-09-2018, 05:25 PM


 it will be epic
  I will also be doing the interior along with the engine.