
993 Turbo build, DIY, driven
 02-15-2019, 09:16 AM
#16
Rennlist Member
Thread Starter
Stone Guard Replacement
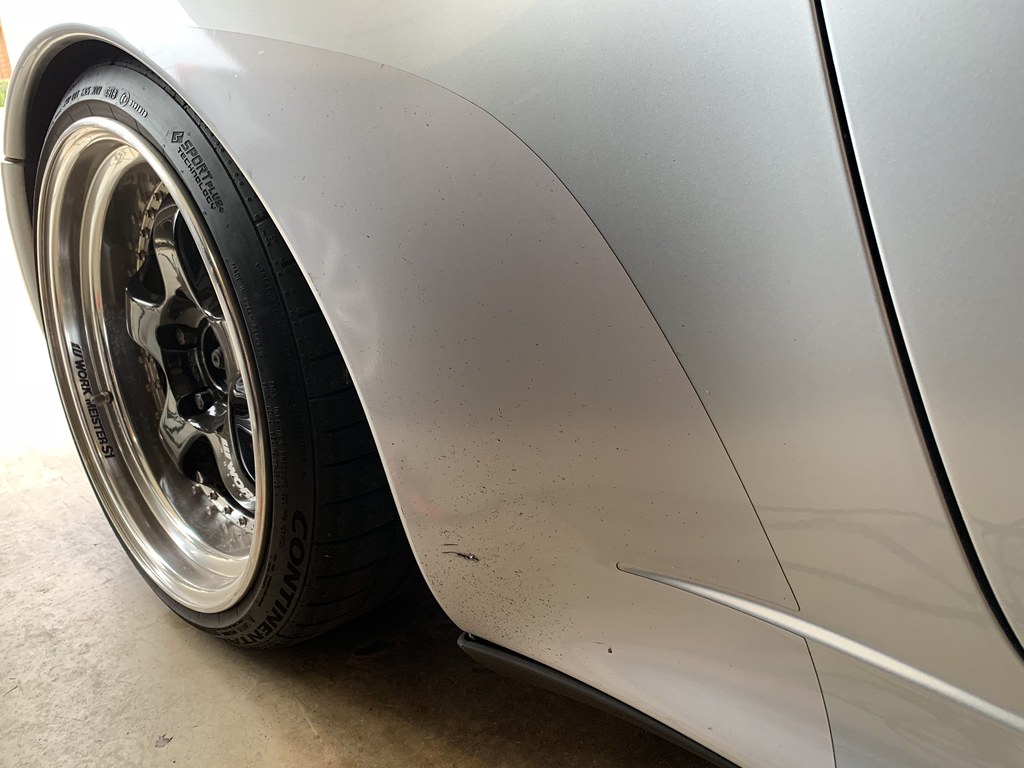
Next up I replaced the stone guards. I am not sure if these are the originals but they looked the part due to the amount of scratches and stone chips.
I studied up on this site and others about the best way to tackle this project. I had intended to experiment with all the different options but I did not have a steamer at home so I could not test out that method. Instead I used a combination of a heat gun, Goo Gone, 3M Adhesive Remover, 3M adhesive remover rubber wheel, and lots of frustration.
I will try to describe what I think works best.
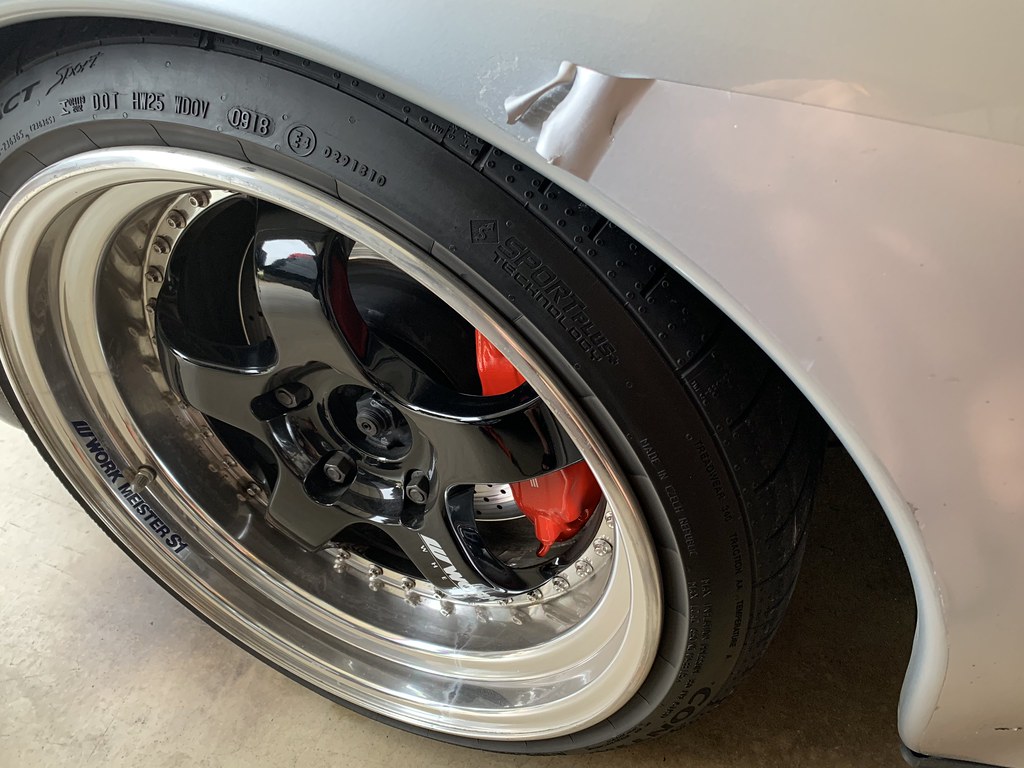
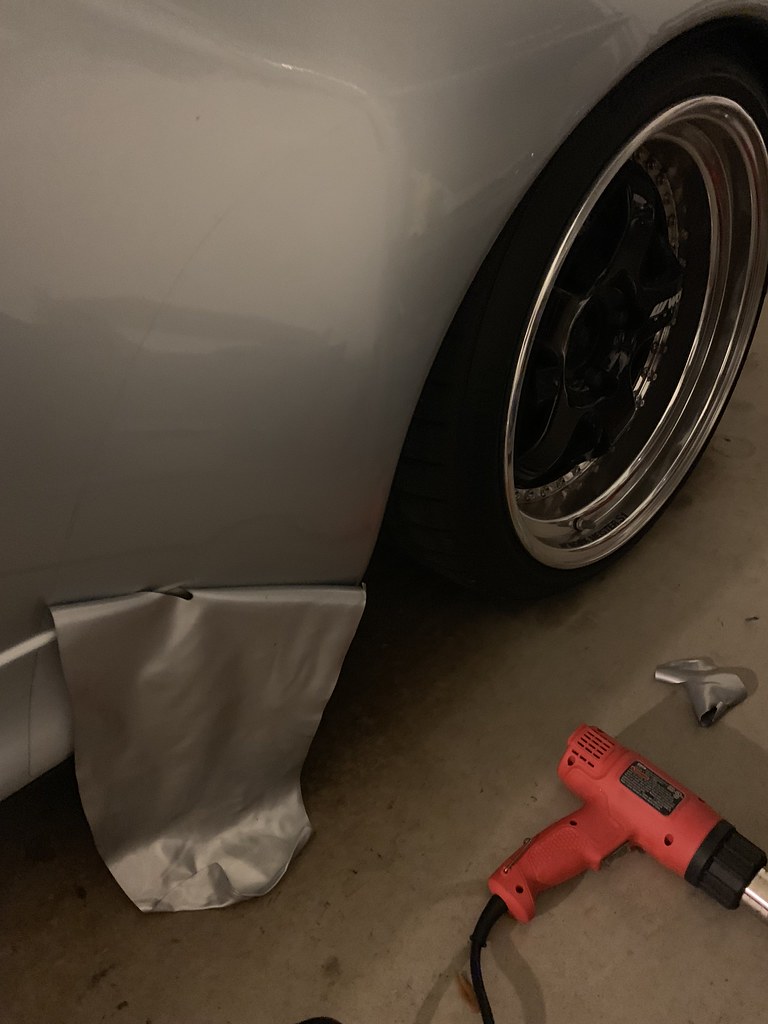
I started on the passenger side using the heat gun to get the area nice and warm but not hot and then the plastic razor blade to peel up the edges. Then my fingers to pull the material up.
On my polar silver the material is dyed/painted to sort of match from the factory, which it doest after 22-23 years.
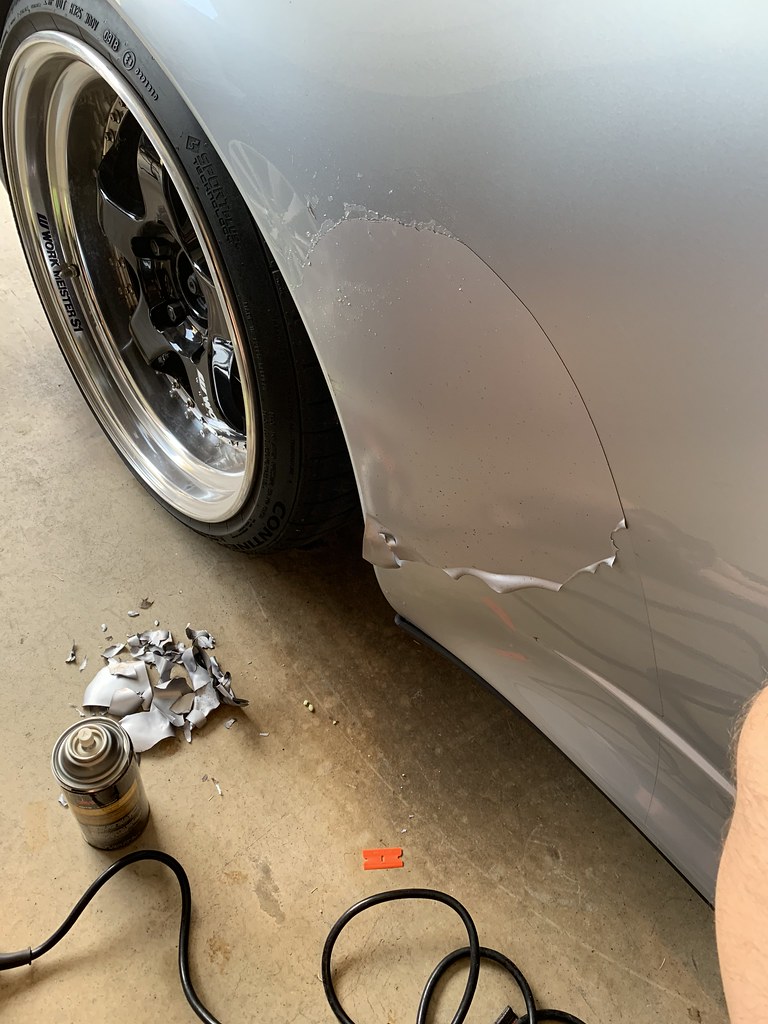
Here you can see I have started from the top, this is where you want to start but I will get to that later. You will also see that the backing adhesive has started to separate from the film as well. I expected this but this is not ideal and I will get to that later as well.
After some experimenting I quickly realized that too much heat causes the old material to break down and eventually come apart in tiny pieces. I experimented on the bottom with using the minimum amount of heat to get the material to room temperature and I was much more successful.
I conjectured that I had used minimum heat and started from the top this way, I would have had much better results. So I tried it on the drivers side.
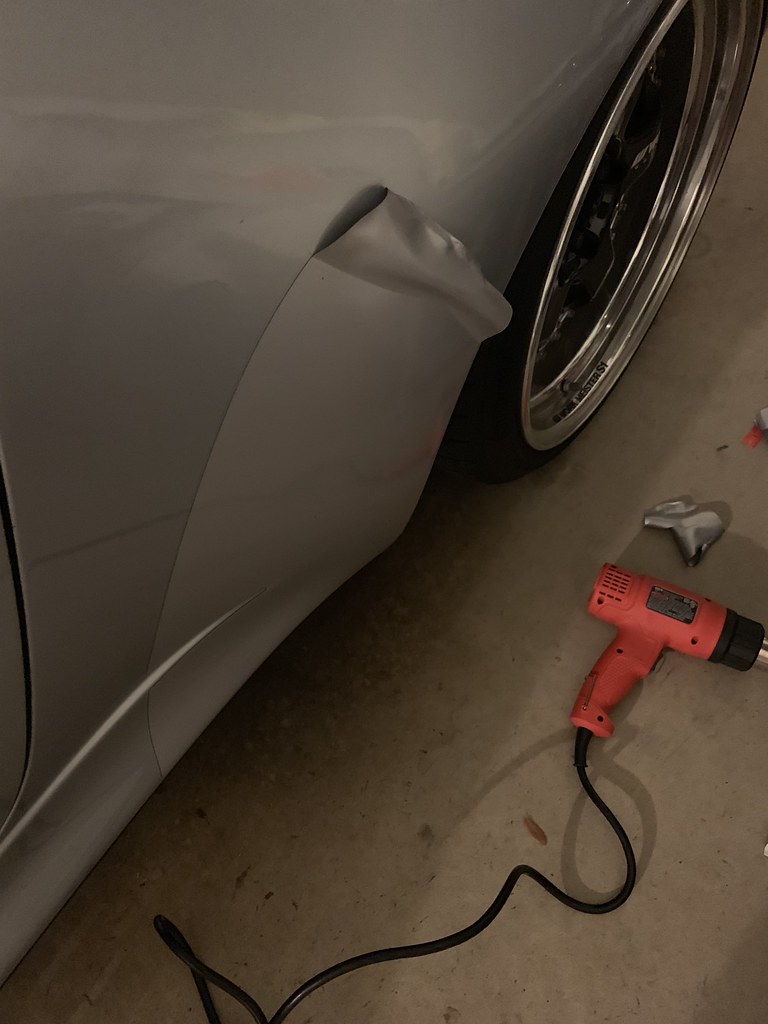
Yep, using the heat gun for about 5 seconds, only getting the material a little warm was perfect. In fact, in warmer climates, you probably dont need a heat gun. Results, of course will vary. This was my experience, I have no idea how my method would work on older 993s or clear stone guards etc....
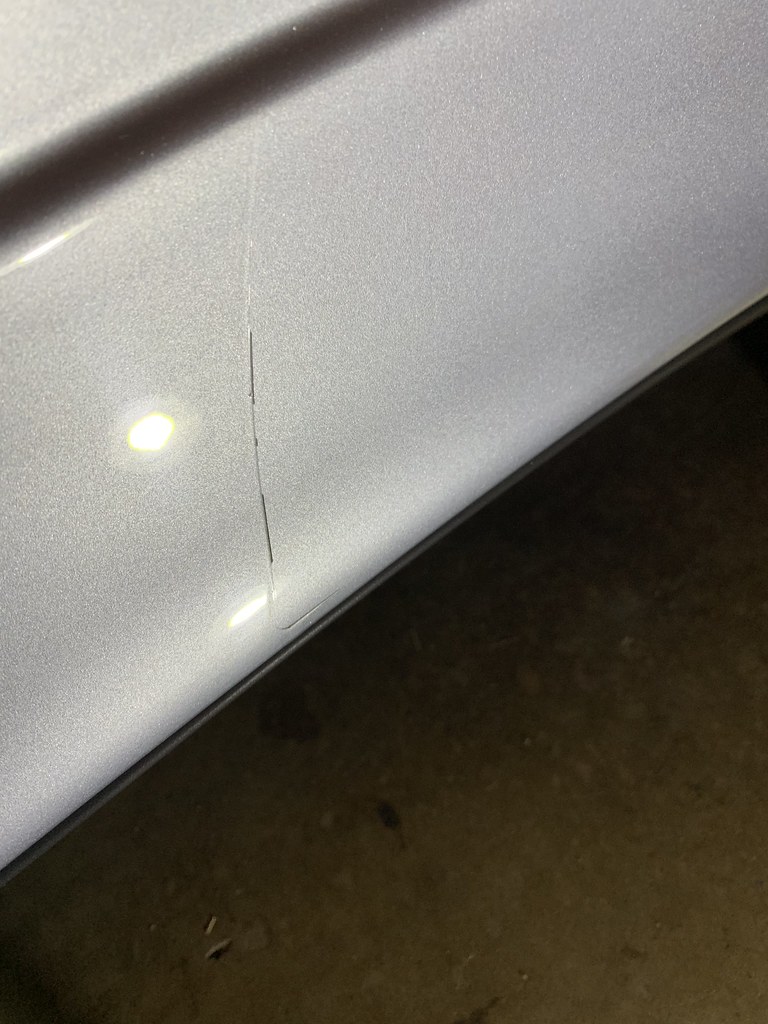
After I removed the film I noticed some bad etching. I am not a detailer but I have seen this before after removing emblems and stuff on my other cars. Dirt builds up along the edge of the film/emblem and combines with the adhesives to produce what can look like a hole or crack in the clear coat. Its petrified dirt and adhesive. I am not sure if there are better methods, but in the past I had to have it wet sanded and polished to get out. So I gave it try.

Again, I am not detailer, and I have never done this before on my own. However, I had seen it done when a buddy corrected some etching on my previous 997. I first went over the area with some 3M adhesive remover to get it as clean as possible. You can still see the raised edge even after some liberal use of adhesive remover.
Then I used the 1000, 2000, and 3000 grit sandpaper I used on the wheels. Again, I dont have a lot of experience wet sanding and my only goal here was to smooth out the etching. The film left a tiny amount of etching along the entire edge that will be smoothed out with polishing later. But, at my skill level, it will never be perfect. I did the least amount of wet sanding and polishing possible to avoid any possible damage to the clear coat. At a future date I may undertake this project again to perfect the areas.
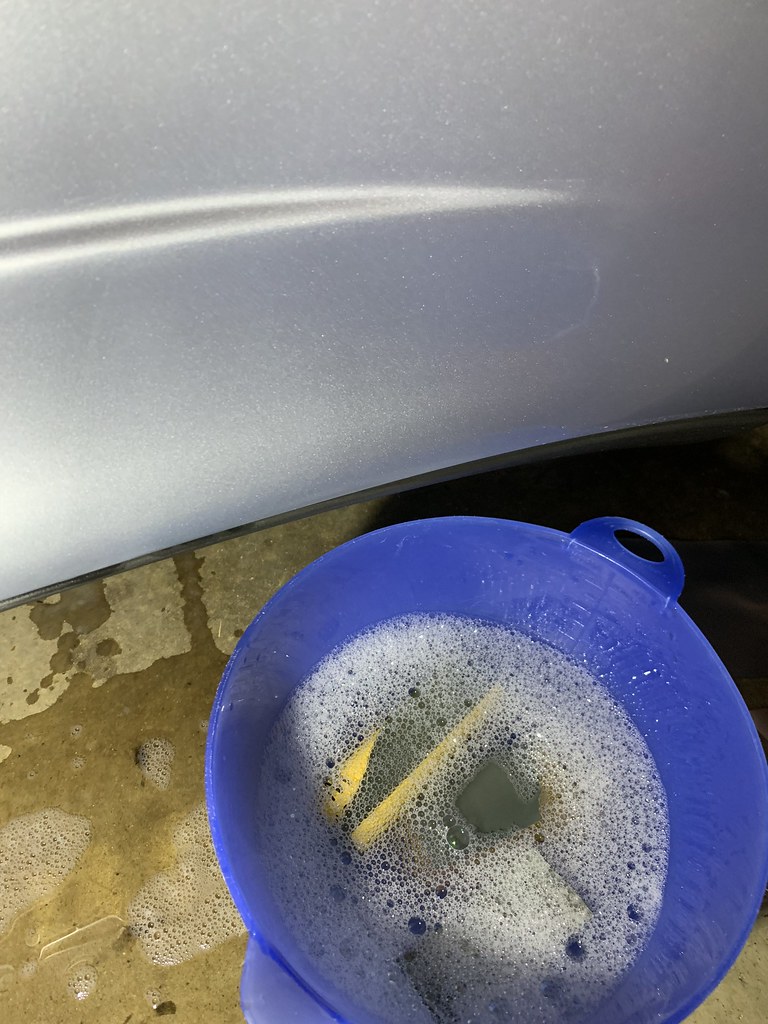
I used warm soapy water
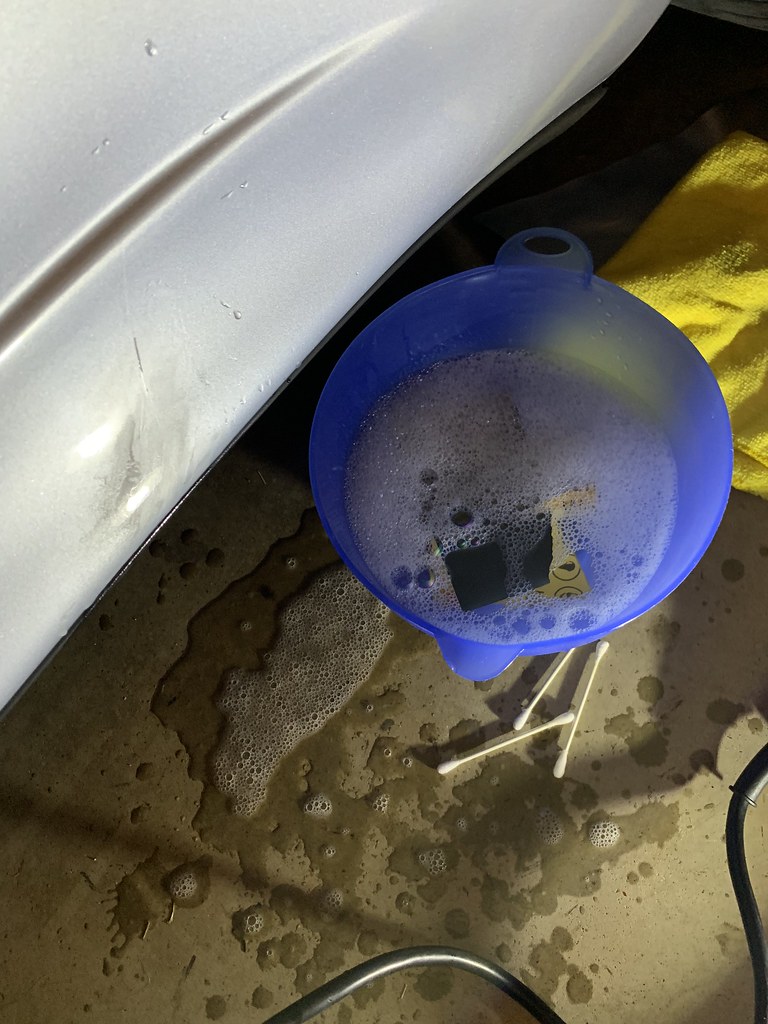
I hit the area with 1000 grit first then moved up to 3000 grit. Again, this was maybe 30-60 seconds of sanding total. You can still clearly see that there is still a slightly raised edge. Since I am polishing next and the replacement film will cover this area, I left good enough alone.
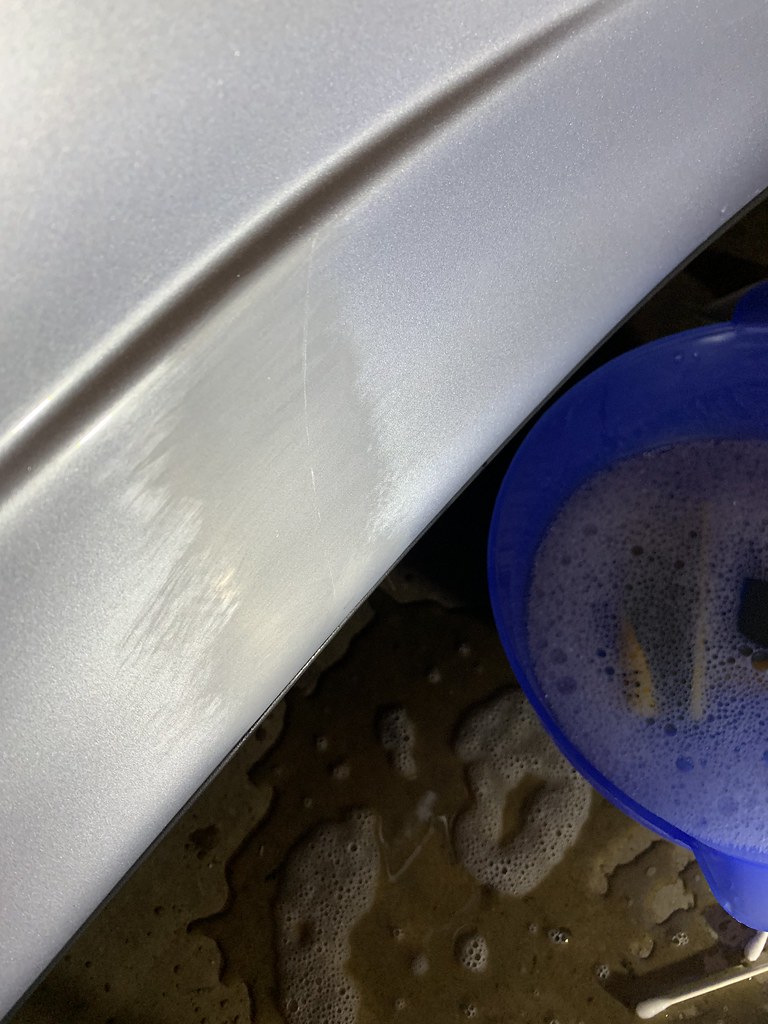
This is after a quick hand polish with some Meguires polish. You can still barely see the etching line to the left in the pic. Again, I was not going for perfection. If it bothers me, I will come back at some future date and redo the film and polishing underneath.
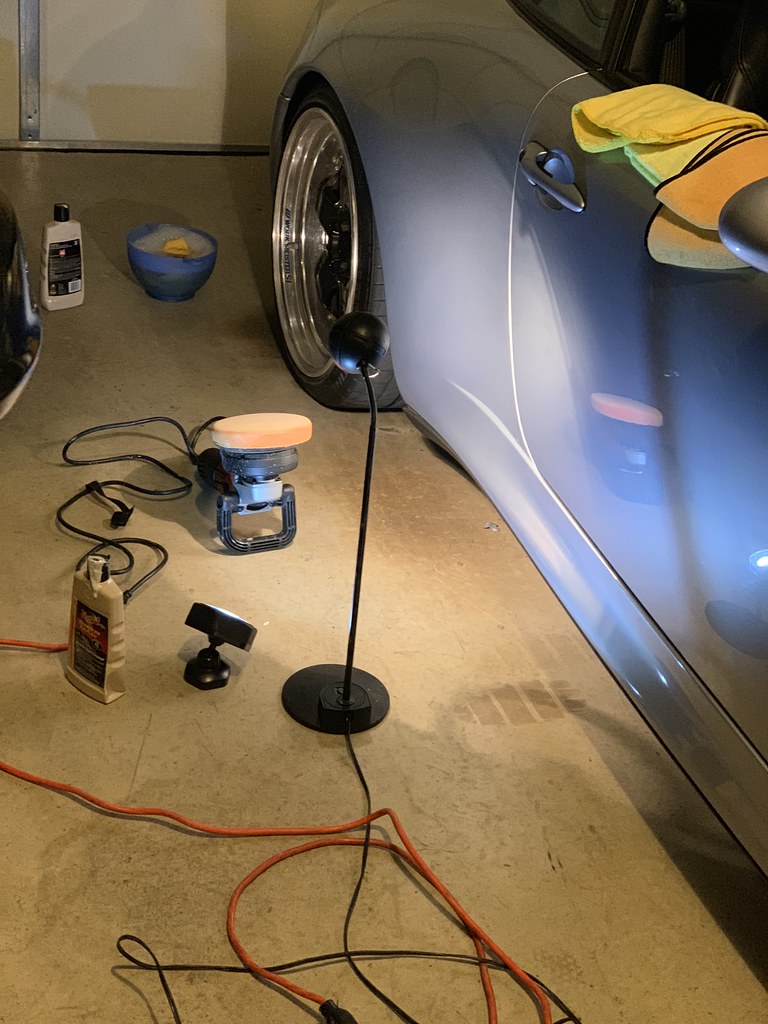
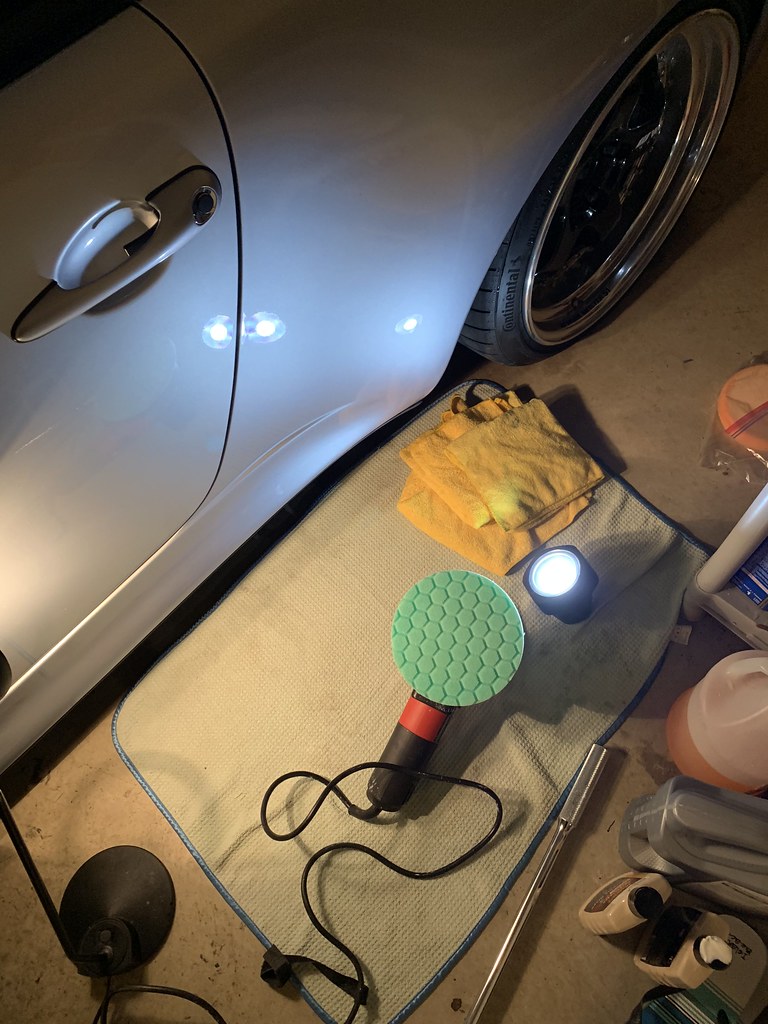
For the polishing I used my ancient Griots random orbital and a combo of heavy cut Meguires and finishing cut Meguires. Again, not really going for perfect here. The Griots machine really doesnt have the "***" to get out all the etching and I wasnt in the mood or ballsy enough to tackle anymore wet sanding. That being said, the final result was pretty good and about 10 times better than where I started.
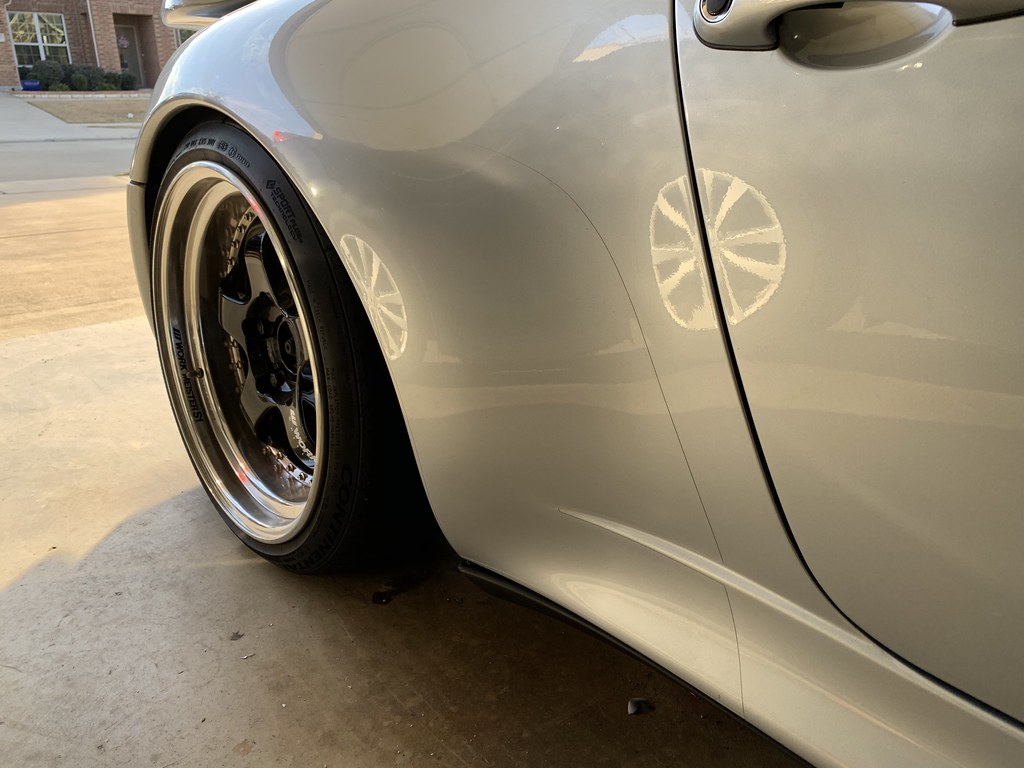
I used FD Motorsports replacement stone guards. They are made from thick 3M clear bra material and are cut to fit. I had originally thought they were identical in size to the OE stone guards. But they are actually slightly larger and cover a bigger area. I did not catch this until I was already applying. Overall, I am happy with the results.
Next up I replaced the stone guards. I am not sure if these are the originals but they looked the part due to the amount of scratches and stone chips.
I studied up on this site and others about the best way to tackle this project. I had intended to experiment with all the different options but I did not have a steamer at home so I could not test out that method. Instead I used a combination of a heat gun, Goo Gone, 3M Adhesive Remover, 3M adhesive remover rubber wheel, and lots of frustration.
I will try to describe what I think works best.
I started on the passenger side using the heat gun to get the area nice and warm but not hot and then the plastic razor blade to peel up the edges. Then my fingers to pull the material up.
On my polar silver the material is dyed/painted to sort of match from the factory, which it doest after 22-23 years.
Here you can see I have started from the top, this is where you want to start but I will get to that later. You will also see that the backing adhesive has started to separate from the film as well. I expected this but this is not ideal and I will get to that later as well.
After some experimenting I quickly realized that too much heat causes the old material to break down and eventually come apart in tiny pieces. I experimented on the bottom with using the minimum amount of heat to get the material to room temperature and I was much more successful.
I conjectured that I had used minimum heat and started from the top this way, I would have had much better results. So I tried it on the drivers side.
Yep, using the heat gun for about 5 seconds, only getting the material a little warm was perfect. In fact, in warmer climates, you probably dont need a heat gun. Results, of course will vary. This was my experience, I have no idea how my method would work on older 993s or clear stone guards etc....
After I removed the film I noticed some bad etching. I am not a detailer but I have seen this before after removing emblems and stuff on my other cars. Dirt builds up along the edge of the film/emblem and combines with the adhesives to produce what can look like a hole or crack in the clear coat. Its petrified dirt and adhesive. I am not sure if there are better methods, but in the past I had to have it wet sanded and polished to get out. So I gave it try.
Again, I am not detailer, and I have never done this before on my own. However, I had seen it done when a buddy corrected some etching on my previous 997. I first went over the area with some 3M adhesive remover to get it as clean as possible. You can still see the raised edge even after some liberal use of adhesive remover.
Then I used the 1000, 2000, and 3000 grit sandpaper I used on the wheels. Again, I dont have a lot of experience wet sanding and my only goal here was to smooth out the etching. The film left a tiny amount of etching along the entire edge that will be smoothed out with polishing later. But, at my skill level, it will never be perfect. I did the least amount of wet sanding and polishing possible to avoid any possible damage to the clear coat. At a future date I may undertake this project again to perfect the areas.
I used warm soapy water
I hit the area with 1000 grit first then moved up to 3000 grit. Again, this was maybe 30-60 seconds of sanding total. You can still clearly see that there is still a slightly raised edge. Since I am polishing next and the replacement film will cover this area, I left good enough alone.
This is after a quick hand polish with some Meguires polish. You can still barely see the etching line to the left in the pic. Again, I was not going for perfection. If it bothers me, I will come back at some future date and redo the film and polishing underneath.
For the polishing I used my ancient Griots random orbital and a combo of heavy cut Meguires and finishing cut Meguires. Again, not really going for perfect here. The Griots machine really doesnt have the "***" to get out all the etching and I wasnt in the mood or ballsy enough to tackle anymore wet sanding. That being said, the final result was pretty good and about 10 times better than where I started.
I used FD Motorsports replacement stone guards. They are made from thick 3M clear bra material and are cut to fit. I had originally thought they were identical in size to the OE stone guards. But they are actually slightly larger and cover a bigger area. I did not catch this until I was already applying. Overall, I am happy with the results.
 02-15-2019, 10:10 AM
#17
Rennlist Member
Those new stone guards looks so much better!
02-25-2019, 09:28 PM
#19
Rennlist Member
Thread Starter
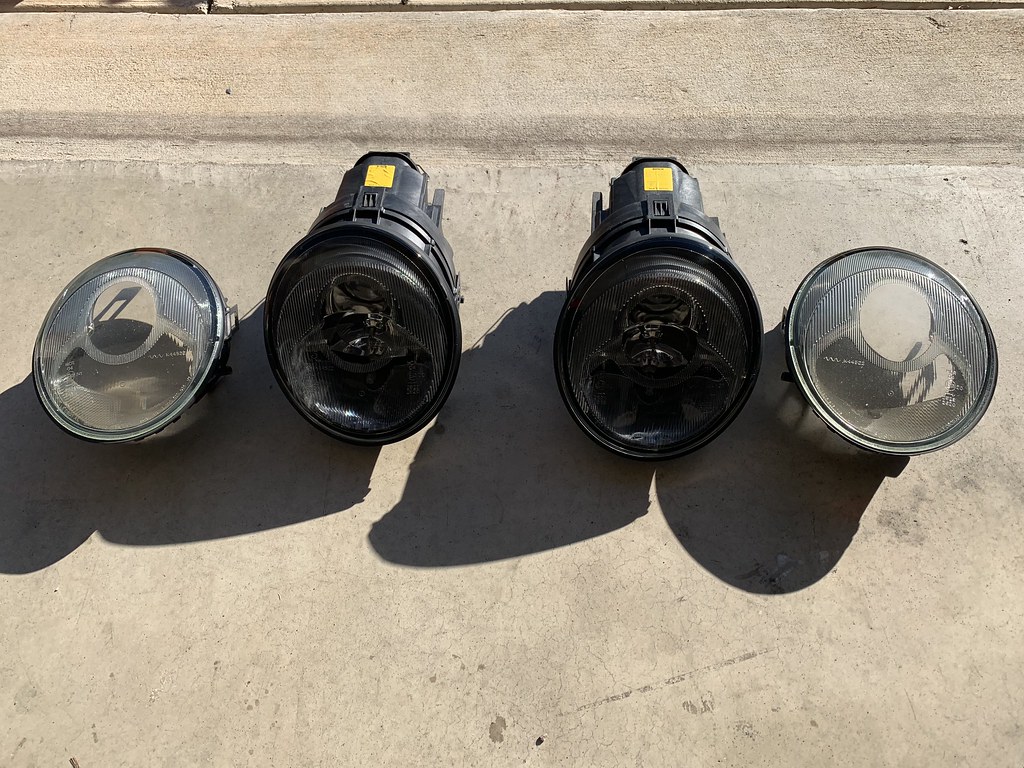
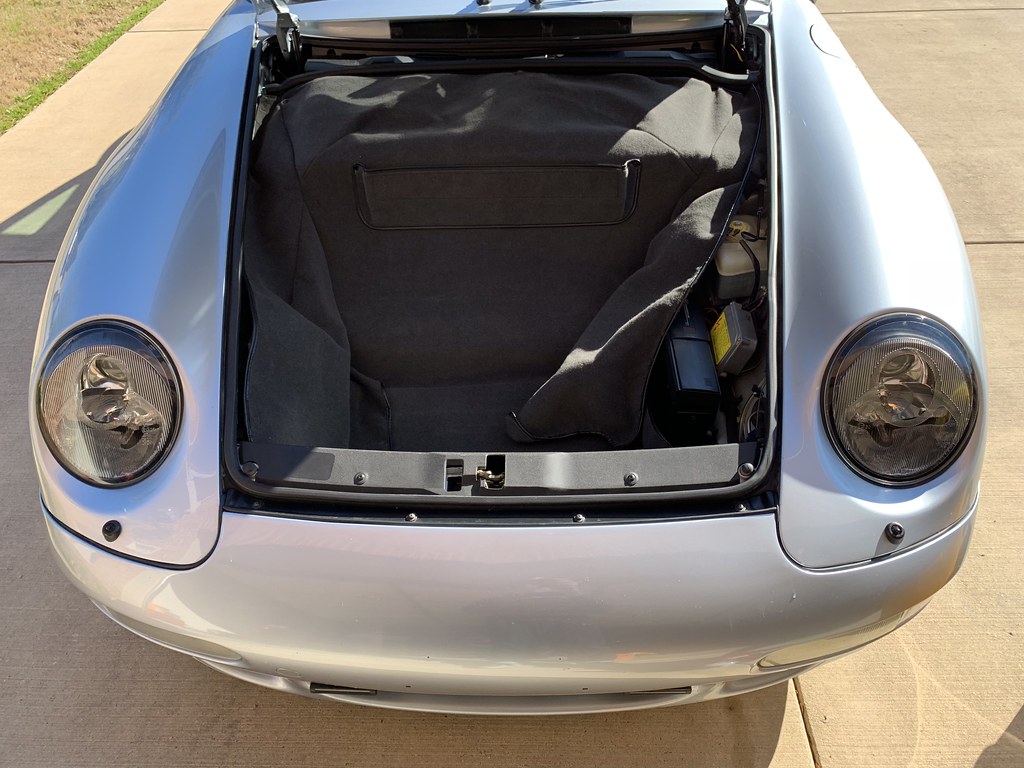
Headlight lenses are a pretty easy and relatively inexpensive way to refresh the front of the car.
The install was very straight forward and there are a lot of threads on Rennlist about the process. Basically you unclip the old ones and replace. I did the additional step of repainting the headlight surrounds.
The install was very straight forward and there are a lot of threads on Rennlist about the process. Basically you unclip the old ones and replace. I did the additional step of repainting the headlight surrounds.
05-21-2019, 11:50 PM
#20
Rennlist Member
Thread Starter
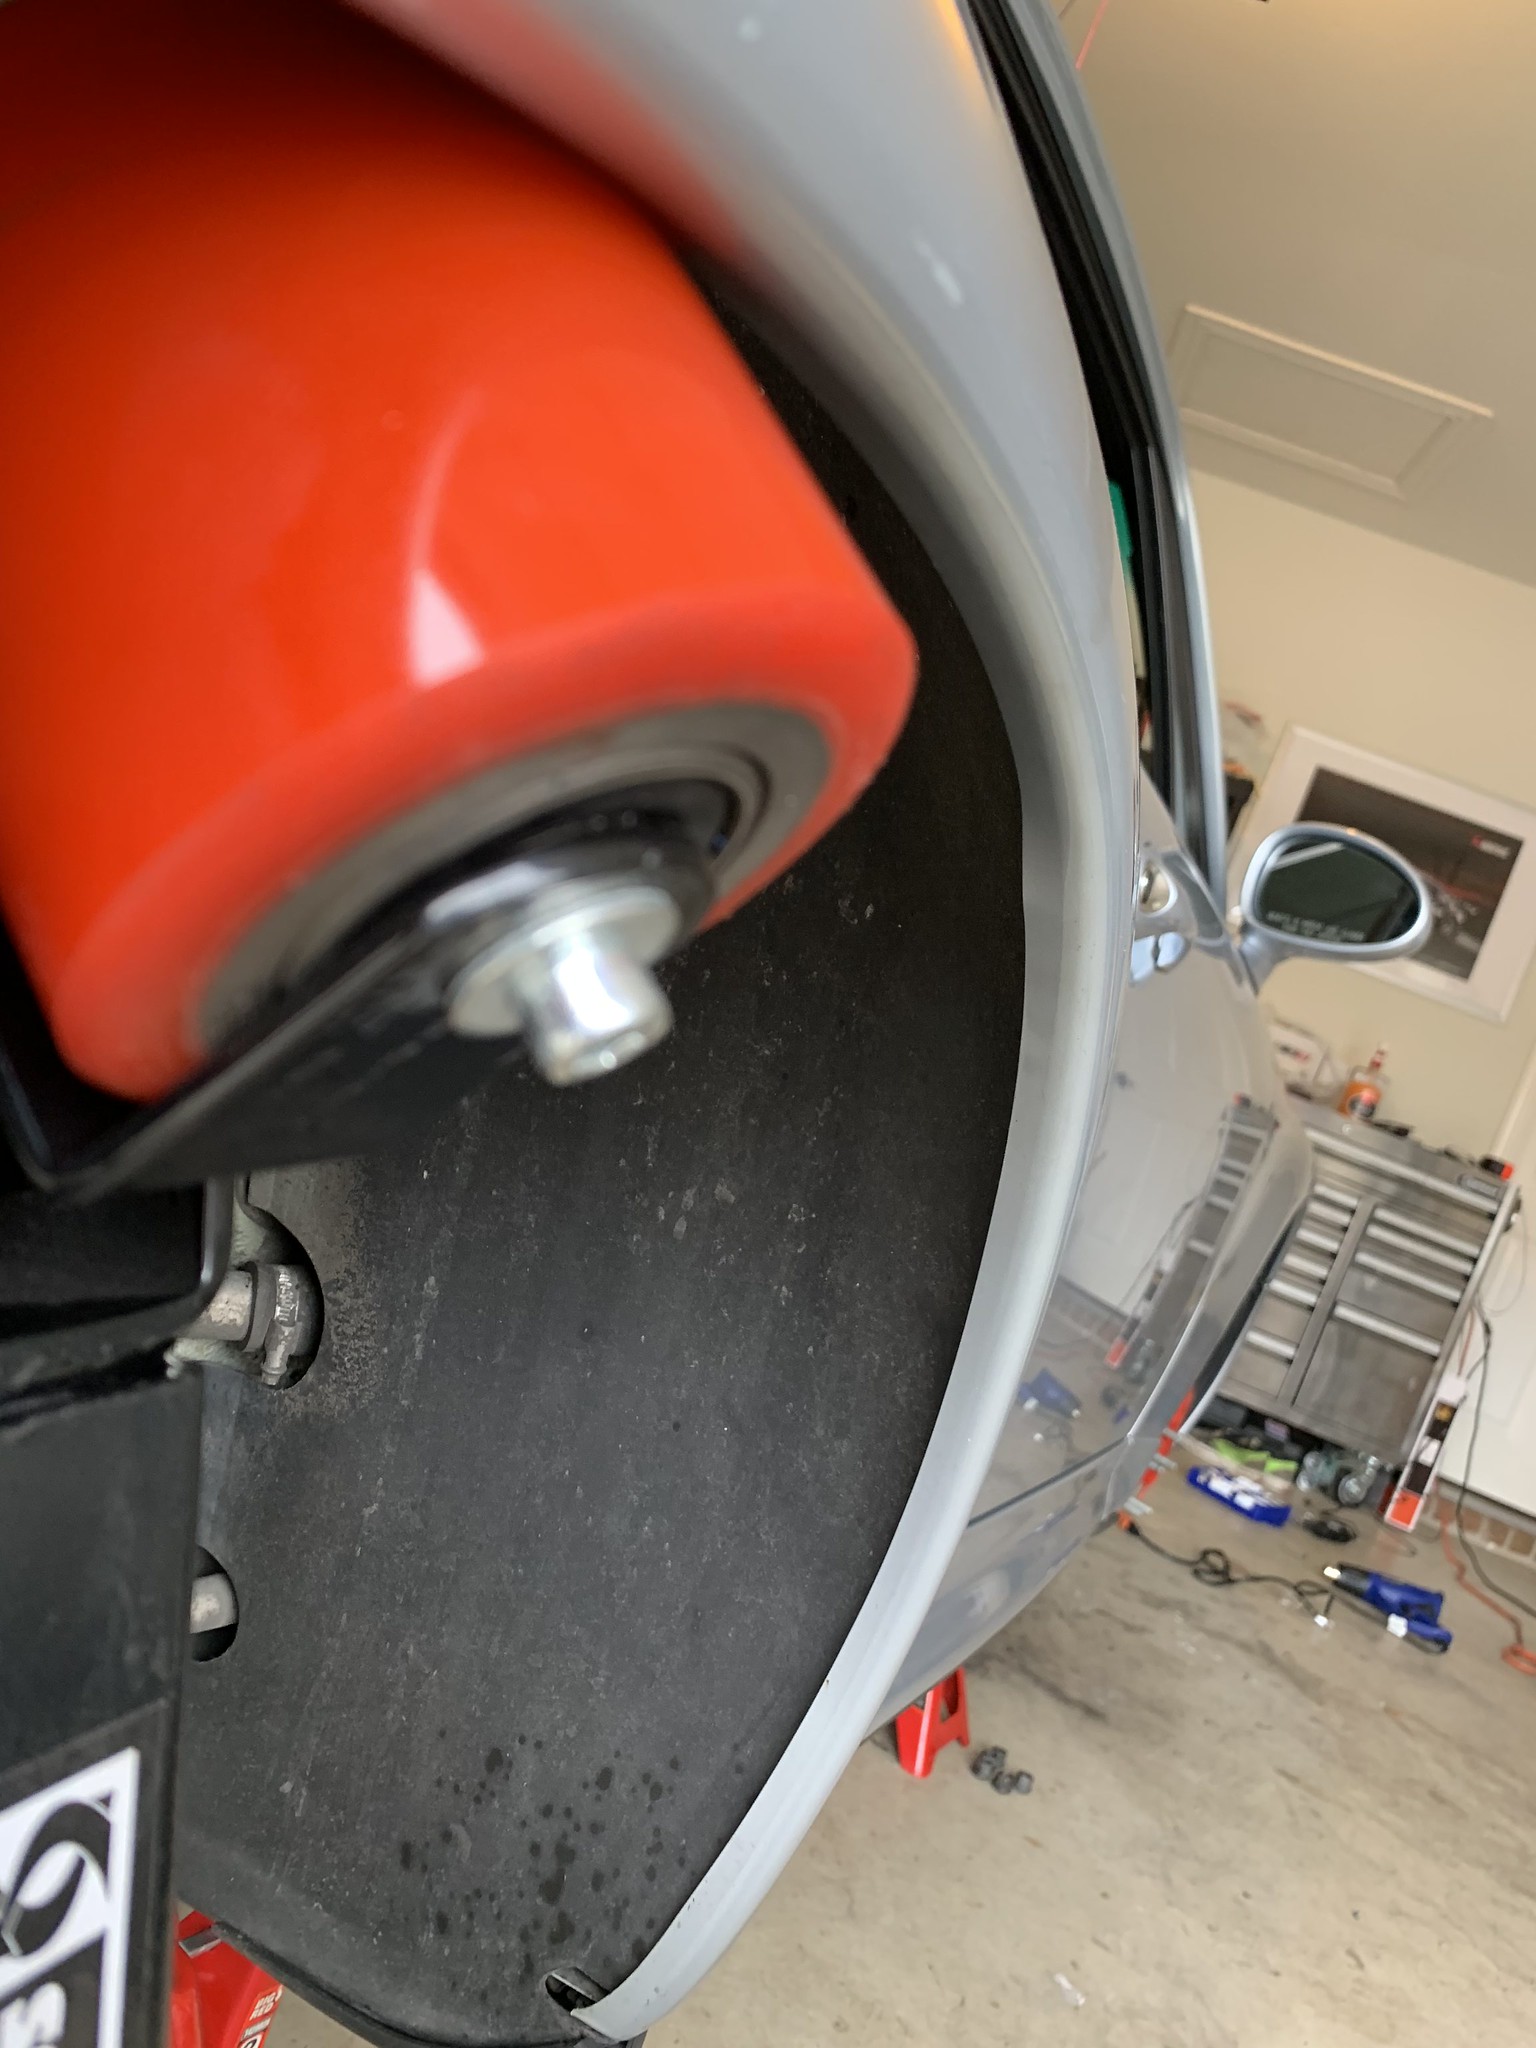
I am a little behind on updating this thread. In an attempt to feel out what possible with size and offsets I decided to install longer wheel studs and roll the fenders.
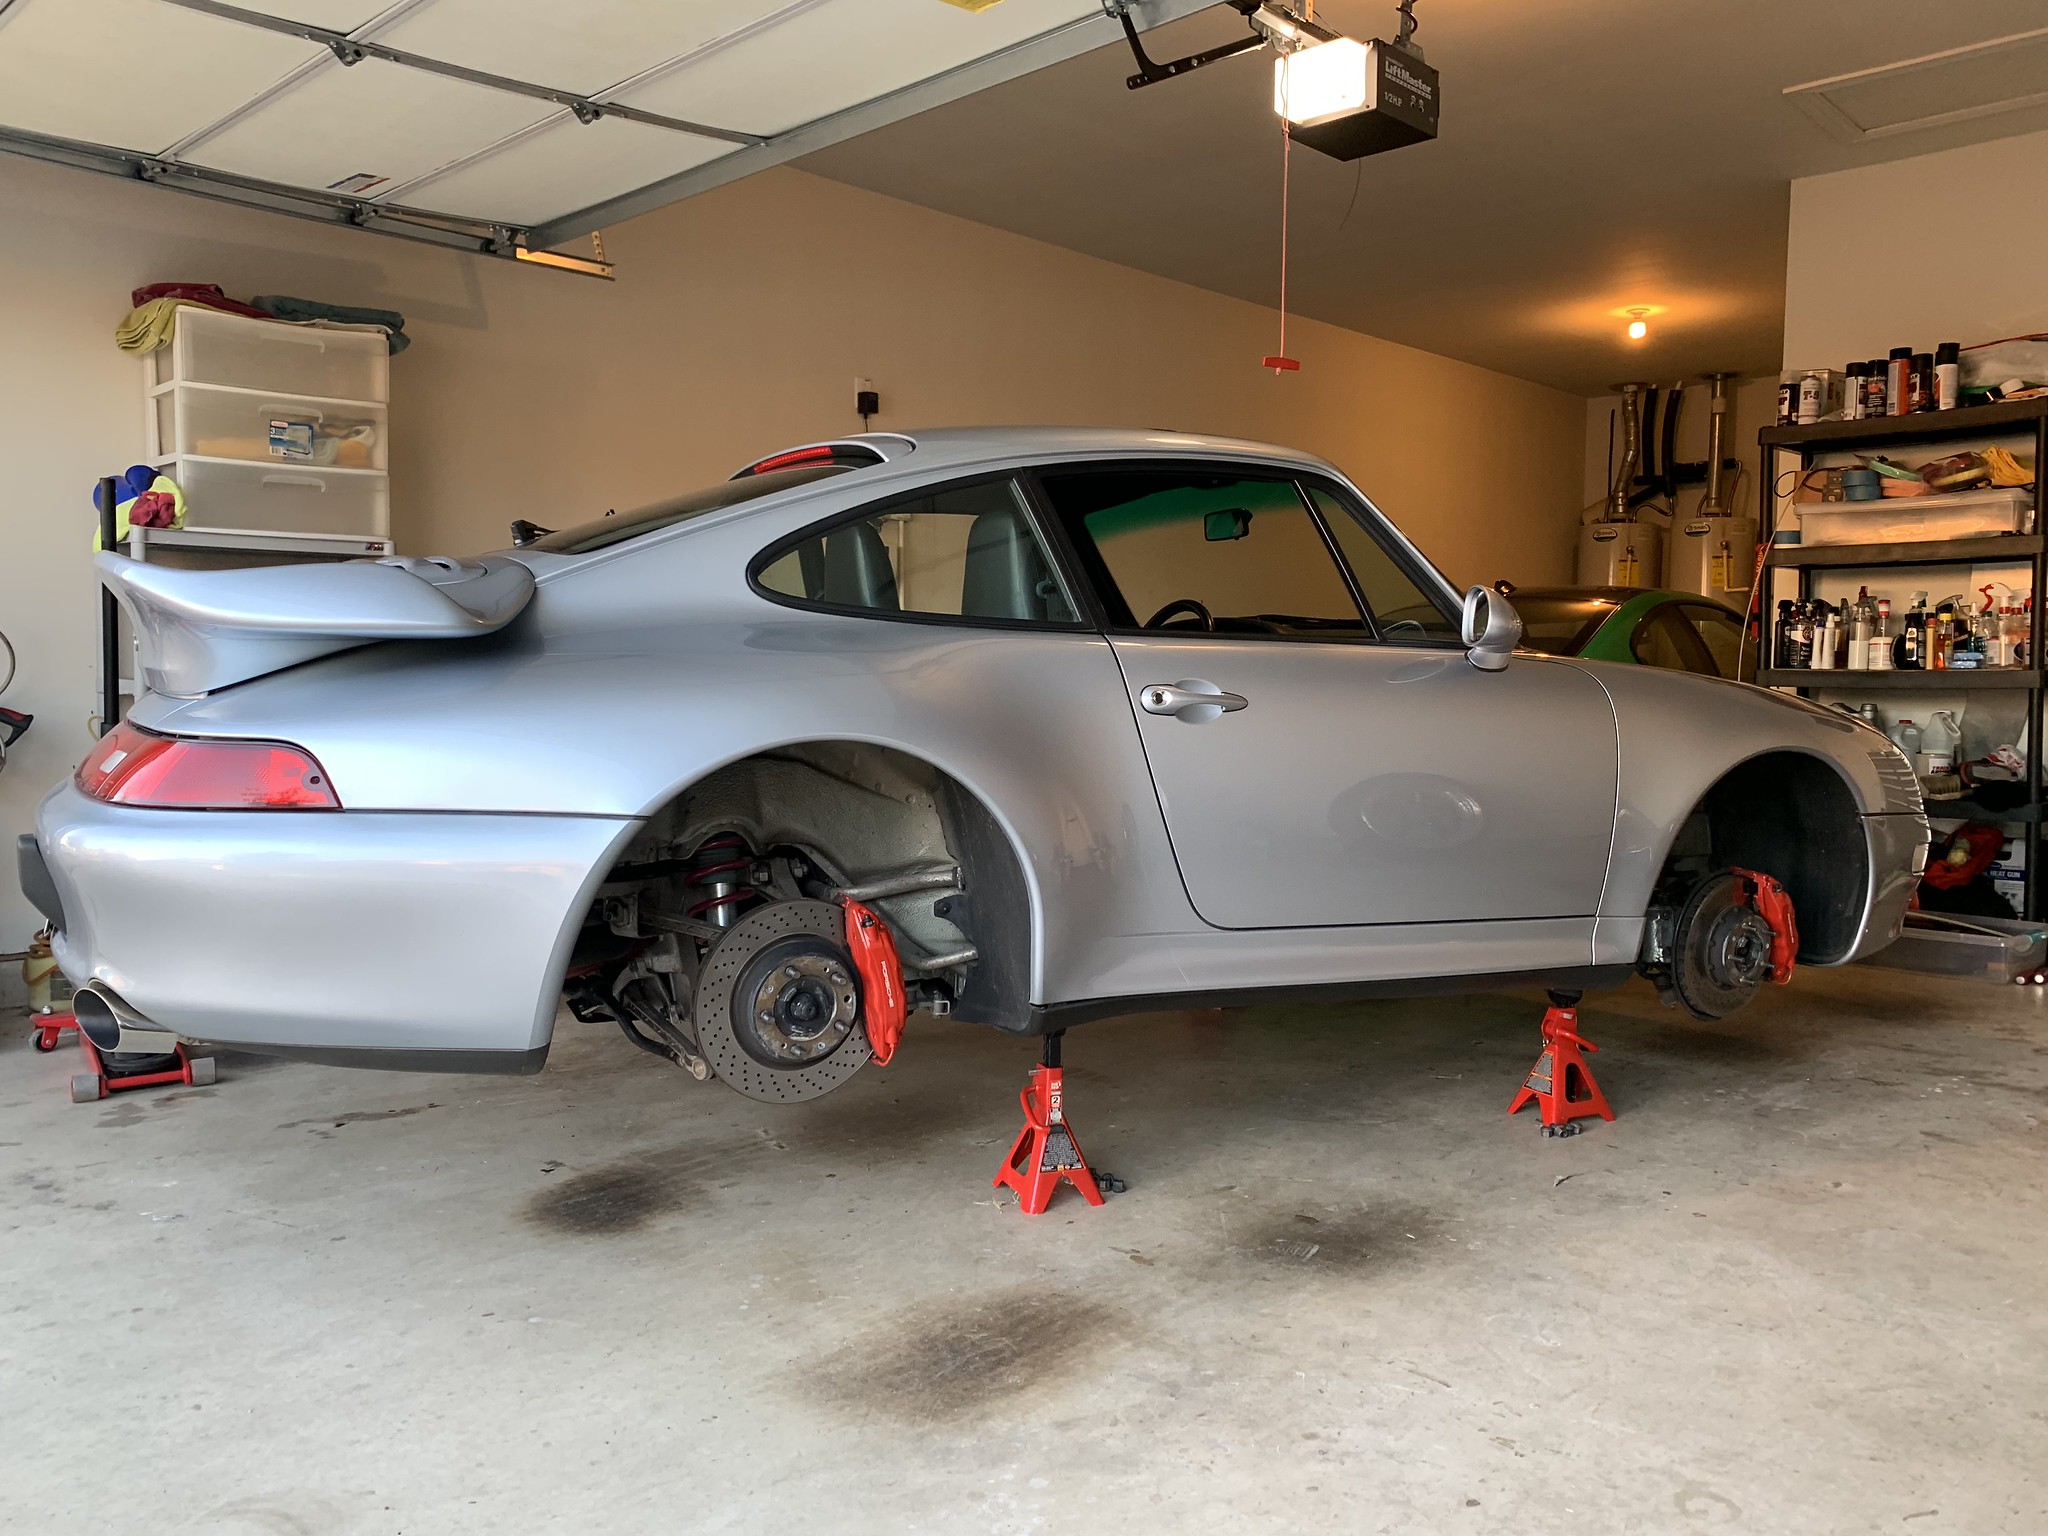
I got a chance to see how my quick caliper finish fix has held up. So far so good.

You can see where the old finish ends and the new clear starts. But for a quick fix, I am happy.

Caliper and rotor removed

This one didnt work

This one from Harbor Freight worked. I also can confirm that a BFH works
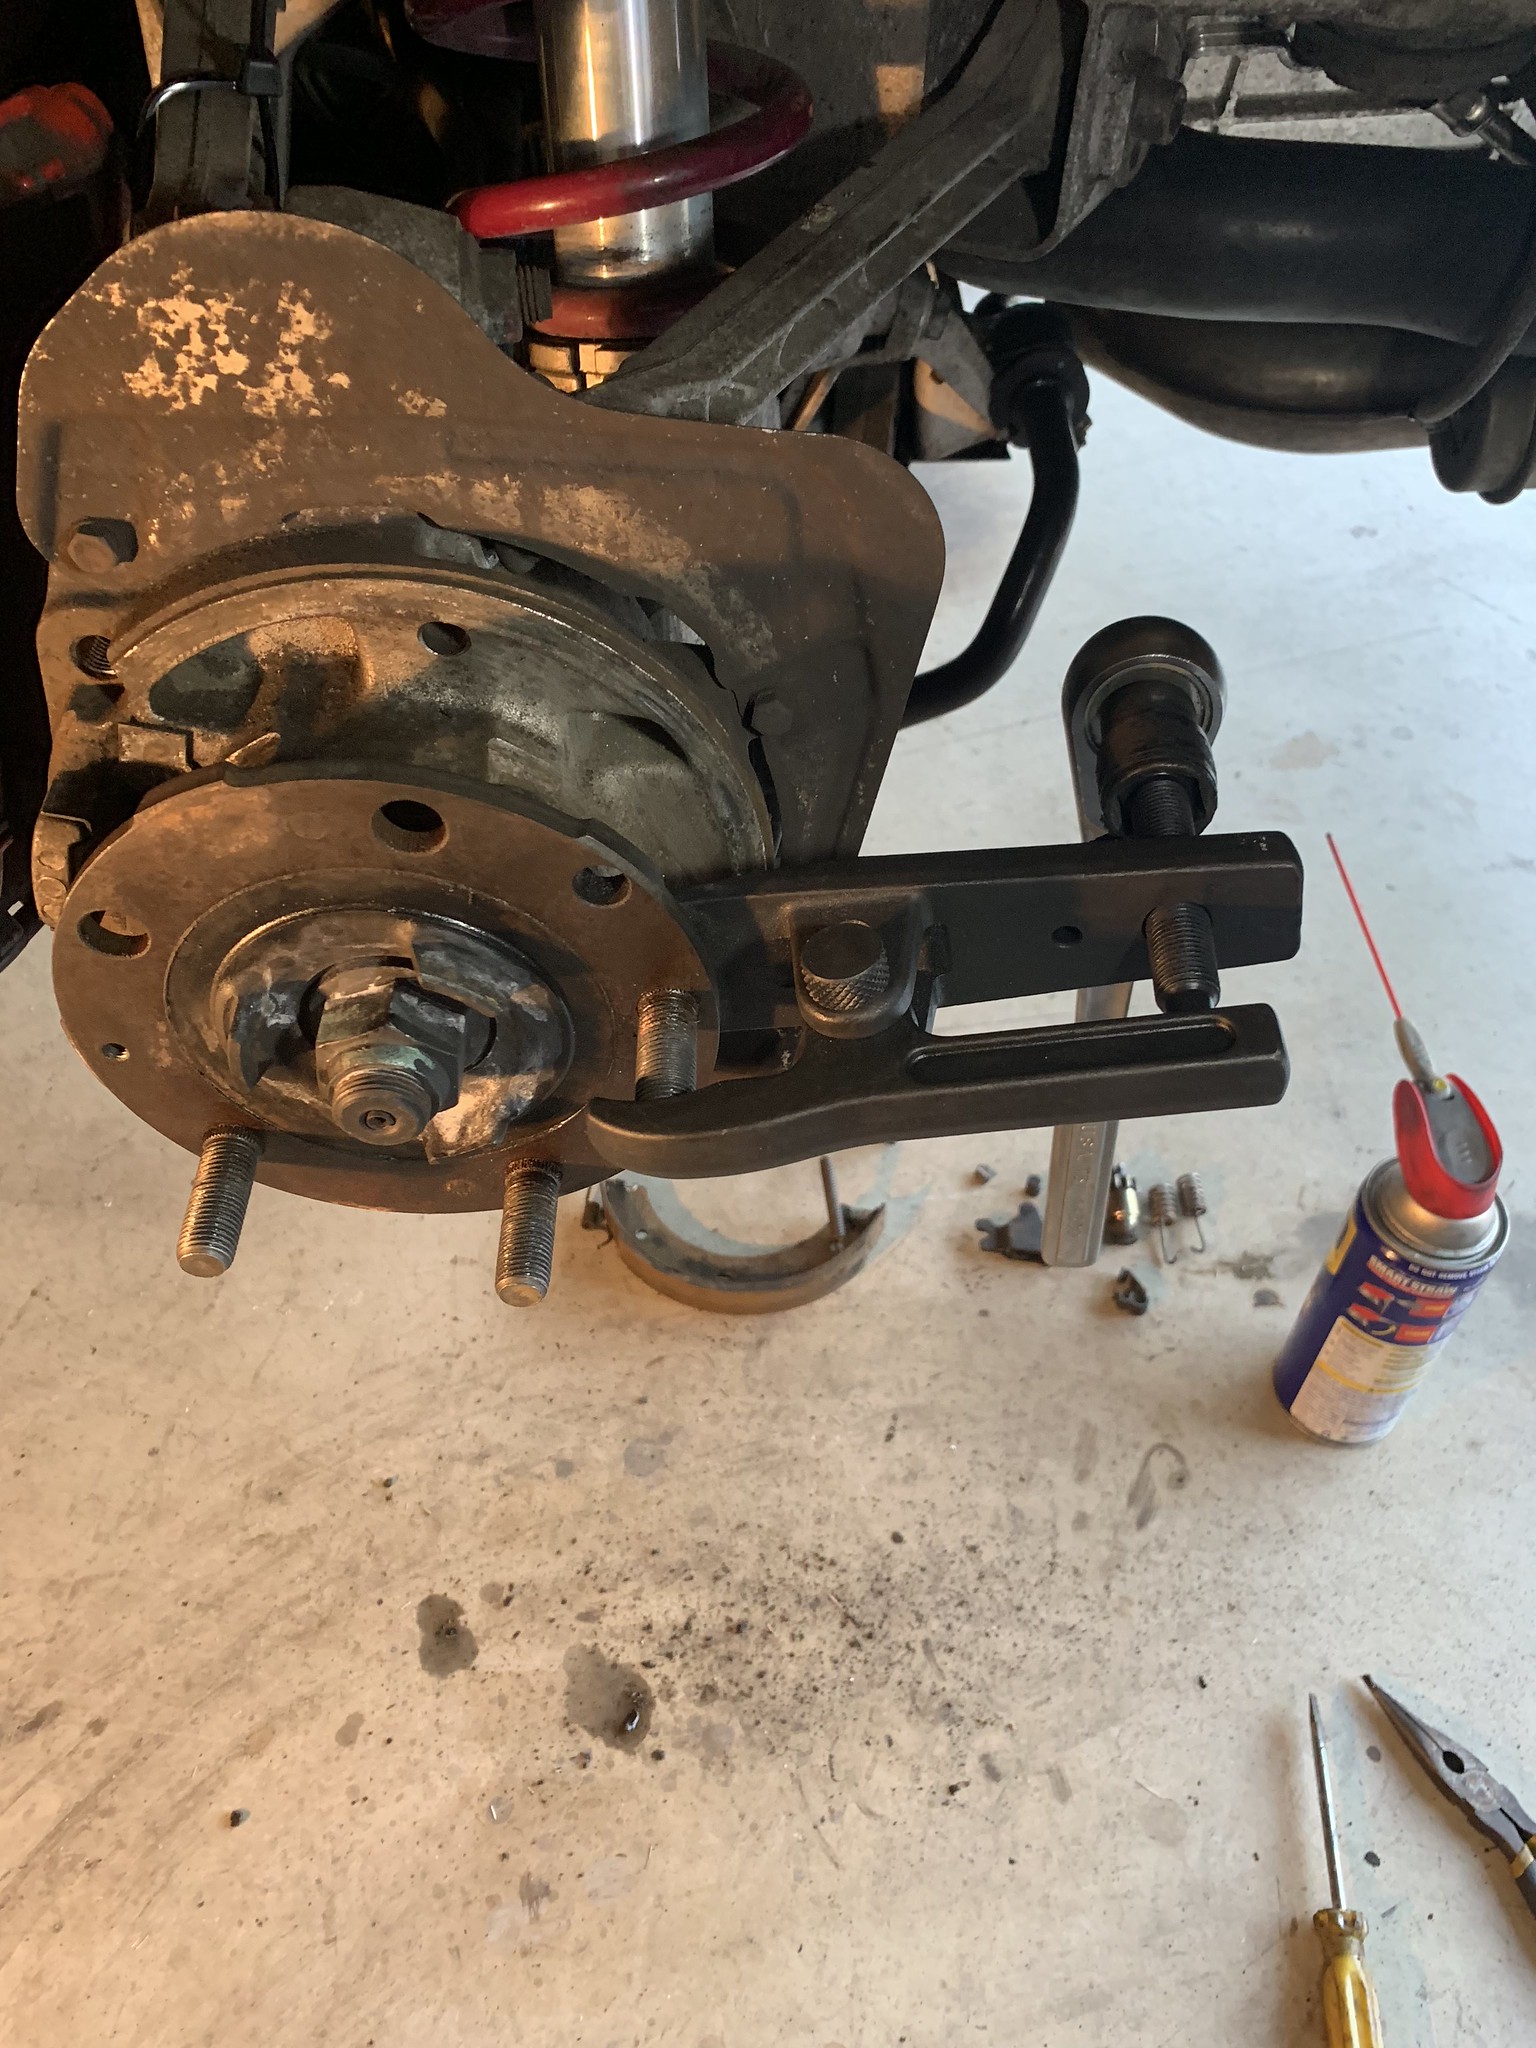
The E-brake assembly has to be removed in order to use the cavity for the longer studs

Pull through tool

The fronts can be done quickly with a BFH or in a similar fashion as the rears. I took the BFH option.
My make-shift heater stand prior to fender rolling

I got a chance to see how my quick caliper finish fix has held up. So far so good.
You can see where the old finish ends and the new clear starts. But for a quick fix, I am happy.
Caliper and rotor removed
This one didnt work
This one from Harbor Freight worked. I also can confirm that a BFH works
The E-brake assembly has to be removed in order to use the cavity for the longer studs
Pull through tool
The fronts can be done quickly with a BFH or in a similar fashion as the rears. I took the BFH option.
My make-shift heater stand prior to fender rolling
05-22-2019, 07:30 AM
#22
Rennlist Member
Thread Starter
Rolling the fenders was a slow process. A little bit at a time.

Here is a pic after the first couple passes.
After many passes

I added a 14mm spacer, effectively making my Work Meisters 18 x 11 ET30. Nice and flush

Lots of room

Here is a pic after the first couple passes.
After many passes
I added a 14mm spacer, effectively making my Work Meisters 18 x 11 ET30. Nice and flush
Lots of room
05-22-2019, 07:52 AM
#23
Instructor
I like the pictures you posted showing how this is done. Does this process actually widen the fender or does it just enlarge the space inside.
05-22-2019, 07:57 AM
#24
Rennlist Member
Thread Starter
05-22-2019, 03:13 PM
#25
Three Wheelin'

Car looks great! Any chance you can take a pic with the wheel liner off (where you would access oil filter) and from underneath as well? My car had some work down there at one point and i wanted to see exactly how the metal looked in that rear outward lowest corner in front of rear wheel. It appears as though you already have everything back together so if not no worries. Nice work on all done so far!
05-23-2019, 07:31 AM
#26
Rennlist Member
Thread Starter
Car looks great! Any chance you can take a pic with the wheel liner off (where you would access oil filter) and from underneath as well? My car had some work down there at one point and i wanted to see exactly how the metal looked in that rear outward lowest corner in front of rear wheel. It appears as though you already have everything back together so if not no worries. Nice work on all done so far!
06-08-2019, 06:03 PM
#28
Rennlist Member
Thread Starter
The next mods were muffler bypasses from Fabspeed. Such a good mod. I dont have any good pics of the mod.
Not long after doing the mod I did an oil change and found this at the end of the drain plug.


I did some asking around in other threads. Most agreed that this was most likely a garter spring from some kind of seal. Most likely it didnt go through the motor but I decided to check the oil and filters.
The filter had some metal shavings in it. Copper or bronze colored.

And the oil analysis looked like this

The analysis shows elevated copper but no elevated lead. There was a concern that the bearings may have been damaged but the lack of lead is telling. In hindsight, I could have guessed the bearings weren't an issue. But really no way to know.
Additionally, at this point the engine was making a noise like an exhaust leak or a bad lifter. So I decided it was time to let the professionals look at it. I took it to Mayo Performance in Bedford, TX. Great air cooled shop. They quickly found this under the drivers side valve cover.

After further disassembly it was discovered that one of my valve guides had failed spectacularly. My motors top end was rebuilt 25K miles and roughly 11 years ago. I do not have quite a solid history on the top end rebuild. After further disassembly it was discovered that only one of my valve guides was worked on and it was "sleeved" vice replaced. The sleeved valve eventually failed.
You can see the broken valve and sleeve as well as the remains of the valve seal that was injected and most likely contained the spring that was discovered. The hollowed out and broken valve was also the cause of the slight ticking noise I was hearing.

After discussing options with Mayo Performance, a full rebuild was decided given that it couldn't be confirmed that the bronze pieces had not fowled or cursed damage to the crank and bearings. A full top end rebuild was going to be required anyway.
Due to the fact that I really enjoy the car as is (full cat and muffler delete, Turbo S software, LWFW), I decided to do as simple of a rebuild as possible.


Heads getting shipped out to Memphis Motorworks for refurbishment

Not long after doing the mod I did an oil change and found this at the end of the drain plug.
I did some asking around in other threads. Most agreed that this was most likely a garter spring from some kind of seal. Most likely it didnt go through the motor but I decided to check the oil and filters.
The filter had some metal shavings in it. Copper or bronze colored.
And the oil analysis looked like this
The analysis shows elevated copper but no elevated lead. There was a concern that the bearings may have been damaged but the lack of lead is telling. In hindsight, I could have guessed the bearings weren't an issue. But really no way to know.
Additionally, at this point the engine was making a noise like an exhaust leak or a bad lifter. So I decided it was time to let the professionals look at it. I took it to Mayo Performance in Bedford, TX. Great air cooled shop. They quickly found this under the drivers side valve cover.
After further disassembly it was discovered that one of my valve guides had failed spectacularly. My motors top end was rebuilt 25K miles and roughly 11 years ago. I do not have quite a solid history on the top end rebuild. After further disassembly it was discovered that only one of my valve guides was worked on and it was "sleeved" vice replaced. The sleeved valve eventually failed.
You can see the broken valve and sleeve as well as the remains of the valve seal that was injected and most likely contained the spring that was discovered. The hollowed out and broken valve was also the cause of the slight ticking noise I was hearing.
After discussing options with Mayo Performance, a full rebuild was decided given that it couldn't be confirmed that the bronze pieces had not fowled or cursed damage to the crank and bearings. A full top end rebuild was going to be required anyway.
Due to the fact that I really enjoy the car as is (full cat and muffler delete, Turbo S software, LWFW), I decided to do as simple of a rebuild as possible.
Heads getting shipped out to Memphis Motorworks for refurbishment