
993 Turbo build, DIY, driven
 02-05-2019, 11:46 PM
#1
Rennlist Member
Thread Starter
Background. I purchased this car from another forum member/PCA member. After looking at many different examples, this one was super clean, mechanically sound, and had the right options.
1996 993 Turbo 78,000 miles
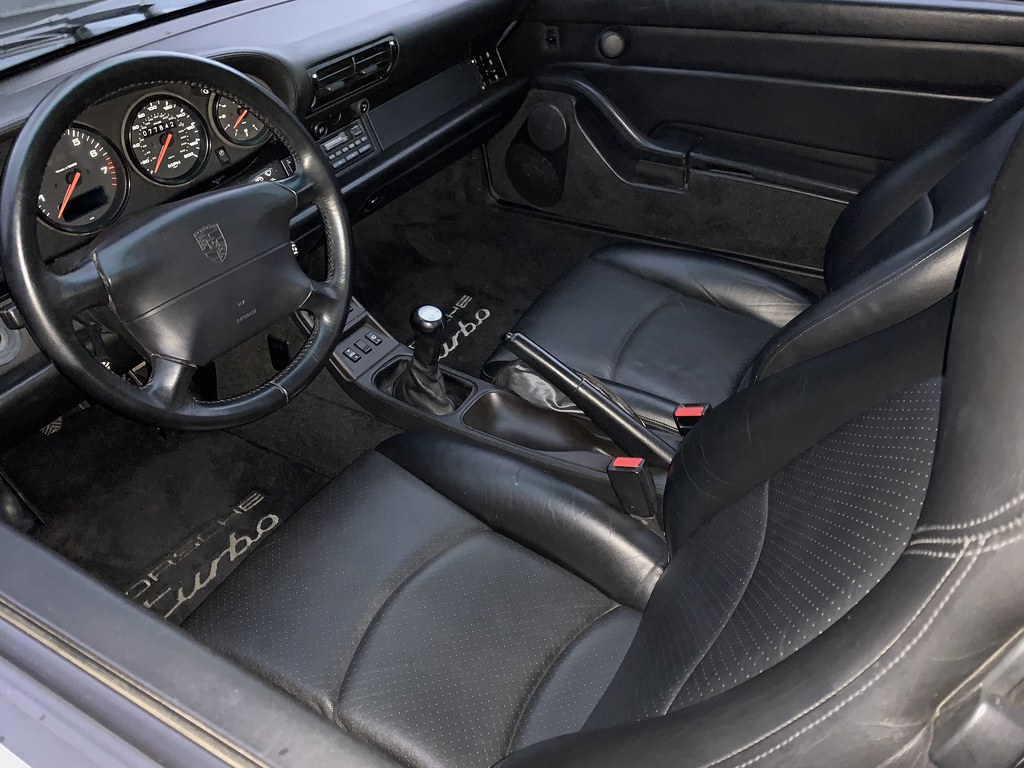
Polar Silver on Black Leather
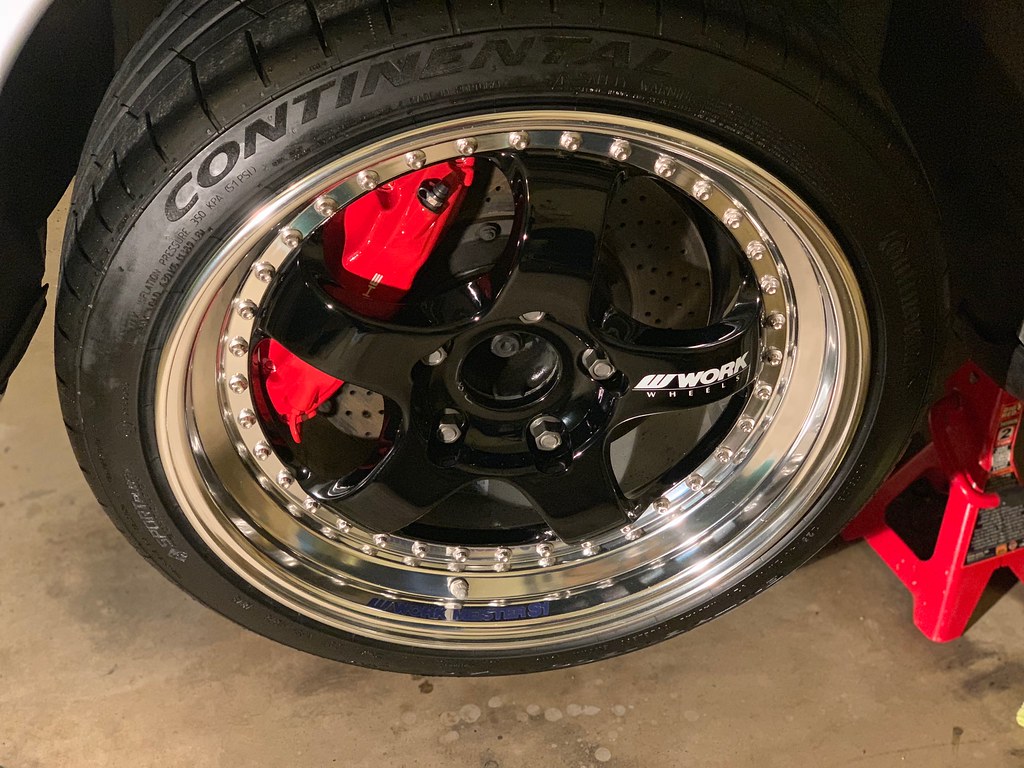
18" Work Meisters
Bilstein HD Shocks
H&R Sport Springs
993 RS flywheel
Turbo S additional oil cooler
1997+ ECU w/ Turbo S software
Top end rebuild at 53,000 miles
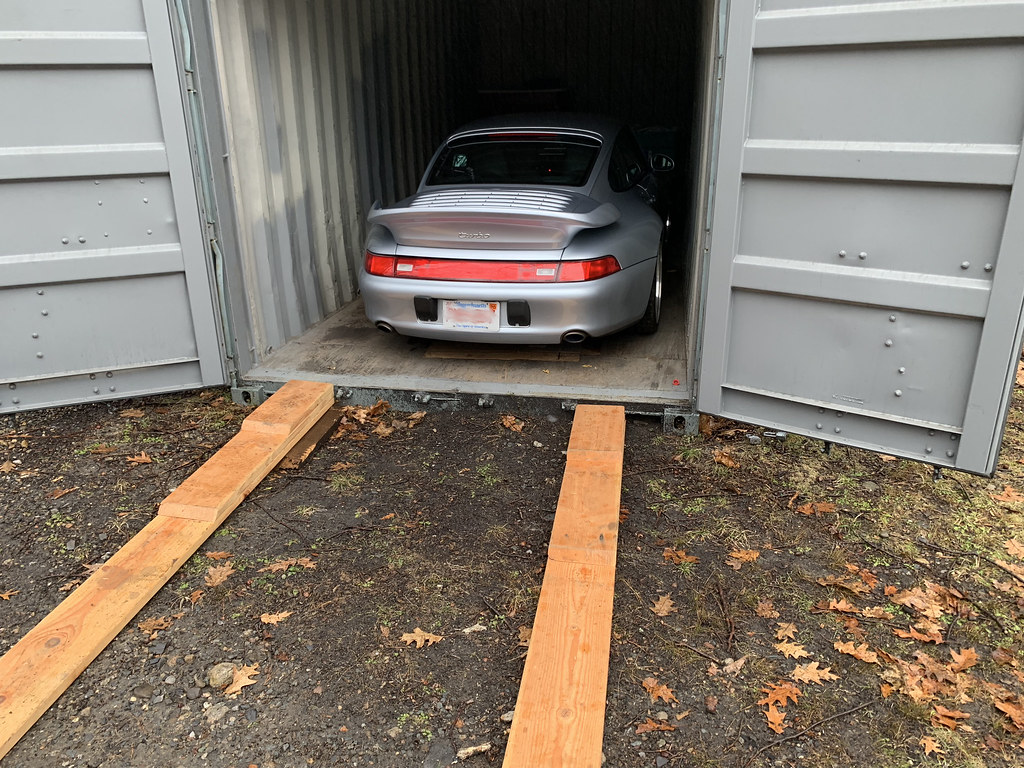
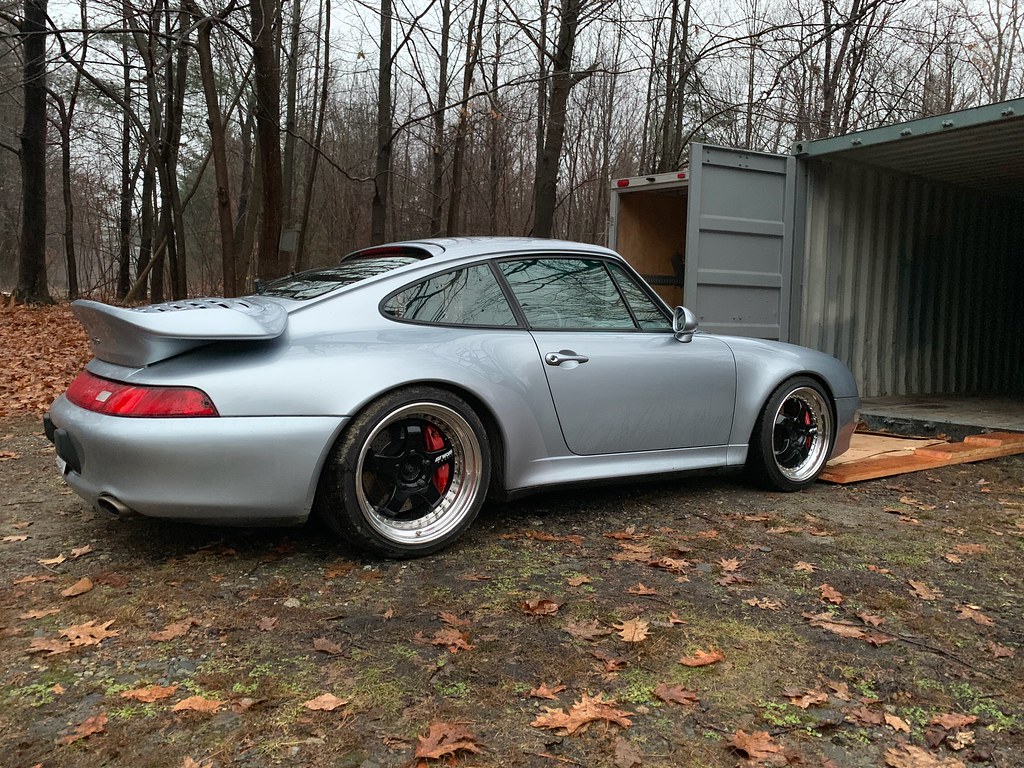
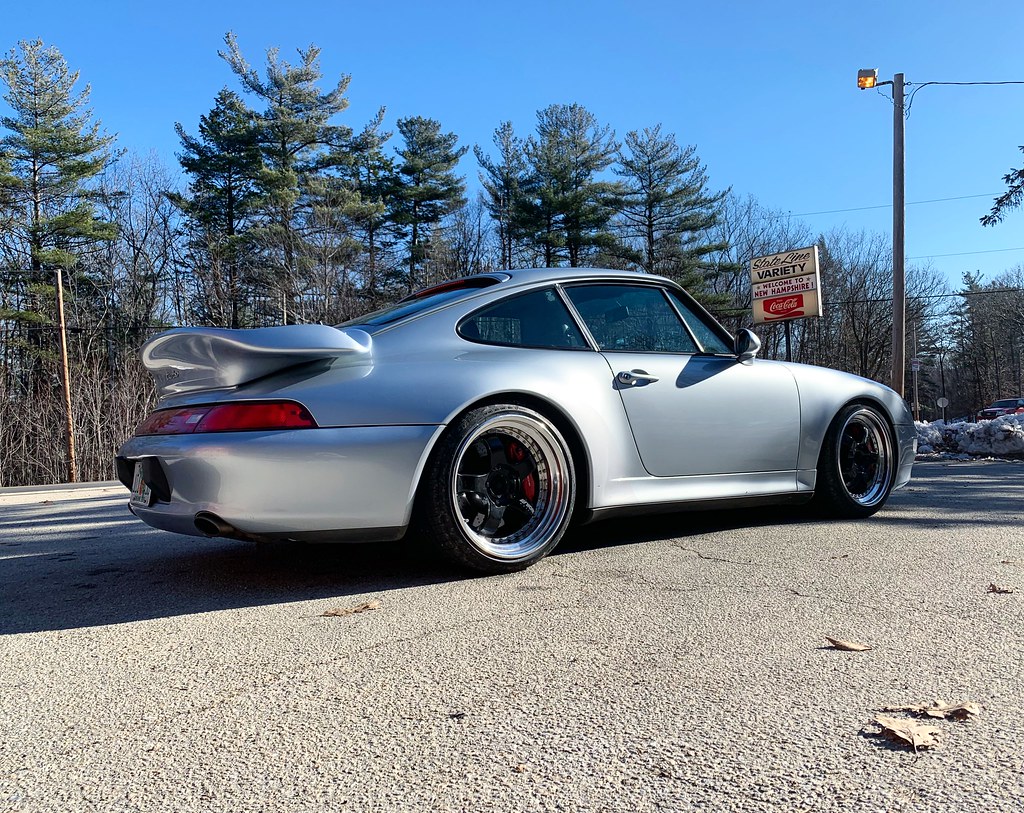
The car was located in MA/NH, here are pics on the day I flew out from TX to view the vehicle.
[
Upon inspection I found the car to be mechanically sound and showing just a few signs of age. Some minor things will need to replaced but overall, a great car. Additionally, the plan at this point was to drive the car home to TX from NH.
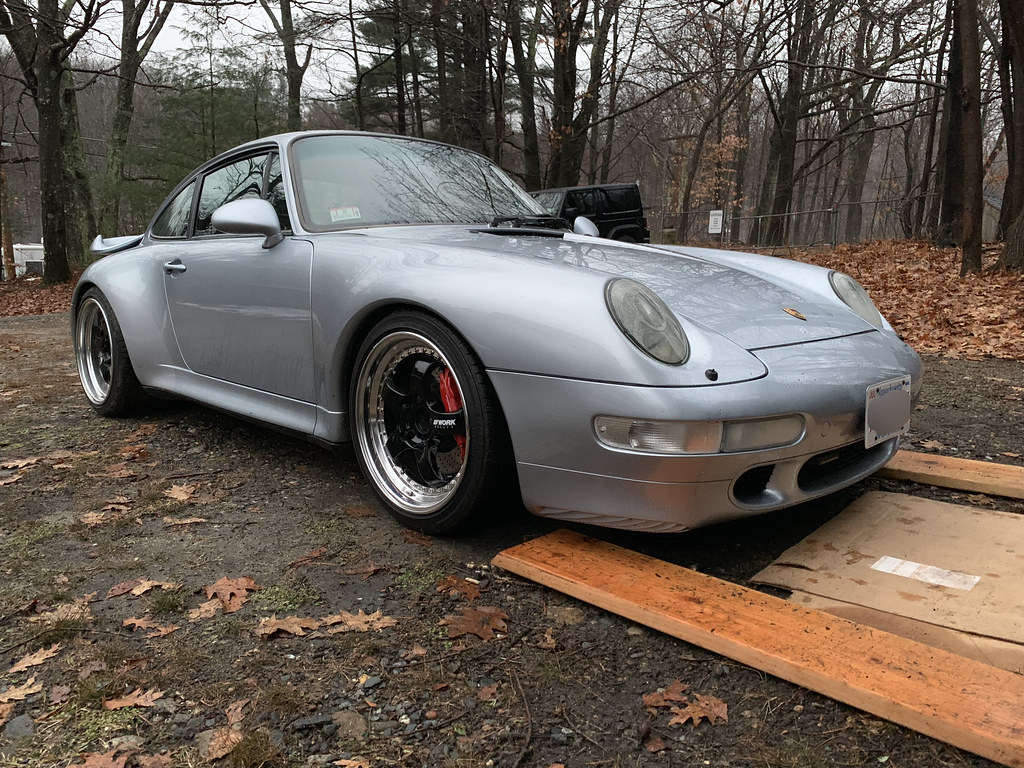
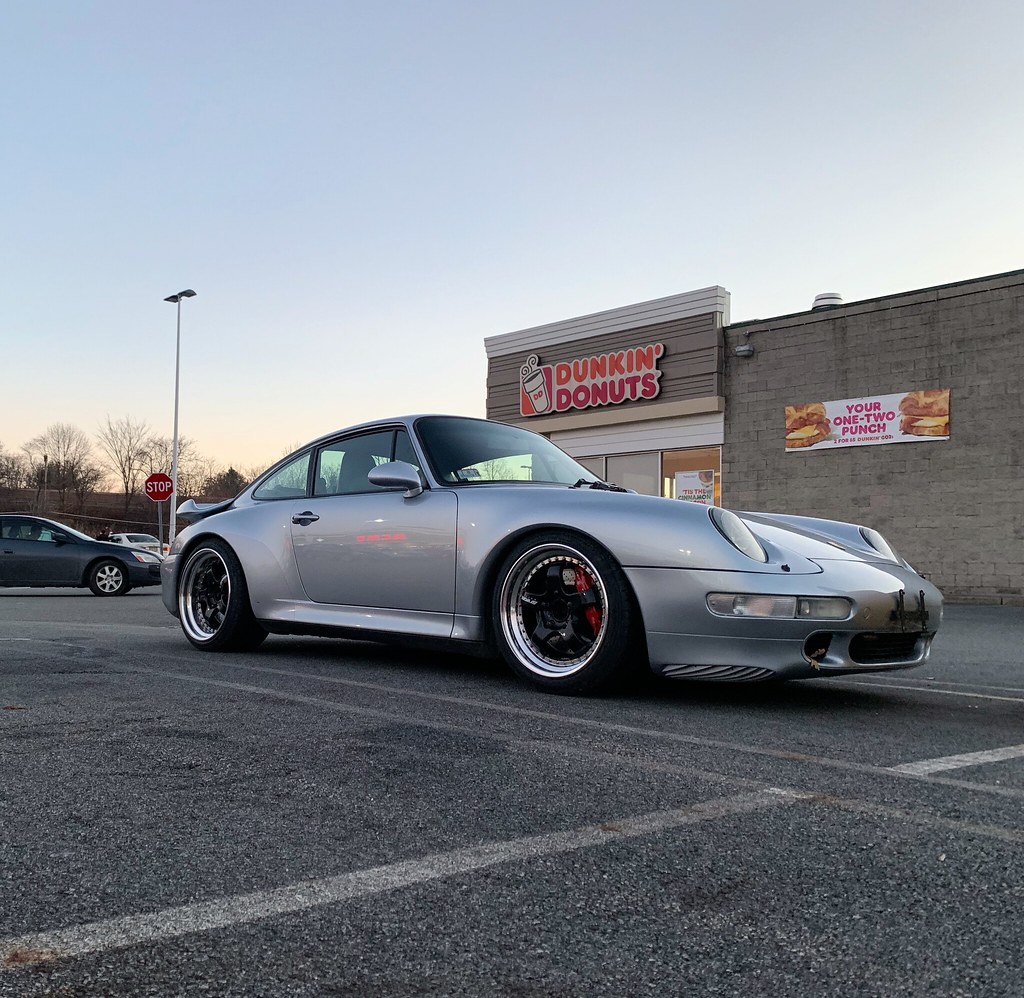
Here is pickup day in NH and some subsequent pics from the 3 day drive home to TX.
Front plate holder will be one of the first things to go.
Late night fuel stop
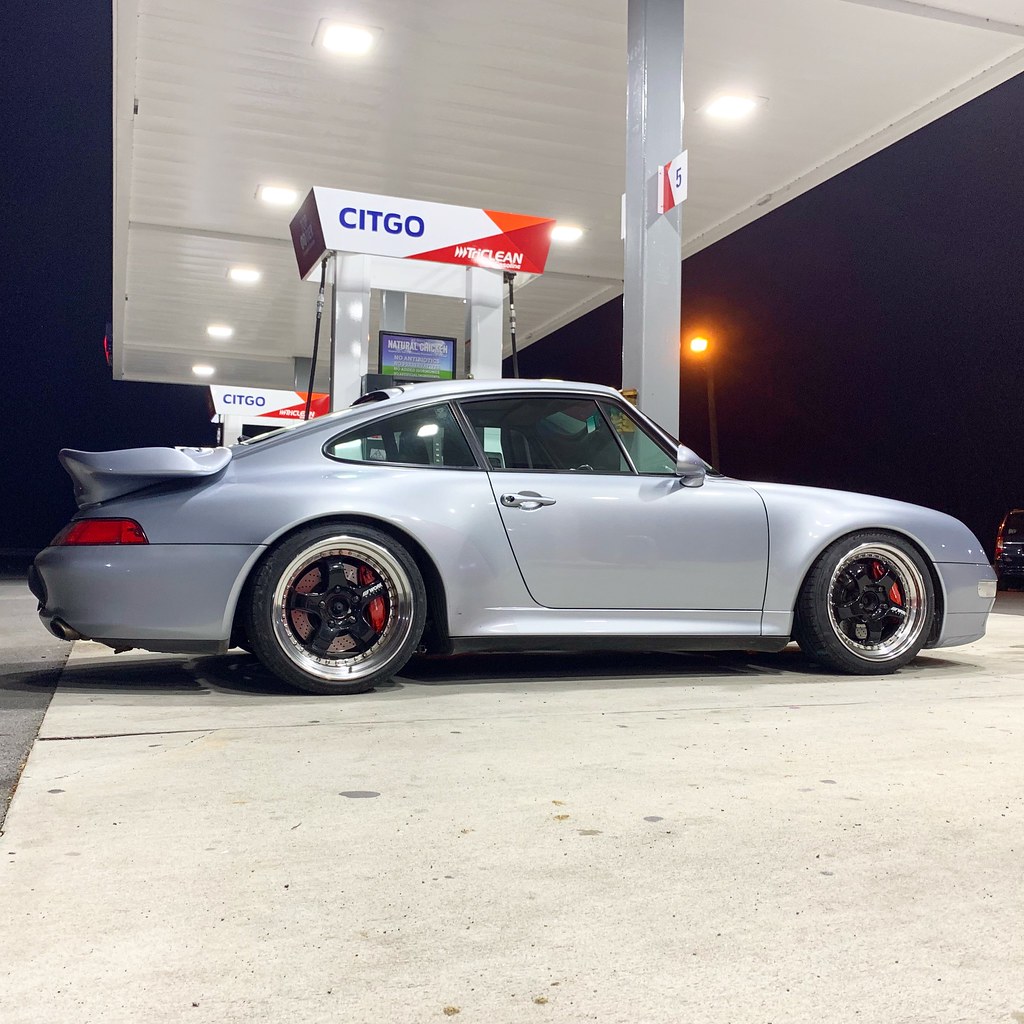
Oil check

1996 993 Turbo 78,000 miles
Polar Silver on Black Leather
18" Work Meisters
Bilstein HD Shocks
H&R Sport Springs
993 RS flywheel
Turbo S additional oil cooler
1997+ ECU w/ Turbo S software
Top end rebuild at 53,000 miles
The car was located in MA/NH, here are pics on the day I flew out from TX to view the vehicle.
[
Upon inspection I found the car to be mechanically sound and showing just a few signs of age. Some minor things will need to replaced but overall, a great car. Additionally, the plan at this point was to drive the car home to TX from NH.
Here is pickup day in NH and some subsequent pics from the 3 day drive home to TX.
Front plate holder will be one of the first things to go.
Late night fuel stop
Oil check
 02-06-2019, 12:07 AM
#2
Rennlist Member
Thread Starter
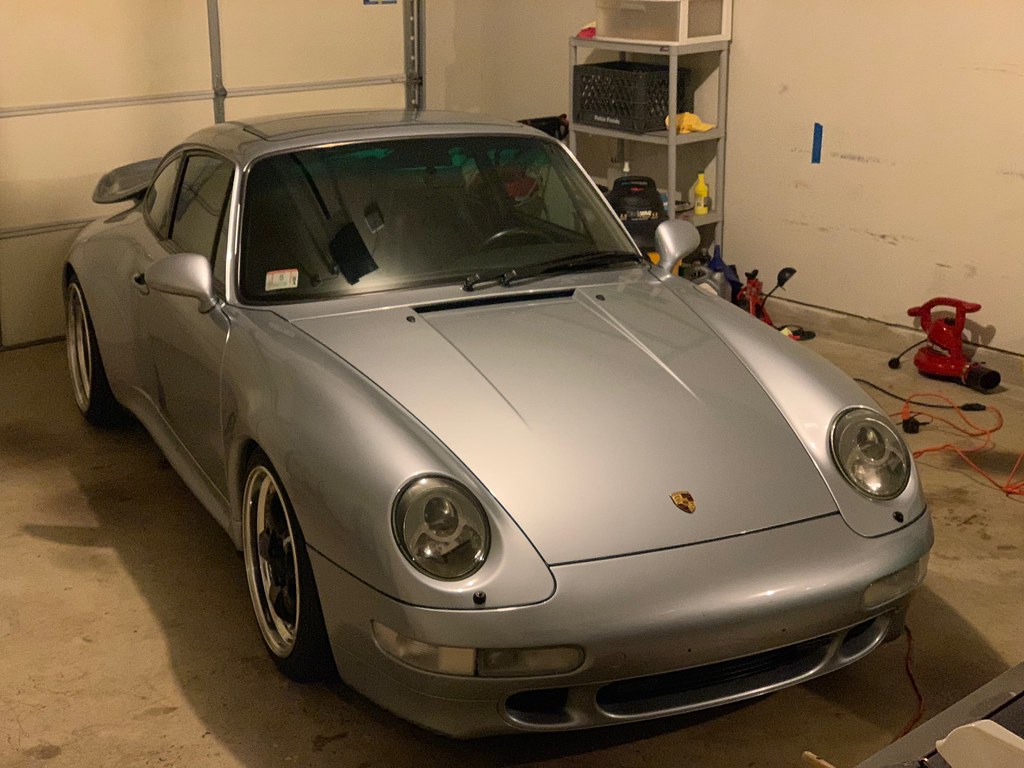
First thing I did when I finally got the car home to TX. 2000 miles and the car ran flawless.

Clean and in the garage, front plate holder removed
Some minor refurbishment begins
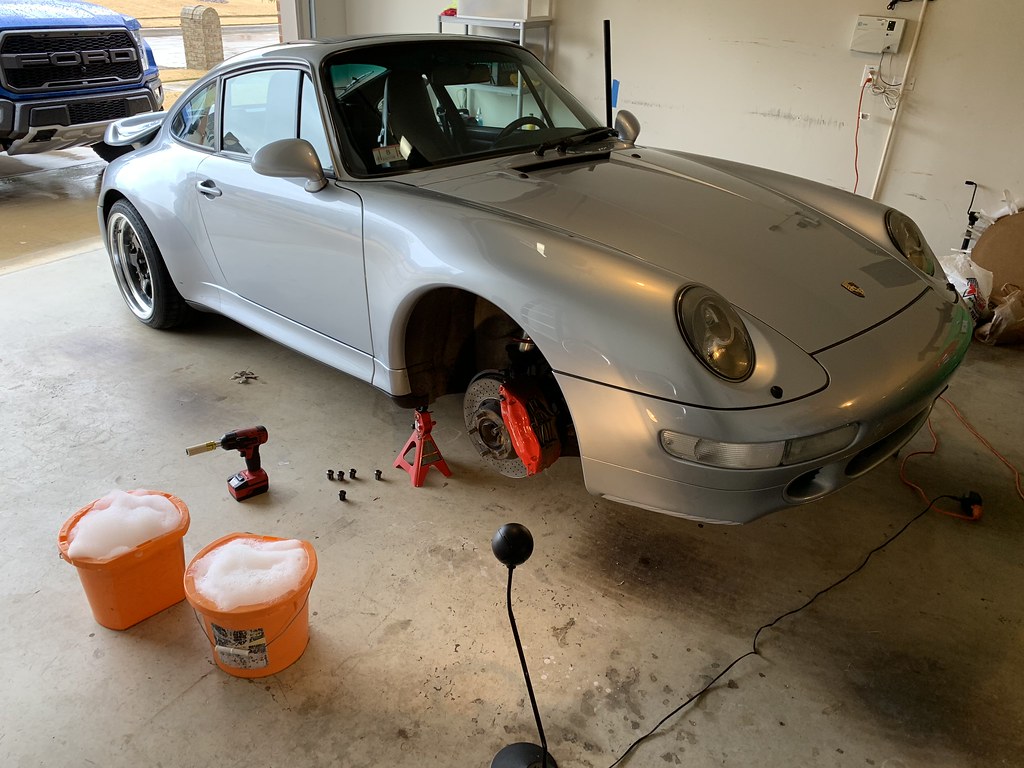
Deep clean, brake caliper refresh, and wheel curb rash fix
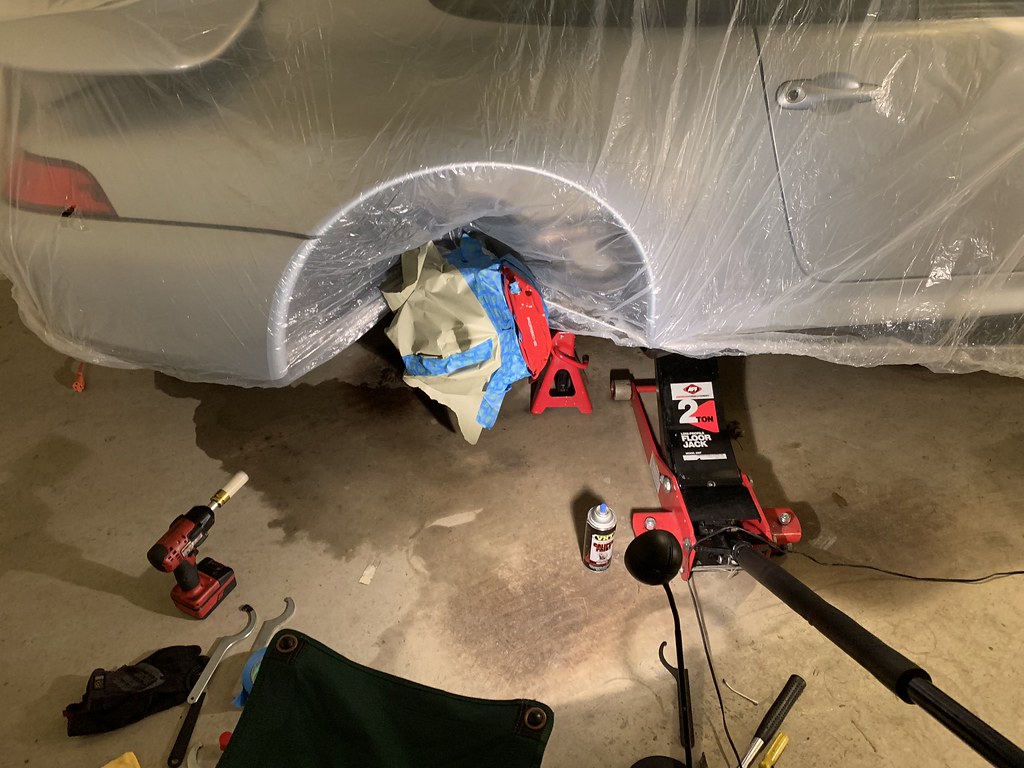
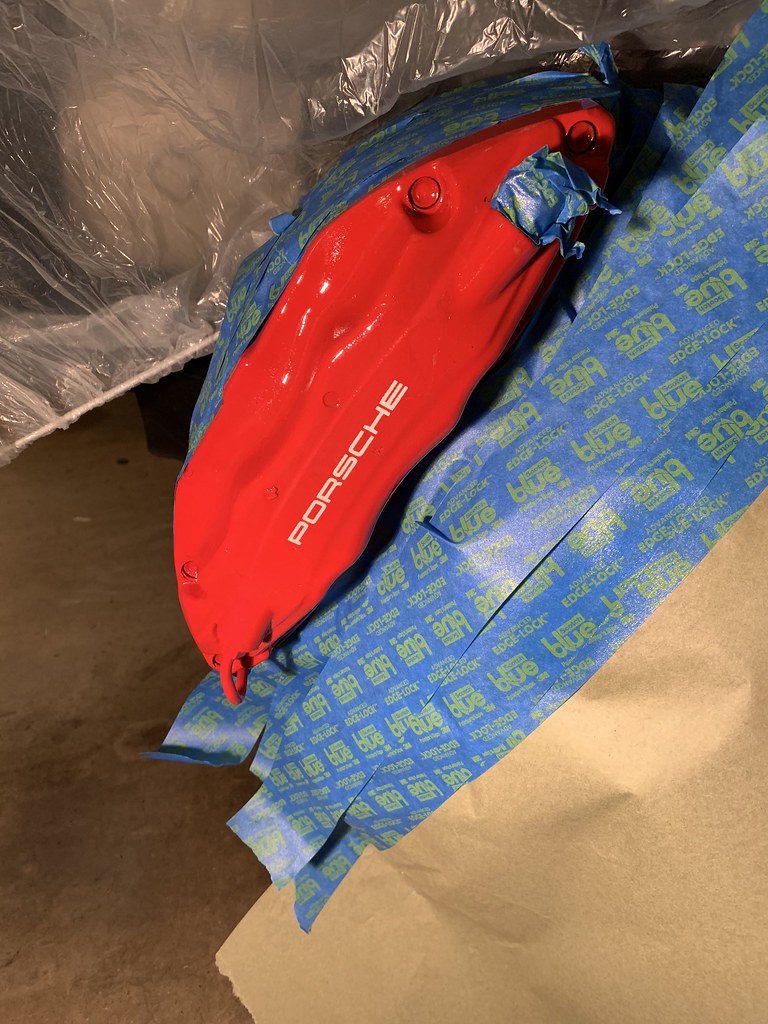
Everyone has seen older clear coat on these cars. This was a quick fix I have seen on other similar style calipers. I scraped off the flaking clear coat and lightly, very lightly, scuffed the remaining surface.
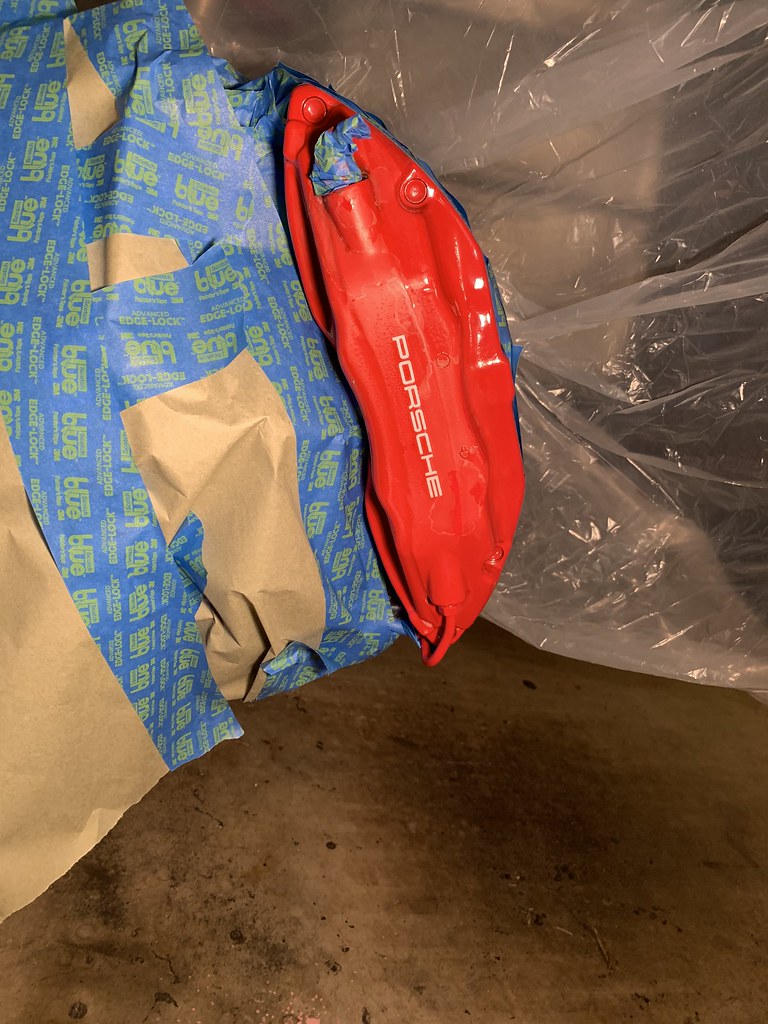
I then used VHT clear brake caliper paint. The calipers came out better than expected.

Clean and in the garage, front plate holder removed
Some minor refurbishment begins
Deep clean, brake caliper refresh, and wheel curb rash fix
Everyone has seen older clear coat on these cars. This was a quick fix I have seen on other similar style calipers. I scraped off the flaking clear coat and lightly, very lightly, scuffed the remaining surface.
I then used VHT clear brake caliper paint. The calipers came out better than expected.


Trending Topics
02-07-2019, 08:24 AM
#8
Rennlist Member
Thread Starter
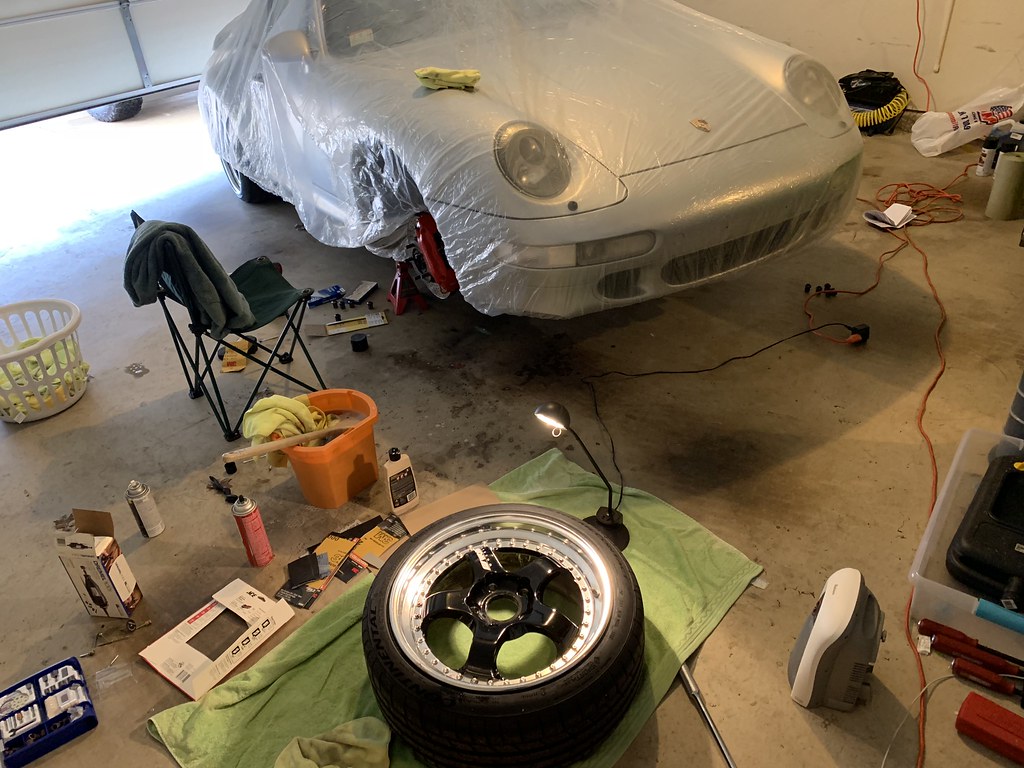
For the wheel refurb I cleaned up the existing curb rash as much as possible and then did a quick paint correction on the face of the wheel.
The lips on Work Meisters are anodized from the factory. So, this isnt a perfect fix since the now polished area will look slightly different from the anodized areas but its better than looking at the rash. Below is a good pic of the progress. I used a dremel to flatten the rash and then lighter and lighter grain sand paper and soapy water. The results speak for themselves.
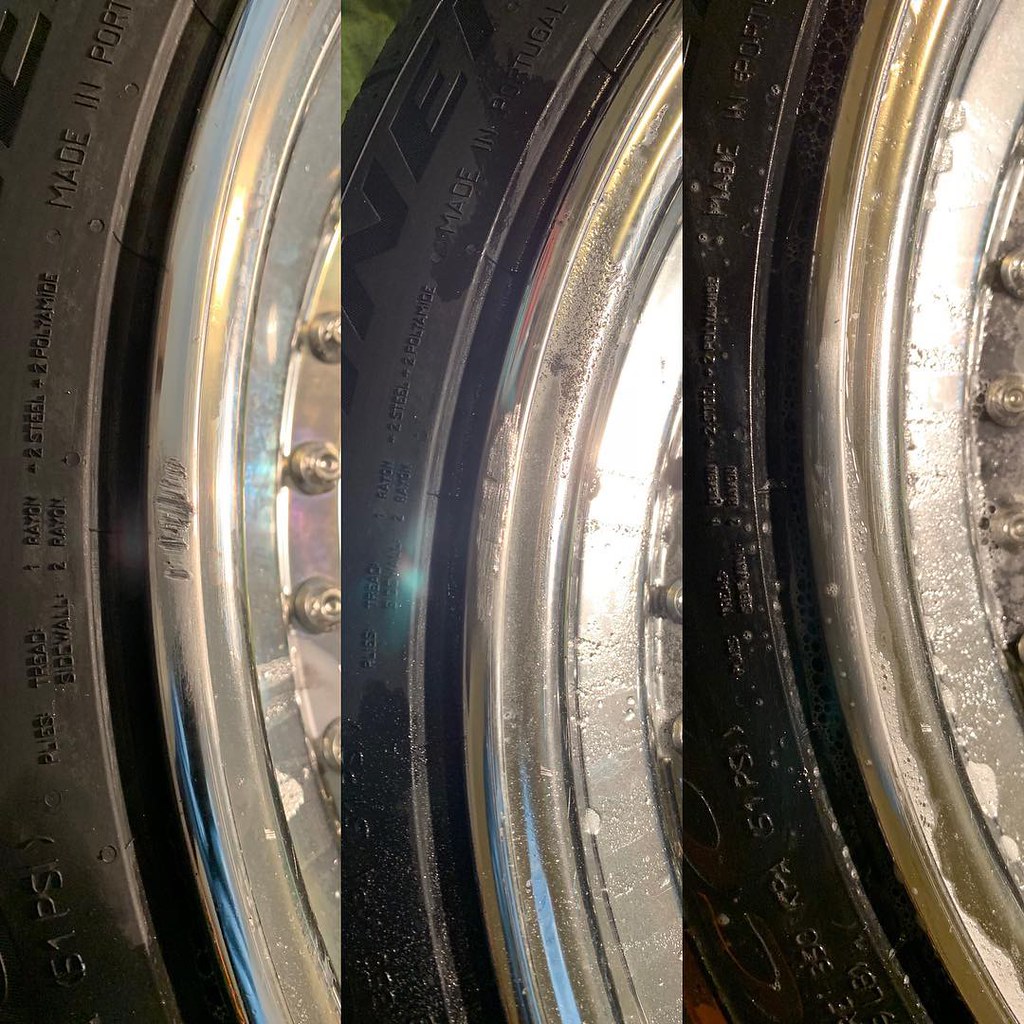
I would call these wheels 5 footers. They look fantastic until you get within 5 feet of them. At some point I will have them professionally redone.
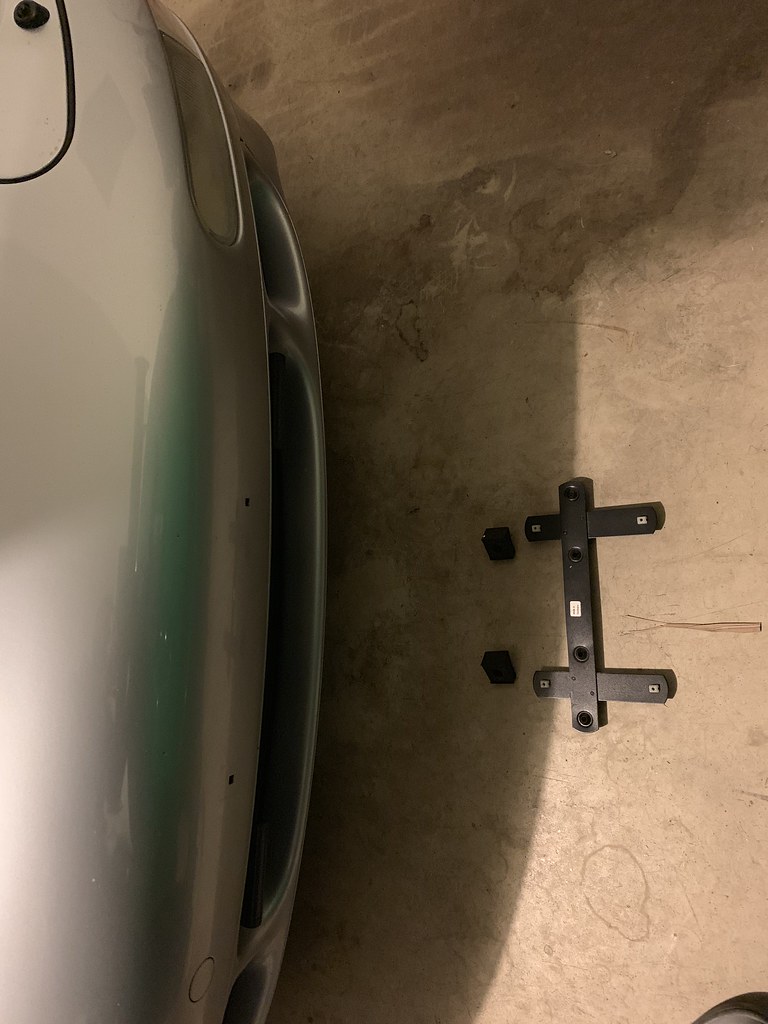
Front plate removal. I will have the holes filled at the same I have a Turbo S lip added.
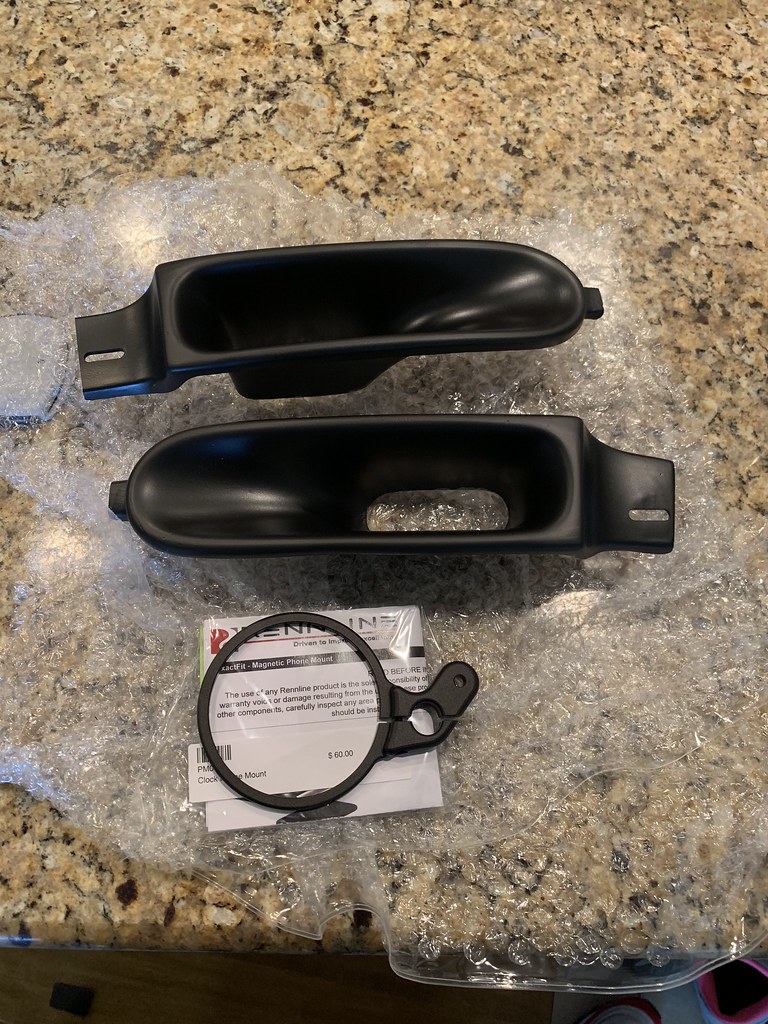
New modifications on the way, GT2 style air ducts and a Rennline phone mount.
 02-07-2019, 04:40 PM
#9
Rennlist Member
Looks great! Saw this one at Palmer Motorsports this past fall during the Porsches on the Mountain event, fine example you scored!
02-10-2019, 12:44 PM
#11
Rennlist Member
Thread Starter
So here is my Rennline phone mount install. Super easy, took about 10 min. If I had to do it over gain I would have put masking tape over the edging of the clock. The bracket scratched some of the finish off during install. I combined this purchase with a magnetic phone case.
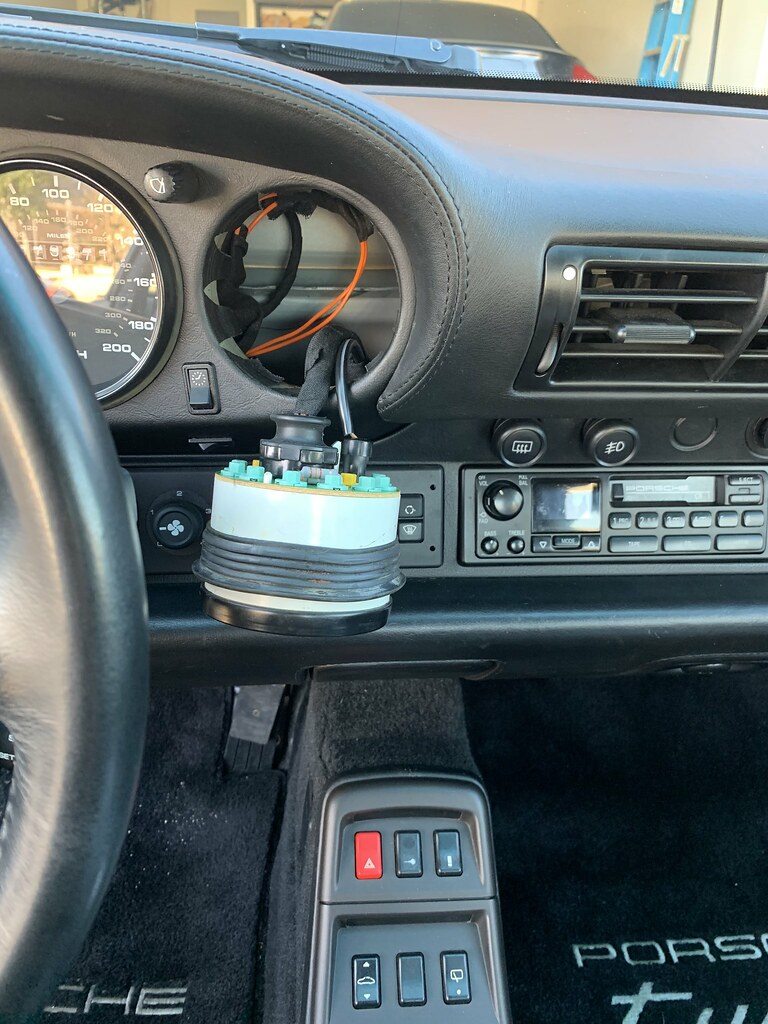
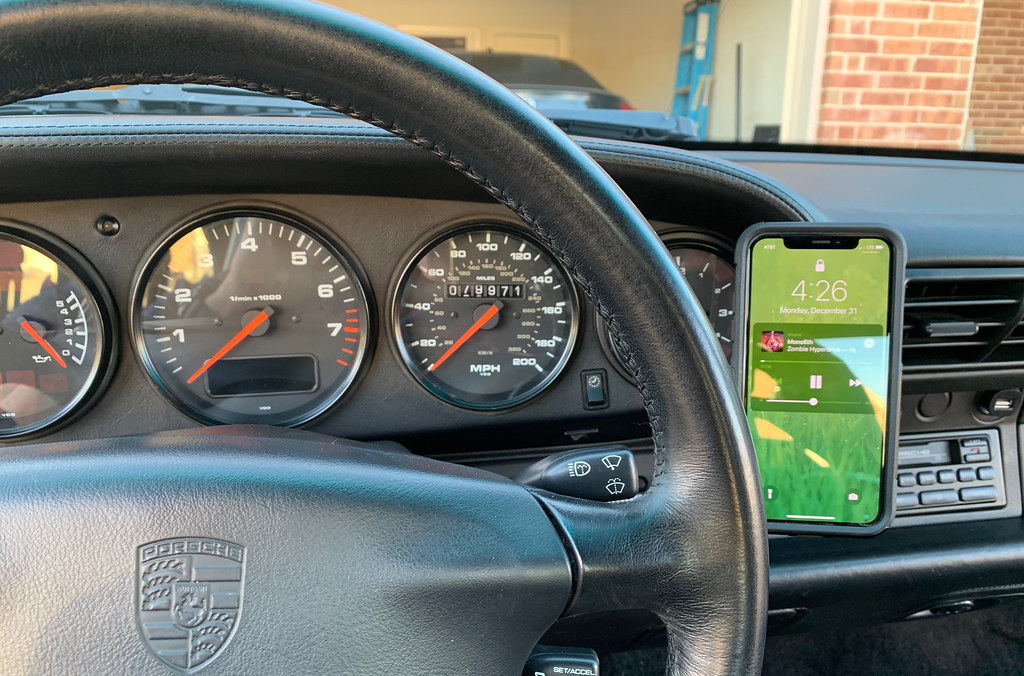
Works great

The DFW area is big so I am using navigation a lot to go to PCA events etc.... It will also be a nice location when I upgrade to the Porsche classic radio.
Works great
The DFW area is big so I am using navigation a lot to go to PCA events etc.... It will also be a nice location when I upgrade to the Porsche classic radio.
02-10-2019, 01:48 PM
#12

Congrats, enjoy in good health!
02-14-2019, 08:49 PM
#13
Addict
Lifetime Rennlist
Member
Lifetime Rennlist
Member
I always love the enthusiasm when someone gets a new-to-them car.  Nice purchase, nice detailing! The car is quite low though, any rubbing issues at the front? Looks like the offsets have the wheels nicely tucked in ...
Nice purchase, nice detailing! The car is quite low though, any rubbing issues at the front? Looks like the offsets have the wheels nicely tucked in ...
02-15-2019, 08:23 AM
#14
Rennlist Member
Thread Starter
The car does not rub front or rear. The wheels are a little too tucked in for my liking and you will see in future updates that I am working on getting the wheels a little more flush as I experiment in preparations for a more aggressive set.
02-15-2019, 08:38 AM
#15
Rennlist Member
Thread Starter
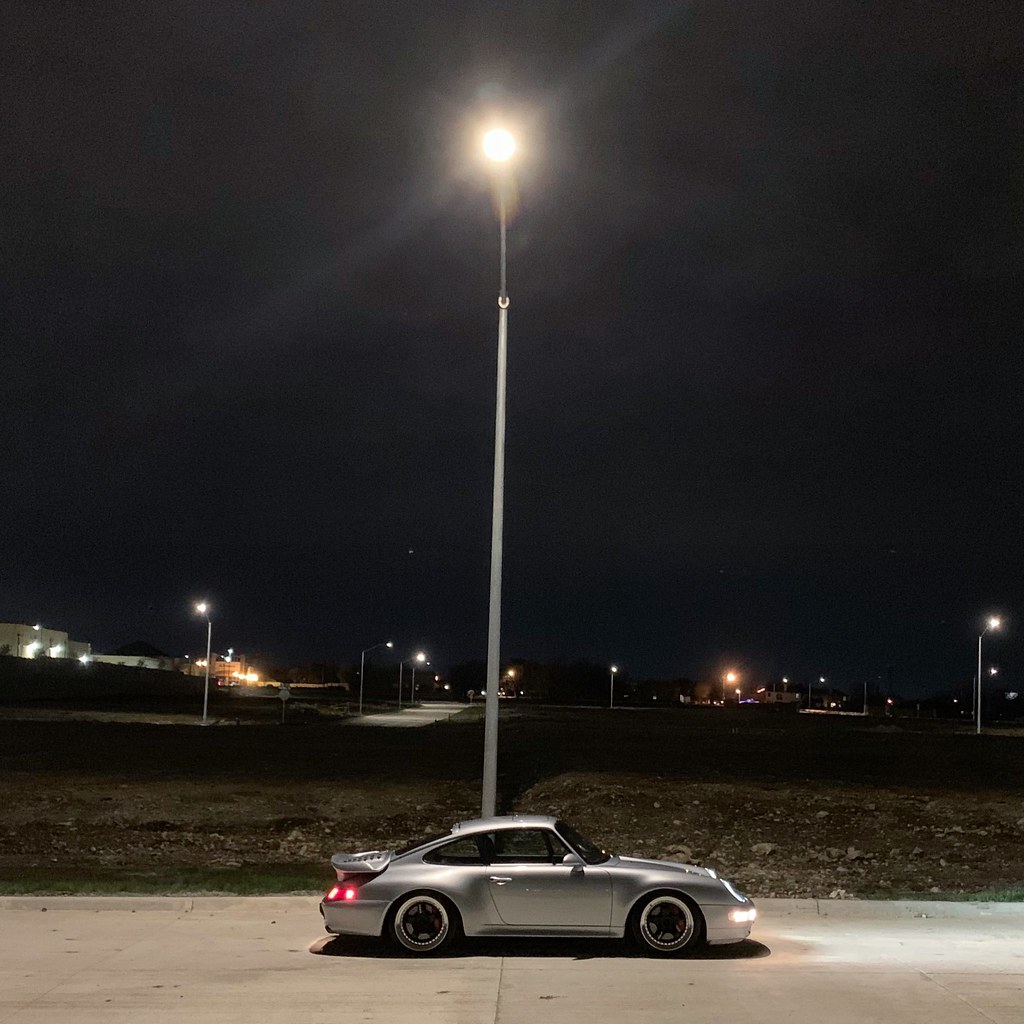
Here is a night shot I took
The car never leaked oil until one morning when I noticed a small puddle under the drivers side turbo. The car did not smoke at all. The previous owner noticed my thread asking for help and promptly called me and explained that it could be the recently installed check valves and oil supply lines that might just be slightly loose after the long drive and heat cycling. He was right and the drivers side turbo check valve hardware just needed about 1/8 turn.
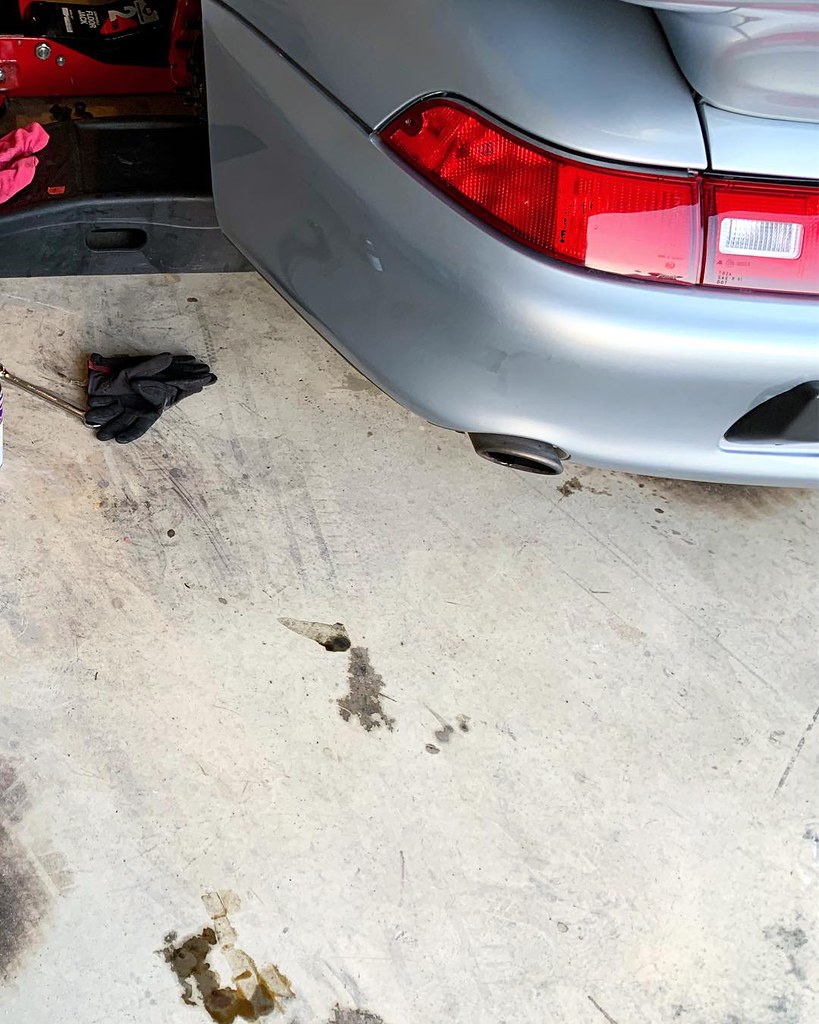
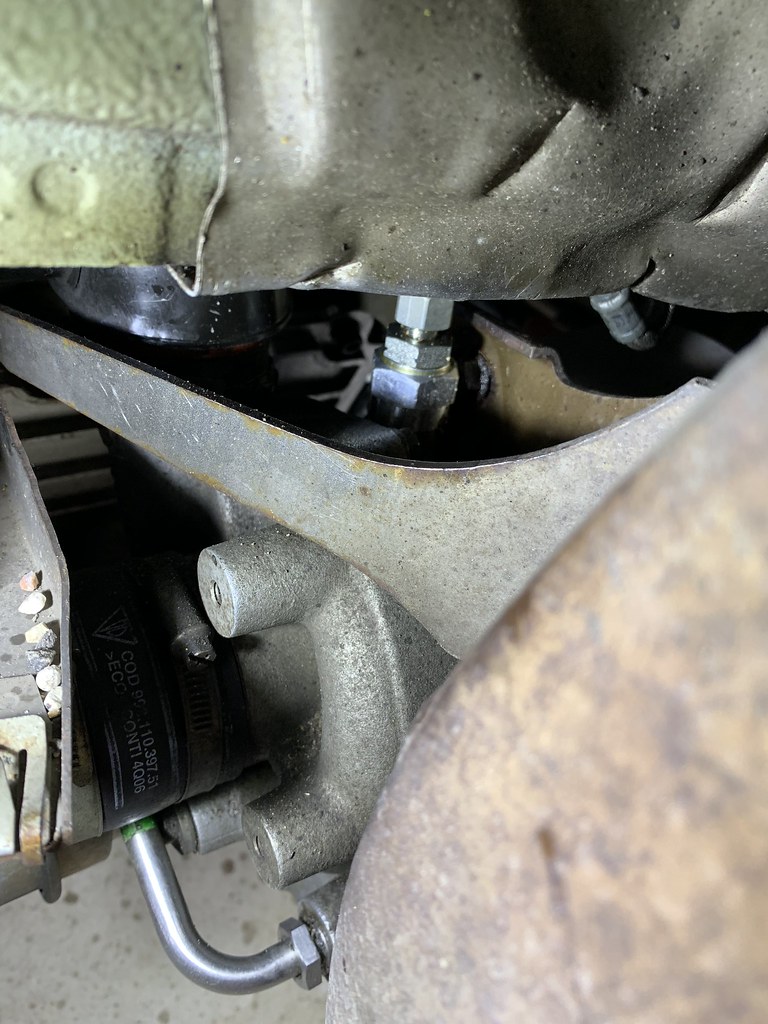
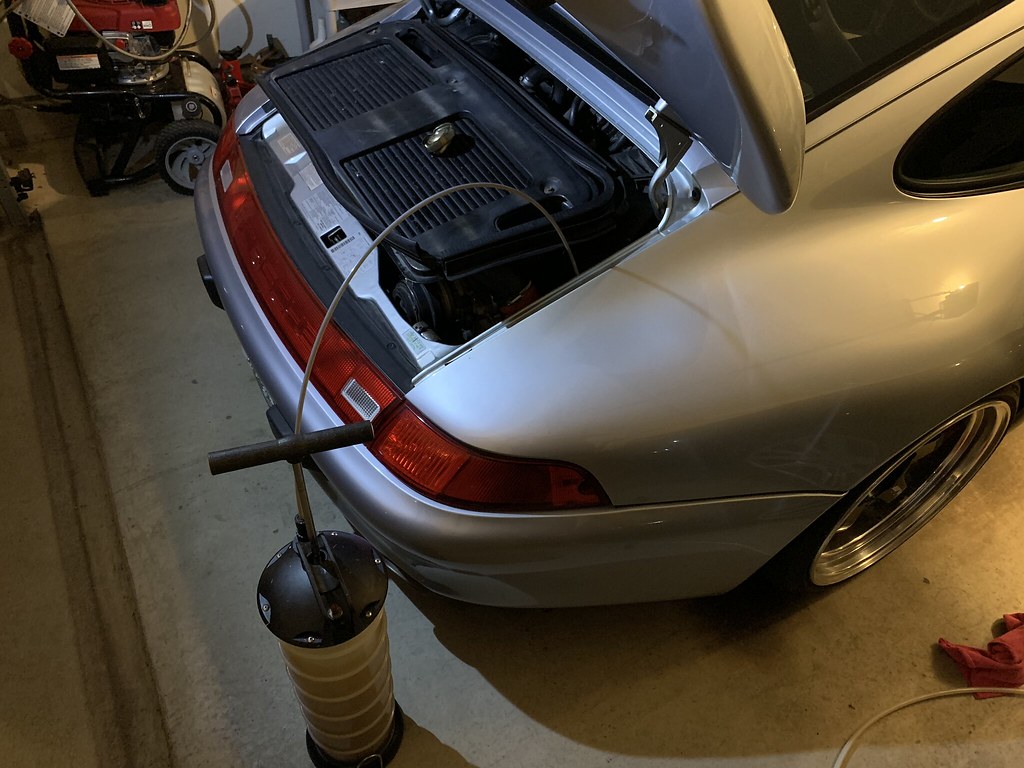
I was not sure how long this leak had been going on so I checked the oil, incorrectly. I should have let the oil heat up and checked the oil while warm and idling. Instead, I checked it when it was mostly cold and not running. I know these cars are not meant to be topped off and I was surprised after adding oil that the oil level indicator was suddenly reading off the scale. And, after checking the oil, correctly this time, the dip stick also showed the oil off the scale high. Luckily I have an oil syphon which I use on my BMWs and I was able to extract the amount of I needed while correctly reading the dip stick.
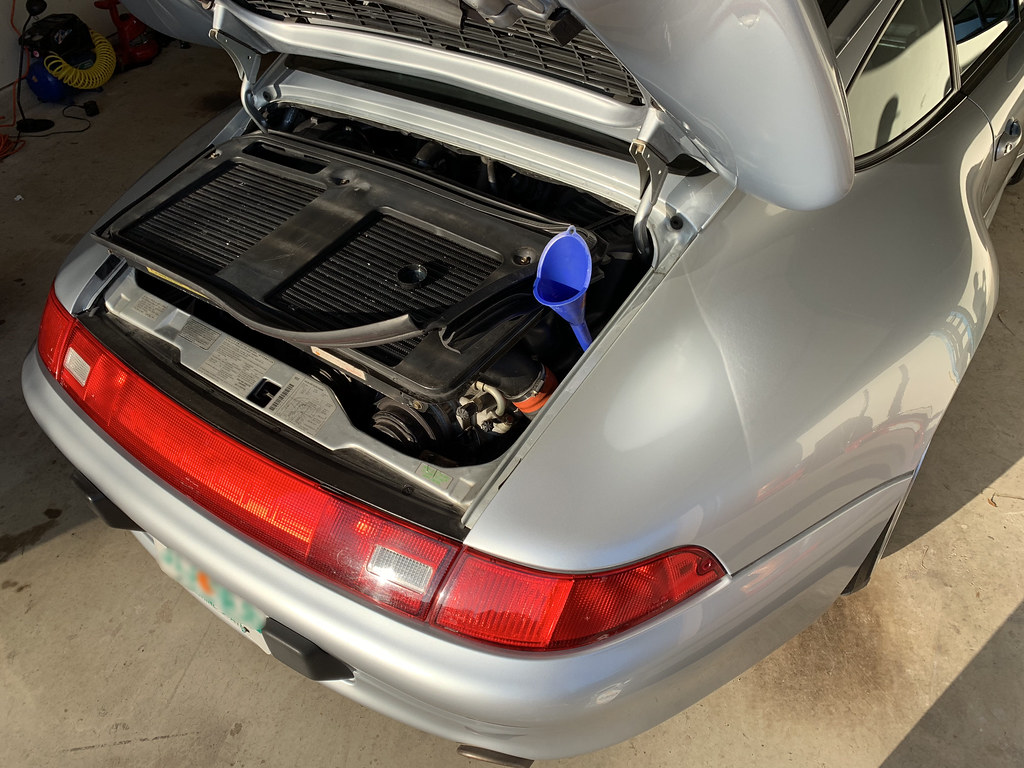
Posting my mistake so others wont do the same thing and showing that a syphon will work. I have heard a turkey baster will work as well.
The car never leaked oil until one morning when I noticed a small puddle under the drivers side turbo. The car did not smoke at all. The previous owner noticed my thread asking for help and promptly called me and explained that it could be the recently installed check valves and oil supply lines that might just be slightly loose after the long drive and heat cycling. He was right and the drivers side turbo check valve hardware just needed about 1/8 turn.
I was not sure how long this leak had been going on so I checked the oil, incorrectly. I should have let the oil heat up and checked the oil while warm and idling. Instead, I checked it when it was mostly cold and not running. I know these cars are not meant to be topped off and I was surprised after adding oil that the oil level indicator was suddenly reading off the scale. And, after checking the oil, correctly this time, the dip stick also showed the oil off the scale high. Luckily I have an oil syphon which I use on my BMWs and I was able to extract the amount of I needed while correctly reading the dip stick.
Posting my mistake so others wont do the same thing and showing that a syphon will work. I have heard a turkey baster will work as well.