
993 Turbo build, DIY, driven
 07-07-2019, 04:13 PM
#31
Rennlist Member
Thread Starter
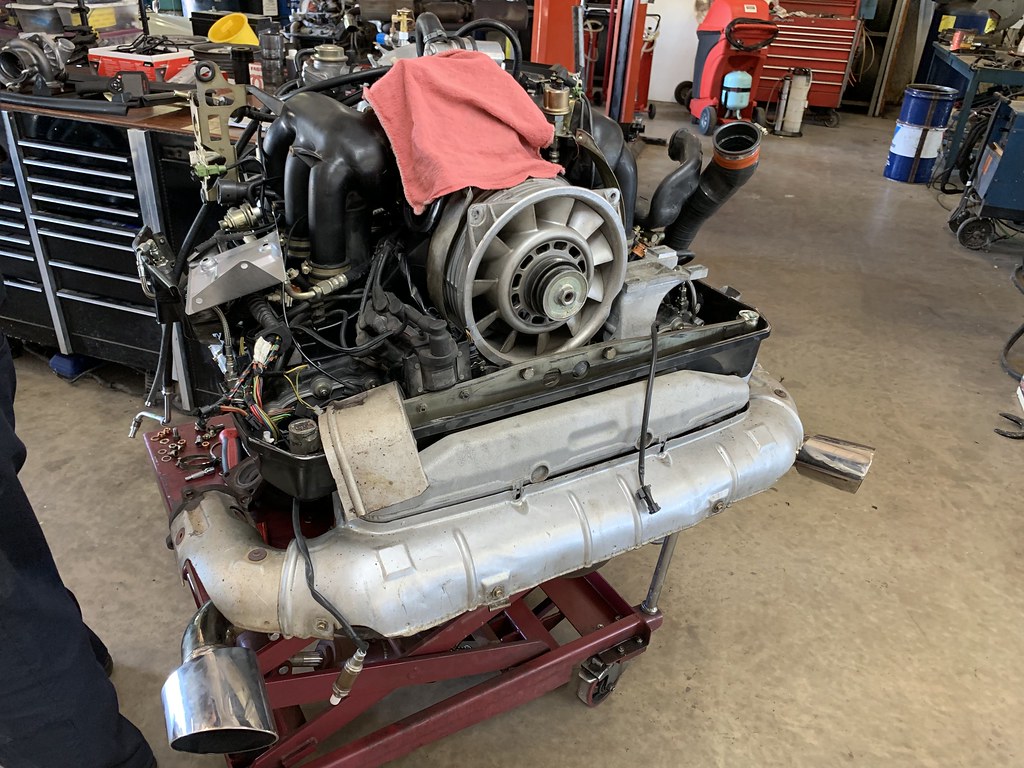
Modifying the motor was a big consideration. In the end, going 3.8 and larger turbos would have doubled the cost .... Ultimately I was happy with how it drove with the few modifications it already had and decided to keep the rebuild simple.
Last edited by JEllis; 06-24-2020 at 07:15 AM.
 04-10-2020, 12:26 PM
#32
Rennlist Member
Thread Starter
I need to update this thread.
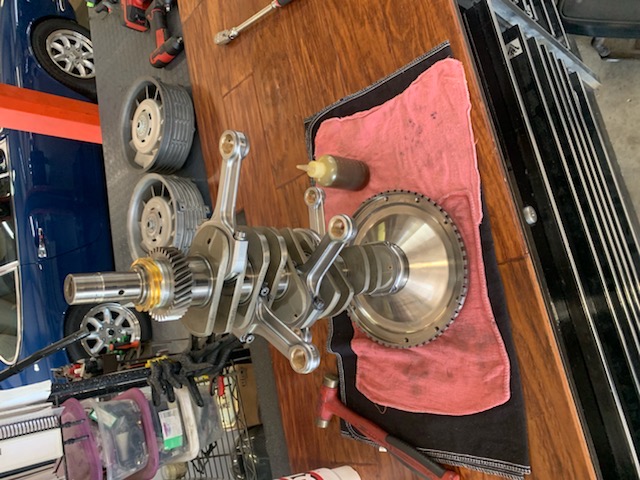
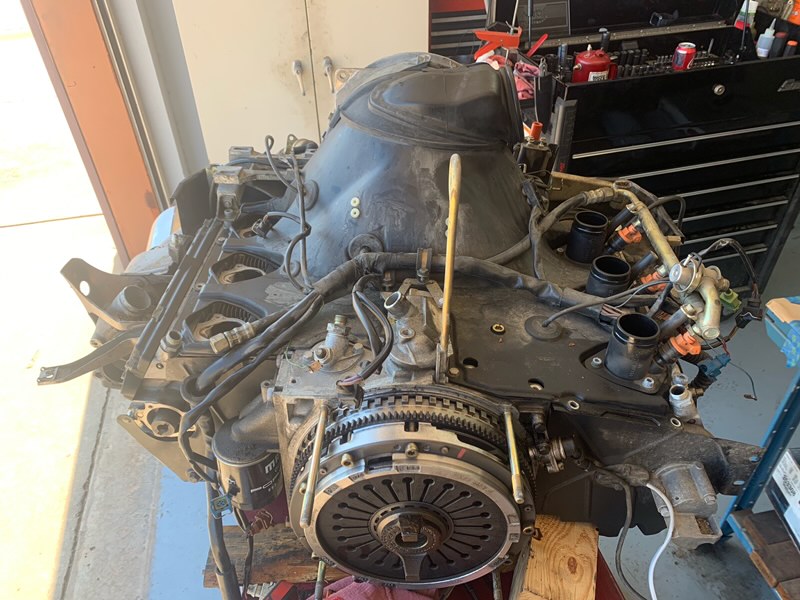
Well despite my worst fears the broken valve guide did not do much damage to the bearings. Some slight traces of debris on the bearing surface. No damage at all to the crank.

Refurbished heads with titanium valve springs


Well despite my worst fears the broken valve guide did not do much damage to the bearings. Some slight traces of debris on the bearing surface. No damage at all to the crank.
Refurbished heads with titanium valve springs


The following 3 users liked this post by JEllis:
05-05-2020, 09:40 PM
#34
Instructor
very clean..
06-24-2020, 02:07 AM
#35
Rennlist Member
Any updates?
Edwin
Edwin
The following users liked this post:
m32 (06-24-2020)
06-26-2020, 07:16 AM
#37
Rennlist Member
Thread Starter
One of the bigger projects I decided to tackle myself was installing an OEM Turbo S lip.

I believe the lips are made of fiberglass reinforced plastic. Not quite polyurethane but a little more forgiving than straight fiberglass. I purchased the lip from Suncoast.
The fitment for these lips is notoriously bad and requires a lot finessing. I would not recommending attempting this but I would also recommend only using a shop that has don a few of these and knows what they are doing.
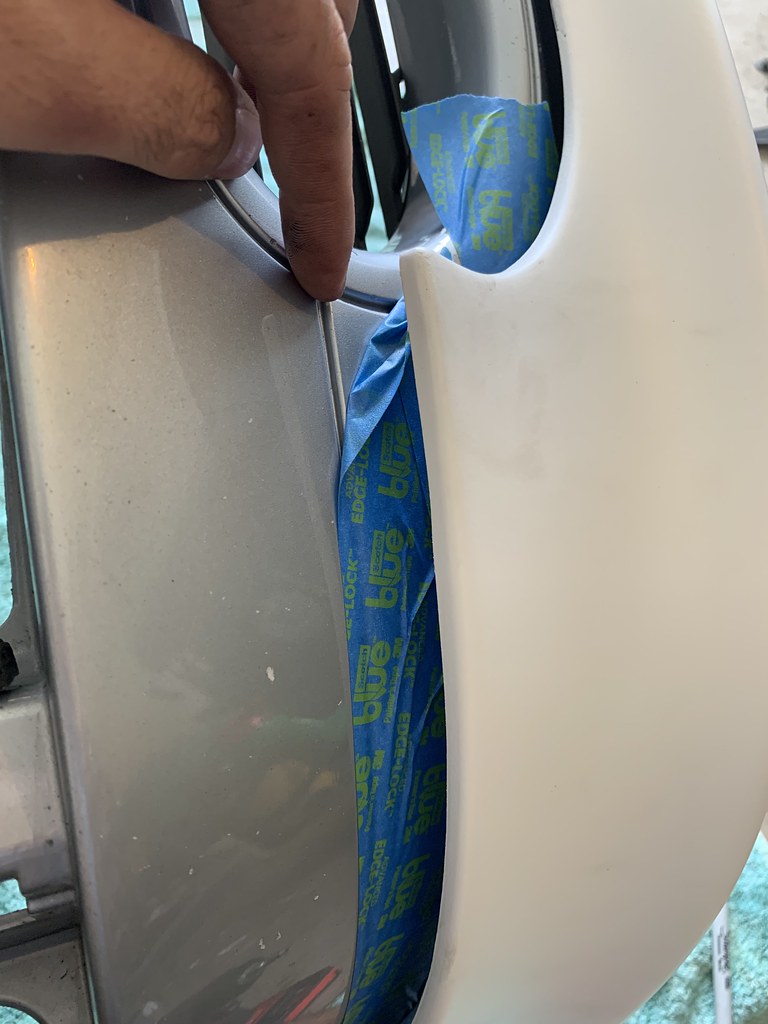
The above photo shows the fitment right out of the box. It also gives a close up shot of the small recess that the edge of the lip fits into.
I believe the lips are made of fiberglass reinforced plastic. Not quite polyurethane but a little more forgiving than straight fiberglass. I purchased the lip from Suncoast.
The fitment for these lips is notoriously bad and requires a lot finessing. I would not recommending attempting this but I would also recommend only using a shop that has don a few of these and knows what they are doing.
The above photo shows the fitment right out of the box. It also gives a close up shot of the small recess that the edge of the lip fits into.
The following users liked this post:
m32 (06-28-2020)
08-30-2020, 09:29 PM
#38
Rennlist Member
Thread Starter
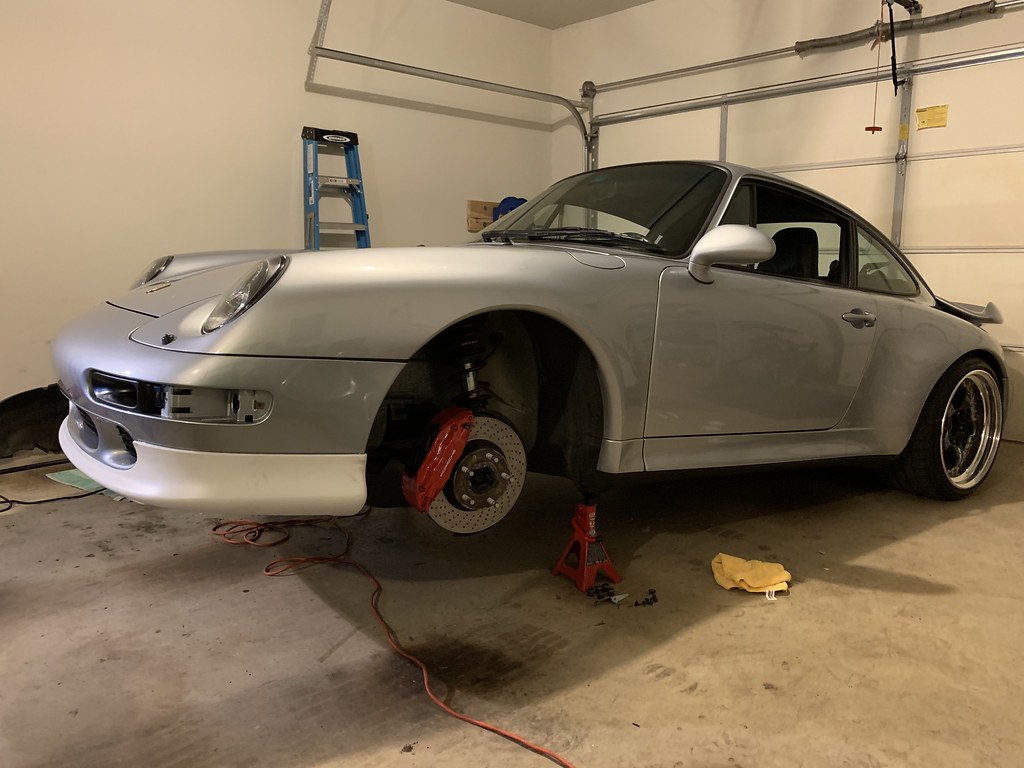
I personally think the Turbo front bumper looks unfinished without the S lip. However, its a PITA to fit.

I would strongly suggest using a shop that is familiar with these 993 Turbo S/Aero lips if you are thinking about installing one. They do not fit great out of the box. I tried a bunch of a different things. 3M tape is not strong enough for the lip. Honestly, a combo of hardware and body panel glue is what is required. I used 3M Window Weld which is very similar to Beta Link. And a tone of of clamps.
The lip is supposed to sit inside the small panel line that goes around the OE turbo bumper.


I dry fit the lip a bunch of times and then when I felt confident I went for it. Window Weld has a relatively long "work" time but its messy and you do not want to have to move the lip around once in place. And, have lots of clamps.
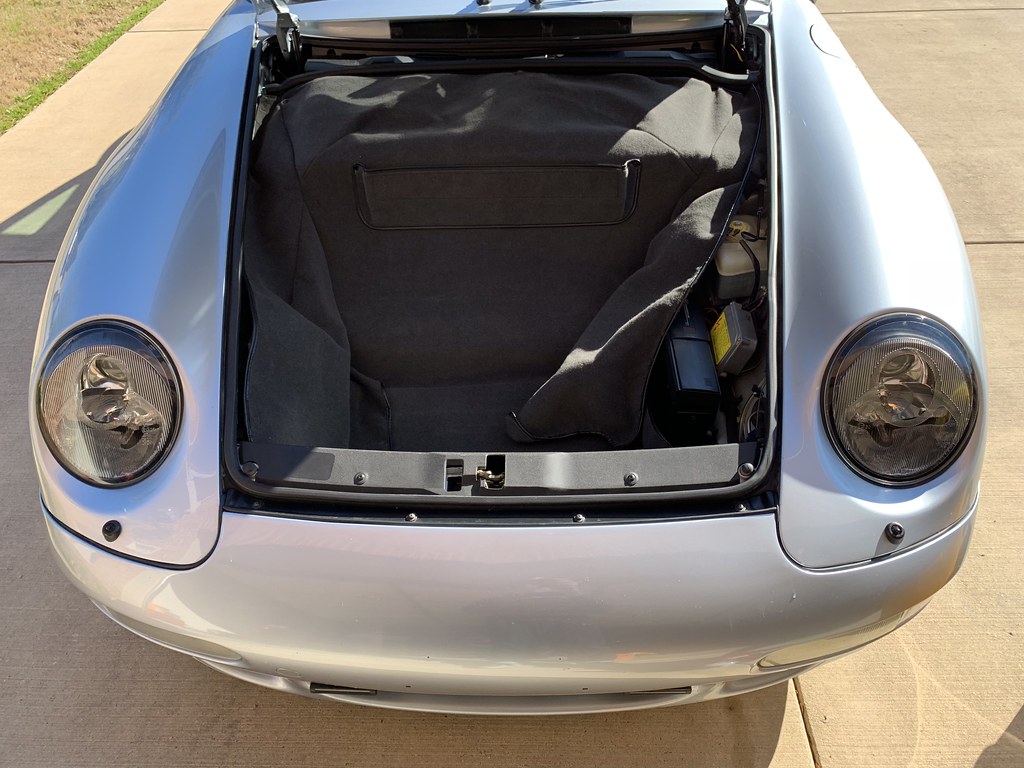
I cleaned up the rubber seals and re-installed with new staples.

Fitting the front bumper is an art. I am still not quite happy with the fitment.

The following users liked this post:
m32 (08-30-2020)
08-30-2020, 10:02 PM
#39
Rennlist Member
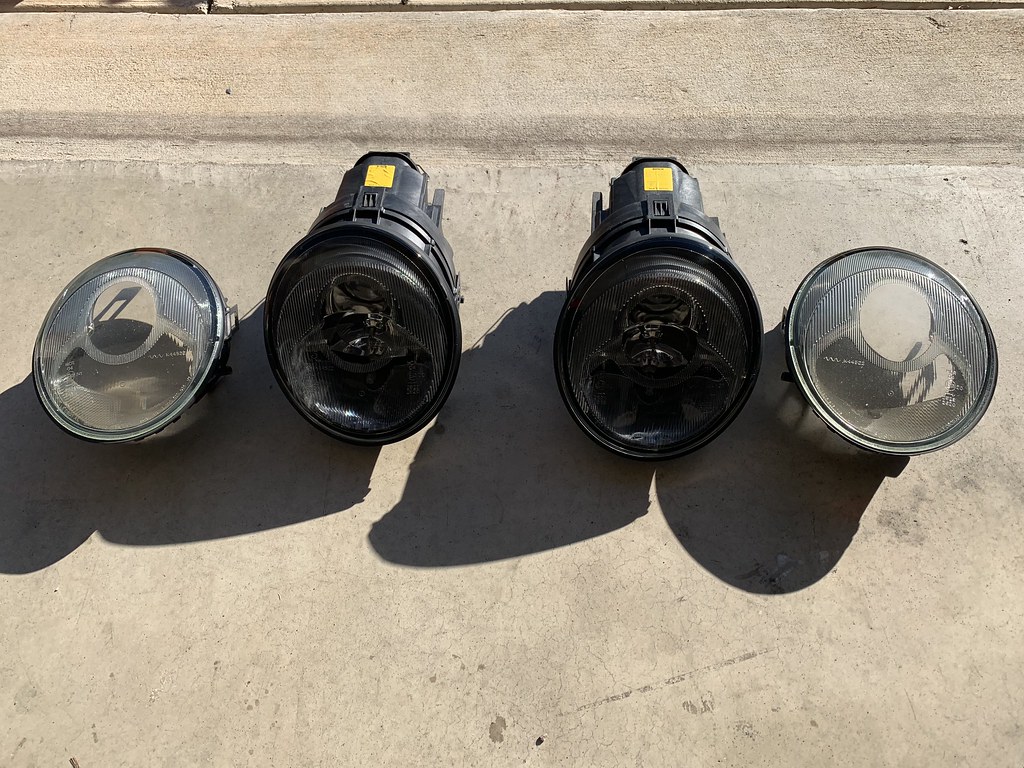
Headlight lenses are a pretty easy and relatively inexpensive way to refresh the front of the car.
The install was very straight forward and there are a lot of threads on Rennlist about the process. Basically you unclip the old ones and replace. I did the additional step of repainting the headlight surrounds.
The install was very straight forward and there are a lot of threads on Rennlist about the process. Basically you unclip the old ones and replace. I did the additional step of repainting the headlight surrounds.
can you explain what you mean by headlight surrounds? What part did you paint black?
Edwin
08-30-2020, 10:05 PM
#40
Rennlist Member
The following users liked this post:
heliolps2 (09-01-2020)
08-30-2020, 10:36 PM
#41
Rennlist Member
Thread Starter


The following users liked this post:
m32 (08-31-2020)
08-31-2020, 12:23 AM
#42
Rennlist Member
Two things make the 993 lights look old. 1) The clear plastic on the inside of the lens is yellowing. 2) The black plastic surrounding the lights has faded. Replacement lenses solve the clear plastic issue. I decided to repaint the faded plastics inside the headlight housing. Below are some pics I took during the process.
Edwin