Notices
993 Forum 1995-1998

Notes From Changing the V-Belts

Thread Tools
 
Search this Thread
 
Old 11-30-2014, 08:28 PM
  #31  
bruce7
Racer
Thread Starter
 
bruce7's Avatar
 
Join Date: Aug 2008
Location: Los Angeles
Posts: 476
Likes: 0
Received 25 Likes on 18 Posts
Default Updated for use of 5mm hex bit socket with guide pin

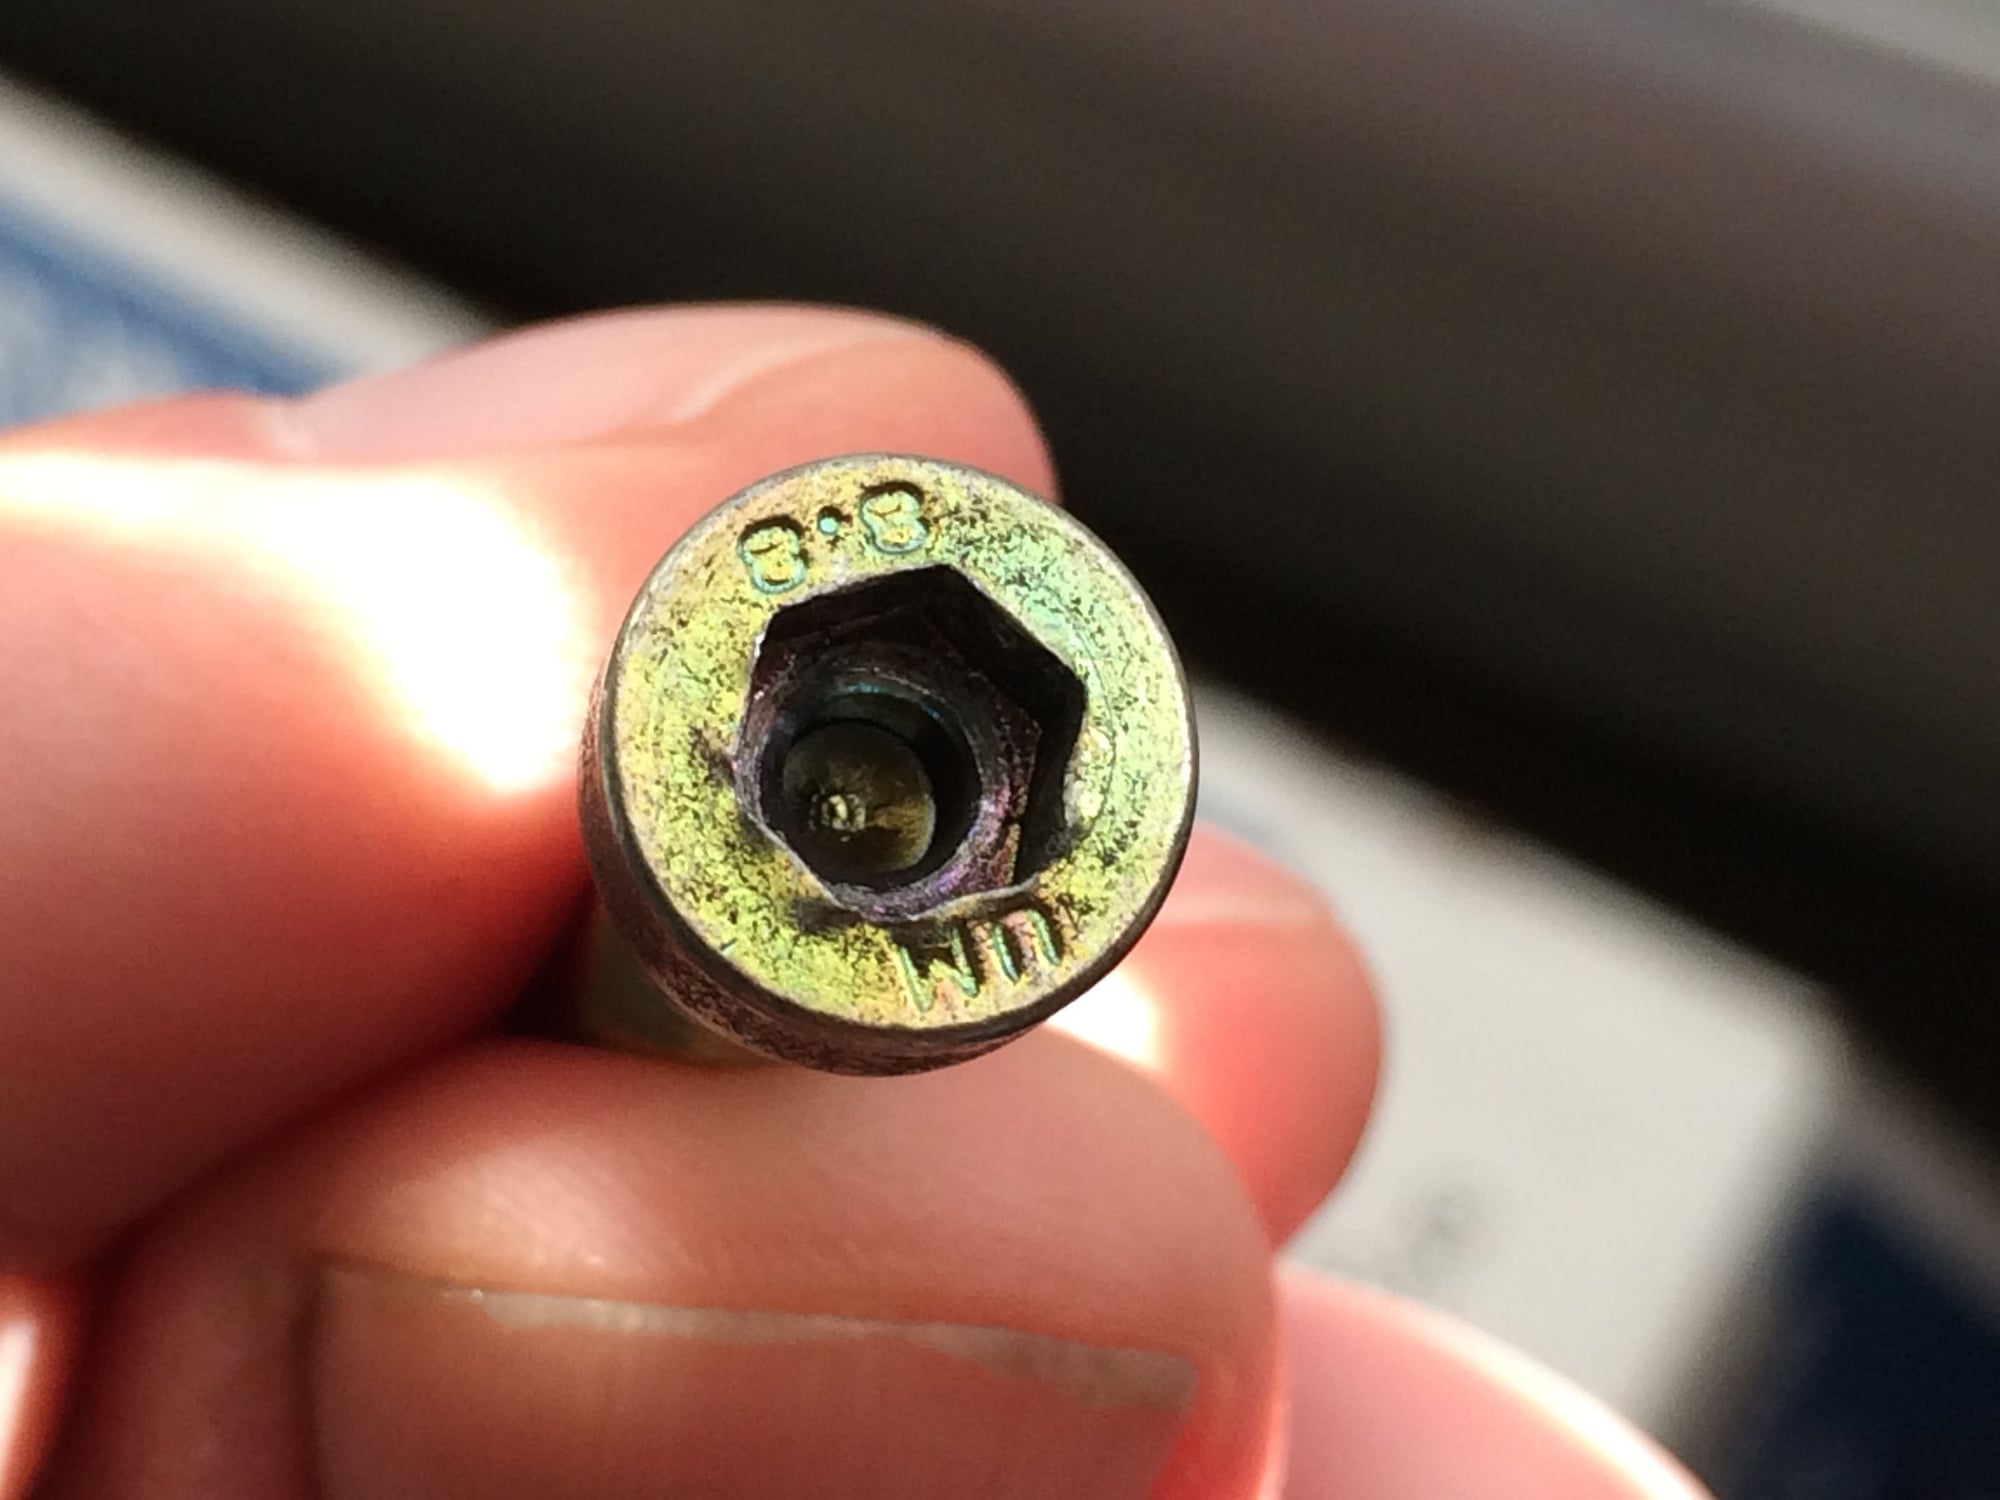
I recently noticed that the fan pulley screw is not a regular hex socket cap screw,
but is instead a special type of cap screw built to DIN 6912 specification. This
screw is a low head hex head cap screw with a pilot recess. It was designed
to be used in conjunction with a hex bit socket with a guide pin (pilot tip).

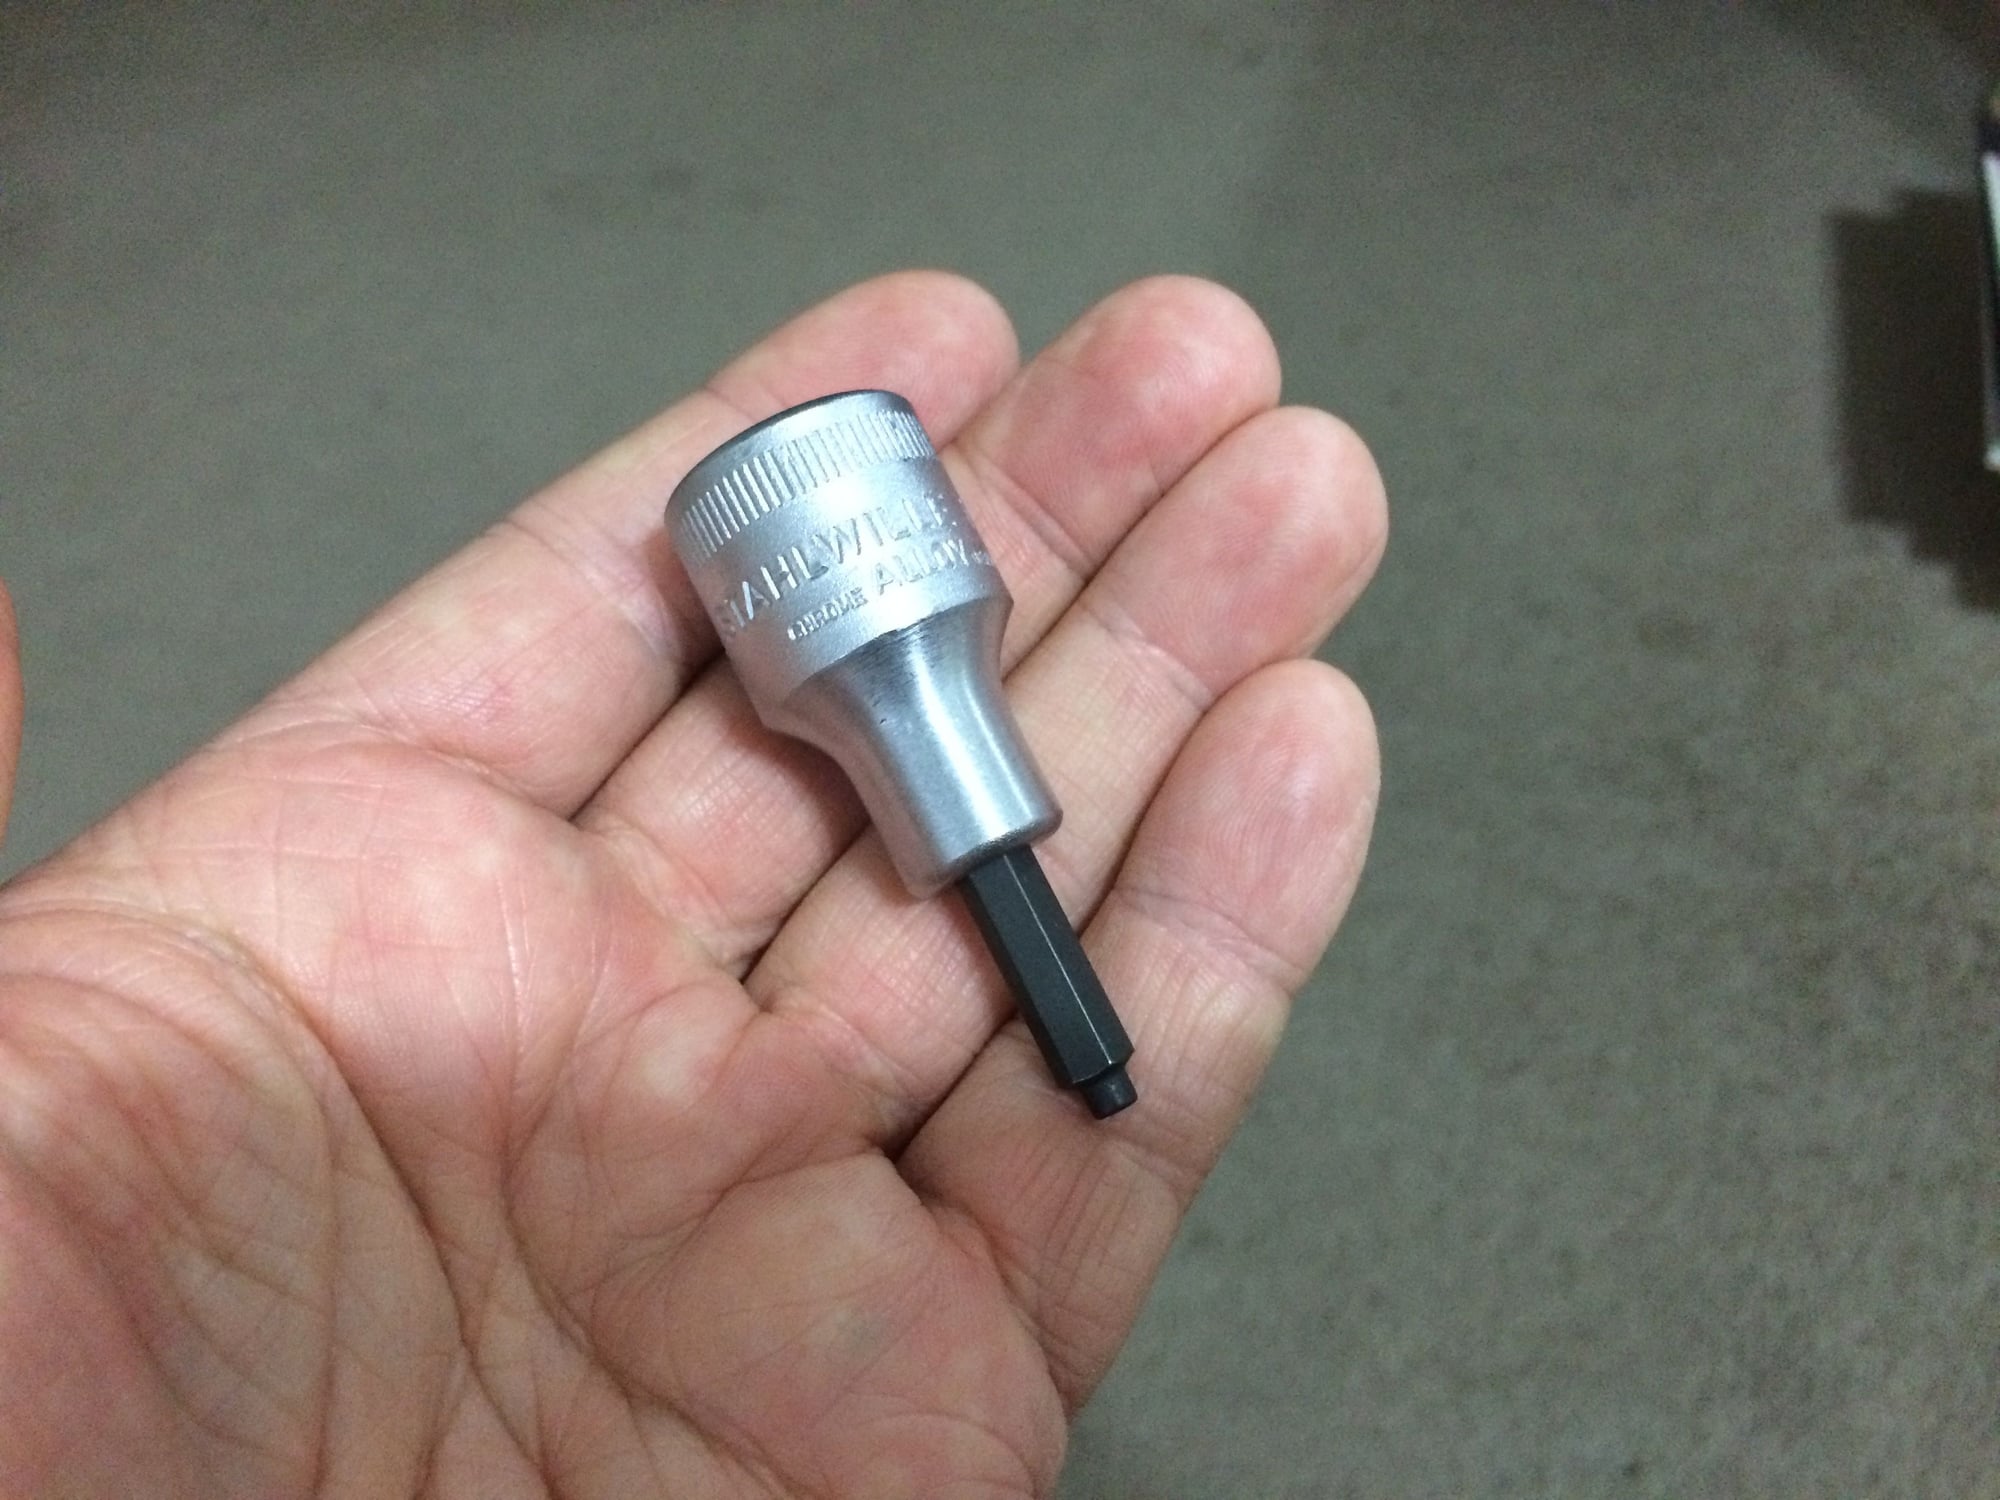
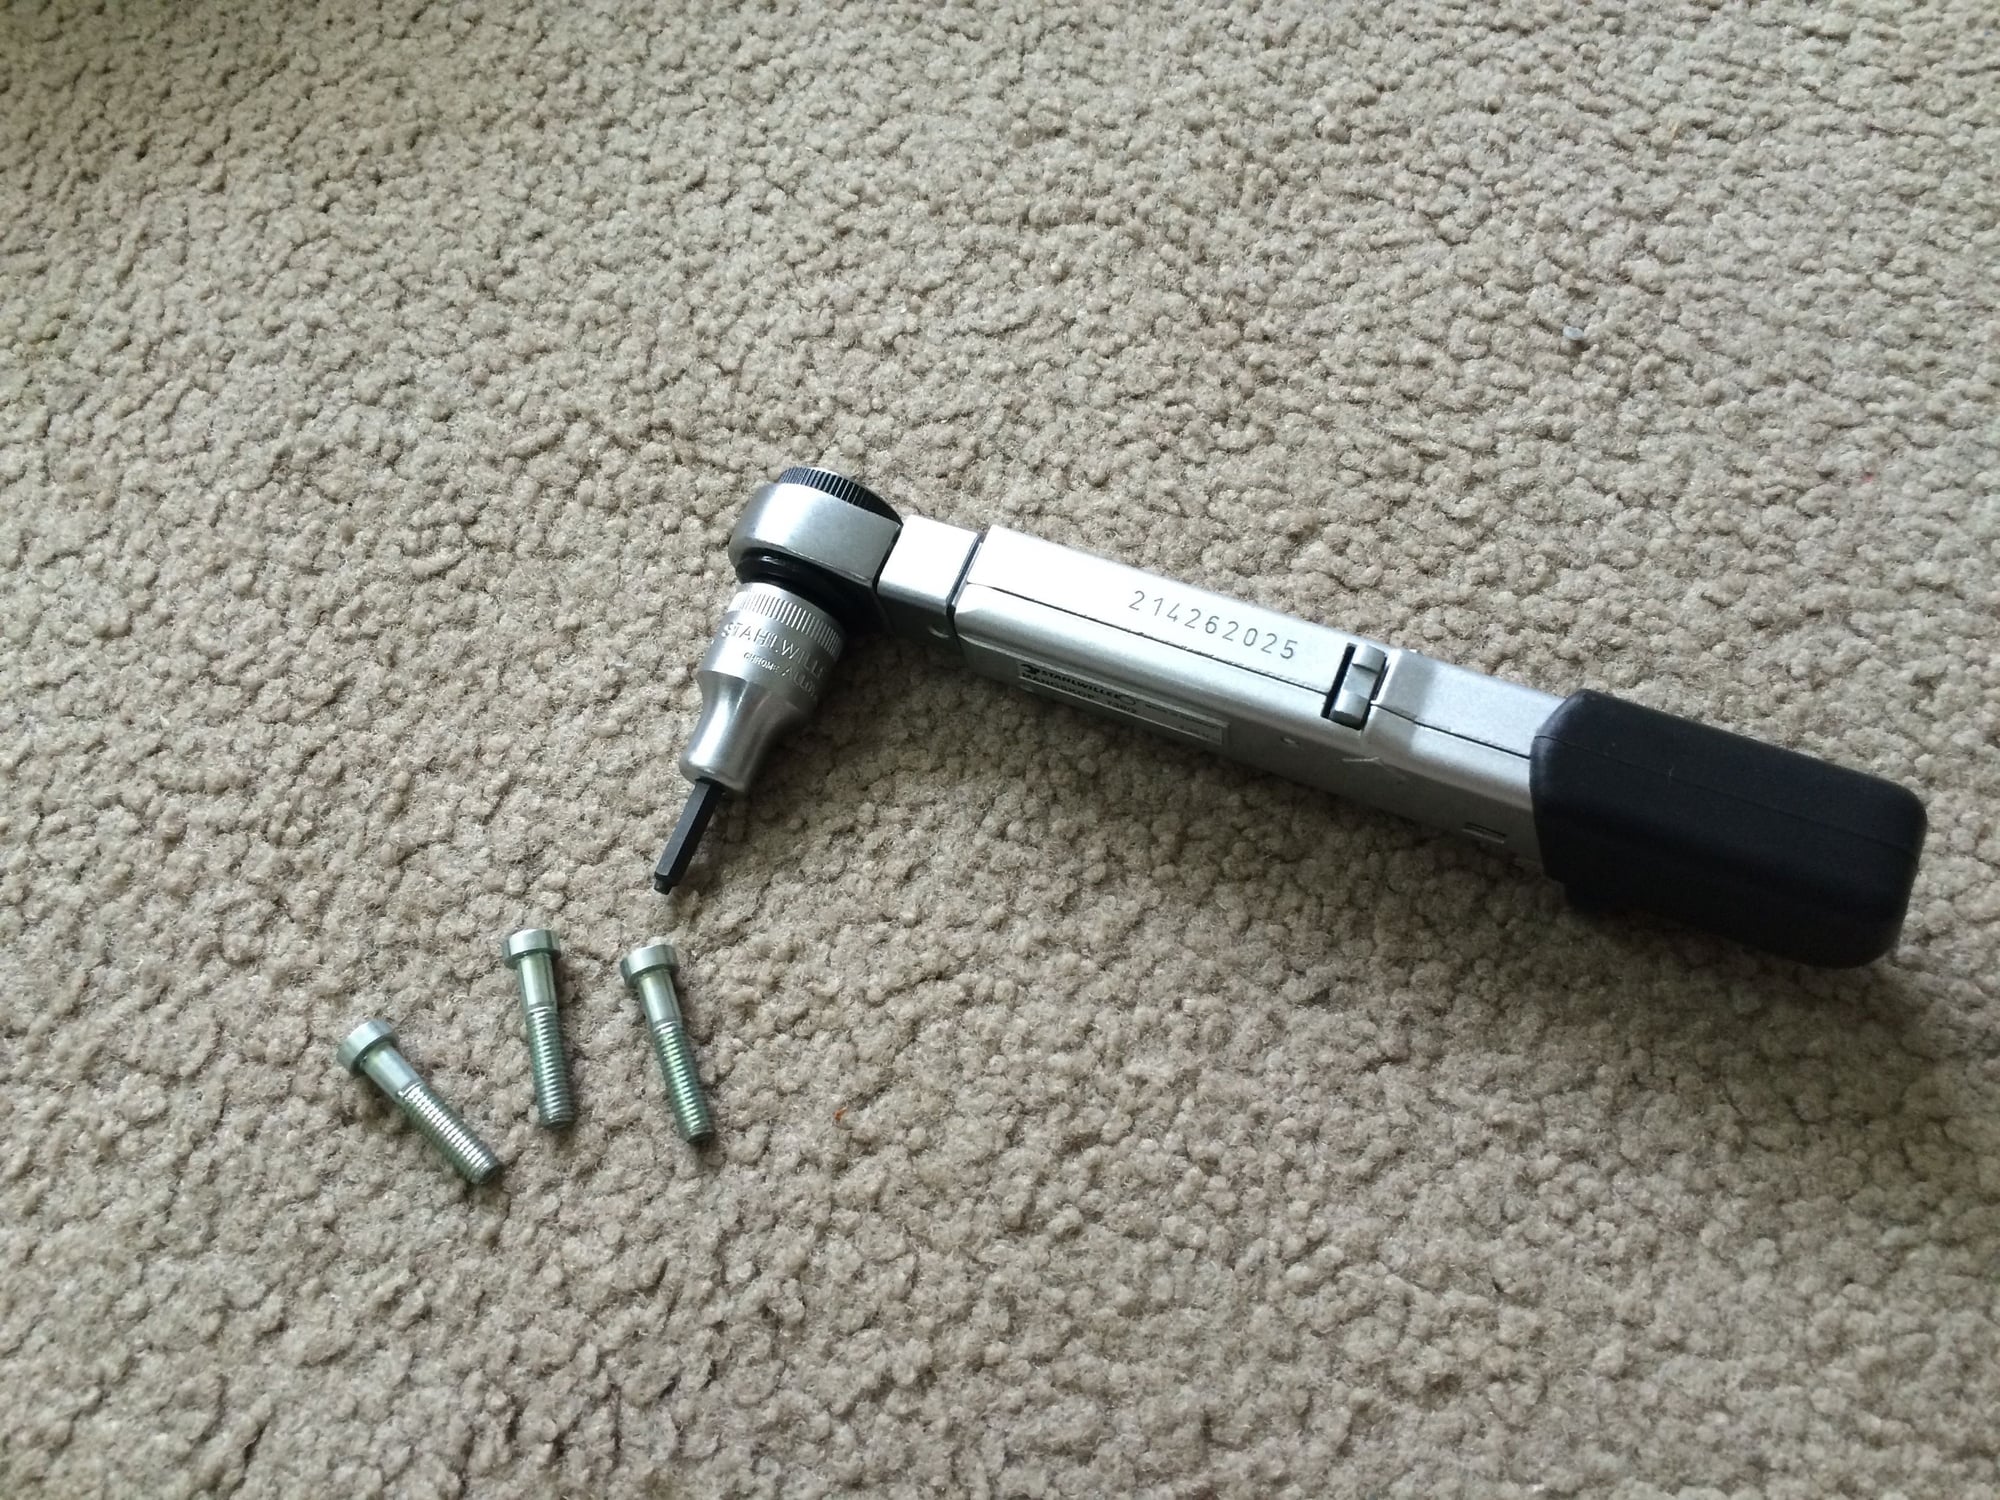
I looked around and found a tool made by Stahlwille (54IC-5) that meets this
requirement. When inserted the tool has very little movement or wobble when
compared to a standard hex bit socket. This design should help prevent
stripping the screw.

Proper technique is important of course, keeping the tool perpendicular to the
screw while tightening or loosening must be followed no matter which tool is
being used.

Pictures of actual use will have to wait until I change the v-belts next summer.

(BTW, the seat bolts are the same type of screw but 6mm instead of 5mm and
the Stahlwille part for that is 54IC-6. This subject will be covered in another
DIY being prepared now.)


Fan pulley screw, M6 x 30 with pilot recess


Stahlwille 5mm hex bit socket with guide pin, 54IC-5, 1/2" drive.


-bruce
Attached Images
File Type: pdf
Changing V-belts 11-30-14.pdf (29.5 KB, 247 views)
Old 11-30-2014, 09:01 PM
  #32  
mpruden
Three Wheelin'
 
mpruden's Avatar
 
Join Date: Sep 2013
Location: Folsom CA
Posts: 1,673
Received 50 Likes on 35 Posts
Default

Nice detective work and (your usual) attention to detail.
Old 11-30-2014, 09:21 PM
  #33  
pp000830
RL Community Team
Rennlist Member
 
pp000830's Avatar
 
Join Date: Jul 2004
Location: Dallas, TX
Posts: 9,596
Received 1,448 Likes on 1,020 Posts
Default

Bruce,
Best write-up I have seen yet! Good reminder on how to do the A/C belt, somthing I have to relearn every time I change it.
Many thanks, Andy
Old 12-01-2014, 01:49 AM
  #34  
bjornebo
Instructor
 
bjornebo's Avatar
 
Join Date: Mar 2011
Location: Eastern Washington
Posts: 226
Likes: 0
Received 0 Likes on 0 Posts
Default

Tool Source has these for $24.30. http://www.toolsource.com/54ic-inhex...e-p-95089.html
Old 12-01-2014, 02:06 AM
  #35  
bruce7
Racer
Thread Starter
 
bruce7's Avatar
 
Join Date: Aug 2008
Location: Los Angeles
Posts: 476
Likes: 0
Received 25 Likes on 18 Posts
Default

Originally Posted by bjornebo
That's not too bad.

Although Amazon appears to be temporarily out of stock on this item,
that is where I sourced mine. I've bought several Stahlwille tools through
Amazon and got good prices and delivery. I paid $20.94 for the 54IC-5
within the last week. Amazon prices vary almost daily on some items. I
see today it is $21.46. Delivery was via USPS and took about 2 days. I
think the shipping cost was about $2.50

-bruce
Old 12-01-2014, 12:31 PM
  #36  
SkiDan
Instructor
 
SkiDan's Avatar
 
Join Date: May 2010
Location: Vernon, BC, Canada
Posts: 207
Likes: 0
Received 1 Like on 1 Post
Default

bruce 7 - a goldmine of info. Thank you.
Old 03-31-2015, 04:17 PM
  #37  
bruce7
Racer
Thread Starter
 
bruce7's Avatar
 
Join Date: Aug 2008
Location: Los Angeles
Posts: 476
Likes: 0
Received 25 Likes on 18 Posts
Default Updated writeup

An updated writeup is attached in PDF form to reflect a change in tools
I recently made.

Here's a few pics of the new tools.


Stahlwille torque wrench 730/2 with 1/2 inch ratchet insert tool and 5mm hex bit socket with guide pin.


This wrench has a range of 4 - 20 Nm with increment of .5 Nm.


The 54IC-5 bit socket has a guide pin for the M6 fan pulley screws to ensure a secure fitment.


24mm ring insert tool fitted to the Stahlwille 730/20 torque wrench.


This torque wrench has a range of 40 -200 Nm and an increment of 5 Nm.


Polygon wrench and torque wrench being used to torque the alternator shaft nut.
Attached Images
File Type: pdf
Changing V-belts 3-31-15.pdf (31.2 KB, 213 views)
Old 10-07-2015, 09:02 PM
  #38  
bruce7
Racer
Thread Starter
 
bruce7's Avatar
 
Join Date: Aug 2008
Location: Los Angeles
Posts: 476
Likes: 0
Received 25 Likes on 18 Posts
Default Updated writeup with a couple new pictures

Changed all the v-belts today and updated the writeup. See attached.

Here are a couple new photos from the install.

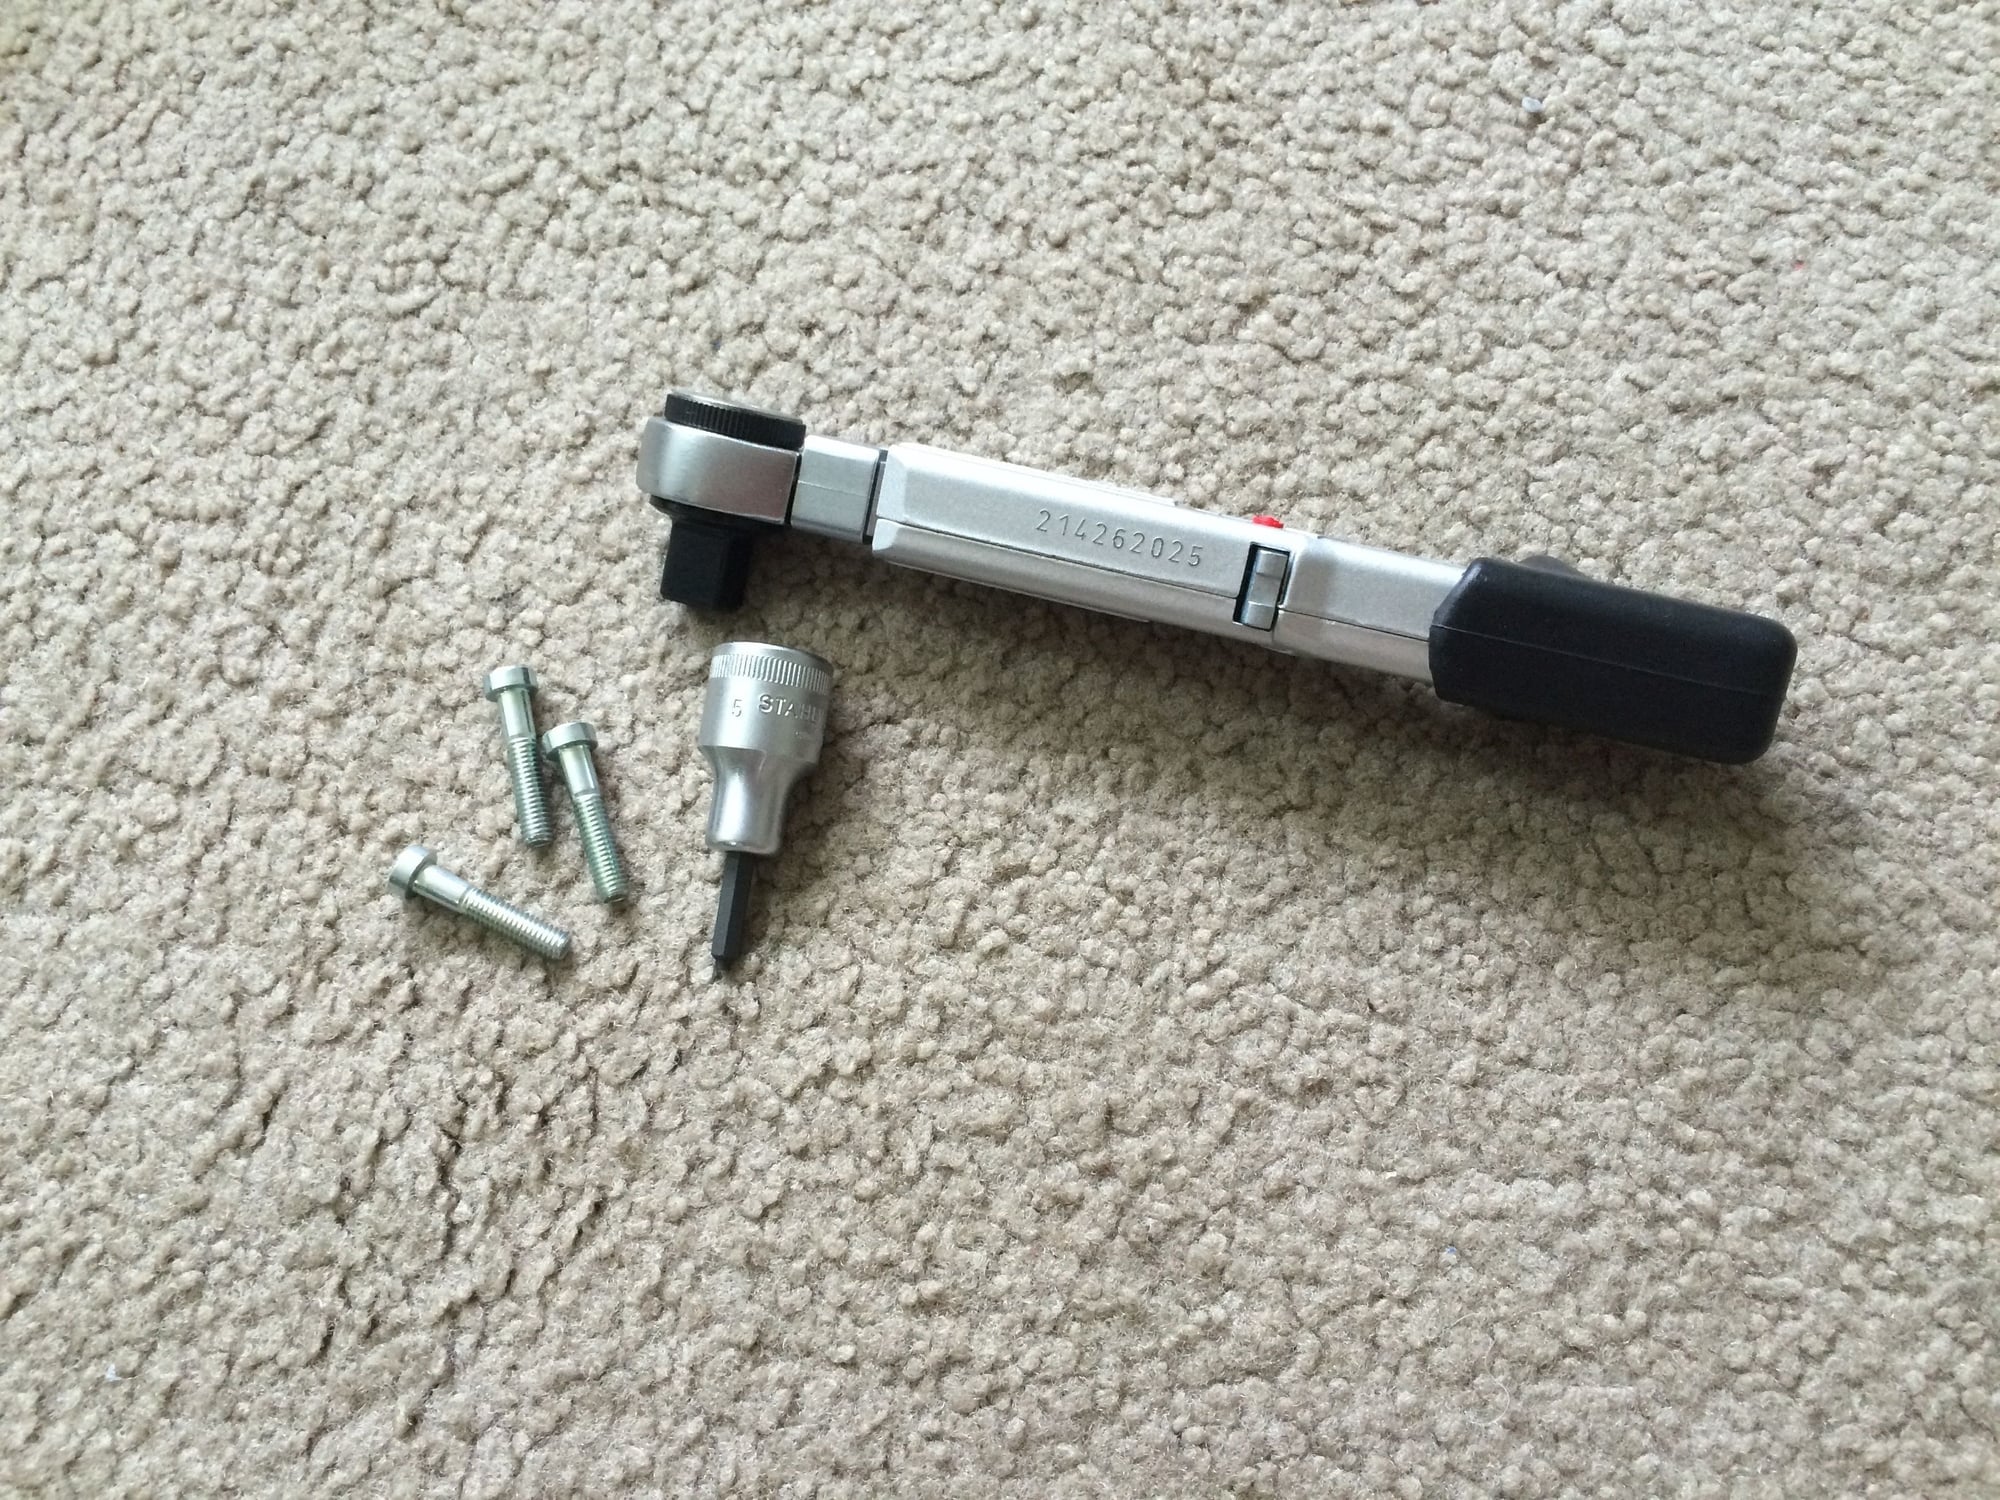
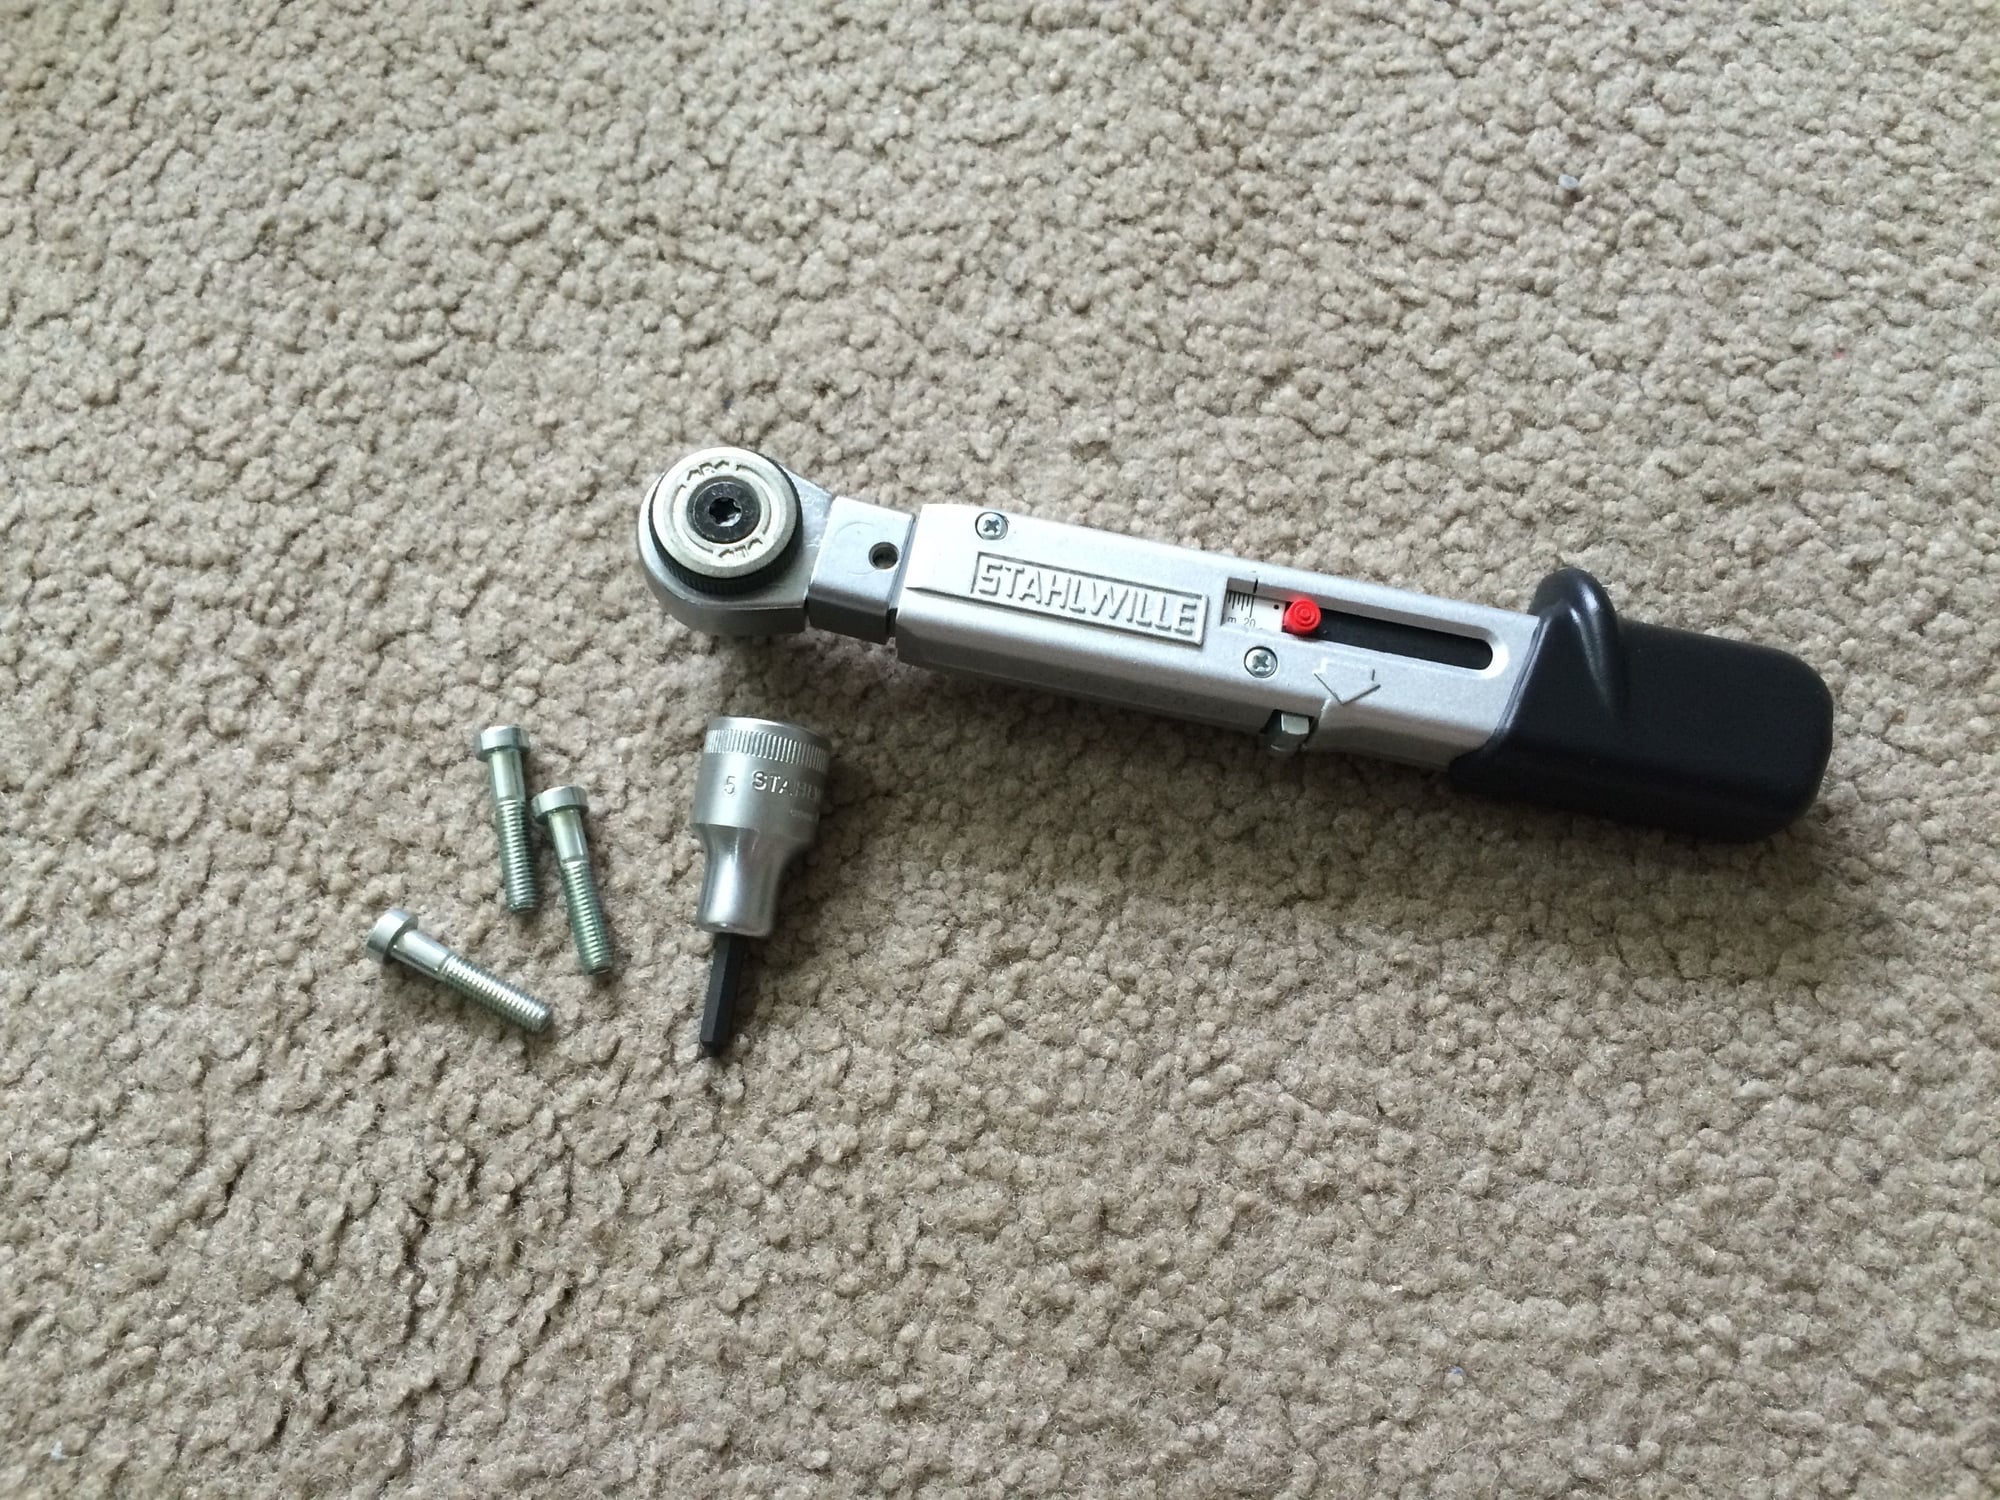
This is torquing the fan pulley screws using the Stahlwille 730/2 torque wrench
with a 735/10 1/2" ratchet insert tool and the 5mm hex bit socket with guide pin
(Stahlwille 54IC-5). The short length makes it ideal for this application.


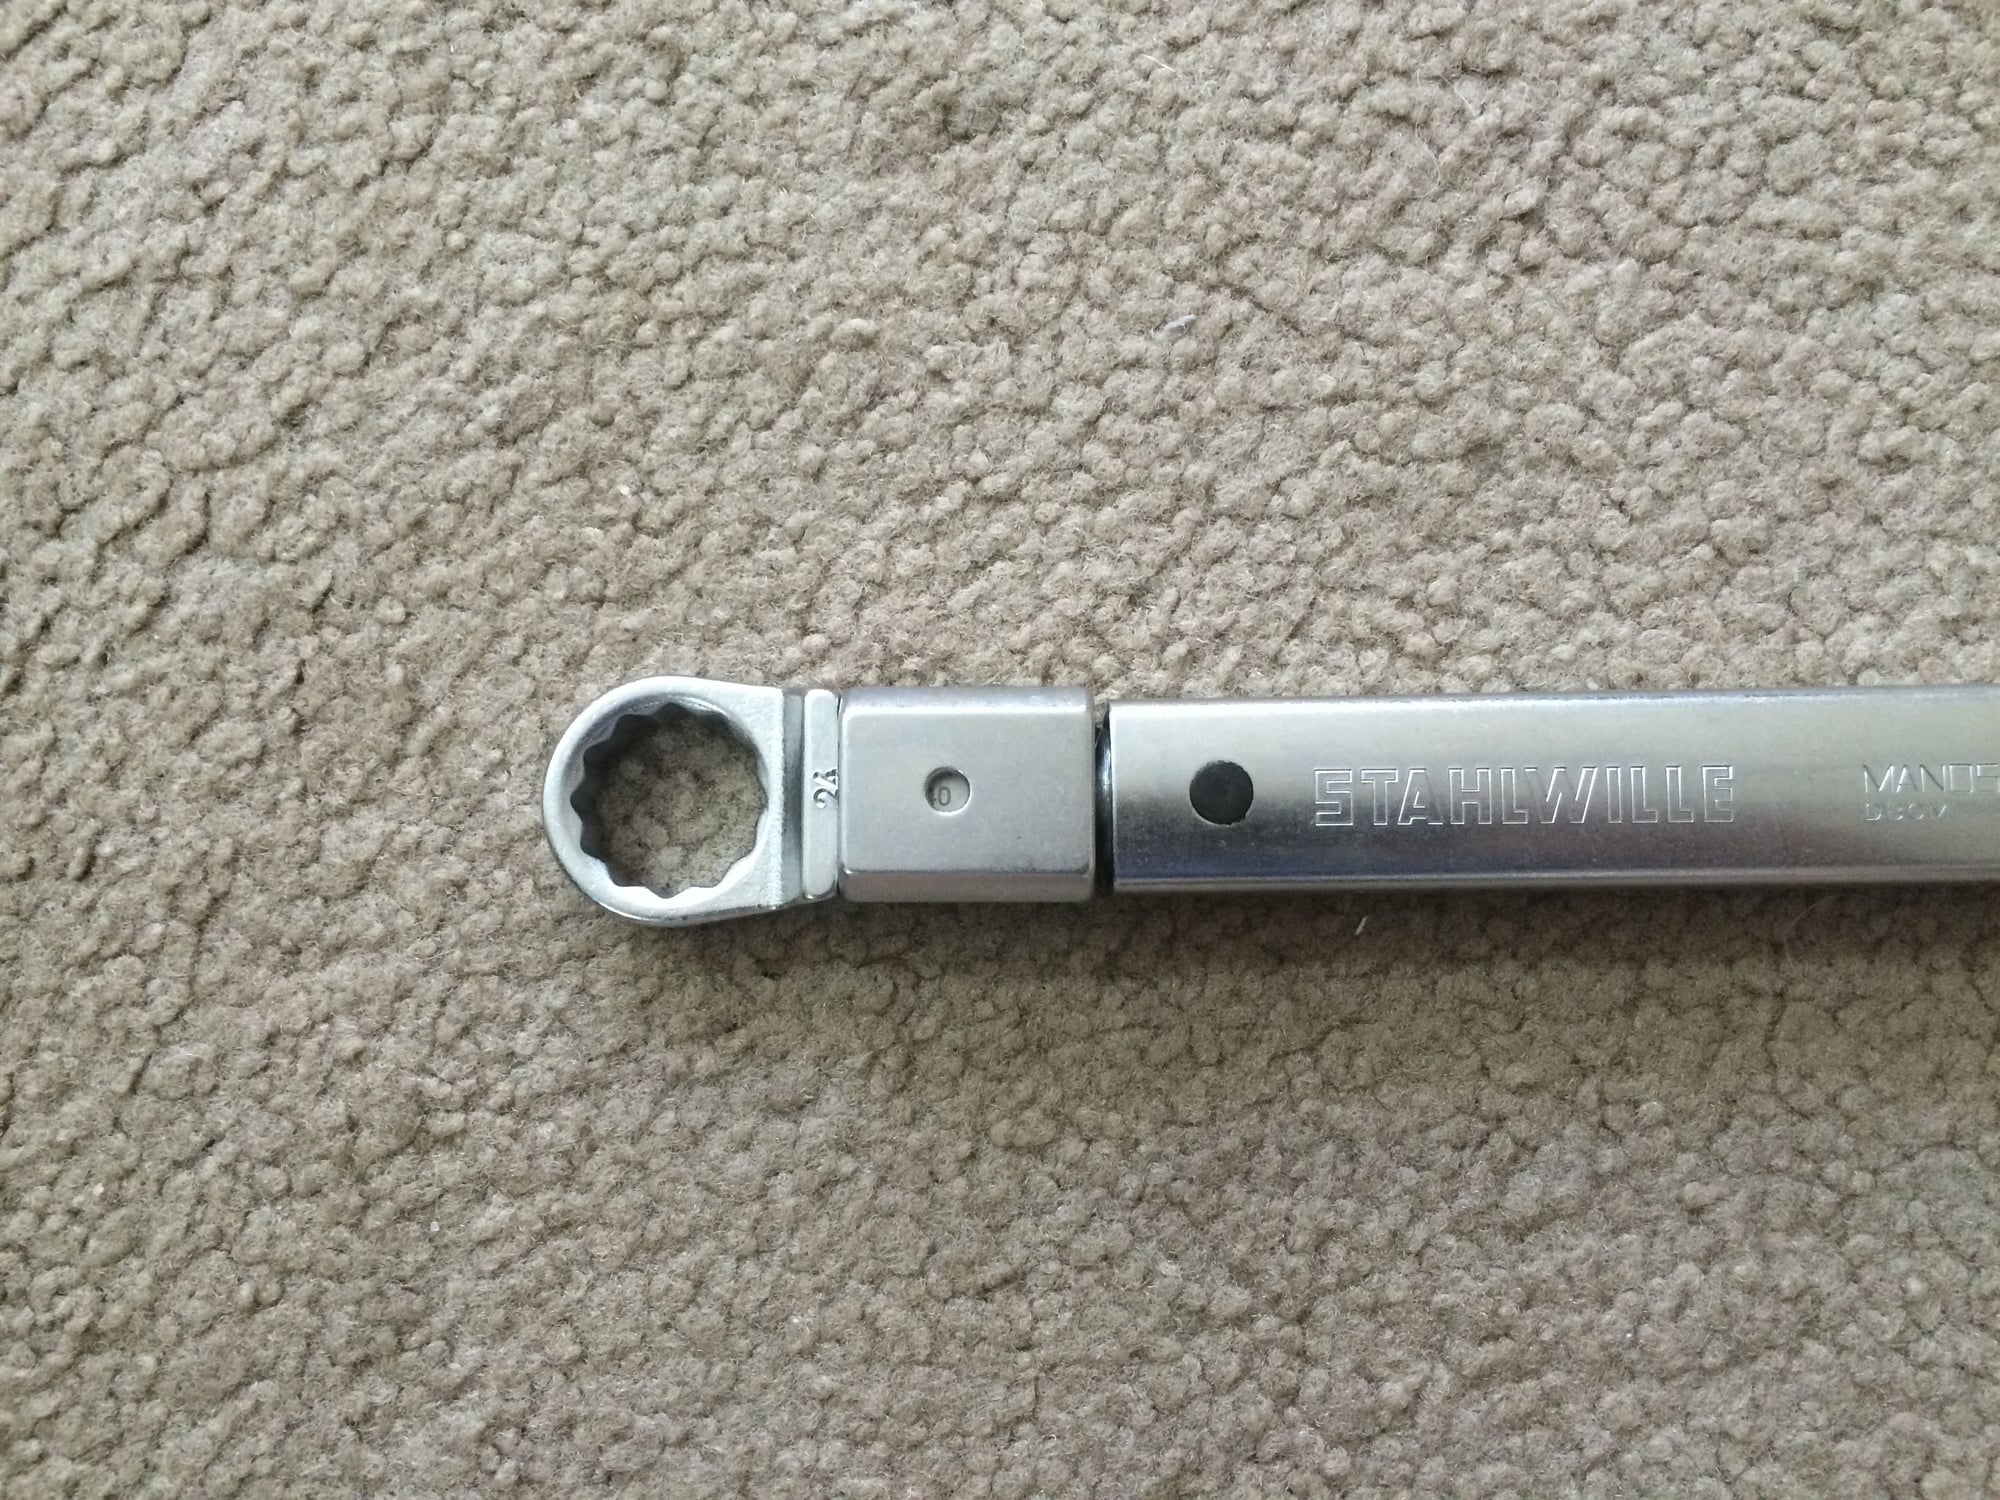
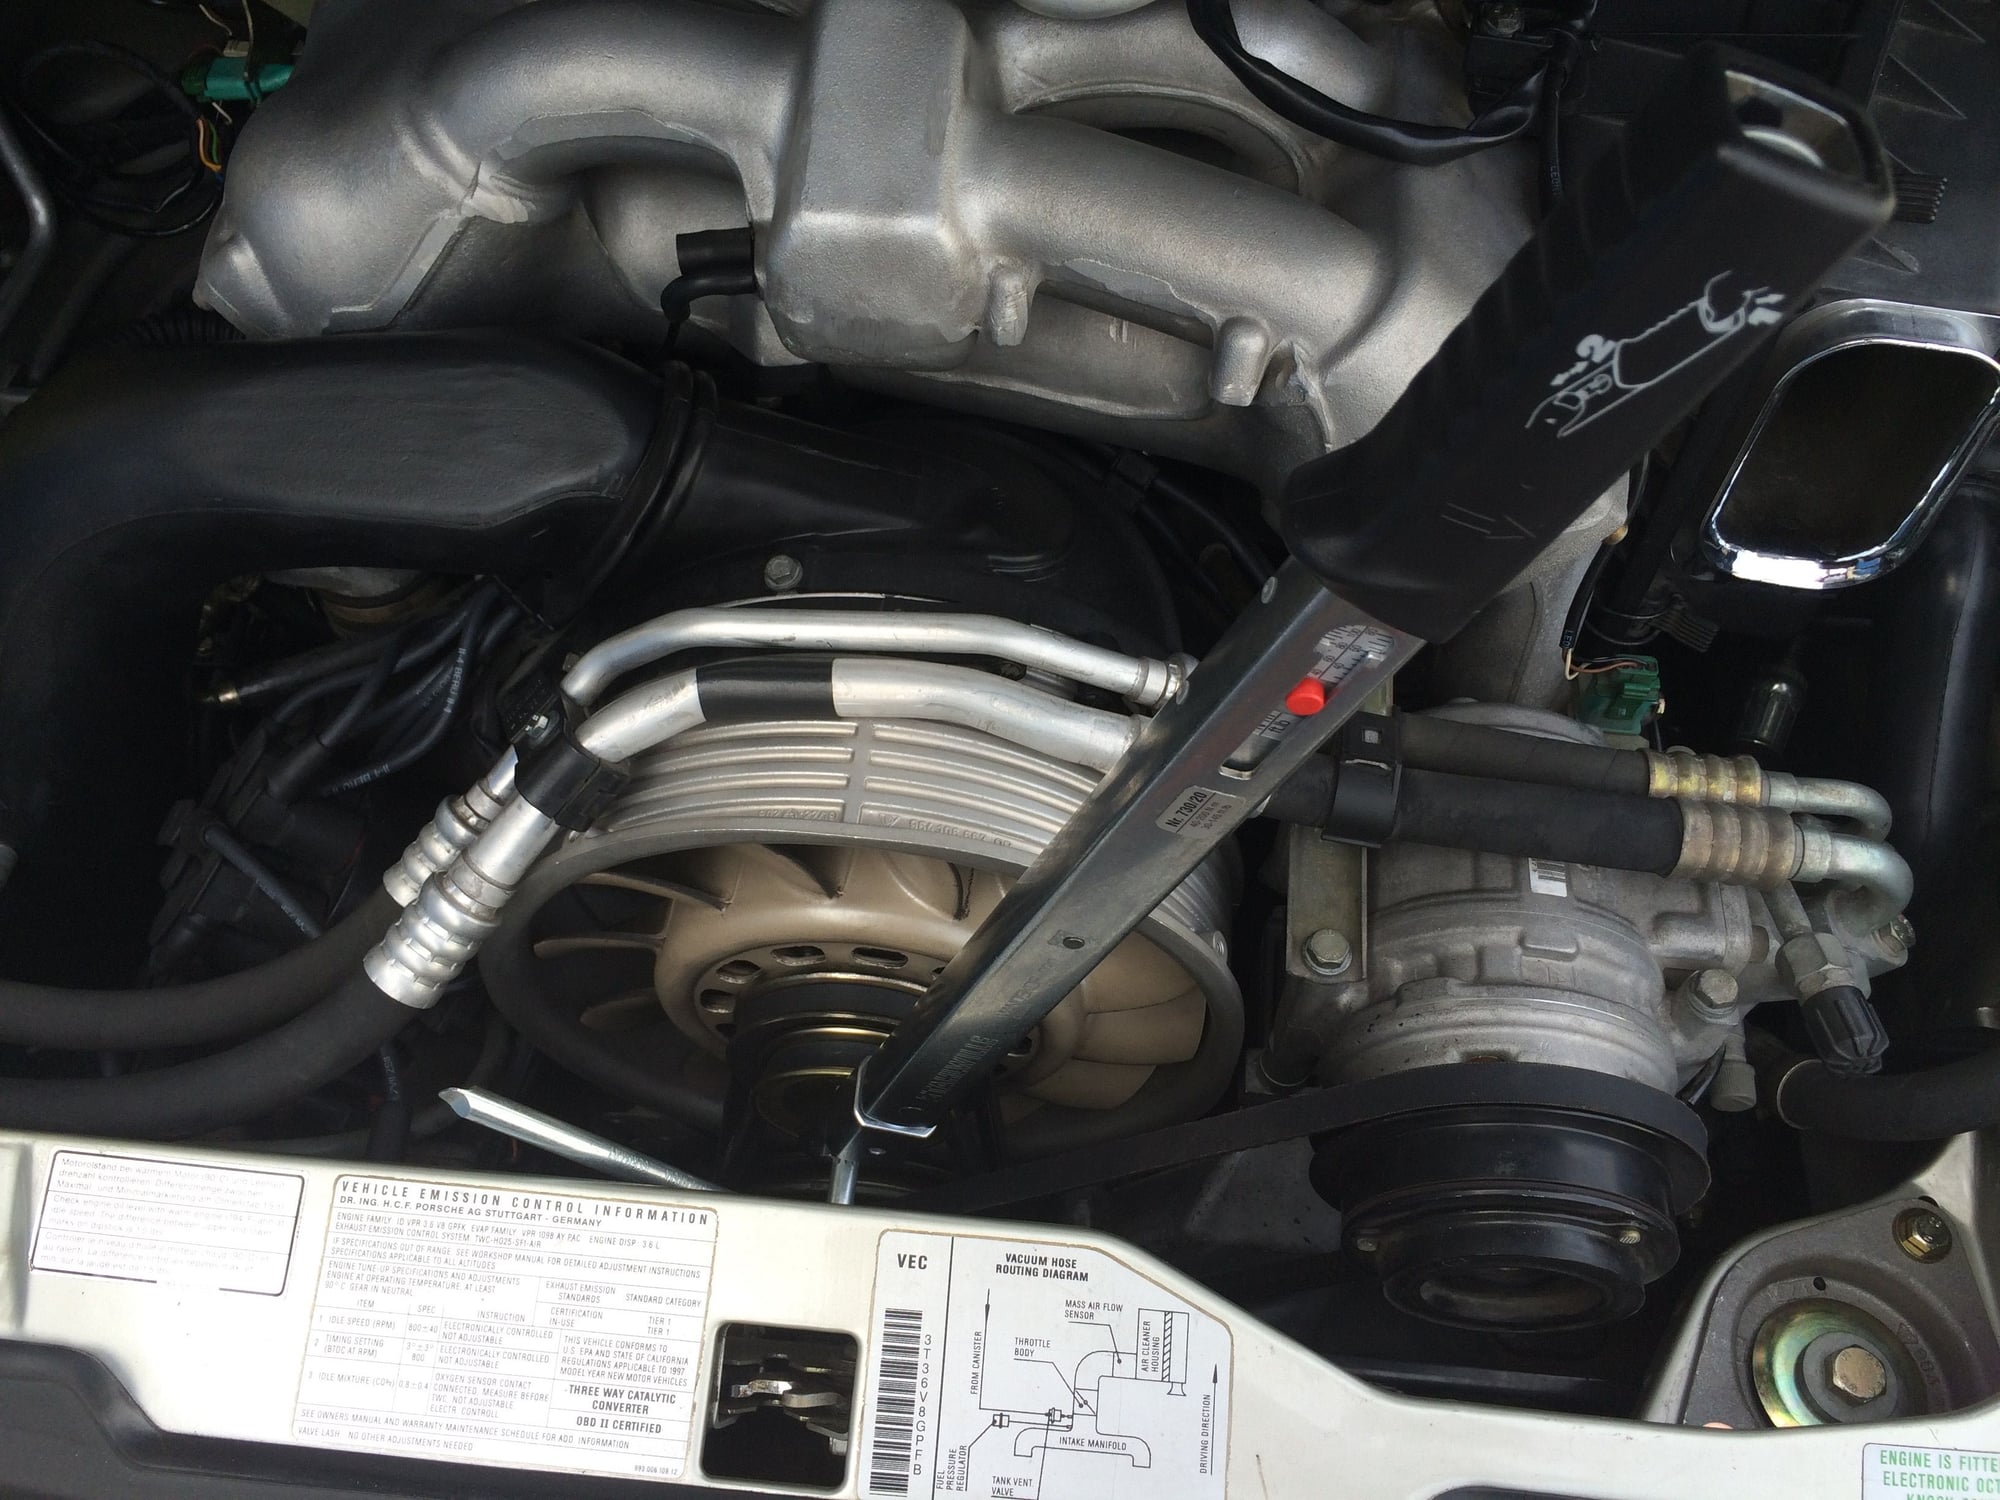
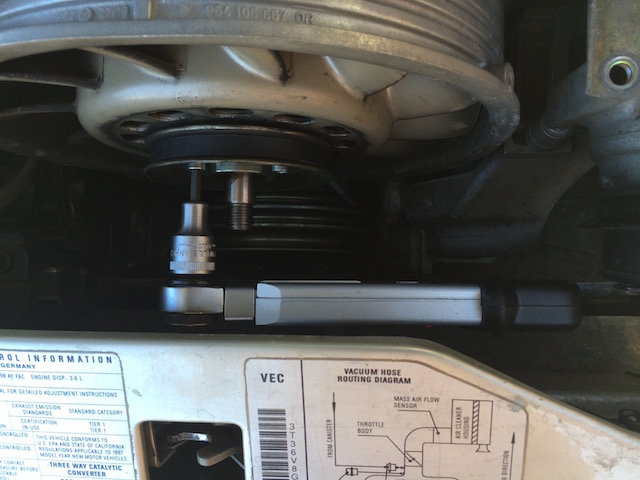
Here is torquing the alternator nut using the Stahlwille 73020 with a 24 mm
ring insert tool (Stahlwille 732/40-24). The Porche polygon tool + a pipe
extension is used to counter hold the alternator shaft.


Attached Images
File Type: pdf
Changing V-belts 10-7-15.pdf (31.3 KB, 245 views)
Old 10-07-2015, 11:17 PM
  #39  
bruce7
Racer
Thread Starter
 
bruce7's Avatar
 
Join Date: Aug 2008
Location: Los Angeles
Posts: 476
Likes: 0
Received 25 Likes on 18 Posts
Default

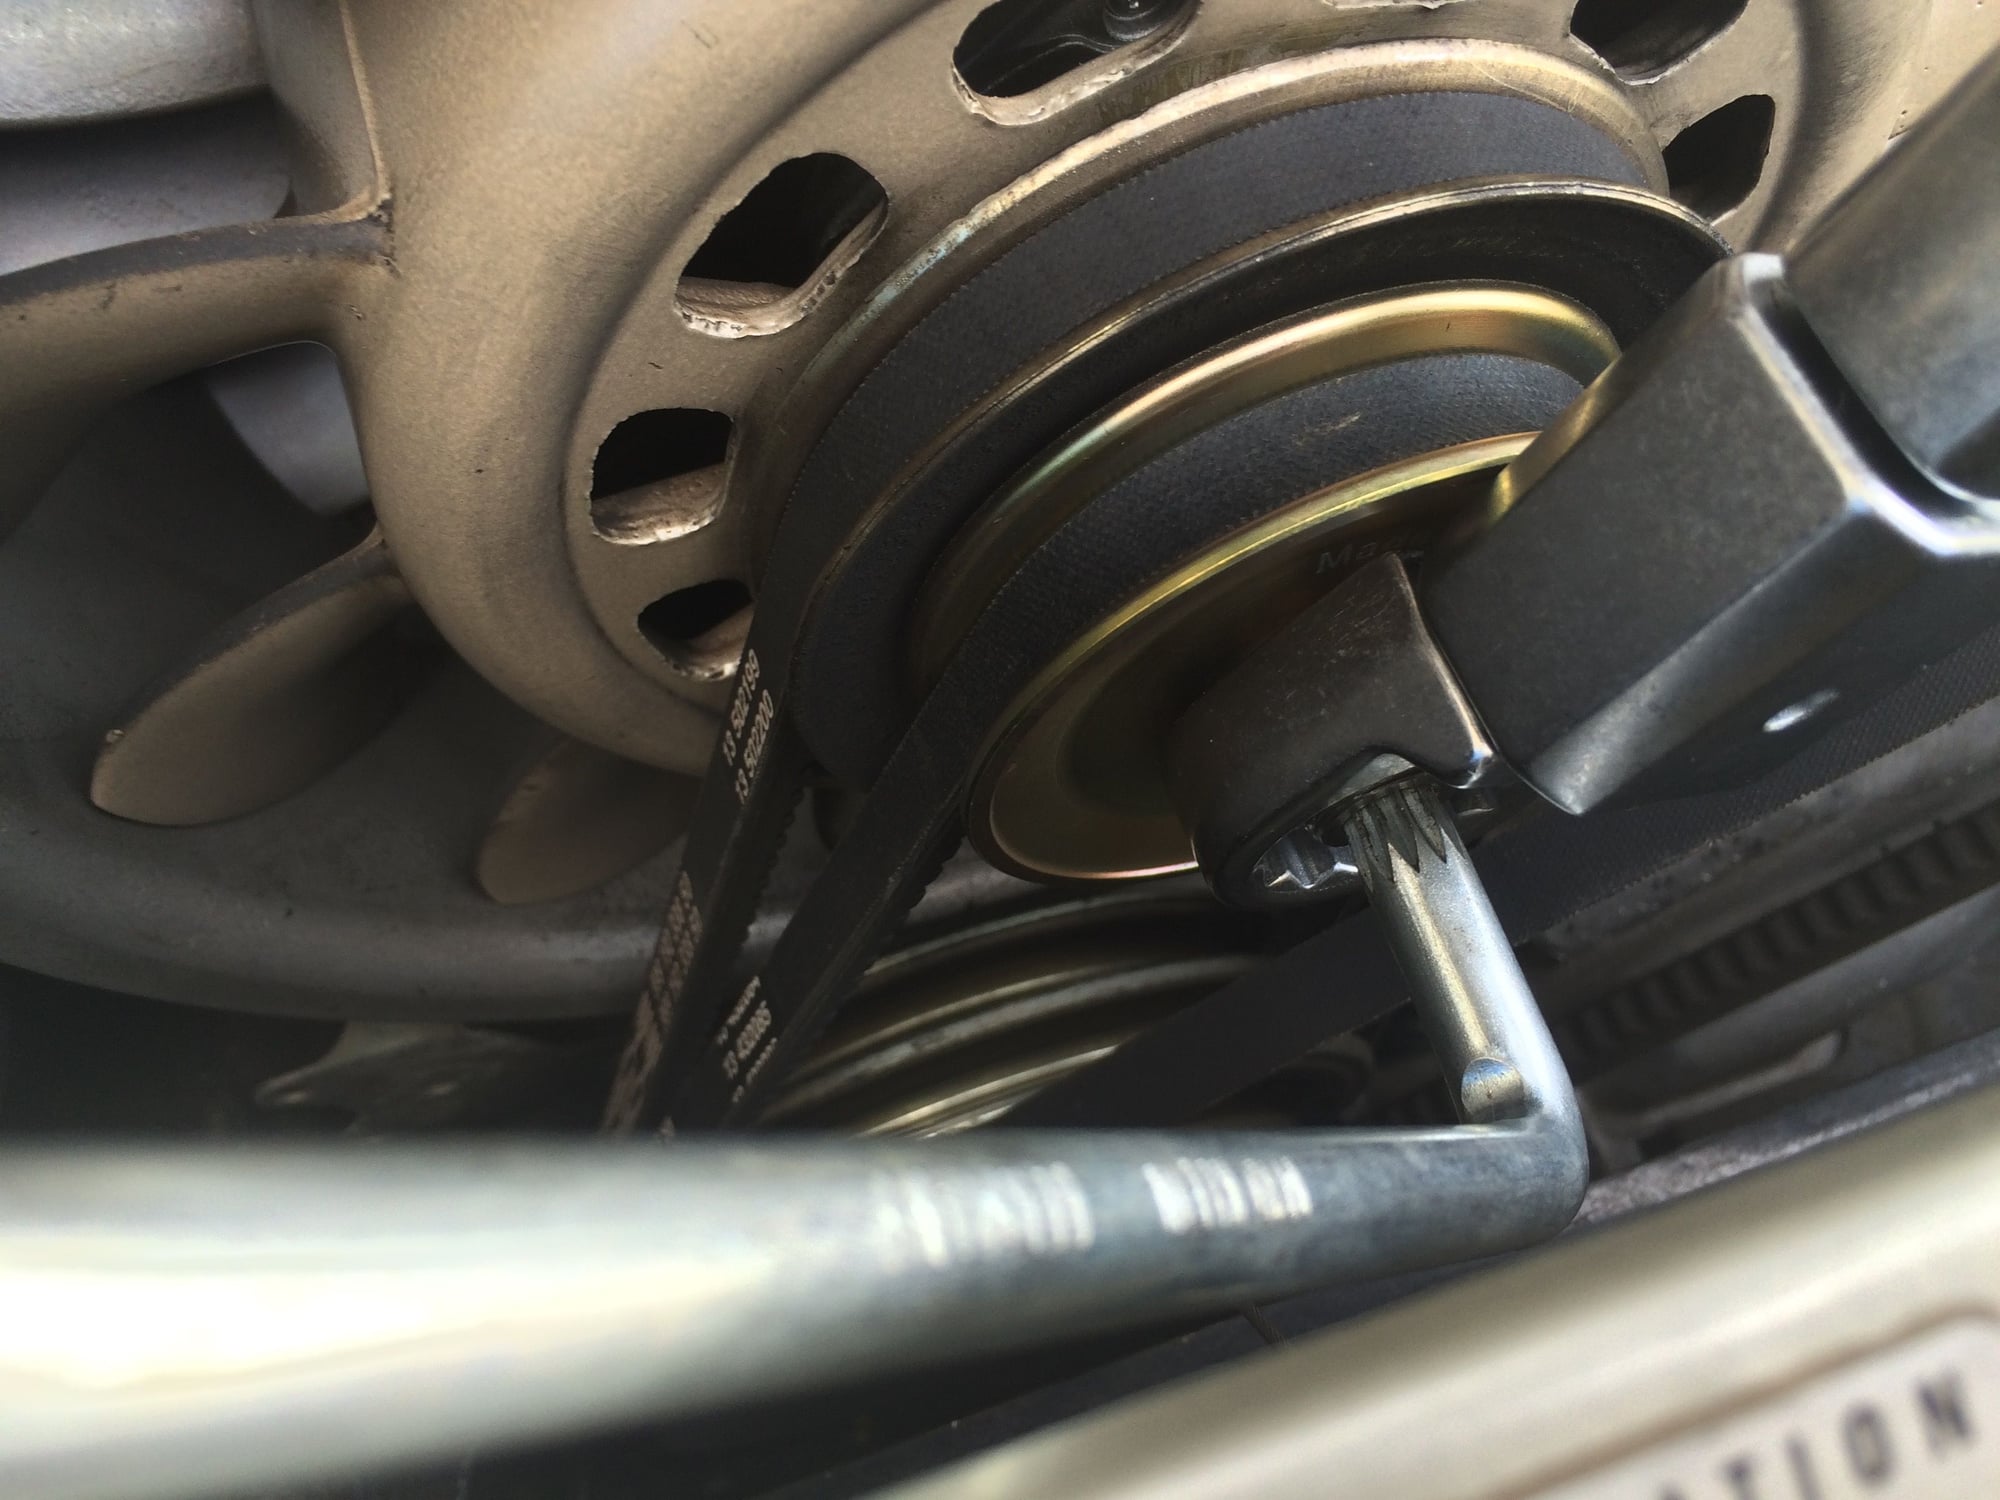
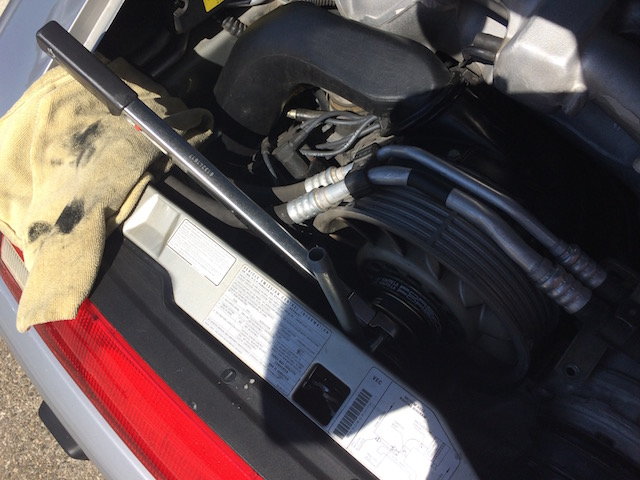
Here's a couple more shots of that pipe extension. The previous shot outdoors
had a lot of contrast making it difficult to see down into the engine bay.

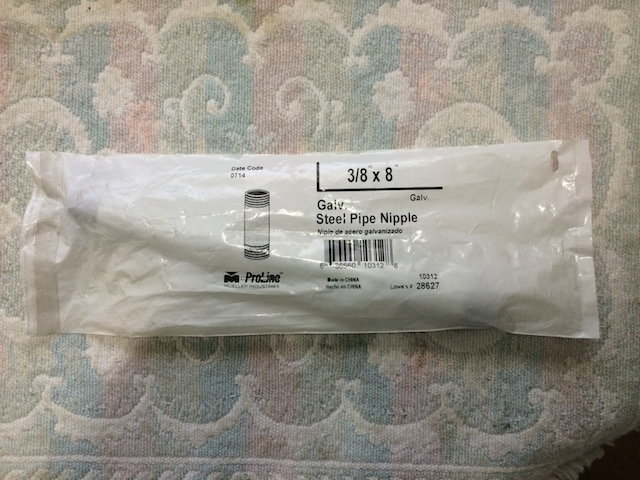
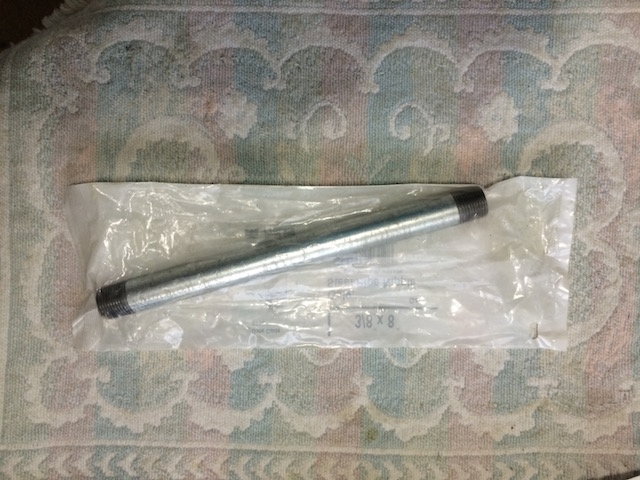
Got this at Lowe's. Fits right over the polygon wrench giving additional
leverage.


Old 10-08-2015, 12:45 PM
  #40  
EMBPilot
Banned
 
EMBPilot's Avatar
 
Join Date: Oct 2006
Location: Jersey Shore
Posts: 2,382
Likes: 0
Received 3 Likes on 3 Posts
Default

drooling over your mini torque wrench. that thing is awesome.
Old 10-08-2015, 01:46 PM
  #41  
bruce7
Racer
Thread Starter
 
bruce7's Avatar
 
Join Date: Aug 2008
Location: Los Angeles
Posts: 476
Likes: 0
Received 25 Likes on 18 Posts
Default

It really is a great tool. With the insert tool capability it can solve a lot of problems. Like valve cover gasket jobs. Found best price and availability on Amazon.
Old 04-04-2016, 02:07 PM
  #42  
bruce7
Racer
Thread Starter
 
bruce7's Avatar
 
Join Date: Aug 2008
Location: Los Angeles
Posts: 476
Likes: 0
Received 25 Likes on 18 Posts
Default Updated link to original photos album

Google has migrated the picasaweb albums to goggle+ so here is the
new link to the original photos:

https://goo.gl/photos/c1rdUqNbGug11Fc59
Old 10-15-2017, 09:17 PM
  #43  
aircooleddrool
1st Gear
 
aircooleddrool's Avatar
 
Join Date: Oct 2017
Posts: 1
Likes: 0
Received 0 Likes on 0 Posts
Angry DOH...

I was following the Pelican Parts writeup and drop an alternator pulley bold in the cavity below the lower pulleys. Yes, I know what you are going to say. I read the "shove a rag in the bottom to catch any dropped parts", but I had just put on the belt and had removed the rag. I've tried magnet and mechanical pick up tools to no avail. I can't even see it. Any tips on getting it out? What do I have to remove from the bottom to get to it? I'm afraid that it may have lodged in a gap since neither the magnet or mechanical pick up tools worked.
Old 10-15-2017, 09:33 PM
  #44  
IXLR8
Rennlist Member
 
IXLR8's Avatar
 
Join Date: Sep 2009
Location: Canada & the Alps
Posts: 8,353
Received 645 Likes on 449 Posts
Default

Originally Posted by aircooleddrool
Any tips on getting it out?
A 14 ga solid copper wire from a length of NMD 14/2 cable.

Bend it to shape like an L and run it along the underside of the pulley. Use a grabber when it is in sight.


Quick Reply: Notes From Changing the V-Belts


All times are GMT -3. The time now is 07:13 PM.