When you click on links to various merchants on this site and make a purchase, this can result in this site earning a commission. Affiliate programs and affiliations include, but are not limited to, the eBay Partner Network.
great project and love reading about it. great patina.
you mentioned galvanized panels, and worrying about removing the galvanizing...fyi, I believe the motorsports cars do not have galvanizing.
carry on and keep showing pics.
good work so far. With the right cleaning/machine work, those parts will look like new I bet.
good luck going forward
The cylinder walls are pretty tough nikasil, but to be sure, try your best to clean out any sludge/grit before moving the pistons in the bores
So true Quadcammer, not a single stud: today I removed the 4 stud (one longer, three same length) for mating gearbox to engine block...I had such a smiling face all the afternoon long just thinking about it!
4 years into the water and they all came out, not easily, but I'd say, probably in 15 minutes: I used the system of the 2 nuts. Then I noticed - because to disassemble the car I found many blocked nuts - that it is not a matter of the force one applies, but way more a matter of starting torque: so it is much much better to have a longer lever, but using a smaller force, instead of using a shorter lever but with a higher force. This not only because it is more effective, but also because acting this way with less force and longer lever, one can control the movement much better.
4 new shorter studs to mate the engine stand and one of the original ones
For the next days I planned the following operations:
1) ask the blacksmith to build an X shaped steel plate, 0,5 cms thickness, 3/4 cms width, to allow mating the engine stand I bought in the meanwhile;
2) hanging the engine to the engine stands, rotate it so that 3 cilinders are perfectly vertical;
3) apply WD40 abundantly inside each cylinder, especially in the connection between the cylinder and the piston and allow the WD 40 to act, ie enter the piston bands, for at least 48 hours ---> maybe I'll have to change the cylinders and the pistons, but I want at least to try all the possible ways to recover them;
4) do the same on the other side, ie the other 3 cilinders;
I was also thinking if I could find a way to heat the cylinders externally with electric resistors, in the manner of a electric blanket, to induce a uniform expansion on them.
Surely the dilatation, even if minimal, should be greater in the cylinders than in the pistons, and it should help to pull the cylinders out without scretching their walls.
Will it be a good (and walkable)idea?
Maybe I could use car body lamps to heat the metal by radiation?
In the meanwhile I am preparing to give a deep clean using pressure washer with hot water together with some degreasing product, for a first look under all that mud that still fills the spaces between the cooling segments.
So it will take at least 4/5 days, but maybe even a week, before I will proceed to pull the cylinders out: it will be hard to resist for so long...
Maybe in the meantime I could take down the engine heads ...
thank you all for the phrases of encouragement and for the technical advice, really very precious.
I think you already know, but you too are now part of this project!
Last edited by nothingbutgt3; 01-11-2019 at 03:57 PM.
You really don't need to be concerned about scratching the cylinders. Just pull them off. I promise you the rusting rings have already damaged the Nikasil plating.
Imho you can search for a shop who will apply new Nikasil in Italy , there are at least two in France , not so far for you .
wd 40 and pressure clean will help you not to aggravate what is already in the cylinders .
can�t wait to see how much mud you will find under the pistons and rust ....
you do a good job for your car
You really don't need to be concerned about scratching the cylinders. Just pull them off. I promise you the rusting rings have already damaged the Nikasil plating.
I think 99% you're right, but I have to resist and defend that 1% chance
can’t wait to see how much mud you will find under the pistons and rust ....
I must resist...don’t you think I am tempted as well?!?
By the way when you will need pics for details of a 993 cup , I own one of those cars . South of France .
I really appreciate your offer: south of France, where more precisely?
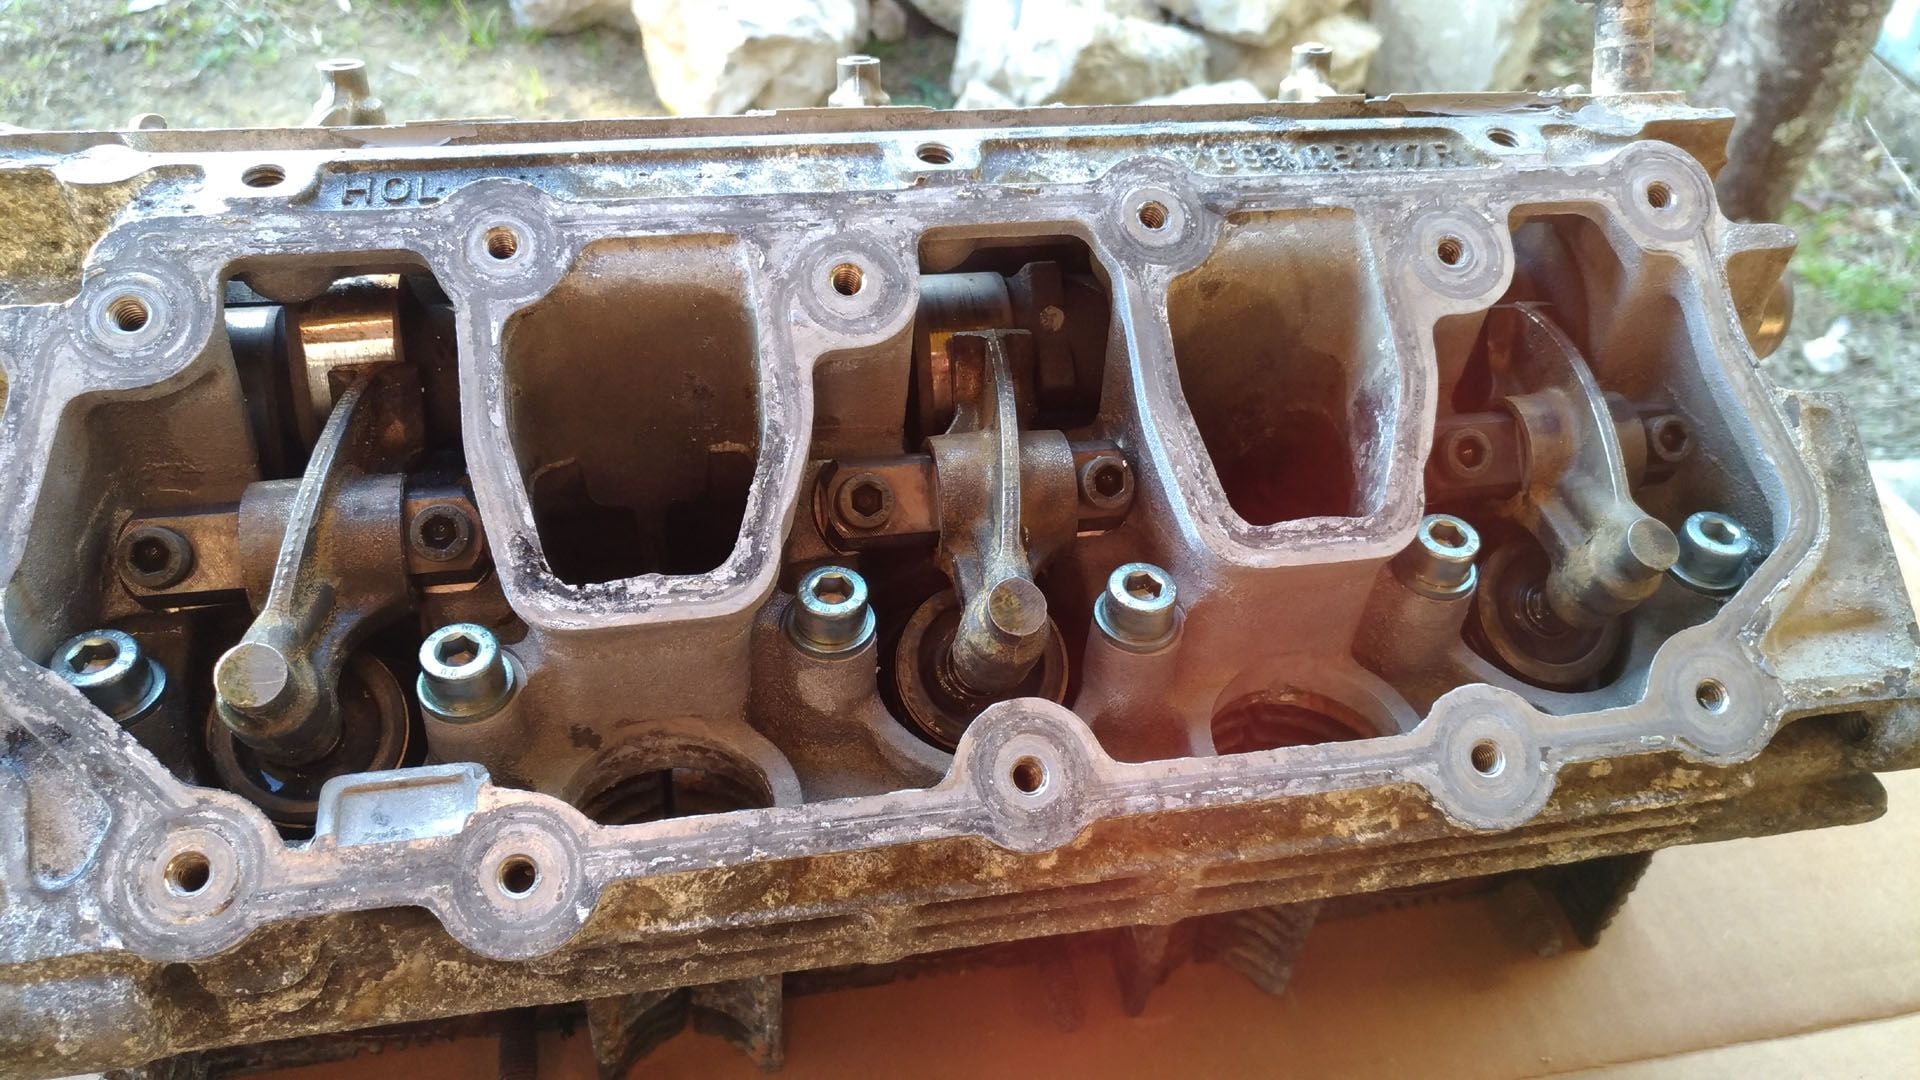
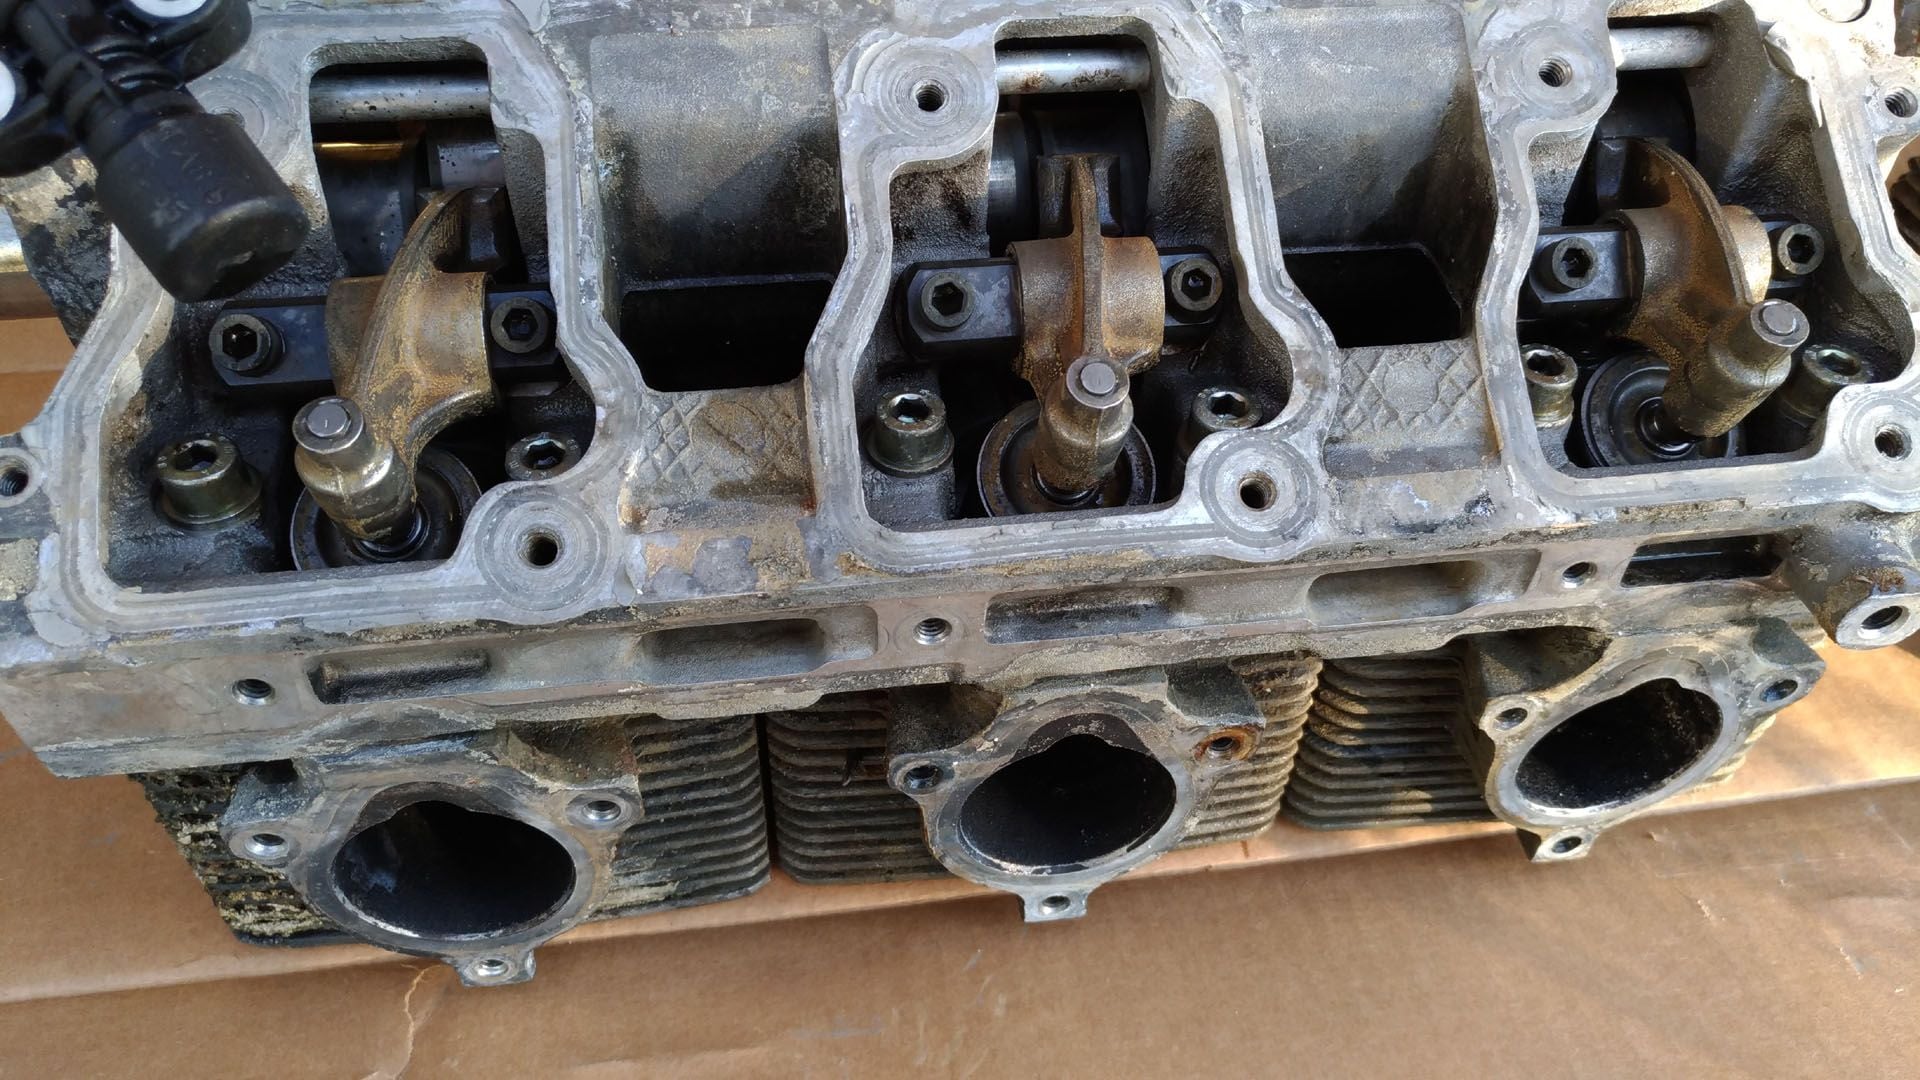
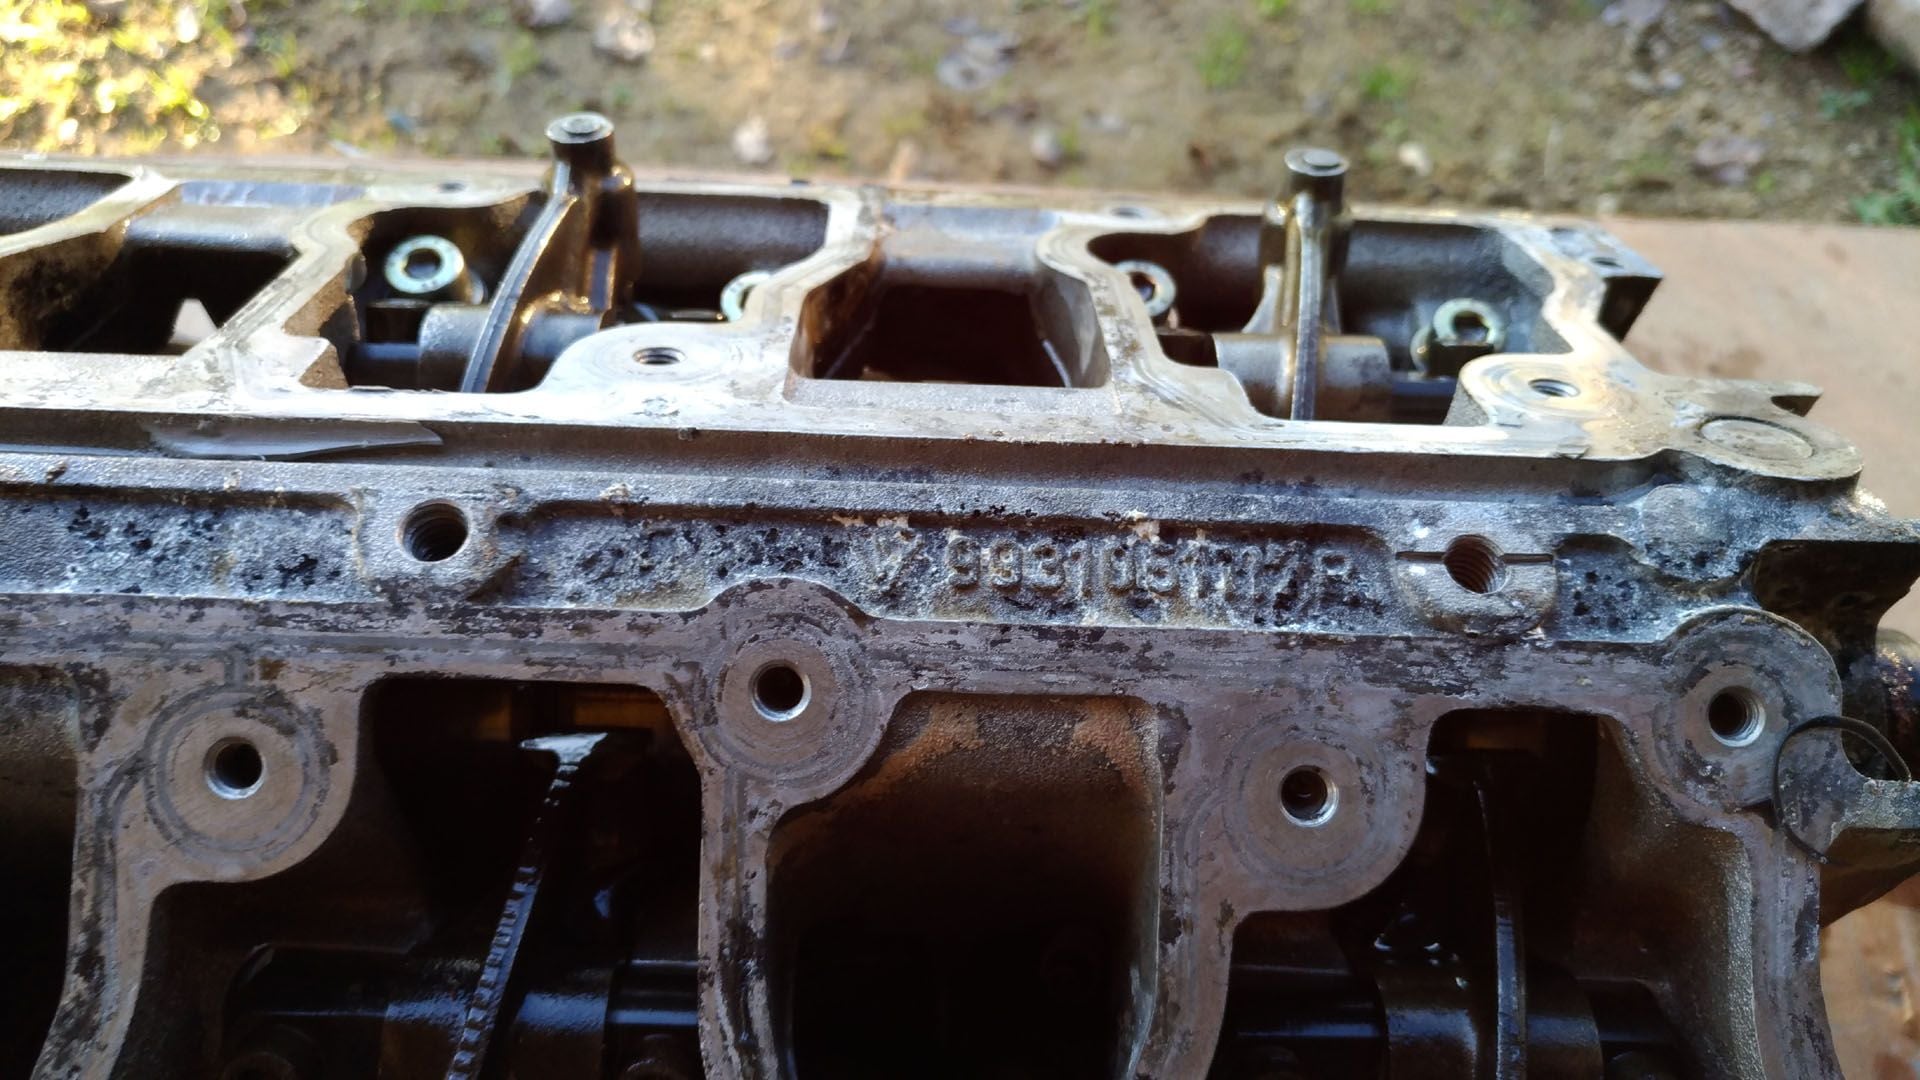
today was a day of cleaning, engine heads cleaning: first pressure washer, then detergent product, then again pressure washer.
This is the result: the parts still dirty are encrusted with a sort of whitish limestone or chalk, but the aluminum fins are not corroded.
I think that to clean these deposits I will have to disassemble the head first.
then I sprayed WD 40 in every part of the heads, especially on connettiture of the screws and the valve seats
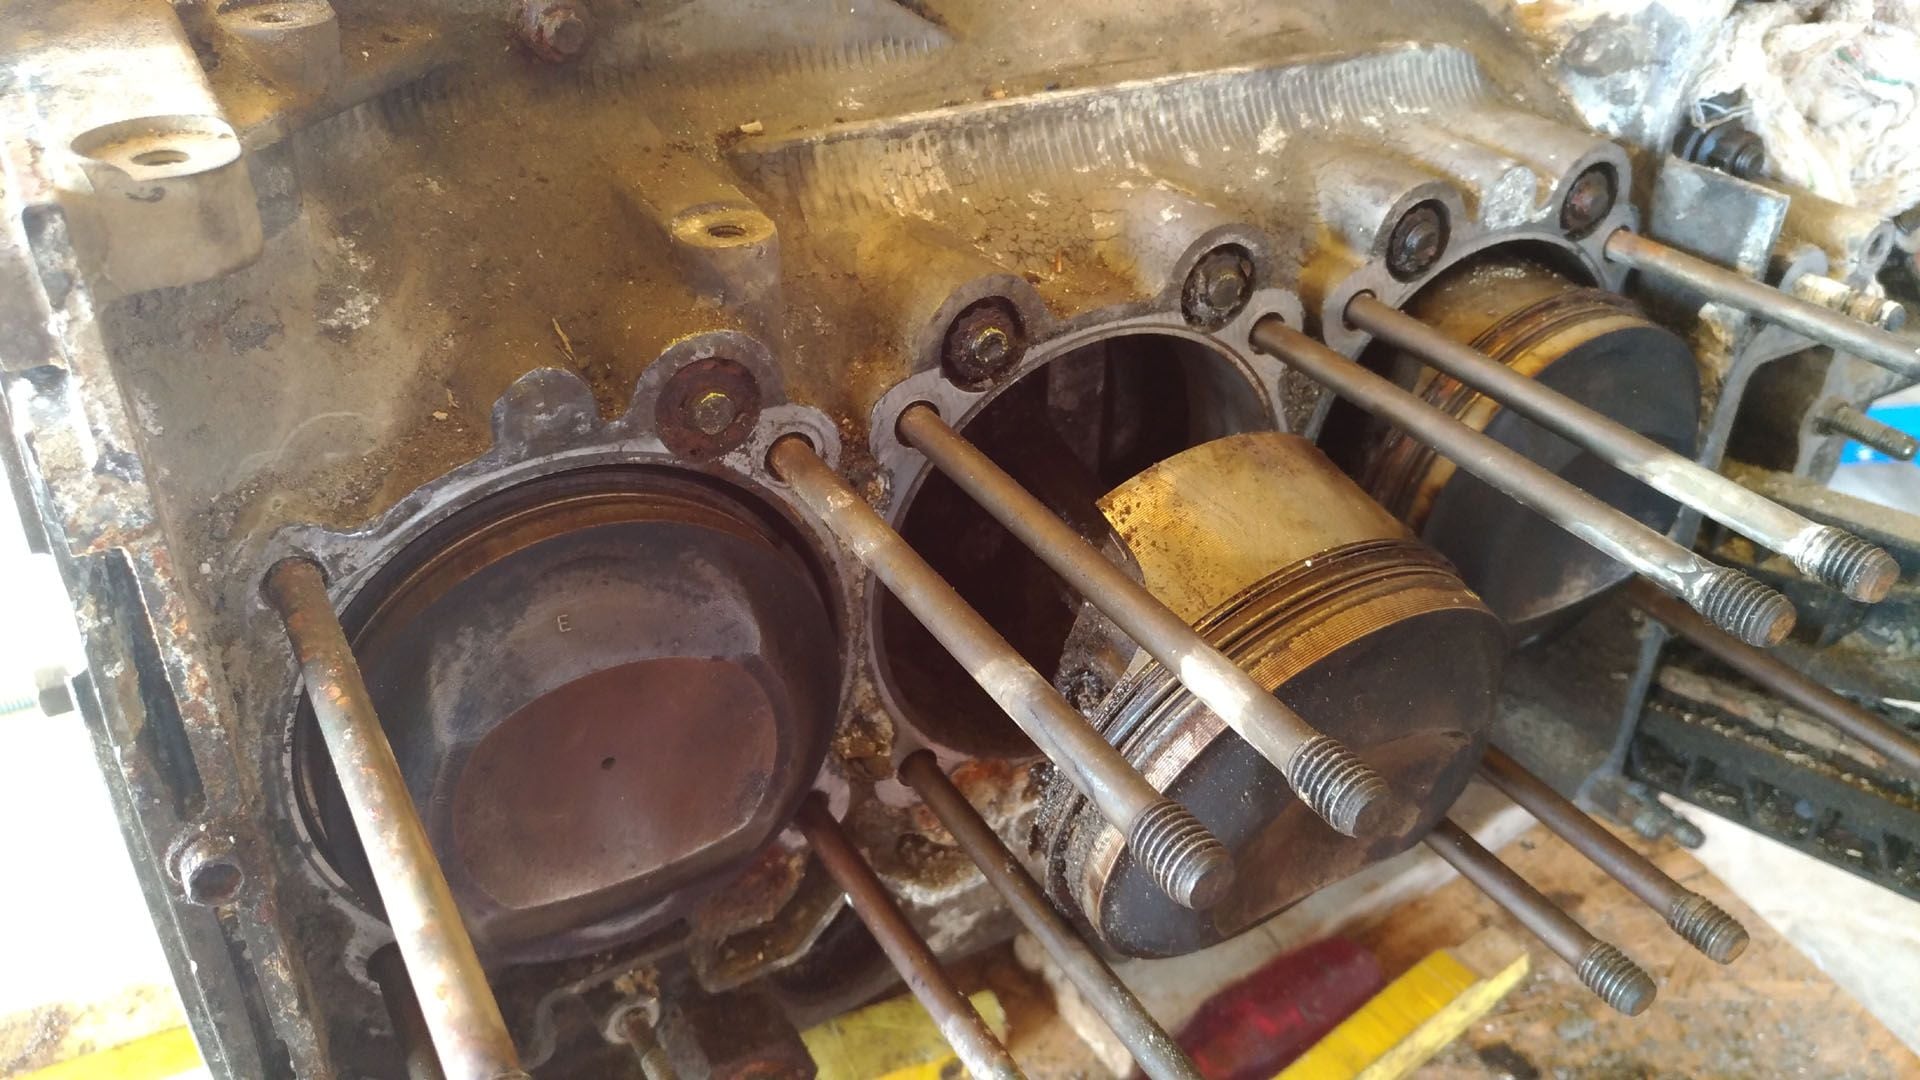
Pictures of the pistons, a bit cleaner then before, but still there, after a huge spay of WD 40 onto the connectiture with the cilinder
I am waiting for the blacksmith that on Monday will prepare a "coupling flange" to connect the engine crank to the stand that I bought yesterday: the flange will be 1 cm steel thick, will have 4 holes of 10mm threaded and 4 holes of 14mm not threaded.
I have also bought shorter studs so that there is going to be no interference in the rotation of the engine on the stand onto its vertical arm.
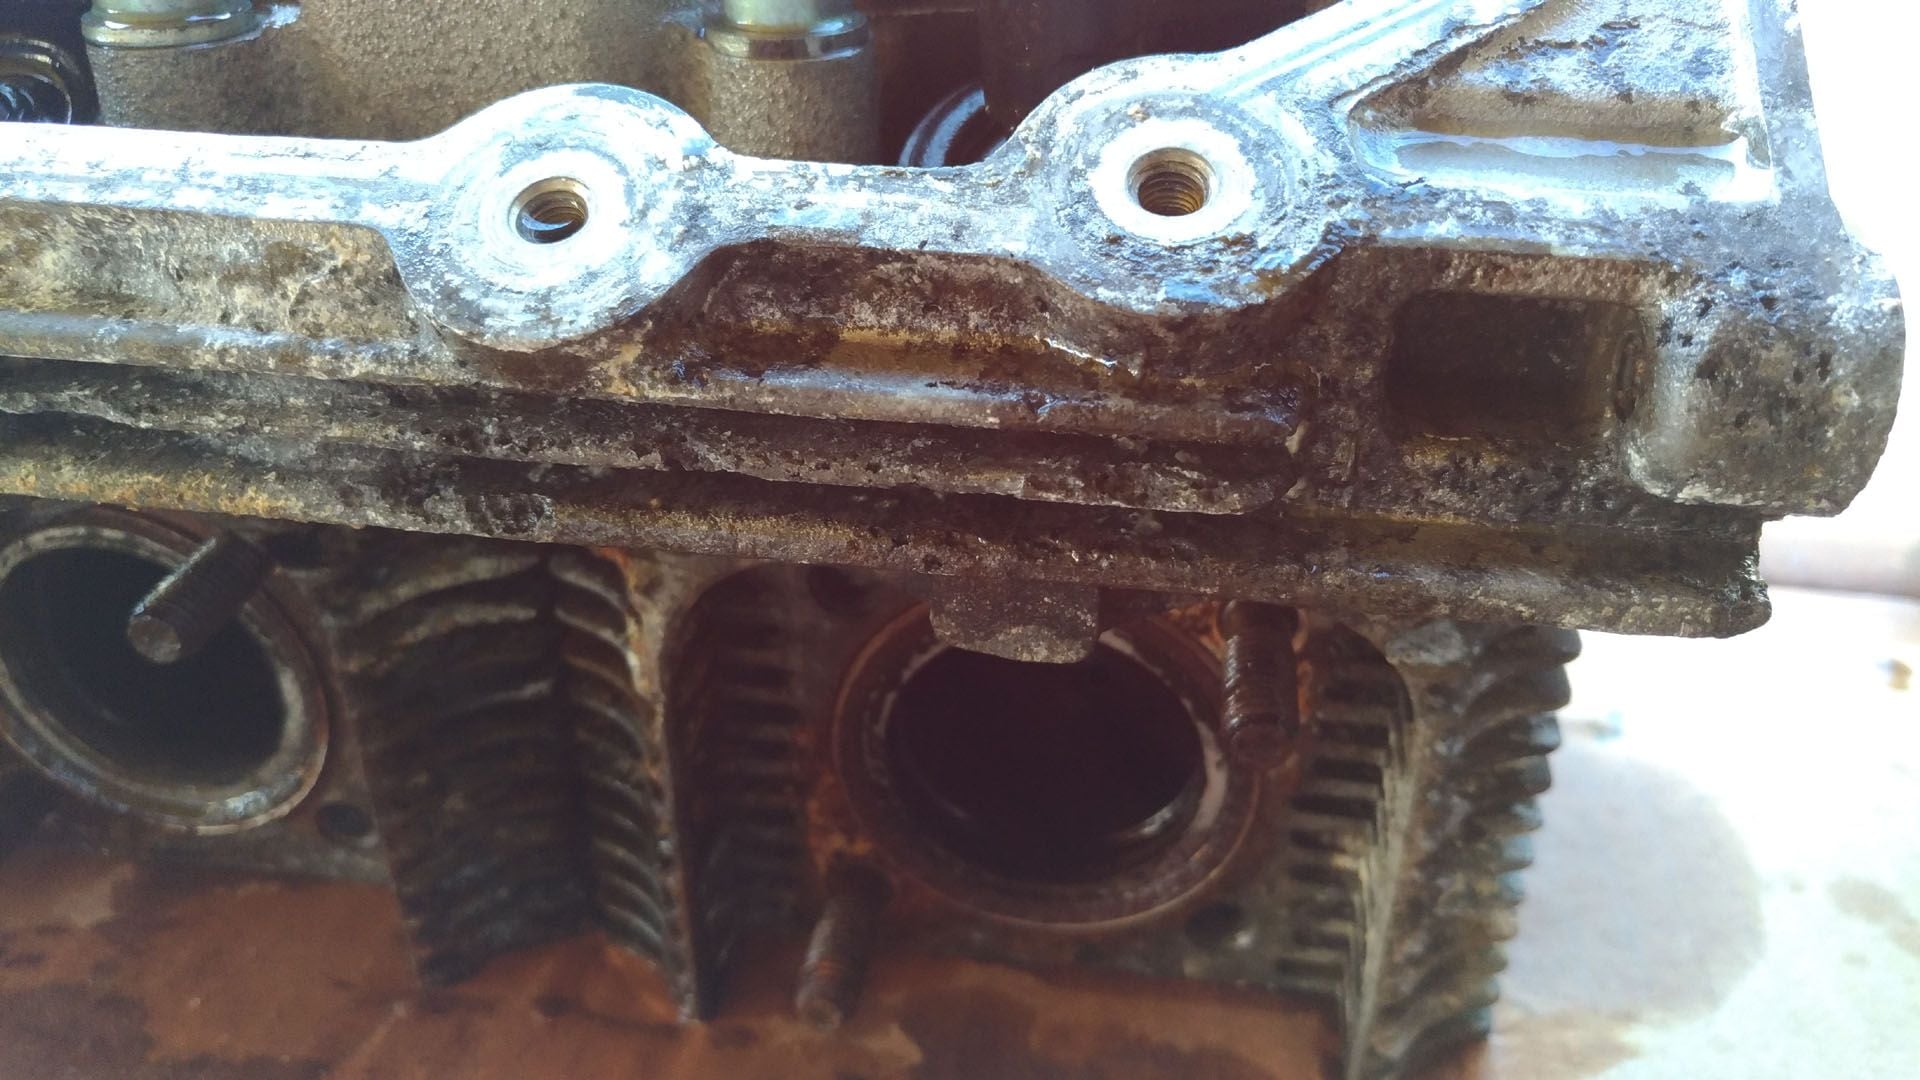
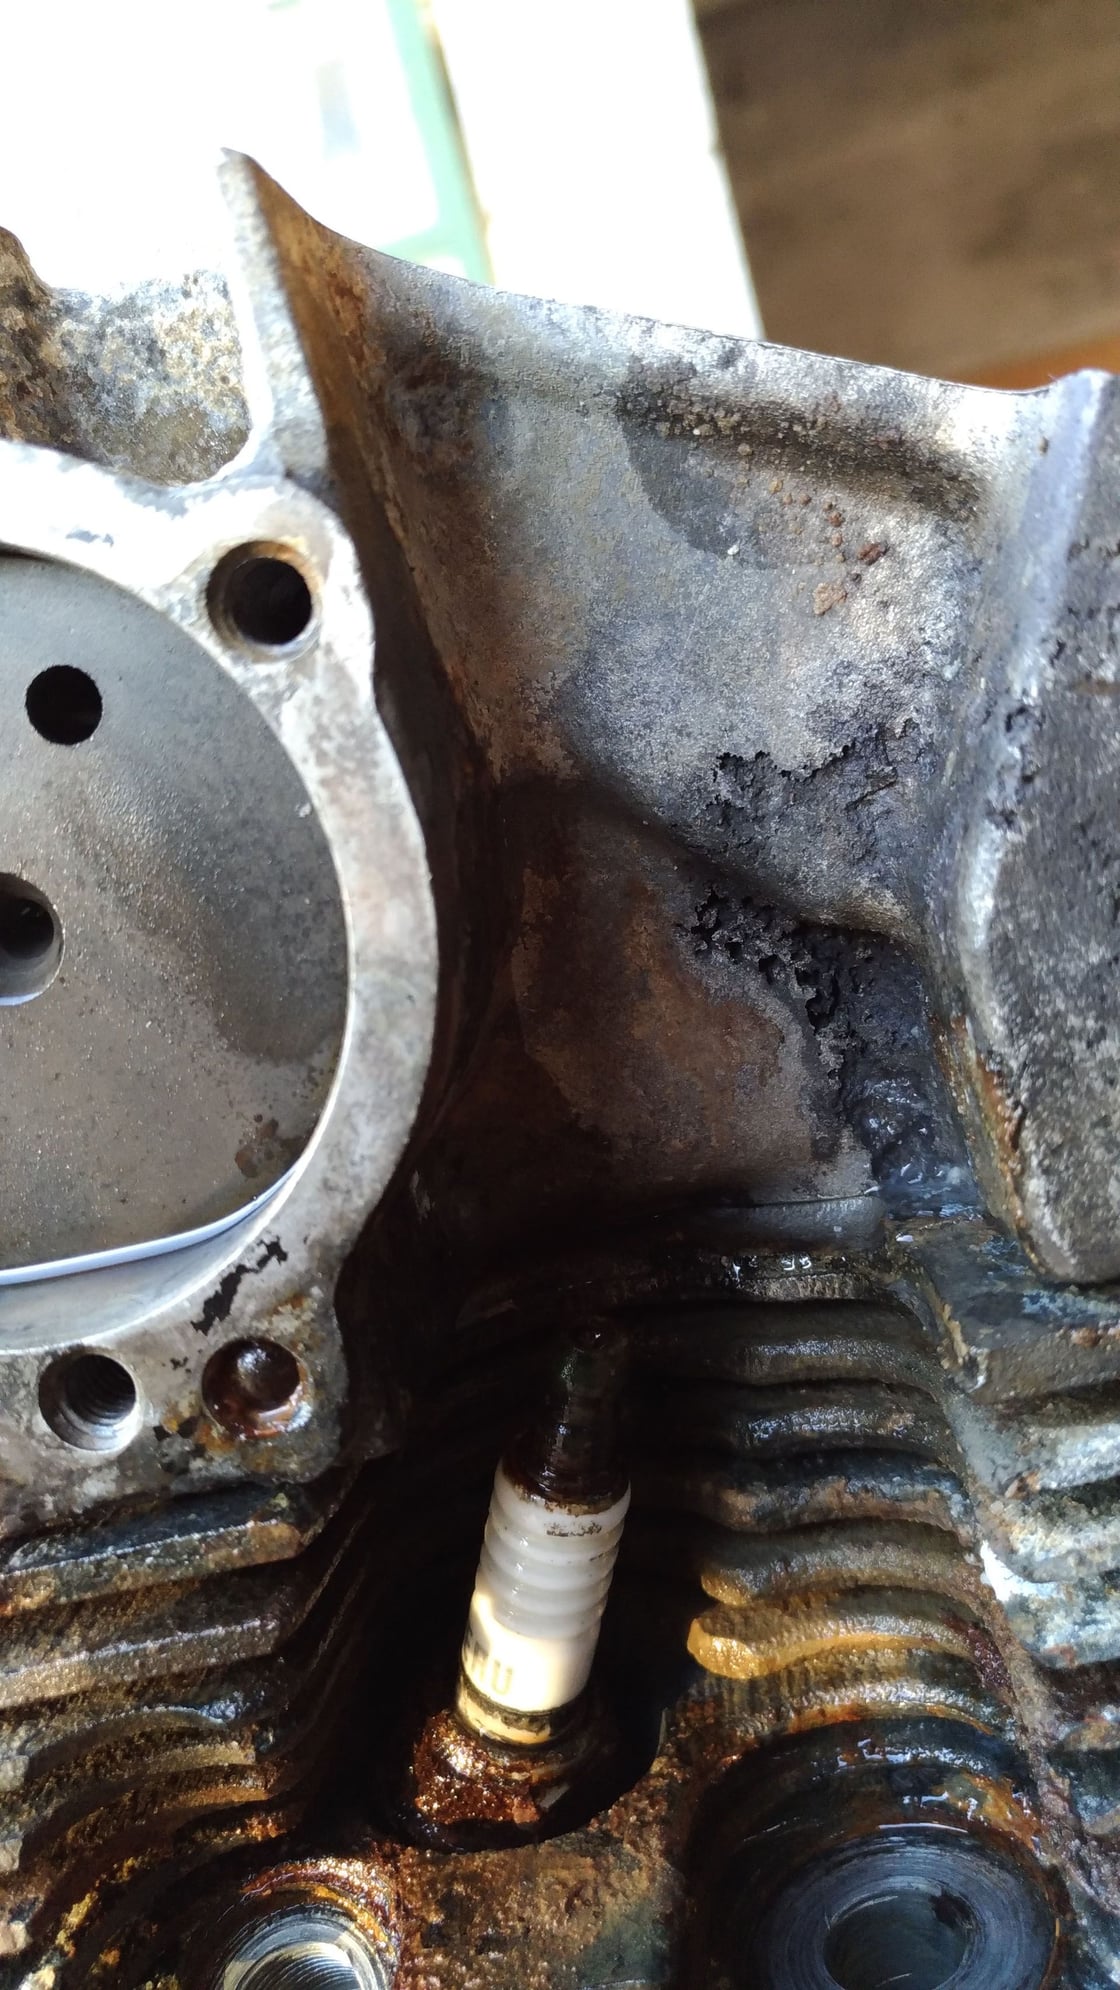
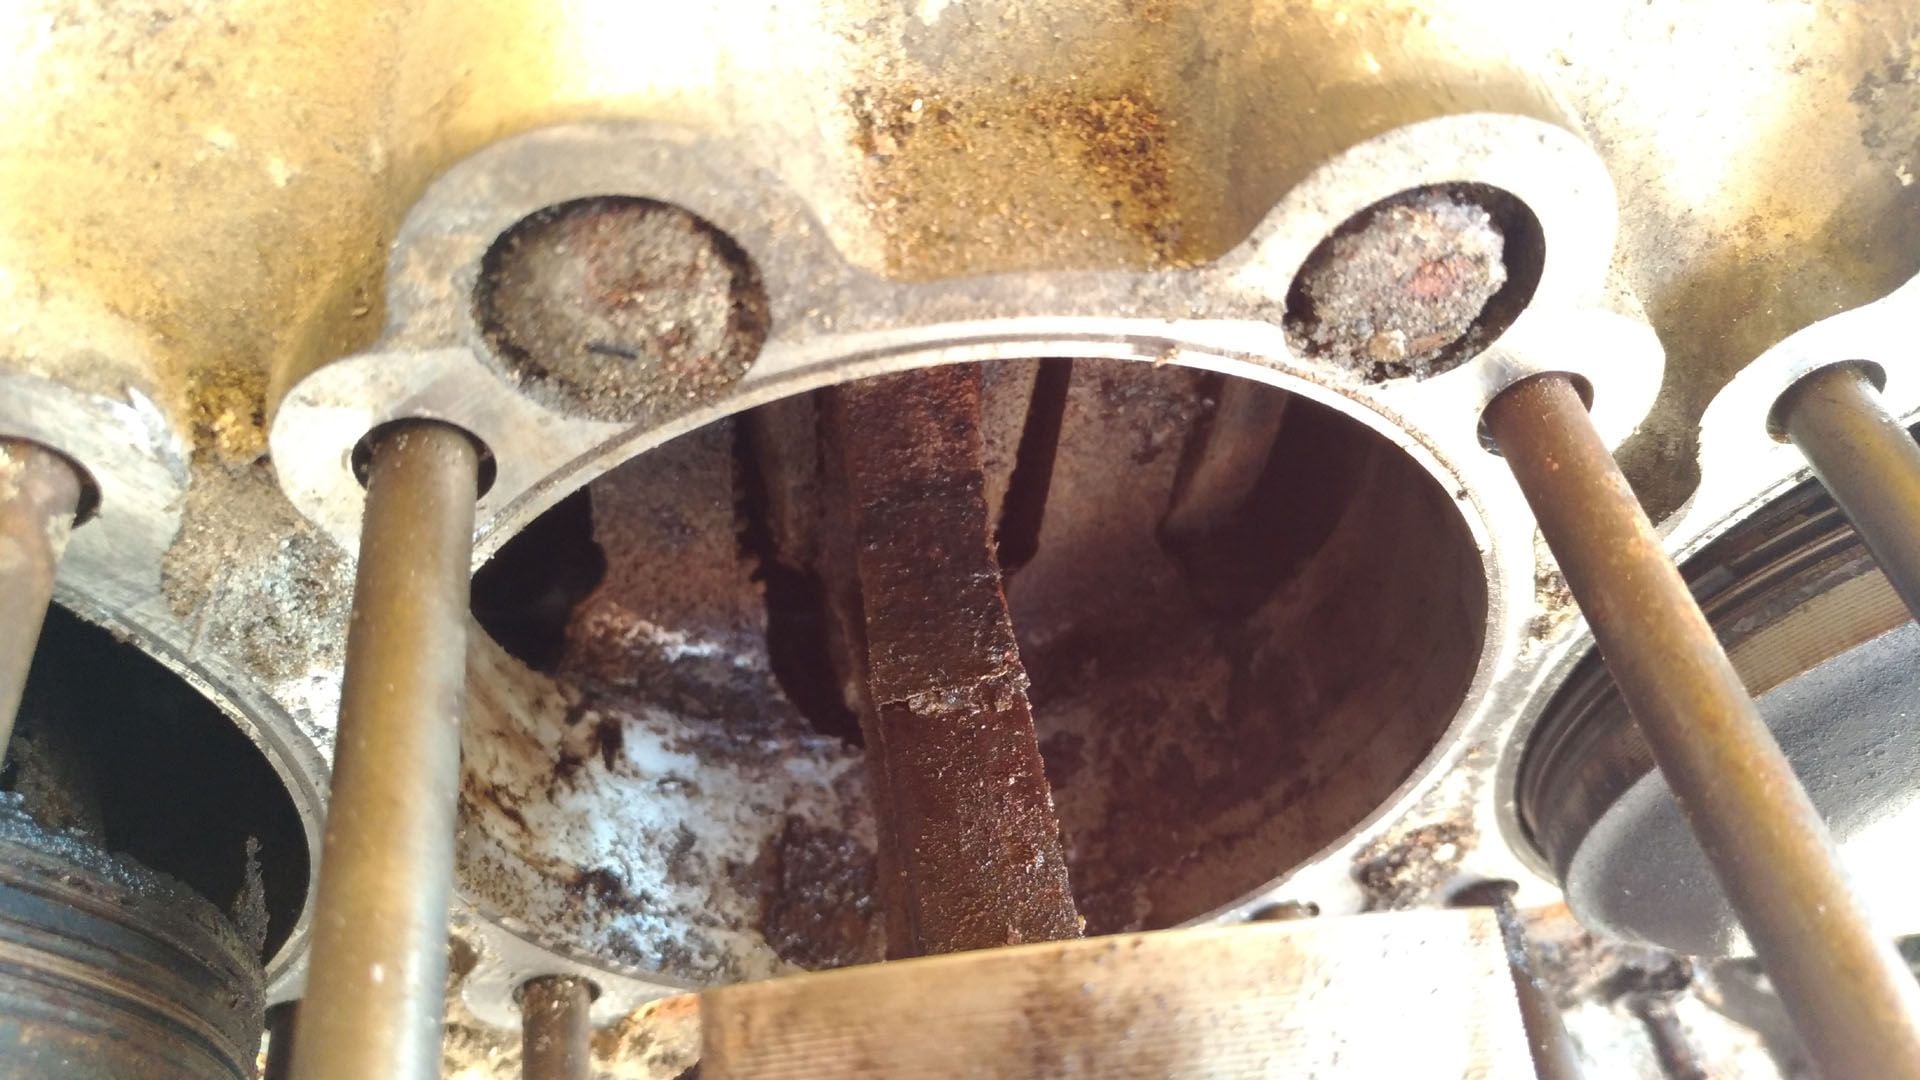
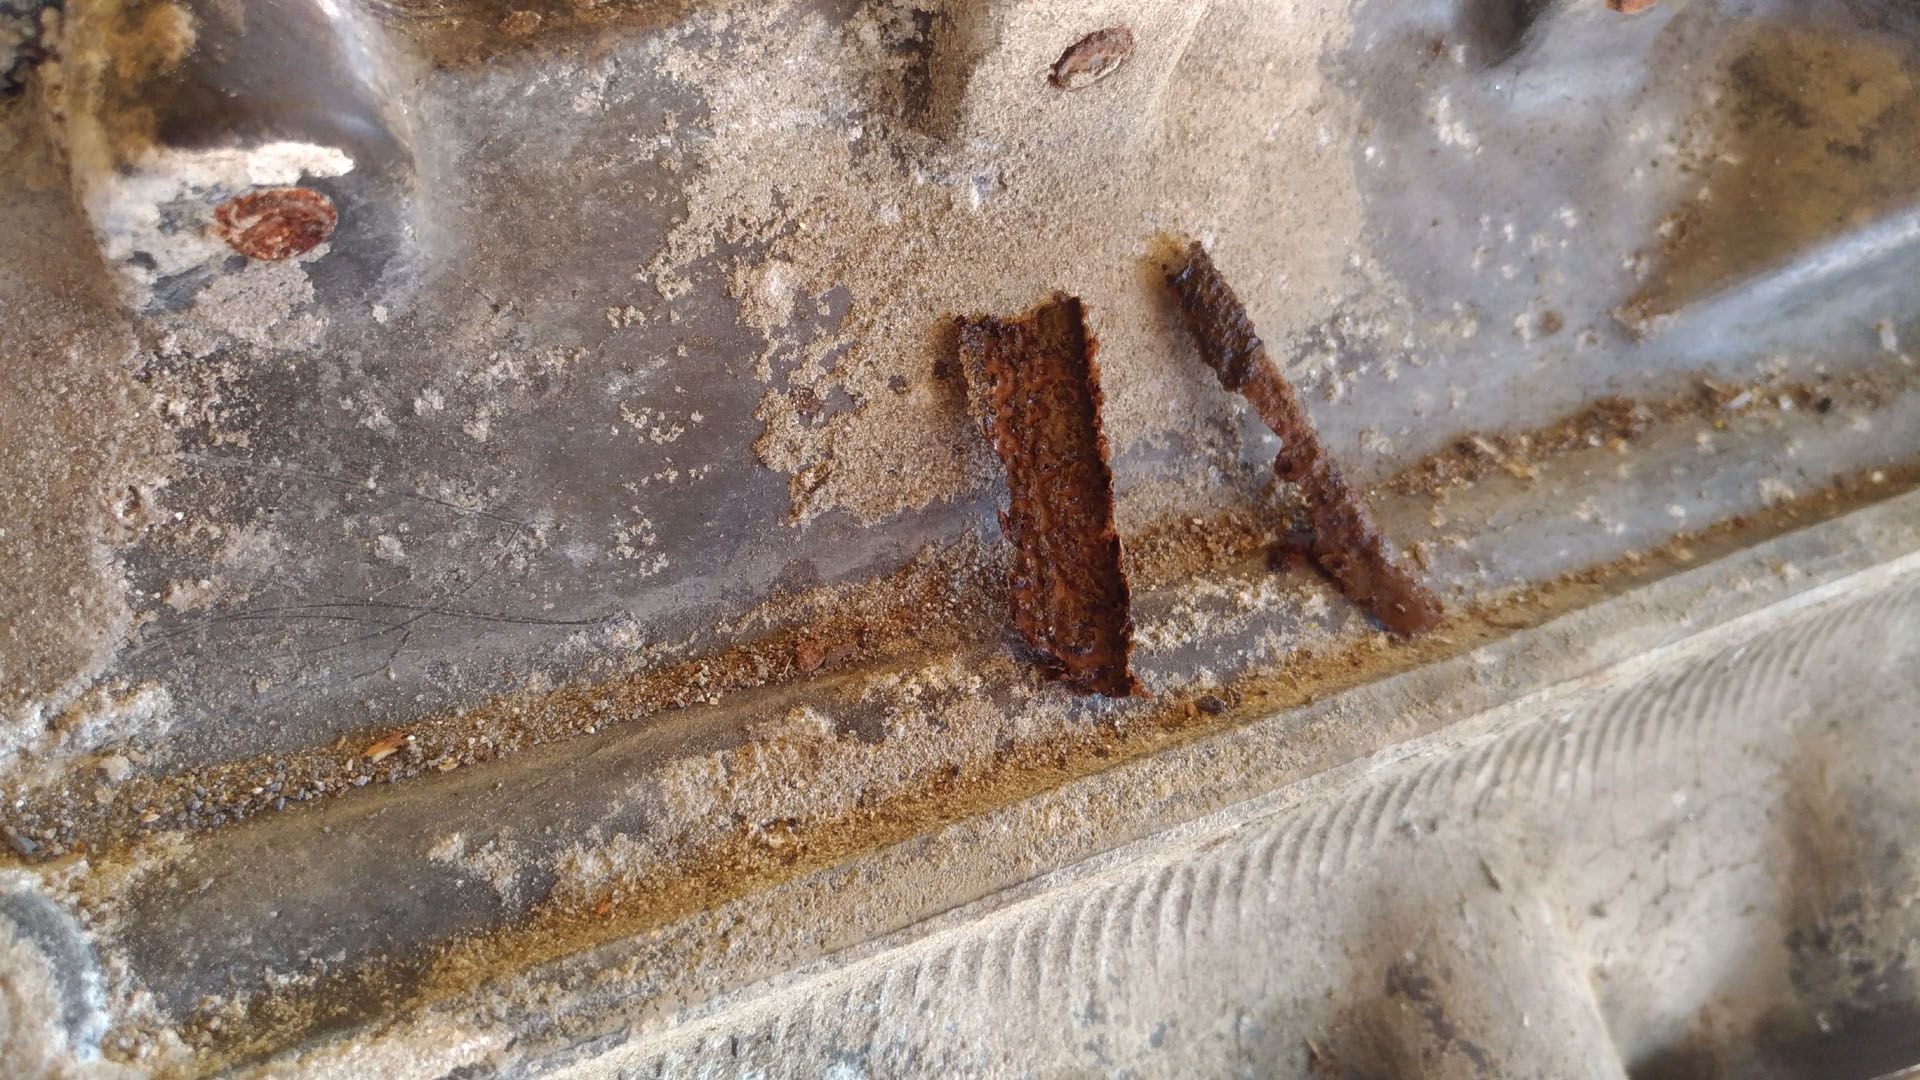
At the end a little 'picture of the points where it is visible corrosion
heaviest corrosion
I think it's limestone
I am going to leave all the night long the engine heads under the WD 40 unblocking effect: tomorrow I would like to disassemble both engine heads.
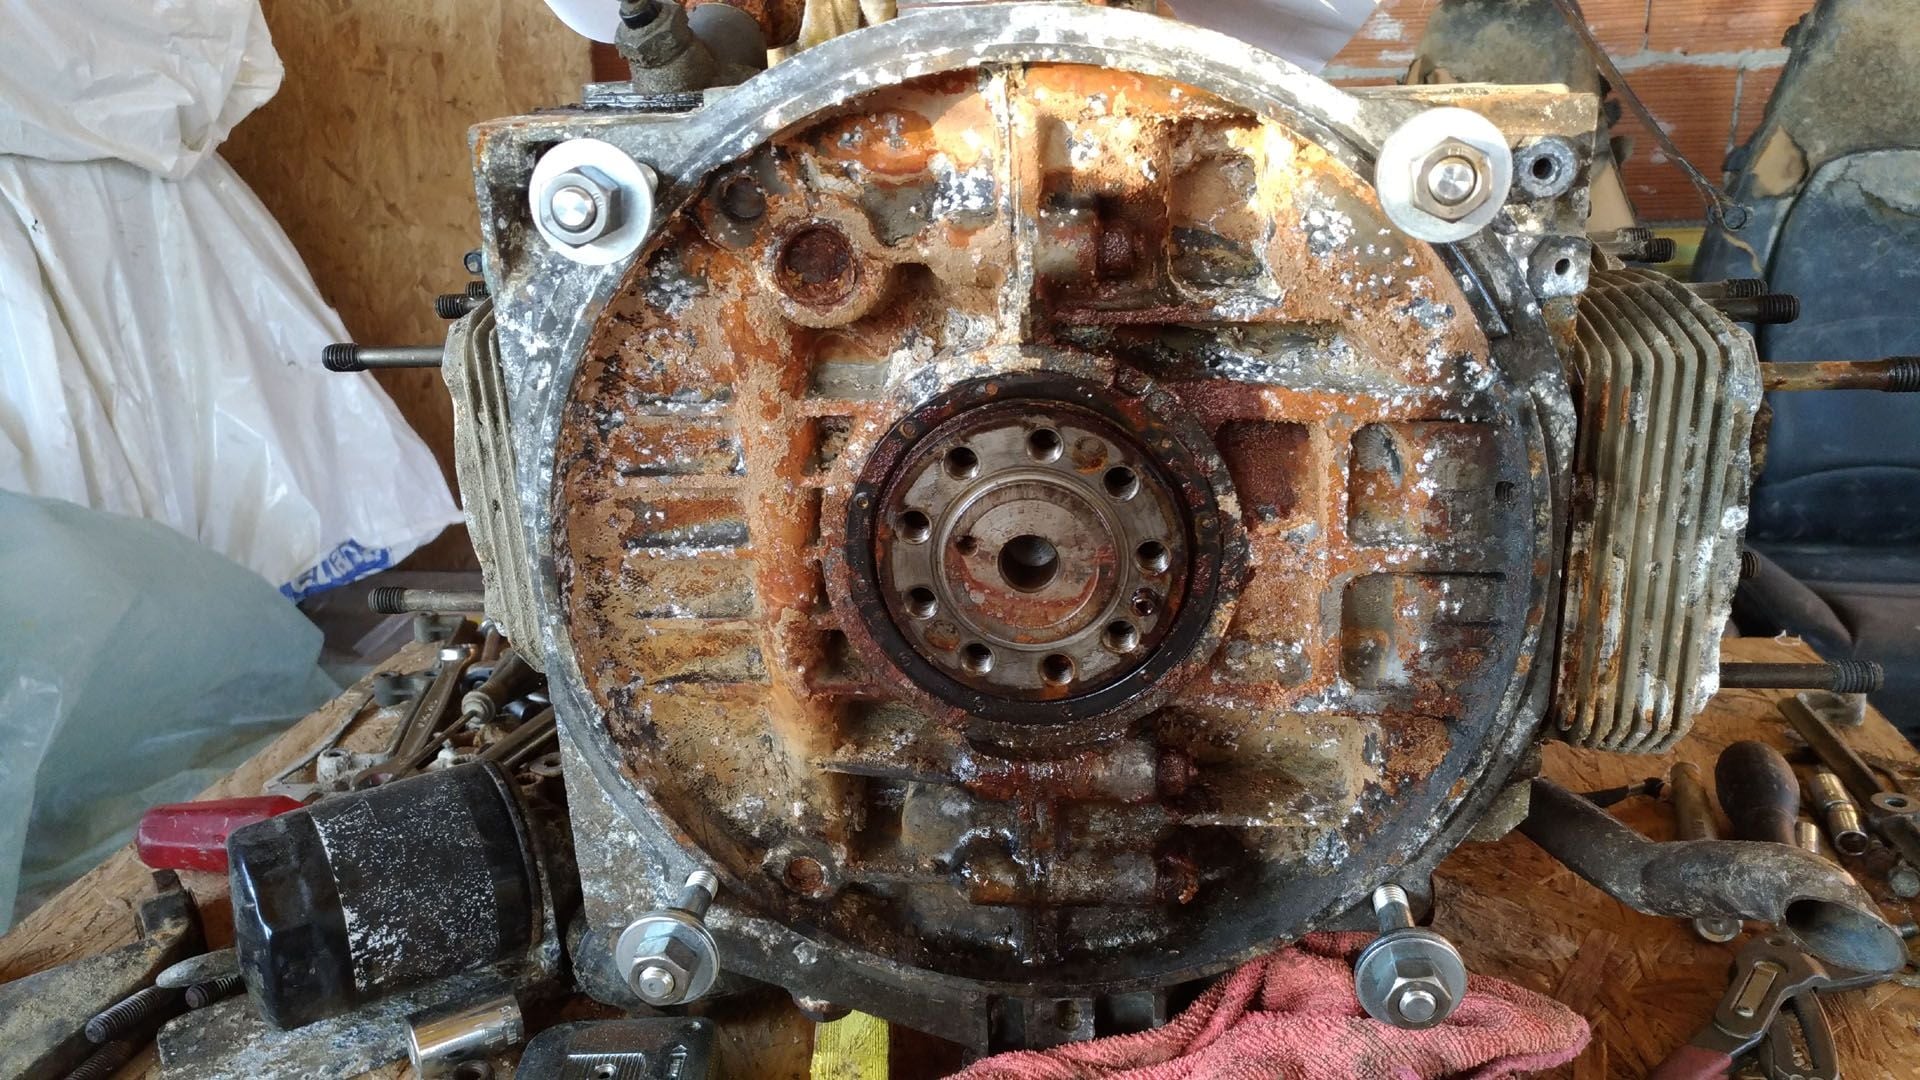
I would be interested what a test for impurities of the water in that river would tell us. Clearly the combination of flowing river, temperature and limited impurities have helped preserve the car considerably. Although seeing these pictures and the extent of corrosion shows it wasn't enough to make these parts useable. These show sever corrosion and when properly cleaned far more material will fall away. It might be one thing if it were limited to the outer surface but it seems to extend into some machine tolerance surfaces as well.
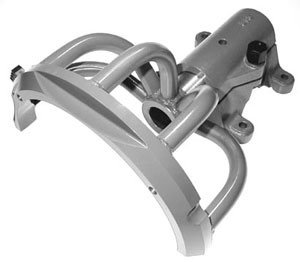
You also want a factory style engine yoke to split the case. There are some inexpensive rings you can bolt to the stand you have but the yoke is the best for around $300.
Now I think O.Wilde must have been totally right with his aphorism "I can resist anything except temptaion"
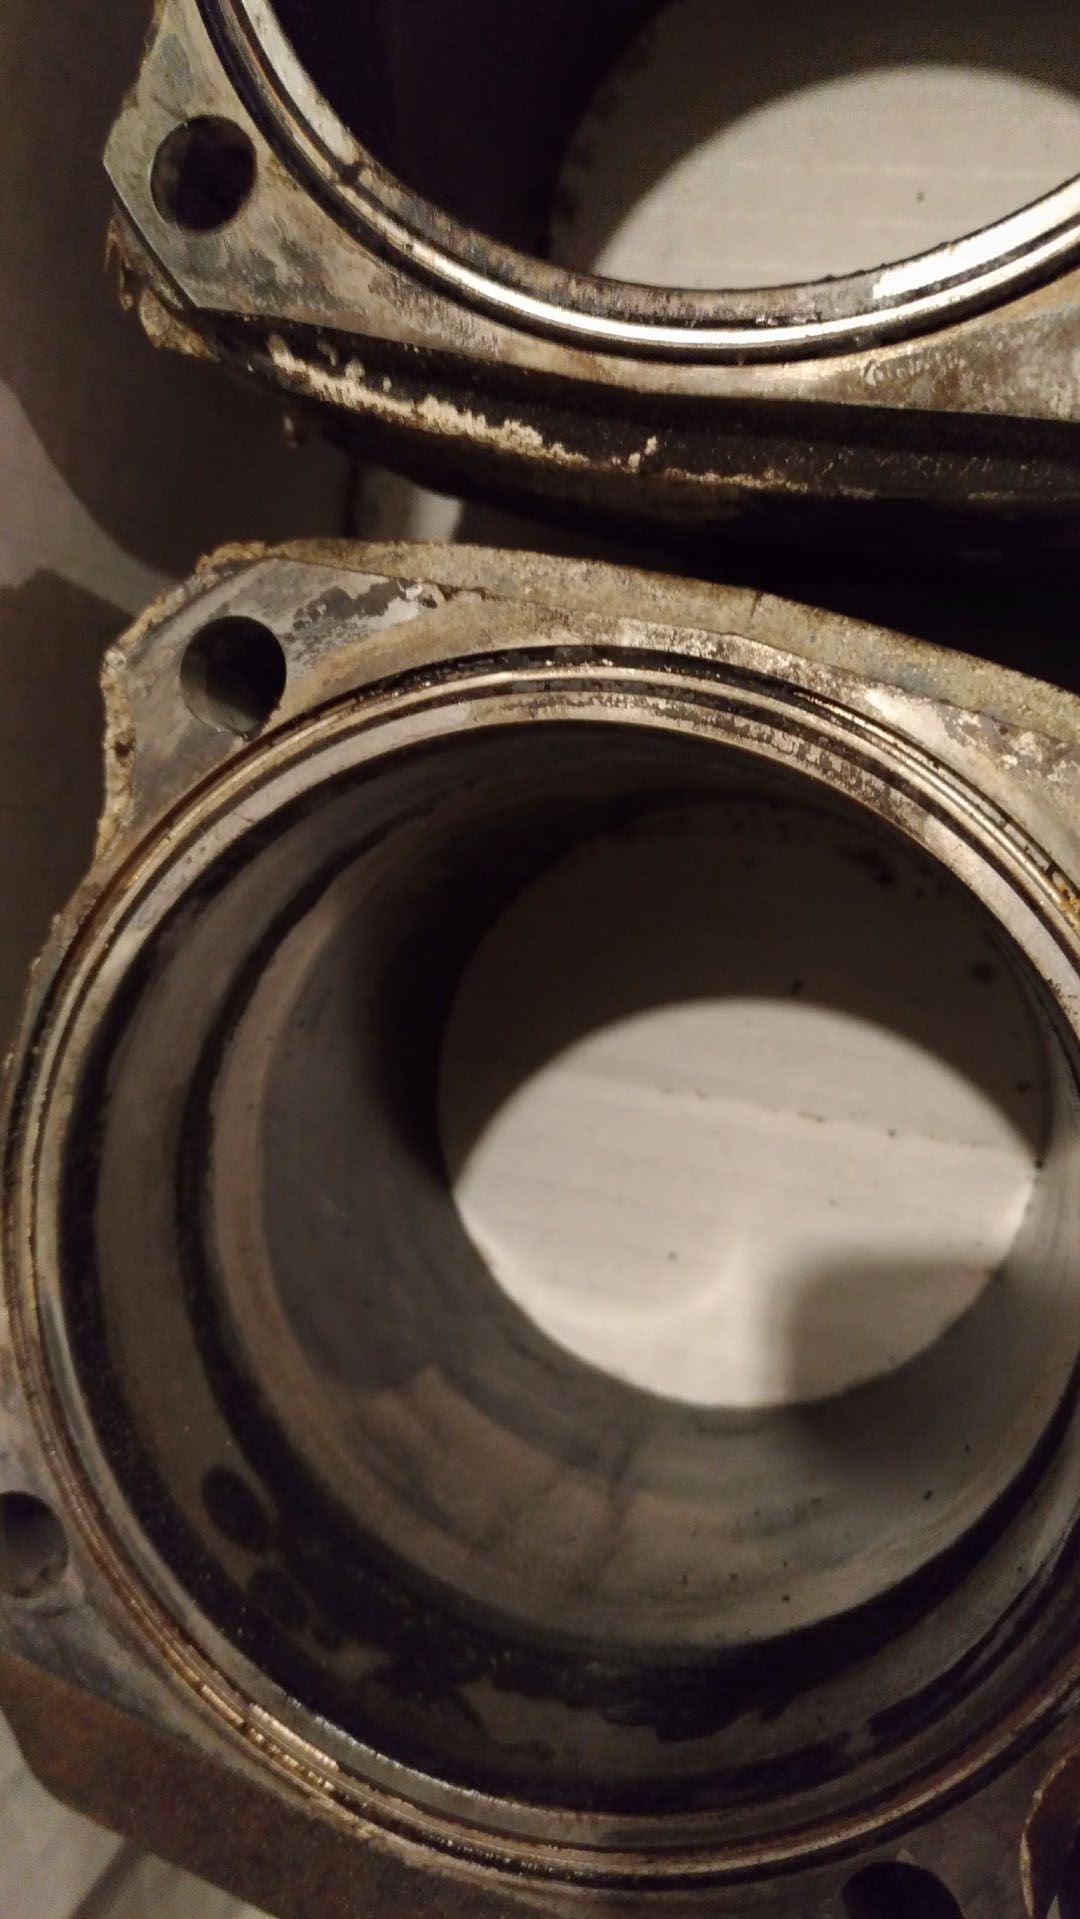
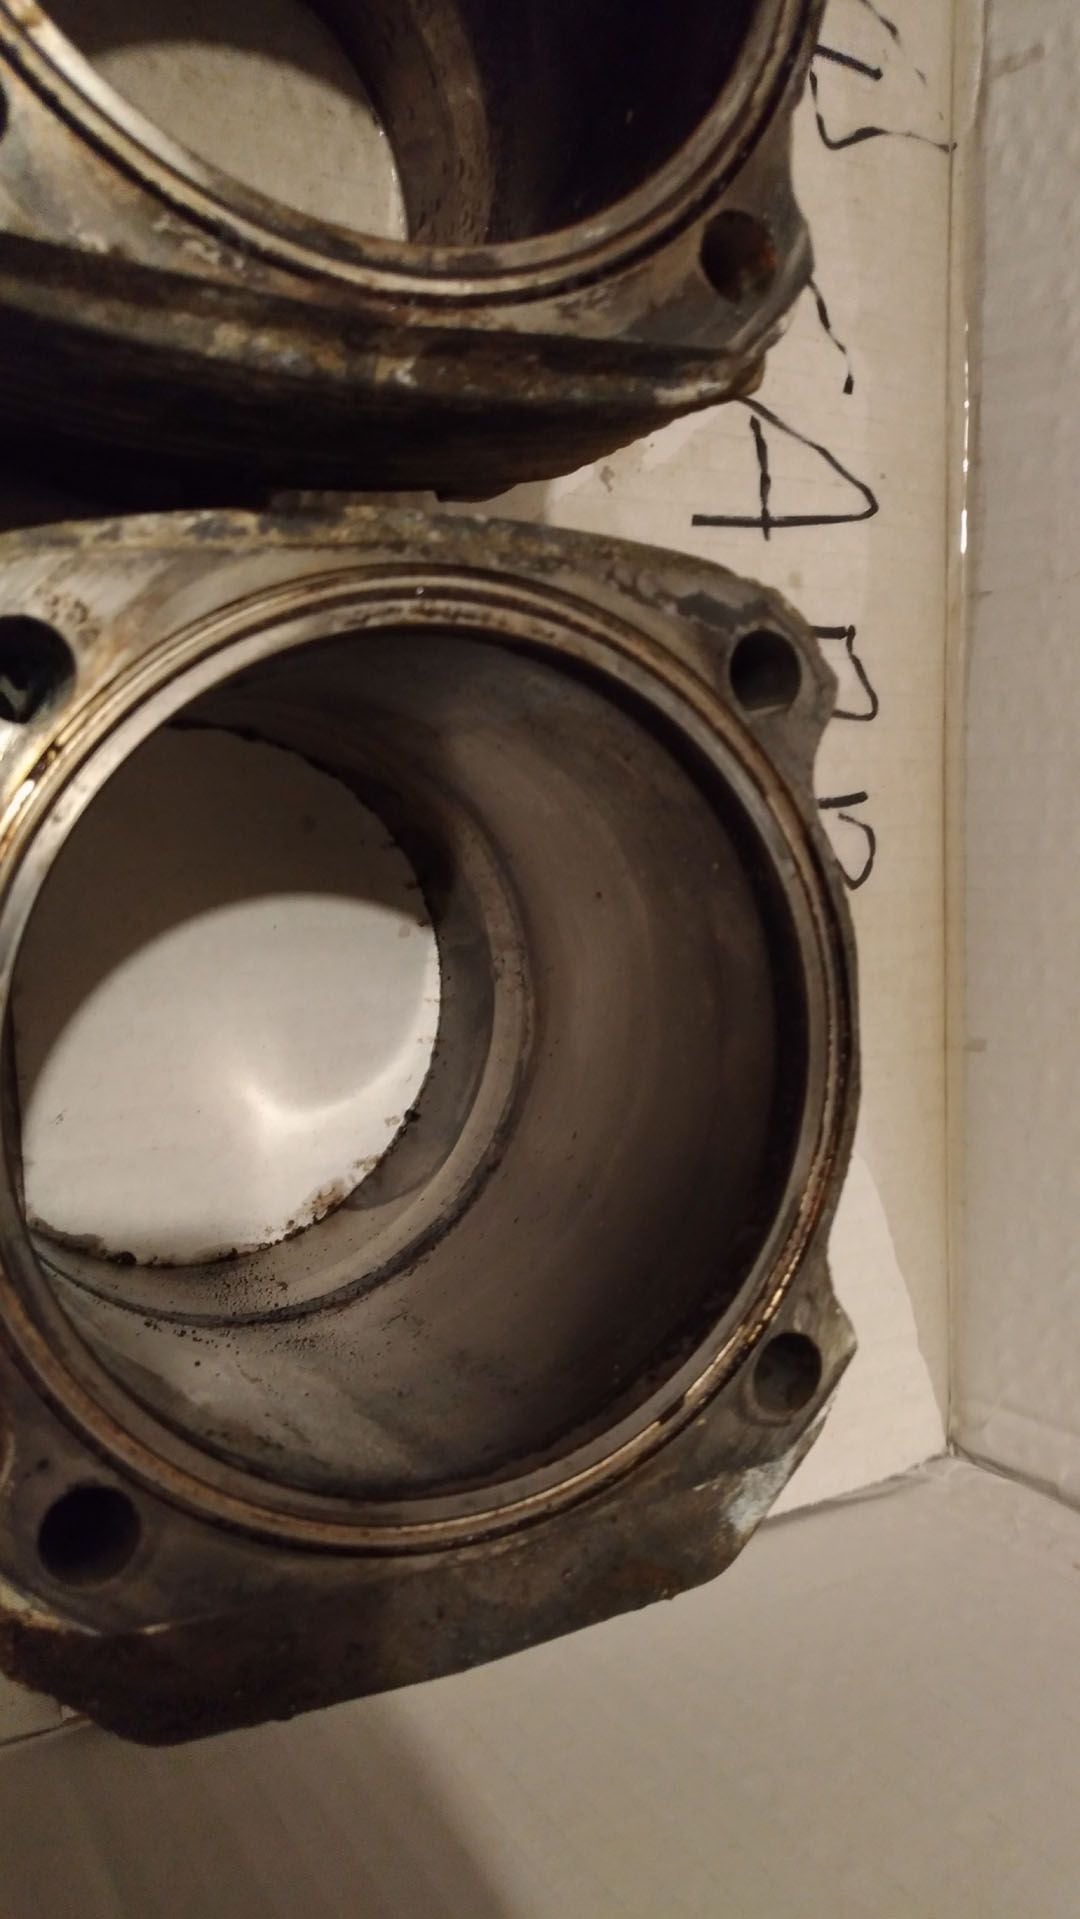
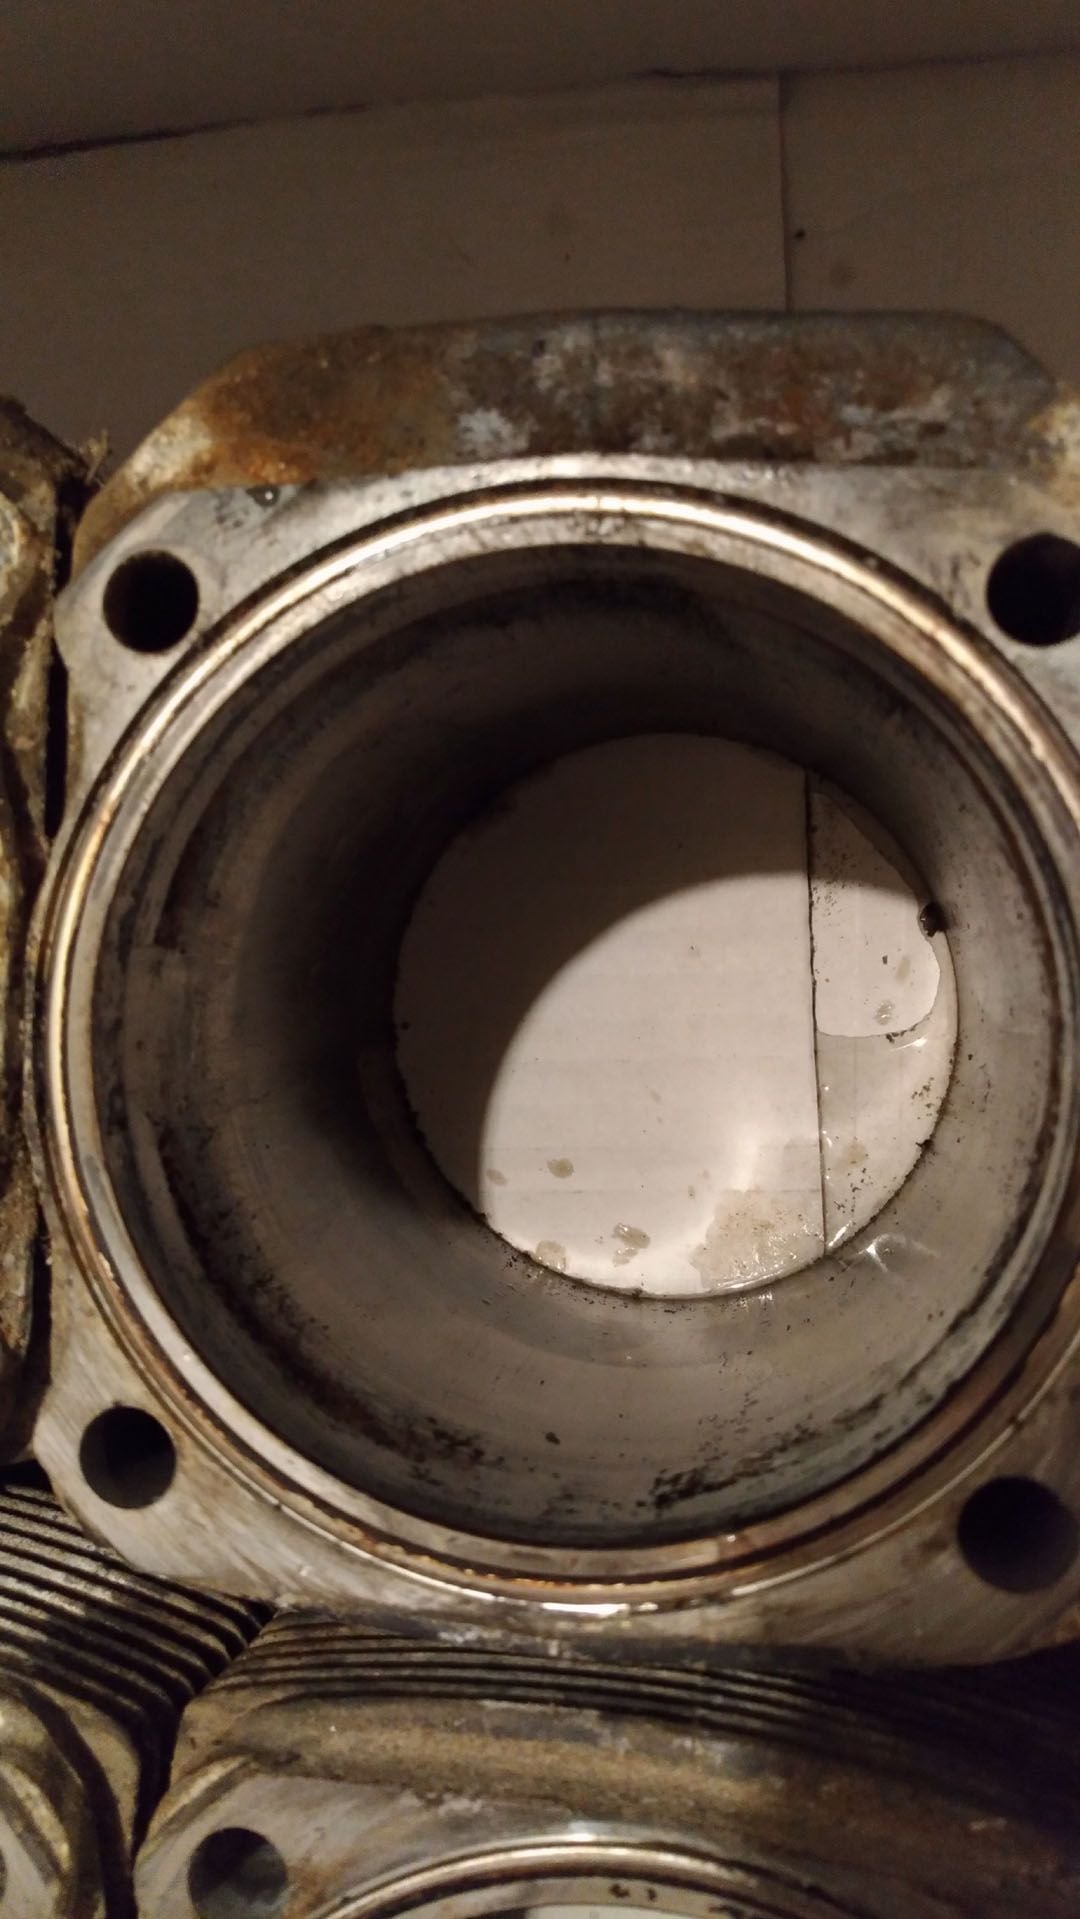
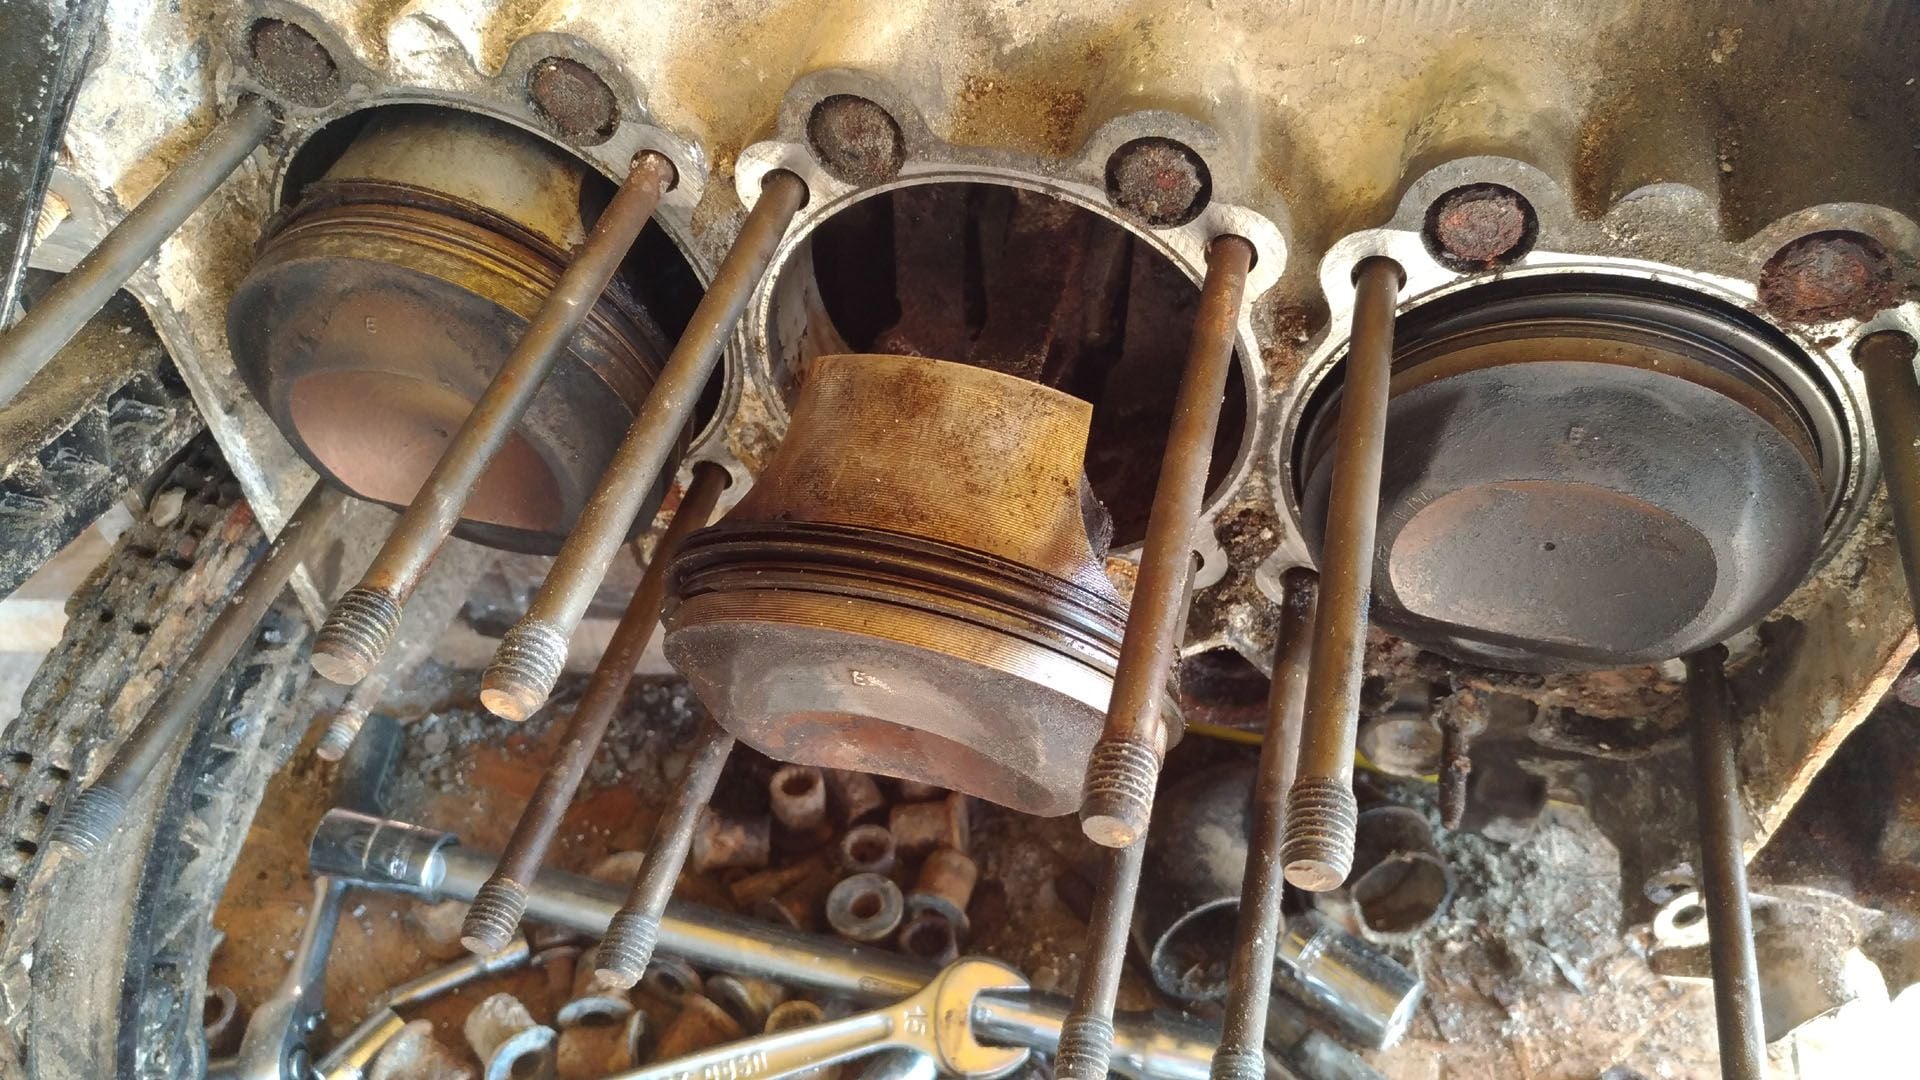
Yesterday in the evening, I tried to remove just one cilinder, just to see how stong I need to pull...and magically it came out with not very much force...so I continued.
These are the cilinders how they came out, untouched, not even brushed with a damp cloth
only with one I needed to pry with a steel wedge: it took 10 minutes to remove 5 cylinders and 20 to remove one.
with all I used a lot of attention
Now, pictures in the morning light of the pistons
inside the connecting rods are covered with this kind of crust that seems made of oil emulsion hardened over time
Today I would like to remove the pistons from the connecting rods and search for the kindest method possible for an initial cleaning of the pistons and cylinders.
Someone suggested me to use coke...not the zero, the original one
you ought to contact Porsche Restoration (classic-service@porsche.de) with pics and story
never know what type of sponsorship they might be interested in funding.
probably WD40.com also, they might throw some money your way for advertising.
not coca-cola though, unlikely they'd want people to know the caustic nature of their product.
 01-11-2019, 01:26 PM