When you click on links to various merchants on this site and make a purchase, this can result in this site earning a commission. Affiliate programs and affiliations include, but are not limited to, the eBay Partner Network.
Project is winding down just as my free time is nearly non-existent.
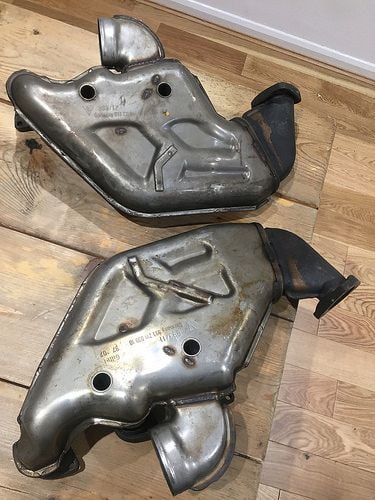
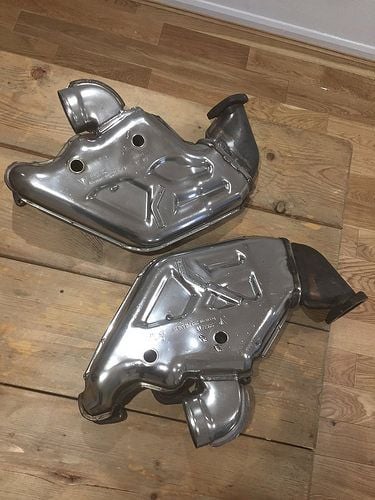
The spare lift had a few days of downtime so I used that as an opportunity to dial in a few items and tiny issues that arose during the build. I rolled the dice when cleaning the front hubs and left the wheel speed sensors in the hubs during cleaning since no amount of persuasion would free them. I knew there was a 50/50 shot they'd be ruined in the ultrasonic tank during cleaning but figured if I couldn't get them out they'd need replaced anyway.... well when we started the car sure enough one of the sensors threw an ABS error, so we drilled out the old sensor and replaced it, then the other one replaced. 2 sensors and a few hours of fun getting the old ones out and the ABS errors are not long gone and one more line checked off the check list.
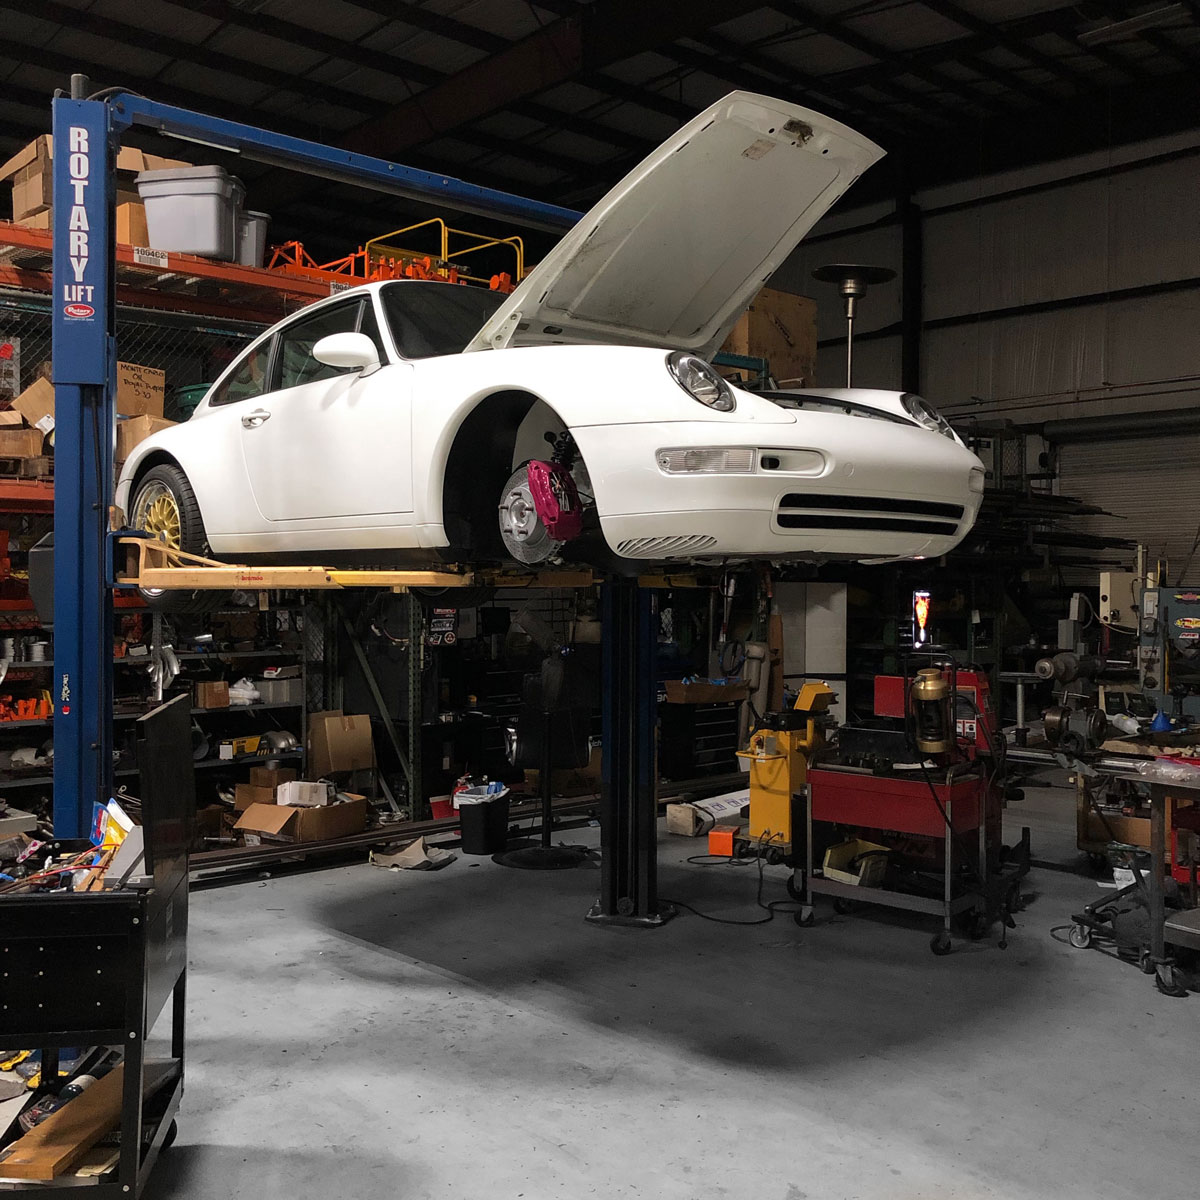
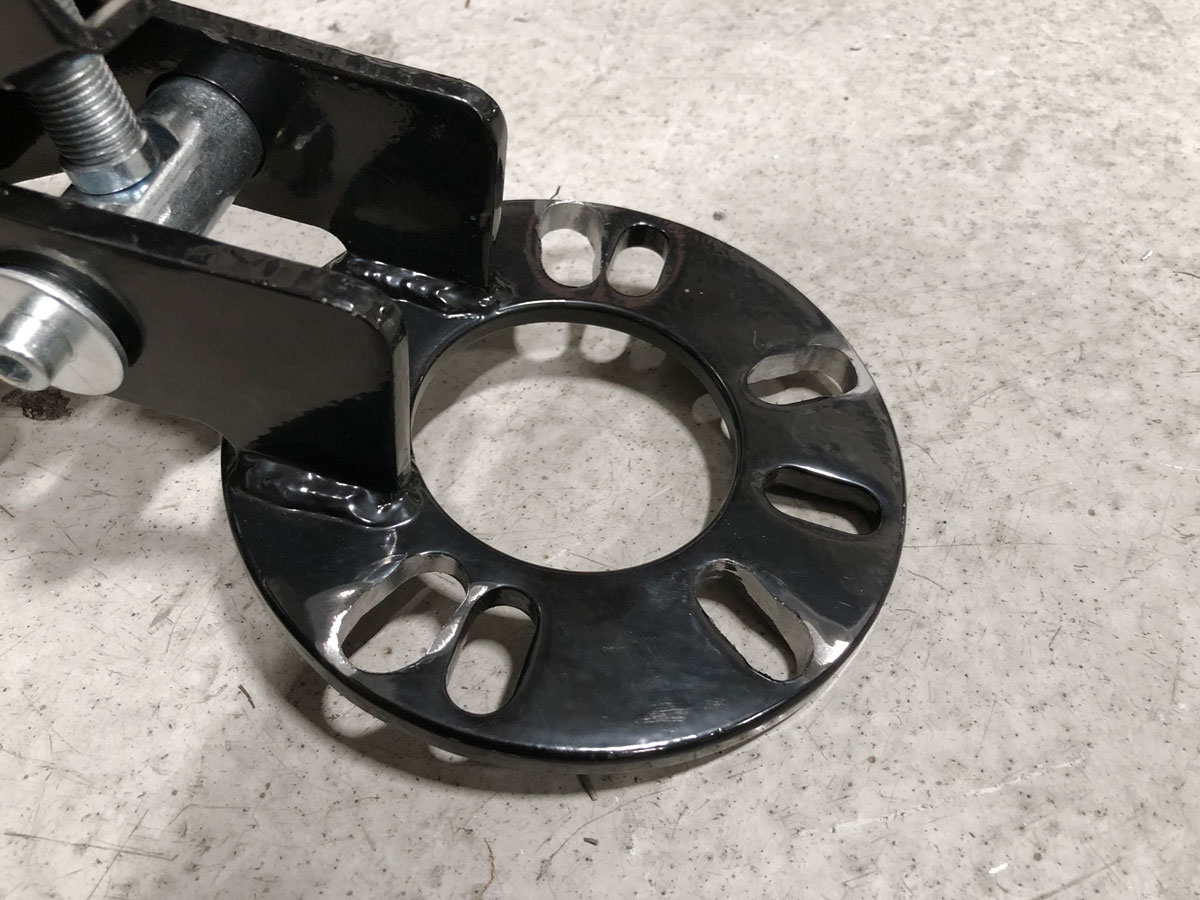
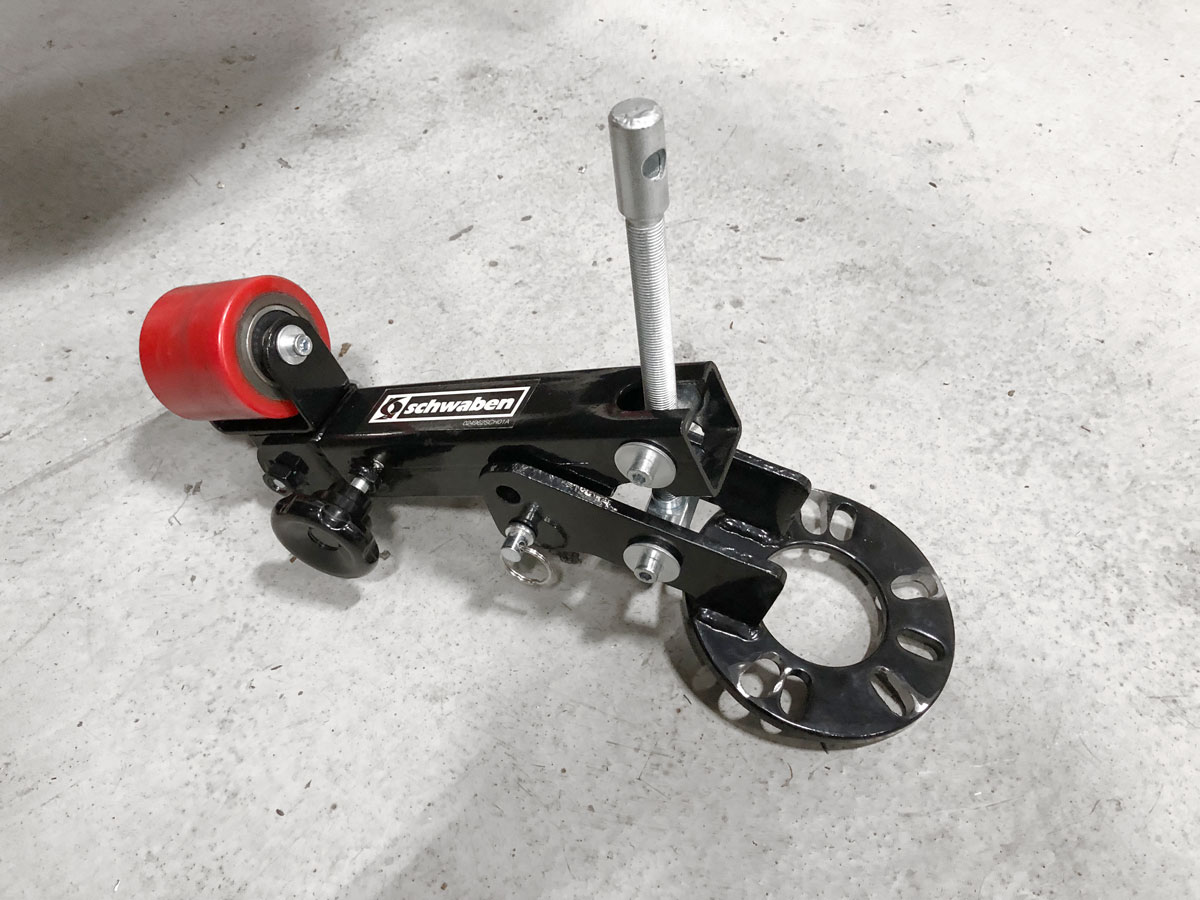
I wanted to make sure that we have the fender clearance needed with the more aggressive offsets so opted to roll the fenders while up in the air. We have the Eastwood unit at the shop but its not 5x130 friendly so I purchased a cheap Schwaben unit from ECS that was said to work. It didn't without some aggressive clearance grinding, and shortening of the arm, even then it just barely did the job. A heat gun worked well to help soften the paint, unfortunately we got a cold front on the last fender and I've got some light spider cracking of the paintwork to deal with at a later time.
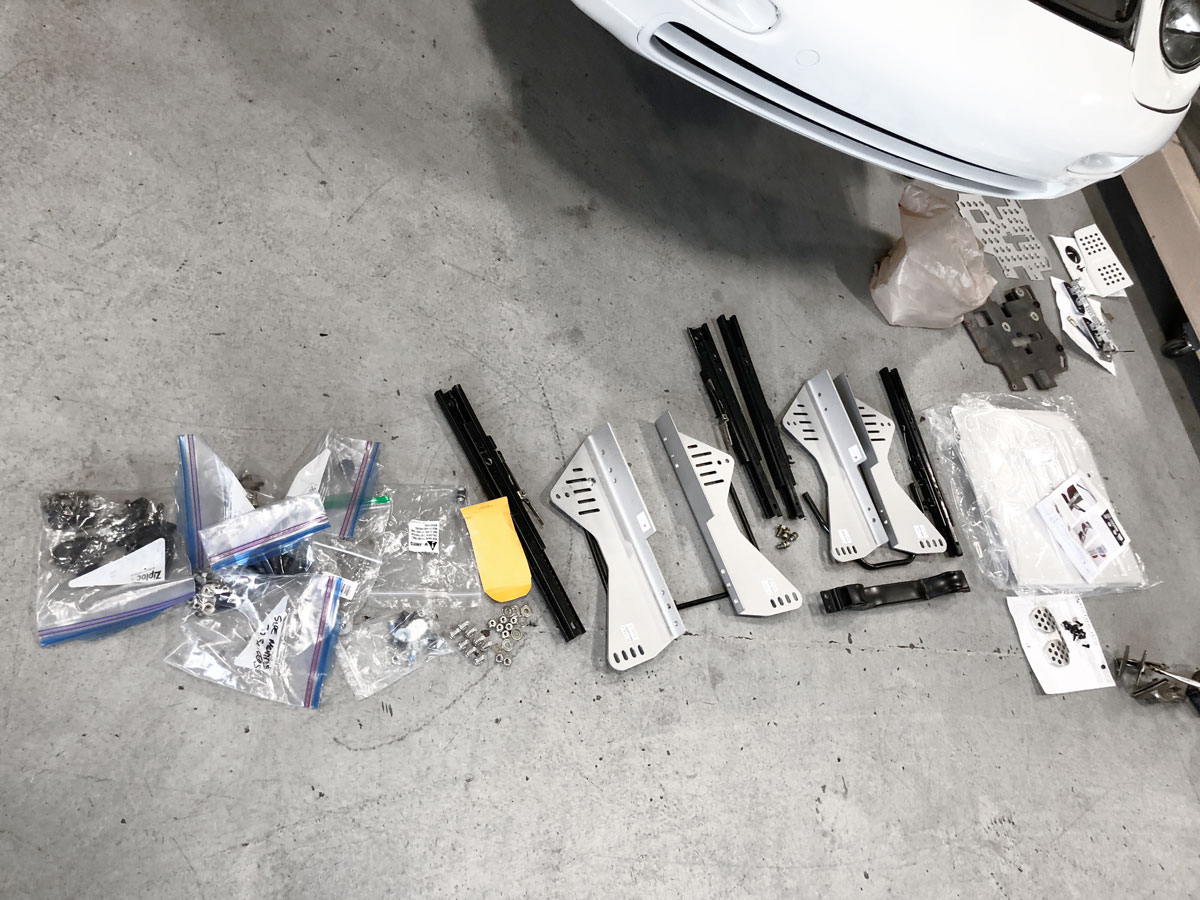
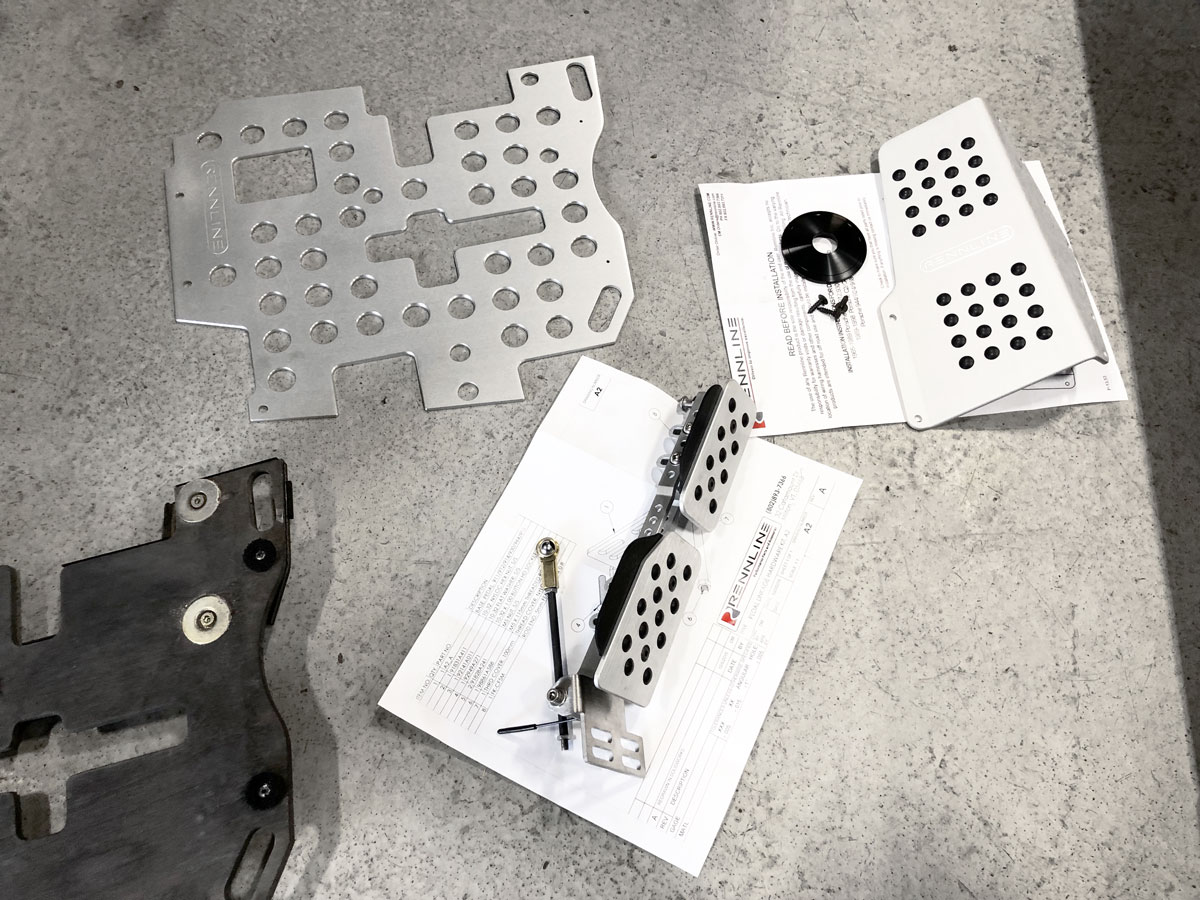
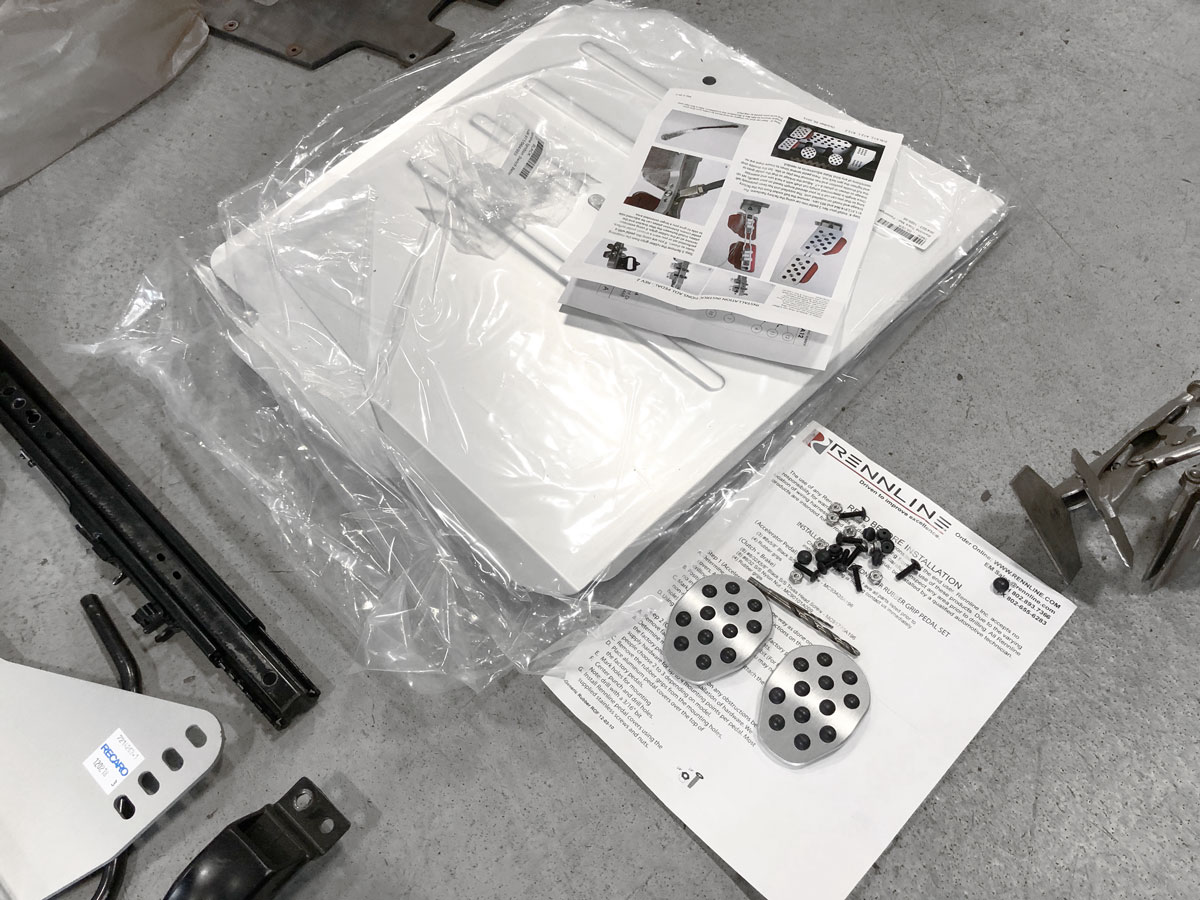
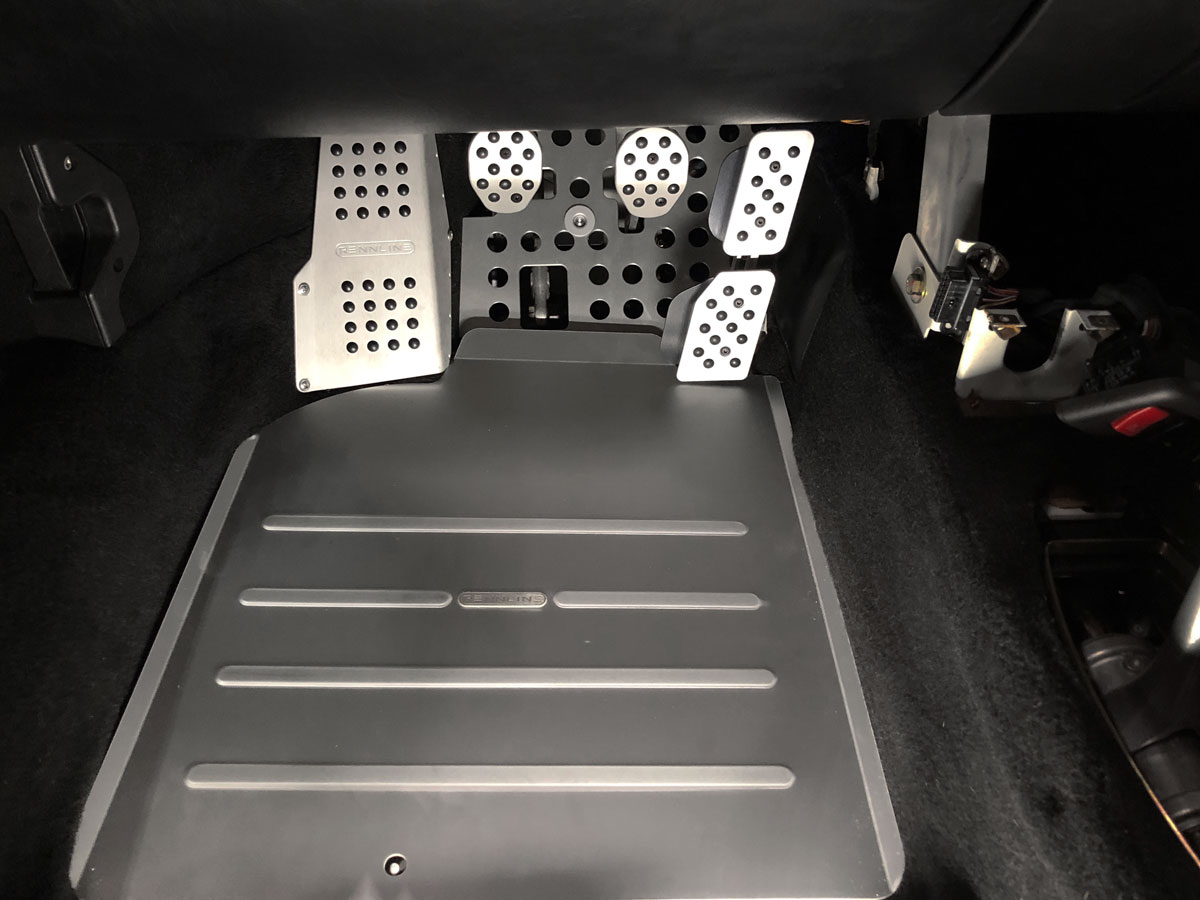
Off the lift it was time to finally address the interior, the dash and trim panels I'm waiting for are still waiting in line at my upholster so I took the opportunity to work on other areas of the cabin. Working in the pedal box is quite fun, I'd suggest having your chiropractor on speed dial for the next day. None of the install is difficult, just time consuming and cumbersome are to work in.
Rennline items Installed: Adjustable gas pedal, brake pedal set, dead pedal, drivers floorboard, key surround, track mats left and right. In hindsight I'll likely install passenger floor board at a later time to help balance things out aesthetically.
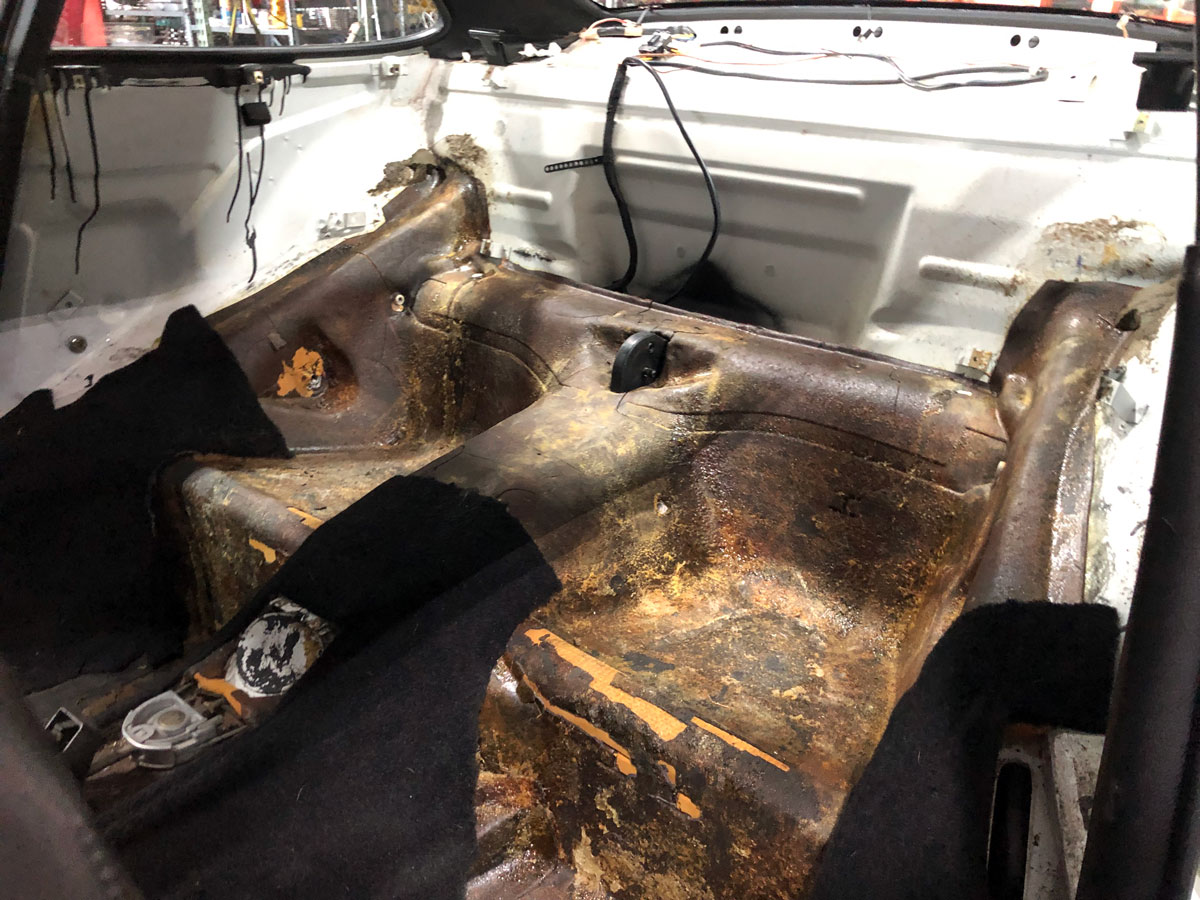
I removed the rear seats and carpet in the rear and began prepping it for fresh carpet. While the build is RS inspired, I've never been a huge fan of the full RS carpet kit in the 993. My plan is to have the rear shelf recovered and leave the side panels in with some minor stitching details. Rather than purchase an RS carpet kit and install half of it we're going to make the pieces we need from scratch. At my upholsters advice we're going to leave the sound deadening material in and add a small layer of foam to help maintain the shape. I don't mind the small sacrifice of weight to keep a more finished looking interior and figure at some point I'll revisit this at a later date if I change my mind.
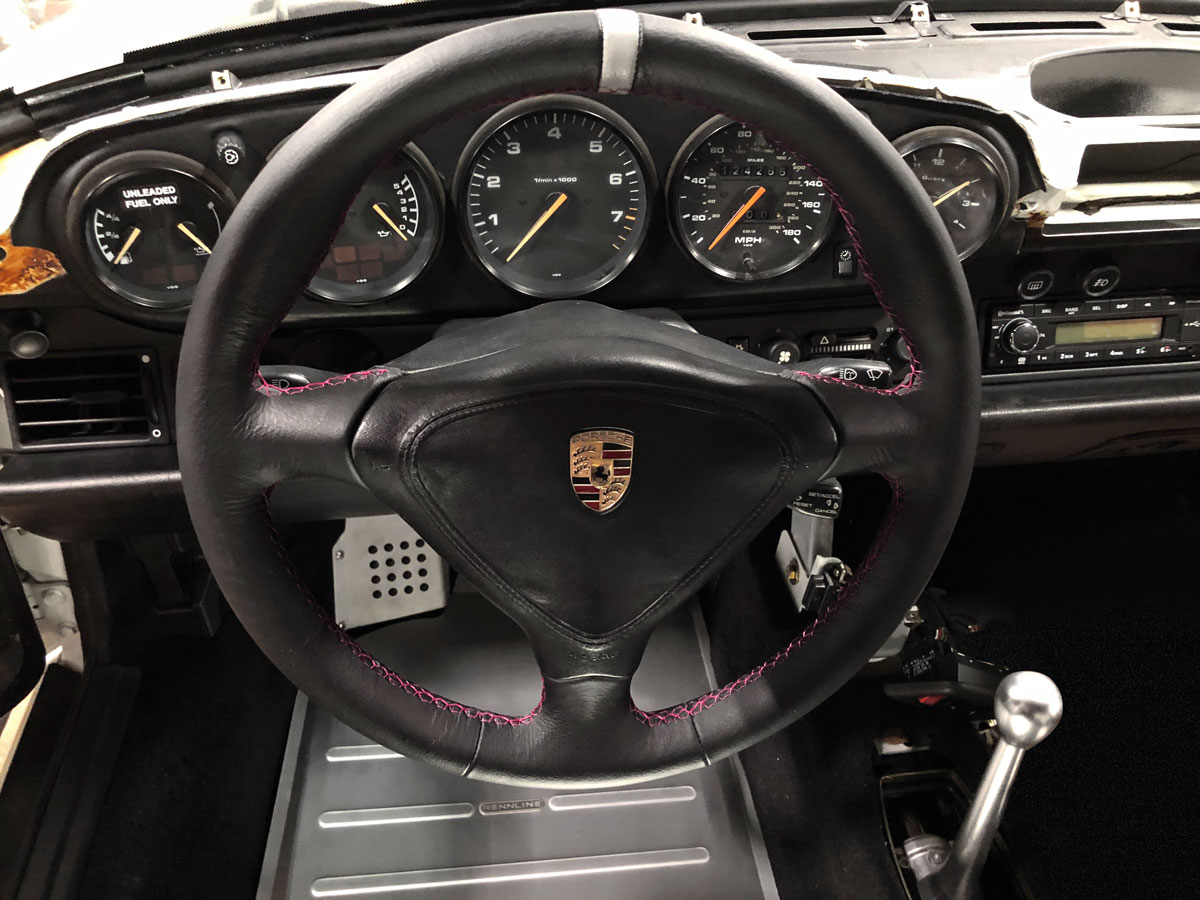
I installed the 3 spoke wheel, while working with the pedals I found it easier with the wheel removed and used that opportunity to update the steering wheel once the Rennline parts were in. I really like the fact that this wheel was once in my GT3 and after some trick leatherwork it now has a new lease on life and fresh start in this project.
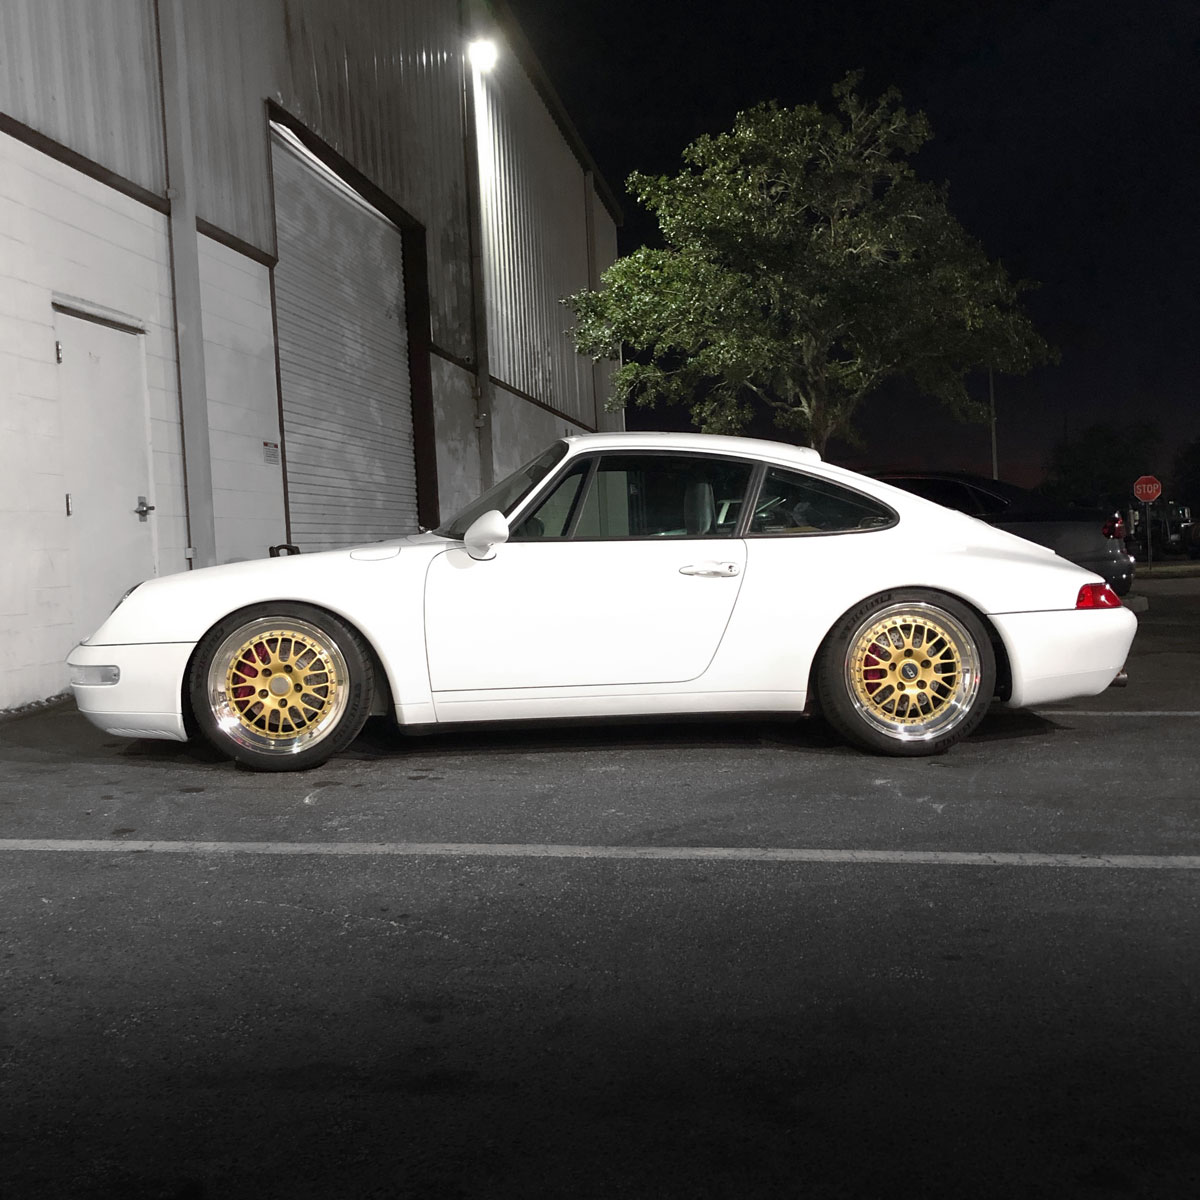
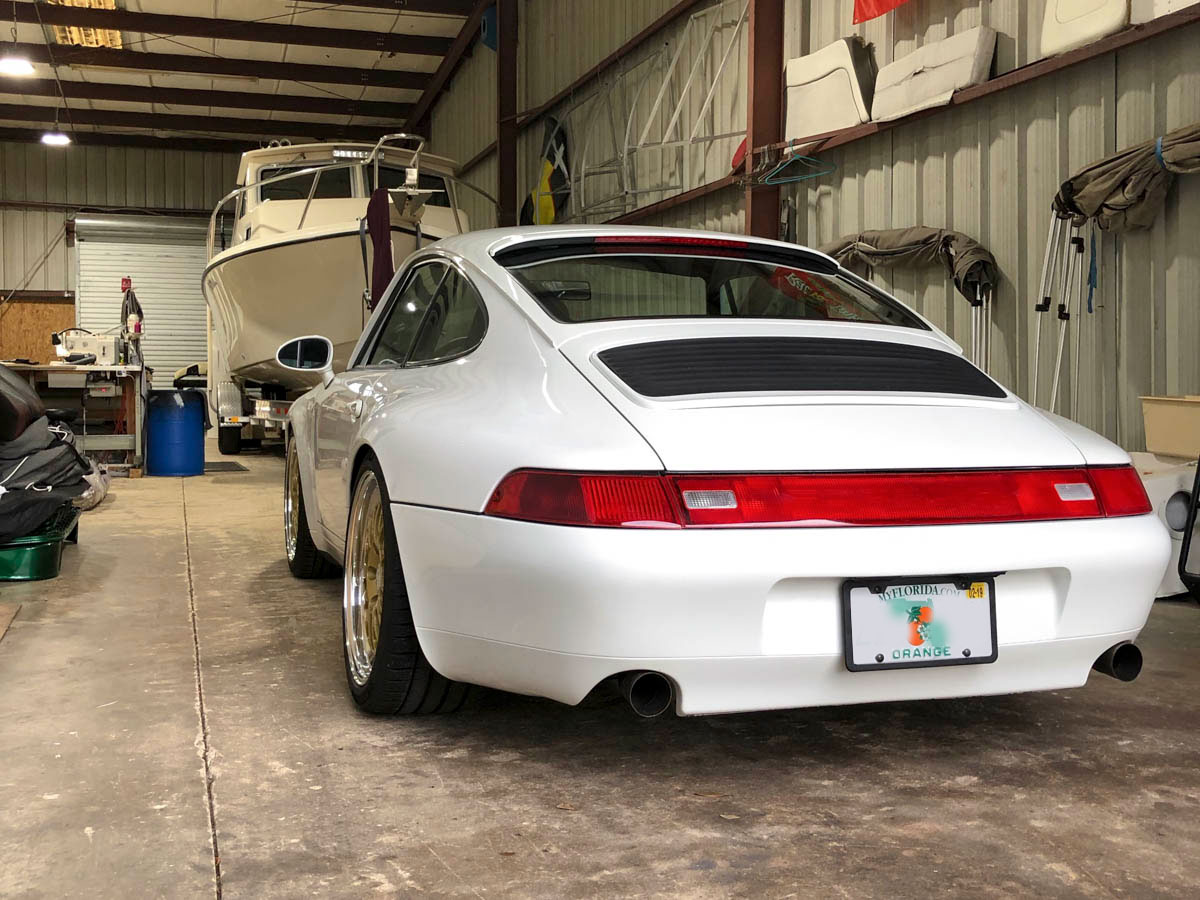
Rolled her outside one night and couldn't' resist a quick shot, I can't wait to get this car done and enjoy driving it as much as looking at it.
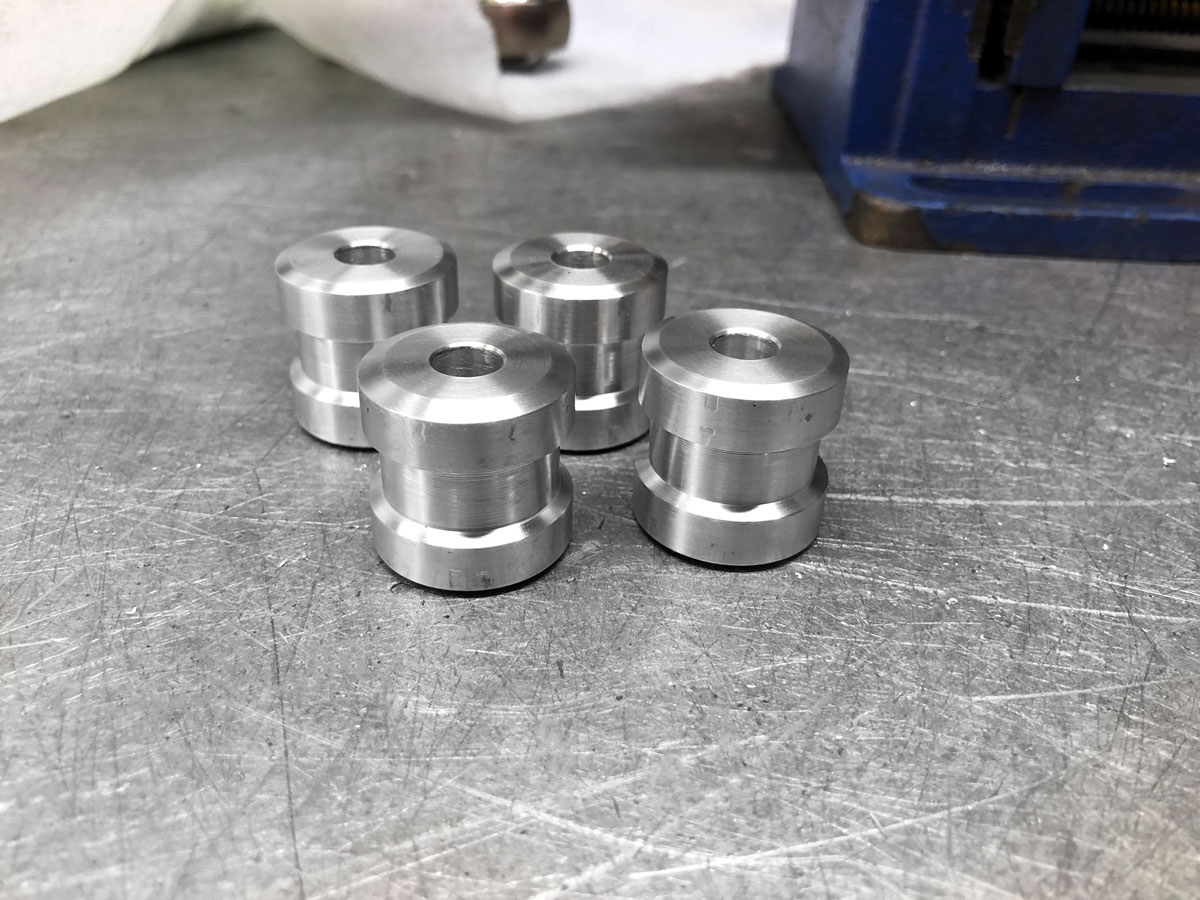
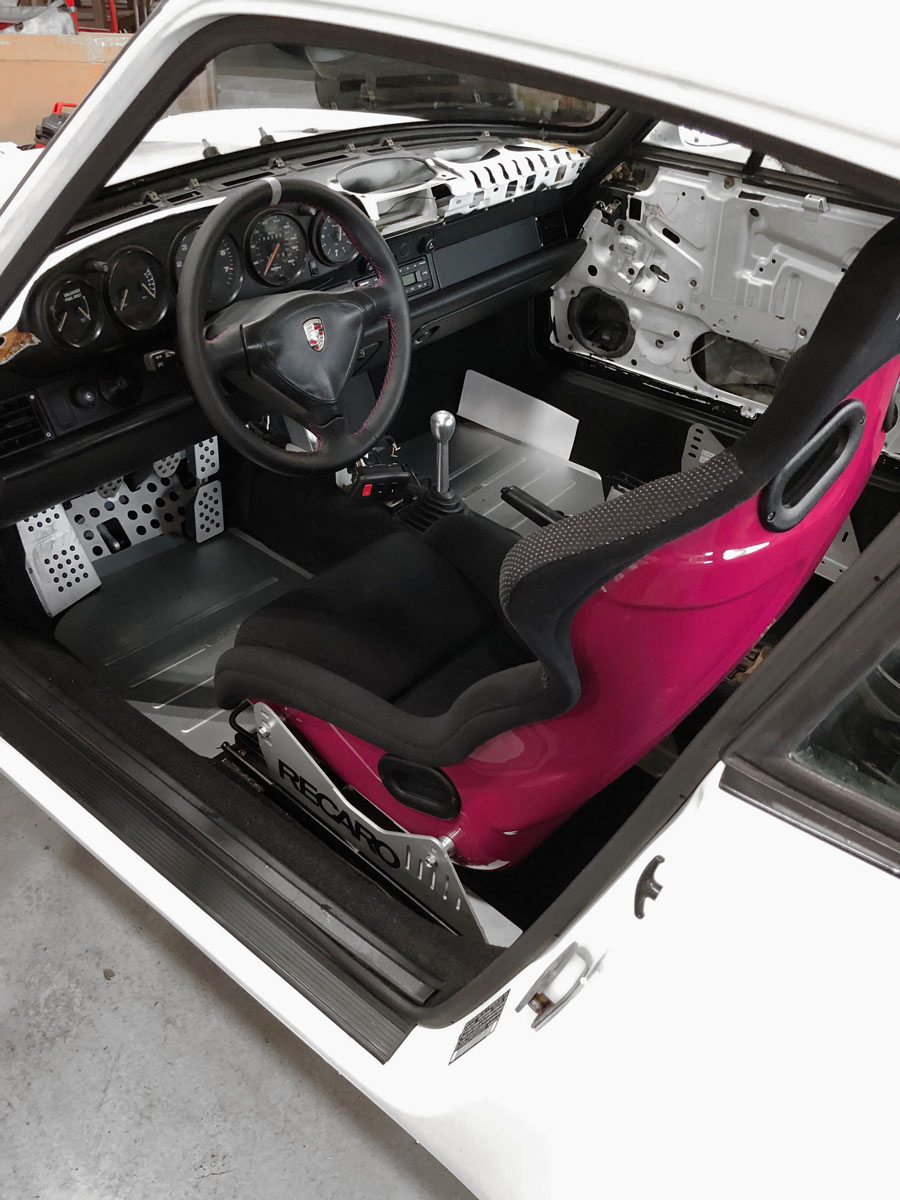
Next up tackle installing the Recaro SPG seats we had re-finished with the Rubystone backs. I purchased these seats used and they came with one set of Recaro Aluminum sidemounts and one pair of Brey Krause. I ordered an additional Rennline aluminum to keep a matched pair and went to work installing. The seat belts I tackled with the RS seat belt brackets and appropriate spacers. The aluminum side mounts are Recaro universal solution, since they fit the SPG XL and the narrow SPG that I have we needed to make a set of spacers to go between the side mounts and the seat.
The finished product, after adjusting a few times I'm still not happy with how high the seats sit in this configuration, I'm 5'11 and have less than an inch of headroom. After talking to Stable Energies, they recommended going with the SPG race brackets which will fit my narrow SPG seats better and sit lower by about an inch. The downside they're steel and a bit heavier, but the hardware and lack of spacers should get them close to the aluminum. I could have modified the aluminum and made them work, but at this point in the process its' just easier to purchase the mount that will work out of the box and I'll sell the aluminum mounts to help recoup some of the expense.
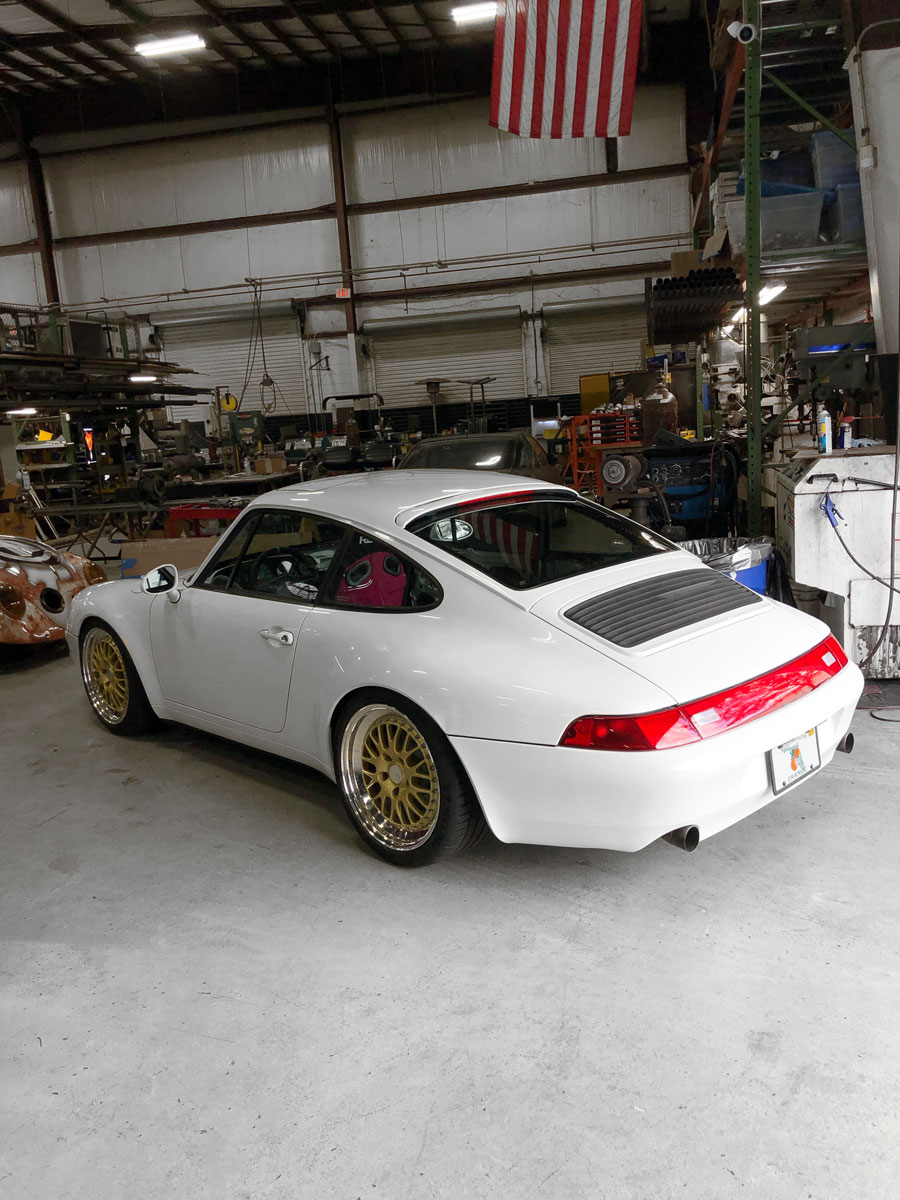
After a fresh wash to get rid of the dust and nastiness that comes from being stored in a fabrication and active shop she's got a fresh shine to last through the holidays. I'm hoping to finally get my number called at the upholster in the next 1-2 weeks and then take some time to get the corner weights right a nice alignment on her so we can begin the real fun part, driving!
Great build, loved the read.
You probably know this, but Recaro does make a Profi SPG specific mount. It is steel and not aluminum. Recaro part number 360942
First rate work, the car looks fantastic. Love the seats and wheels. Sorry to hear about the cracked paint, but that is one fine build Sir.
**** happens, this isn't a concourse car and I'll embrace the patina and let it roll.
Originally Posted by imdvs
Awesome build. I know you'll take great pleasure in finally finishing but, selfishly, I so enjoy this thread I don't want it to end.
Builds never end, I'll keep things updated, just want to enjoy it finally
Originally Posted by Cupcar
Great build, loved the read.
You probably know this, but Recaro does make a Profi SPG specific mount. It is steel and not aluminum. Recaro part number 360942
They arrive tomorrow. I had the aluminum, wanted to try and make them work but in the end will give he steel a try.
It's been a hectic month, Holiday vacation, straight to the UK for Autosport, then Rolex 24. Finally getting back to the 993 project and making some progress, albeit a bit slower than I would like, I do see the light at the end of the tunnel.
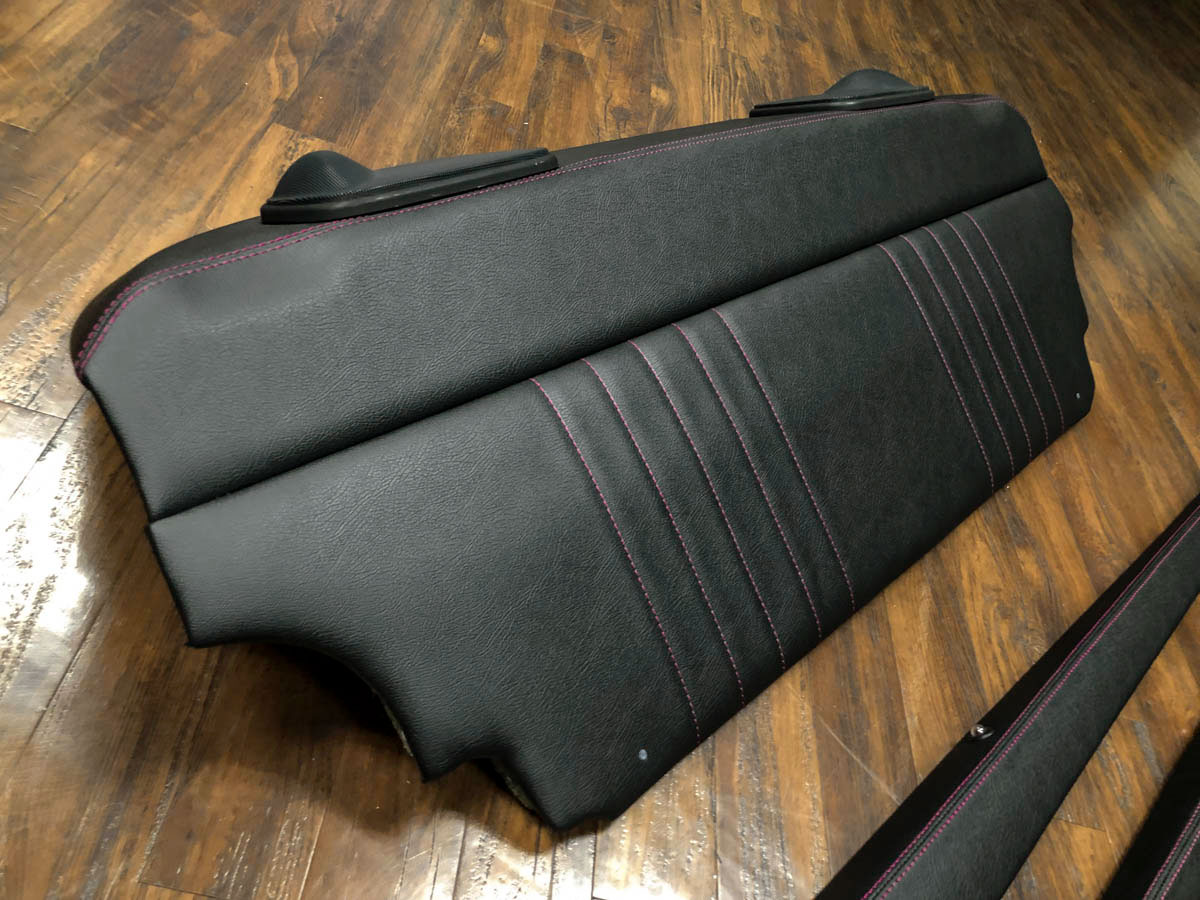
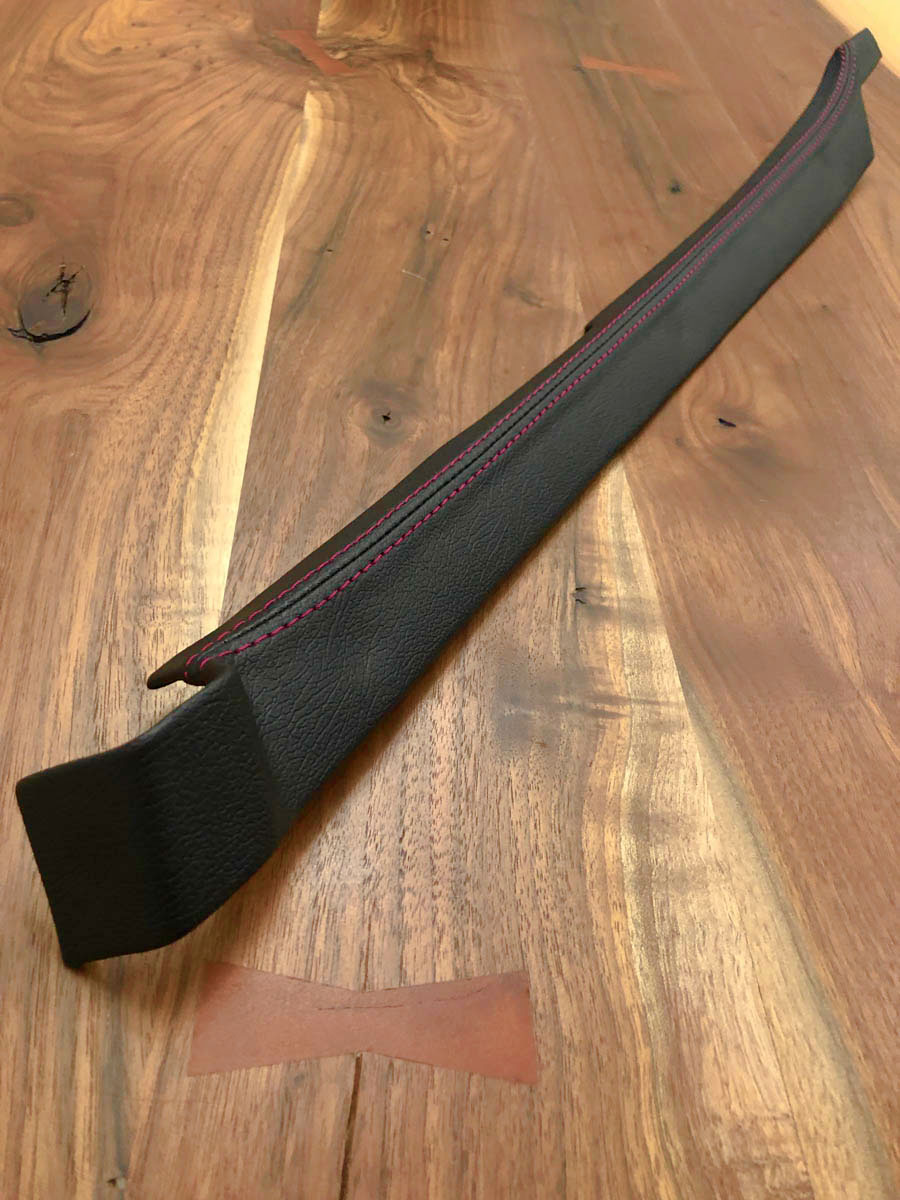
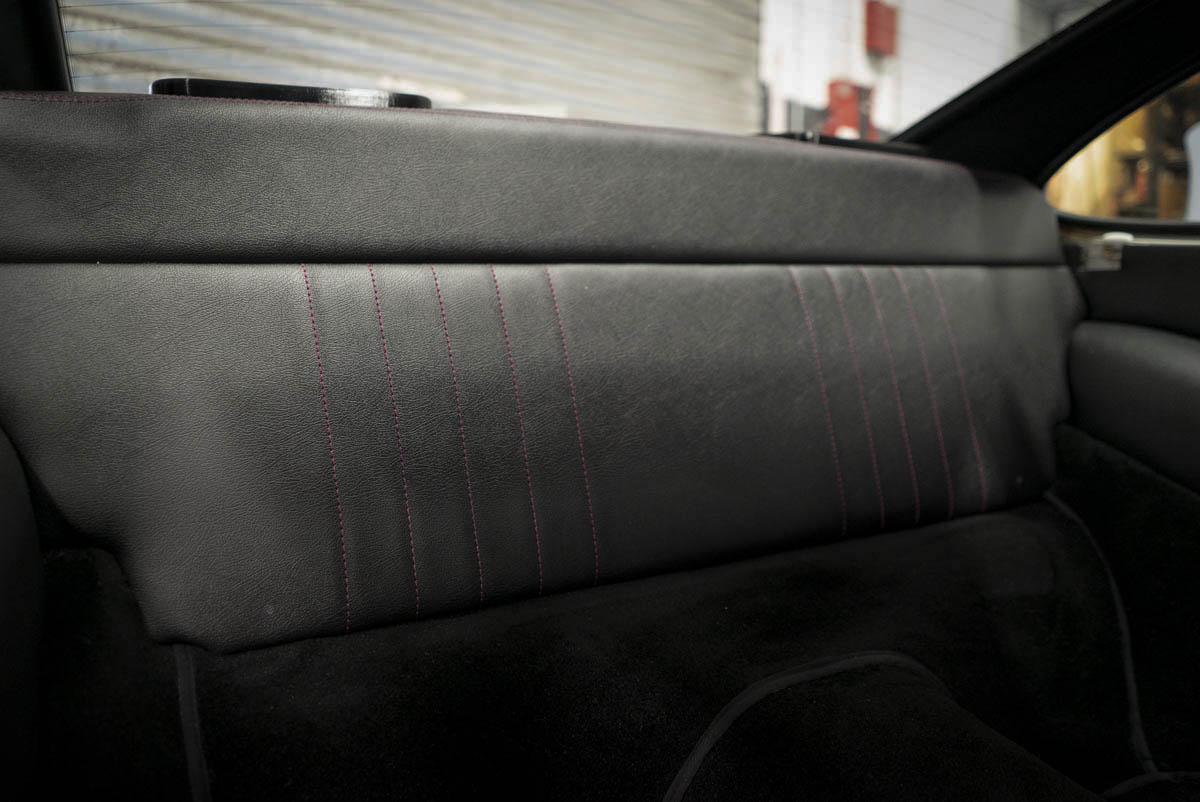
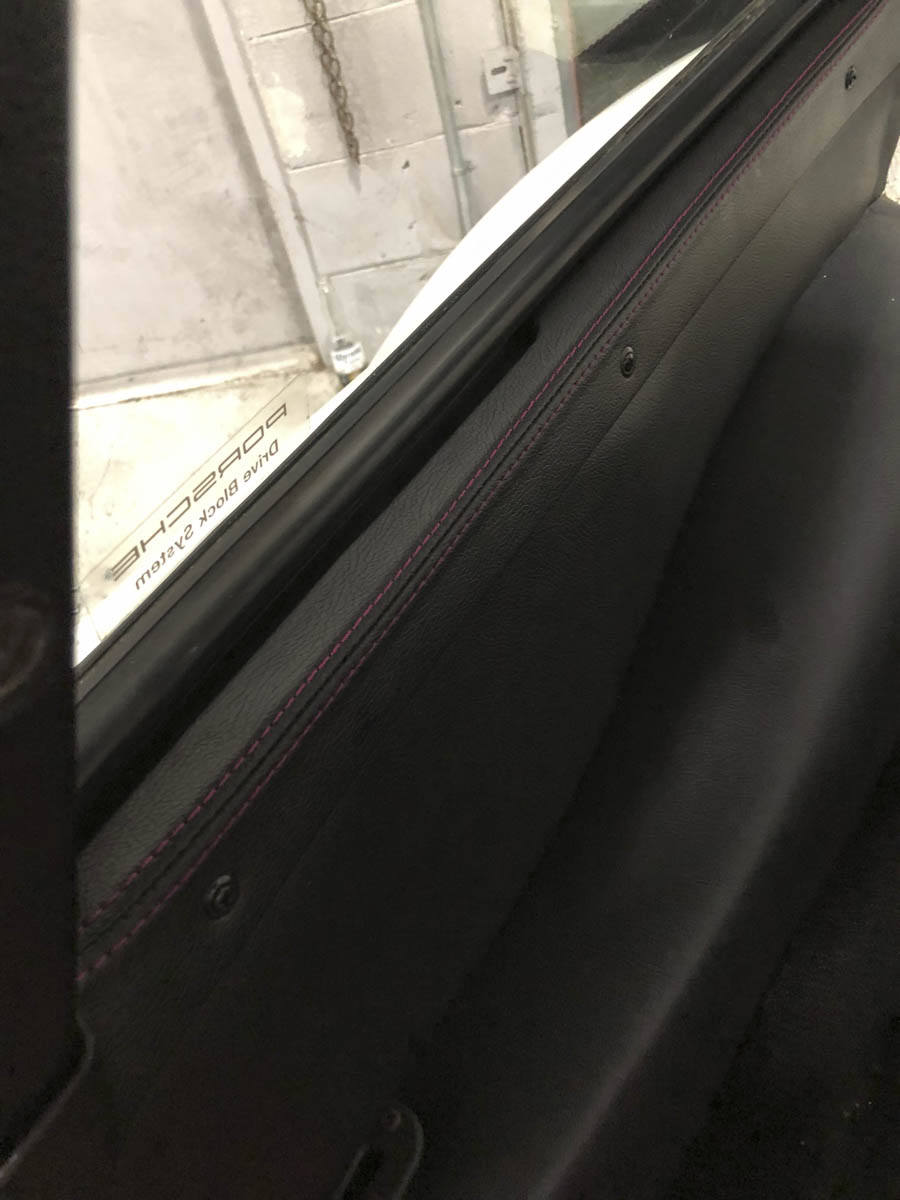
The first of my trim pieces arrived from the upholster, I had the door card tops, rear bolster tops and rear deck re-covered in a black lightweight leatherette with subtle Rubystone double stitching. I was happy to get the pieces back after a bit of a waitlist, but don't think the importance of the re-assembly sequence was properly understood after the wait. The slight indents in the rear panel will match the panel once re-installed as there is foam behind the shelf designed to take the place of the factory seat belt openings.
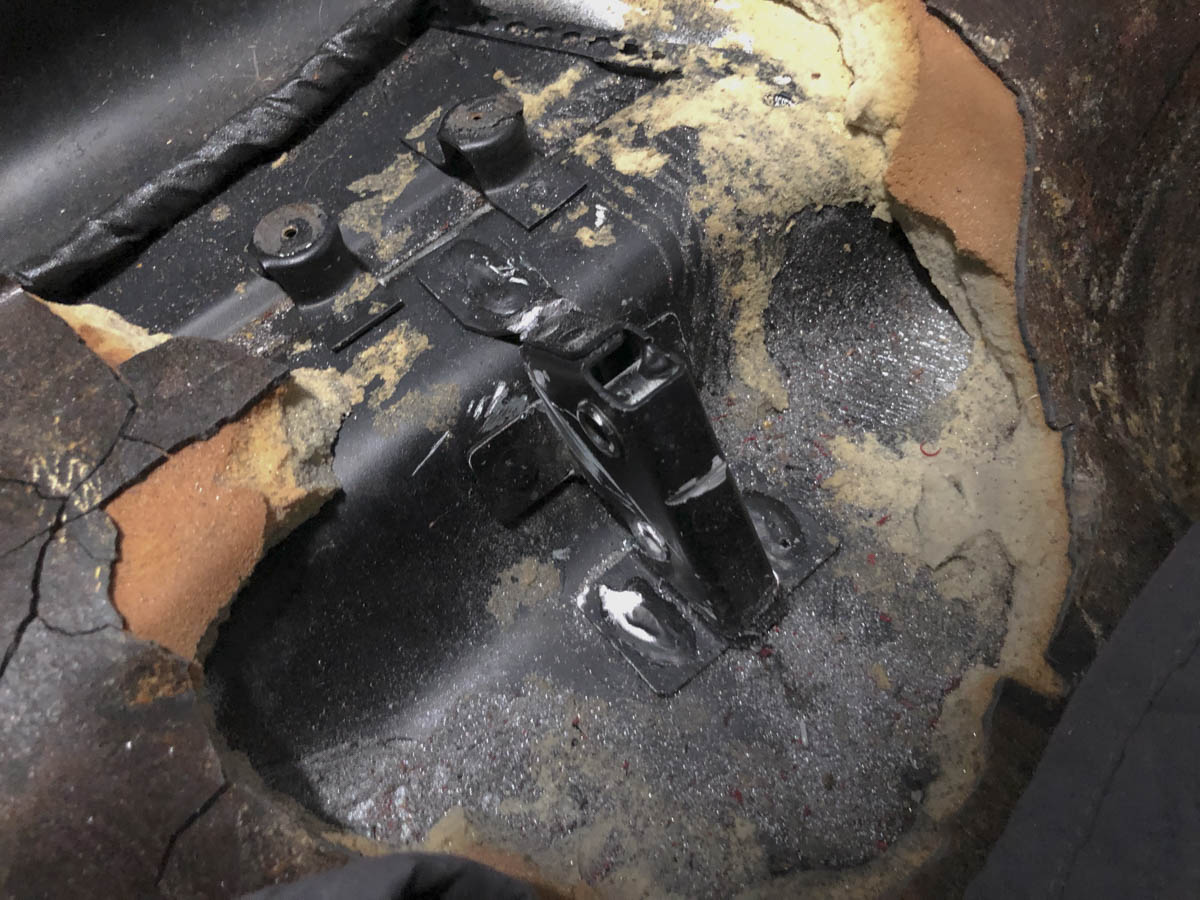
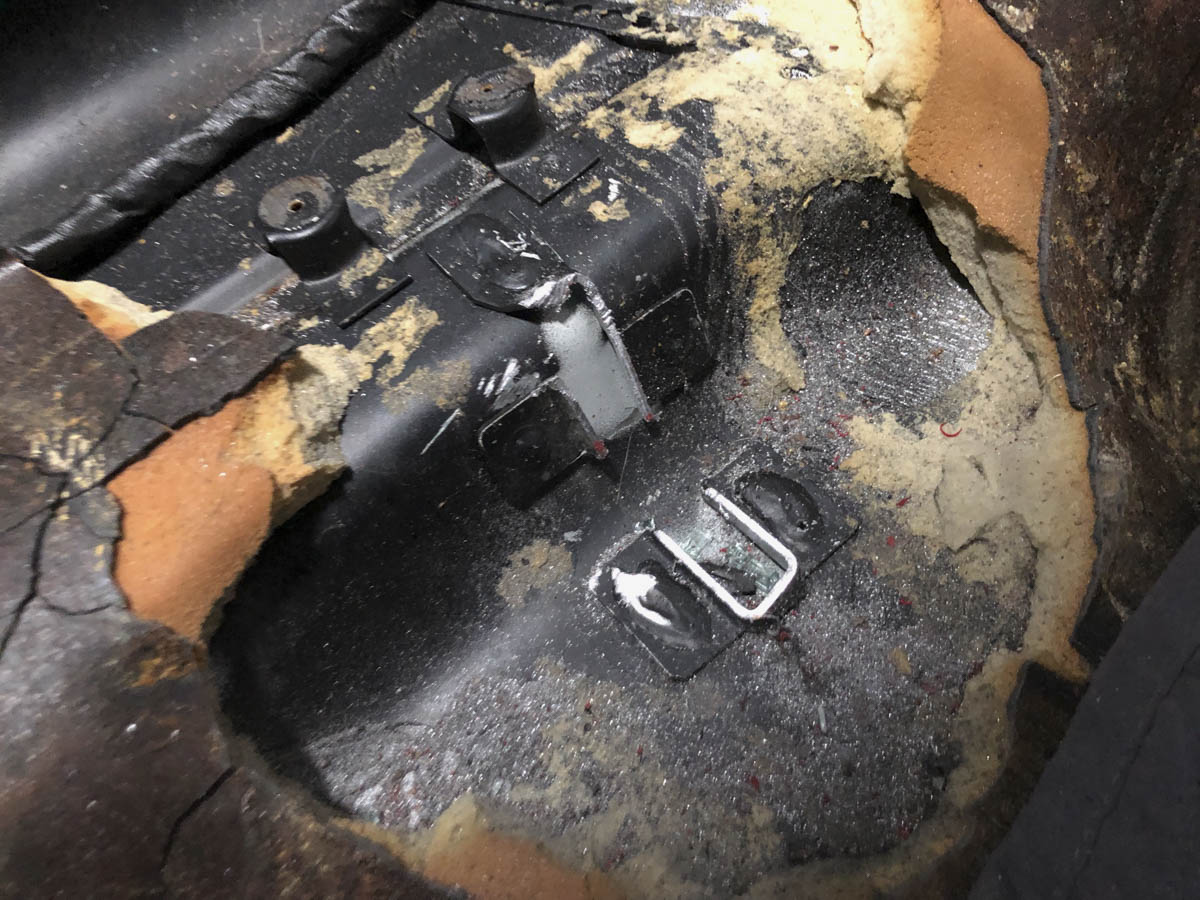
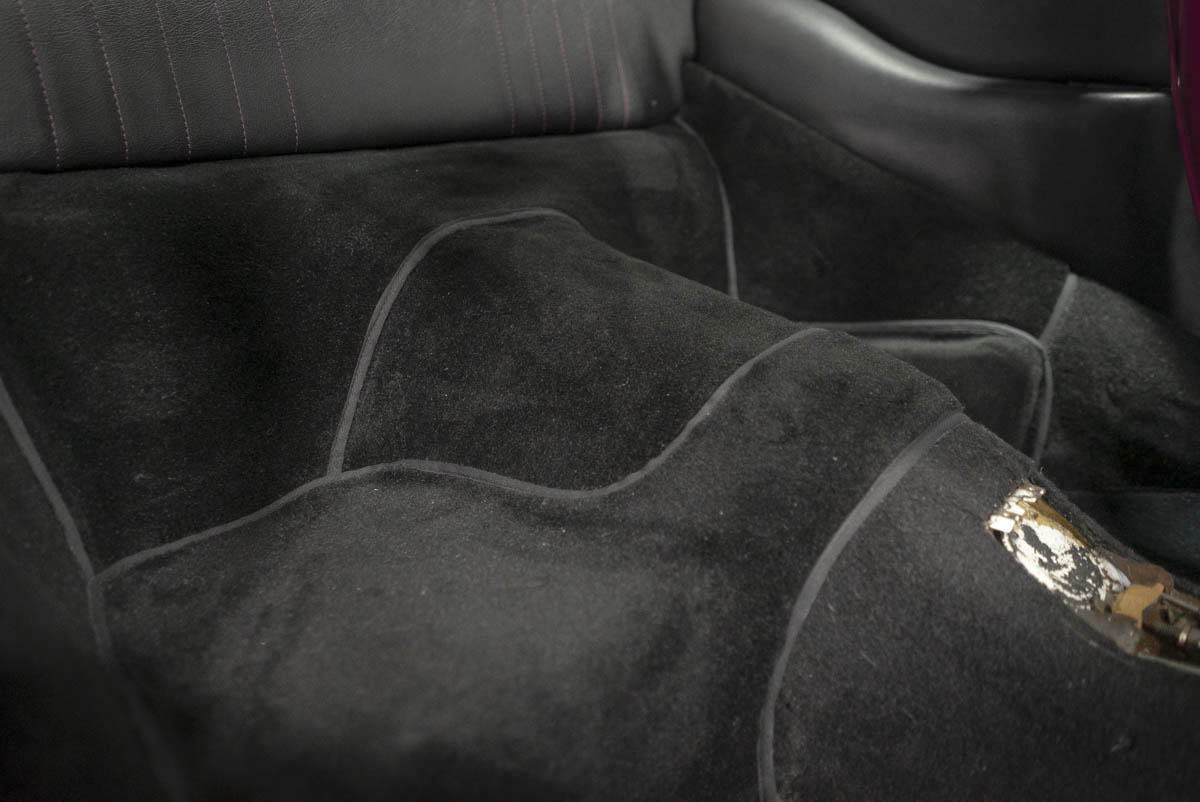
While I was waiting on the trim panels to be completed I tackled the rear seat delete, off with the old mount, and a bit of grinding work and it was now smooth. You'll notice a gap in the foam, we'll be addressing that with fresh foam when the carpet is installed to make everything level. Again I'm going for RS style carpet, but since this will be a driver opted to leave the sound deadening, rear panels and side quarter panels as I prefer their aesthetics over the full RS Carpet.
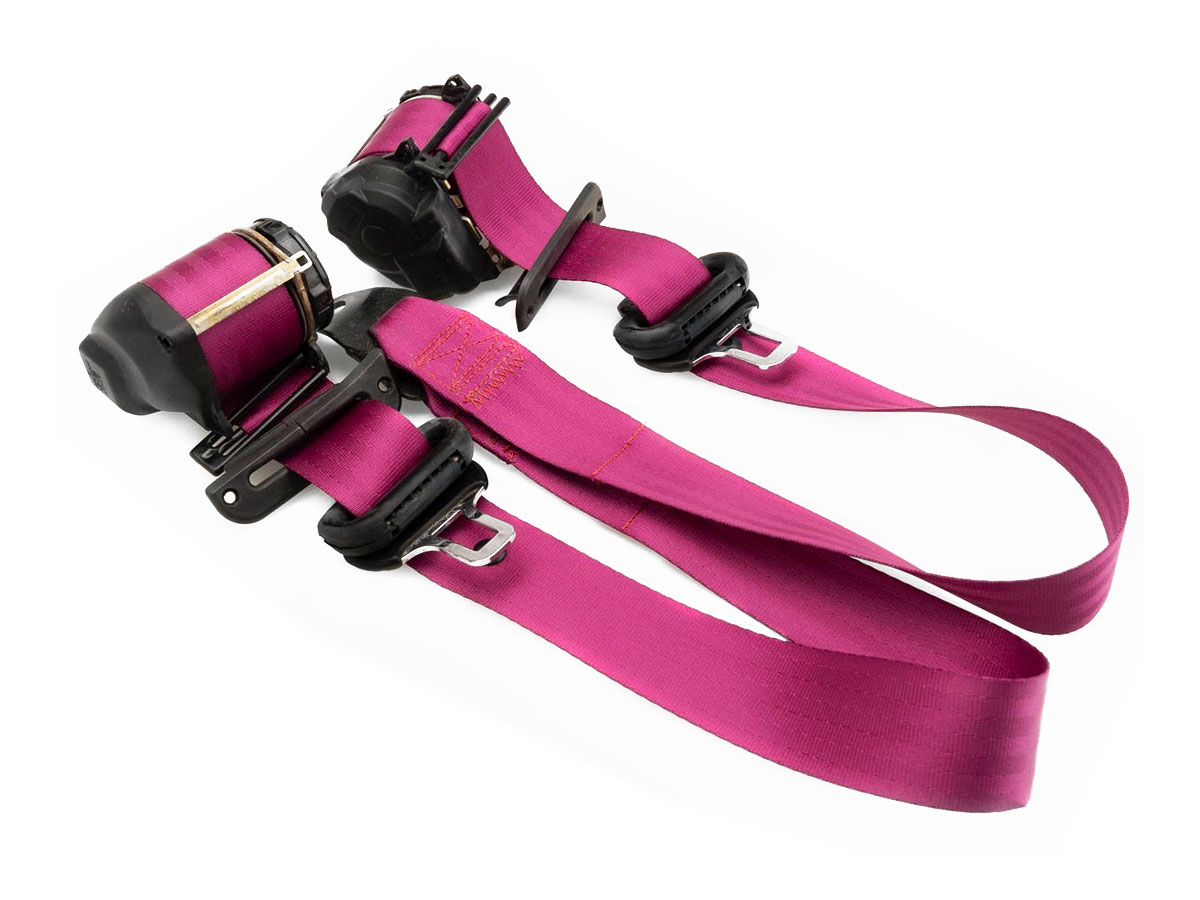
I took the downtime to send the seatbelts out to SeatbeltPlanet for their "wine and roses" re-web. The gentleman on the phone wanted to triple check I didn't think ti was maroon but after sending him a picture of the accents he realized I had just the right color. These guys turned these around in a day once I expedited them there and the quality of work is excellent, happy I finally bit the bullet and rid myself of the faded black oem units.
We actually got some temperature changes here in the Sunshine state so I used that opportunity to dial the dash repair in one last time and make sure all of the epoxy was smooth and matched the factory contours. This will get recovered in the coming weeks to match the other interior panels with the double stitch.
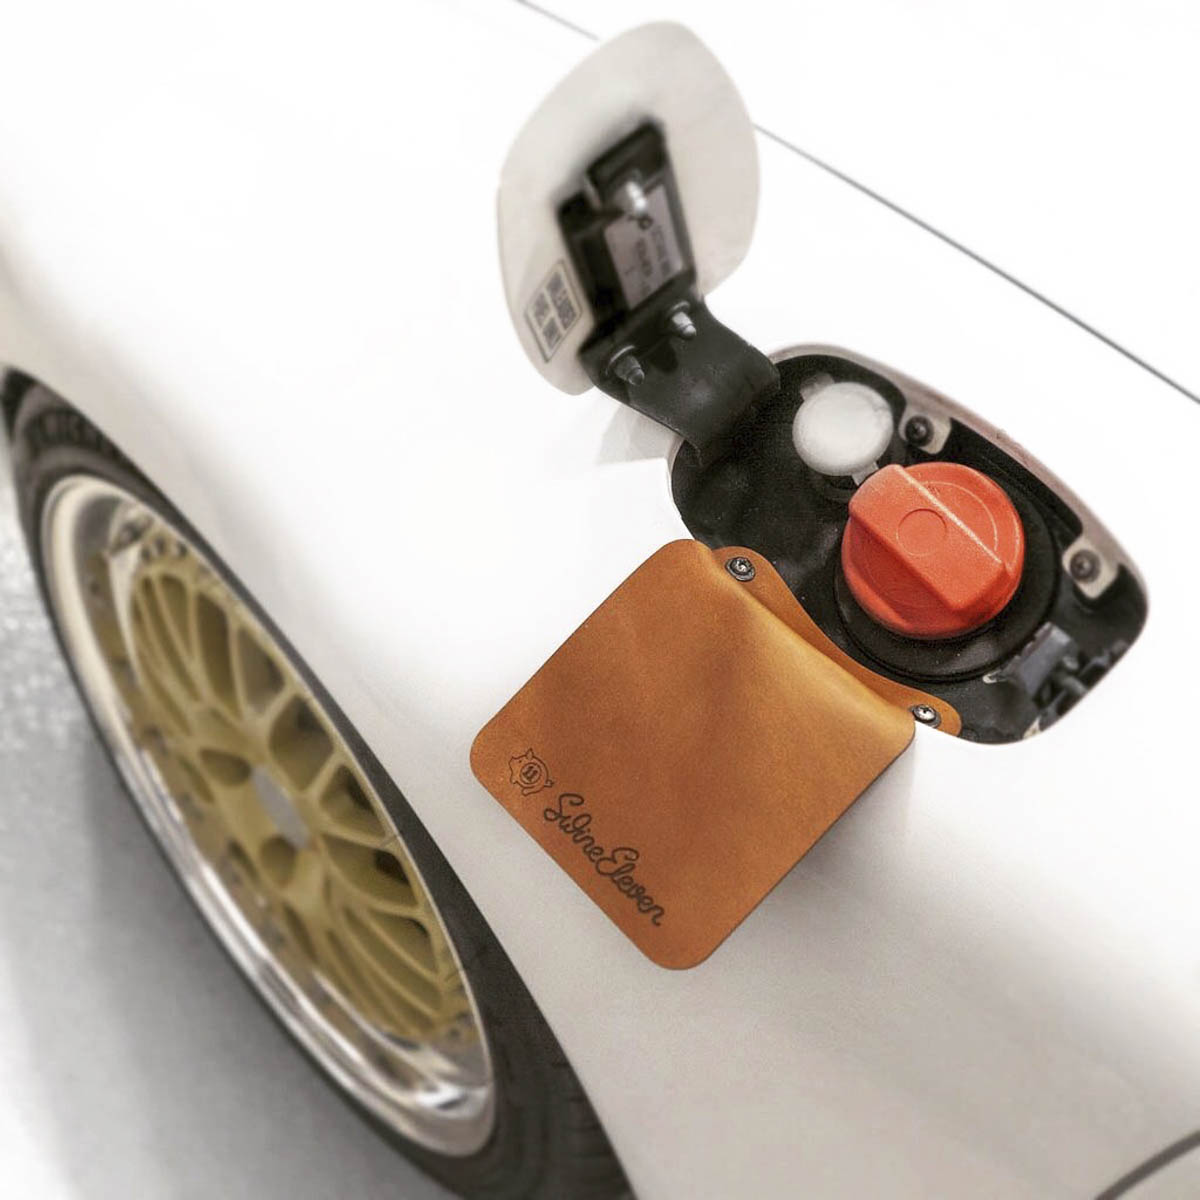
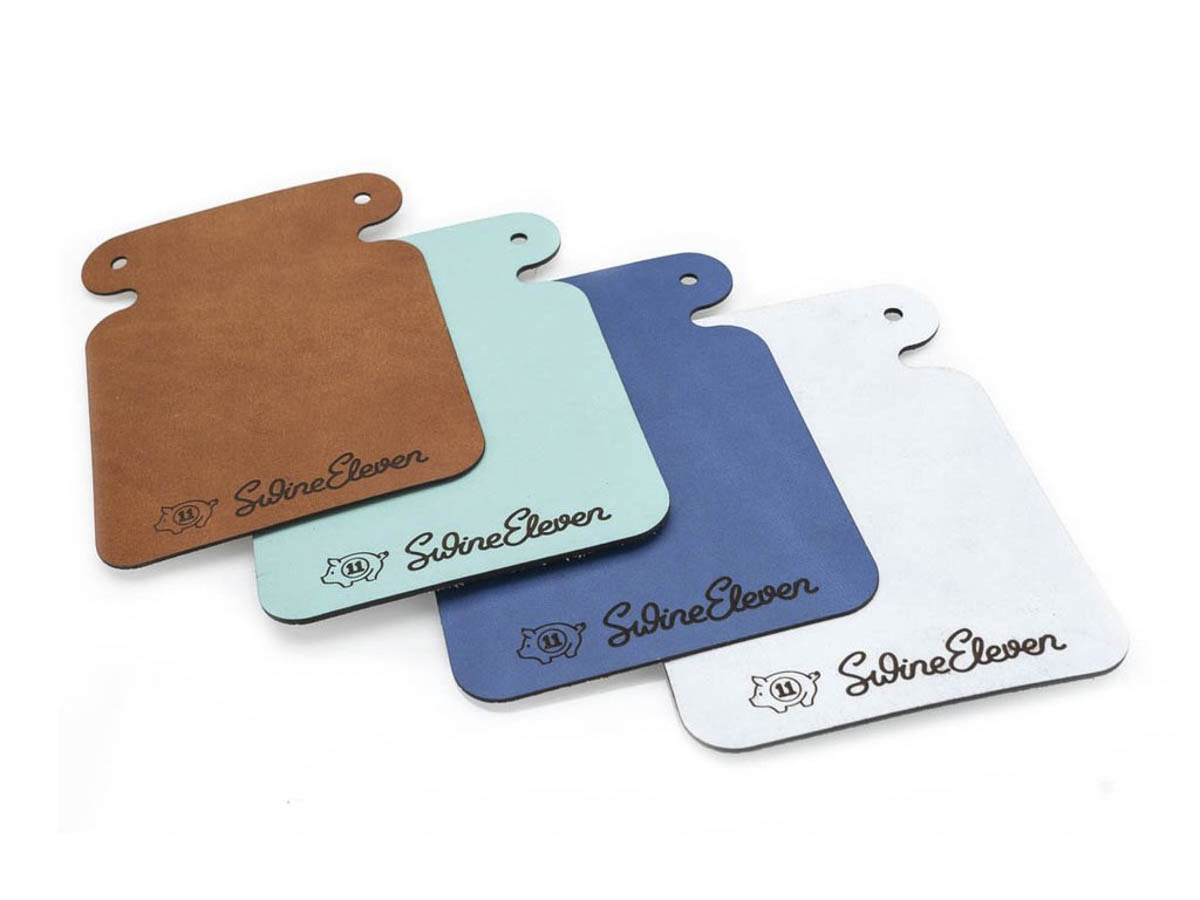
One of my best friends is a leather craftsman and whipped up this great looking leather fuel bib from some scraps he had, I was quite pleased with the results and requested he order some unique leathers to make a production run and have now added them to our website.
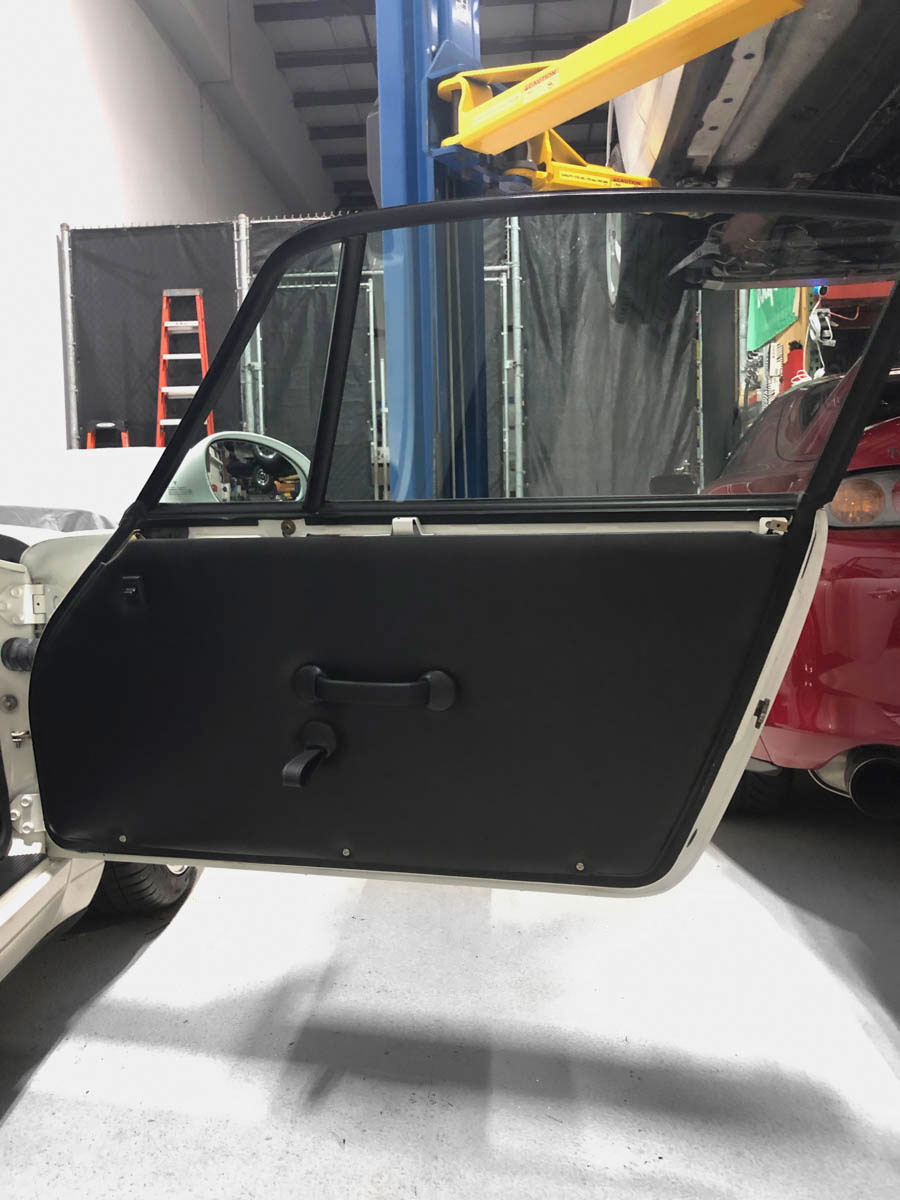
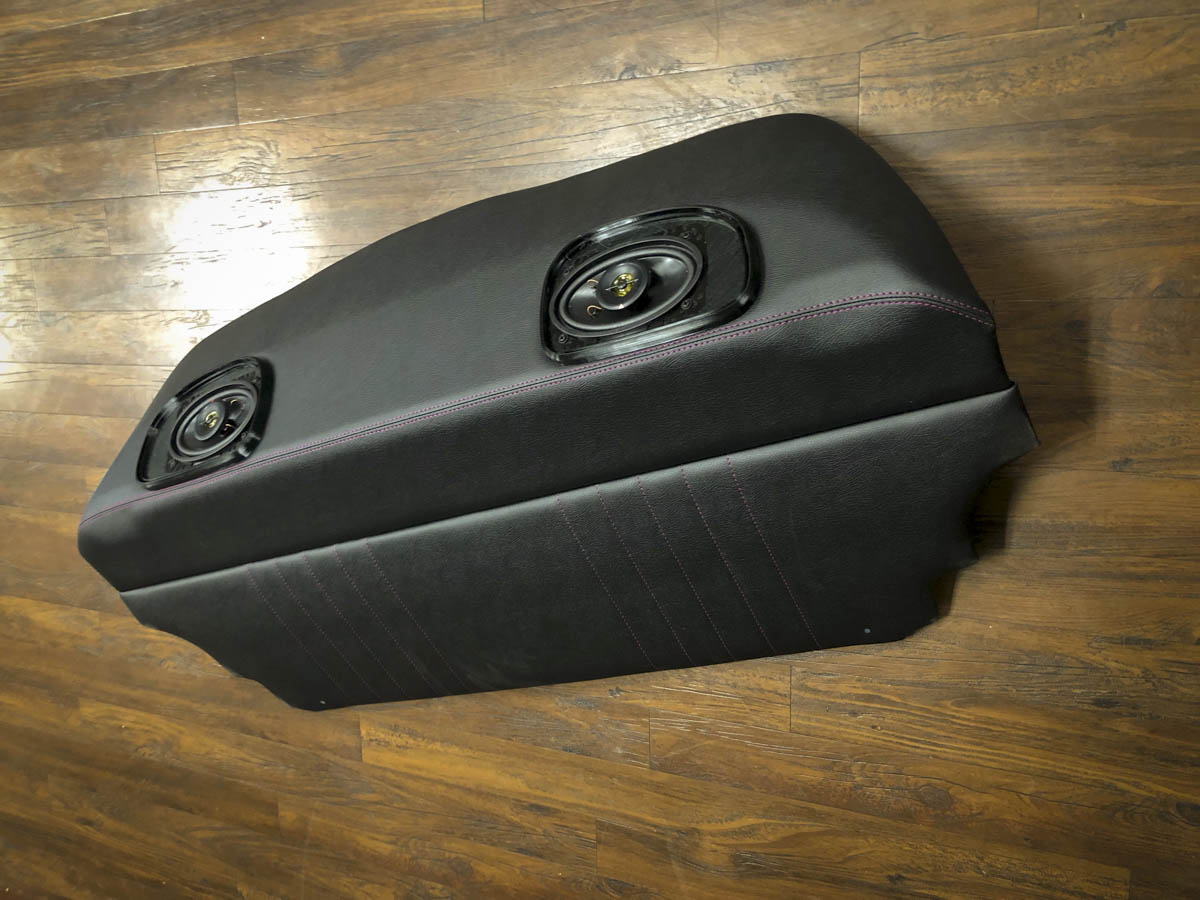
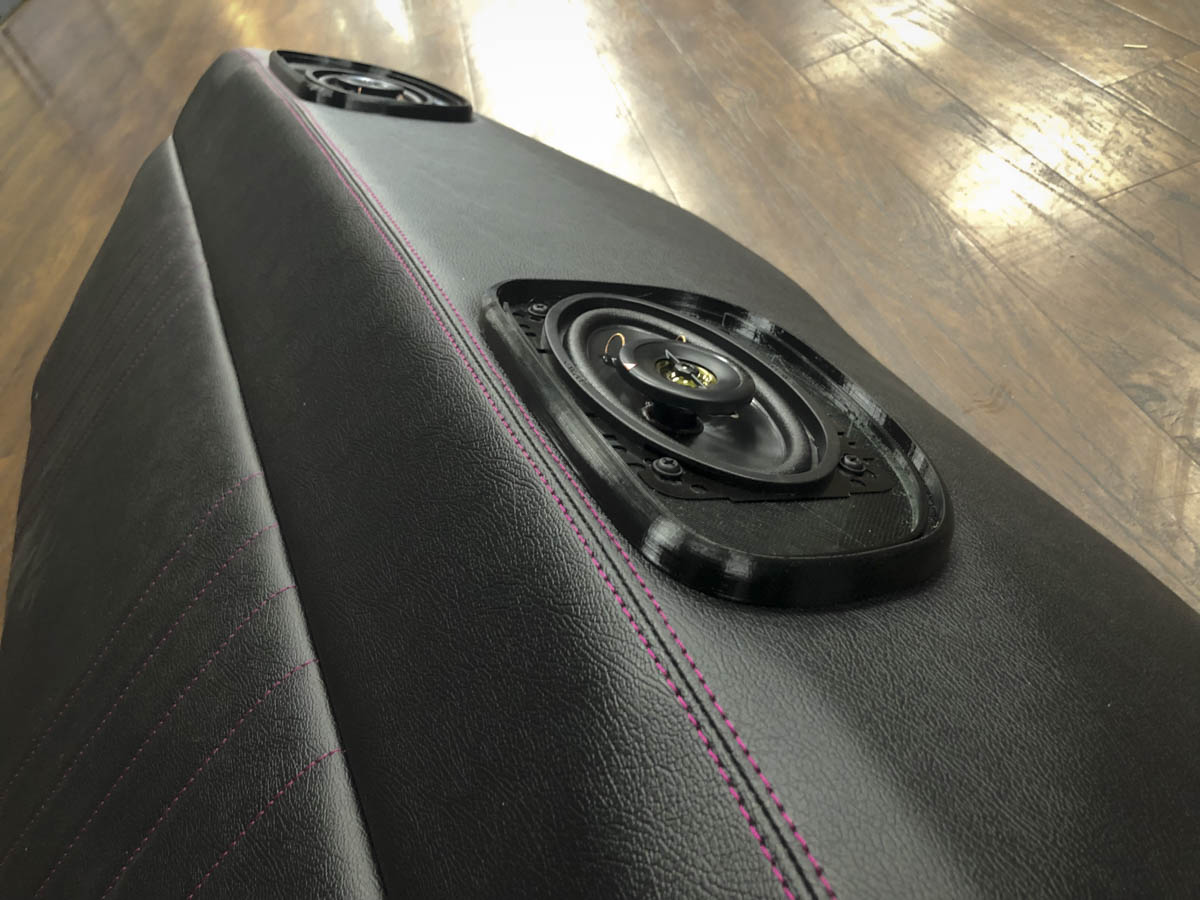
Installed the RS Doorcards from AppBiz, it was at this point I was reminded that I need to wrap up the sound system sooner rather than later. Since I'm getting rid of the factory Hi-Fi I needed to get a a bit creative, I'll be deleting the factory Nokia amp and wiring the speakers directly to the head unit.
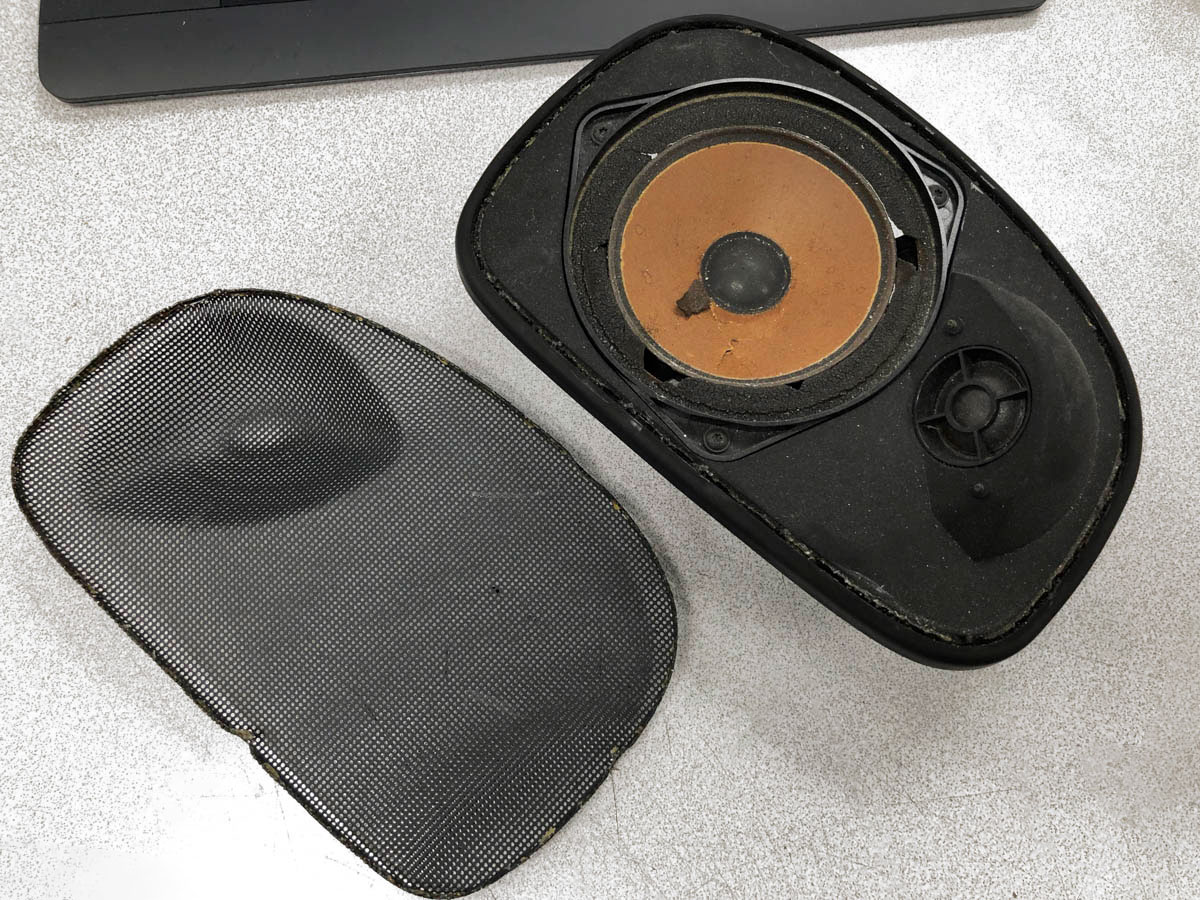
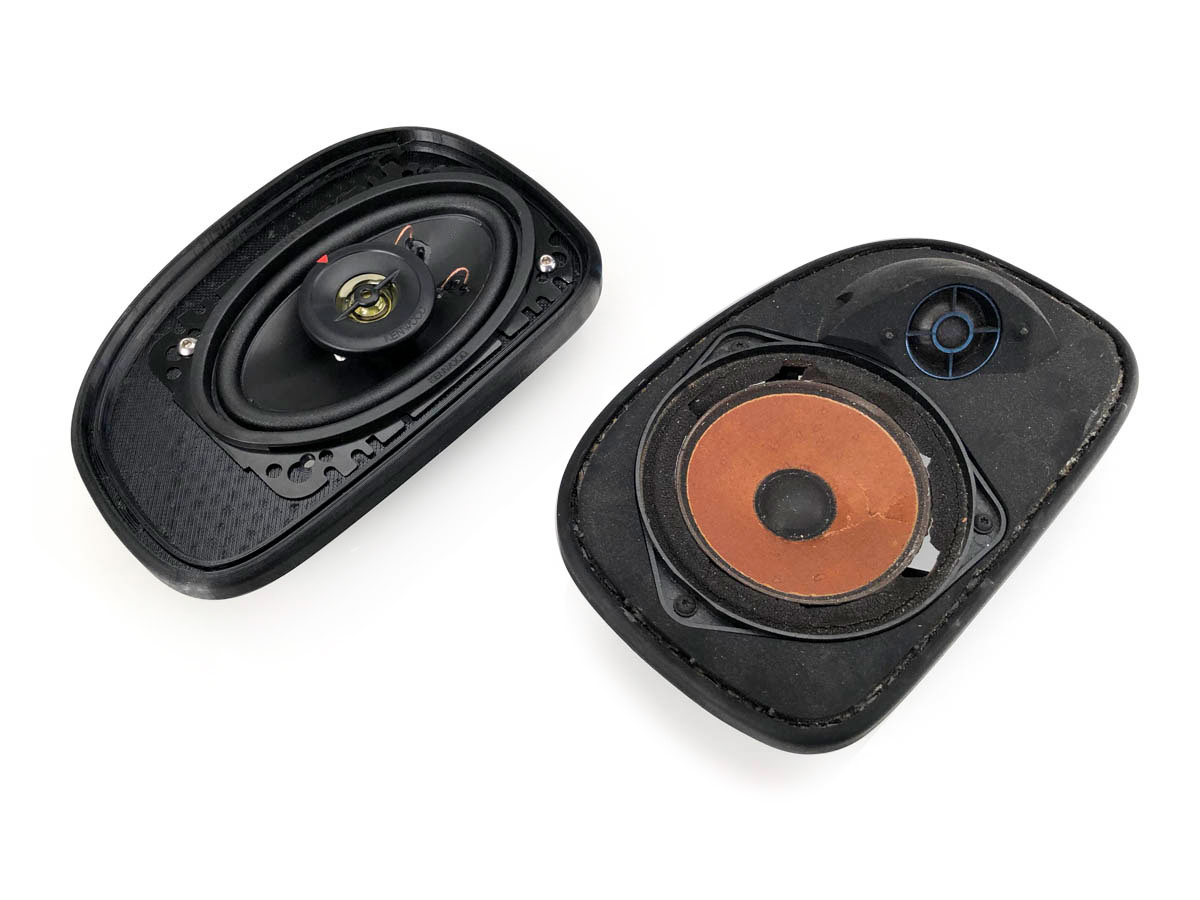
The rear speakers were quite destroyed to say the least..... I decided to have a bit of fun and create an OE looking solution with some modern day tech.
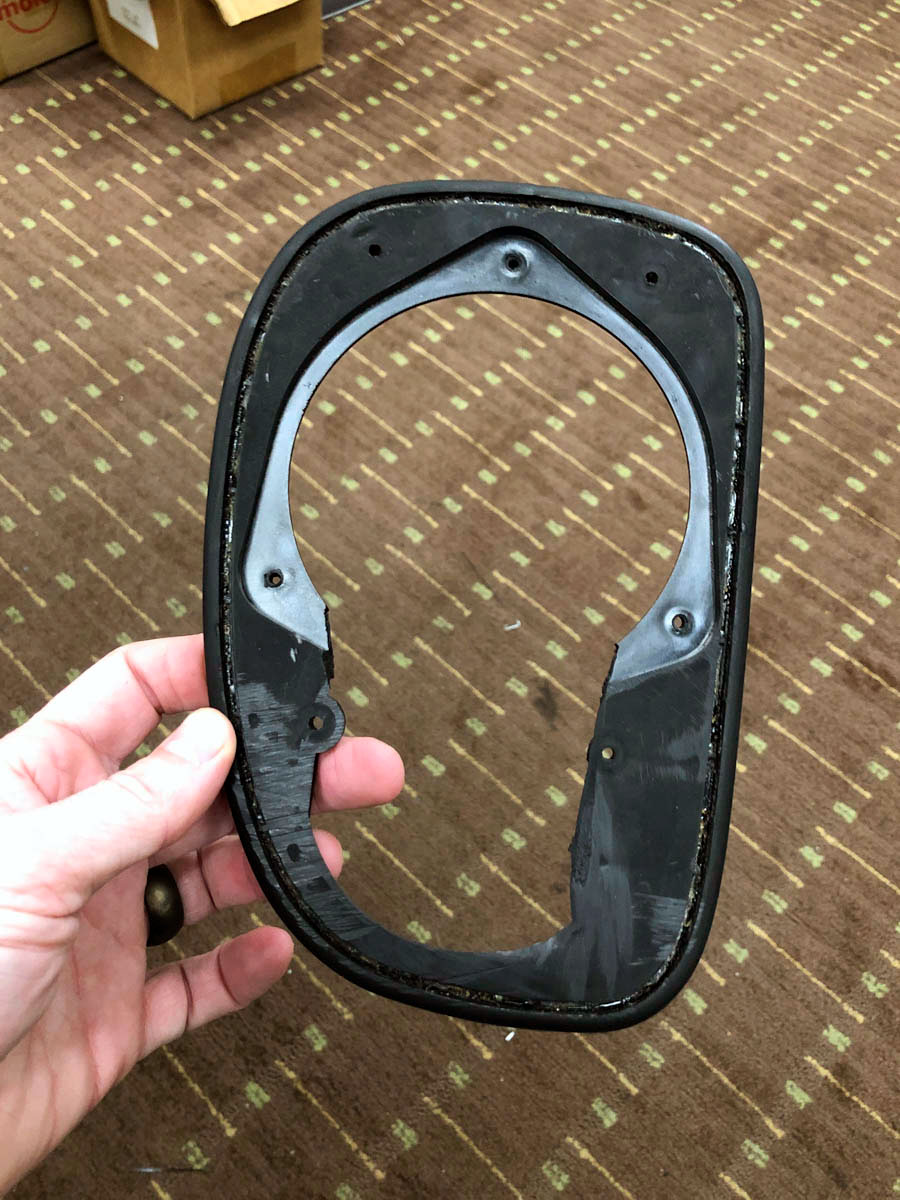
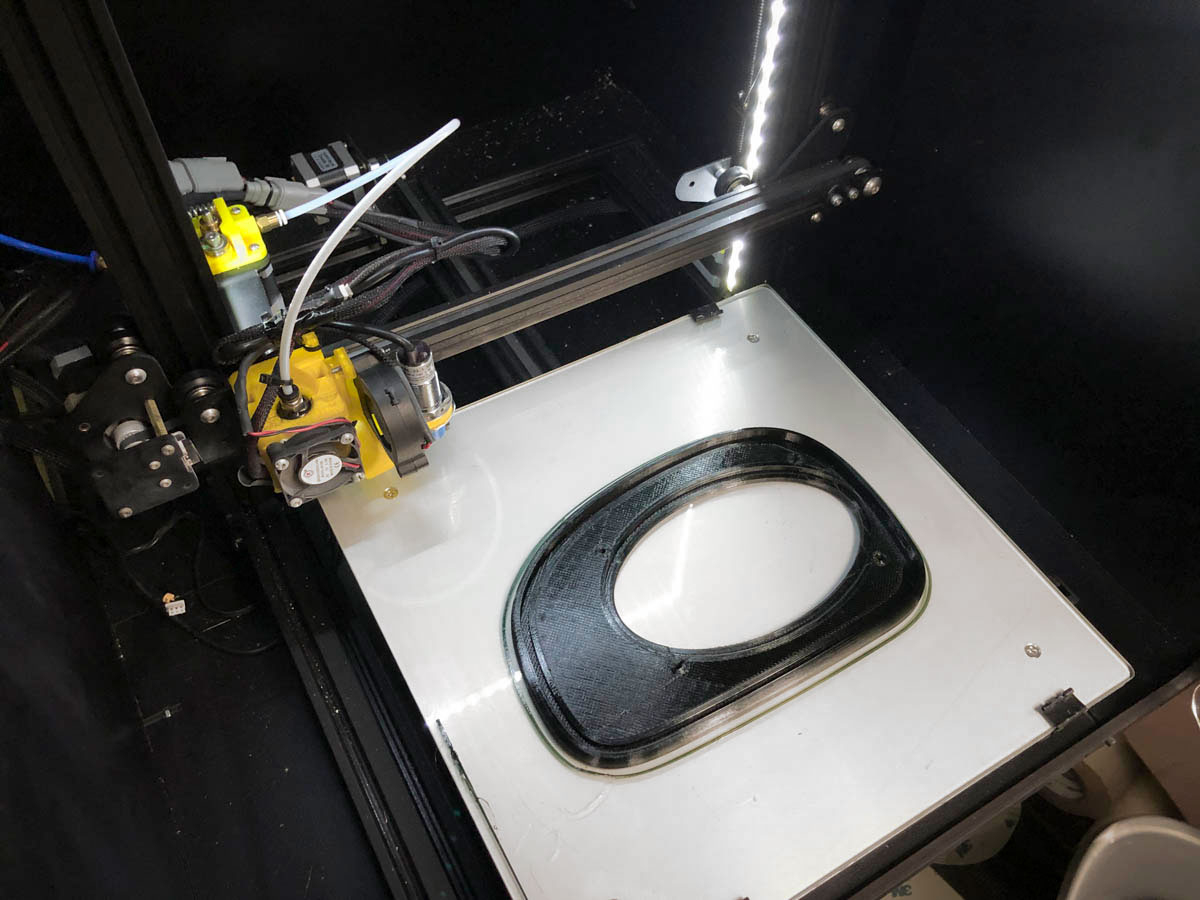
I remove the factory grills and sectioned the factory panel so that I could scan it into the computer to get the proper contours. Nothing fancy here, I just placed this on our flatbed document scanner and made a 2D scan, from that I took the shape and produced a 3D drawing in Fusion360 with a 4x6 speaker placed in the same general area that the previous mounts were located.
The first variation printing on my 3D printer, I use a CR10 that I've modified a bit and printed them out of a black PETG material to help withstand the heat the back deck will see if I'm ever parked in direct sunlight.
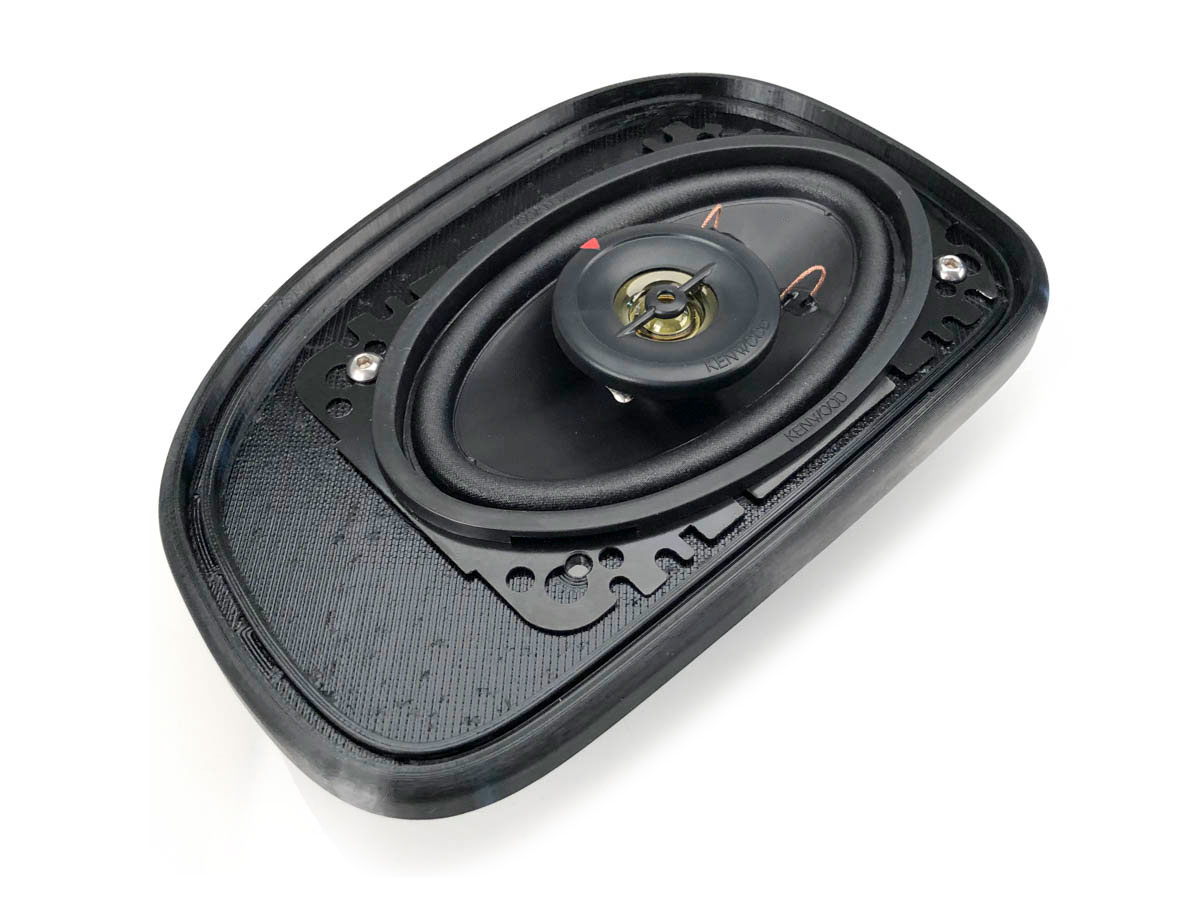
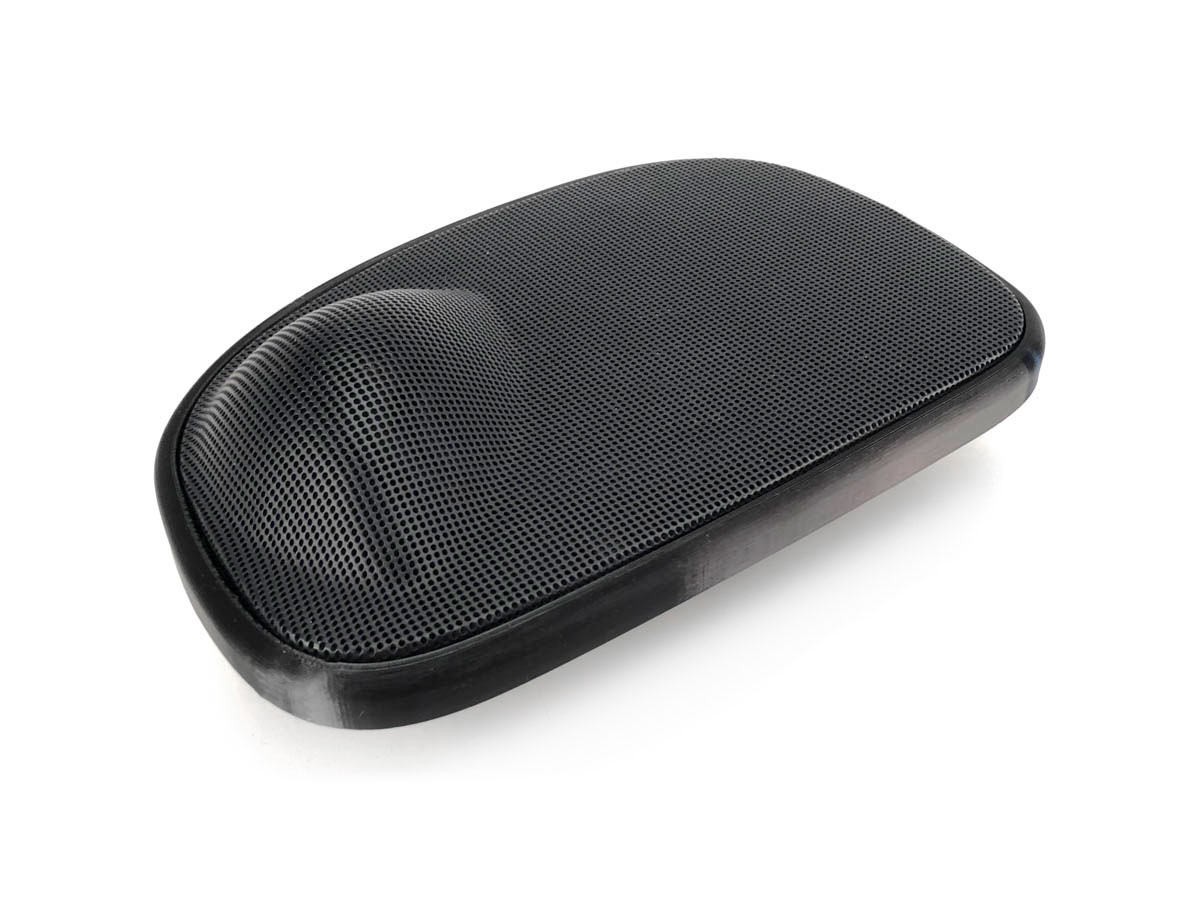
The end result, an OE looking panel that re-uses the factory grill, retains the same 4 mounting holes as the originals, and houses a new 4x6 speaker (with mounting frame trimmed slightly on one side). A fun project and saved the $200 that the 964 style non-hifi 4x6 grills are going for on the secondary market now that they've hit the NLA list.
At the request of the upholster I dropped the car off at his shop so that he could get a better handle on the custom fit carpet. We made templates out of vinyl at our shop, however smoothing the foam, glueing in the new carpets and trimming to fit is something he preferred to do onsite at his location with the correct tools. I'll use it as an opportunity to have it in his way a bit and hopefully make some quicker progress installing the rest of the interior panels in before bringing it back to our shop for a final tidy up. An alignment is much needed at this point and I'm quite glad his shop is right around the corner because the drive there was interesting to say the least. The plan is to bring her back nearly fully assembled and bring her next-door to our friends setup rack to dial in the suspension and corner weights.
Car looks awesome. It�s very inspirational. I just started a 95 993 Grand Prix white project myself. I definitely don�t have your budget but hope to save a lot by doing the work myself. Hopefully I will run into you at one of the citrus region PCA�s meets and we can trade 993 rescue stories.
The end result, an OE looking panel that re-uses the factory grill, retains the same 4 mounting holes as the originals, and houses a new 4x6 speaker (with mounting frame trimmed slightly on one side). A fun project and saved the $200 that the 964 style non-hifi 4x6 grills are going for on the secondary market now that they've hit the NLA list.
Great work!
I also need to change my rear speakers.
Is it possible to send me the 3D drawing so I can have someone here in Sweden print them for me?
Car looks awesome. It�s very inspirational. I just started a 95 993 Grand Prix white project myself. I definitely don�t have your budget but hope to save a lot by doing the work myself. Hopefully I will run into you at one of the citrus region PCA�s meets and we can trade 993 rescue stories.
While I do have a bit of money into the car, the vast majority of it has been time and a bit of bartering / swapping with friends. Doing it at our shop has been both a blessing and a curse, the most expensive part of this project is the time away from the family working late nights, but it's also helped keep the monetary expenses cheaper. I'll be excited to enjoy it for sure, I don't make many of the Citrus Region events with my schedule, but try to make Ace Cafe for Porsche night and should have the car at the Titan open house and Amelia Island for Werks reunion, stop by and say hello and look forward to seeing what you do with your project.
Good stuff. I just spent the afternoon changing out the front bushings (what a chore)should get my H&R street performance coil overs in a couple days. Then the focus shifts to the rear of the car. Once I get it up and running I definitely will hit the ace cafe on Porsche night. If you don’t mind me asking who did your alignment. I heard these cars need someone who knows how to set the kinematic toe.
Good stuff. I just spent the afternoon changing out the front bushings (what a chore)should get my H&R street performance coil overs in a couple days. Then the focus shifts to the rear of the car. Once I get it up and running I definitely will hit the ace cafe on Porsche night. If you don�t mind me asking who did your alignment. I heard these cars need someone who knows how to set the kinematic toe.
I haven't done the alignment yet but will be doing it the old fashion way at our shop with strings and scales (I'm fortunate to have an IMSA team next door who will be lending a hand if I run into hangups with the KT). Locally I would also suggest Simon at Drivers Choice, however his kinematic tool is currently sitting on my desk and it may be 1-2 weeks until I can get around to getting it done.
Installed the rear speakers into freshly upholstered deck, everything went smooth as expected. Once mounted I used some black RTV sealant to keep the grills in place in the 3D printed housing.
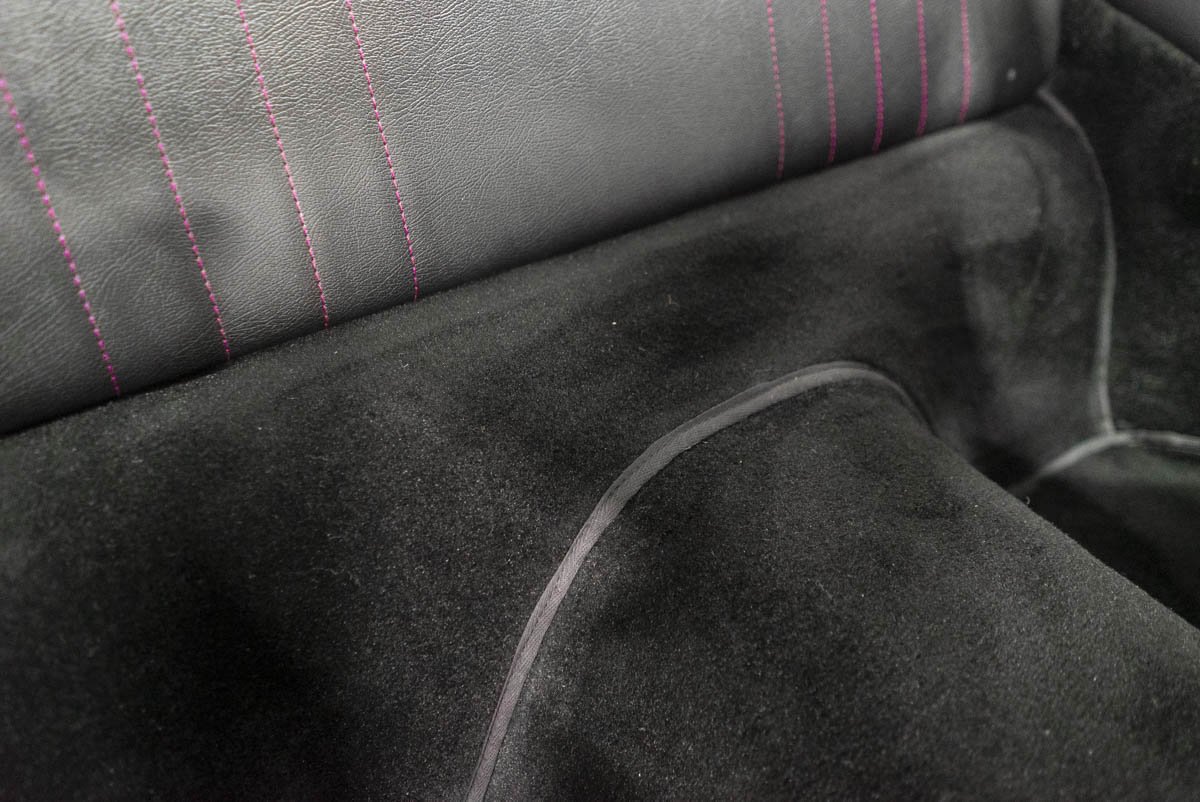
Test fitted the rear panel into the car, the stitching is very subtle but the color should tie in great once the Rubystone painted roll bar is installed.
The carpet which has been one of the biggest hangups in progress also was completed. I opted to do the rear section only and had the upholster make the panels to fit in black plush carpet lie ketch front with cloth binding. He did a great job smoothing out the void from the rear seat delete and keeping everything smooth.
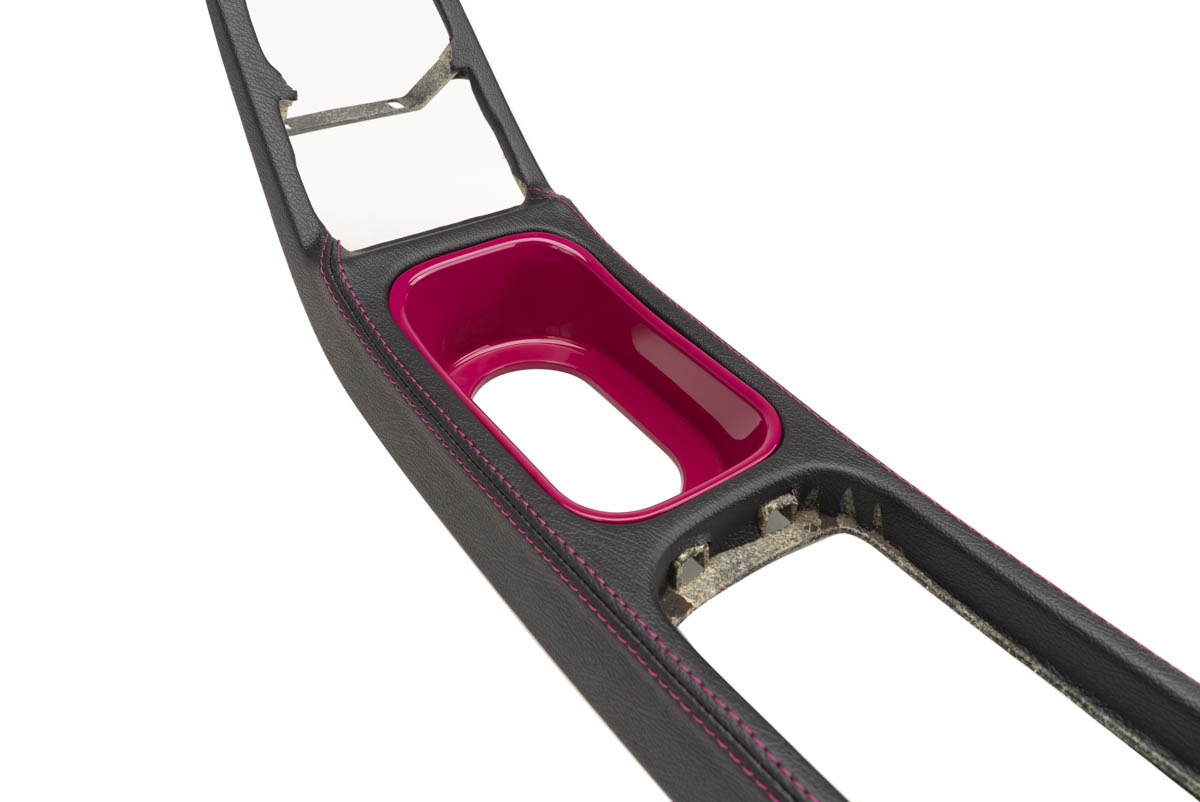
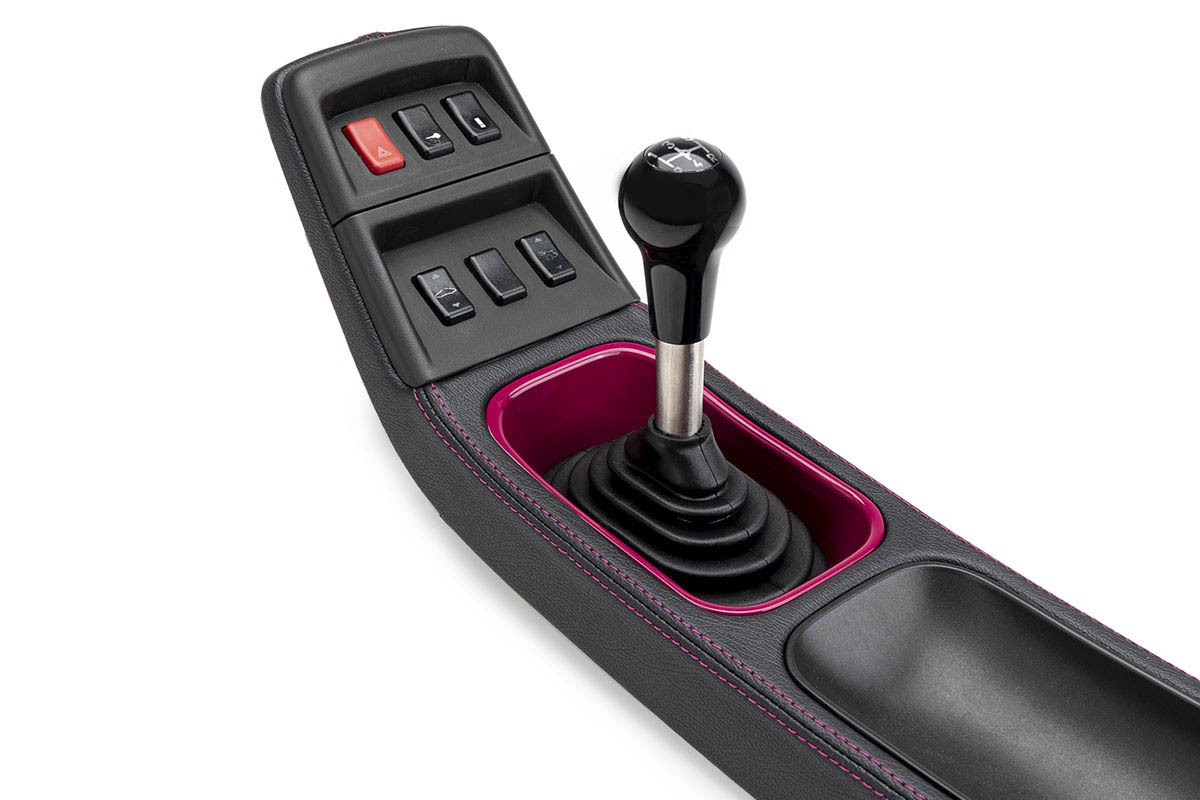
Something not so subtle, I wanted to make the Reboot shift panel I produce stand out a bit so I had my painter give it a coat of Rubystone. These are injection molded from ABS so it's takes paint quite well and really goes well with the matching double stitch next to it. I realize it might be loud for some, and typically it would be for me but I think it works in this car (I went ahead and had a small batch painted if anyone is looking for one in this color, might do this with other popular colors as well if others find it desirable).
I love my Rothsport shifter but others have been asking about a flat RS shifter solution so I used this as a good excuse to spend some time mocking that up. I've found that is possible to get enough stretch once heavily lubed to get the shift bellow over the Rothsport shifter without cutting the top portion off so will give that a try next week.... should be a fun experiment.
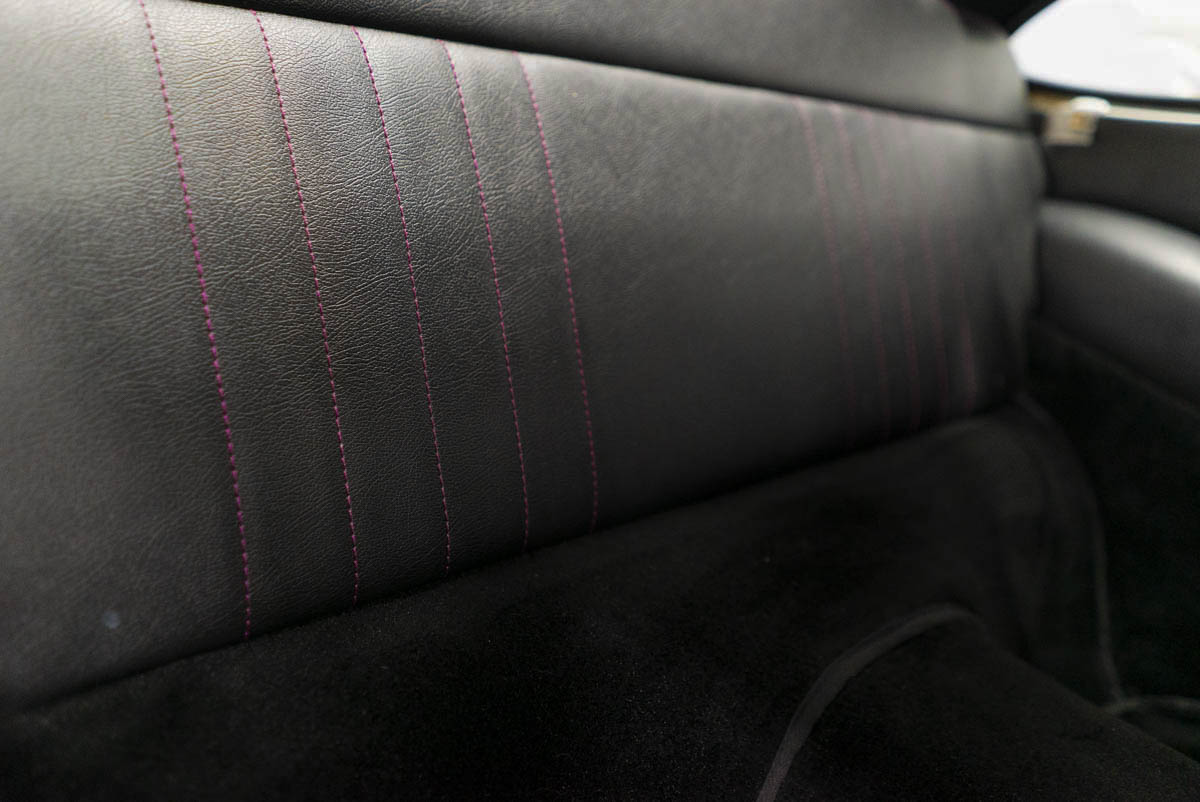
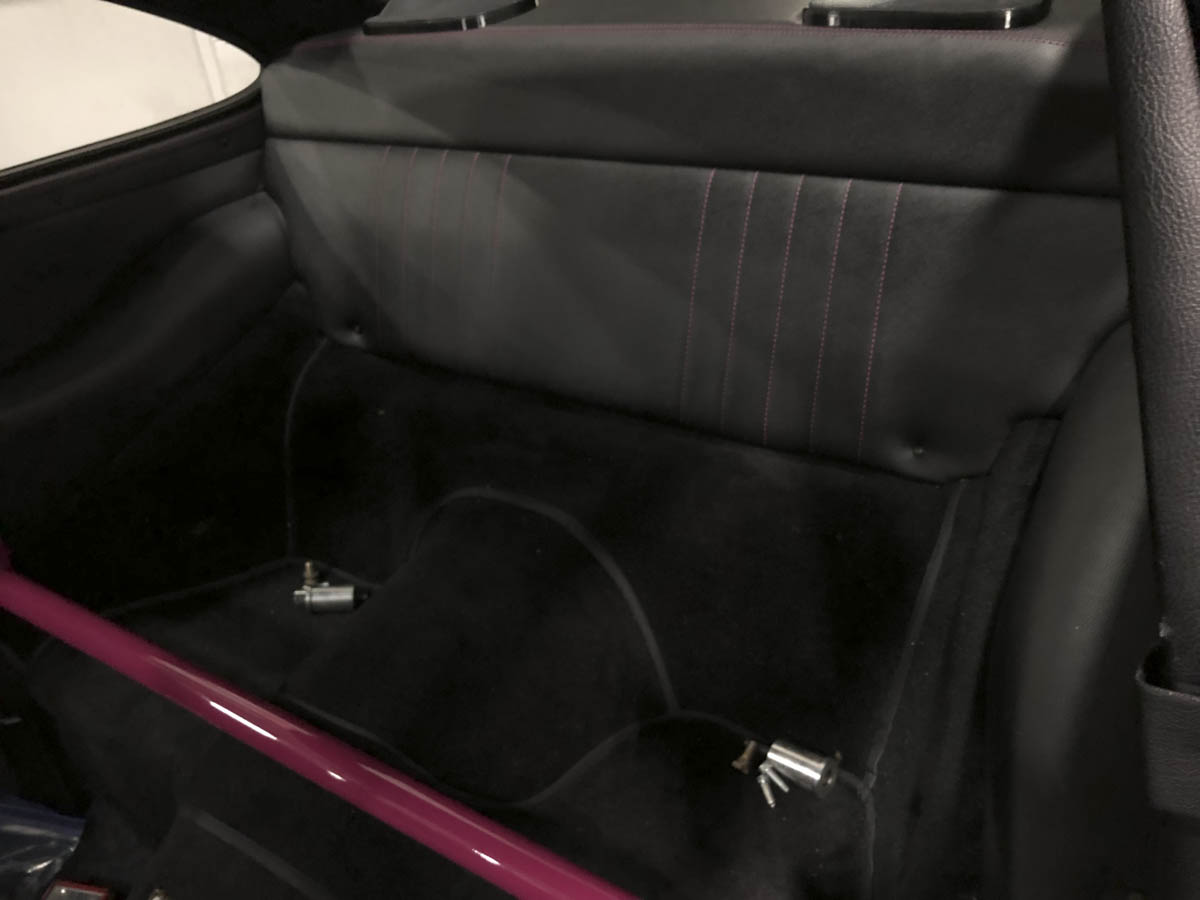
The top trim of the rear interior quarter panels with a subtle double stitch, I left the lower portion original.
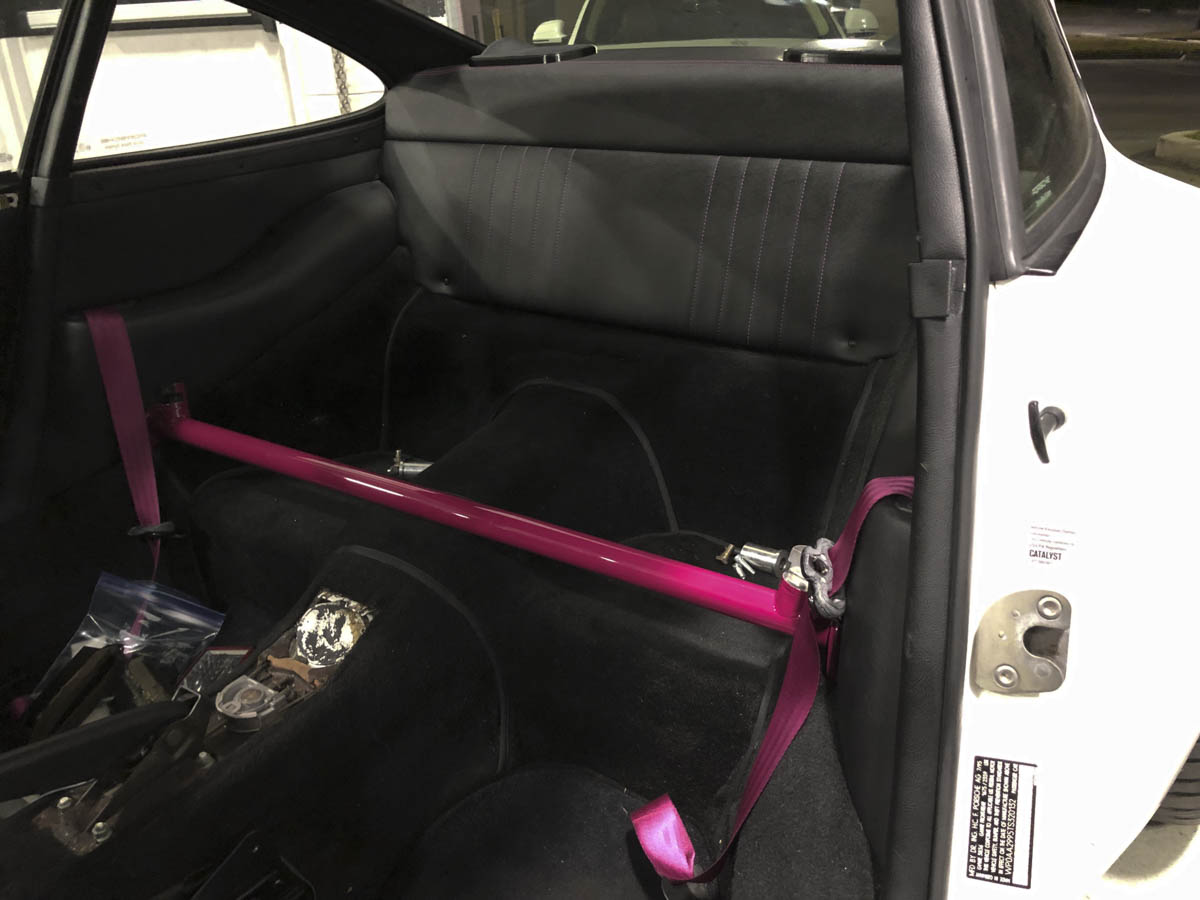
Installed the cross bar portion of the roll bar, this needed to be mocked up and bolted in place so the interior panels could be fitted around it. This turned out to be a good stopping point as I have my audio guy coming Monday to direct wire the speakers and I need to make sure there is easy access to the speakers if a problem arises in the process. If all goes as planned I hope to be driving the car next weekend, need to handle the audio, bolt in the rest of the interior, align and then hopefully get the dash back in time to install and drive away, fingers crossed.
Heading down to Miami for DRT for the weekend, won't be bringing either of the cars but looking forward to spectating and hanging with some new and old faces.
 12-08-2018, 09:53 AM