The anatomy of a CF gear knob
 05-18-2018, 09:19 AM
#1
Instructor
Thread Starter
I recently refurbed a CF gear **** and flyingchappy's handbrake restoration has prompted me to share the process.
I found a CF gear **** on for sale, but it had seen better days. I paid $200 USD which is a bargain when they're sometimes listed for up to $1500 USD. The PO must have liked jewellery as it was very scratched and rusty. Luckily, the carbon was perfect.
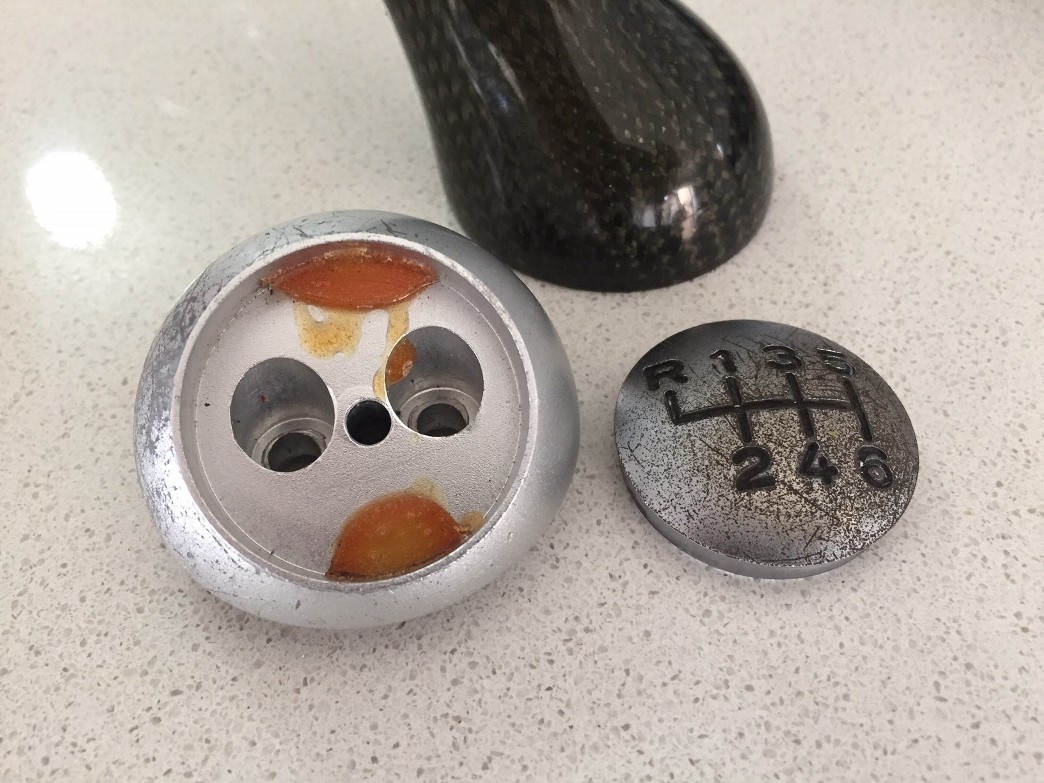
Bits separated with a heat gun. I had to pop the steel insert off with a screwdriver - being very careful not to scratch or bend anything. The aluminium orb is held in with two flathead screws and some silicon type glue. It came loose with a twist from the carbon fibre base.
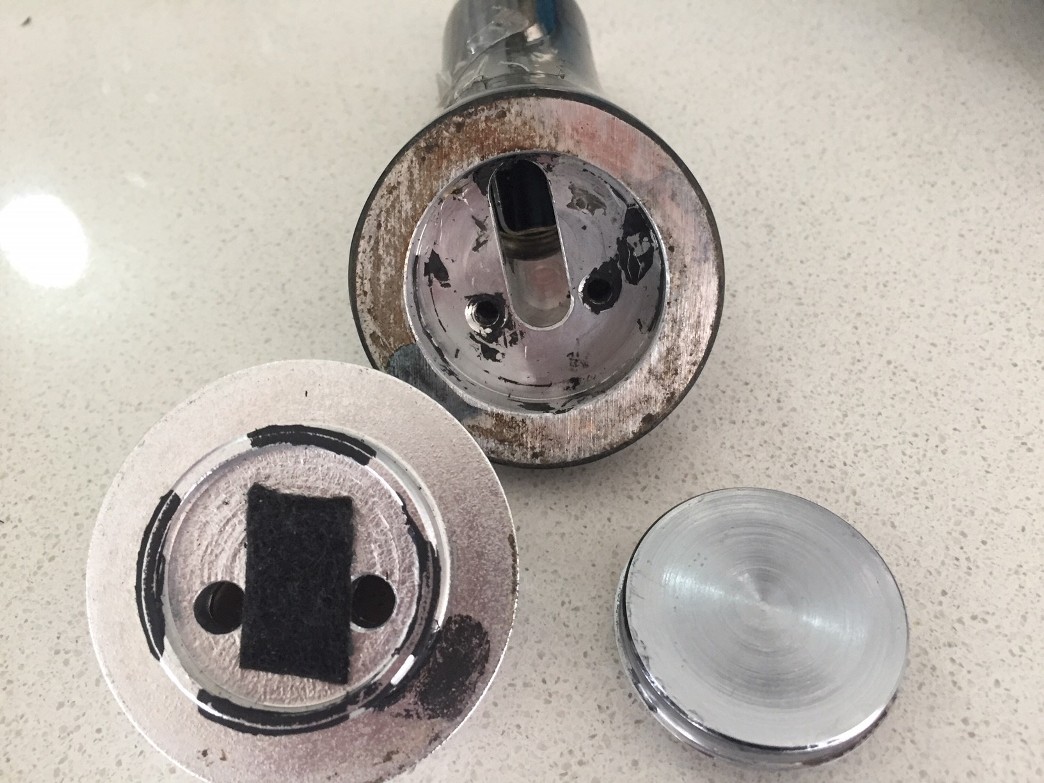
Reverse sides of parts.
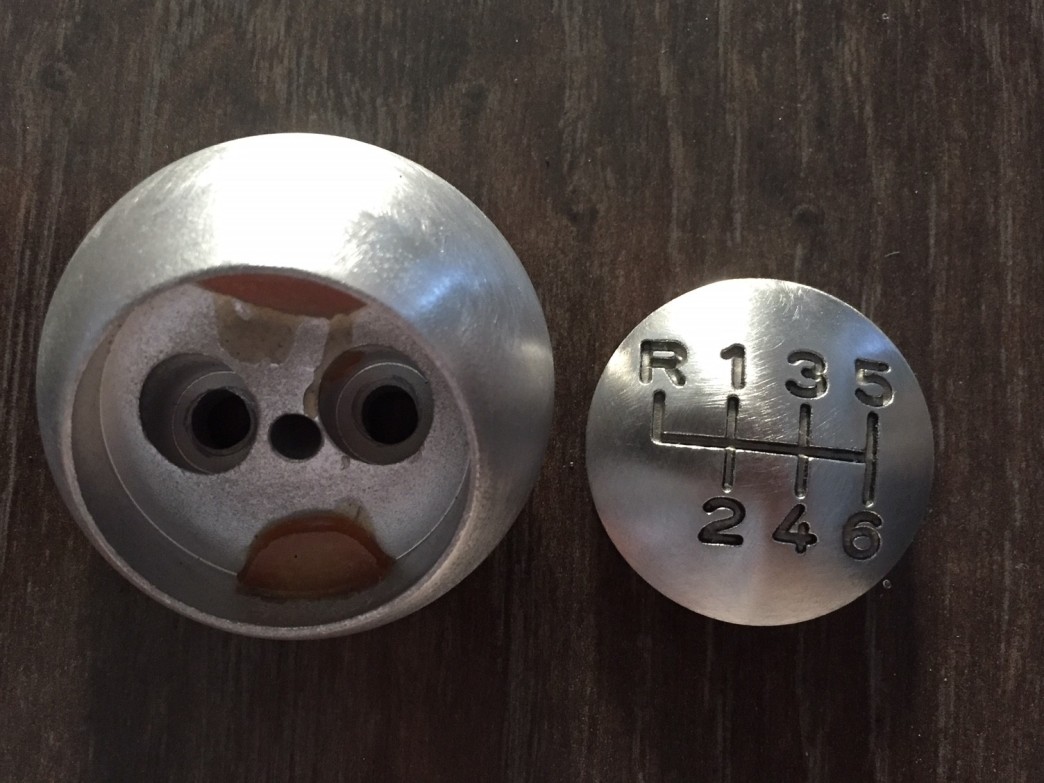
Dings sanded out with 60 grit. Smoothed with 240 or maybe 320.
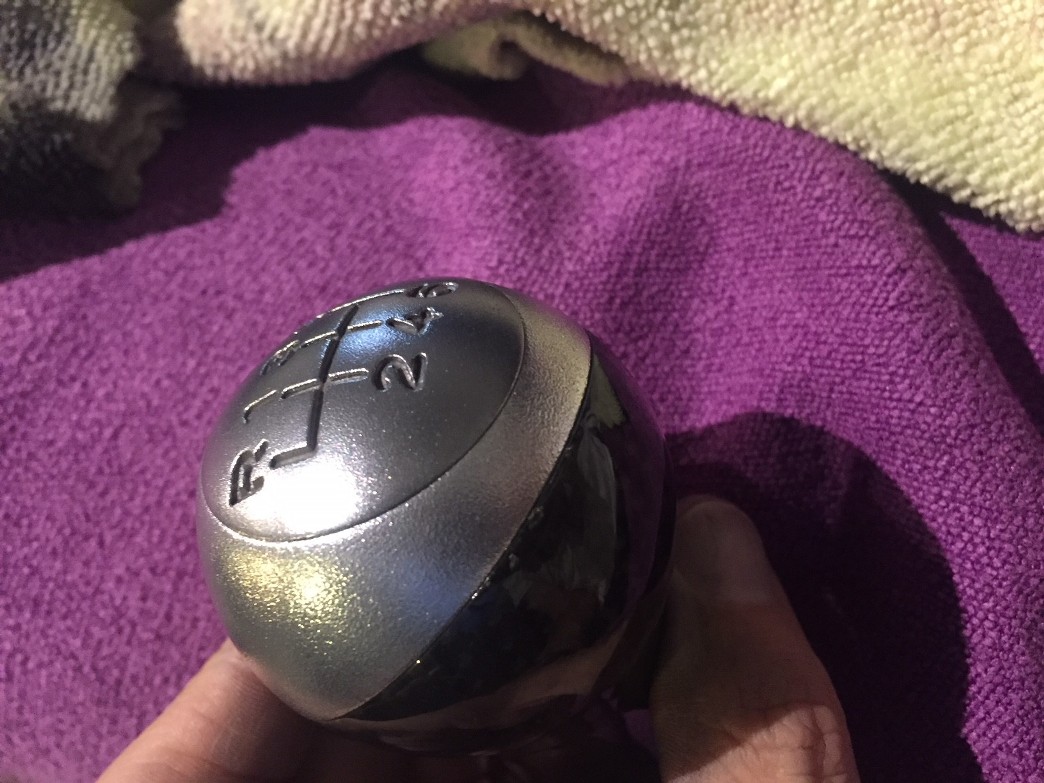
Blasted with "F24 grit" glass bead grit. The dimples might a bit more coarse than factory, but I'm happy with the improvement. The texture feels nice to the touch.
I gave the pieces a polish, but I didn't like the effect so I re-blasted it.
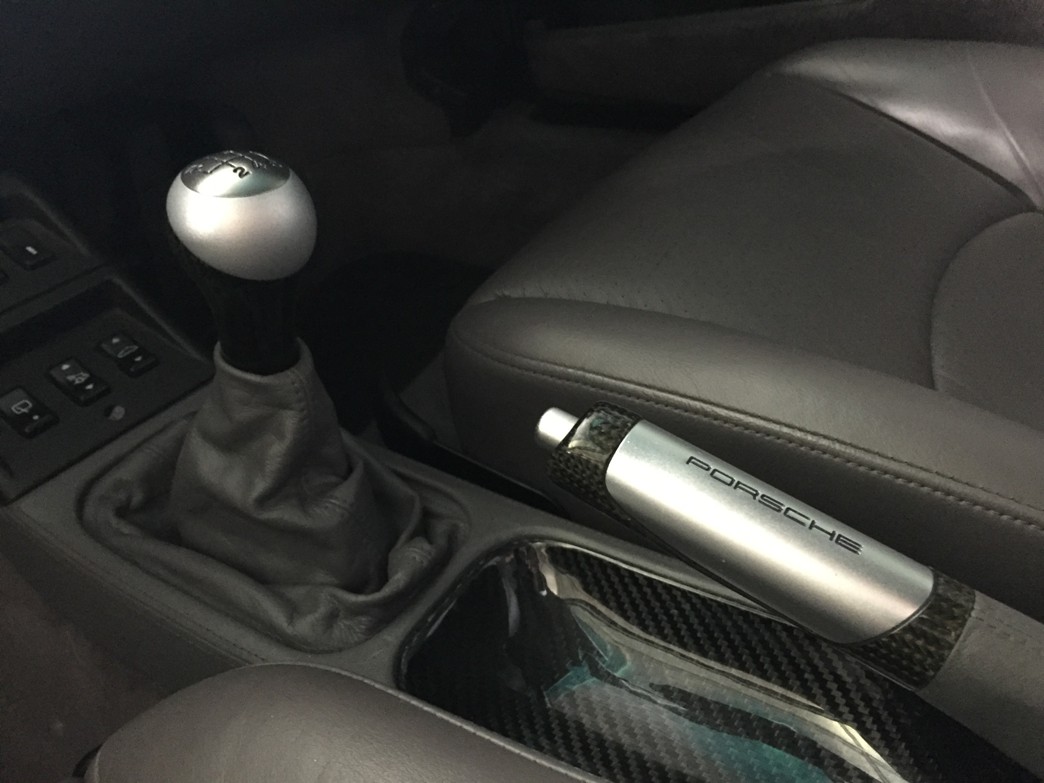
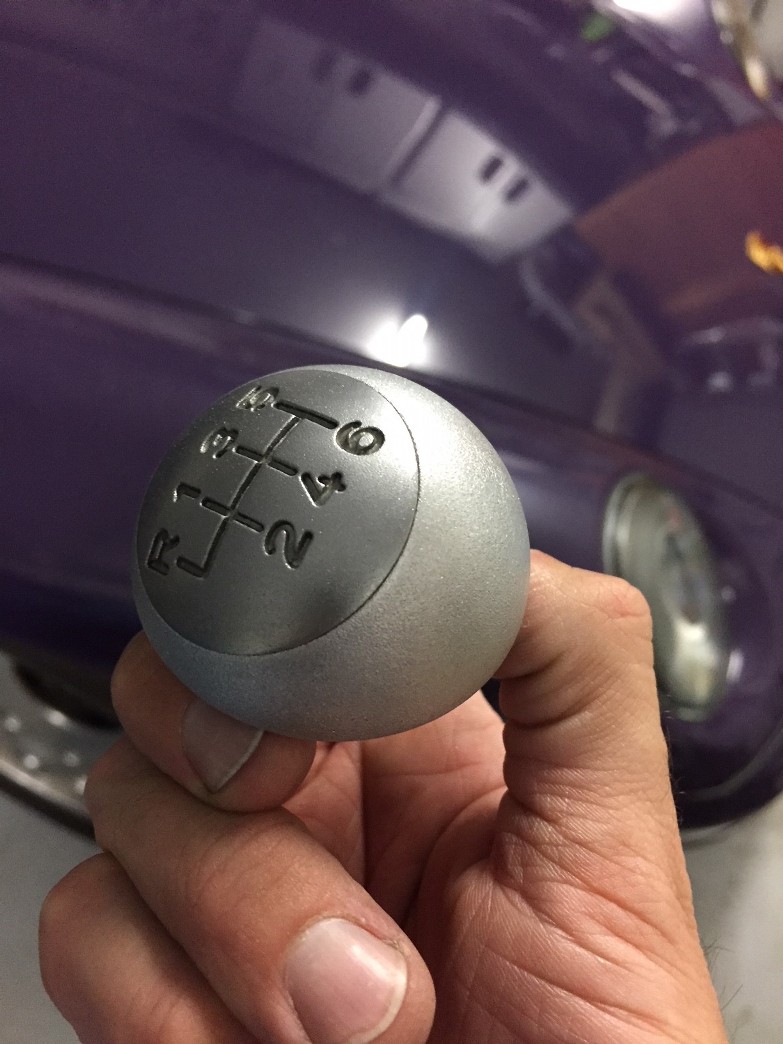
Gear shift boot recoloured from black with leatherique + A few drops of (violet) paint in the shift pattern and it's done!
I found a CF gear **** on for sale, but it had seen better days. I paid $200 USD which is a bargain when they're sometimes listed for up to $1500 USD. The PO must have liked jewellery as it was very scratched and rusty. Luckily, the carbon was perfect.
Bits separated with a heat gun. I had to pop the steel insert off with a screwdriver - being very careful not to scratch or bend anything. The aluminium orb is held in with two flathead screws and some silicon type glue. It came loose with a twist from the carbon fibre base.
Reverse sides of parts.
Dings sanded out with 60 grit. Smoothed with 240 or maybe 320.
Blasted with "F24 grit" glass bead grit. The dimples might a bit more coarse than factory, but I'm happy with the improvement. The texture feels nice to the touch.
I gave the pieces a polish, but I didn't like the effect so I re-blasted it.
Gear shift boot recoloured from black with leatherique + A few drops of (violet) paint in the shift pattern and it's done!
 05-18-2018, 09:57 AM
#2

Bits separated with a heat gun. I had to pop the steel insert off with a screwdriver
Question: the steel insert you're referring to; is that the gear shift pattern cap, and was that was removed using a heat gun to soften the glue on the underside?
If not, how did you remove the gear shift pattern cap, and is that not aluminum, as well?
TIA,
Paul
If not, how did you remove the gear shift pattern cap, and is that not aluminum, as well?
TIA,
Paul
05-18-2018, 10:13 AM
#3
Instructor
Thread Starter
Hi Paul,
Sorry if i was a bit unclear.
The bottom section appears to be aluminium. The engraved top section appears to be steel and it is very heavy.
I softened the orange glue with a heat gun. Once the steel cap was a little bit loose, I carefully inserted a flat screwdriver into the gap and gently twisted - repeating around the perimeter of the cap in order to pry it off. The outer edge of the steel insert is thin so I went very slowly in order not to bend or damage the metal.
Once the cap is removed, the aluminium base is secured to the carbon fibre base with two screws (not pictured) and some more glue. Remove the screws and twist the carbon and metal apart.
I used a few drops of silicon to reassemble.
Hope this helps.
05-18-2018, 03:38 PM
#4
Rennlist Member
Nice work on the ****! The bead blasting is key.
05-18-2018, 06:59 PM
#6
Instructor
Thread Starter
05-18-2018, 11:38 PM
#7
Hi Paul,
Sorry if i was a bit unclear.
The bottom section appears to be aluminium. The engraved top section appears to be steel and it is very heavy.
I softened the orange glue with a heat gun. Once the steel cap was a little bit loose, I carefully inserted a flat screwdriver into the gap and gently twisted - repeating around the perimeter of the cap in order to pry it off. The outer edge of the steel insert is thin so I went very slowly in order not to bend or damage the metal.
Once the cap is removed, the aluminium base is secured to the carbon fibre base with two screws (not pictured) and some more glue. Remove the screws and twist the carbon and metal apart.
I used a few drops of silicon to reassemble.
Hope this helps.
Sorry if i was a bit unclear.
The bottom section appears to be aluminium. The engraved top section appears to be steel and it is very heavy.
I softened the orange glue with a heat gun. Once the steel cap was a little bit loose, I carefully inserted a flat screwdriver into the gap and gently twisted - repeating around the perimeter of the cap in order to pry it off. The outer edge of the steel insert is thin so I went very slowly in order not to bend or damage the metal.
Once the cap is removed, the aluminium base is secured to the carbon fibre base with two screws (not pictured) and some more glue. Remove the screws and twist the carbon and metal apart.
I used a few drops of silicon to reassemble.
Hope this helps.

