The anatomy of a CF handbrake lever
#1
Rennlist Member
Thread Starter
I thought I’d share some internal details for the handbrake that might not ever be posted since these CF levers have become like bitcoin investments for some.
As luck would have it I was able to snag a nice piece at the Hershey swap meet this year. Probably not as legendary as the Cactus $10 UT smash-n-grab, but all the same pretty exciting to find something I’d been searching for a couple of years.
Within five minutes after arrival I stumbled upon a visibly sun baked 993 flamenco red interior laid out on the tarmac. The handbrake lever was amongst the mess.
Without much haggling, it was mine for $75. It had certainly seen better days before the PO rattle canned the leather in an attempt to make it black. The carbon fiber had small hairline cracks in the resin but the aluminum looked pretty clean. I figured I had my work cut out for me but I was determined to resurrect it.

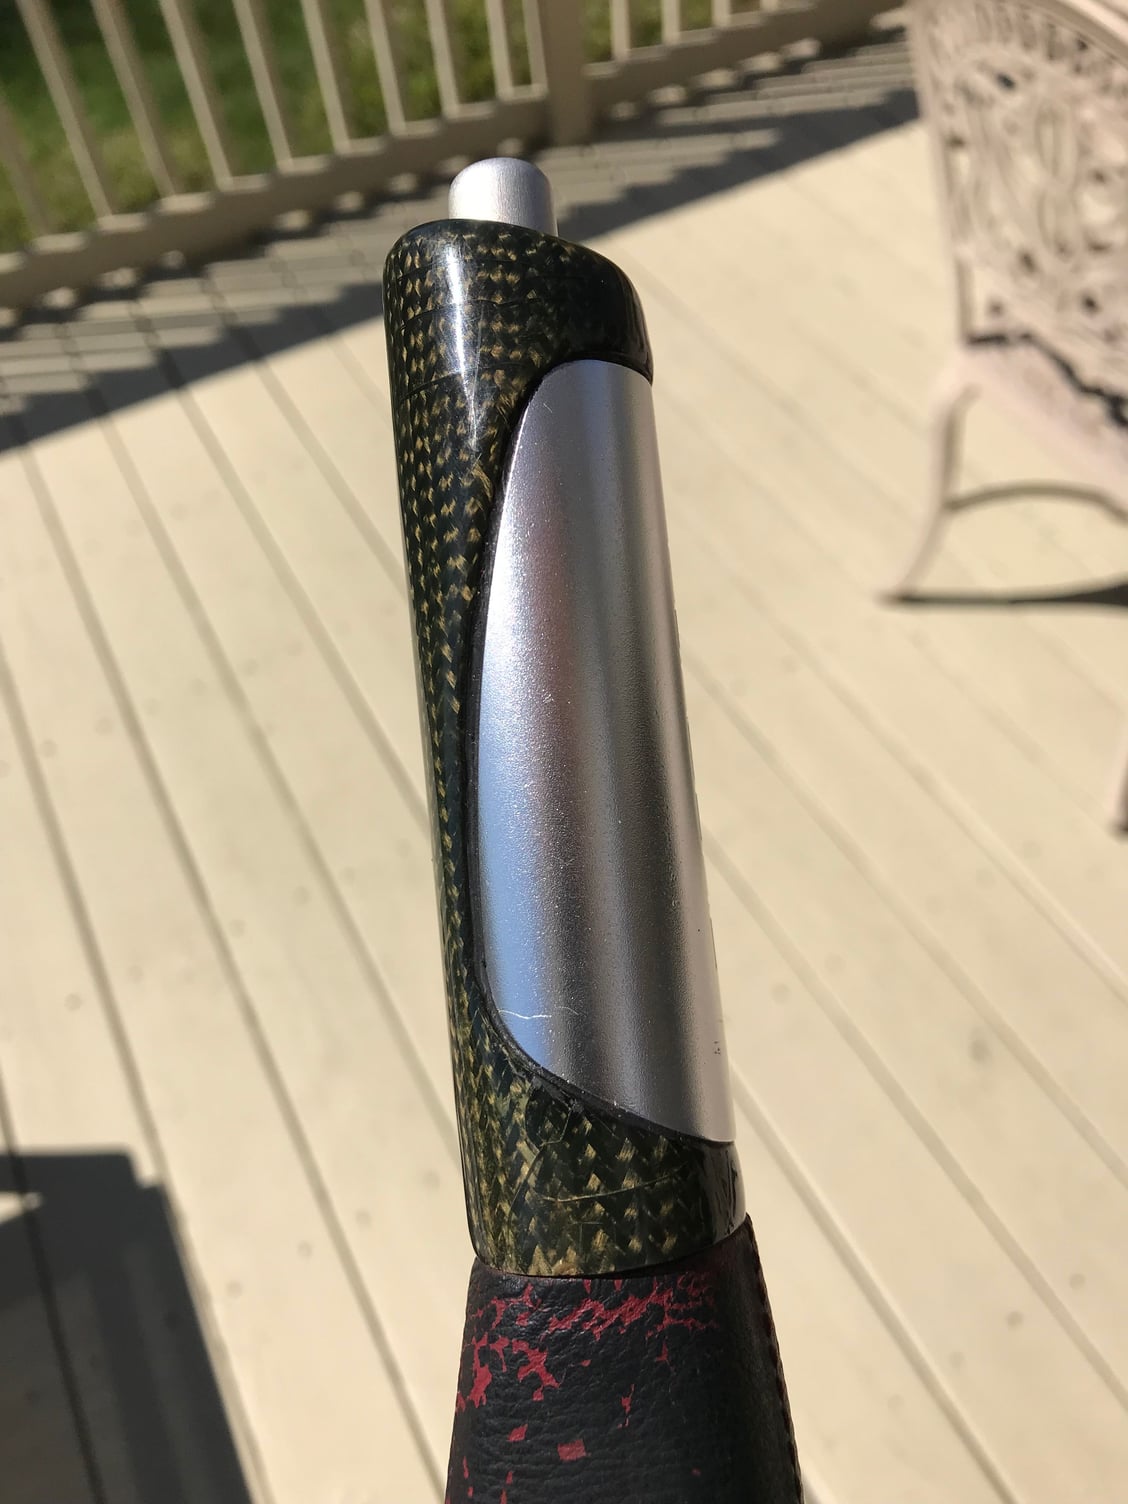
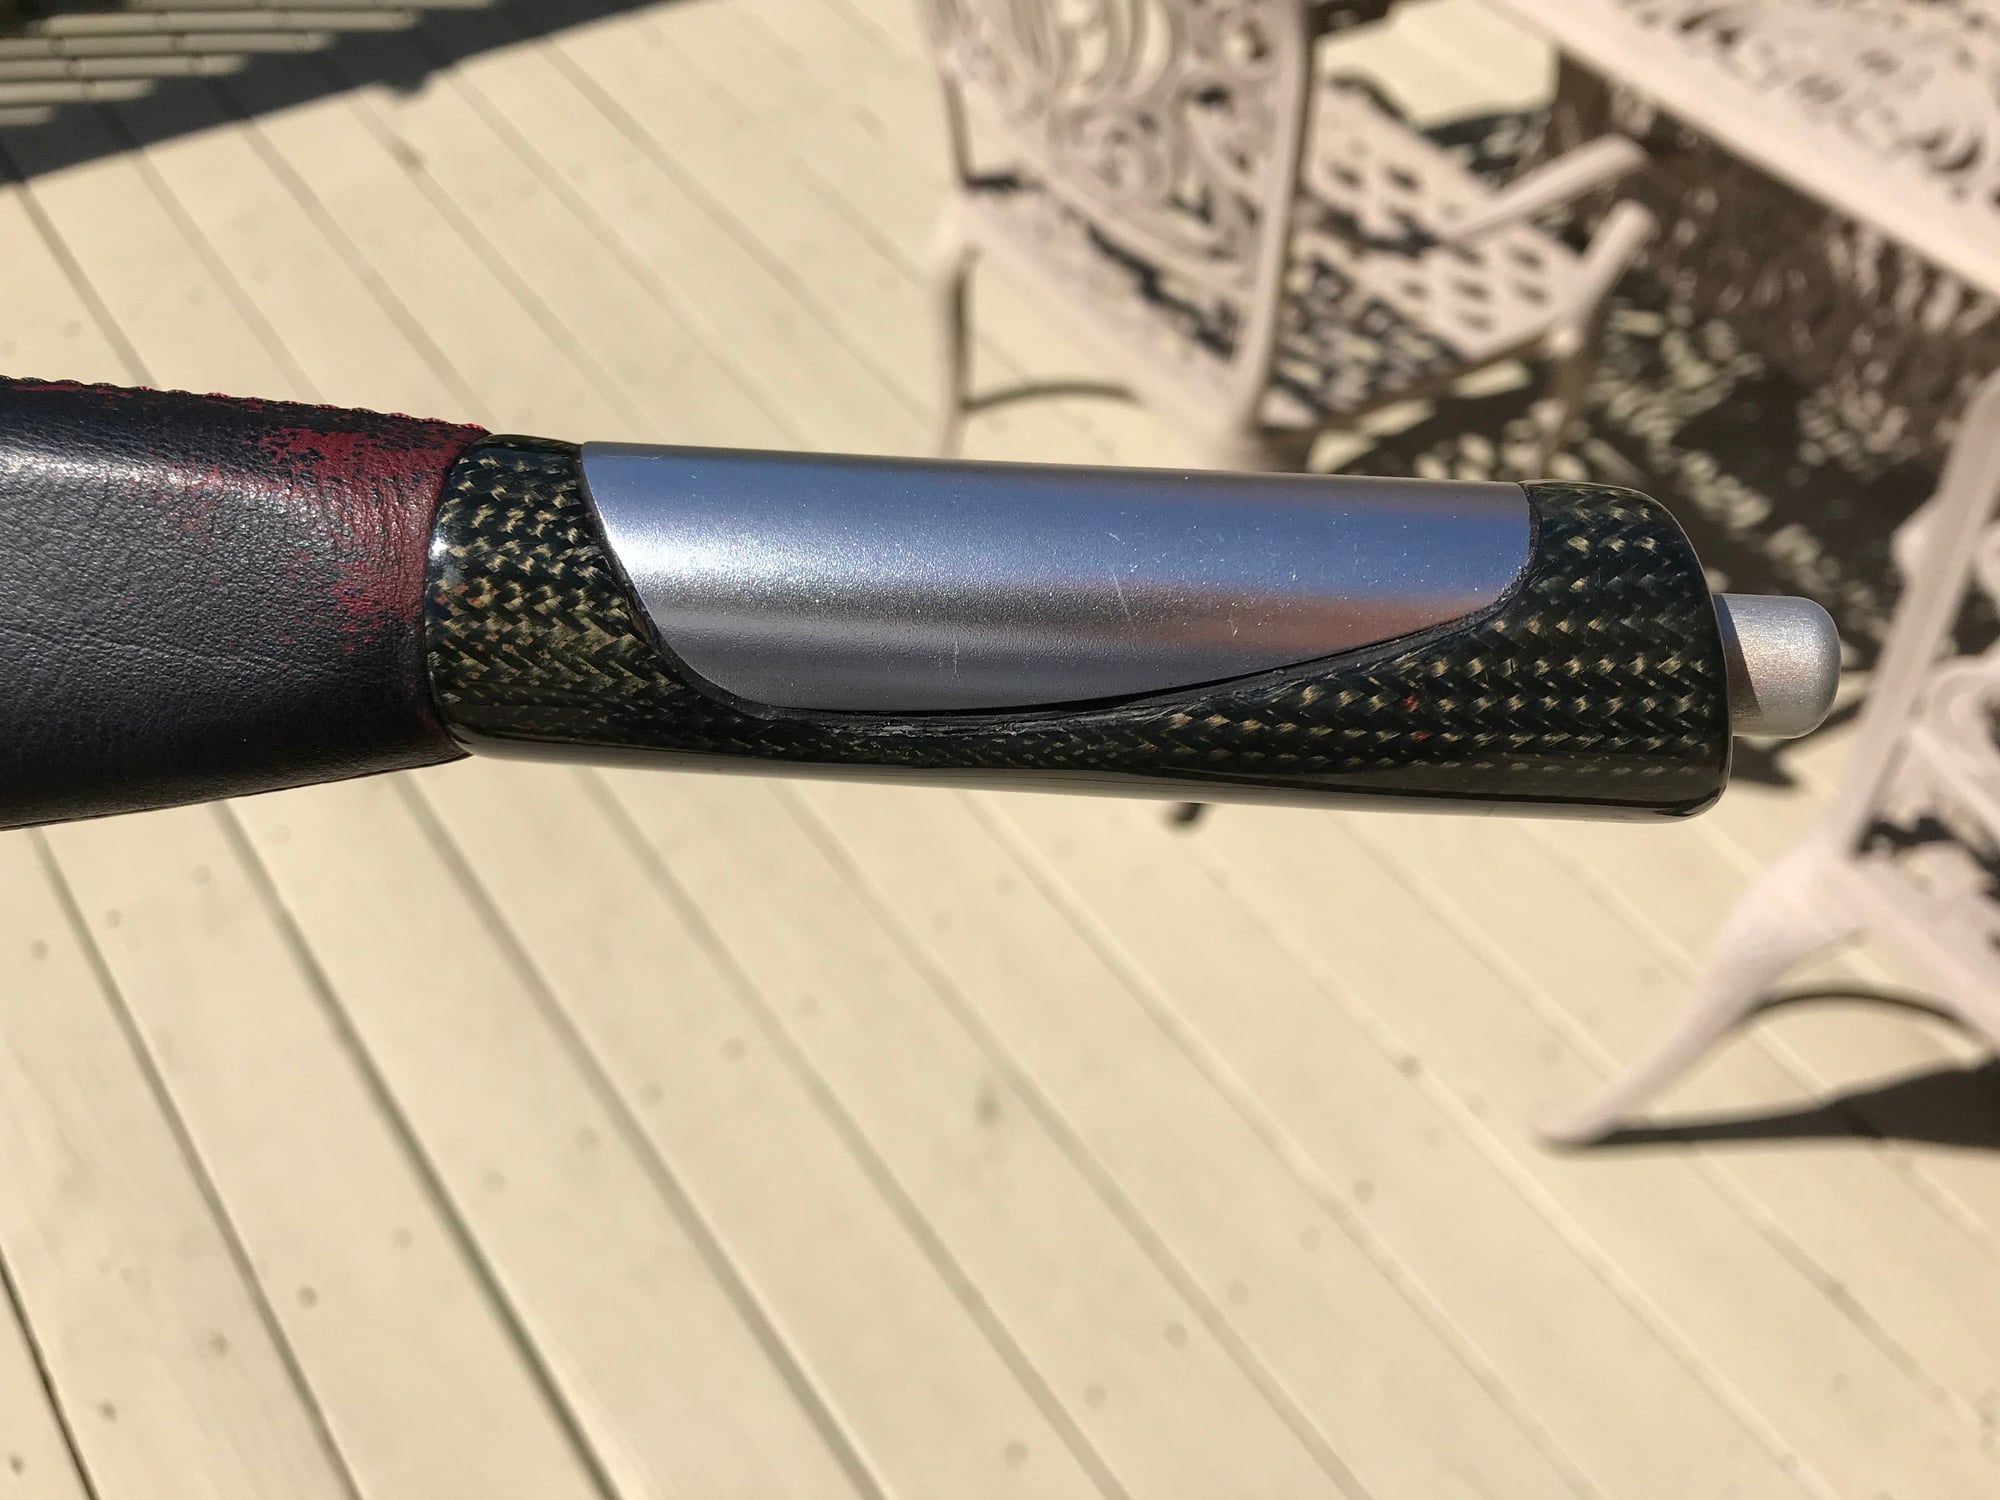
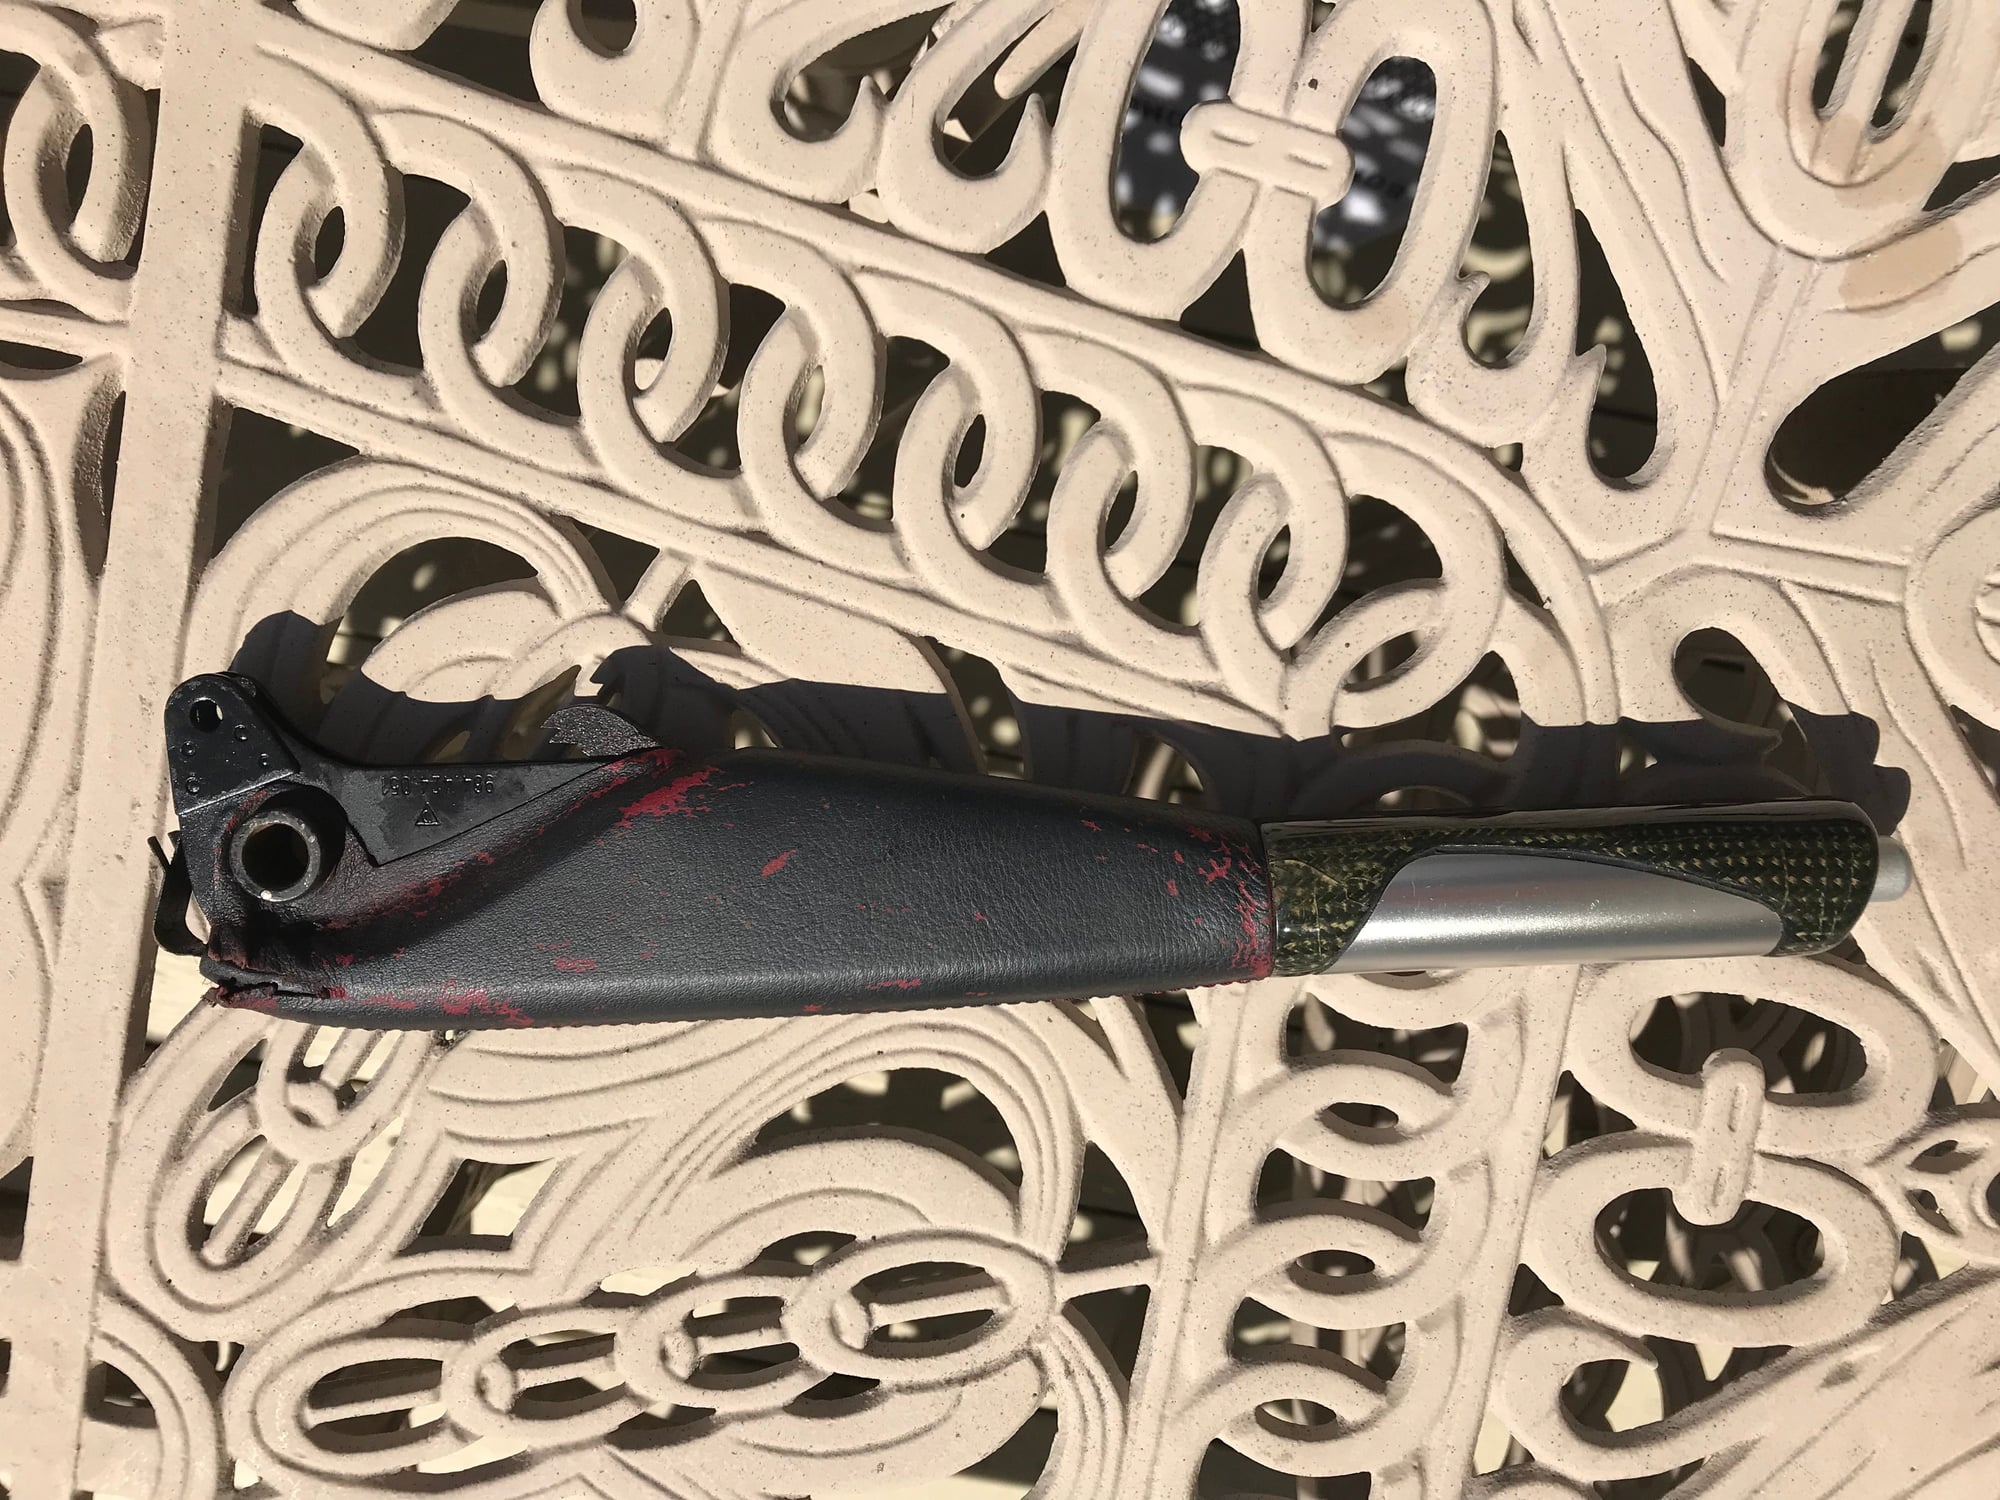
First step was disassembly. The leather wasn’t going to be salvageable because it was torn and brittle. The handle is attached with contact cement and was surprisingly easy to remove with a few shots of Xenit.
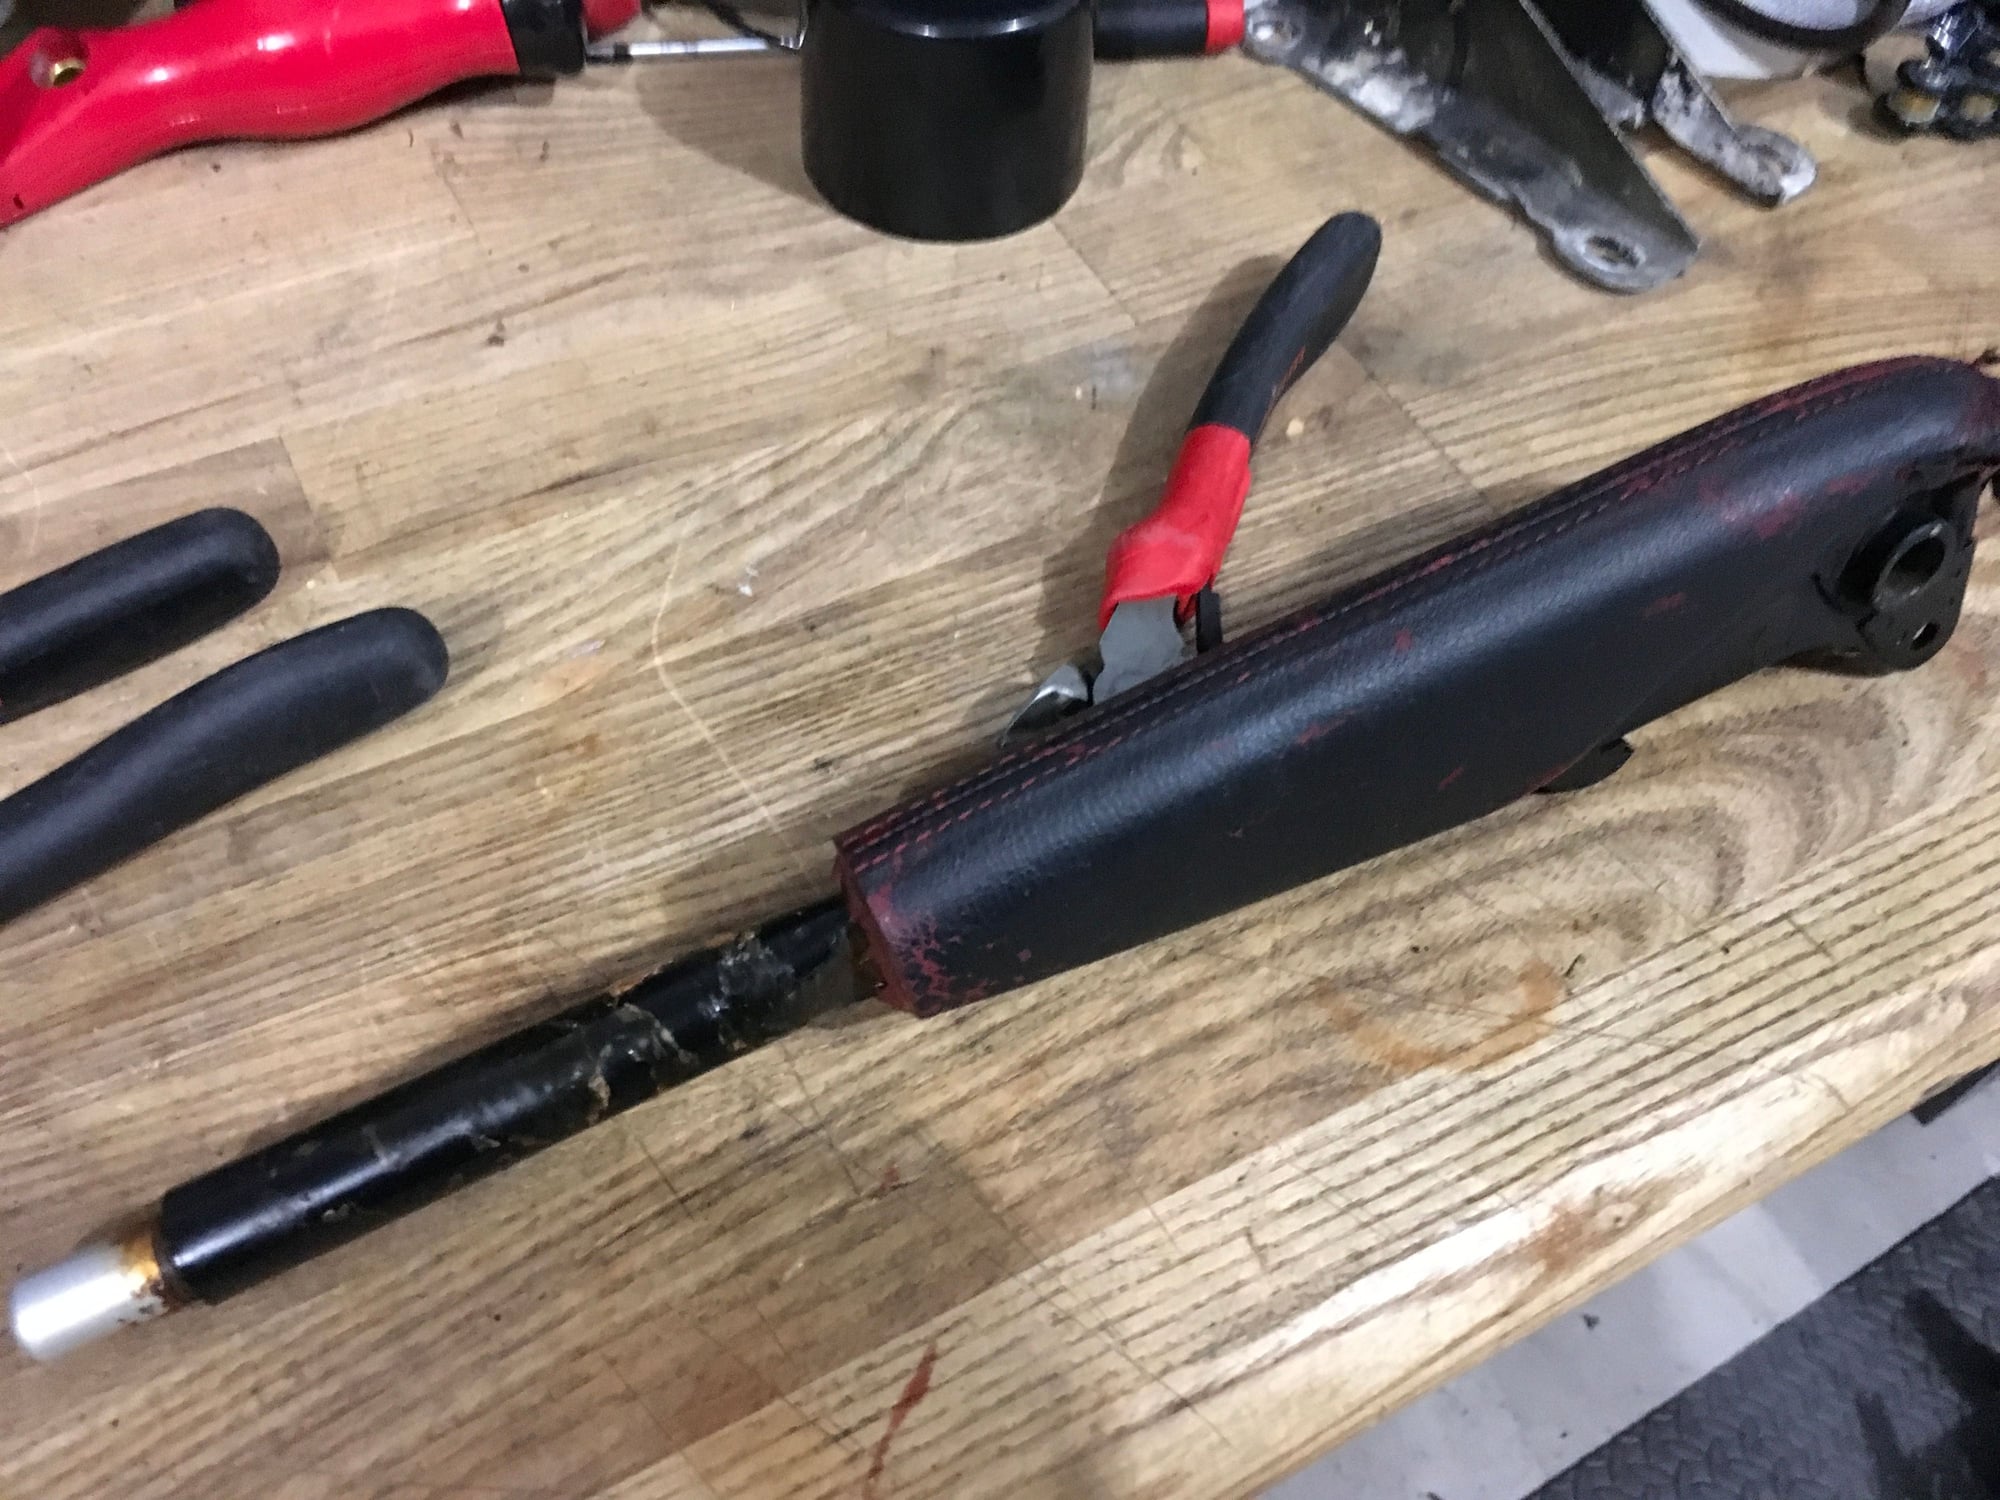
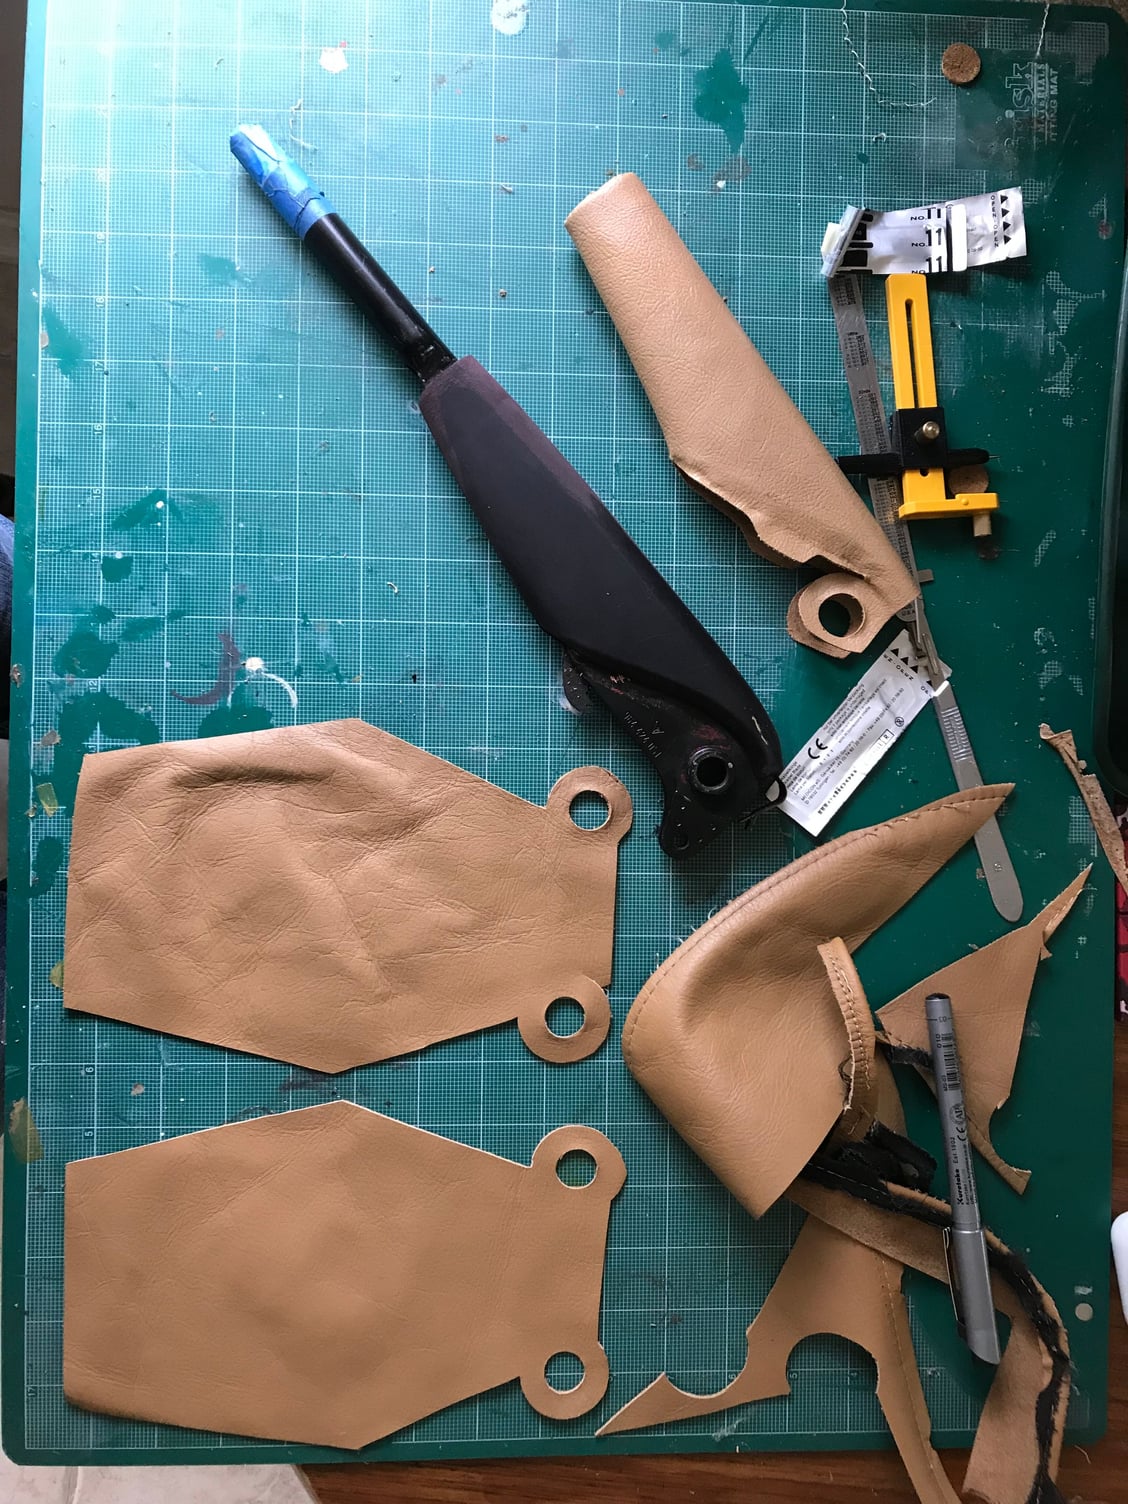
My goal was to replicate the leather piece without the French seam. The removal was straight forward with a surgical scalpel cutting along the stitched seam at the bottom. I removed brittle leather and used it as a template. The replacement peice of leather came from the head rest portion of my original trashed seat cover. Glad I never tossed it!
Using my mad skills and grade school Tandy leather kit, I fashioned two replica patterns. One a hair larger than the other, just in case. The other one pictured is a vinyl sleeve I removed from another spare handbrake. That provided me with a correct template for the pivot holes.
I brought it to my local leather shop, Sabatini Coachworks, and he stitched it up for me inside out. After it was sewn, the leather needed to soaked a bit in water to allow it to be stretched over the rubber handle pad.
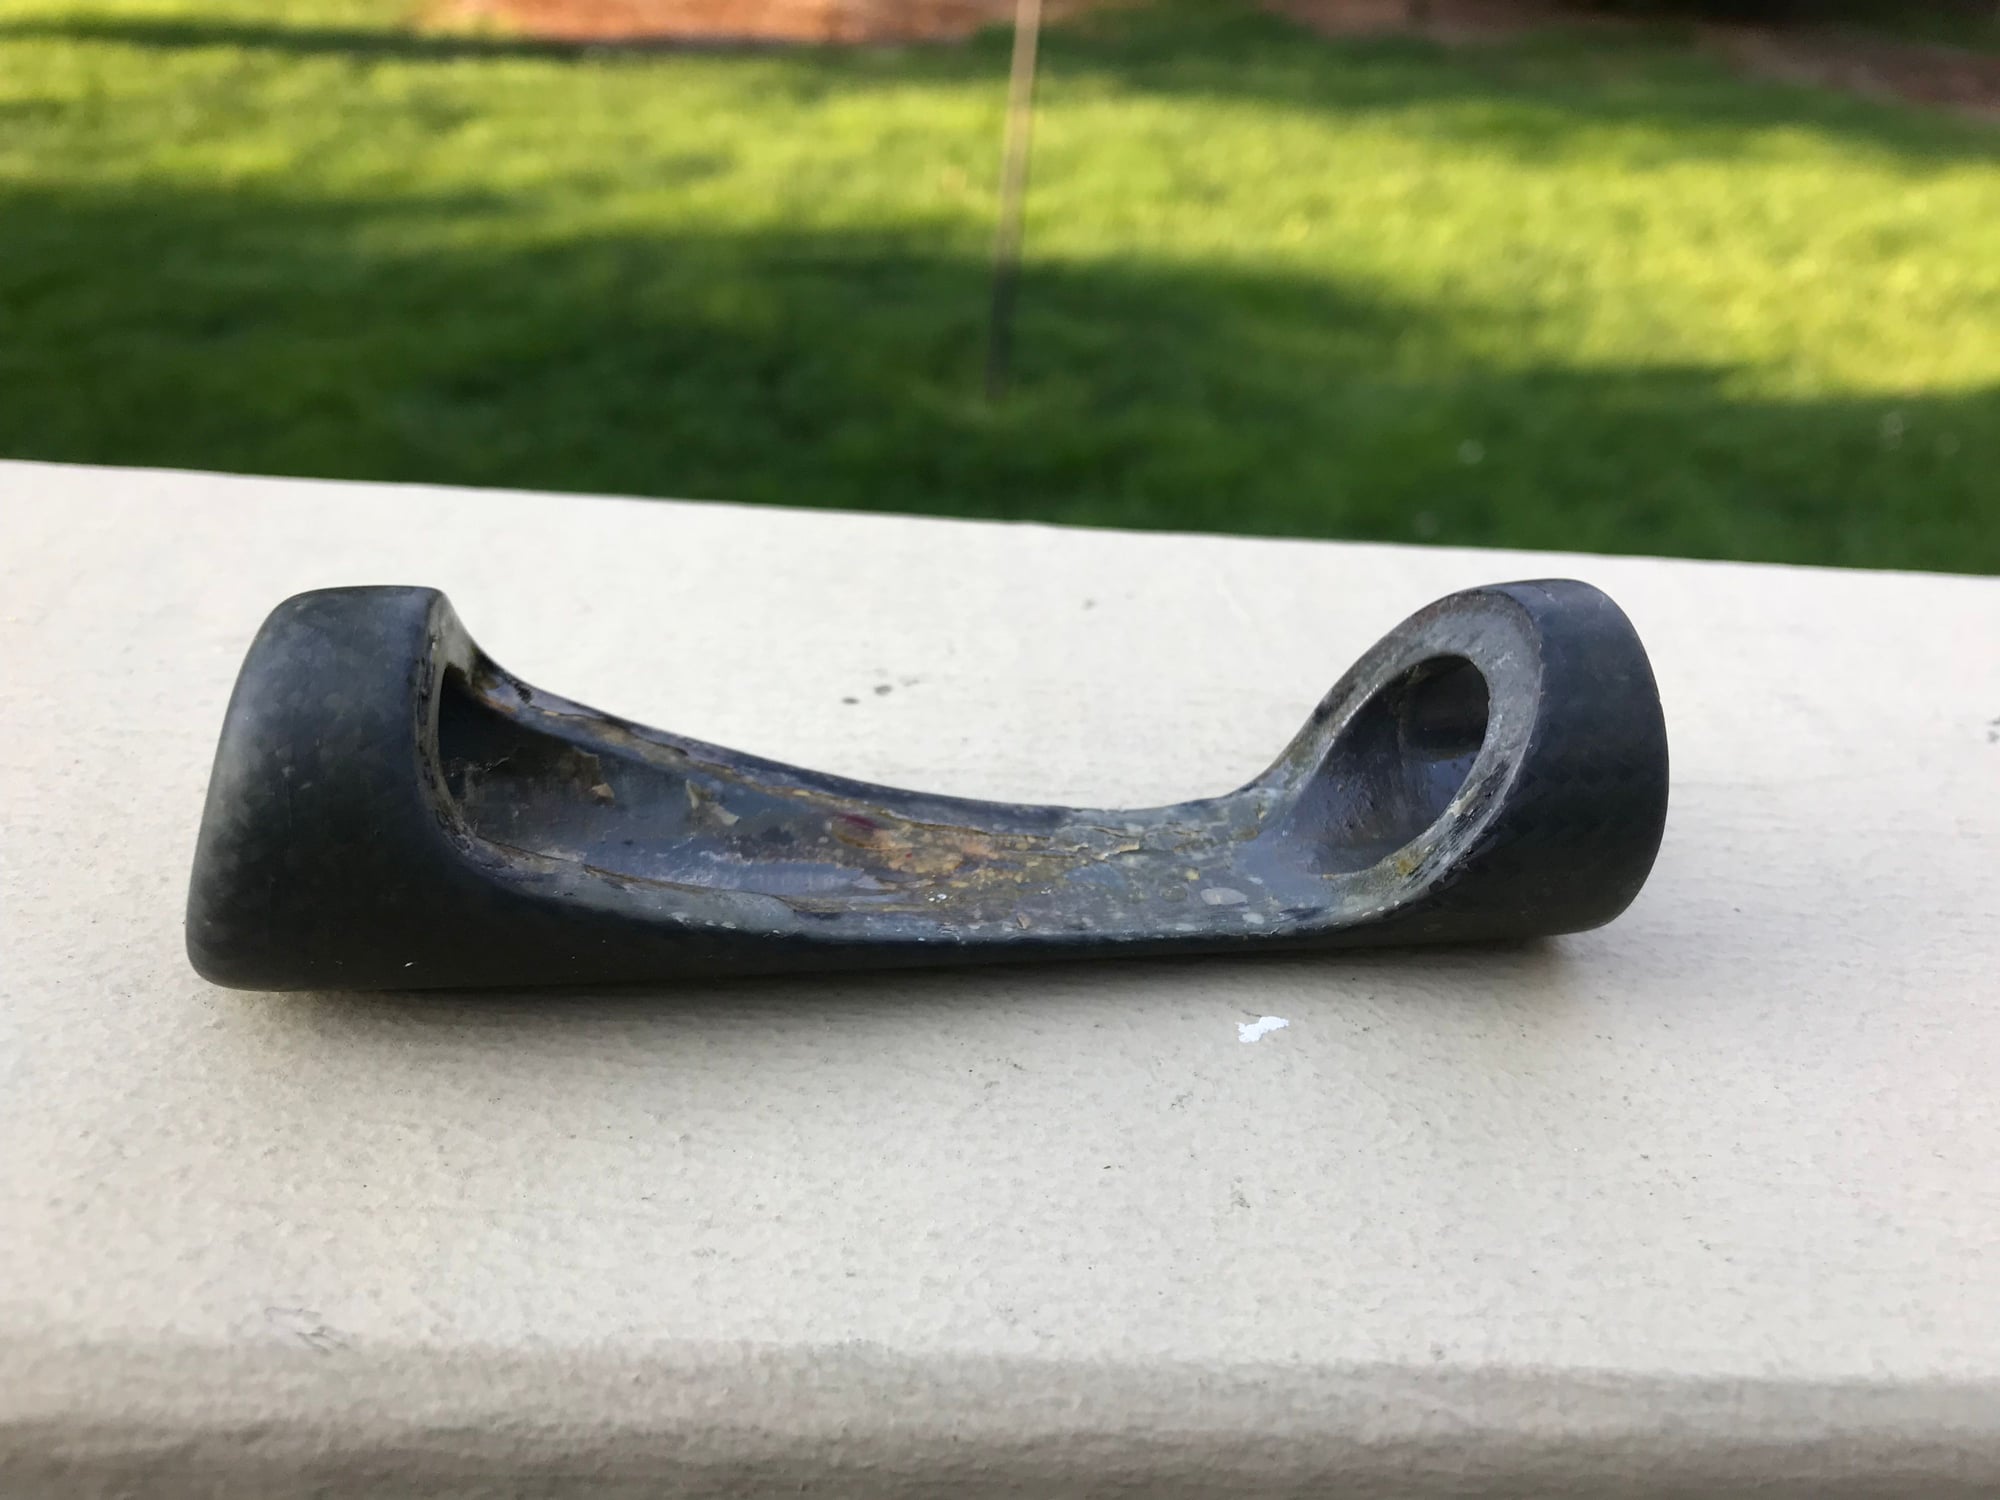
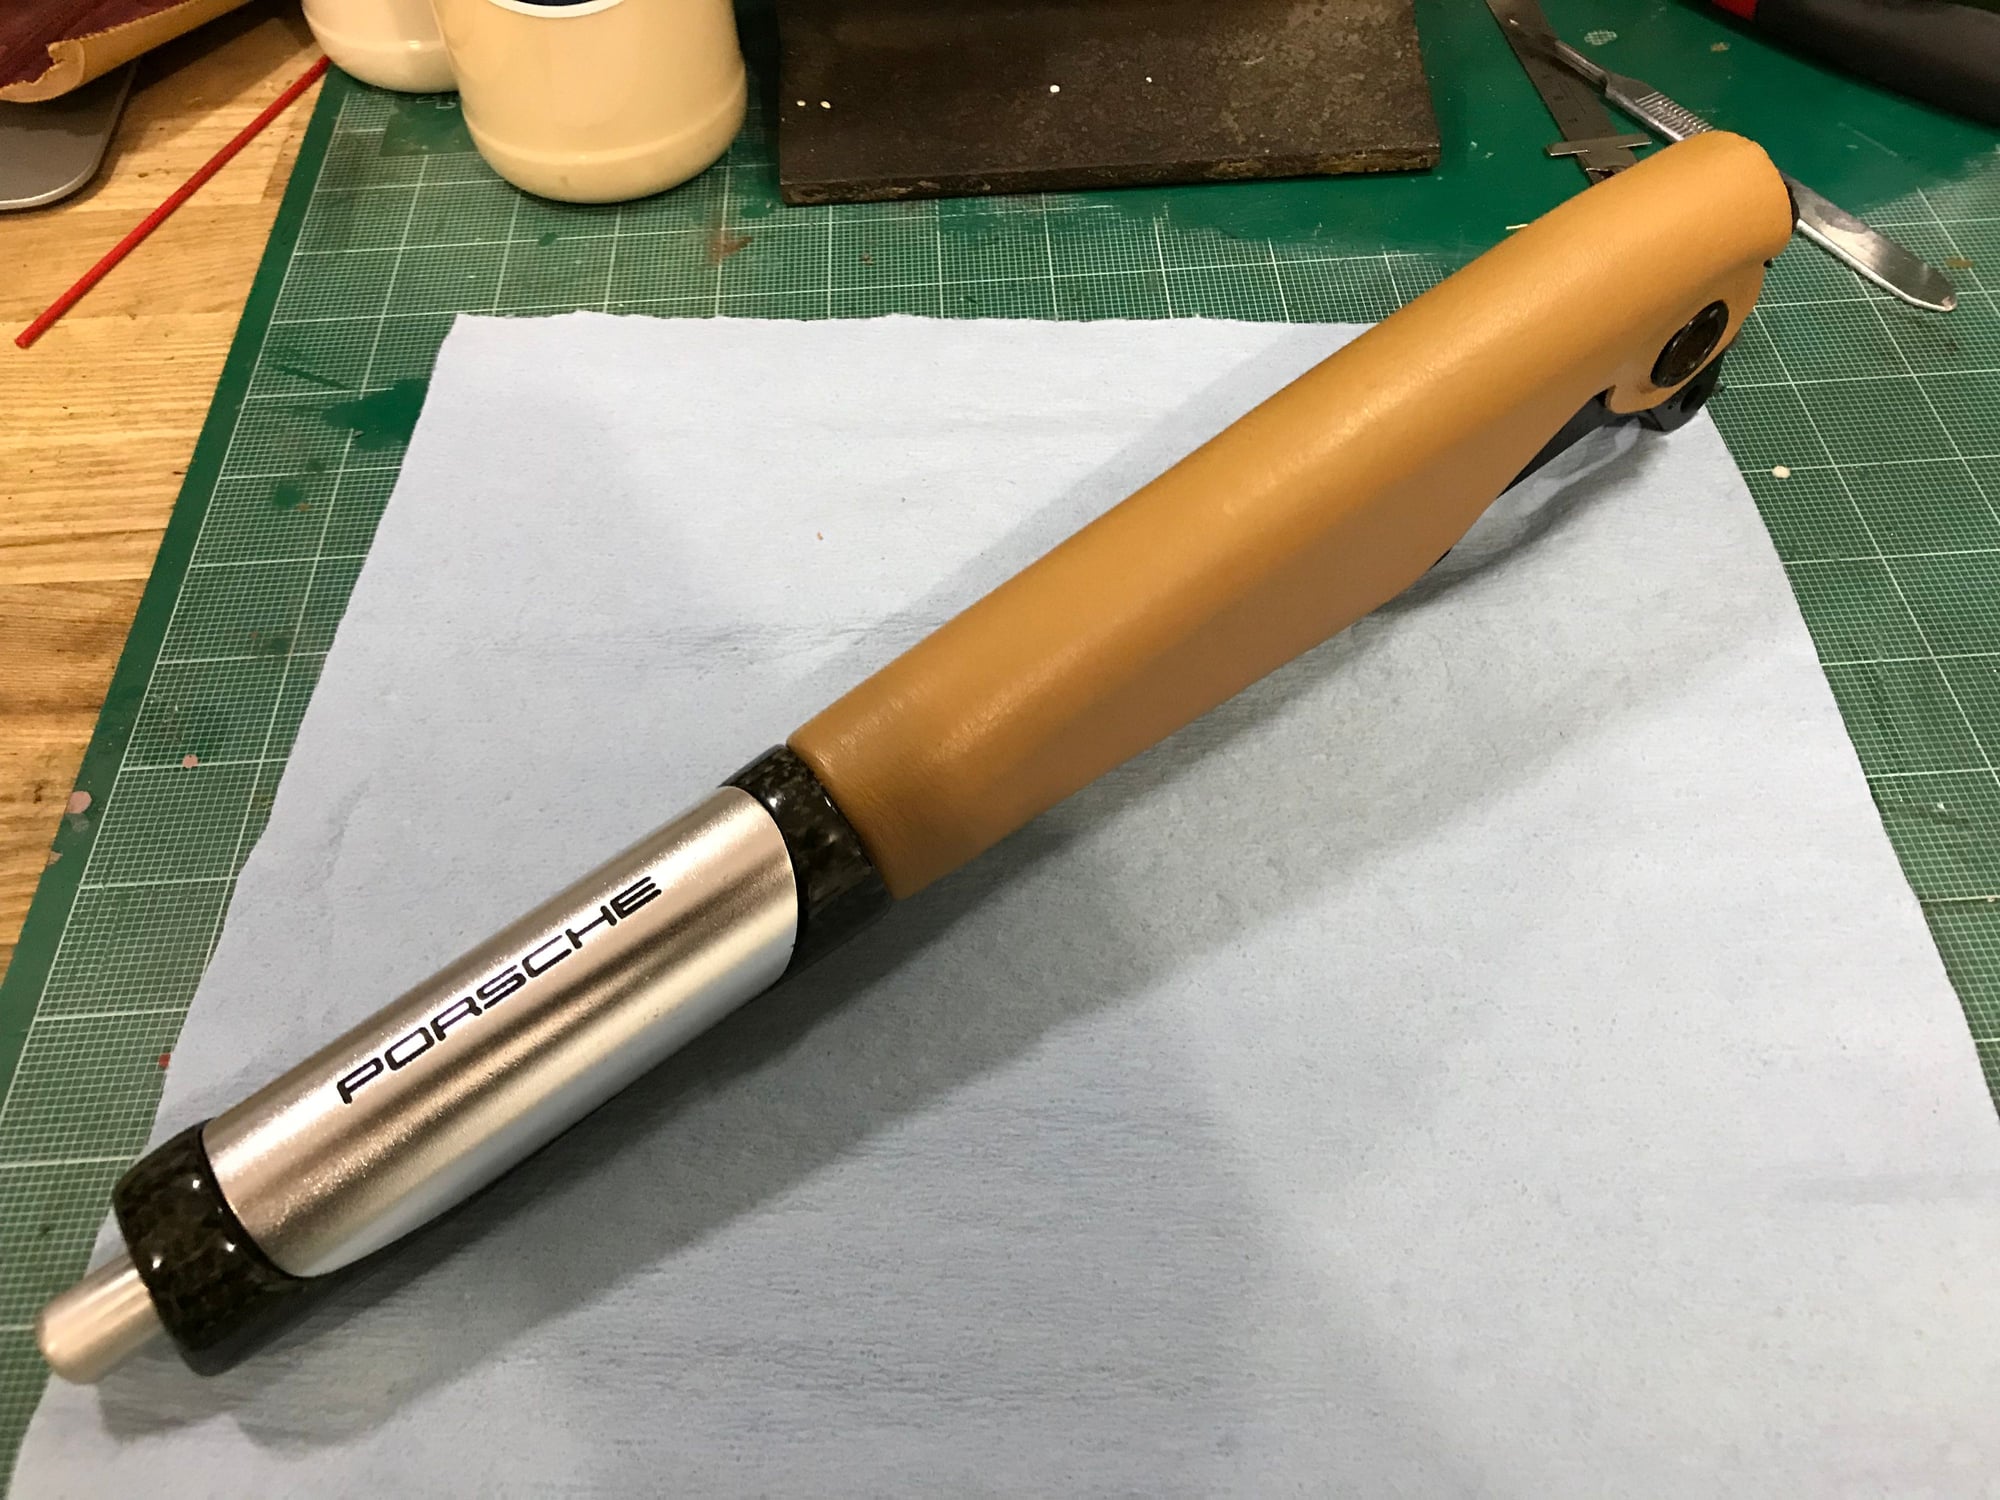
Notice the CF rubber sleeve was sanded down by hand at the factory to form a more rounded end to mate with the CF handle portion. Also, they used some small shims to wedge into the sides of the rubber on the CF end to widened it so it’s somewhat flush on reassembly with the handle.
The next step was to remove the aluminum piece from the CF. After close inspection it was only held on by black RTV, so a scalpel made the removal easy.
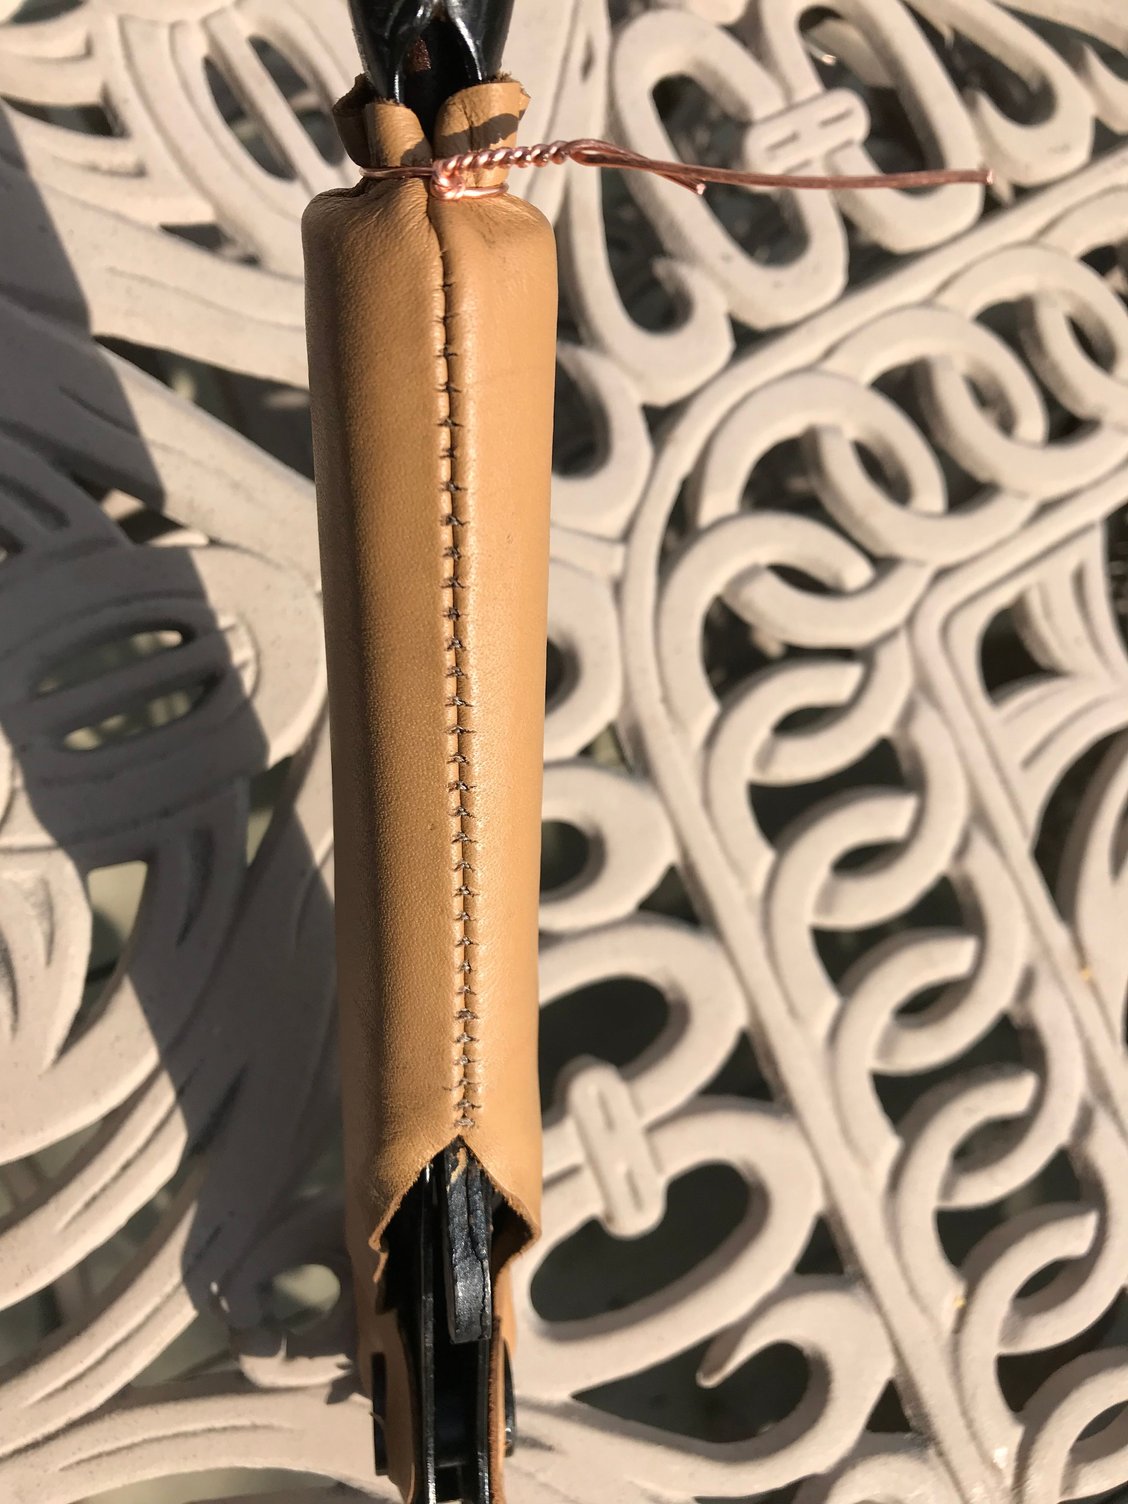
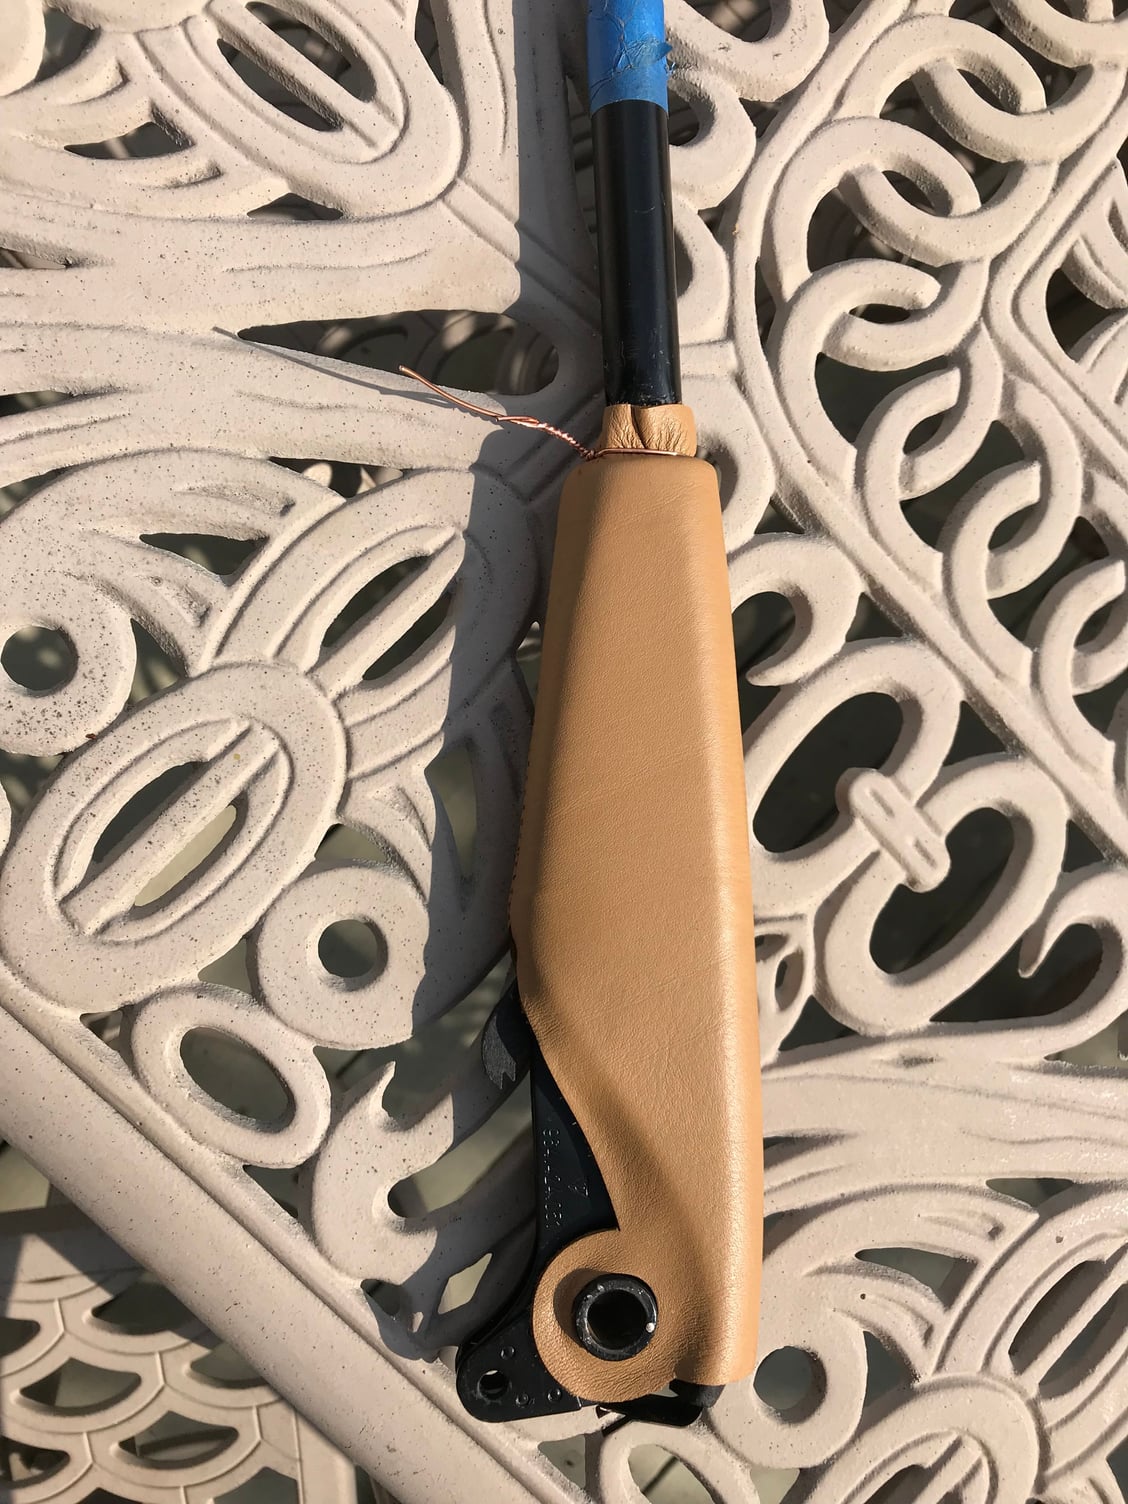
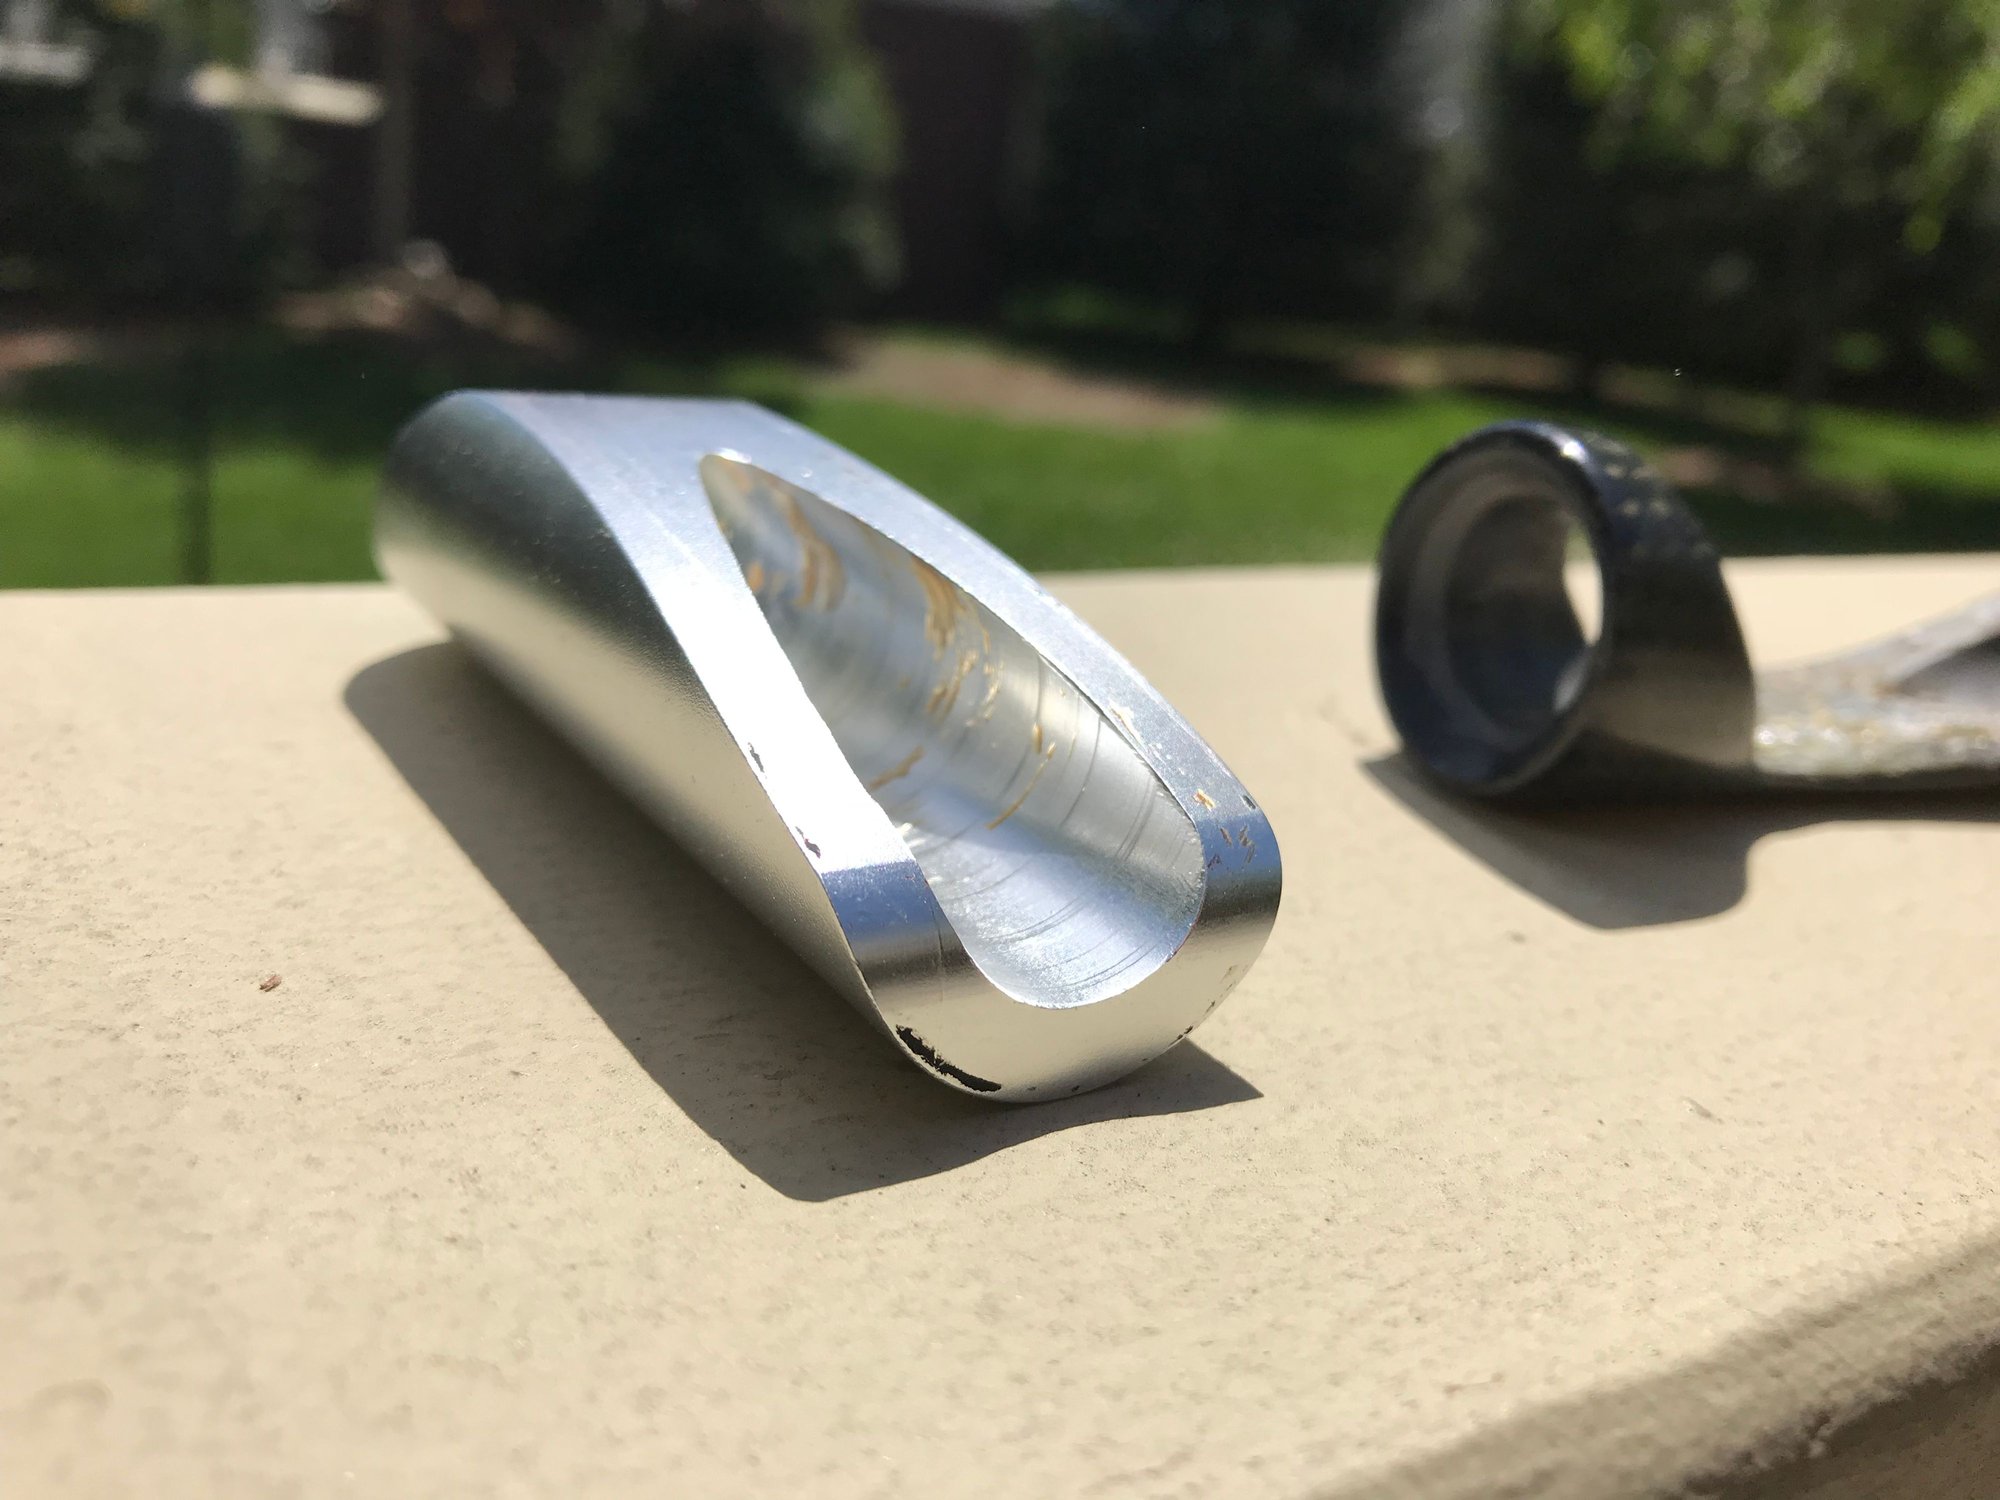
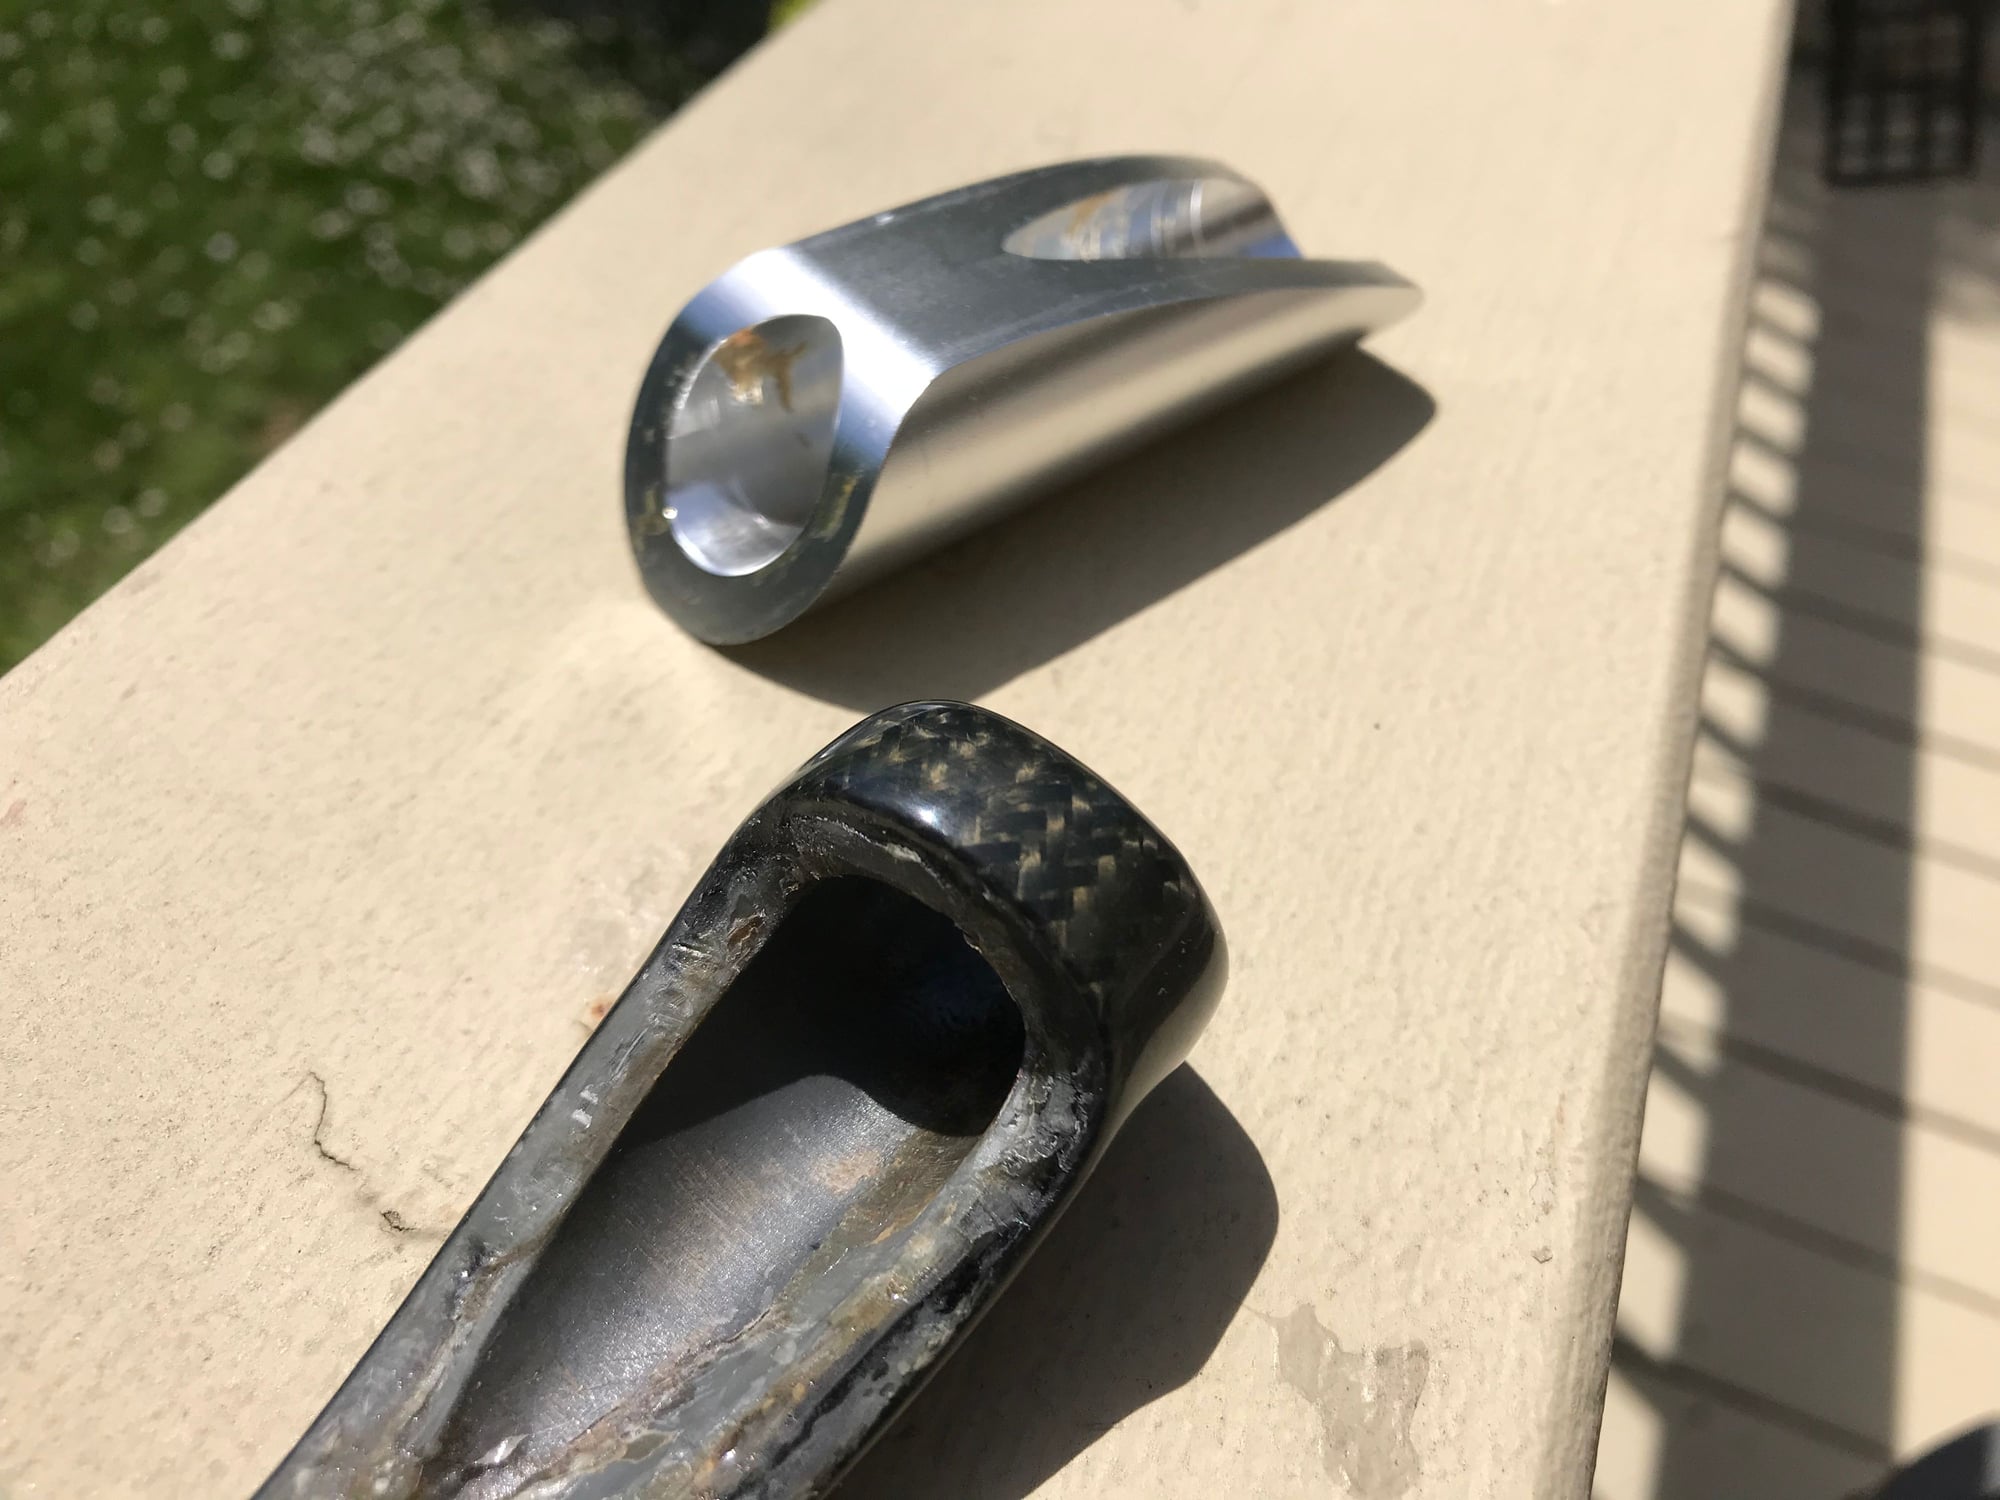
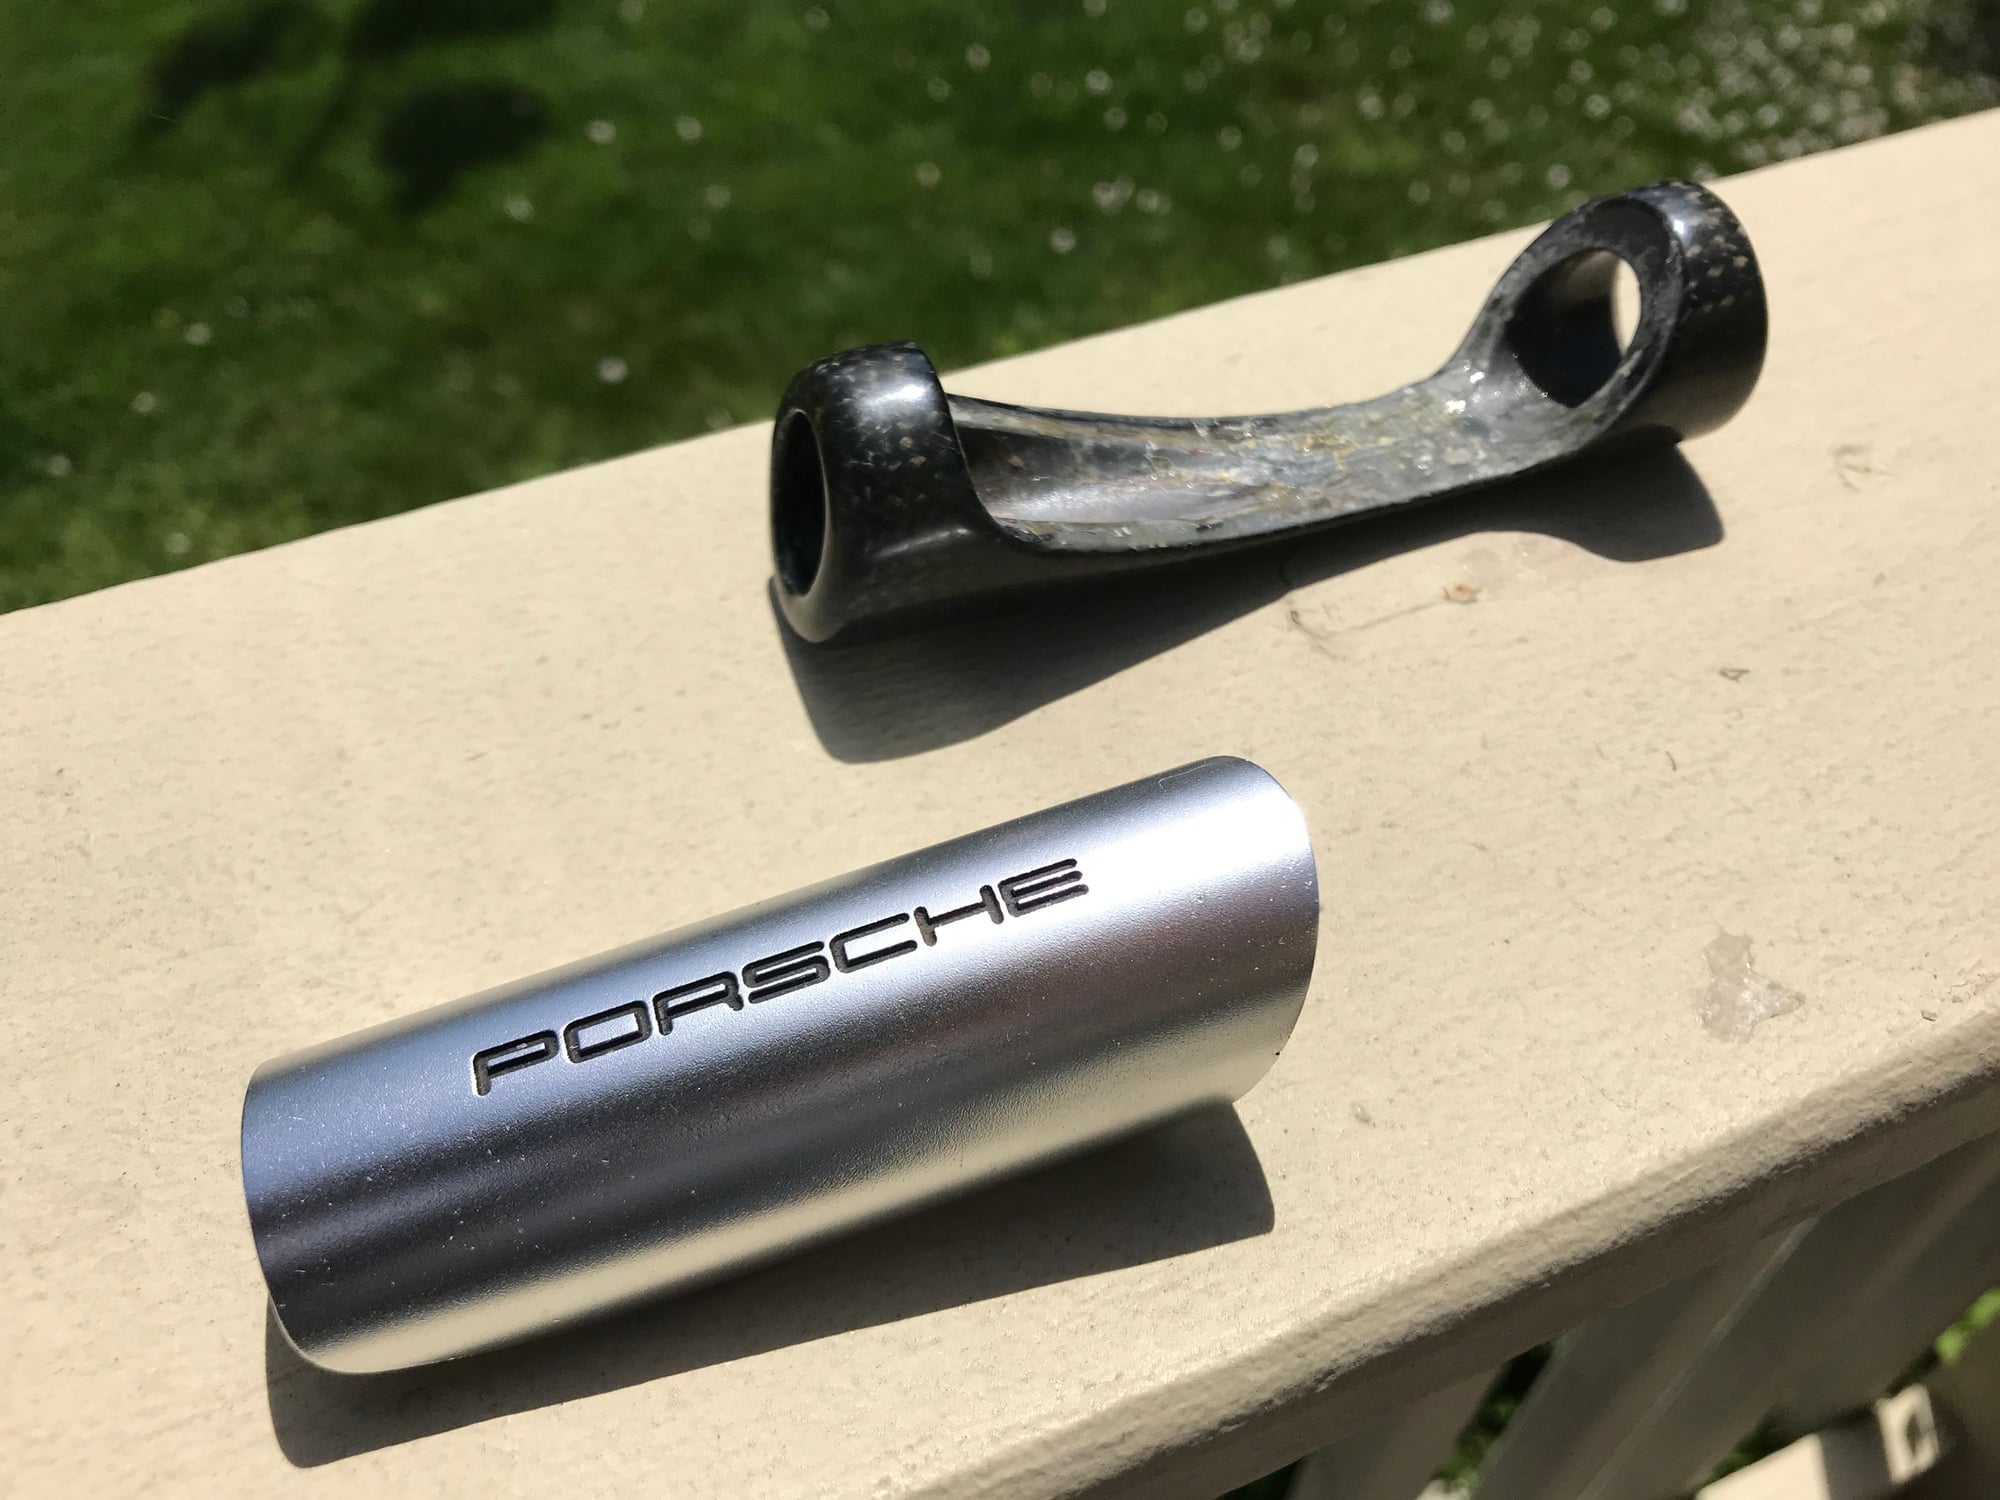
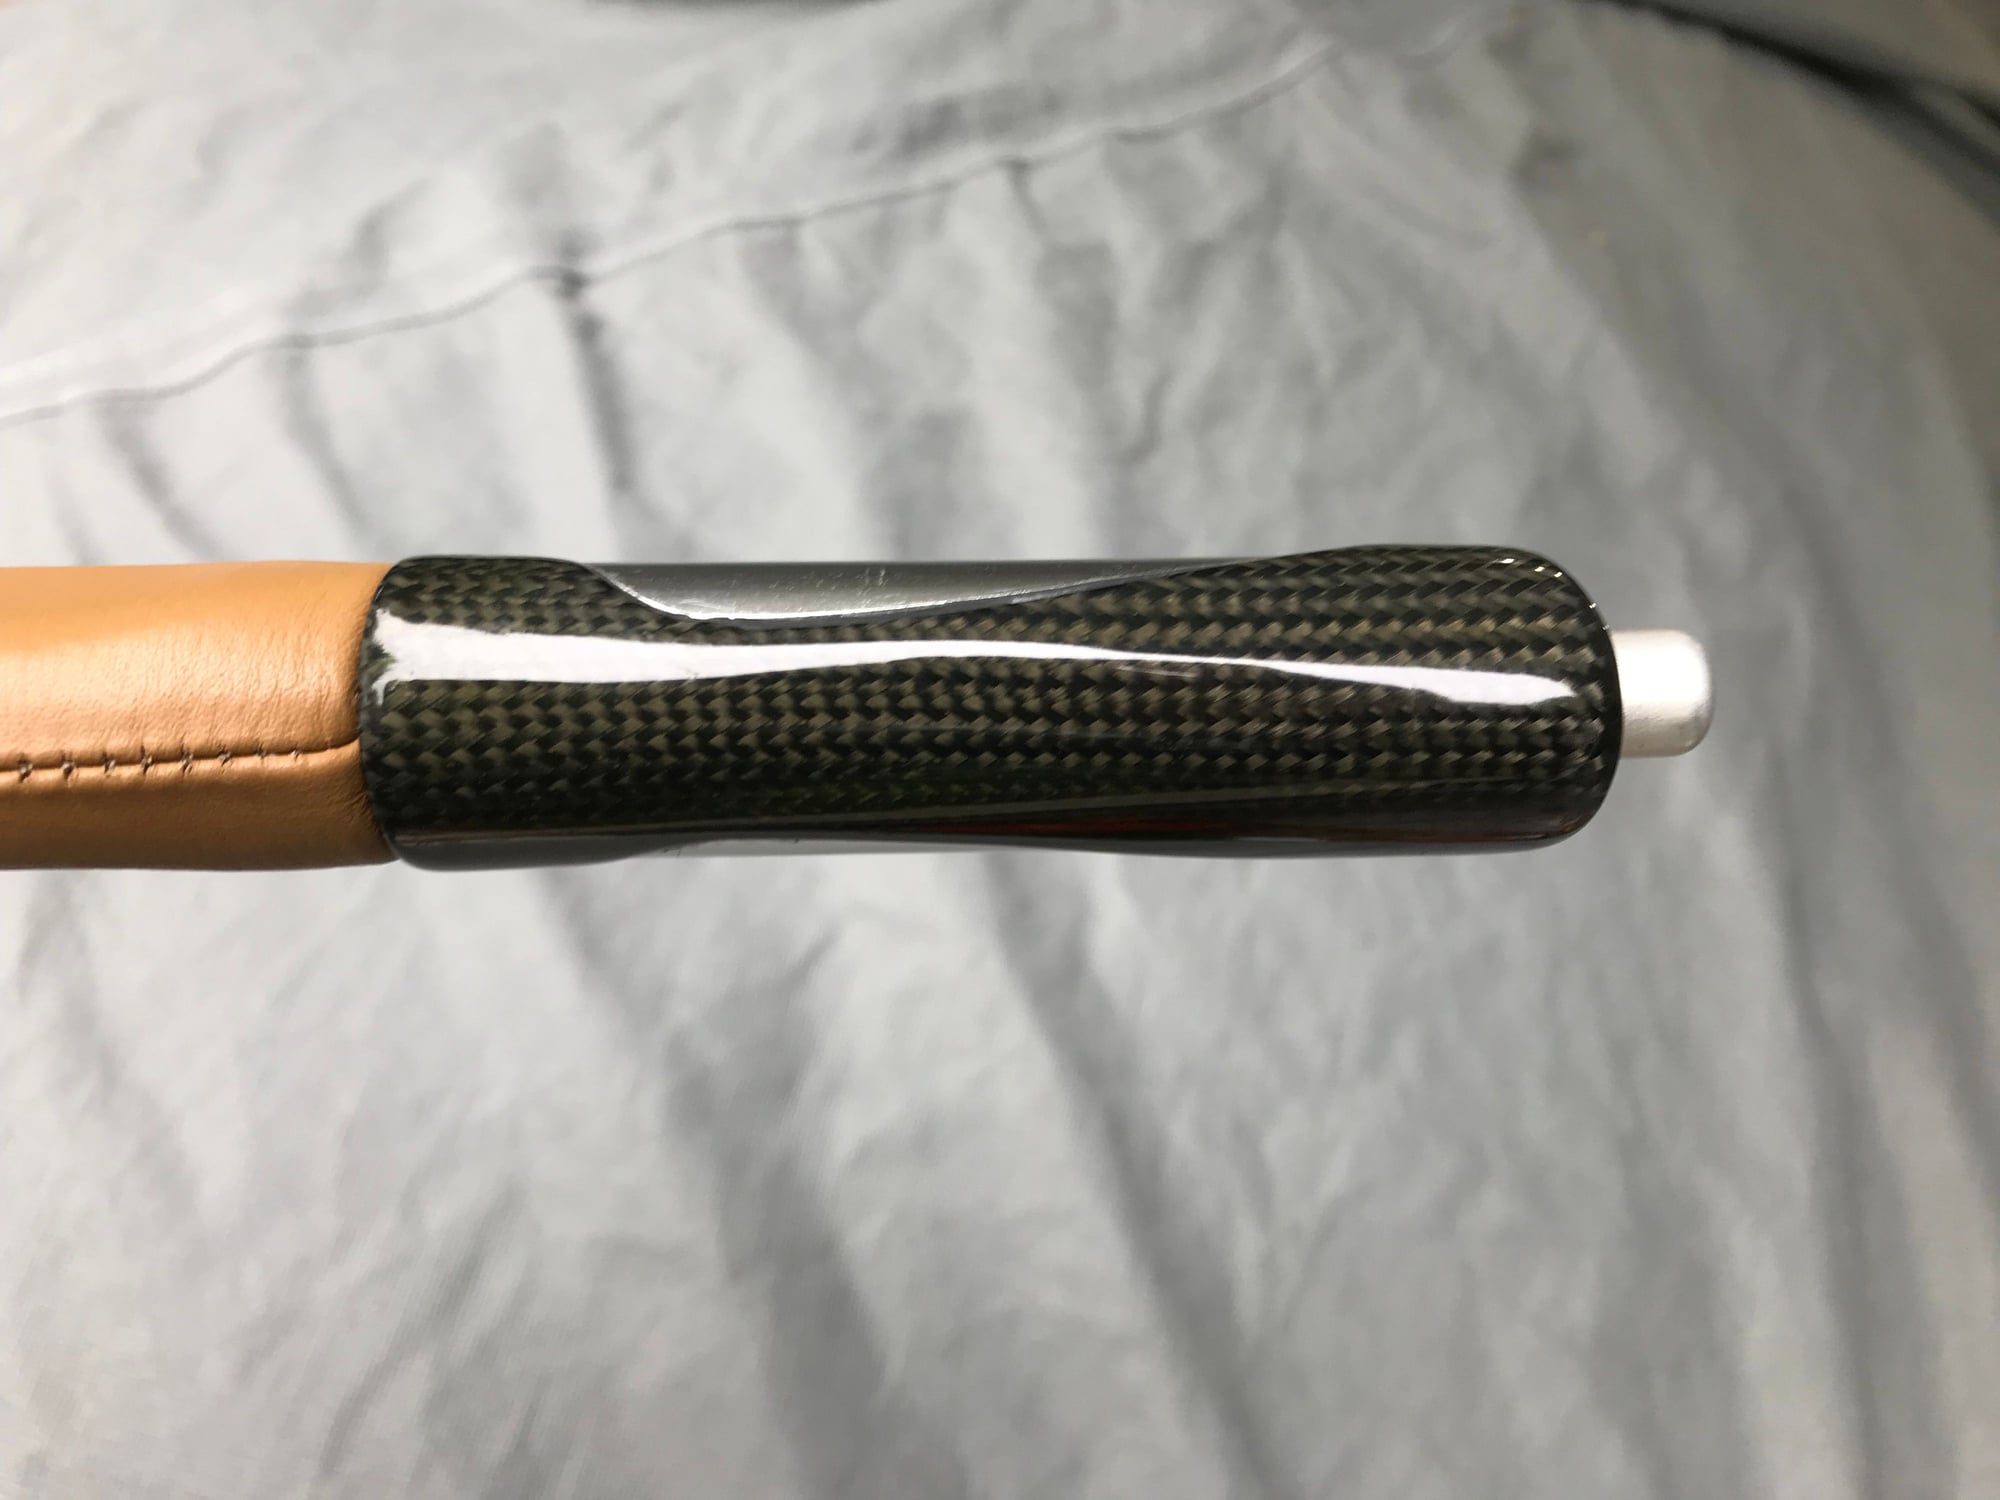
The repair of the CF requires some sanding and then a reapplication of a couple of layers of resin epoxy. I used Three Systems brand low viscosity to help seal and hide the surface fissures. In hindsight, I probably should have used something a bit more thick but it all worked out in the end. Its important to let the resin cure fully before sanding. I used two coats because dripping was inevitable with the long set time. Starting with 400 grit, I wet sanded through 800, 1200, 2400, 3600, 4000, 6000, 8000 and then 12000. The final step with Griots stage four fine machine polish.
Used quick setting two part epoxy to reassemble. Then coated the interior and lever handle with Pliobond, let dry and then apply a second adhesive layer before fitting.
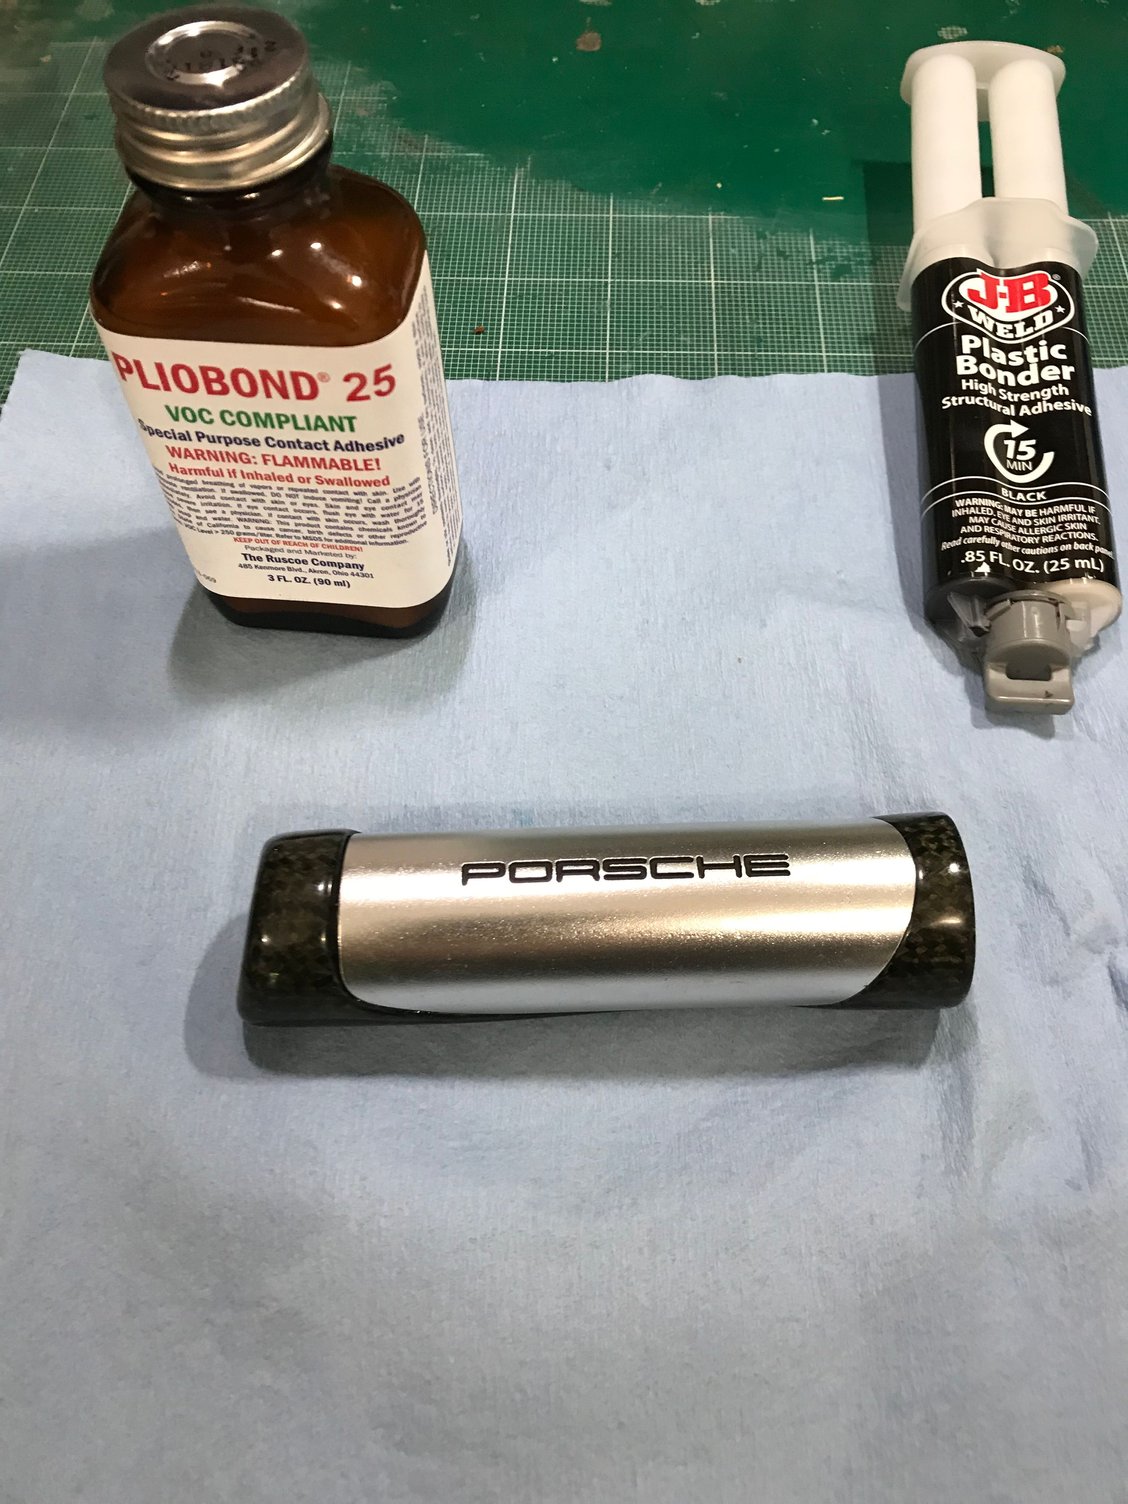
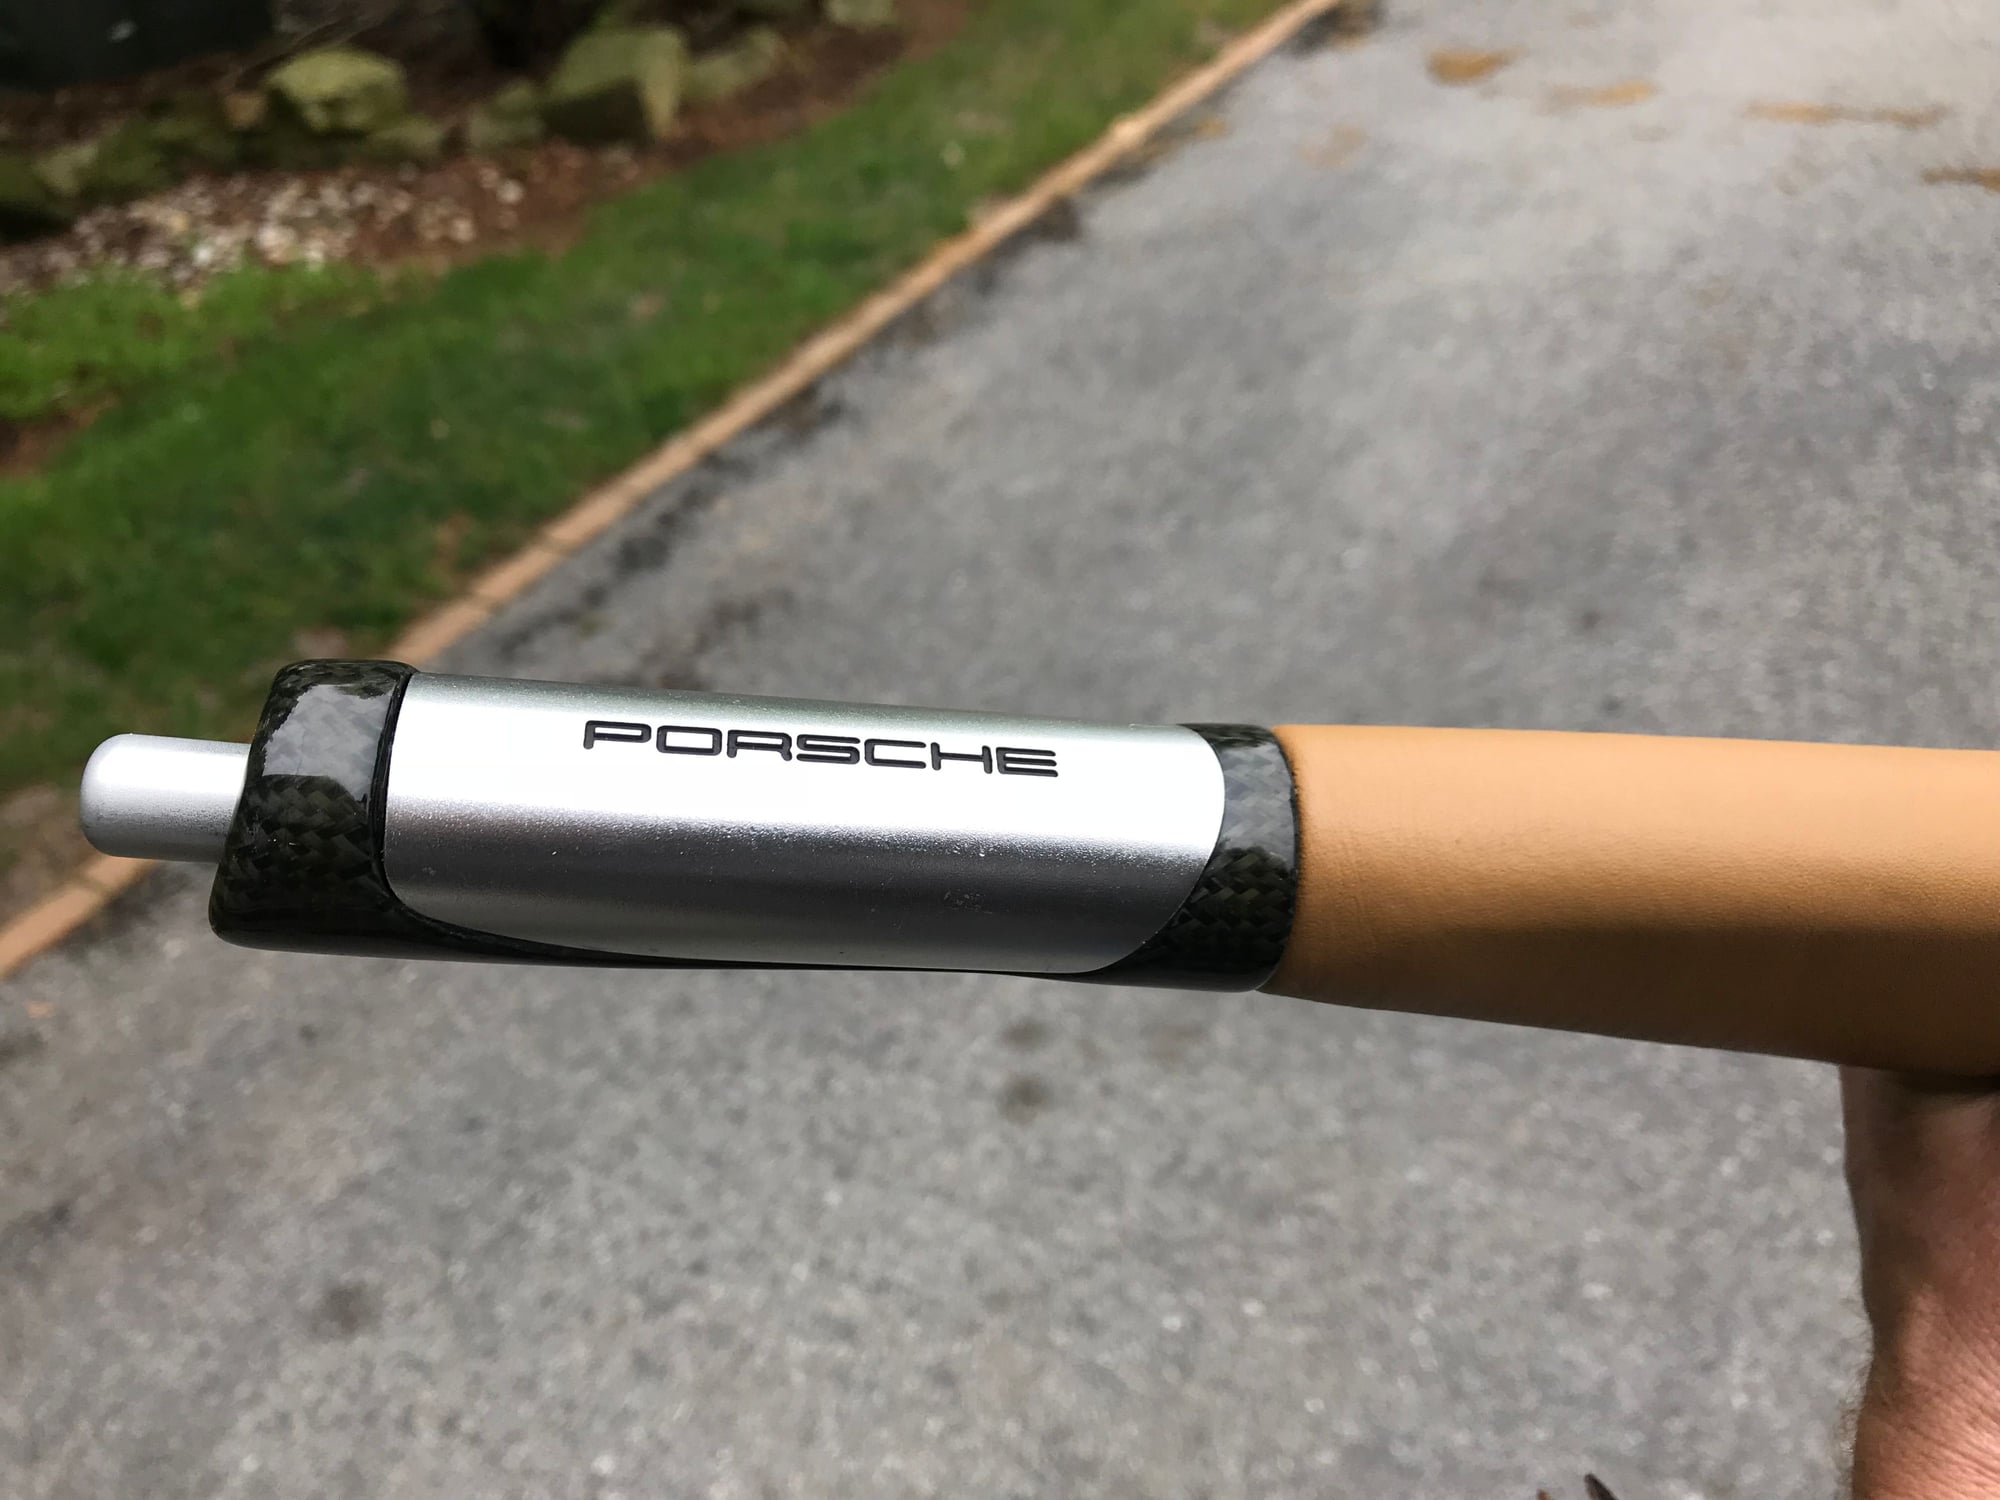
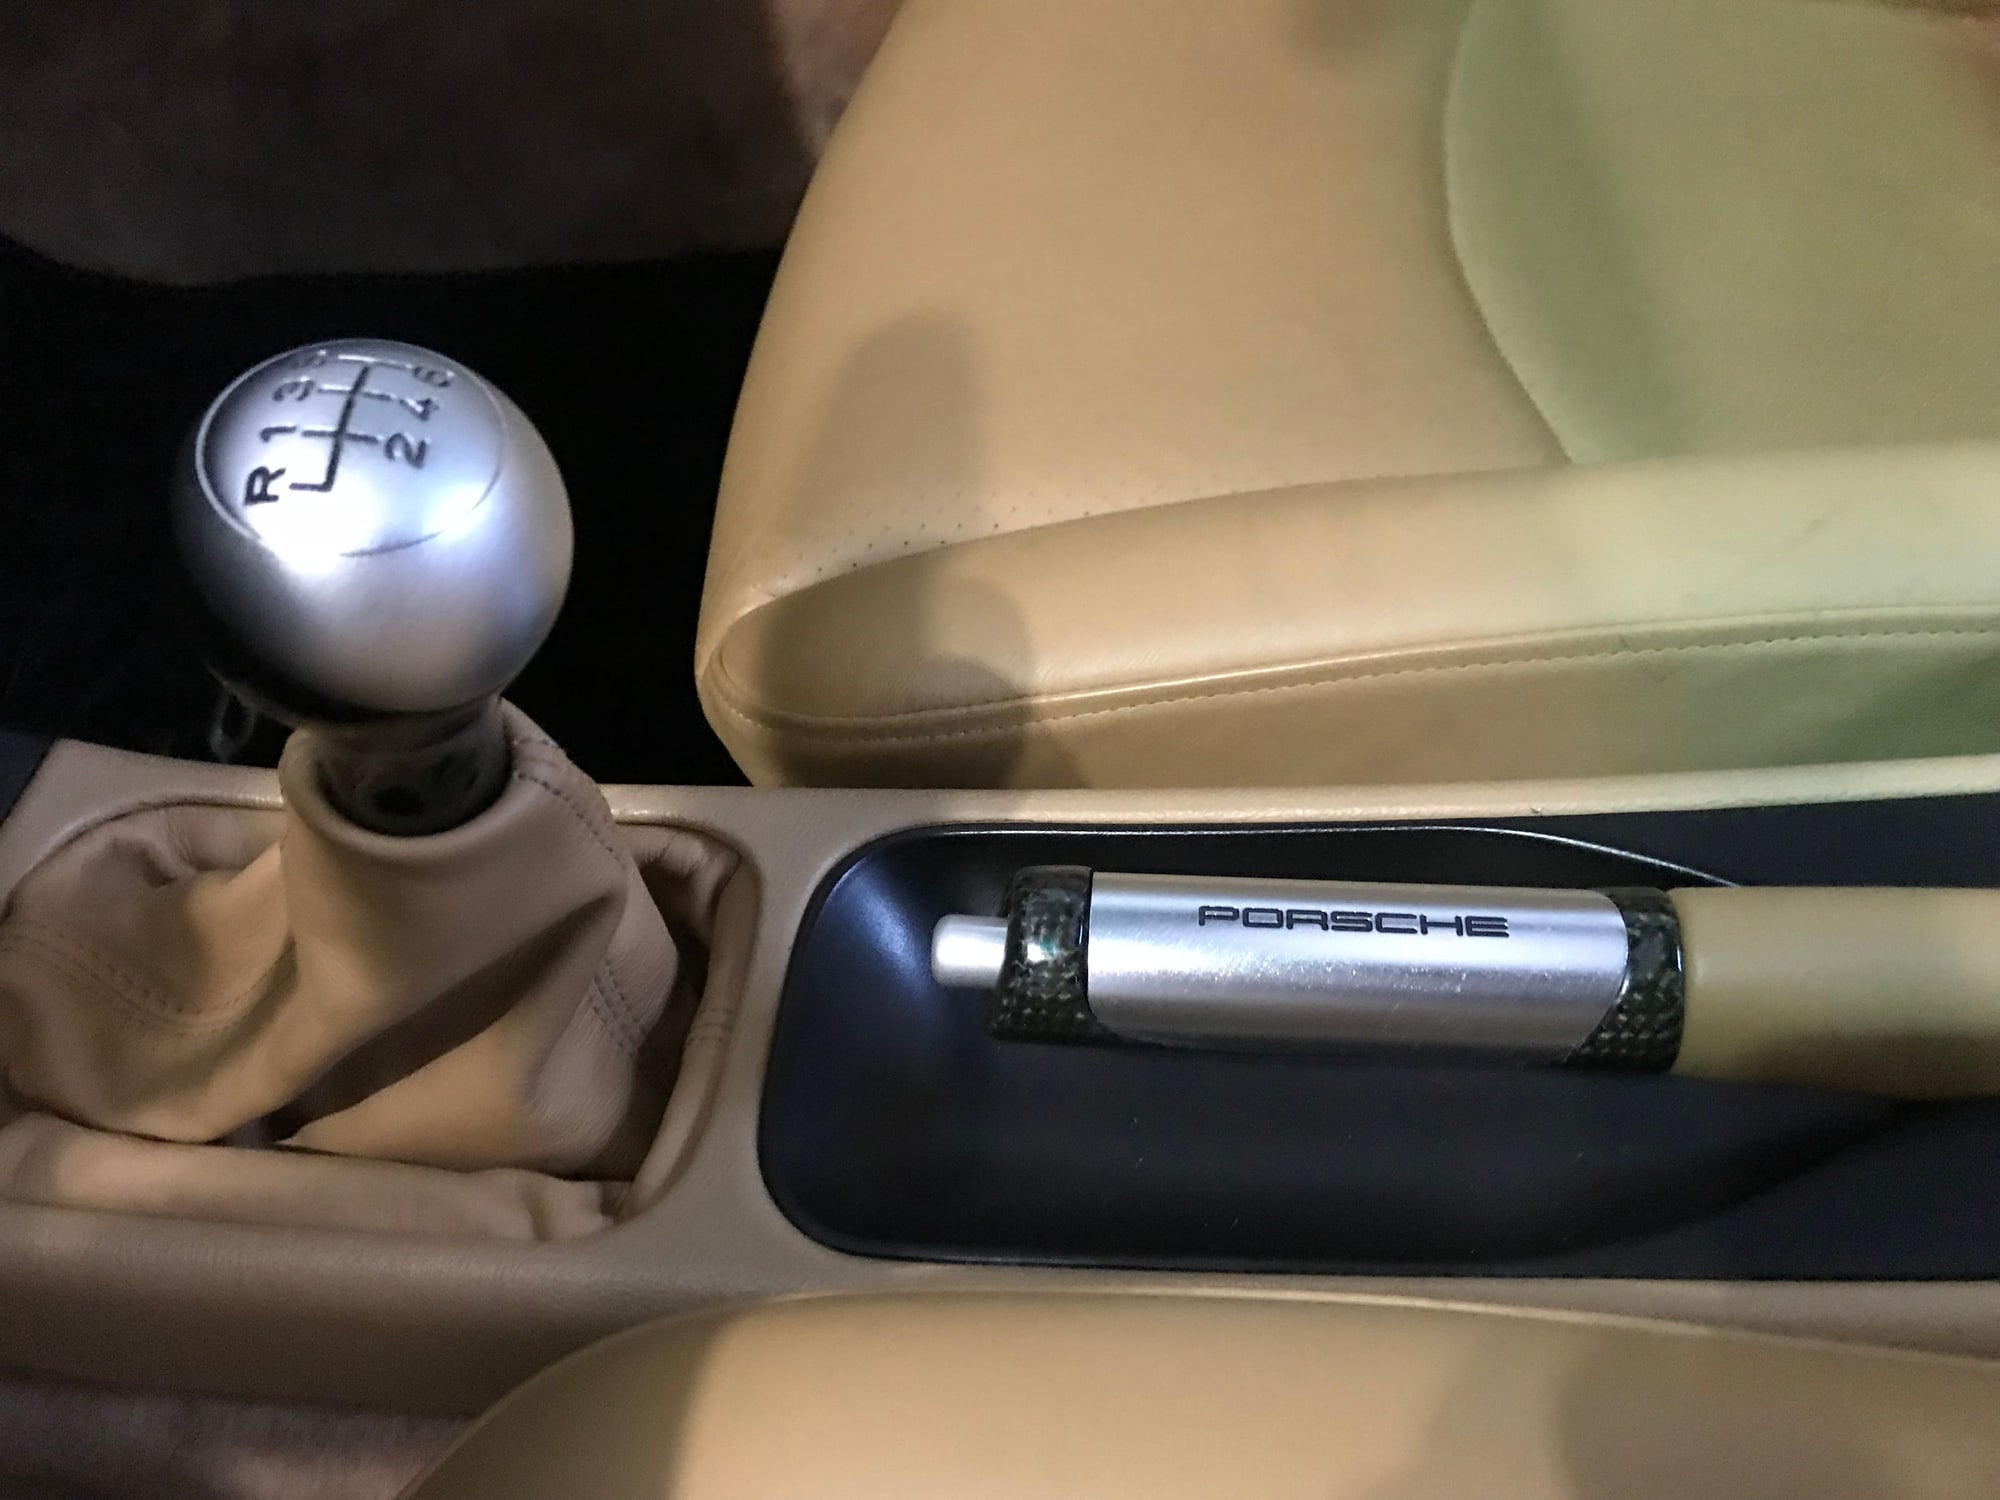
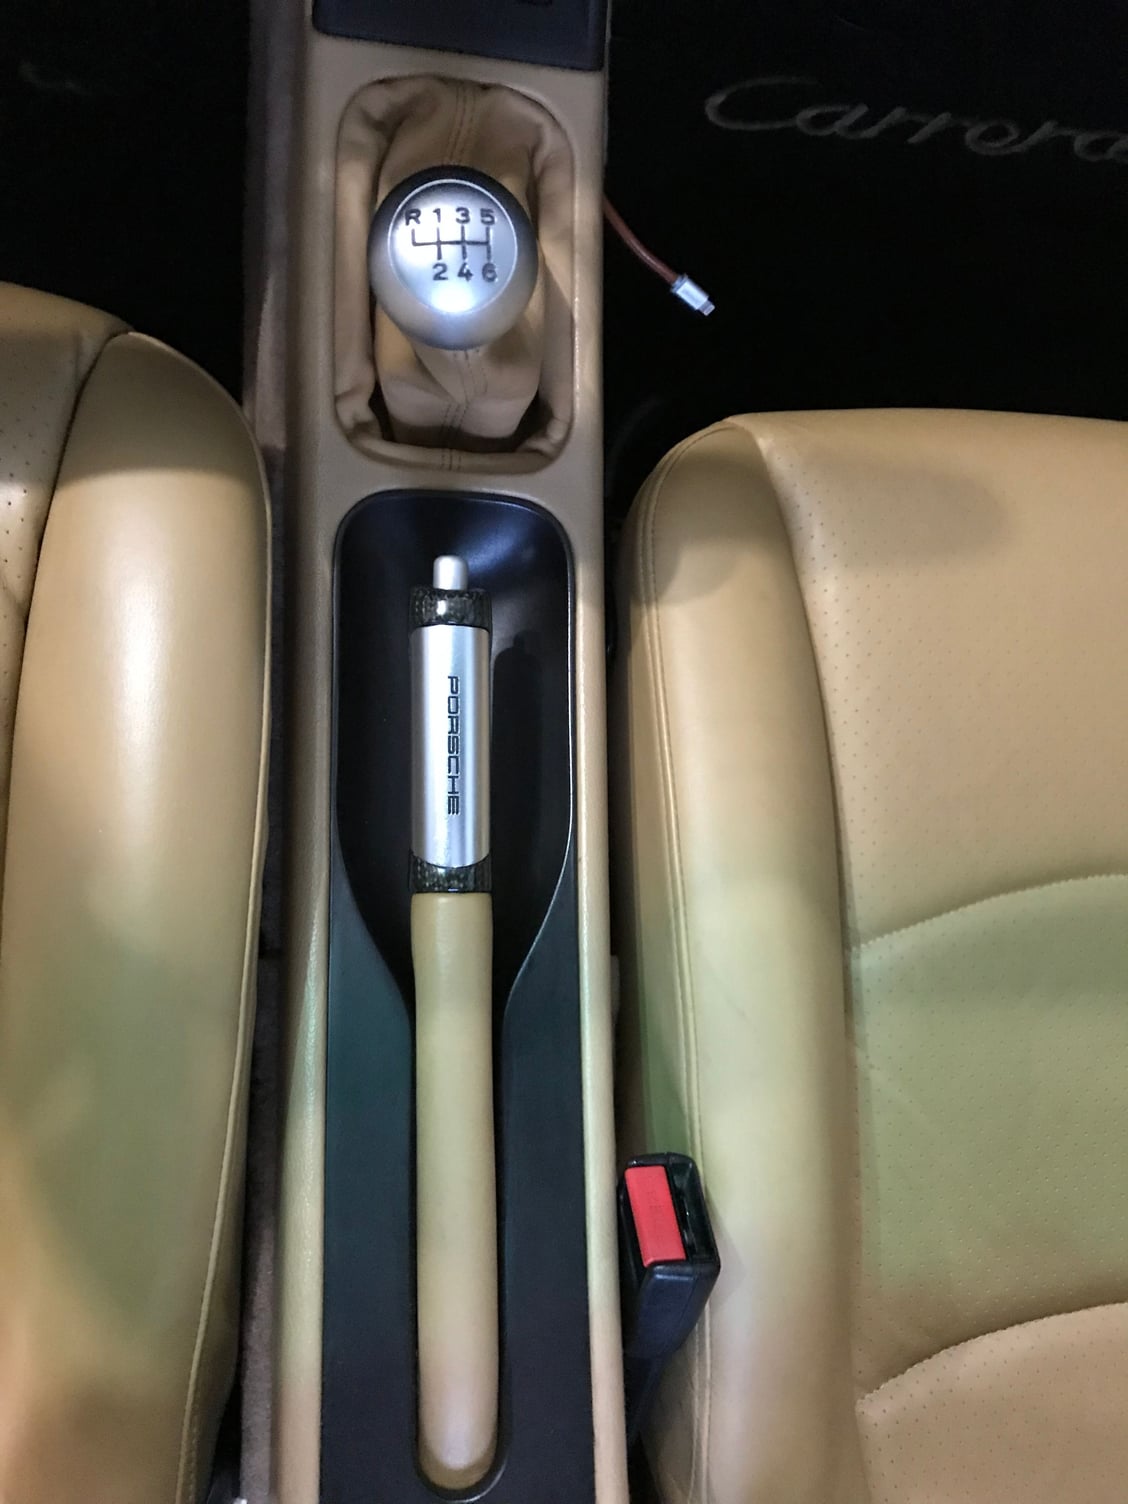
Finished and satisfied with the result.

#4
Rennlist Member
Holy crap!! Nicely done!
#7
Rennlist Member
Thread Starter
Thanks for the compliments guys. . Although I think I totally missed an opportunity here as I should've had a 3D printer make up a few copies of the CF and Al peices. Maybye someone could replicate the aluminum piece with a CNC machine with a plastic mule, possibly? Though
I’m not sure I’d go backwards again and disassemble it.
I’m not sure I’d go backwards again and disassemble it.
Trending Topics
#8
Instructor
Good idea on the modelling flyingchappie. I've got a LHD handbrake in my RHD car, so the PORSCHE engraving is oriented towards the passenger. A new CNC piece would be nice so that it was sitting the right way.
Great work too - you just inspired me to do a quick write up for the restore of the CF gear ****.
Great work too - you just inspired me to do a quick write up for the restore of the CF gear ****.
#11
Racer
Nice job! I wondered what those pieces looked like. I had the same thought on the 3D model. I wish someone would do that. I have the shift **** but can’t find a handbrake.
#15
Rennlist Member
Very, very nice work - well done!

