
Air intake wire mesh grills
 03-12-2013, 08:02 PM
#31
Rennlist Member
Yeah, from what we could see it went nowhere...just a plastic piece that had no openings...
 03-13-2013, 09:53 AM
#32
Burning Brakes
Received from Zunsport today (3/13/13)
For sport design on 991:
"Thank you for the photo,we have checked our enquiry file and is unlikely that we will
produce a grille for this model in the near future.Please check the " Latest News " page
on our website this will keep you updated on the next products to be launched.
Once again many thanks for enquiring about Zunsport Products."
Best Regards
Peter Langston
Zunsport
01543 273642 (Direct)
07831 329308 (Mobile)
01543 273648 (Fax)
zunsport@yahoo.co.uk
03-13-2013, 05:55 PM
#33
Instructor
Following up on my earlier post, I got the rennline kit installed. It looks like it will do the job of protecting the radiators and I am satisfied with the way it looks. The kit did not come with a center grill and the shop and I decided not to make a custom one and just leave it as-is, partly because of the potential for the attachment-clips to be more visible in the center, but also because the side-grills are a little more recessed so I did not feel the need to match them to the center. I have the laser diffusers from the Escort 9500ci so those are what are visible in front of the mesh.
Importantly, the shop did not like the Rennline installation method where the grills are screwed to the bumper. They said if the screws are slightly out of position, they can come through the bumper. They instead mounted the mesh in the air scoops of the car (so they stay on the car when the bumper comes off). This is practically the same position but avoided the issue of having the screws come through the bumper and also did not interfere with the fit between the air scoop and the bumper, which would have been the case with the Rennline installation method. They also used epoxy to improve the attachment of the wire mesh to the air scoop, as well as using screws. They mentioned they could have custom made the mesh so I'm not sure if ordering from Rennline was necessary, but I like the result.
Importantly, the shop did not like the Rennline installation method where the grills are screwed to the bumper. They said if the screws are slightly out of position, they can come through the bumper. They instead mounted the mesh in the air scoops of the car (so they stay on the car when the bumper comes off). This is practically the same position but avoided the issue of having the screws come through the bumper and also did not interfere with the fit between the air scoop and the bumper, which would have been the case with the Rennline installation method. They also used epoxy to improve the attachment of the wire mesh to the air scoop, as well as using screws. They mentioned they could have custom made the mesh so I'm not sure if ordering from Rennline was necessary, but I like the result.
Last edited by jmct; 03-13-2013 at 06:17 PM.
03-14-2013, 10:58 PM
#34
Track Day

Join Date: Jan 2013
Location: Denver
Posts: 22
Likes: 0
Received 0 Likes
on
0 Posts
I had Race Mesh Grills make a grille from a paper template for my 997 C4S. The look was outstanding. You can check out their website to get an idea of what their product looks like.
My plan is to make another set of templates for my 991.
My plan is to make another set of templates for my 991.
03-16-2013, 09:15 PM
#35
Rennlist Member
Here is a shot of mine...quality is good. Really happy I did it...
05-25-2013, 10:10 AM
#36

jmct,
Where in CT did you have this work done?
Many Thx
Where in CT did you have this work done?
Many Thx
05-31-2013, 05:58 PM
#37
Instructor

Join Date: Jul 2001
Location: Far Away Land
Posts: 234
Likes: 0
Received 0 Likes
on
0 Posts
My shop had no issues with Rennline except they said that they had to trim it slightly. No screws are coming through the bumper as far as I can tell.
06-17-2013, 07:47 AM
#38
Intermediate

Join Date: Feb 2008
Posts: 36
Likes: 0
Received 0 Likes
on
0 Posts
I've contacted Zunsport and here is there reply:
Many thanks for your enquiry,it would be most helpful if you could email a front view of your vehicle to assist in assessing the feasibility along with any specification information you feel may be of use.
Model year,Engine size etc.
Best Regards
Peter Langston
Zunsport
01543 273642 (Direct)
07831 329308 (Mobile)
01543 273648 (Fax)
zunsport@yahoo.co.uk
I have a 991 C4S on order but won't be getting it until early Aug. It would be great if others can compile the measurements for the different configurations (C2/C4, S/non-S, parking radar) and send it to Peter so that we can get these professionally made grilles rather than home made ones. Thanks!
06-17-2013, 08:53 AM
#39
Race Director
12-10-2013, 10:45 PM
#40
Rennlist Member
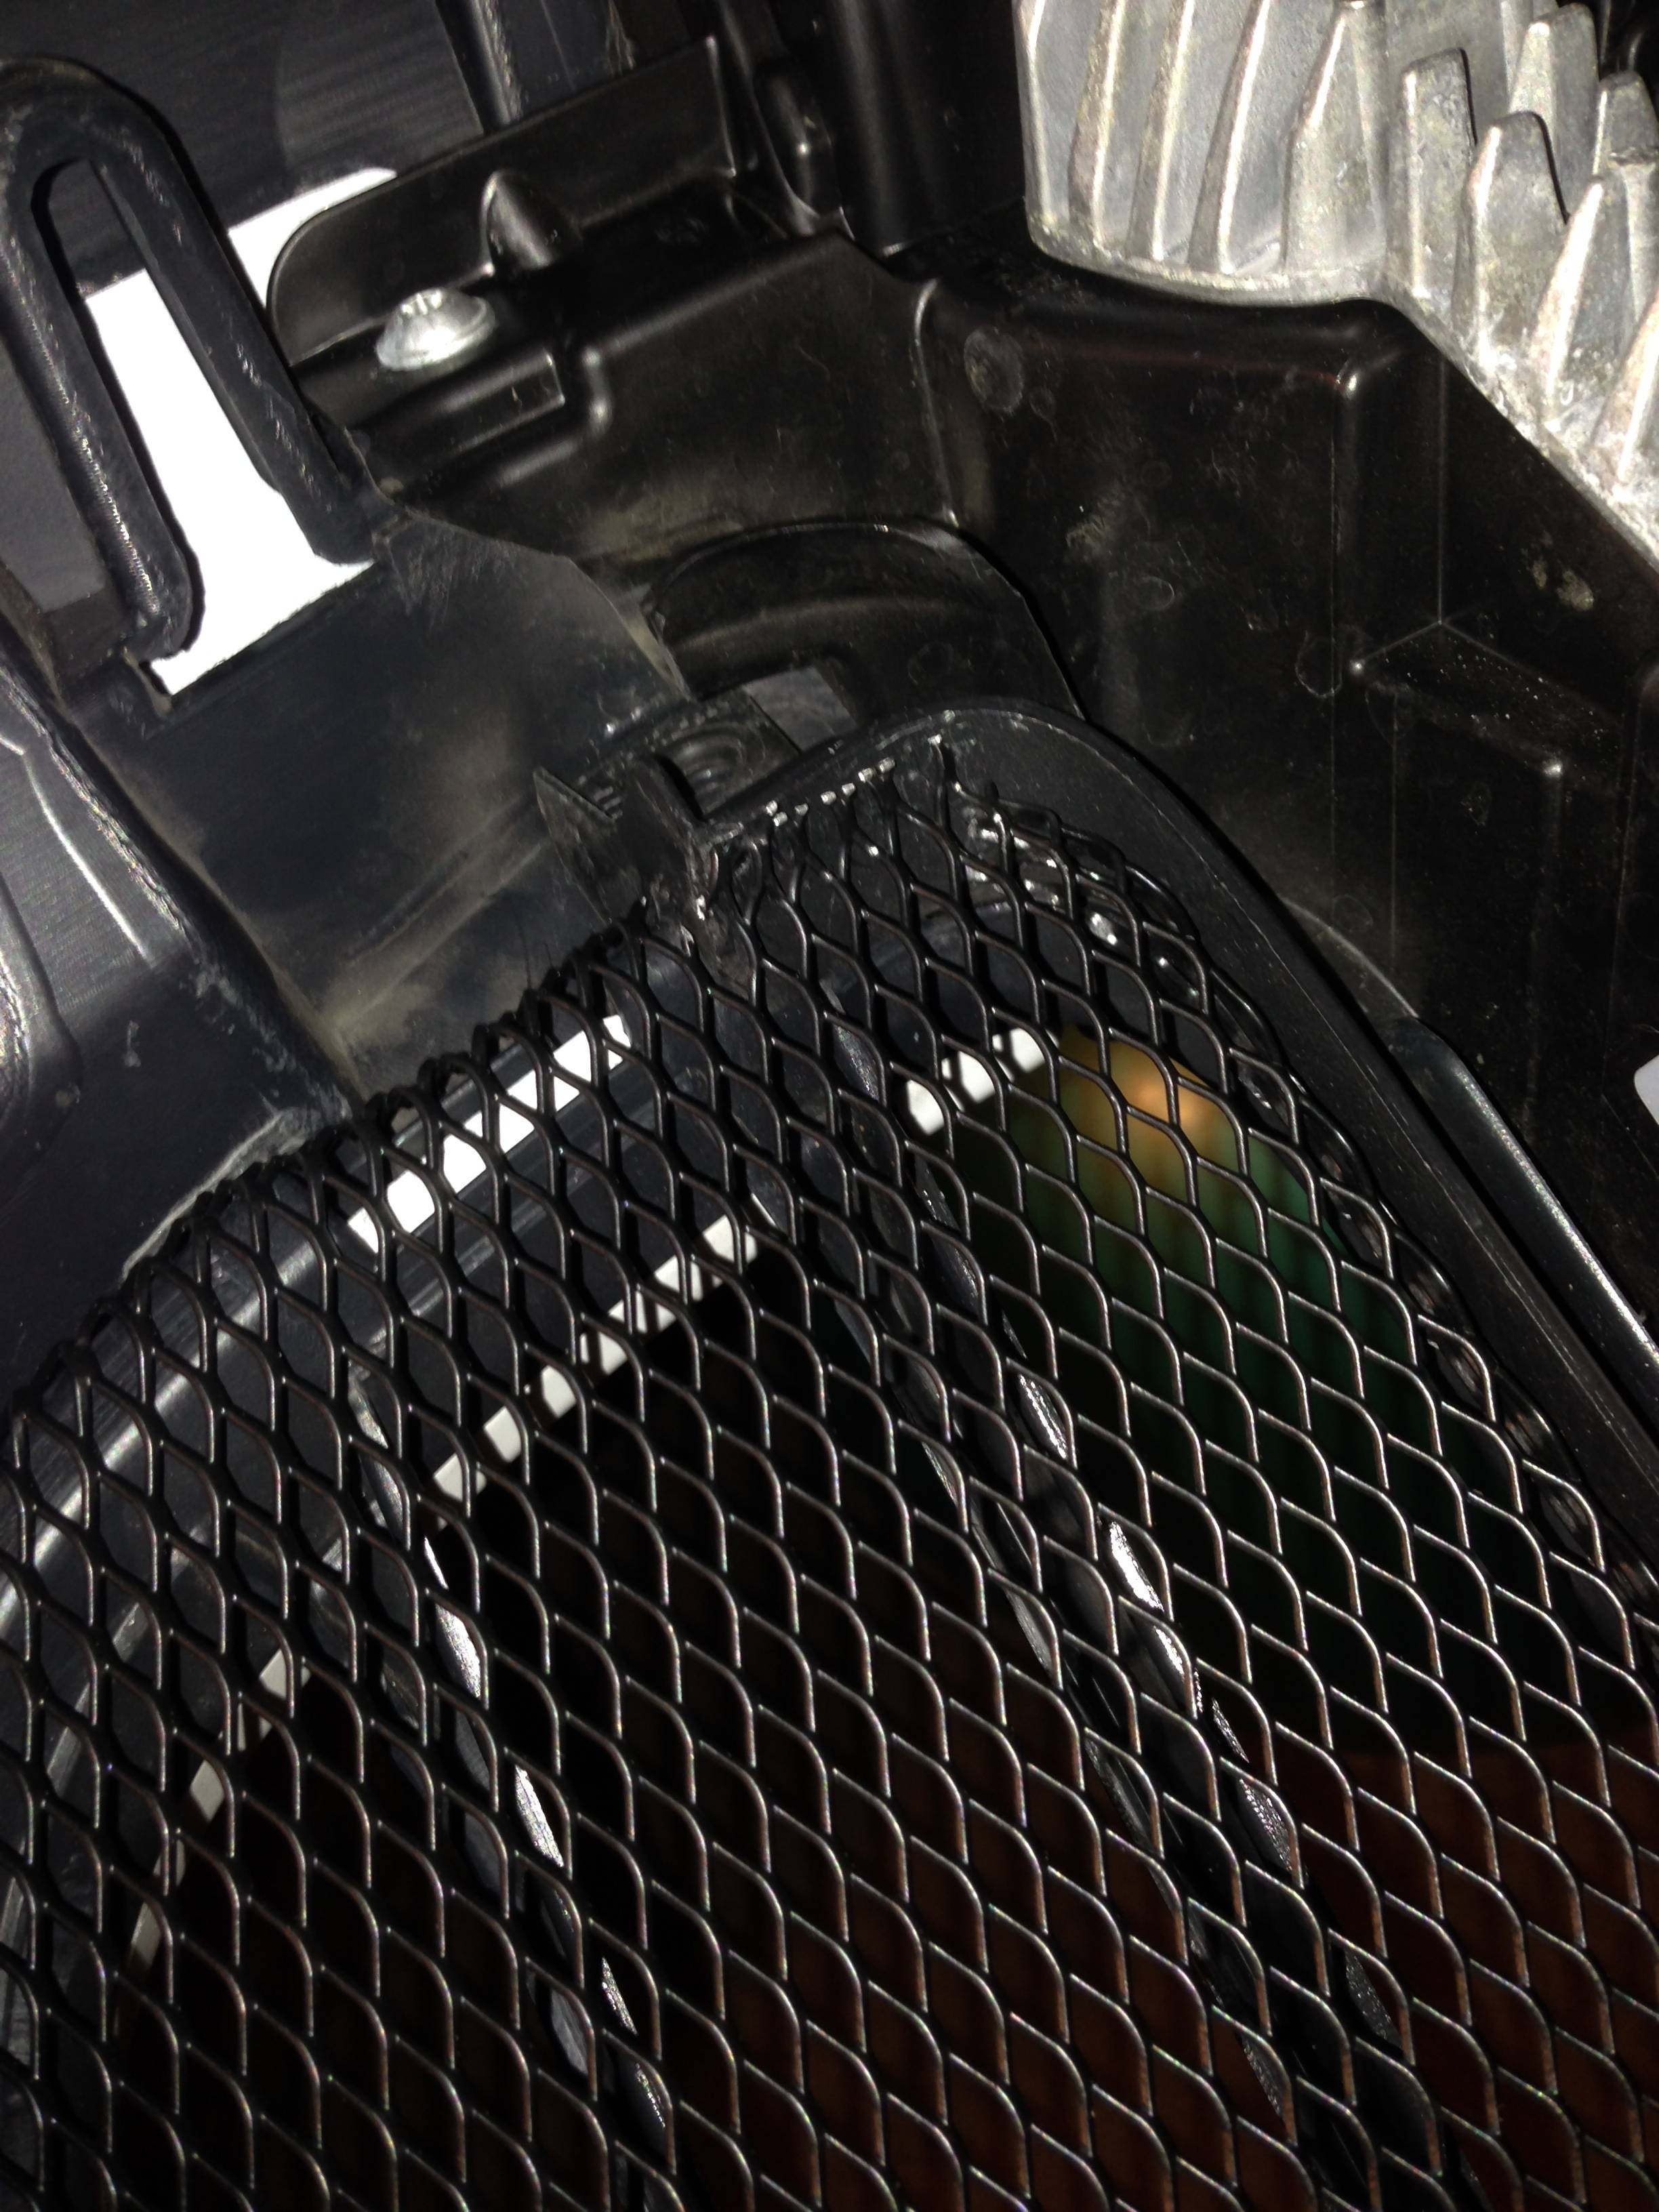
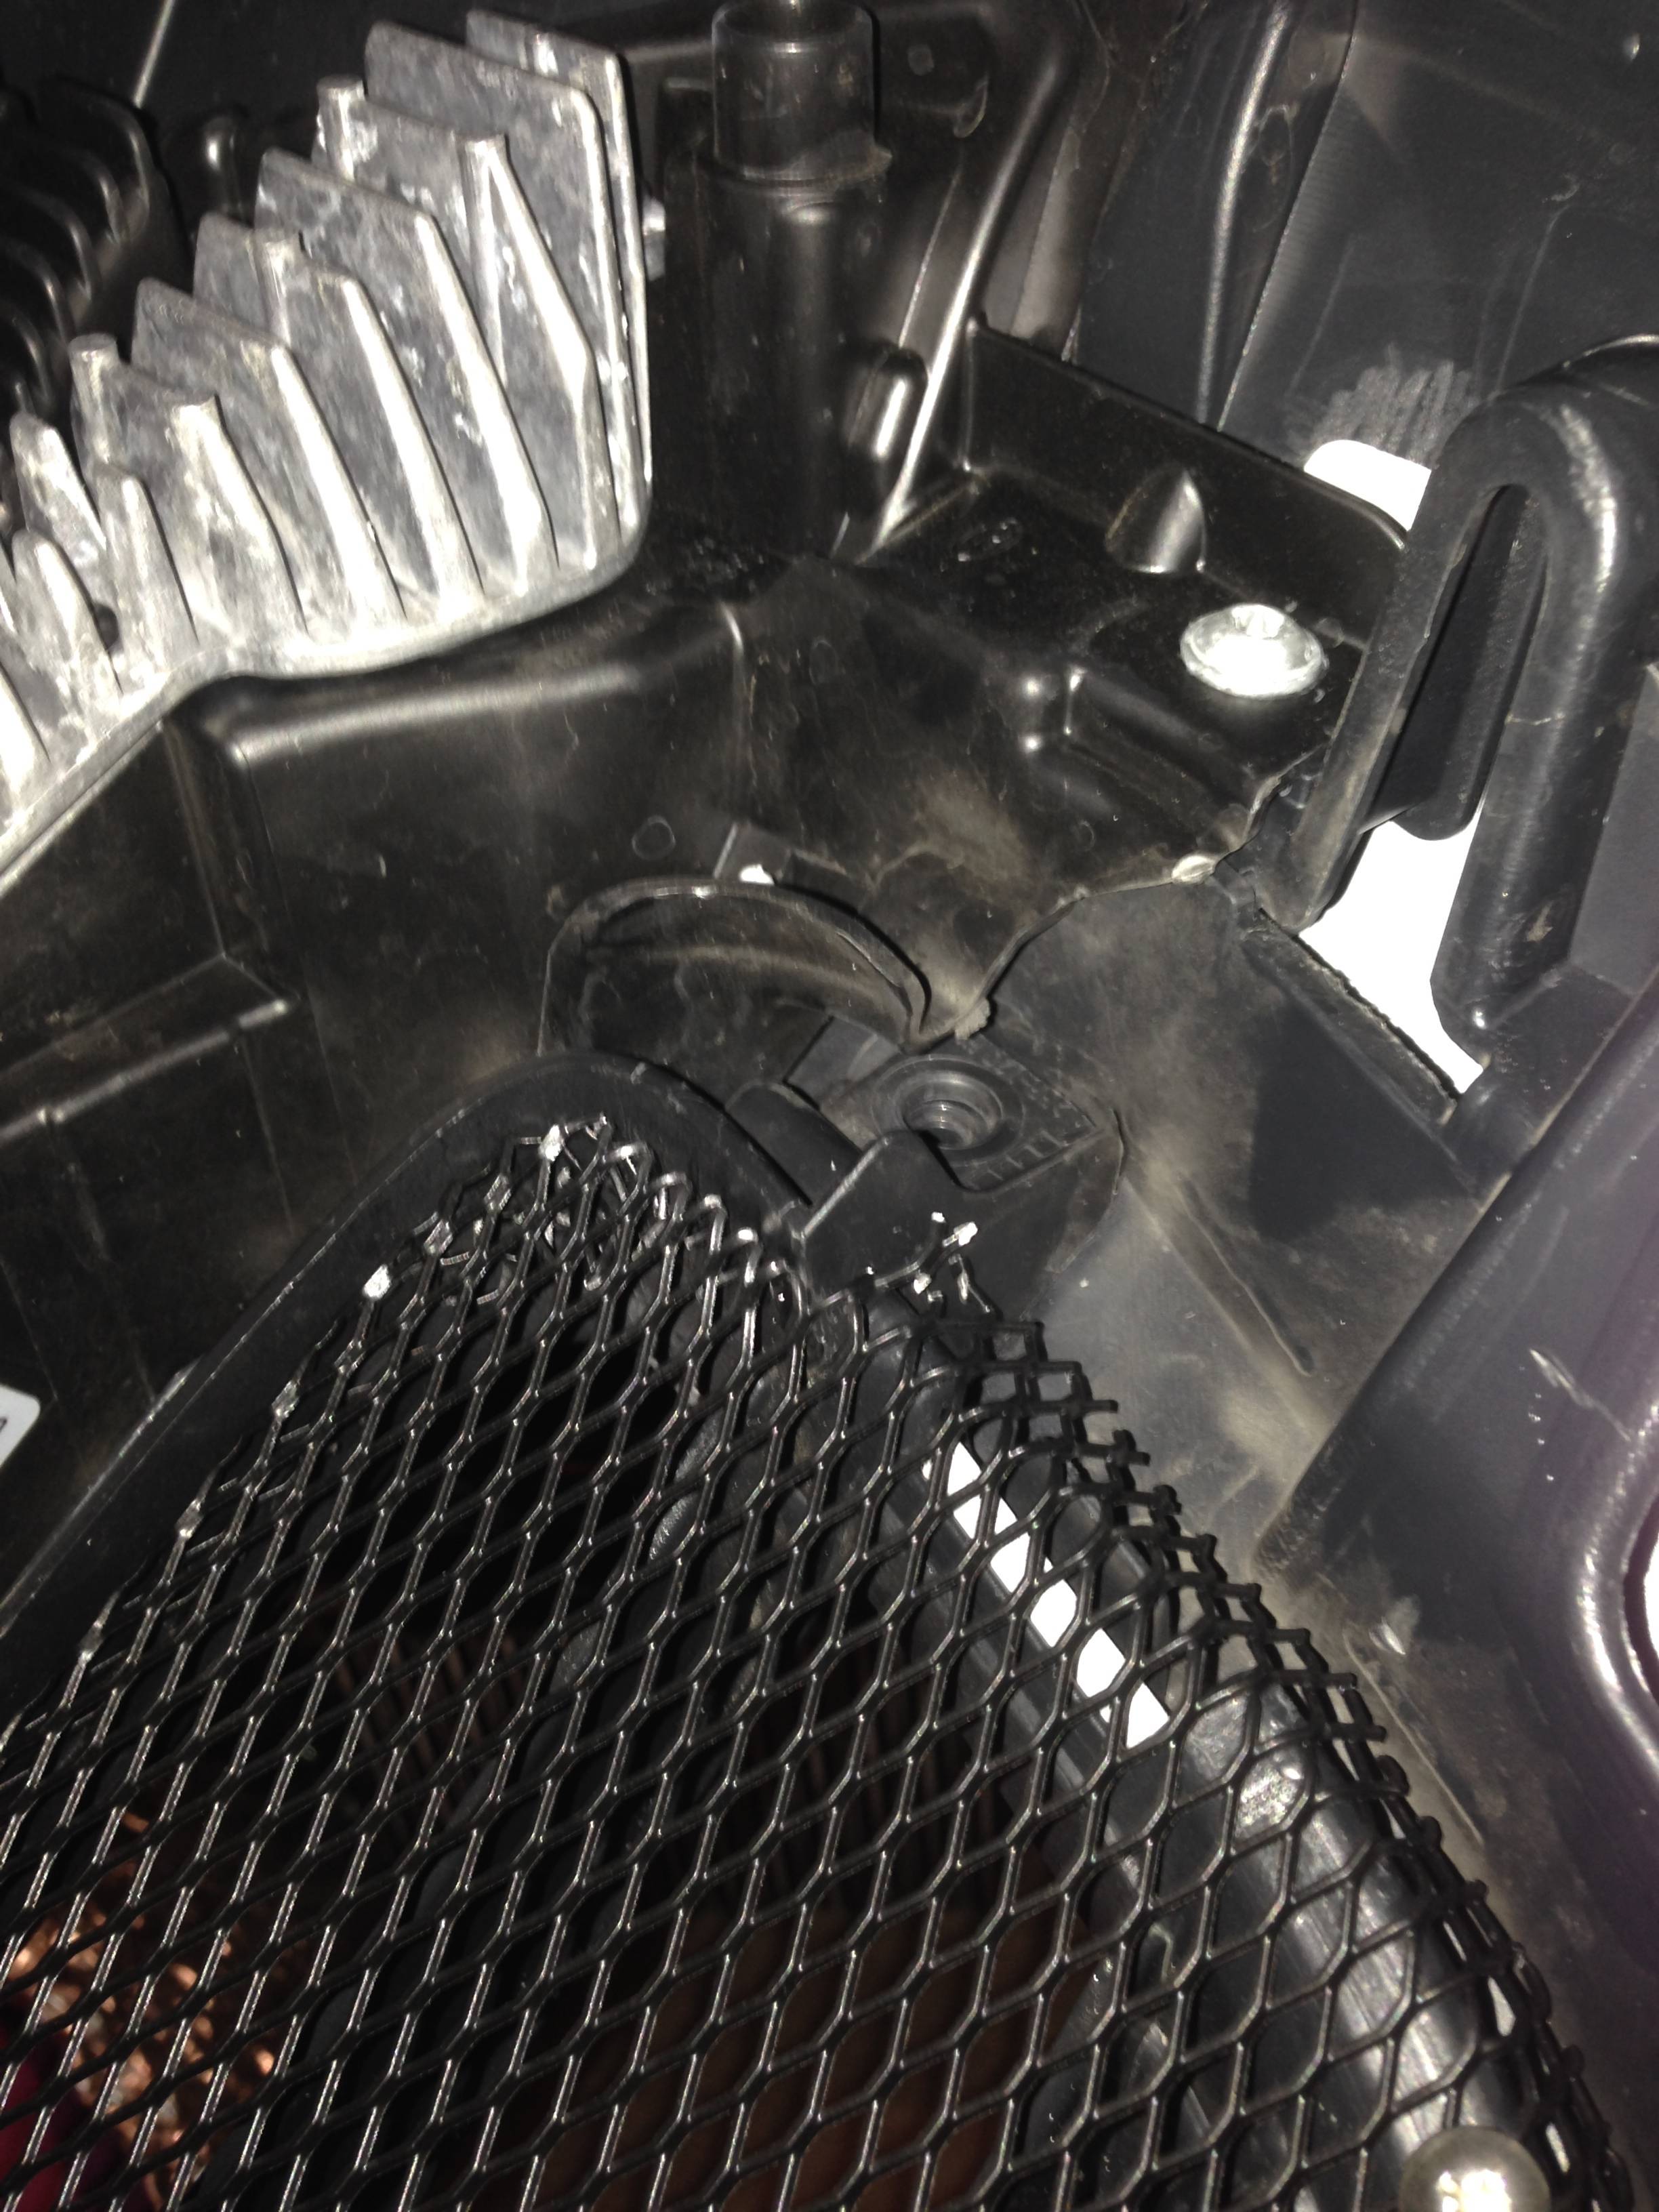
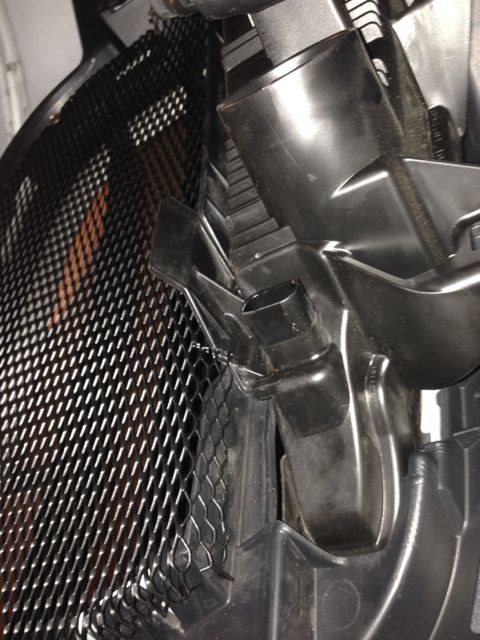
Got the rennline kit today and did an install on my sport design bumper.
The center piece is for the wrong car, what I purchased was a 5 piece kit for the bumper. The other pieces fit just fine, I am hoping they just screwed up when packing my order.
That said, the two smaller grills fit great. The outer grills don't really fit well at all, requiring cutting in a couple of places and manipulating the metal to wedge into the holes. They also only attach at the lower halves of the holes, so the top is loose and moves if you bump it.
All in all, I am not impressed and I recommend saving your money and doing a DIY or paying a shop to DIY.
JCBH, i'll probably be hitting up your shop in SM to have mine redone.
some pics of their "precisely cut" parts:
center grill, not even close

and the cuts needed to make the other grills work:
The center piece is for the wrong car, what I purchased was a 5 piece kit for the bumper. The other pieces fit just fine, I am hoping they just screwed up when packing my order.
That said, the two smaller grills fit great. The outer grills don't really fit well at all, requiring cutting in a couple of places and manipulating the metal to wedge into the holes. They also only attach at the lower halves of the holes, so the top is loose and moves if you bump it.
All in all, I am not impressed and I recommend saving your money and doing a DIY or paying a shop to DIY.
JCBH, i'll probably be hitting up your shop in SM to have mine redone.
some pics of their "precisely cut" parts:
center grill, not even close
and the cuts needed to make the other grills work:
12-11-2013, 02:05 AM
#41
How difficult is removal of the bumper cover? I just got the rennline kit too. Instructions seem marginal and video on YouTube is not the same since it does not use clips.
12-11-2013, 11:25 AM
#42
Rennlist Member
I spent the most time trying to disconnect the washer pump cables. There is a clip near the edges of the bumper that bites into the plastic. I didn't want to rip it off so I tried removing the cable where it disconnects from underneath the headlight. That took about an hour of my time before I gave up and just ripped the clip loose. It still grabs on again but I wouldn't want to do that too many times, eventually the plastic will get chewed up.
That said, it goes something like this. This is from memory so if it feels like something is missing, don't rip your bumper off
1. Remove 3 black plastic coverings from under the hood. The two on the sides pop in but they do have a clip that slides under the third plastic piece at the front of the car. You'll see 3 t27 torx bolts under the third piece, there is 9 (or 11) more of these.
2. Remove the headlights, you need to use the long tool that looks like a reverse allen wrench, it reaches under the headlight through a rubber flap from inside the trunk, under the tire repair kit and tool kit plastic covers. I am pretty sure you turn counter clockwise on the driver side and clockwise on the passenger side to remove, it will take some force before it pops loose. the headlights slide right out after that.
3. There are two clips that hold the bumper to the inside of the headlight cutout. It's a long black metal clip. Push it off from the inside out, removing it completely. It will feel like its loose but that is only halfway out. The whole thing needs to be removed.
4. Remove the corner signals. Slide them toward the back of the car and then pivot the front out. This is harder than it should be on my car.
5. Remove t25 (might be t20, i didnt have a t25 bit and you can usually cheat with torx) bolts from inside wheel well. Two on each side.
6. Start removing t27 bolts. There is one in each upper corner of the bumper that you can see behind the corner signal lights, you need to pull the wheel well cover back some to access it. Another two at the lower corner. The rest start from the center of the car and work their way out, there is 7 down there IIRC. Might be 9. I had a ton of bolts on the ground when I was done. The good thing is that you can feel them all and you don't need to jack up the car to get to them. Pull on the bumper a little as you work around and you should be able to tell if you missed any.
7. Disconnect the headlight washer fluid line. On the driver side in the headlight you'll see it. Pop it loose so you can get to the clip, pop out the clip and the line will come apart easily. Put the clip back when you're done so you don't lose it, you don't need to remove the clip to reinstall.
8. Disconnect the headlight washer pumps. Under the headlight there is a place where this cable disconnects from the car. I spent an hour trying to disconnect it. I imagine its easy if you remove the wheel and the wheel well liner. I opted to trash my hands and my iphone trying to figure out what the hell was going on in there. After that, I just removed the whole wire from the bumper. It's easy. If you follow the wires around you will see where the first clip is near the edges of the bumper. Pull that off and then the wire goes into two more guides along the bumper before plugging into the pump. Slip it out of the guides and disconnect it from the pump. Remember how the wire was run so that you can put it back how it came.
And that is it. Hope this helps!


