When you click on links to various merchants on this site and make a purchase, this can result in this site earning a commission. Affiliate programs and affiliations include, but are not limited to, the eBay Partner Network.
Hey all! This is a DIY on swapping out the trim pieces of a 991.2 Non-Multifunction PDK Steering Wheel.
I was in the process of swapping the SportDesign PDK steering wheel for my 991.1 and I figured I might as well swap out the trim to really customize it to my taste. I wanted to swap the Black Trim Surround to a Silver Trim Surround, and all of the Silver Inserts to a Black Insert. So the pictures in this DIY depict that, but you can essentially customize this however you'd like with these instructions.
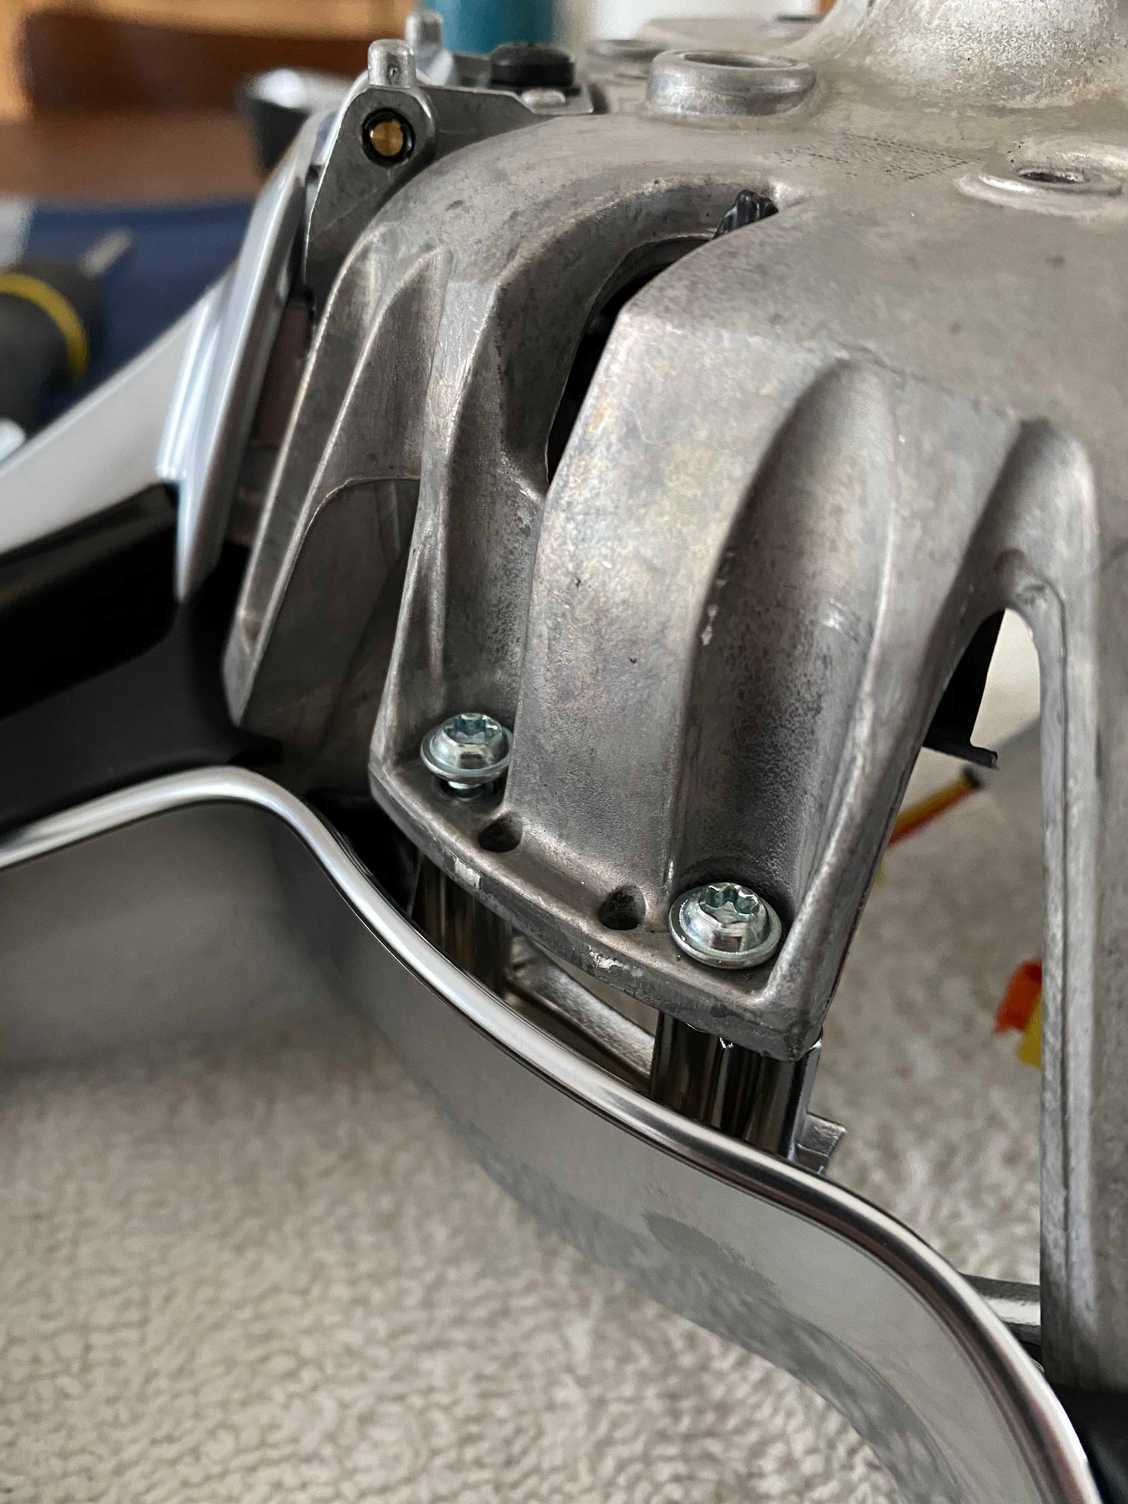
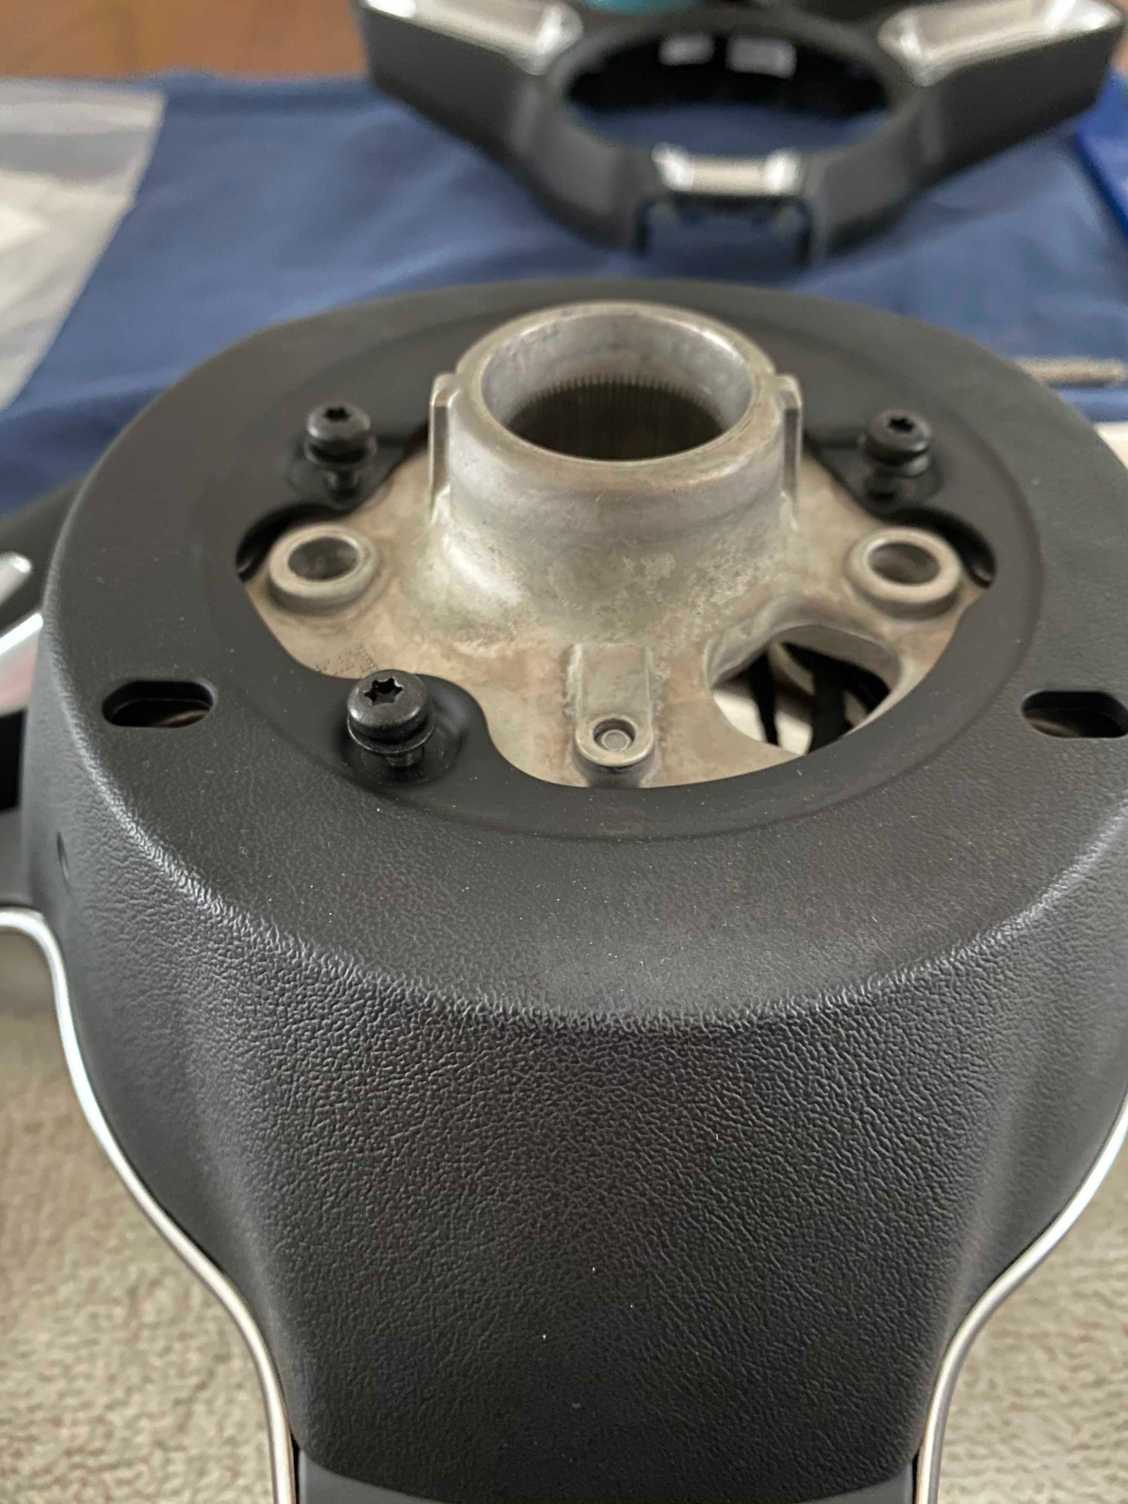
Note: This swap from a 991.1 SportDesign PDK Non-Multi to a 991.2 GT PDK Non-multi function is a direct swap. No harnesses required. The DIY for this is also well-documented in the forums so I won't go into it here.
Parts:
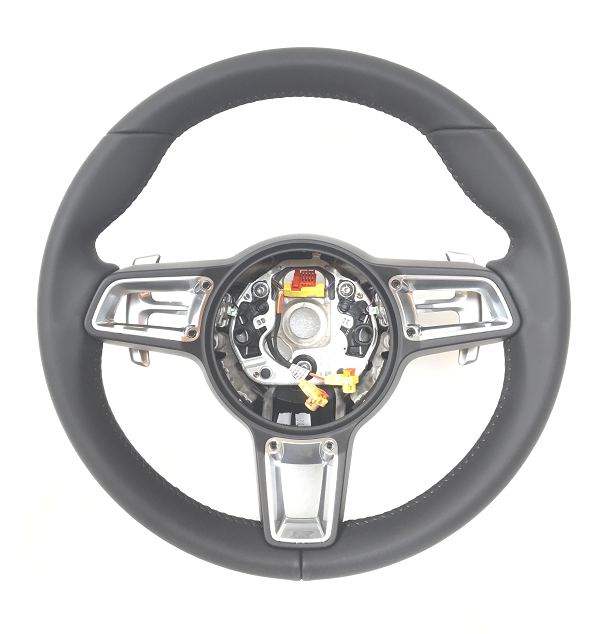
991.2 PDK Non-Multifunction GT Leather Sports Steering Wheel (I believe this steering wheel also fits the 781 Cayman)
9P1-419-091-FD-A34
991.2 Airbag (Not really needed for this swap, but noting here for posterity
9P1-880-201-R-A34
Silver Trim Surround
95B-419-732-GT8
Left Black Insert
9P1-419-936-F-5Q0
Right Black Insert
9P1-419-937-F-5Q0
Lower Black Insert
95B-419-938-H-5Q0
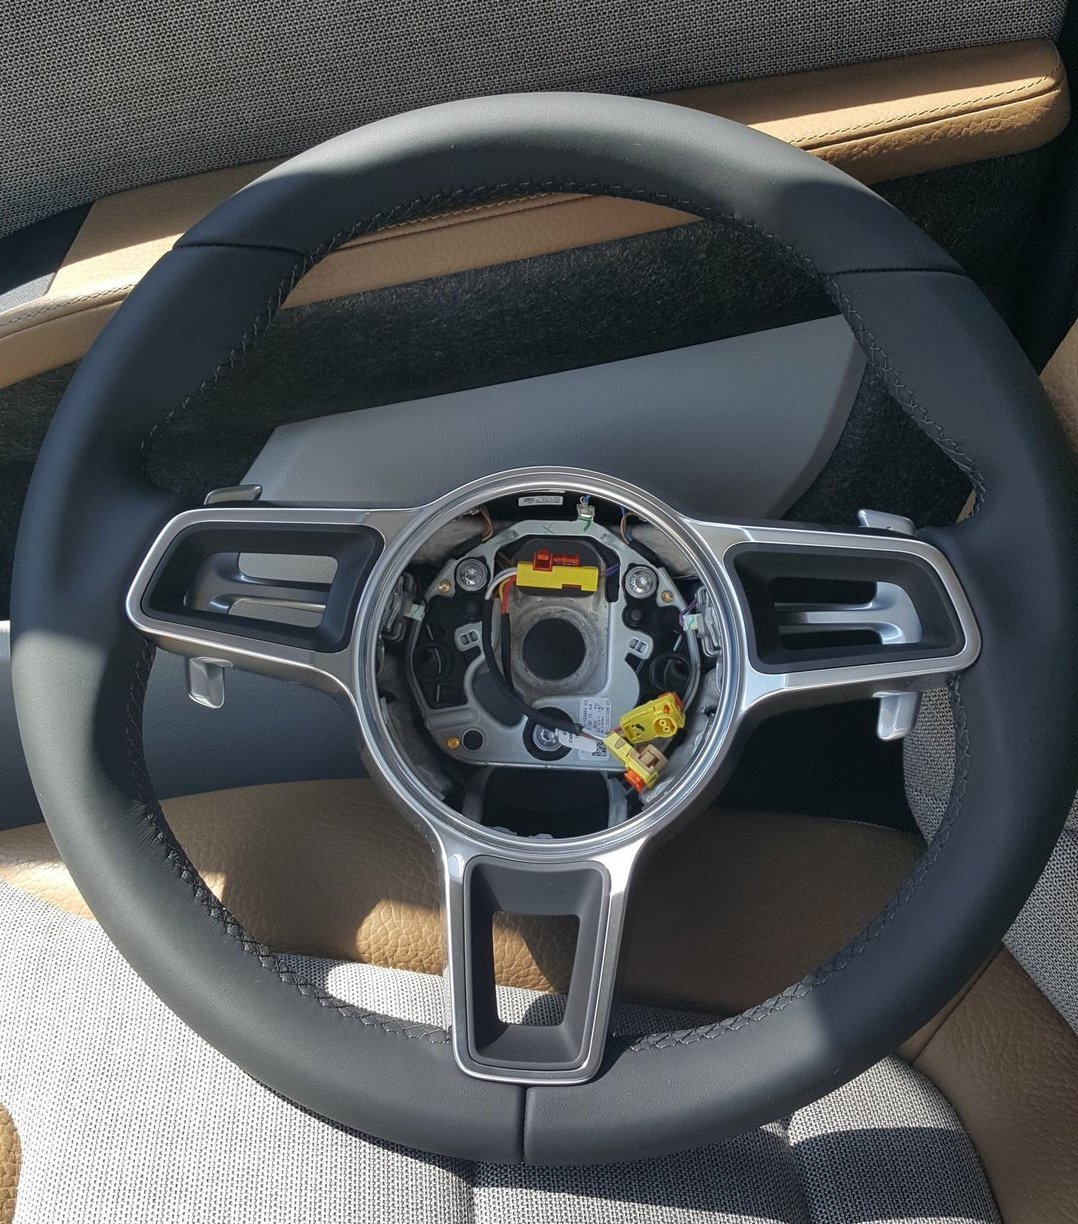
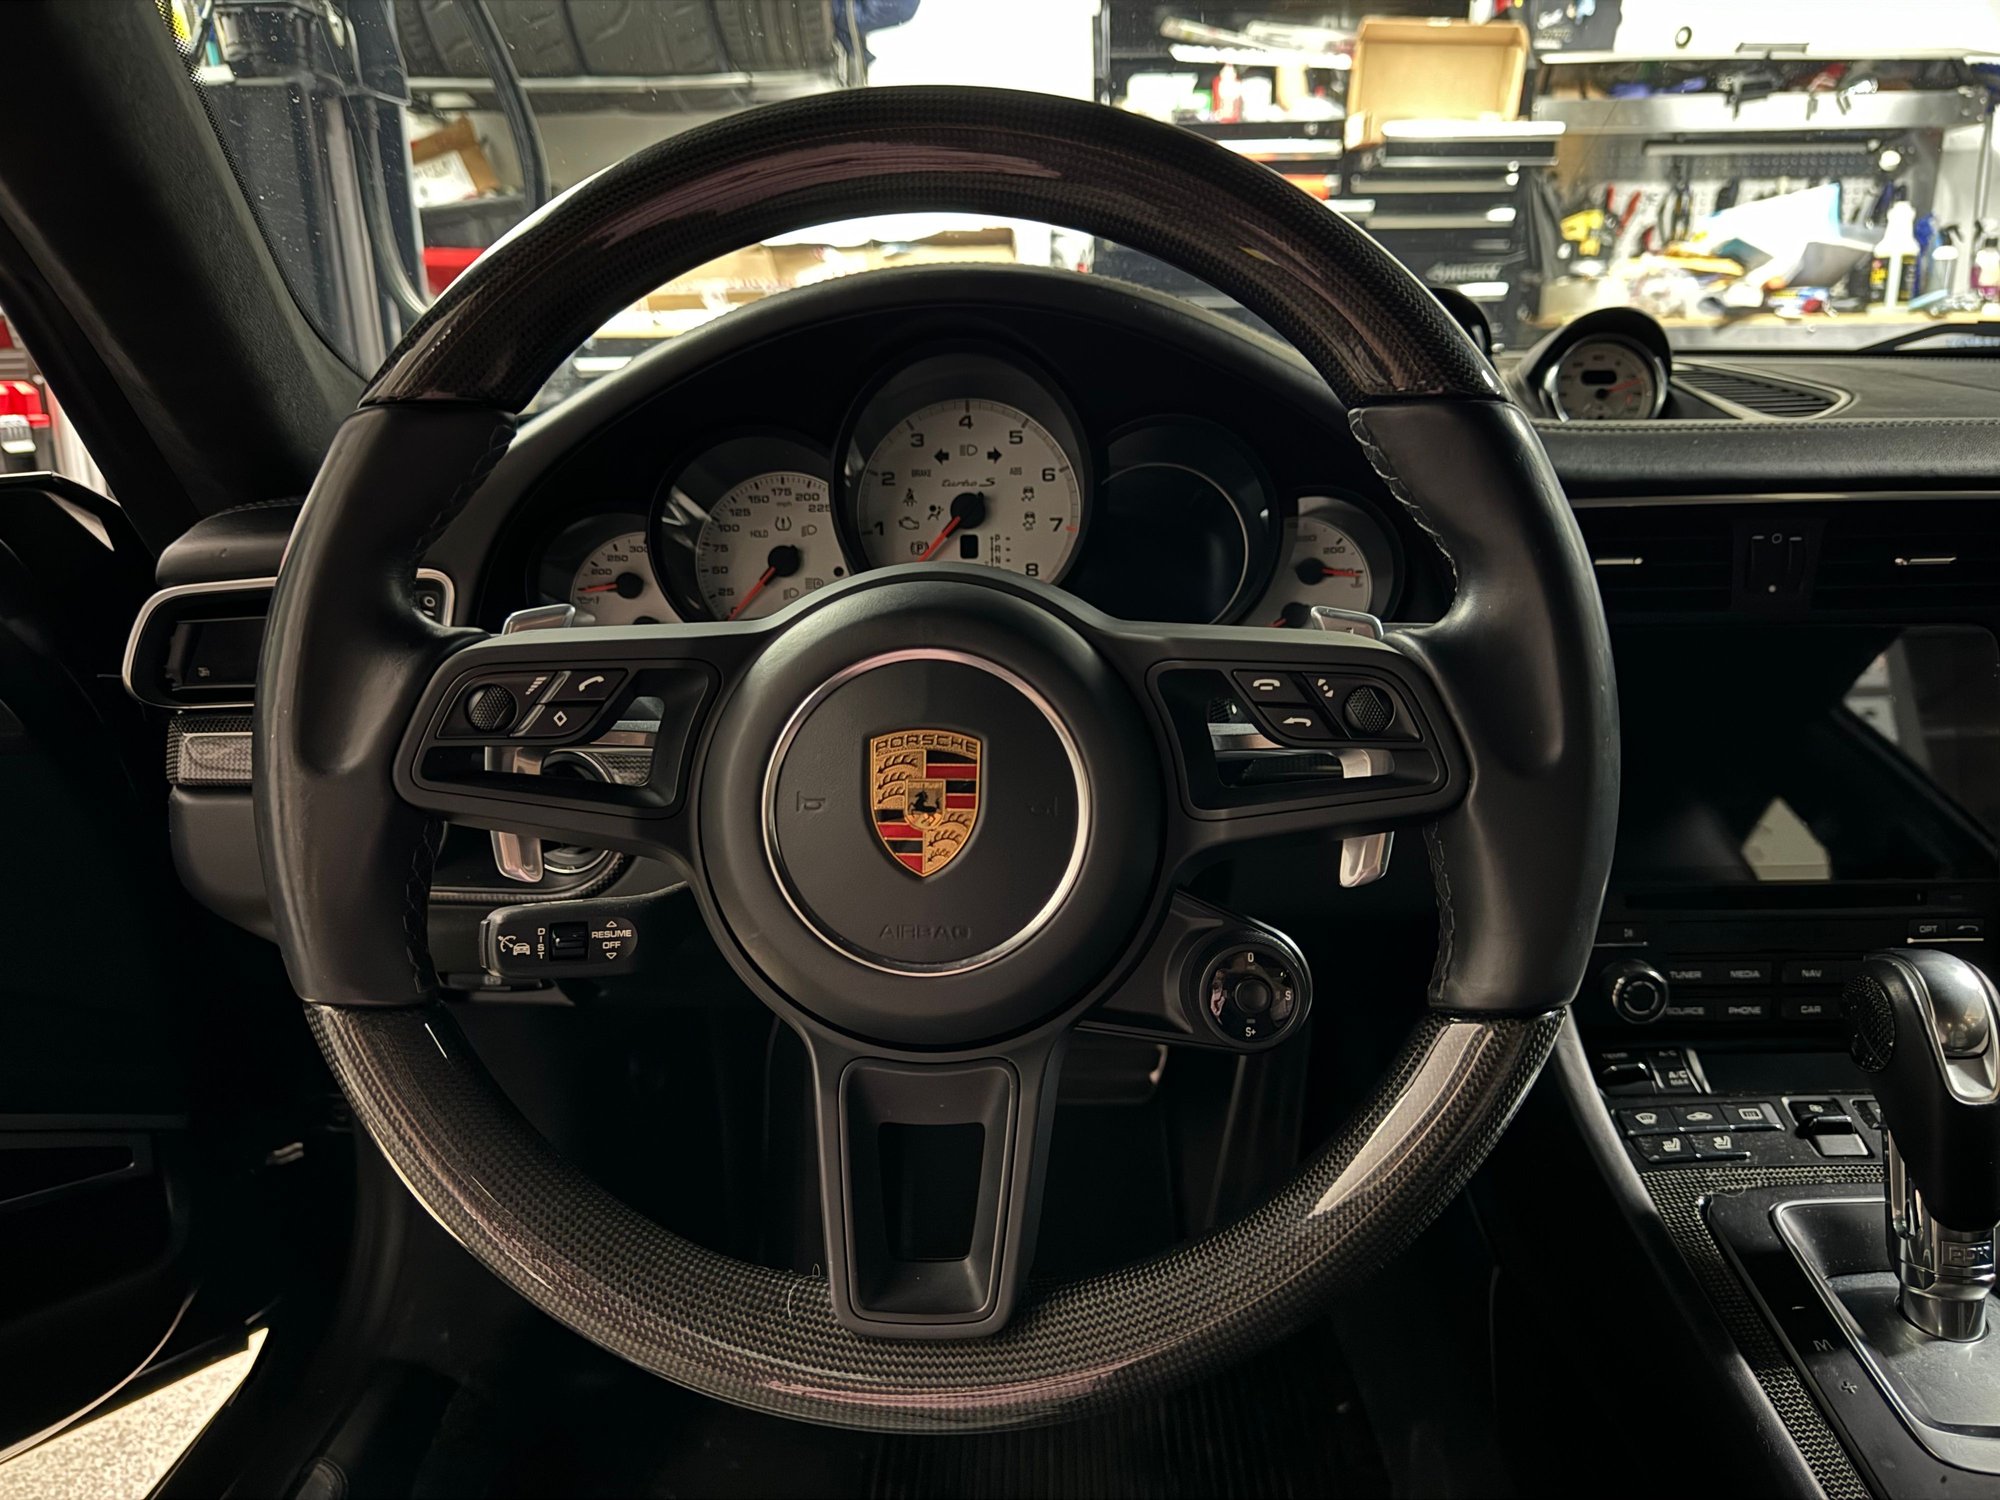
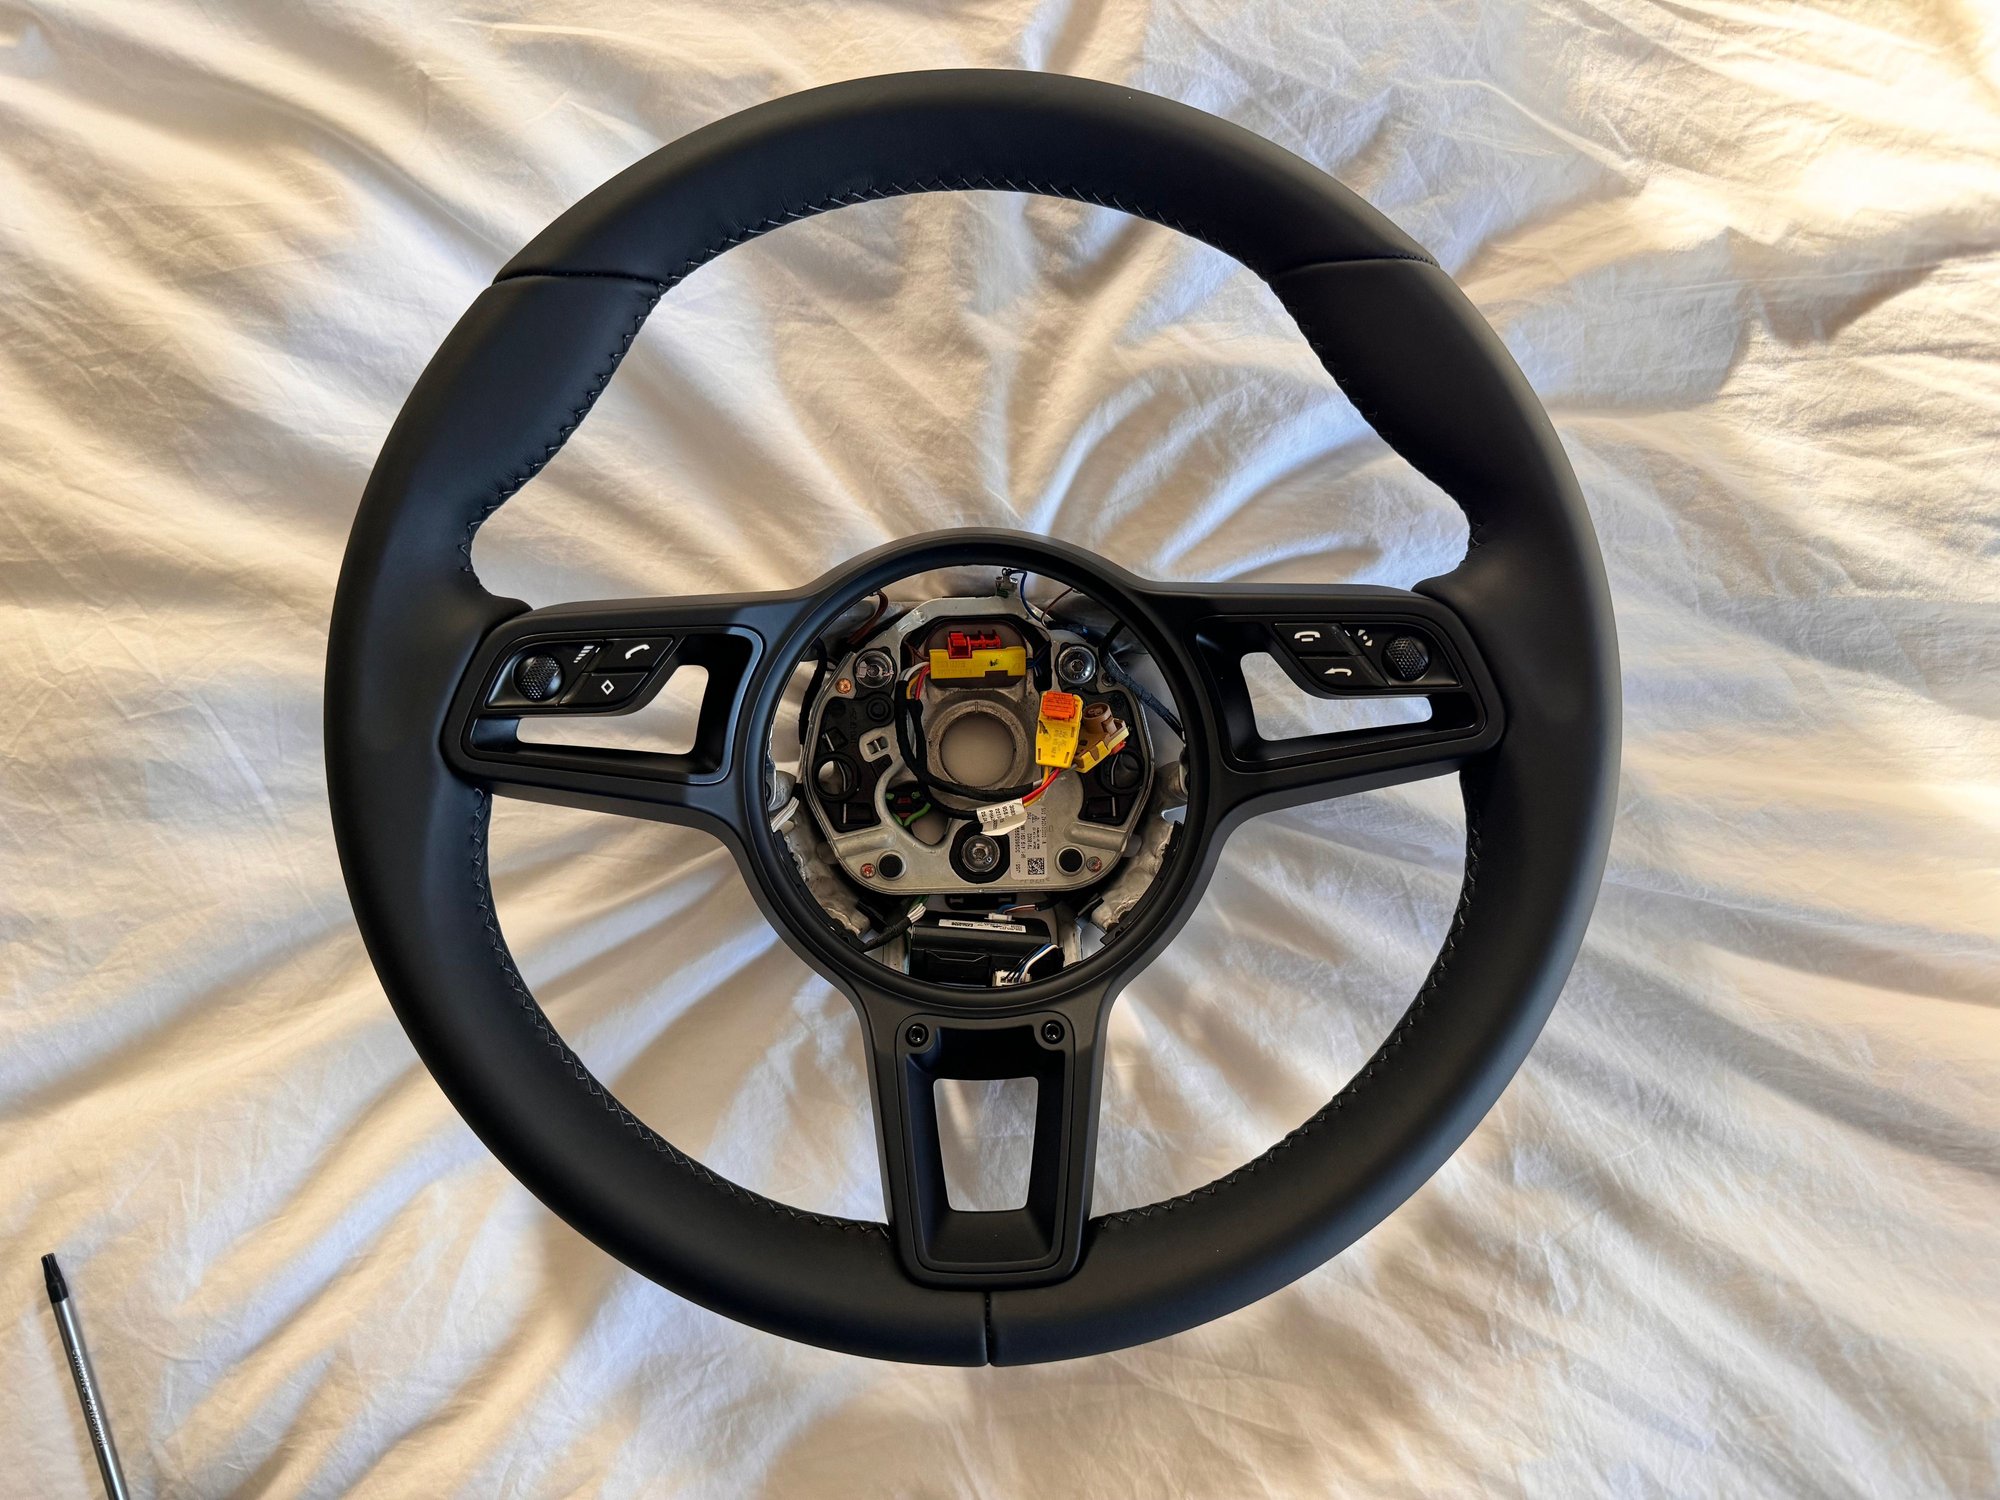
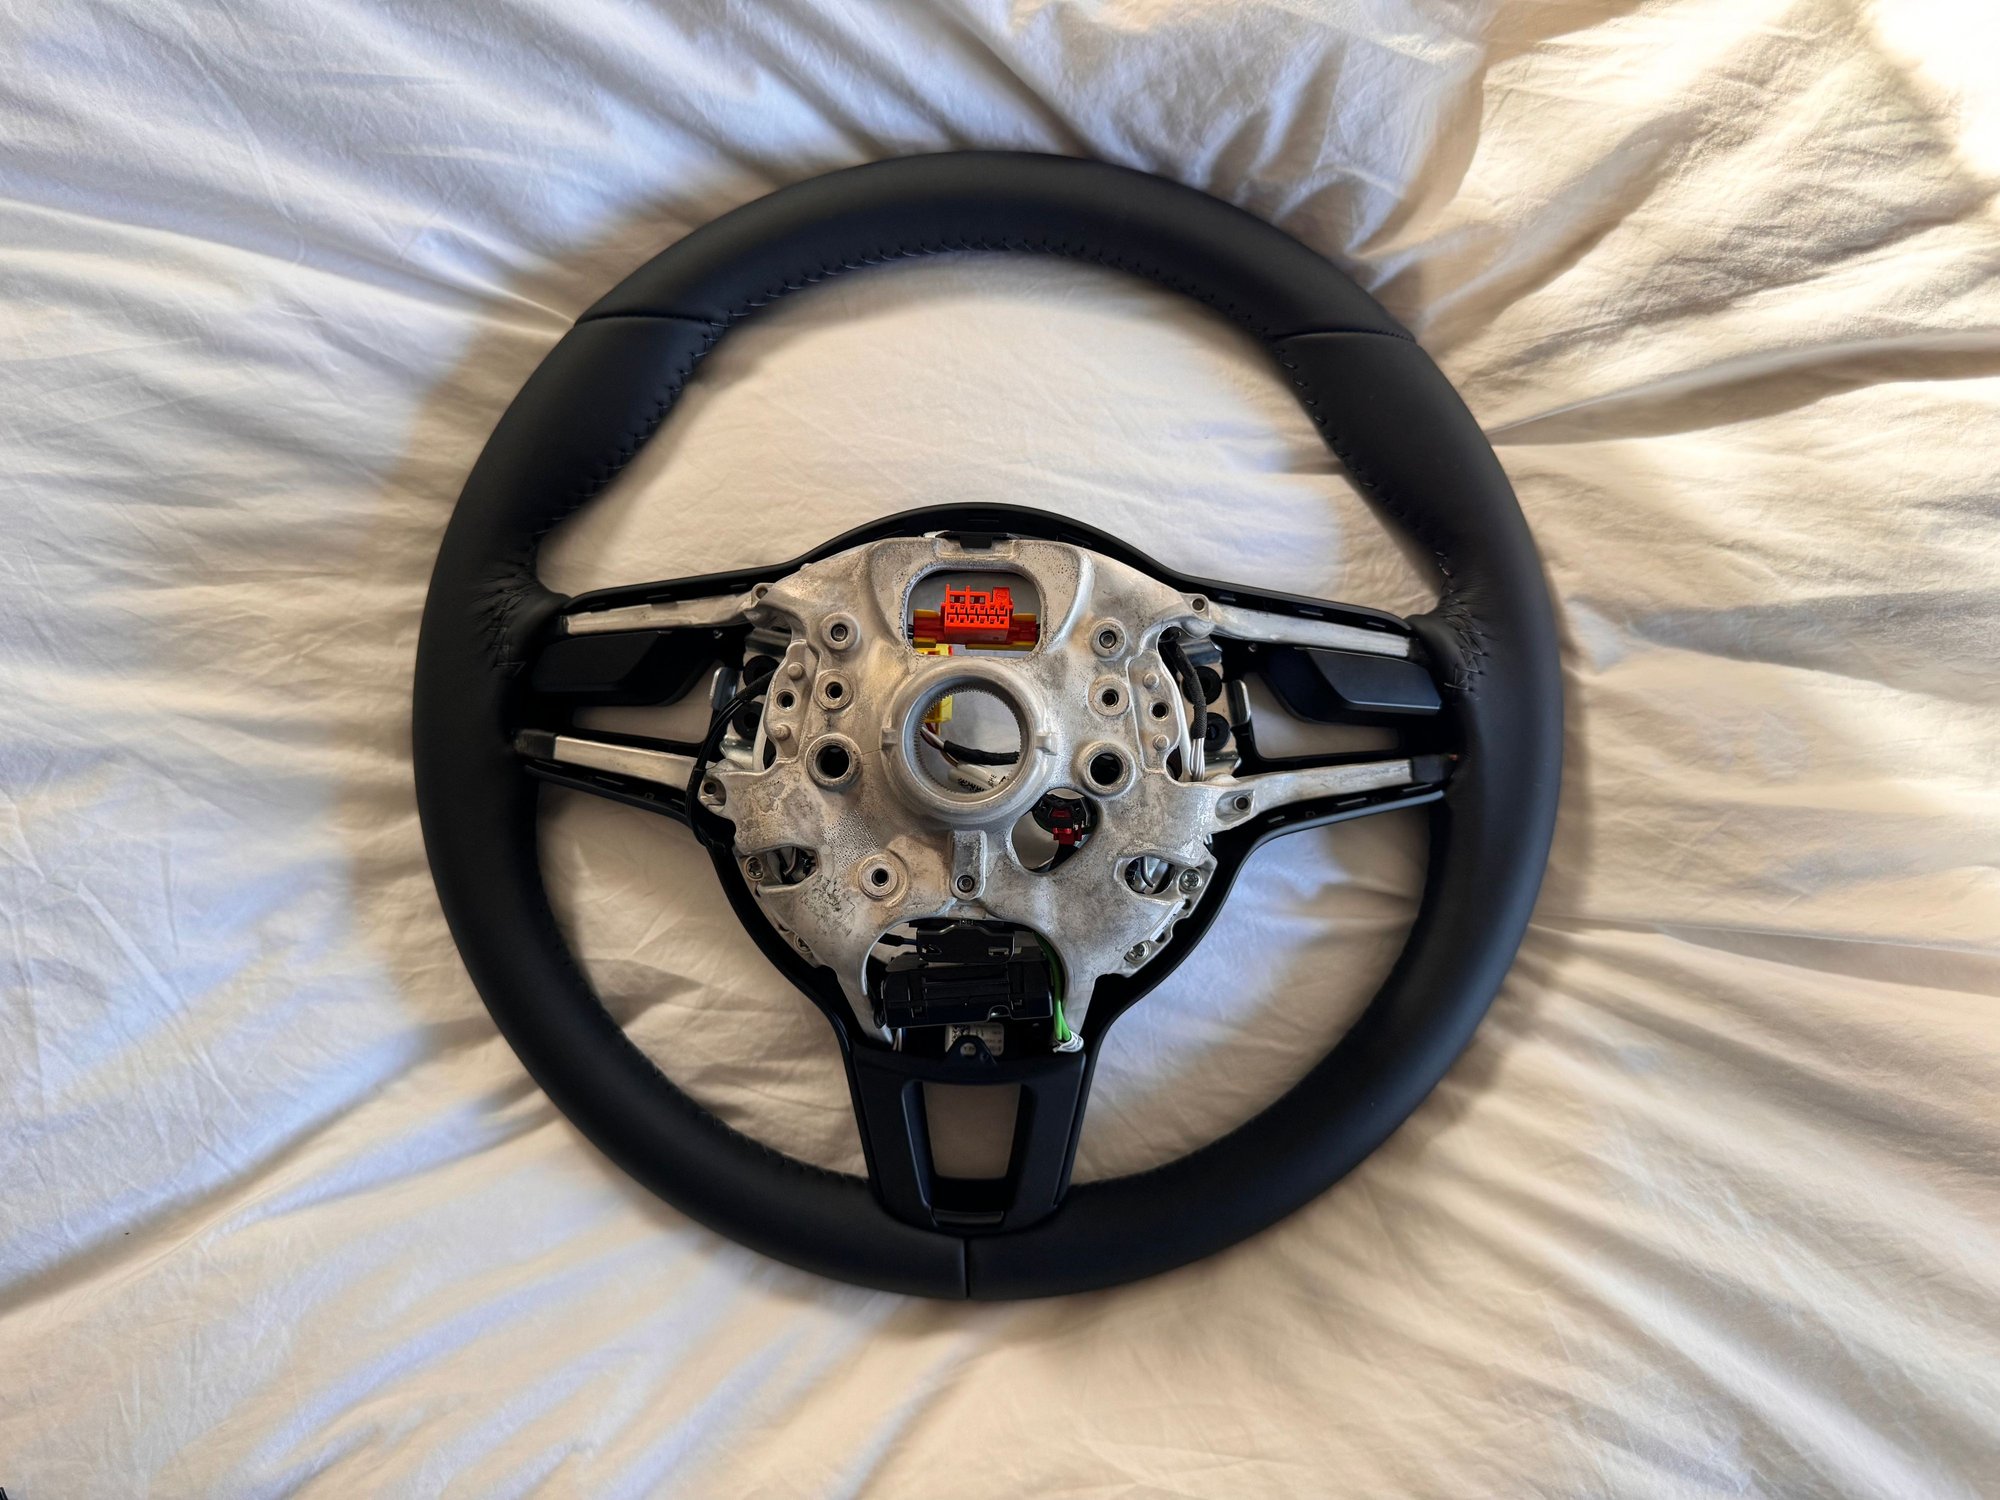
Before:
After:
Step 1:
Take your steering wheel and flip it on it's face. I recommend putting it on a towel or a soft surface to protect the leather.
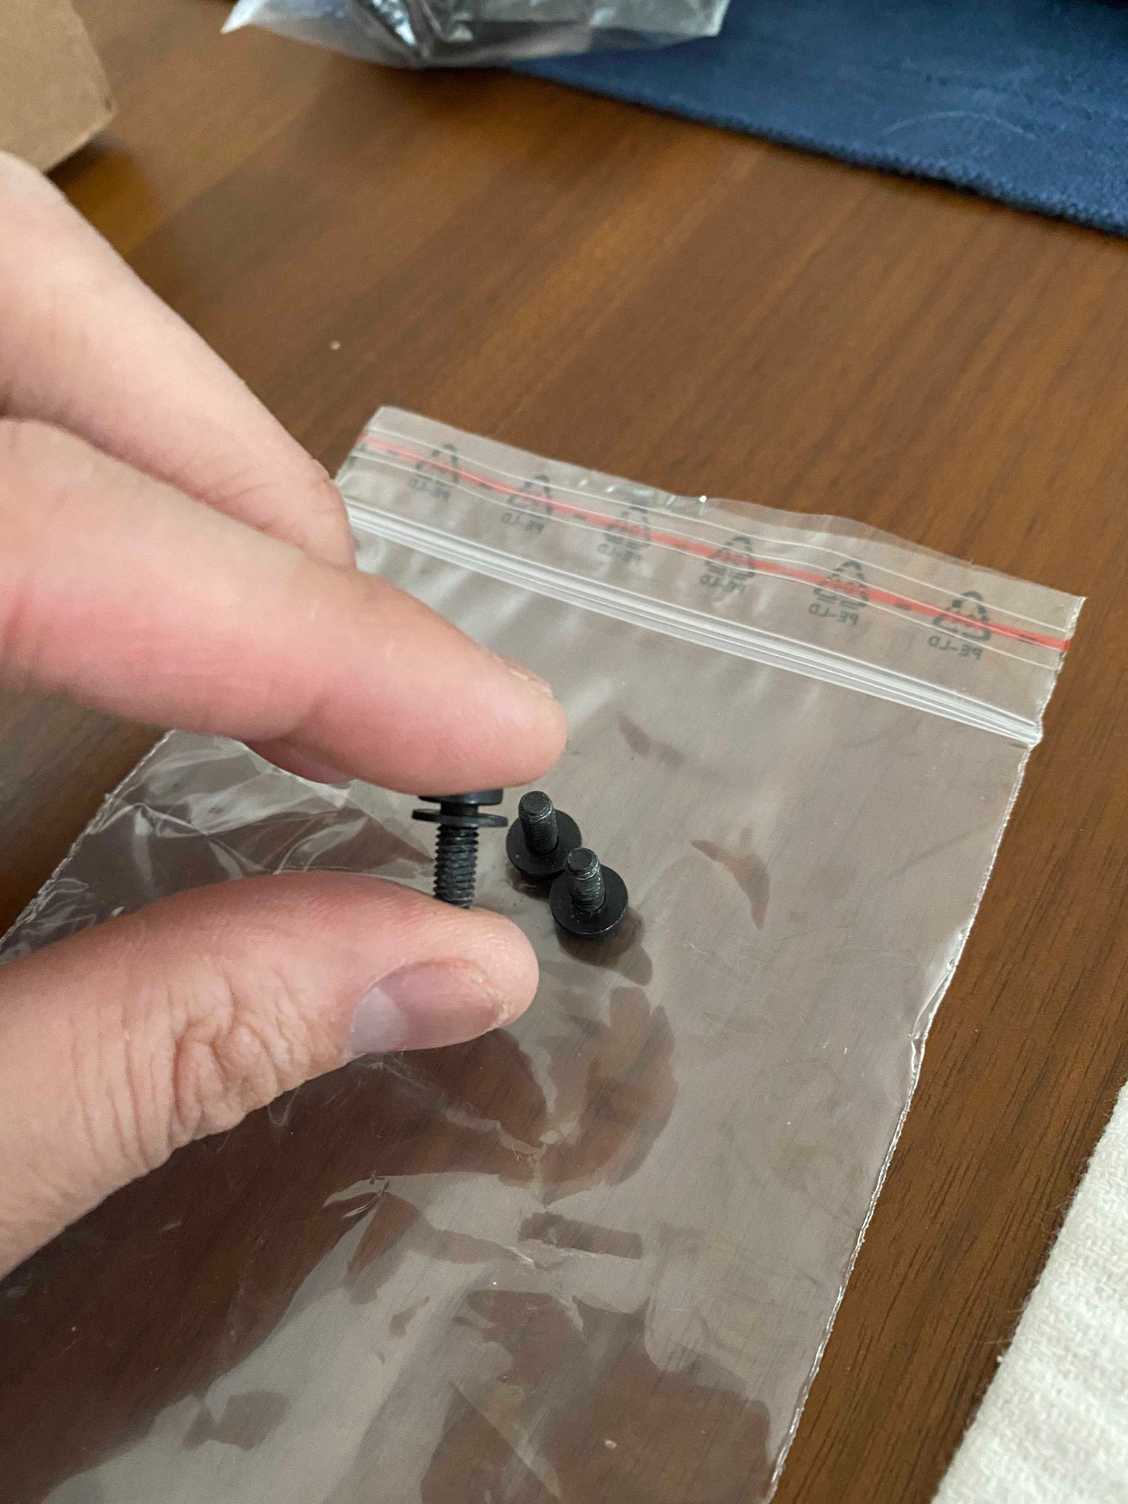
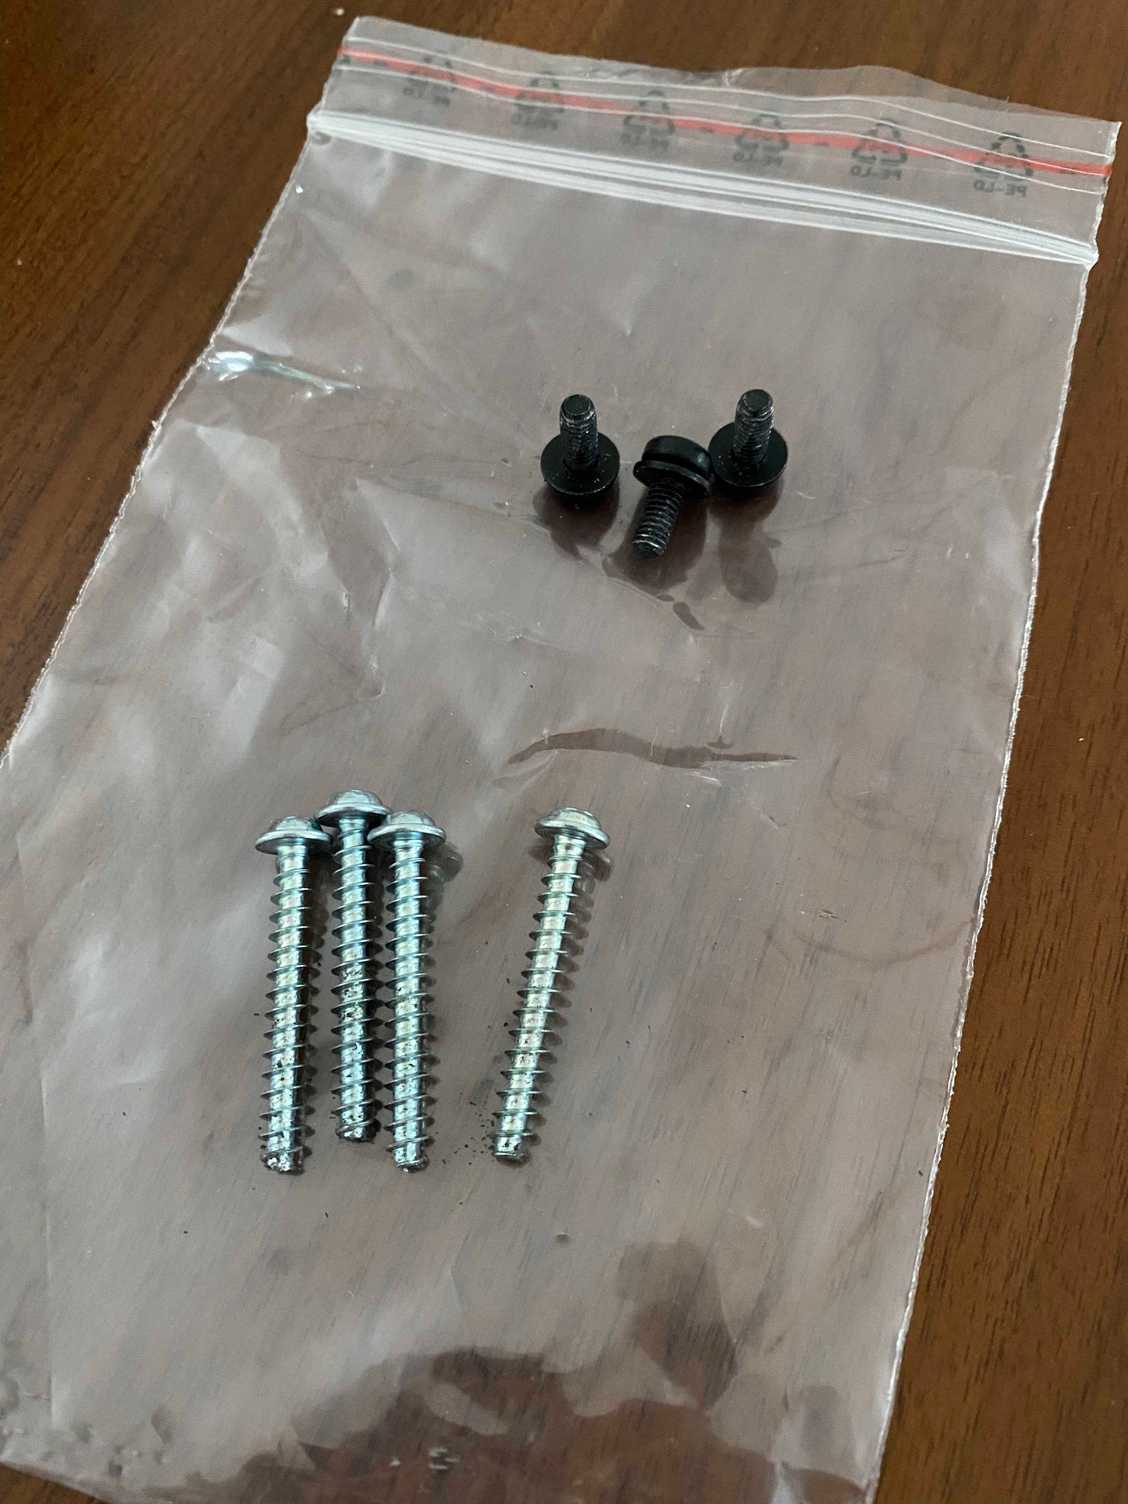
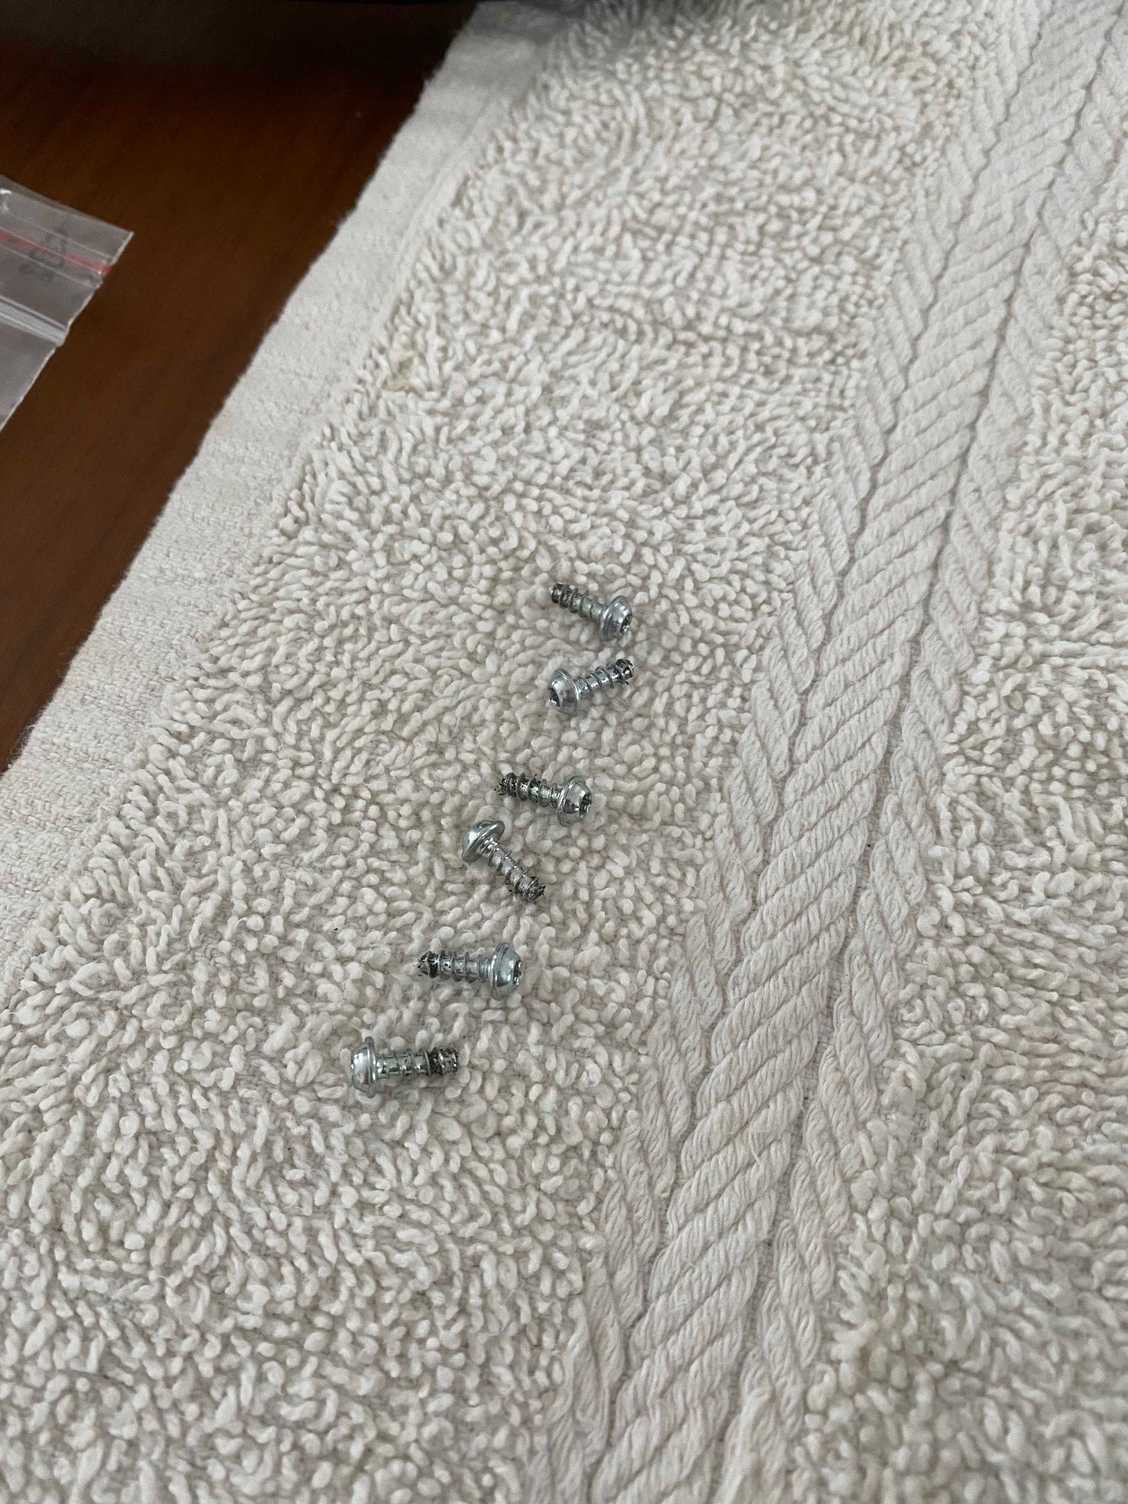
On the back of the steering wheel you're going to find 3 T20 Torx Screws. You'll see that they should have washers with them. Remove all 3 and set aside.
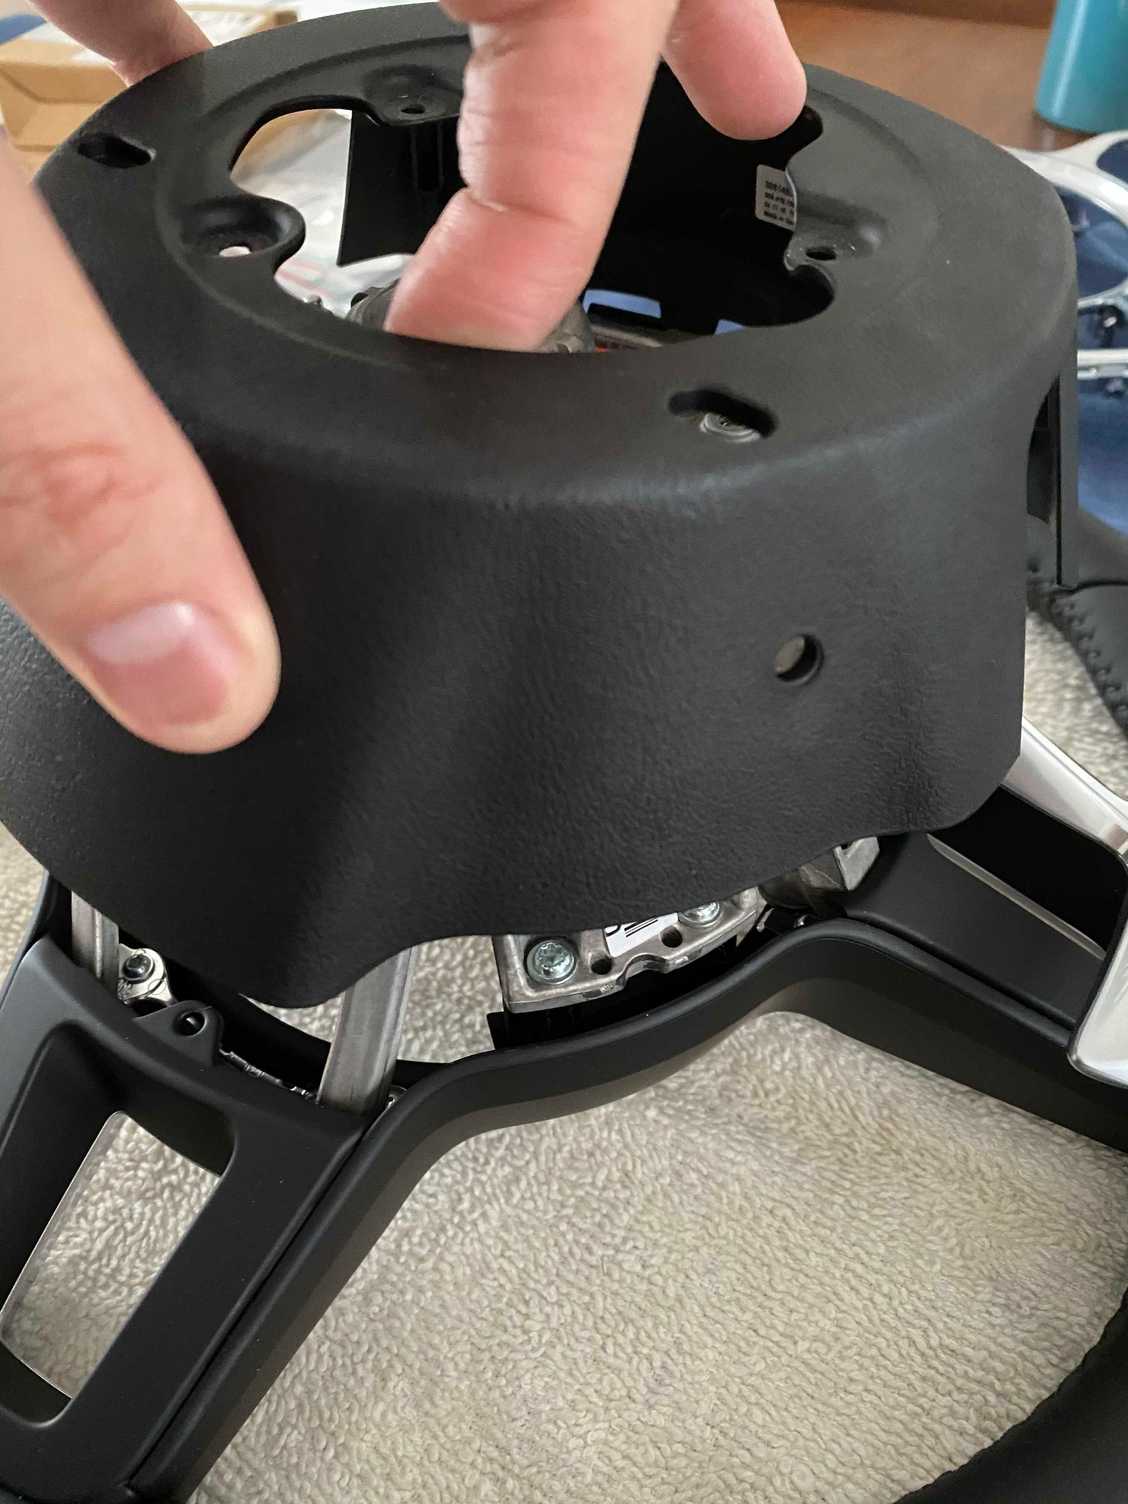
Step 2:
This is the part where a trim tool is optional. I didn't need it. But the backing should now slide right off with just a bit of pulling. I found it was easier to pull from the top. Set this aside.
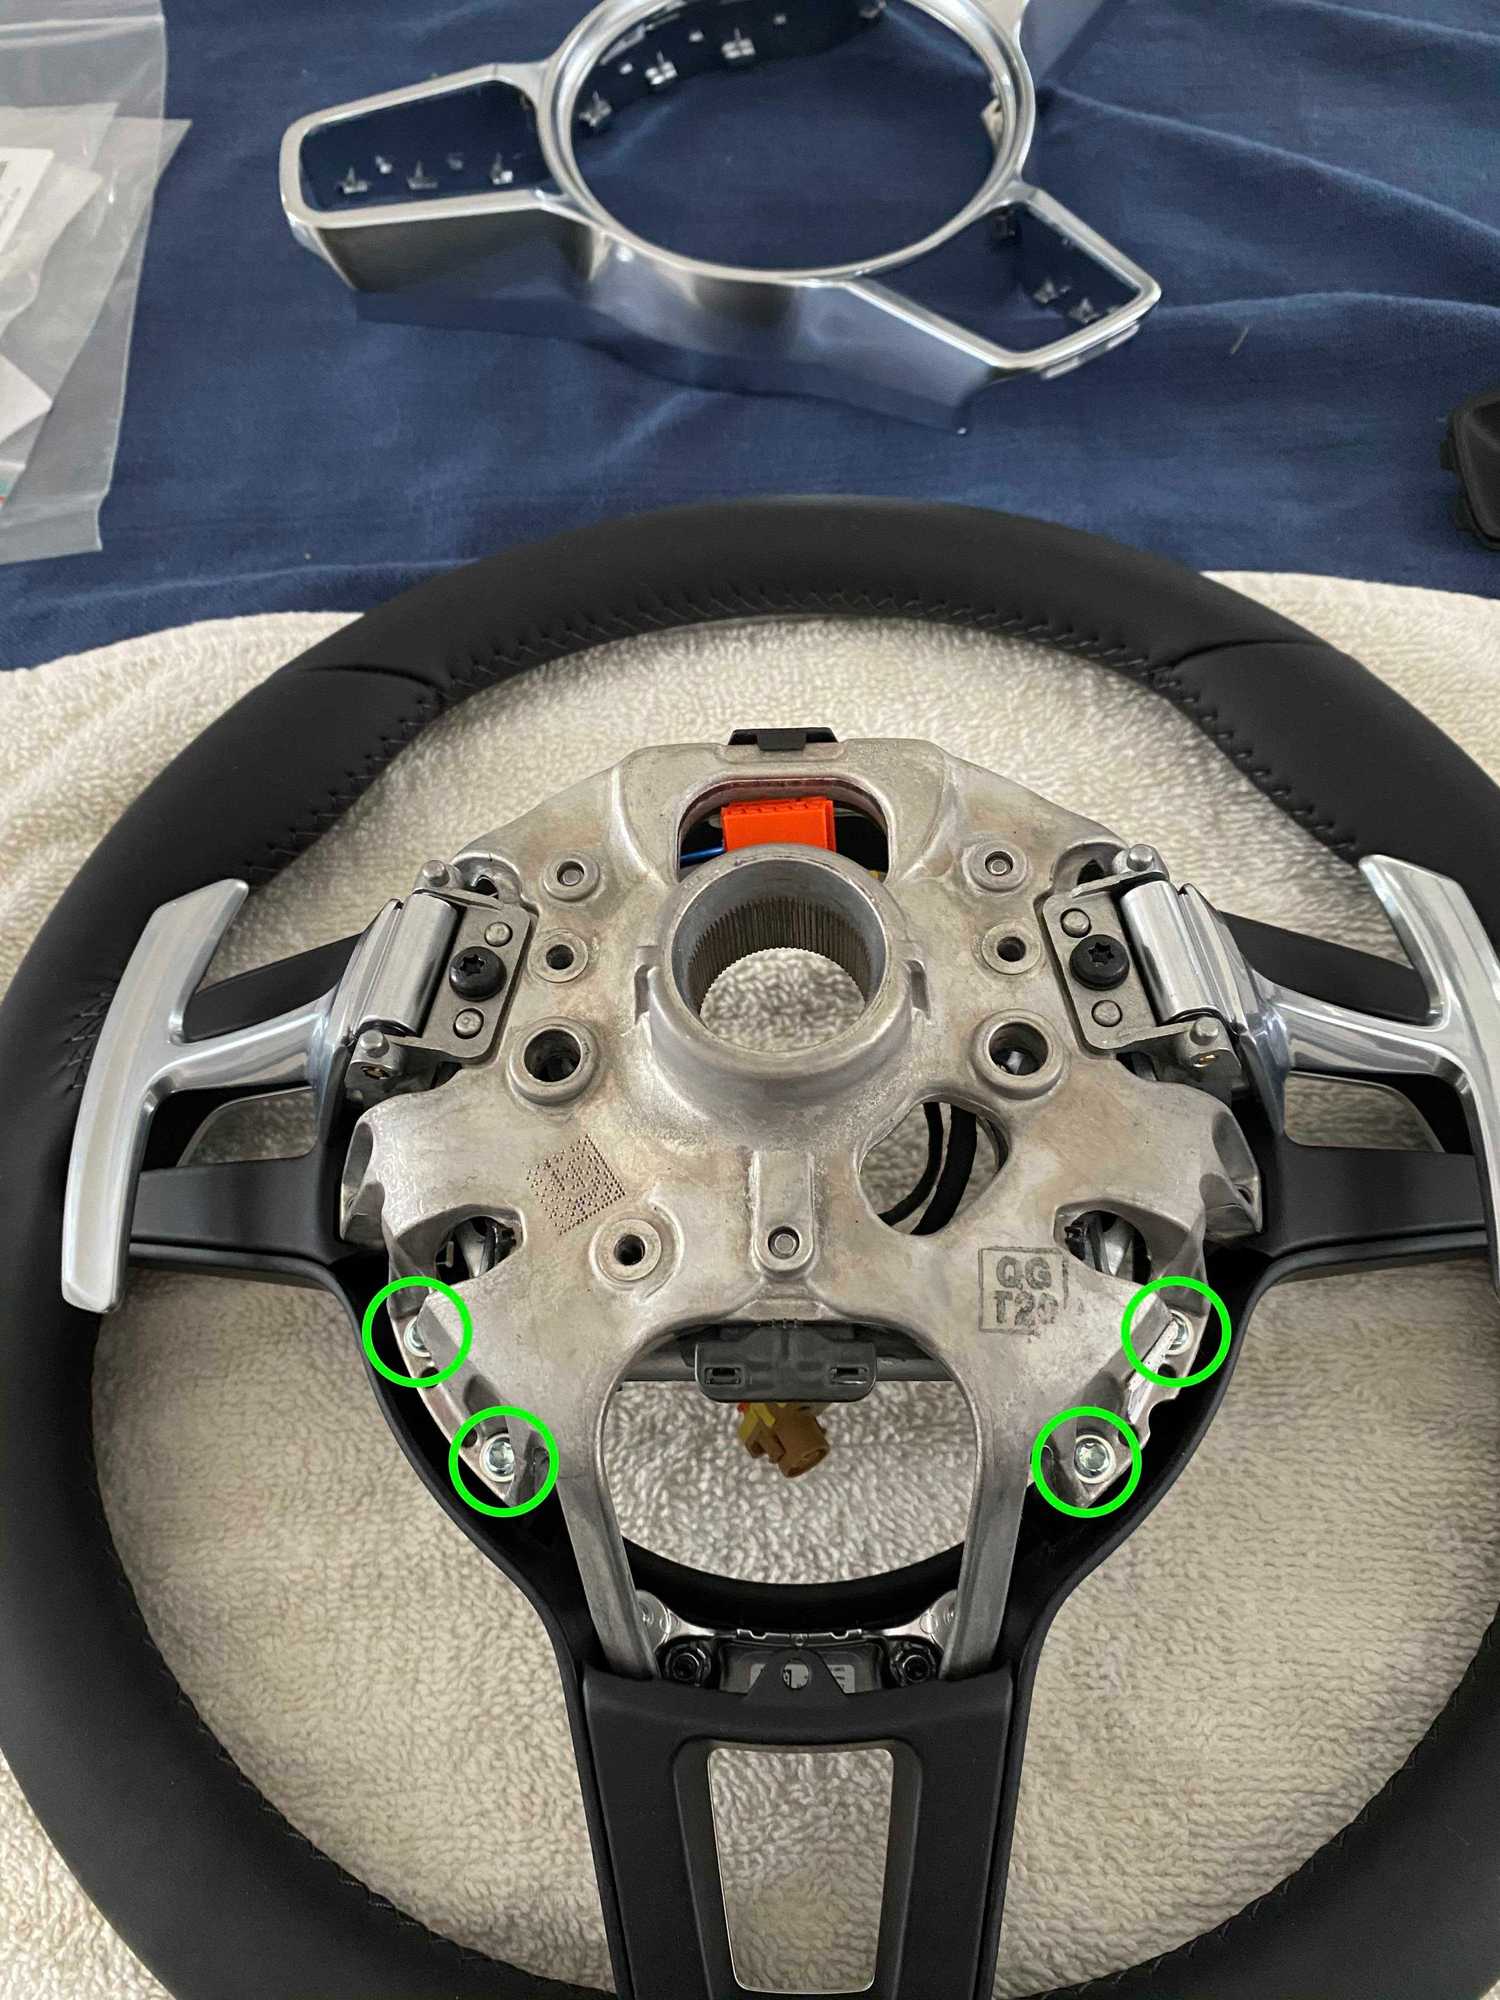
Step 3:
Here we are going to remove 4 T20 Torx Screws to remove the Trim Surround on the Steering Wheel. If you look at my new Silver Trim Surround, you'll see where I outlined the 4 screws -- 2 of them at the 4 o'clock and 2 of them at the 8 o'clock position. They map back to the positioning of the screws on the back of the steering wheel. Remove them and set them aside.
Step 4:
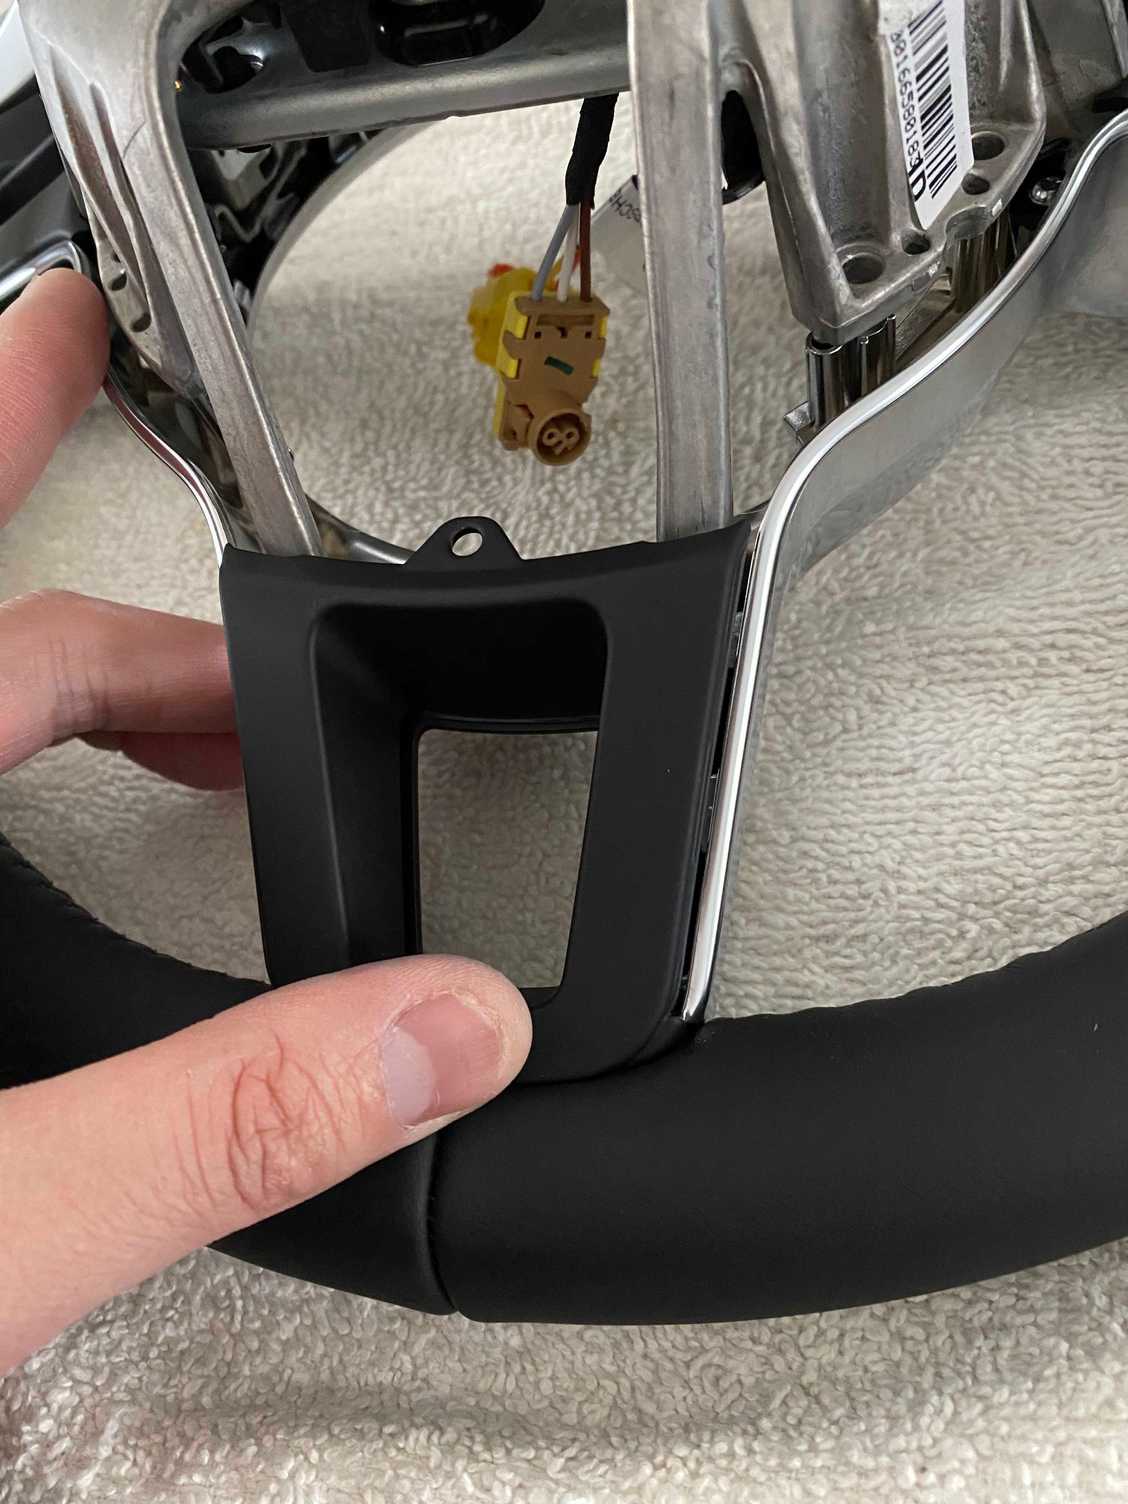
The trim surround is actually held in place by the left, right and lower rear black trim/insert. Start with removing the rear lower black trim on the bottom spoke. This piece held in place with pressure and should just slide right out. Set aside.
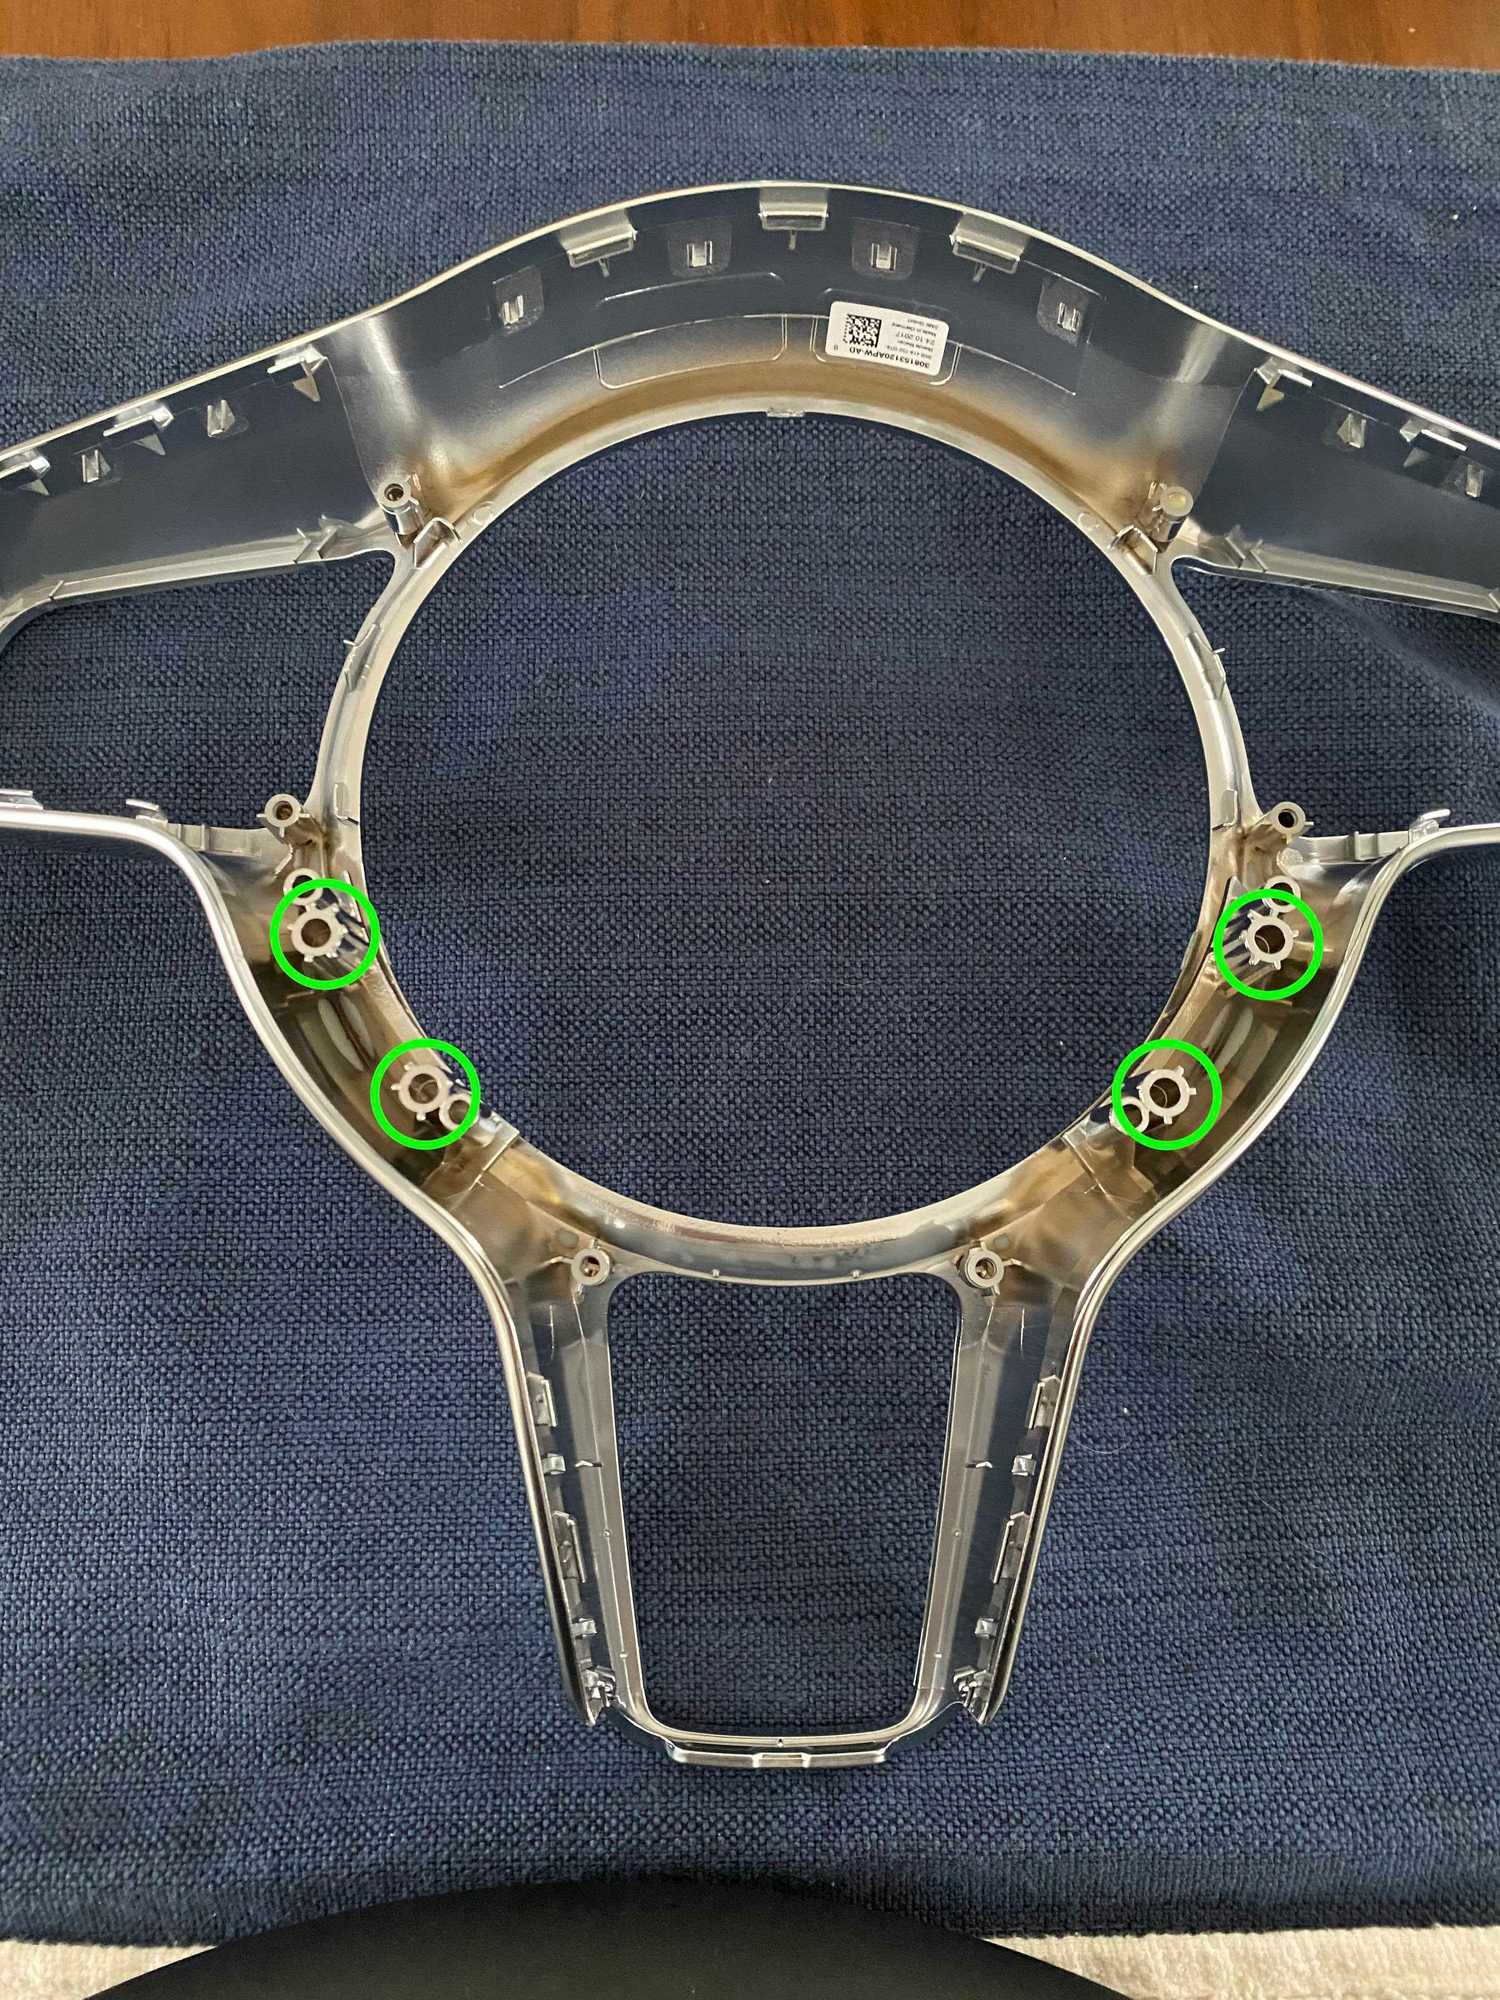
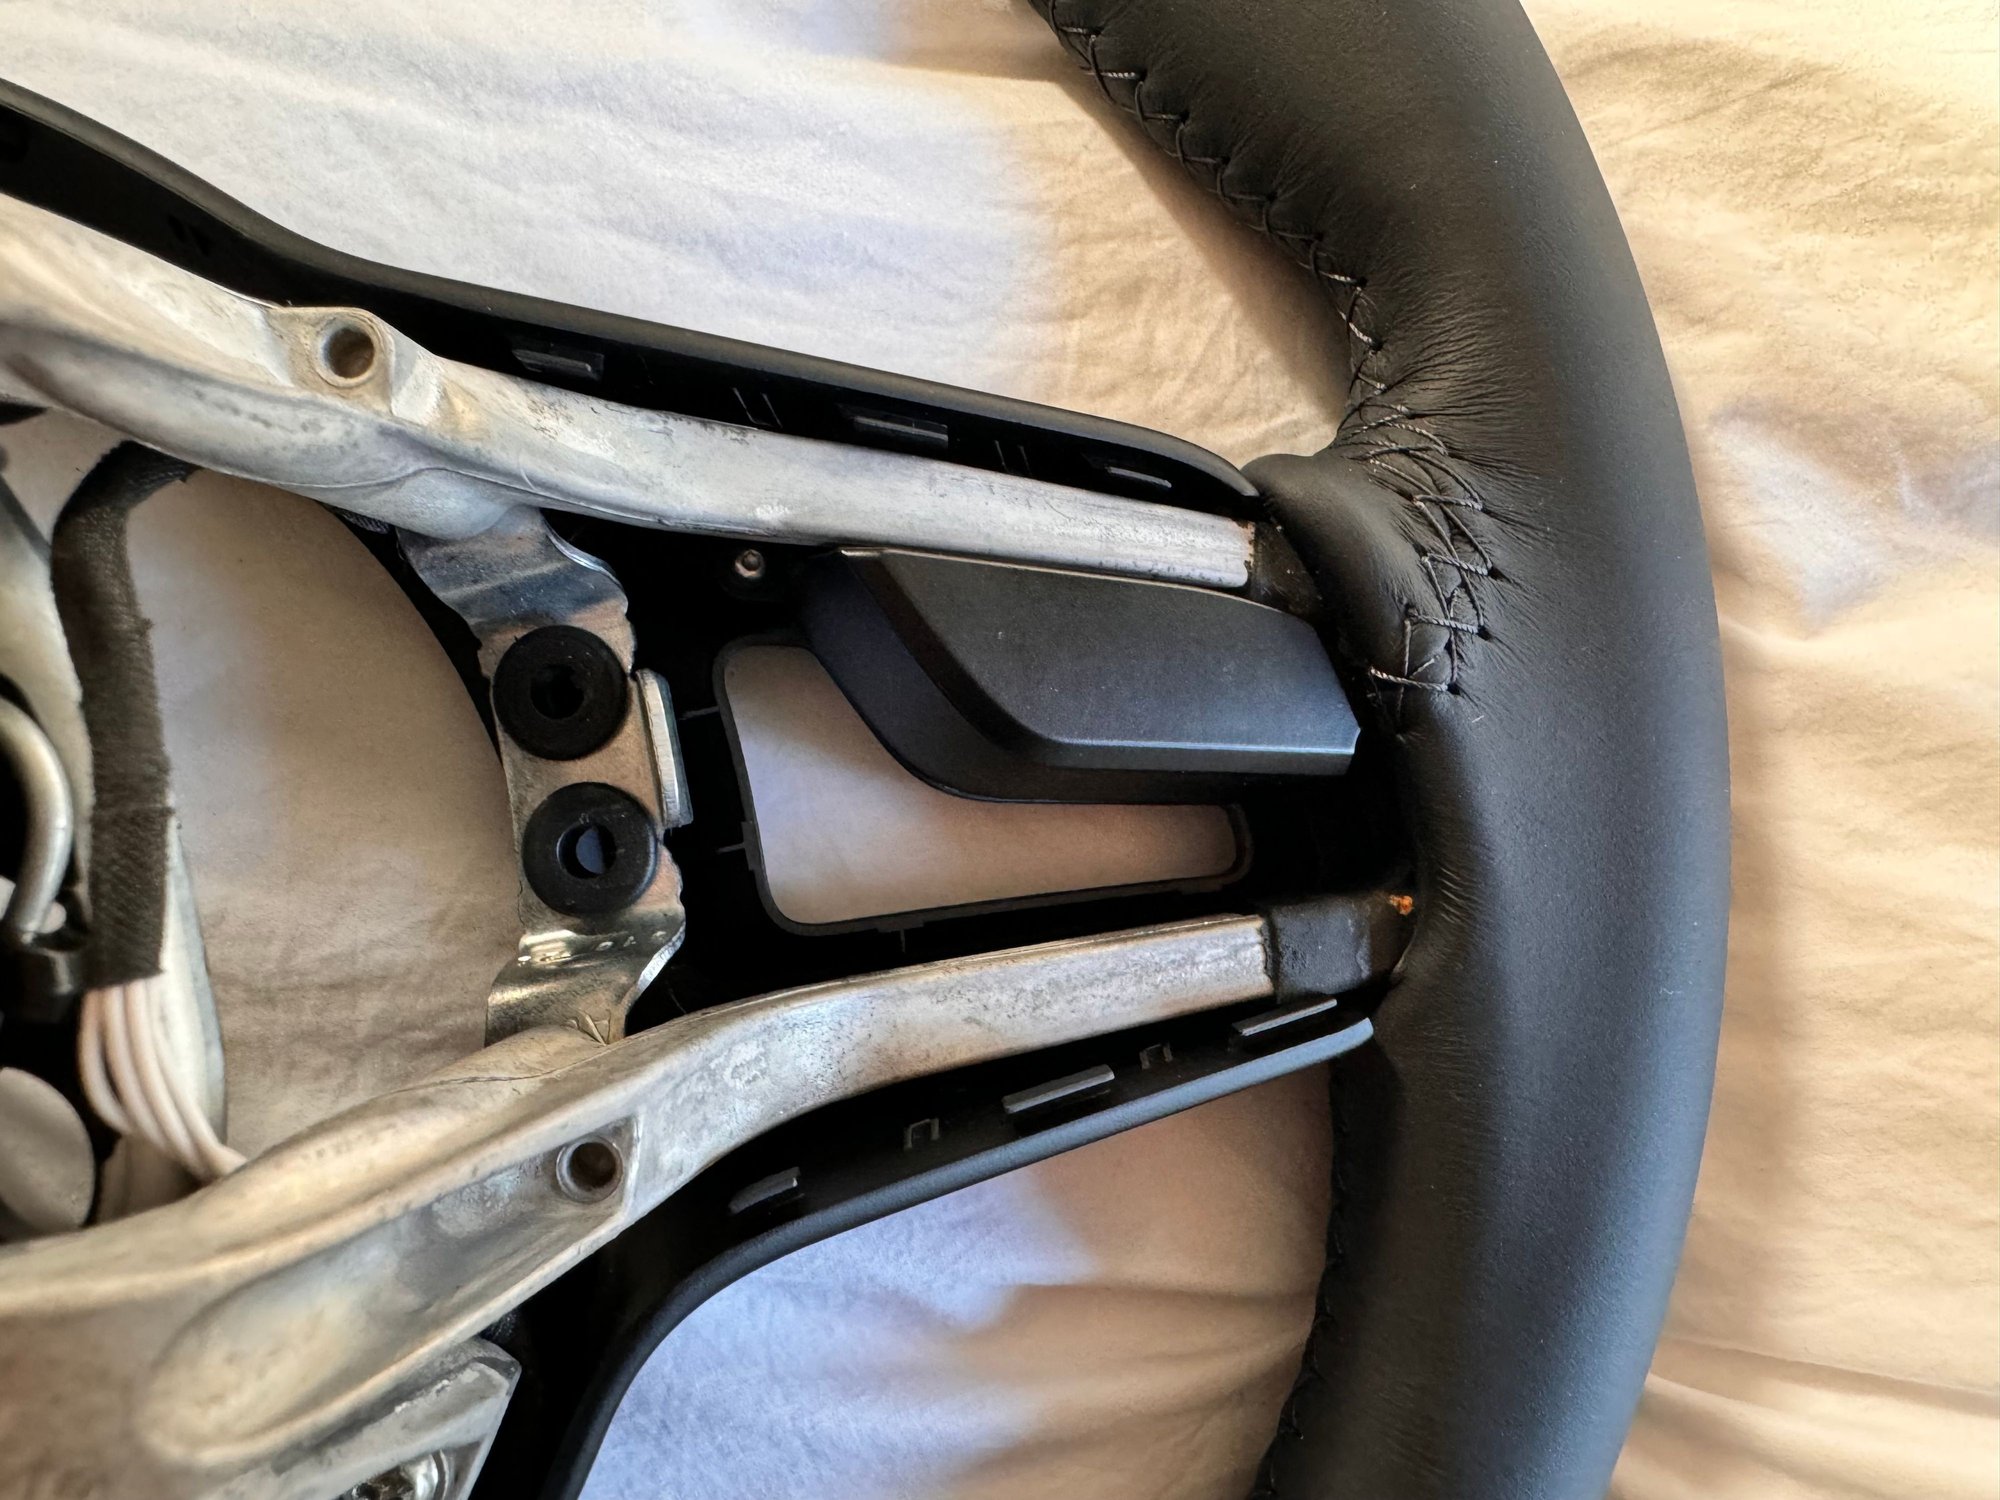
Step 5:
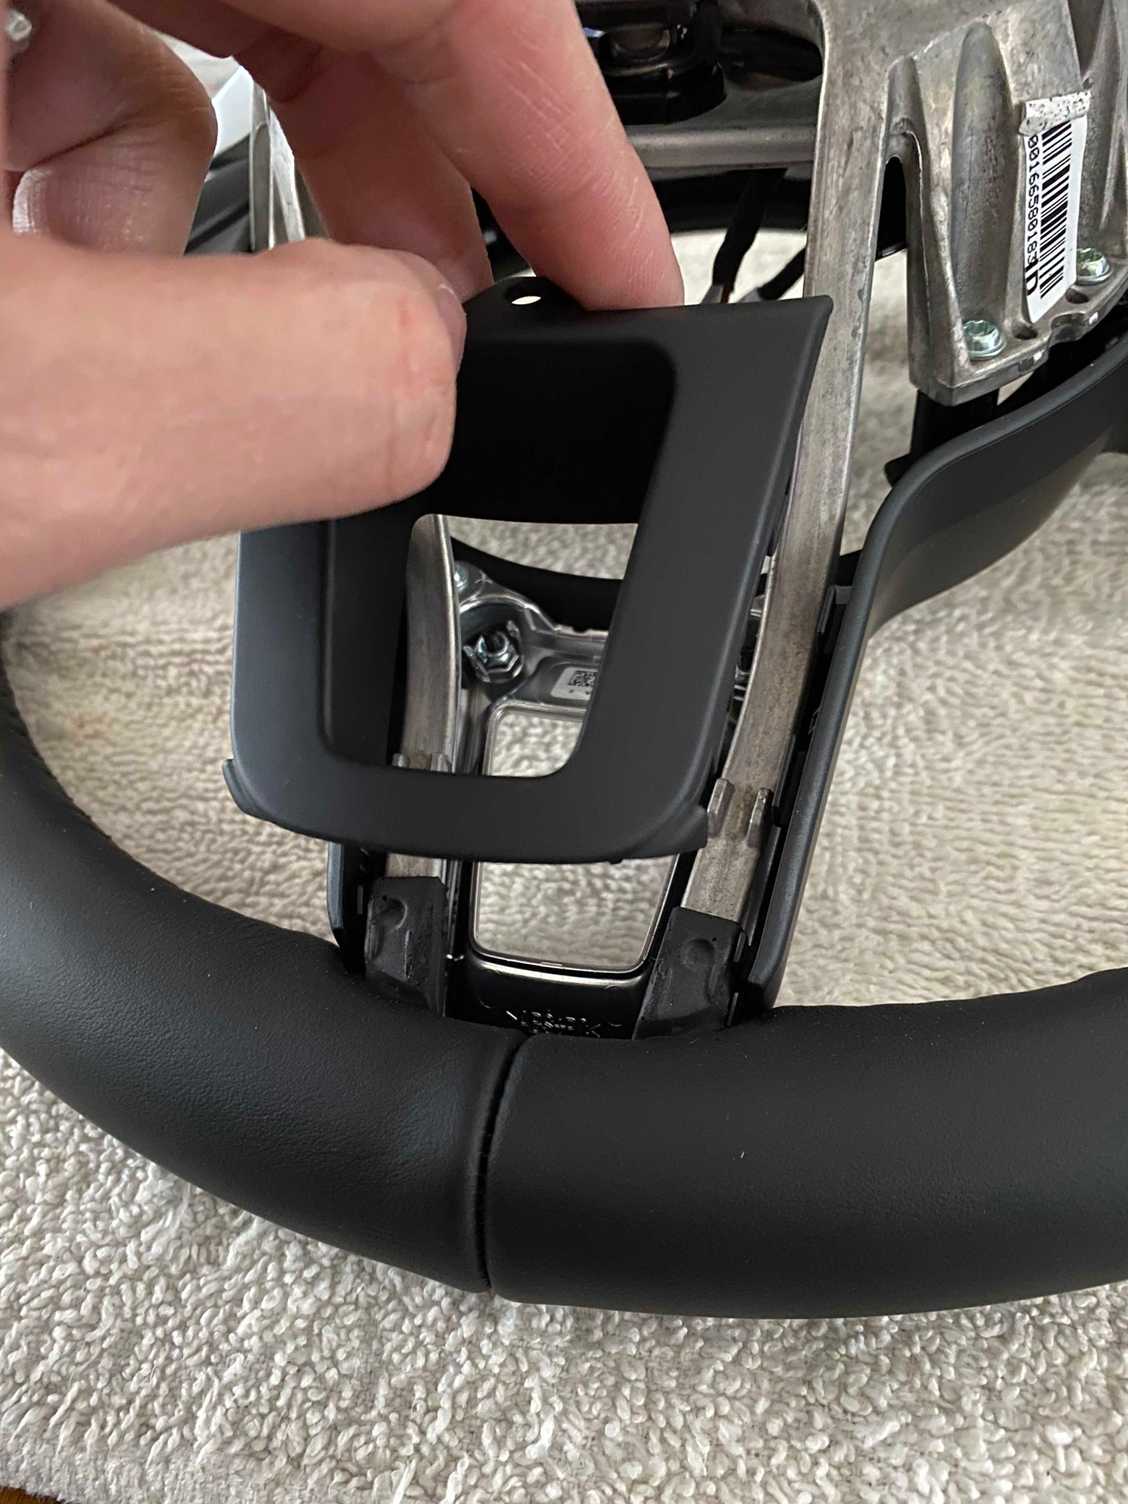
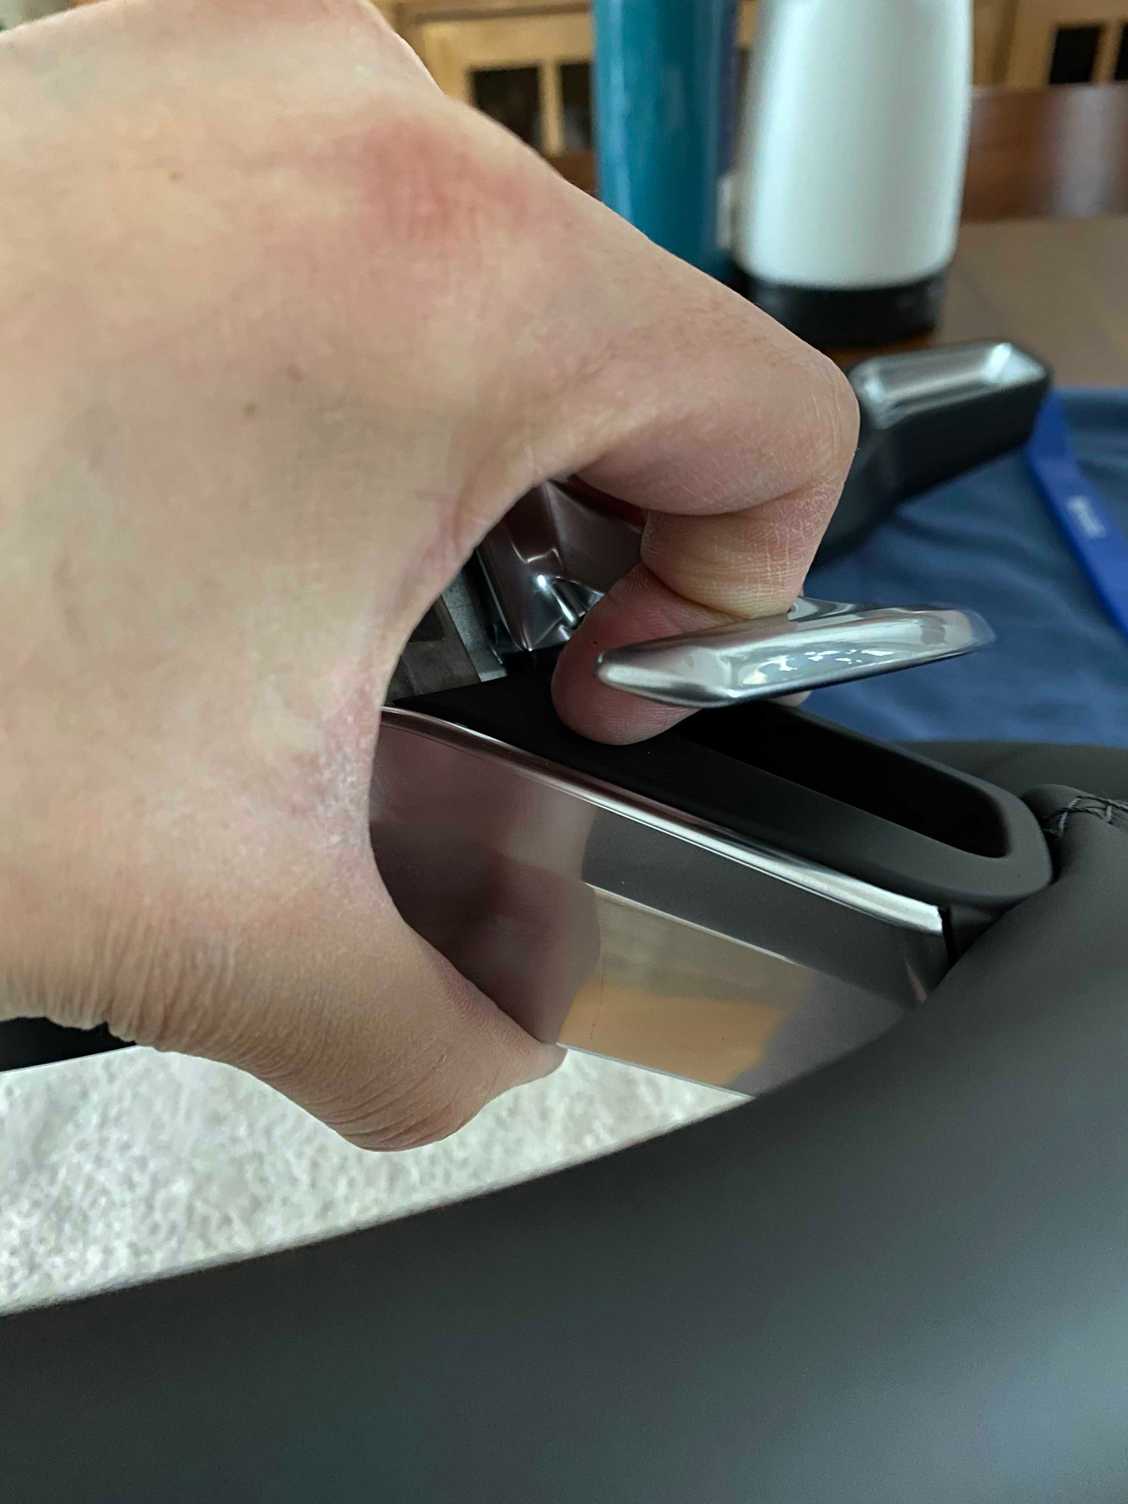
This part gets tricky. The rear left and right black insert/trim (similar to the lower one we just removed) is what's holding the Trim Surround in place.
Because this is a PDK steering wheel, there's not a lot of room for maneuvering to remove the rear left and right black insert/trim because of the PDK paddles.
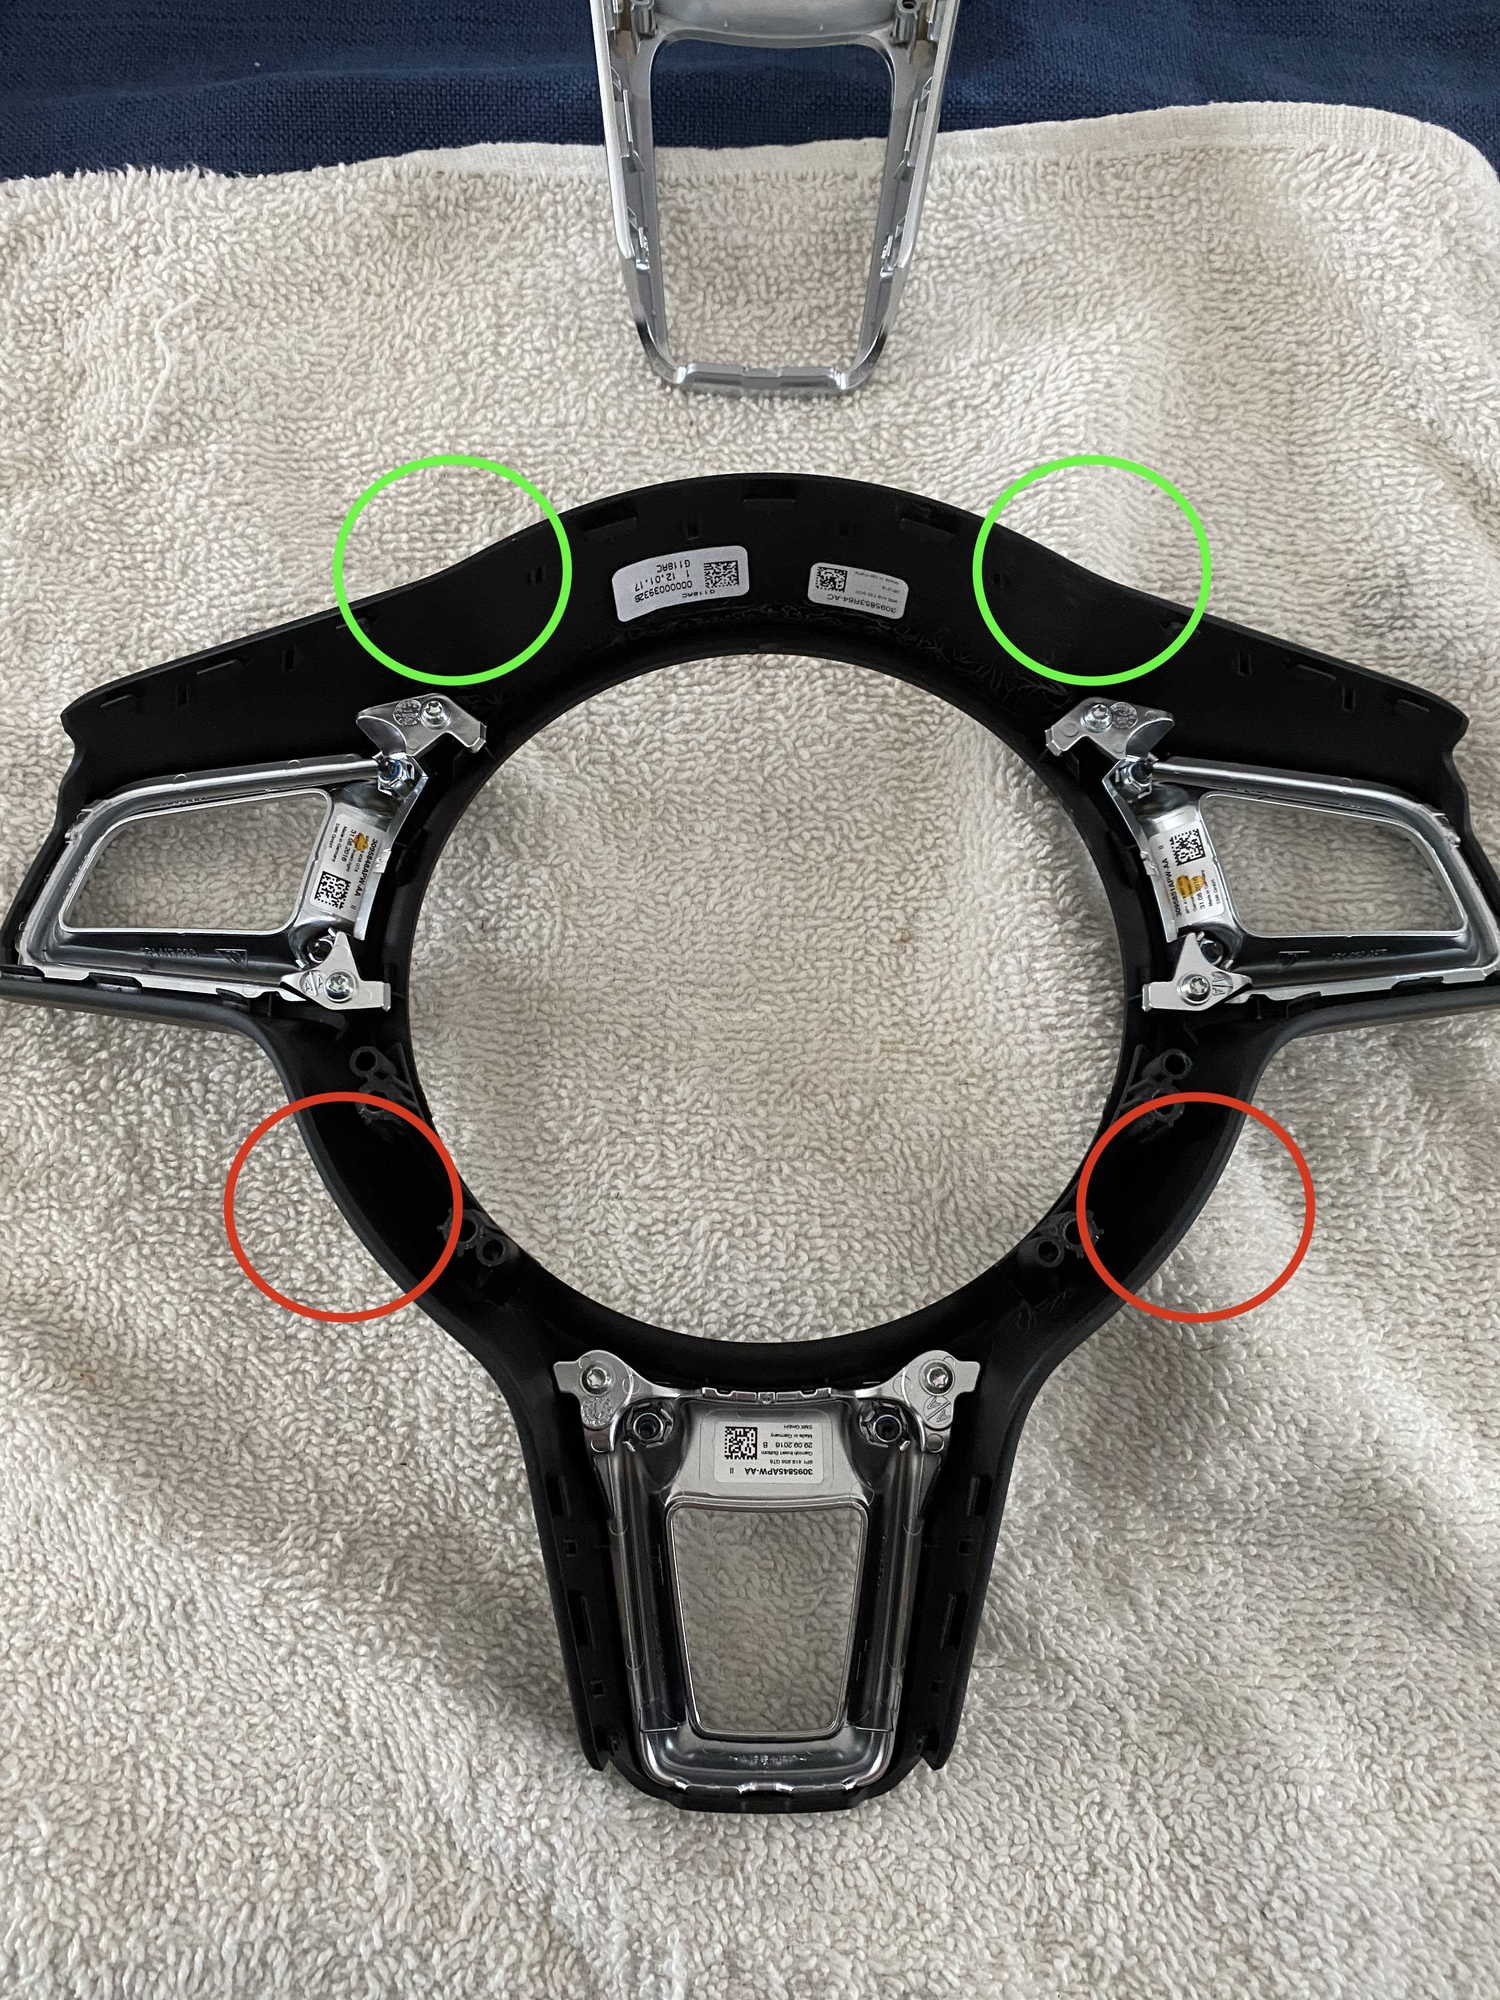
I found this worked for me. Pick up the steering wheel off the table (with the back of the wheel facing you) and hold it at the 10 o'clock position and 2 o'clock position. Use your thumb and push in the green outlined positions in the image below, and then the red outline image positions below. The Trim Surround piece should pop off it's clips and fall to the table.
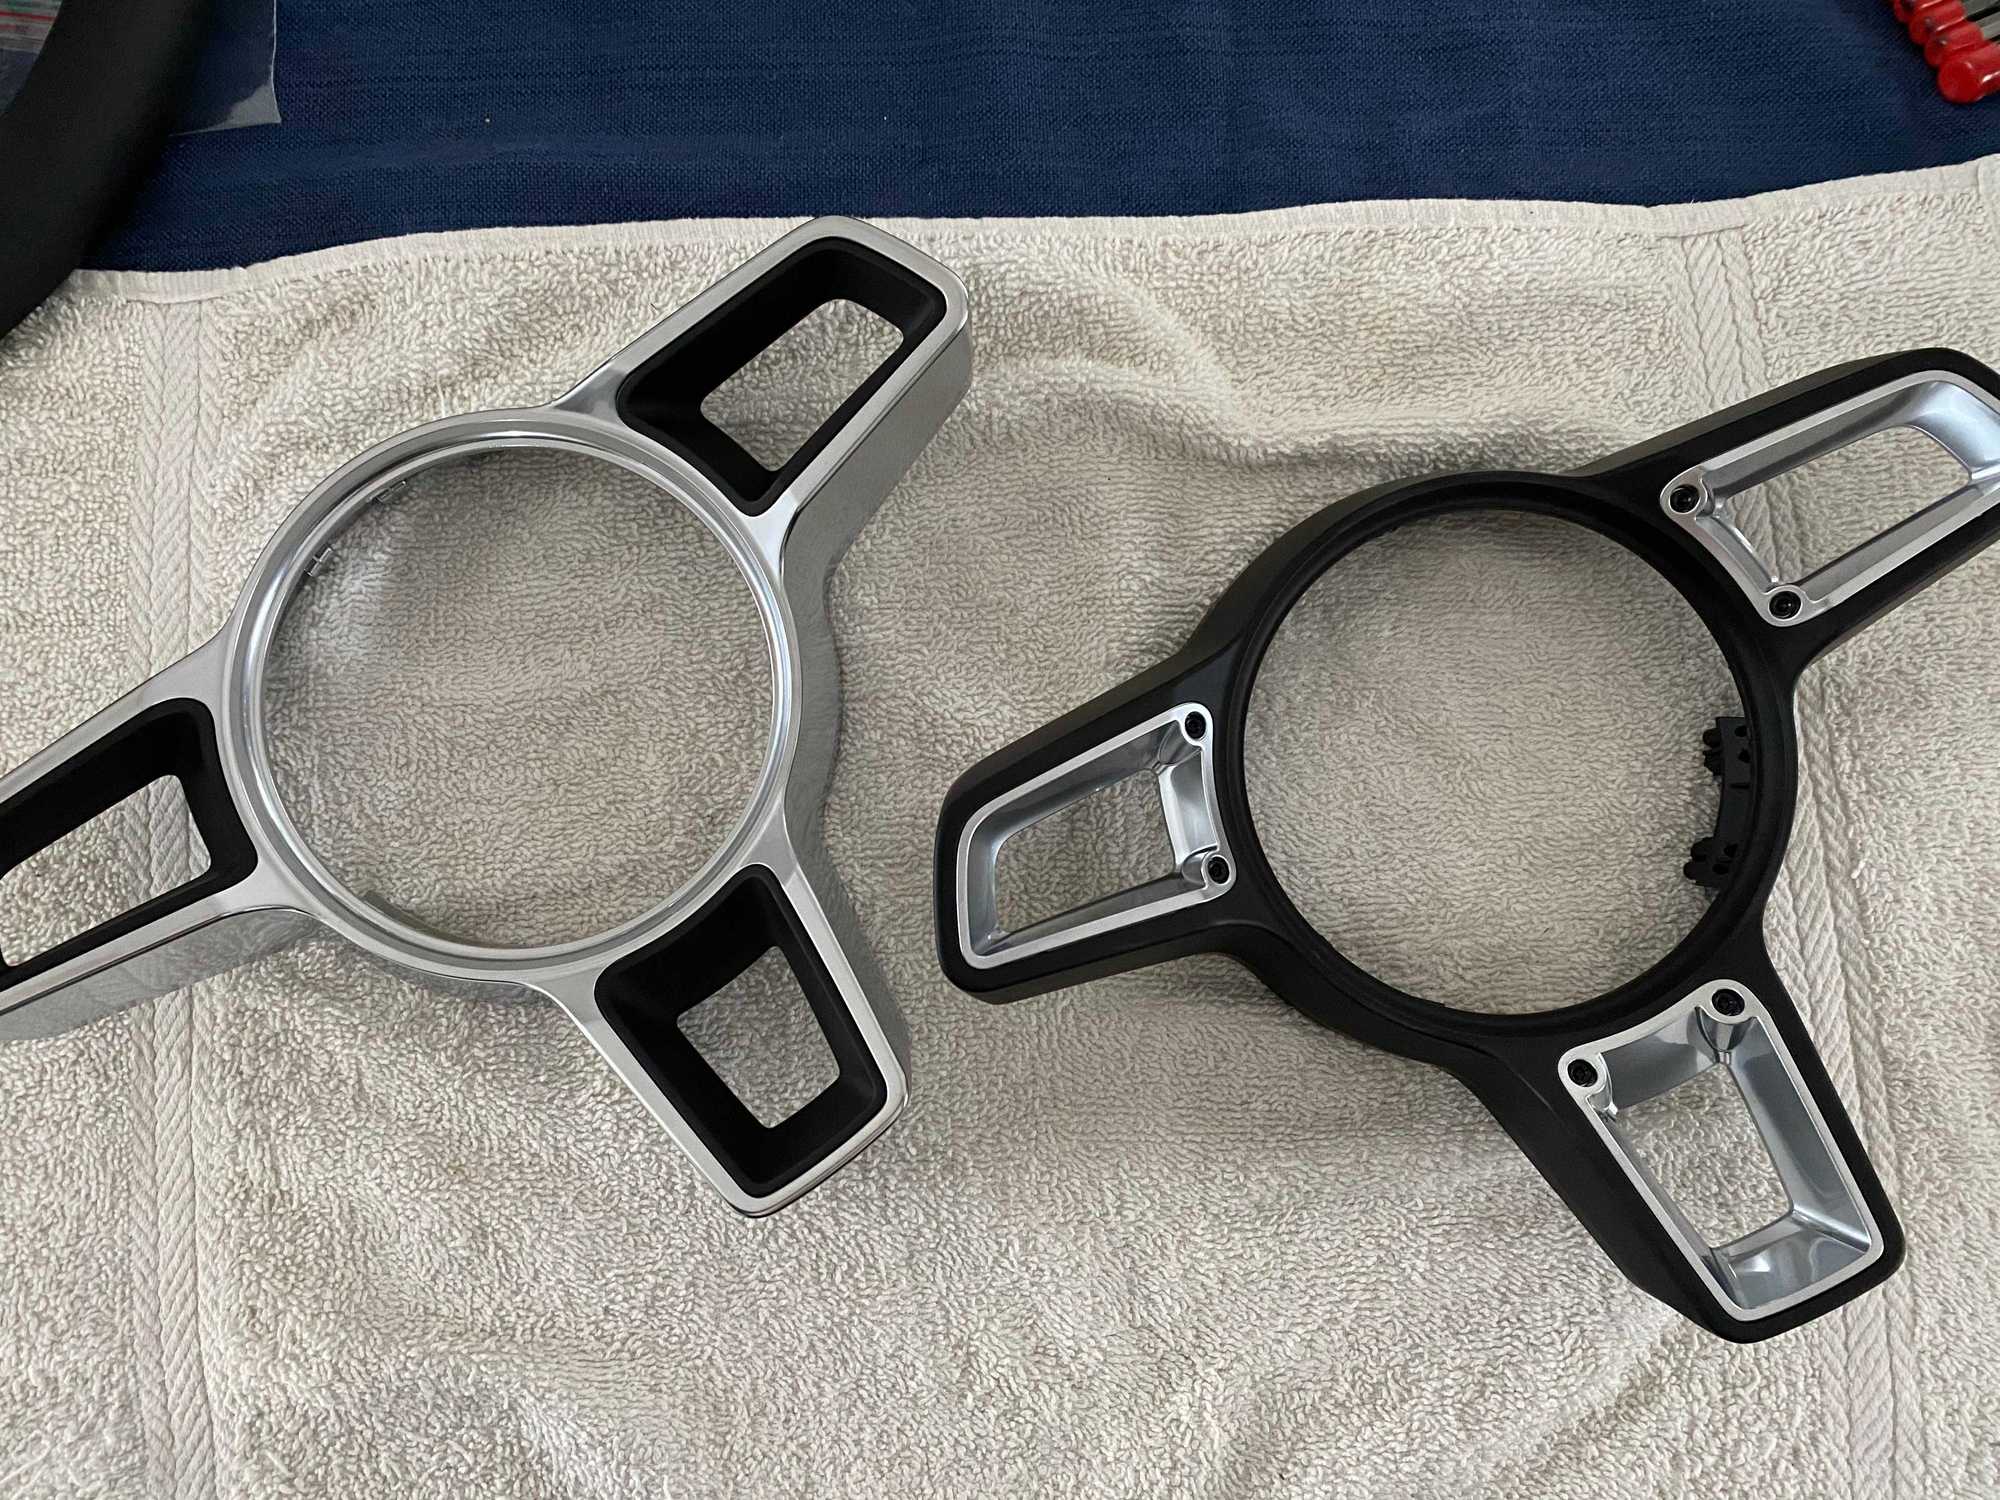
Here you can see that I now have the trim & inserts from the wheel I removed, and the new set that I want to install:
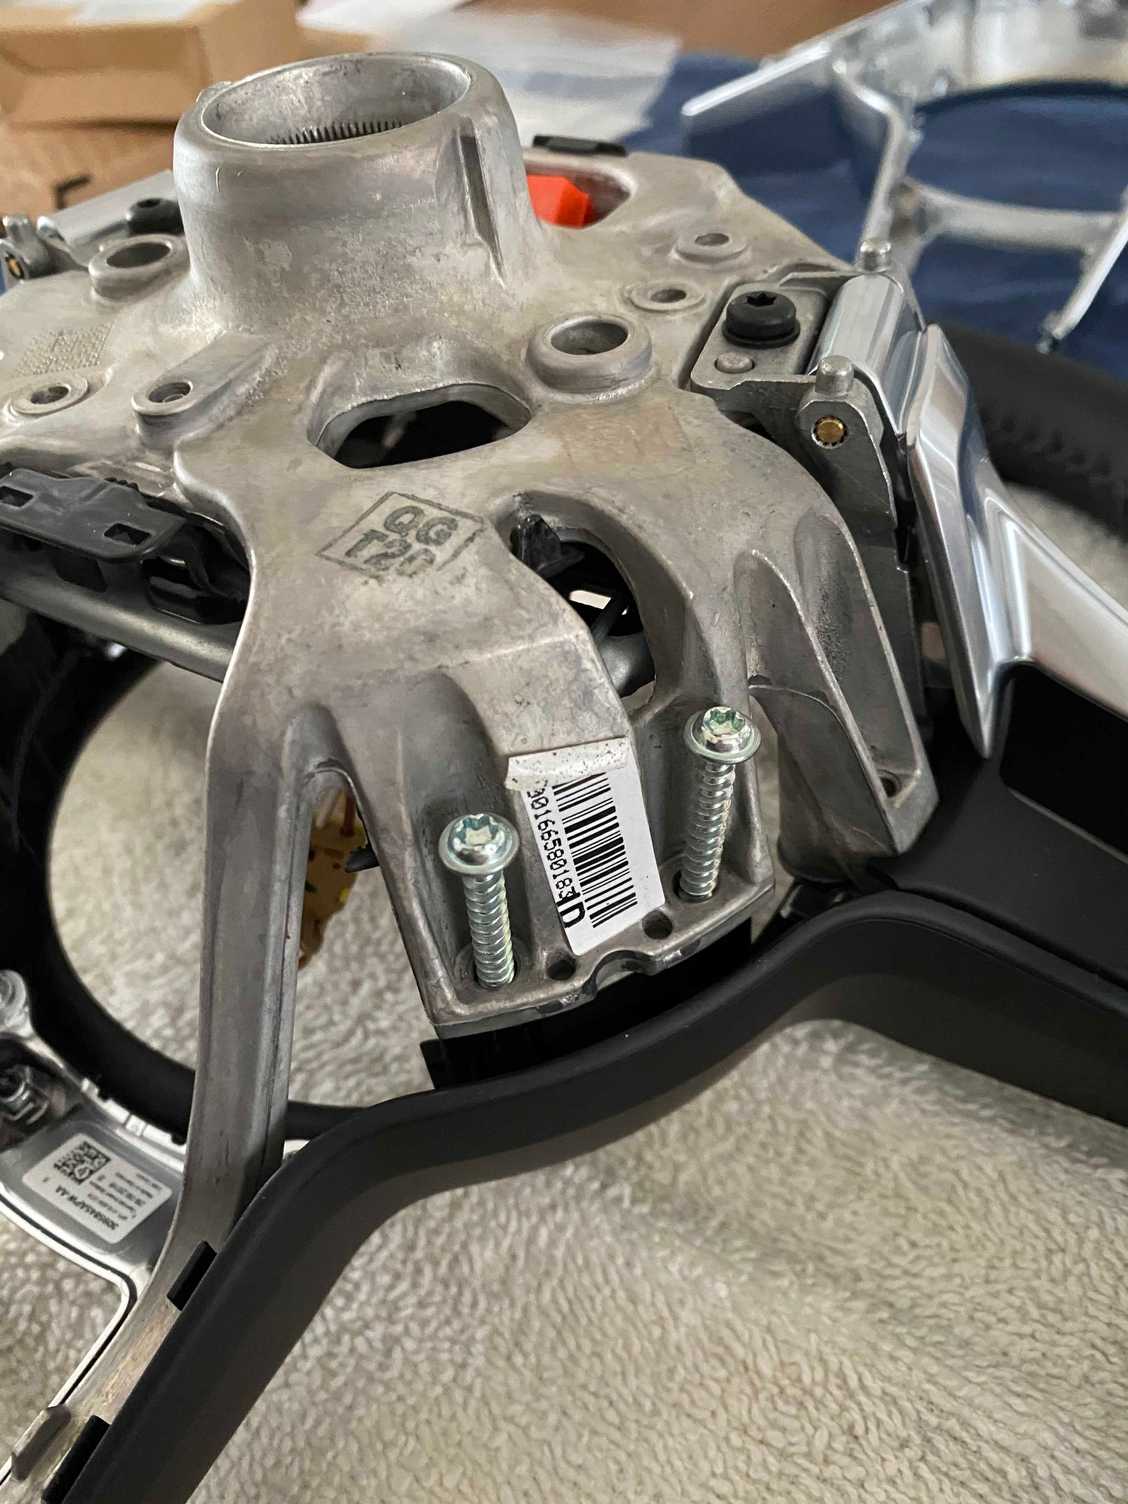
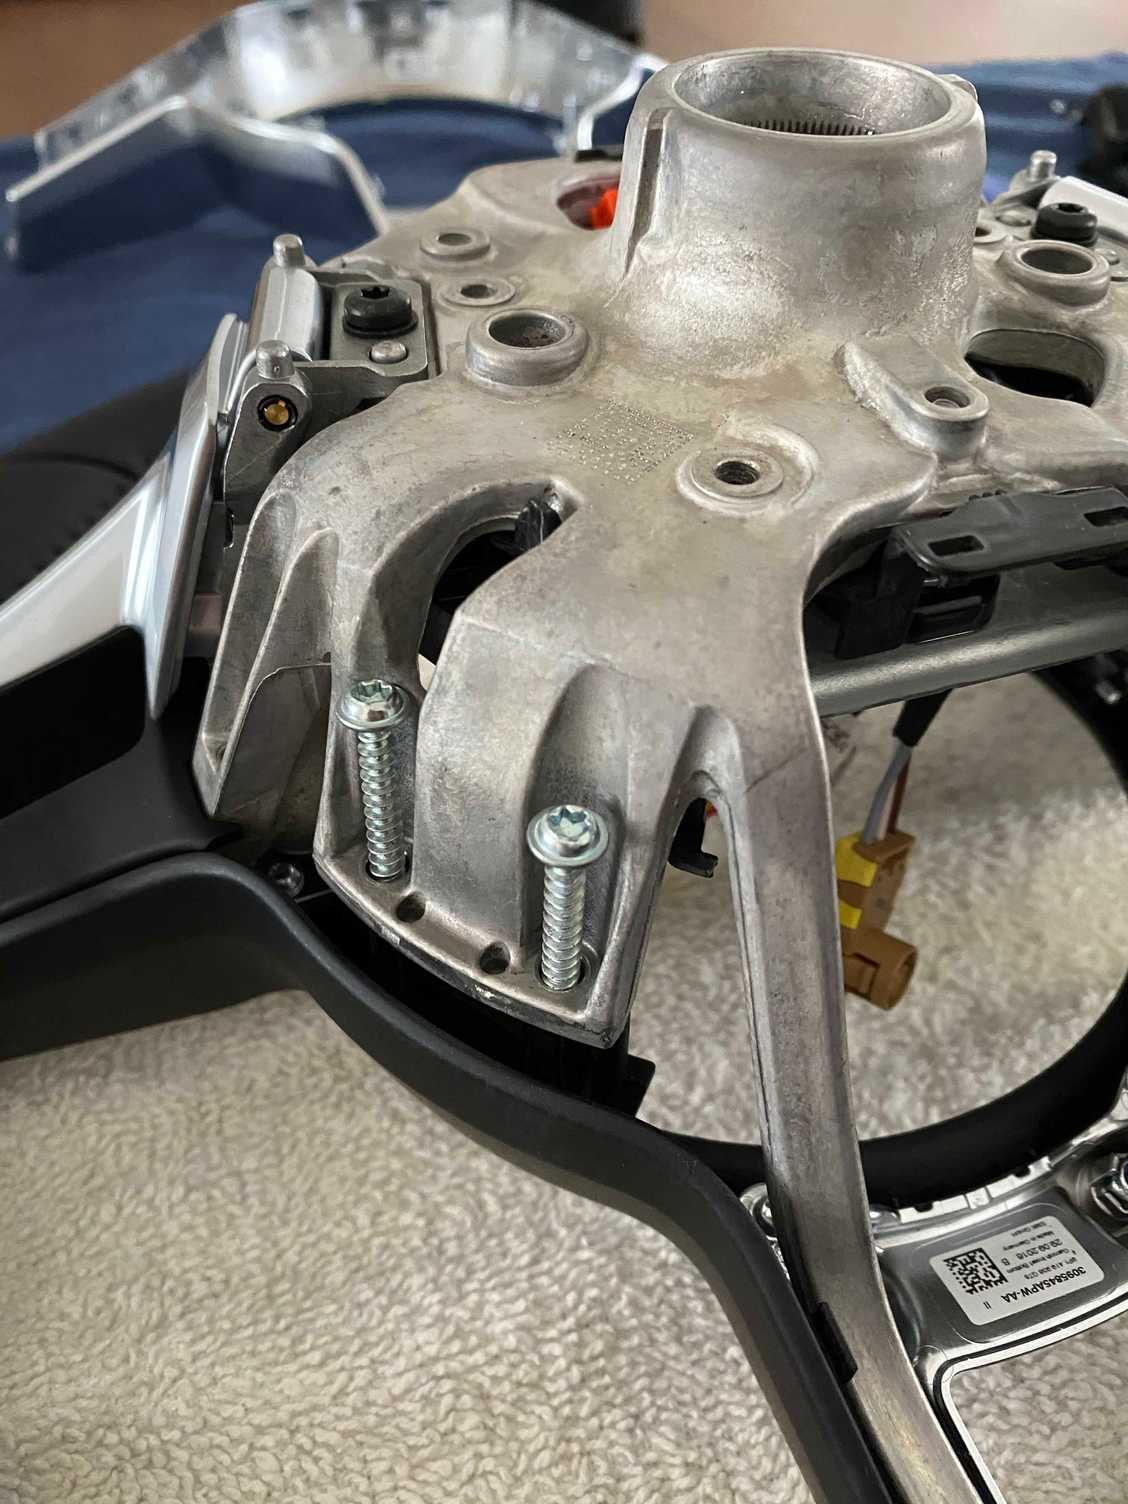
Step 6:
My new inserts does not come with the T10 Torx Screws to fasten to the Trim Surround. So I'll be removing them from the existing Trim Surround and transplanting them to the new set. I've outlined the 6 T10 Torx Screws in this photo. It's 2 per insert. Remove them and transplant to the new Trim Surround & Inserts.
Step 7:
With your new Trim Surround and Inserts fastened and secured, we are now going to install it back on the face of the steering wheel. It's going to be fastened to the steering wheel with the rear left and right black insert/trim first. You're going to give the left and right side a good squeeze, and you might hear a very light click as the clips click into place.
Once you have that done, go ahead and reinsert the lower rear black insert/trim. This one didn't click into place, but go ahead and give that a good squeeze.
Step 8:
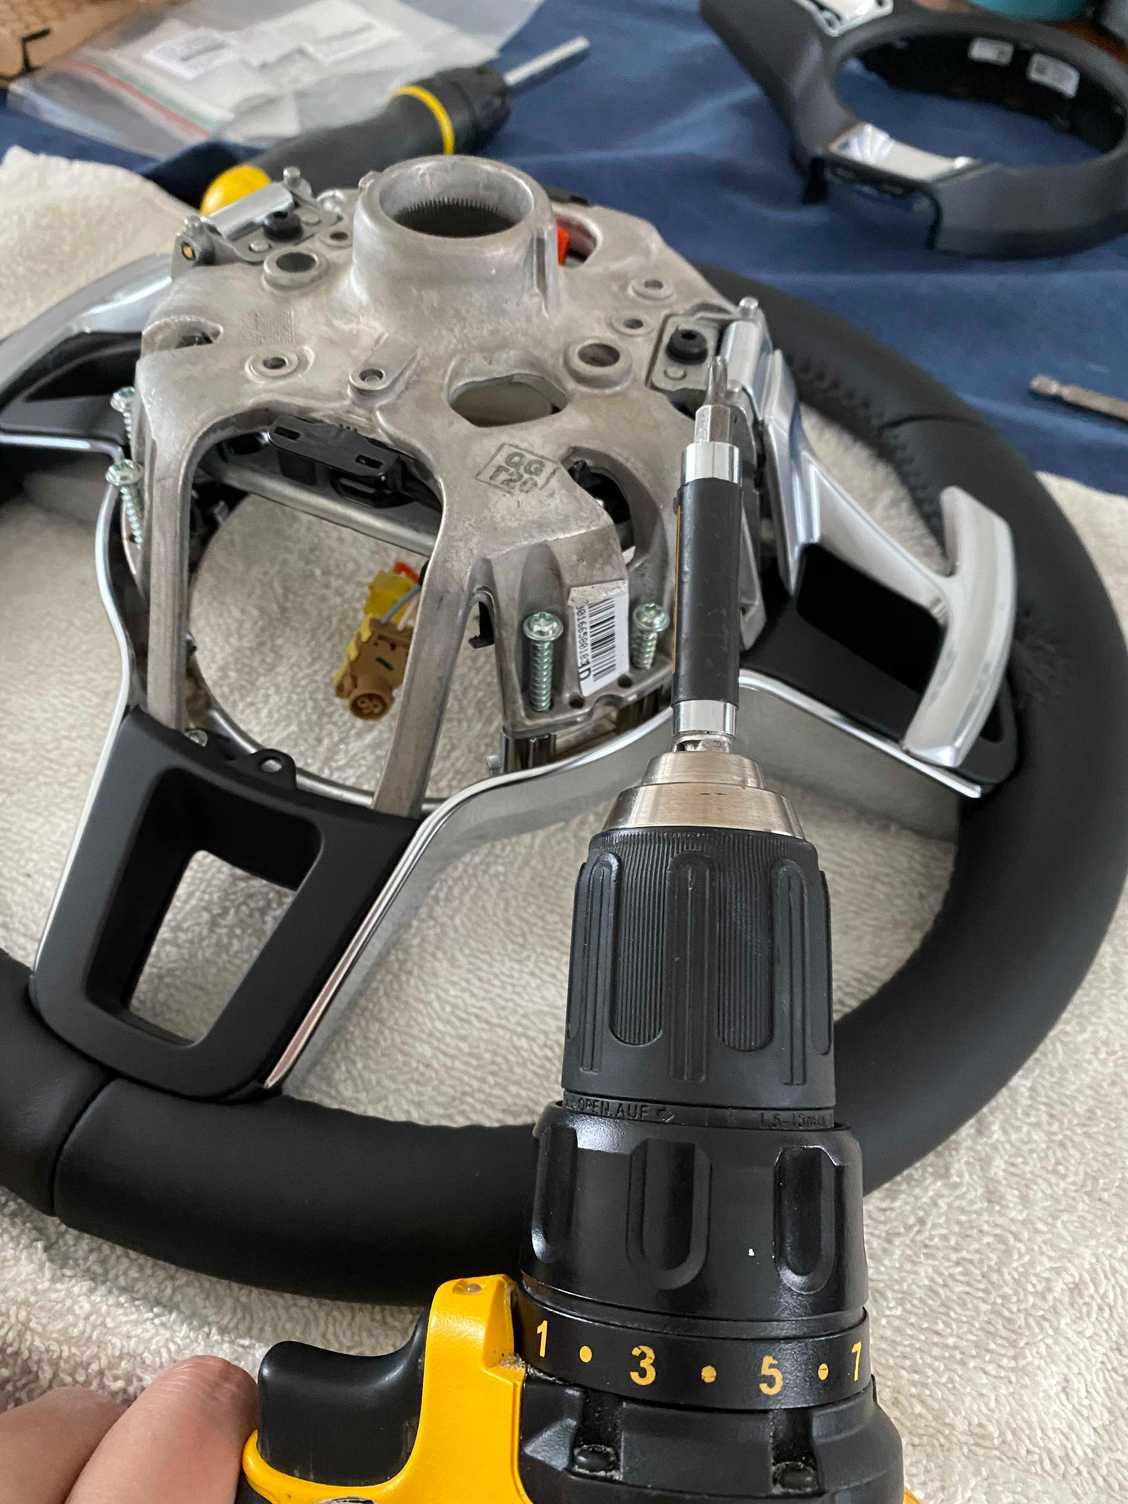
Screw the Trim Surround into the steering wheel with the 4 T20 Torx Screw. I used a drill here to screw in 90% of the way because it's a bit tight and finished the tightening by hand.
Step 9:
Screw in the rear backing with the remaining 3 T20 Torx Screw with washers. And that's it. You're done! Go ahead and admire the beauty of your work and congratulations.
I hope you find this DIY helpful. If there are any steps that I can clarify, hit me up in the comments and I'm happy to provide additional details.
This is amazing - thanks. I am building a new steering wheel and need the t20 screws to assemble it. I can't find them anywhere. I looked online and can't find a part number and can't find a match at my local hardware store. Can you share the length or any other details so I can try to find generic ones online?
Are the rear trim parts different between MF steering wheels and non-MF? I am retrofitting multifunction and I'm struggling to get the rear trim to fit, but I can't find unique parts/part numbers for MF v. Non-MF steering wheels.
Are the rear trim parts different between MF steering wheels and non-MF? I am retrofitting multifunction and I'm struggling to get the rear trim to fit, but I can't find unique parts/part numbers for MF v. Non-MF steering wheels.
I only swapped out the front bezel and reused all the controls/parts from my MF- wheel. This went back together without any real issue.
Are you swapping parts or piecing together a wheel? any photos of what you�re struggling with?
I'm swapping parts; have a non-MF 991.2 wheel that came with sport chrono, adding MF and removing sport chrono to fit my 997. I removed the sport chrono switch, replaced the front trim, and installed the MF buttons that I had sitting around. Unfortunately, now it seems that the rear trim doesn't fit over the MF buttons. I might be able to force it, but there's a fair bit of resistance and I'd hate to break these buttons or trim.
Nicely done. Could you share the part number? Especially the left and right black trim piece around the MF units? Looks different from the parts from the original post.


 03-26-2020, 01:00 PM