When you click on links to various merchants on this site and make a purchase, this can result in this site earning a commission. Affiliate programs and affiliations include, but are not limited to, the eBay Partner Network.
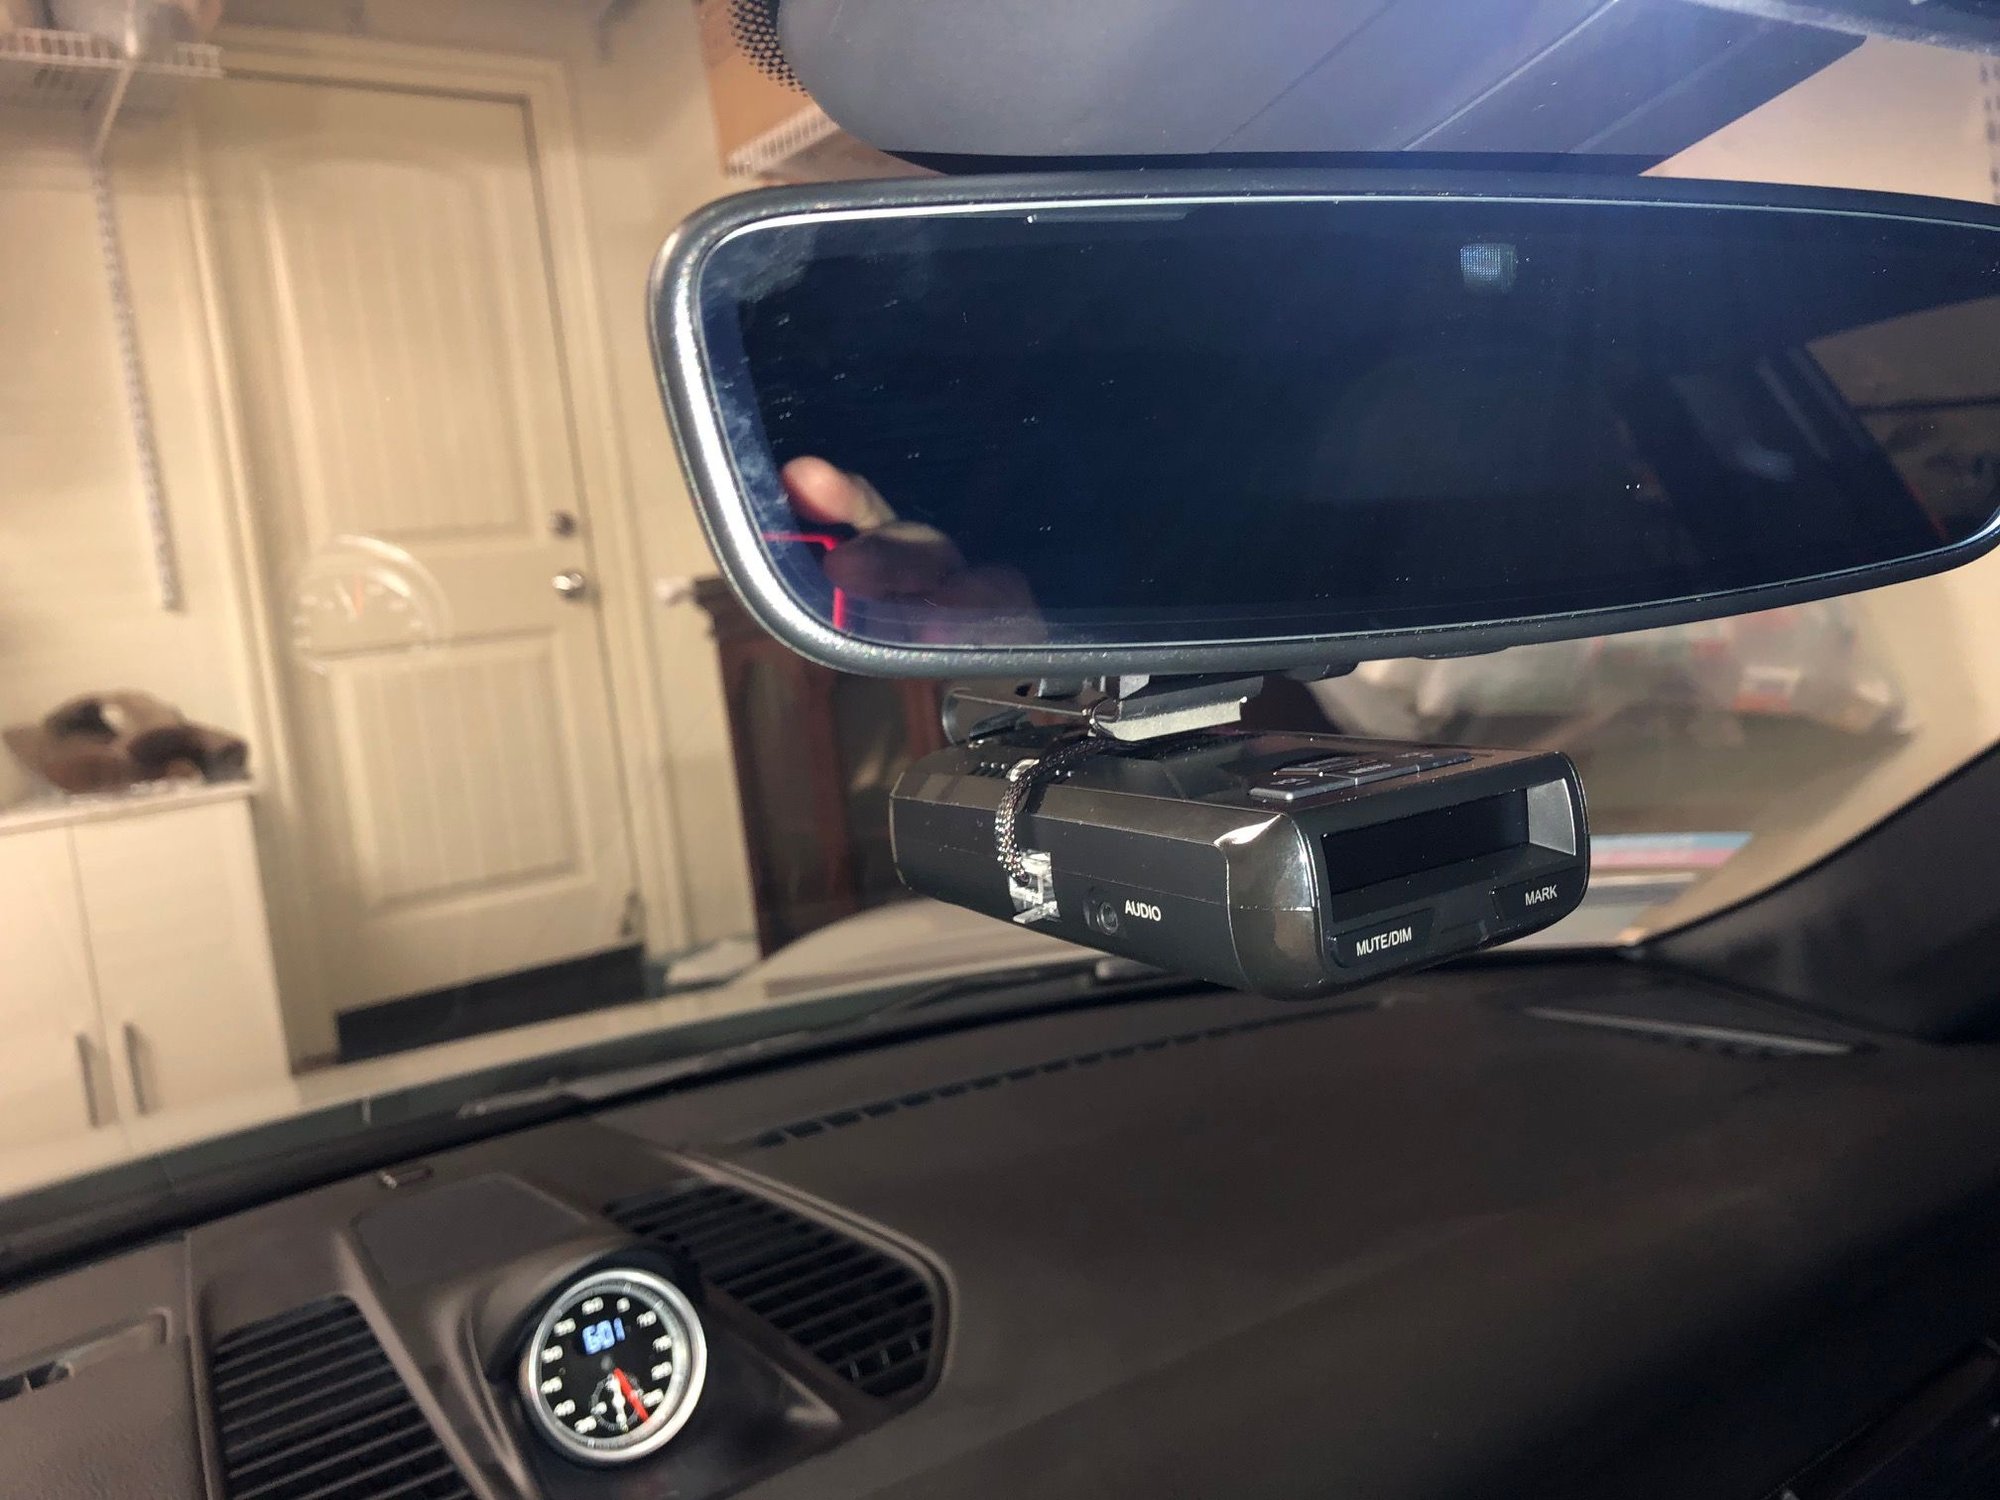
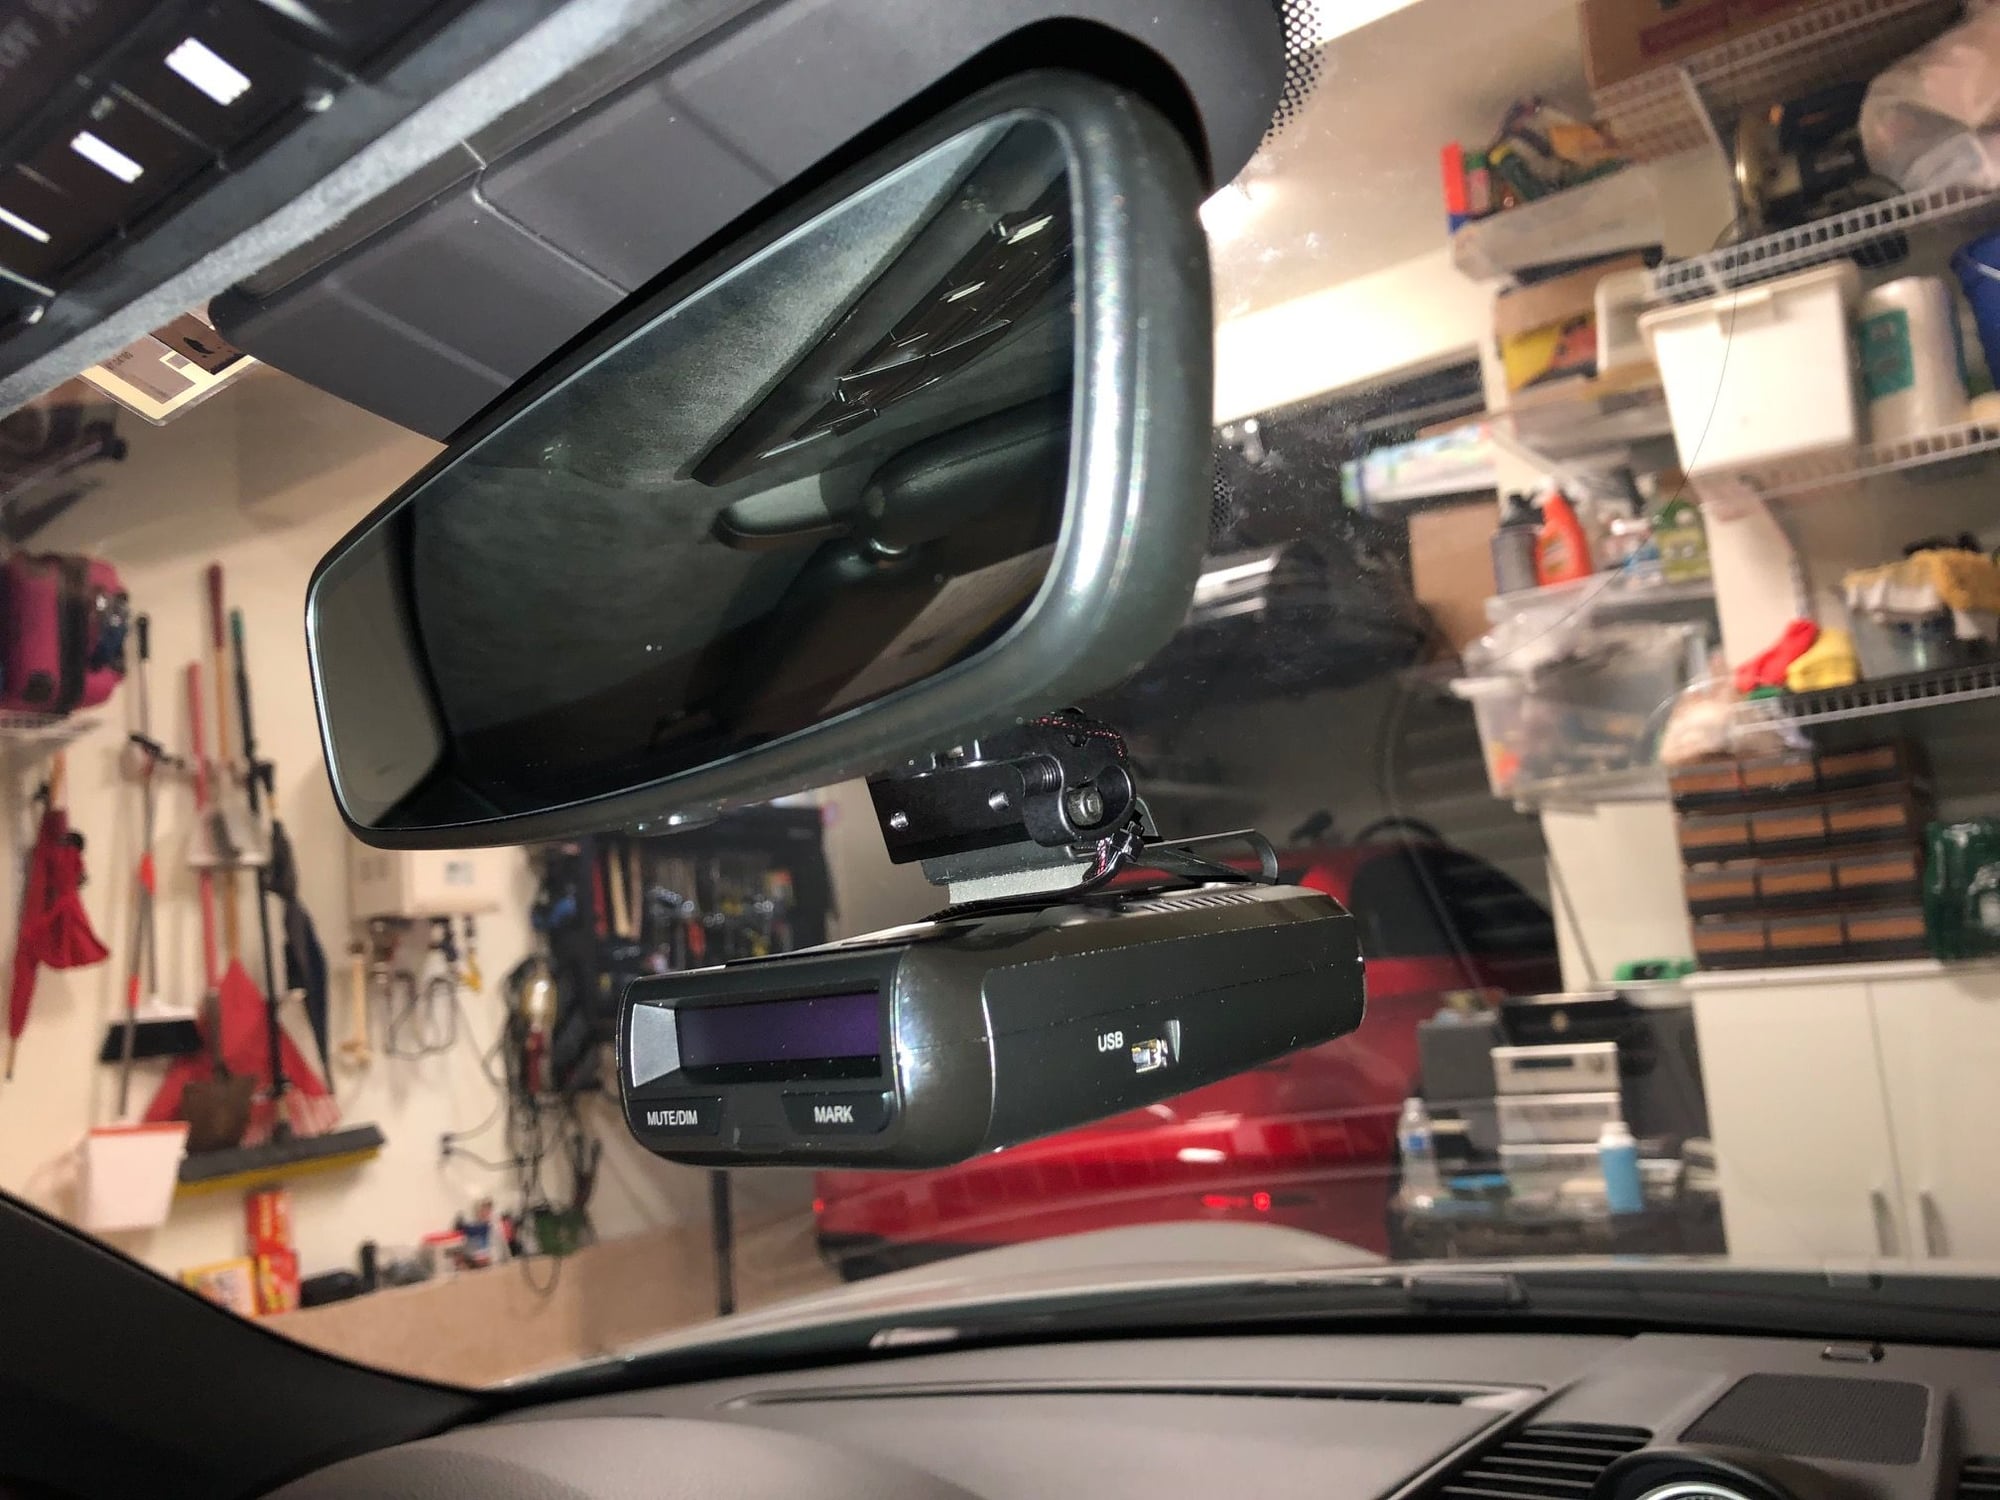
I just finished installing my BlendMount..... easy installation.
My car is a Cabriolet so sliding the credit card in order to open the Light Housing was a little bit more challenging.
The only problem that I had during the installation, was that Blendmount send me the 15" power cord cable with the bigger taps and not the version that you can change taps and use the smaller ones. Solution was to cut the taps through the middle and make them thinner..... they didn't look the best afterwards but the radar is working.
Make sure when you order from Blendmount that they send you the power cord with the interchangeable taps.
I don�t want to start a detector conversation. I have used a V1 since it first came out. I see many like the Uniden3 a lot. I may have to buy one and compare. I do get a lot of false alarms with the V1.
I too did the hardwire on my C2. It worked great. I love the location high on the glass.
i used the intructions provided. it took about 2 minutes to disassemble, tap and reassemble.
still a great write up.
Two minute? Damn. I'll be doing this, once the Uniden R7 comes out. I'm guessing it'll take me a few hours. But I'm slooooooooooow at this sort of stuff.
Thanks for the great detailed post. I will be doing this soon.
I assume that this hard wire location shuts all power to the radar detector when the key is off.
Slightly off topic�Mounts.
I currently I use V1 but will look at Uniden R3 to compare. I use the suction cup mount to get it high on Right side of mirror. I do not have any issue with suction cups falling off but would prefer a mount that attaches to the mirror arm but instead of hanging under the mirror, it can be adjusted to be high on right side of mirror as many of you place yours with suction cups or permanent adhesive. Beside preferring a higher mount & not blocking my view, I like putting up a sunshade whenever I park & currently from outside the car, with sunshade in position, the suction cups can be seen so a thief will know something is mounted & may break a window to steal it. With a Blendmount & sunshade in place, it cannot be seen from outside looking through the windshield. But Blendmount & one other mirror mount I found only hang it directly below mirror.
It would probably require an additional arm & flexible joint added to Blendmount.
Has anyone seen anything that will attach securely to mirror arm yet, allow a high right side position for the detector?
Had everything going in okay. Had to use the smallest of the taps, the second to smallest didn't fit. When I was tucking the plug back back in, the red tap broke off, then while trying to see if it was still inside the plug, the black tap also broke off. Gotta say, for a $44 mirror-tap kit, the small taps are extremely flimsy. And I was being very cautious, slow and gentle.
Gonna have to try to remove the pieces of the tap(s) that broke off, if they are still stuck inside the plug. With tweezers, I guess.
Got this done, finally, with my much more mechanically inclined son's help. It also seems to help to have young eyes.
Took about 30 minutes, but we did it very slowly so as not to break the wires again. We used electrical tape to keep the wires from bending at the point where the tap connector sticks out of the tap wiring.
Nice to not have the radar detector wire coming up from the smoking package or passenger foot well sockets. Thanks, OP, for the great instructions - they're perfect.
Got the replacement today and it worked just fine!
Thanks to the MirrorTap folks, and for the forum people: be sure you get the MTX-1015 not the MT-1015.
You need the X to get the variety of tap sizes. Like others I used the second to the smallest one.
Got the replacement today and it worked just fine!
be sure you get the MTX-1015 not the MT-1015.
You need the X to get the variety of tap sizes. Like others I used the second to the smallest one.
I had the same problem. When I wrote to them, they recommended the MT-1015 and that's what I ended buying. I had to cut part of the metal connectors in order to be able to connect the cables. Cuts weren't pretty but the installation is working.
I’d ordered the MT-1015, but contacted them after seeing the trouble people had had with it and they sent me the MTX-1015 right away. Did the install this afternoon in less than 20 minutes. I had a little trouble prying the connector out of its clip (was being pretty gentle for fear of snapping something), but eventually got it. Then had to wait quite a while for the hair dryer to shrink the shrink wrap tube around the wires. All buttoned up now and looks great. Thank you so much for taking the time to write up these instructions and for all of the people that weighed in on how easy it is.
Mine is paired with a blendmount too. A bit crazy how much they charge, but it’s a quality product.


 01-27-2019, 08:04 AM