When you click on links to various merchants on this site and make a purchase, this can result in this site earning a commission. Affiliate programs and affiliations include, but are not limited to, the eBay Partner Network.
Super impressed with the dedication to an integrated look. Laser/water cutting is awesome!
Question: How did you make the white labeling for a one-off custom piece like this? Screen print?
They used a piece of white acrylic and etched the port labeling into the painted face I believe.
Musicar doing what they do best!! Looks great Nick!
Originally Posted by Porsche_nuts
Artistic . . .
Originally Posted by koala
You guys do truly world class work. I love following these threads!
Originally Posted by STG
Amazing work in progress once again
Thanks for the kind words guys! This is turning out to be a fun project!
Originally Posted by flickroll
Sh**! I want that in my car!
Who knows, by the time we're done here I might be able to set you up!
Originally Posted by nwGTS
Super impressed with the dedication to an integrated look. Laser/water cutting is awesome!
Question: How did you make the white labeling for a one-off custom piece like this? Screen print?
Originally Posted by ///M3THOD
They used a piece of white acrylic and etched the port labeling into the painted face I believe.
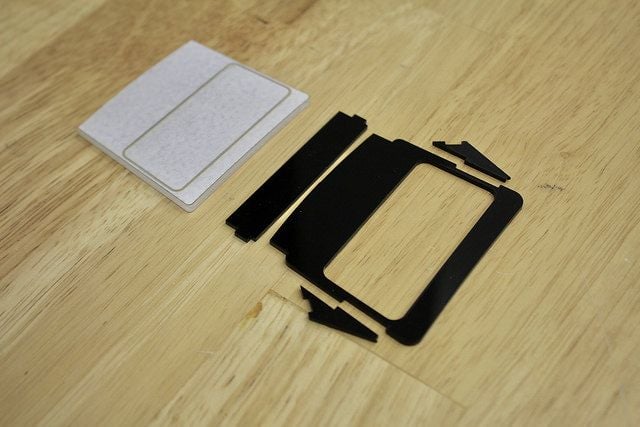
That is correct, white acrylic with a painted face. The laser etches through the paint to reveal the substrate. Here's a quick video I took yesterday of the initial cut on the panel:
Here's the update for the day. There's more progress, but these are just from the photos I was able to get off the camera this afternoon.
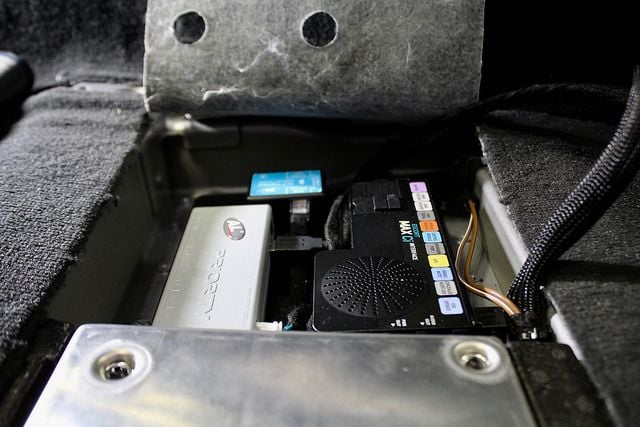
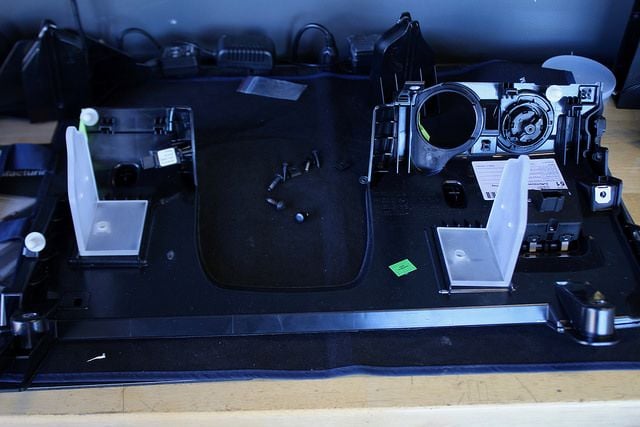
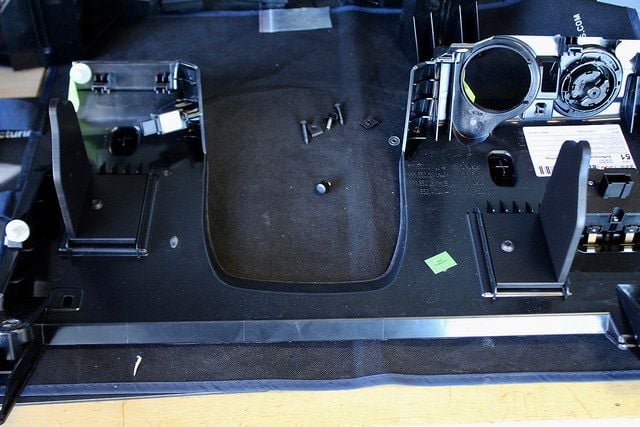
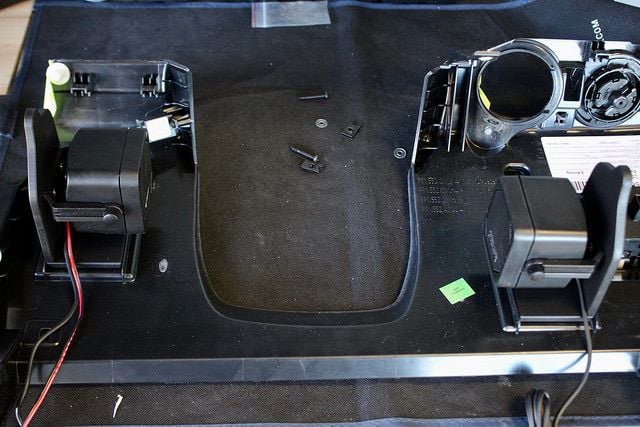
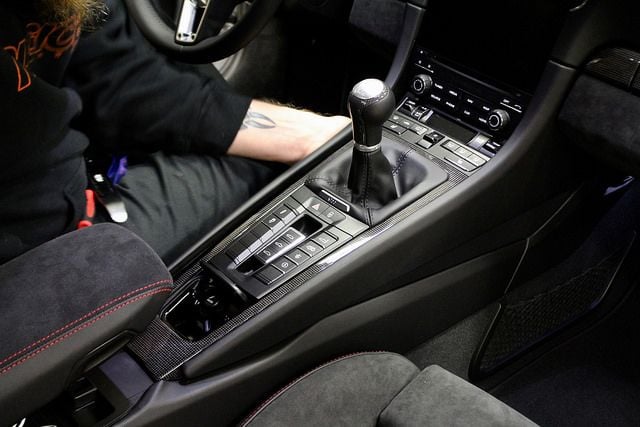
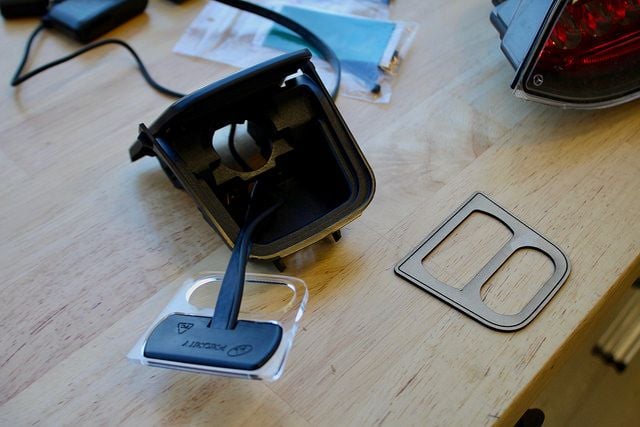
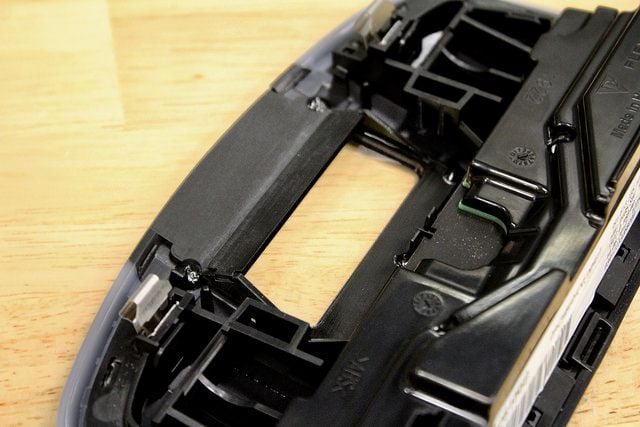
Once we had the USB panel done, we needed to run those new cables to the main control unit that processes the signals and connects all the peripherals within the system. There are two main modules – one for the Escort radar and another for the AL Priority laser. After looking for some good locations to hide both of these, we decided that the void under the driver's seat would be a perfect spot. We fabricated a composite plate that bolts down to the floor using some empty factory hardware locations. I'll get more photos once the wiring down there is all finished up, bet here are a couple quick snaps:
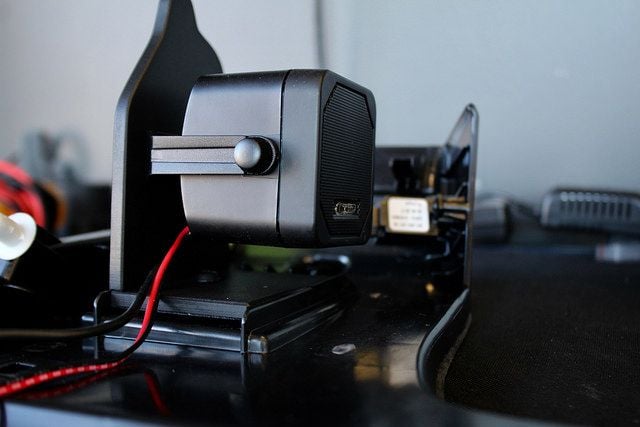
The AL Priority comes with an external speaker that makes it simple to get our audible alerts in the right location. The new Escort MAX CI now has the main speaker mounted directly to the interface module. Our fear with the mounting being under the seat is that we wouldn't get reliable volume from that system. Because of that, we added an external speaker to mimic the AntiLaser. Those speakers are both going inside the lower dash around the column base. That allows the audio to come through in the large gaps around the column and directly in front of the driver.
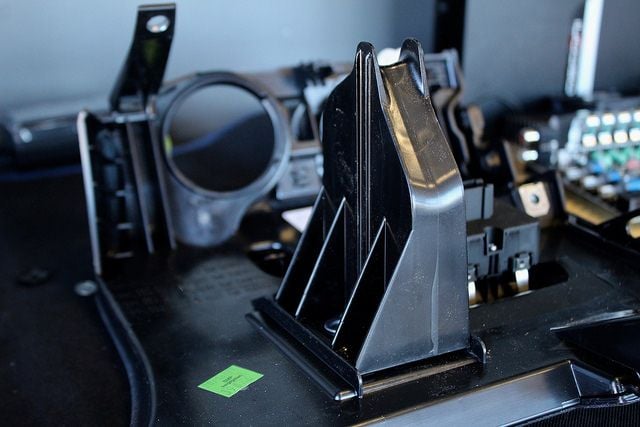
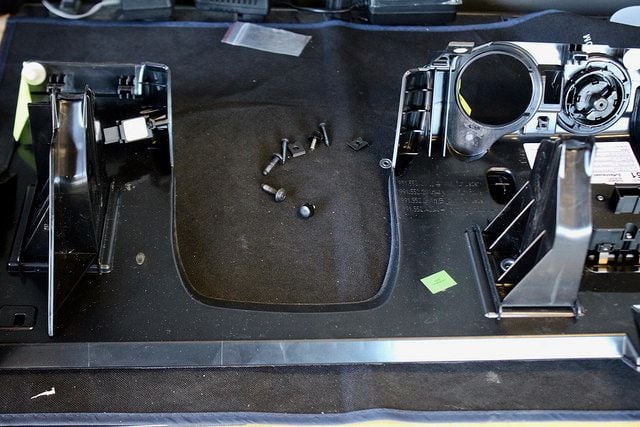
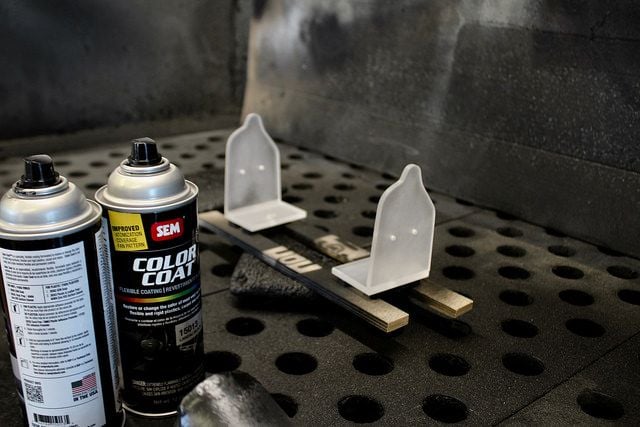
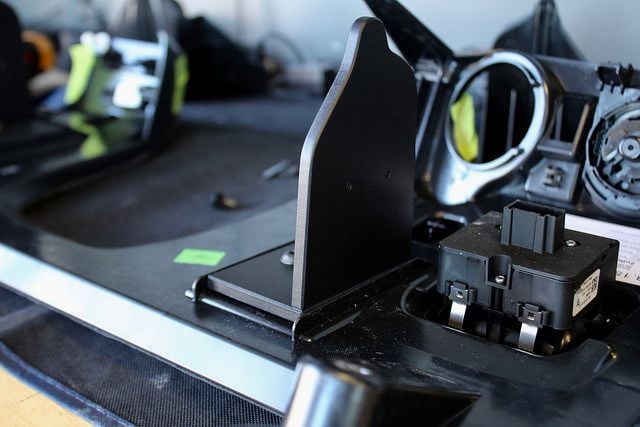
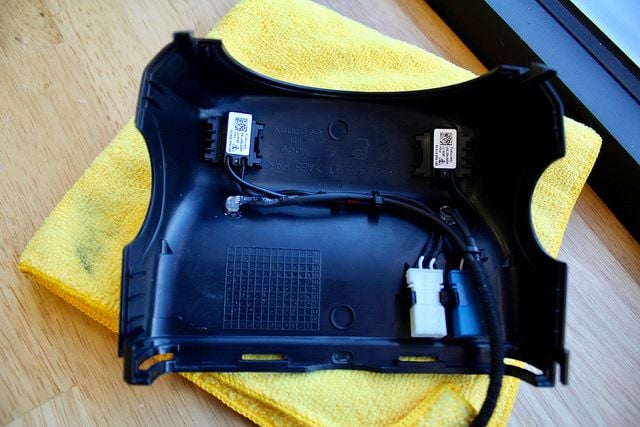
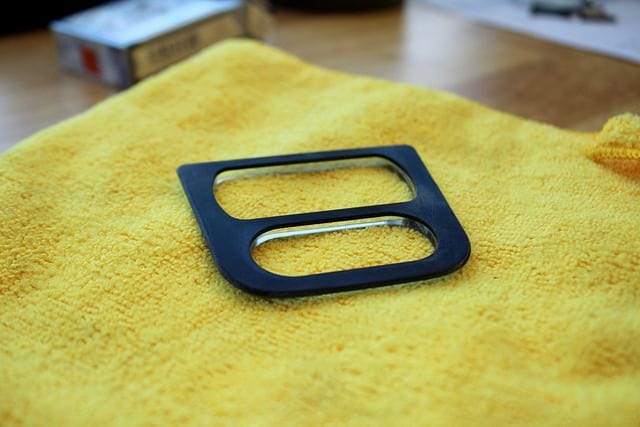
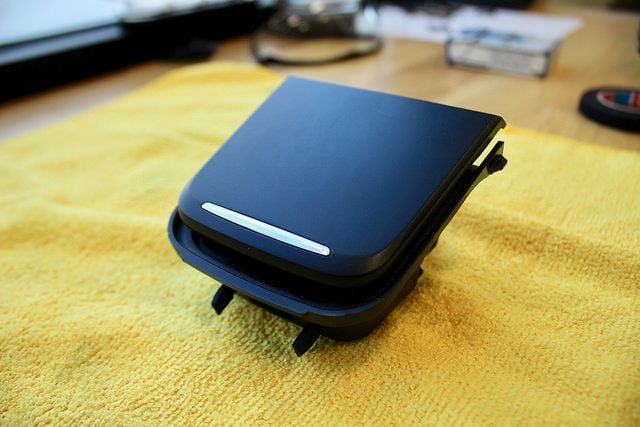
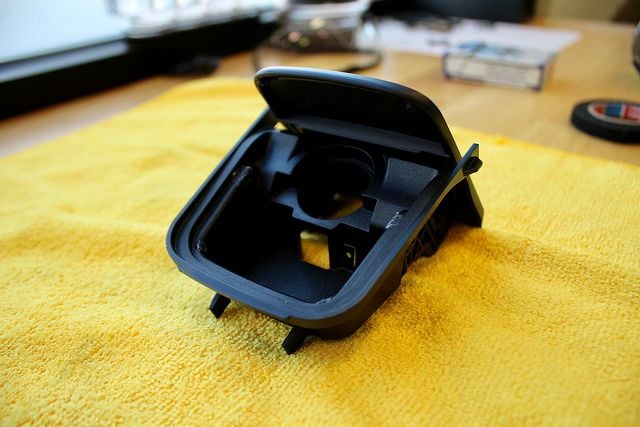
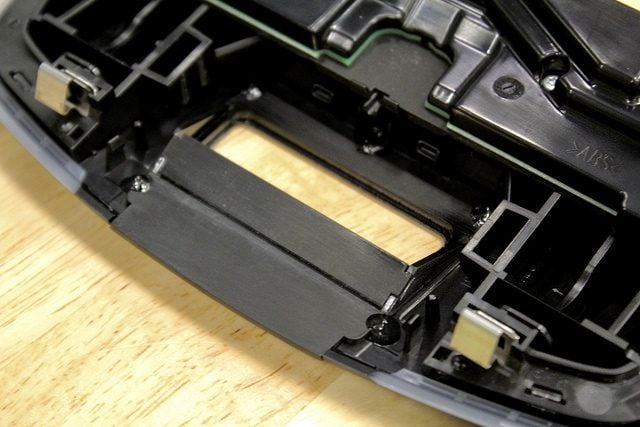
There isn't enough room under there with the factory configuration. We ended up rebuilding the oversized dash buffers with more low-profile composite versions and using them to mount our two speakers. Also, with this approach, nothing was modified and can all go back to factory in the future if needed. Here are some photos of the fabrication process on those parts and the final product before it went back in the car.
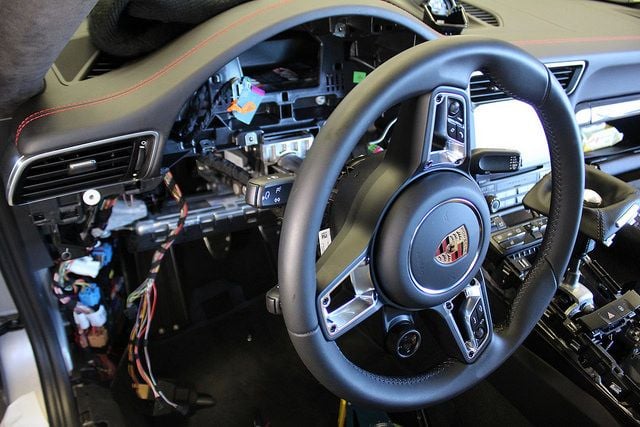
The audible alerts on both systems are great – loud, informative, and simple to understand. The problem is that this car is loud and the Burmester sound system can have some good volume to it. Both of those elements can make it tough to realize you're receiving a signal while underway. Because of that we are installing an alert LED indicator for both systems. The best low-profile location we've found in the Porsche platforms is on the backside of the steering column facing away from the driver. This allows them to be hidden from direct view, but reflect in the gauge cluster. We don't have them installed back in the car yet, but here's a photo of the integration. (note: the LED heads were actually shaved flat to blend in with the surface of the shroud)
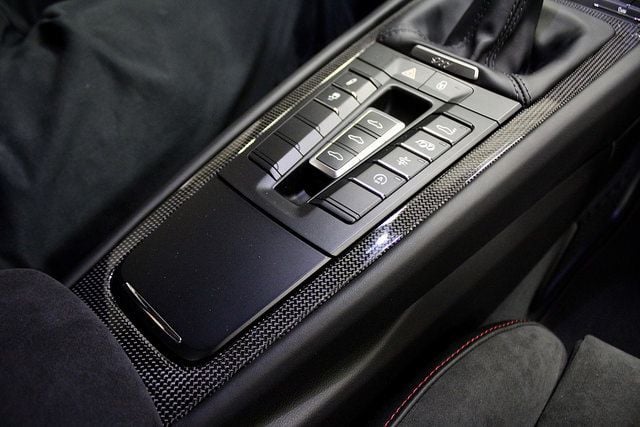
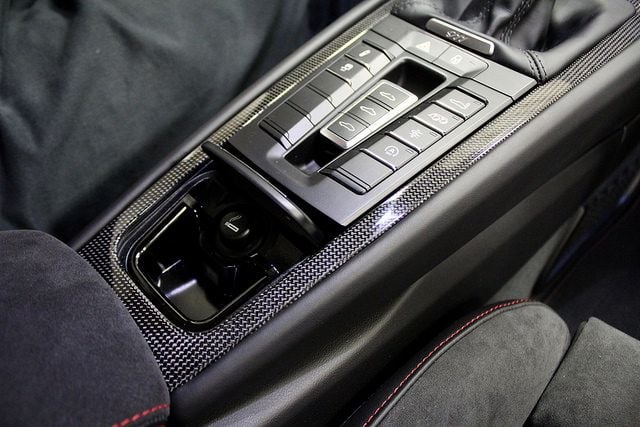
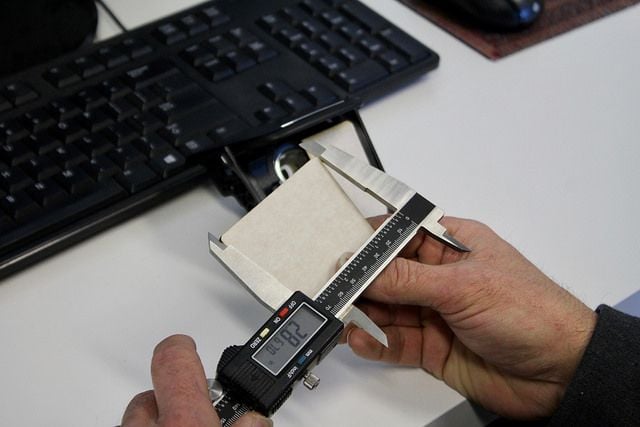
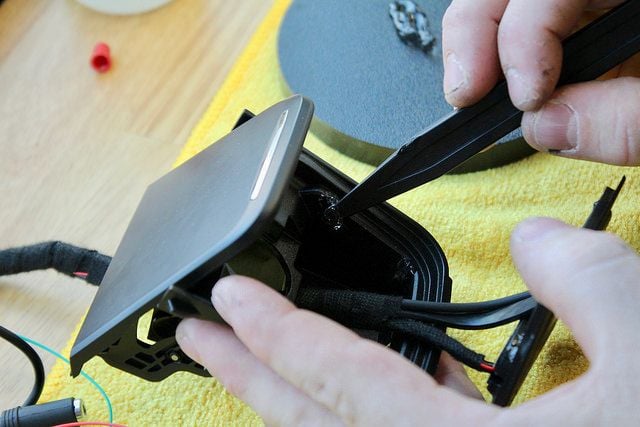
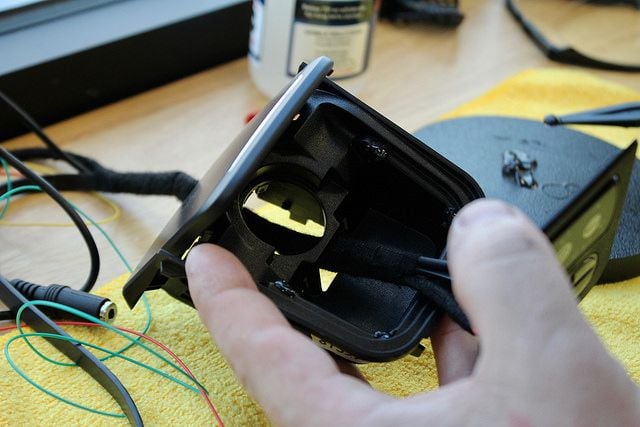
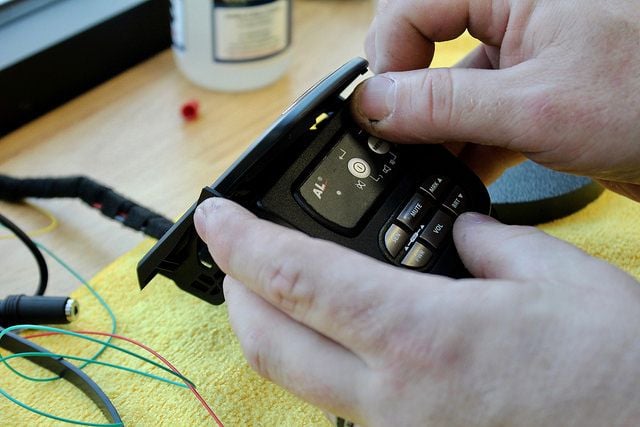
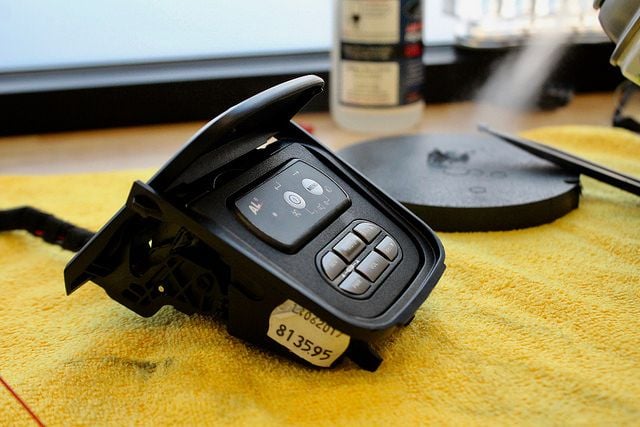
Next up is the control surfaces. This particular GTS was optioned with the smoker's package in the console, so that's the perfect spot to integrate both the control panels. We're going to be laser-cutting a direct-fit piece for that and painting it to math the OEM plastics for a factory look. We don't want to have the ashtray door open every time the car is driven, so we're also going to be converting a pair of the blank buttons in the console into usable buttons for our new system – one for radar mute and the other for laser shutdown. I'll have more photos of the control surfaces by tomorrow morning to share with you guys.
I want to be your customer, but I'm away across pacific ocean.
Might not be a bad idea to vacate the neighborhood for a few since little Rocket Man is acting up. I'm curious whether he's using turbos or naturally aspirated technology.
OP - phenomenal work, can you PM me the price for all of this? Shipping the car is always an option...
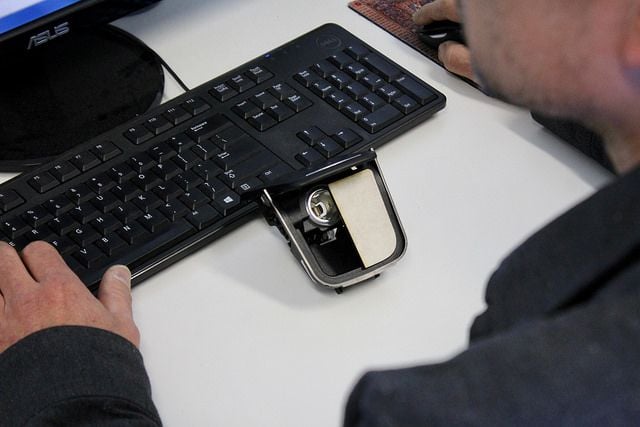
I don't have all the photos off the camera yet, but I should wrap that up by tomorrow morning. For now, I wanted to share the progress on the console controls we built to go in the Smoker's Package(ash tray). We designed everything yesterday and cut the basic pieces. Today we modified the ash tray to fit them and finished all of the wiring associated with those parts. There's not a whole lot to explain about the process here other than the fact that we have a controller for each system, and they're both flushed into a solid piece of cast-acrylic that's been laser-cut to fit and painted to match the satin interior. Everything is going in the car tonight so I'll have more photos of the results tomorrow.
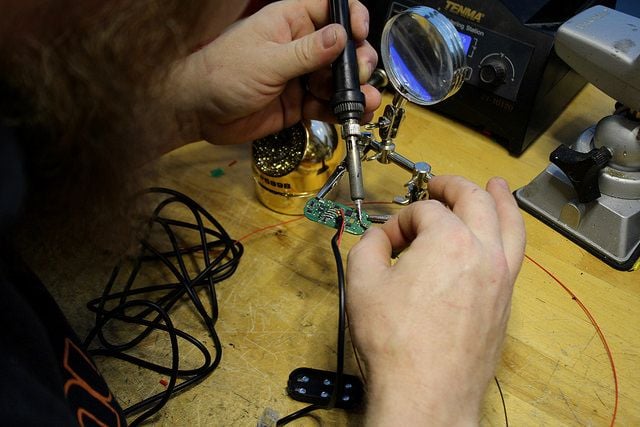
We also had to modify the controller for the Escort before it went into it's housing. One of the blank console buttons we want to be a secondary "MUTE" button from the Escort. When Escort upgraded the CI platform they made the controller a data connection, so in order to get a remote-mounted MUTE function we have to solder to the contacts on the circuit board � a delicate process.
More tomorrow guys. Should have some exterior photos by the end of the weekend, too!!!
Alright, so it's been a busy weekend and I haven't had time to update this build, so here goes:
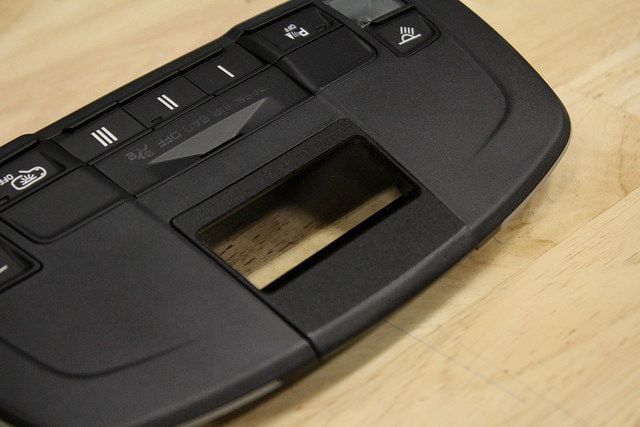
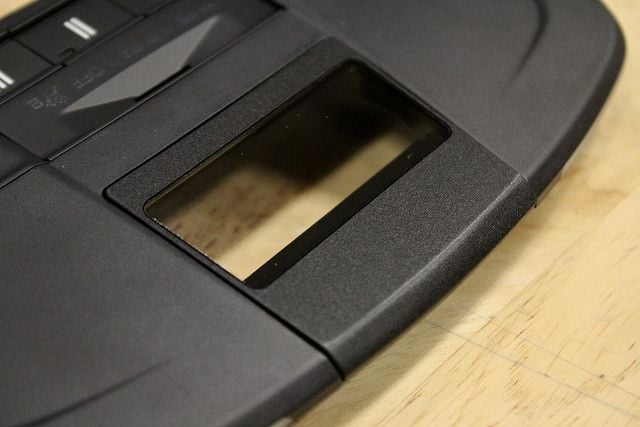
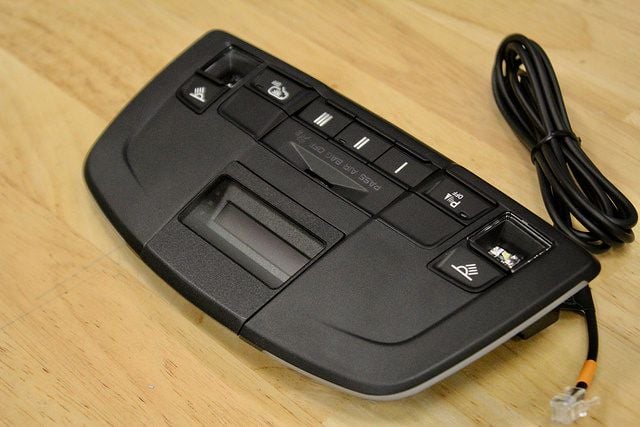
We got the interior and back end completely finished by last night. Front end is nearly done and I'll have the photos of that up by the morning. The last interior component to show you guys is the display for the Escort radar. We wanted it to be low-profile and out of the way, but easy to see at a glance. Because of that, the blank panel in the overhead console proved to be the perfect spot. We've used this location in the past for older systems, and build a smoked acrylic window to conceal the electronics. The obstacle with this setup is that the new display is OLED so you can't actually hide it behind something dark. We decided to use a clear window and manufacture a set of parts to hold the display in place. Here's the results:
More on the exterior soon. I'll likely update the first post will all of the final photos tomorrow after we get her all cleaned up and final tested.
Alright, so it's been a busy weekend and I haven't had time to update this build, so here goes:
We got the interior and back end completely finished by last night. Front end is nearly done and I'll have the photos of that up by the morning. The last interior component to show you guys is the display for the Escort radar. We wanted it to be low-profile and out of the way, but easy to see at a glance. Because of that, the blank panel in the overhead console proved to be the perfect spot. We've used this location in the past for older systems, and build a smoked acrylic window to conceal the electronics. The obstacle with this setup is that the new display is OLED so you can't actually hide it behind something dark. We decided to use a clear window and manufacture a set of parts to hold the display in place. Here's the results:
More on the exterior soon. I'll likely update the first post will all of the final photos tomorrow after we get her all cleaned up and final tested.
Wow, just wow! What an amazing installation Nick. Your work is absolutely exquisite.

 12-07-2017, 02:03 PM