When you click on links to various merchants on this site and make a purchase, this can result in this site earning a commission. Affiliate programs and affiliations include, but are not limited to, the eBay Partner Network.
Parts (2012.5 Carrera S Cabriolet) switching to Agate are as follows:
1 AS FLOOR CARPET 99155101102GHE $844.56
1 AS CARPETING 99155101703C75 $326.28
1 Cargo Net . agate gray 98155154700OP1 $163.46
1 Fuse Box Cover . Left, Front Left 99155542102OP1 $16.97
1 Fuse Box Cover . Right, Front Right 99155562202OP1 $16.97
Shipping $250
Looking forward to reading up on more details regarding the installation. Removing the seats doesn't sound like a big deal, especially being able to just lift them out with the roof down. I am also replacing the carpet around the rear seats, hence the additional carpet in the parts list above. And I assume the process is pretty much the same as with the main carpet.
Let me know what else is needed - adhesives, etc.
Thank you!
(Please note this is a DIY and not the dealer-sanctioned or official �book� guide to replacement. I did not remove many of the interior console pieces with concern for breaking tabs and fitment on re-assembly). While the project is successful in this manner I could not eliminate a couple of fabric wrinkles on reassembly (see pics below). I also do not have torque specs for various bolts involved. The overall result is probably 95% of new appearance. My carpet came with floor mat hold-downs already installed. One part number covers two pieces of �tubbed� front carpet. A third part number and piece which lays behind and under the rear jump seats is not covered here.
Tools needed:
1. A male M10 XZN socket
2. A female E12 Torx socket
3. A male T30 Torx socket
4. Socket wrench and small socket extender.
5. Small and large flat-bladed screwdrivers
Instructions:
1. Remove floor mats.
2. Slide seats forward with motor (I started on passenger side carpet prior to attacking driver�s side with added complexity of steering wheel and pedals to deal with. Both seats need to be dealt with now however prior to disconnecting the battery). There will be exposed two Torx bolts which anchor the rear of the seat rails to the floor.
3. Use E12 socket and wrench to unbolt the rear seat rails.
4. Slide seats backwards with motor.
5. Pull two plastic covers from the front of the seat rails. These have a small slot for a screwdriver to pull up and release a tab. The covers should slide straight towards front of car and off the metal rails. Front Torx bolts are exposed. They are set at a ~40 degree angle.
6. Unbolt the front seat rails from floor with same Torx socket. A socket extender may be helpful here and elsewhere to give reasonable clearance to the tool.
7. Open front trunk.
8. Remove upper plastic covering to expose battery and disconnect connection to battery (I unbolted positive terminal).
9. Place block of wood or item near hood latch which will prevent someone from closing and locking the hood with battery disconnected.
10. Back at passenger compartment, tip seat back to see two connections to disconnect. There is a large, yellow plug. This has a black, plastic strap. A small screwdriver can be inserted on the right side to slide the strap rightwards and unlocking the plug. If the seat motor is in the way the whole yellow plug assembly can be slid to the back of the car. This either gives more room or the whole plug dismounts in your hand and can them be separated. A smaller, two lead, black plug needs to be disconnected on the left side of seat bottom. This has a small tab which is squeezed I believe.
11. With seat tilted back pull down on one or two grommets which hold the remaining wire to the seat frame (small screwdriver can �lever this off�).
12. The seat can be folded forward and with good grasp, door wide-open and a strong back it can be lifted up a few inches, carried forward a few inches, then tilted outwards to clear door frame and lifted and spun away from the car. Watch the unprotected metal frame rails so as not to hit the door panel or dash on removal. The seat is heavy so this maneuver requires a moment of confidence�Repeat with driver�s seat.
13. Stare at bare, coffee-stained carpet, collect winning lottery ticket lost by former owner, vacuum up jelly beans�On inspecting the carpet it is obvious that it is slid under trim pieces, the door threshold rubber seal and the rear seat. The front leading edge is molded and unattached to anything. Next we will work counter-clockwise from the seat-belt in passenger compartment (driver�s side is opposite).
14. Flip plastic cap over bolt which retains seat belt flange. Use M10 XZN socket and wrench to unscrew bolt, put bolt and ~1/2� thick washer aside.
15. Pull straight up on plastic threshold starting at one end (the long oval one adjacent to door frame rubber). This is attached with four clips. Once one end is free try to pull up middle or other end. I used hands and not tools for this. If the metal clips are left behind on door frame use pliers or a screwdriver to retrieve them and reattach to threshold piece. The driver�s side requires removal of the small electrical plug for the front and rear hood switches. Remember to identify this for reassembly.
16. Pull up the bottom section of rubber weather stripping but stop after it clears the bottom carpet and starts running vertical.
17. The kick-panel over fuse box needs to be loosened at bottom, not fully removed. It is attached by two plastic clips at door frame and two velcro�d pads at front section. At bottom front and upper front (leading edge) pull this towards middle of car to release the velcro. Then with hands pull bottom part at door opening (the corner touching carpet and the rubber door frame seal) and pull this towards back of the car into the door opening. The motion should be in line with direction of reverse travel. It should remain dangling by the top mount. Hopefully nothing broke. The door to the fuse box does not need to be opened.
18. The carpet can start to be gathered and pulled a little. It is freed from the door sill and can be pulled from under the fuse box panel. Next grab the front edge and near inner corner attempt to pull down and under the first panel of the console area. This panel contains the DC outlet cover.
19. Working towards the back of the car pull the inner wall of the carpet down and away from the center console trim. There are two Velcro straps which hold the right and left tubs together. These are easy to free by pulling and if necessary small fingers can attempt to reach under the bottom edge of the center console. Once close to the rear seat stop for a moment.
20. Move back to rear of door opening and free carpet from under the rear side-wall panel. There is a finger within an inch of the door opening which pulls tension on the carpet and again small fingers to reach under the panel and slide the carpet down is desirable.
21. Lift the outside edge of the rear seat up to about a 30 degree angle. The rear seat is attached with two Velcro patches at outer edge. I placed an object to keep it propped up. The ideal situation is to remove the rear seat (this entails removal of rear seat belt buckles and center tray and bolt but I skipped this given my concerns for prying up a bunch of plastic pieces). Removing the rear seat however is probably desirable and will allow easier reinstallation.
22. The rear edge of the carpet can be identified under the seat and pulled away. The corner under the seat is pulled out, away from center of car. There is nothing holding the carpet to the floor so it can be rolled up or folded forward. The whole carpet can then be pulled out of the front footwell and removed from the car.
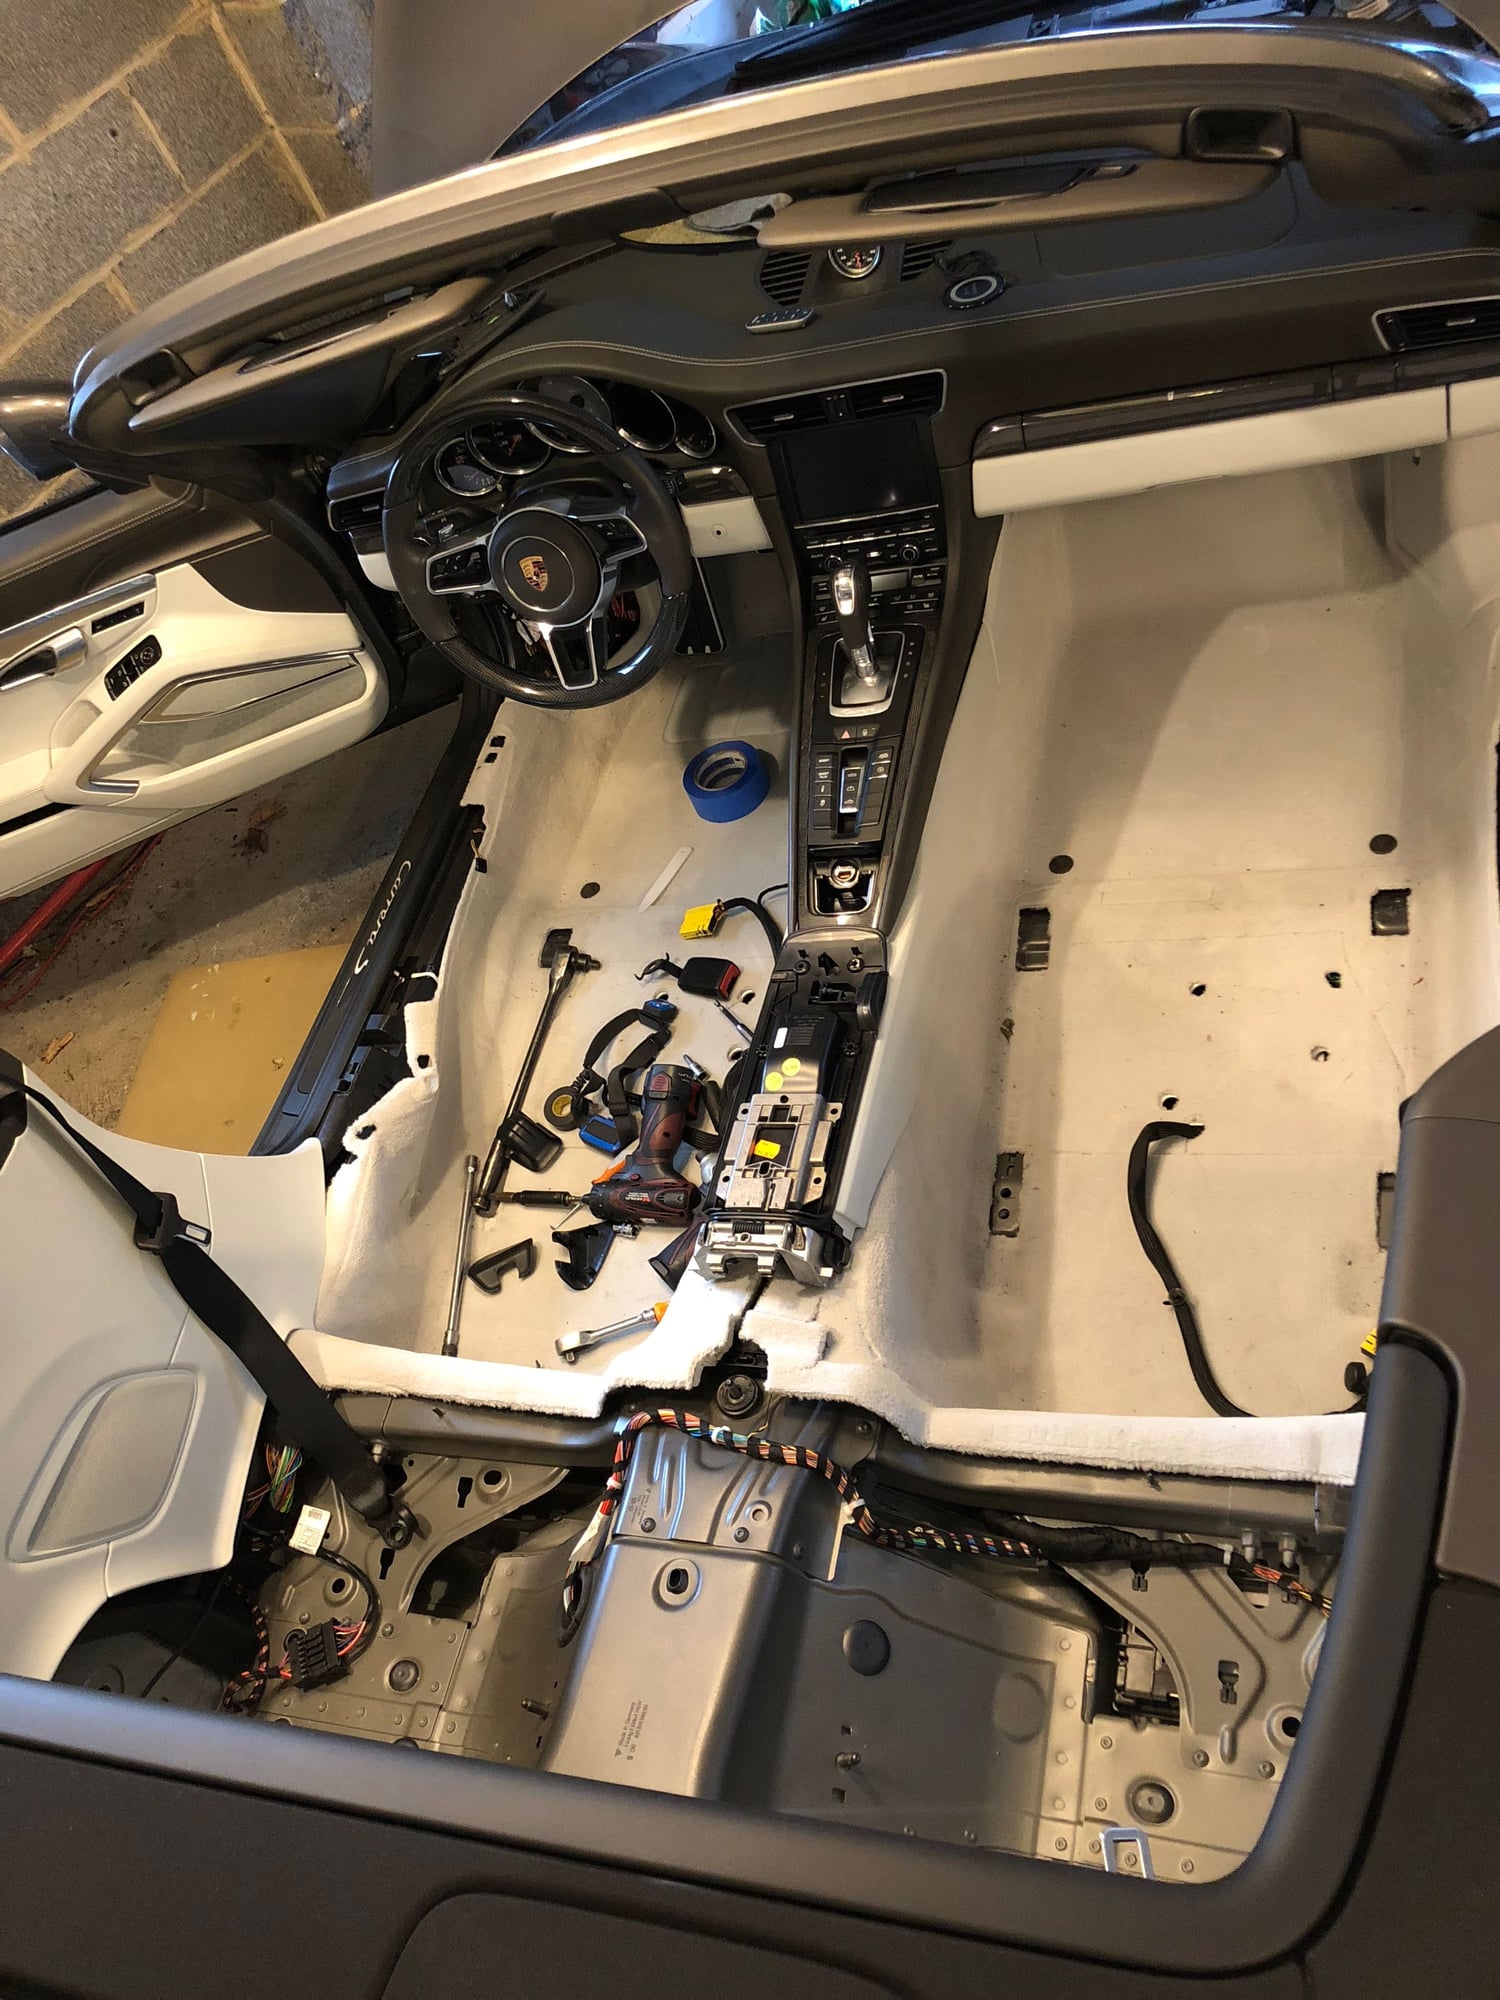
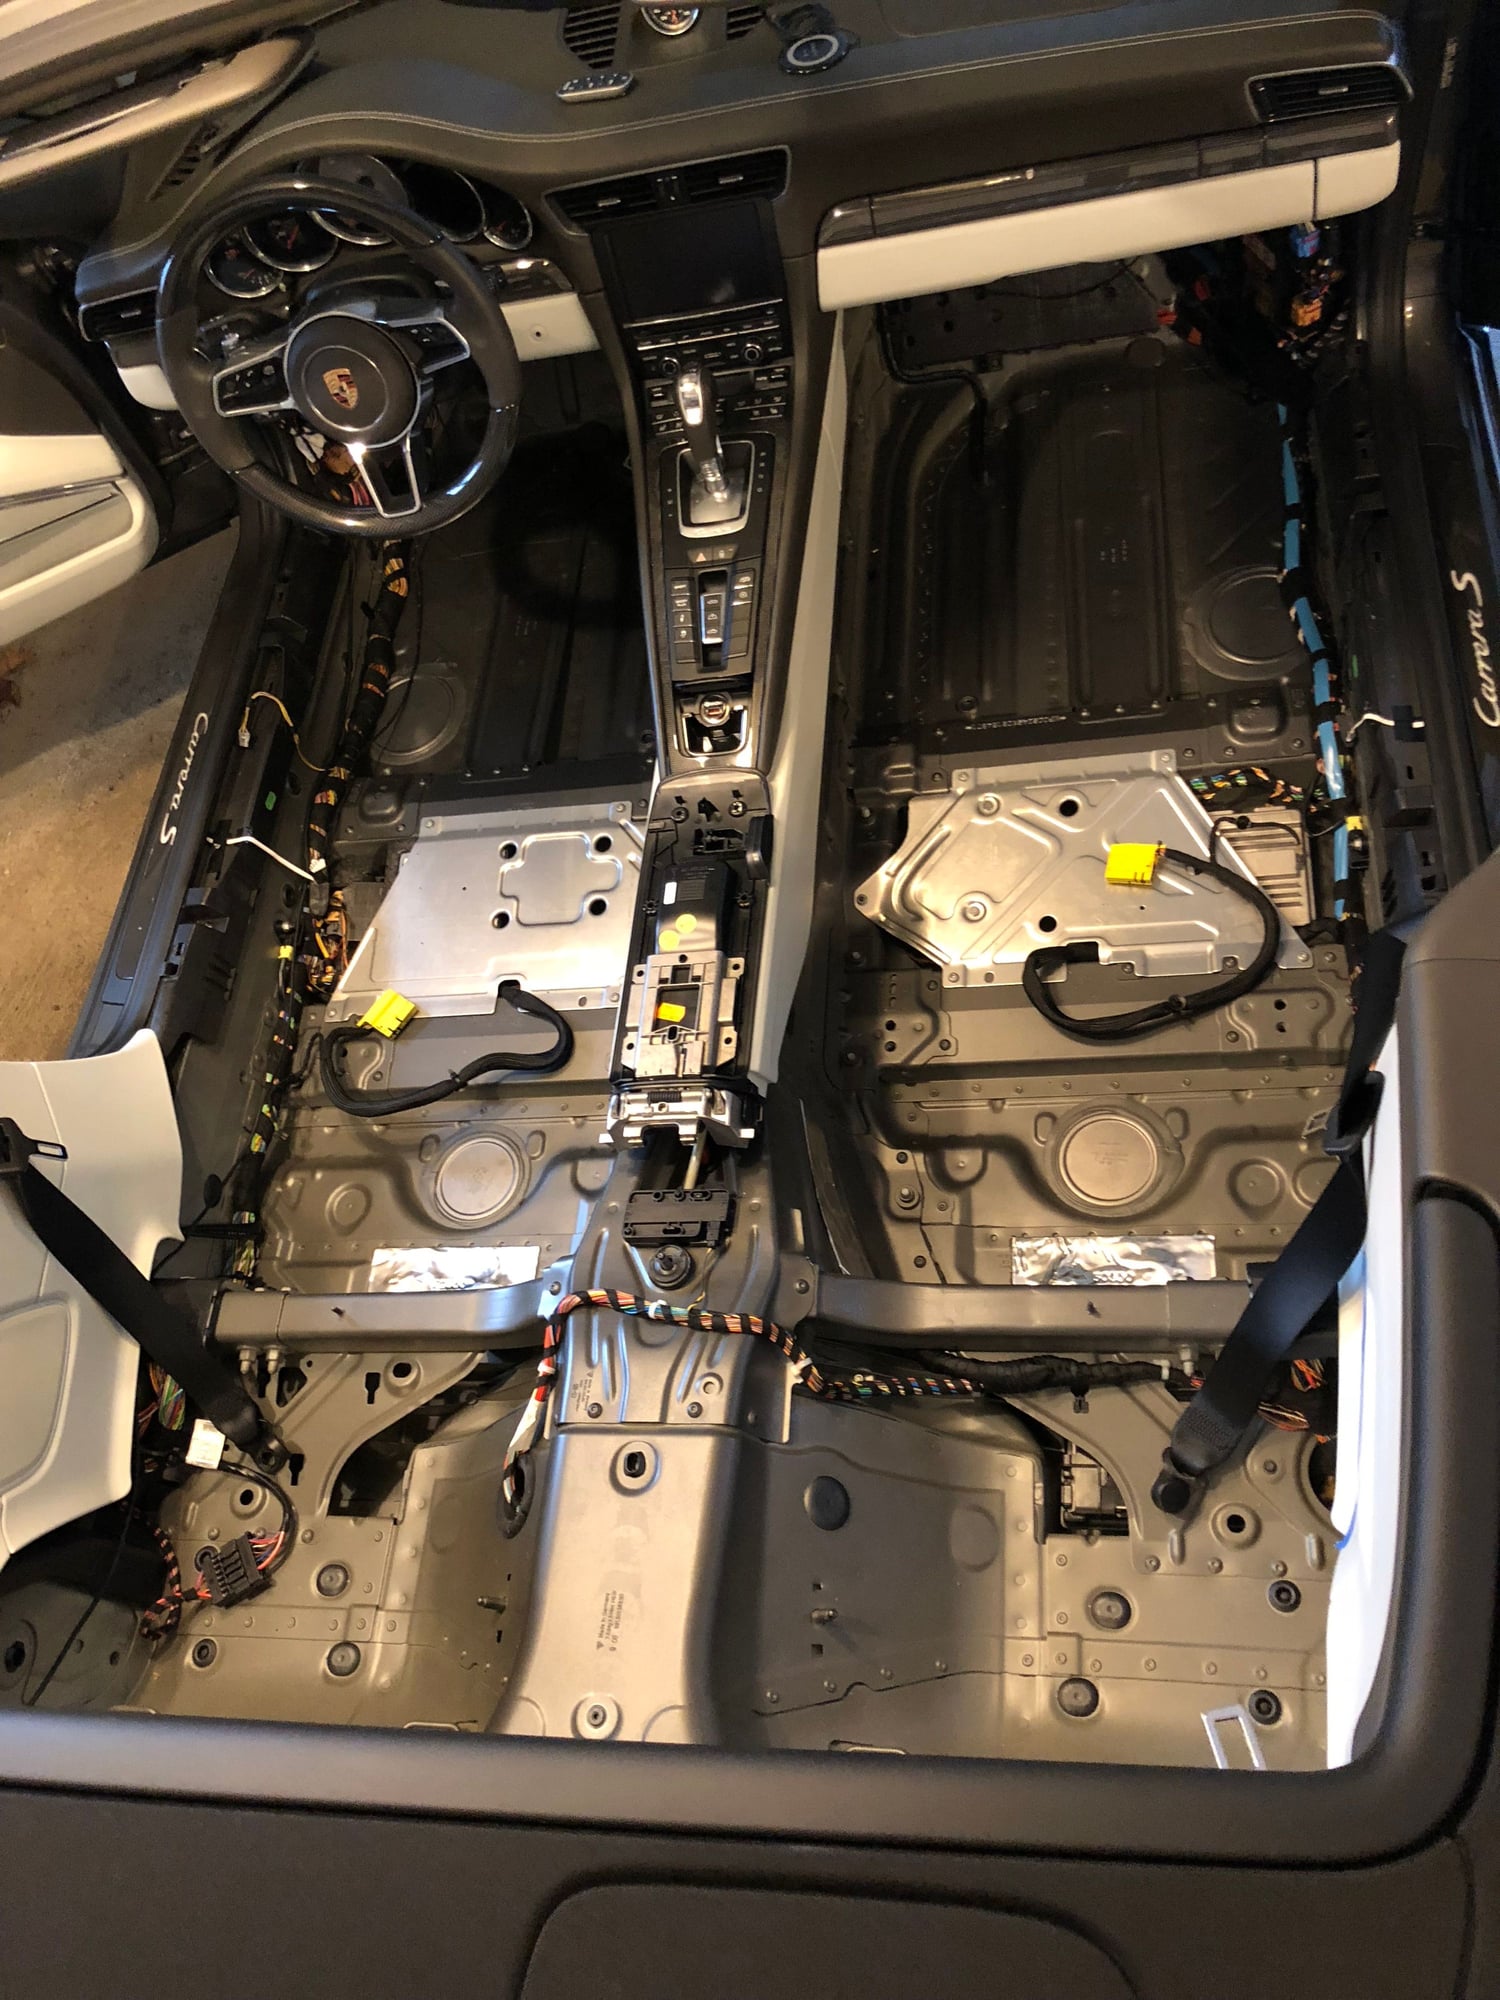
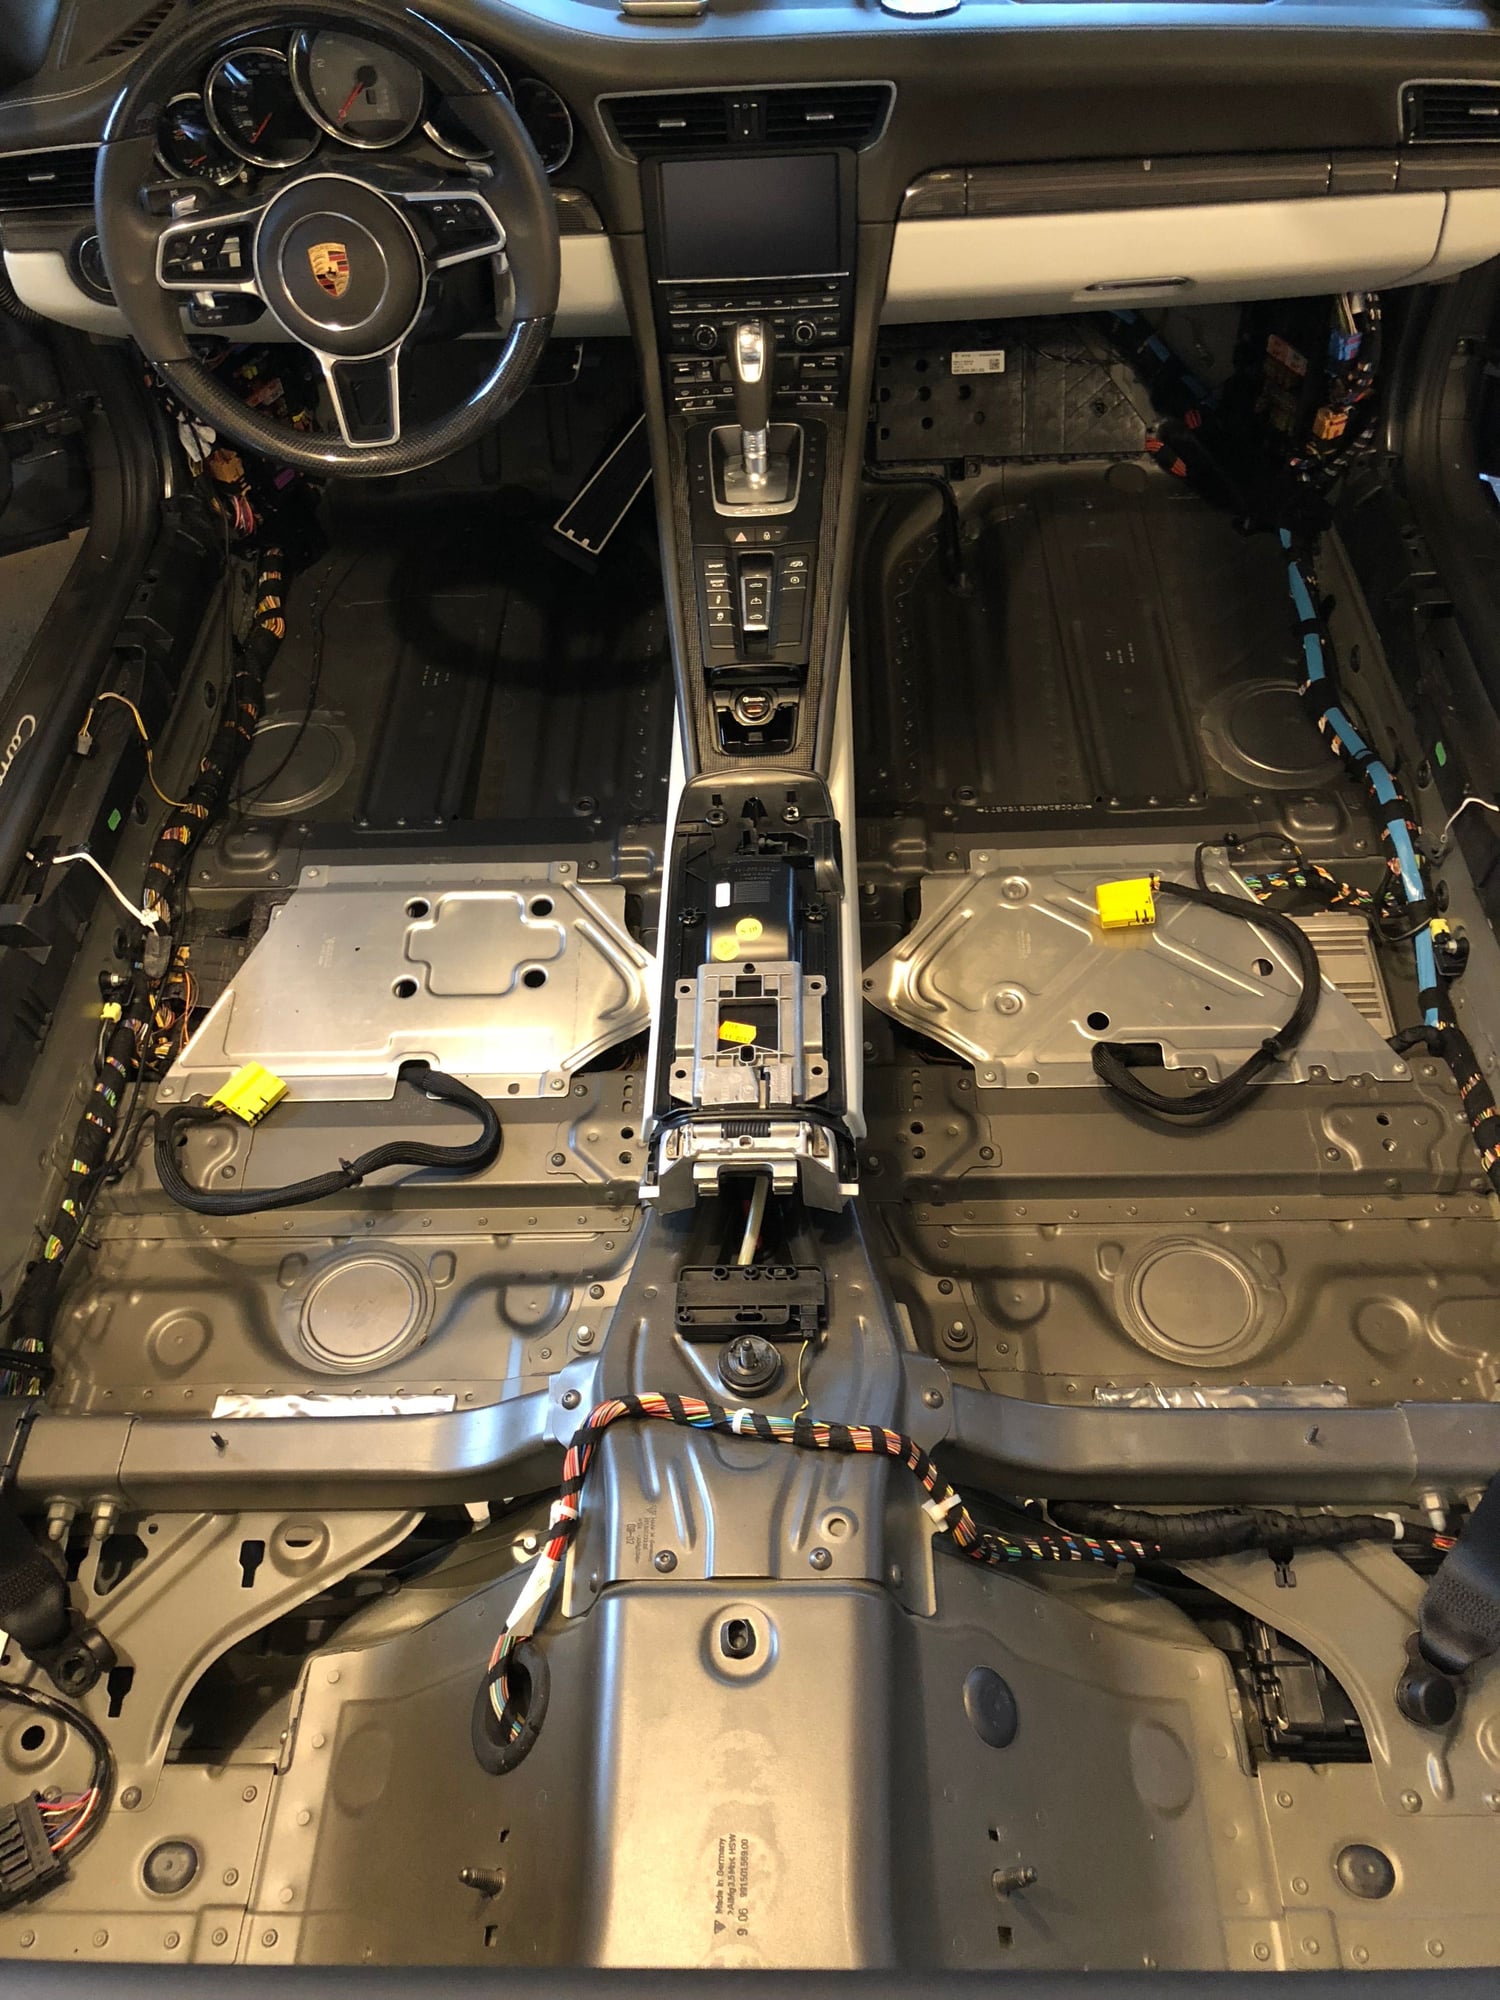
23. Now is a good time to clean or vacuum. Note there is a Bose unit placed under the passenger seat, a styrofoam enshrouded electronics box under the driver�s seat. The VIN is clearly etched after painting on the cross-rail under passenger seat. There is a vacuum line at front of passenger foot well. The fantastic artistry of expensive rare Earth materials are on display with herringbone edges and precision fastening. I found a magnet sticks nowhere except to the four 2 inch pads which anchor the seat rails.
24. Reinstallation of the new carpet should start at middle corner of rear foot well. Place the carpet tub inside and work the middle center edge under the rear seat and center console. The carpet is very generous here and can be trimmed substantially so it doesn�t get folded under as it will be hard to get in place. The amount placed under the center console is excessive and it won�t slide down and out once installed. A large screwdriver can be used to help tension it under things.
25. Work the carpet up, under center console sections moving to front of car. Once at Velcro straps halt for a moment.
26. Finish rear footwell by ensuring the carpet is properly tucked under rear seat area and the sidewall forward to door opening.
27. Resume working carpet along center console. Reattaching the Velcro straps is hopeless but really not necessary.
28. As carpet is worked forward the front section will need to fall into footwell. On driver�s side the old dead pedal should be reused. It is held with 5 round, � inch projections. It can be pried from the old carpet and pushed firmly into base of new carpet. The accelerator pedal has one Torx bolt which is unbolted with a T30 socket and extension. The upper aspect of pedal assembly tips forward and bottom slides up to detach. The electrical connection can remain in place. Removing this is needed before removal of old carpet. Working the new carpet around these obstacles and reassembly should be obvious.
29. The carpet is worked under the fuse box panel and it is replaced. The rubber door seal is replaced. The door sill panel is replaced (with electrical connection on driver�s side).
30. Reinsert bolt, washer and rear seat belt buckle and tighten with XZN socket.
31. Reinsert seats. I cleaned seats, seat rails and removed grease prior to this. In re-assembly placing some towels over rear footwell carpet may prevent seat rail grease from hitting this on reassembly.
32. Lean entire seat and assembly back and reattach electrical connections, plastic grommets for wires.
33. Tighten Torx bolts lightly (just snug) to the front seat rails.
34. Reattach battery, replace plastic panel and remove block of wood (then close hood).
35. Slide seats forward with motor and reinsert and fully tighten rear Torx bolts.
36. Slide seats back with motor and fully tighten the front Torx bolts.
37. Slide plastic rail protectors back onto front of seat rails.
38. Reinstall floor mats.
Here are some pics of before and after details. I unfortunately didn't document the whole process but given there's few "moving parts" I figured the instructions would be self-explanatory.
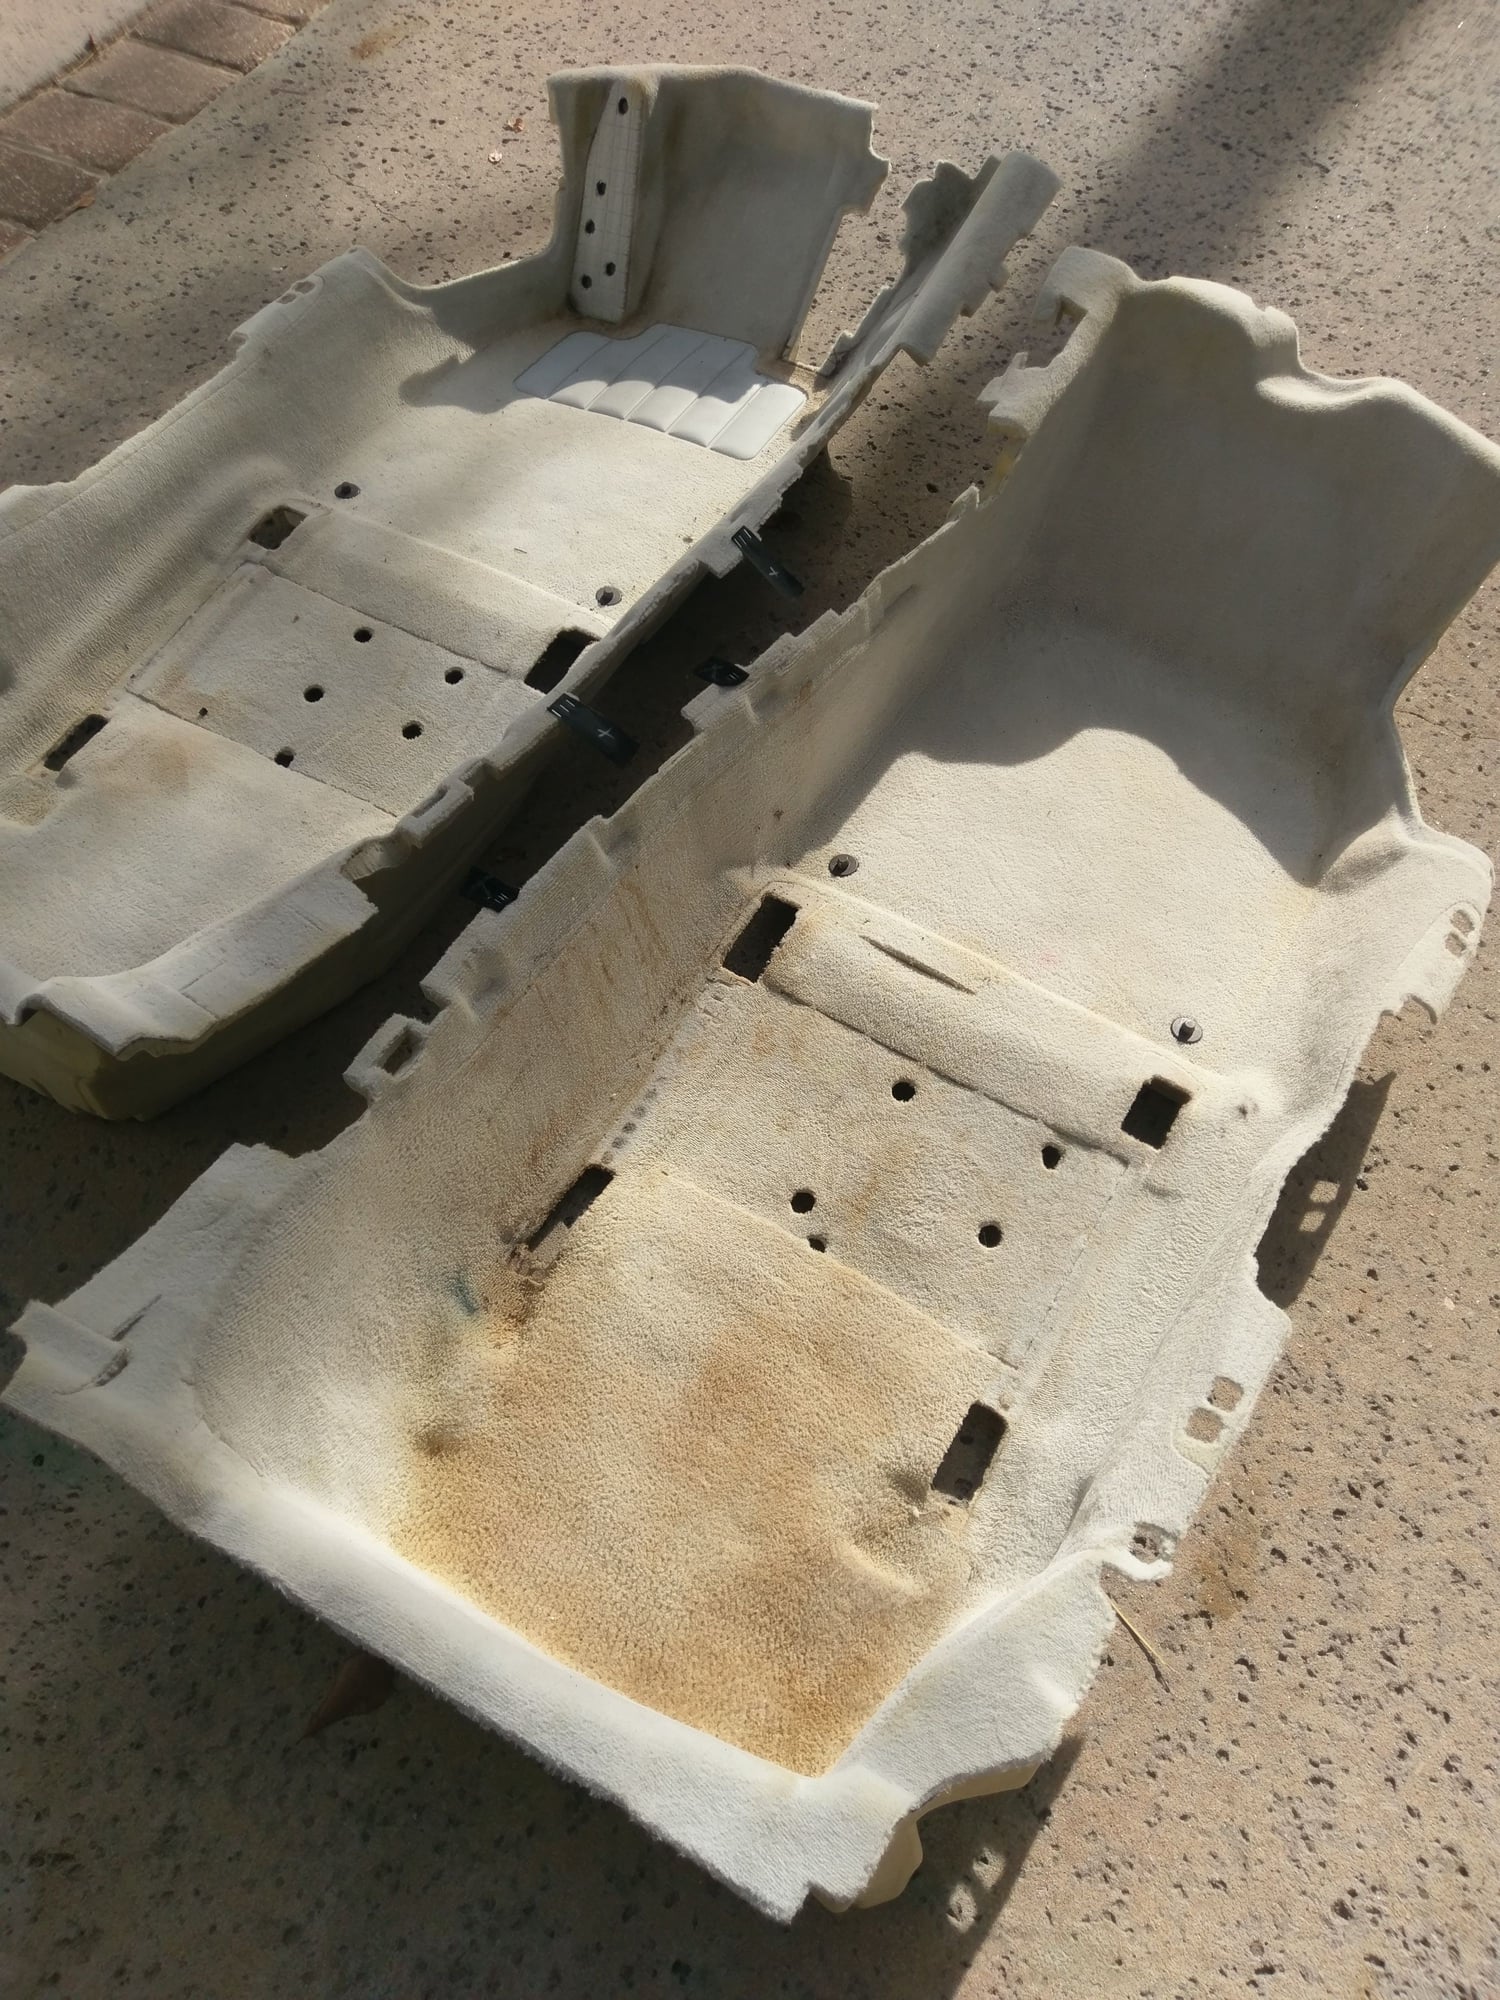
Old carpet which didn't respond to a few hours of hand cleaning and steam cleaning... This was removed intact showing edges. Despite appearance of tabs it is easily pulled out at center console side. New carpet is tightly pulled over door sill flanges.
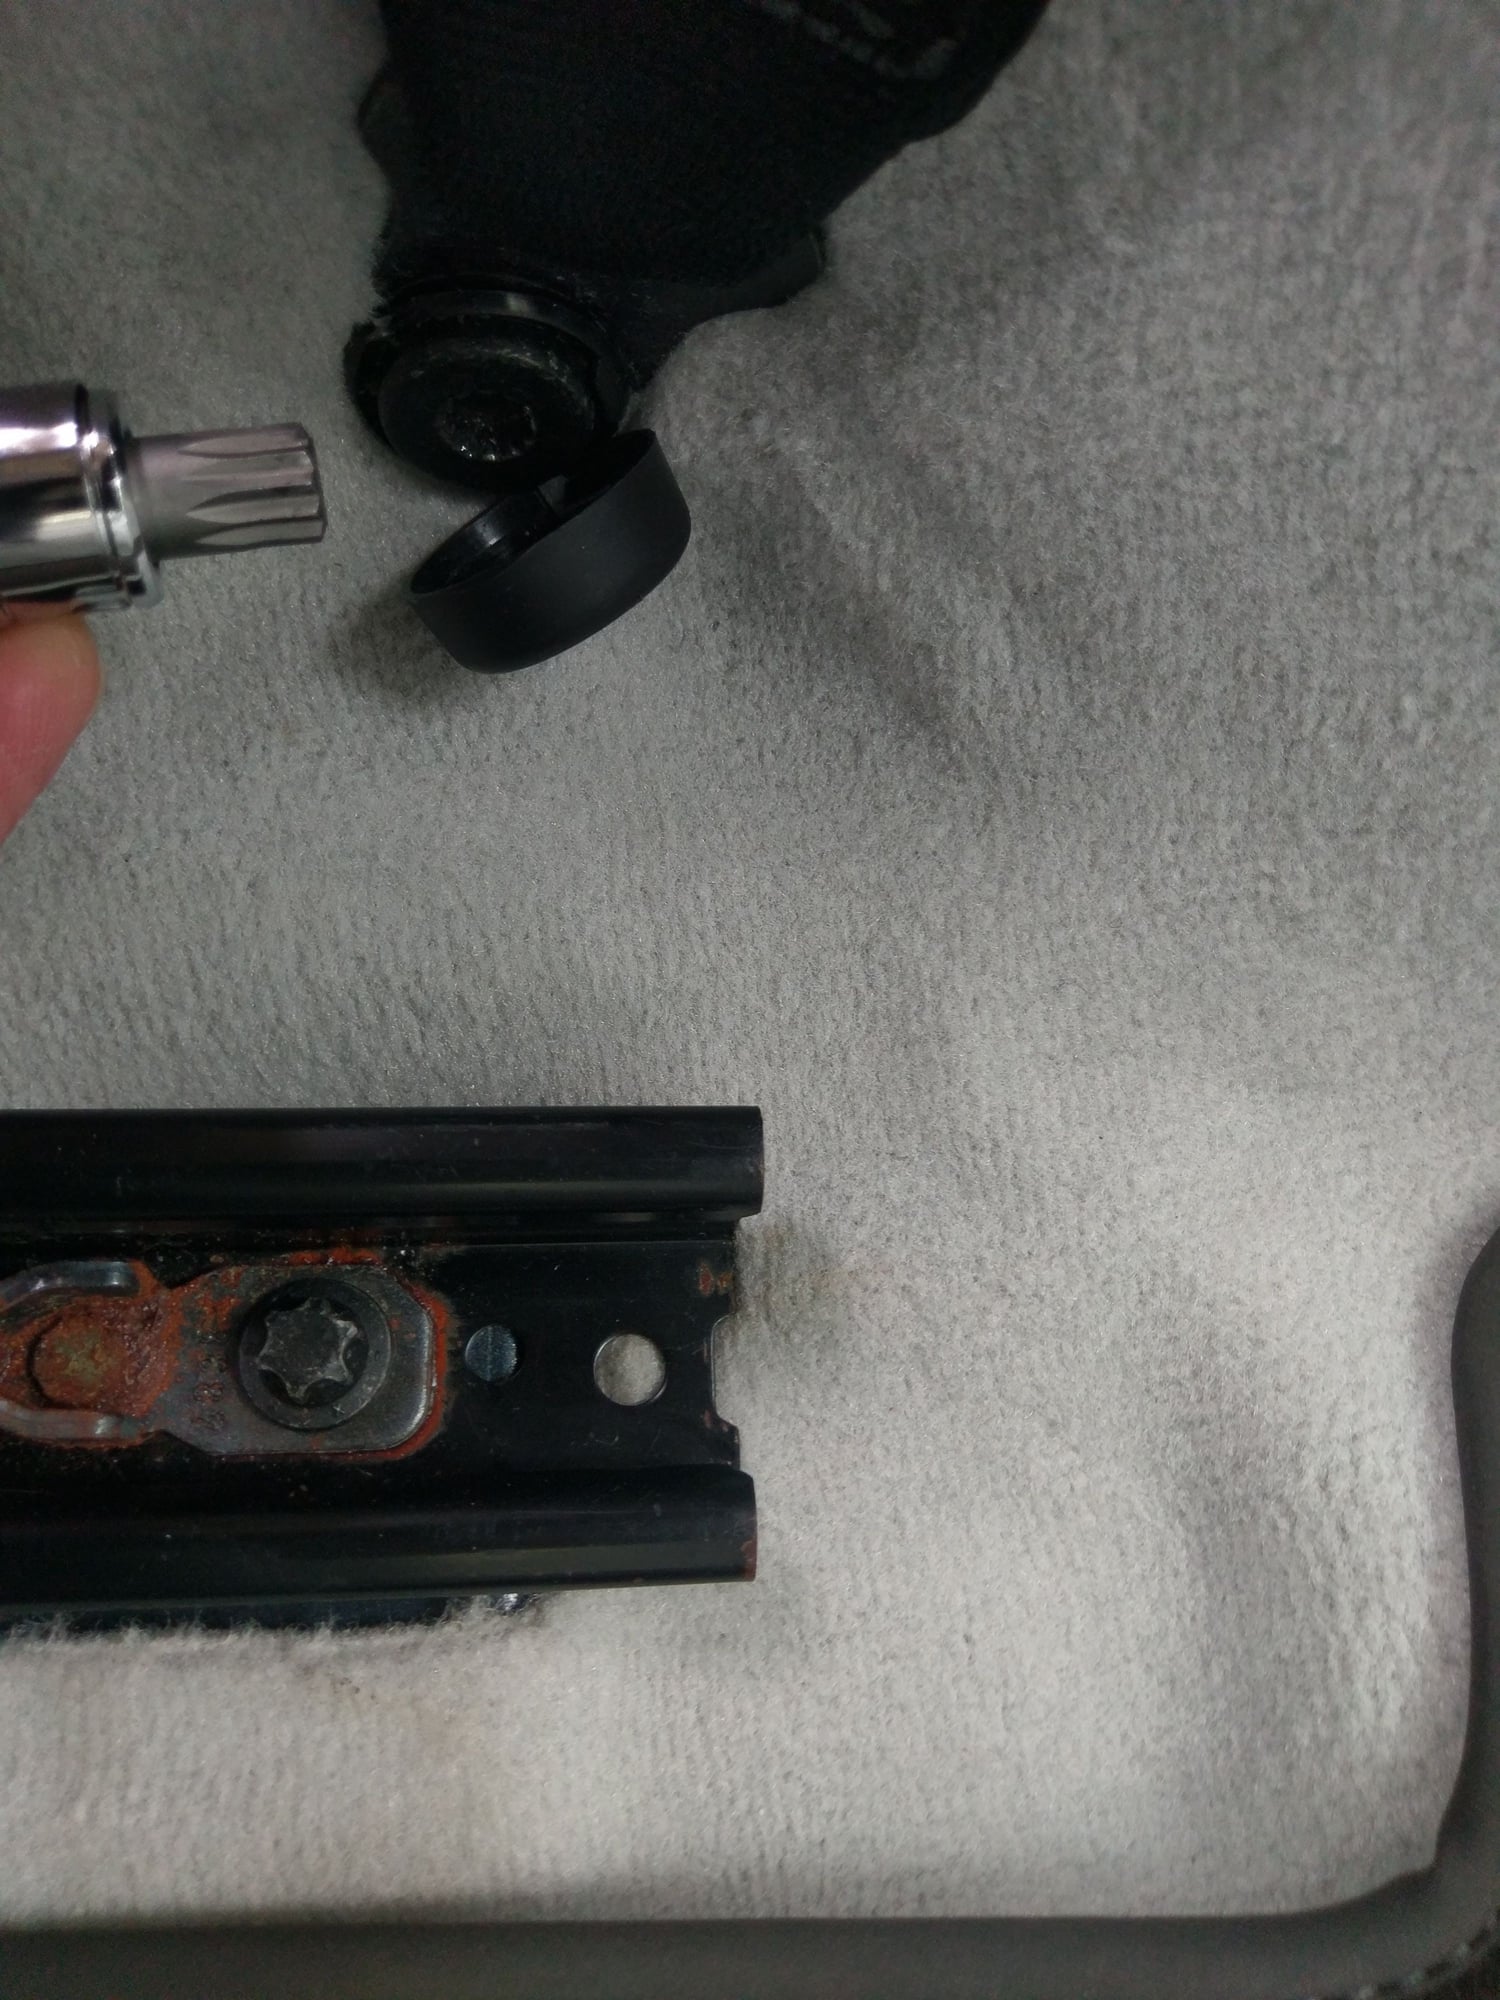
End of rear seat rail with Torx bolt (ignore rust in frame rail...not a flood car just too many spills and rear seat occupants in the rain. At side wall is XZN bolt and seat belt flange. I have slight wrinkling here on reinstall but really difficult to notice in real life.
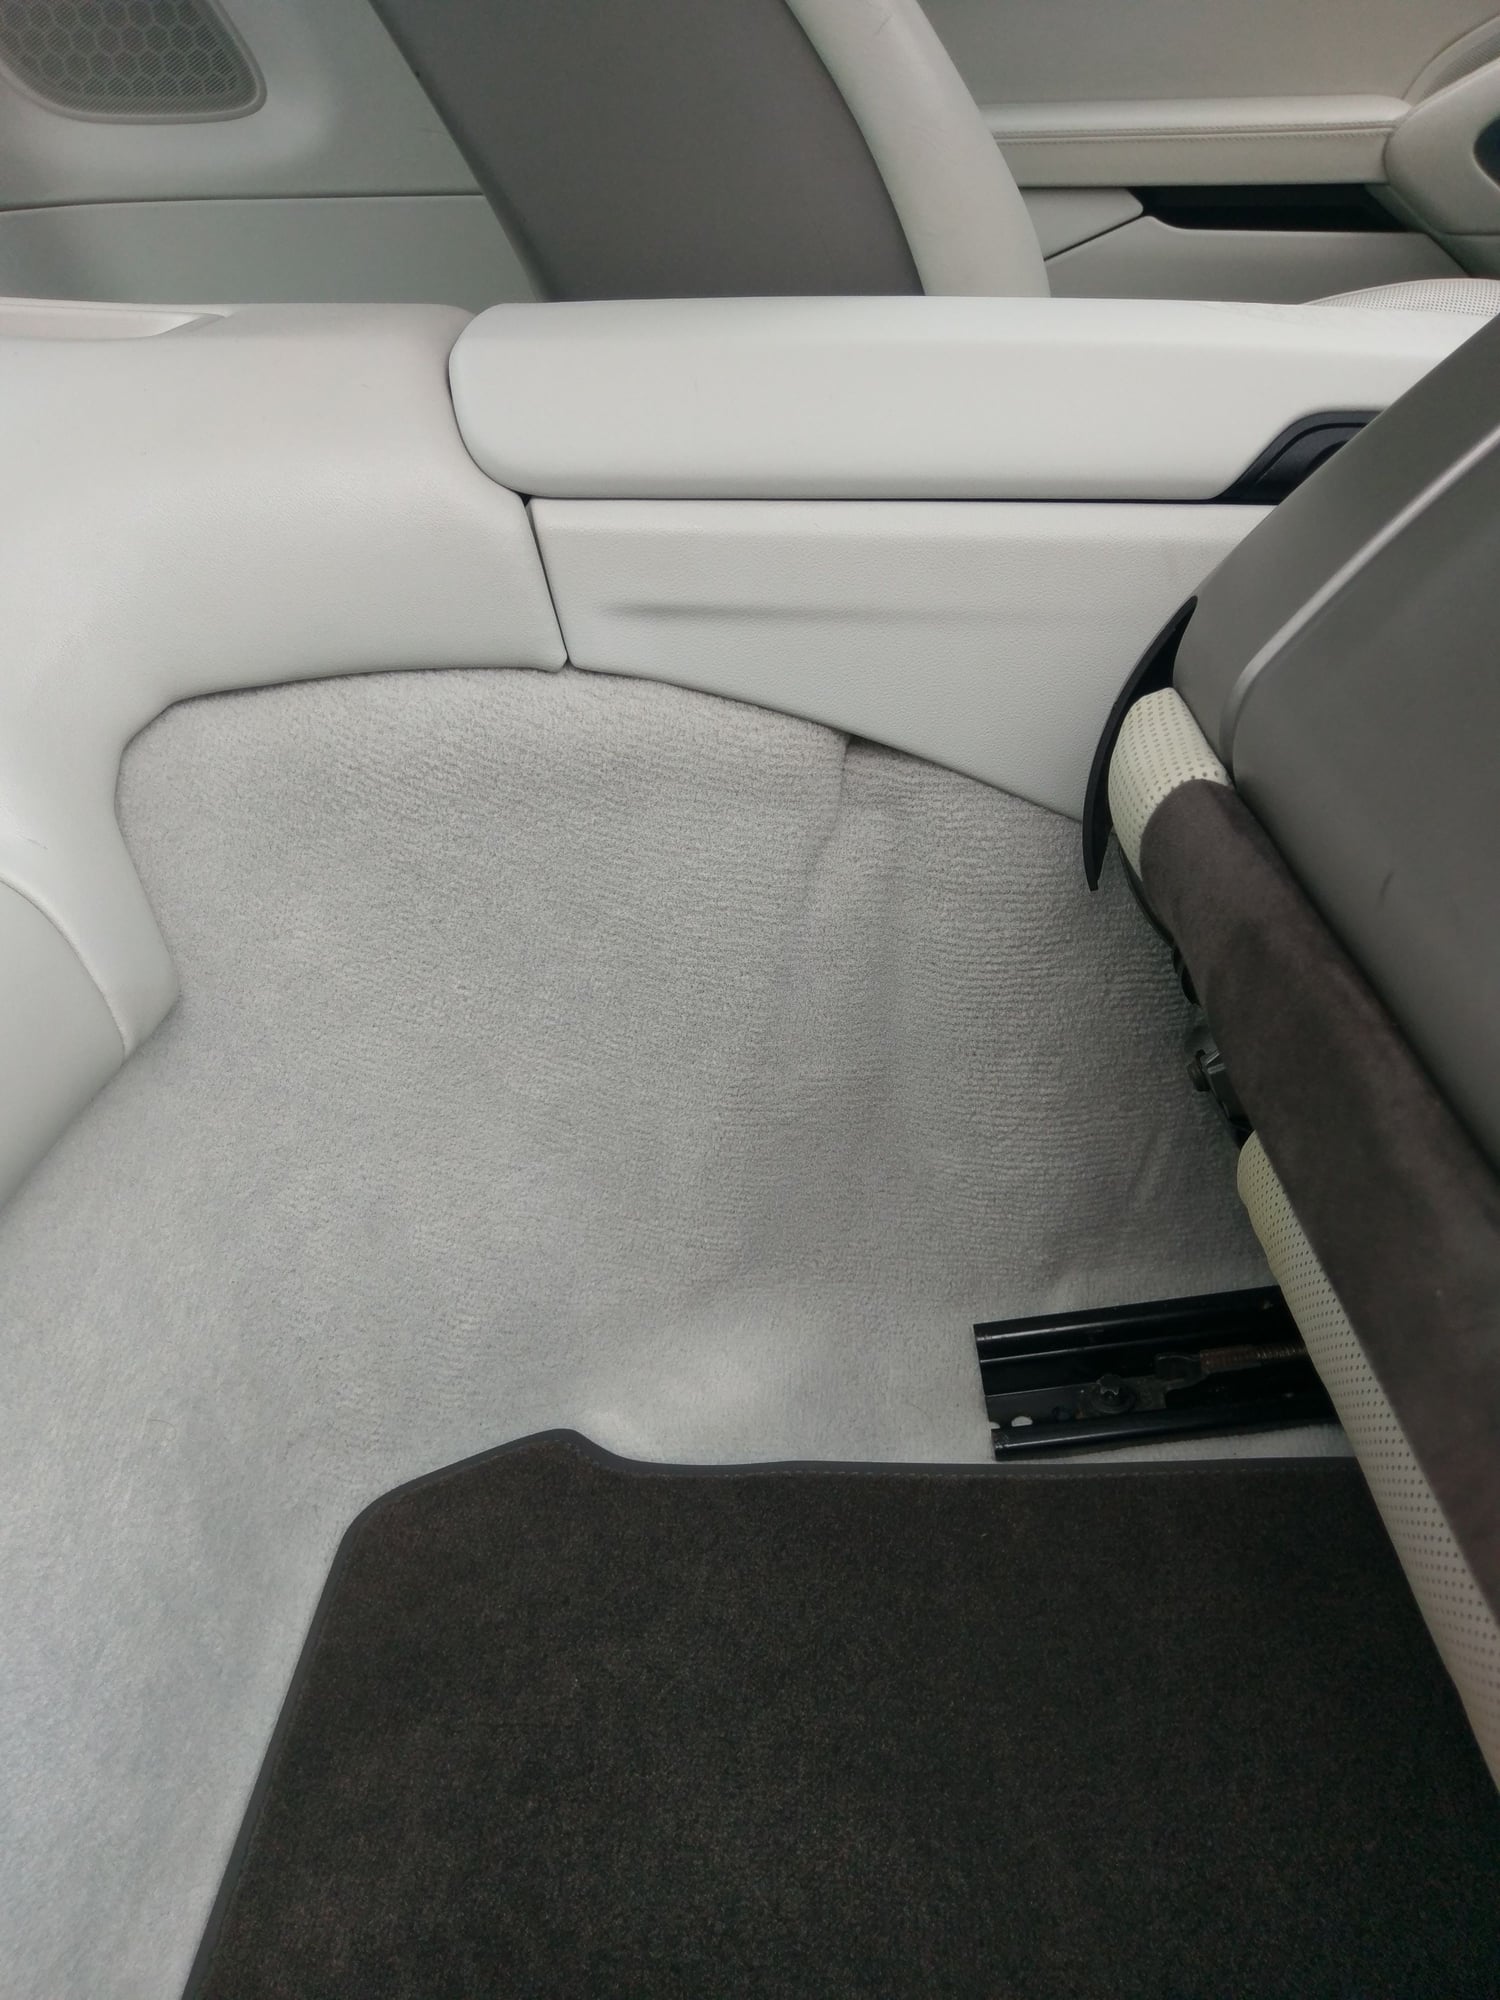
Moderate wrinkling here can probably be avoided by removing rear seat and fully stretching rearwards. With seat in back position this area is hard to see...The problem is caused by the foam "tubbing" and thickness change on inside surface of carpet.
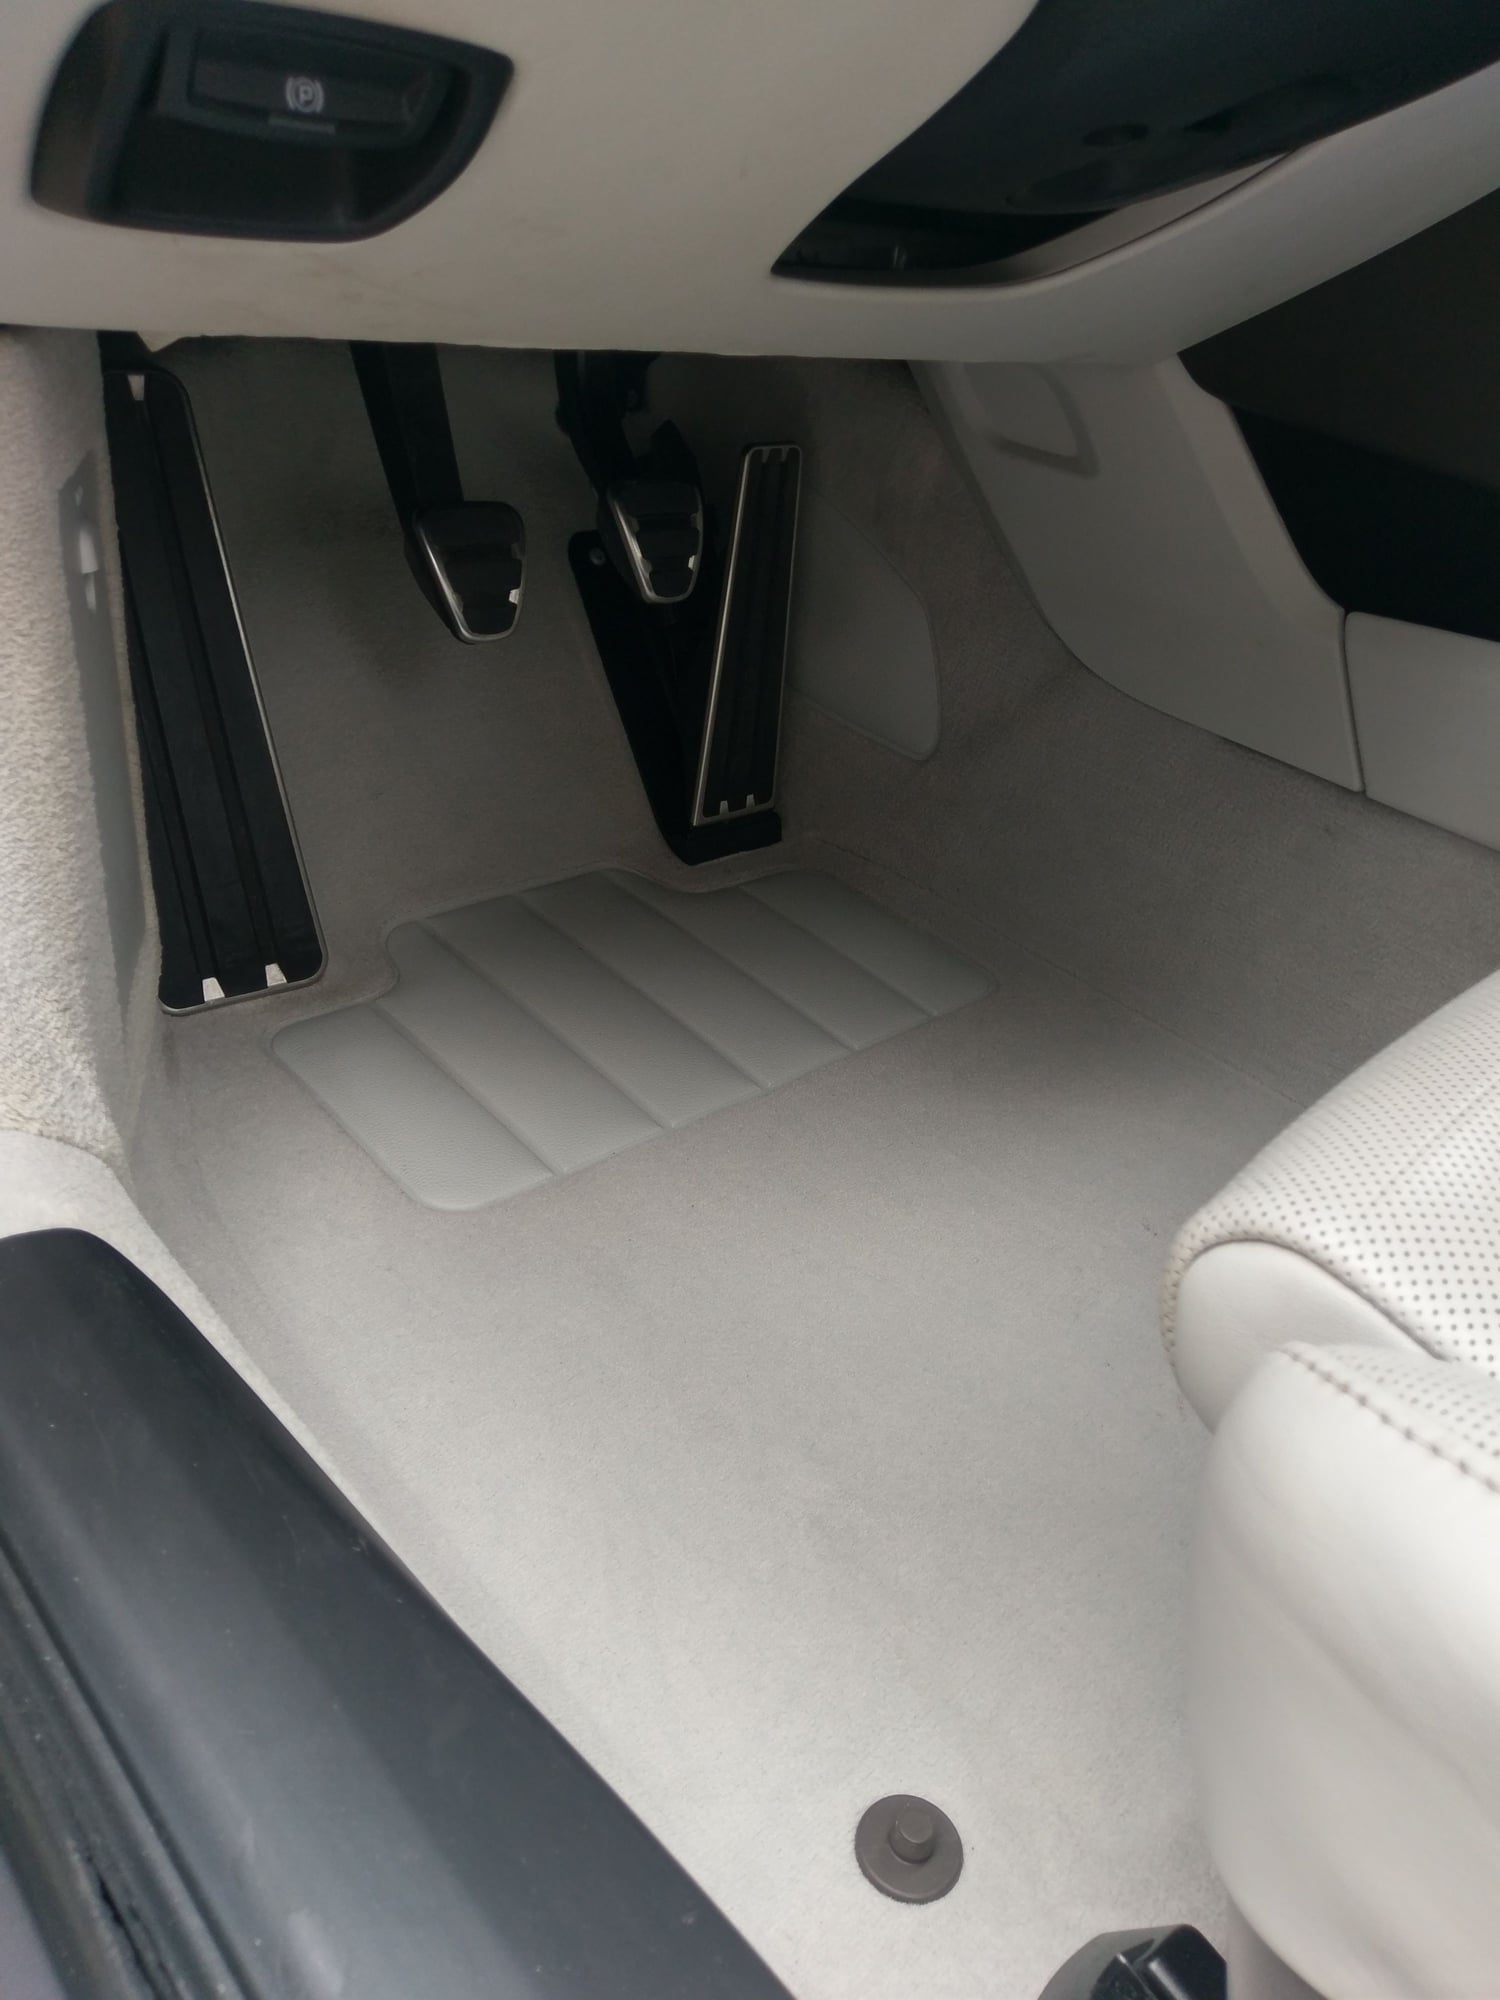
New carpet laid. It is slightly lighter than side-wall at fuse box panel. This can also be replaced later. Perfect fitment however along center console.
Excellent write up!! Looks great, very well done!
Thanks for pointing out the color difference compared to the fusebox liner. I had those omitted on my order and just added them. This just saved me a bunch of hassle.
What happened with the old carpet? Those stains look bad!
*LOL* Not sure what the former owner did but it looks like he drank a lot of coffee on the way to work. I bought the car used recently. Like my moniker I like to fix things. No amount of cleaning was able to help this and I did try with all sorts of products. The pebble grey is just too close to white to restore. One reason to document this was that I was a little afraid that the outline of the carpet implied a lot of tie downs and latches were present to hold the carpet in place. This is not so although admittedly I think the factory is able to secure the center with the velcro straps etc during production. I really didn't want to disassemble console pieces to refit. I found that was not necessary as it is so deeply tubbed and there's enough friction and flaps to hold it in place - it's really not going anywhere once installed. I also found that after sliding the forward most piece of console side off the center (lowest-most) console side it was hard to get it to slip back in and stay together without a larger gap, hence my thoughts not to do much disassembly. I may yet remove the rear seat to get those side wrinkles better but again with seats back they aren't seen. Darker carpets show less as well....No adhesives are used either. Very DIYable. I'd budget 3 hours at least.
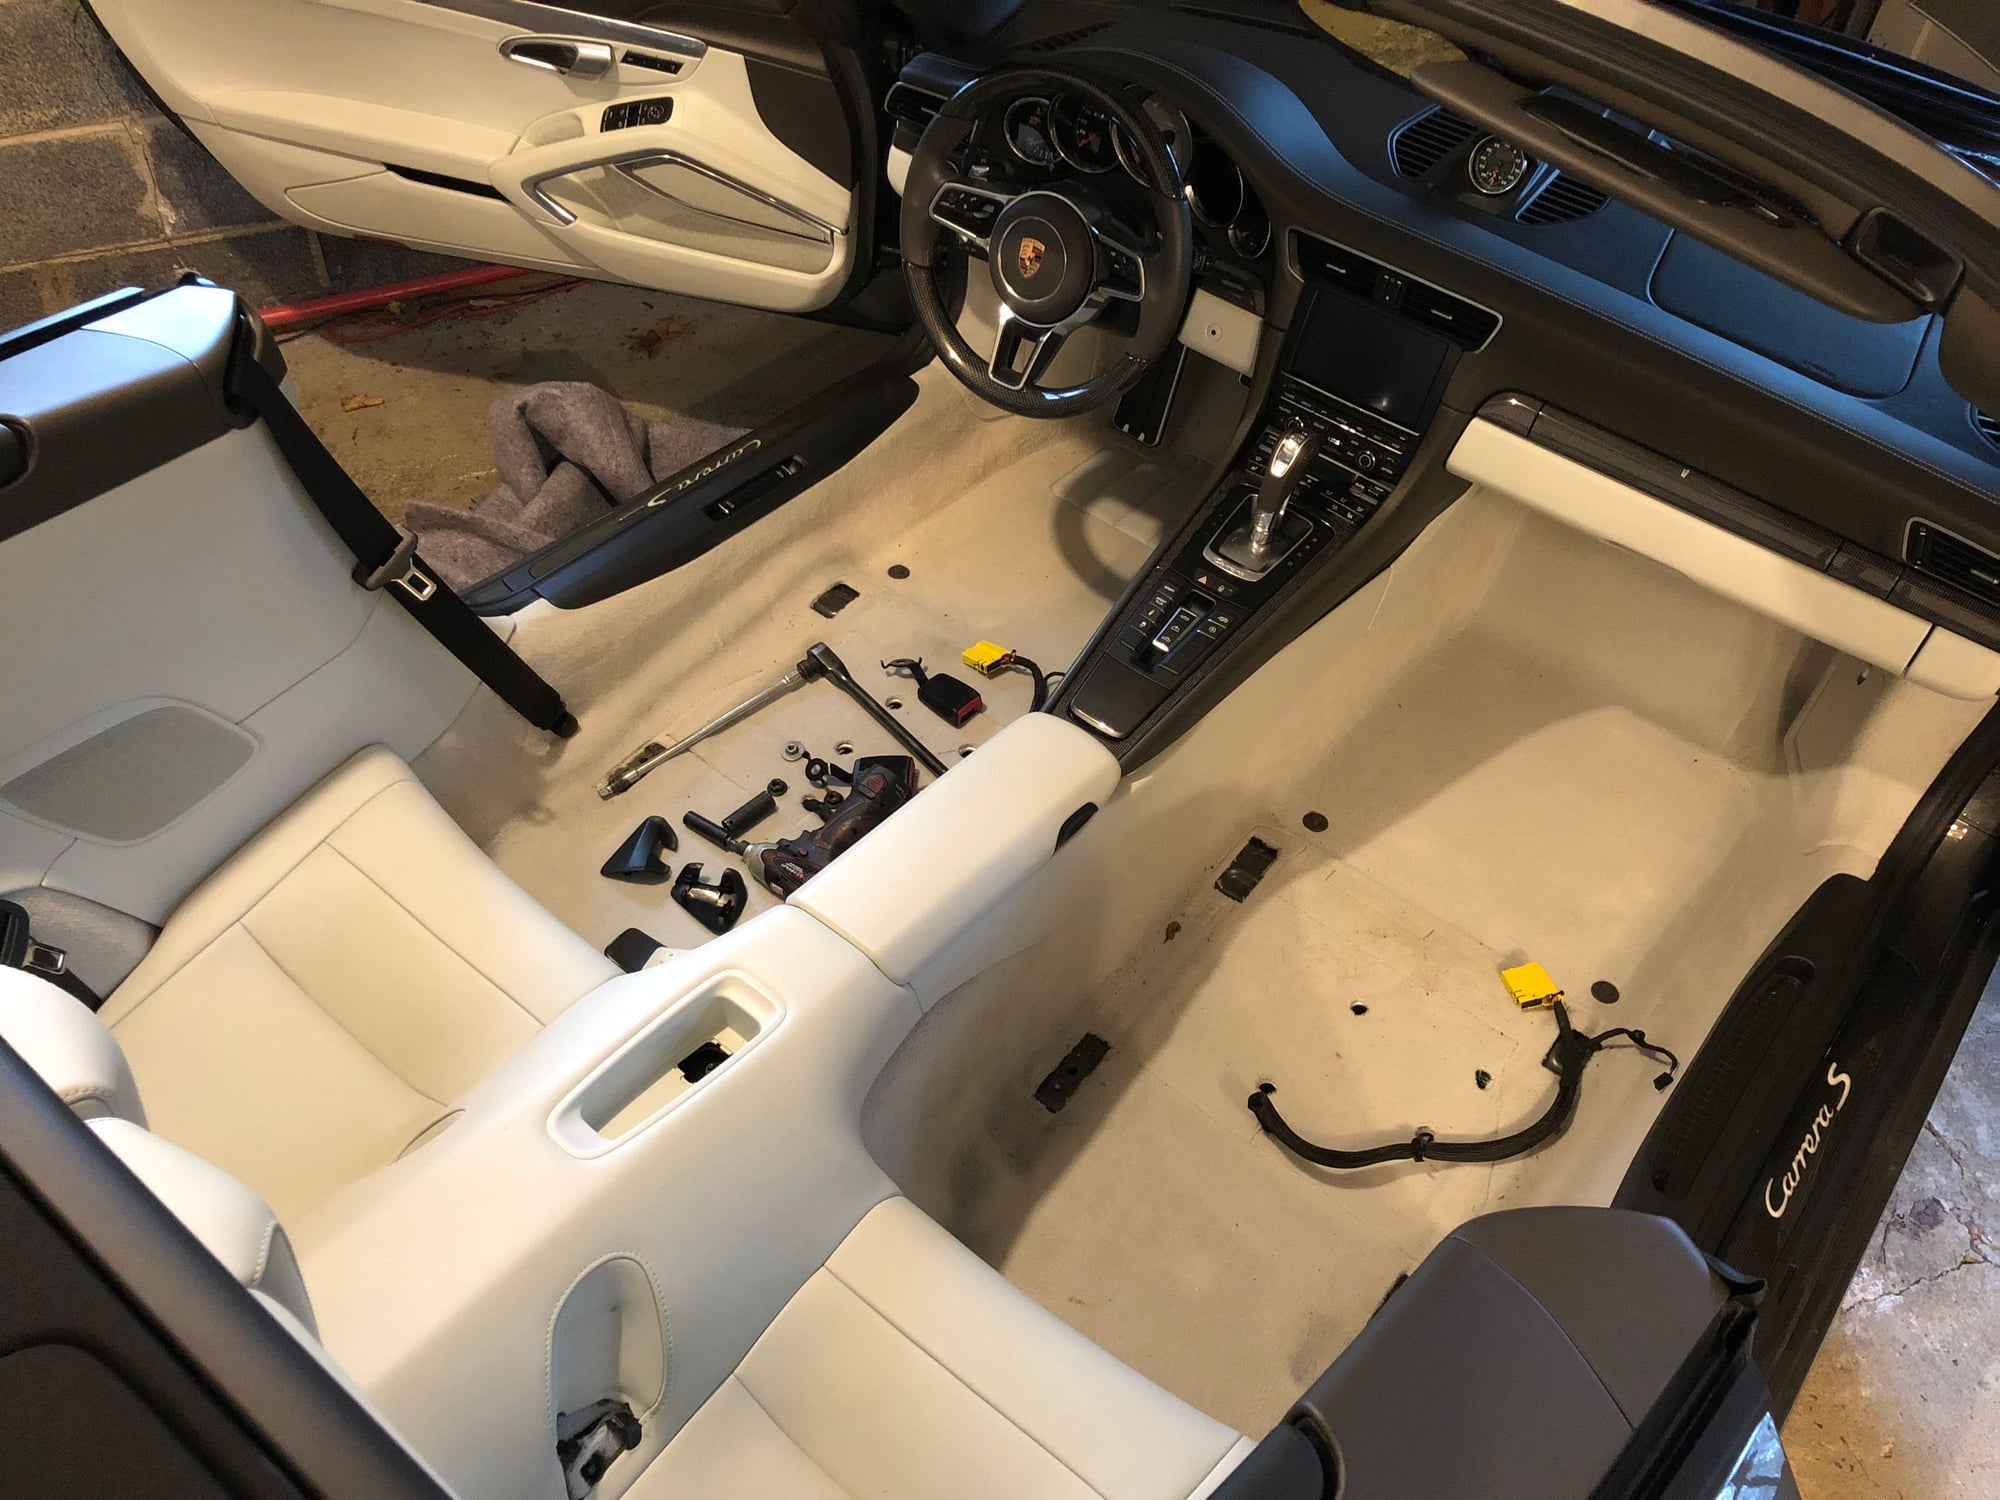
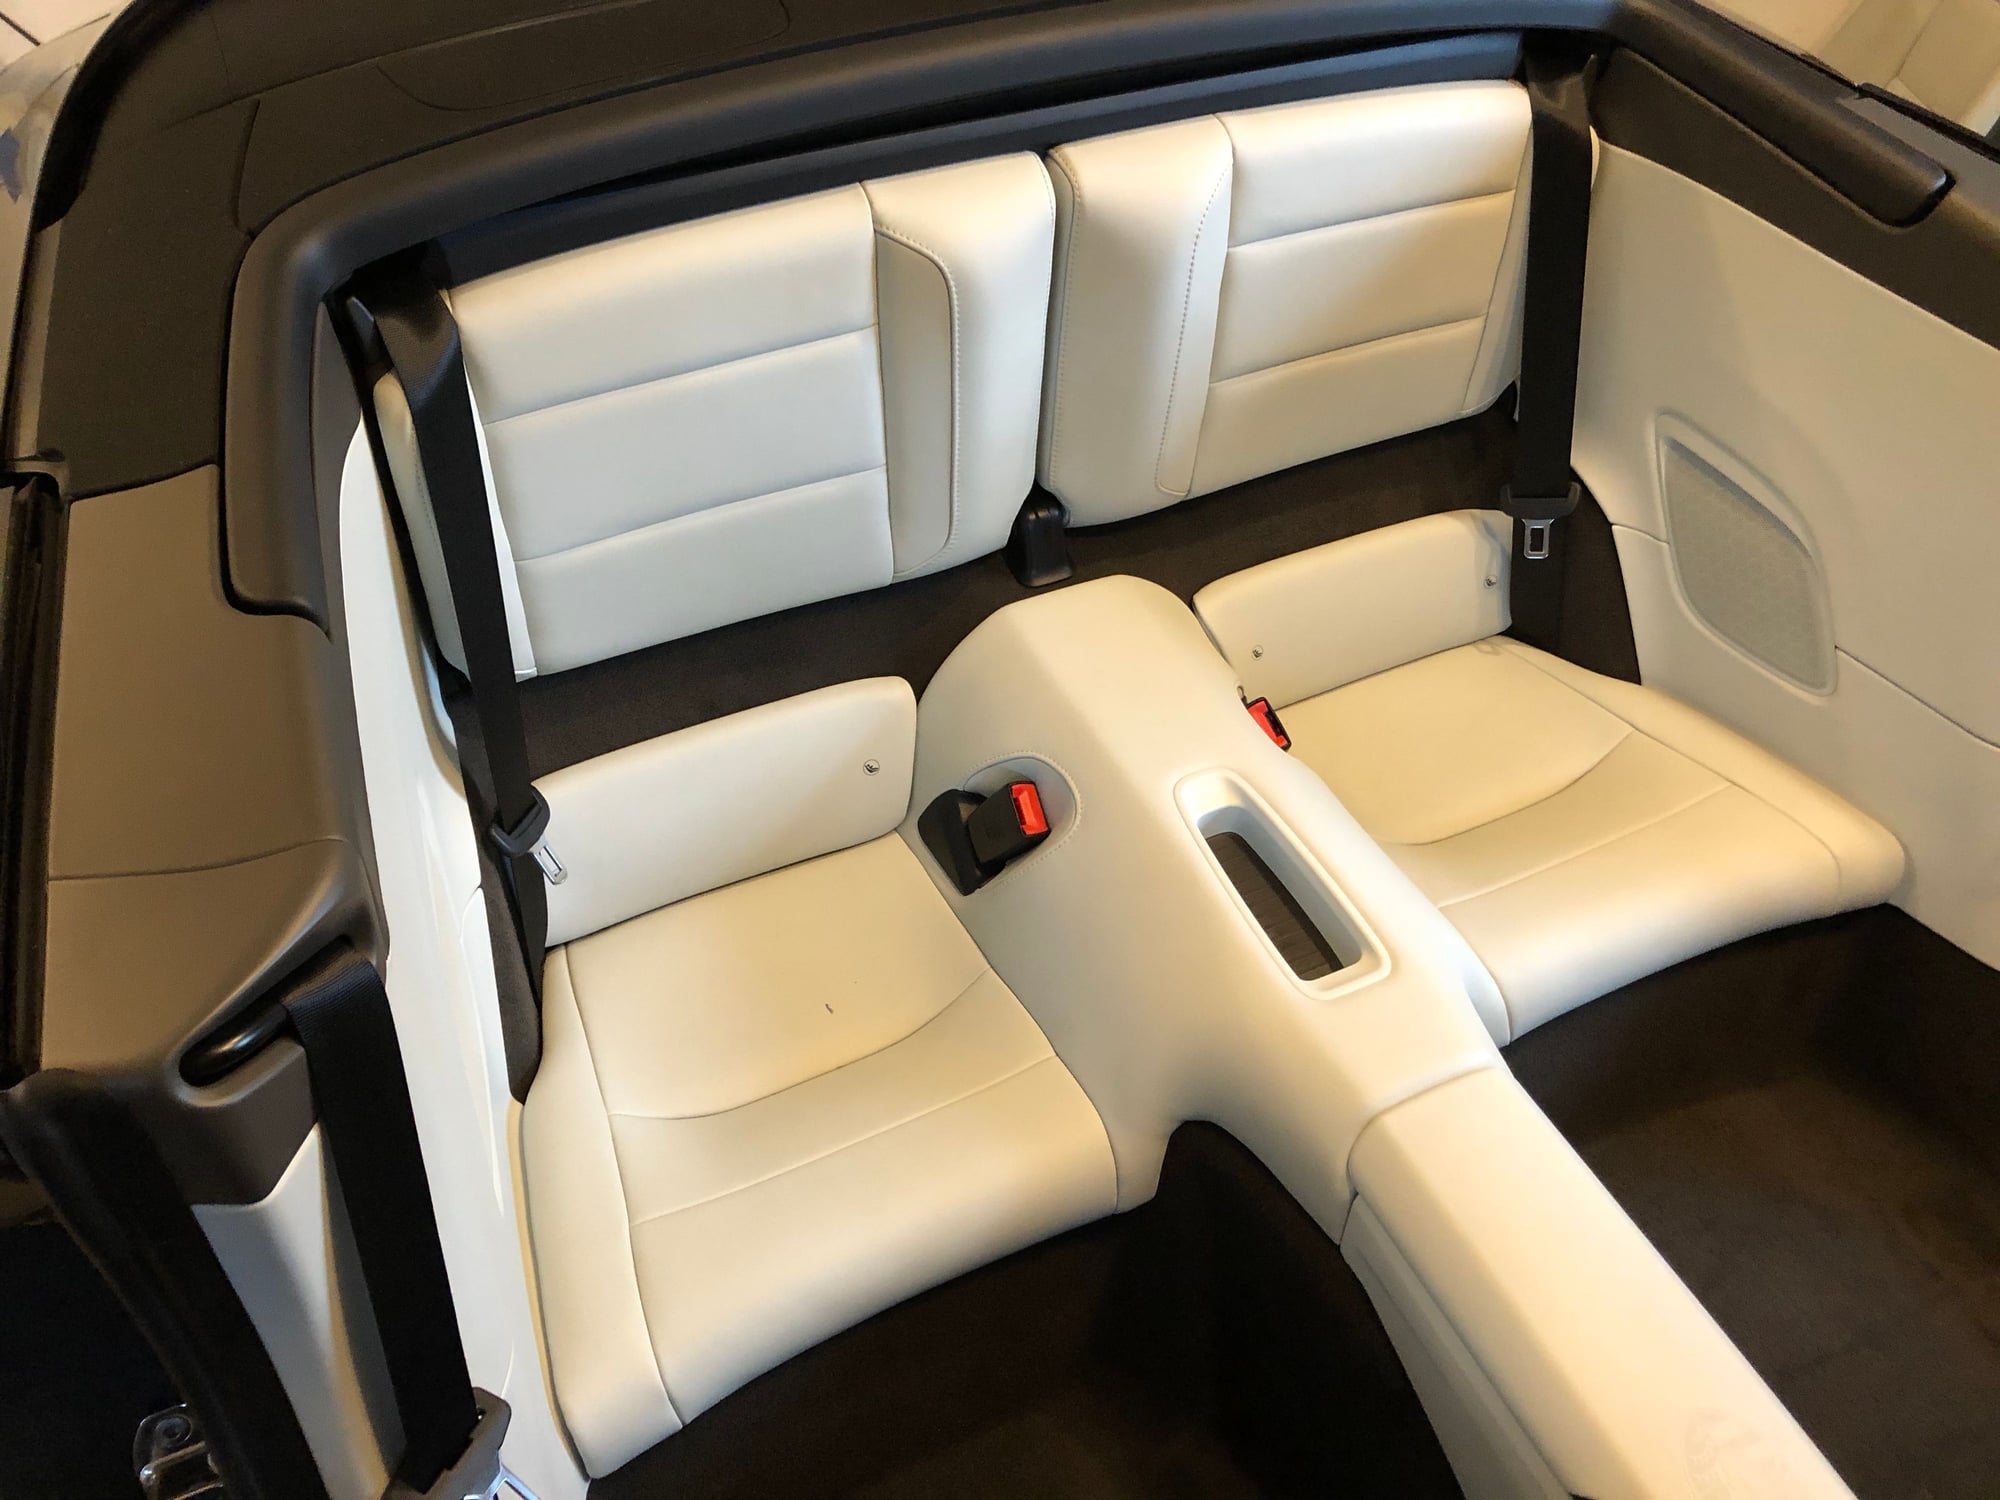
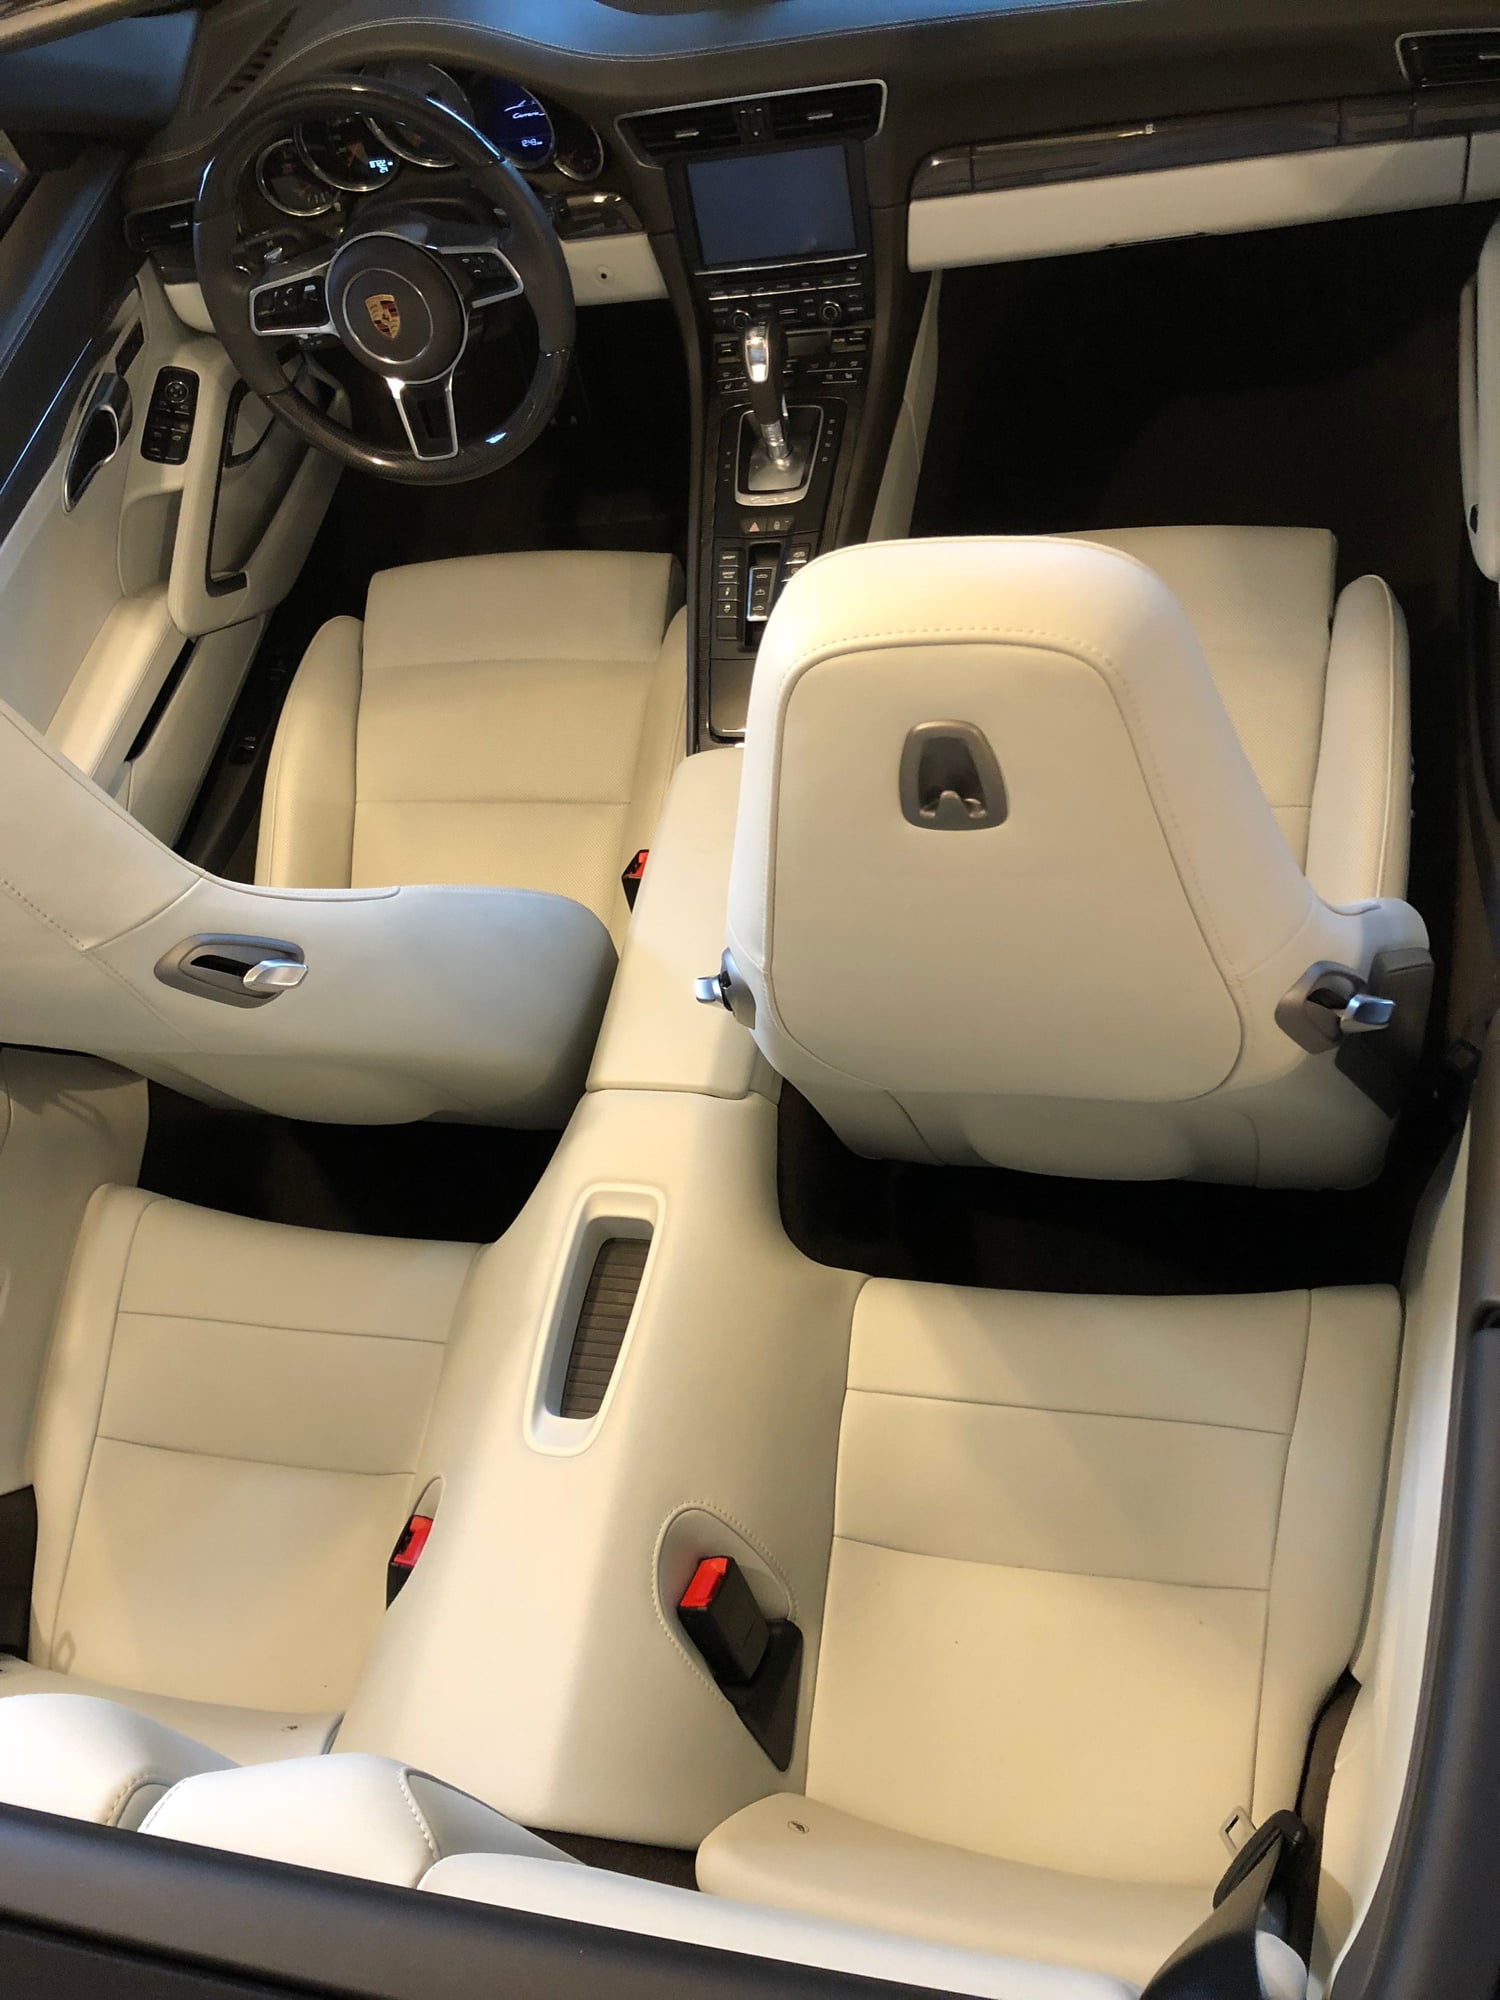
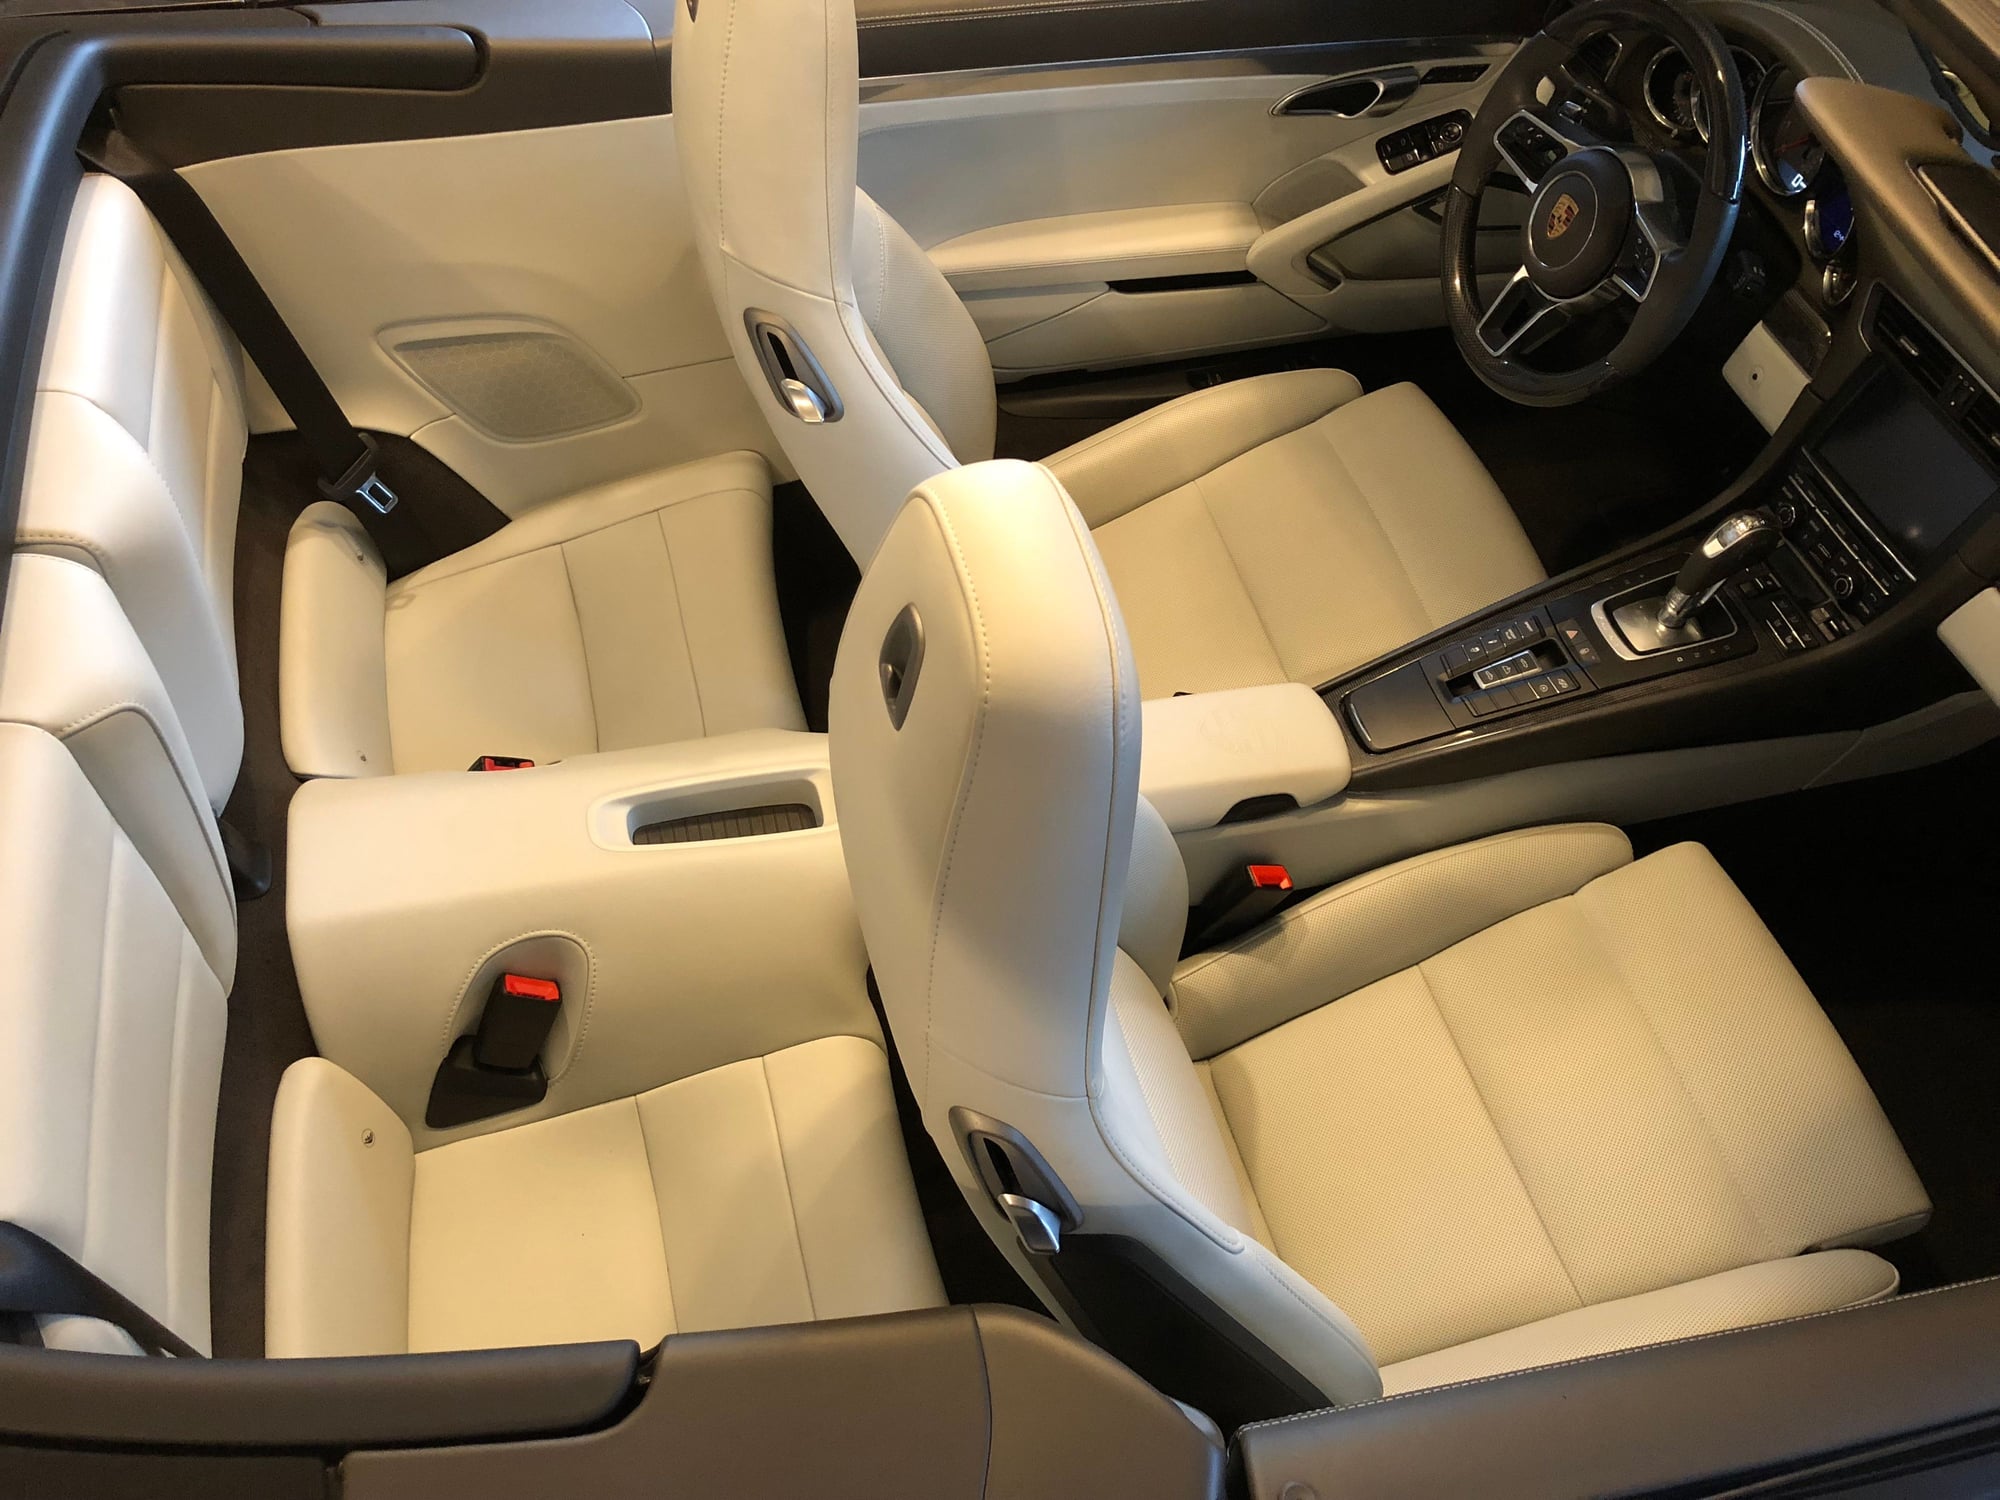
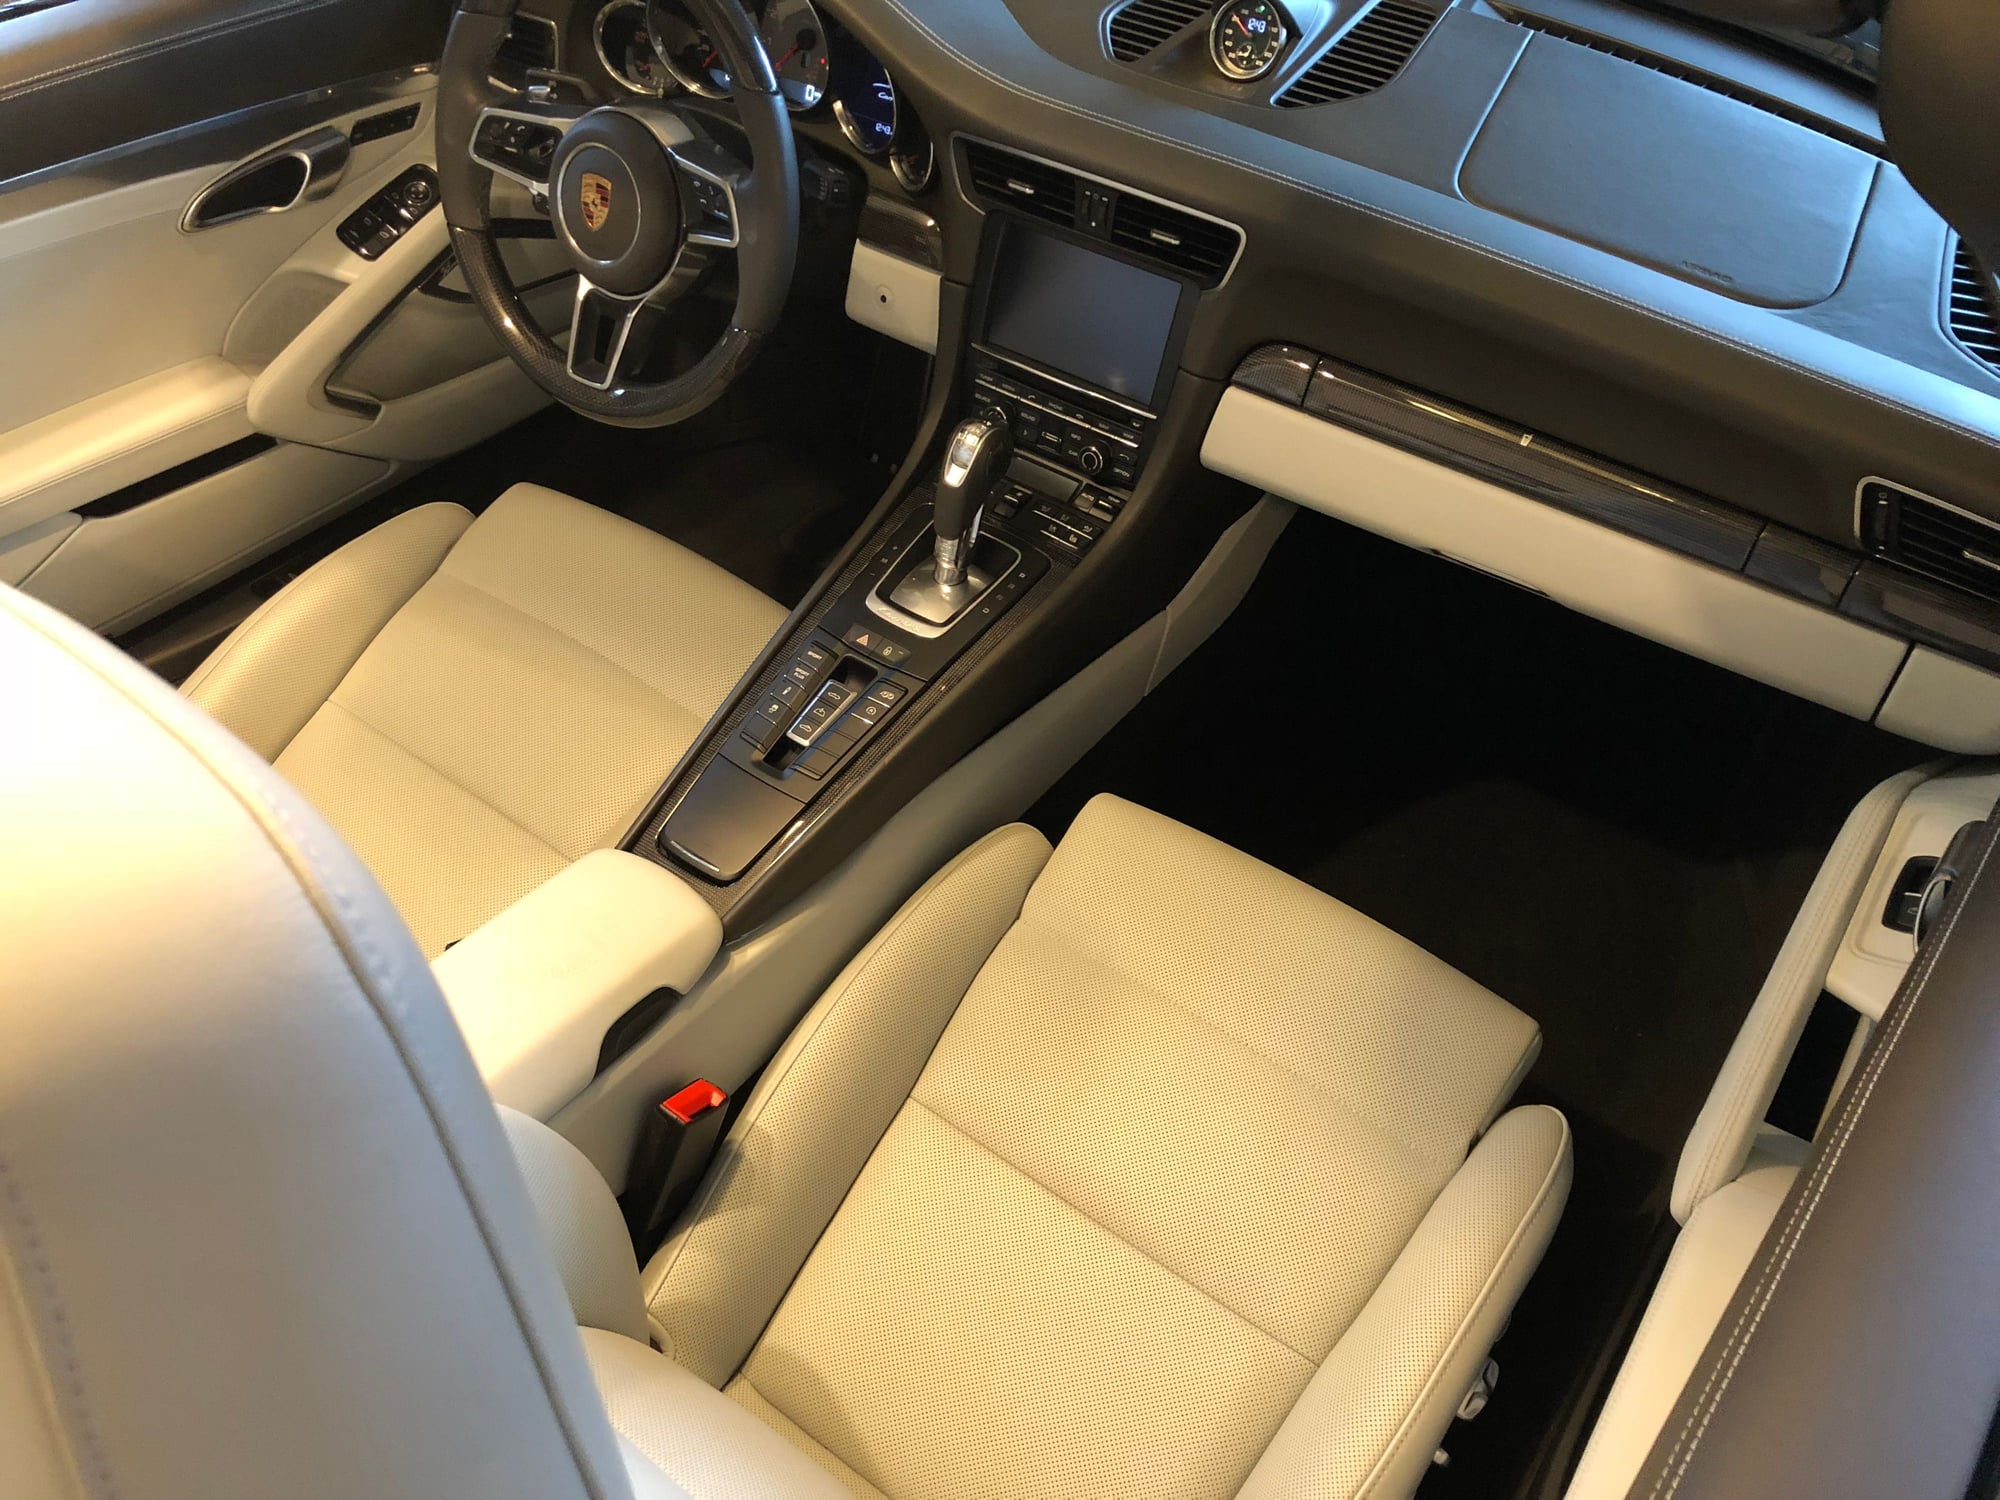
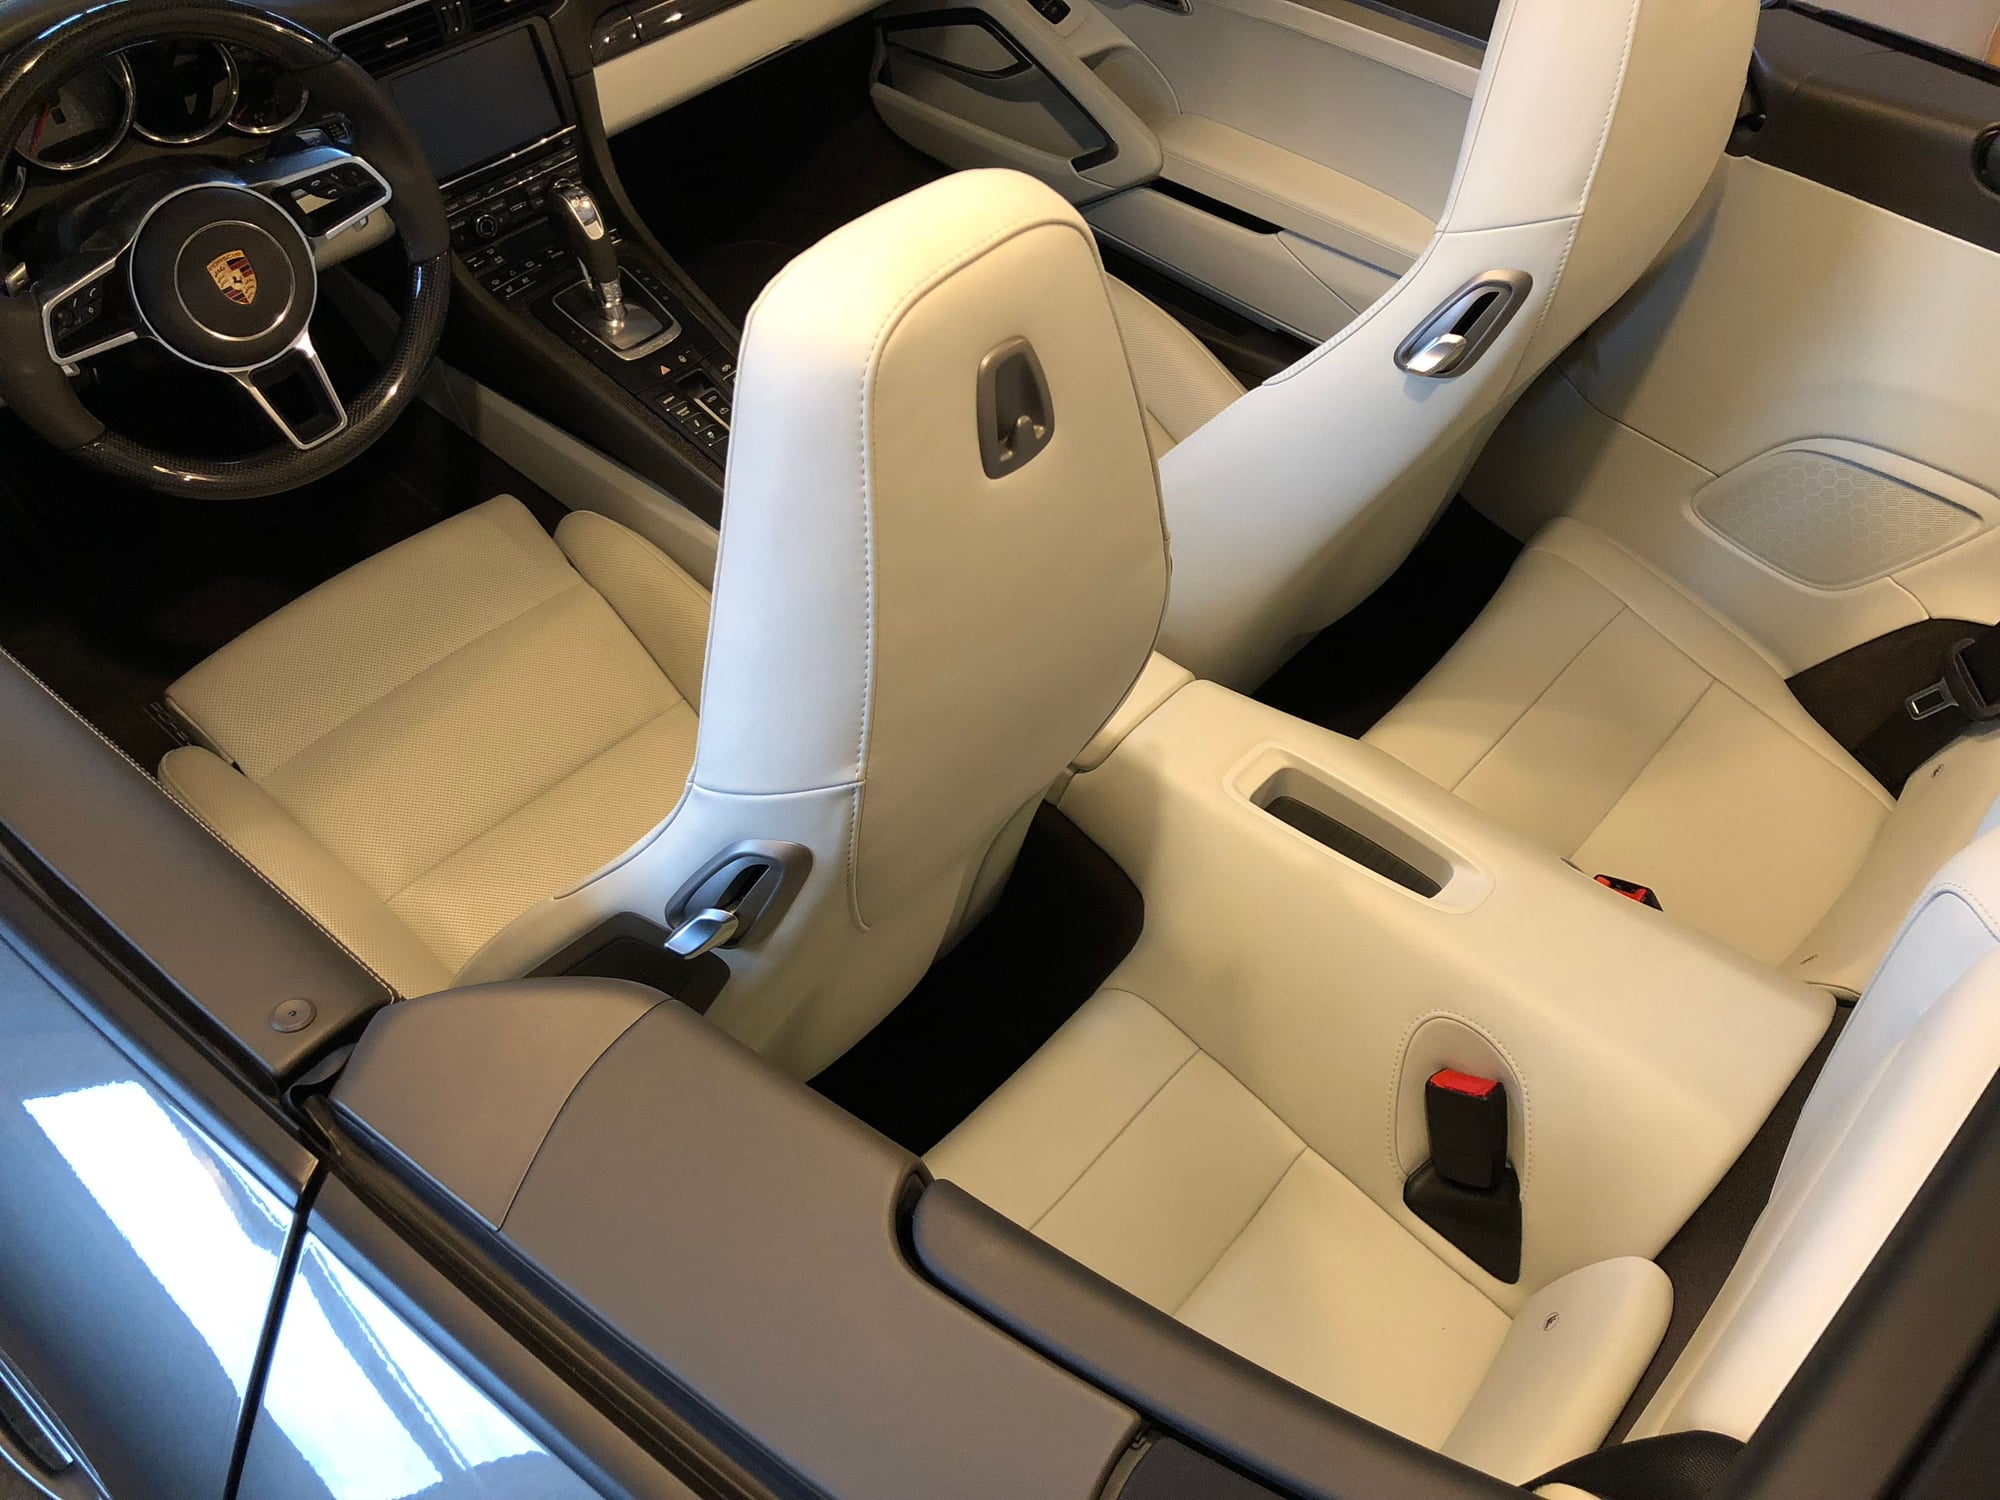
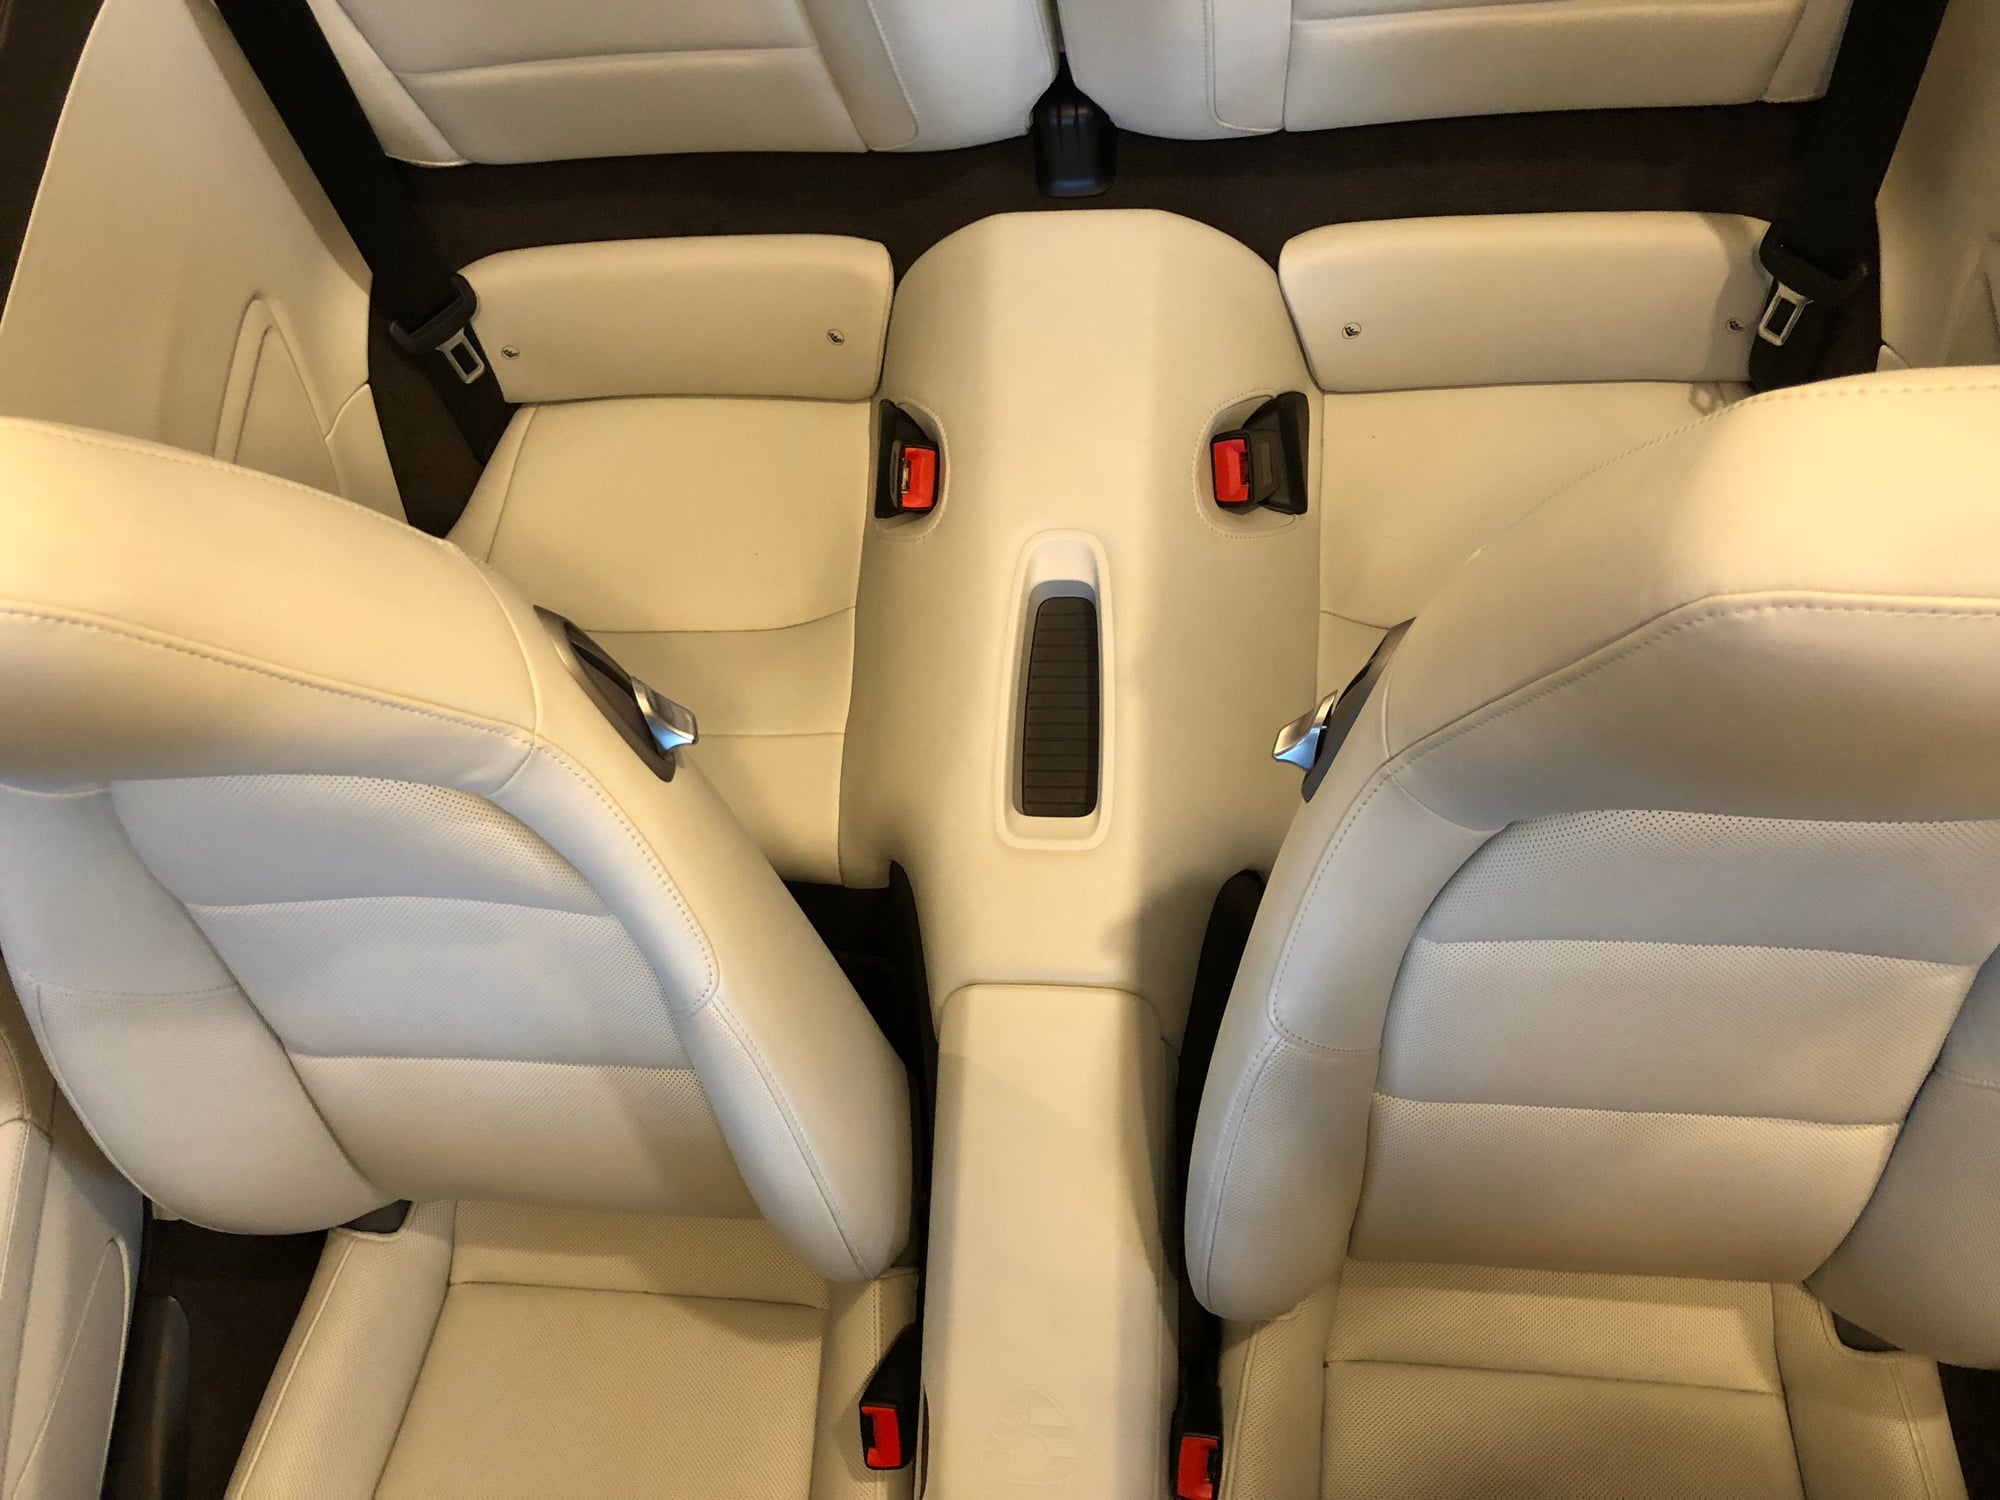
I got some very experienced help in and did the swap today in my garage. It was great seeing the old carpet go out and the new one being installed. I could not be happier with the results. To me, it's like having a new car. Here some eye candy shots if you ever wondered what's "underneath there". Unfortunately no winning lottery ticket or Rolex, but we did find a dummy key fob for the keyless entry, so now I have a spare. A big thanks to Eric - what a great guy and as always his work exceeded my already elevated OCD espectations. PM me if you want contact information. Also thank again to "Restore" for his great write-up.

 12-15-2017, 08:20 AM