When you click on links to various merchants on this site and make a purchase, this can result in this site earning a commission. Affiliate programs and affiliations include, but are not limited to, the eBay Partner Network.
Money2536's Semi-DIY Audio Upgrade **ADDED PART 8: TUNING**
Disclaimer:All you purists better hurry up and click the back button immediately!
Part 1: Introduction and Deinstallation
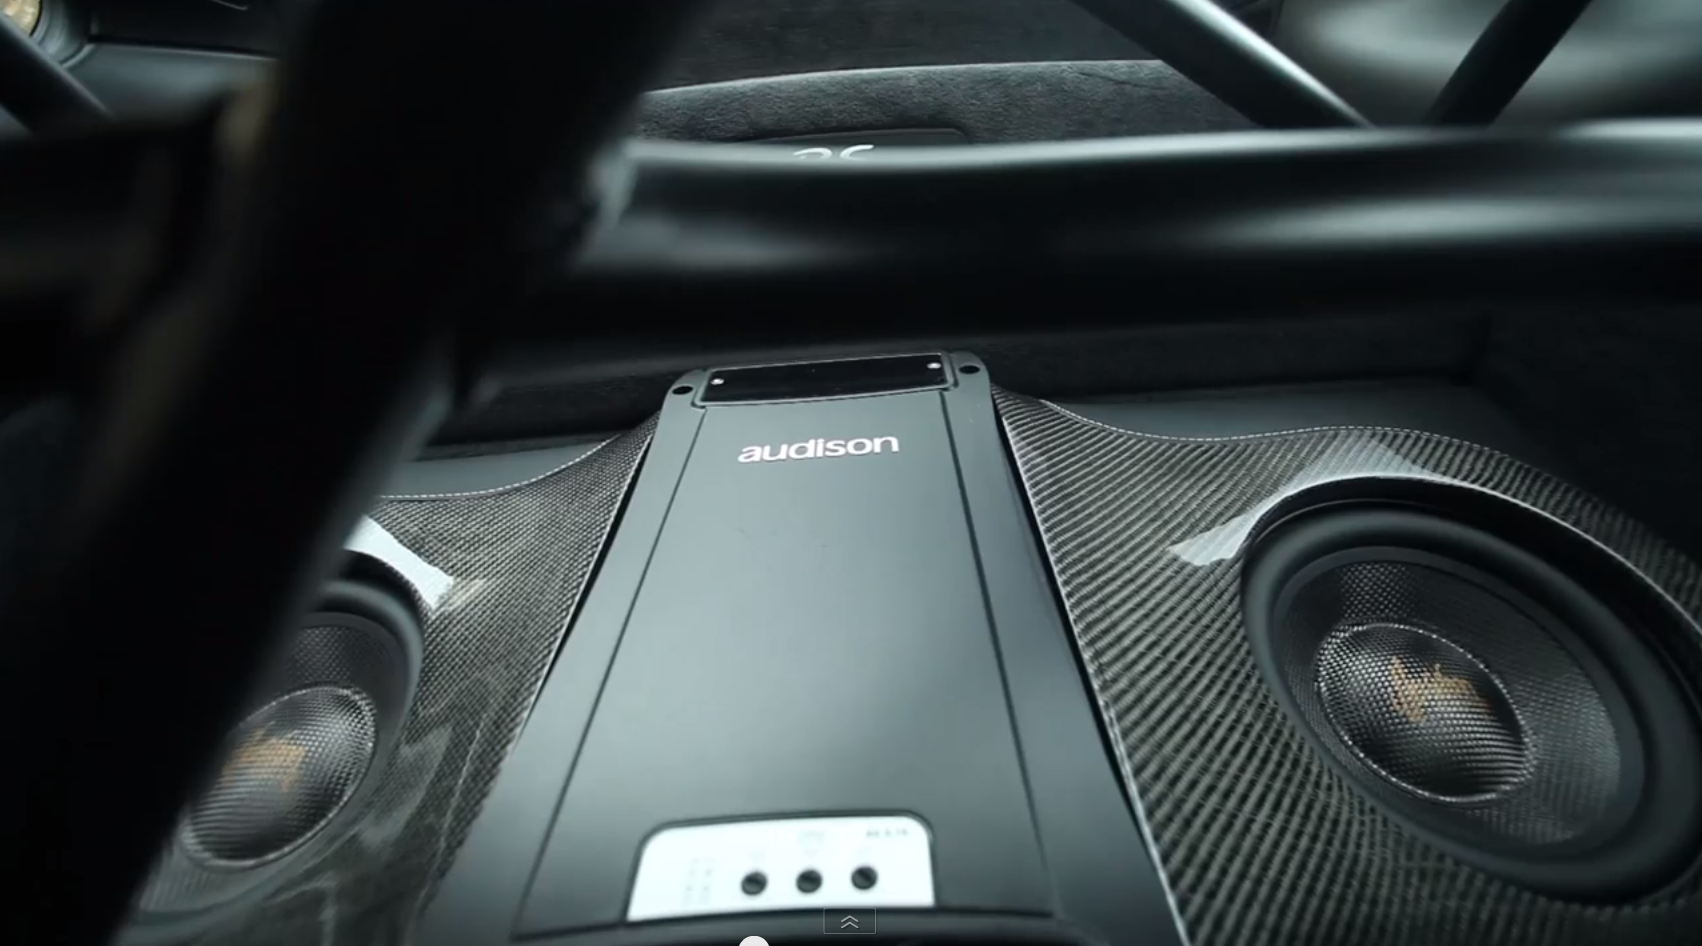
I've been planning this for a while. I was inspired by Joe Rogan's 997 GT3 RS system that has Audison/Illusion Audio. I was planning to upgrade the front stage and have a box like this built.
I took a trip down to the big city to talk "The" guys in town about building a system like this. I did my typical research and decided I wanted Audison Bit 1, Audison AV5.1k, Hertz Mille. What I learned is that a system of this level designed and installed by a pro was going to cost way more than I was willing to spend, like $12-$15K. The equipment is like $4-$5 grand and the rest was an open ended labor cost. I wasn't into that. So I decided to scrap the idea.
Then I saw a post from another forum member that had an install done with DynAudio. Dyn is by-far my favorite driver manufacturer. I have them in my garage and have had them in my IASCA Pro SQ car that I built. I didn’t even consider them because I thought the tweeter was way to big to fit in the dash. To my surprise Sound in Motion (SIM) in Boston figured it out.
My ears favor good ole’ fashion soft dome tweeters. I don’t dislike all metal dome or ribbon produced high frequencies, but me and Dyn are just meant to be. *So now my pursuit to get DynAudio began.
I sent the guy with the system a PM on Rennlist. He didn’t know much about it other than the system sounded freaking awesome! He suggested I check Sound Motion’s Facebook page for updates. After a week or so I found it.
The system was exactly what I wanted. There was only one problem. They are in 1,500 miles away! So my crazy brain started turning. I don’t have any fabrication skills, but I know how to use a screw driver and a ratchet. I decided, “Why not reach out to SIM to talk about making a turn-key DIY system?”
When I first got Jim on the phone I think he thought I was crazy. I attempted to explain what I wanted to accomplish:
I want them to make me trim rings for the Dyn drivers.
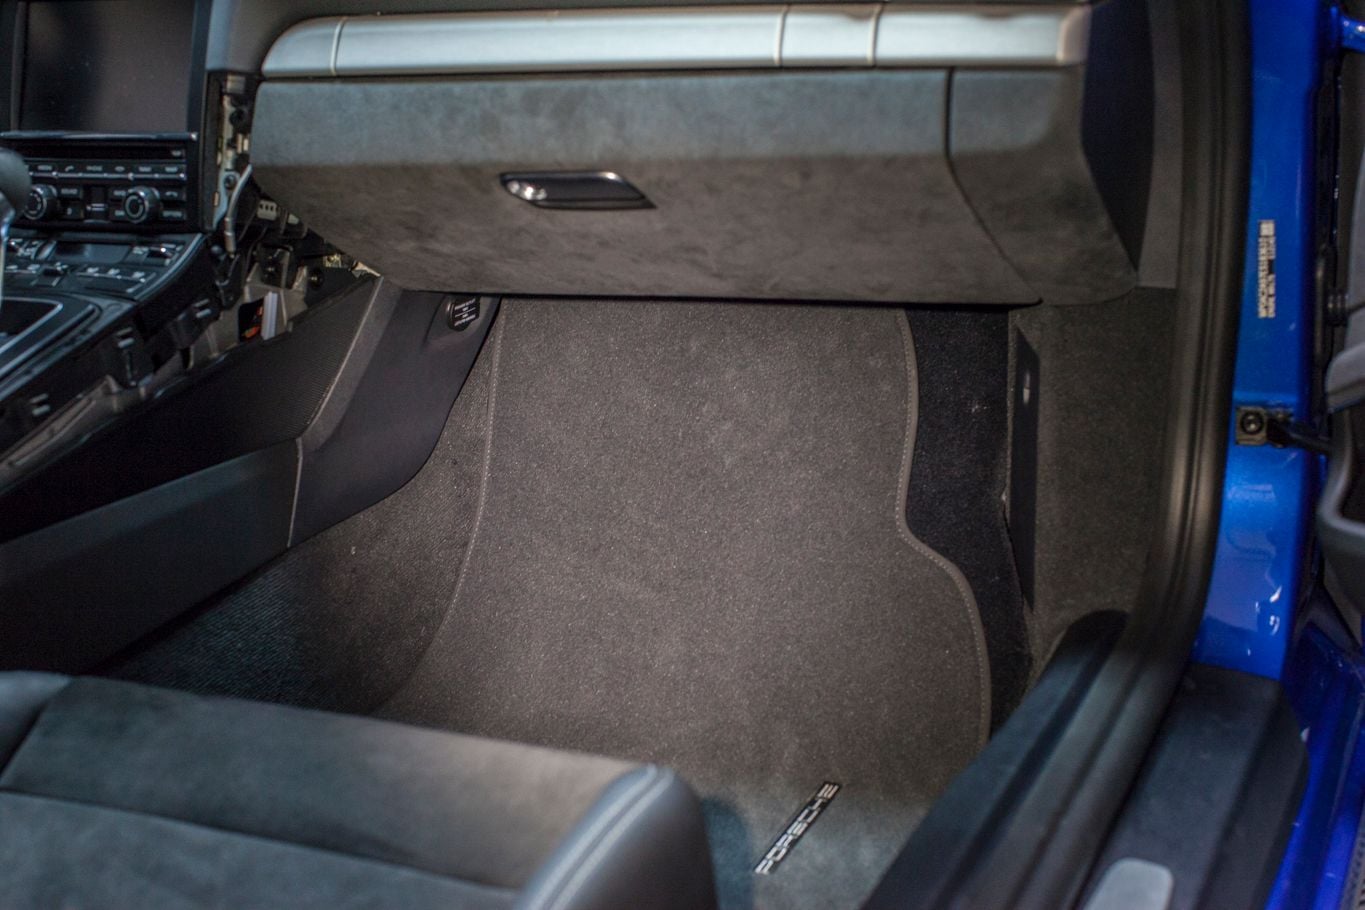
I wanted his opinion on their amazing passenger footwell sub enclosure. *I was sold in minutes.
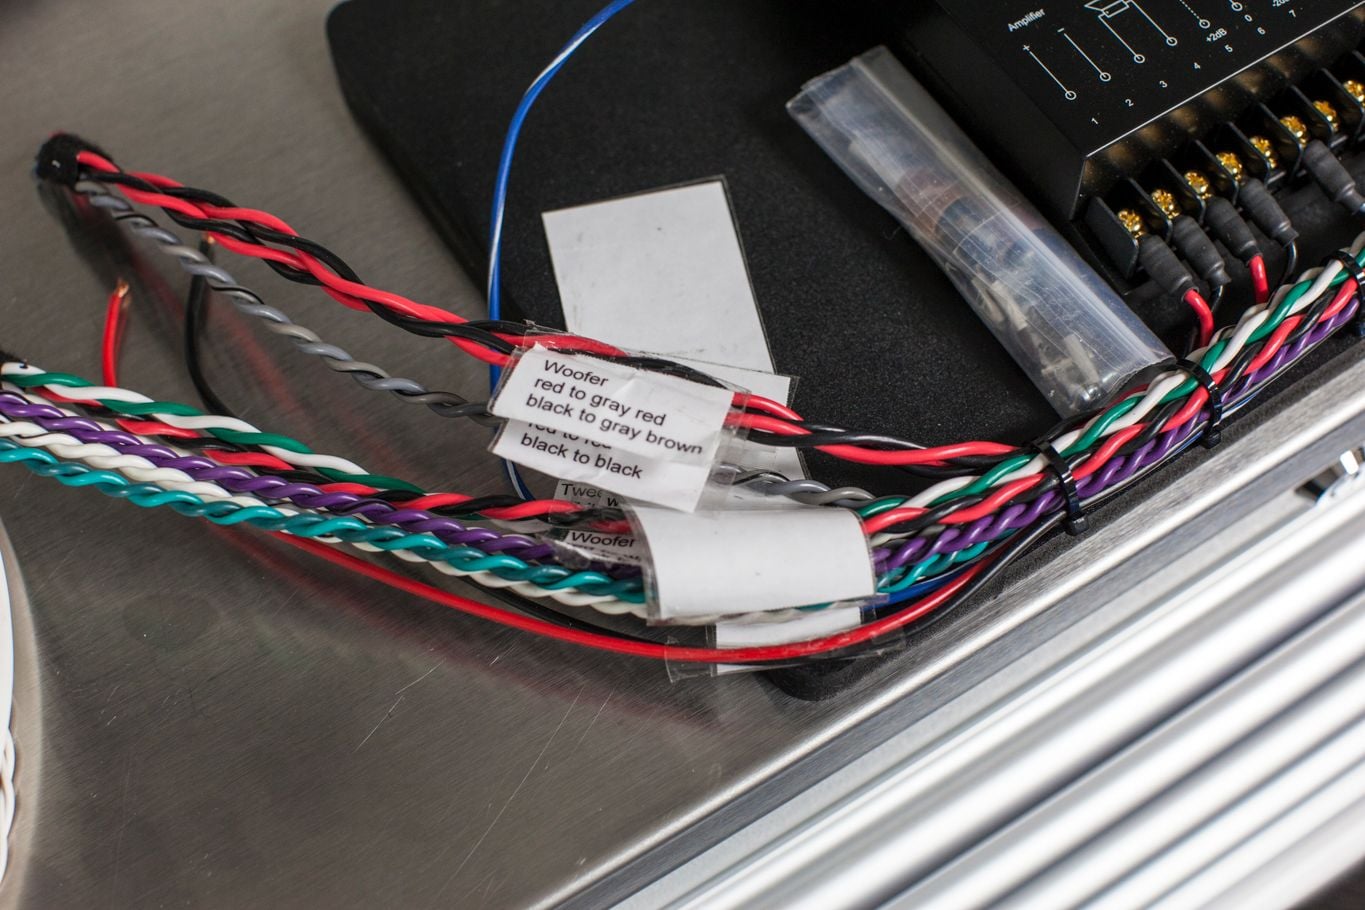
I wondered if they could make a wiring harness with a diagram on what wires get connected to what.
Pre-Tune the Mosconi DSP, and set it as ready to go as possible.
Fabricate Amp and crossover/processor racks
Can we do this without drilling, cutting, or modifying?
I wanted the system to be modular and easily reverted back to stock.
I didn’t want add a ton of weight.
Etc.
After some convincing and explaining that I have some experience with installation and know how to use a ratchet, he started to process my requests. Jim asked if he could have some time to think about. A day later he sent me my proposed invoice. He talked to the install team and decided this was very doable, so over the course of a month or so we hashed out the details. After some back-and-forth on my part and changing my mind from three way to two way about five times, we came to a resolution, price, and equipment.
So here was the plan:
Front Stage - DynAudio Esotec 242 System (2-way system with 6” woofer and 1” silk dome tweeter)
Disconnect Factory Center Channel, 3” Mids in the doors, and 3” Mids in the Rears
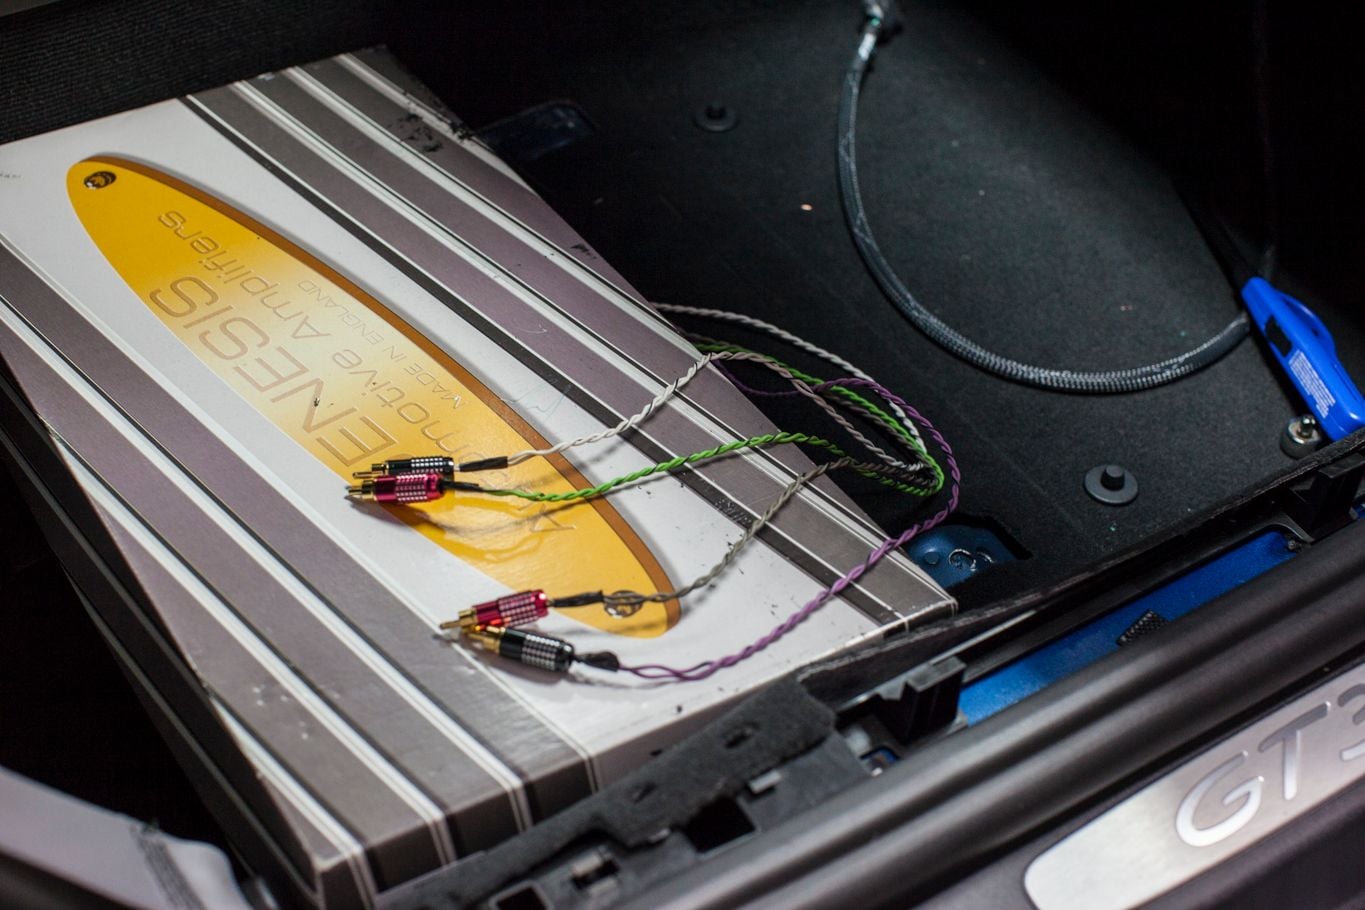
Amp - Genesis Series III Four Channel
DSP - Mosconi Processor
Factory PCM Head Unit
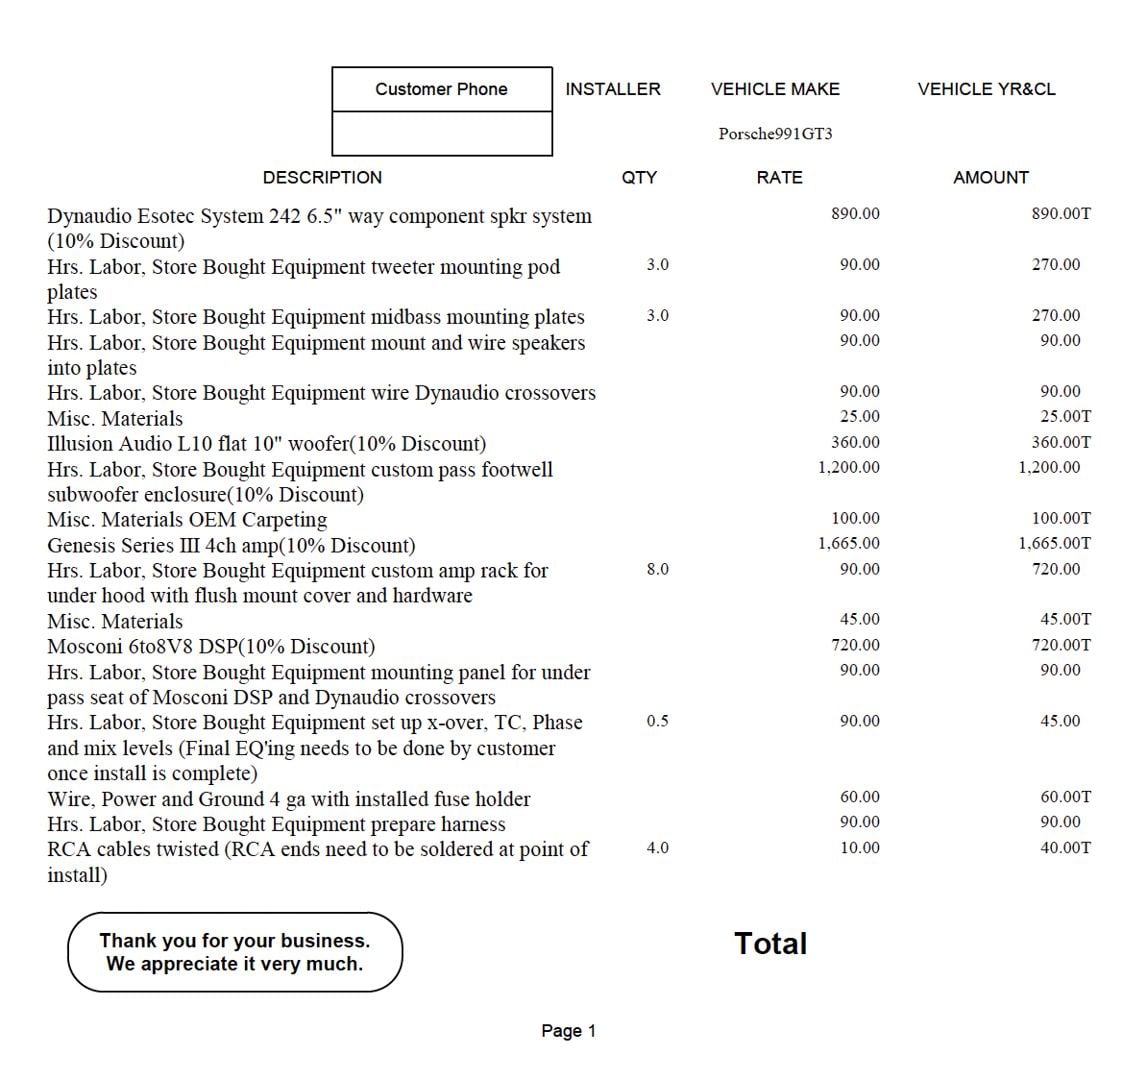
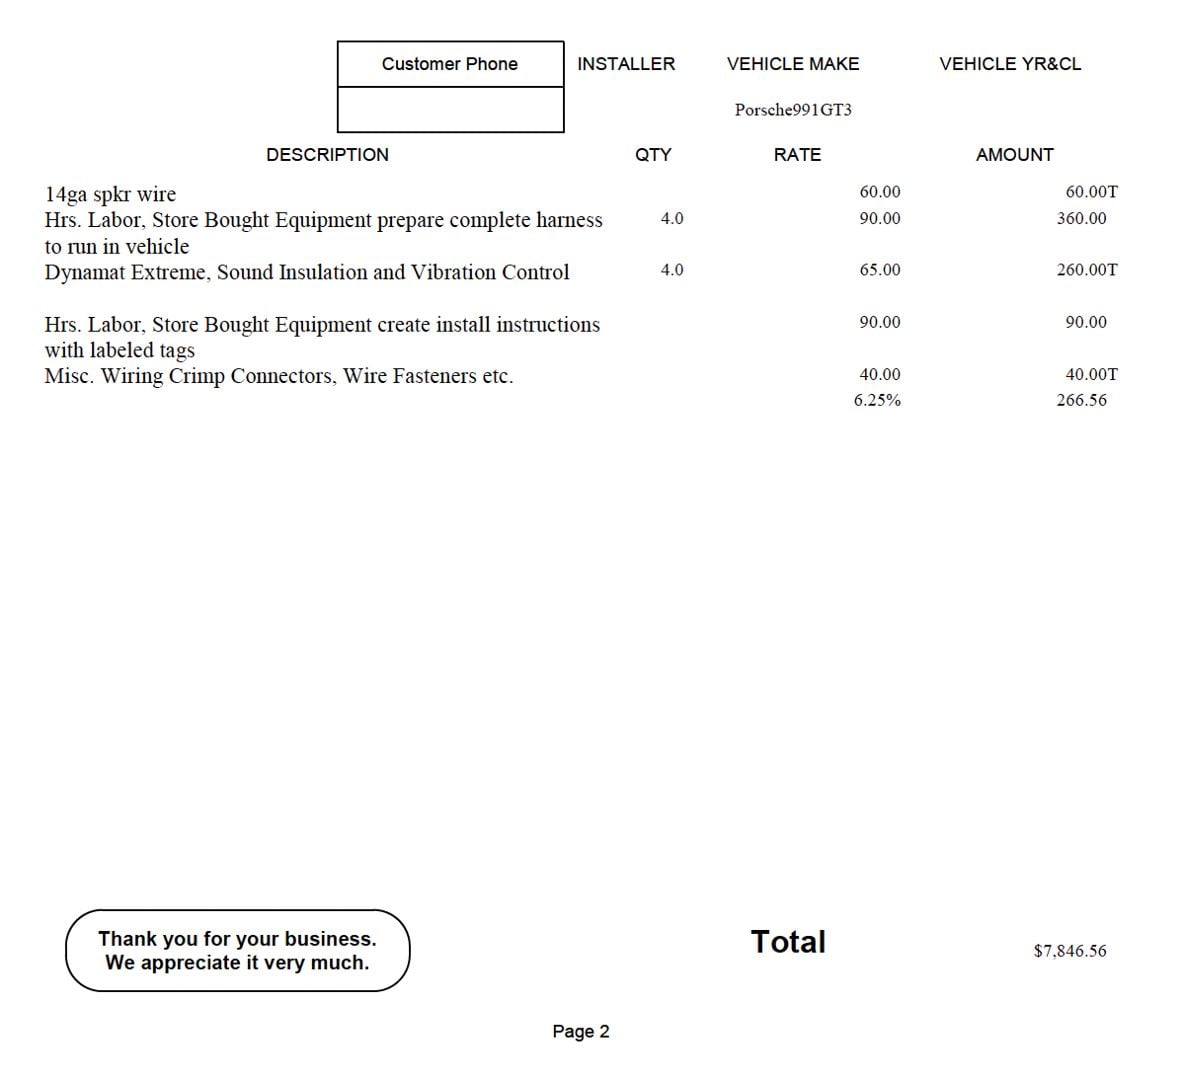
Here is the invoice:
Obviously, this is an expensive option. The cost of things like the box and the amp rack are based on labor rates, but the equipment could be upgrade or downgrade able. I would guess you could get this down to a little less than $5,000 if you used lower end equipment. You could consider doing a 5 channel amp and actively power the separates. You could also have them configure a three way system with 8s in the doors. It put me up into cost territory that I wasn’t prepared to enter although I really wanted 8s in the doors actively powered.
Jim politely suggested I make my decision as they had another 991 GT3 coming in for a similar system. That way they could make my brackets, sub enclosure, amp rack, wiring harness, etc when they had that car available. So I gave them the “go” signal, and they were off to production.
Building/prepping everything took about a month. They want to make sure they had everything right and ready to install. Once I got the call from Jim that everything was ready to ship, I decided to pull prep the car for the install.
I'm still amazed at how easily this car comes apart and then goes back together just like it should. I've owned other cars and have taken them apart. Most of the time I would break panels or tabs and things never seemed to go back the way they came apart. I guess we should expect this on such an expensive car, but I was shocked by it.
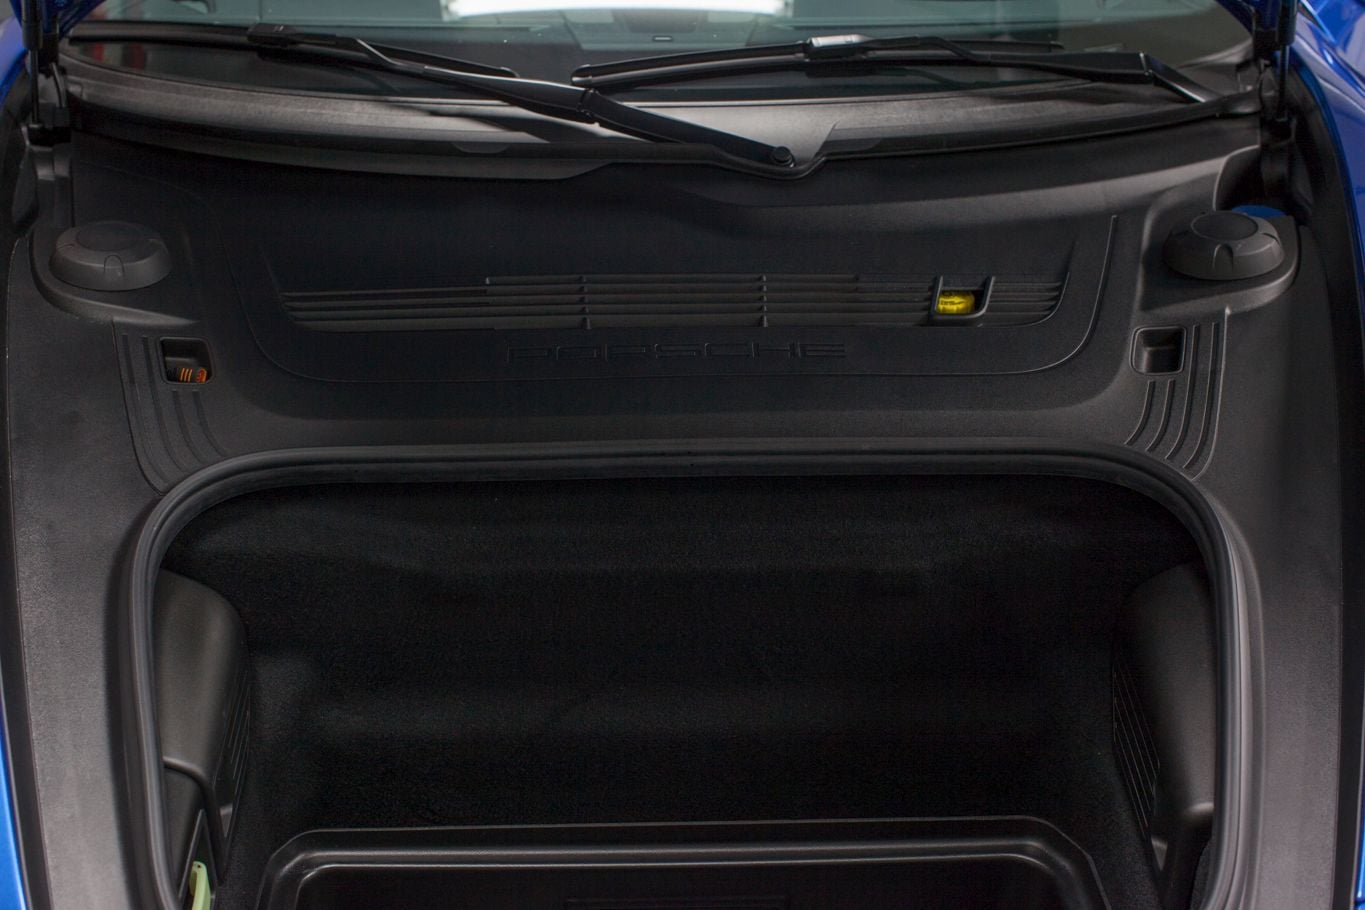
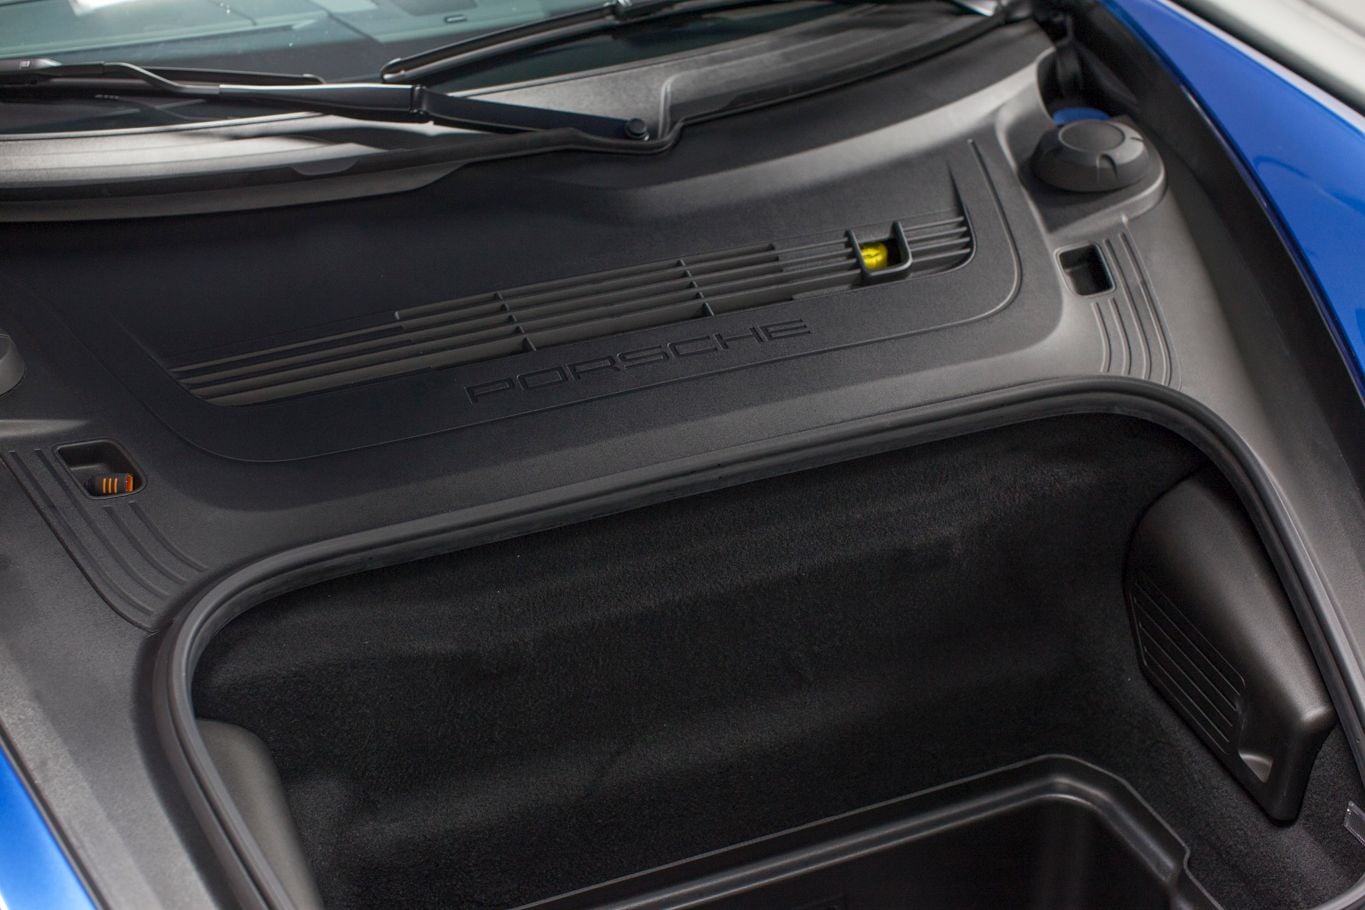
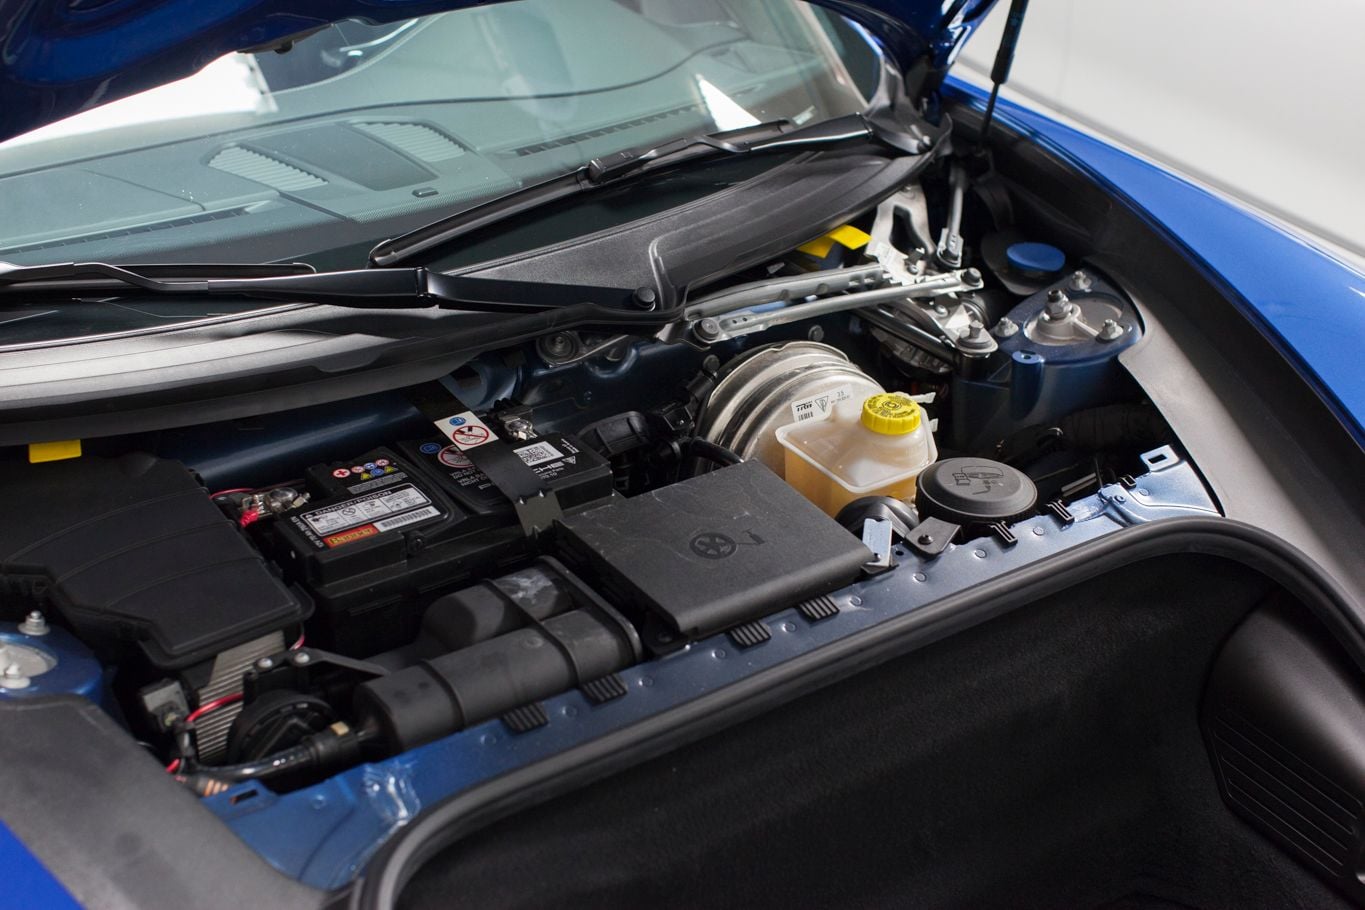
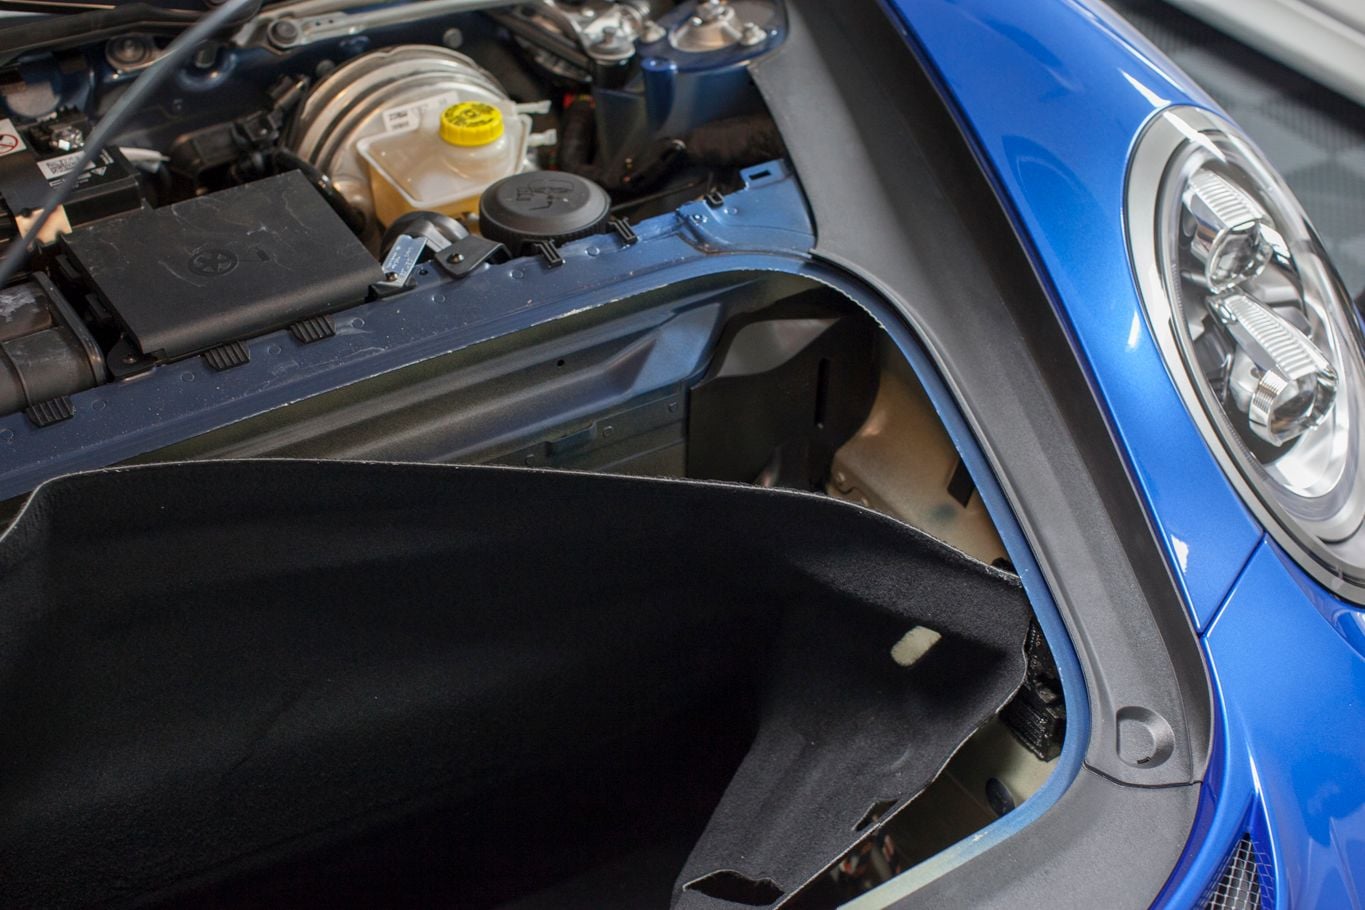
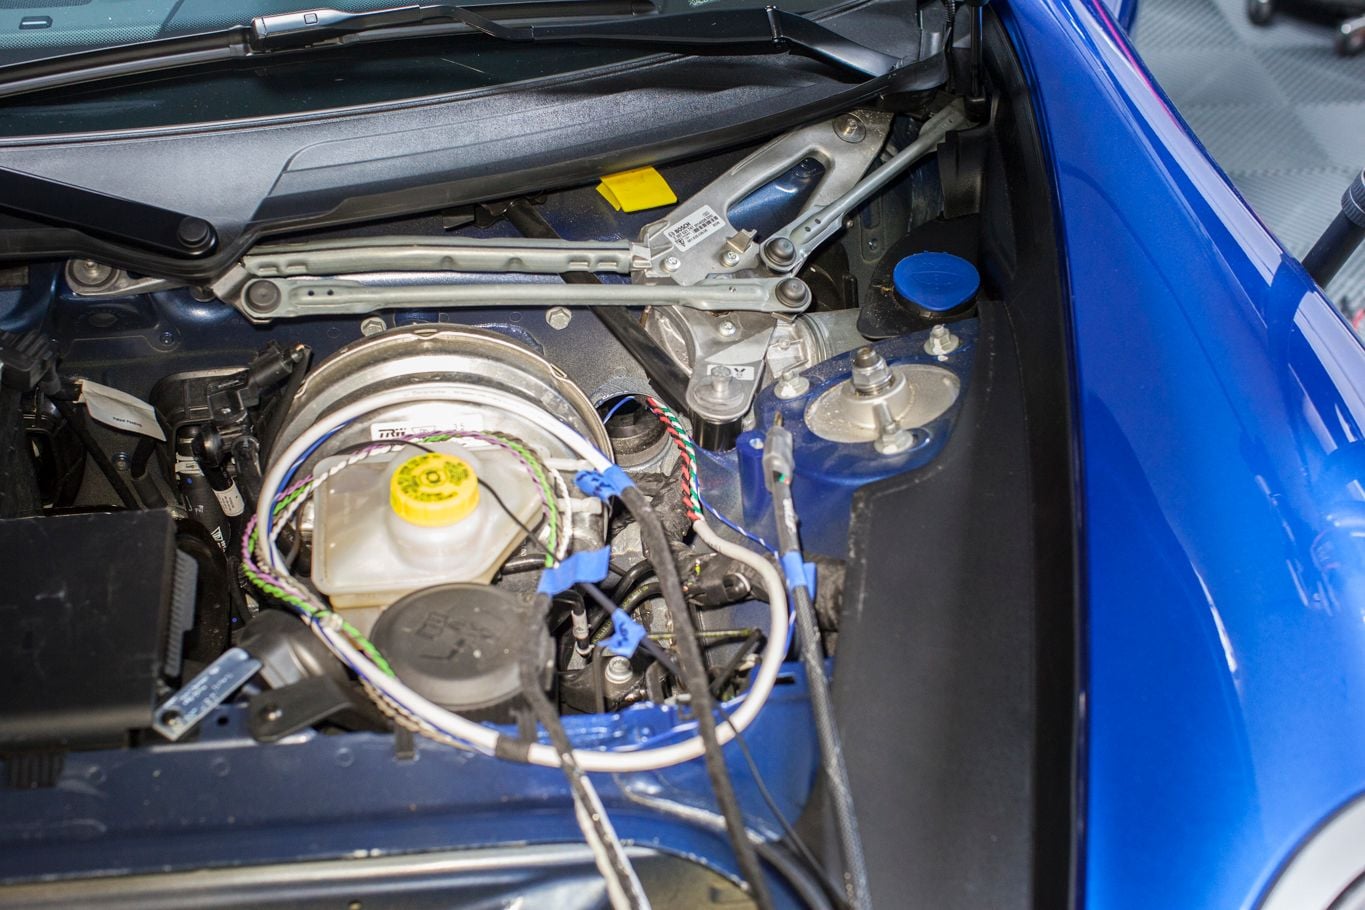
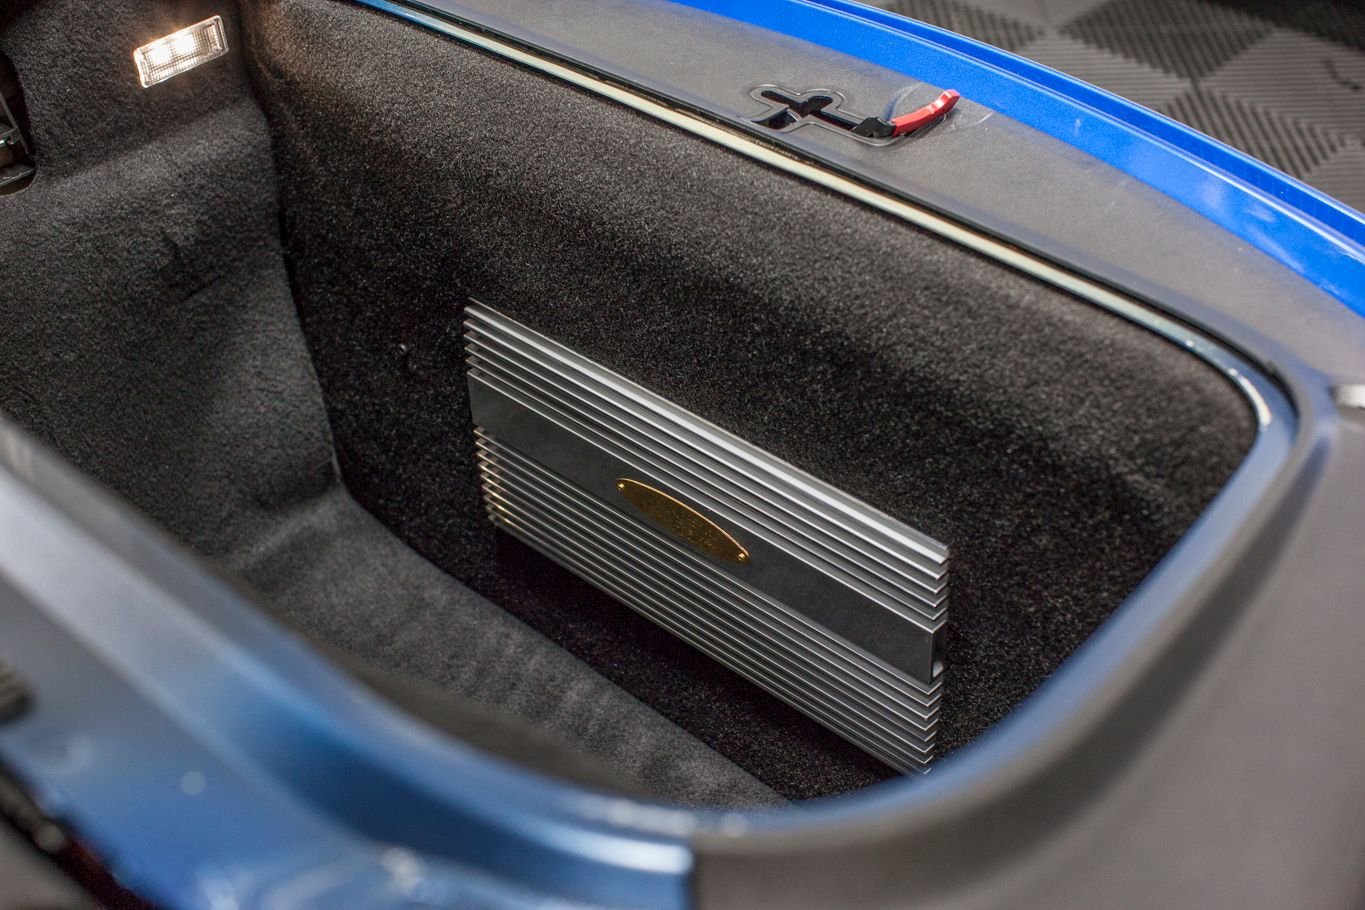
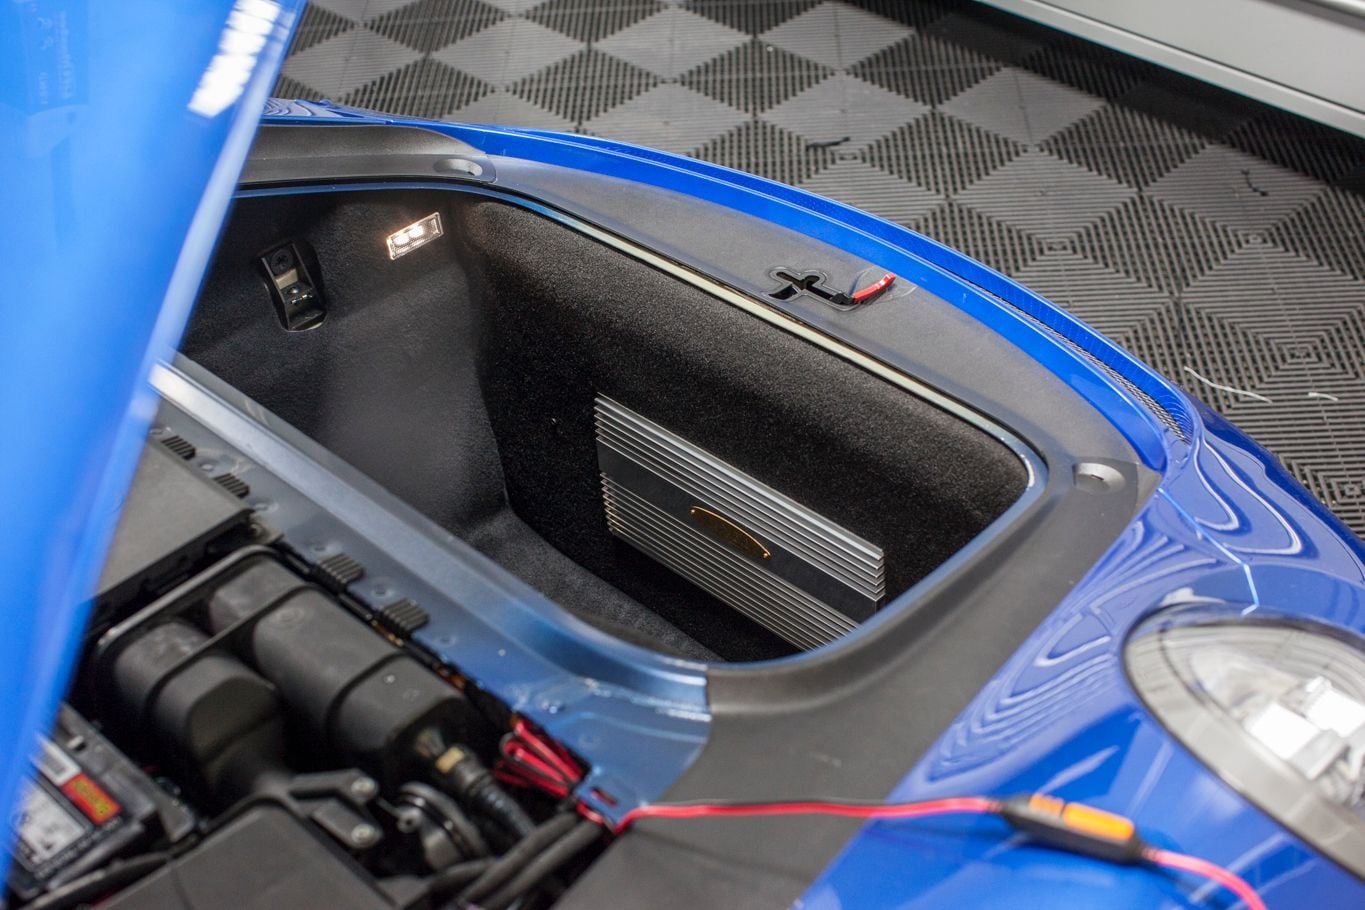
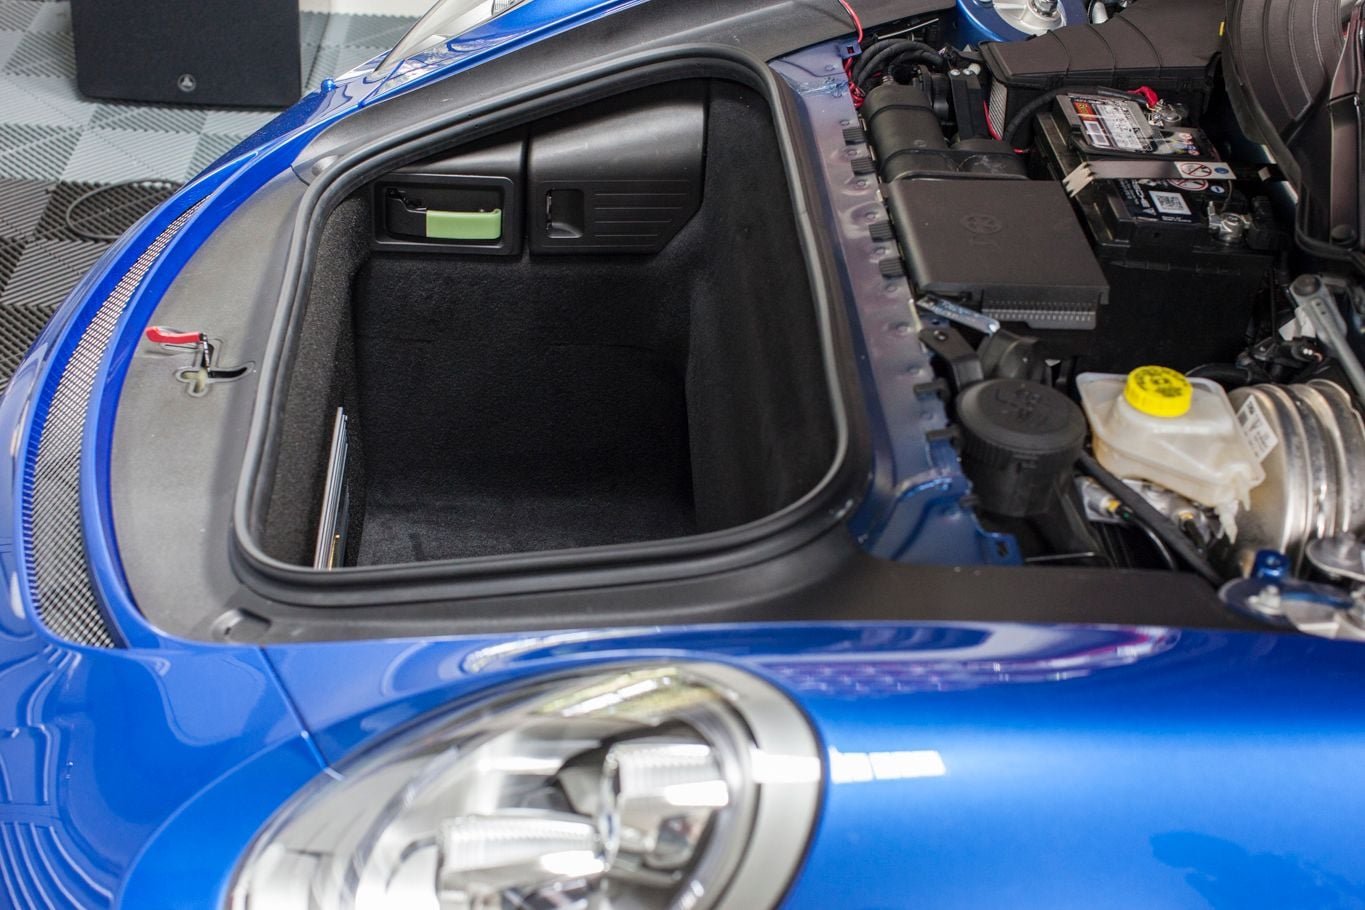
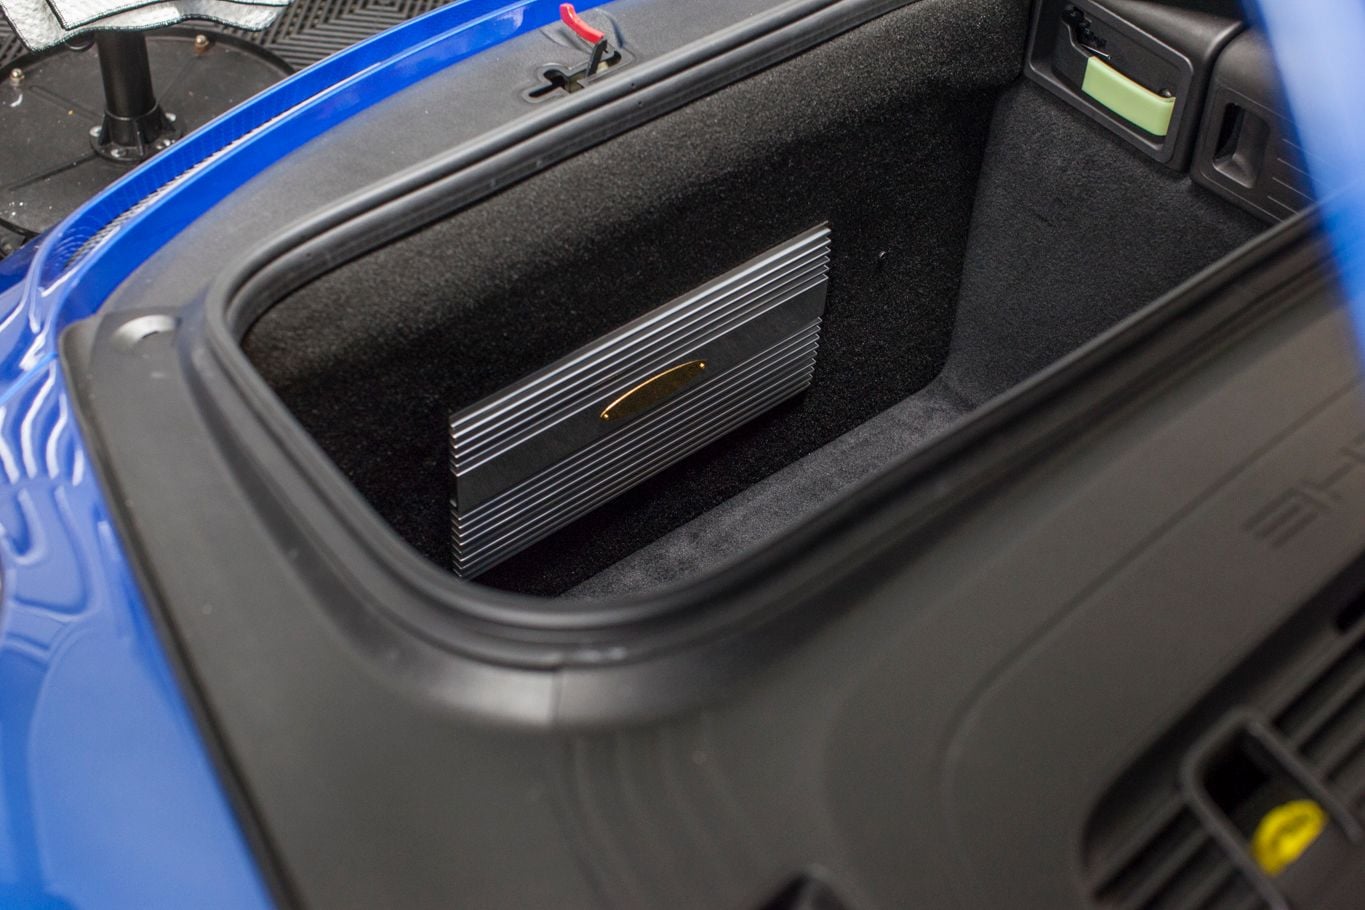
I started up front with the front trunk. Remember that I don't have an instruction manual for this. So I'm learning I go.
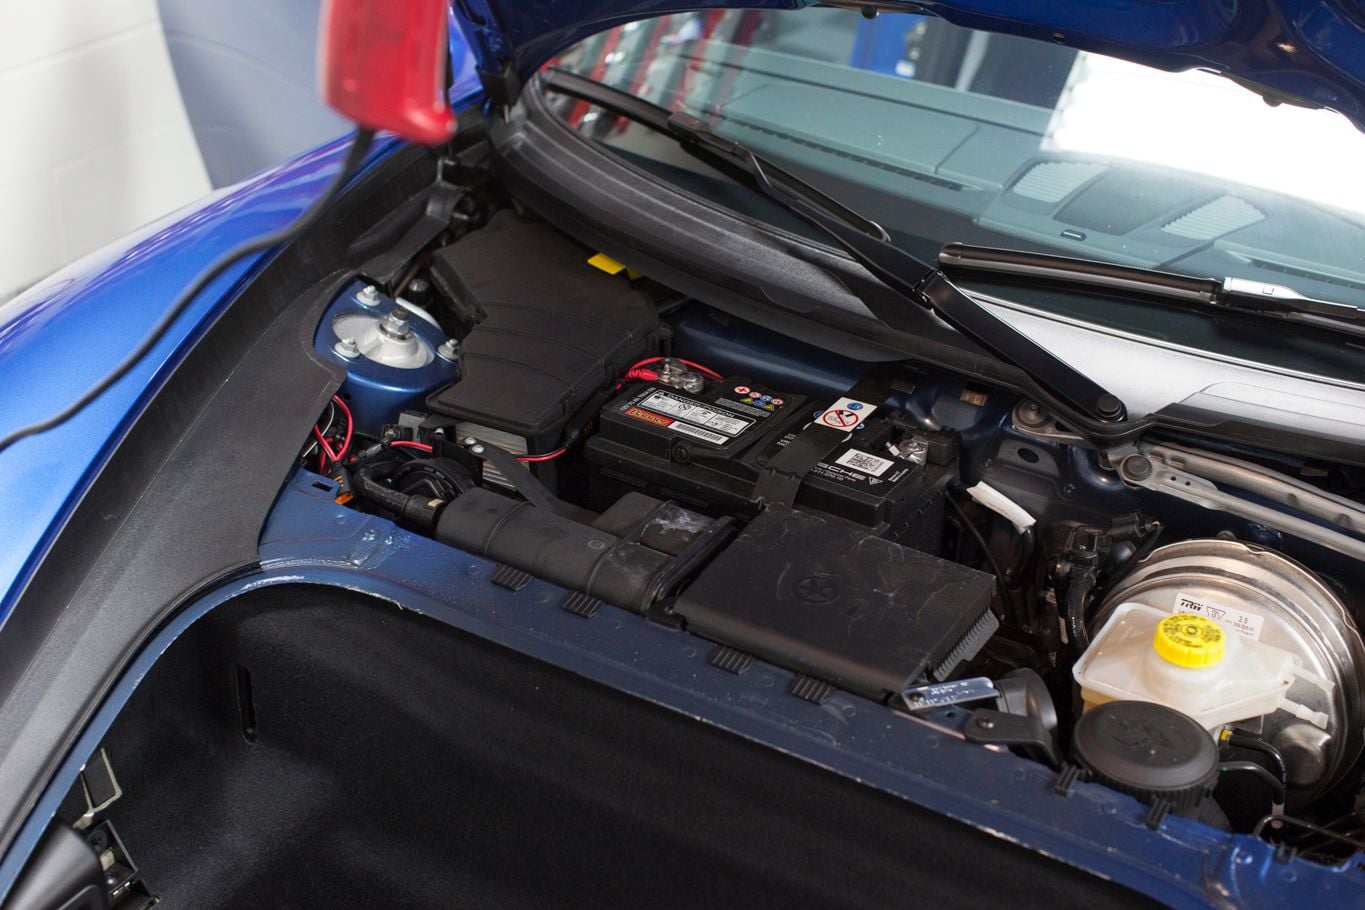
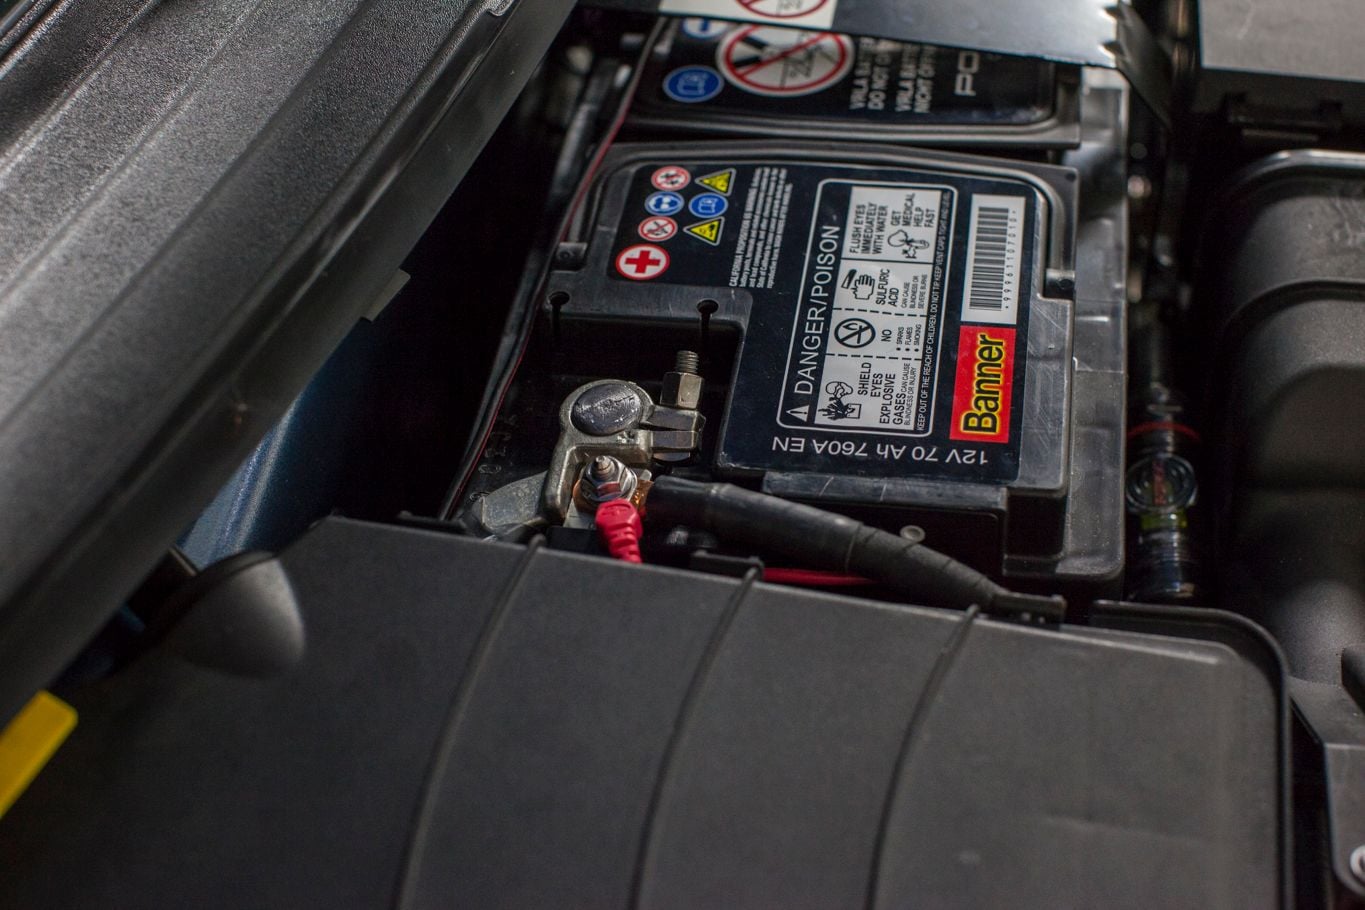
It was really easy to take apart. Start with removing the battery cover.
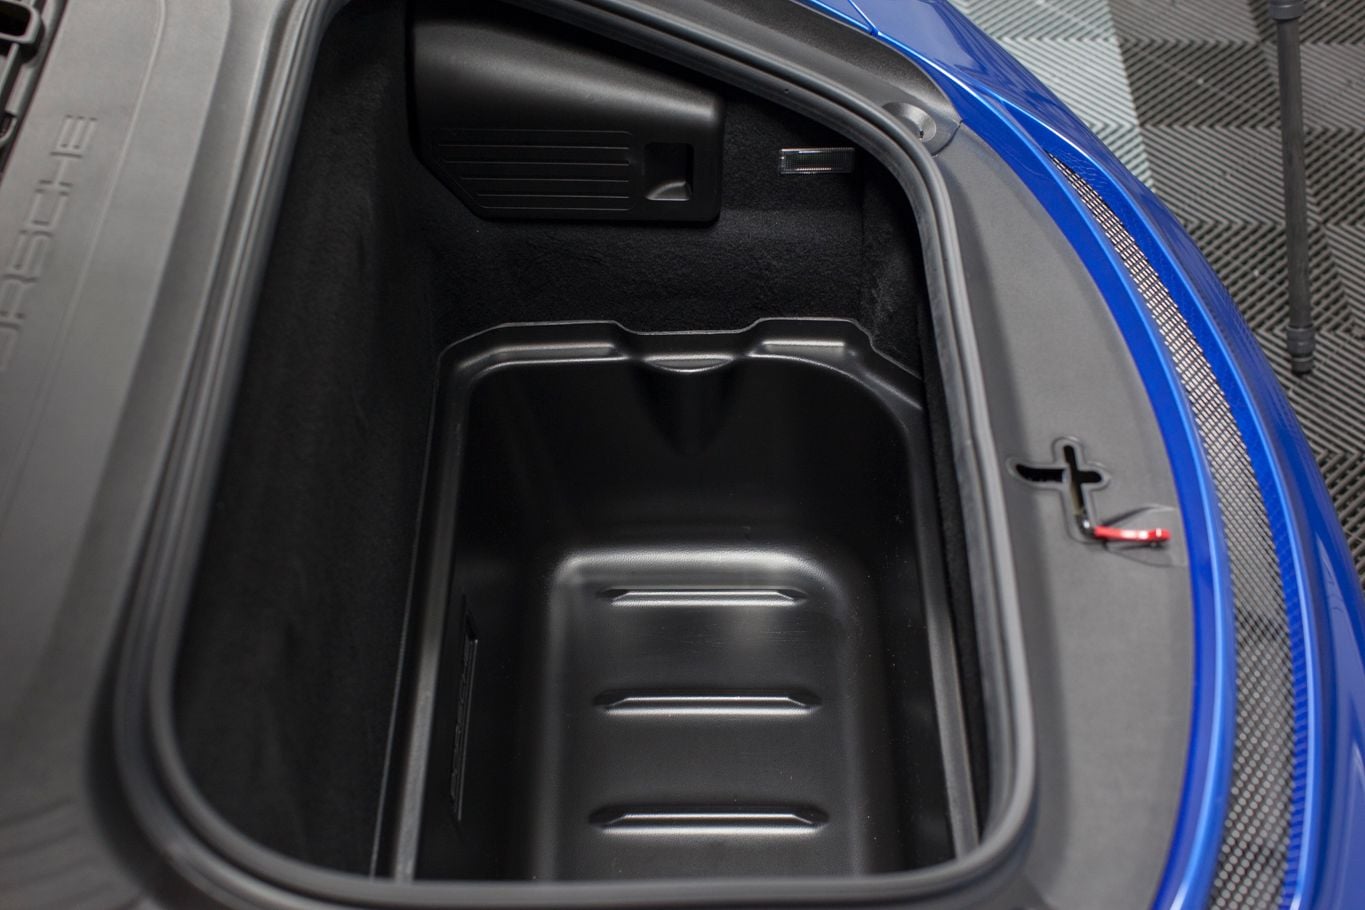
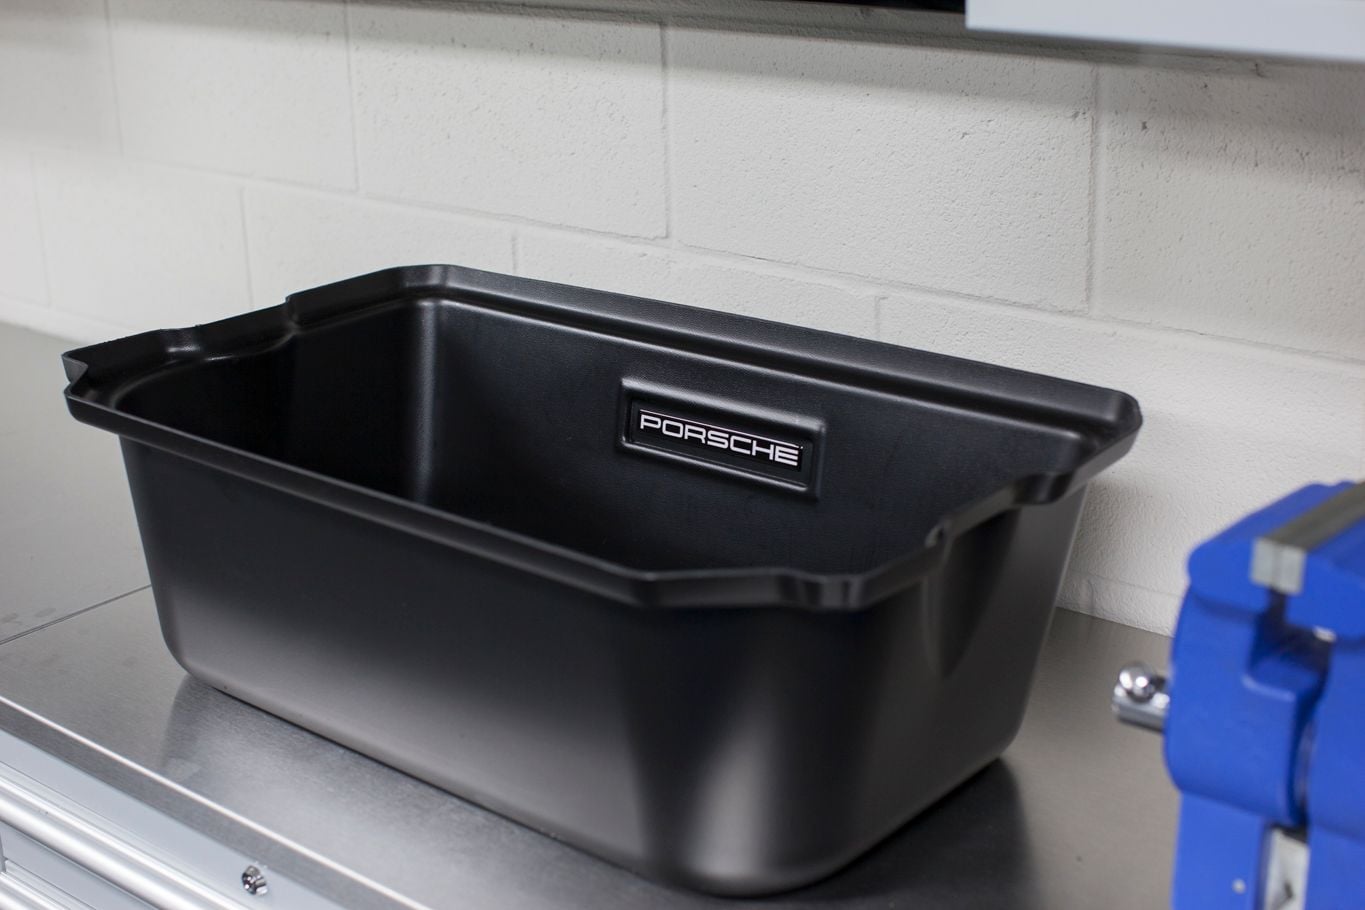
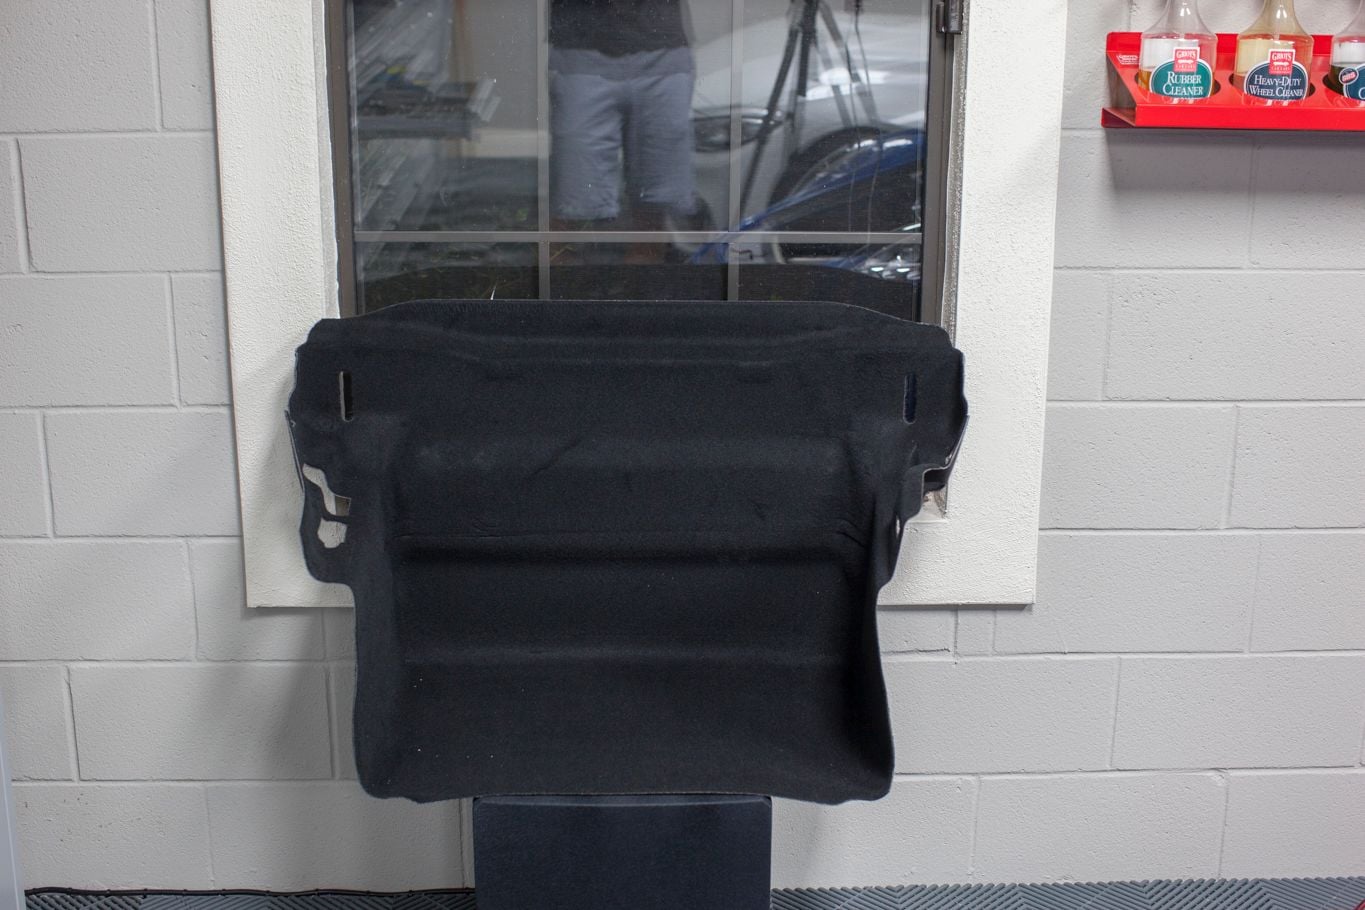
I'm probably going to have to ditch the liner. I may cut out a section of it out, but I'm sure I hack it up trying. I may just sell it.
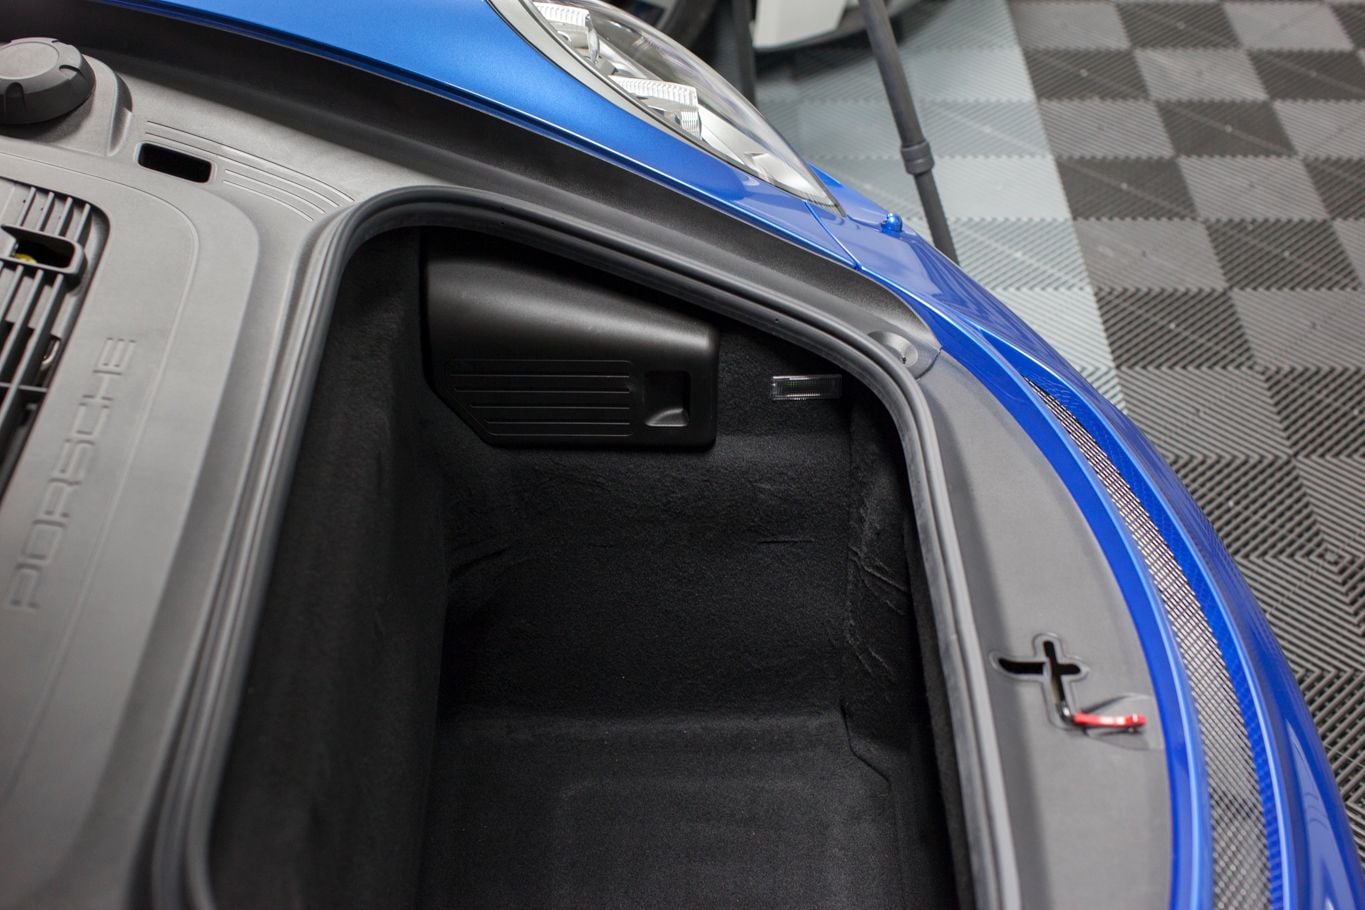
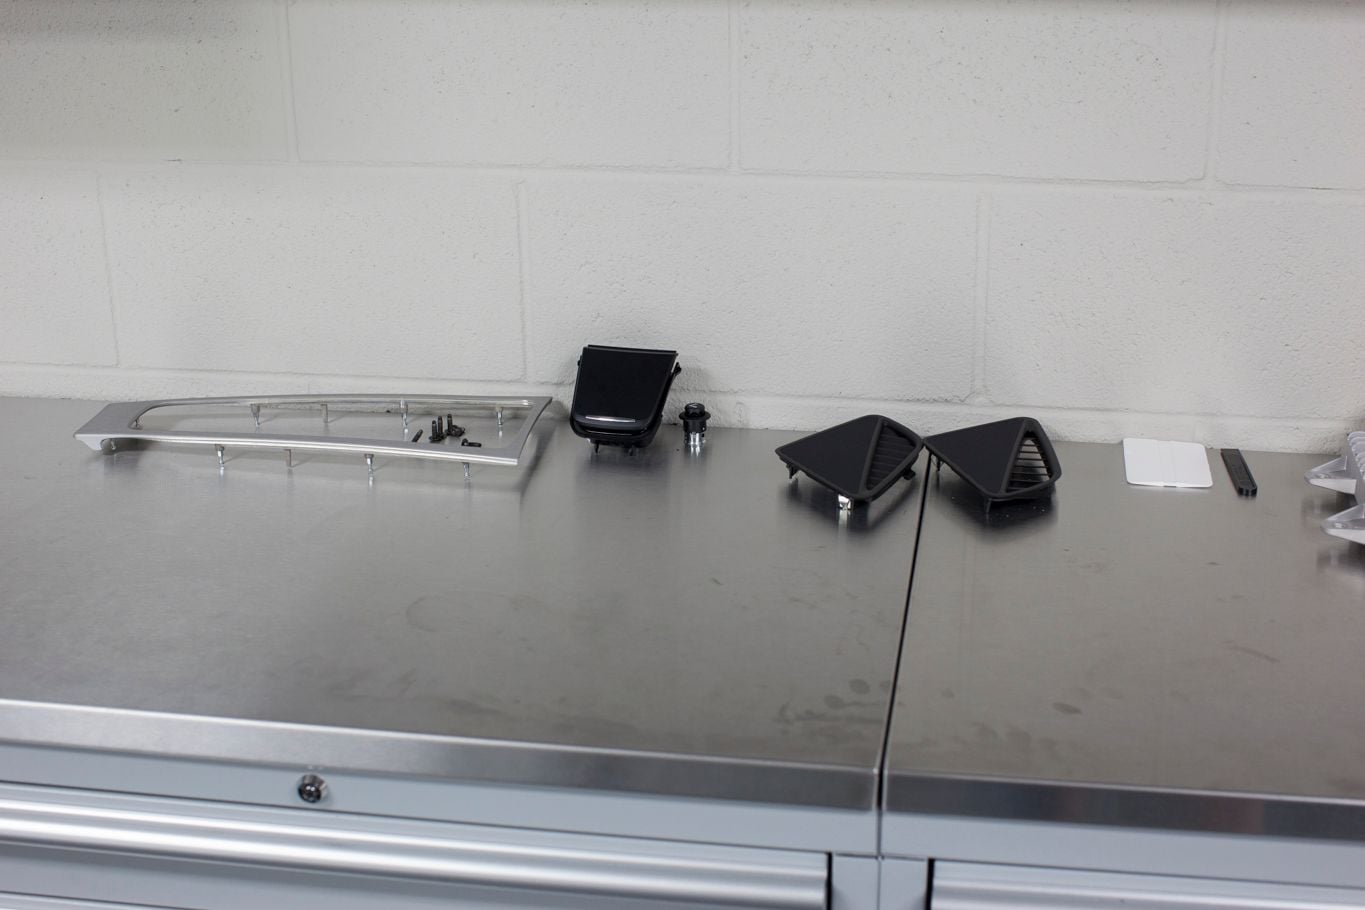
Remove all of the trim pieces and weather stripping.
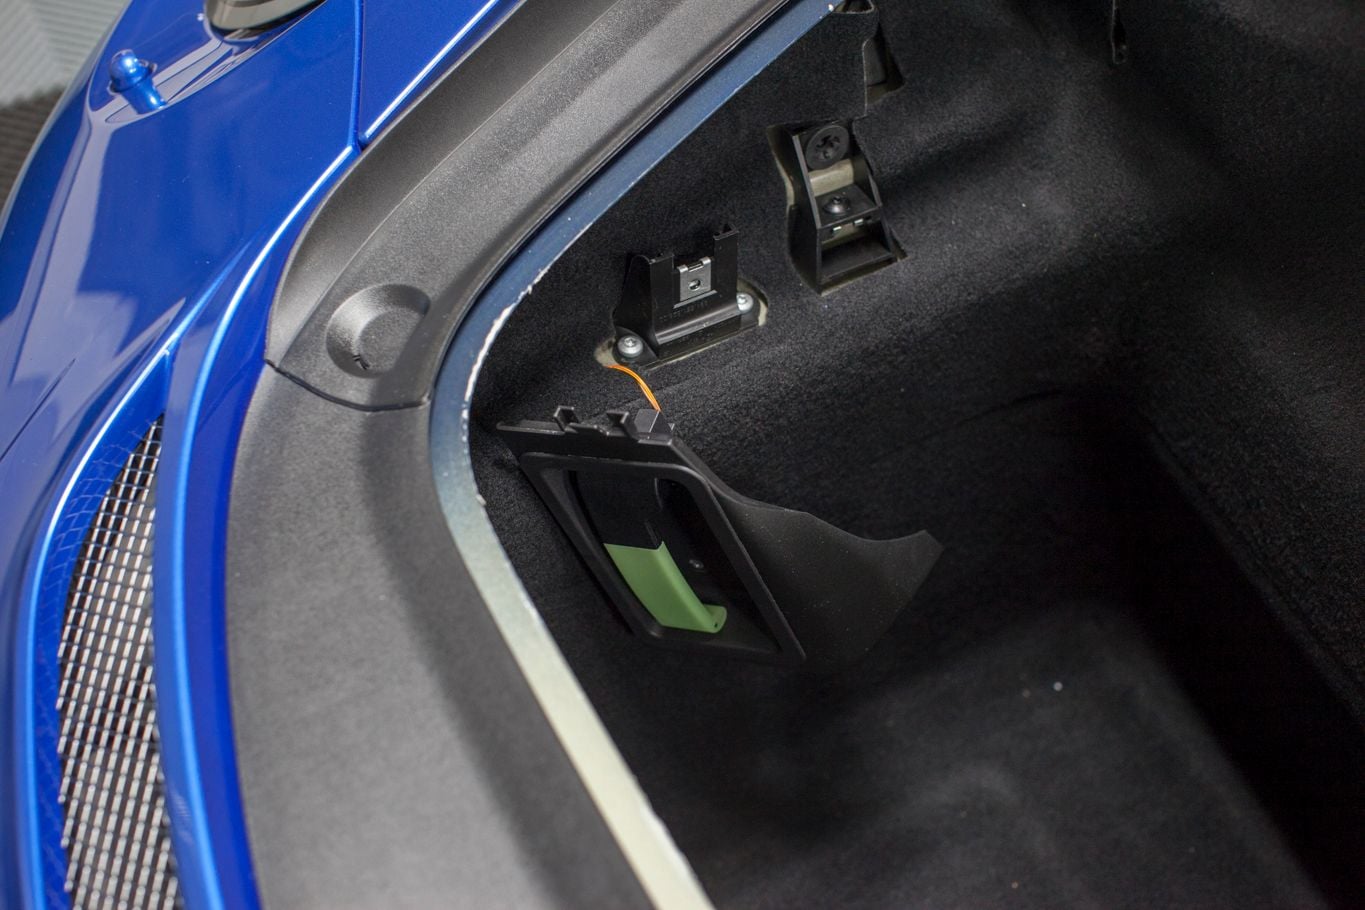
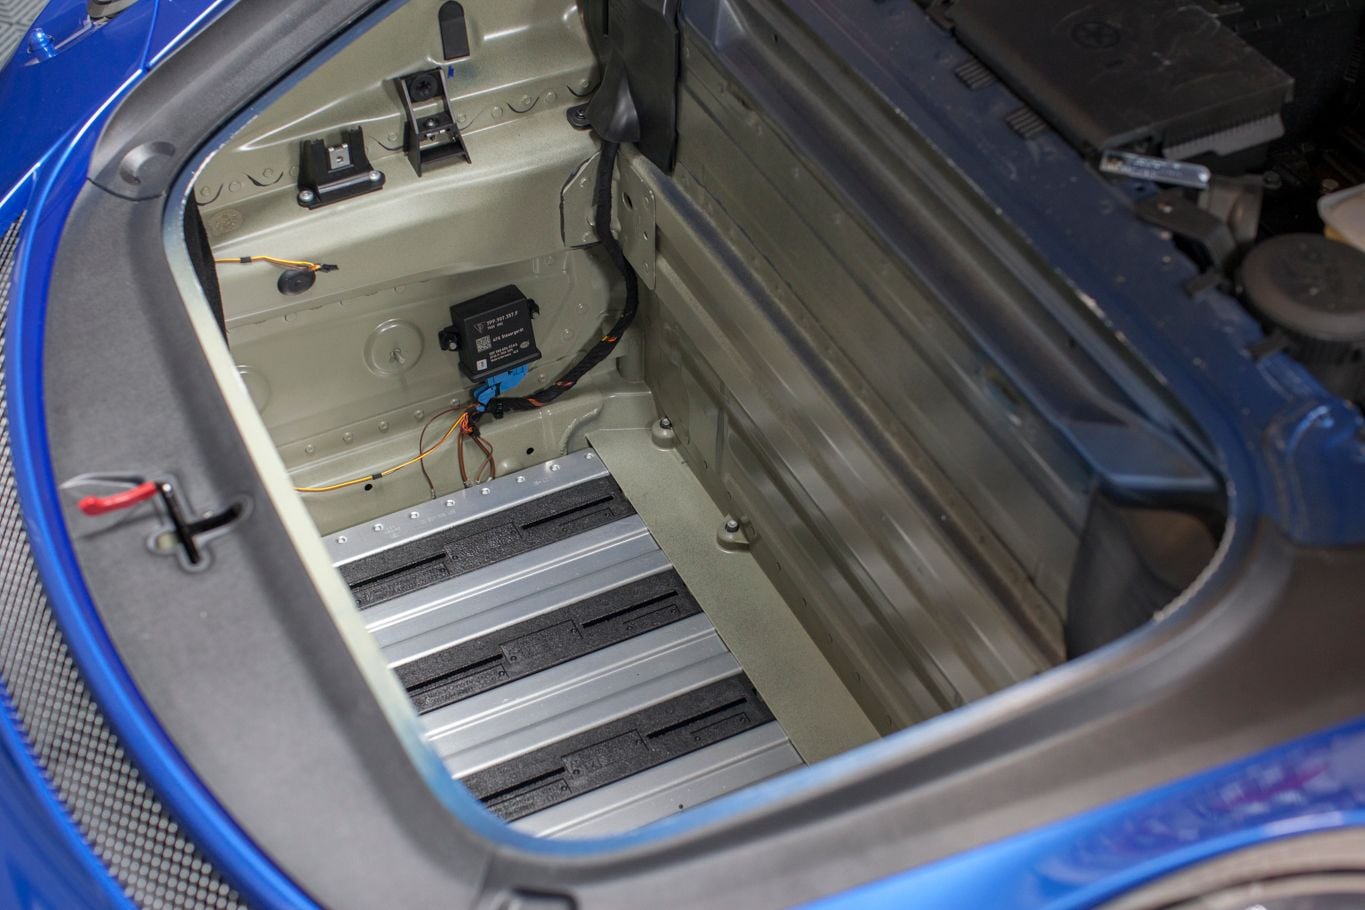
Pop the carpet out after removing the safety trunk release lever. It the only screw that needs to be removed.
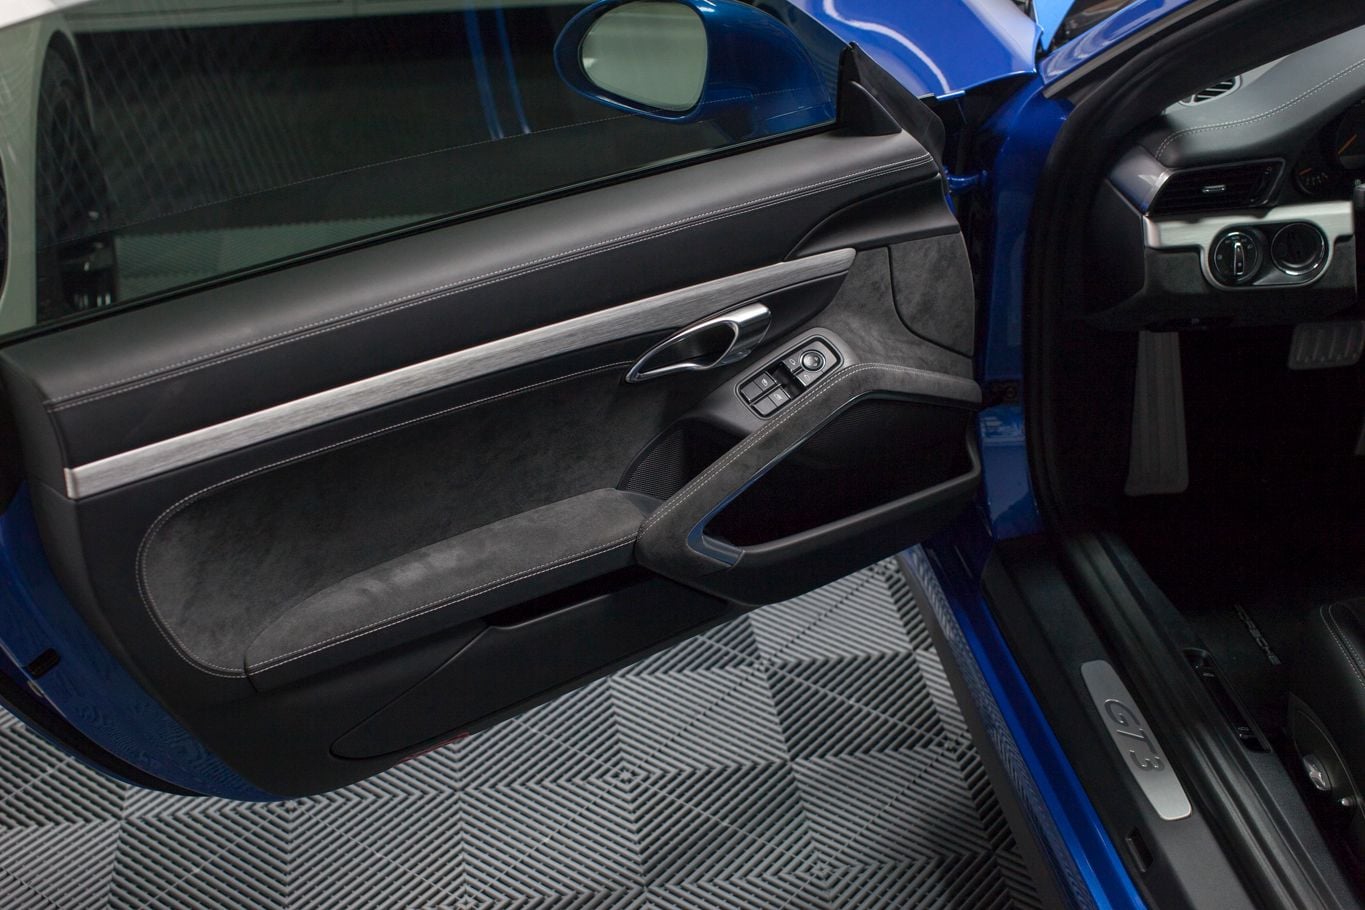
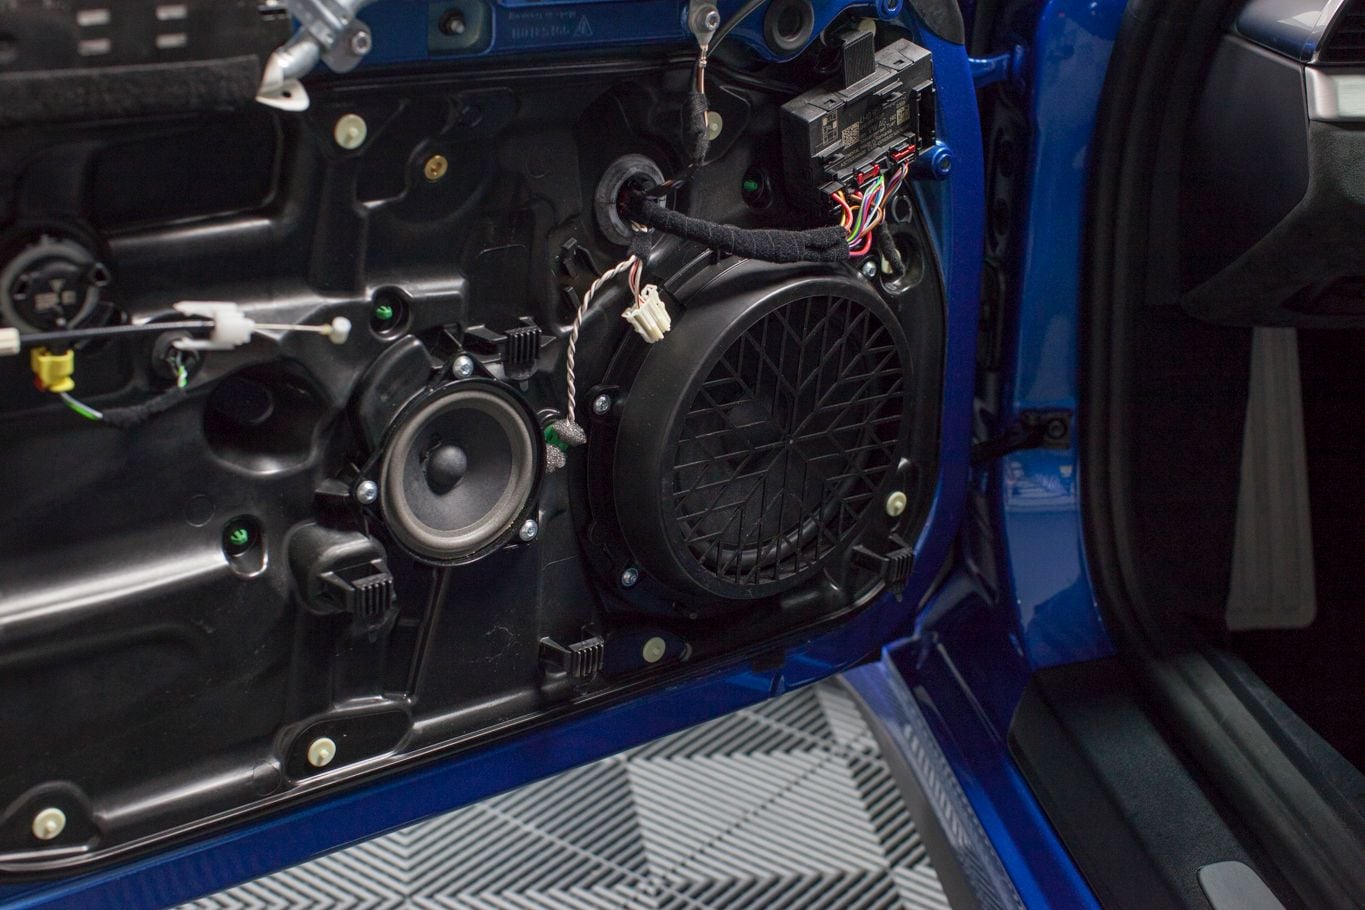
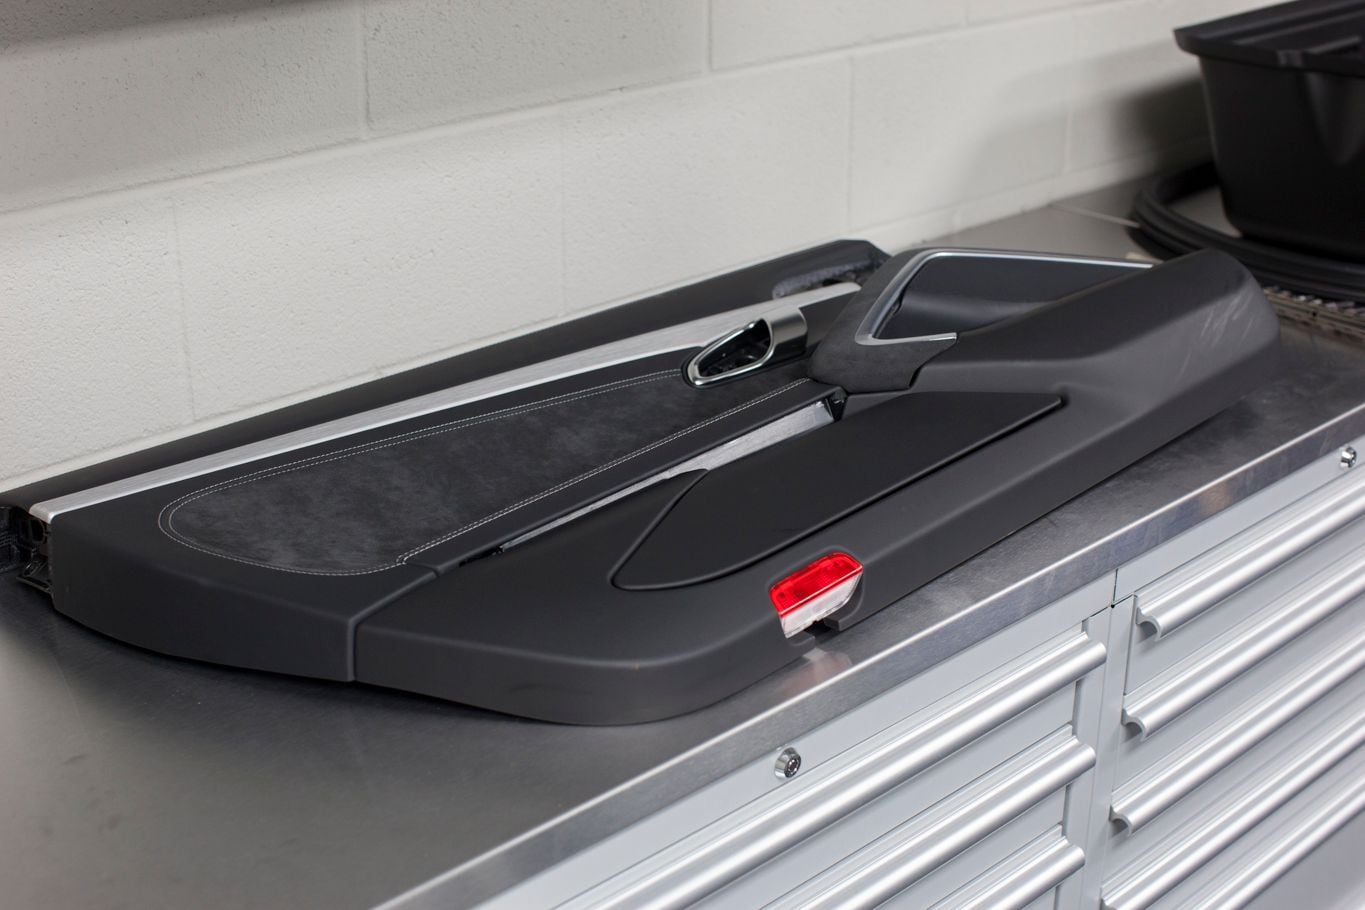
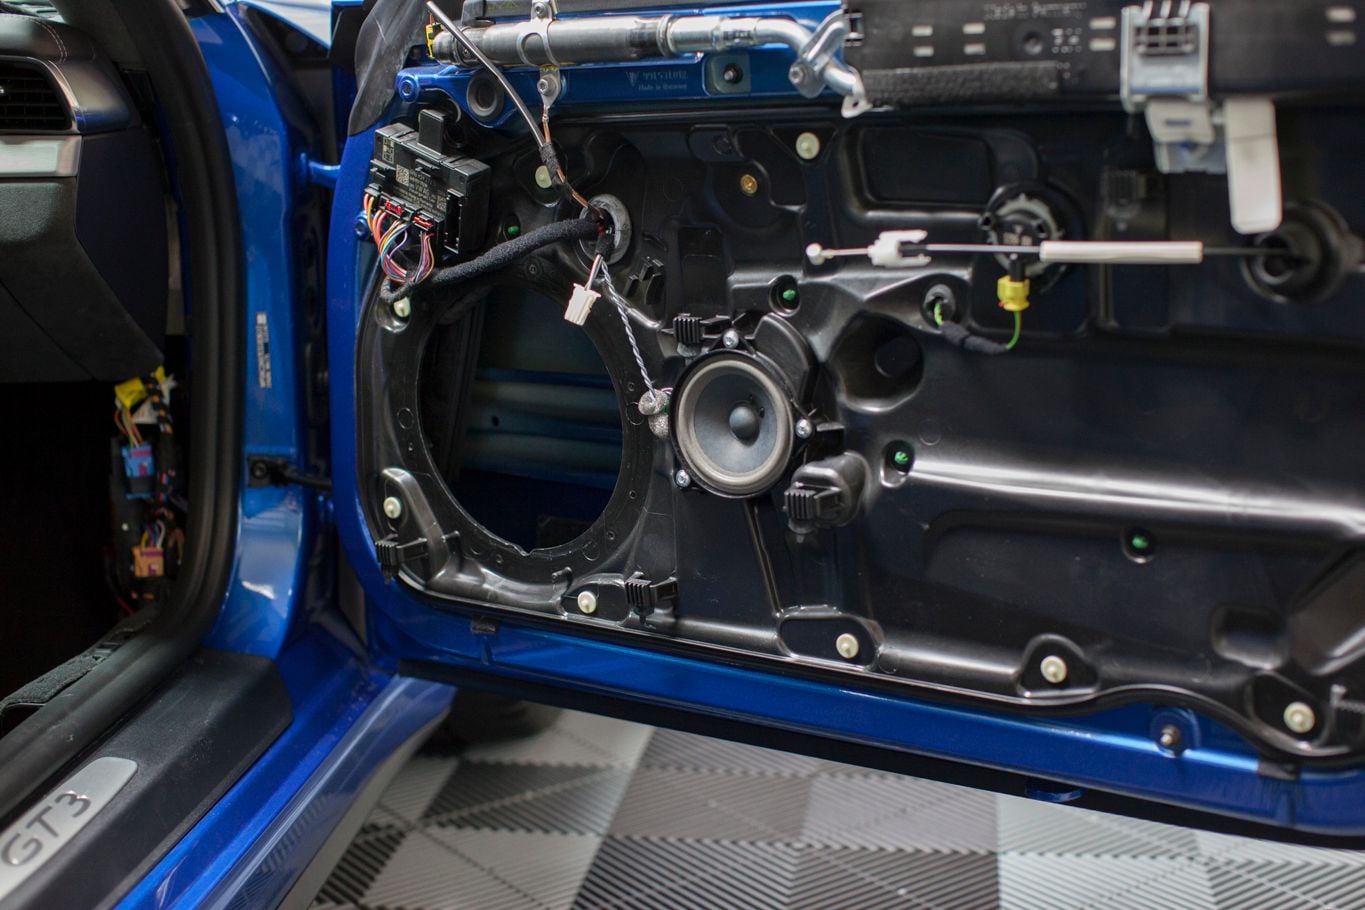
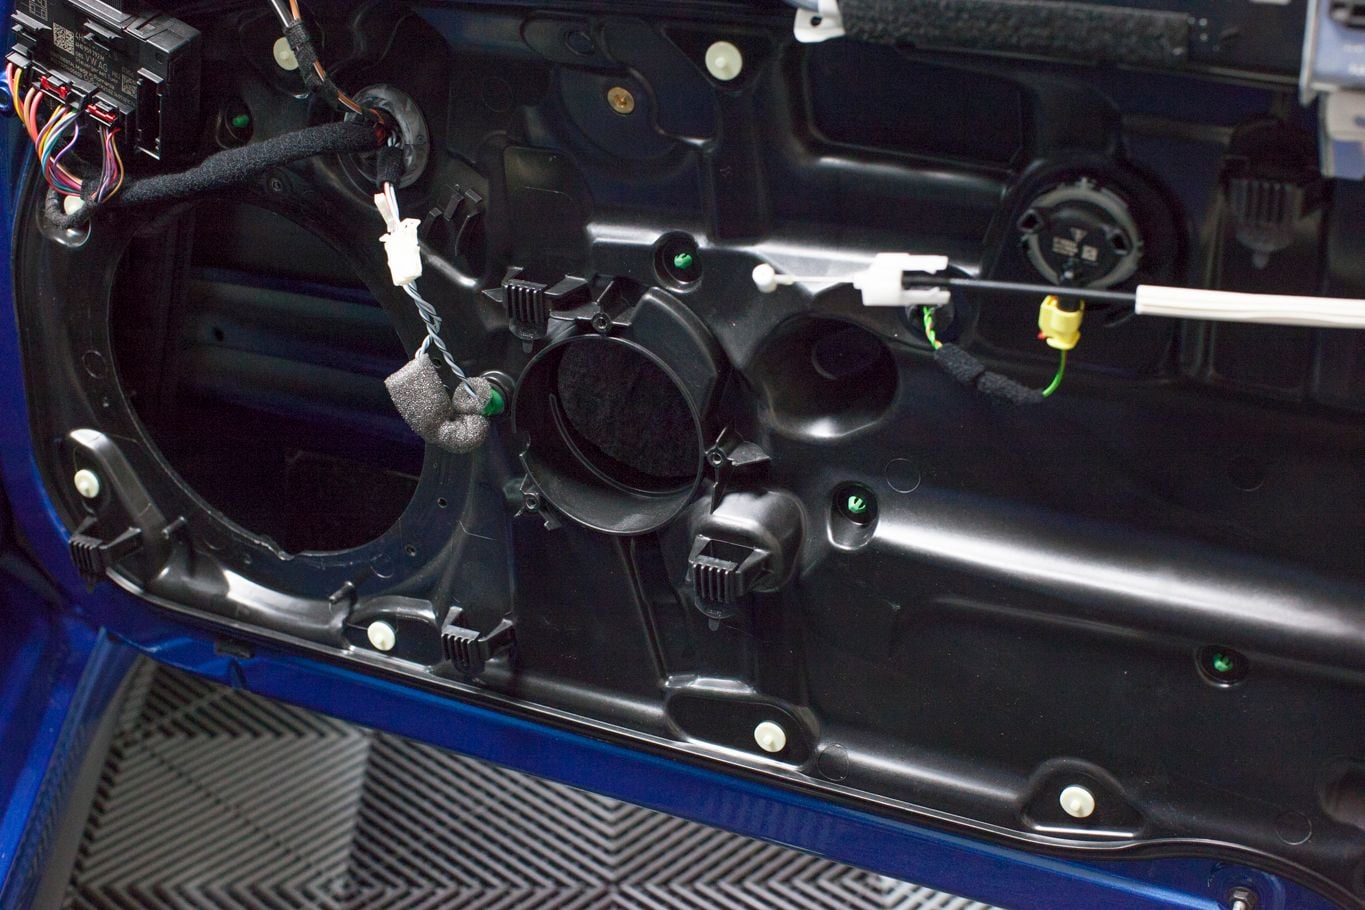
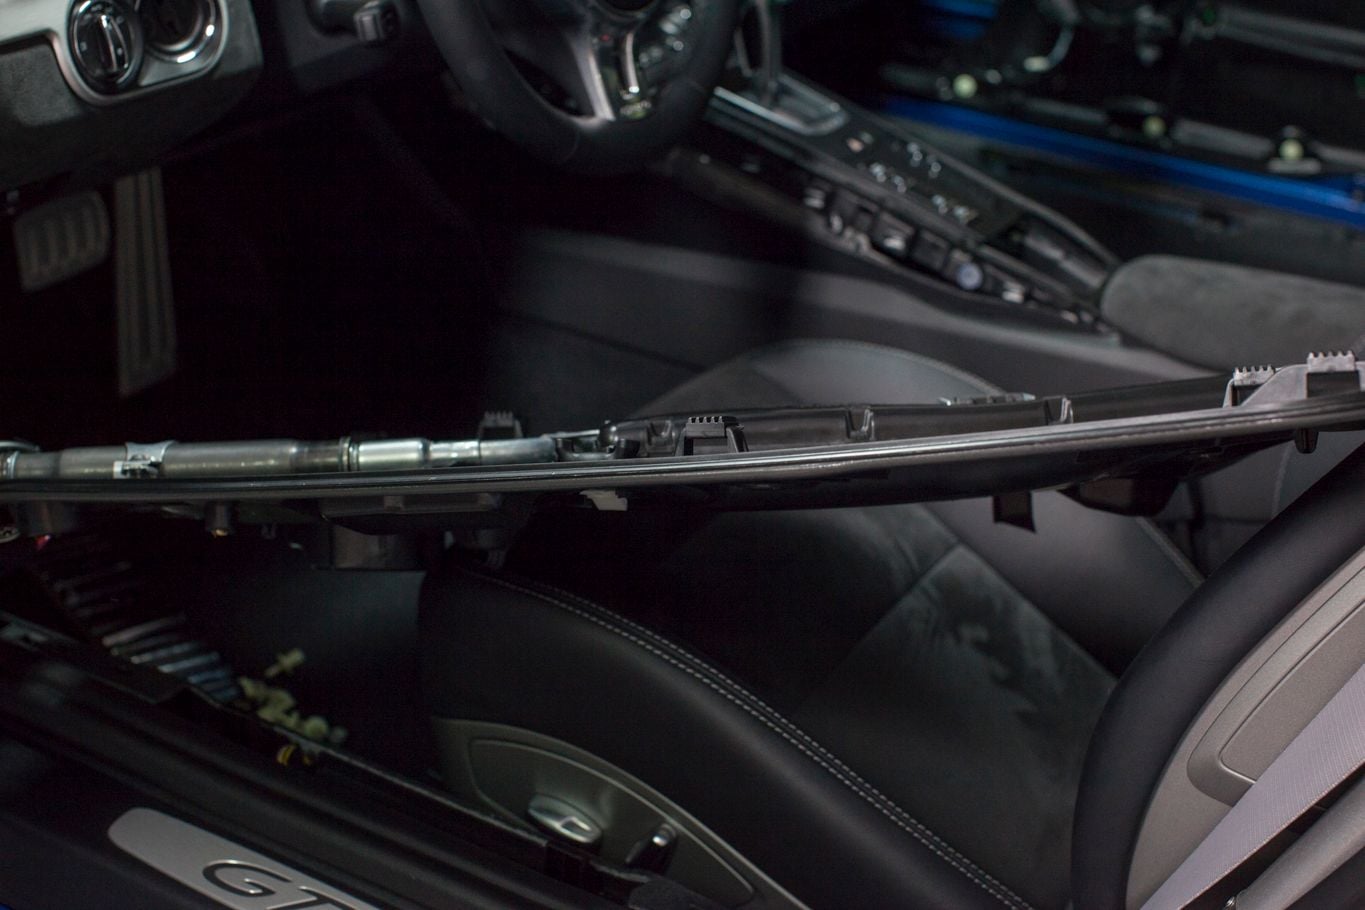
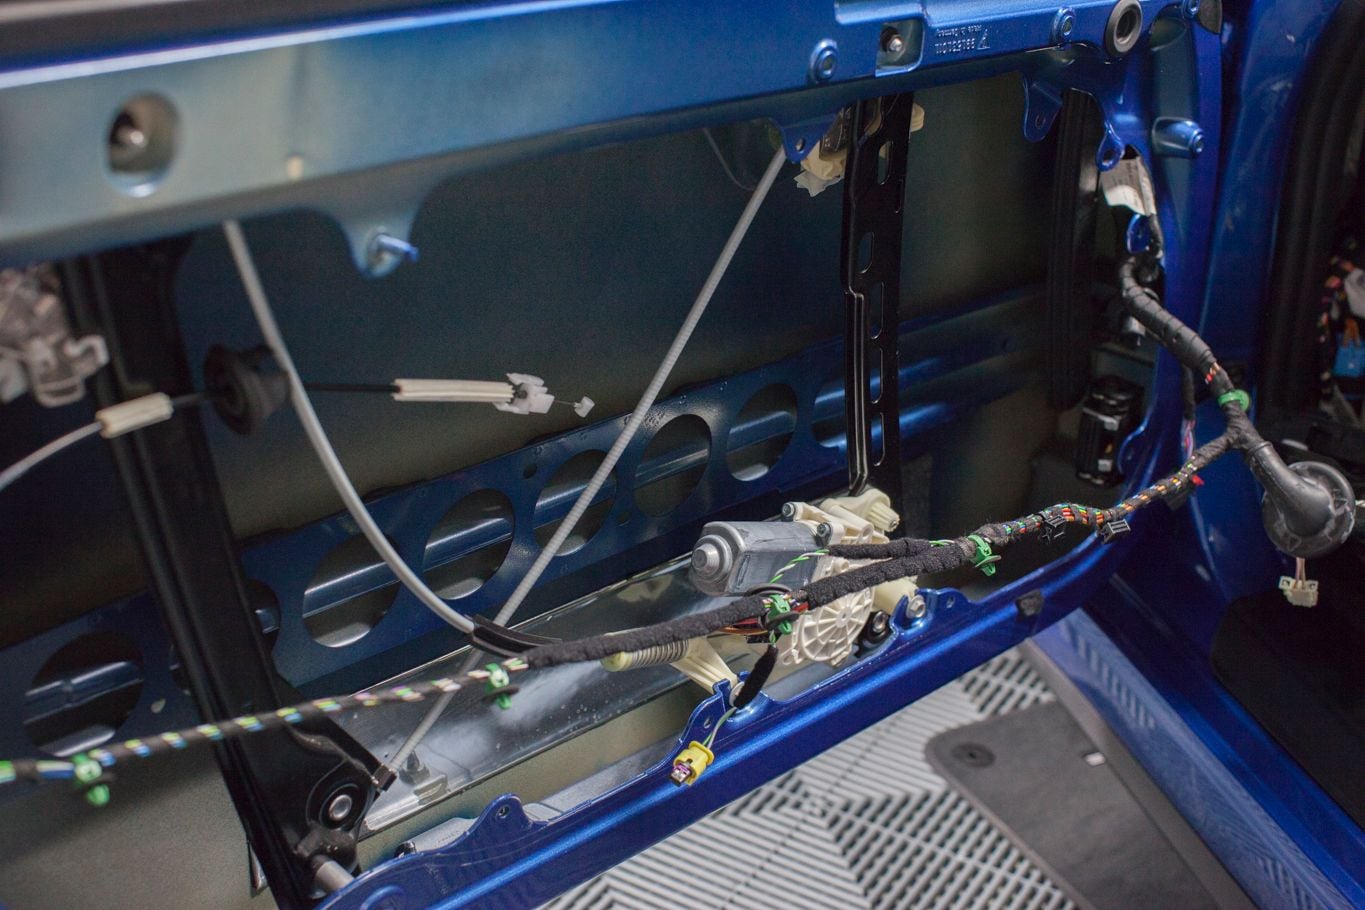
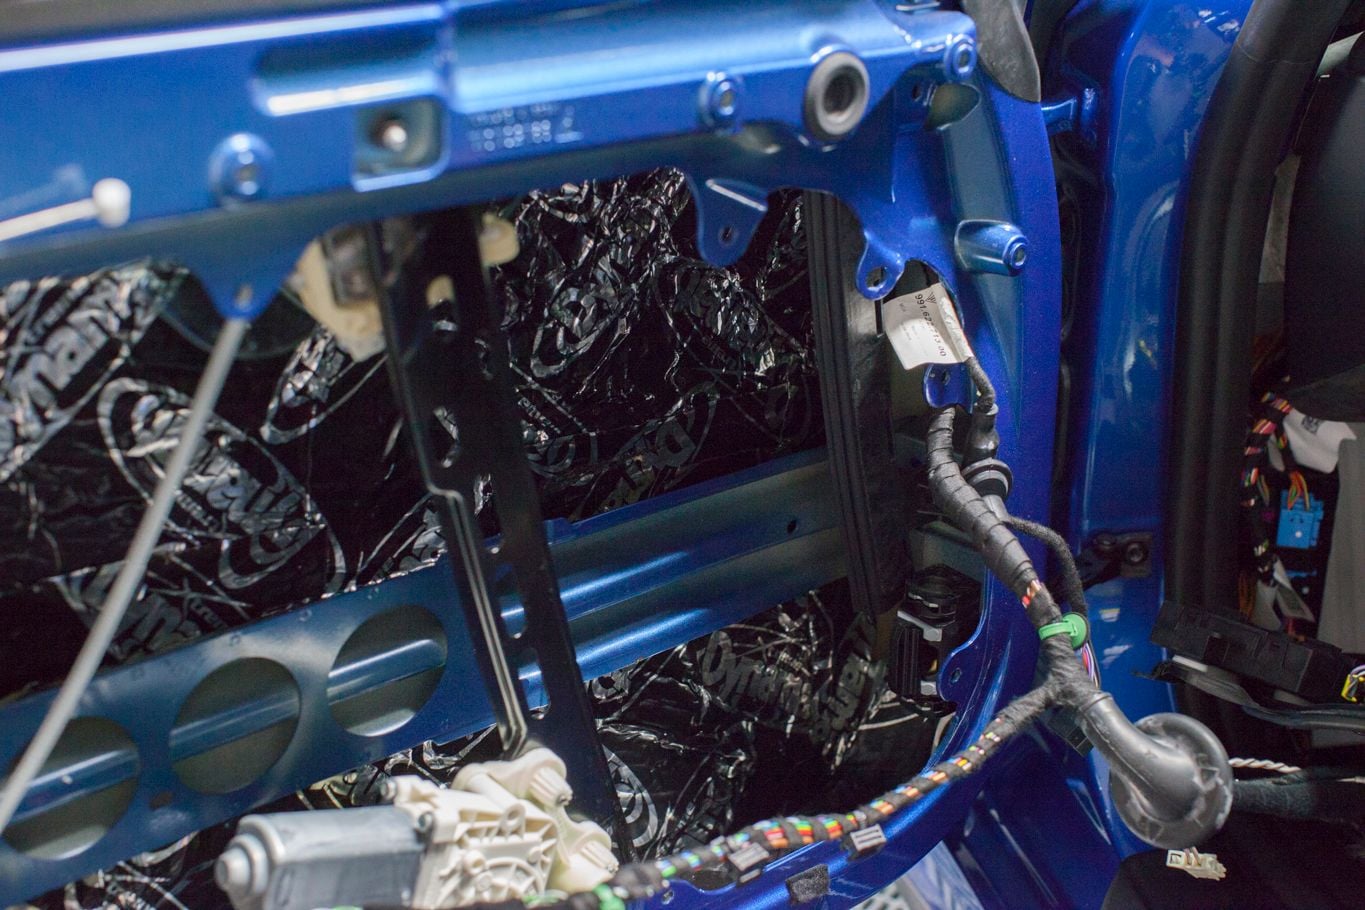
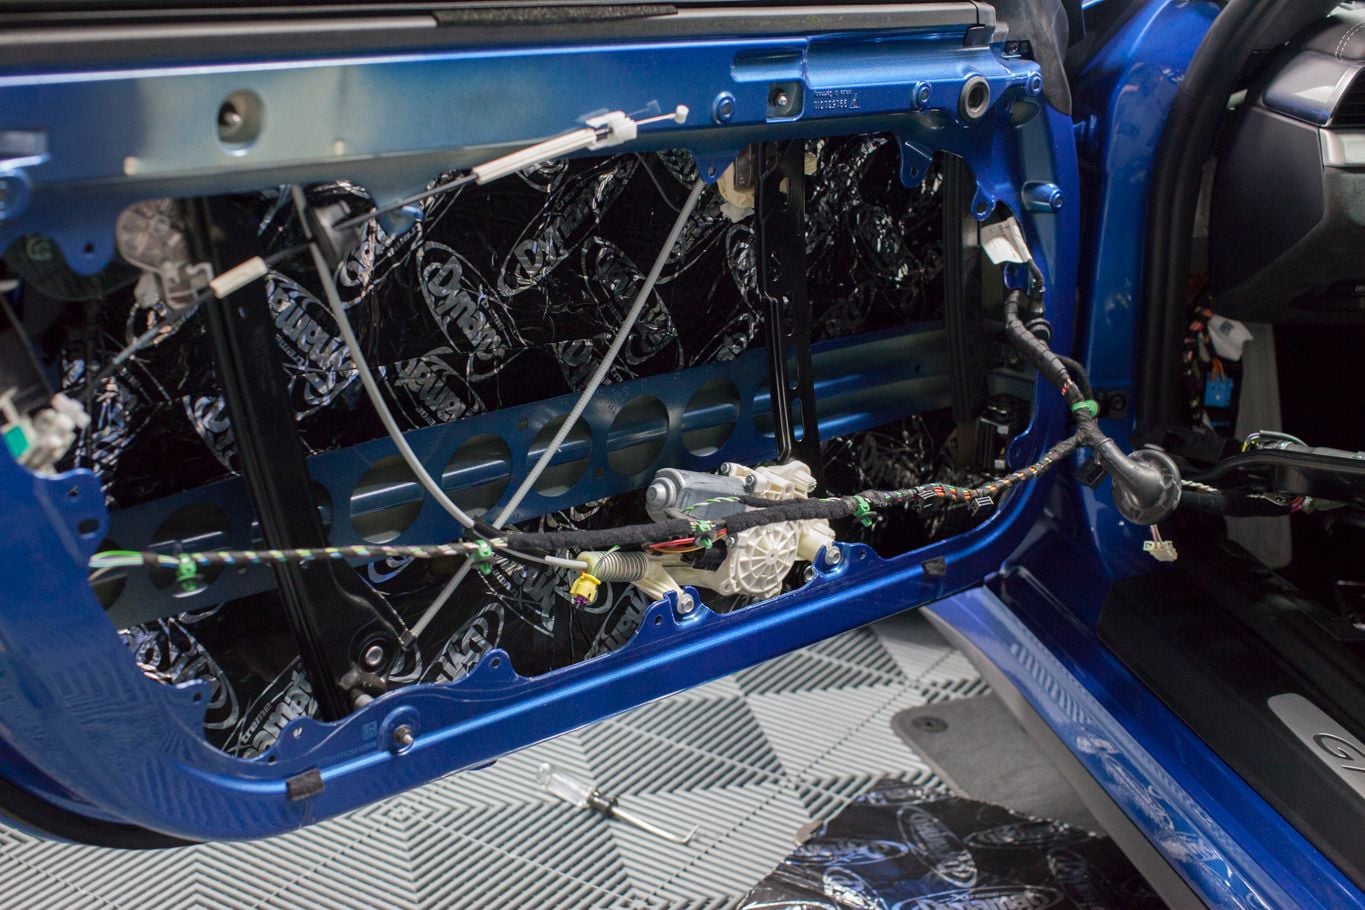
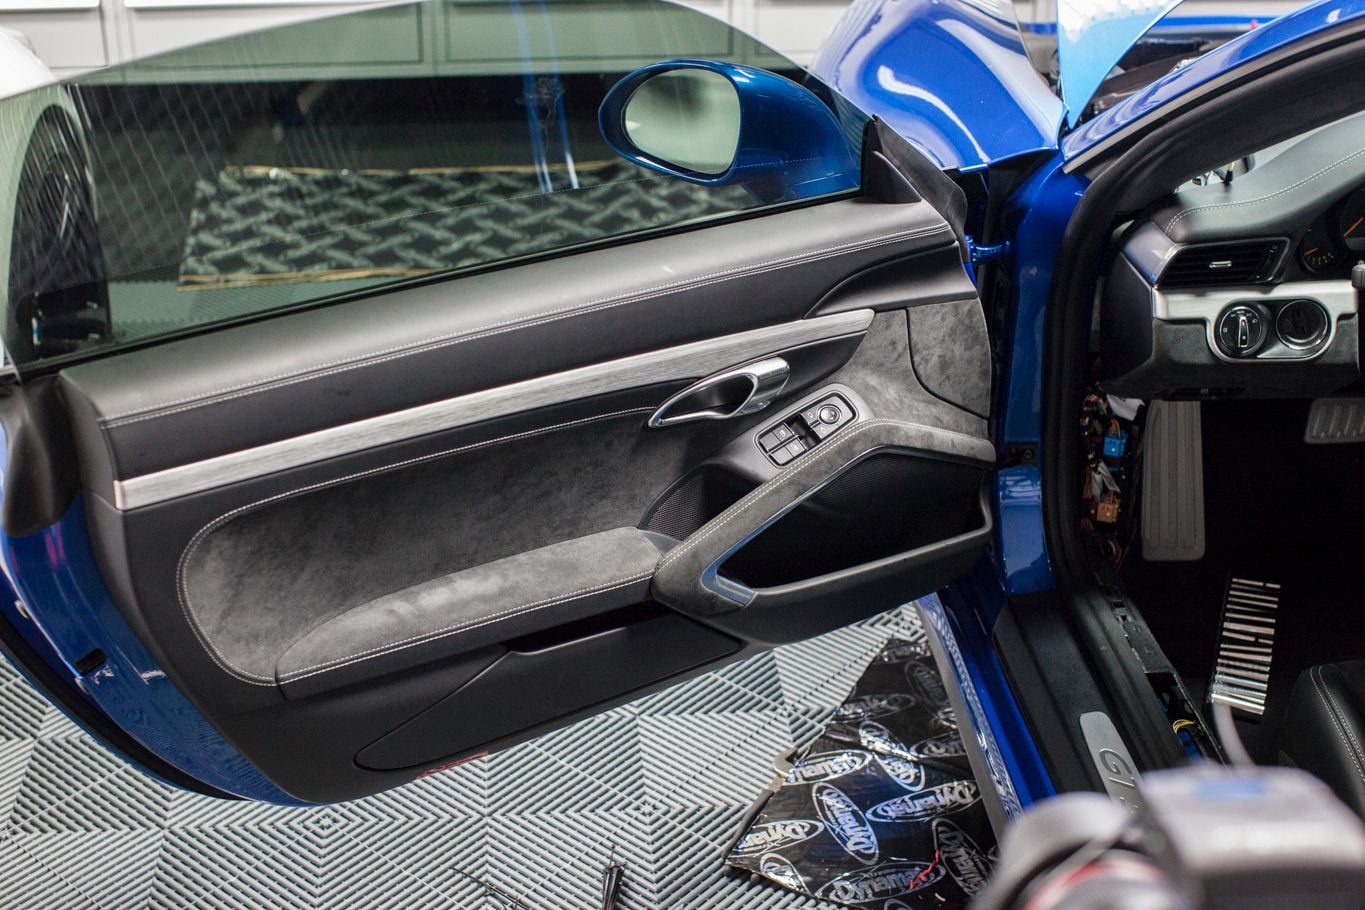
Next up is the door panels. I was worried about this part, but it was super easy. I found some instructions on the Caymen forum. Pop off a few panels, remove four bolts, and it comes off by lifting the door panel straight up toward the window.
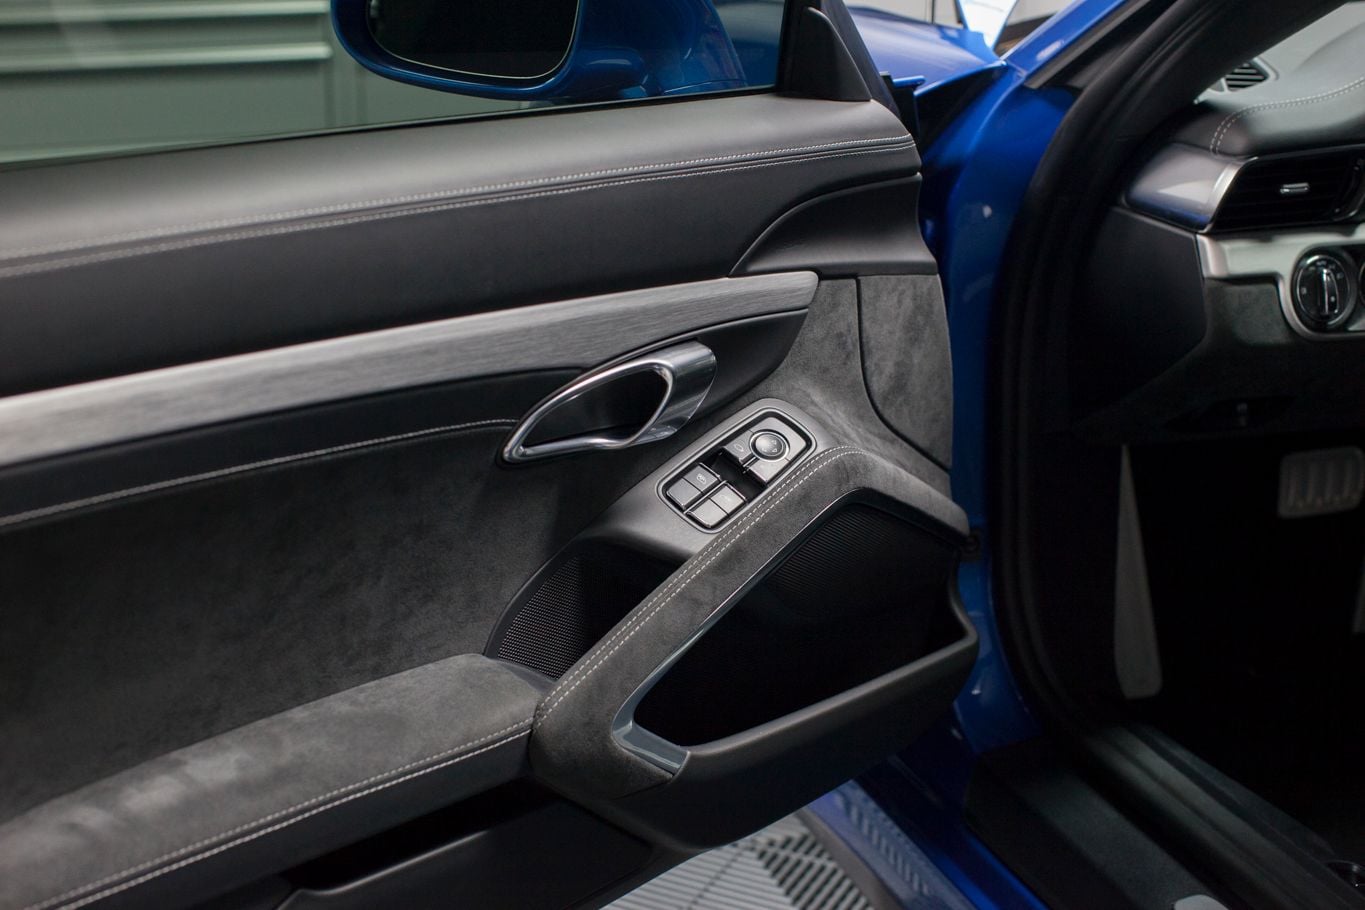
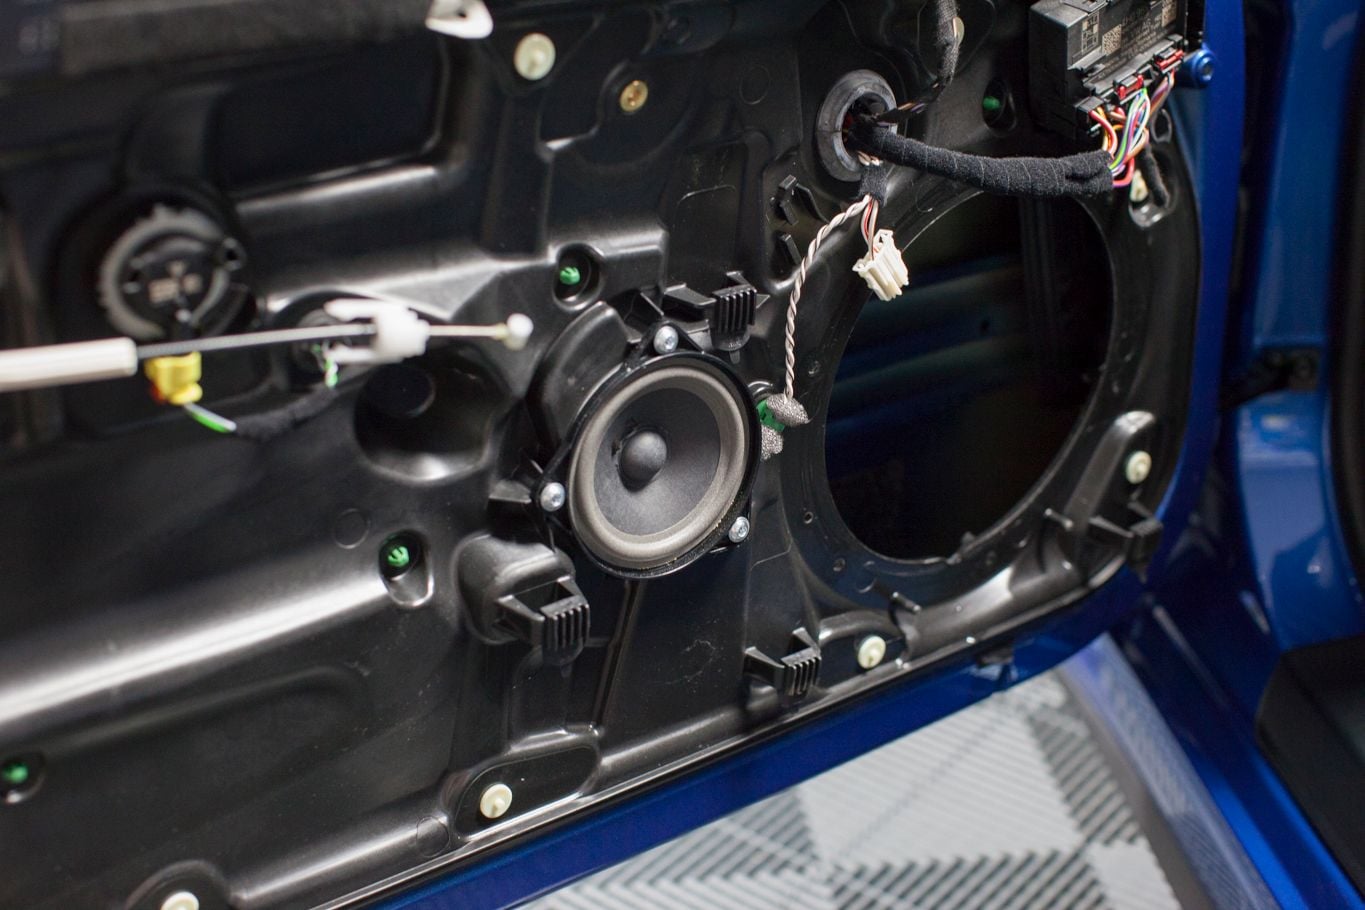
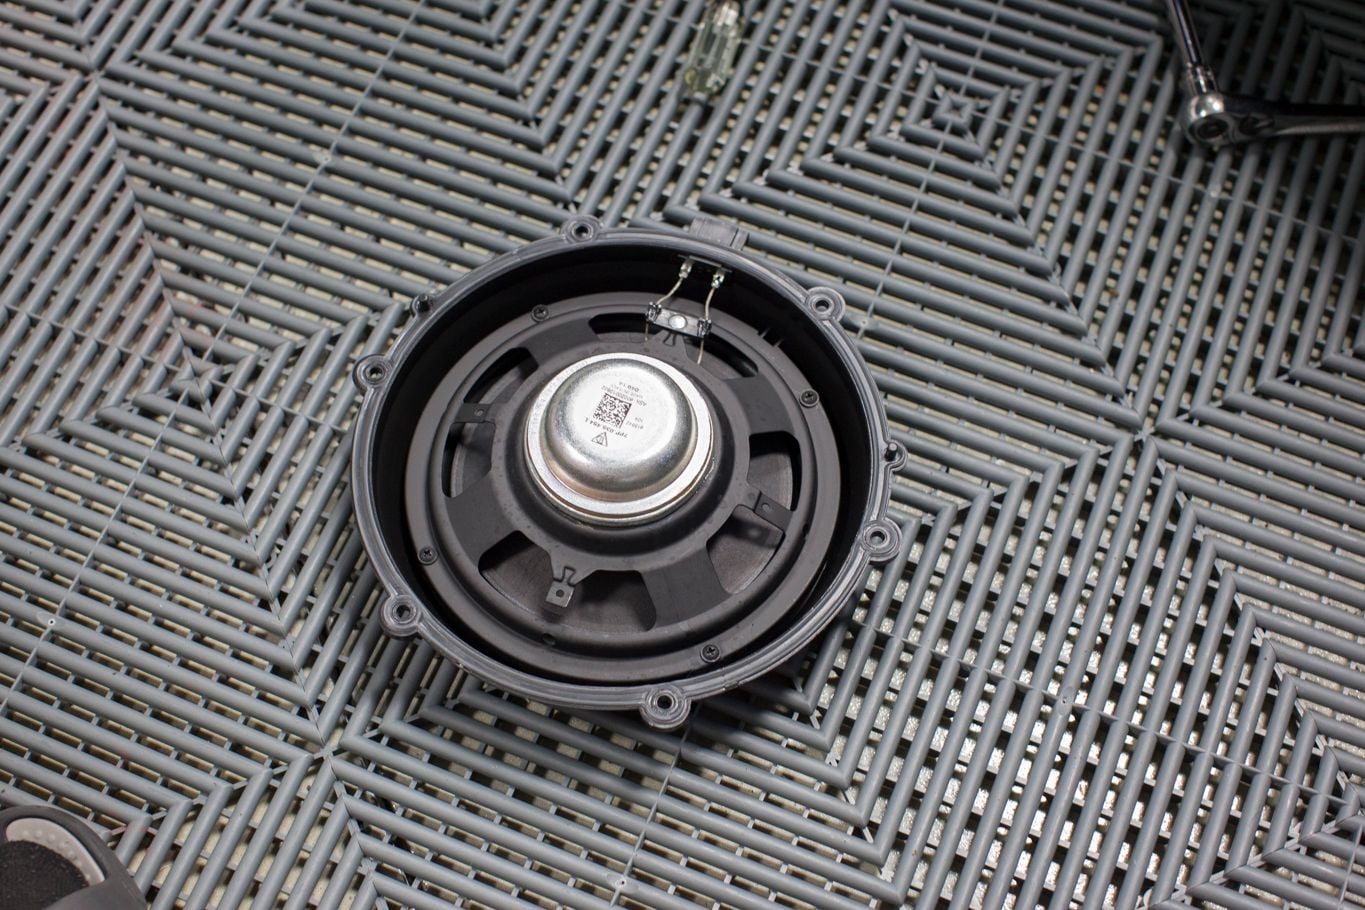
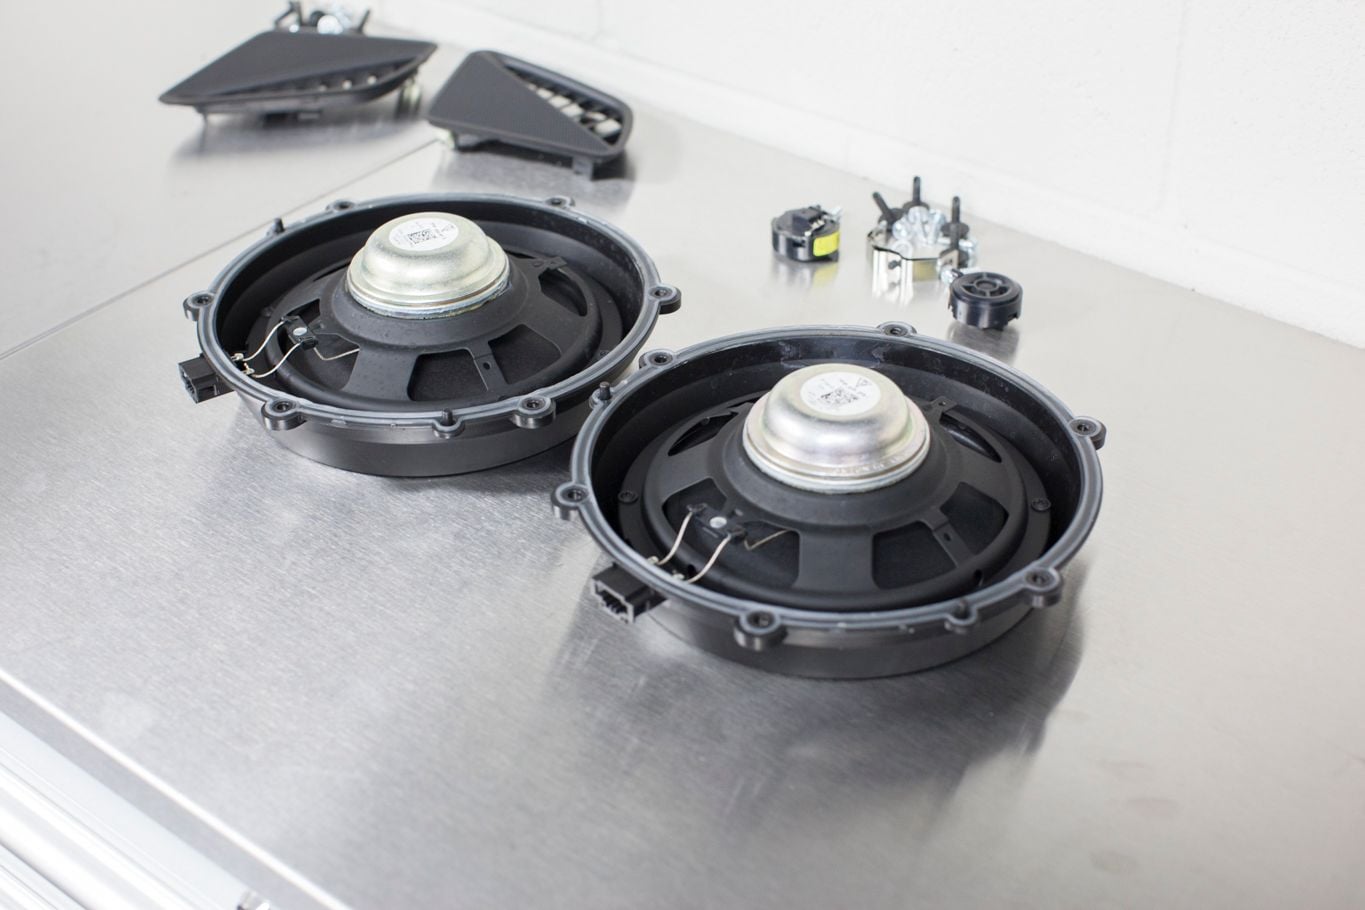
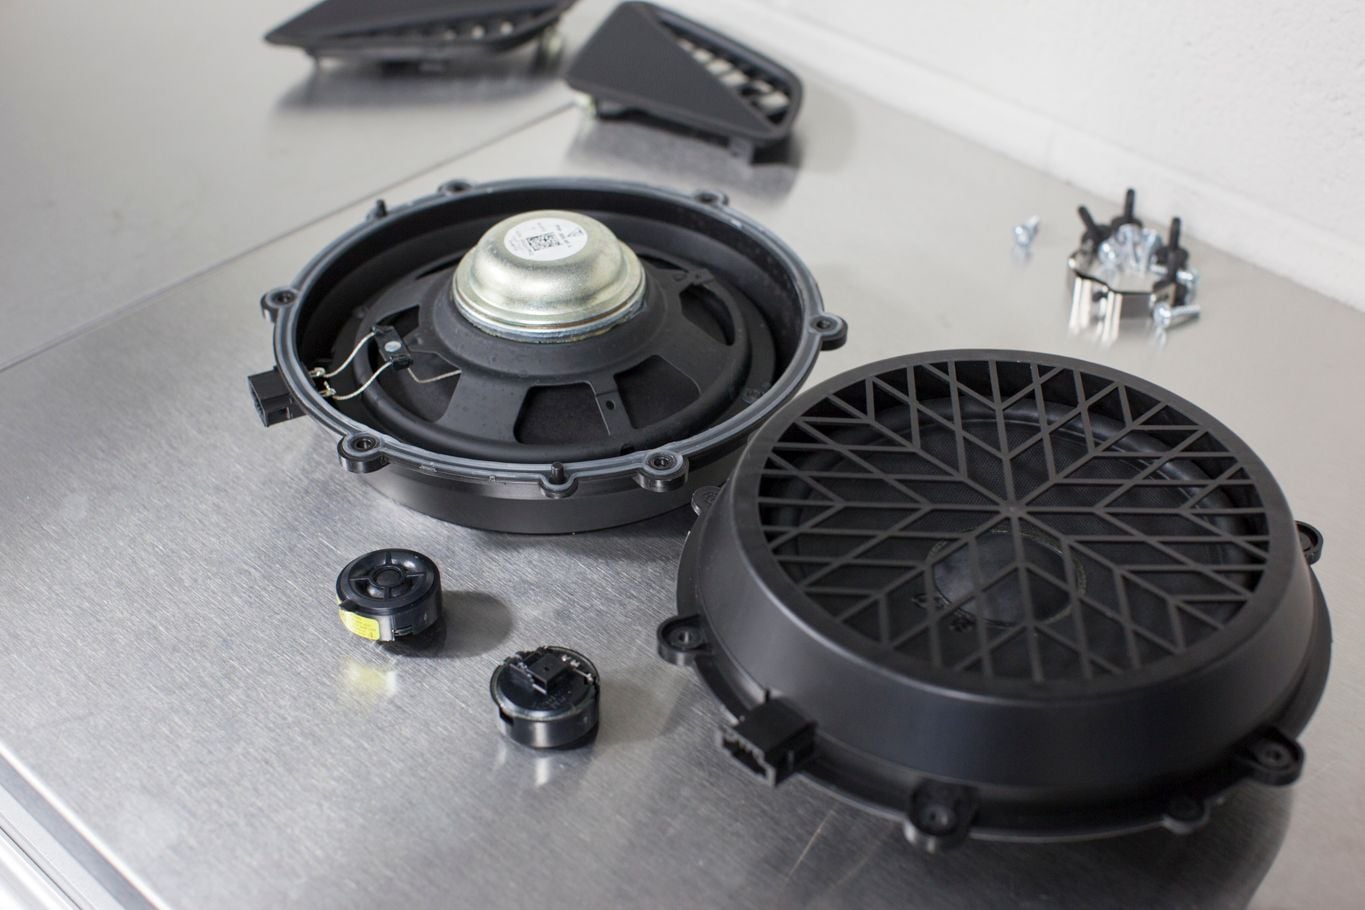
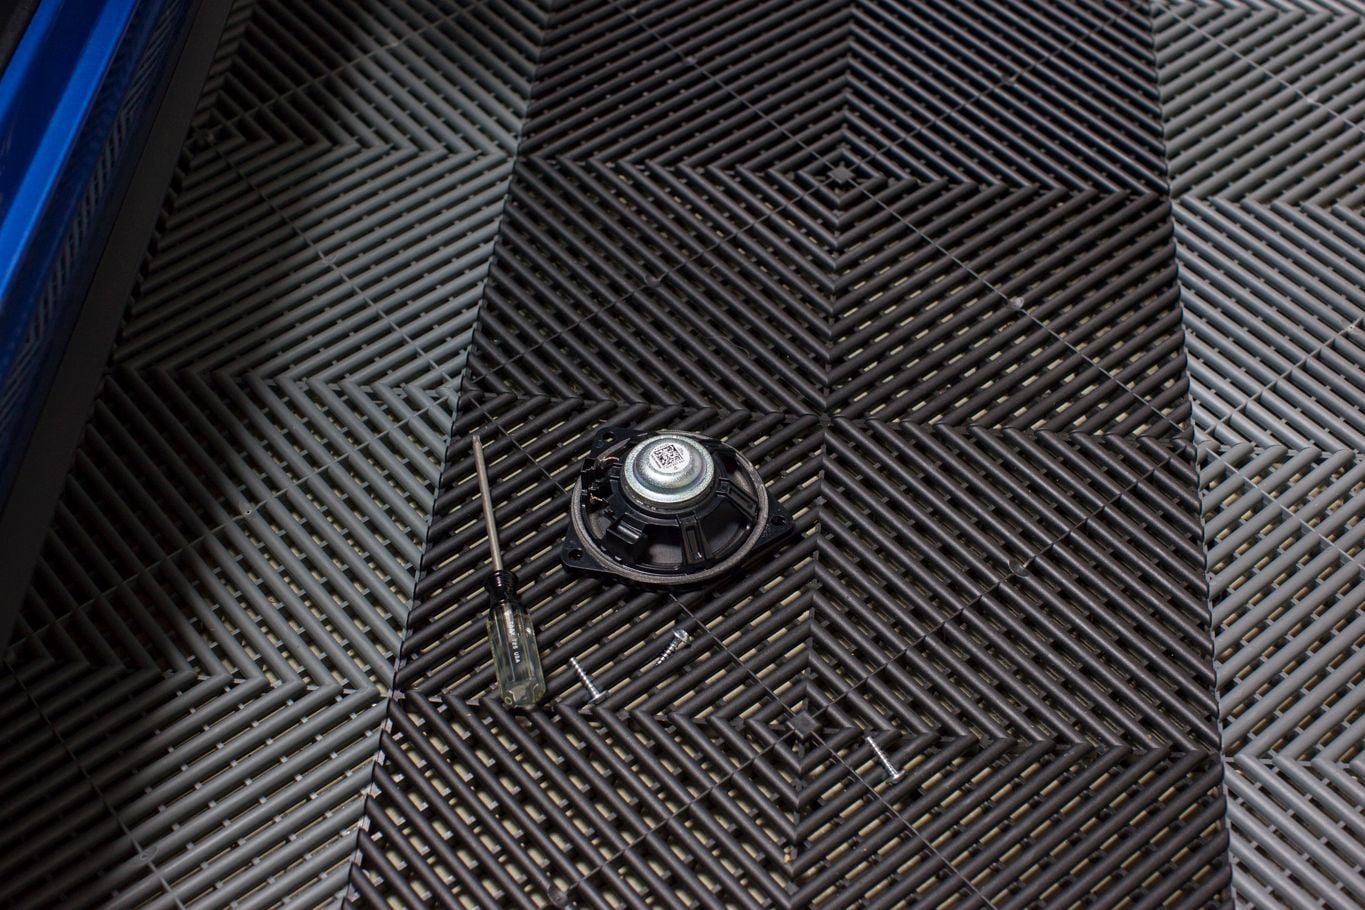
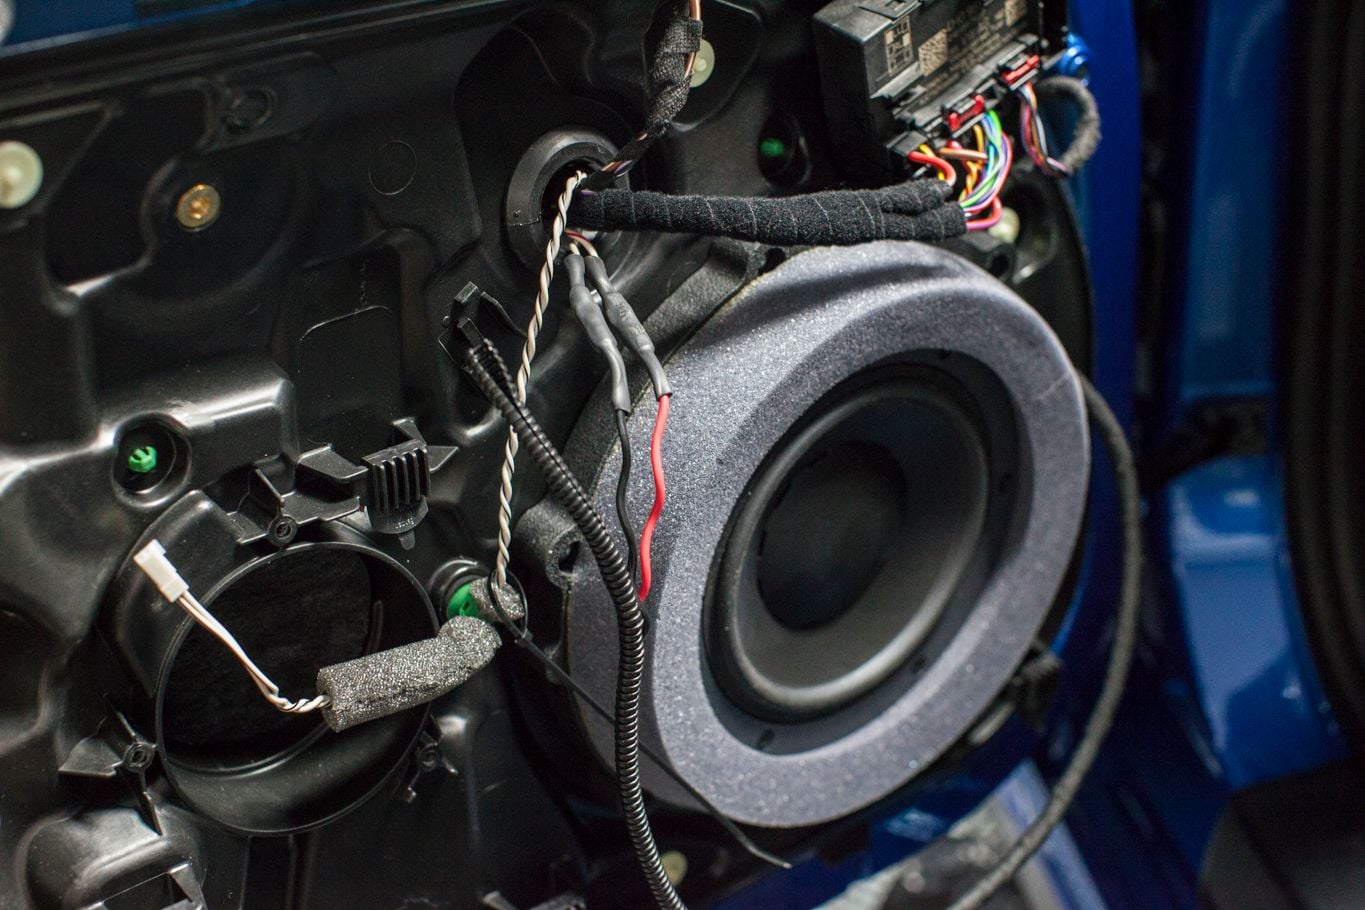
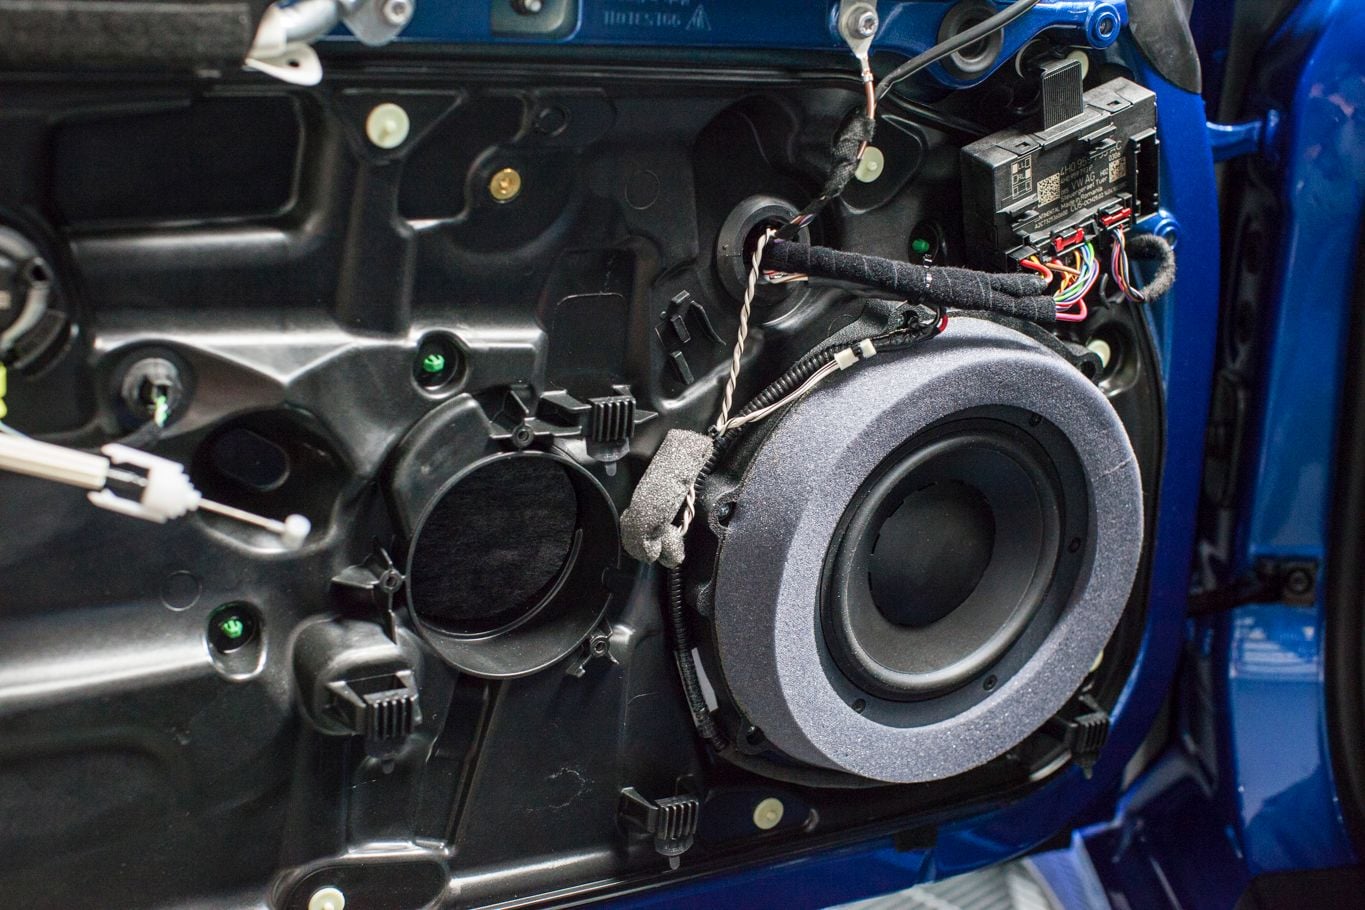
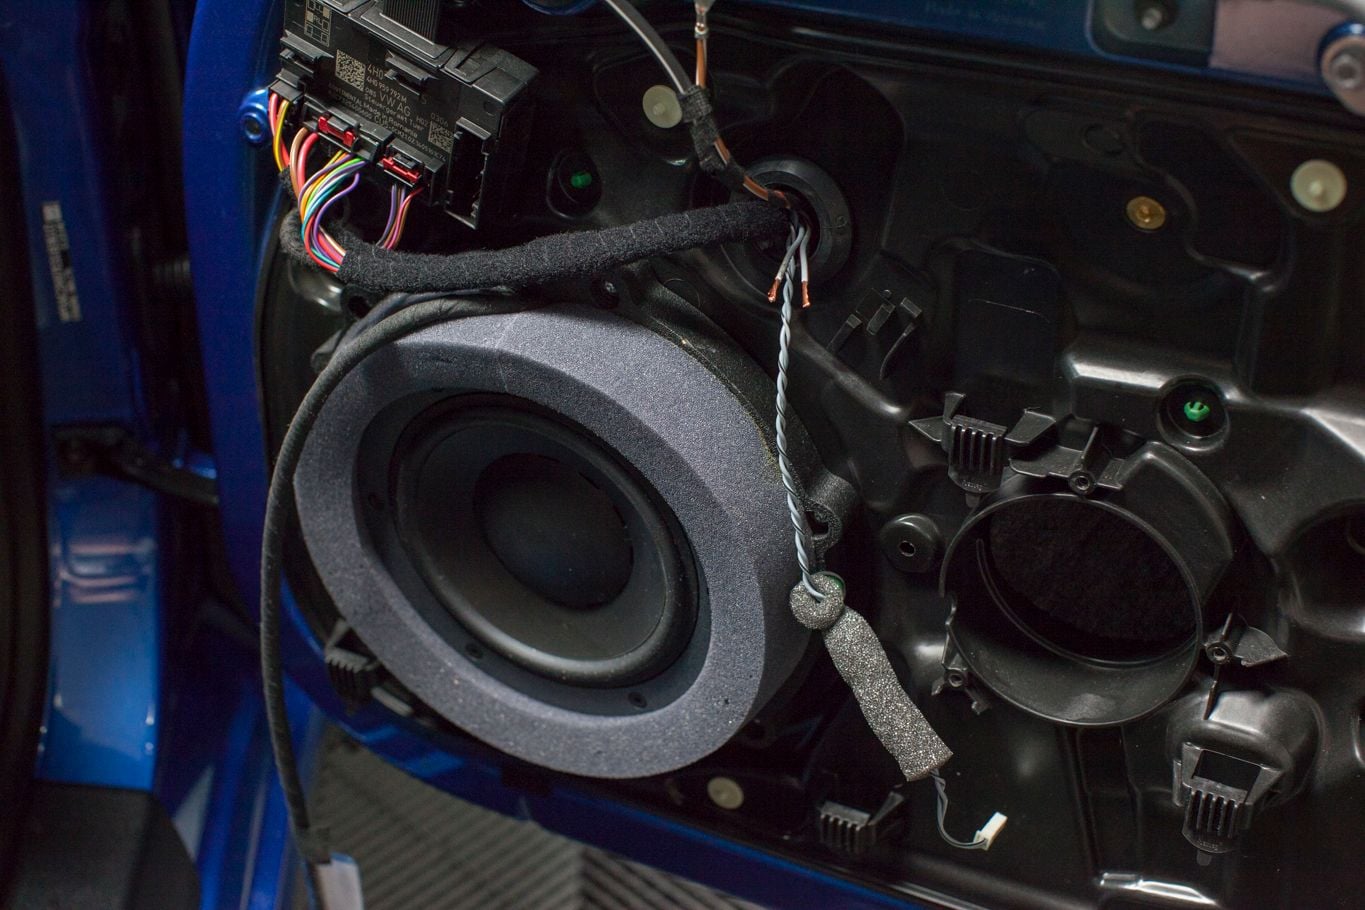
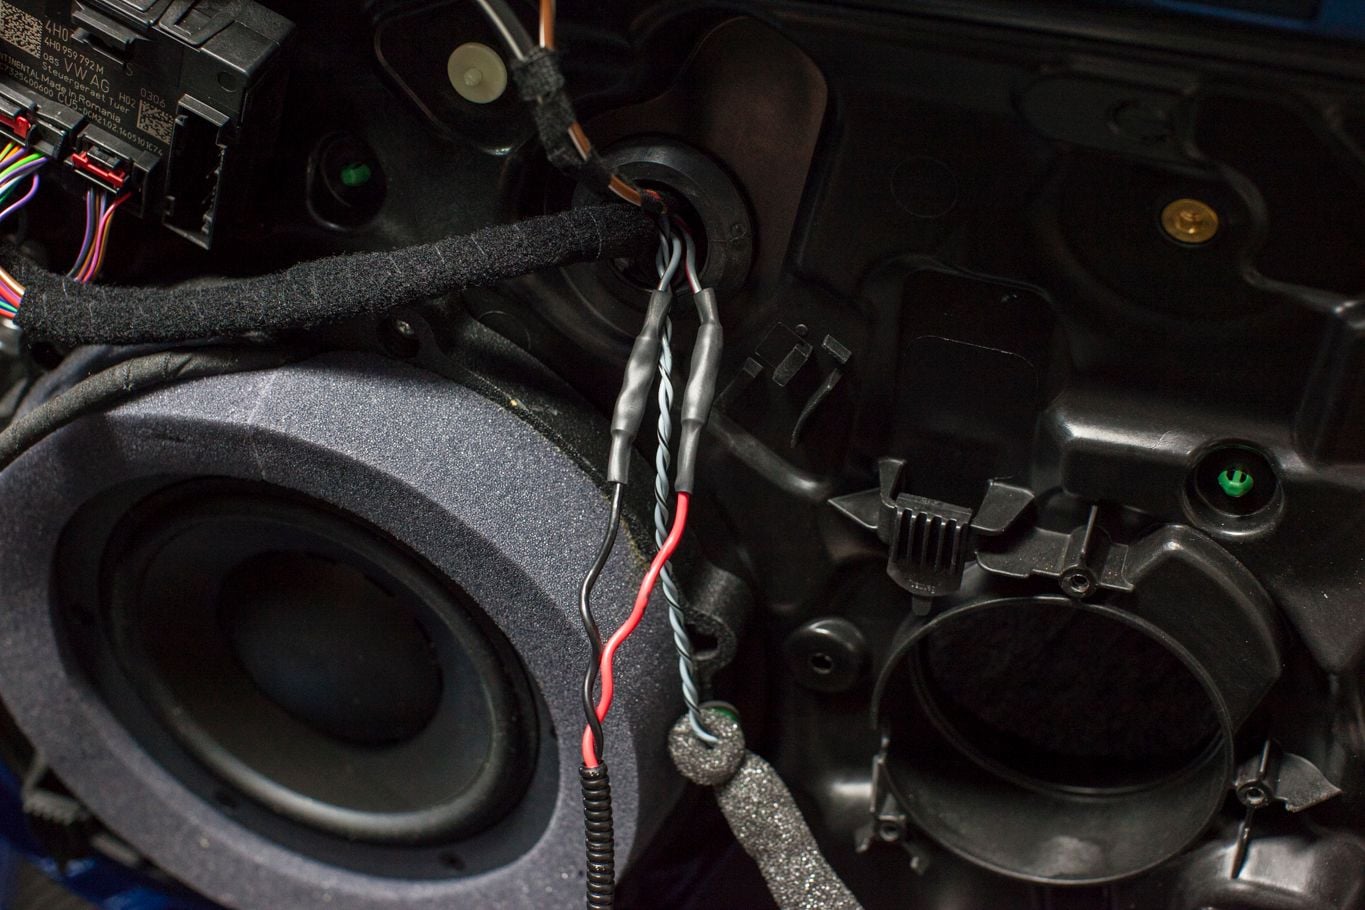
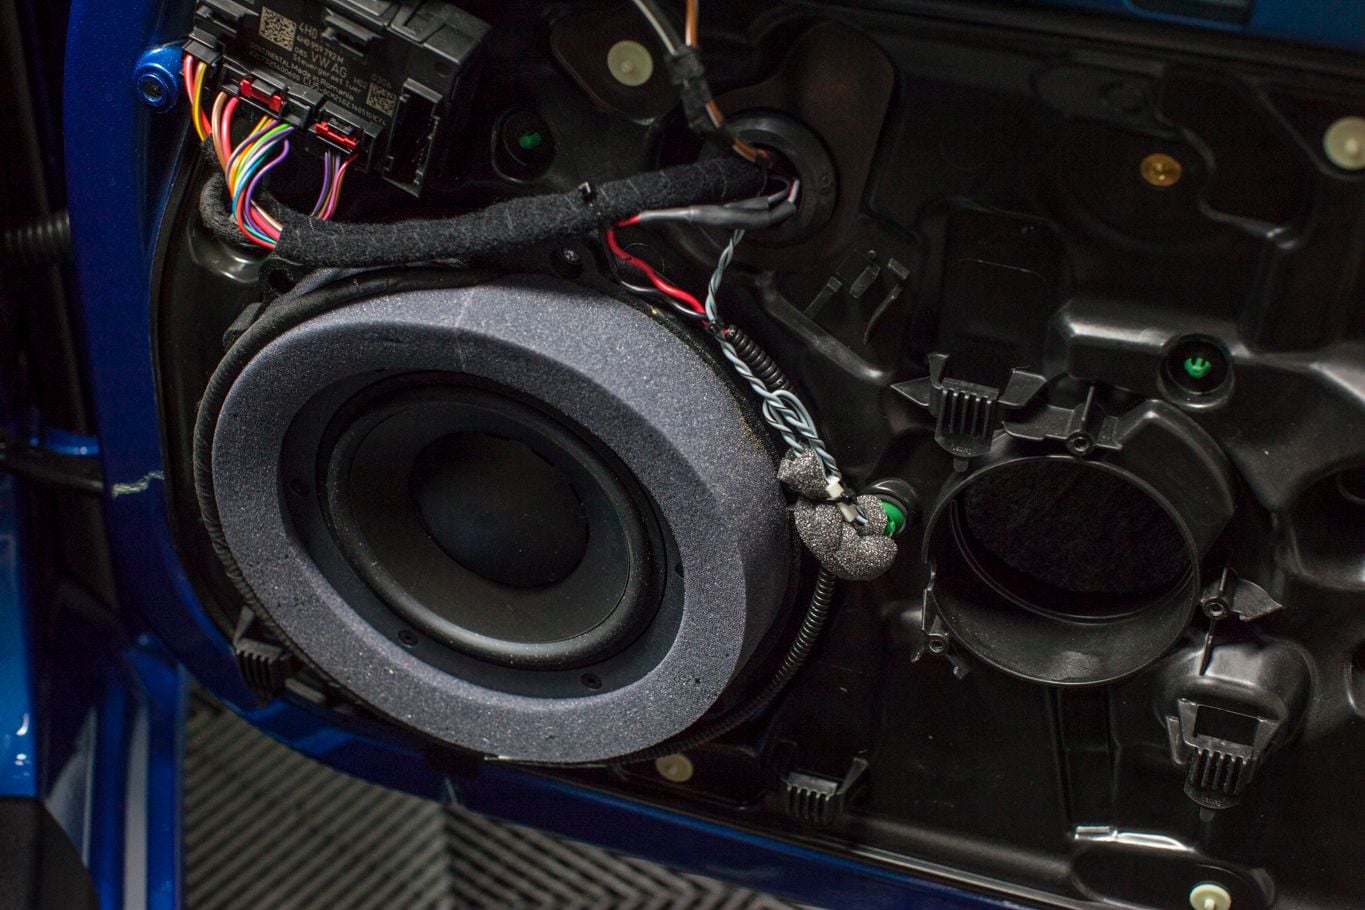
I didn't realize the factory woofer was a 7". I knew about the crappy little three inch midrange. I planned on leaving the midrange. I thought there would be a hole in the vapor barrier.
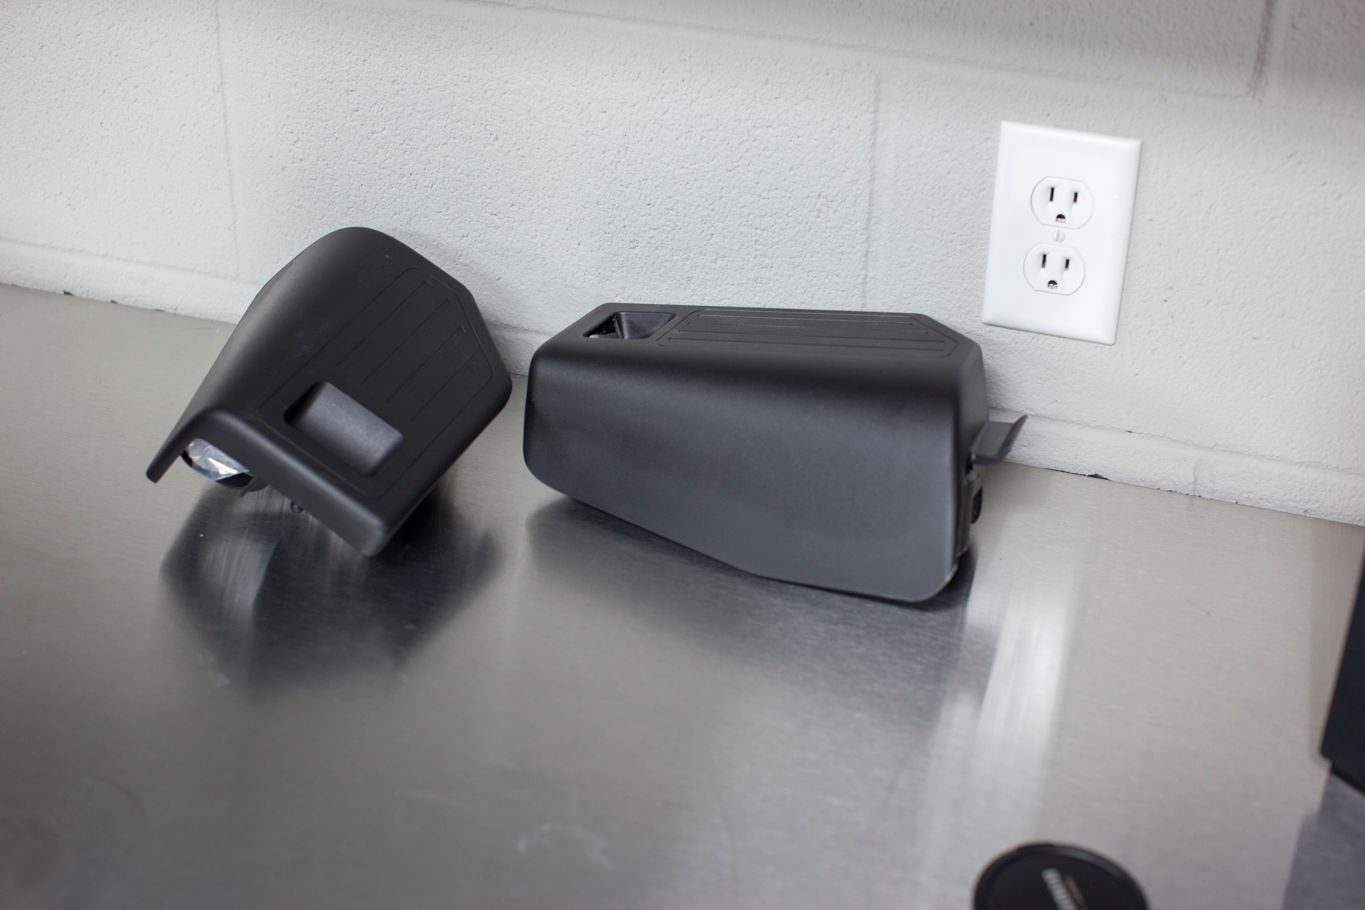
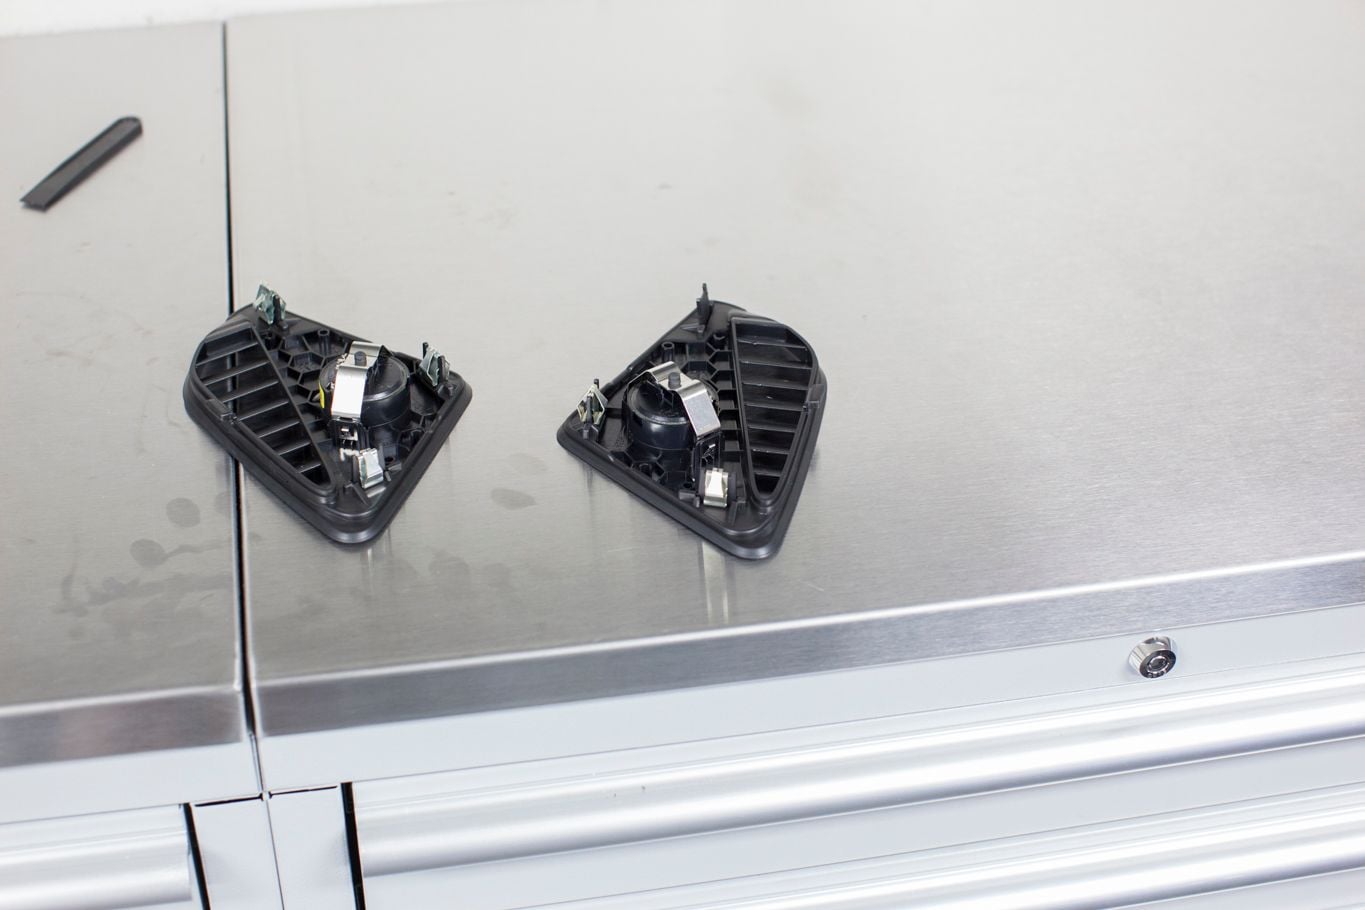
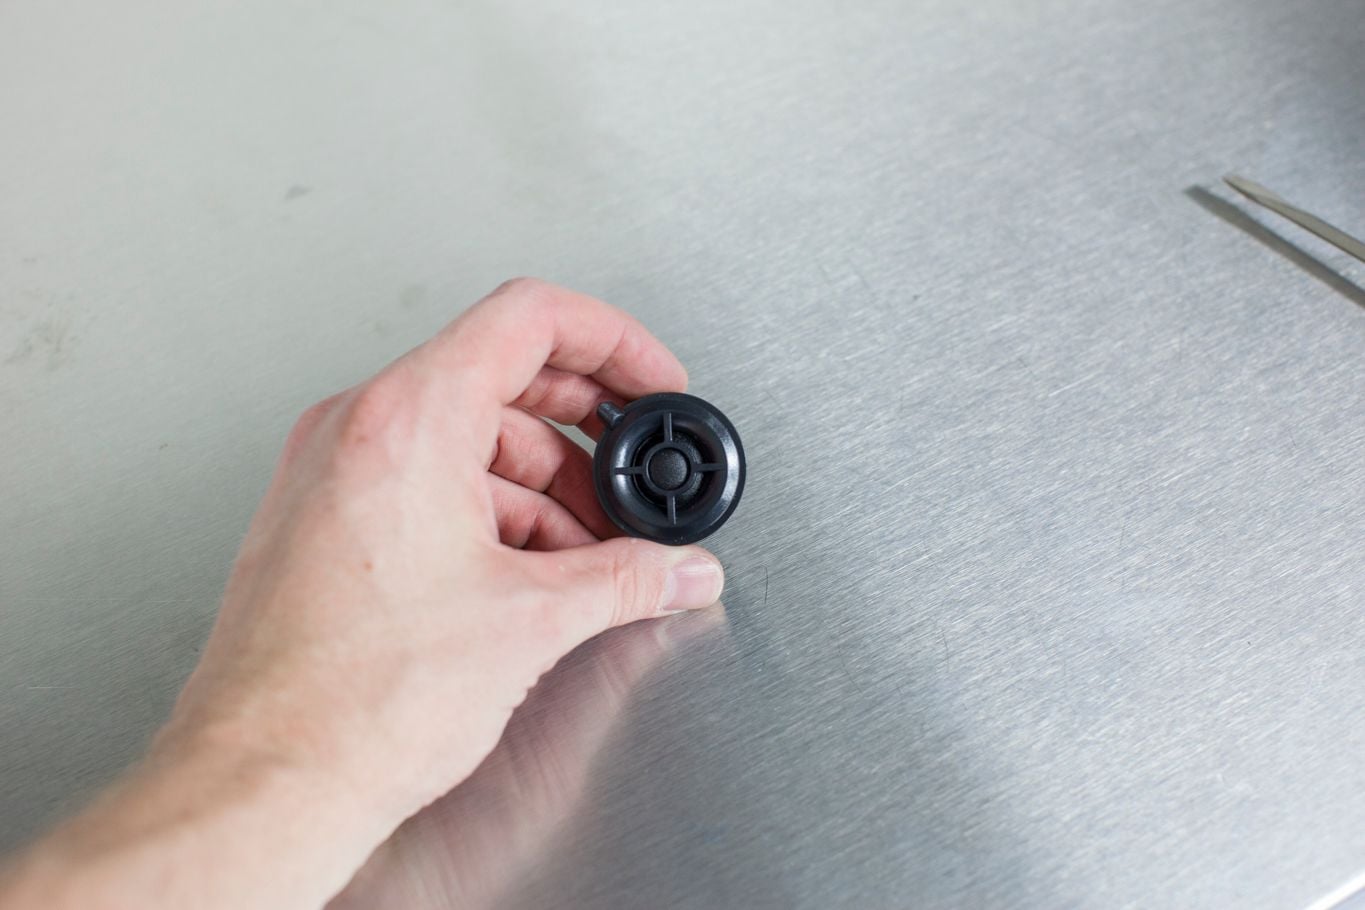
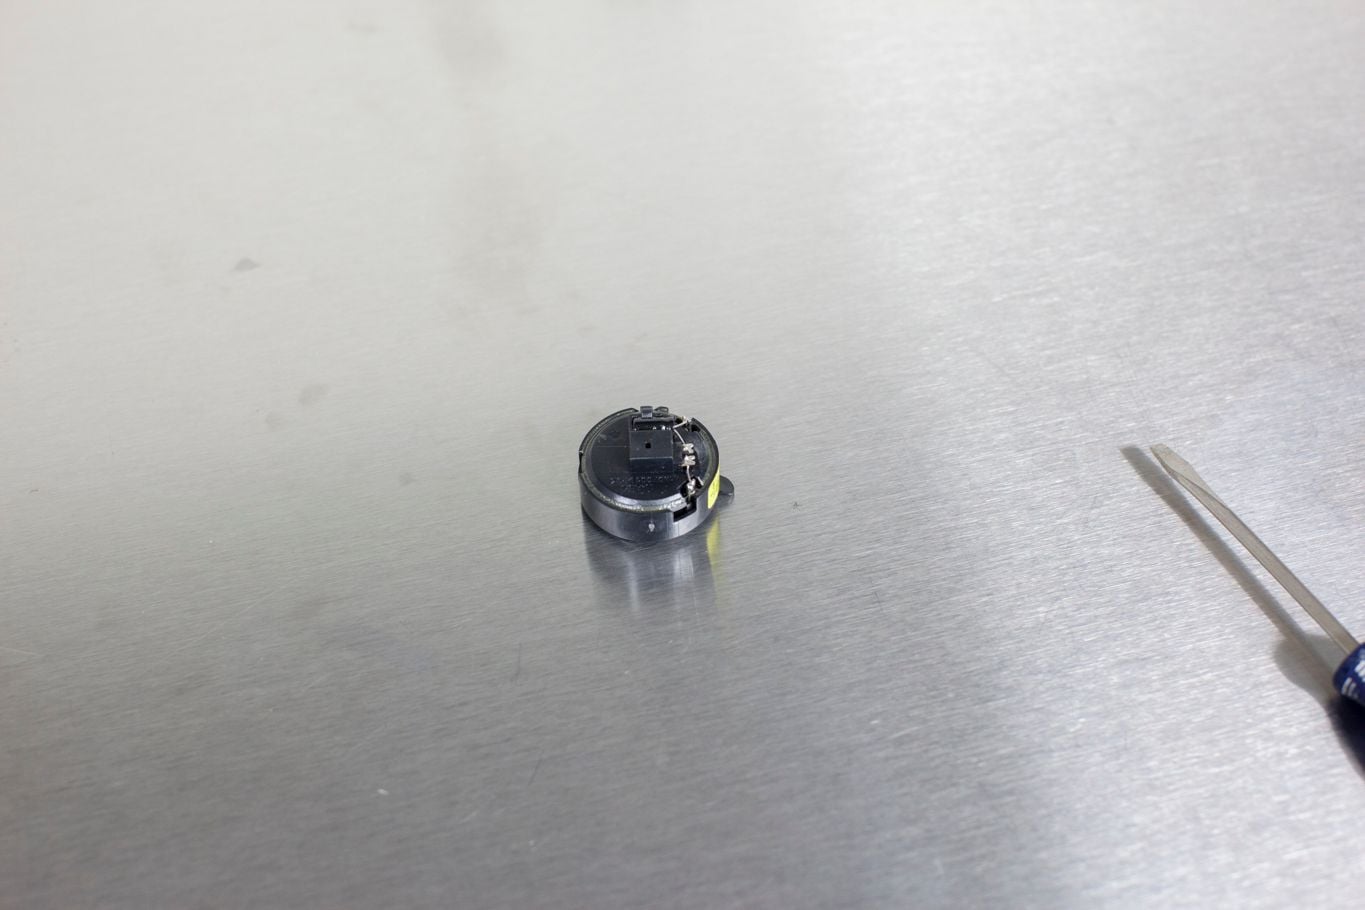
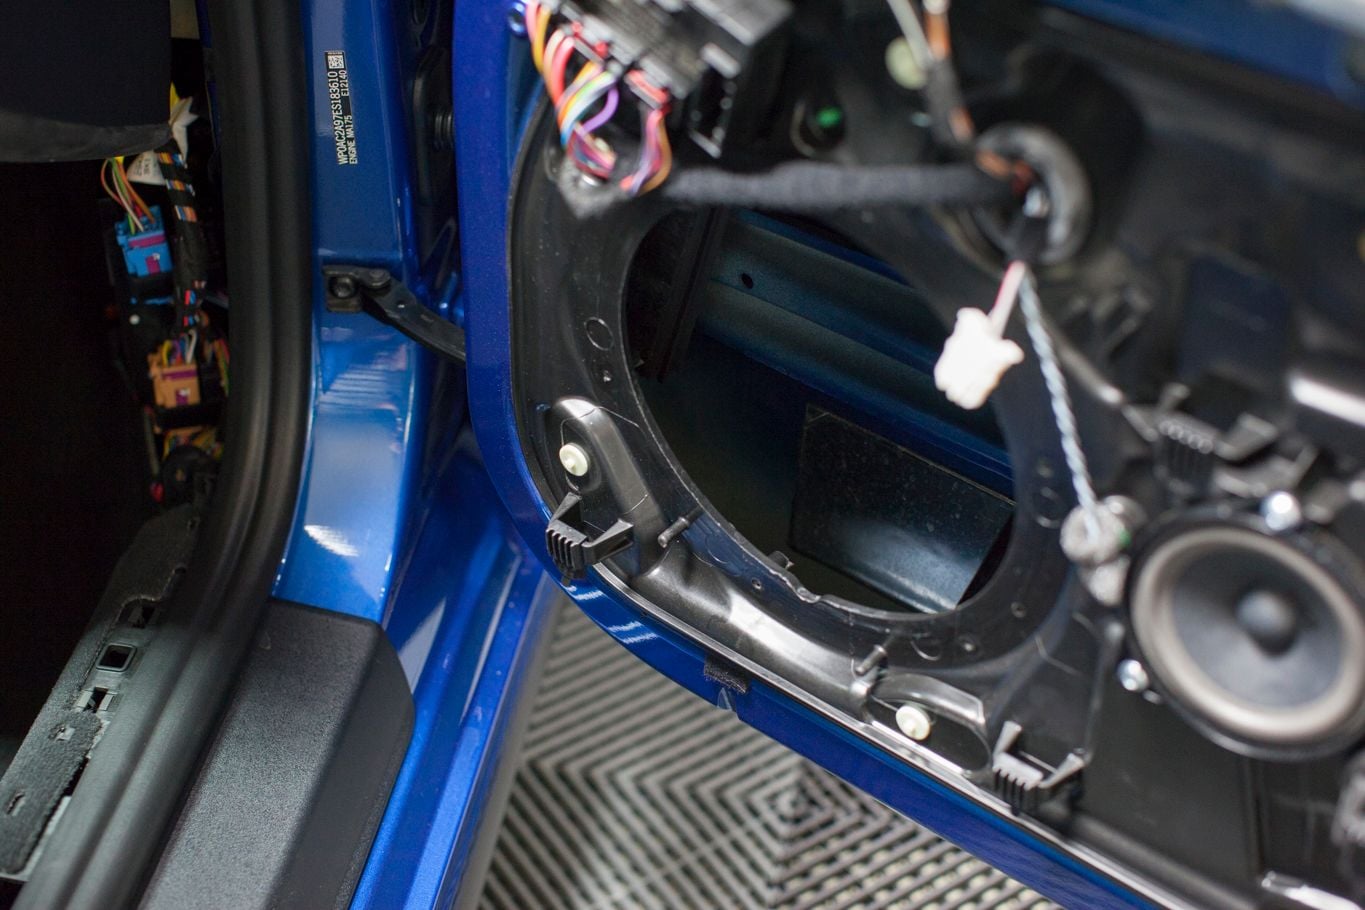
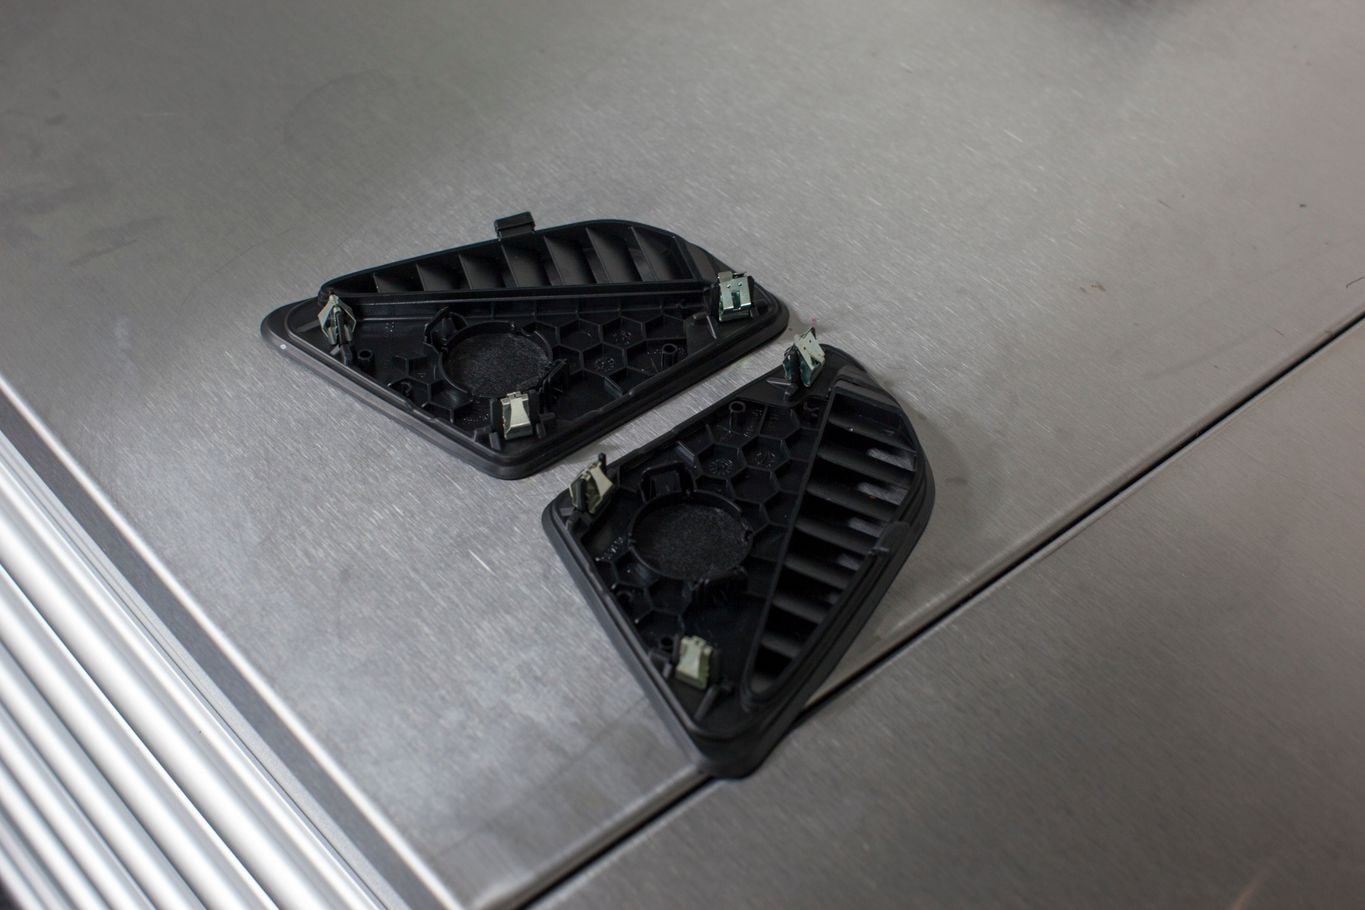
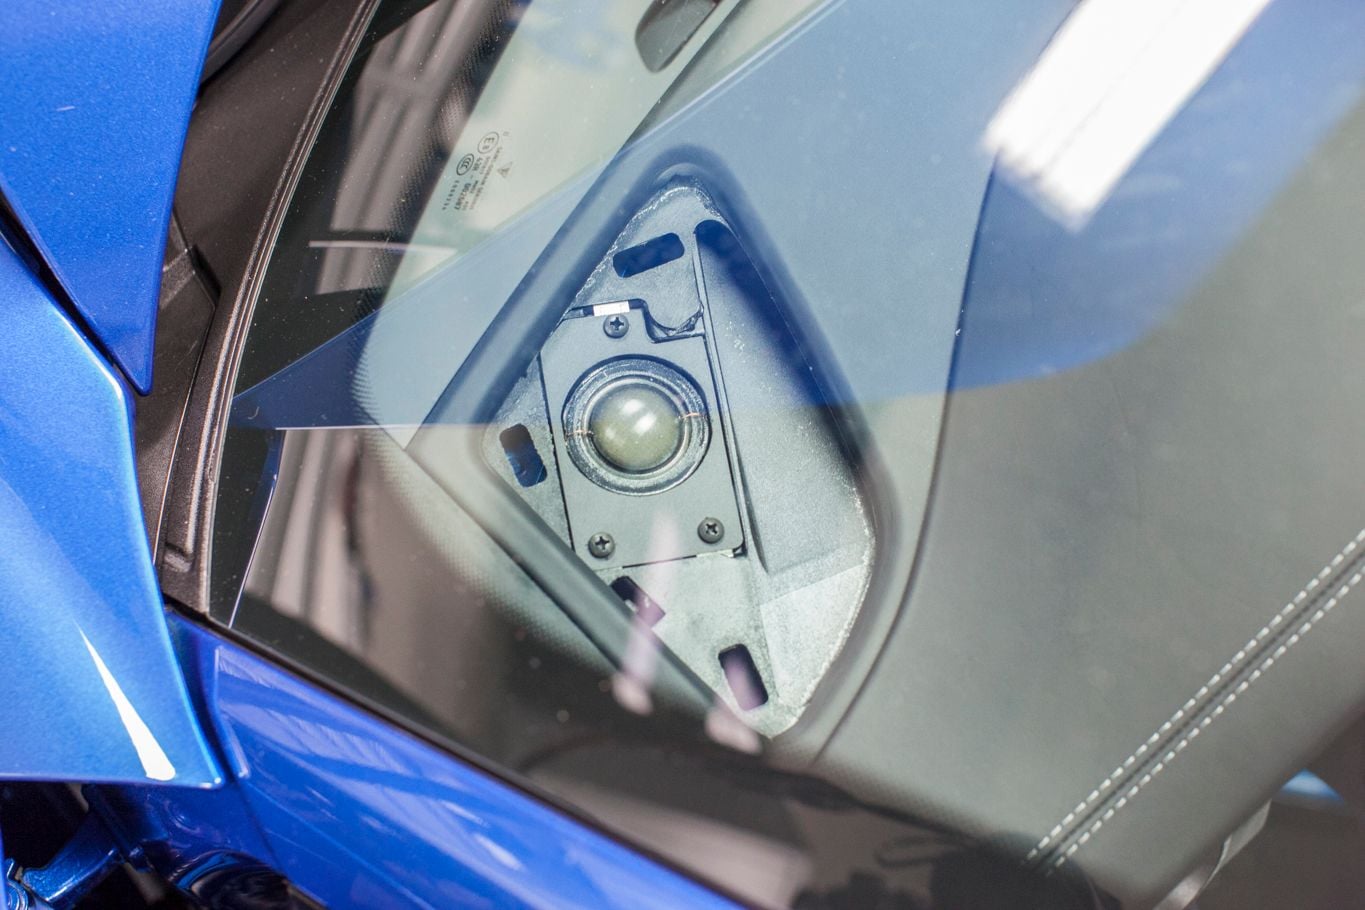
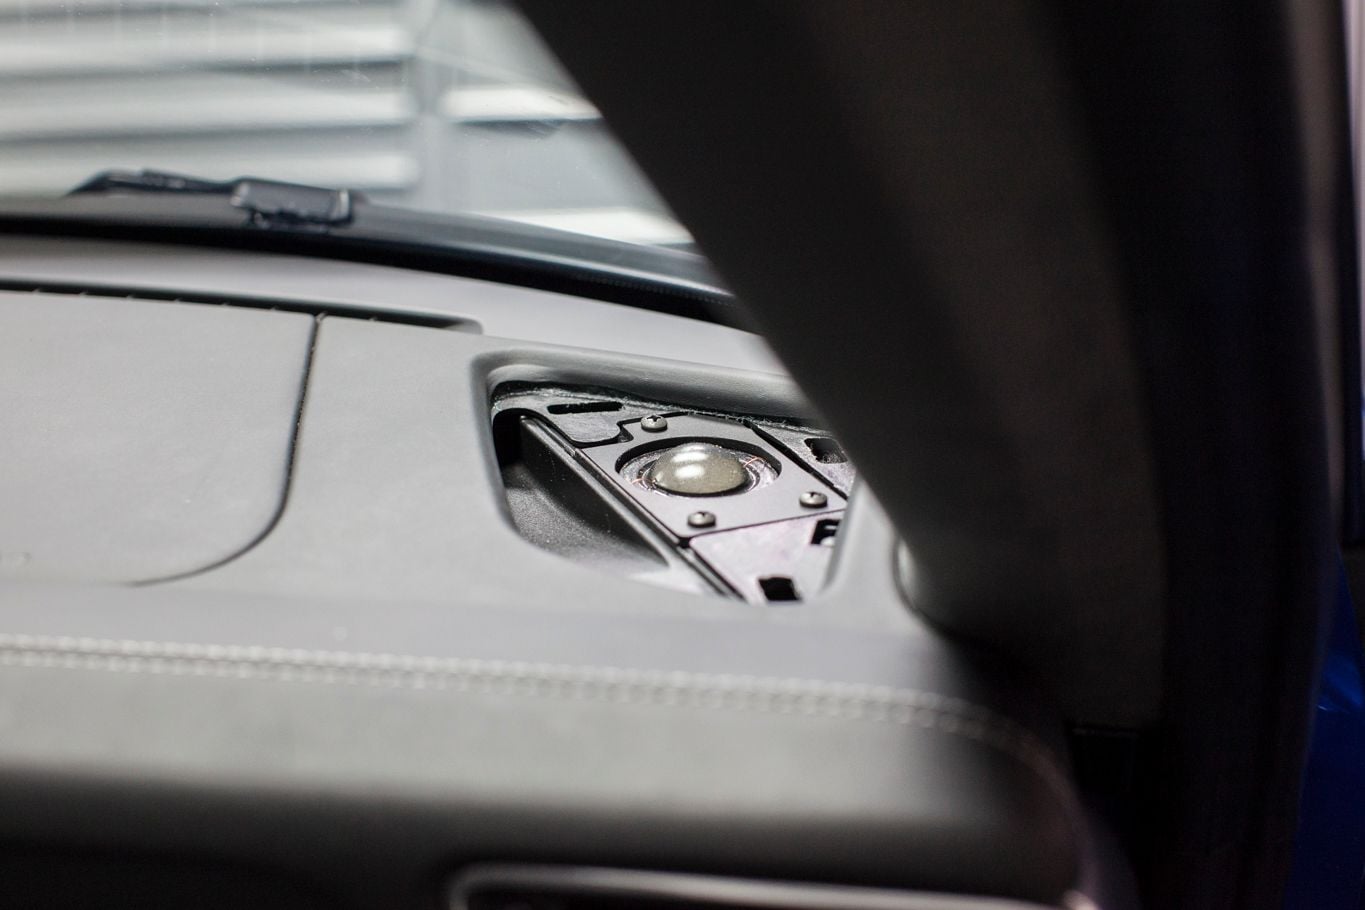
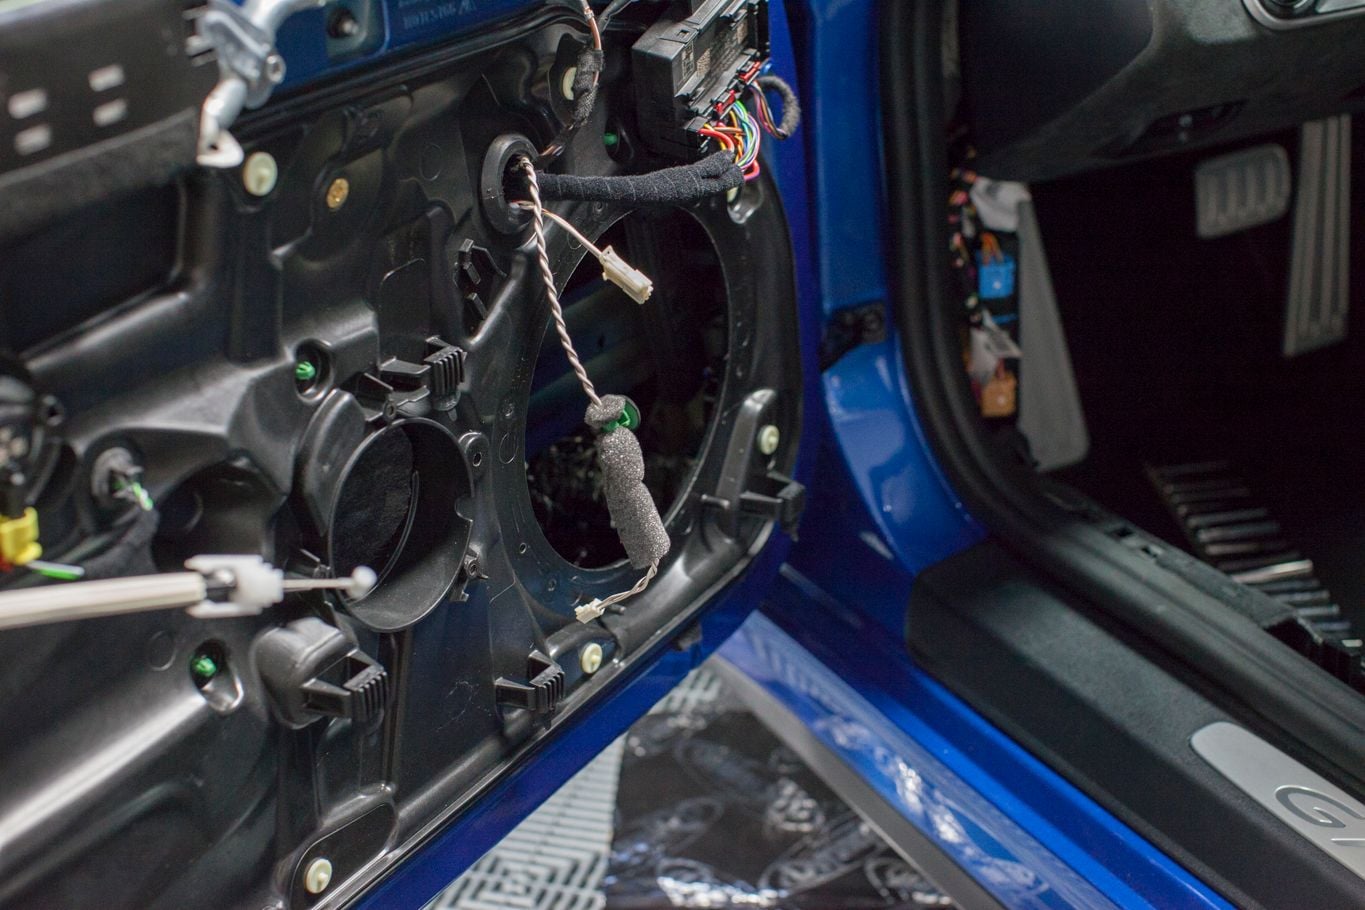
Next up was the tweeter removal. I thought this would take 30 seconds. You have to pull like crazy to get the covers off.
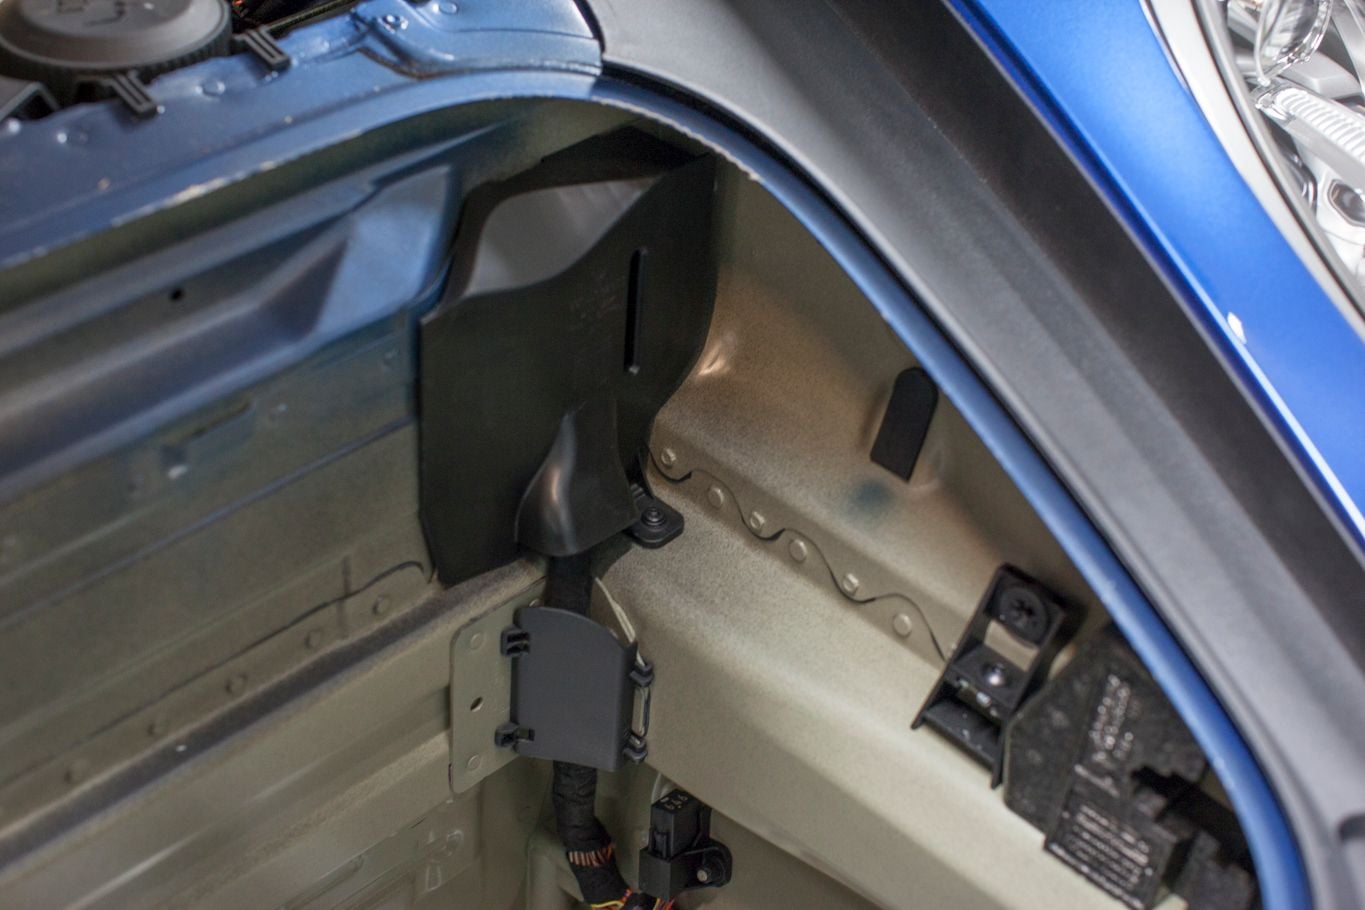
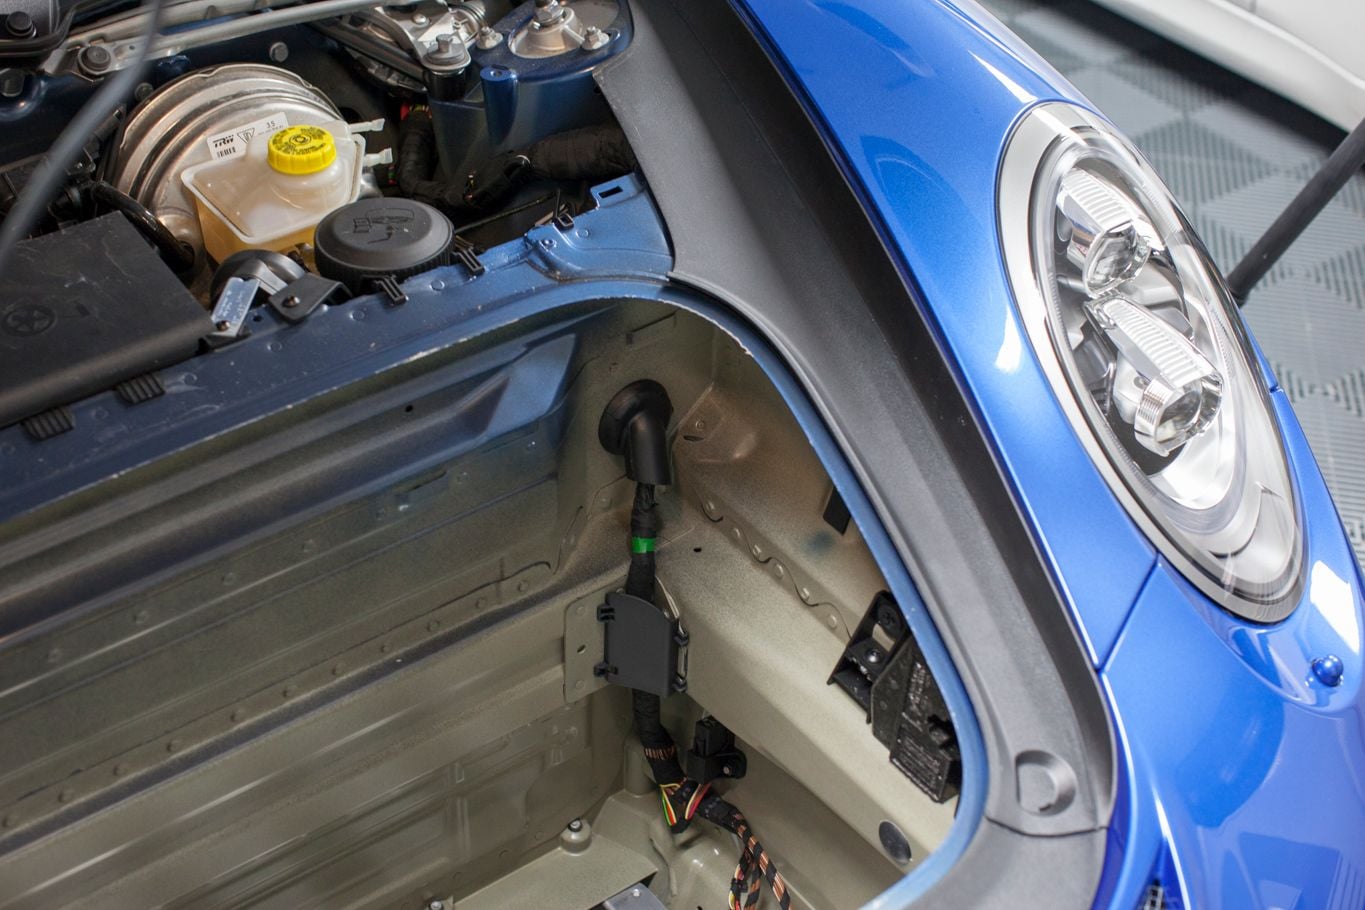
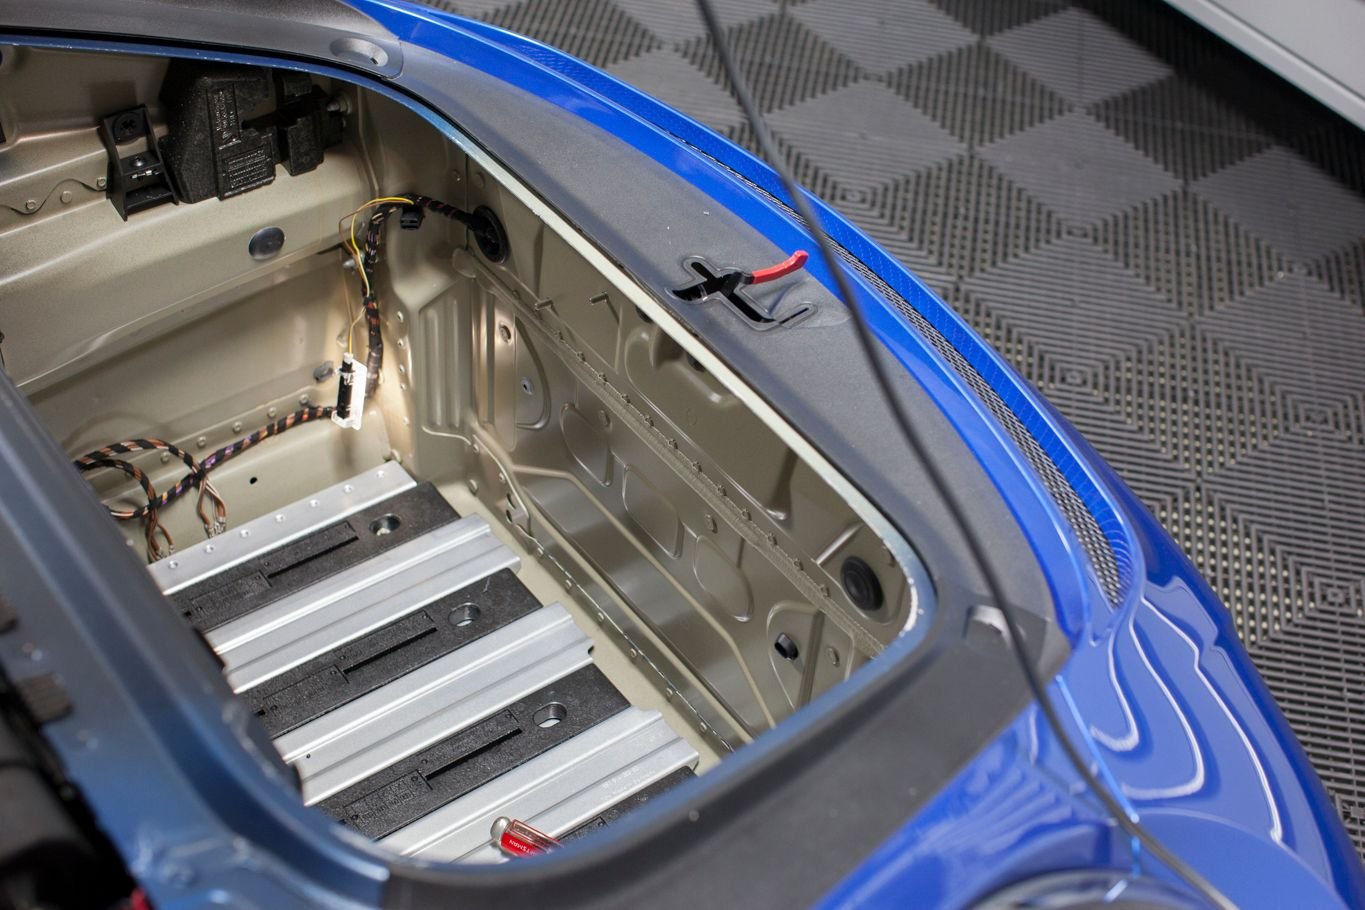
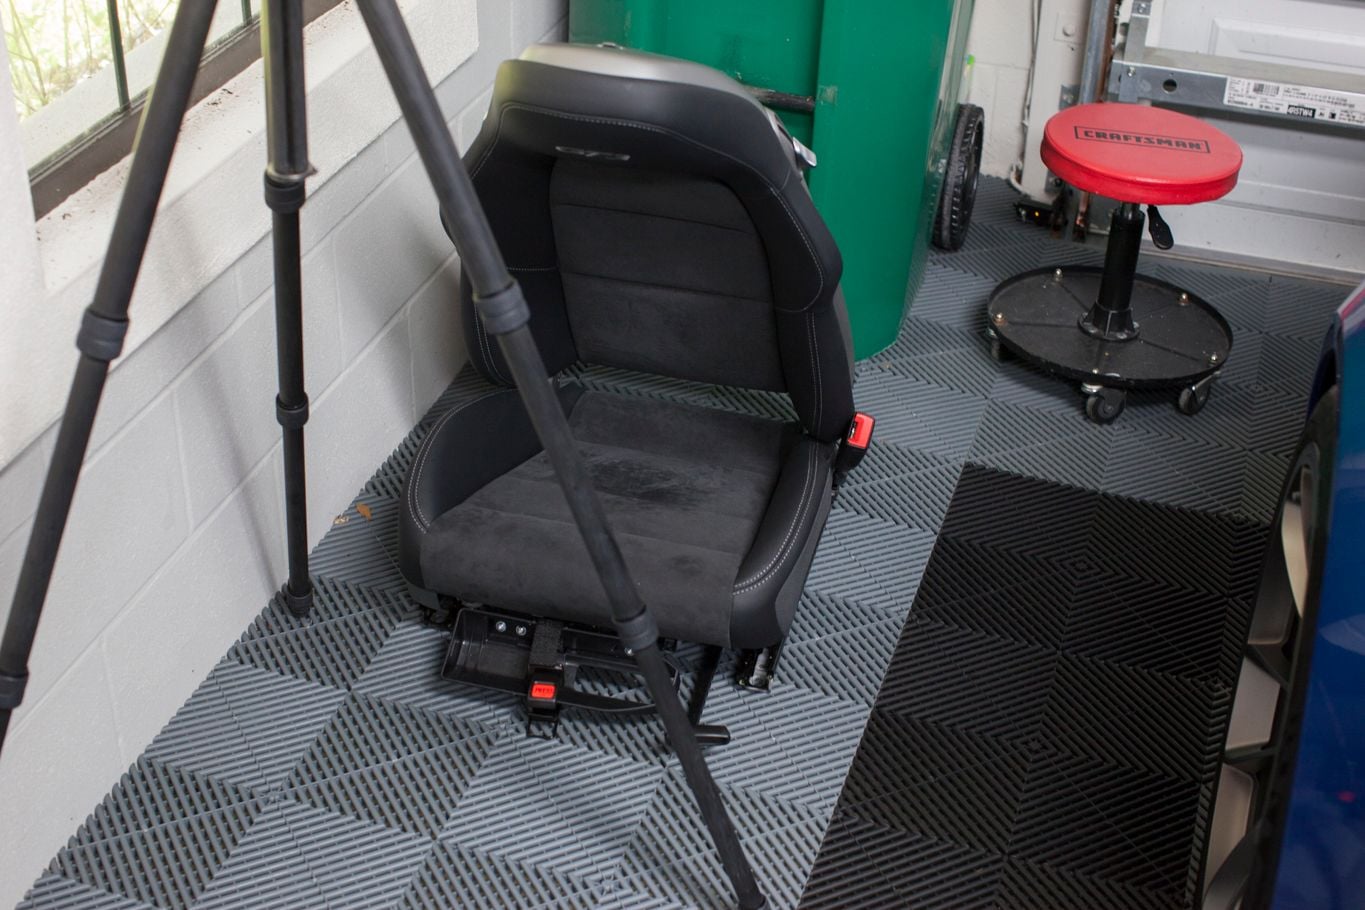
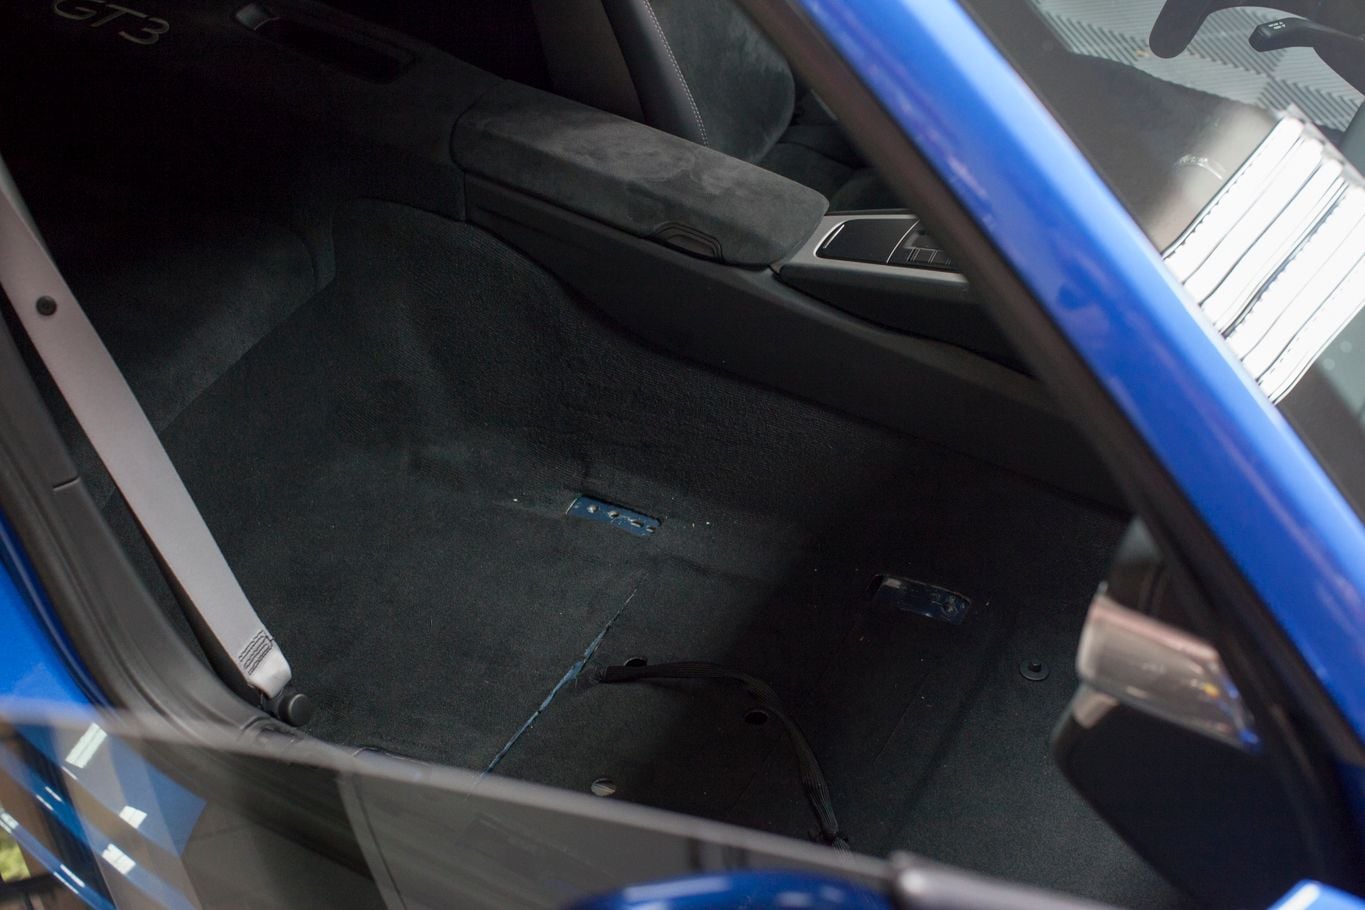
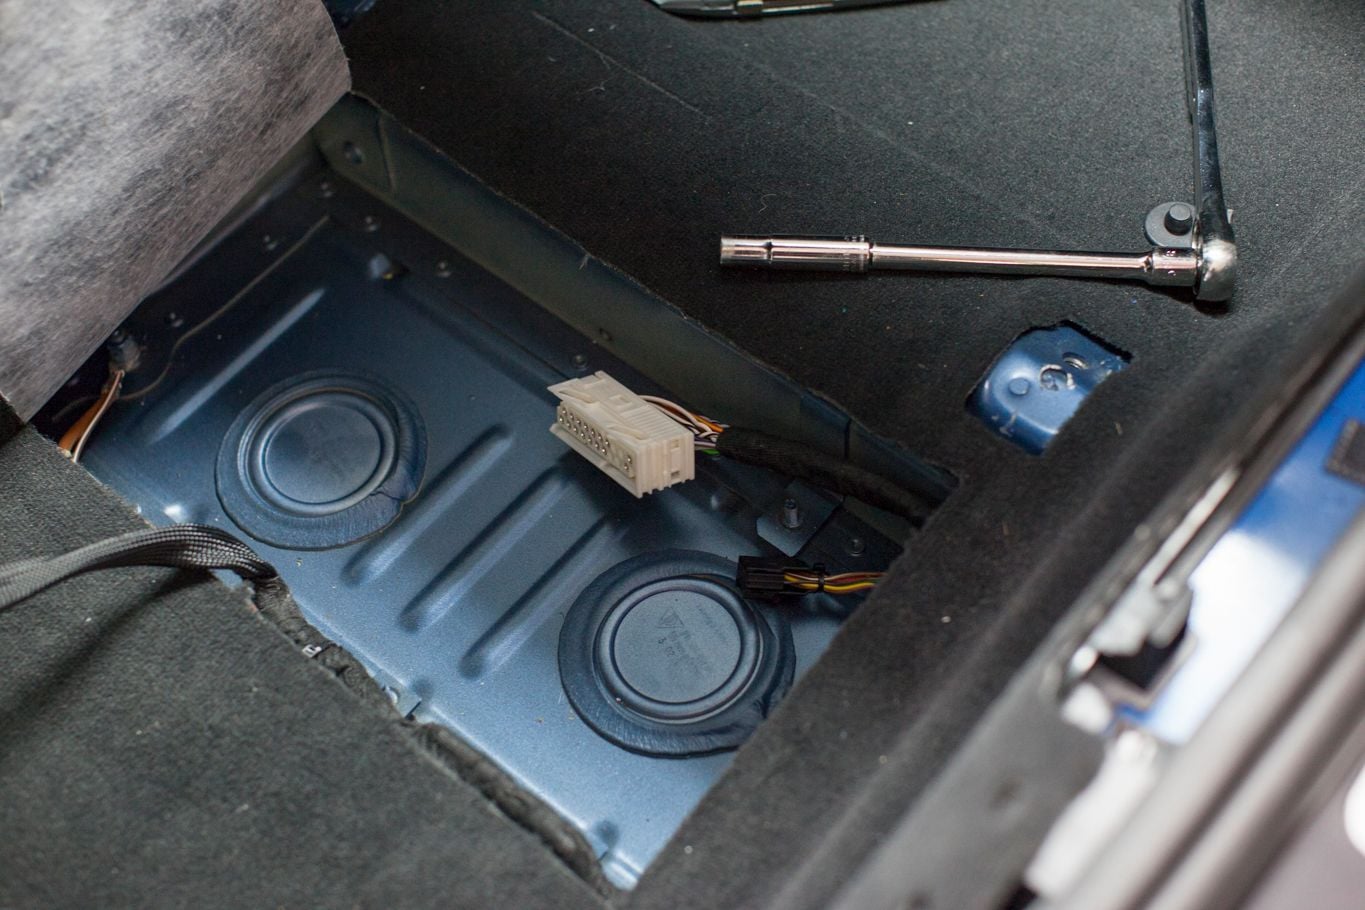
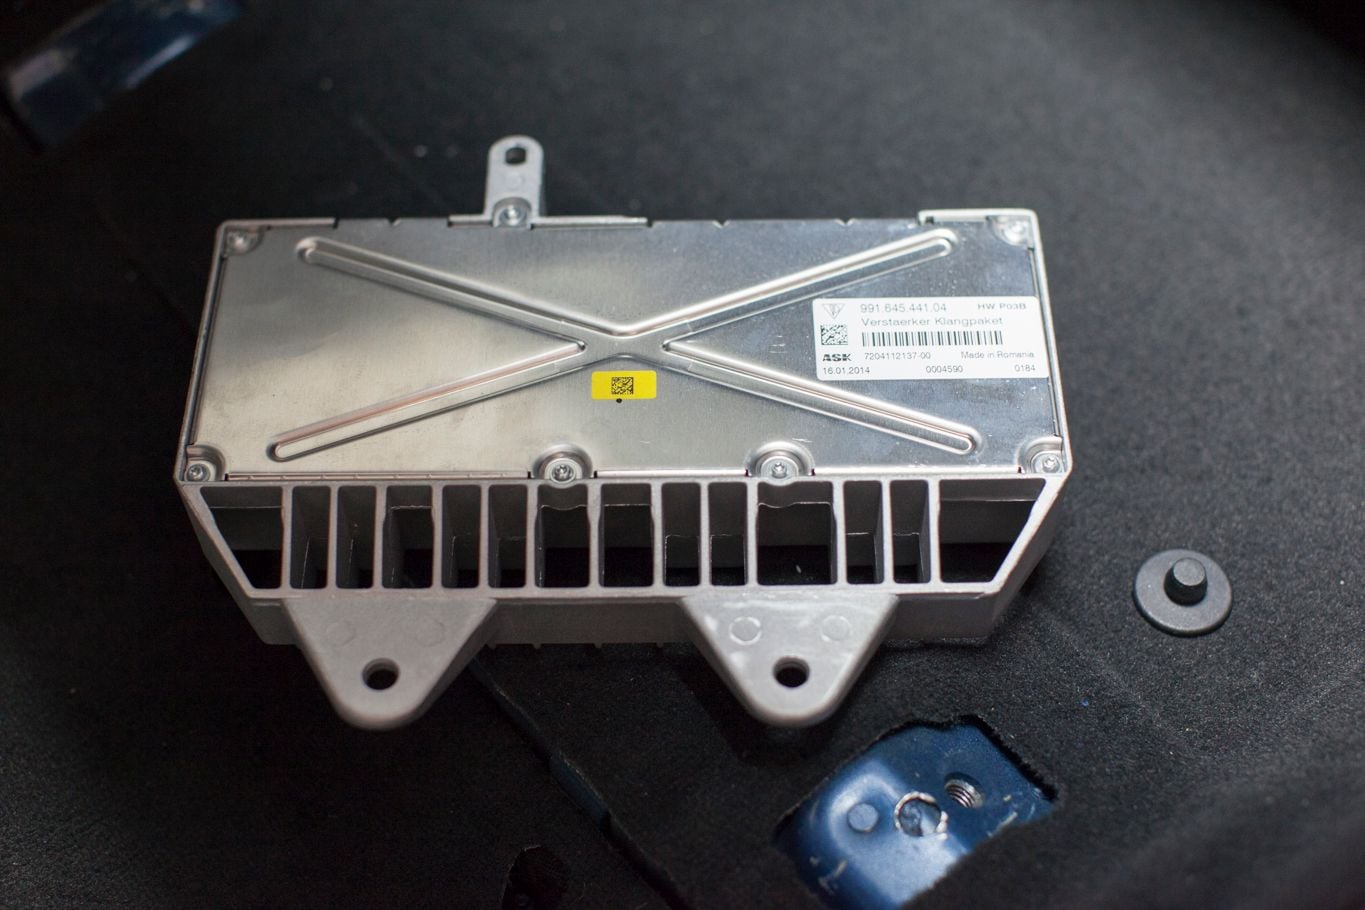
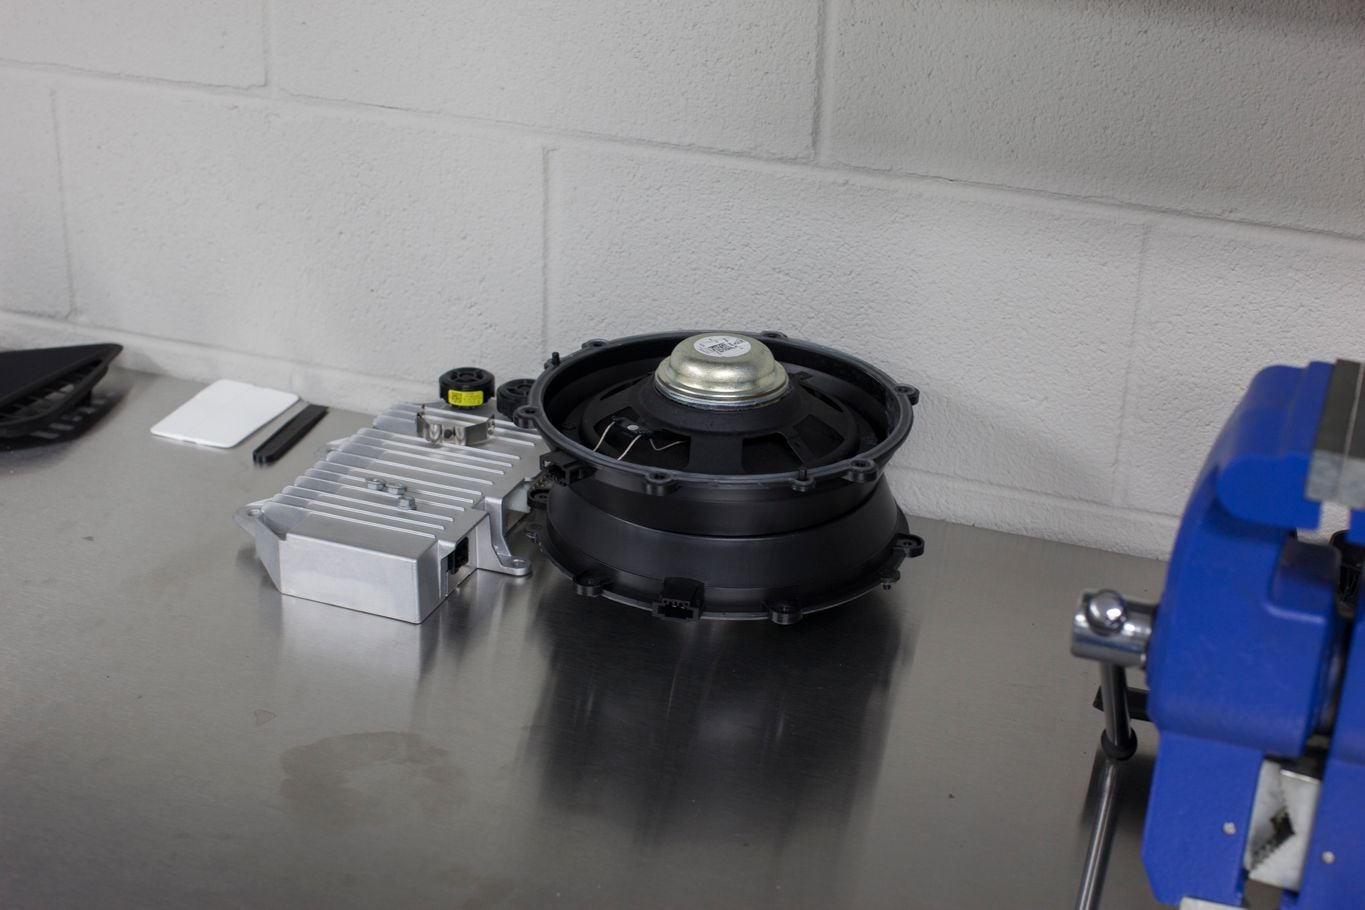
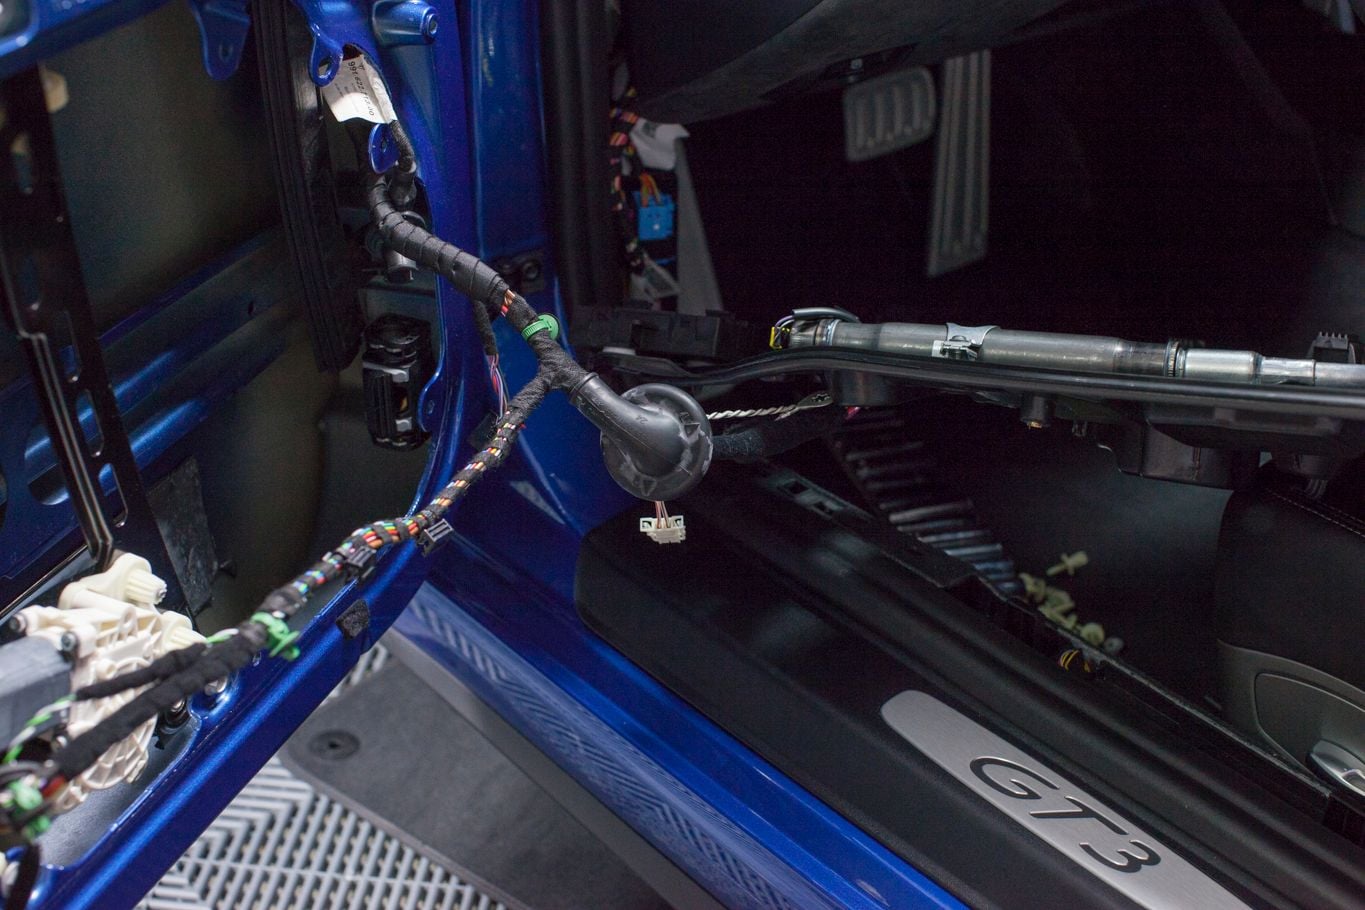
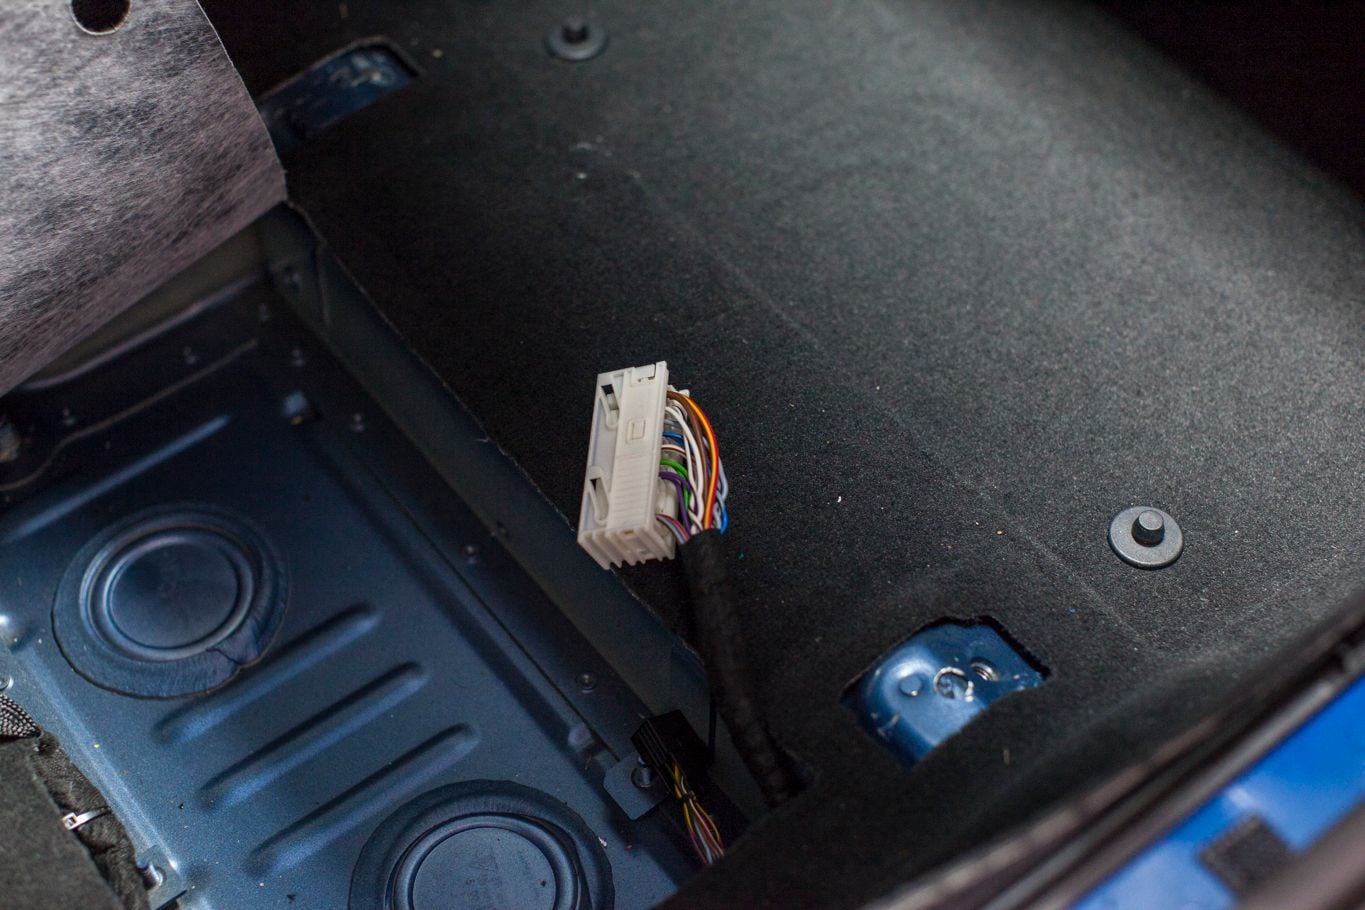
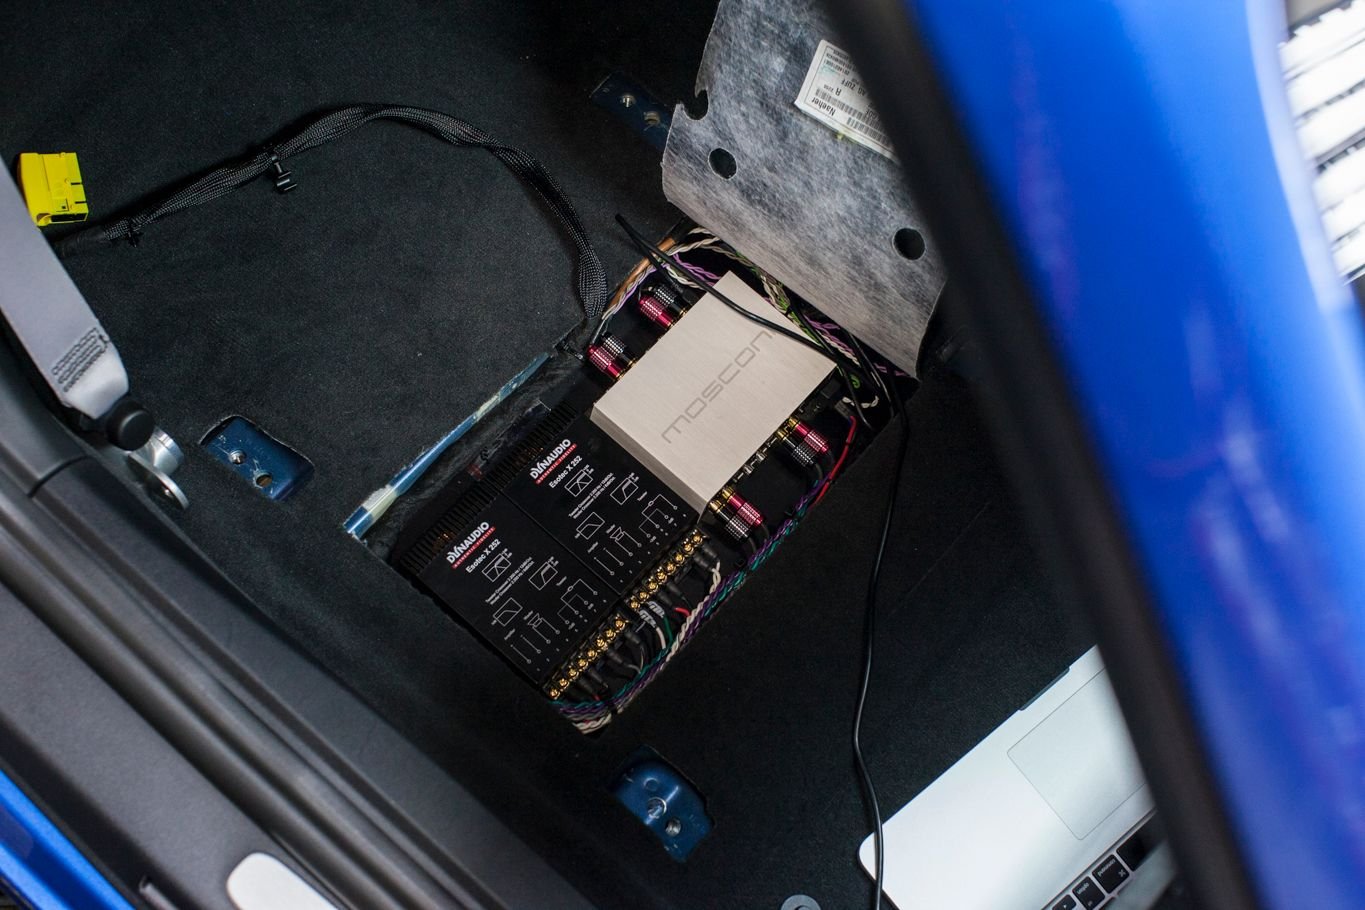
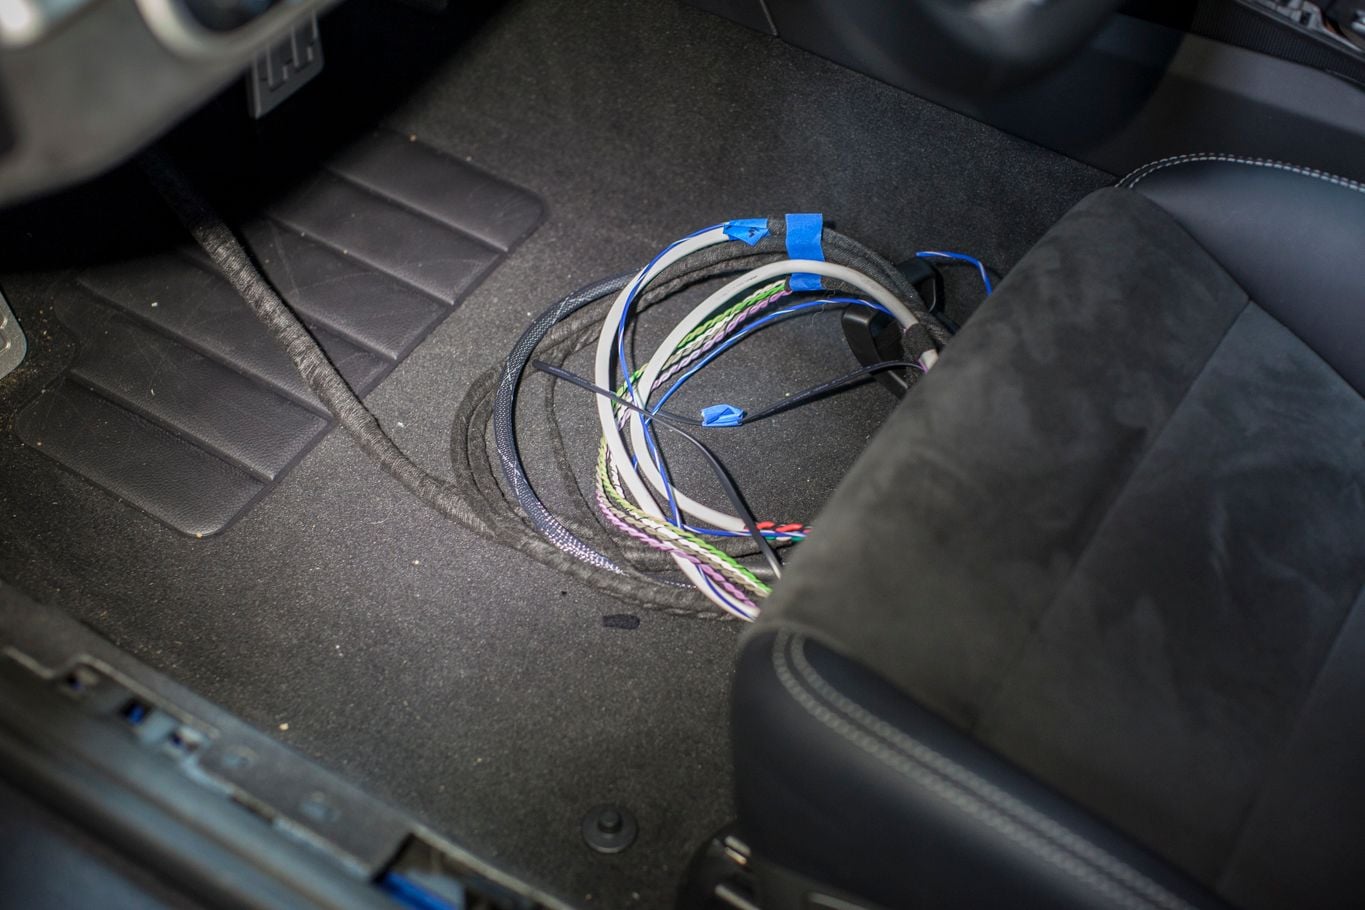
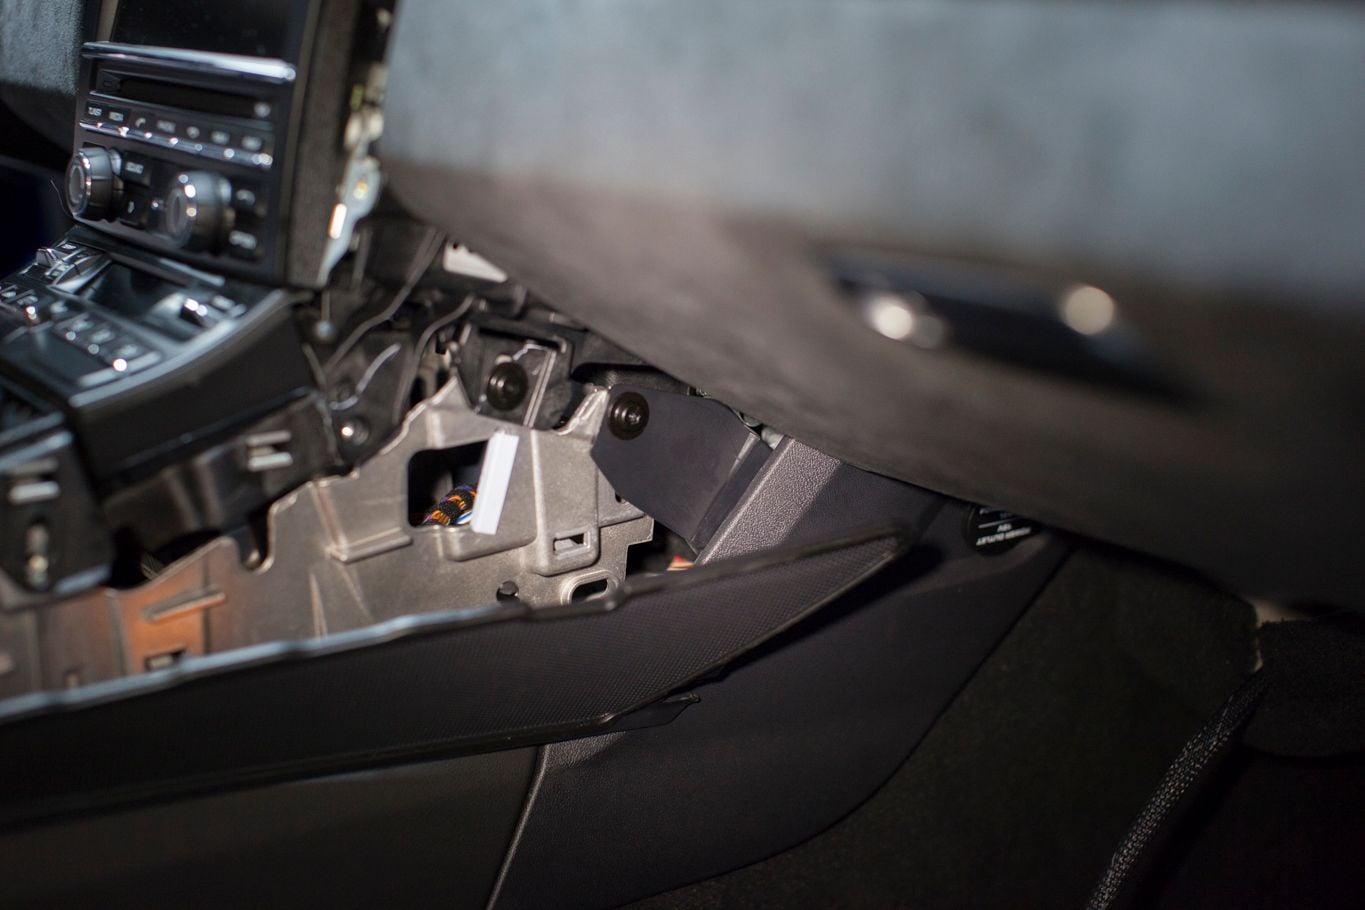
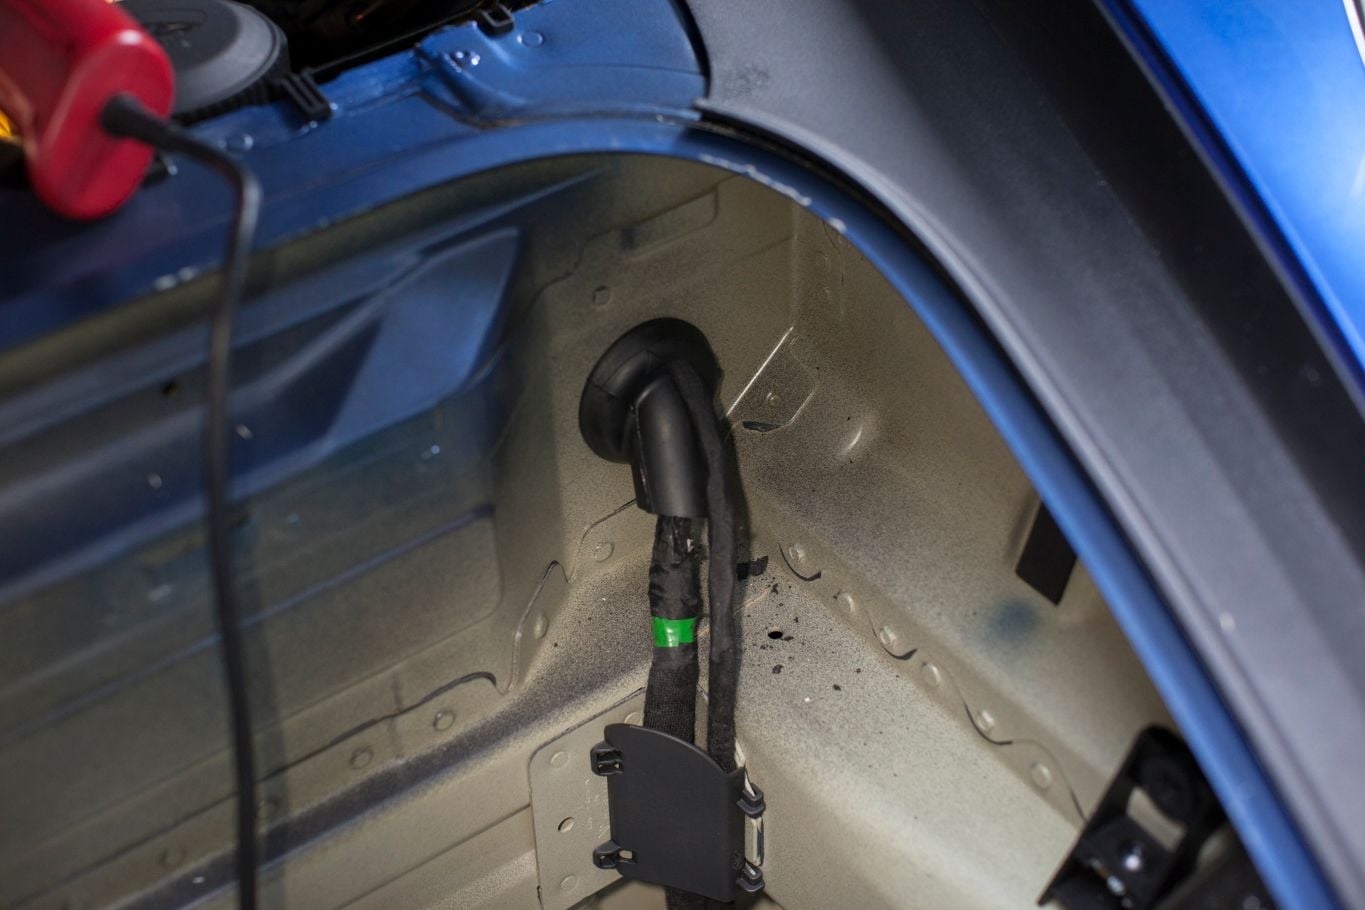
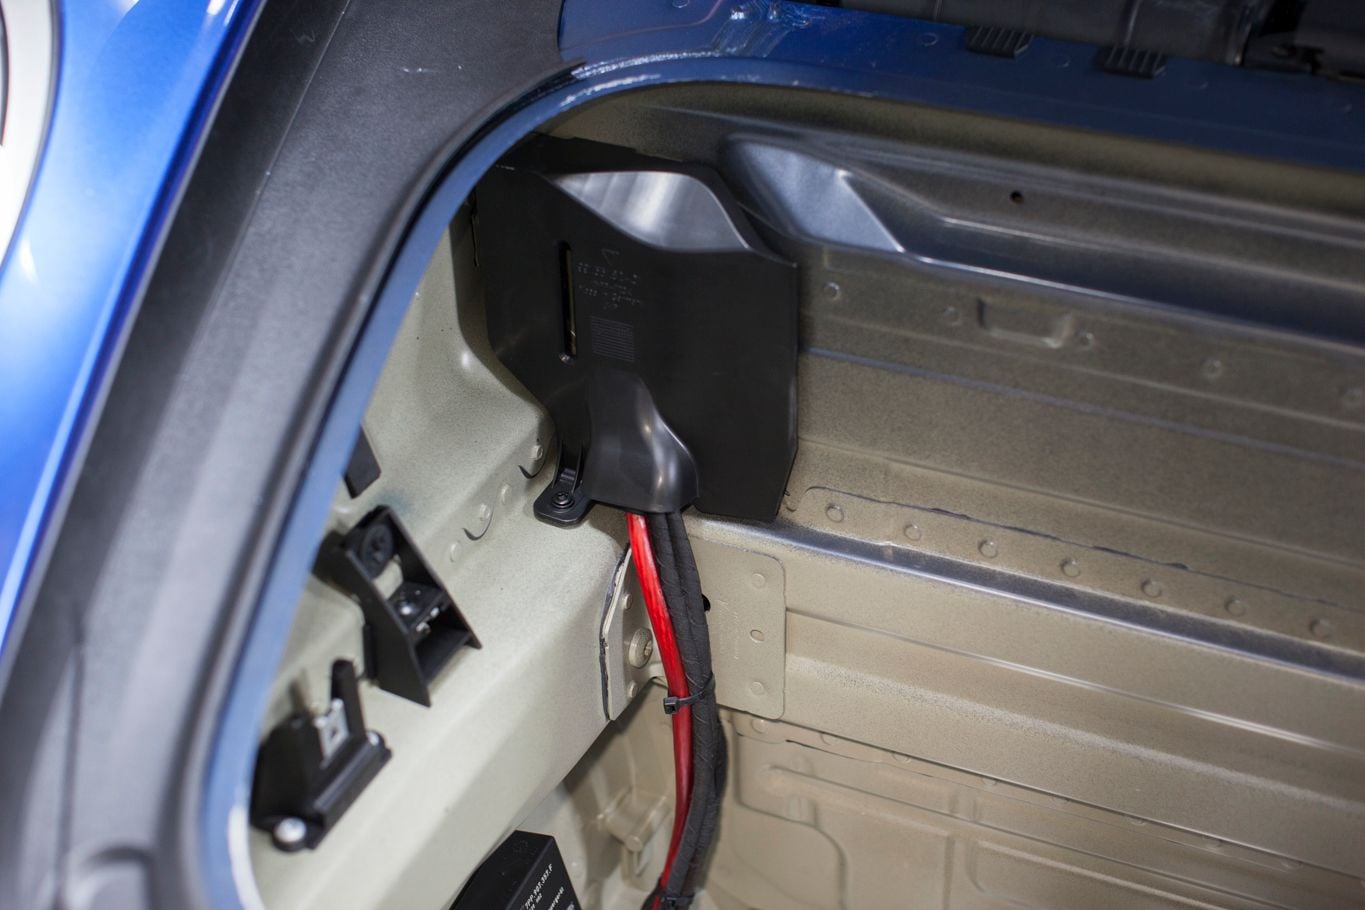
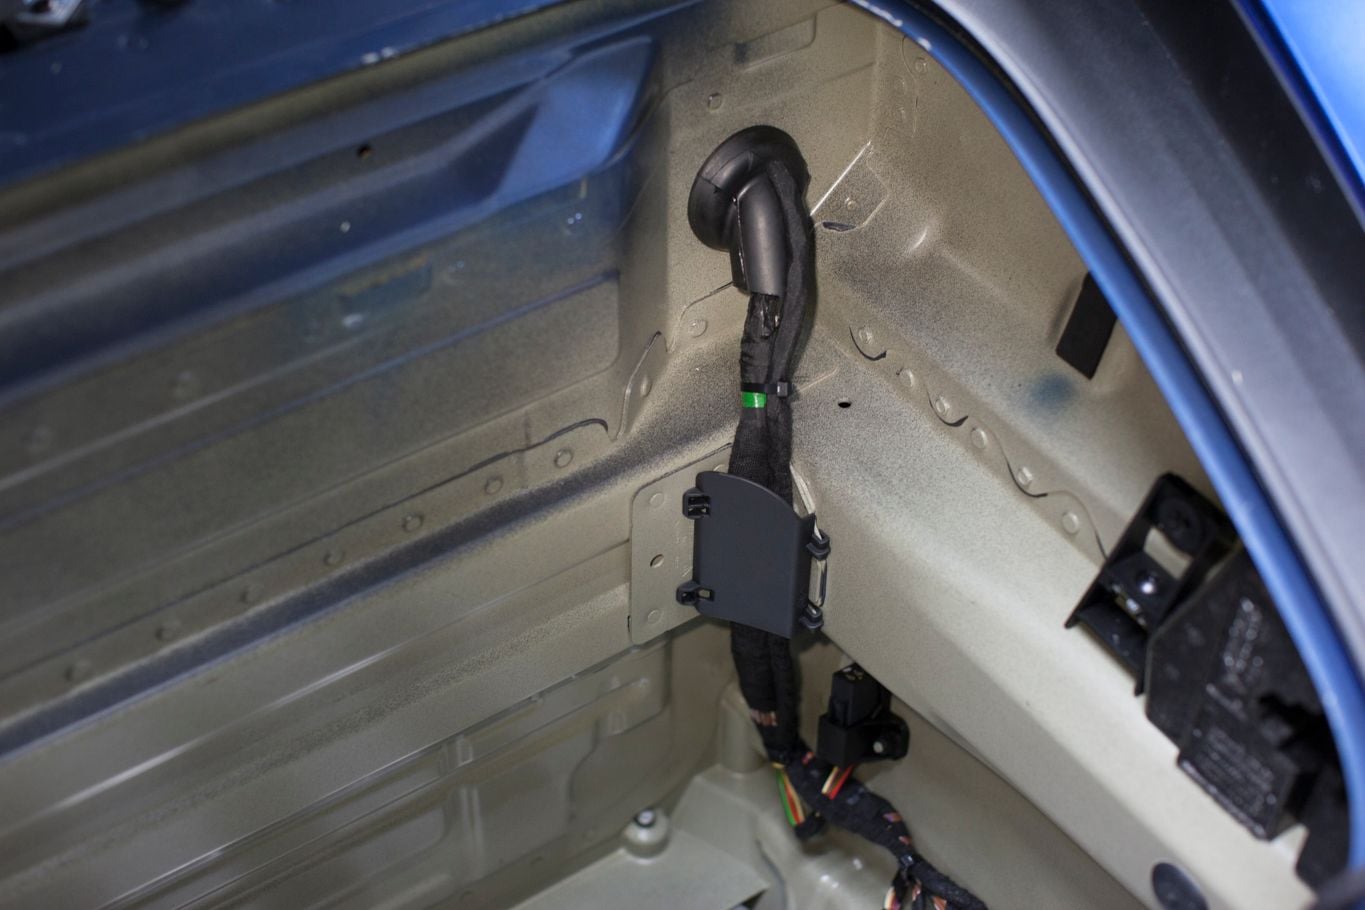
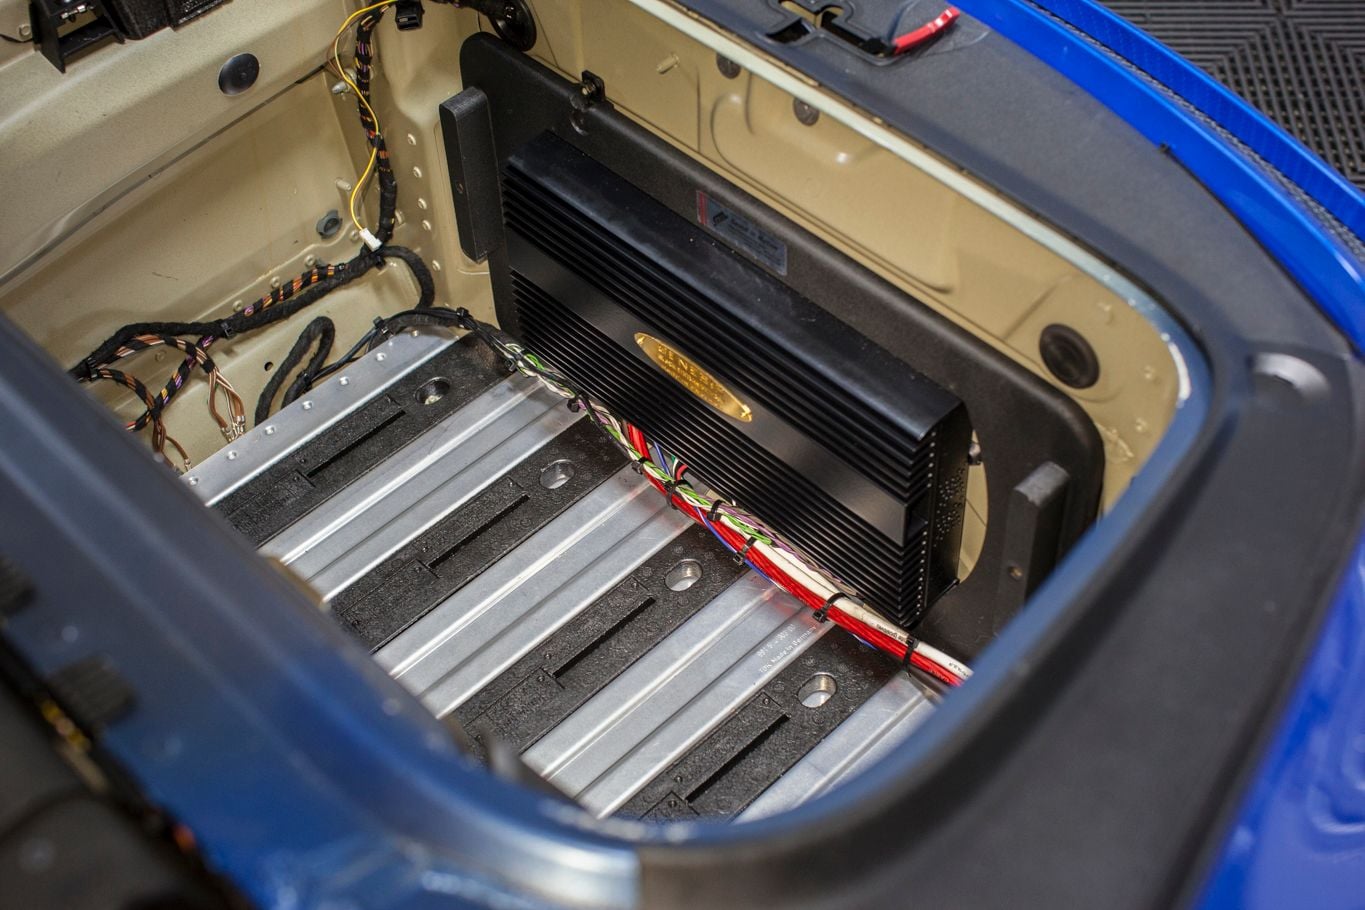
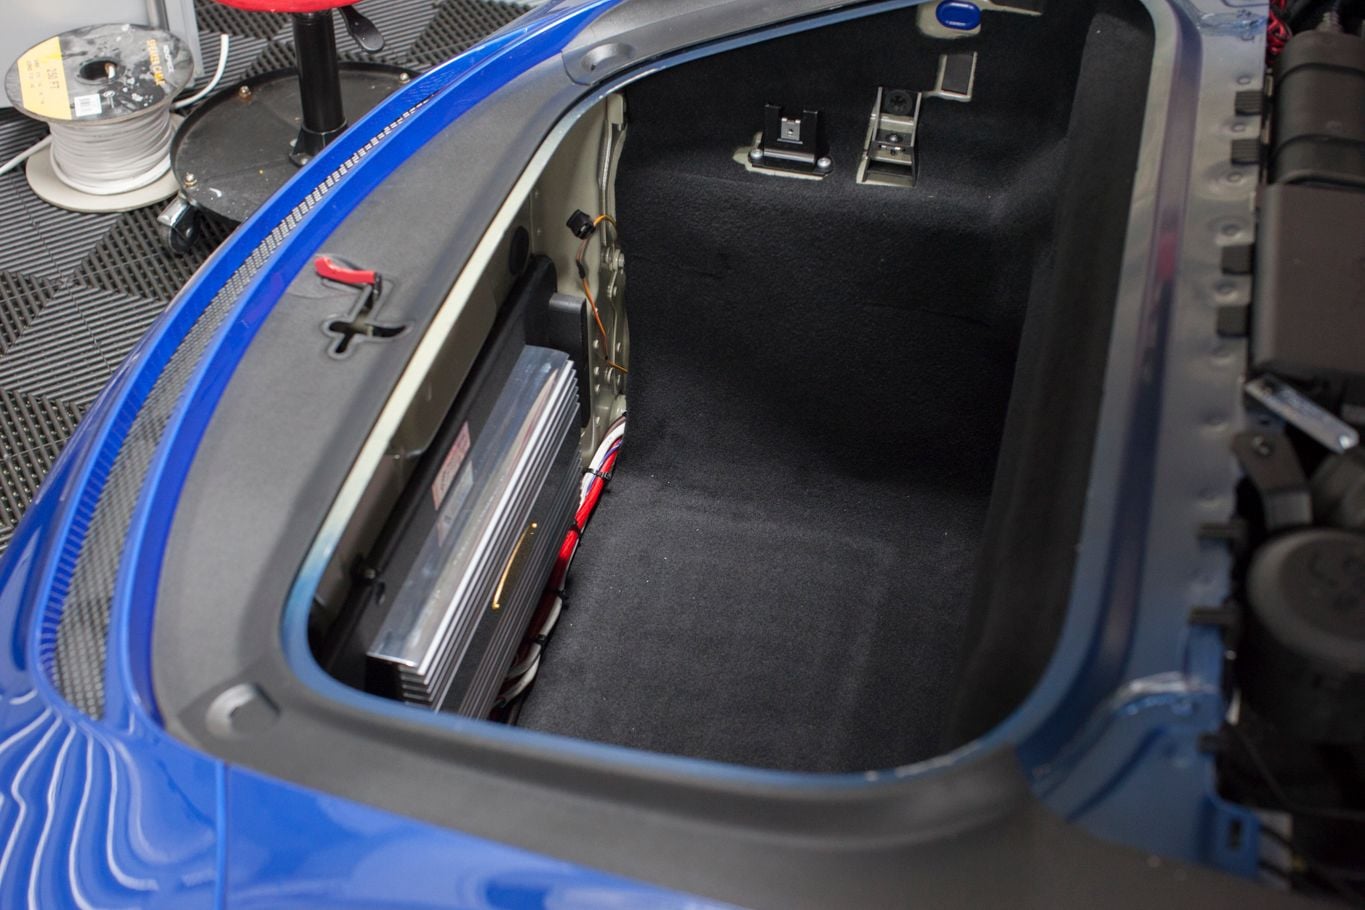
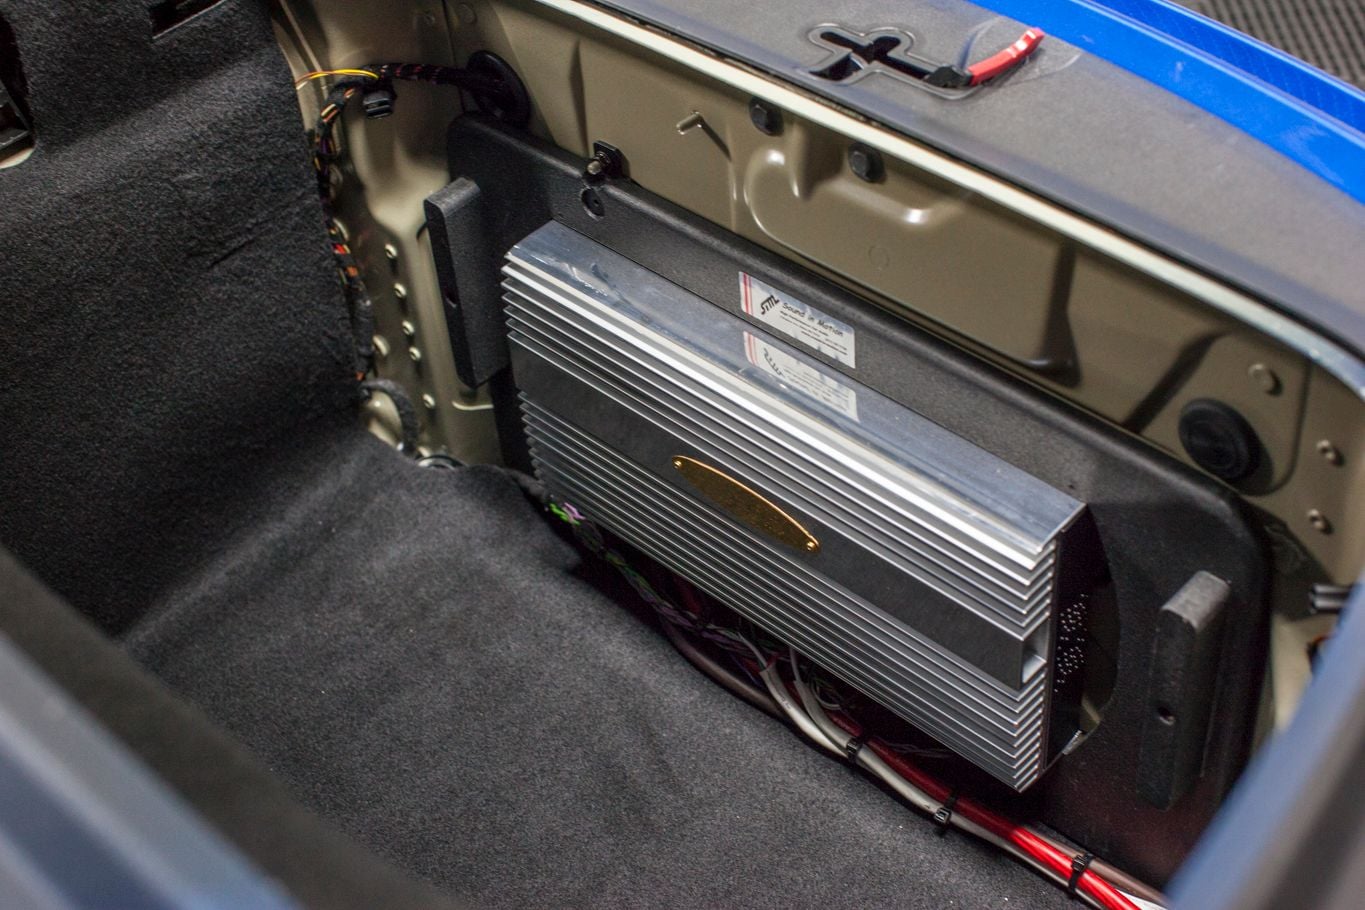
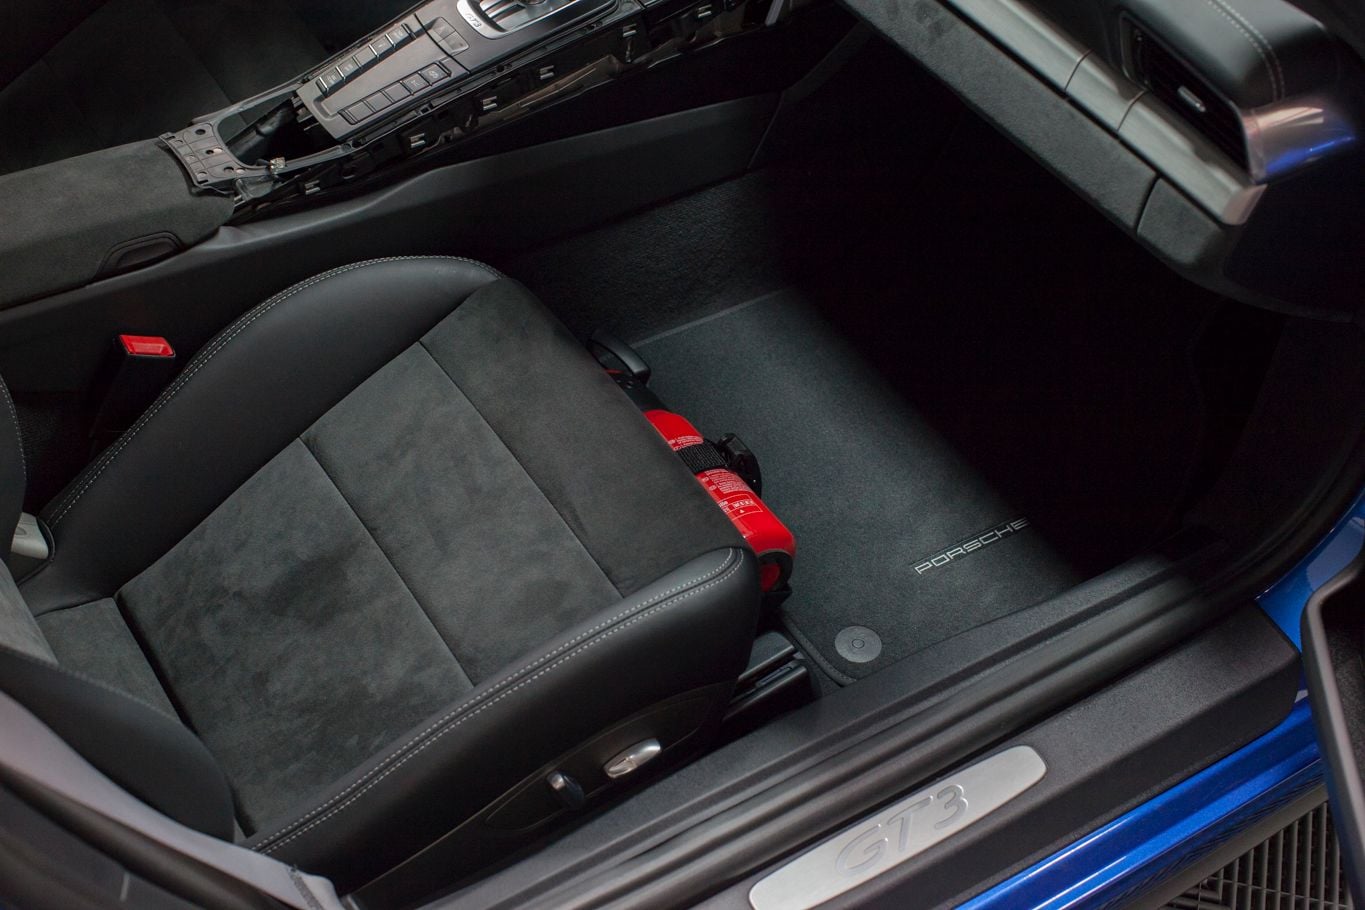
We need to pull the seat out to get to the factory amp. The seat is super easy to get out. Remove the fire extinguisher, little plastic covers on the front of the rails, and then remove E12 reverse torx.
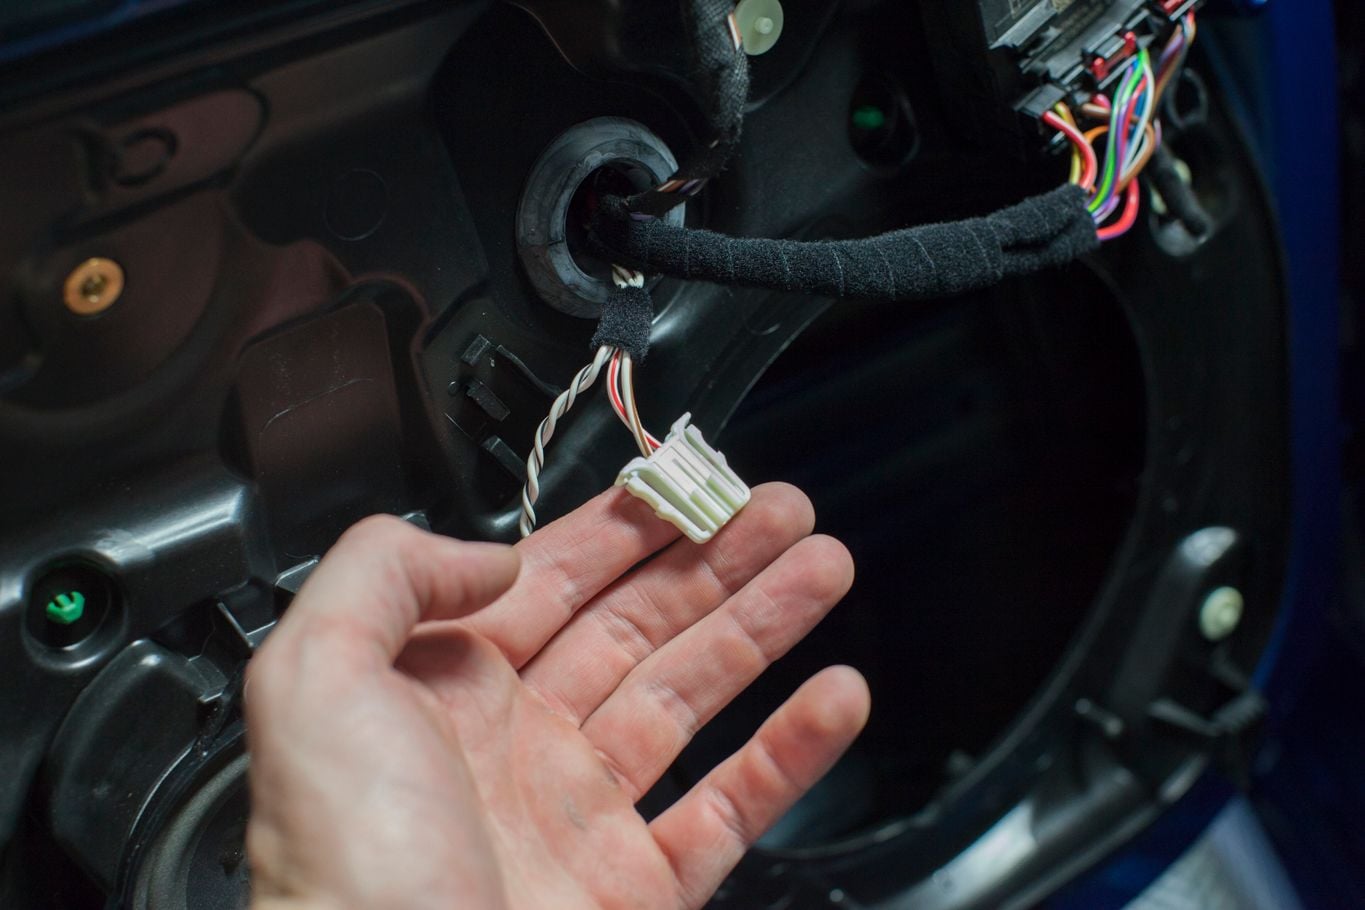
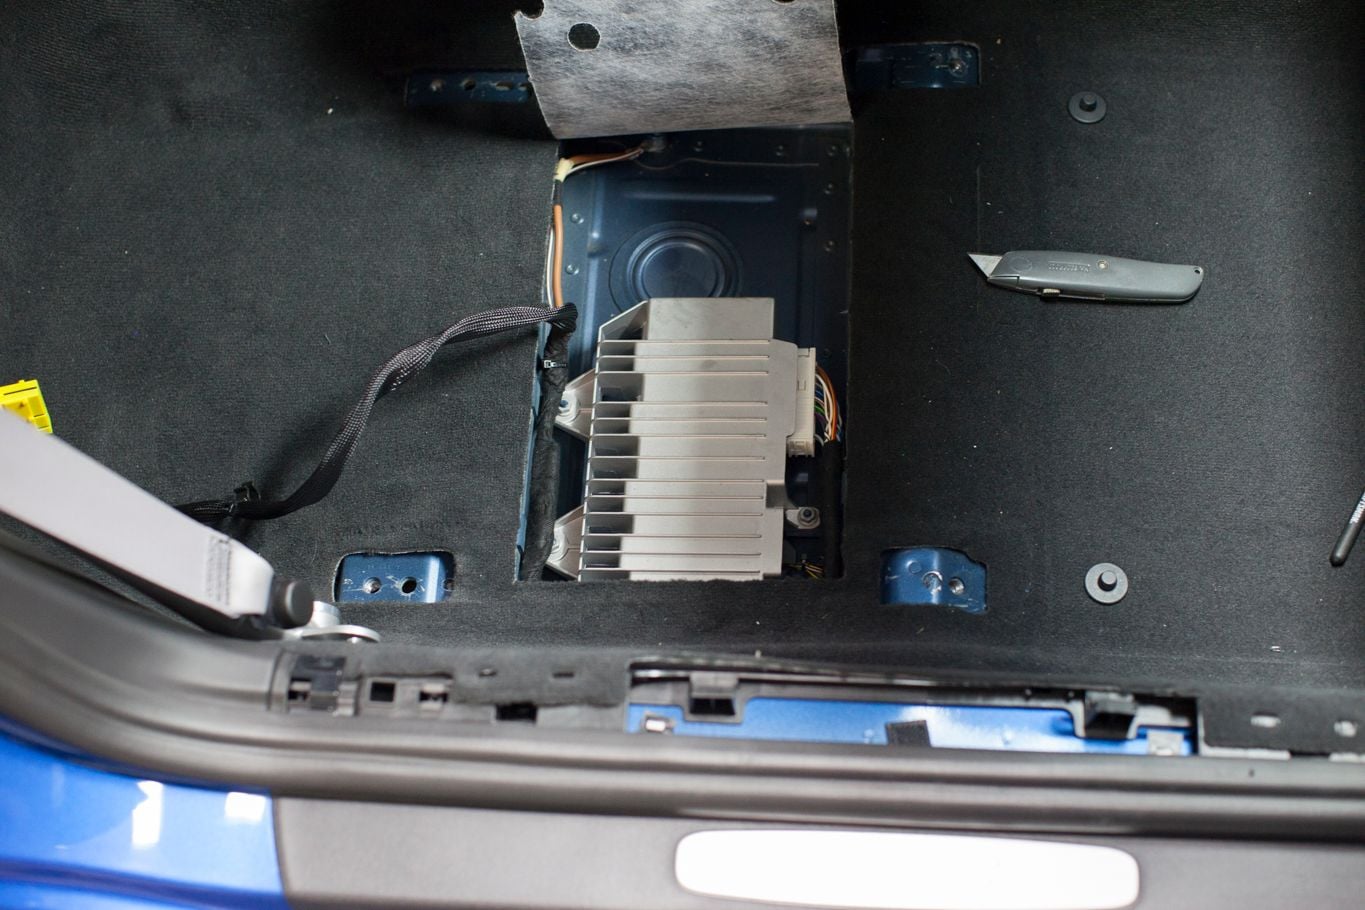
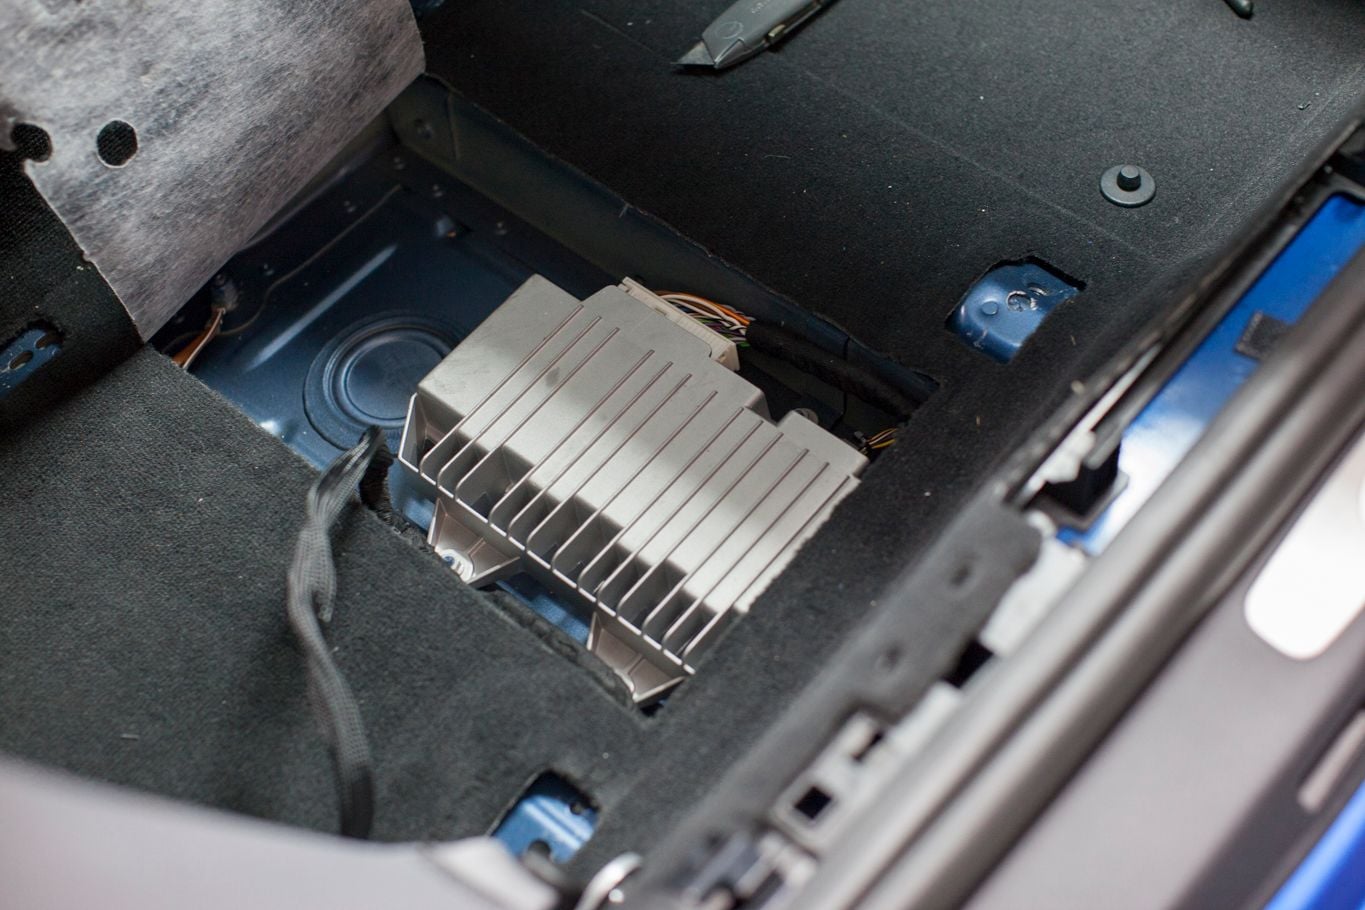
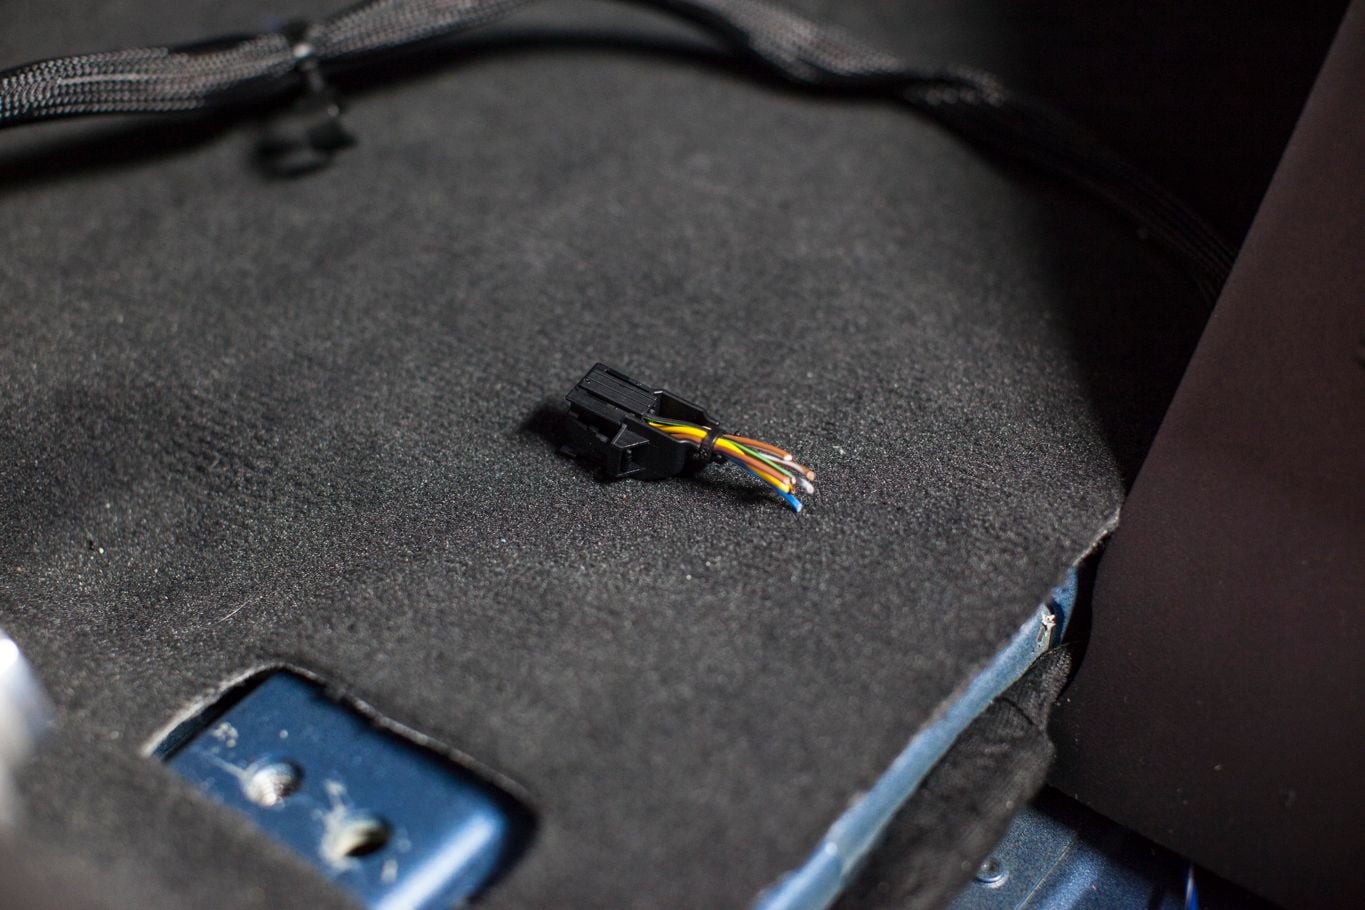
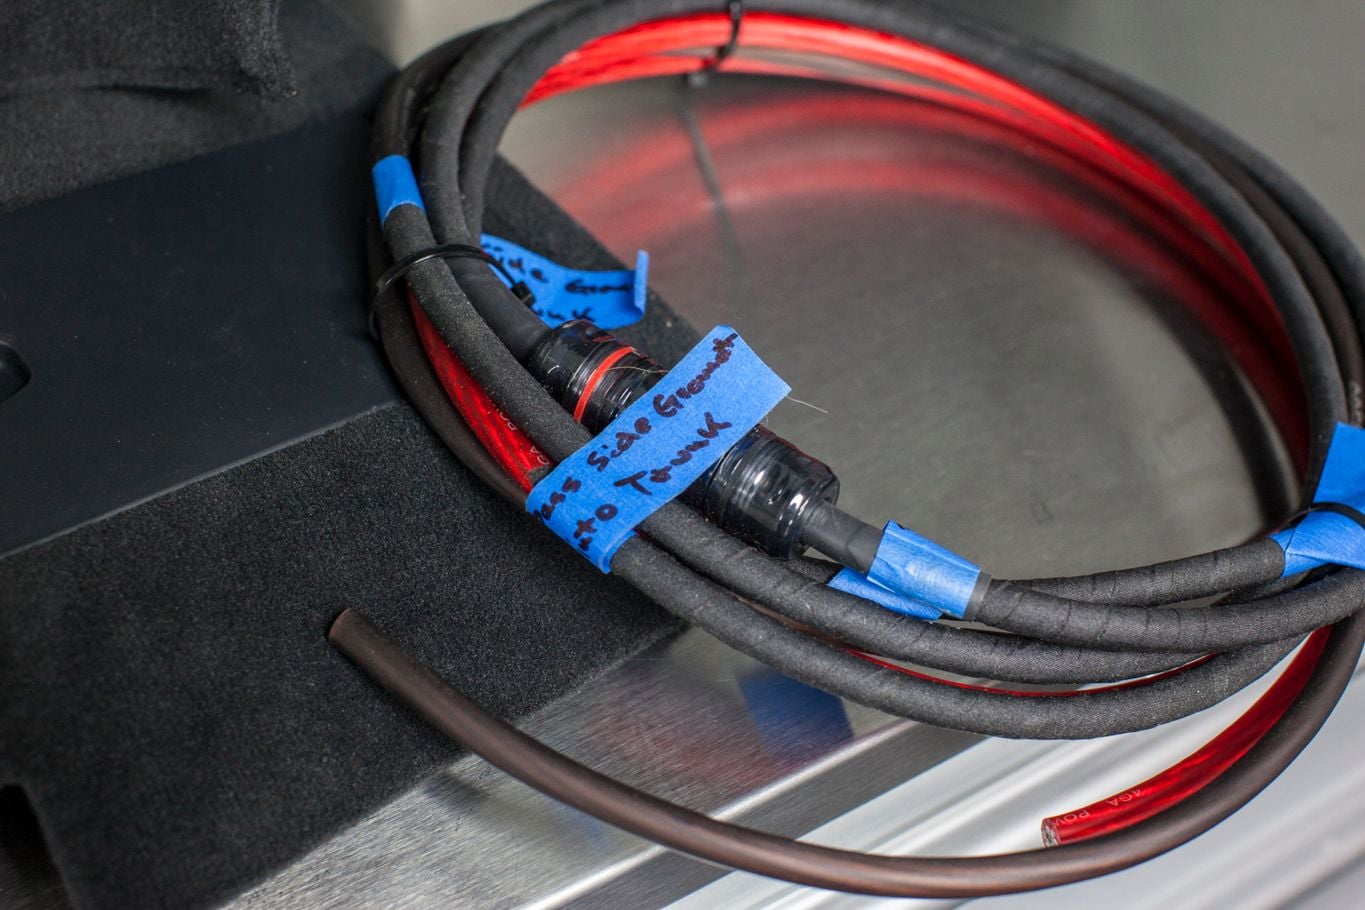
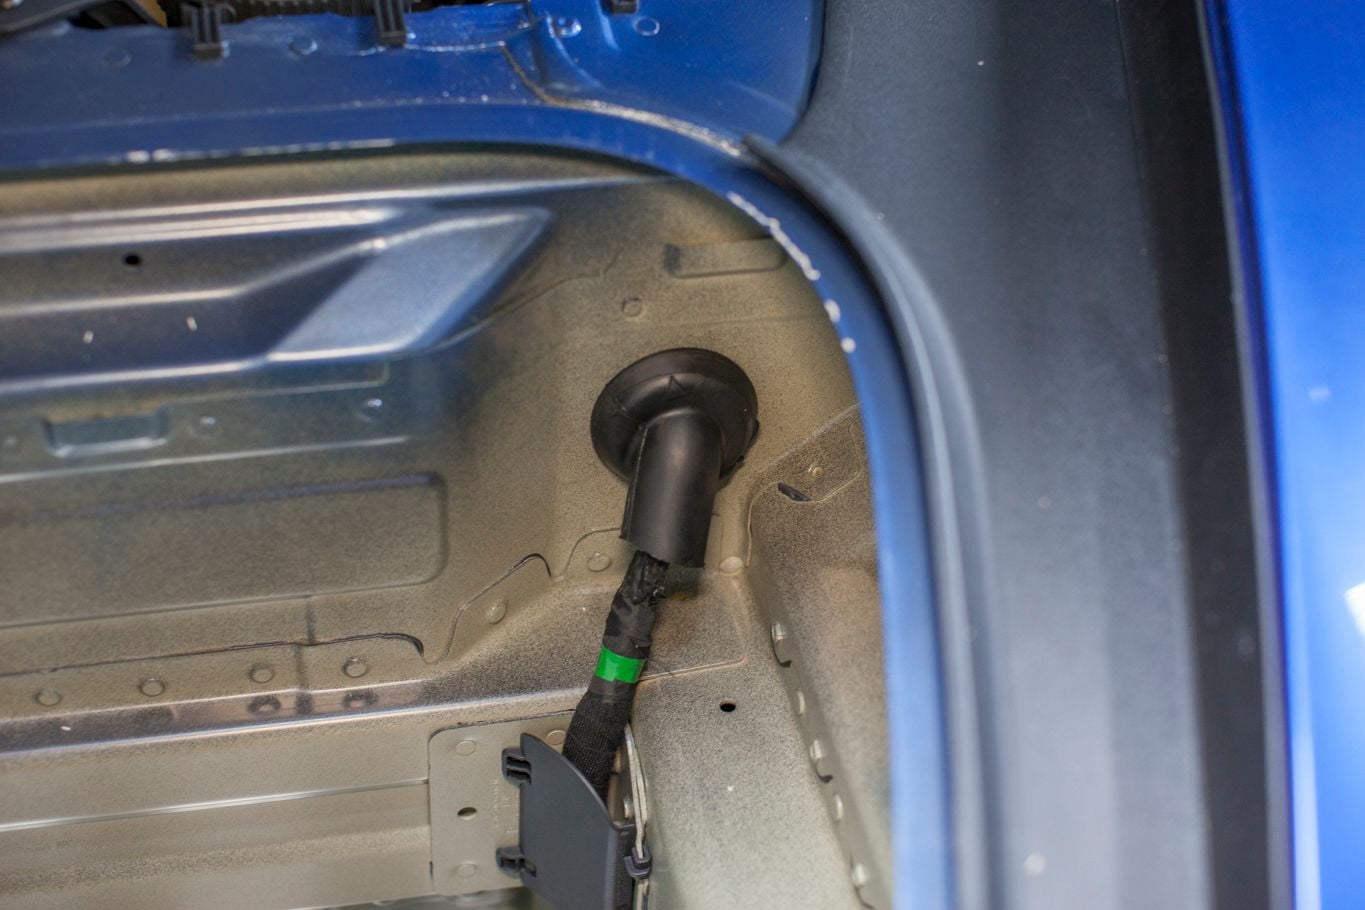
This is where the power and ground come into the amp, and it's where the speaker wire exits. Take a breath, we will cut this later.
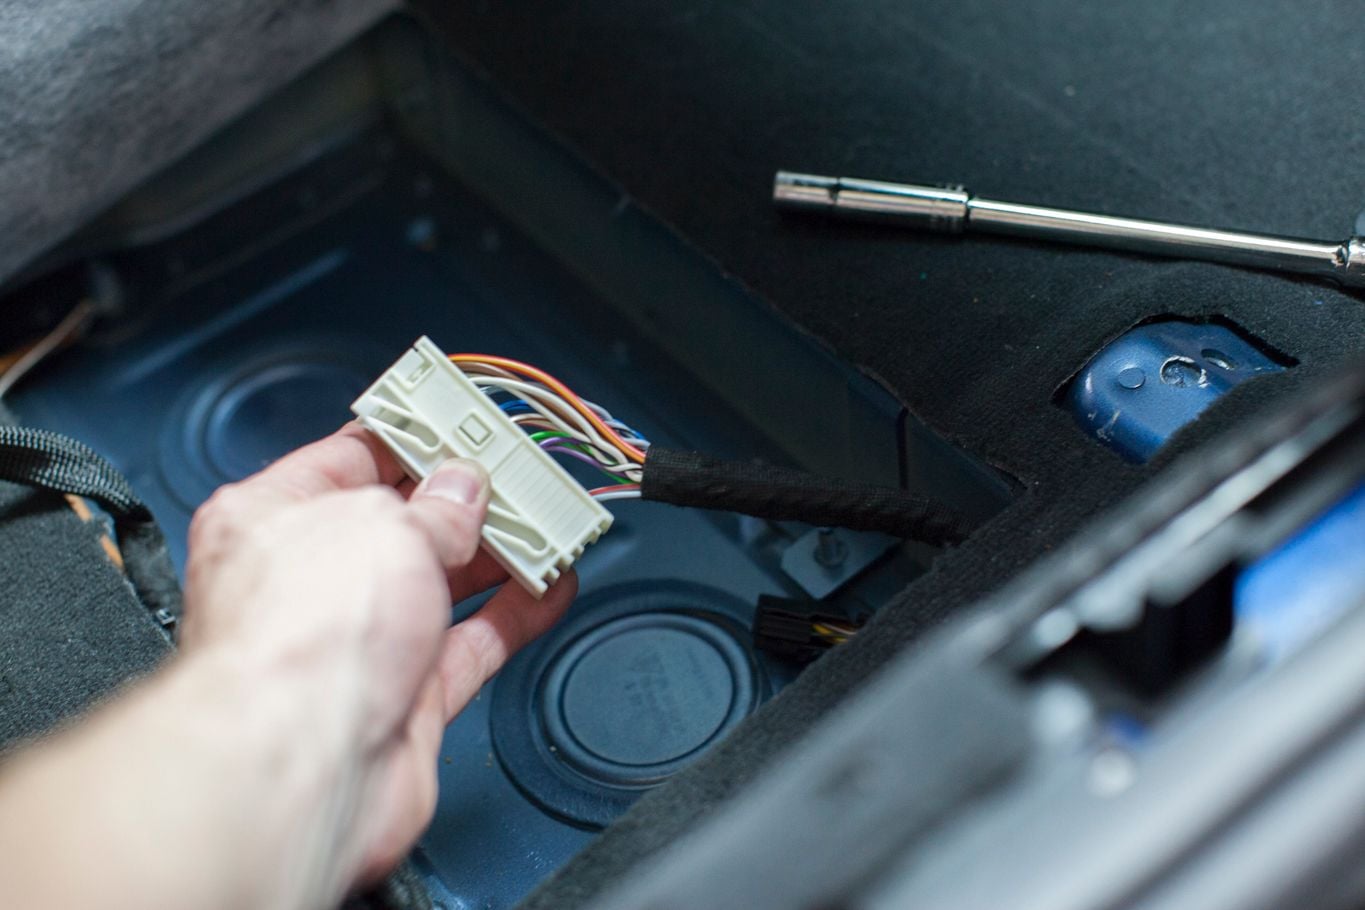
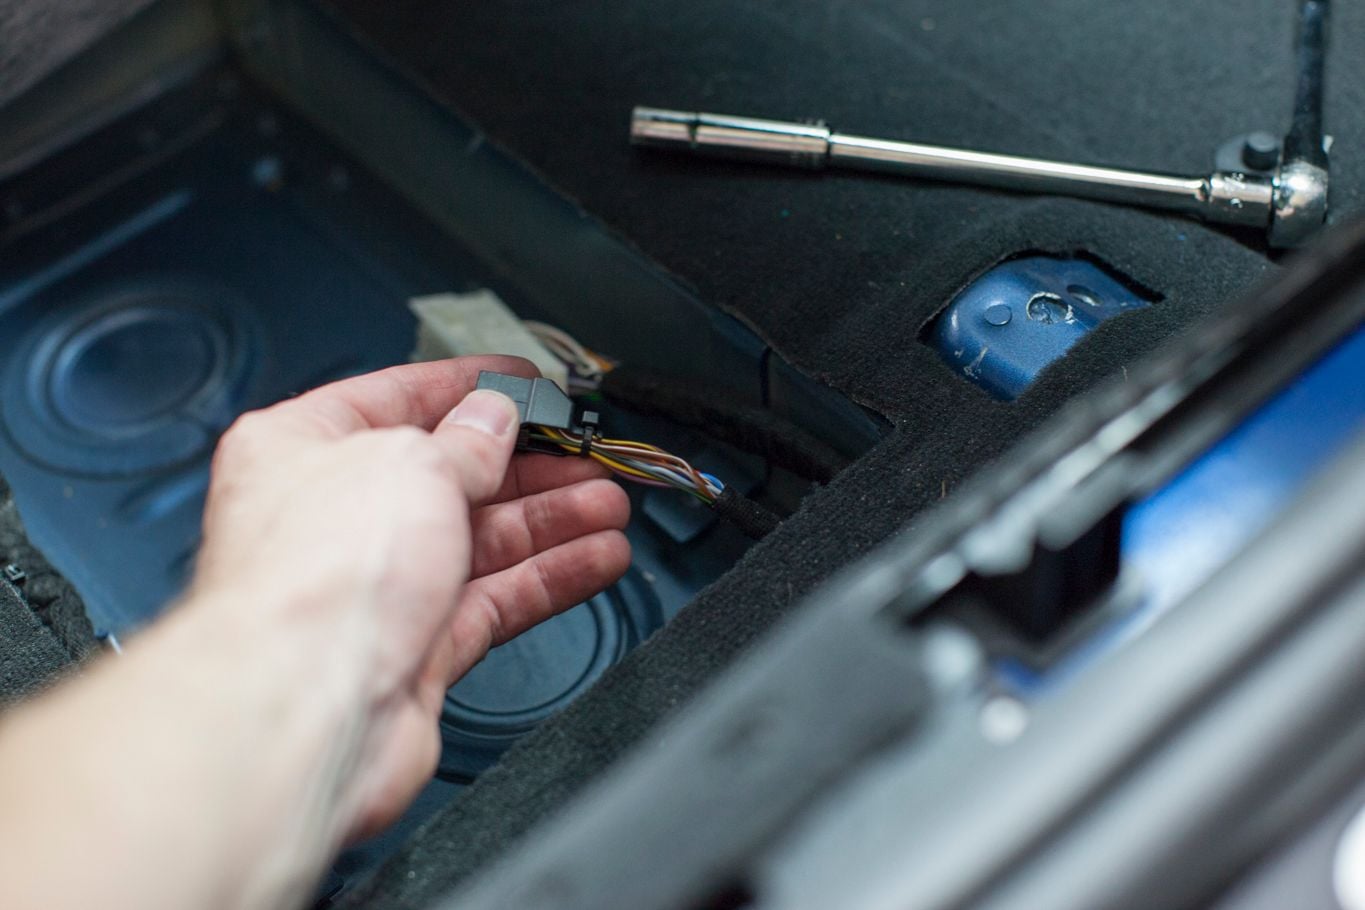
The smaller molex plug is the low-level (or not amplified signal) from the factory PCM head-unit. This where we will grab the signal for the Mosconi processor to do it's thing.
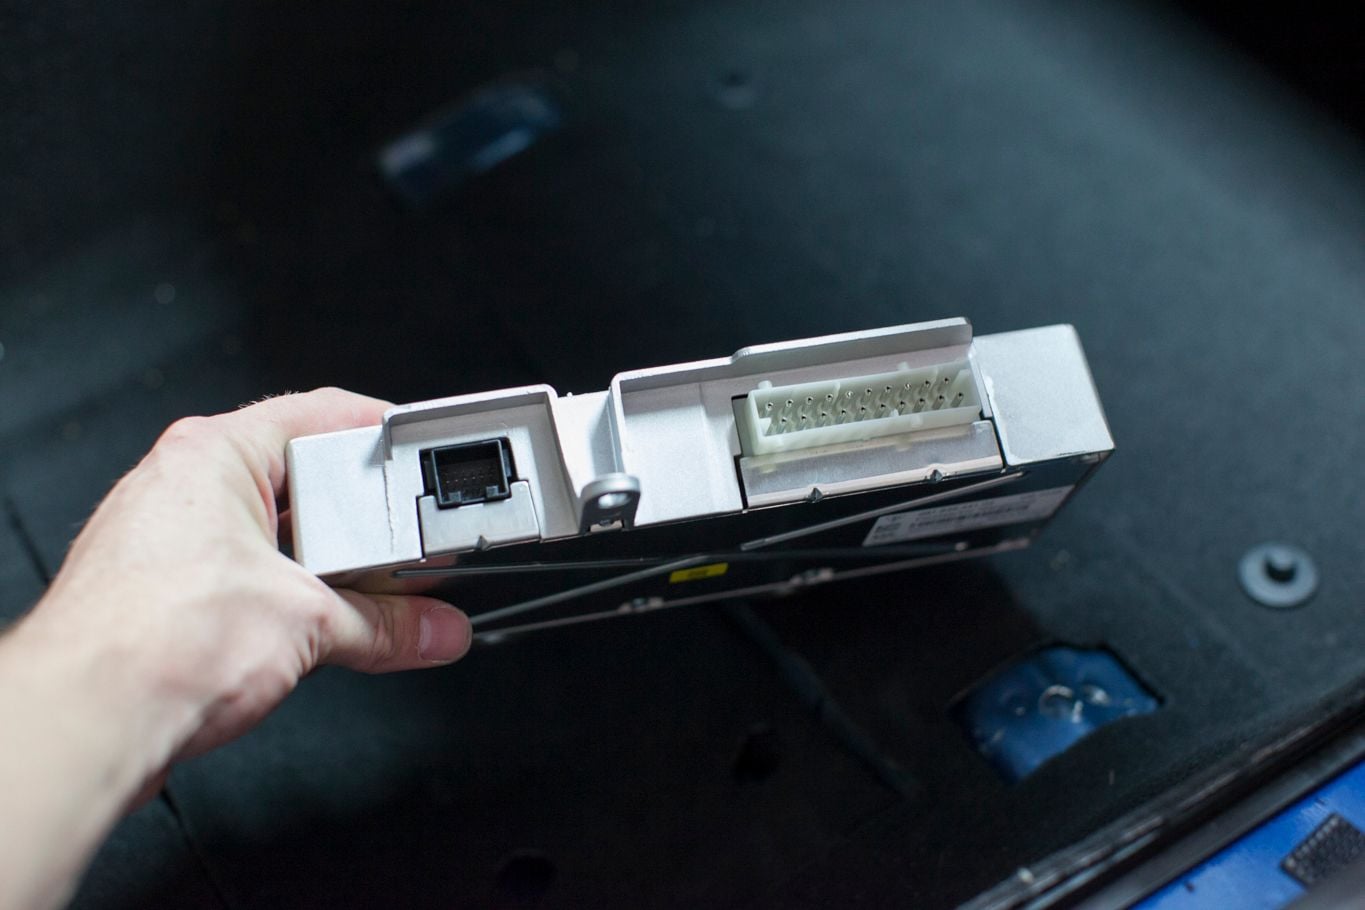
The sad new for my weight gains calculations is that the factory amp weighs like a pound and a half. It is shockingly light.
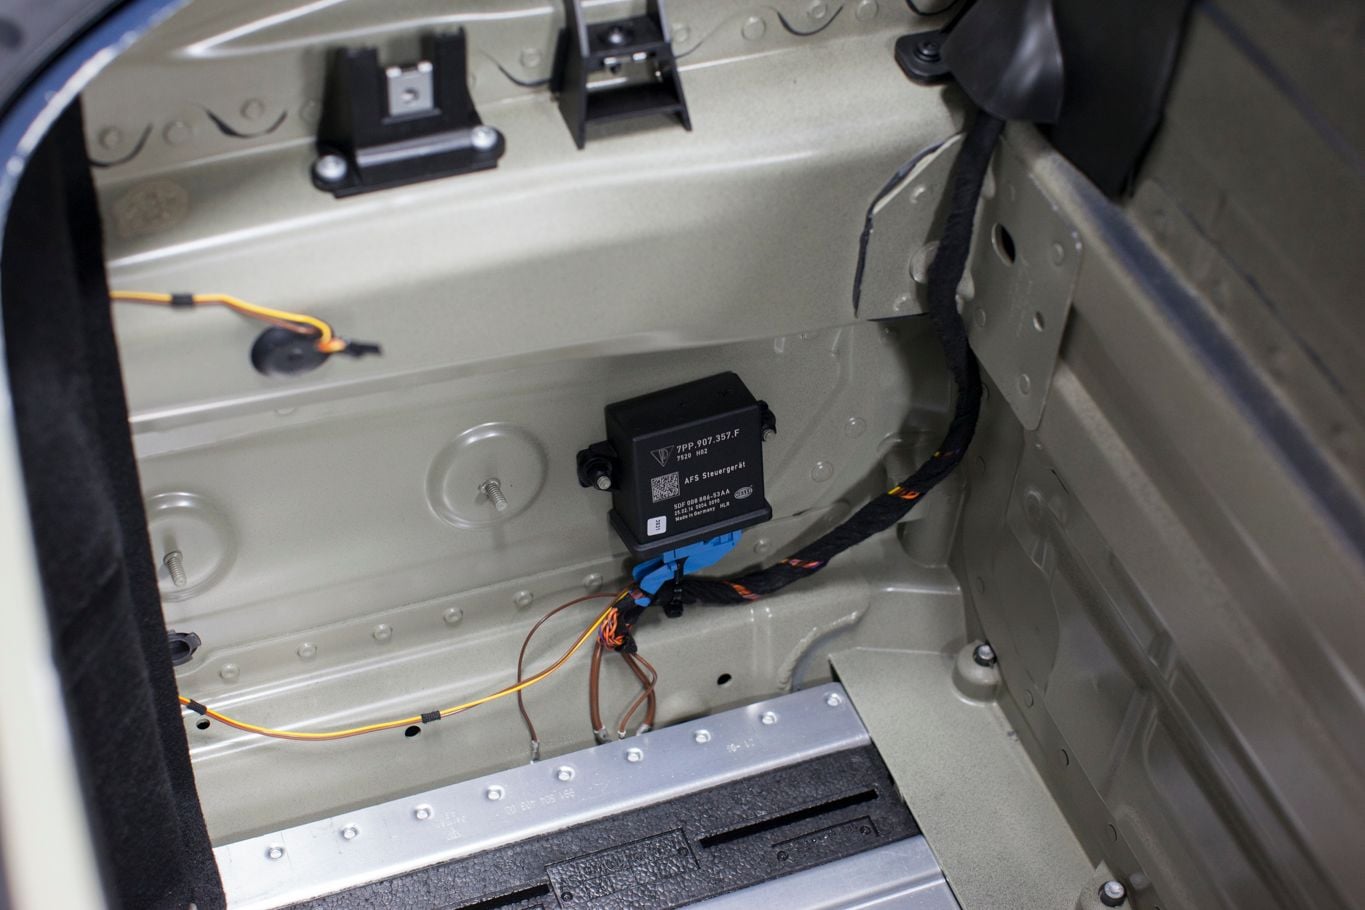
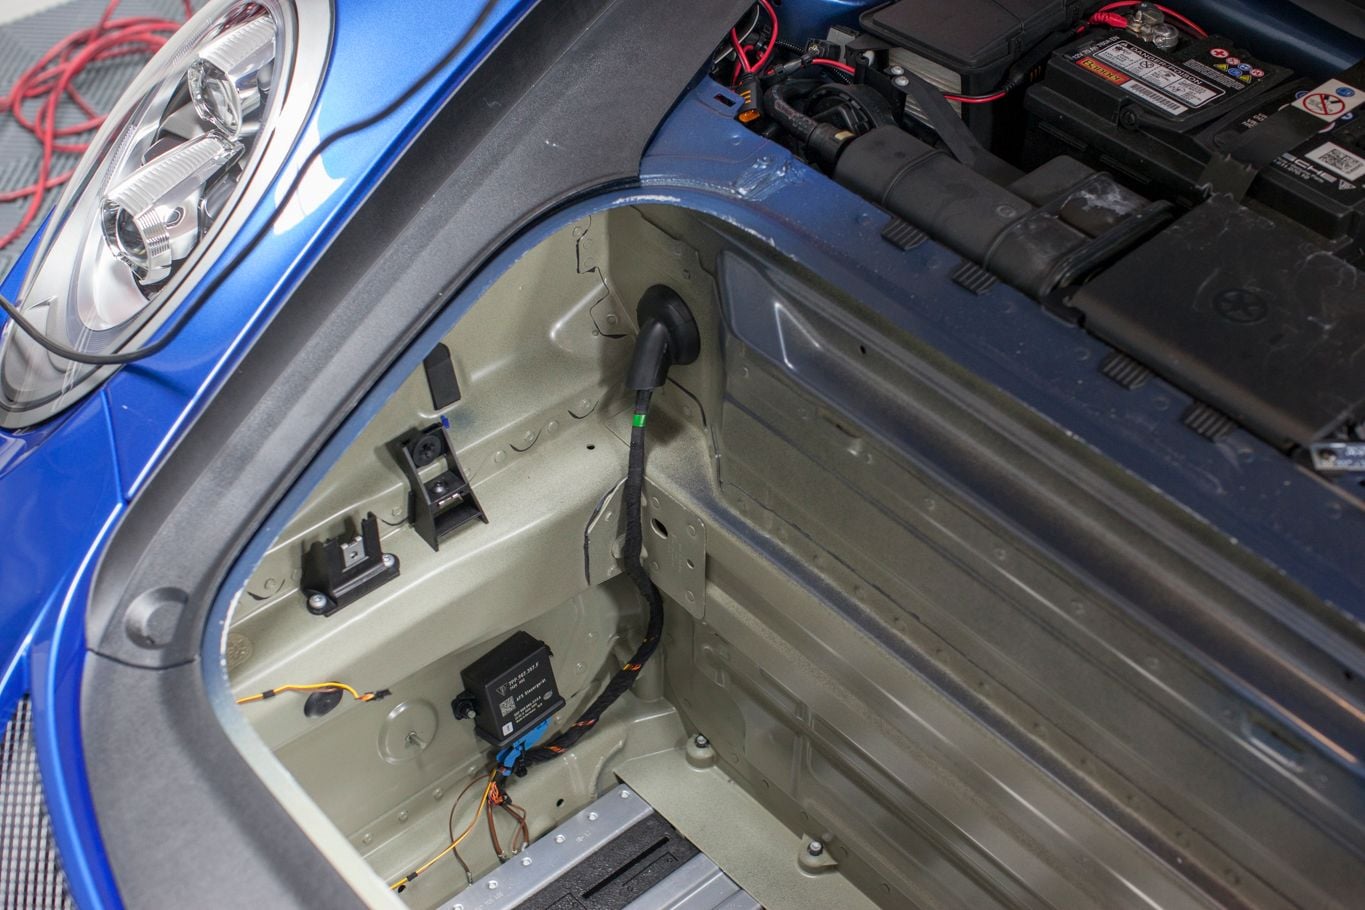
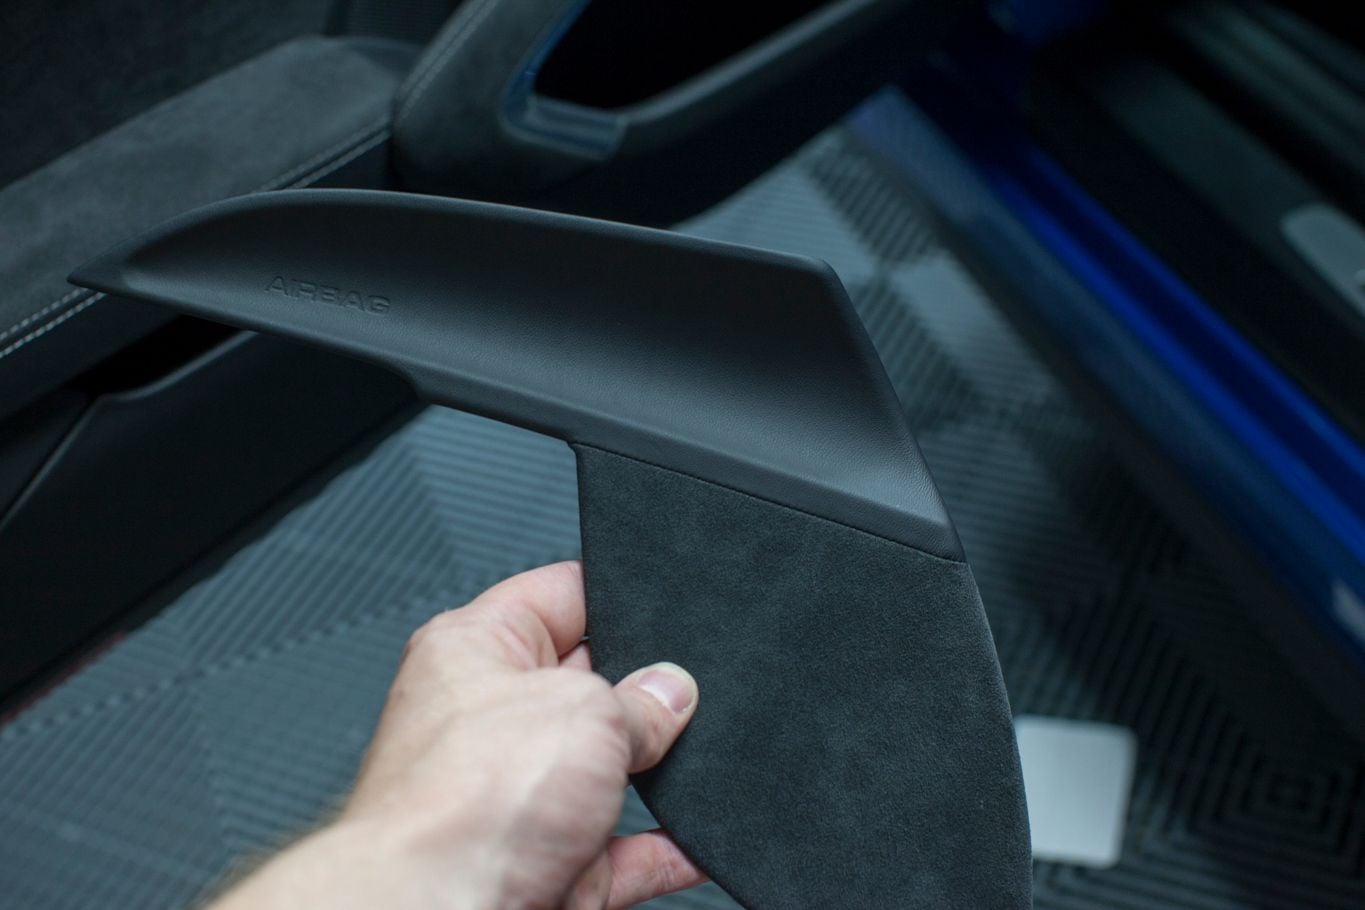
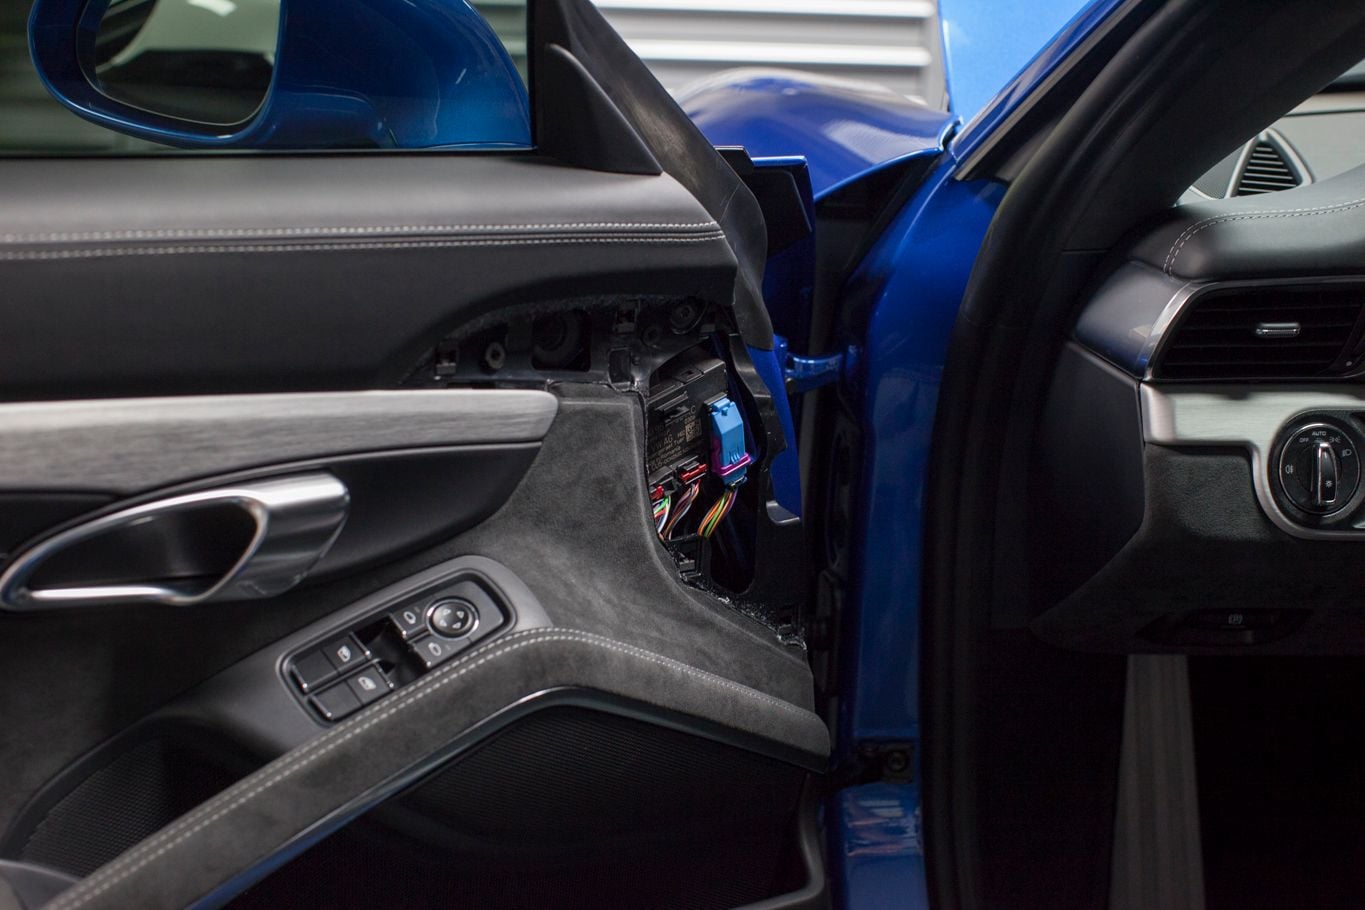
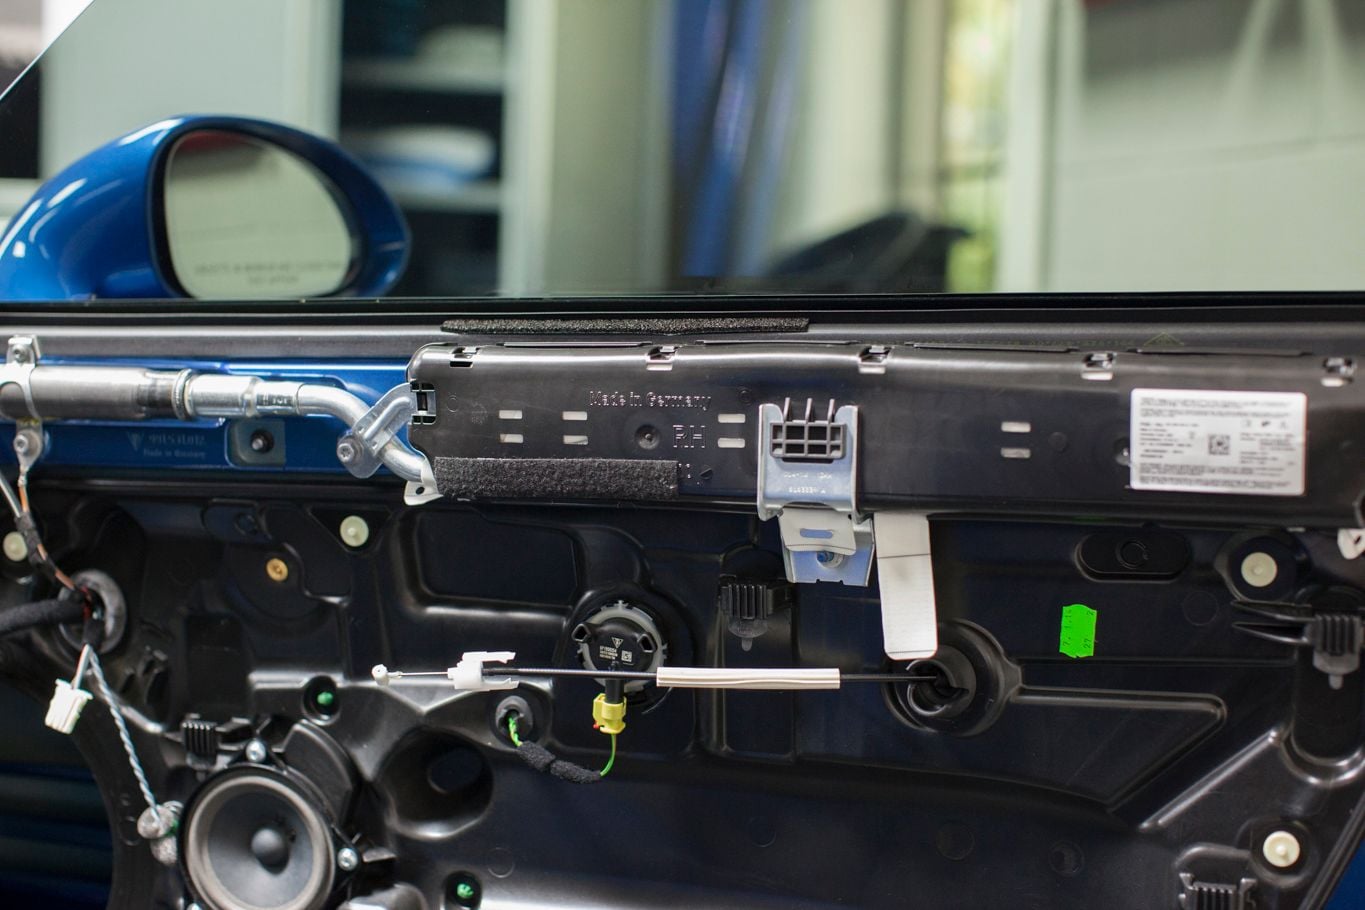
Factory Side Airbag
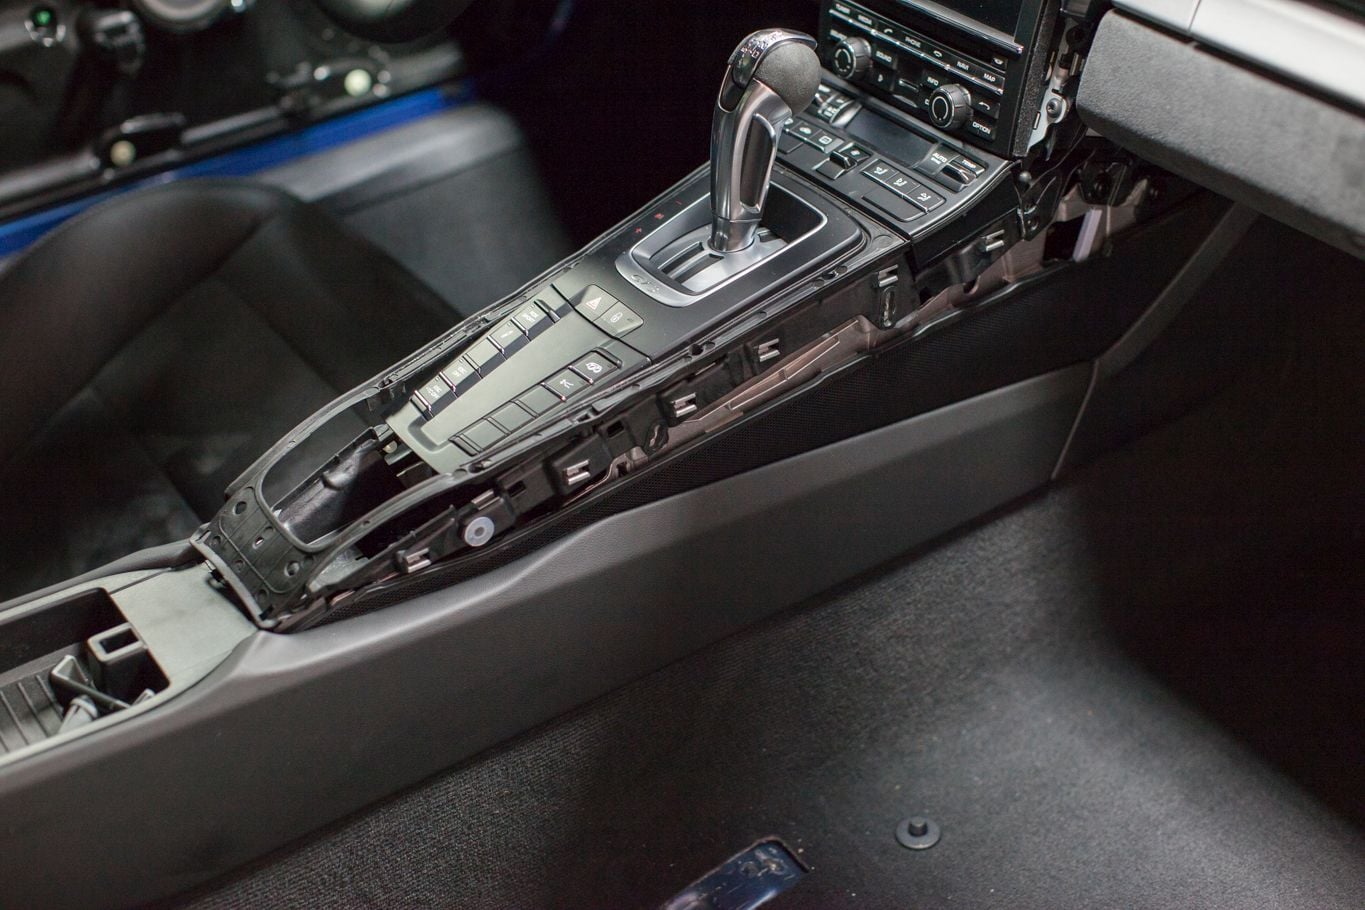
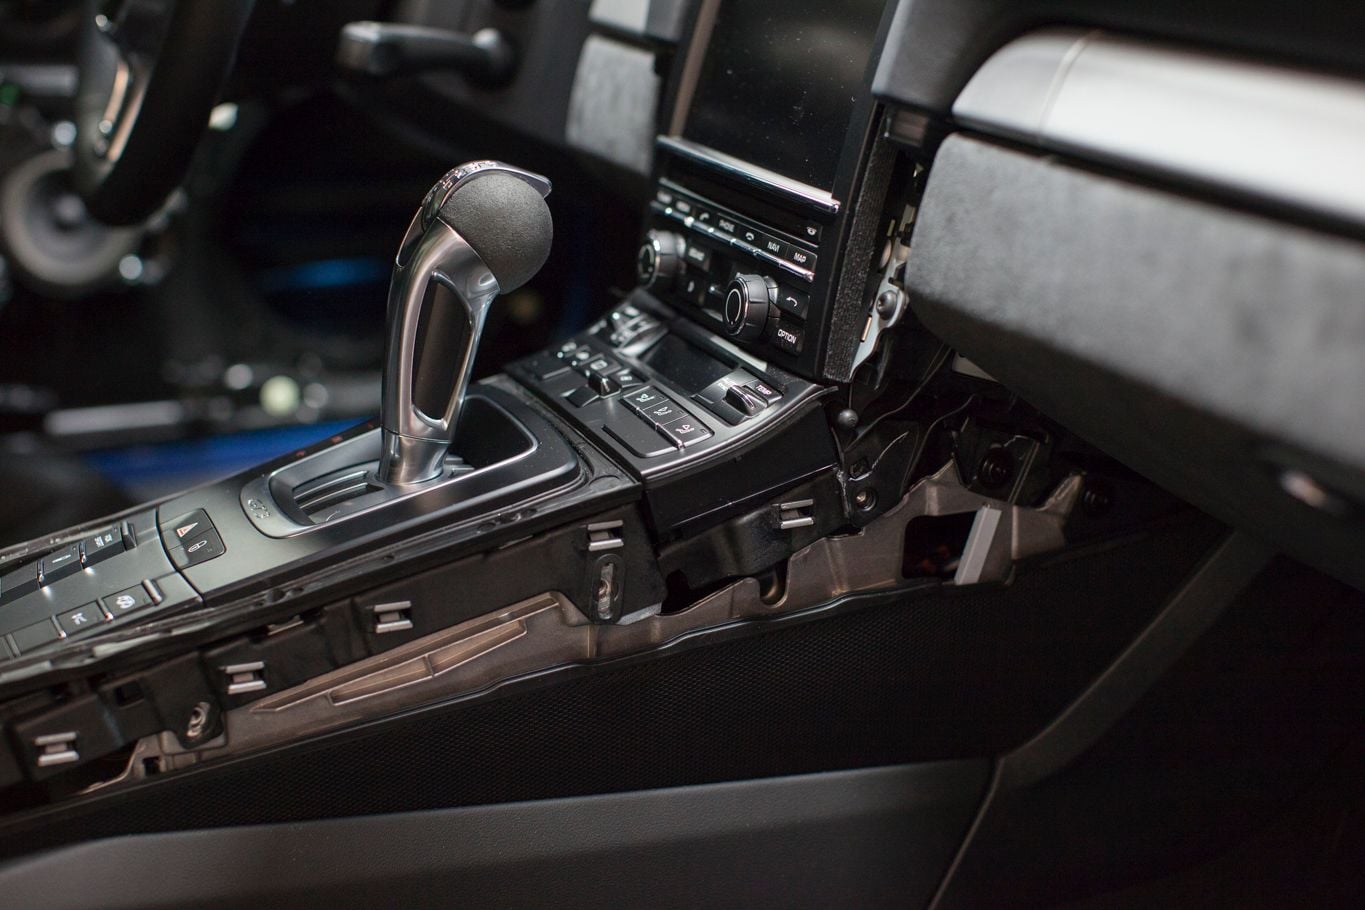
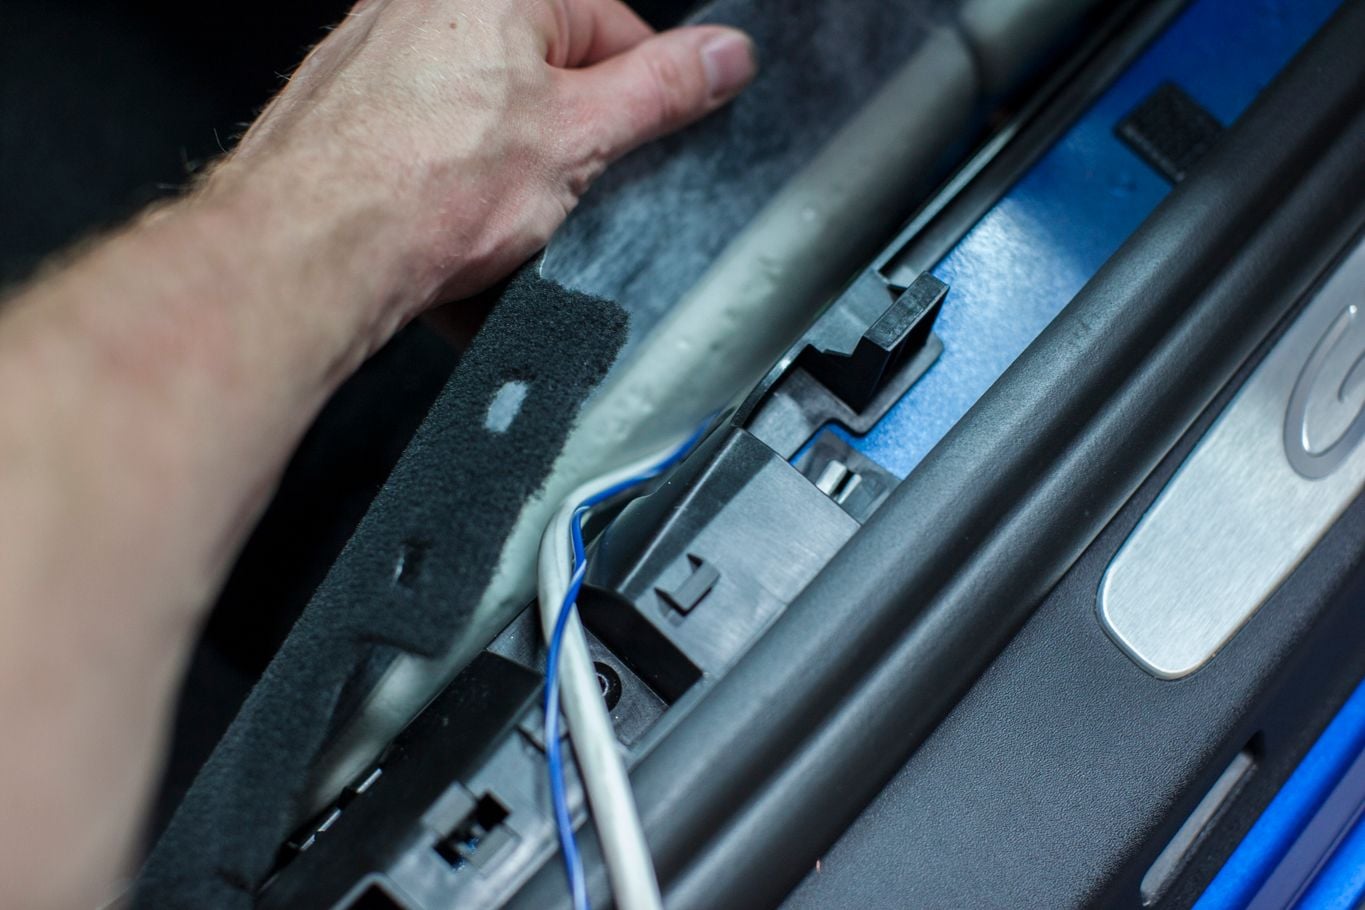
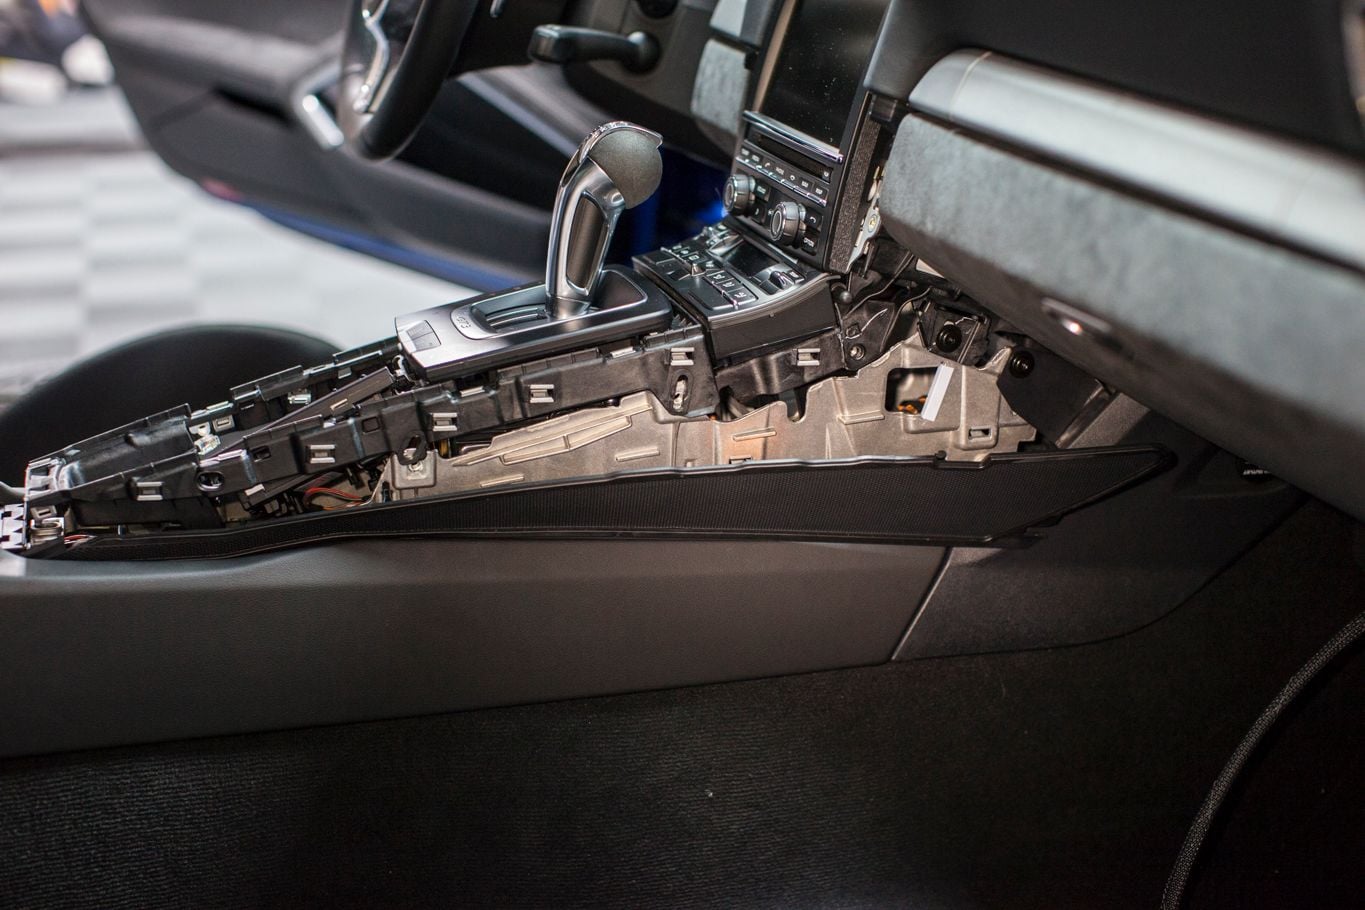
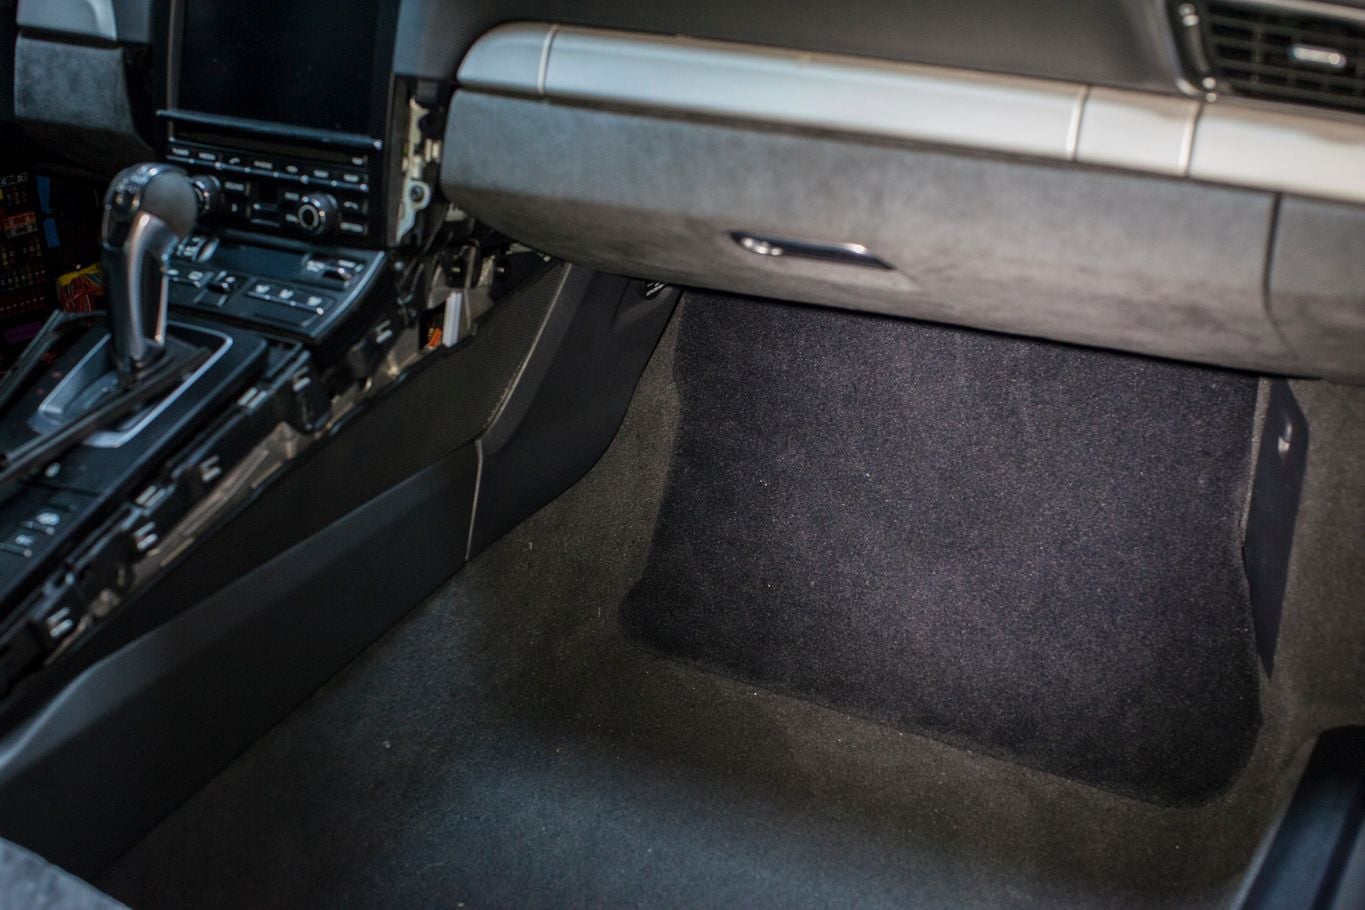
I needed to take the center console apart to get to the lighter where the sub control will be mounted.
I figured out that the the mids are in a little sealed pocket in the vapor barrier. So I yanked them out. I also figured out that the mid and tweeter are wired together somehow. We will just zip tie that wire and leave it.
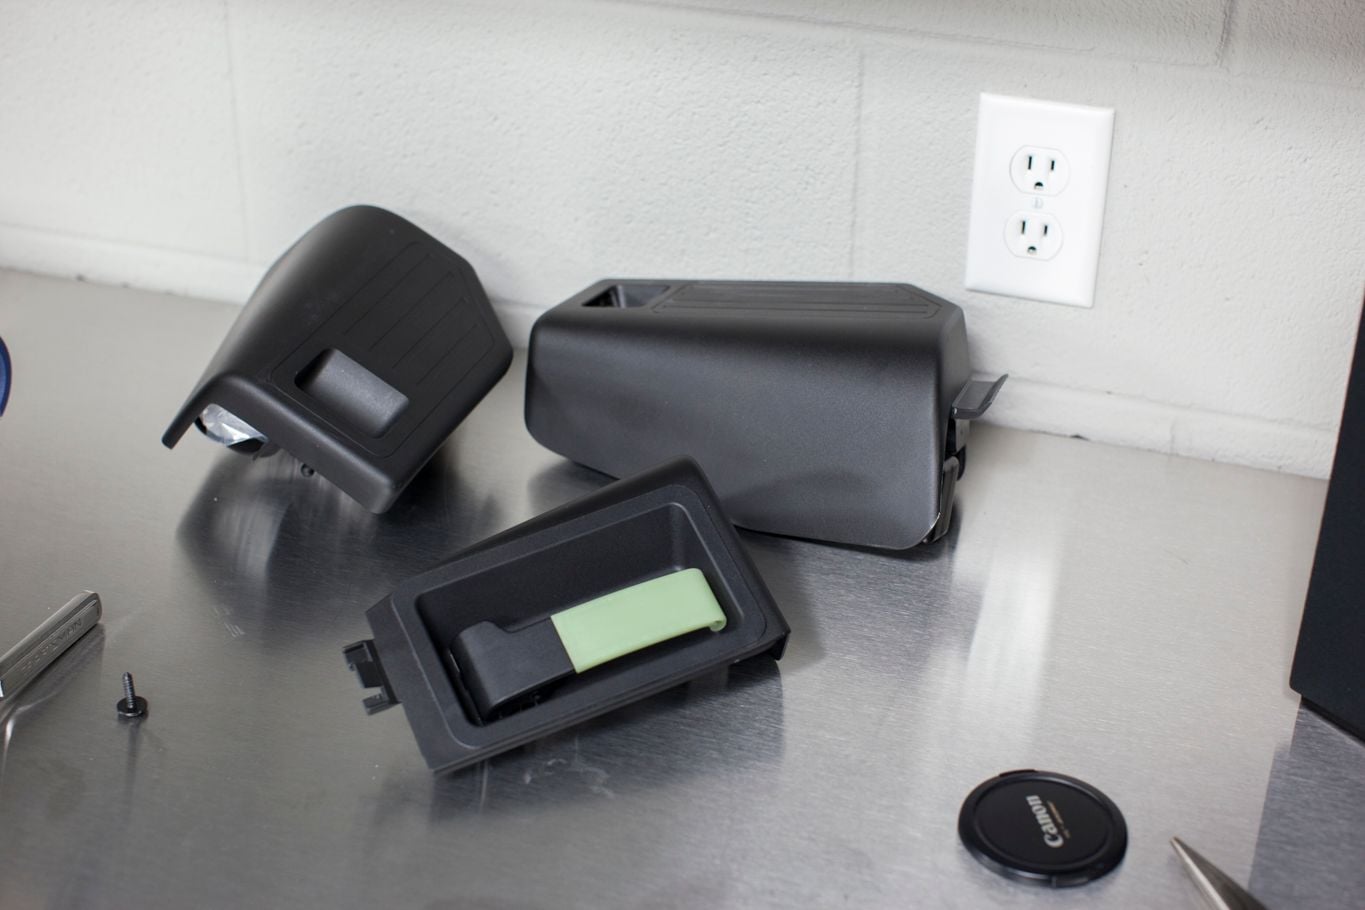
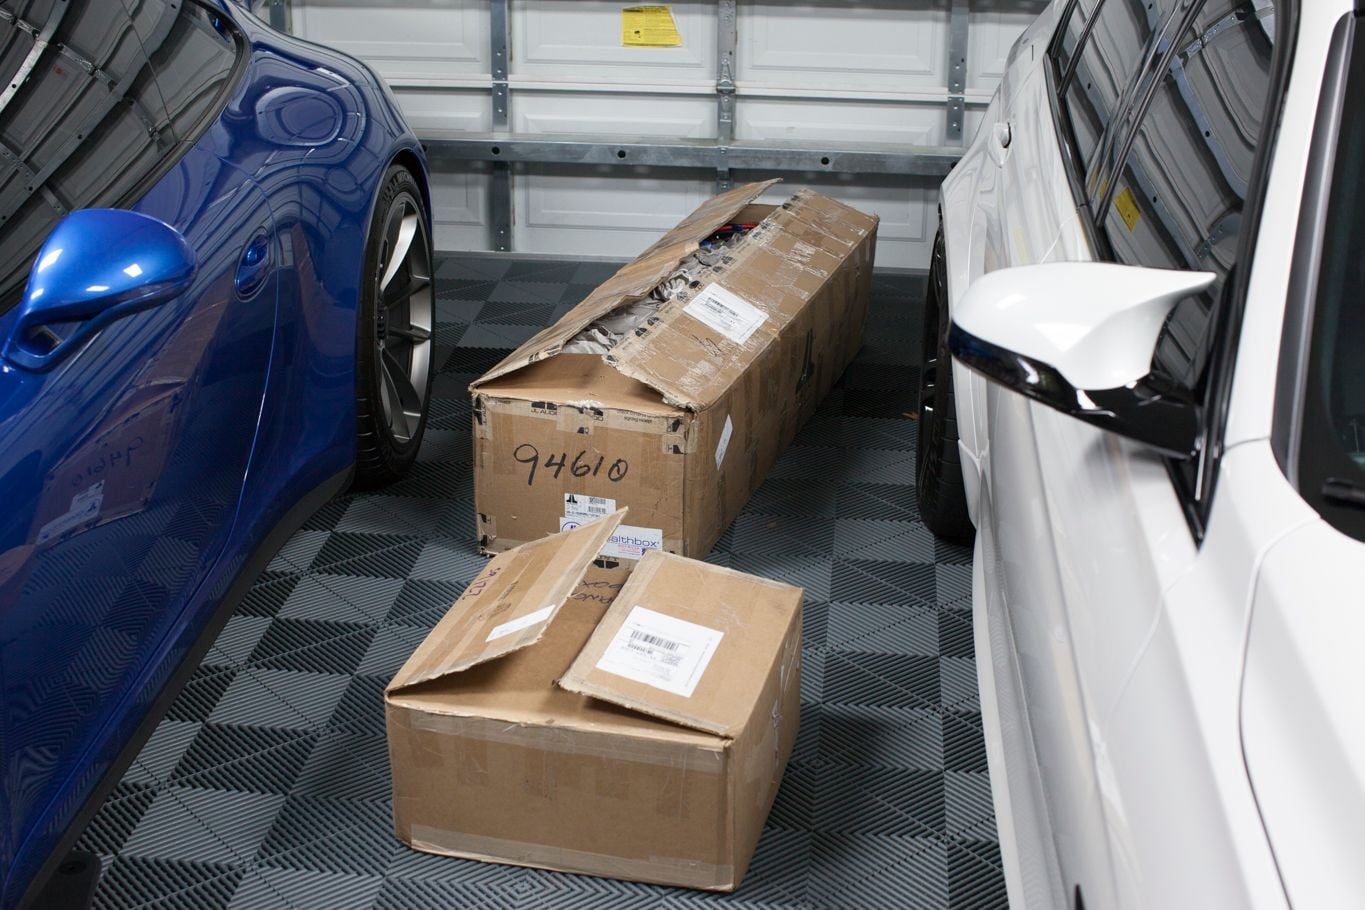
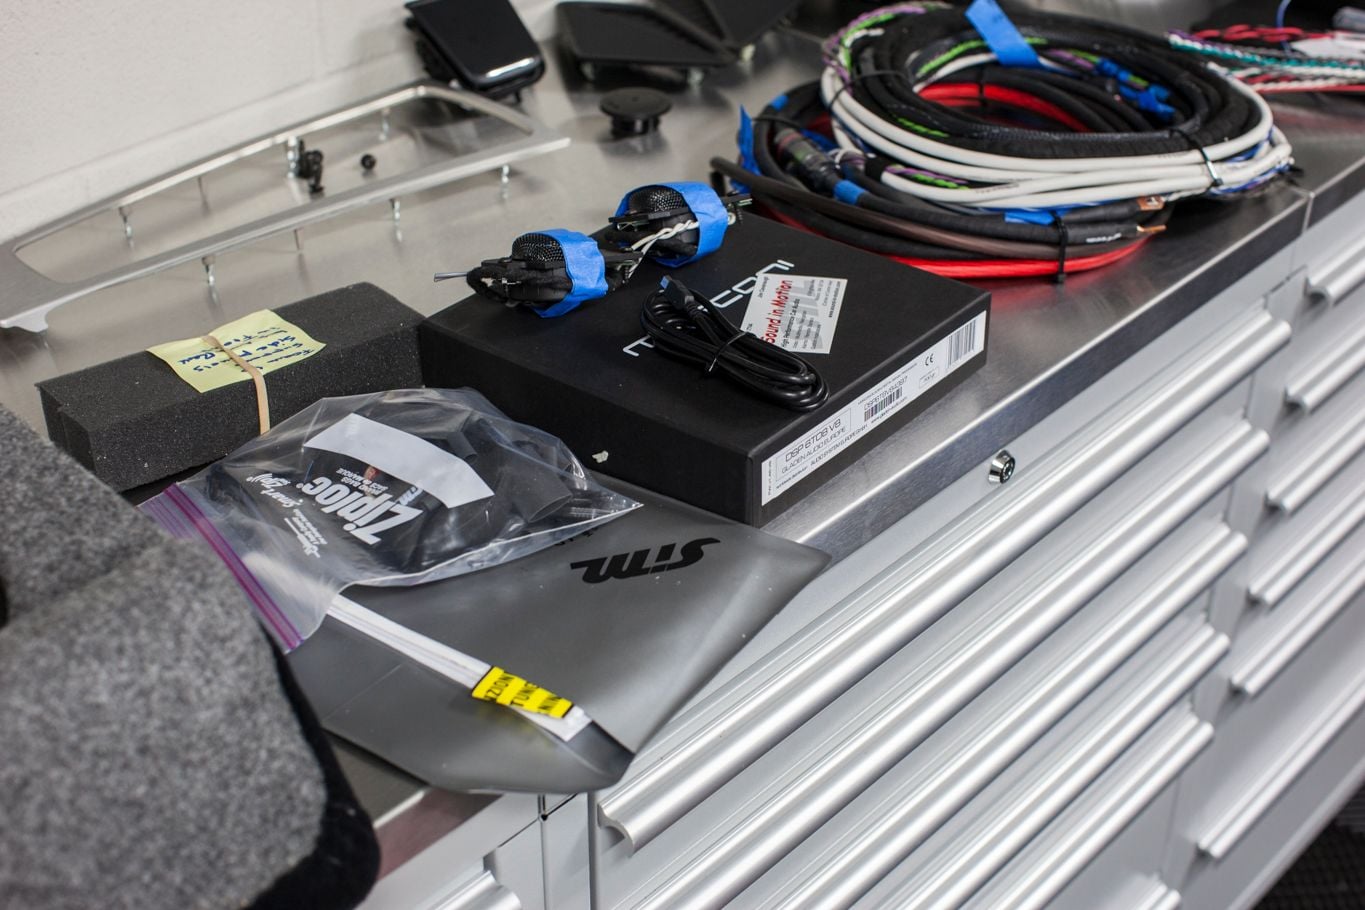
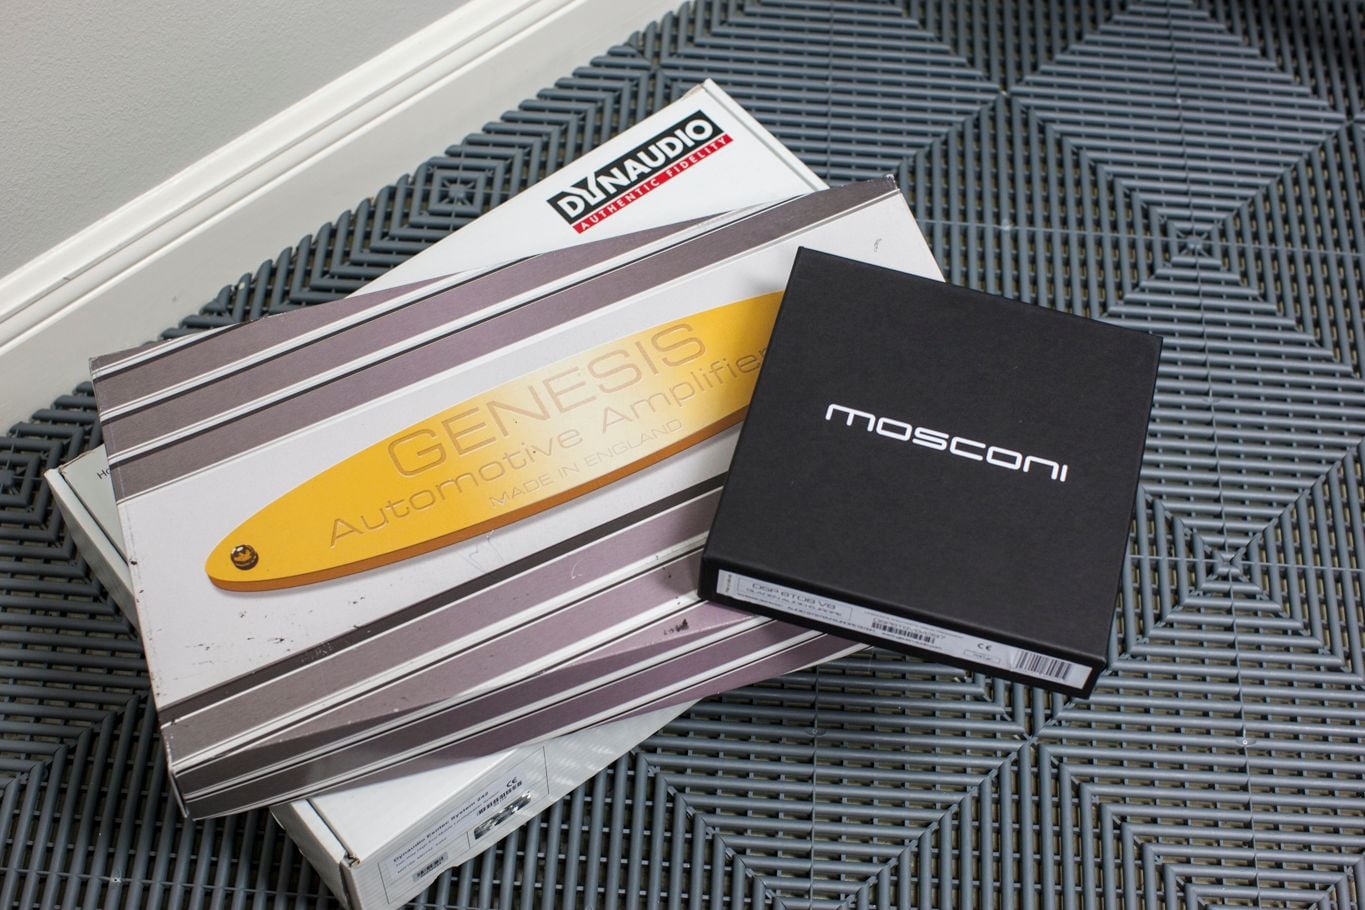
My boxes showed up at my office on a Tuesday. I didn't open them right away and told myself to relax. I made it to about 2 PM before I ran out of my office with a huge smile on my face. I made it home and barely made it out of my suit before the unboxing began.
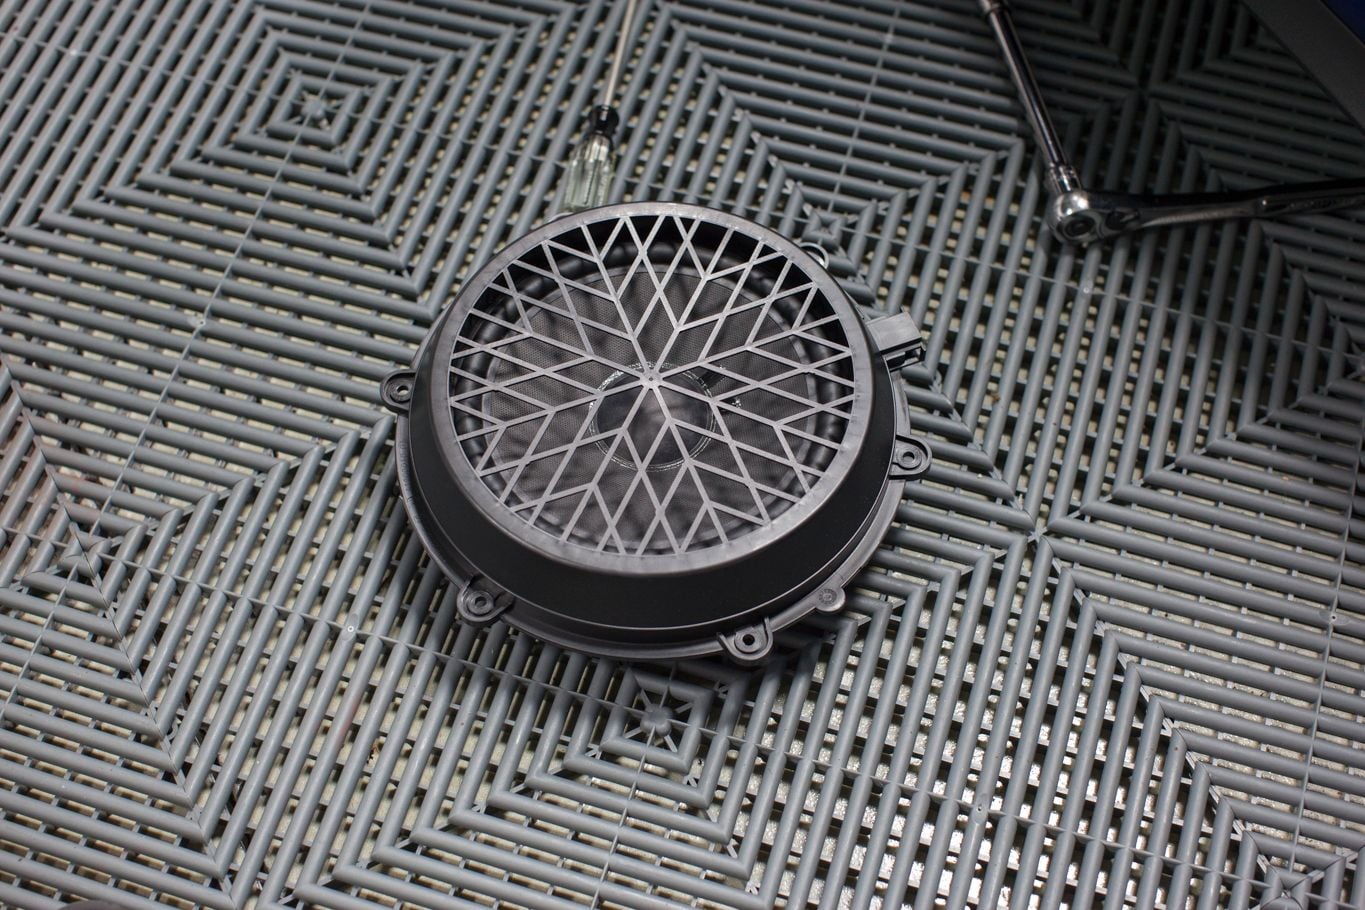
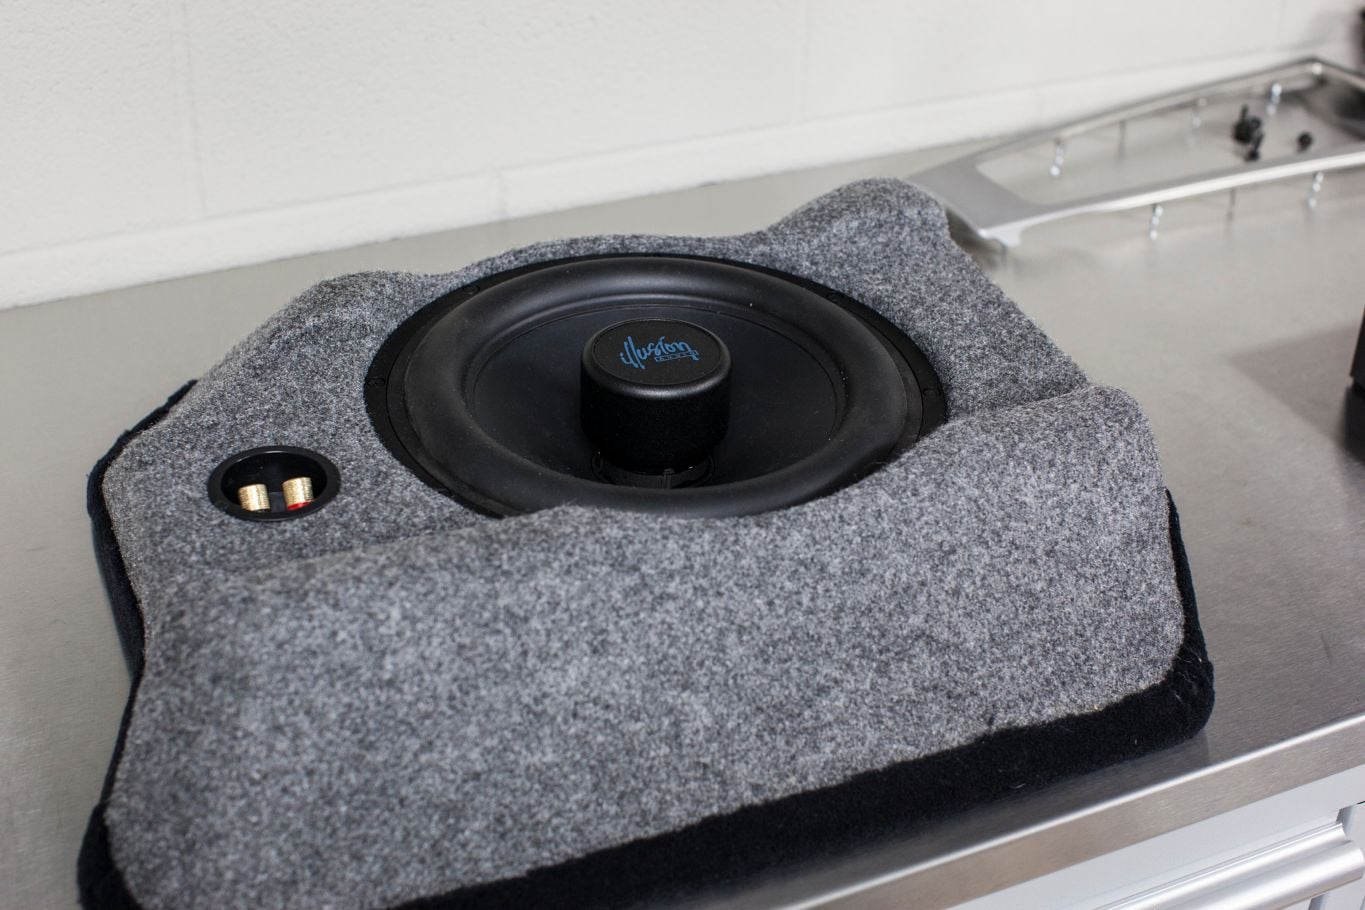
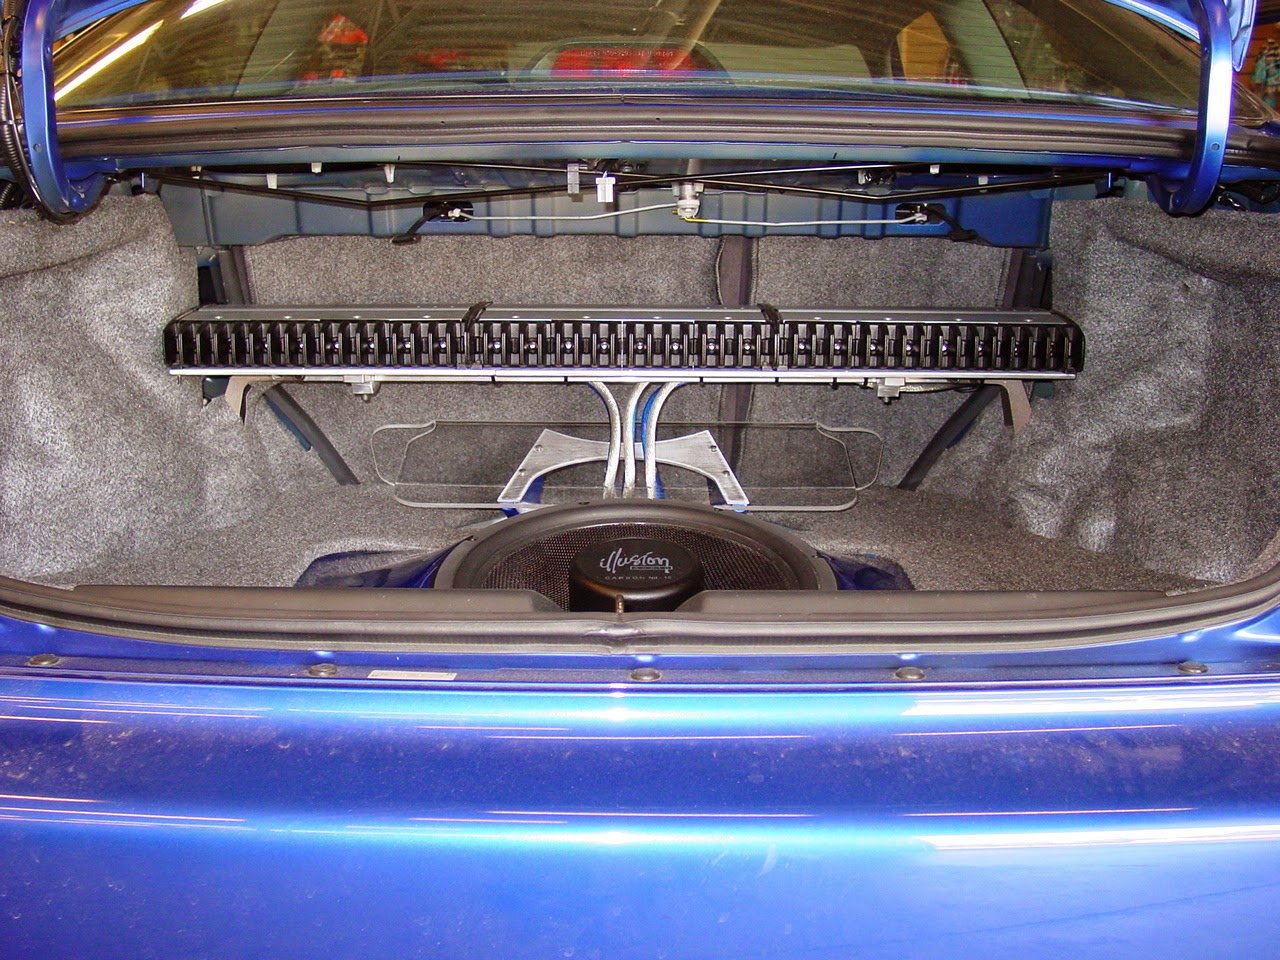
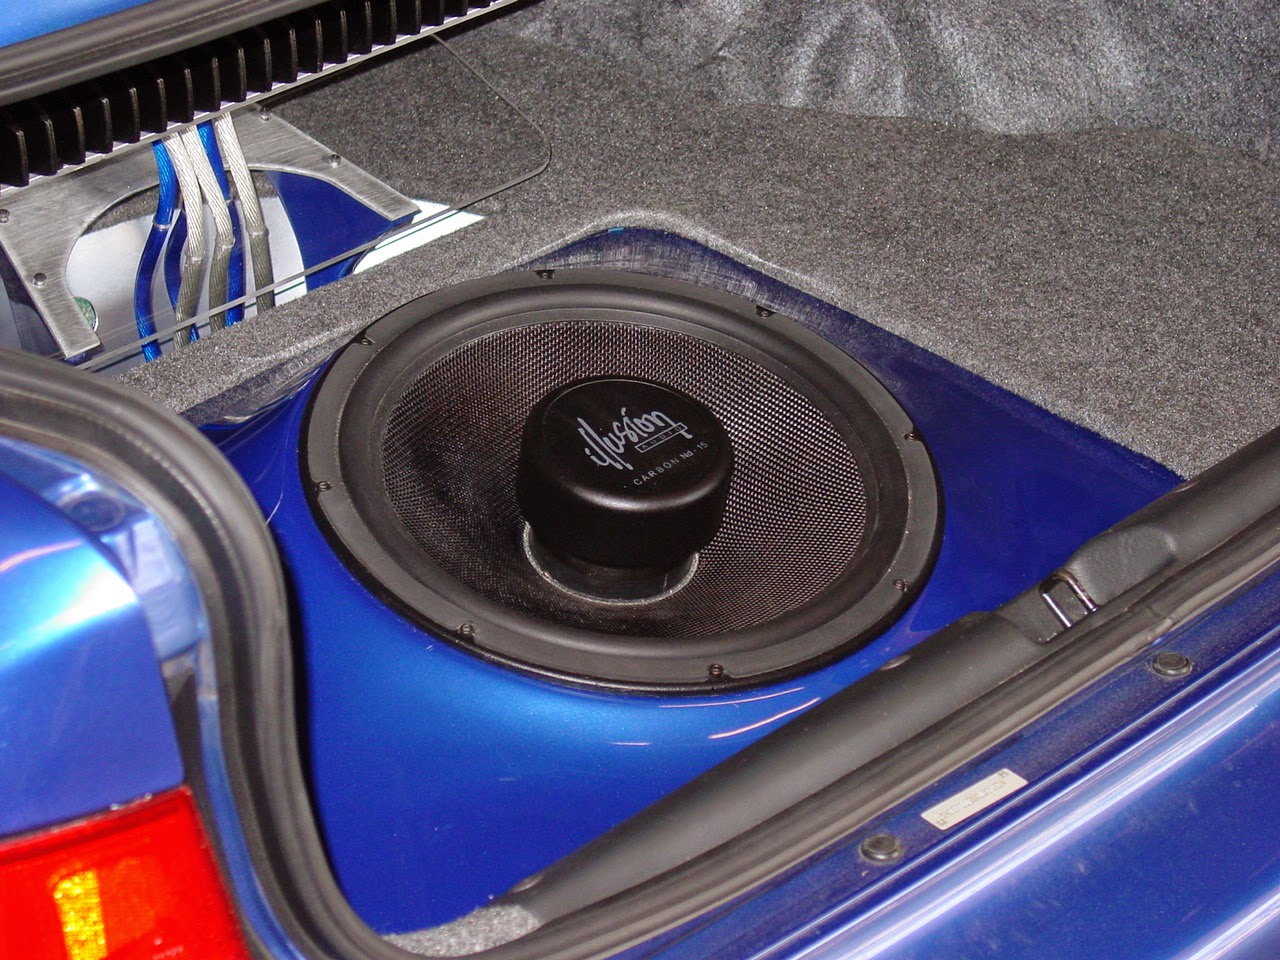
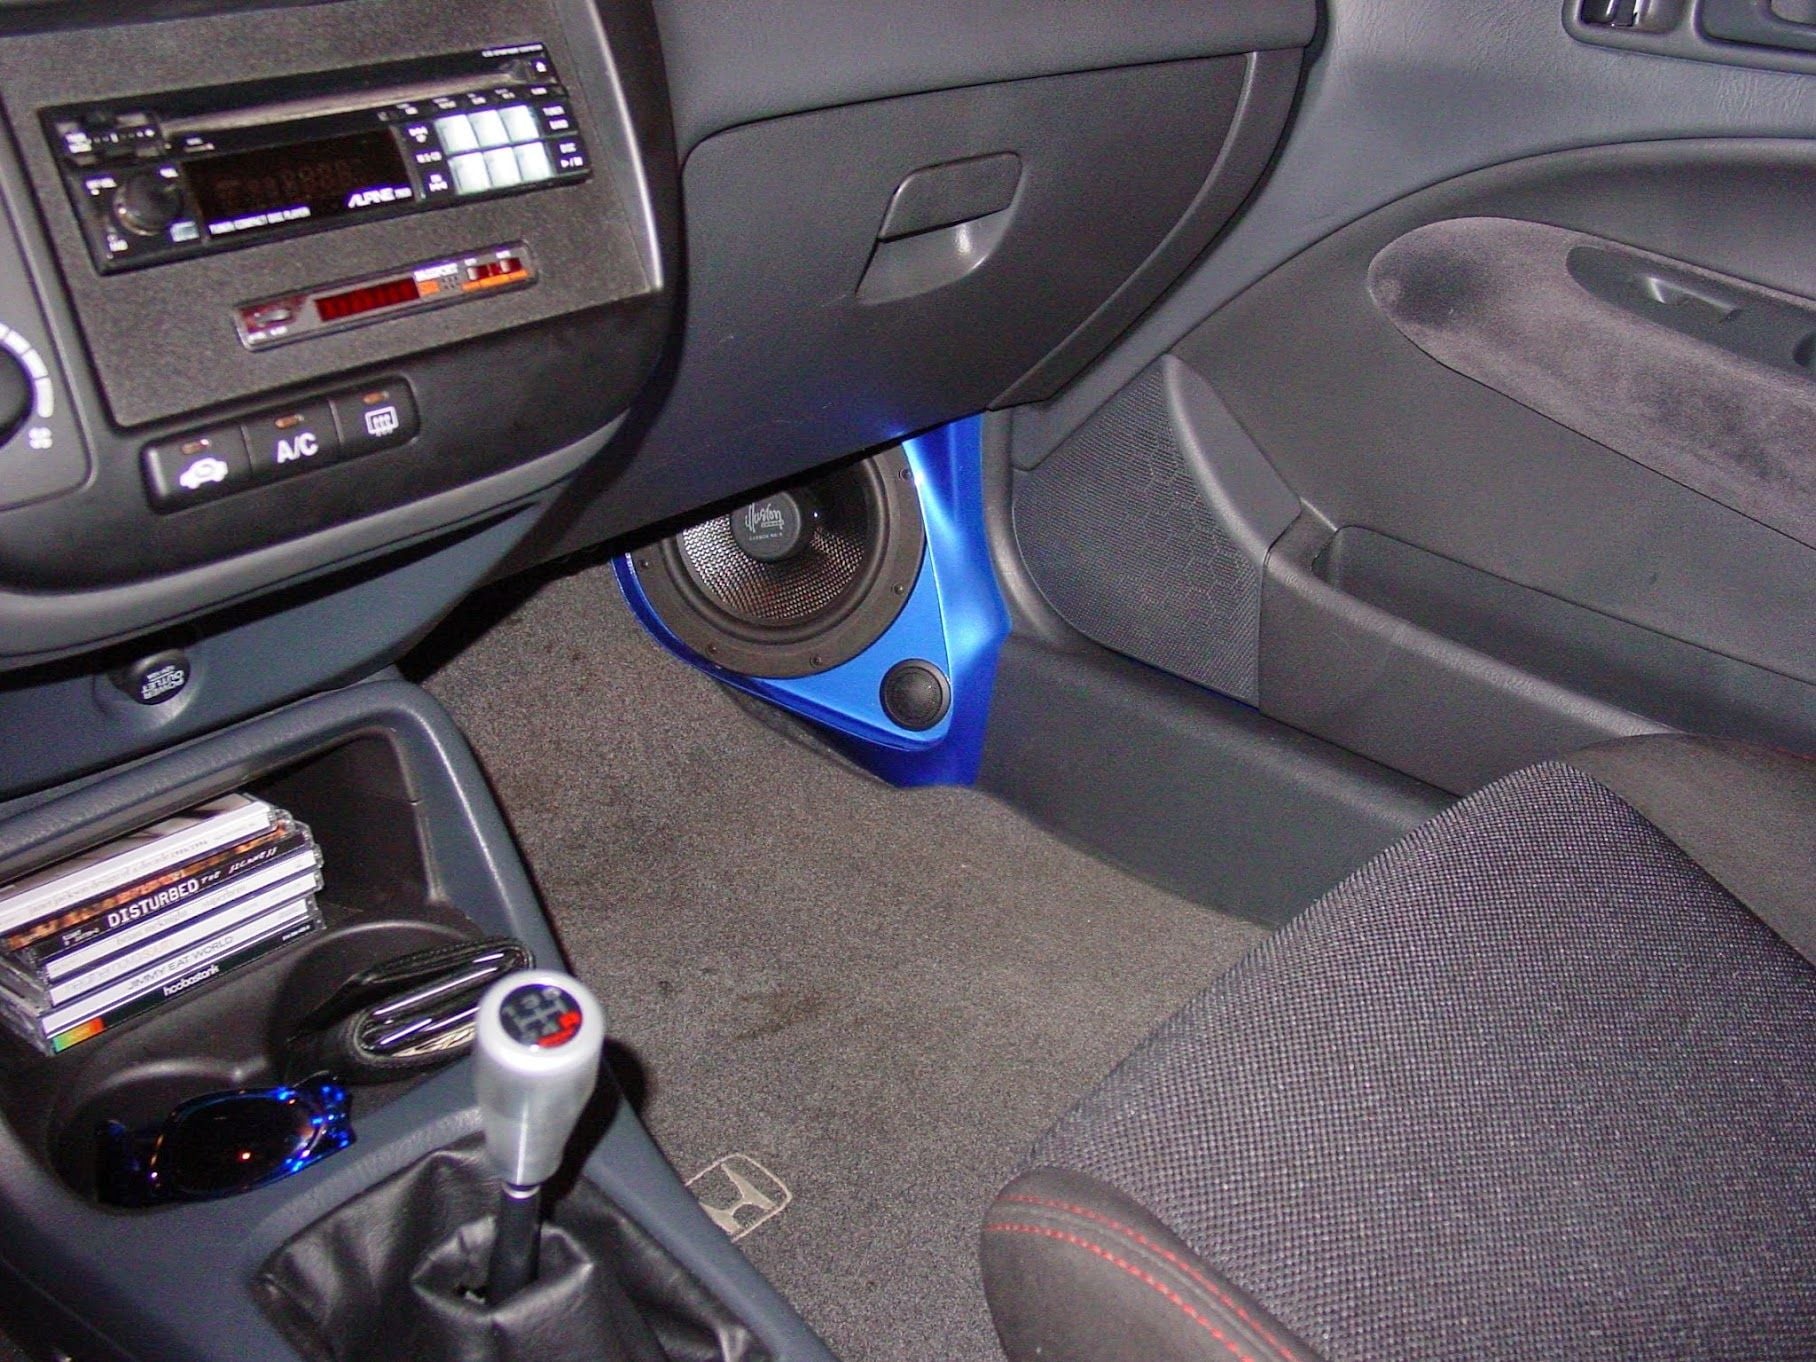
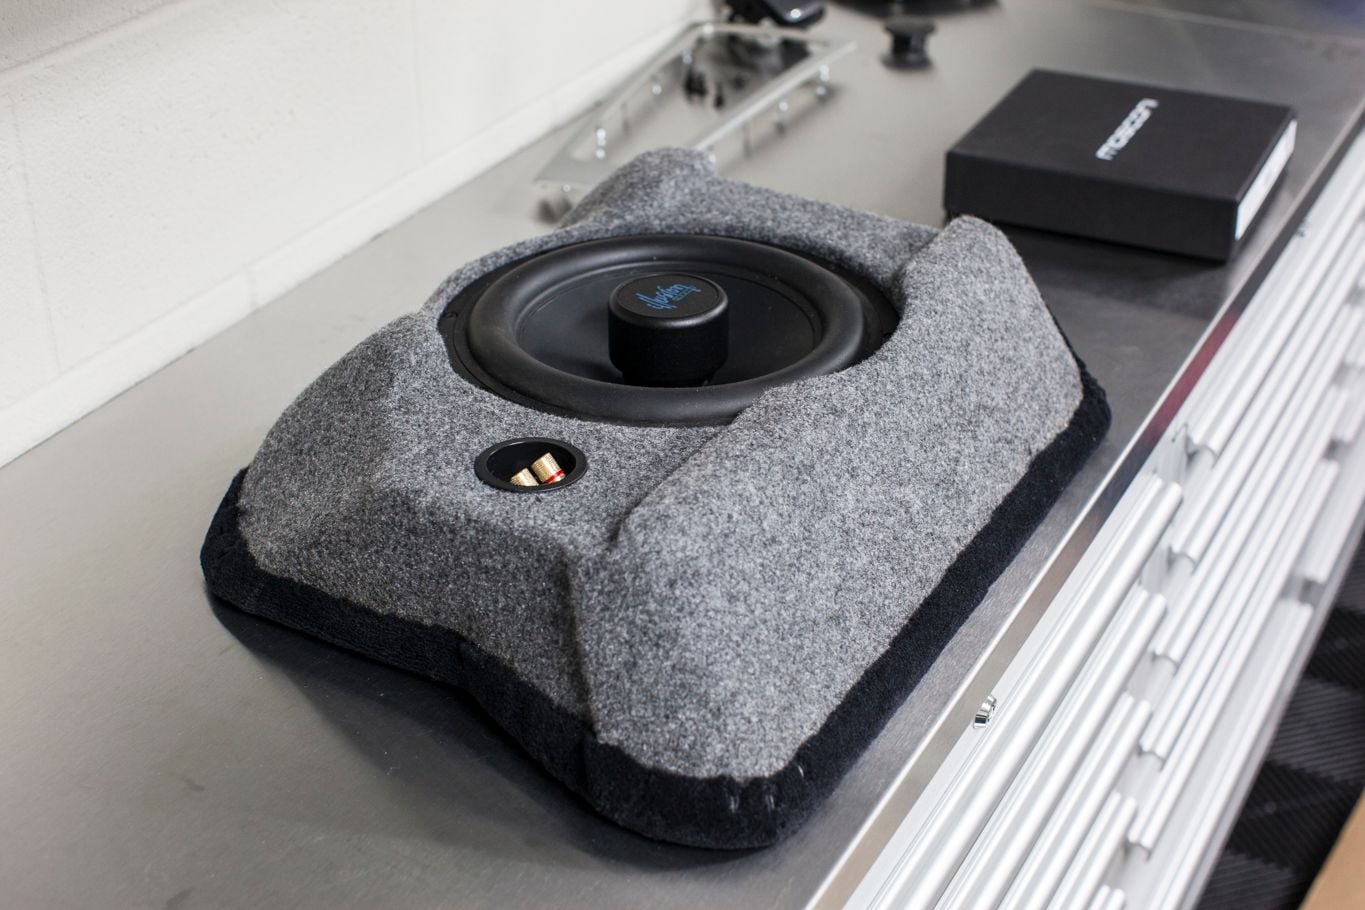
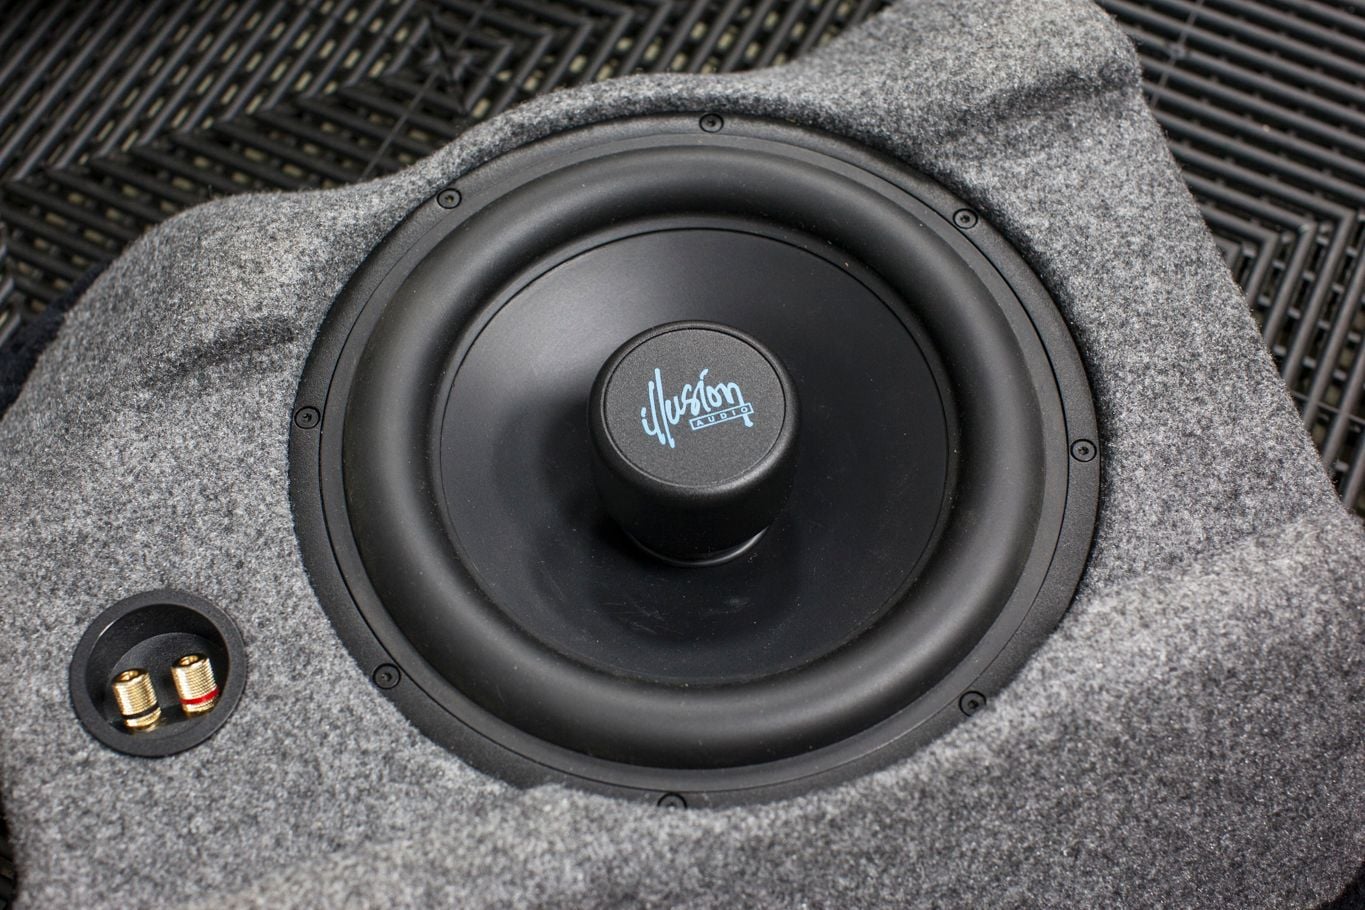
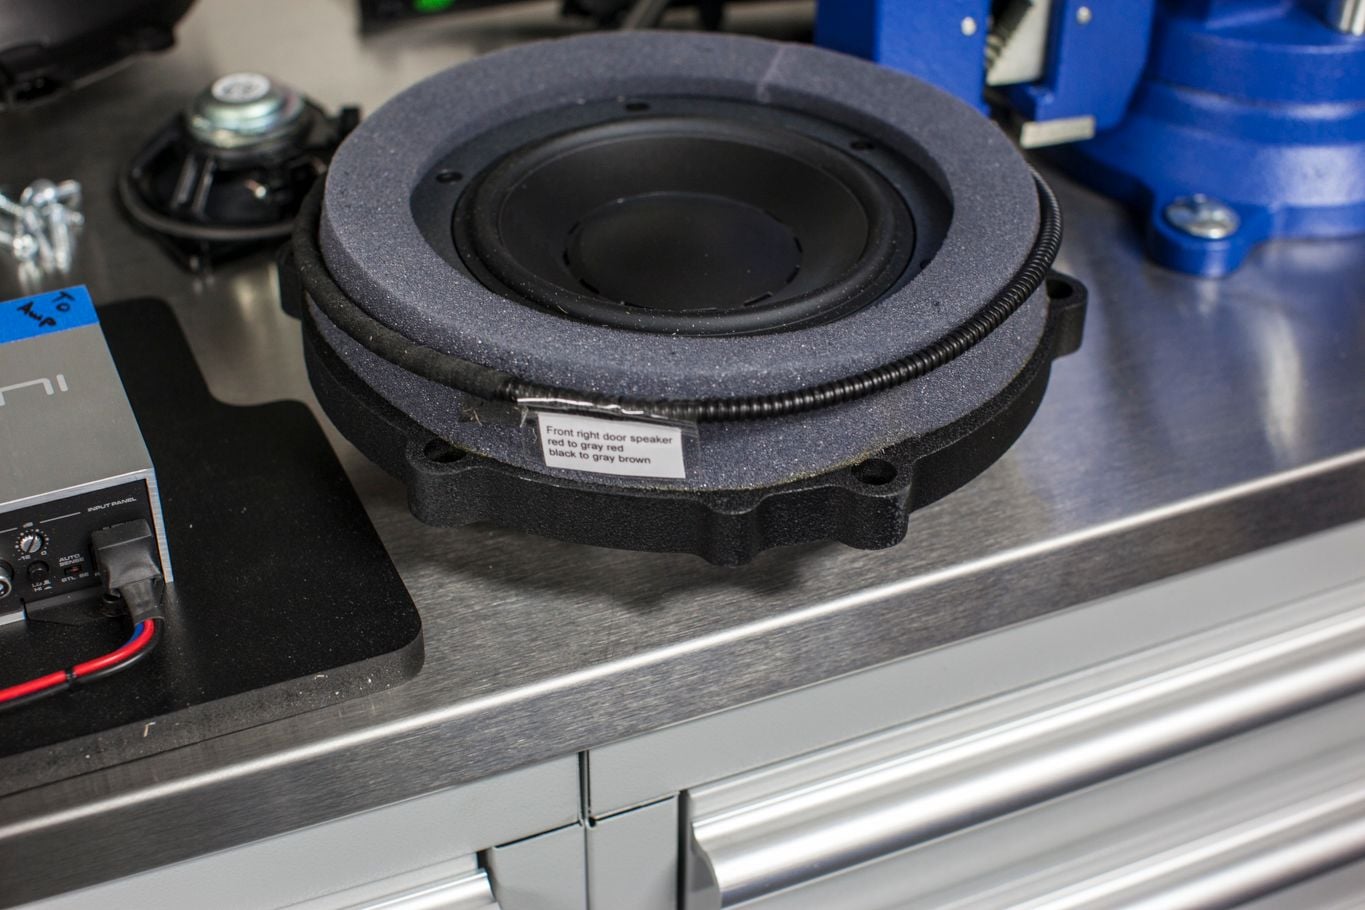
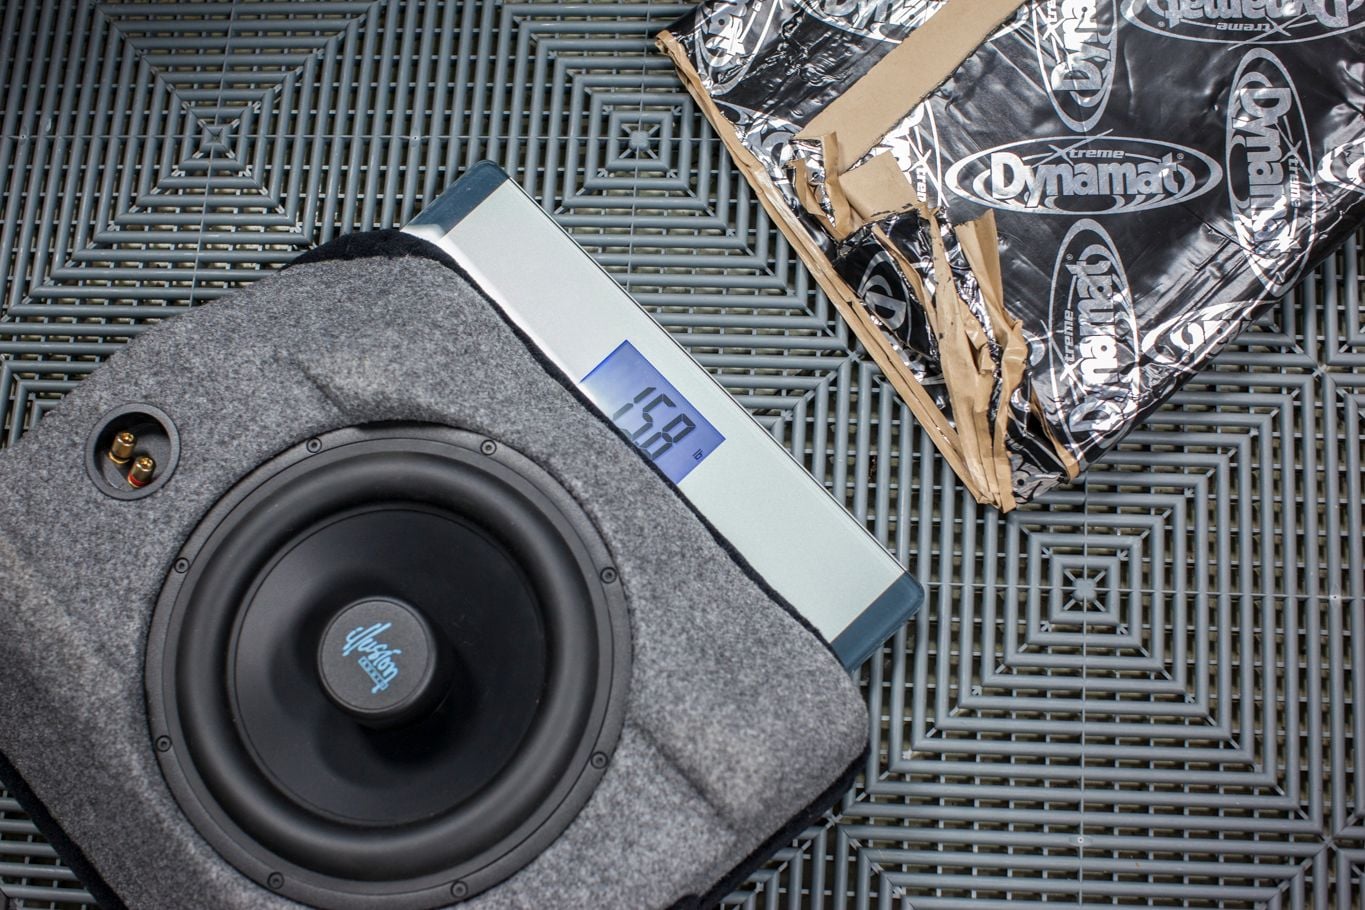
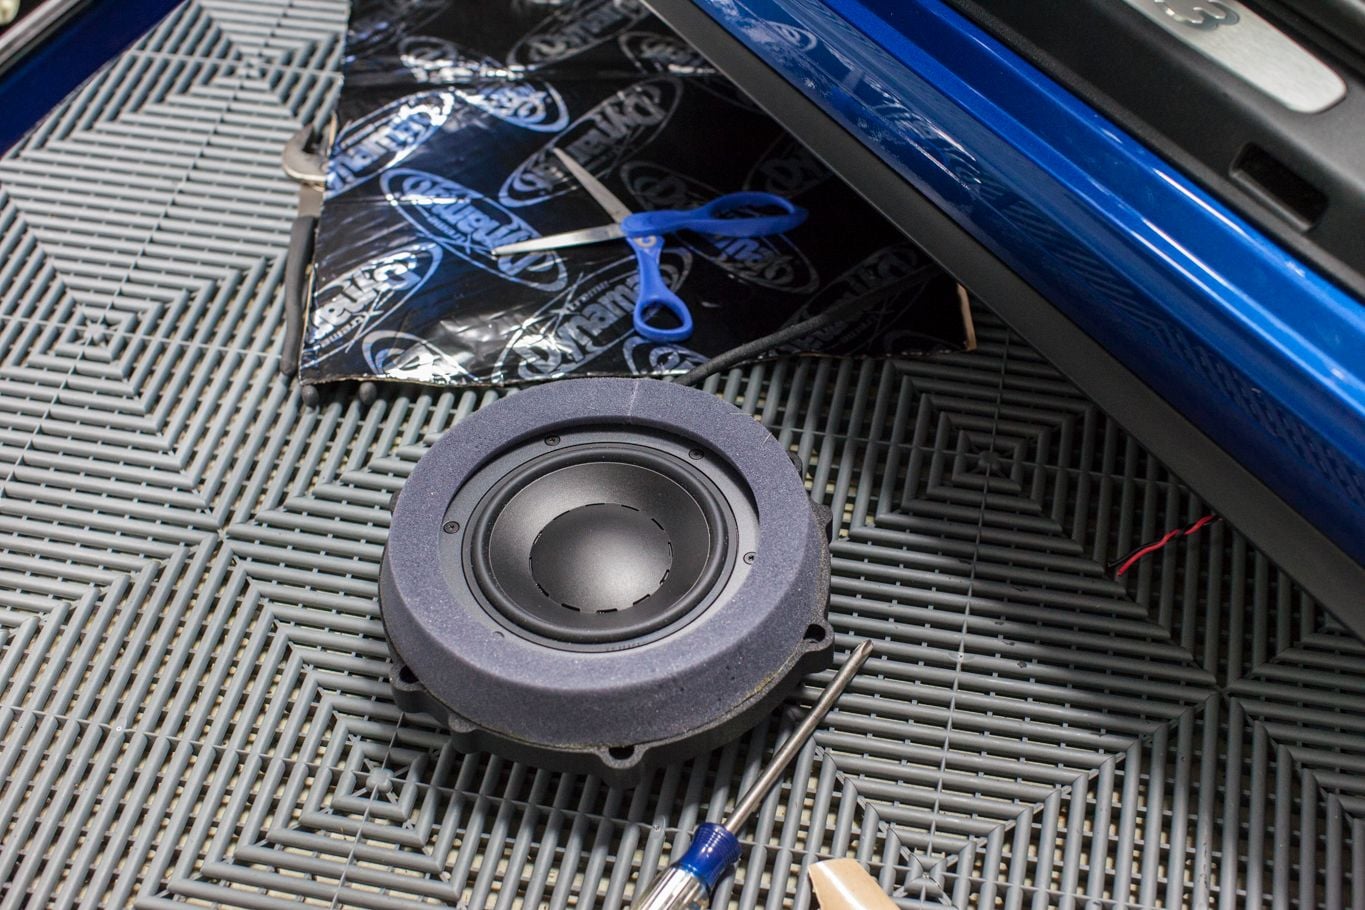
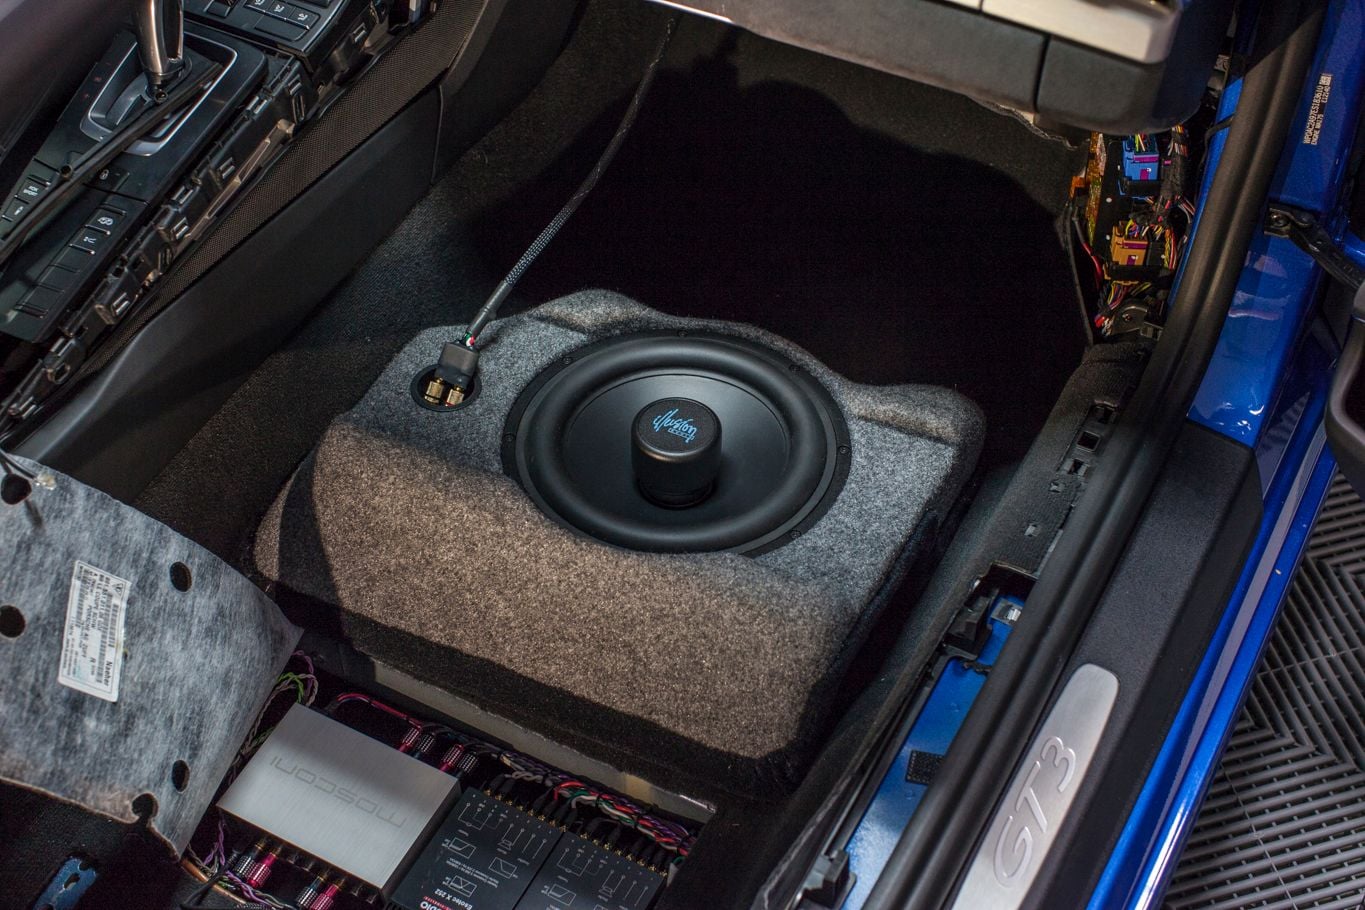
First to come out was the sub. This is the main reason why I took the leap of faith on this semi-DIY idea was the enclosure. I was intrigued by the idea that I could have an easily removable box that takes up minimal space rather than the typical rear seat area box.
The Illusion sub is reasonably efficient at 87dB sensitivity and has a neodymium magnet in front of the cone, reducing mounting depth. Illusion as a company has been bought and sold several times, but I had the original design in my Civic about 15 years ago.
Even though this sub is not the best in the world, it was ironic to me that Sound in Motion has had such great success using a similar driver to what I had years and years ago. In the case of this car, it's not so much about the driver, it is about the enclosure and location in the car. I haven't been into ghetto bass since high school, so all I cared about is accuracy and where it was going in the car. In this case, the passenger footwell.
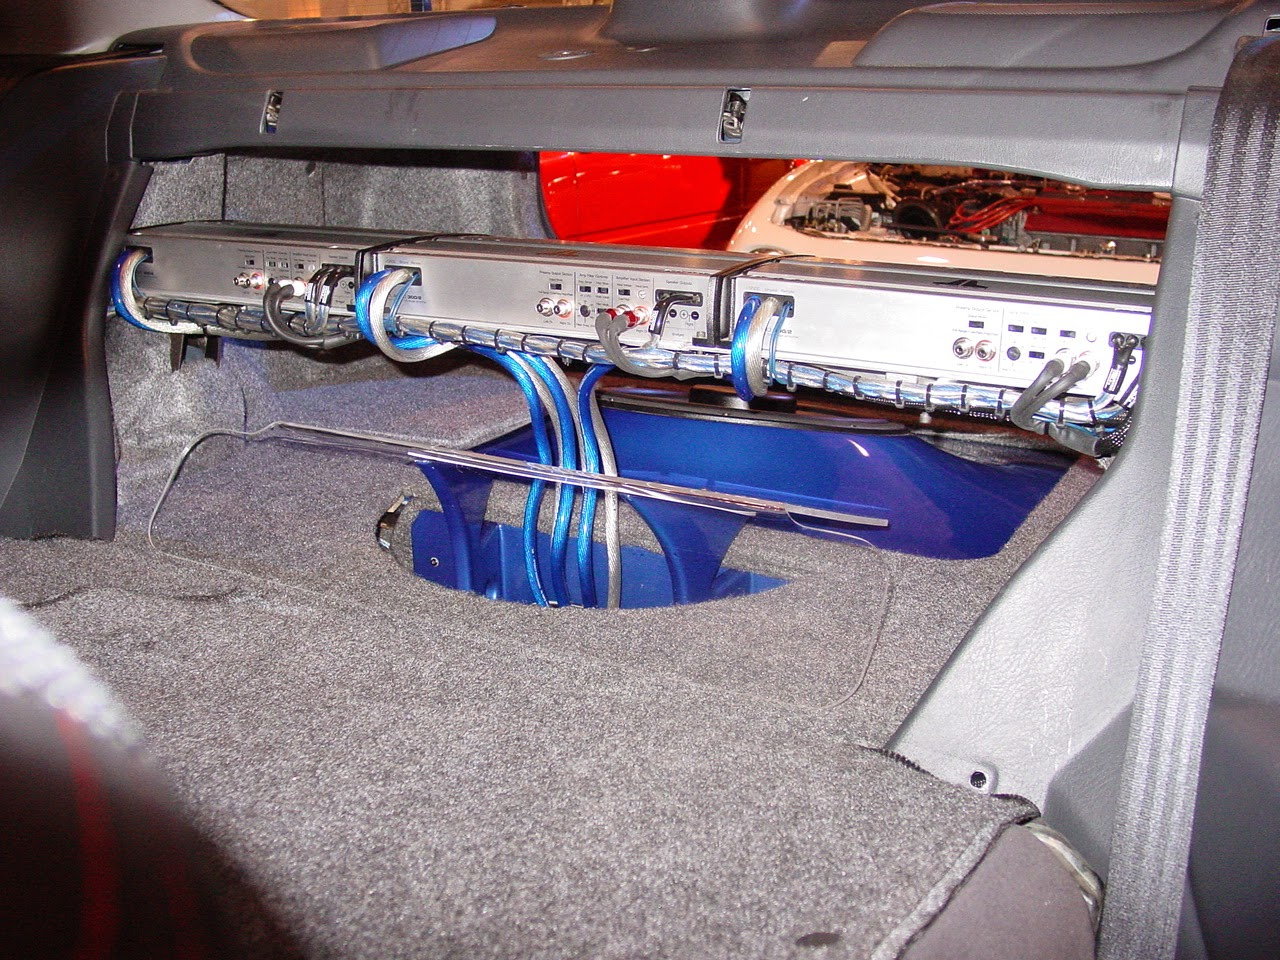
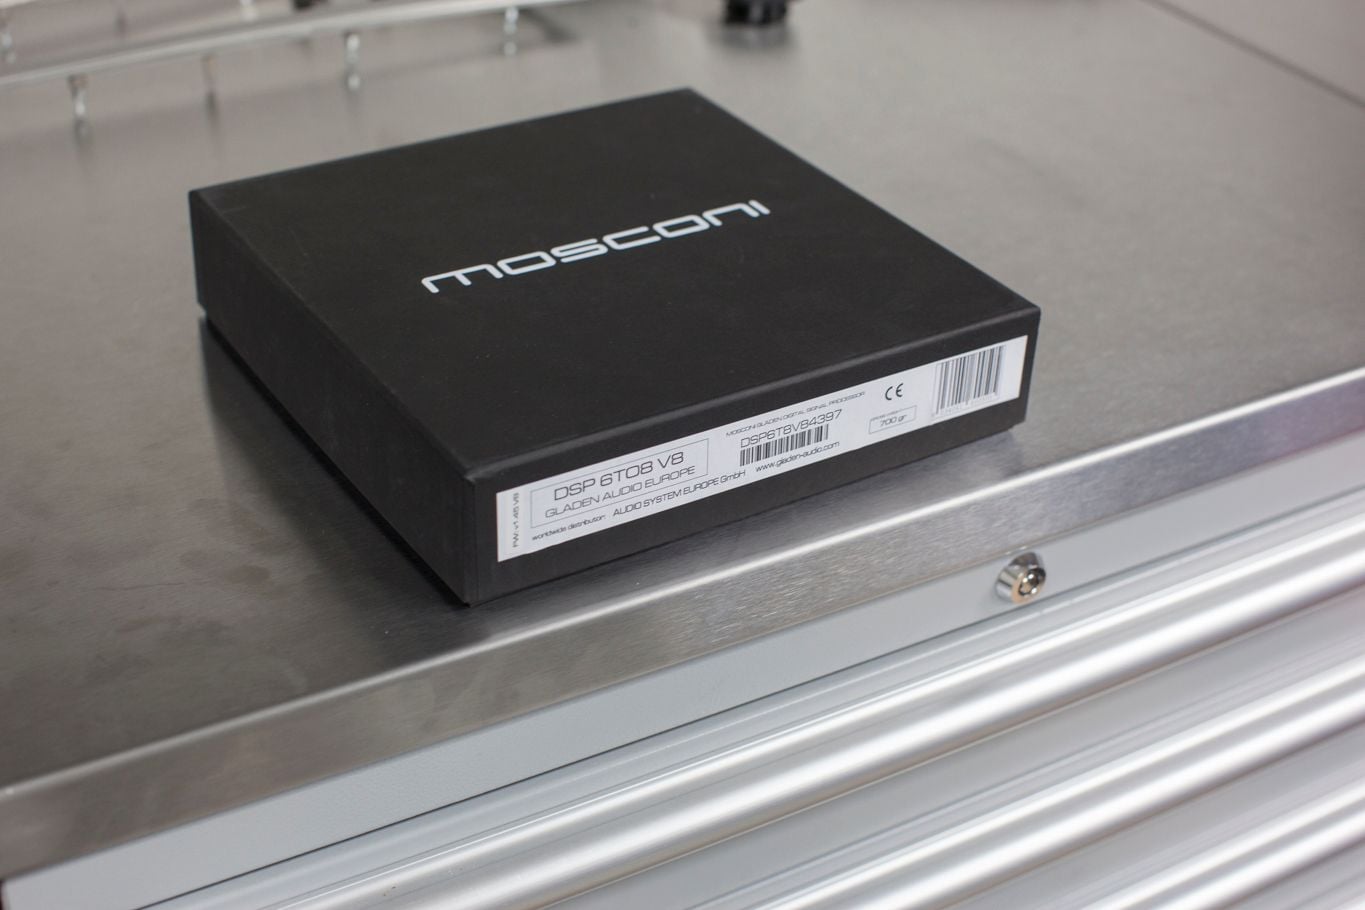
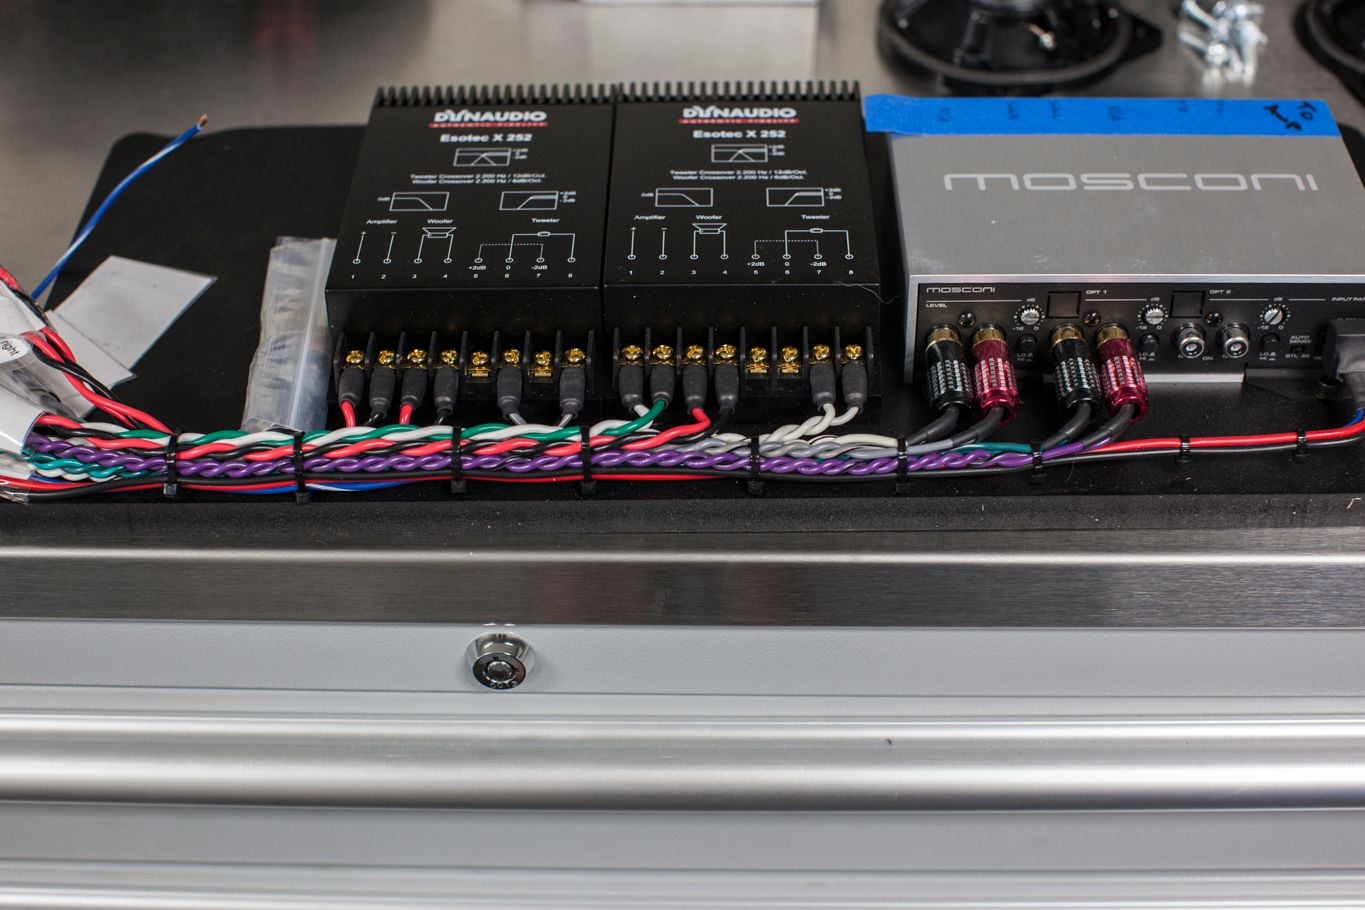
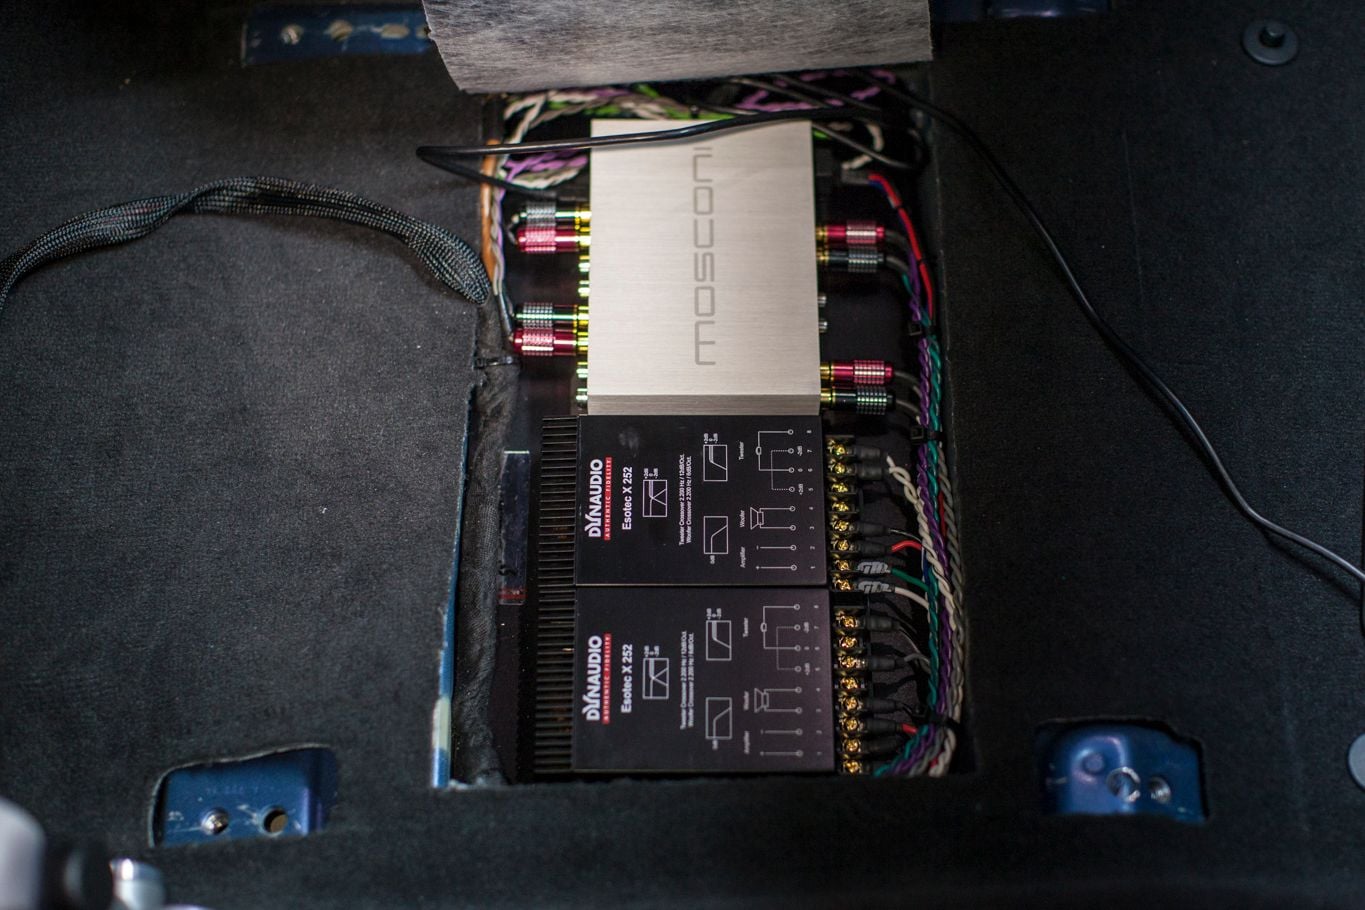
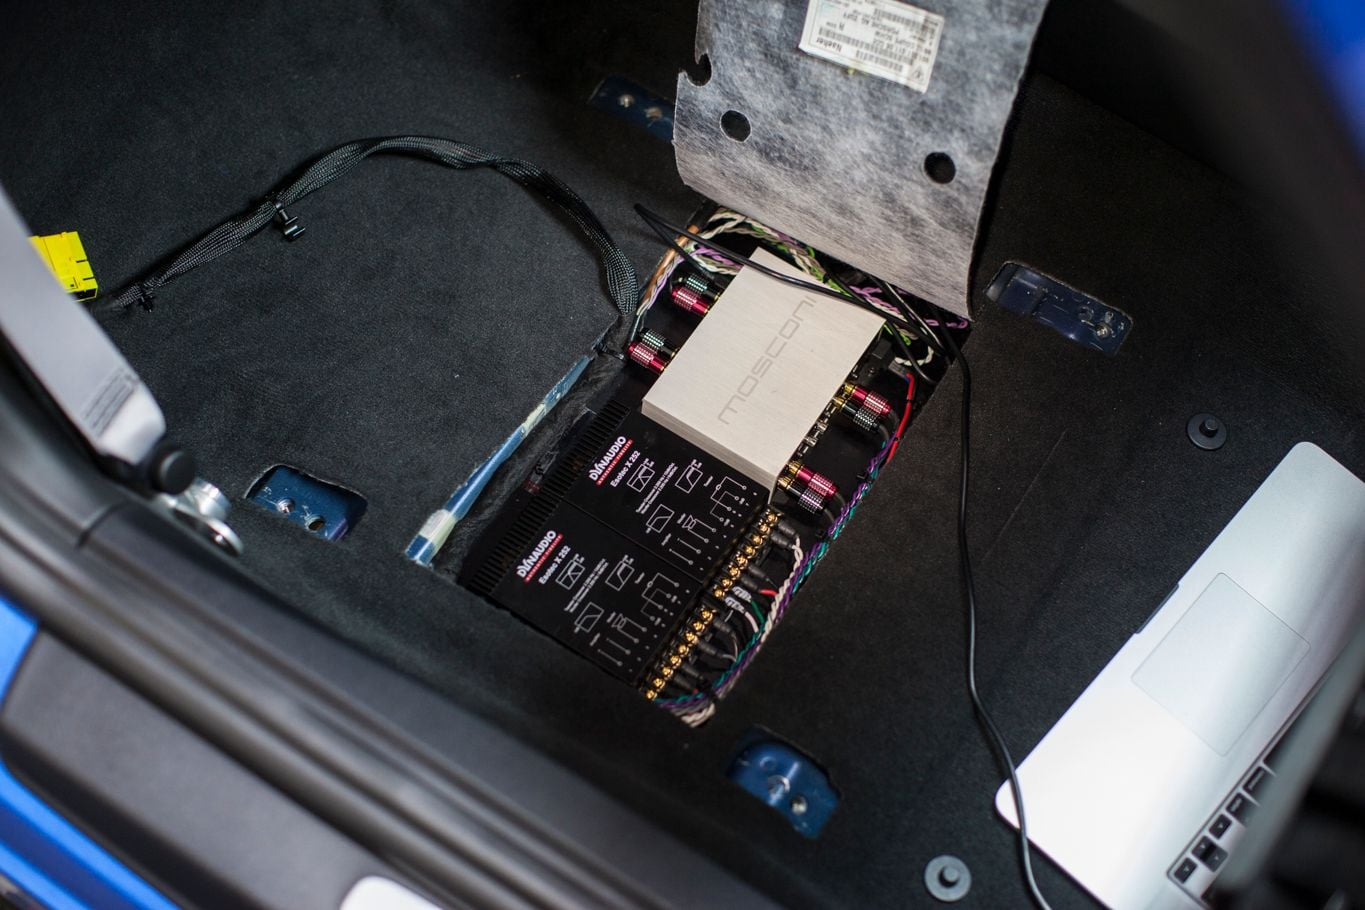
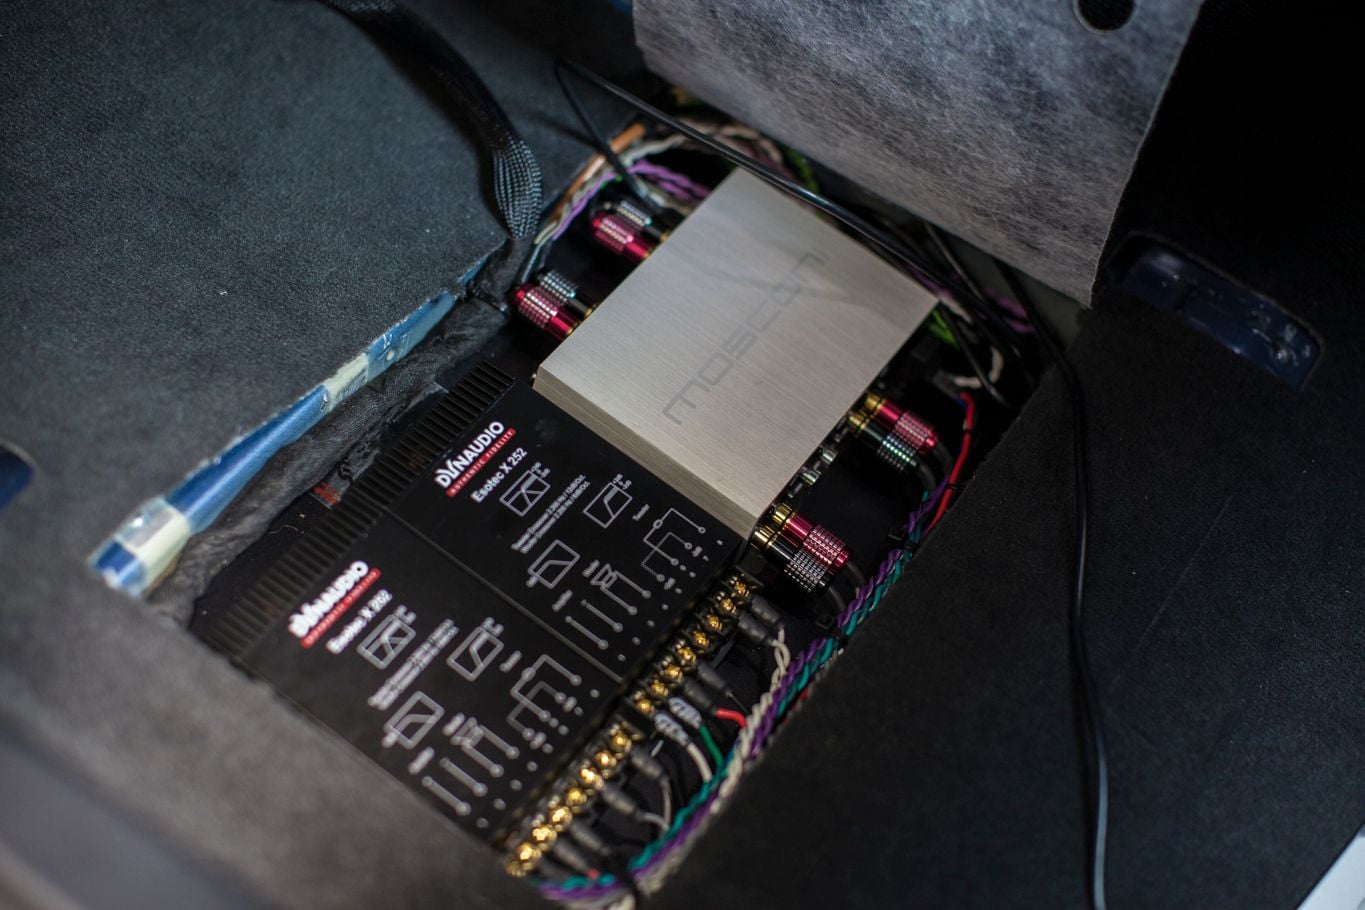
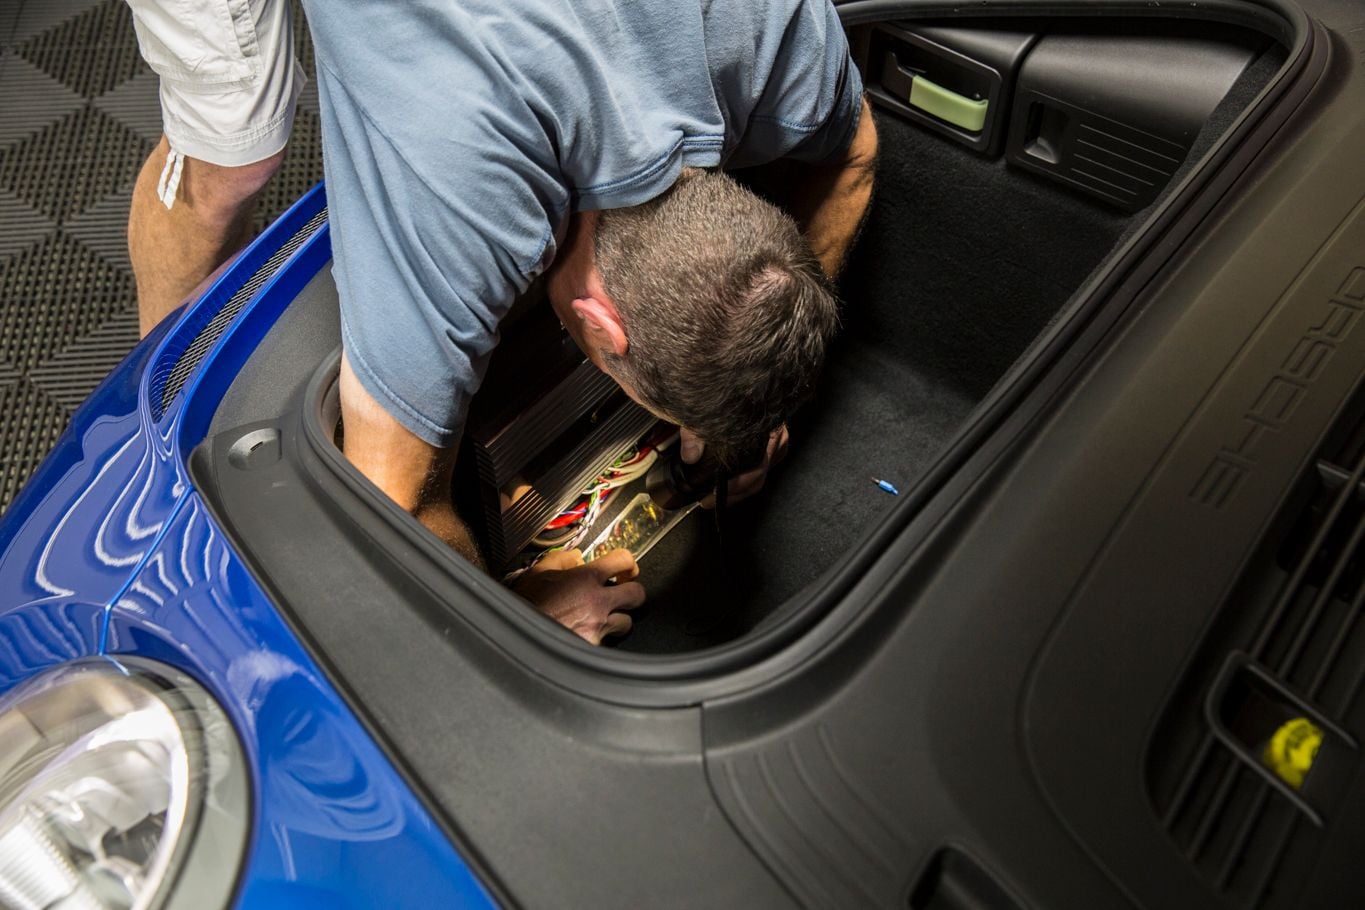
DSP responsibilities would done by the super powerful Mosconi Gladen 6to8 V8 processor. The job of this will be to take the low-level signal from the factory PCM, process, improve, equalize, and pass to the amp via an 8 volt output. I had never had an experience with Mosconi, but SIM was adamant that I would like having this for quality and adjustability. I decided to pony up the $800 because I didn't want to change the factory PCM.
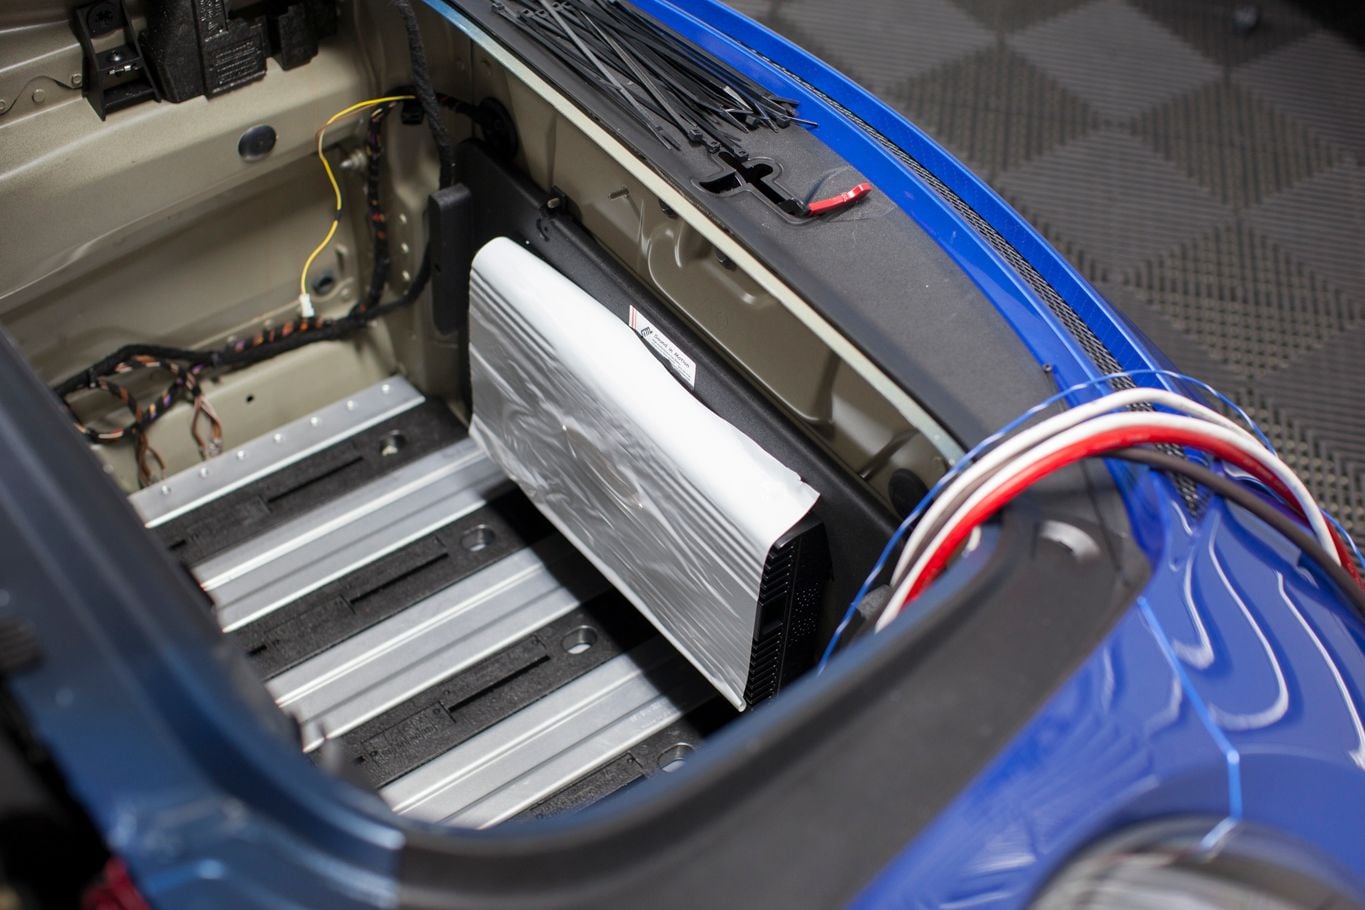
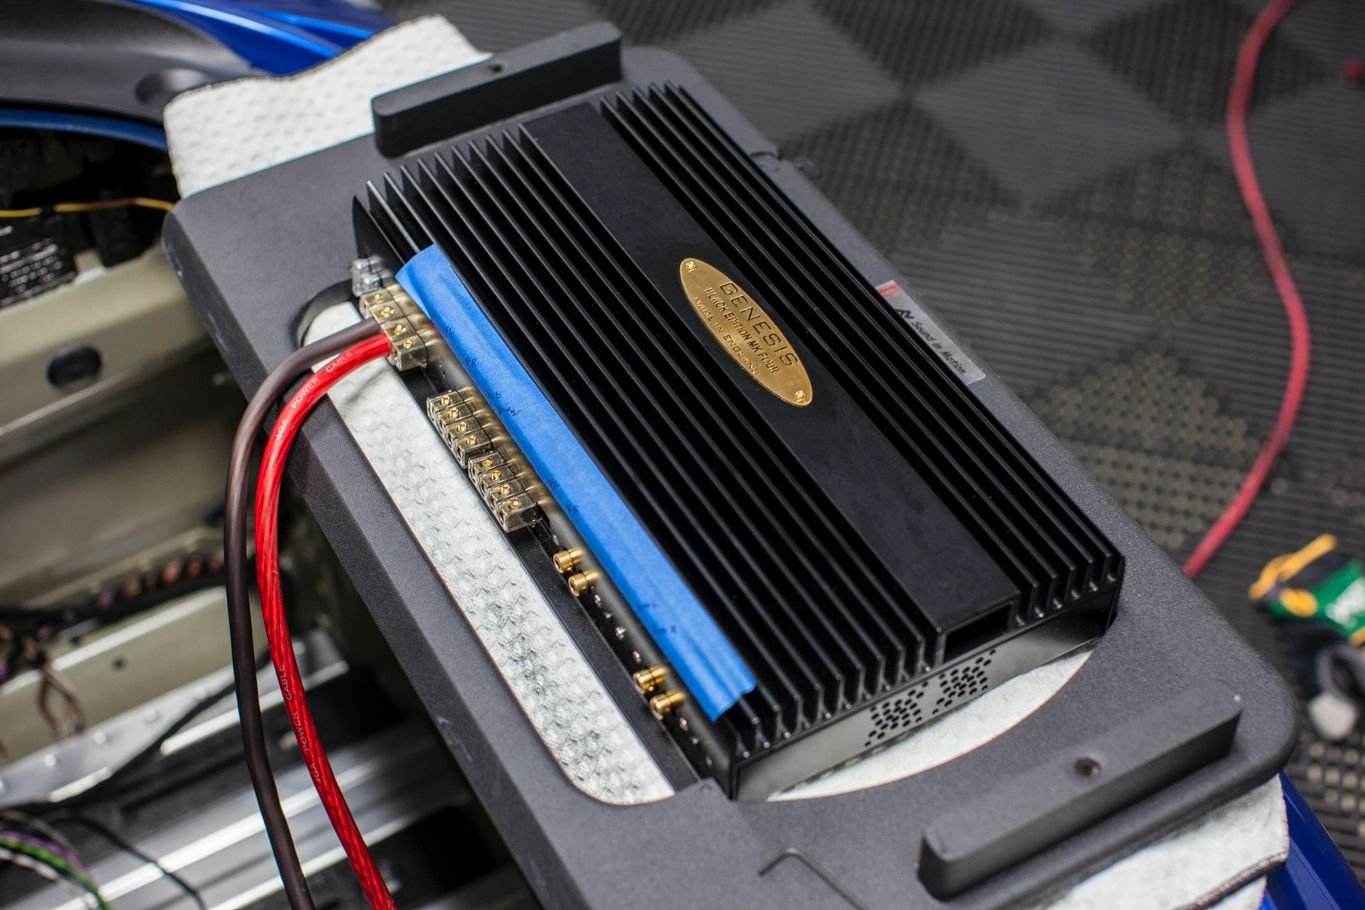
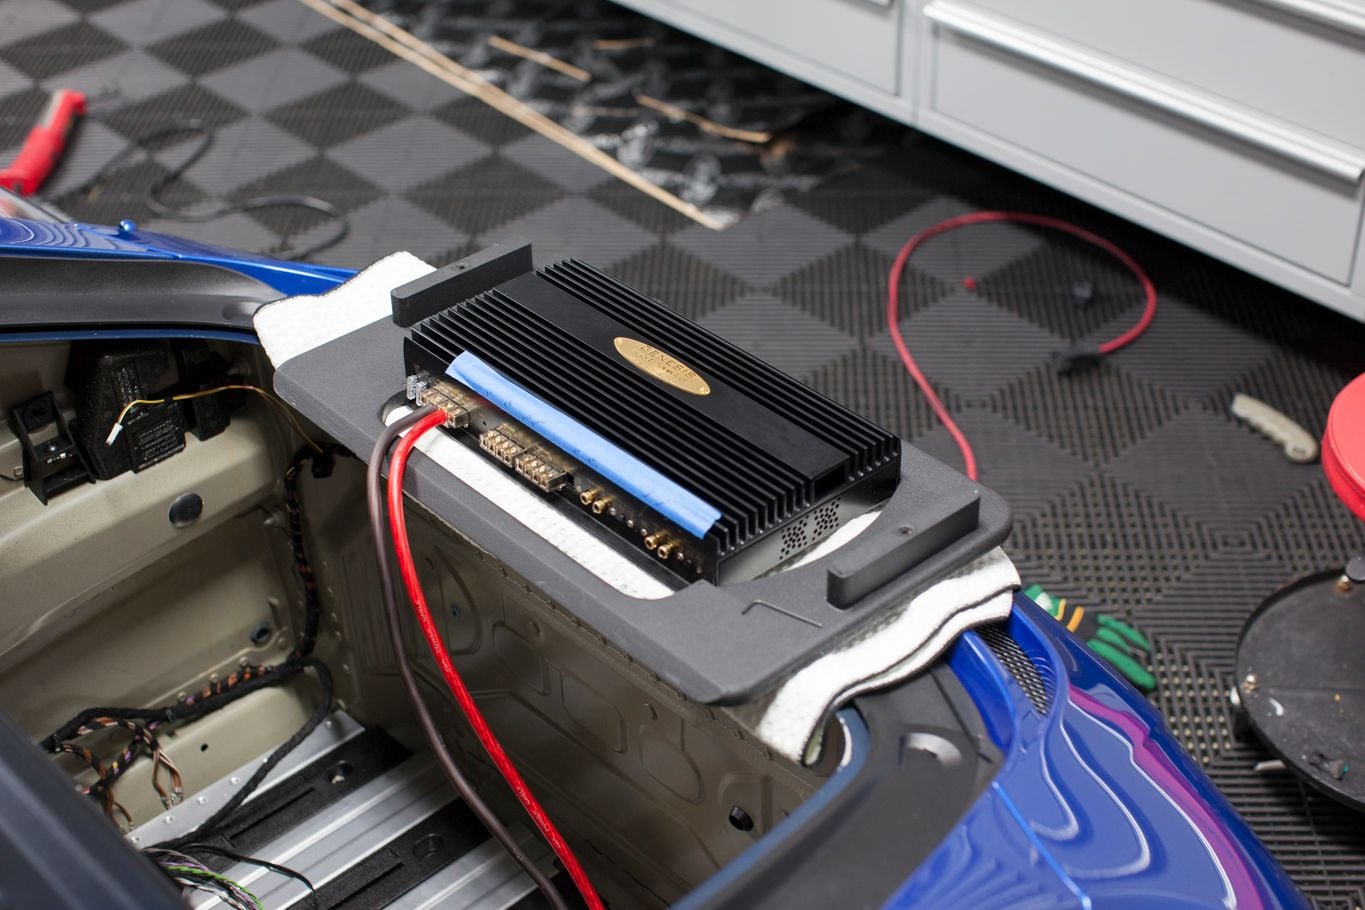
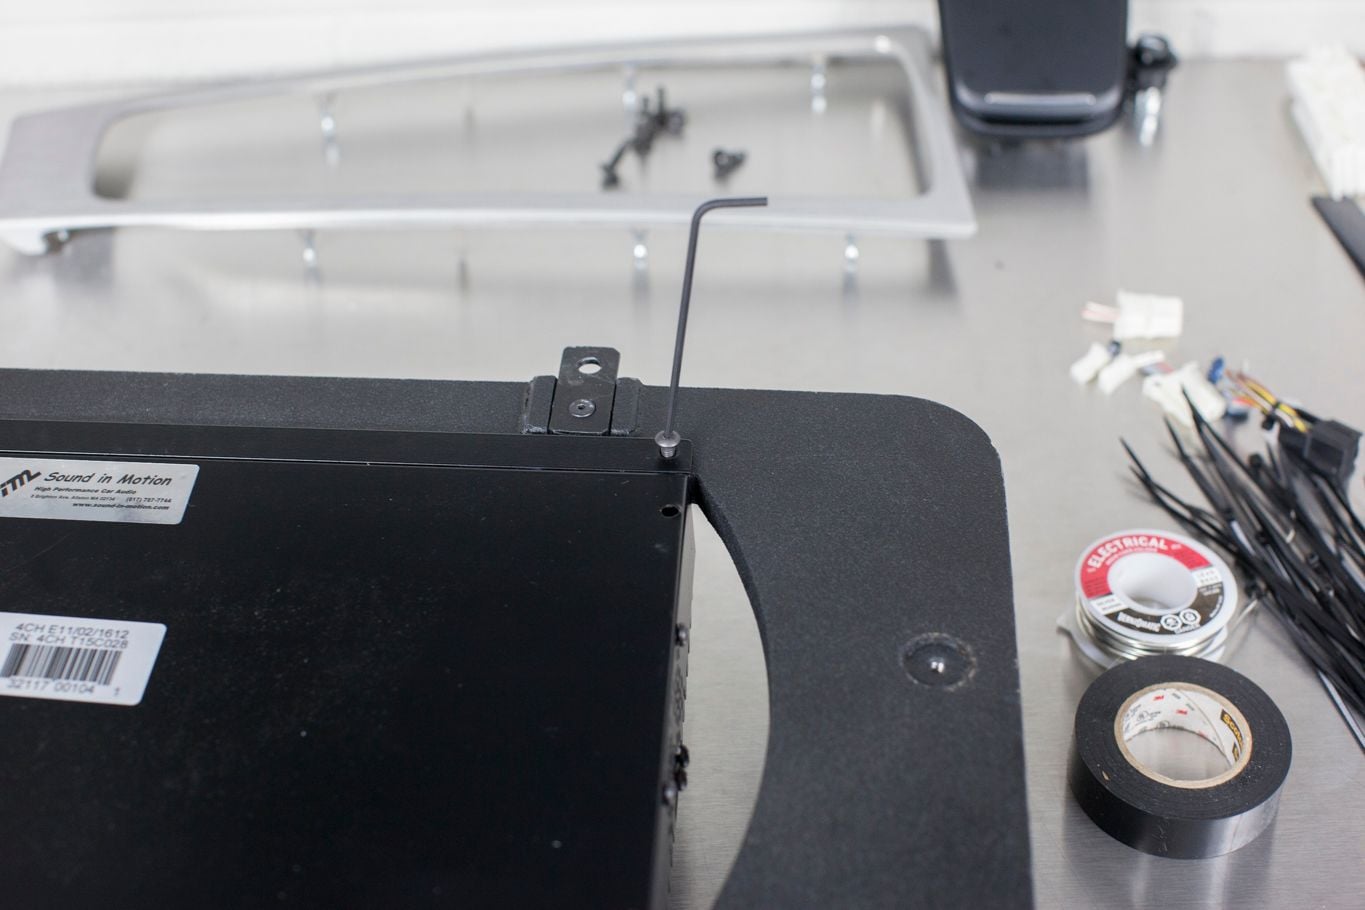
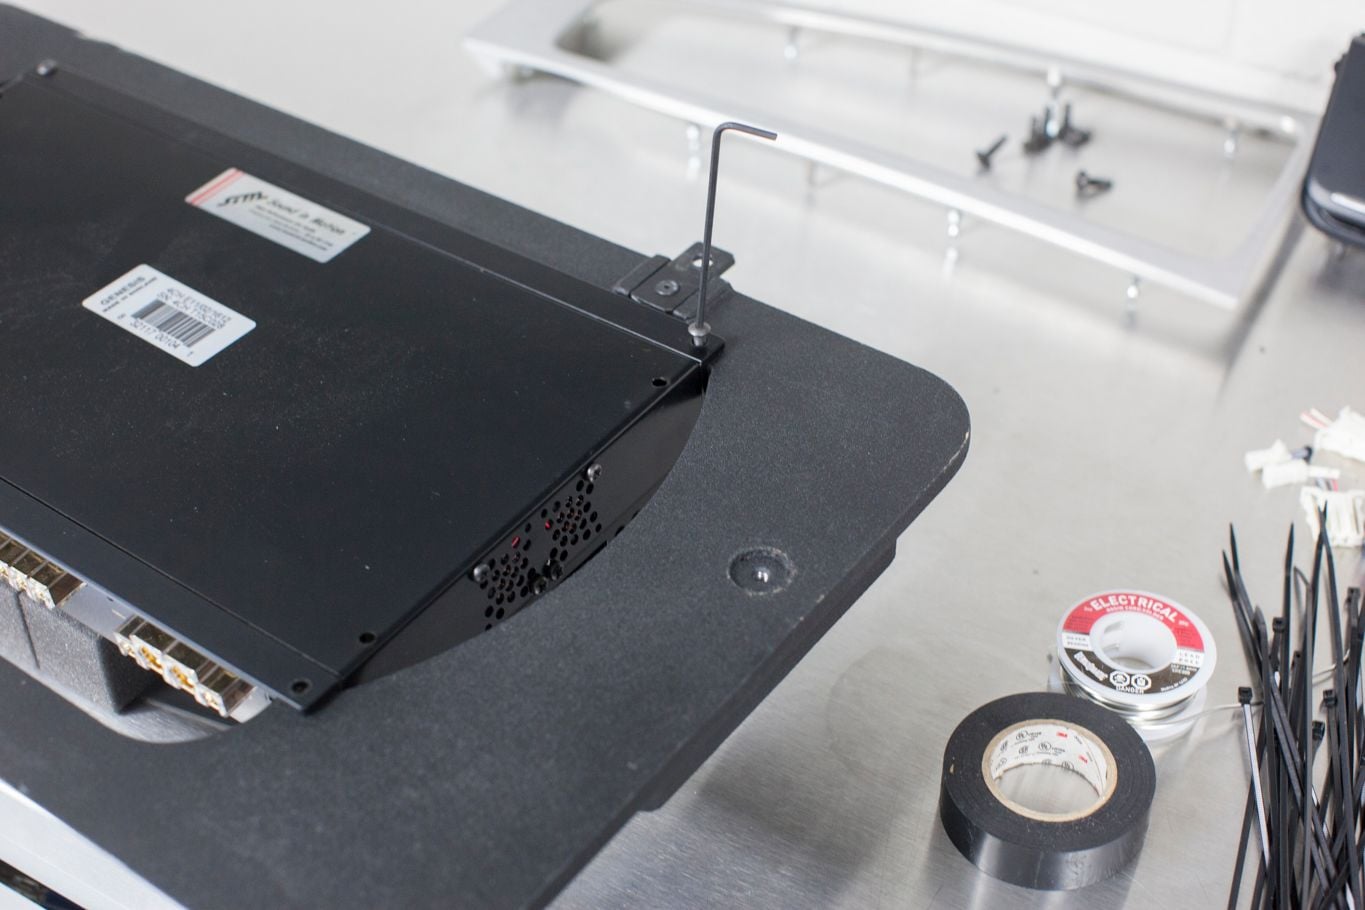
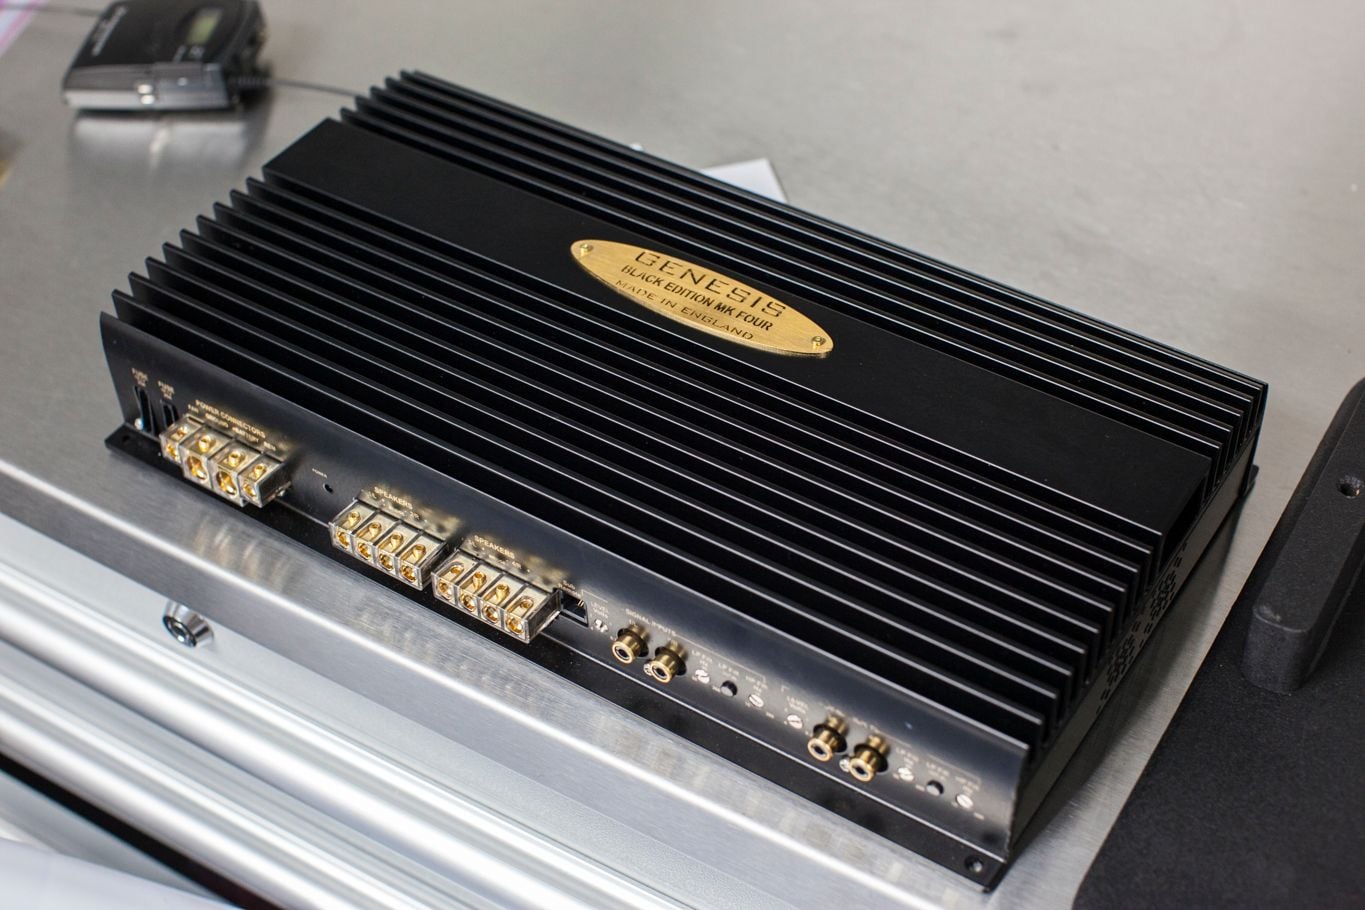
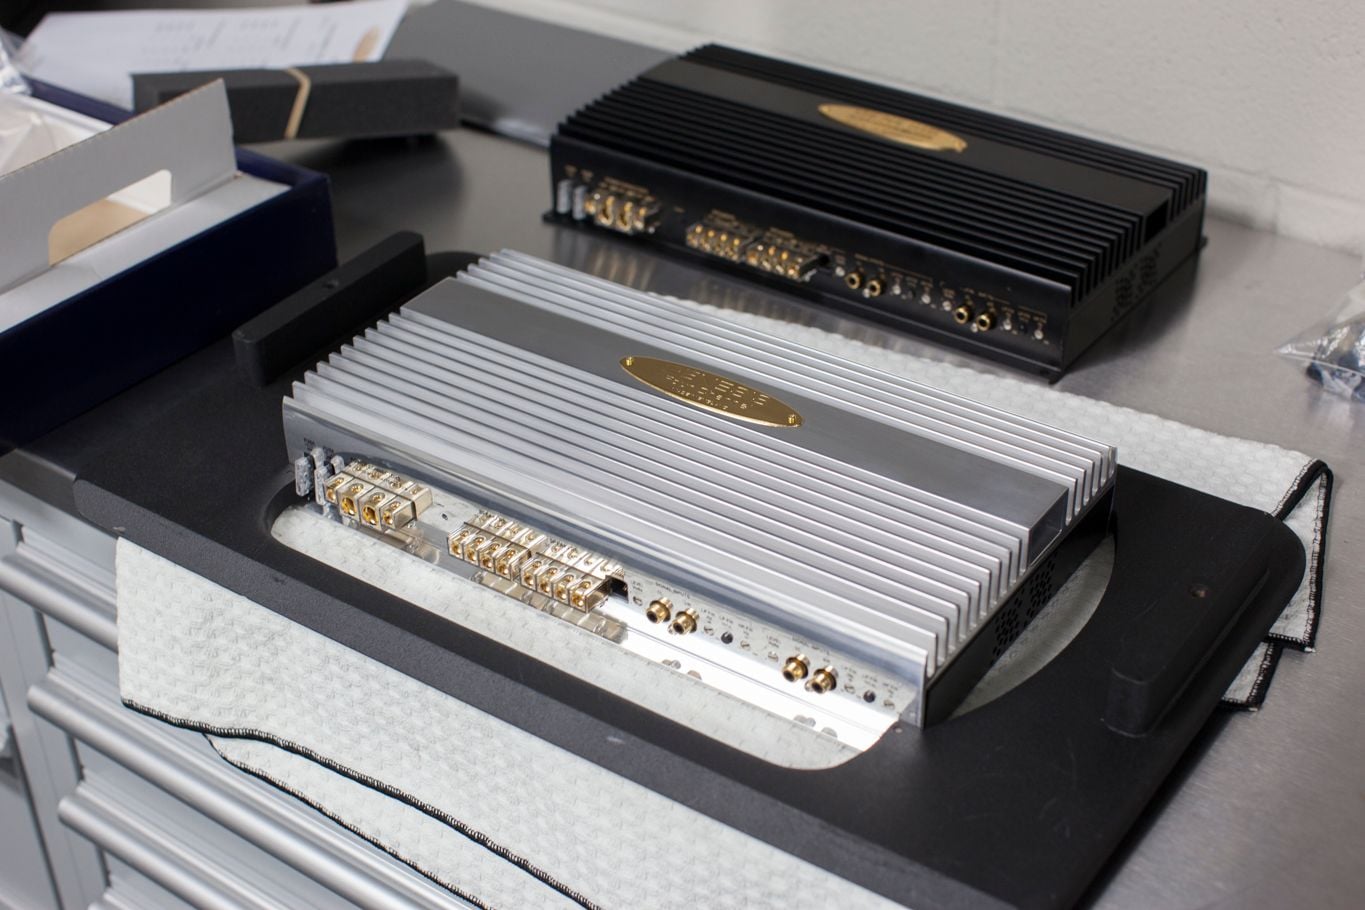
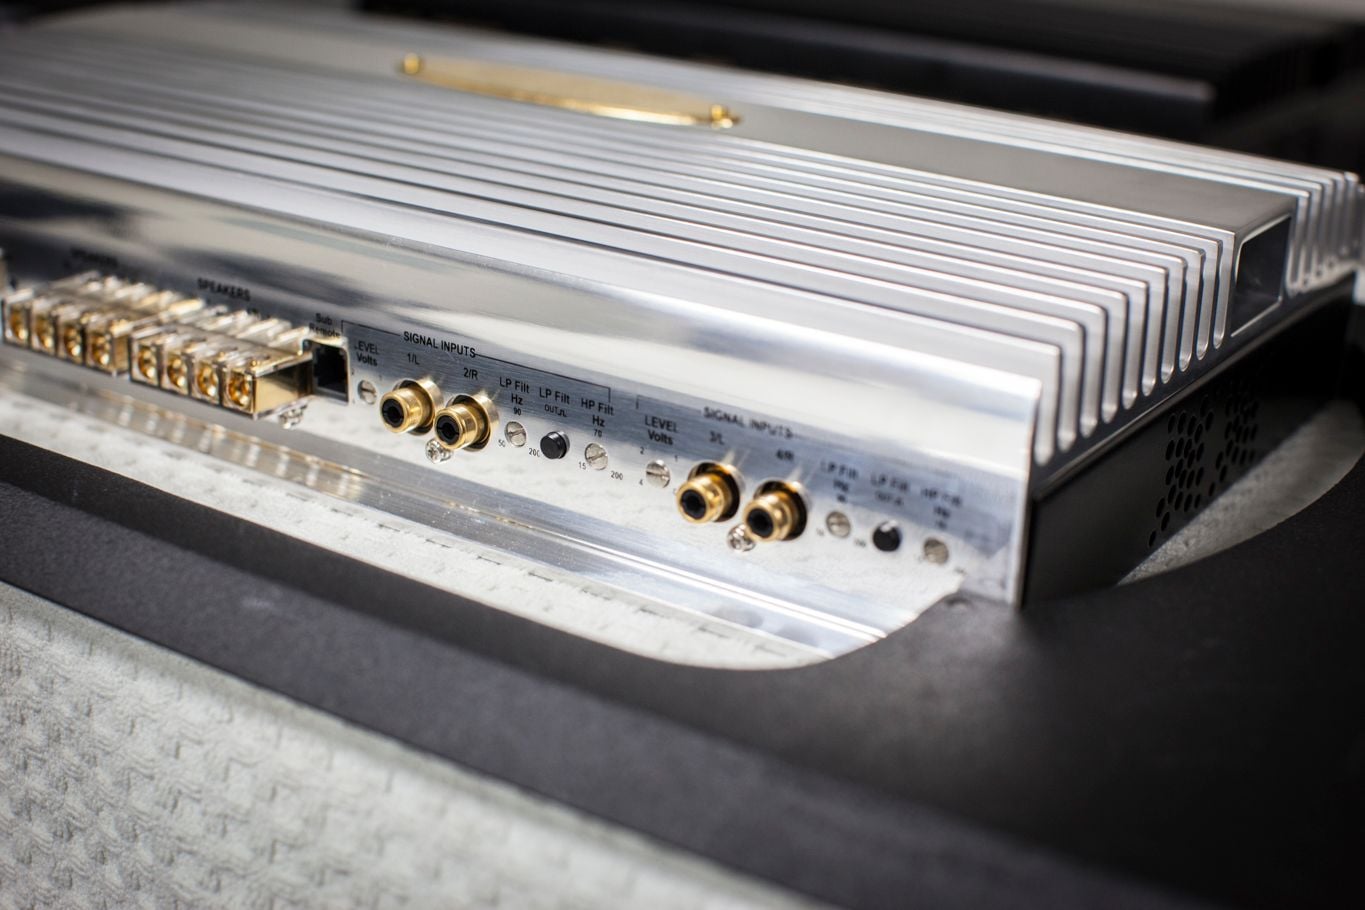
The amp was another thing I decided to rely on SIM's experience. They have had really great success with a company called Genesis. I had never heard of the company. I opted to invest in their best option at almost $2,000 in the four channel Series III version.
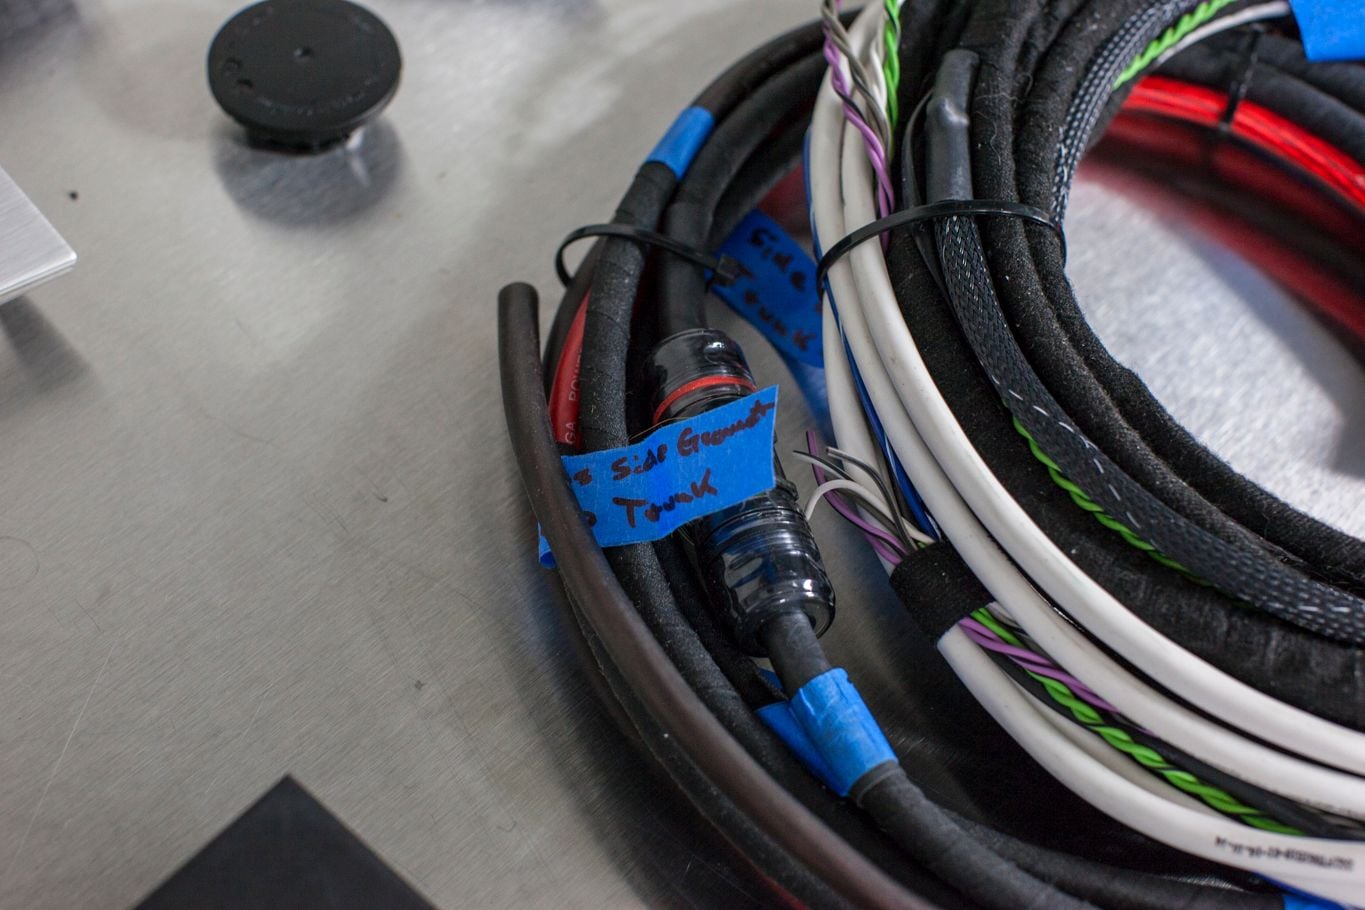
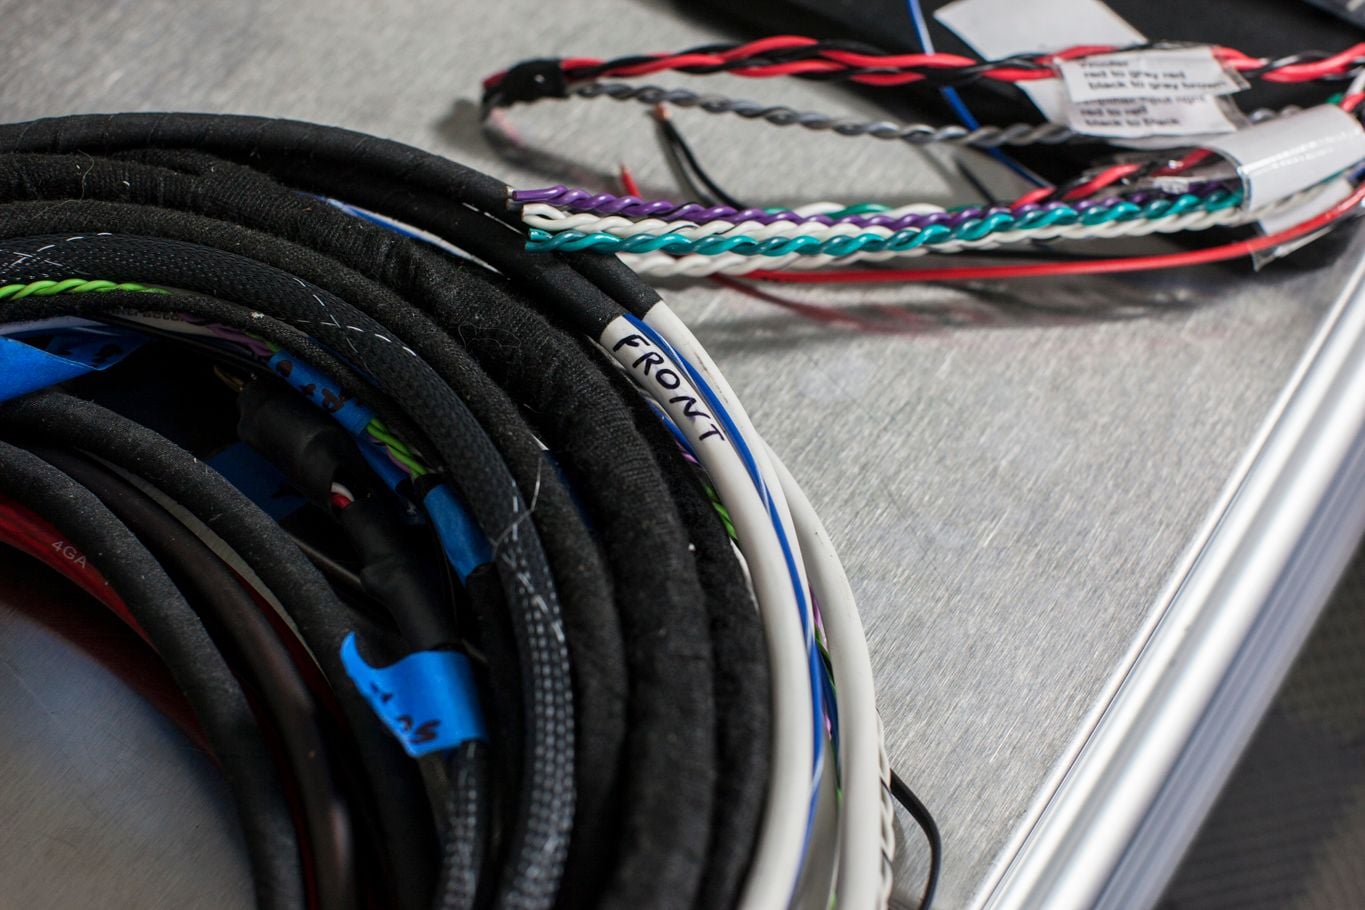
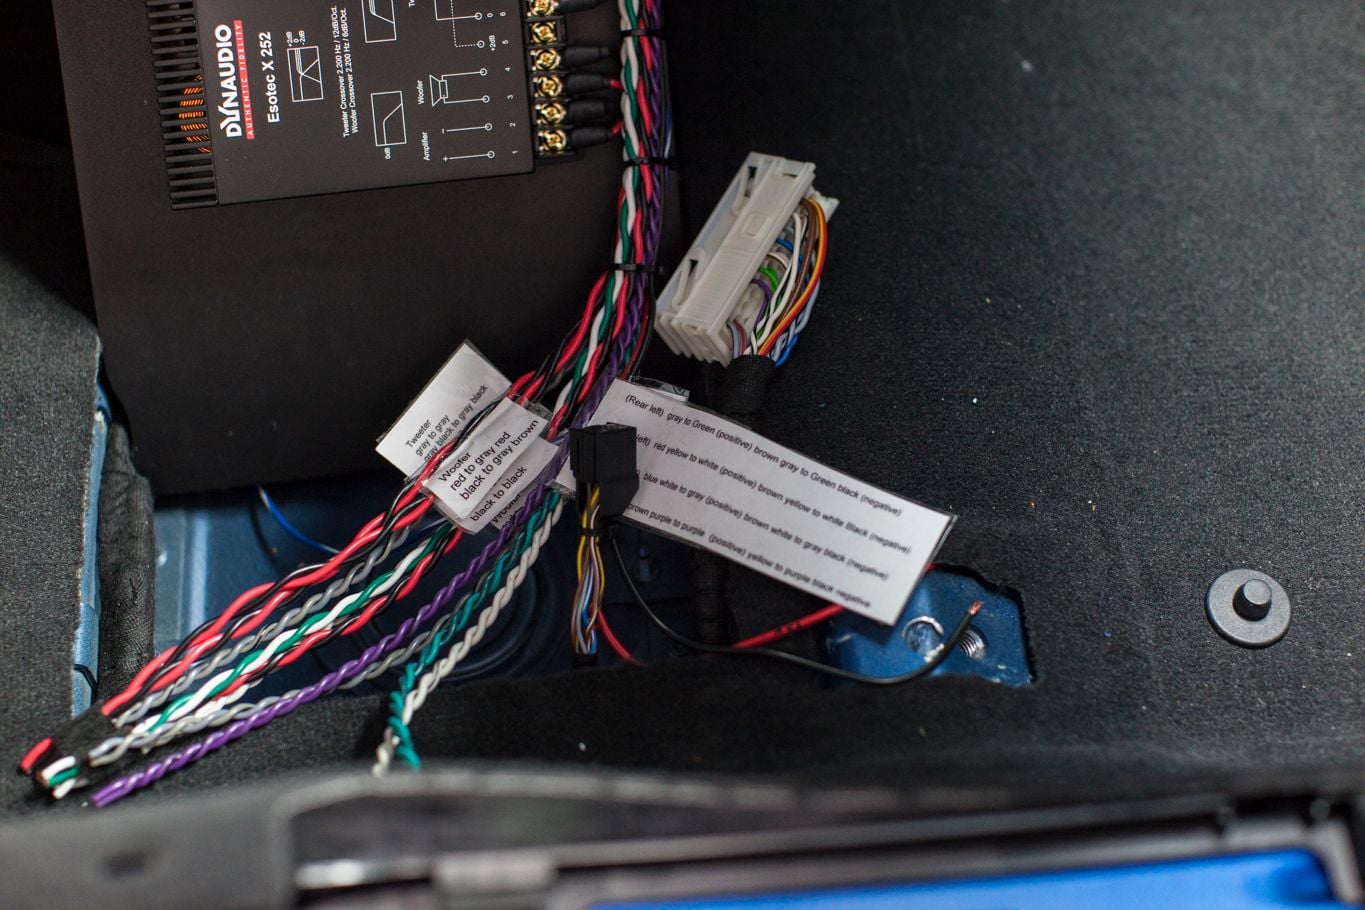
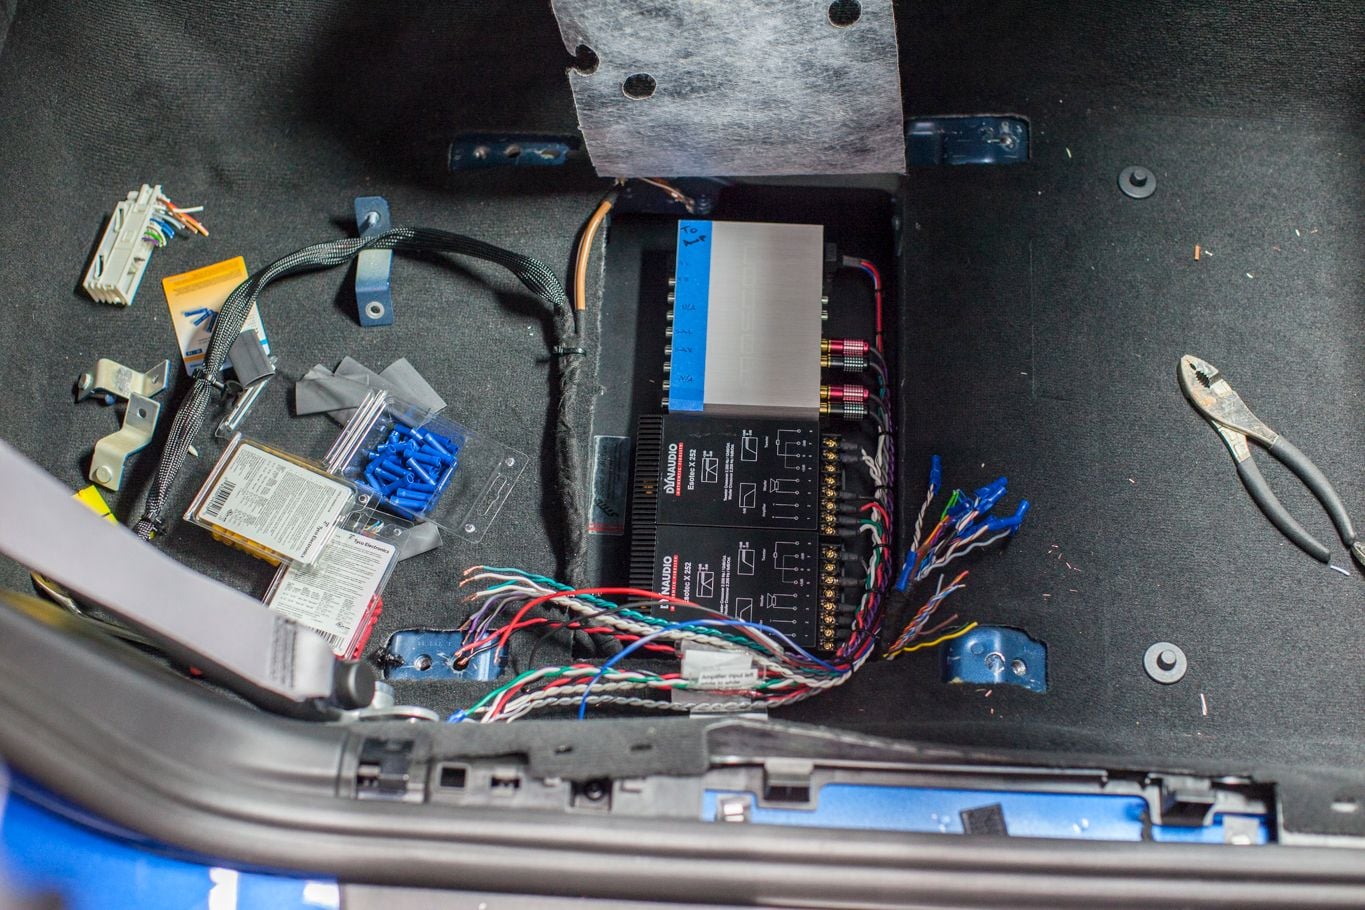
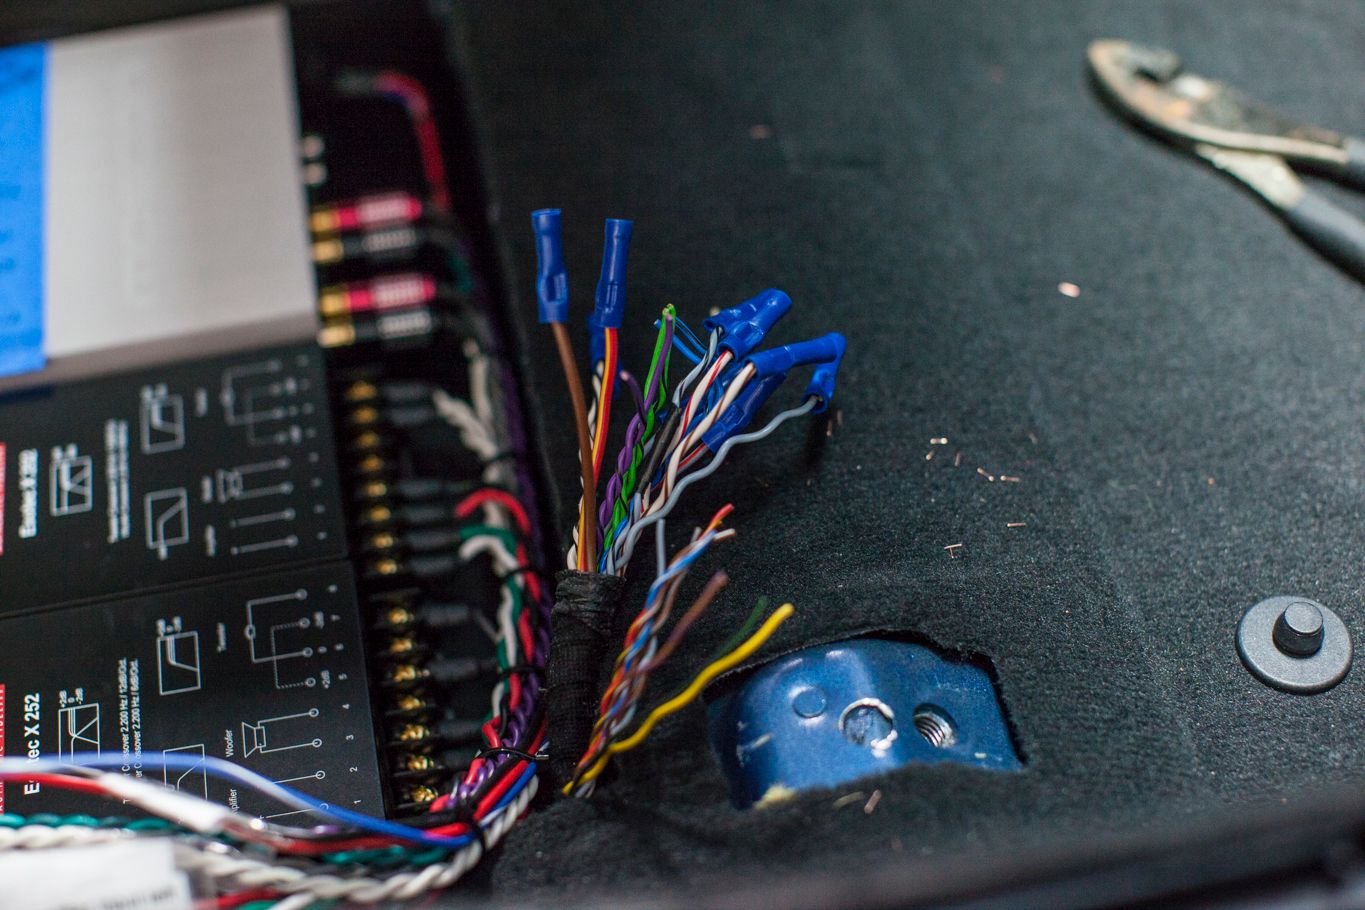
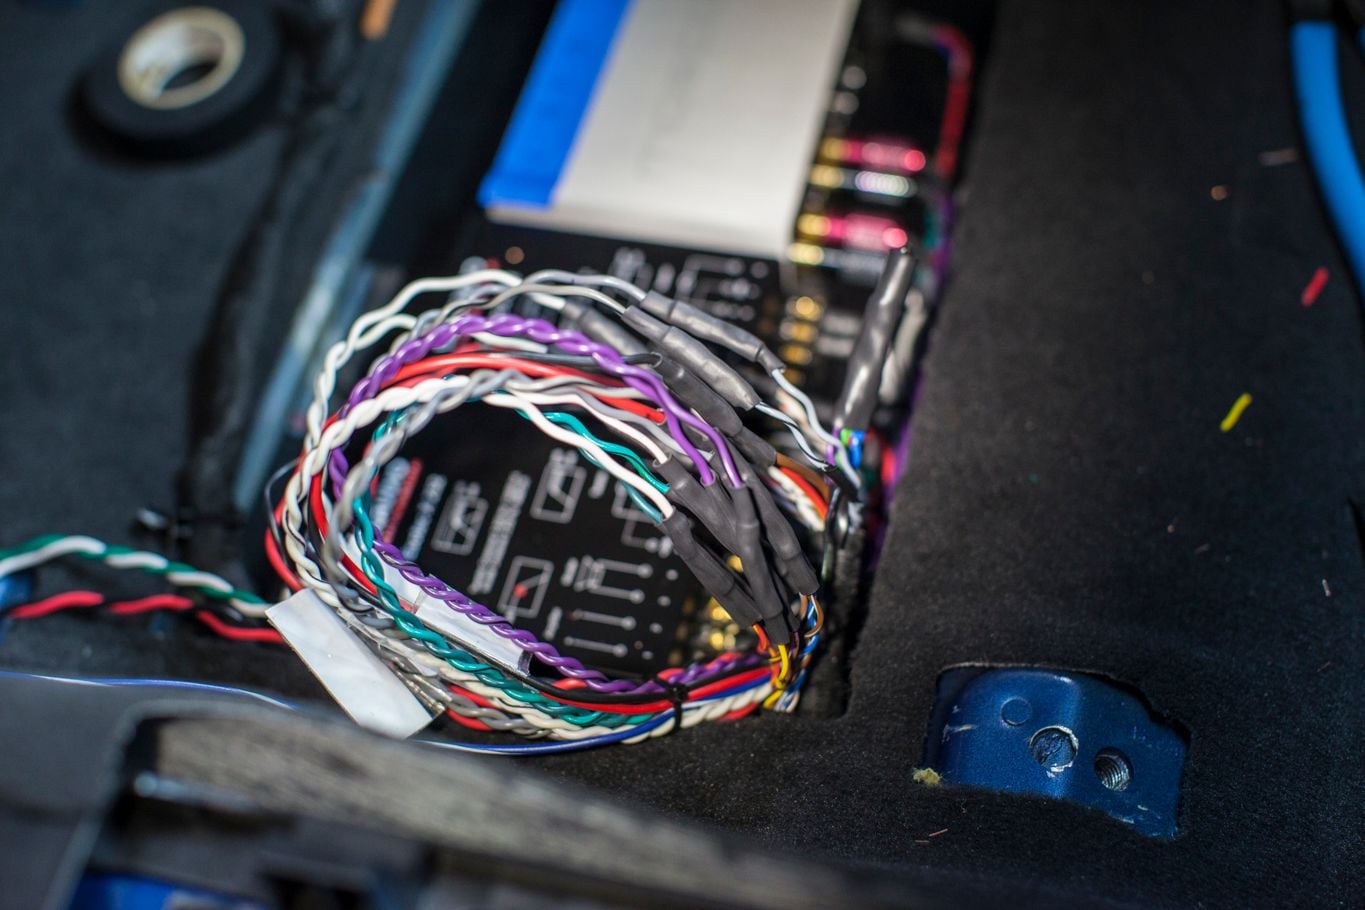
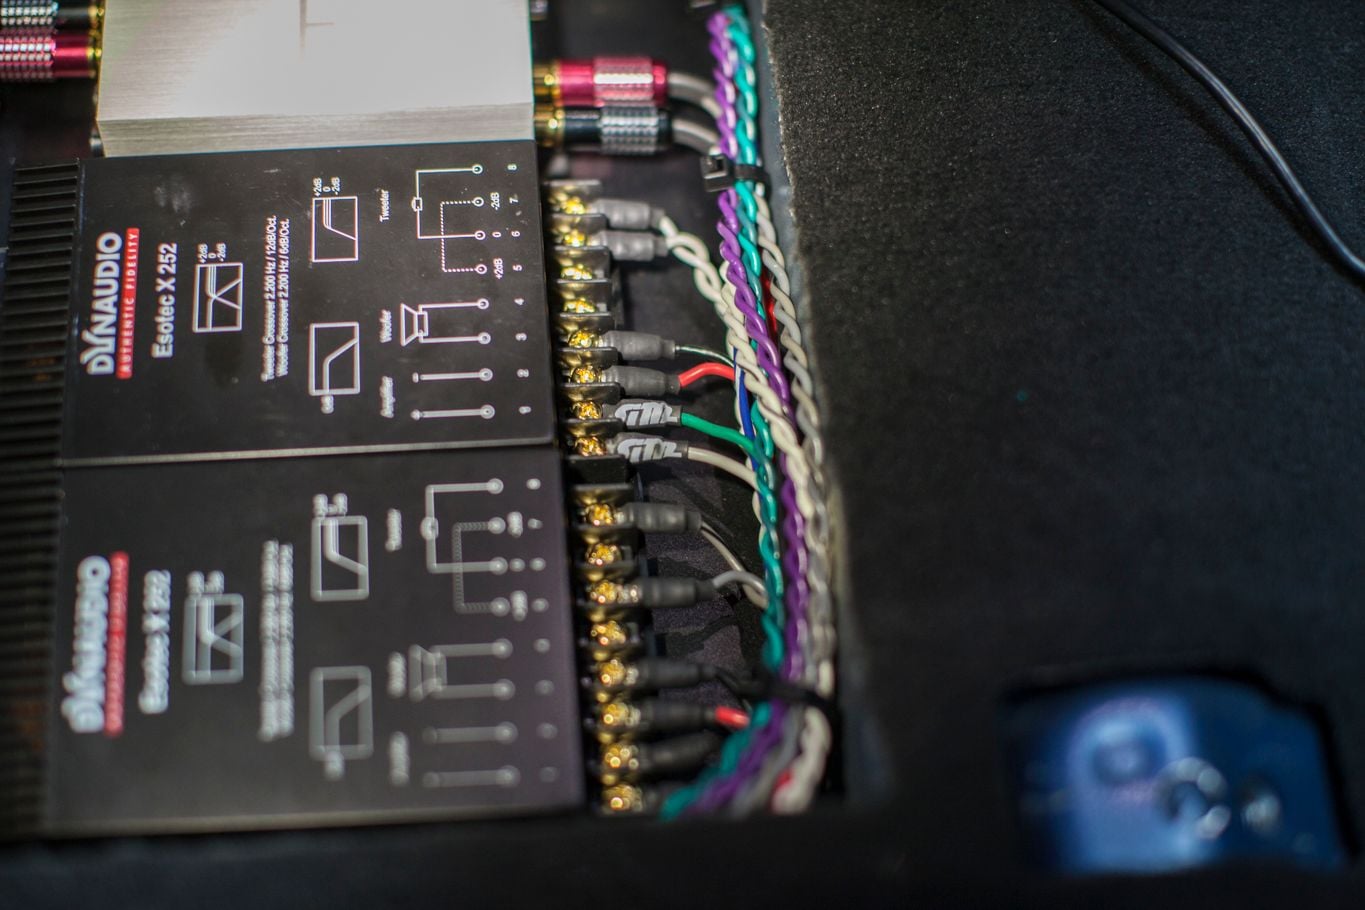
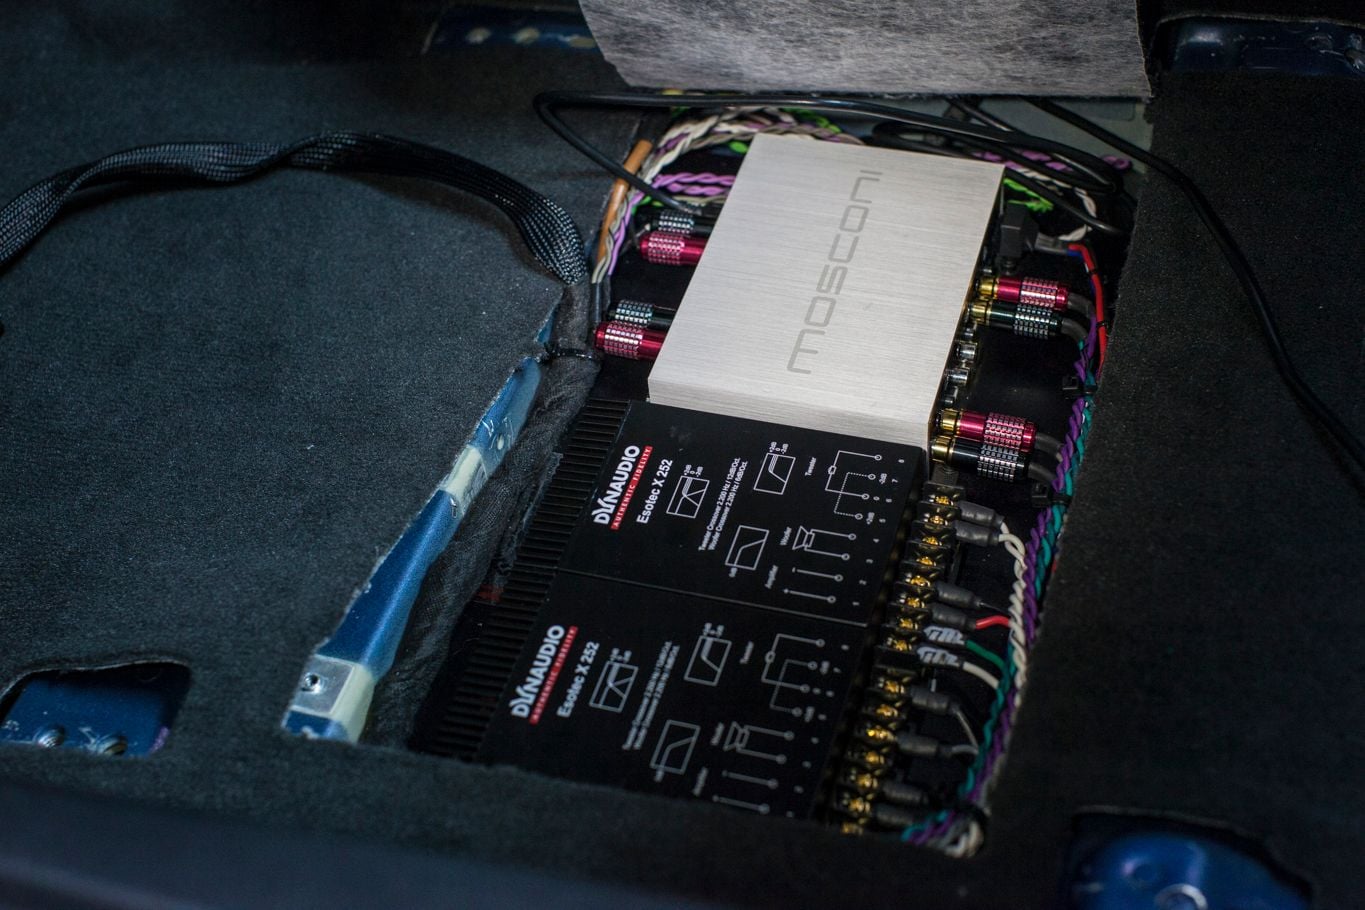
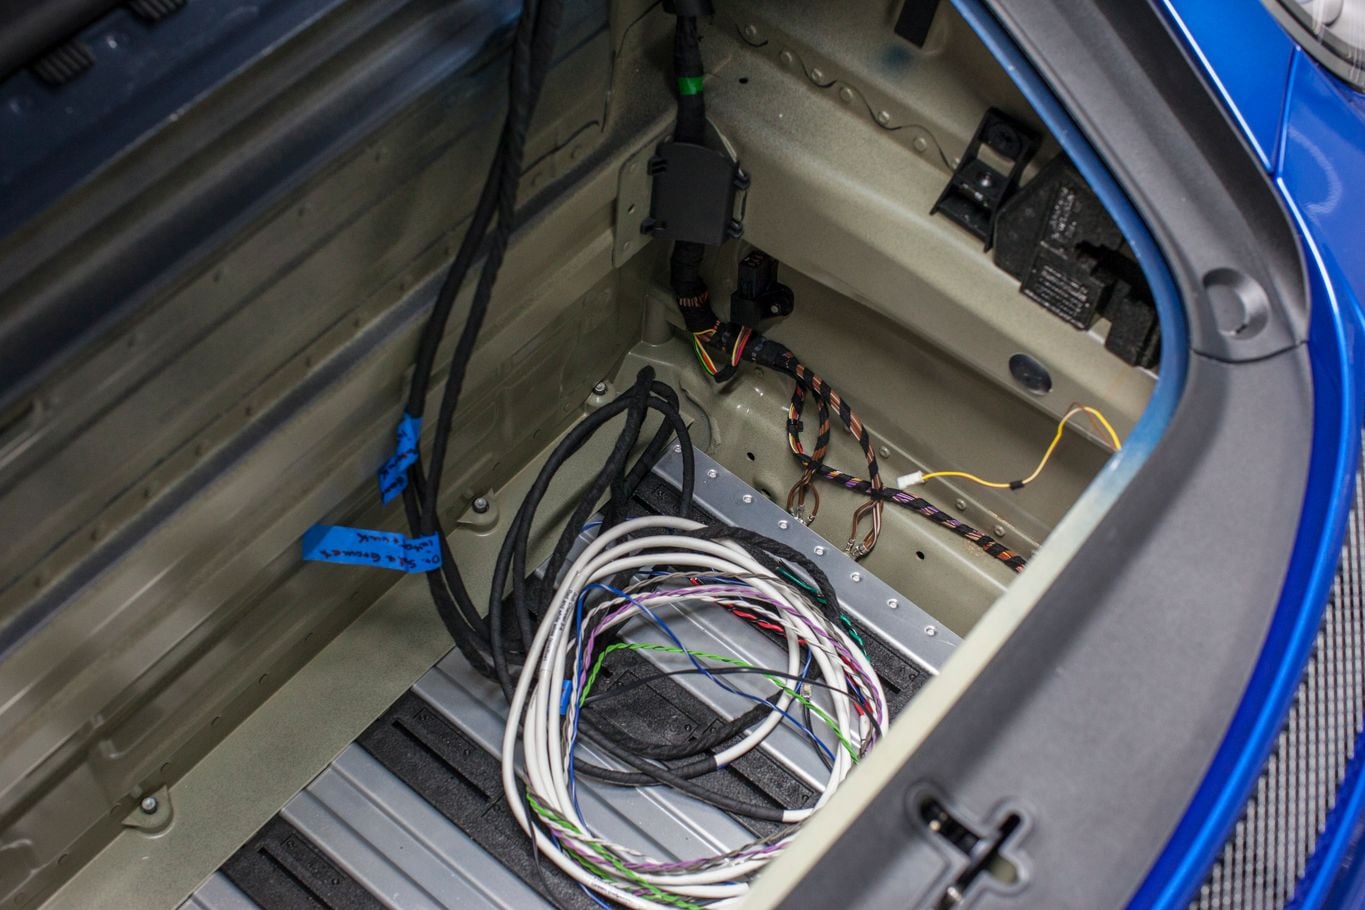
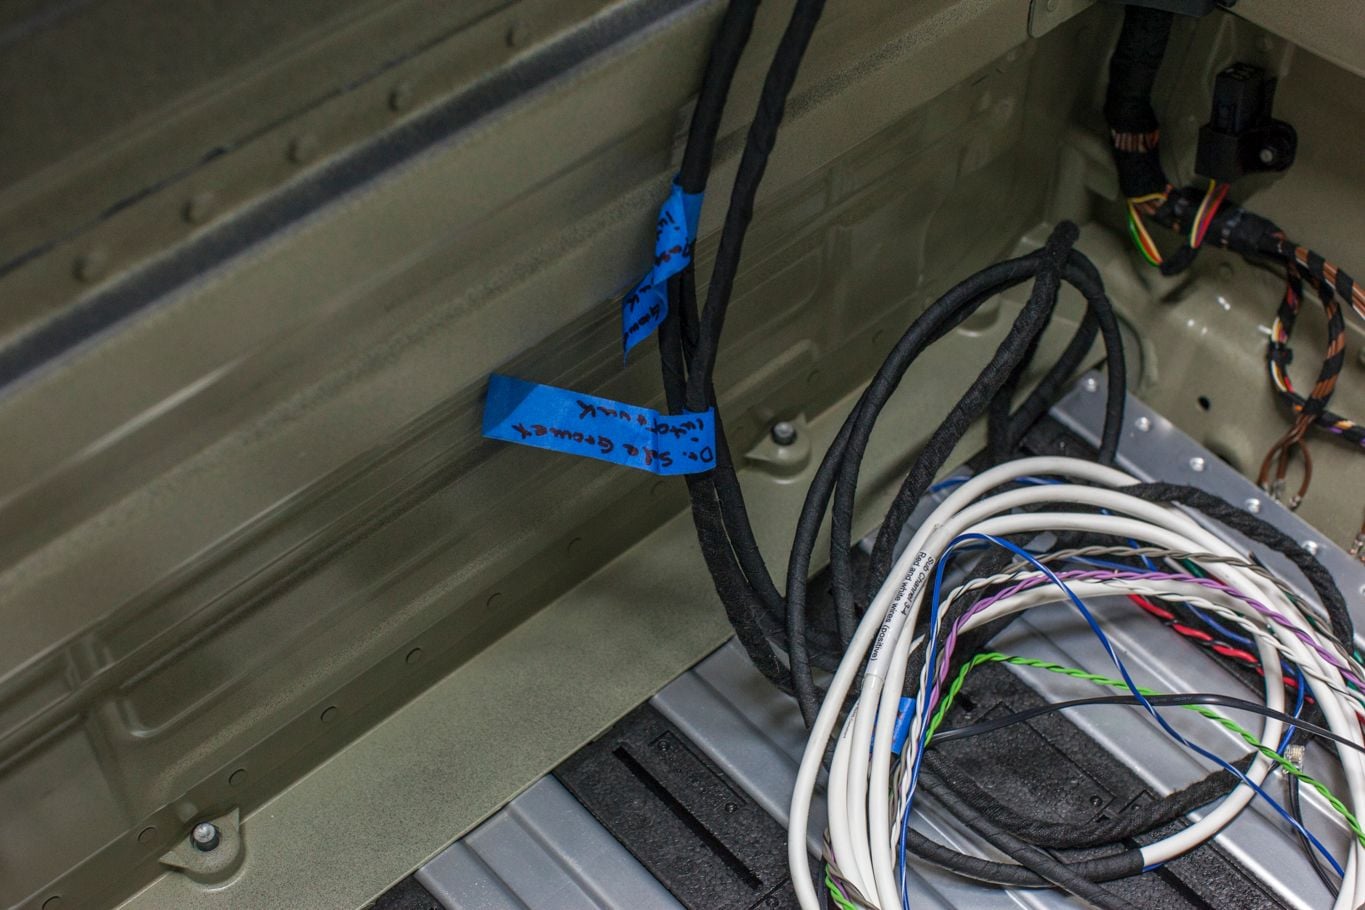
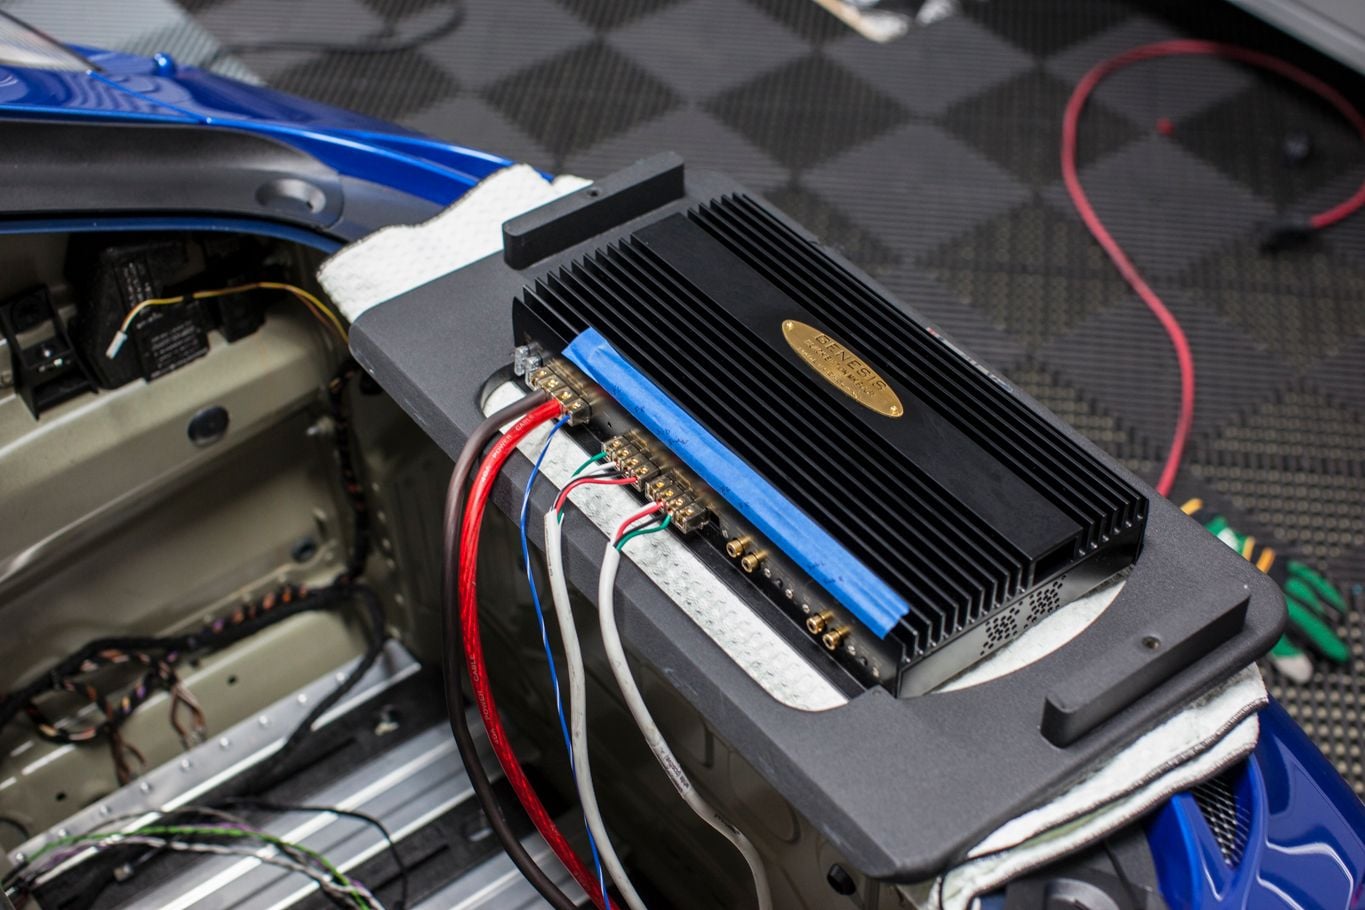
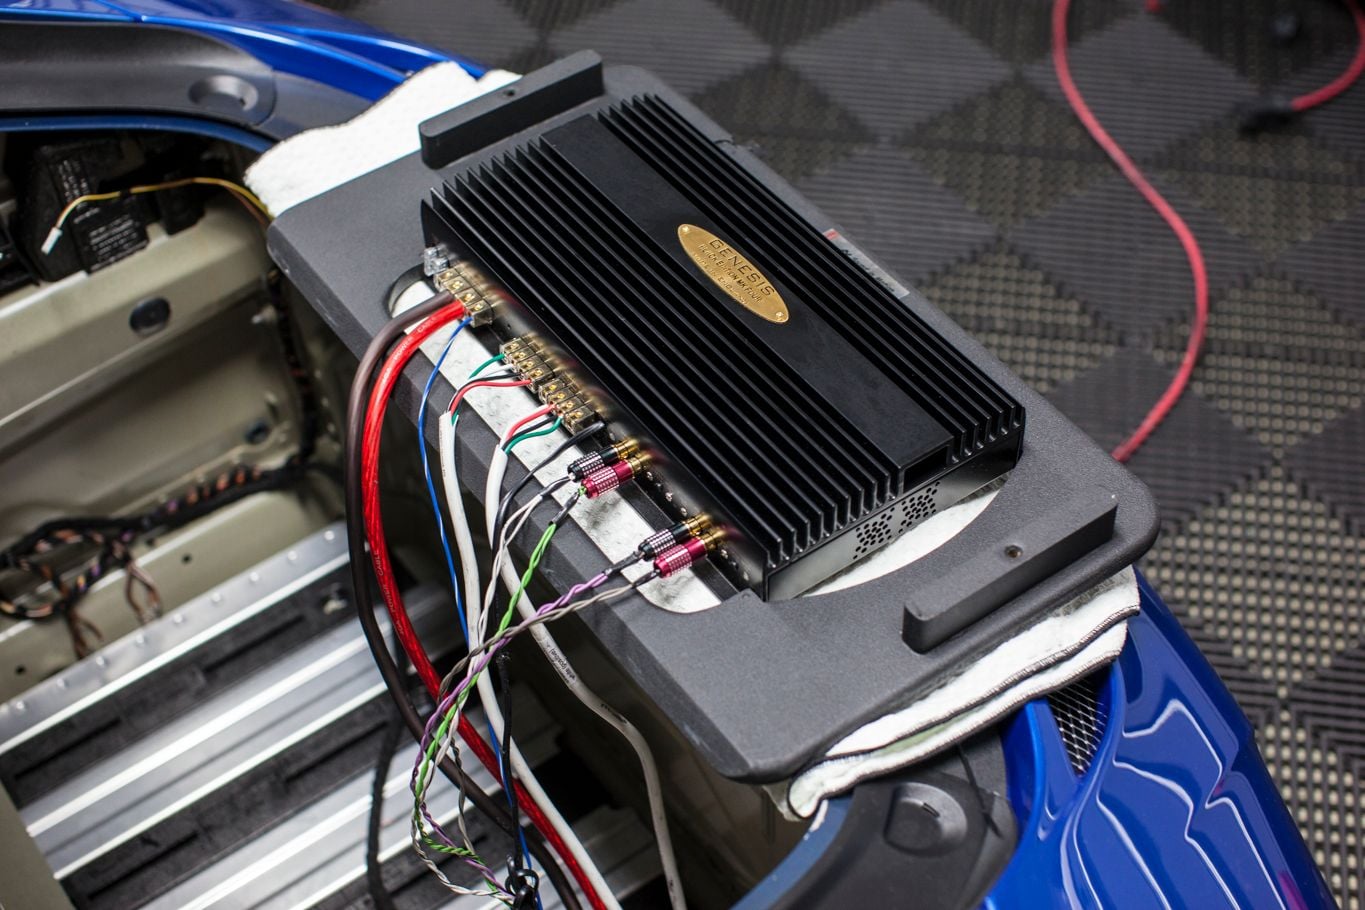
A large part of my idea for this project was for SIM to make me a harness to make the project easier for an amateur to tackle.
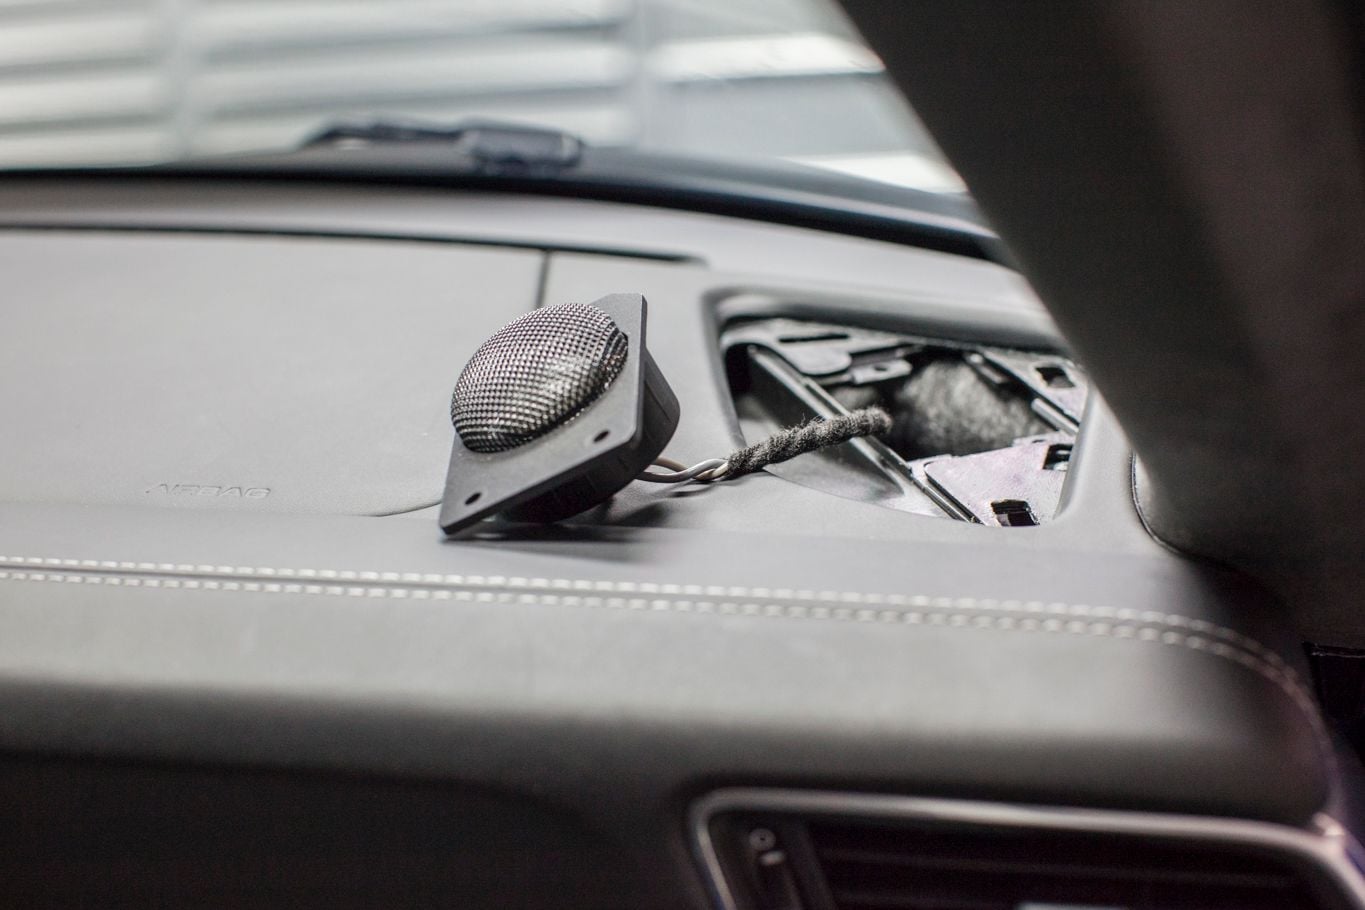
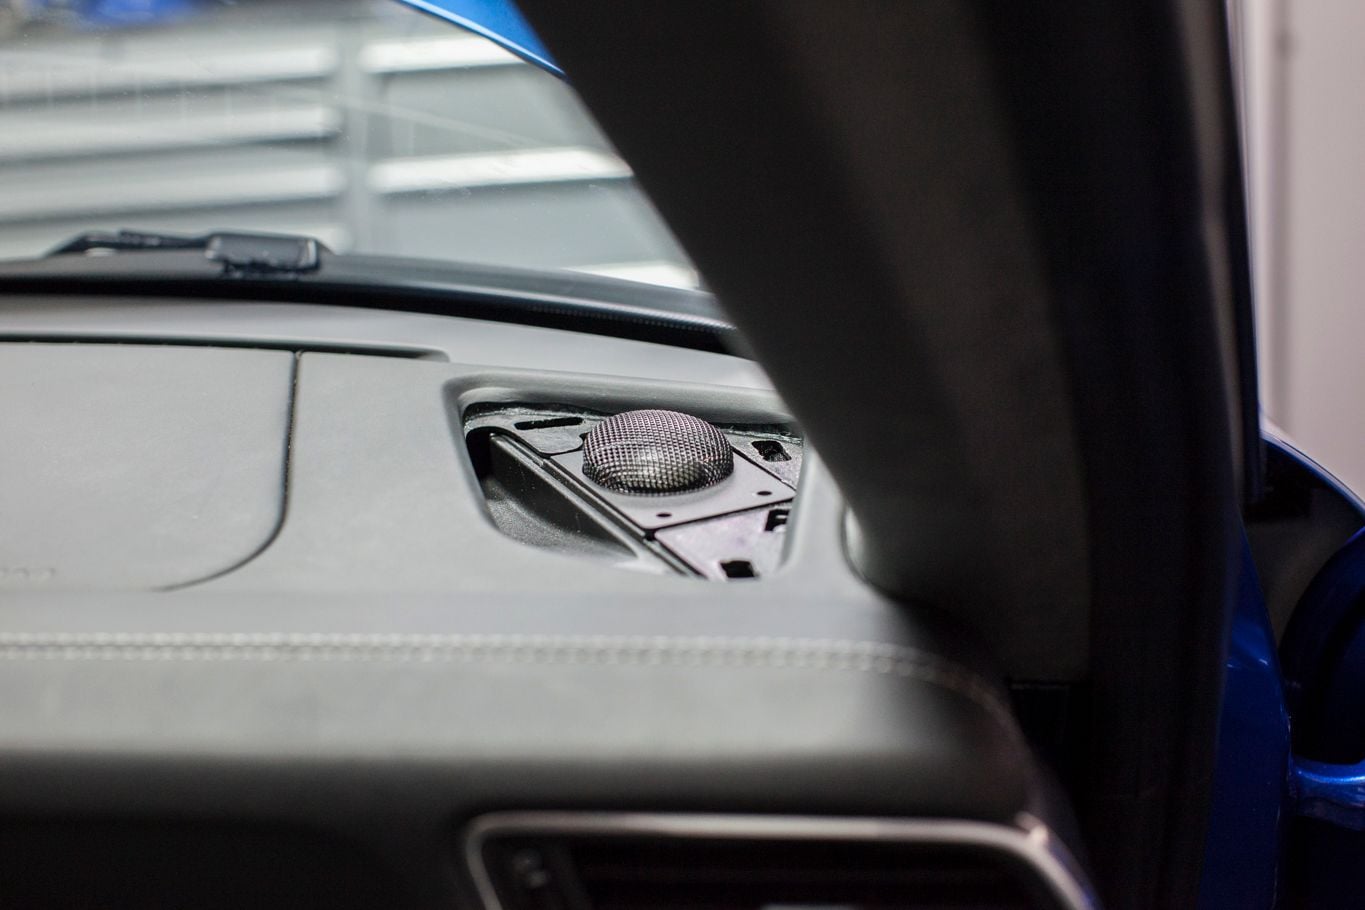
Let me explain my love affair with DynAudio. My ear prefers silk dome tweeters. Having formerly been in the A/V business, I've been fortunate to listen to a lot of high stuff. There is something about DynAudio that just appeals to me. This was the other thing that drew me to SIM. They are 1500 miles away from me, but I knew that if guys prefer DynAudio, then they probably have similar taste in sound to me. So I chose the Esotec 242 system. I wanted to go with the three way system, but it started to get cost prohibitive for me.
I knew that was no way around adding some weight. Especially as crappy the factory system was. Now is was surprised how little weight was invested in the Sound Package Plus. So I added about as much weight as I estimated but undershot the amount lost in removal of the factory stuff.
Here is where we ended up.
Box: 15.8 lb.
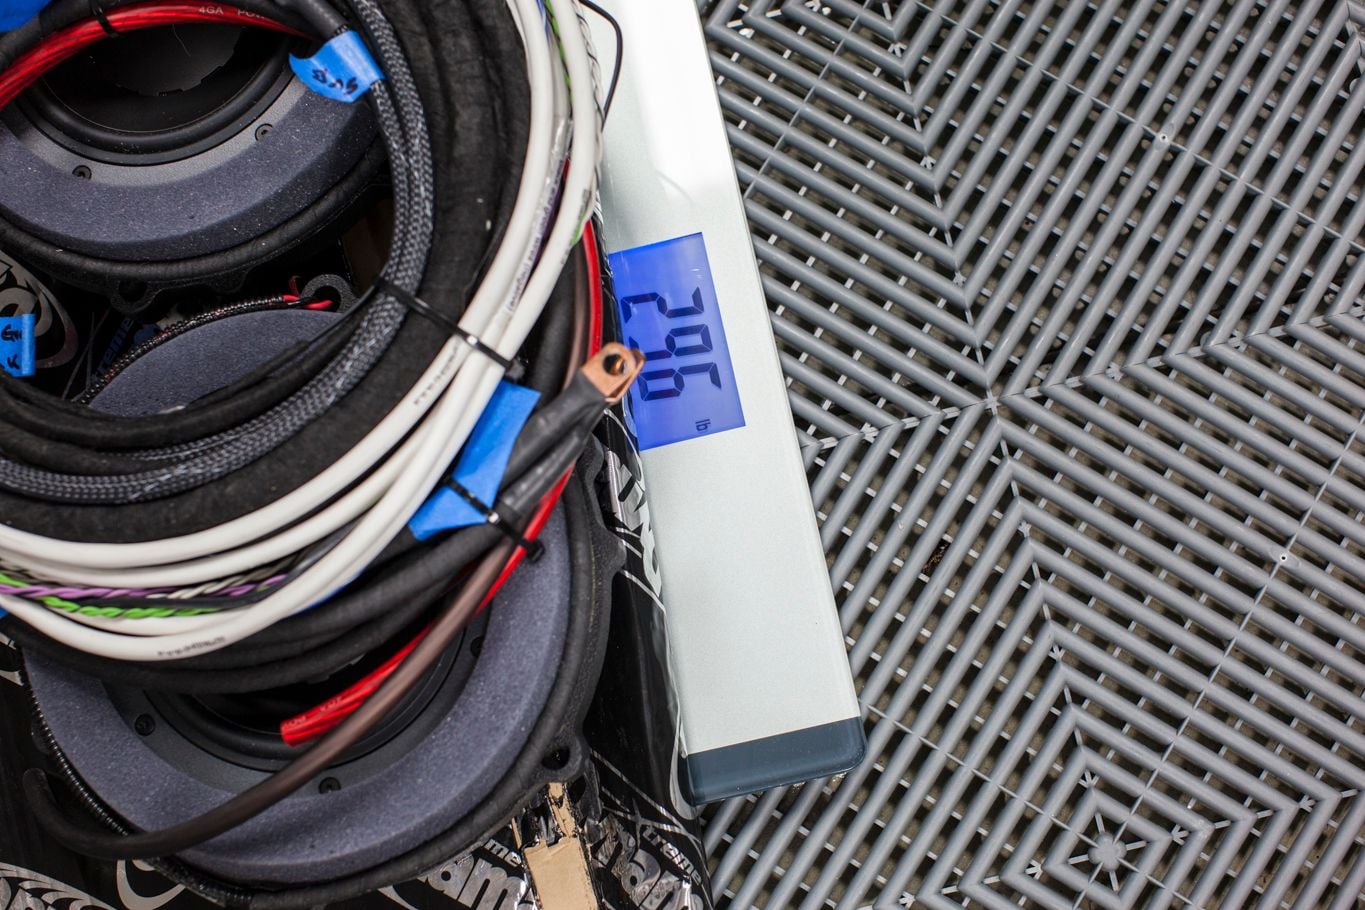
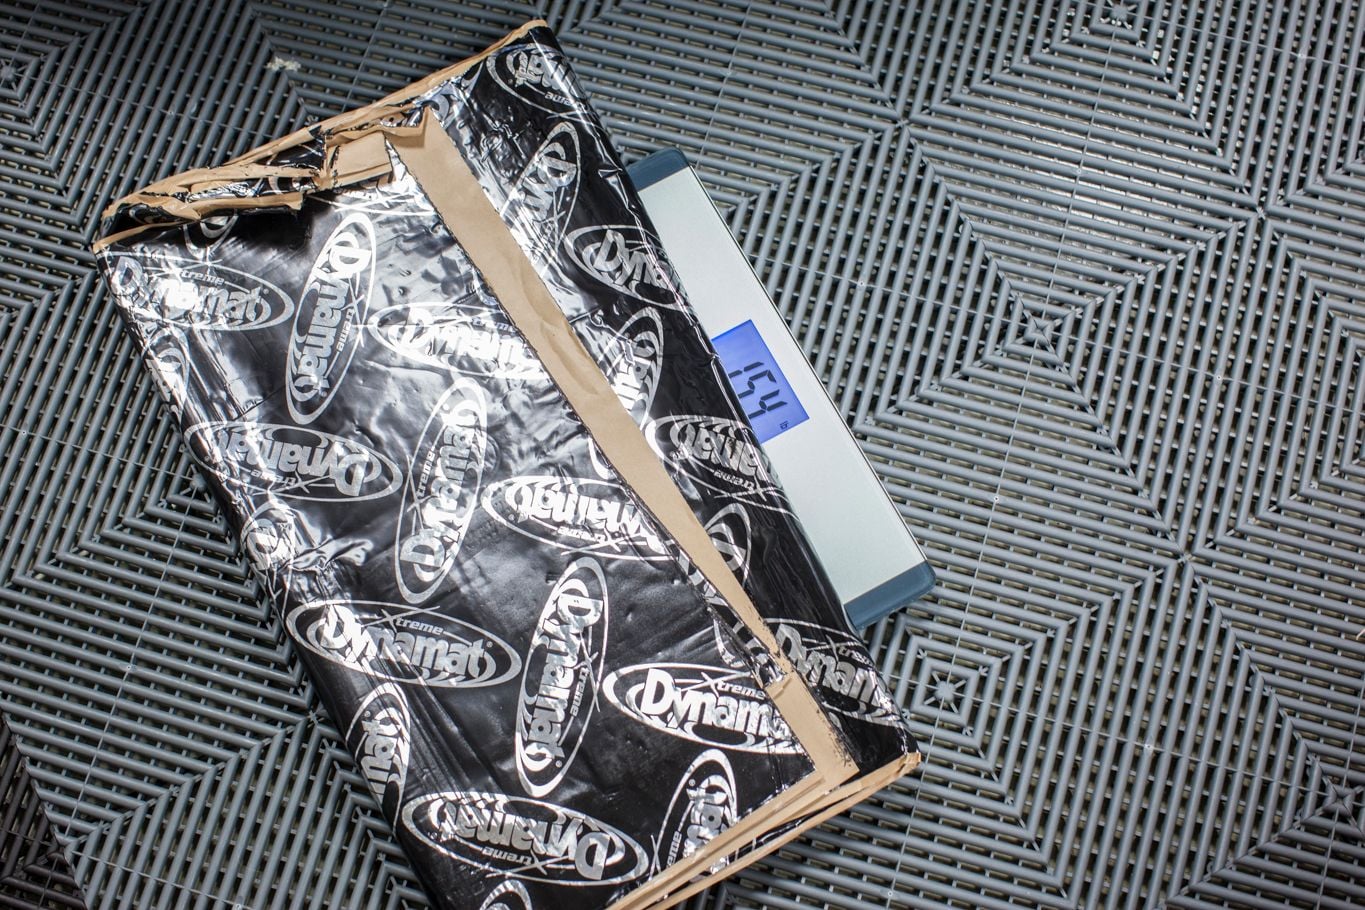
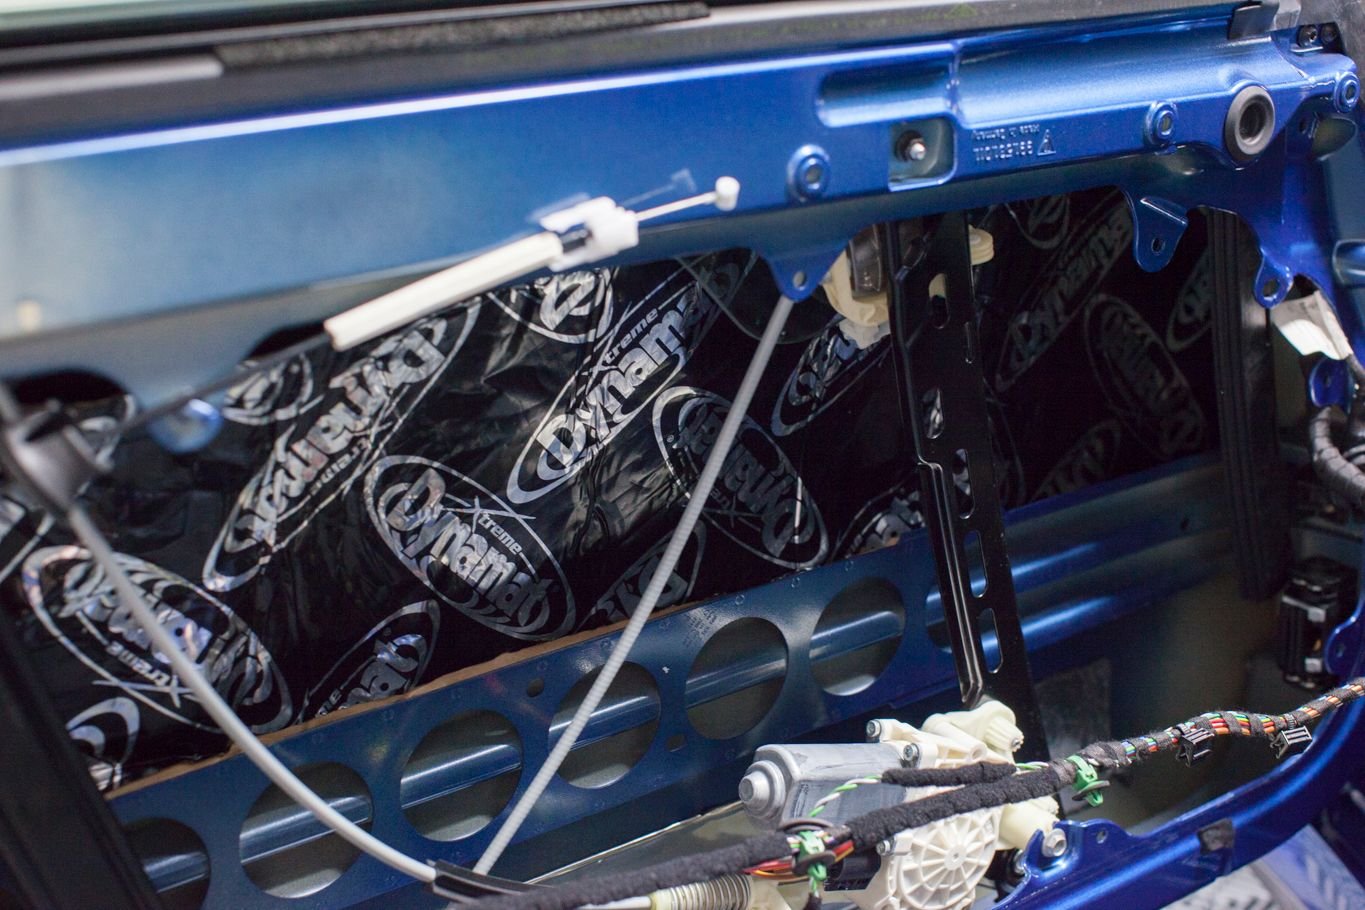
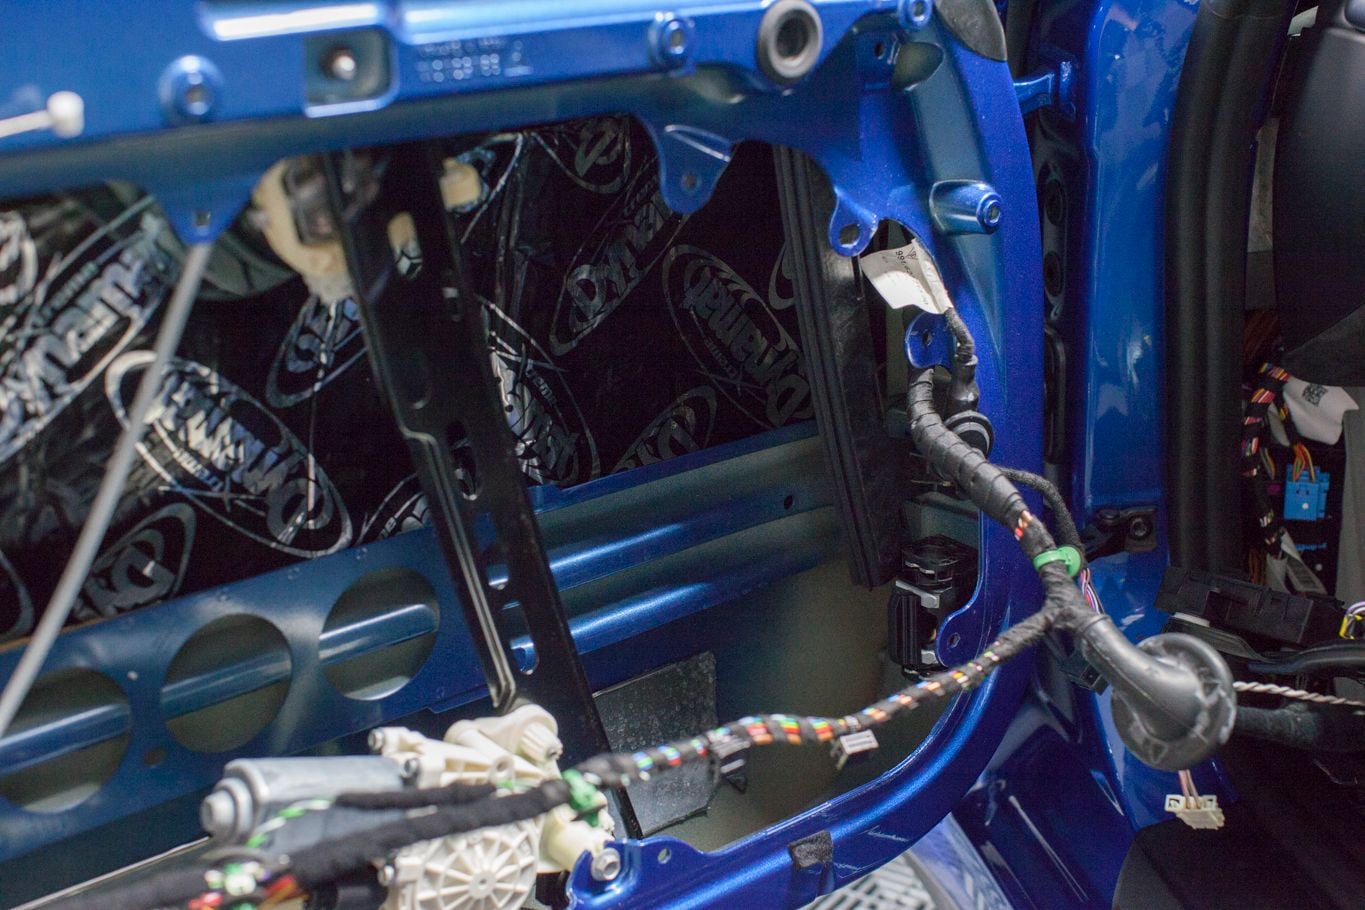
Dynamat, Woofers, Wiring: 29.6 lb. - 9 lb. = 20.6 lb.
(Now I used a sheet and a half of the Dynamat that I weighed, so subtract 9 lb.)
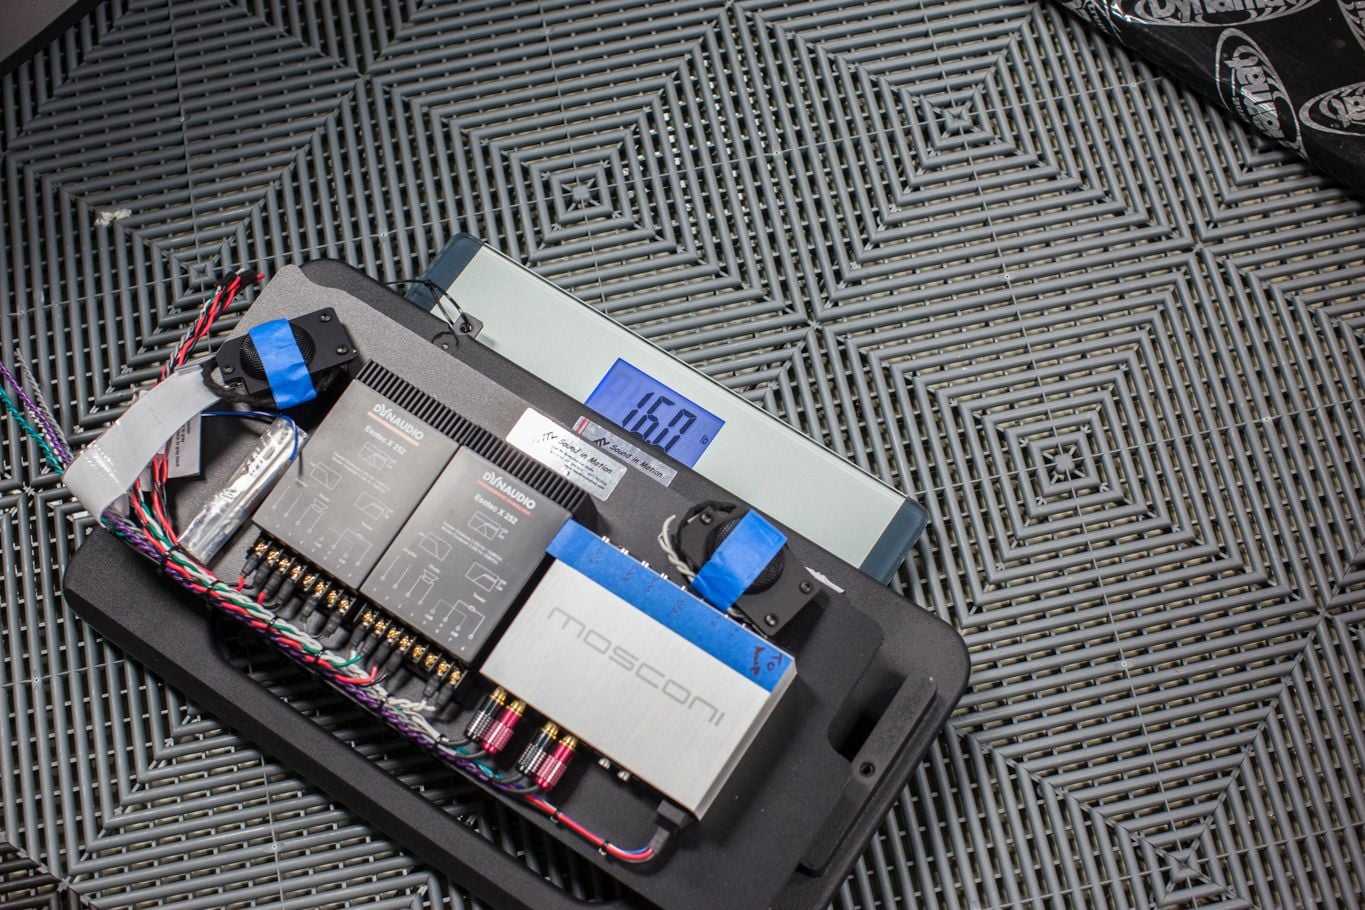
Amp, amp rack, DSP, crossovers, tweeters: 16.0 lb.
15.8 + 20.6 + 16.0 = 52.4 lb. Total Added
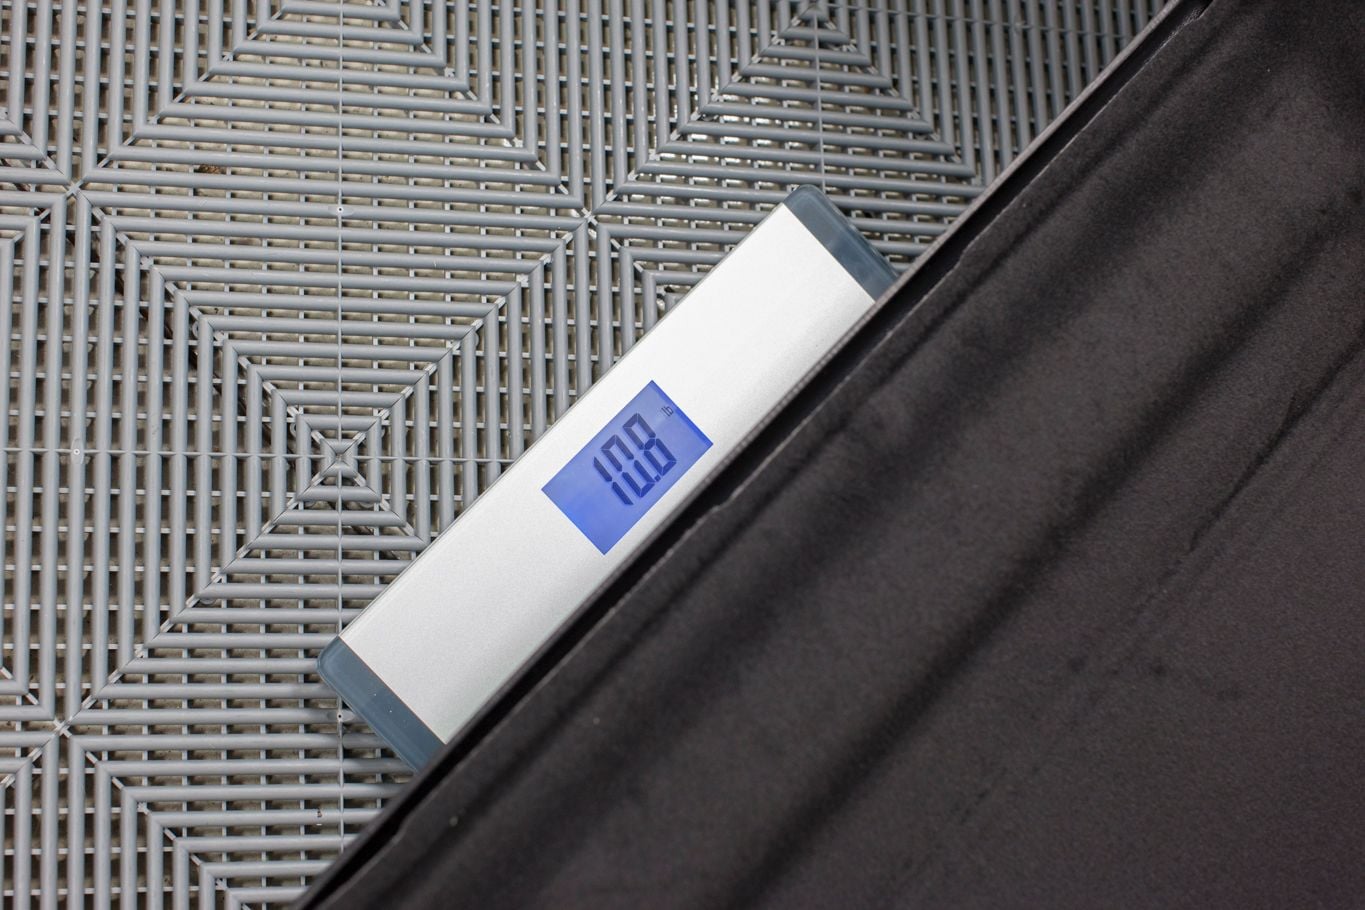
Weight Removed 10.8 lb.
52.4- 10.8 = 41.6 lb. Net Weight Addition
The good news is that I have 30 lb. to lose, so that should help ensure my car is affected too much.
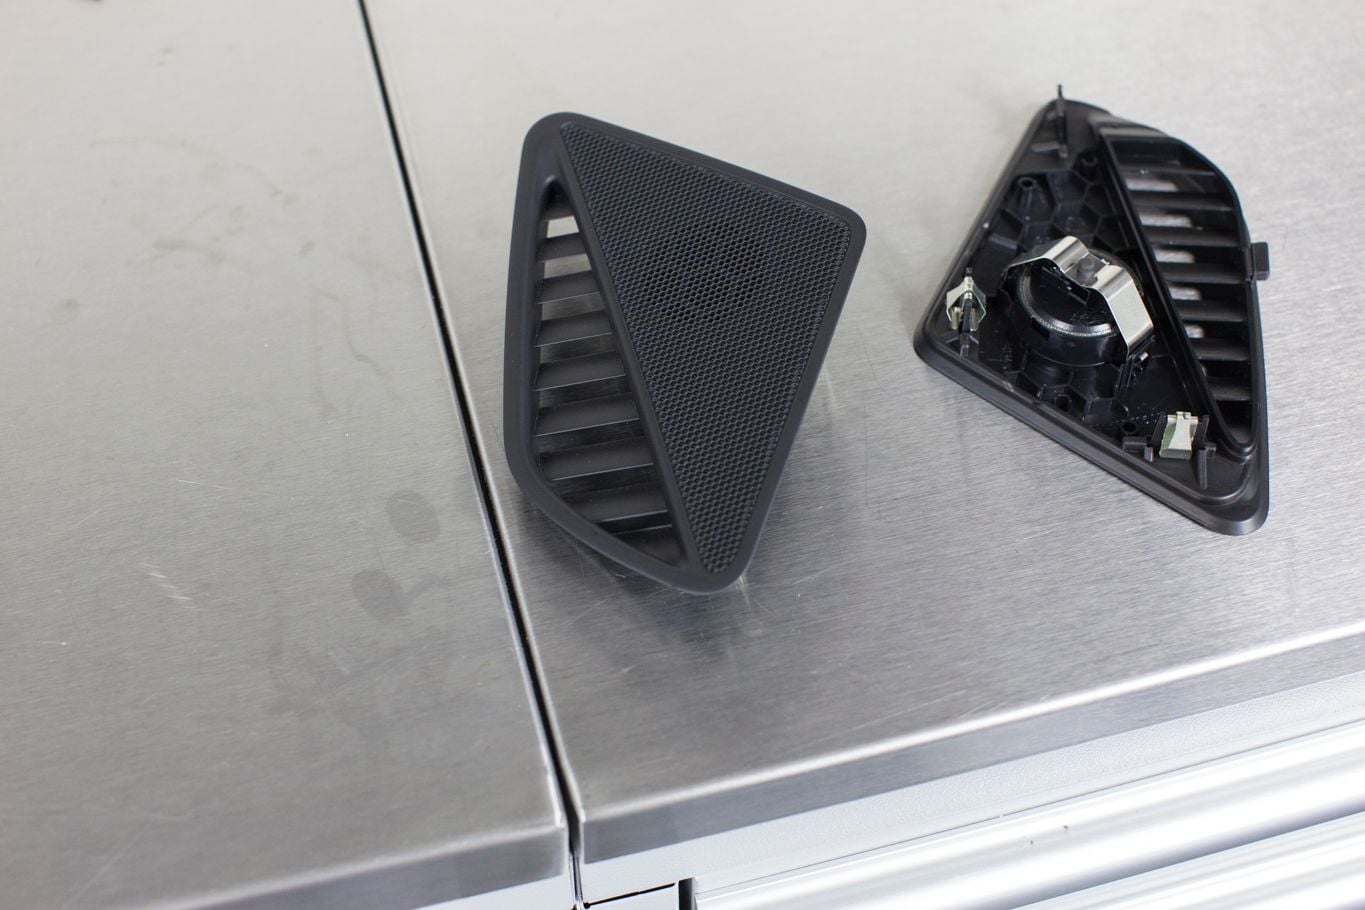
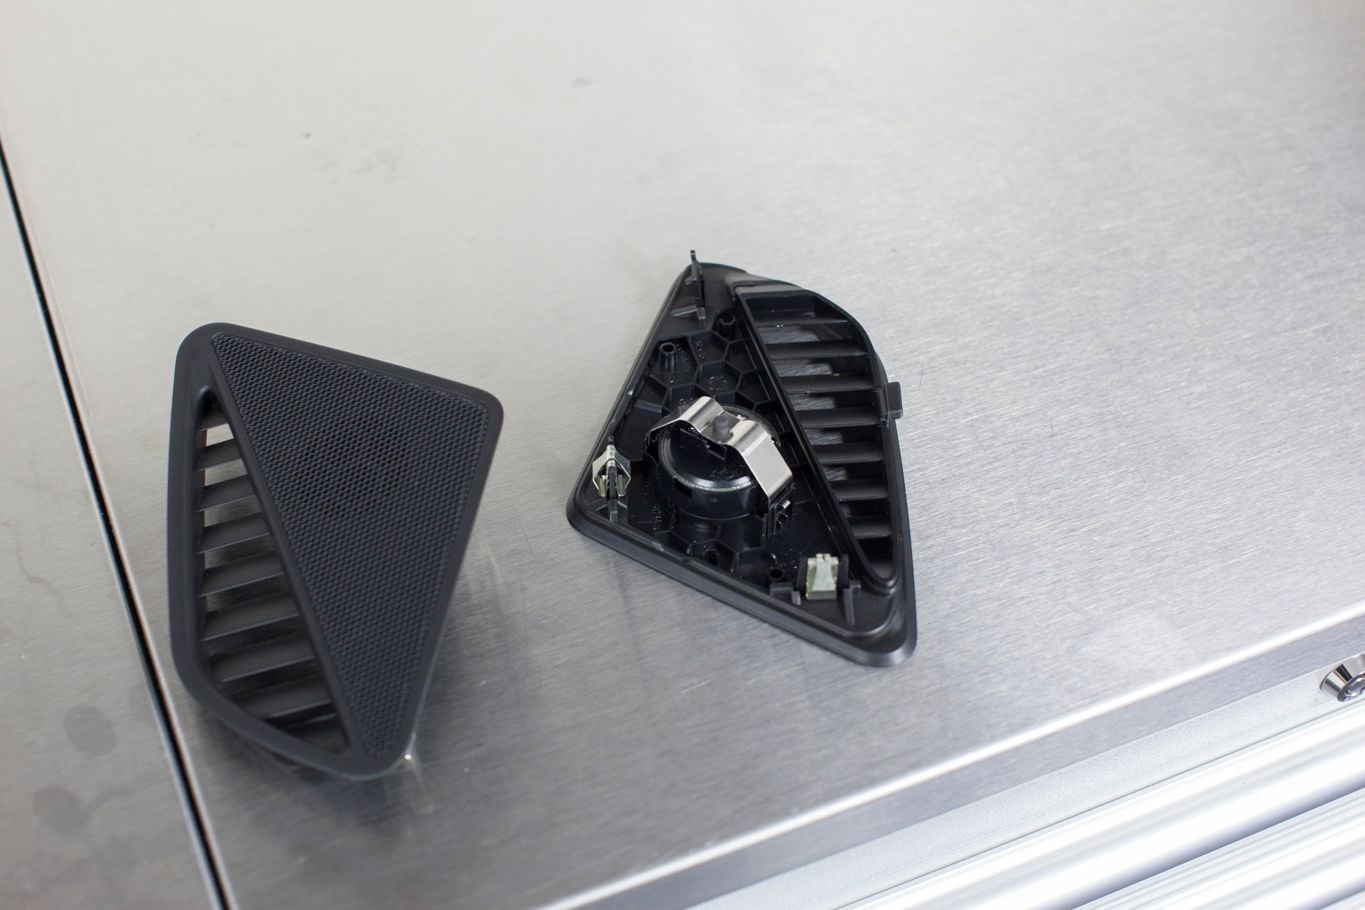
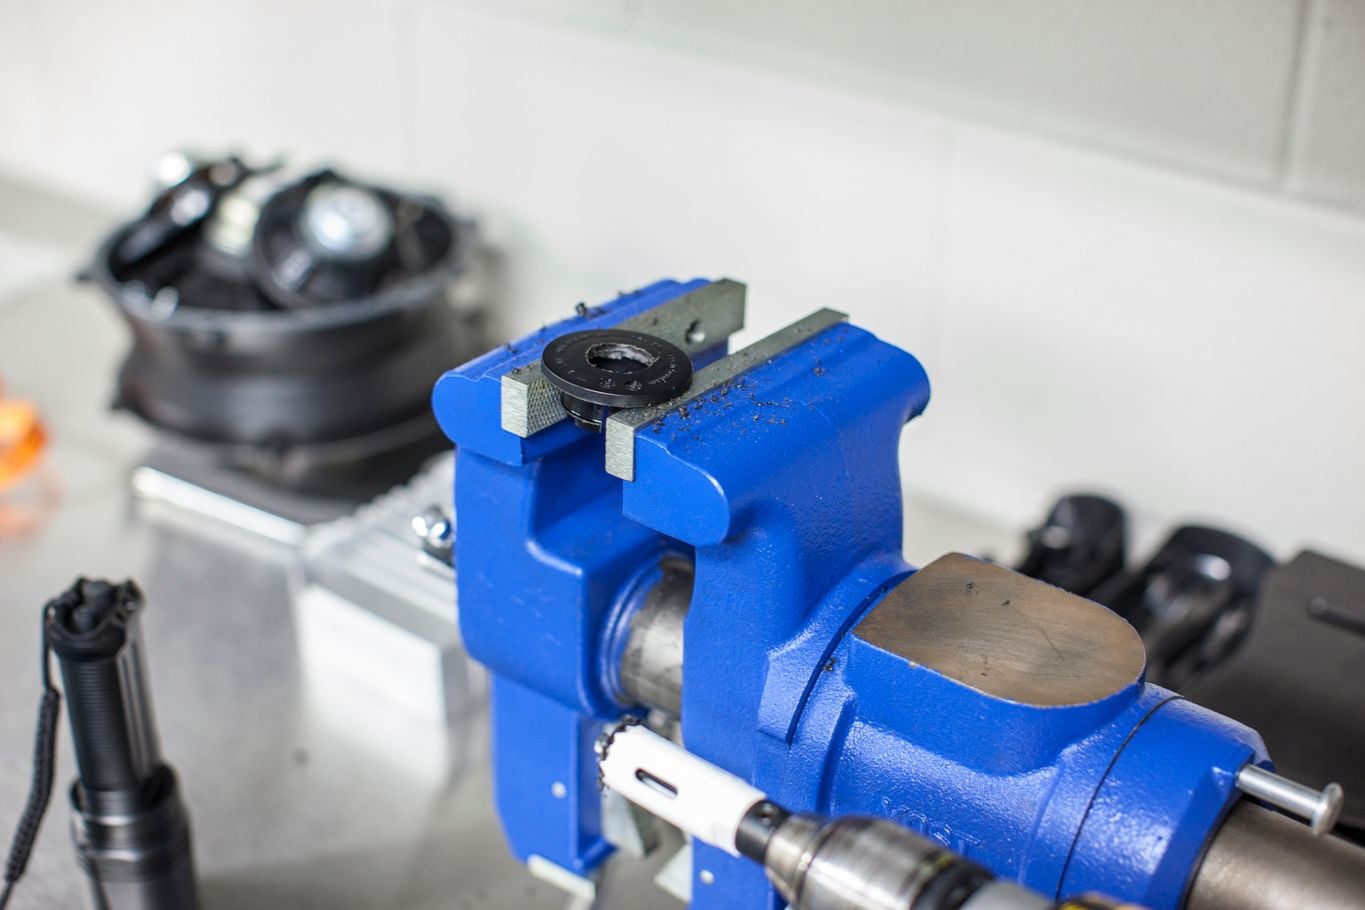
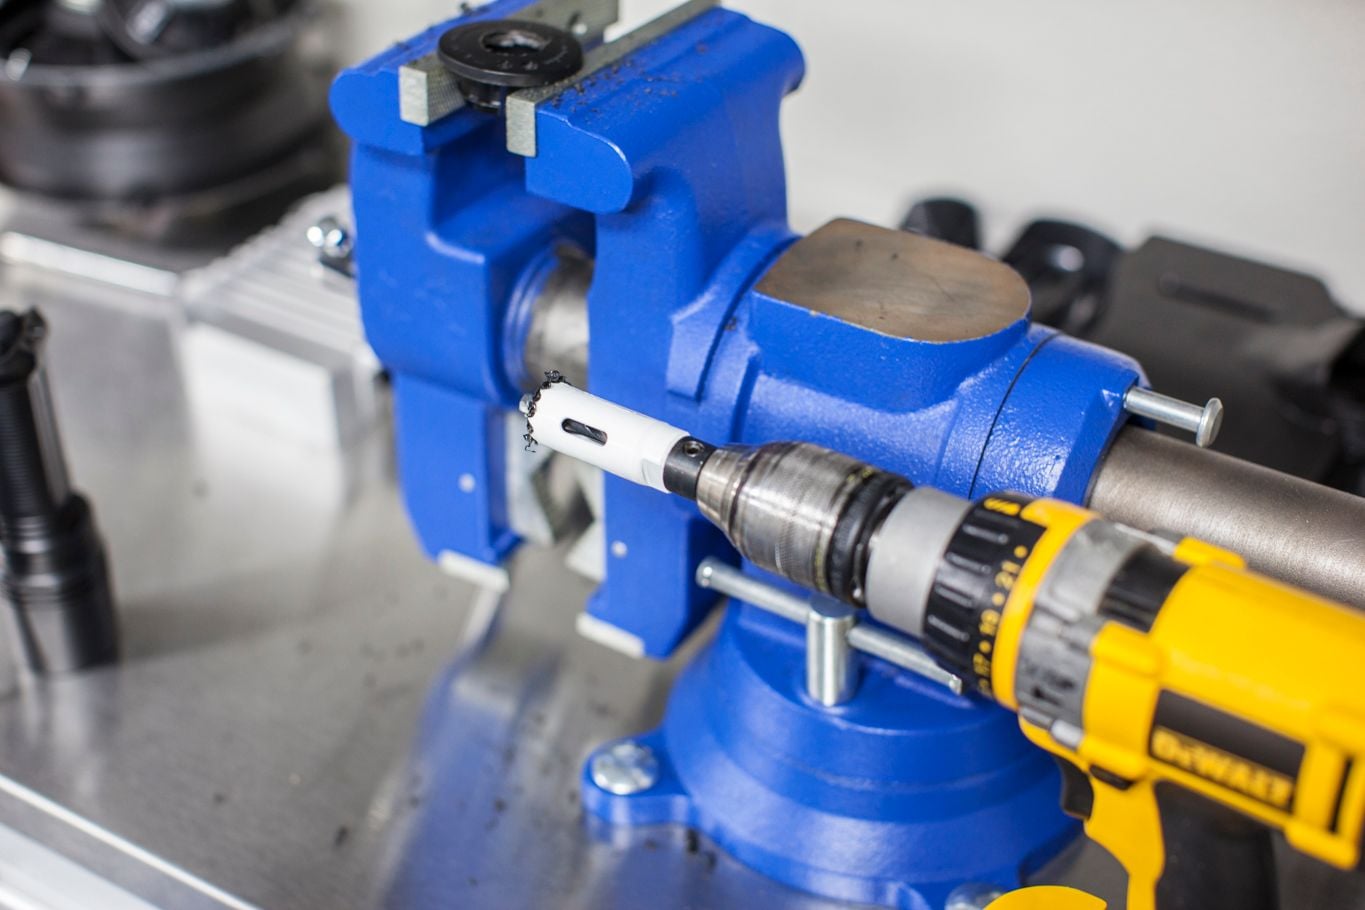
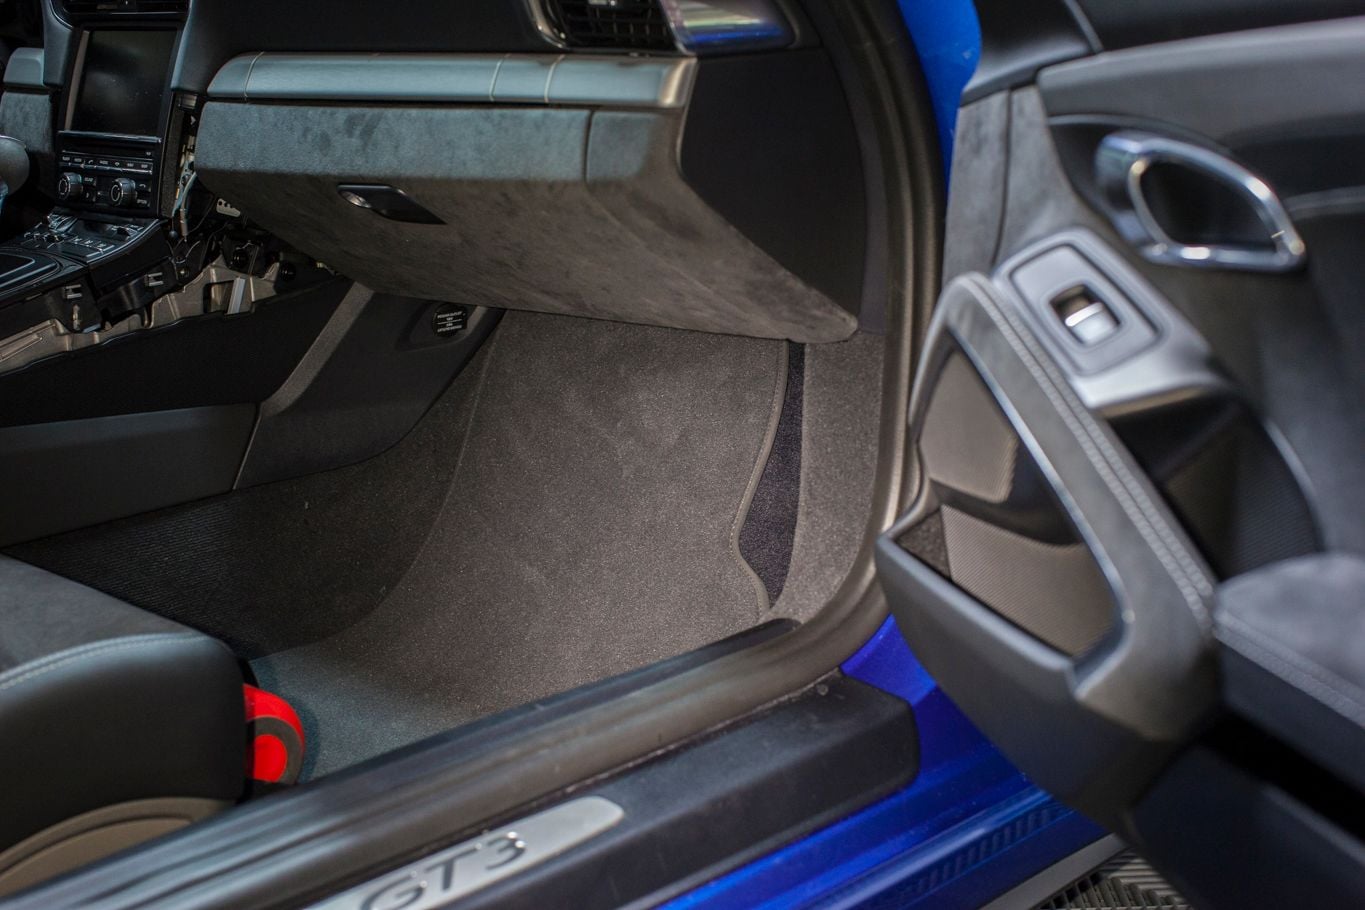
My first order of business was tackling the tweeter install. I thought it would take five minutes to this project, but those grills are on their tightly. They also don't go back on so easily. After I figured it out, it's not that bad. It's just hard to commit to yanking them off. You also need to cut away some plastic to make it clear the the new tweeter, so you would need to buy a set of new ones to revert back to stock.
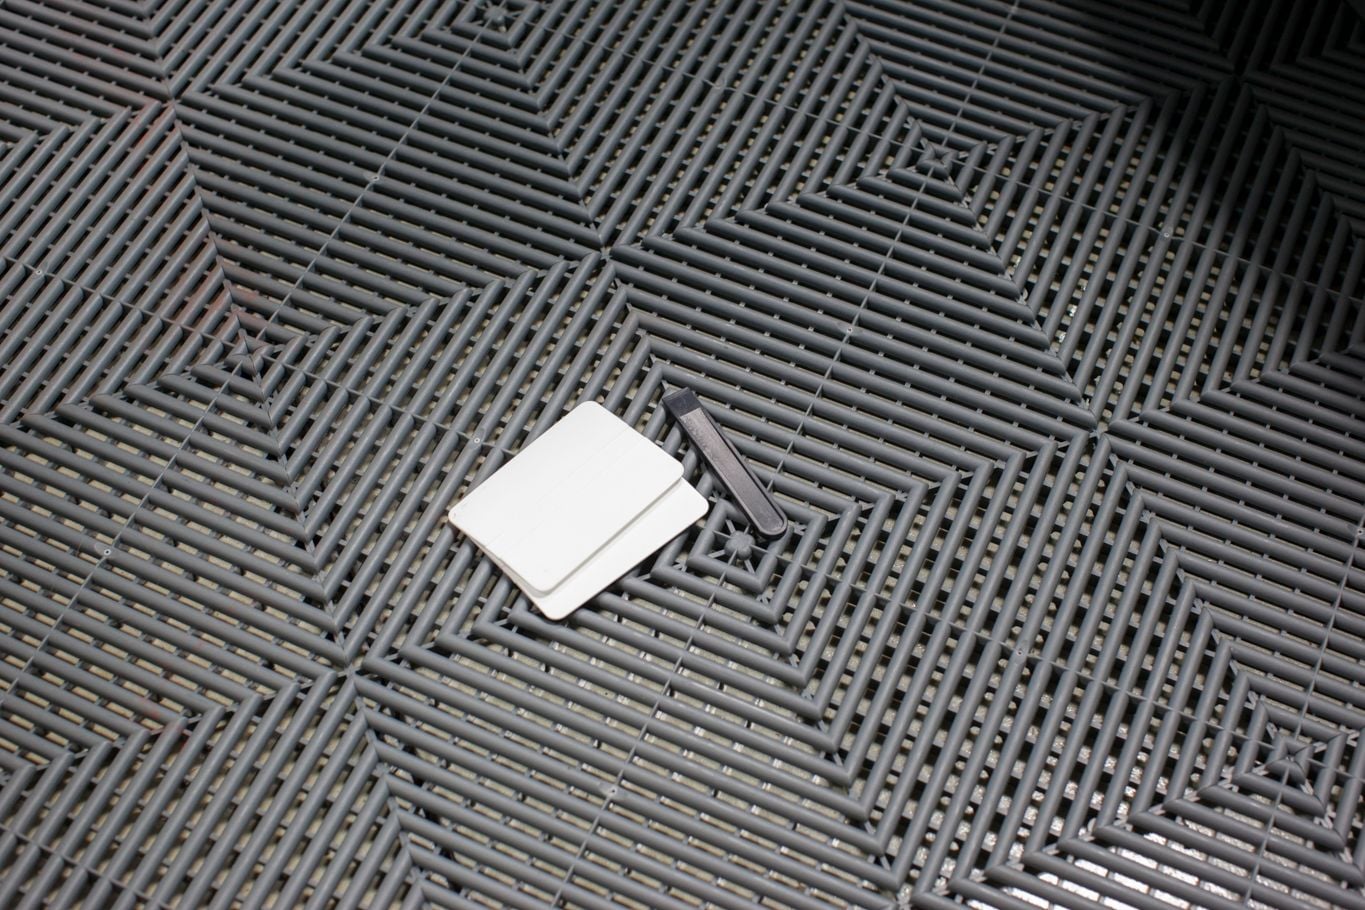
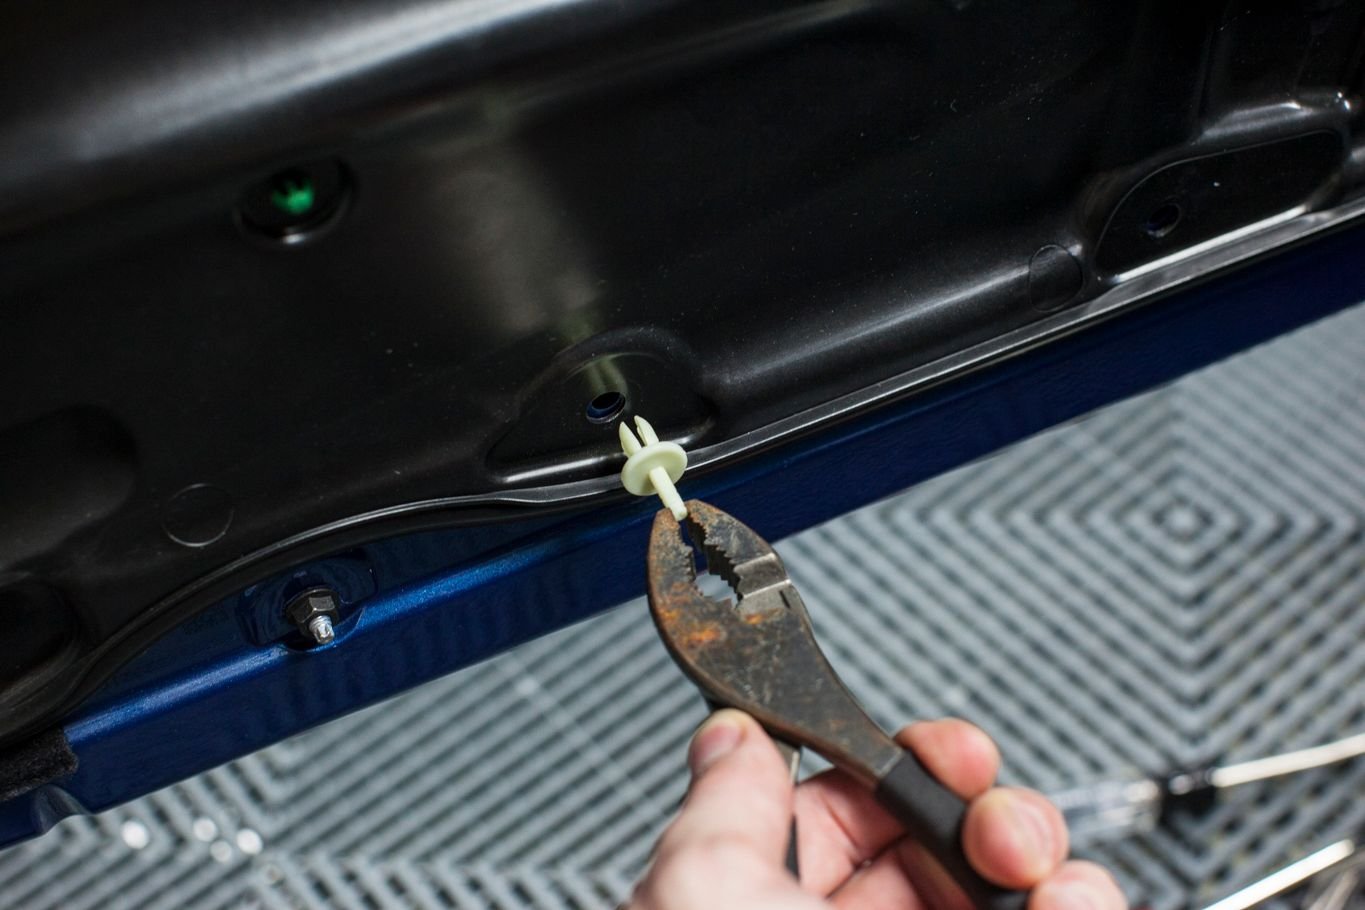
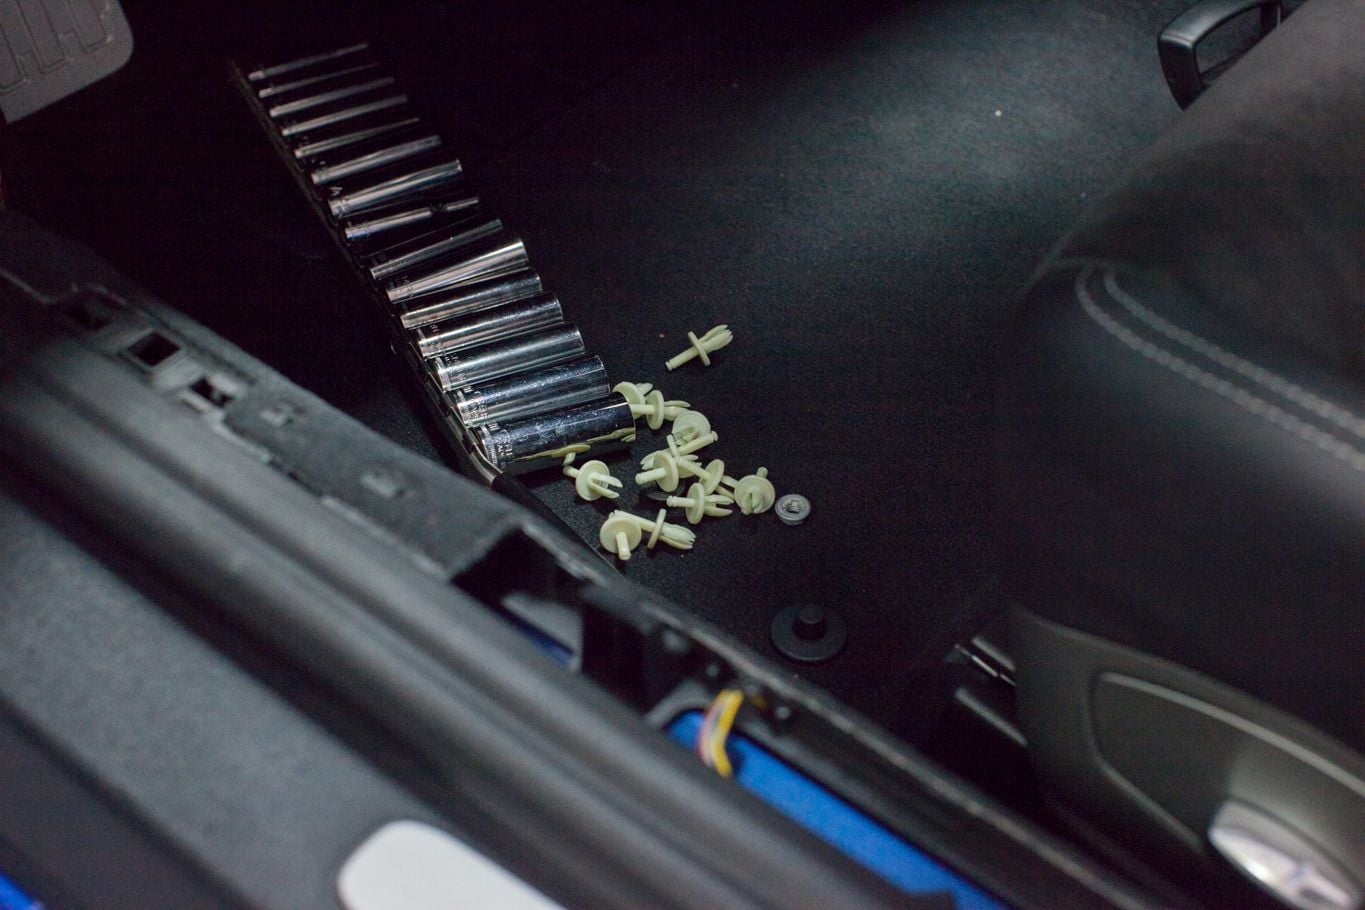
I took one look at all these plastic clips, and thought it was going to be a nightmare. Man I love German engineering. This was a breeze. Just pull the center, and they come right out.
Rather than completely disconnecting all of the wiring. I just laid the vapor barrier on the front seat connected.
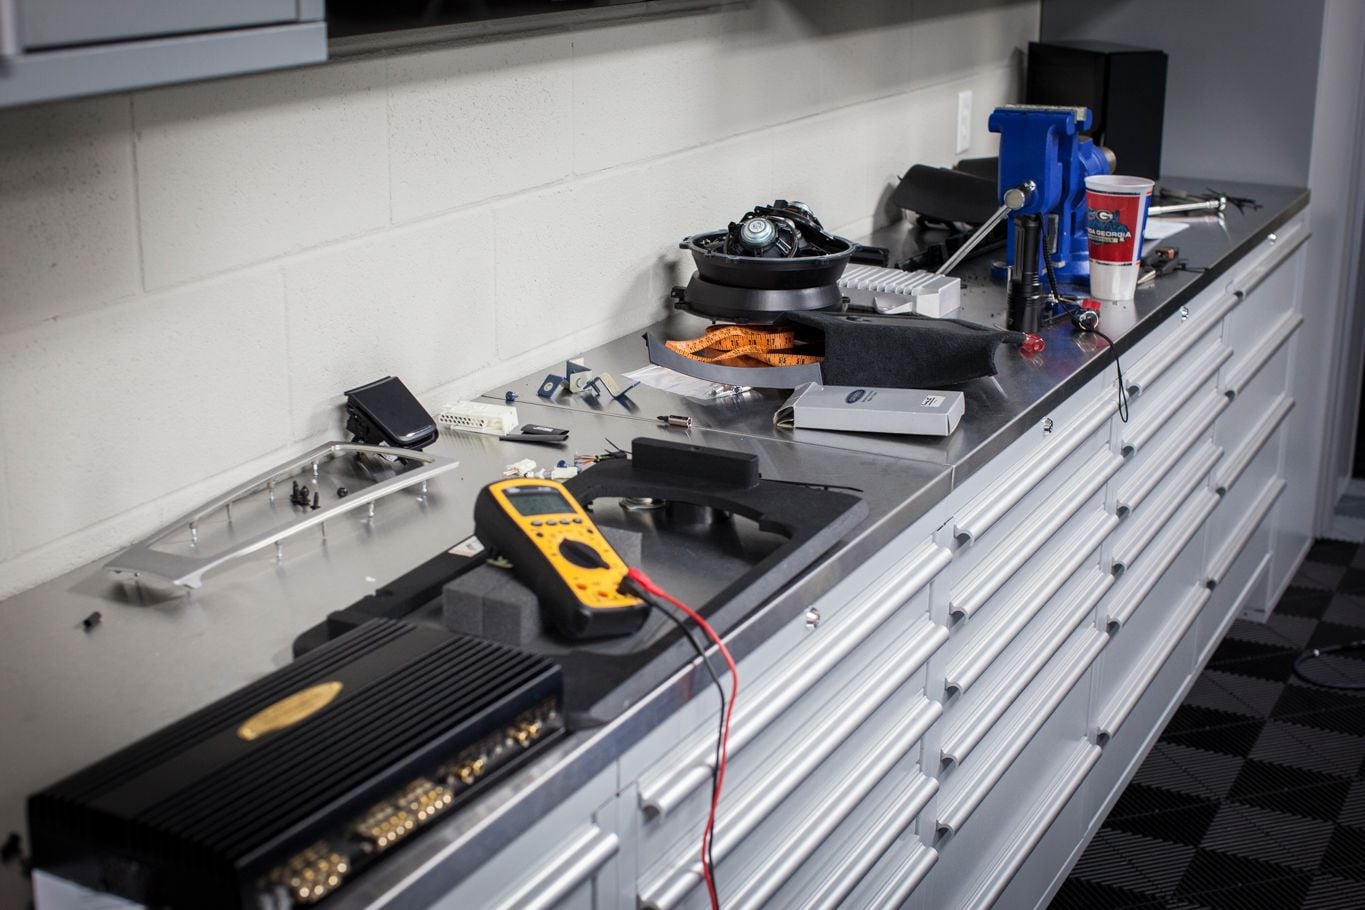
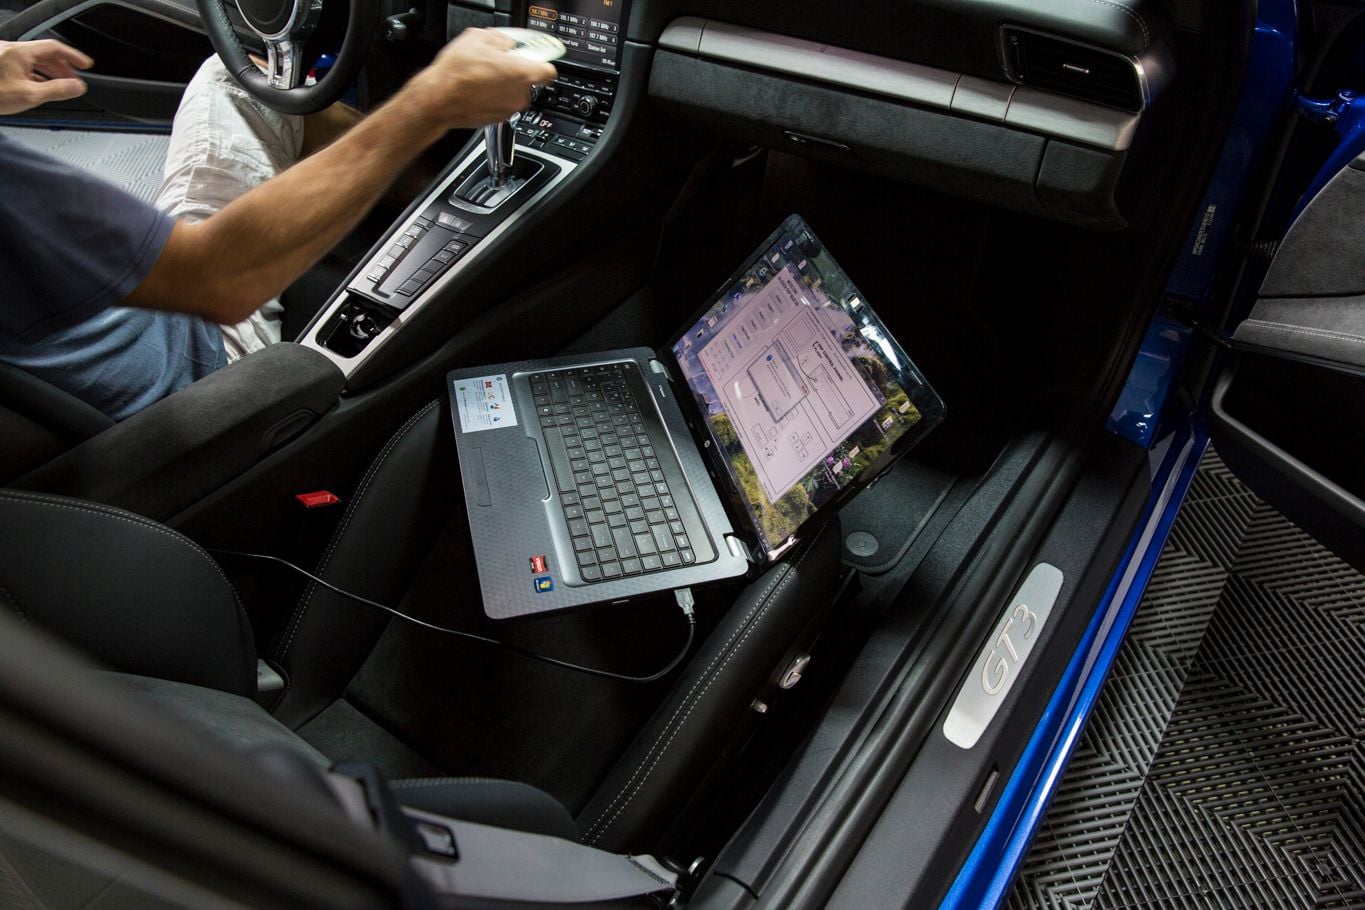
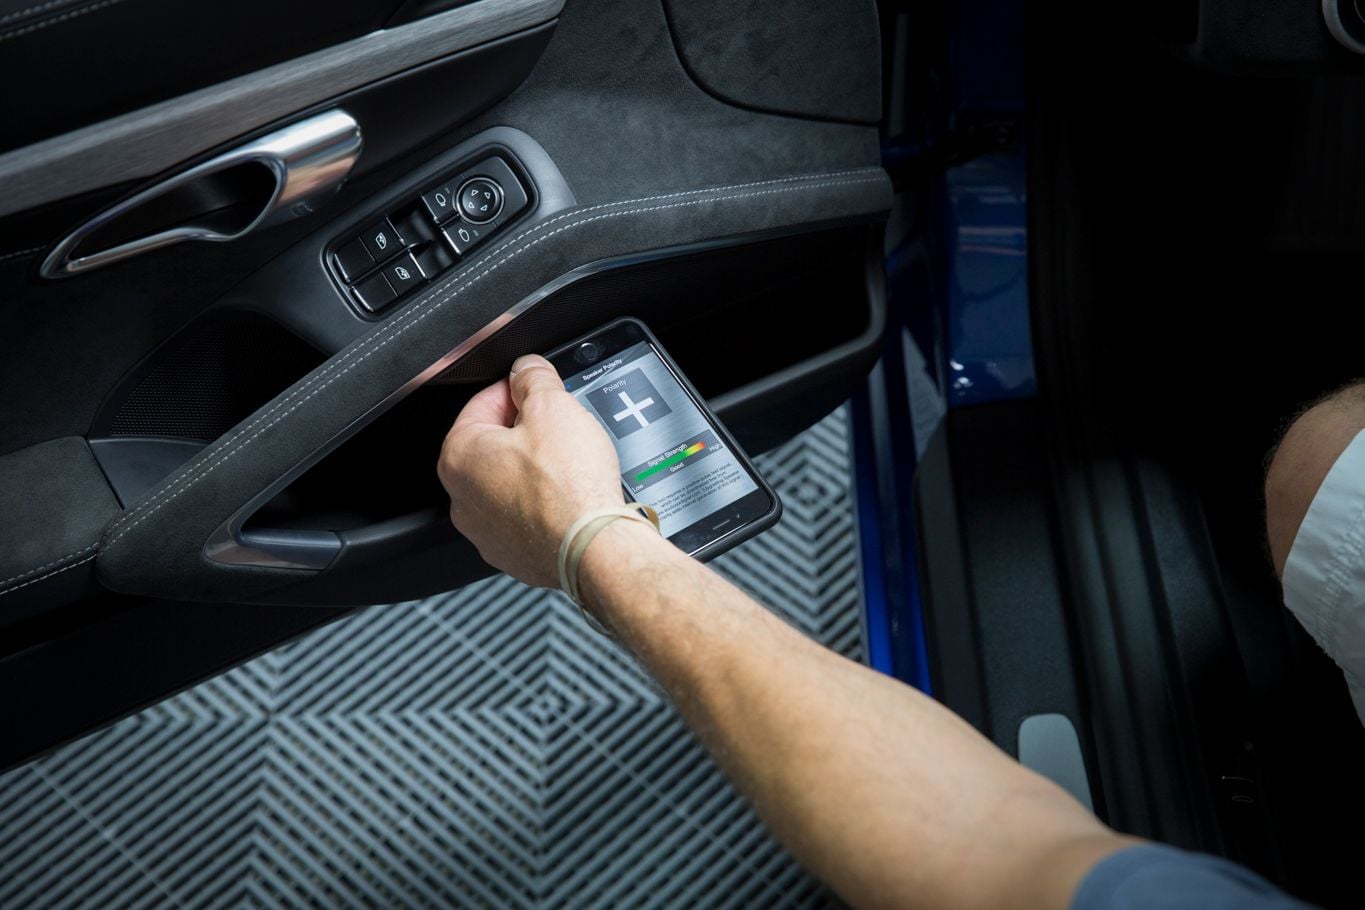
After messing with the parametric EQ for a few hours, I called and begged Derek to let me buy him a plane ticket from Boston to come and tune this thing.
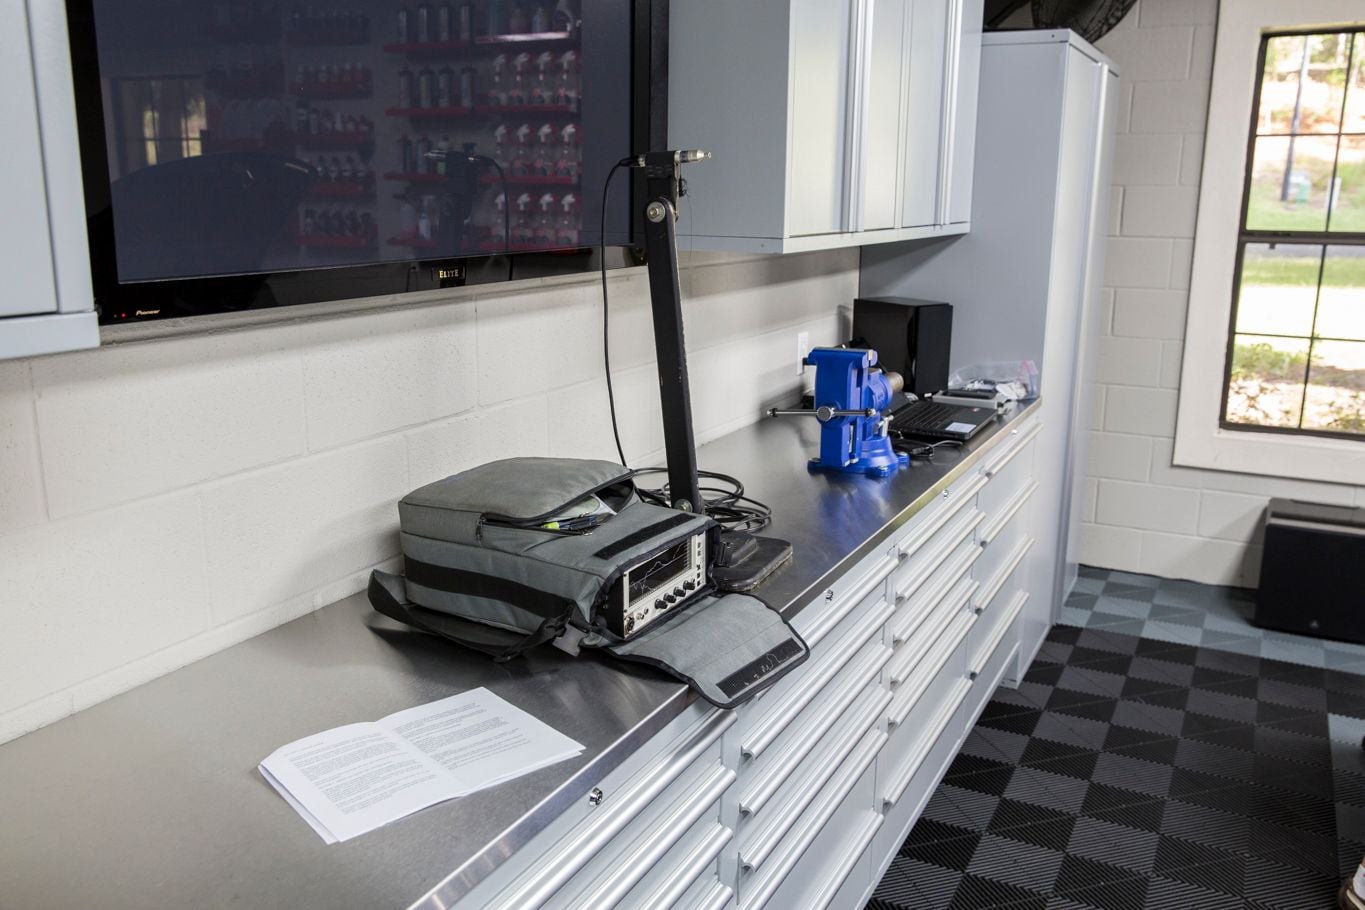
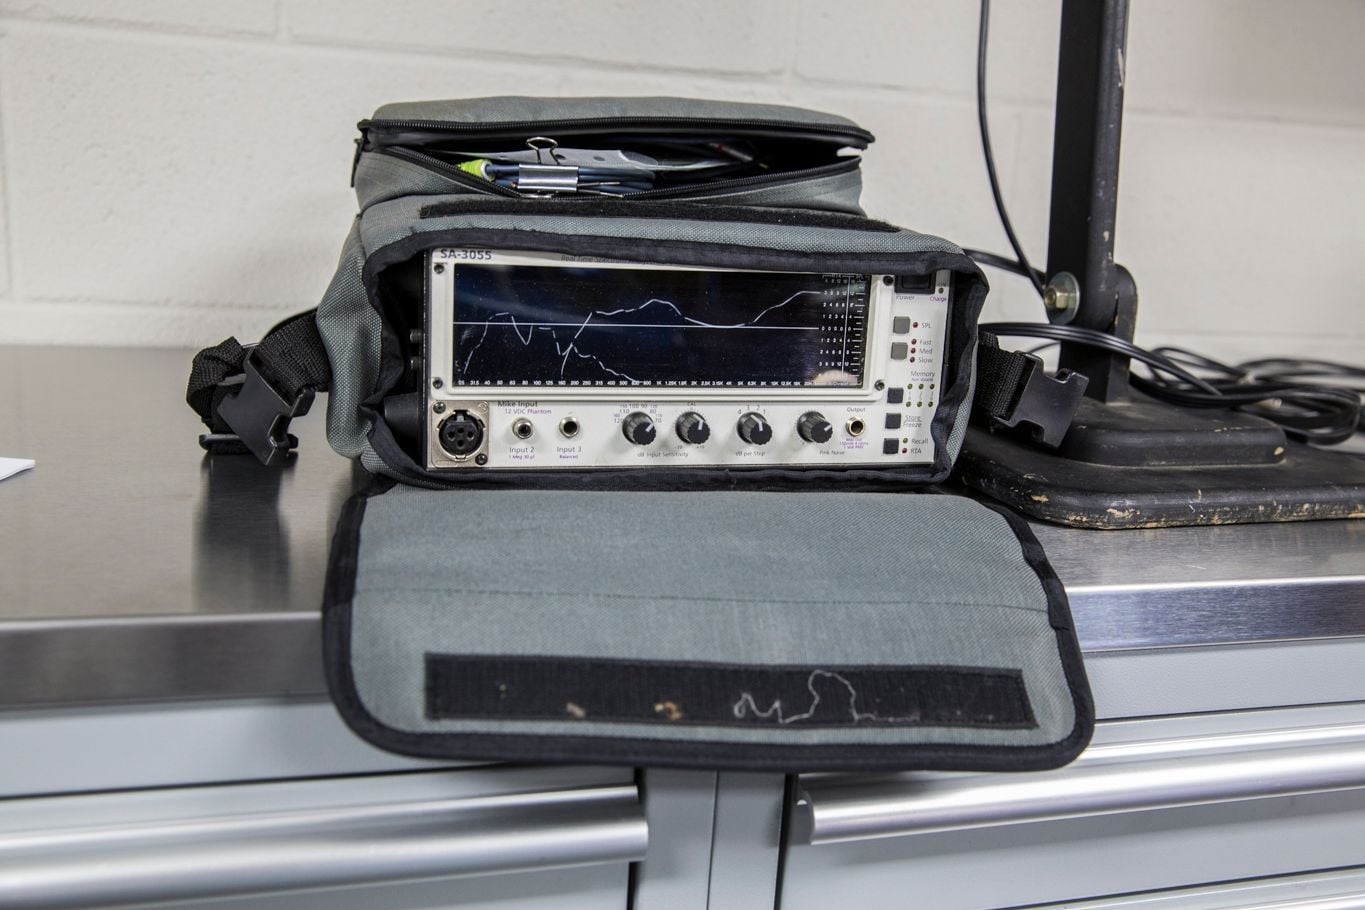
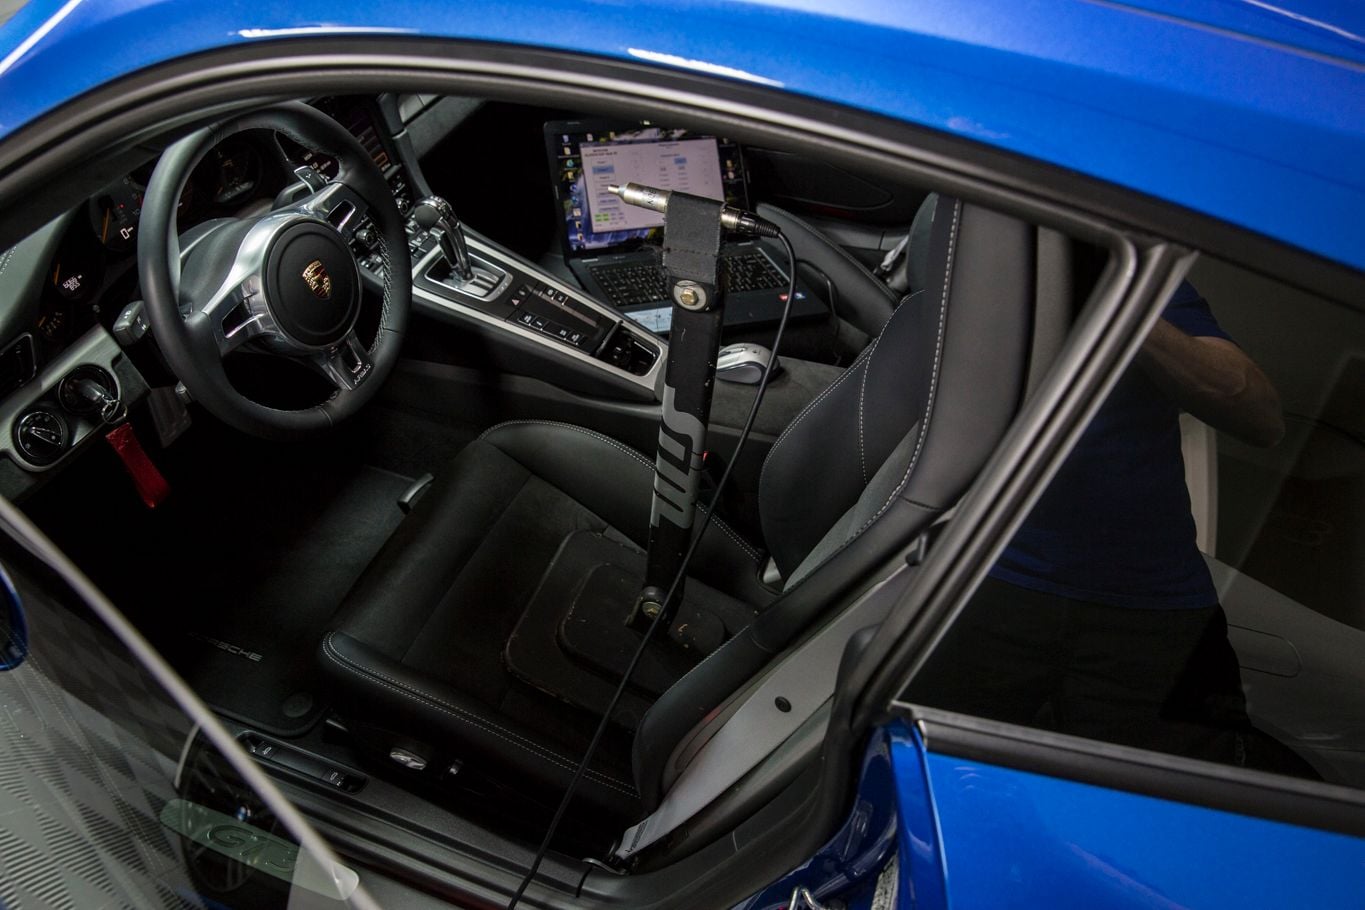
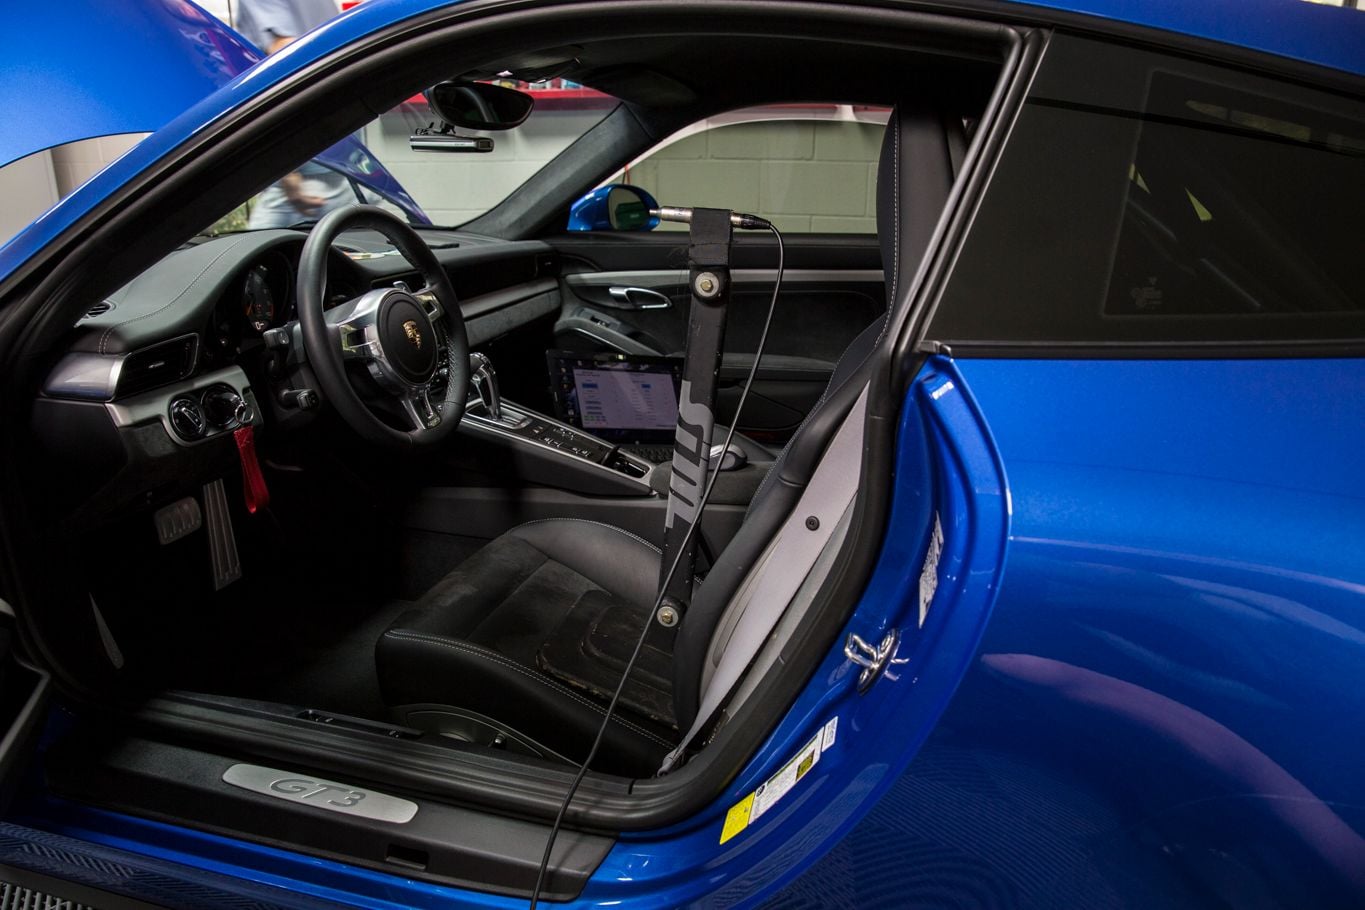
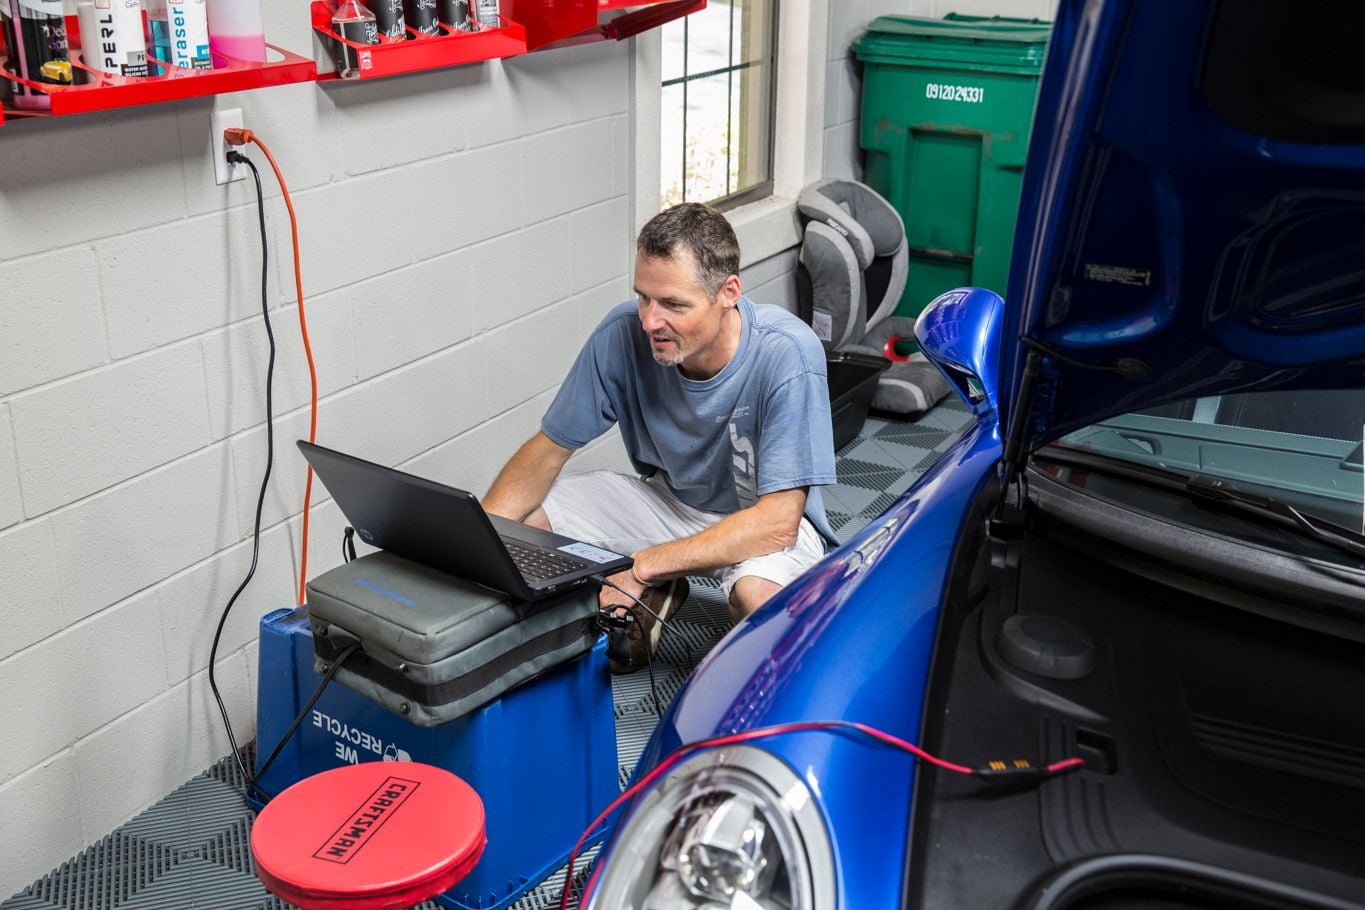
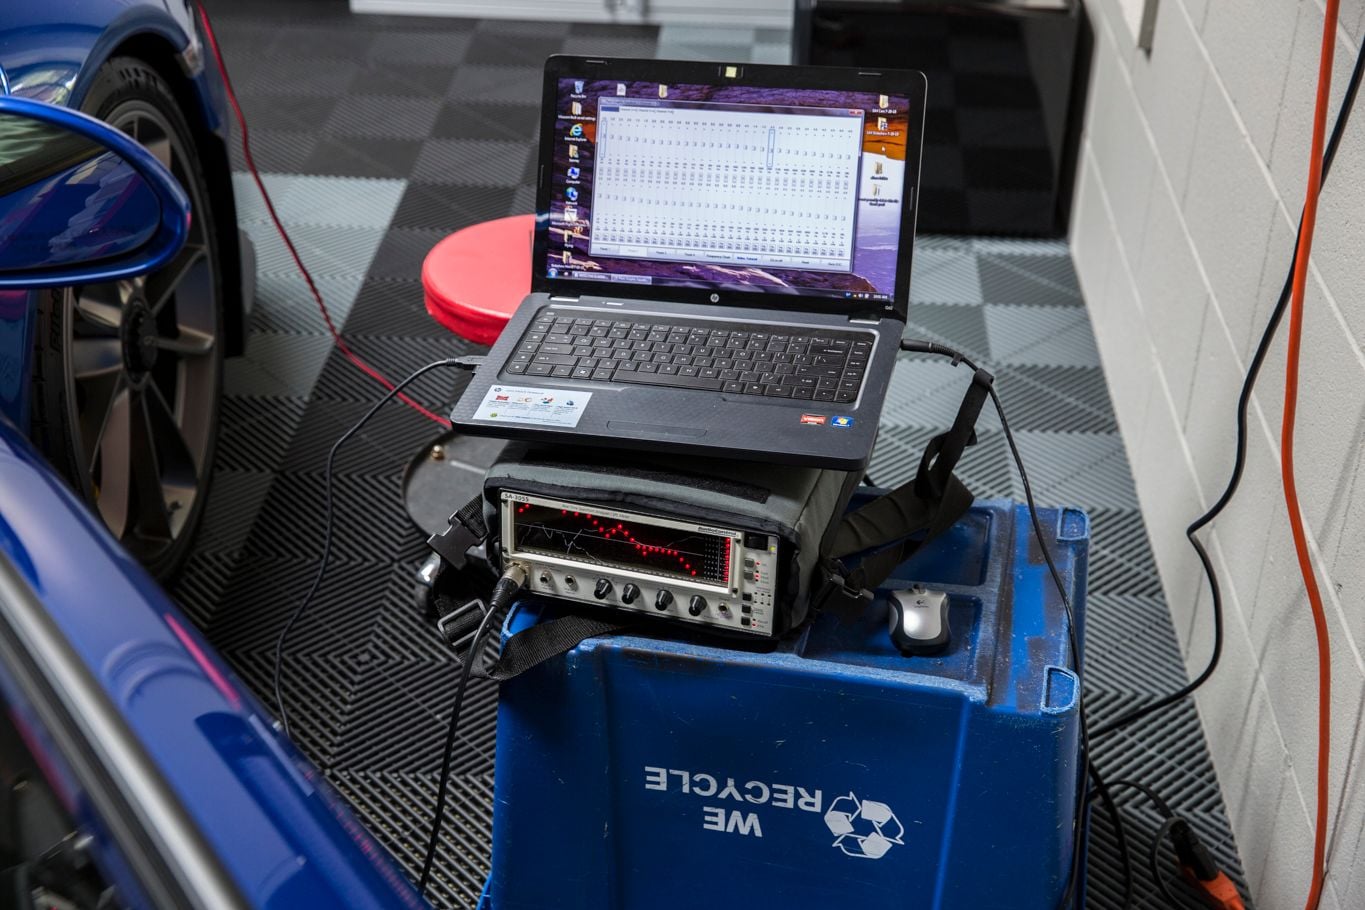
Part 8: Tuning - RTA (Real Time Analyzer), Time Align, Etc.
If you know anything about audio and video, you know that calibration is just as important as the gear. The problem with an engineer type like me is that I have zero artistic ability and calibration is as much art as it is science. It takes experience, a keen ear, and the right equipment. I mentioned to Sound in Motion in Boston that I intended to find a qualified shop to tune my system. Jim asked me to hold on a minute. Derek Kenney, the owner of Sound in Motion, got on the phone and said, "I would rather tune it!" Secretly that's what I was hoping he would say, so I bought him a plane ticket and flew him the 1,500 miles from Boston. You should have seen my wife's face when I told her what I was planning. It was priceless. I thought it was a pretty cool idea, but regular people just think I'm nuts.
This kind of stuff is super interesting to me. At first, I was too preoccupied and decided I wasn't going to video. Then I realized that super nerds like me are going to want to see this. I made Derek re-explain a bunch of what he already told me. Since I was in the business, I have seen a bunch of this stuff, but it's a lot different with digital processors. Here is the video.
Matt you're NUTS, but I love it. No way in the world could I do all that. Thought for a sec you might need another garage to put all the parts you needed to remove.
Matt you're NUTS, but I love it. No way in the world could I do all that. Thought for a sec you might need another garage to put all the parts you needed to remove.
It's really not as bad as it looks. It was really pretty easy. No harder than installing an exhaust. But I do have quite a bit of AV knowledge.
That looks just incredible and I'm sure sounds just as incredible!! Must confess. I'm kind of ignorant about high end car audio , and am leaning toward a simpler solution. I'm thinking of just getting a great set of door speakers that have decent bass (no sub) and then just adding a high quality two channel amp that can be fed from the head unit. The music I listen too doesn't require thunderous bass. Would that work?
 06-30-2015, 11:11 PM