When you click on links to various merchants on this site and make a purchase, this can result in this site earning a commission. Affiliate programs and affiliations include, but are not limited to, the eBay Partner Network.
I didn't know they made specific ramps for lift entry.
I have a set of raceramps that I used to use for my trailer (TR-5's I think). They are very proud of those things. I'll see how these aluminum ramps work out. I haven't seen them yet, but they can't be anywhere close to as heavy as those 45# steel monsters.
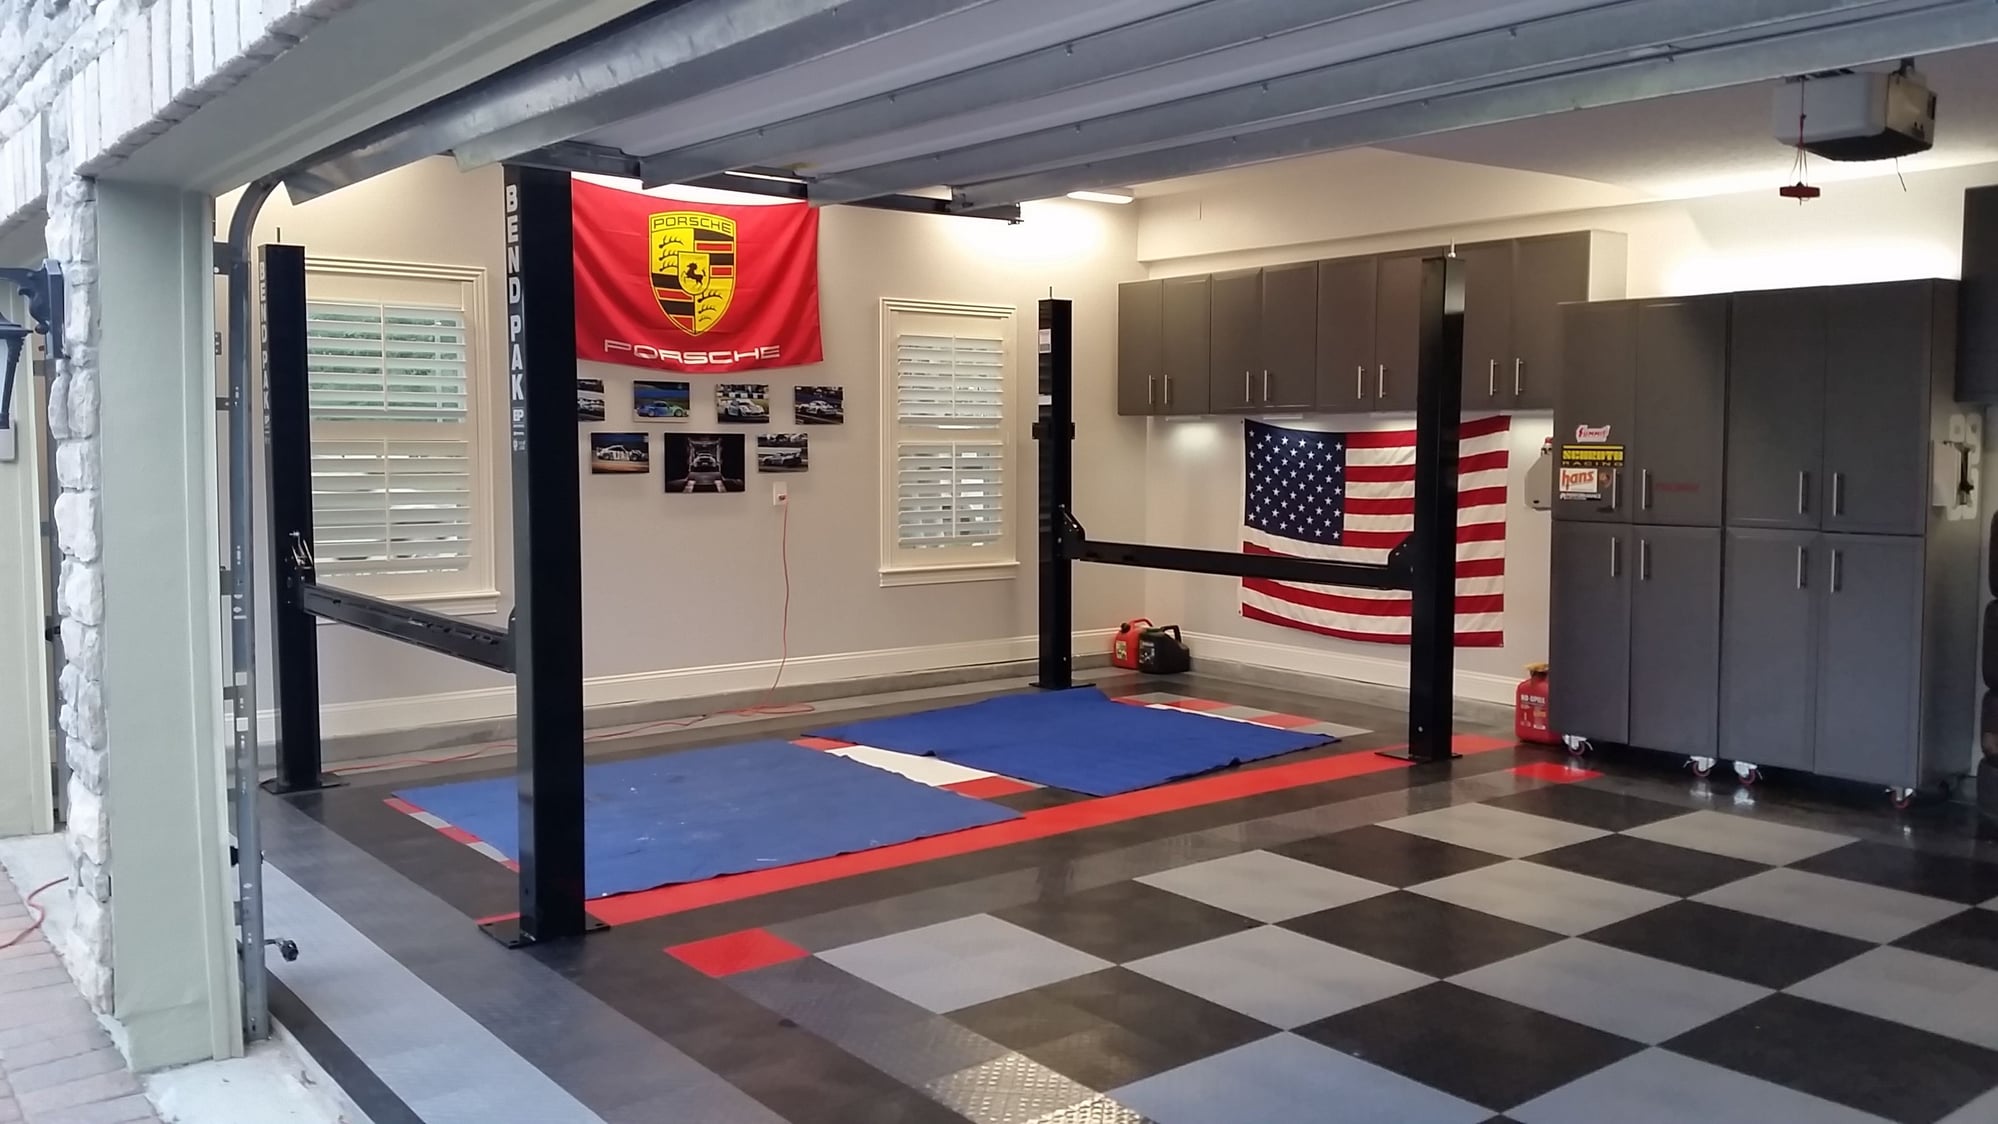
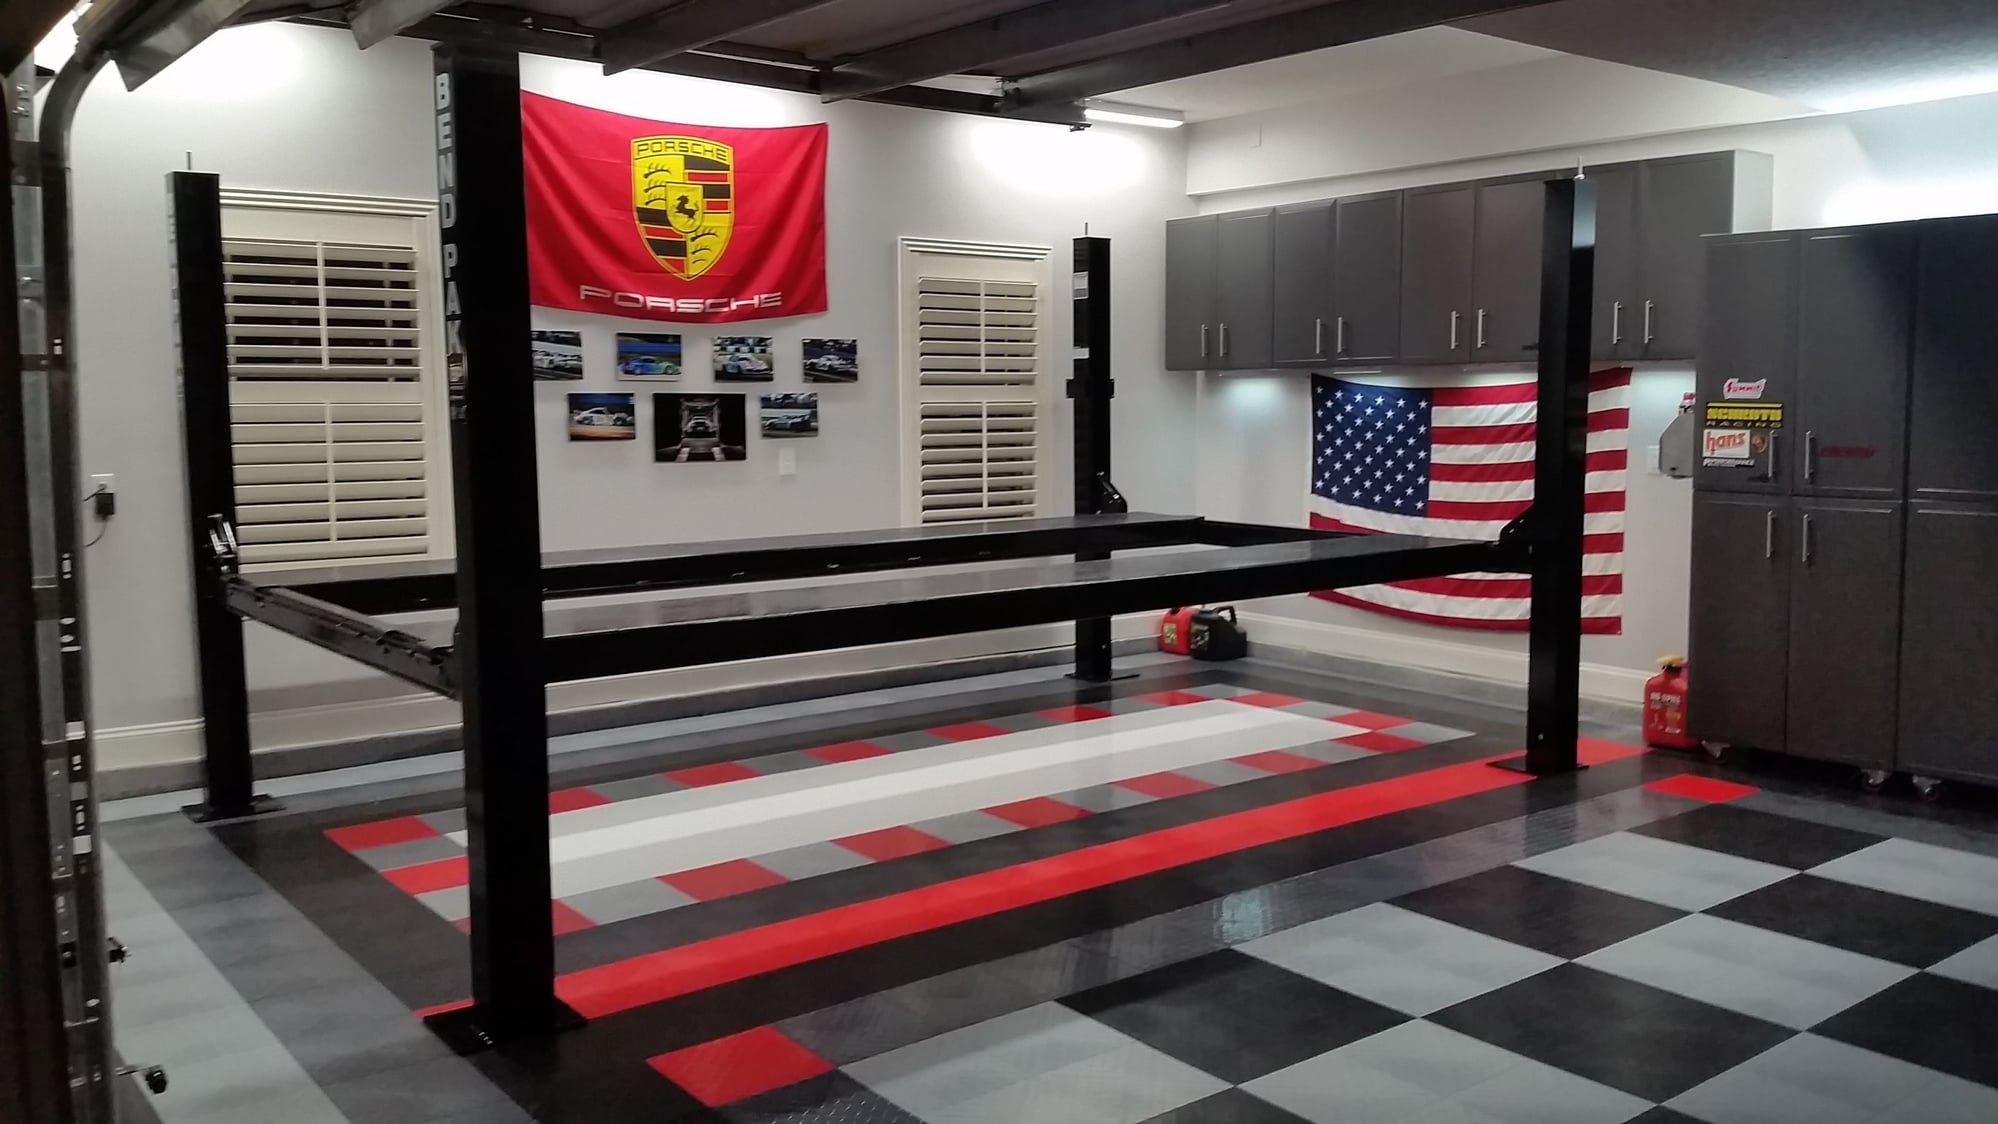
Lift is in place. Now some hydraulics and pneumatics.
A few tricks will make your life a million times easier. If you plan to do it yourself, let me know.
It looks great. Would be interested in tips. Also, did you look at directlift and what stuck out about bendpack that made you choose them in the end? I'm trying to decide which...
Lastly, what brand of rolling cabinets are those? Really like them.
It looks great. Would be interested in tips. Also, did you look at directlift and what stuck out about bendpack that made you choose them in the end? I'm trying to decide which...
Lastly, what brand of rolling cabinets are those? Really like them.
Thanks for posting - this is really helpful.
Few things.
1. Remove the sheaves (pullies) while the runways are still on the packaging hardware.
2. Don't try to slide the cross member onto the verticals by lifting it overhead. Just lay the verticals down and slide the cross members into the slots.
3. Wrap a bunch of paper towels around the inlet/outlet of the cylinder when you expand it to full open. This will keep oil from spraying your entire garage.
4. Read EVERY sentence in the instruction manual. It's all important - especially the part where they tell you that the cross members shouldn't be siting on emergency catches.
5. To remove the runways from the shipping apparatus, you'll need a couple of 2x4's that can go under the ramps and allow grown men to lift the runways (one runway at a time). They one with the cylinder is HEAVY.
I went with the Bendpak due to their accreditation, dimensions, manuals, and other only information. I also liked that I could order it in 110v, had a high limit switch, a self-charging air cylinder (for releasing the locks), and that I could get it in black. And that there were 4' aluminum ramps and free shipping (though i suspect I pay for that).
It's not bad to install. Just read the manual twice. Then again as you install.
The cabinets were from Sears. I wouldn't buy them again. They are made of pressboard, the shelves warp, and I had to add screws to them to keep them from falling of their pins. They didn't have wheels when I bought them. I added them (3' wheels from Home Depot).
Hope that helps!
Thanks for the comments - very helpful. I especially like tip #3, because I can picture that one being discovered the hard way, and I've been there. Sorry to hear on the cabinets - at least they look nice in pics!
Looks great and thanks for the tips! Did you have them deliver it to your house? I was resigned to having someone install mine due to the issues with getting it home and moving the big pieces. How did you handle it?
Sorry if I missed which ramp you bought. I assume it's the 7W or 9HD?
Would you mind maybe taking a measurement for me; the distance from the outside leading edge of the base of the column to the outside leading edge of drive of ramp/platform. I understand one platform is fixed on the mechanical side while the other can be moved between narrow and wide. I need one the the ramps (outside leading edge) to be at least 20" from the outside column base edge.
I wish to place a HD 9 as close to my exterior wall as possible. I assume I can get the base of the side columns within 2" of the wall?
Looks great and thanks for the tips! Did you have them deliver it to your house? I was resigned to having someone install mine due to the issues with getting it home and moving the big pieces. How did you handle it?
I had it shipped to the terminal and I borrowed my friend's open Featherlite trailer. They put it on the trailer and I drove it home 30 miles.
Home delivery will require you to have a forklift. It's 1700 pounds.
Once I got home, I took the pieces off one at a time. You only need help from 3 friends for the two runways. When you go to remove the runways, you should have the columns and cross members in place.
If you have good mechanical inclination and take your time, it is a fun project that took me around 7 hours the first time and probably a total of 5 hours this time.
Sorry if I missed which ramp you bought. I assume it's the 7W or 9HD?
Would you mind maybe taking a measurement for me; the distance from the outside leading edge of the base of the column to the outside leading edge of drive of ramp/platform. I understand one platform is fixed on the mechanical side while the other can be moved between narrow and wide. I need one the the ramps (outside leading edge) to be at least 20" from the outside column base edge.
I wish to place a HD 9 as close to my exterior wall as possible. I assume I can get the base of the side columns within 2" of the wall?
Any help is greatly appreciated.
No worries. It's an HD-9. You can place the base of the side column within 2" of the wall. Keep in mind that you need to be able to access the control unit. There are two corners where you can place it.
The instructions are very comprehensive and detailed in terms of dimensions.
Here's a link to the doc that has the dimensions:
Overall Width for the HD-9 is 110.25" and overall length is 174". They want two feet around the whole thing.
I'll have to check on the positioning of the non-powerside runway when I get home.
if you can let me know the runway positioning, both actually, that'd be great.
i imagine the 2 ft recommendation is for an exit strategy.
 06-13-2015, 12:17 AM