Obsessed Garage's White 991.1 GT3RS Journal


 01-05-2018, 04:22 AM
#62

I've followed your channel since you first got the SB GT3 and I really appreciate your honesty and that you're not afraid to do things your way, no matter how "obsessive" they might be. It's one of the reasons why I sit down and watch a 30min video of a grown man washing his car for the umpteenth time.  More power to you as well for turning something negative into what we now can safely say is a major success. Crazy is good!
More power to you as well for turning something negative into what we now can safely say is a major success. Crazy is good!
01-05-2018, 11:00 PM
#63
Instructor

Join Date: Mar 2015
Posts: 133
Likes: 0
Received 0 Likes
on
0 Posts
Matt:
Found your original Rennlist posts years ago. Had a number of Porsche cars in the 80s, but sold my 930 turbo in 1992. Should have kept it, of course.
Then you got the blue GT3 and I was hooked. In my garage went SwissTrax and great Saber cabinets. Really did not want to pay over list, got on my local (small) Porsche dealer list for a GT3. Could have easily bought one in Dallas, but over list. In the meanwhile, bought a GT350. Really liked it, the shifting was great, but still wanted a Porsche GT car.
To prove it my local dealer, bought a Macan S for the wife. She 100% loves it, will not give it up. My dealer gets one allocation a year, and boom, she has a GT3RS coming. A local plastic surgeon was ahead of me, he took it. I get her call mid summer, got a 991.2GT3 allocation, you want it? You bet. At list.
Took delivery of it in Oct, was following your PPF stuff, got mine done too. Today, I told my local speed shop buddy to order the GMG harness bar. Also called and talked to Dundon. Can’t wait to see your videos on those items.
Damn, I’m a copy cat. Sorry about that, but love what you are doing. Something about imitation being the most sincere form of flattery.
01-10-2018, 10:47 AM
#64

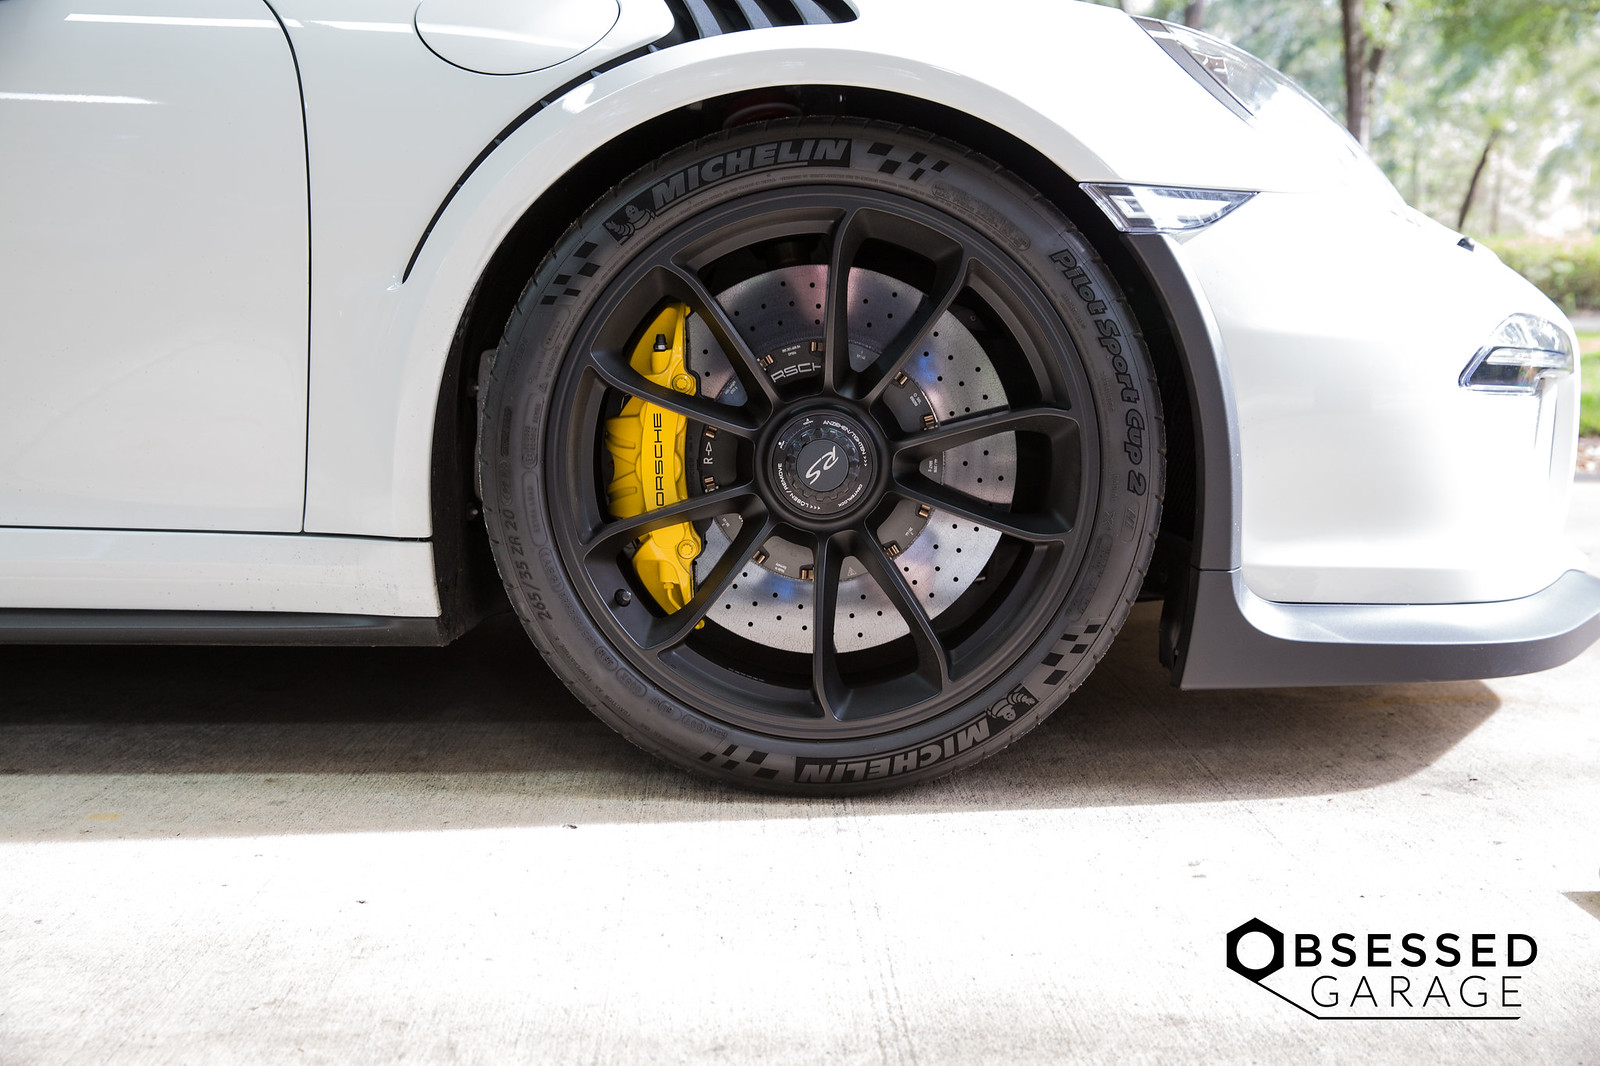
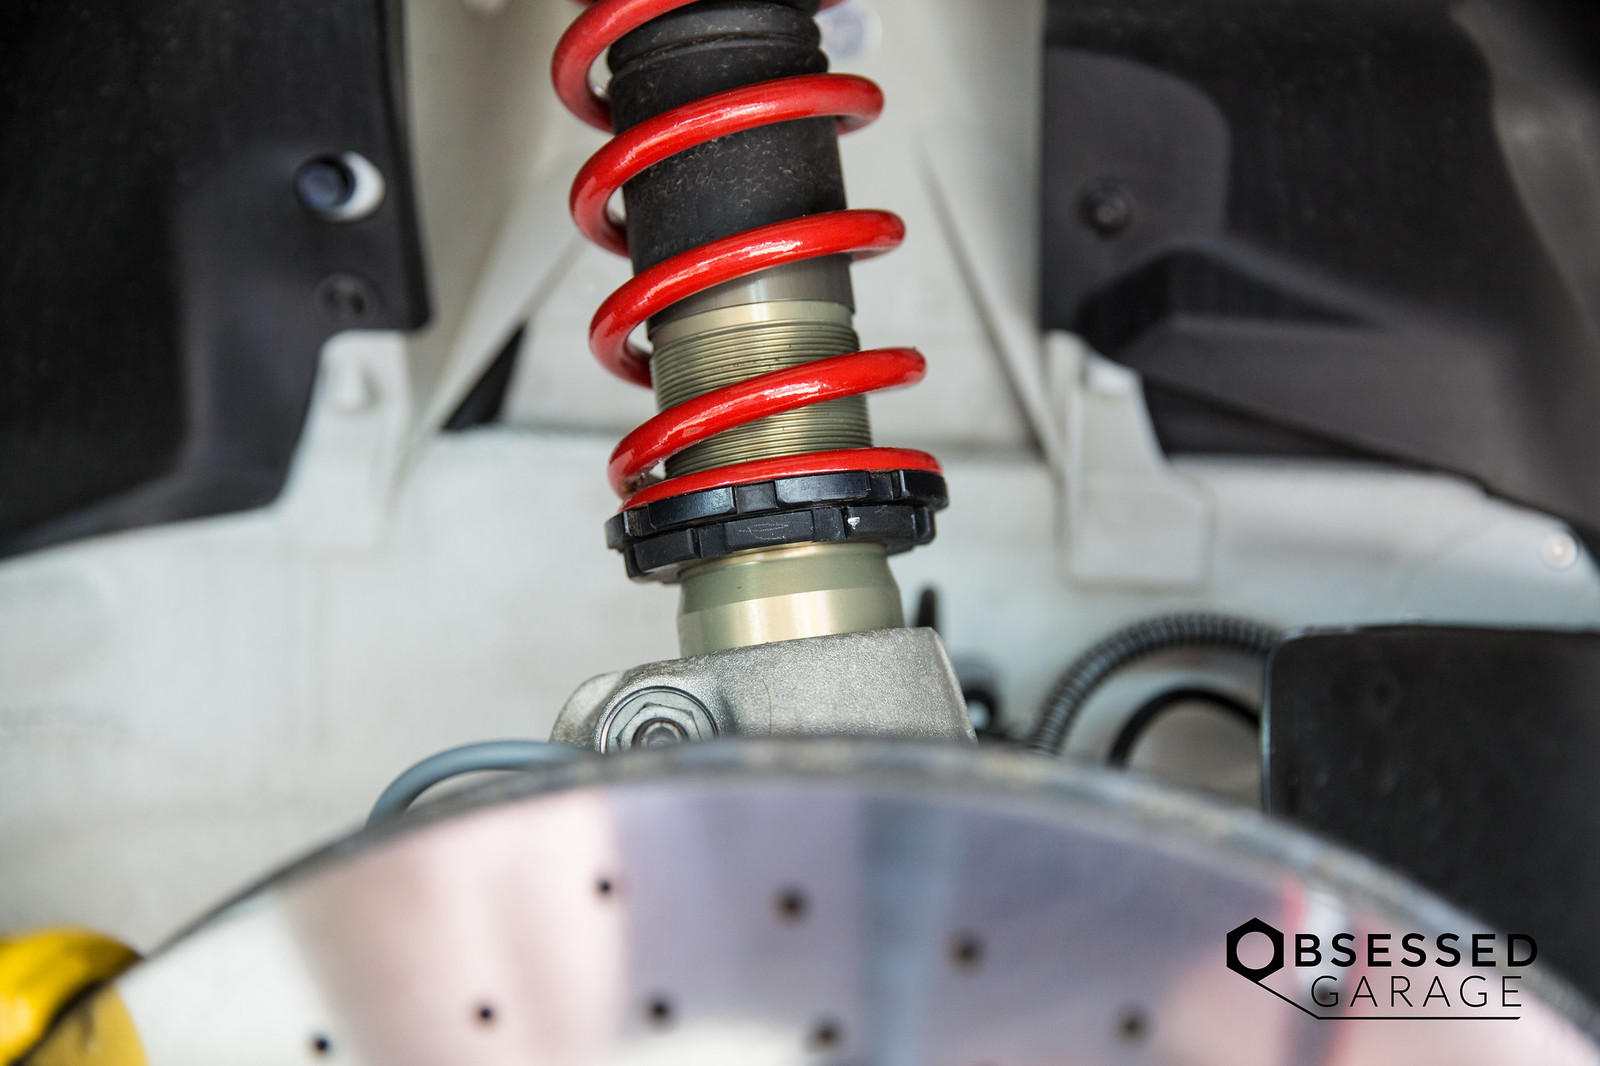
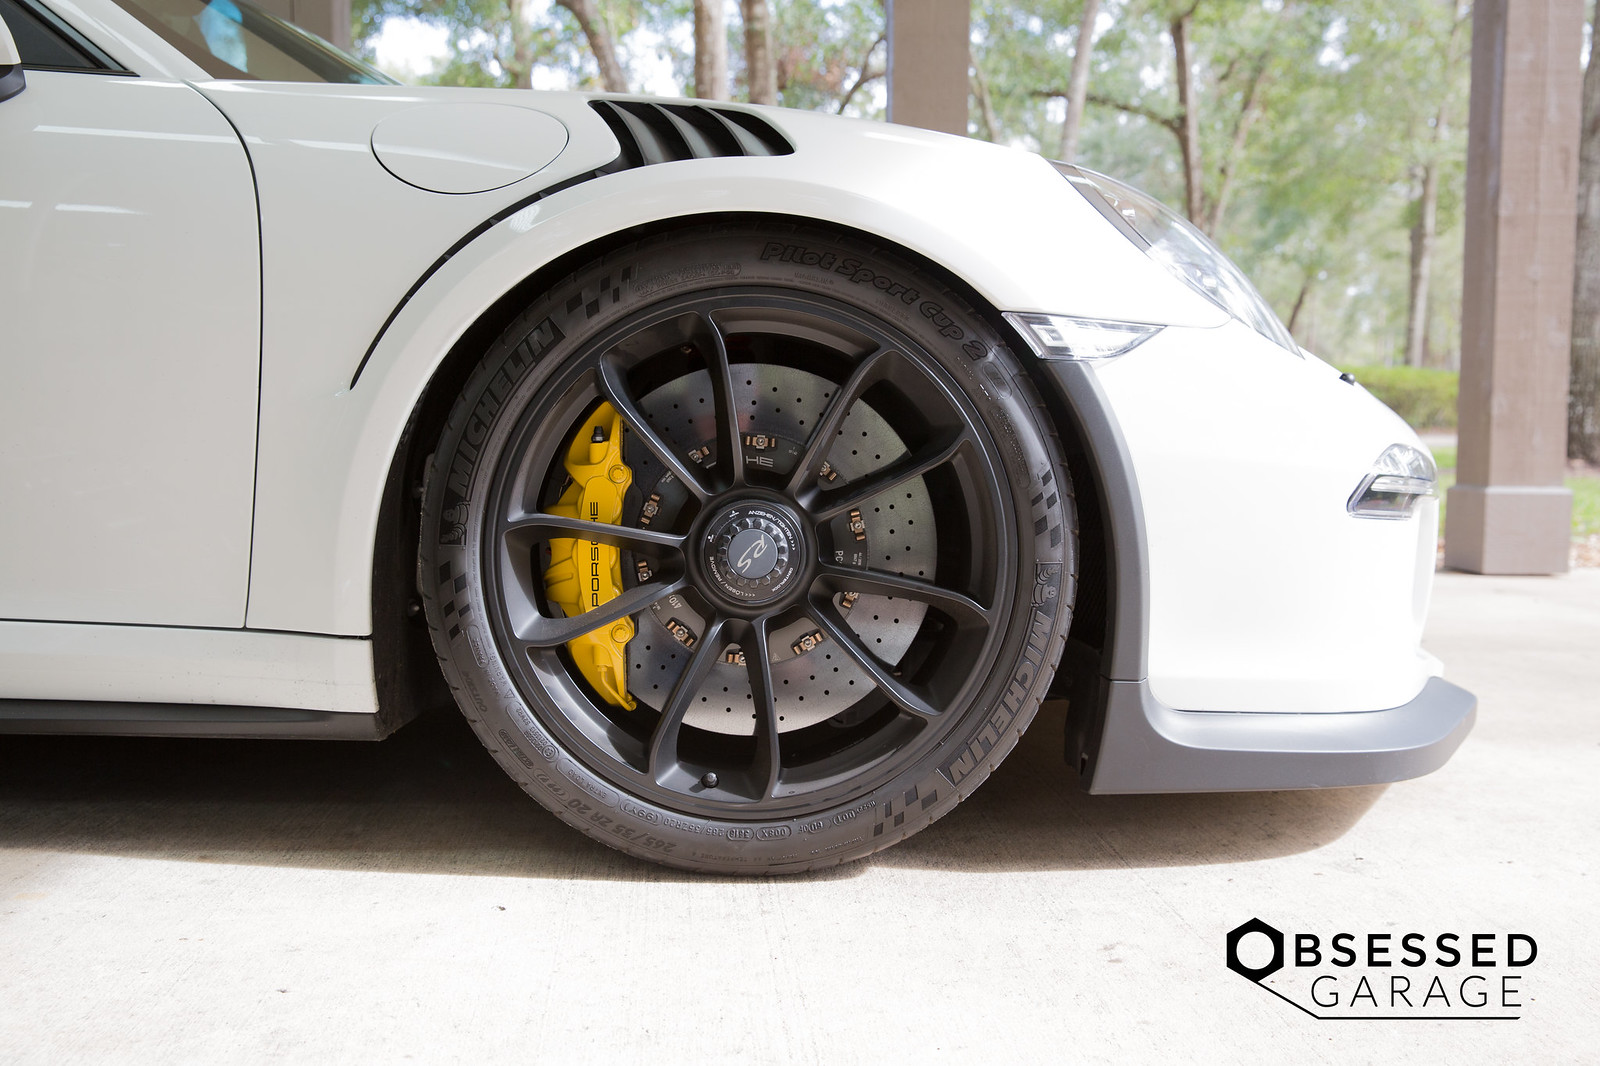
I'm sure many of you are like me and you create the mental "need" list. "I need to get this done." You know what talking about... I'm also fairly certain most of us on this forum know this, but people's minds are blown when they see or hear that GT3s have an adjustable coilover, ride height included. It's warmed up here in Central FL again, so I grabbed the cameras and got my hands dirty. Having not supported a journal like I have in the past, then starting this one, reminded me how much I enjoy the process of not just doing but documenting the process.
Here is the video if you prefer that format.
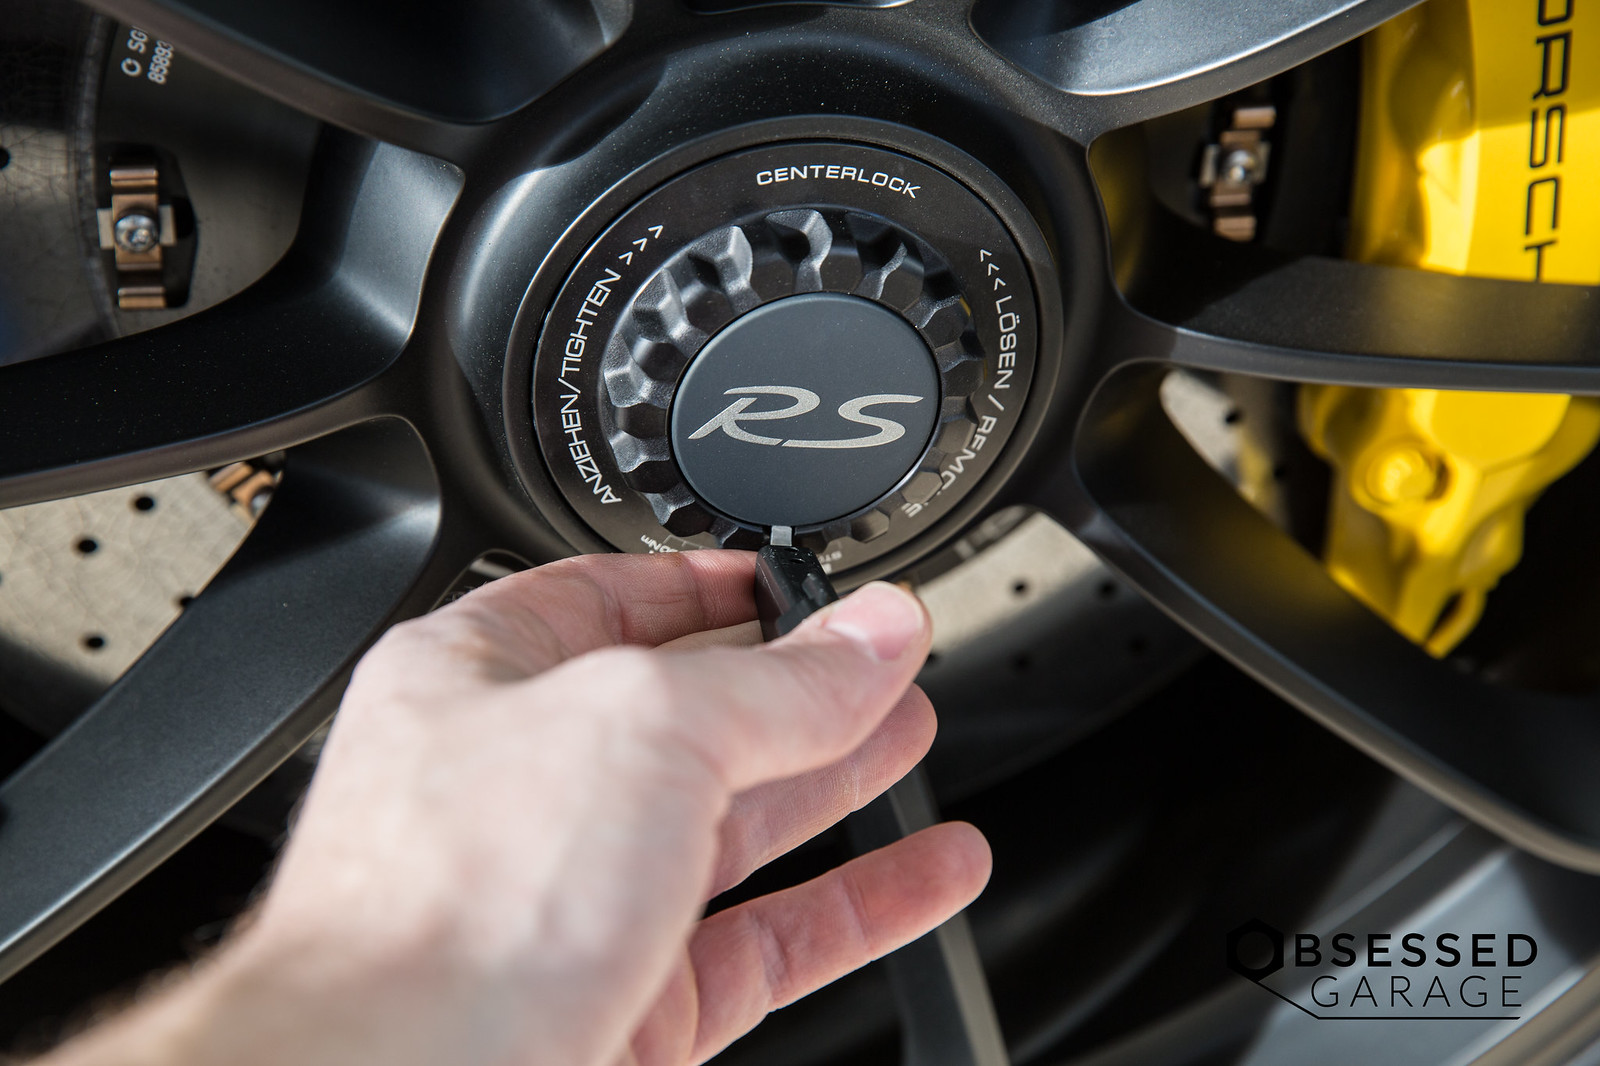
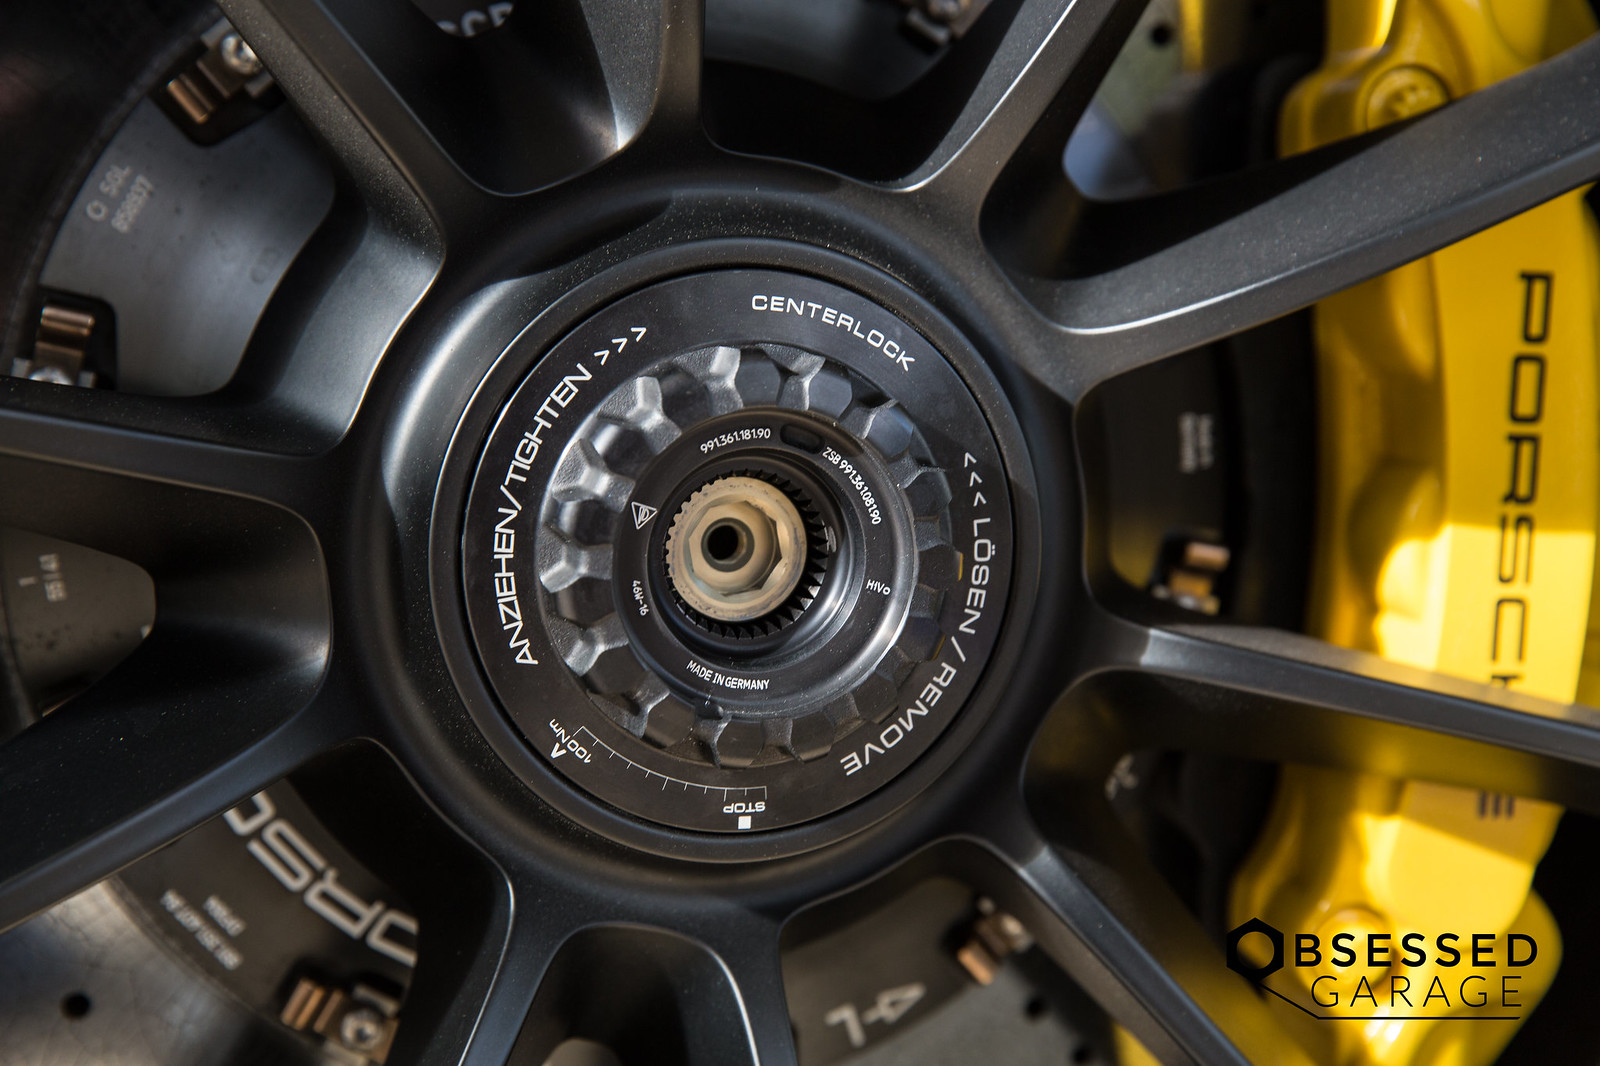
First thing you need to do is open up the front trunk, pull the cover off, and grab the center lock socket and pick tool.
Then gather up all of your tools.
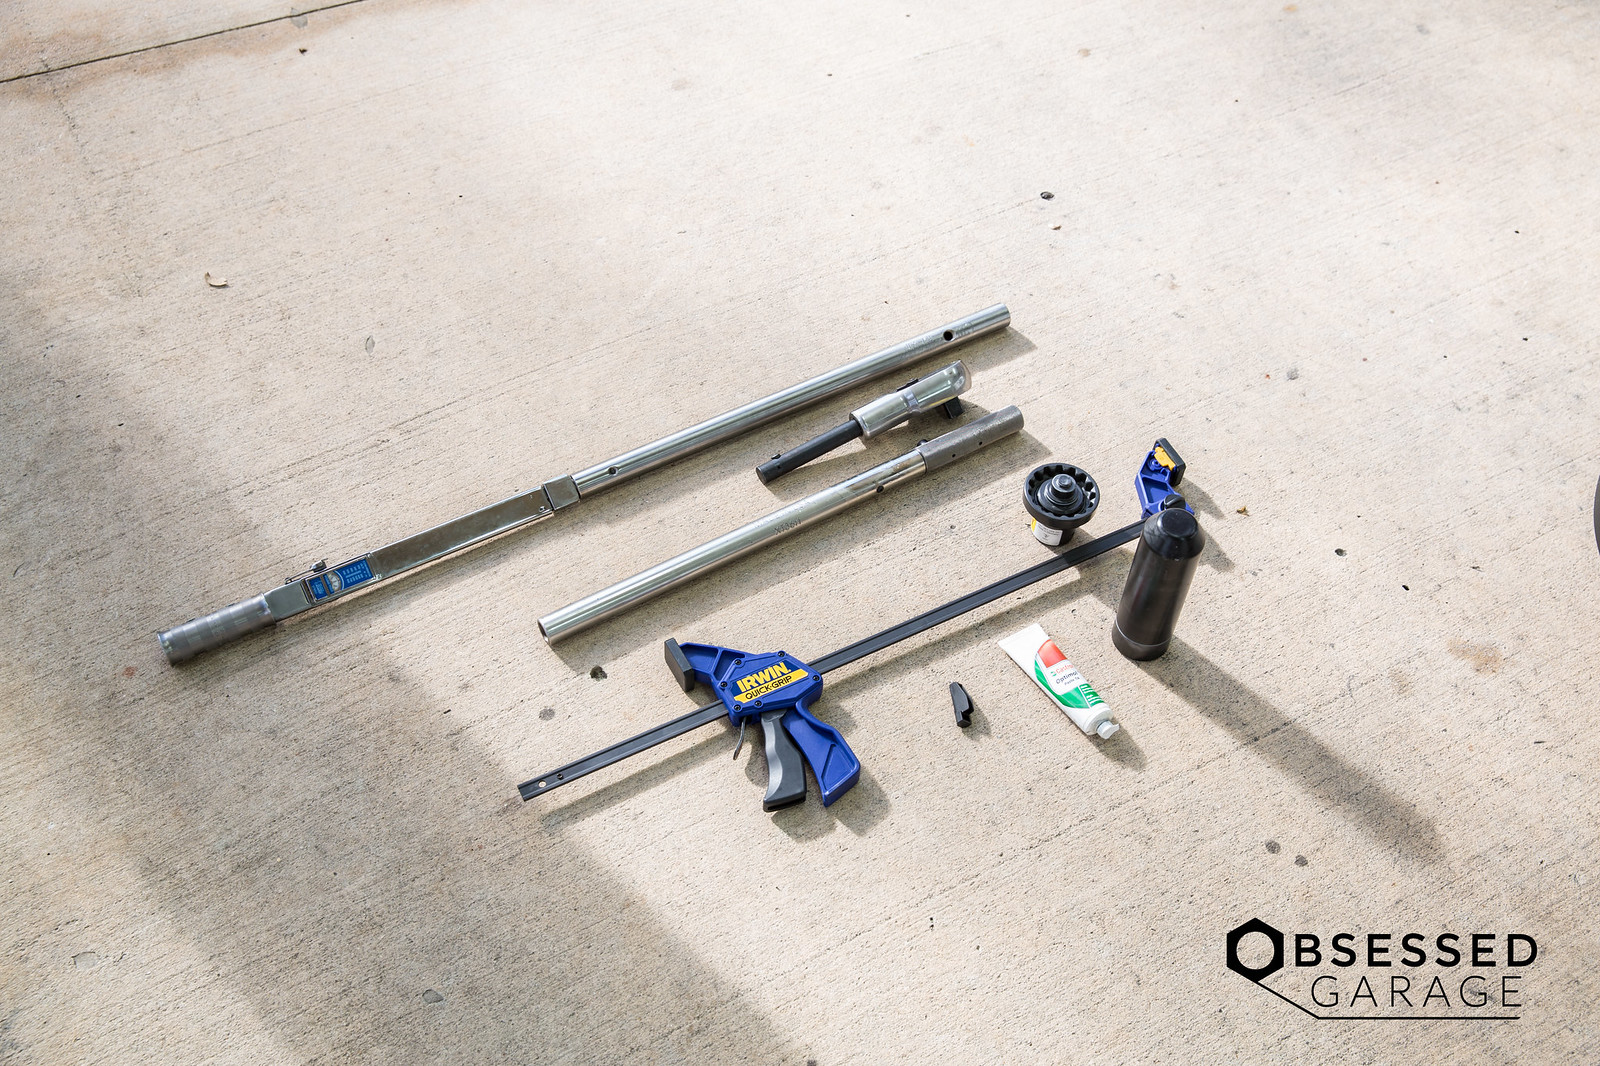
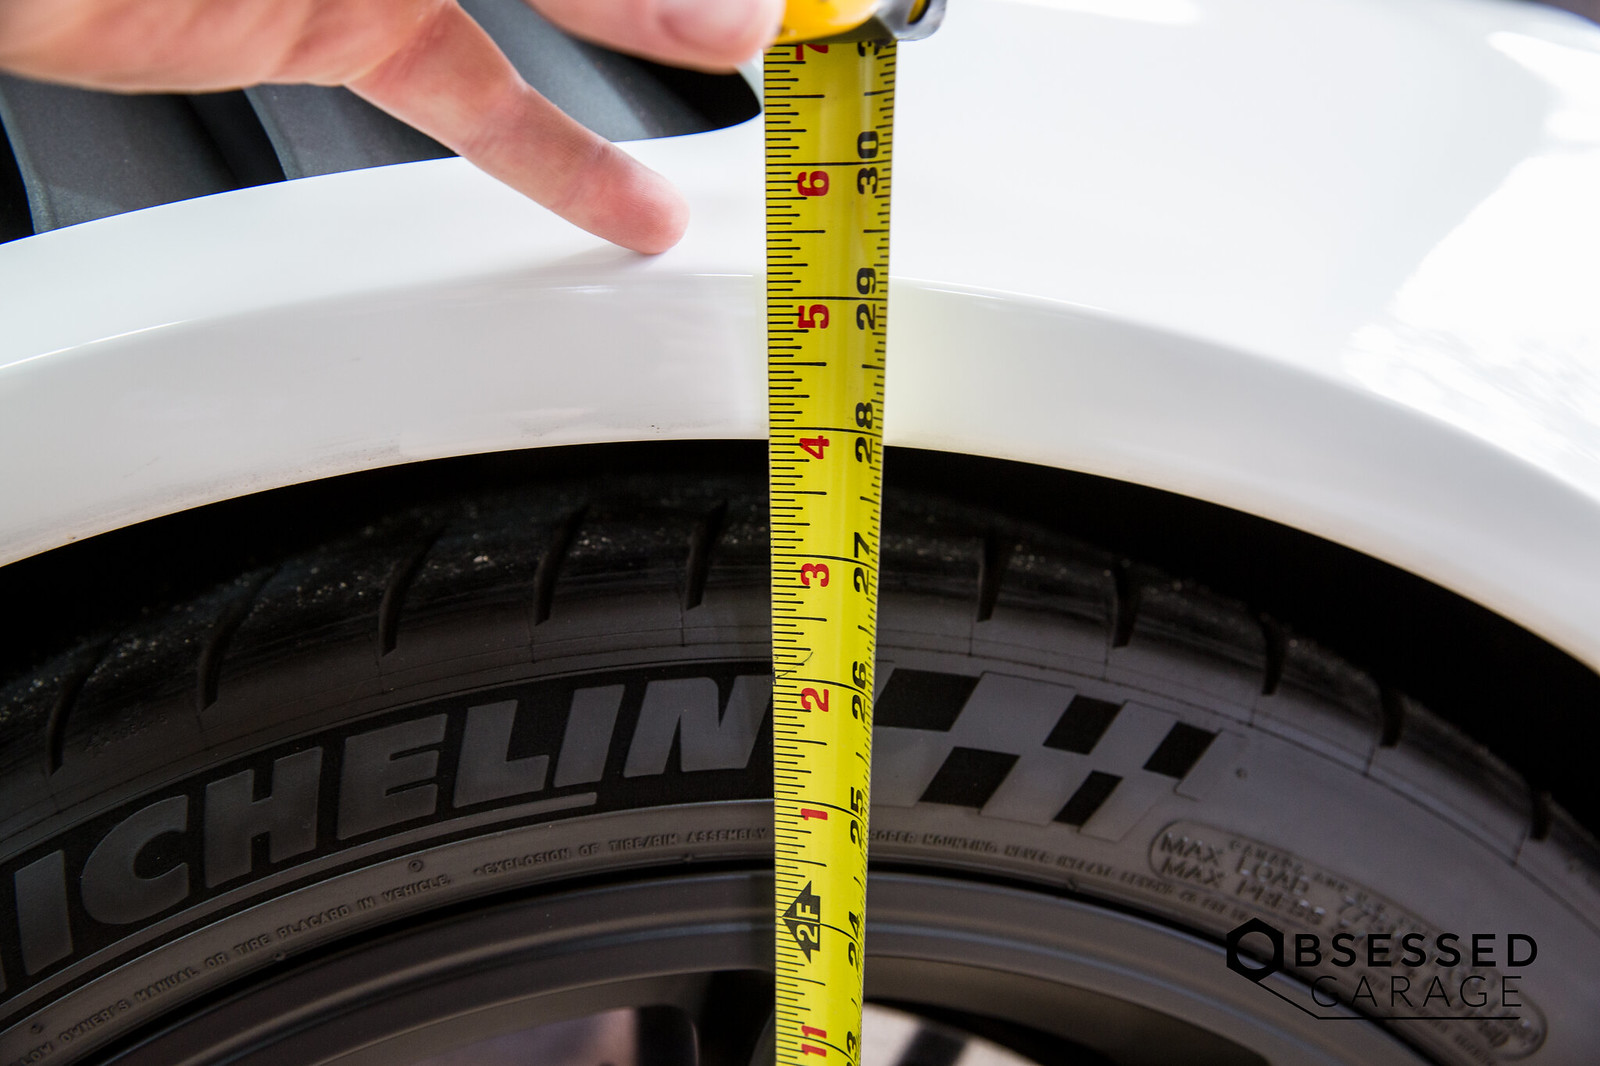
Tape Measure
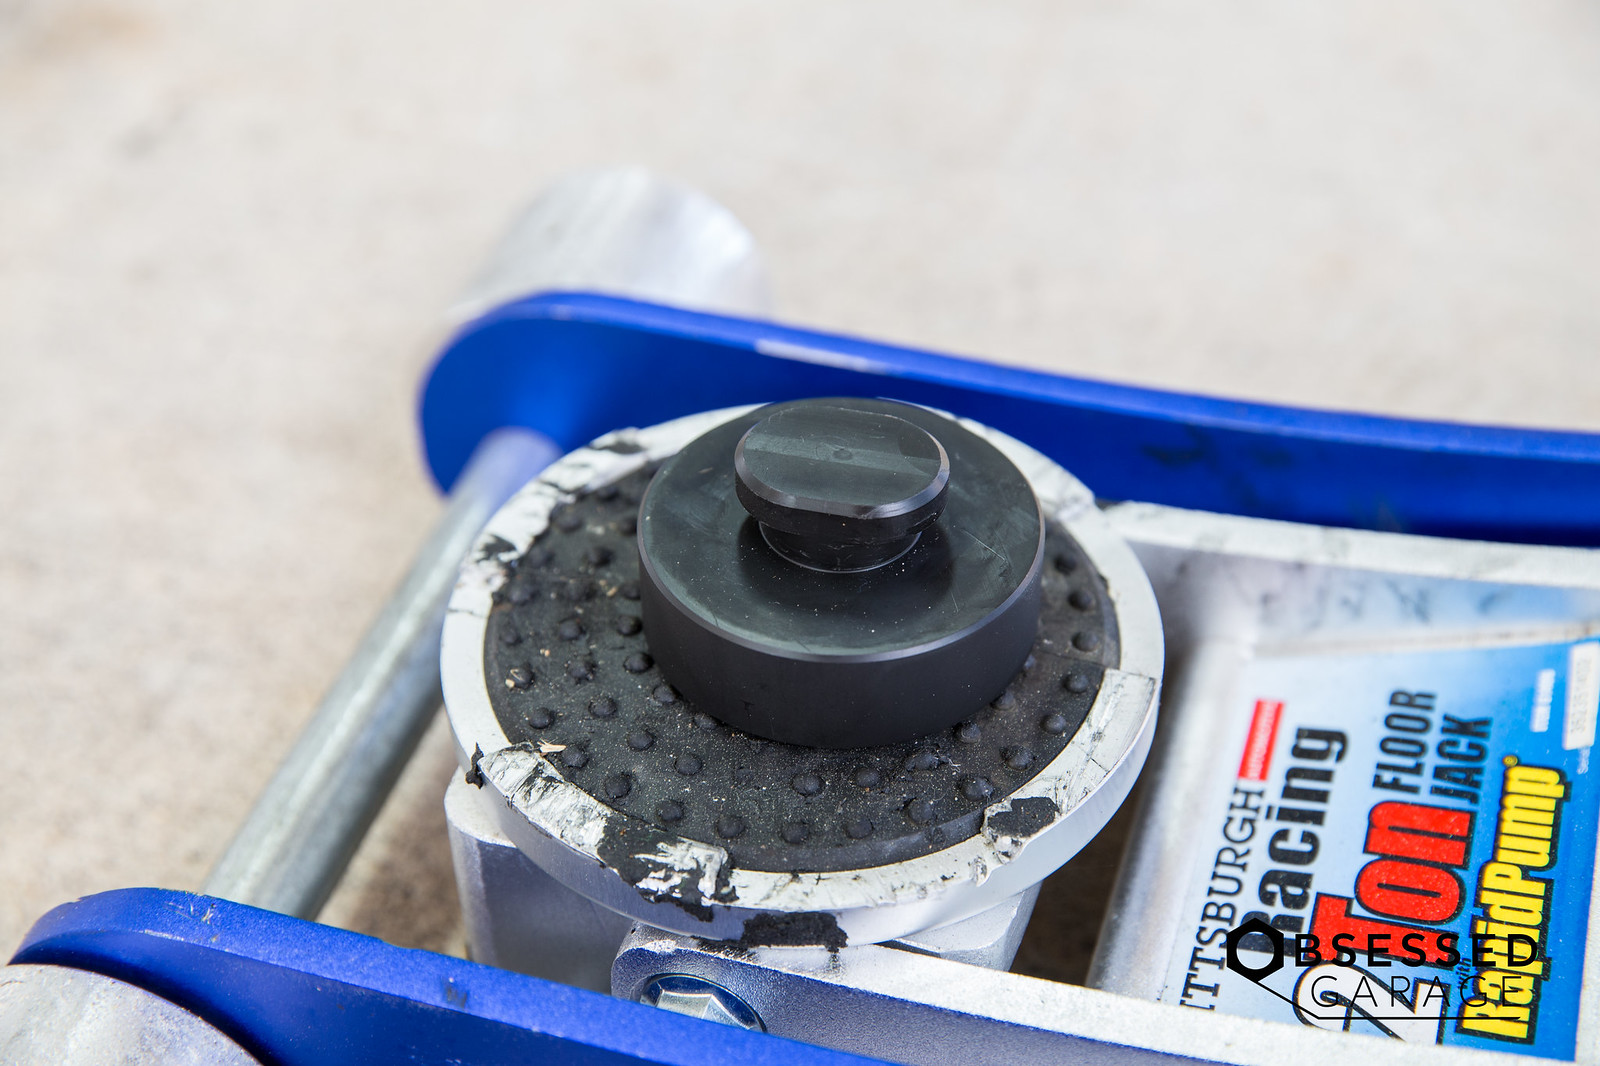
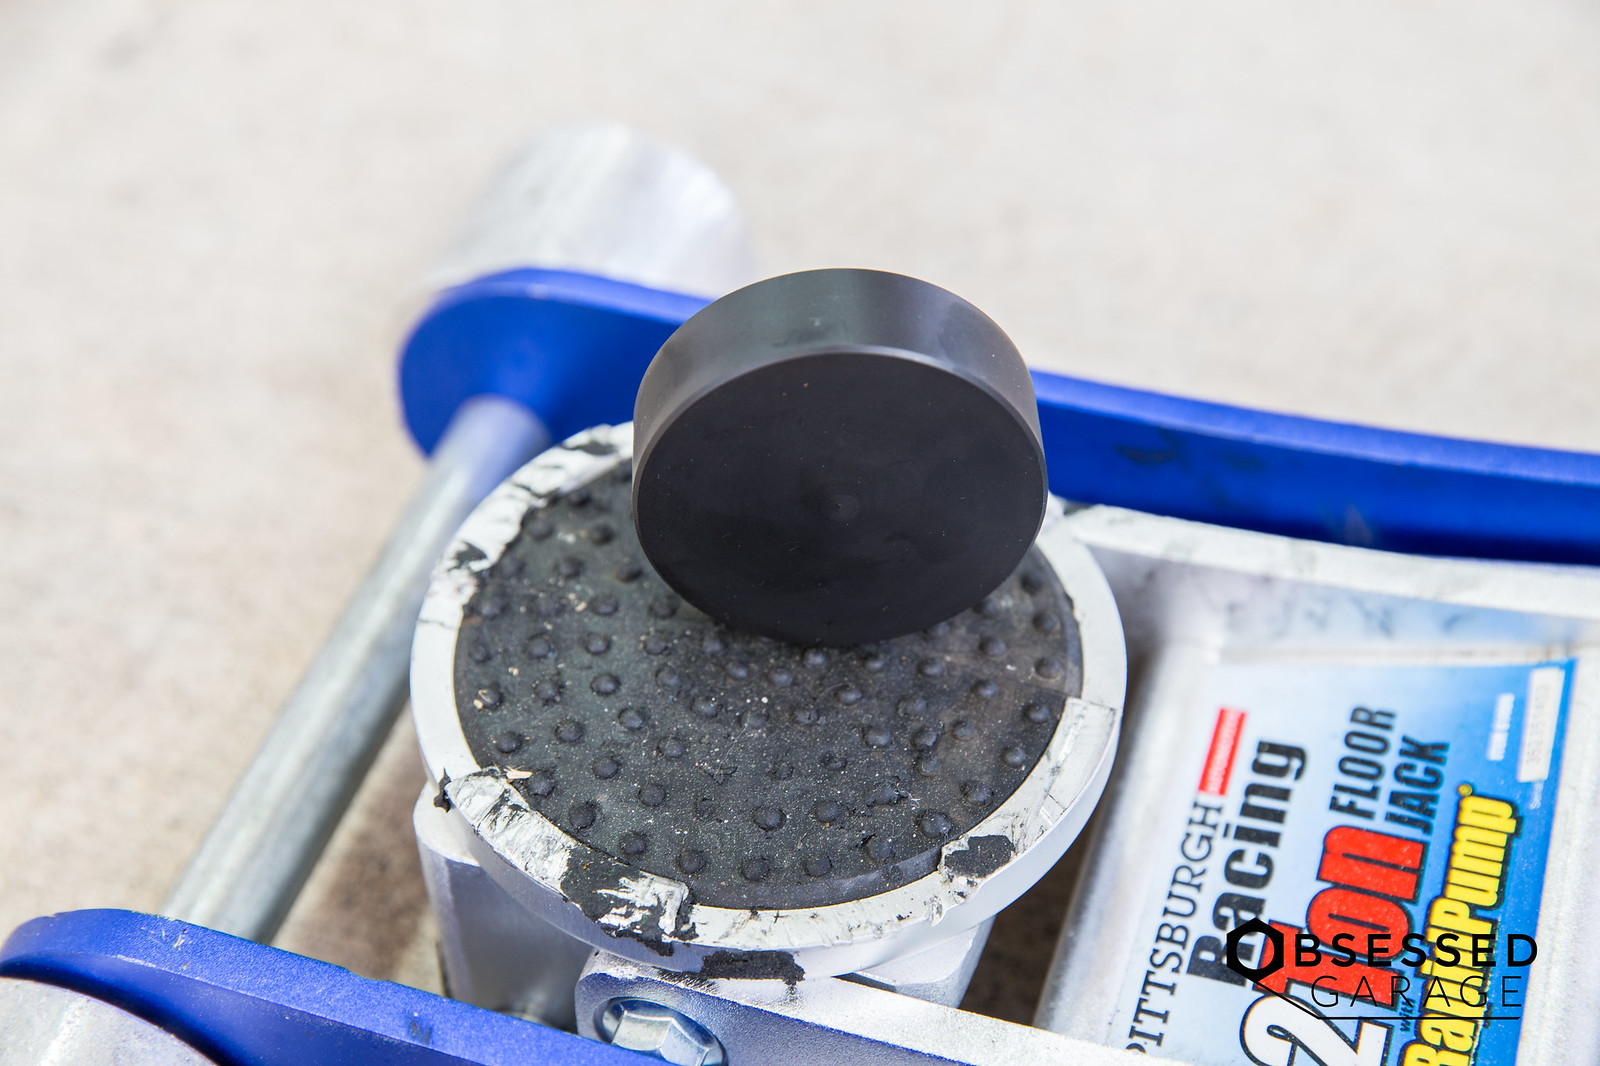
Cheap Harbor Freight Pittsburgh 2 Top Wheel Jack
PM @smokinGTS here on Rennlist for Delrin Wheel Guide and Delrin Jack Pads
Irwin Quick Grip Bar Clamp: http://amzn.to/2CQicUQ
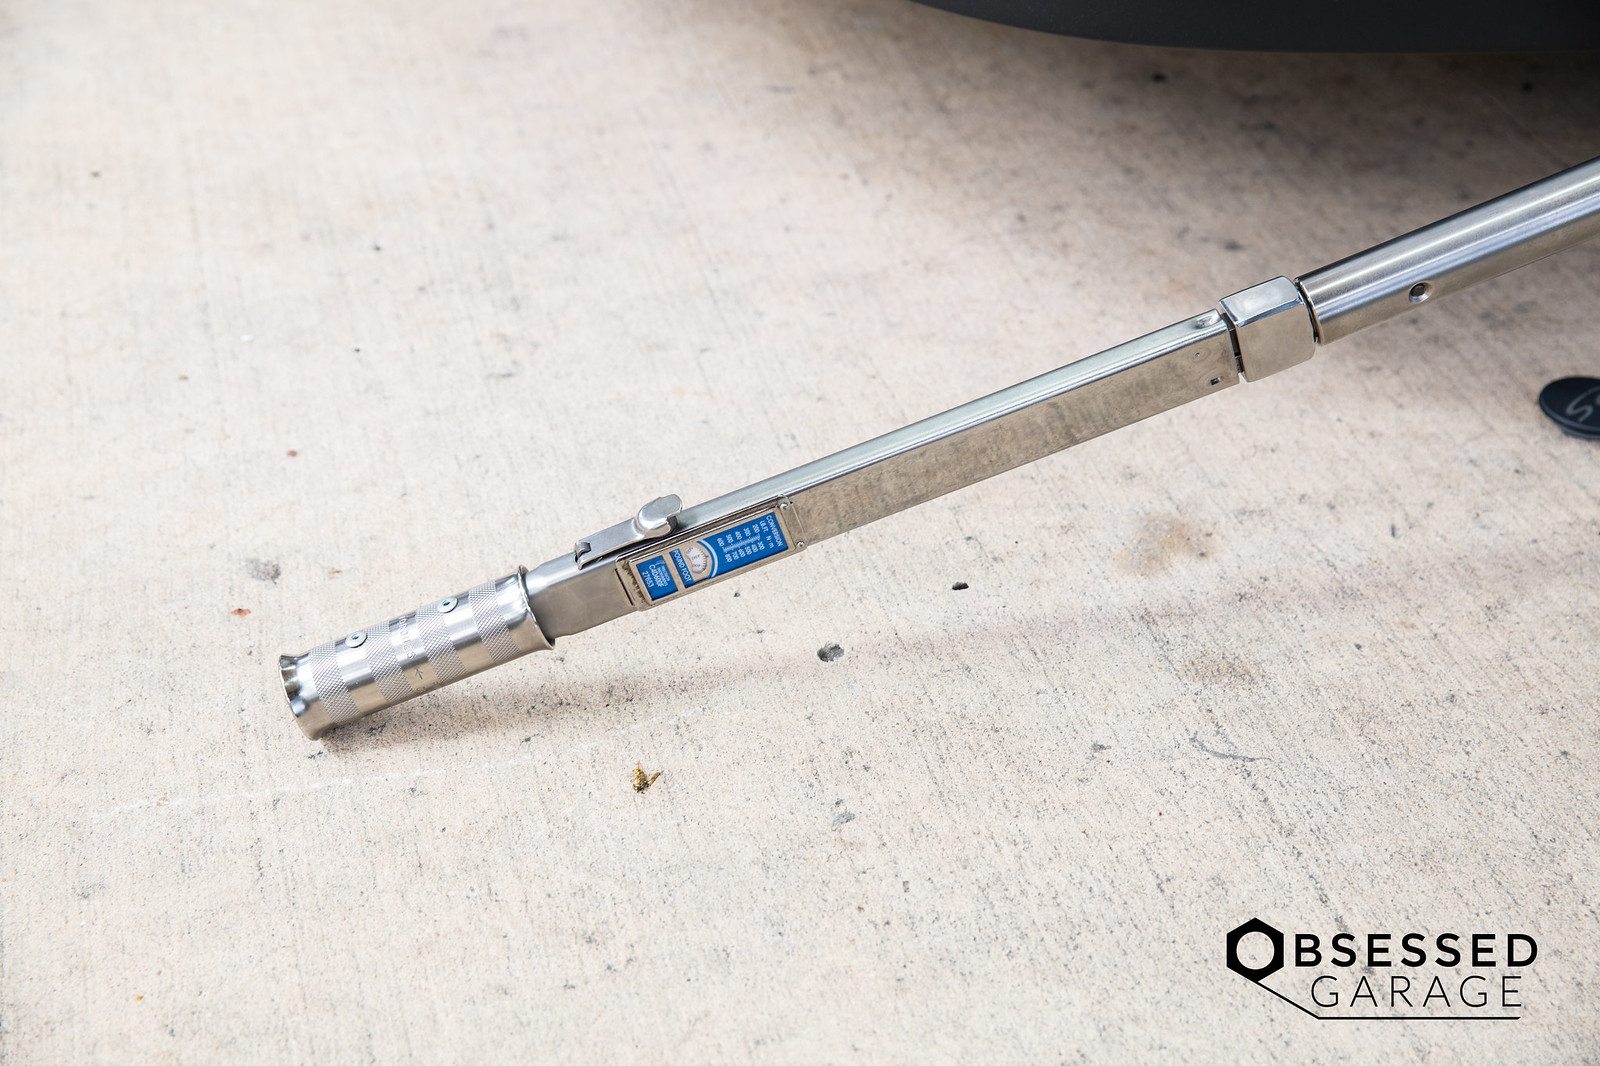
Precision Instruments 3/4" Torque Wrench/Breaker Bar Combo: http://amzn.to/2meTDtV
Castrol Optimol Grease: https://www.suncoastparts.com/product/04302000.html
Paper Towels
Rubber Glove
Microfiber Towel: https://www.obsessedgaragestore.com/...-removal-towel
Williams Spanner Wrenches: http://amzn.to/2CYNYTV
Vernier Caliper: http://amzn.to/2DhyB61
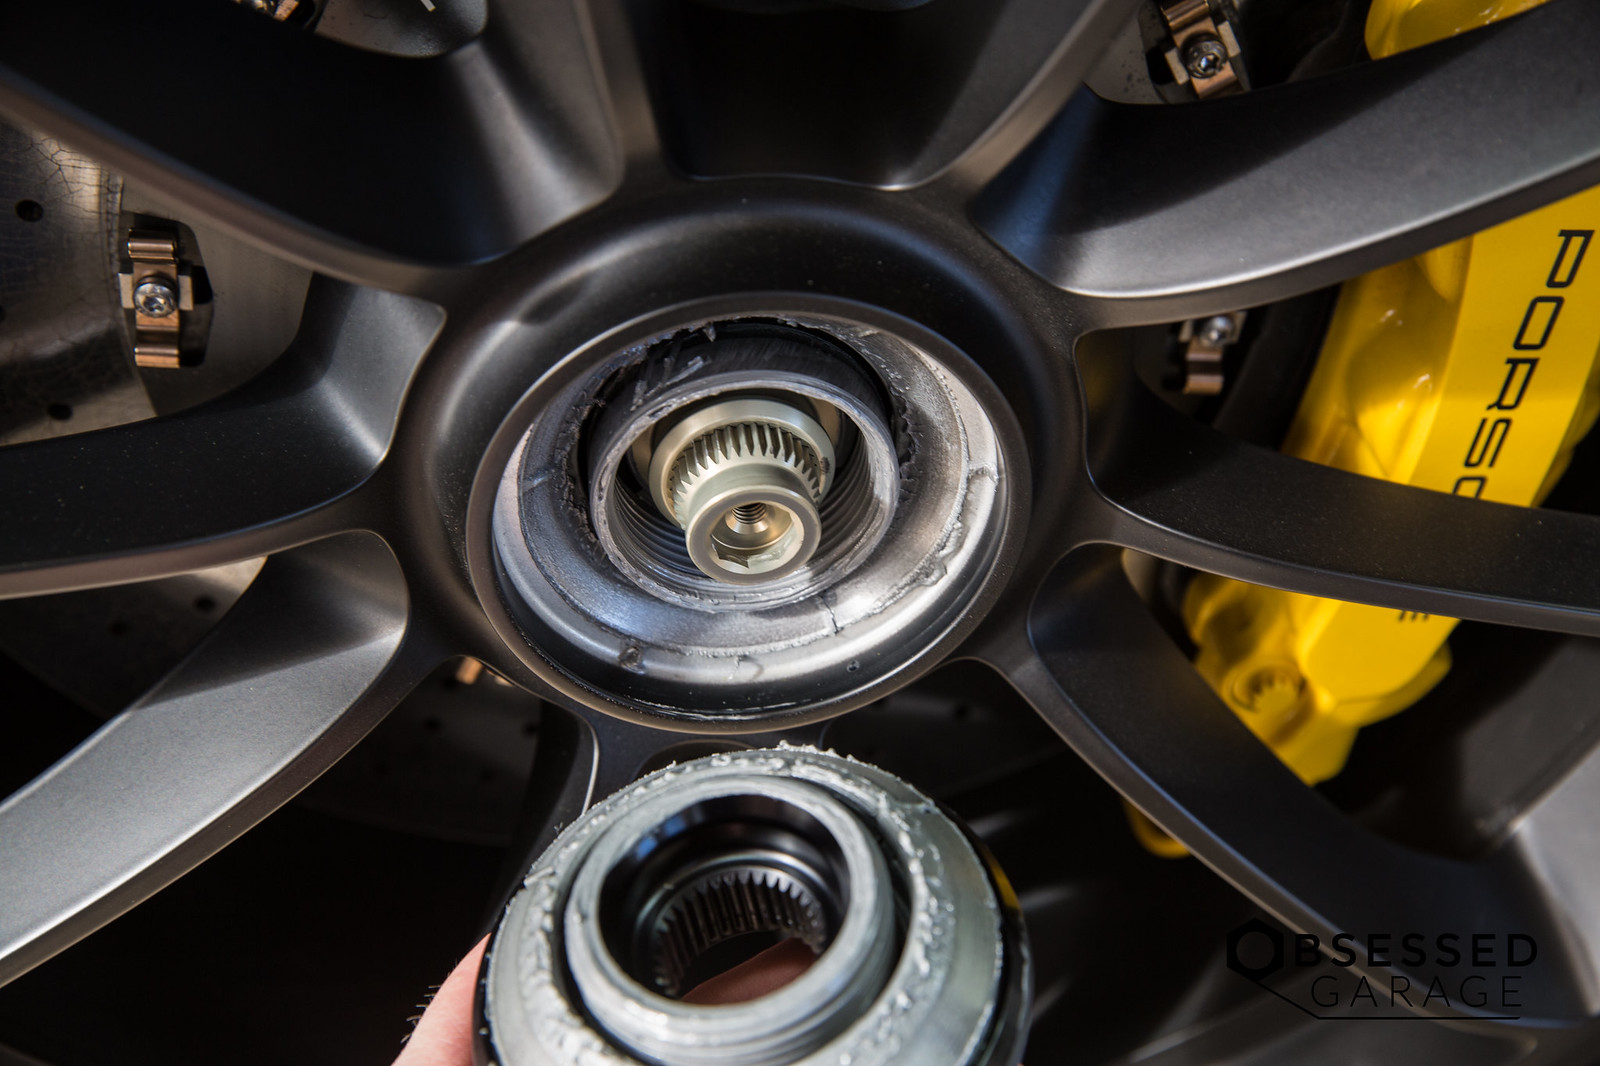
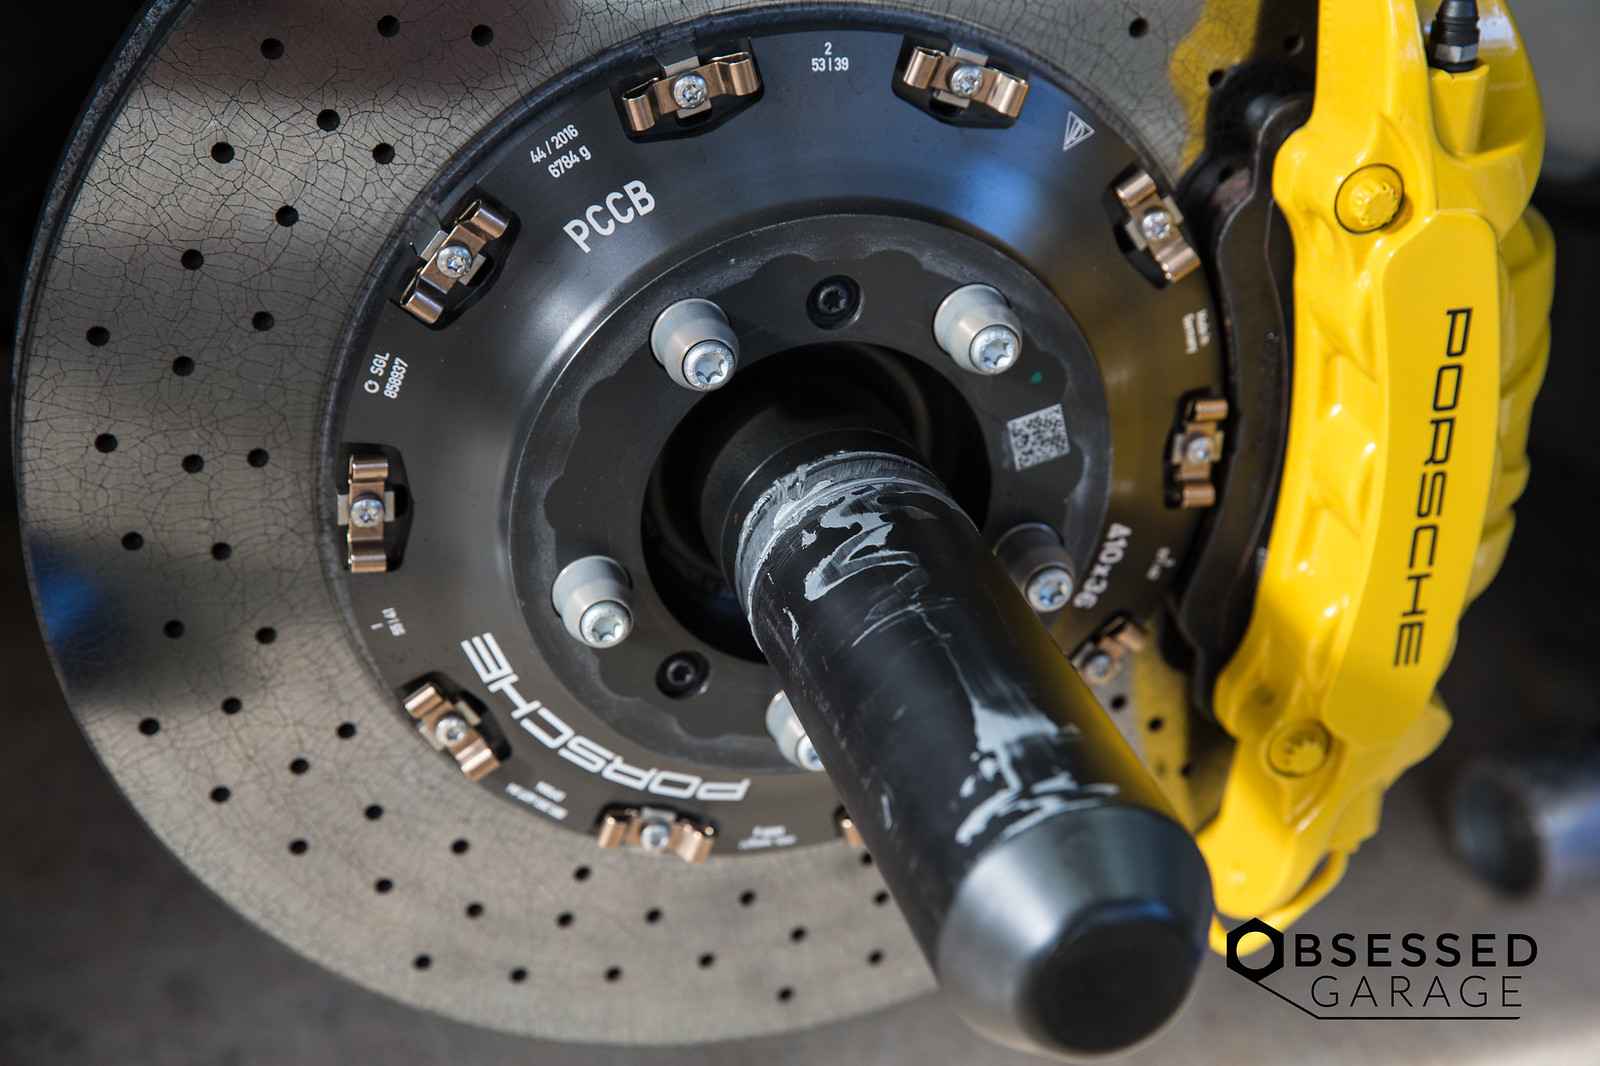
I always end up doing this wrong for some reason. You need to insert and "scoop" the center cap off rather than pulling. Pulling usually leads to slipping and scratching. But the scoop doesn't always work either, so you have manage it. (I know...I know, this should not be that complicated. But for some reason, it's challenging for me.)
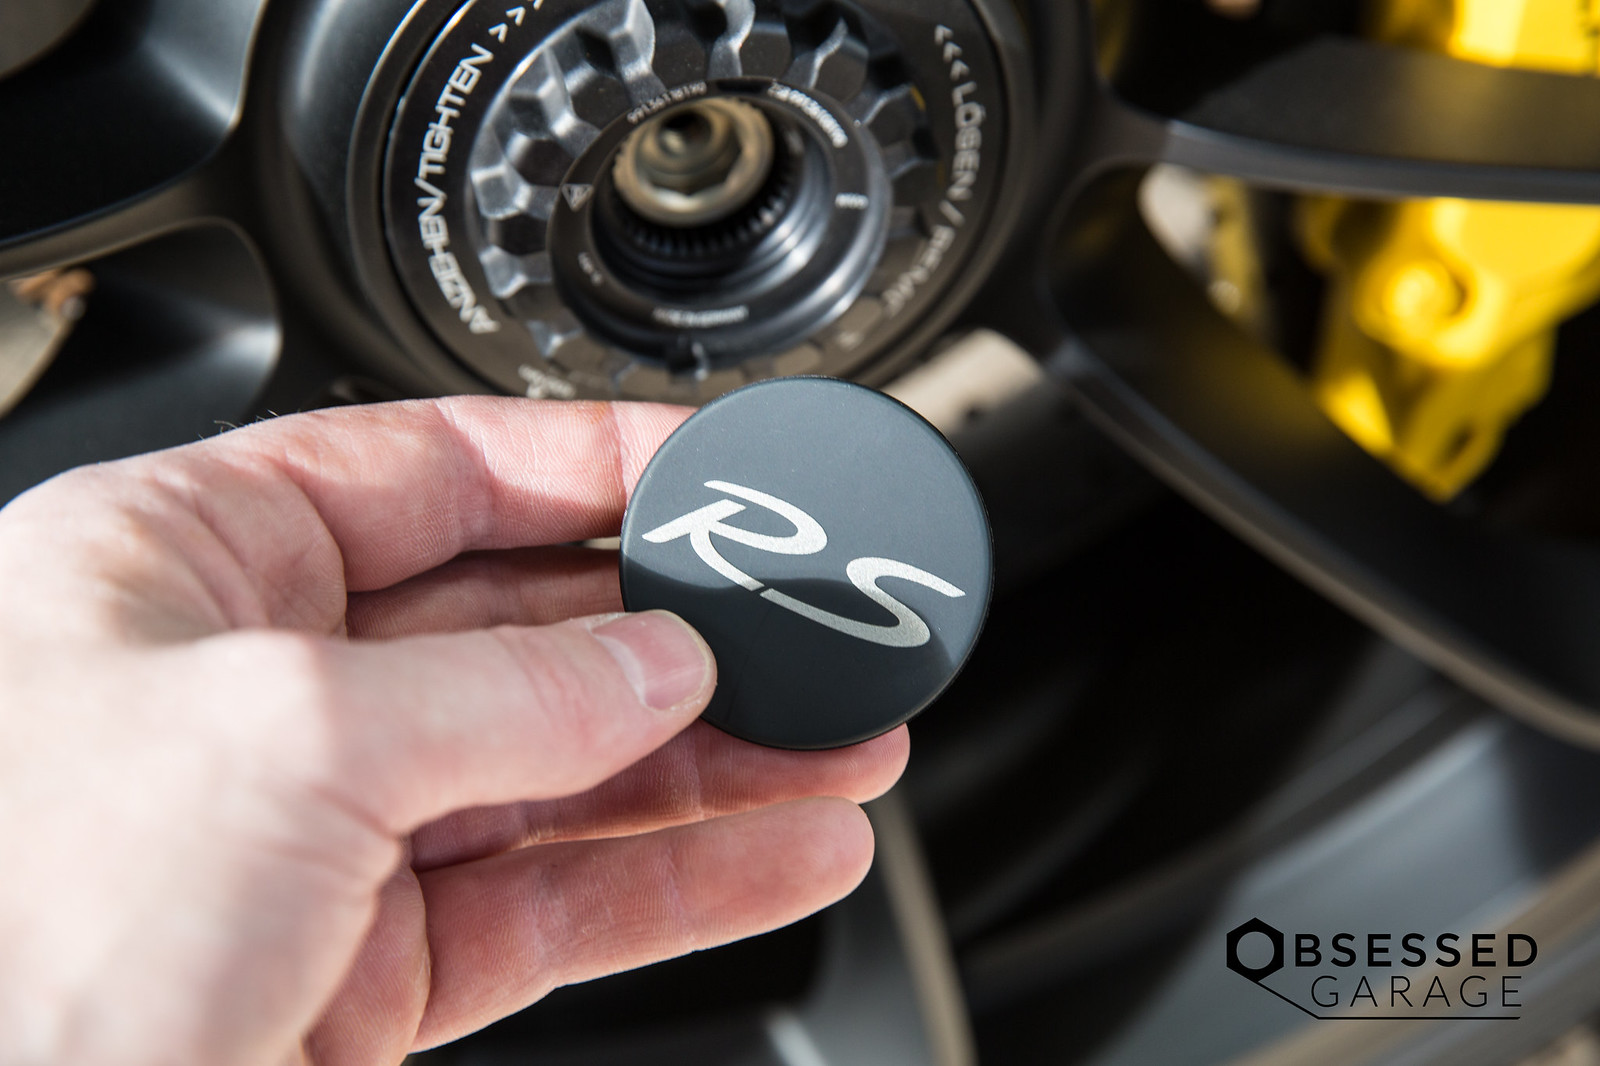
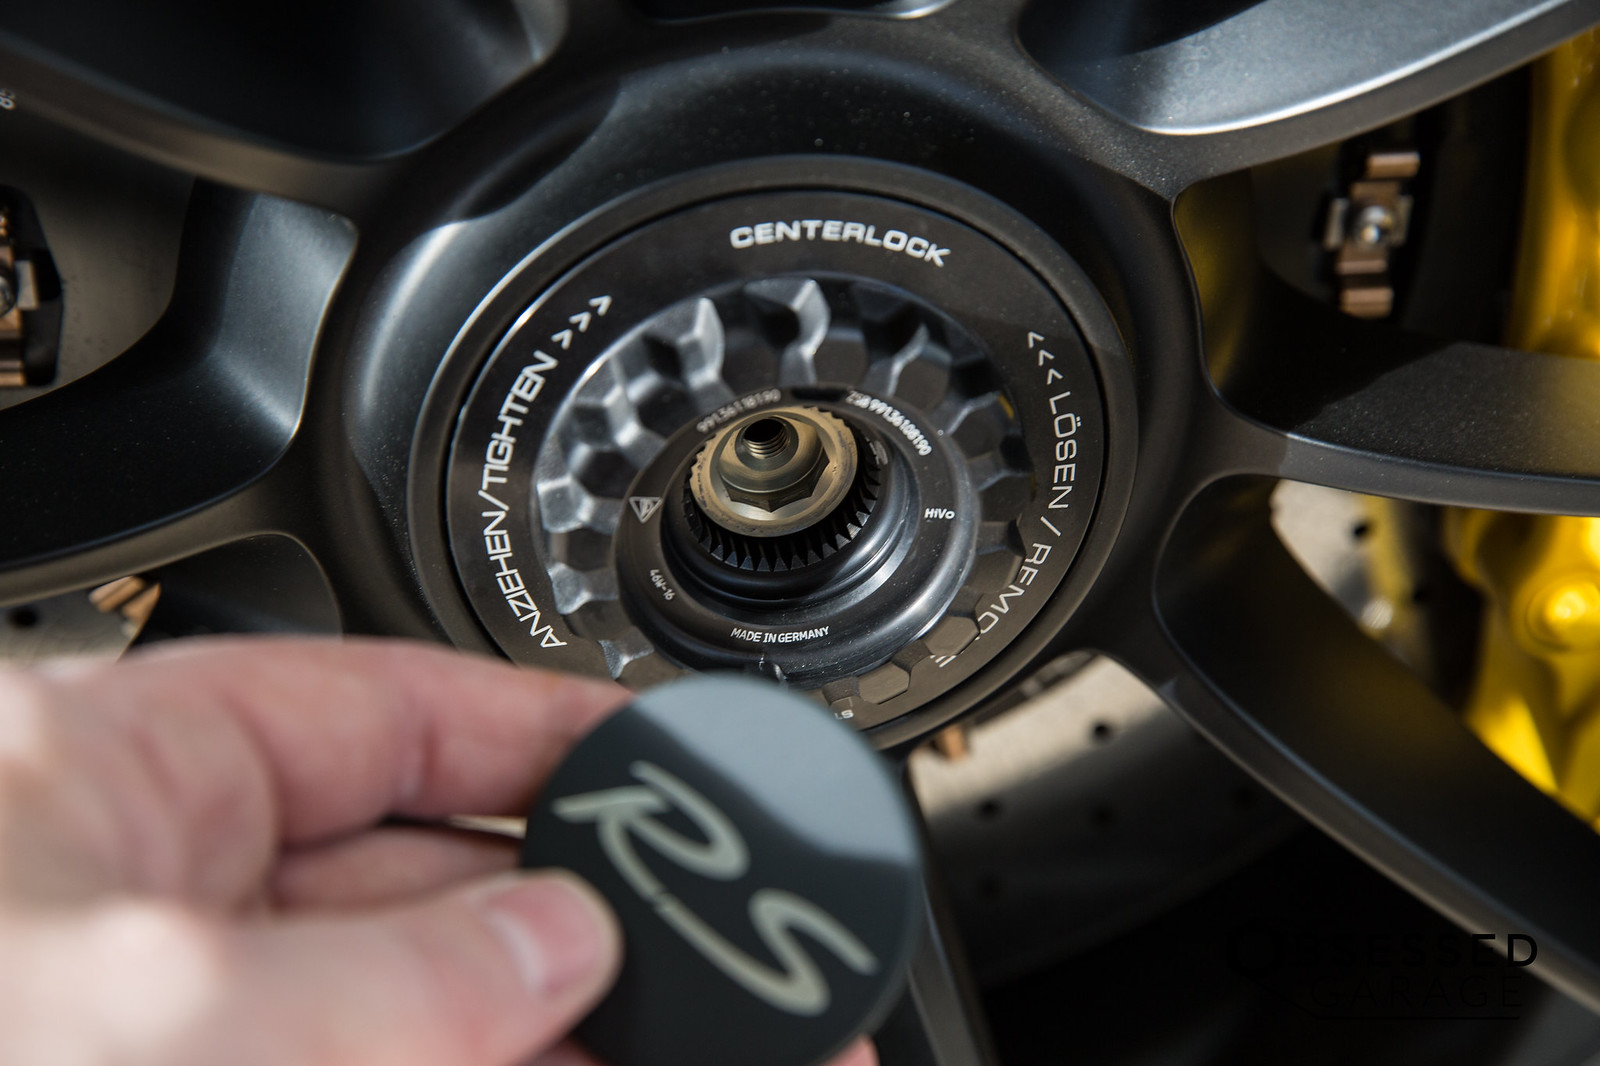
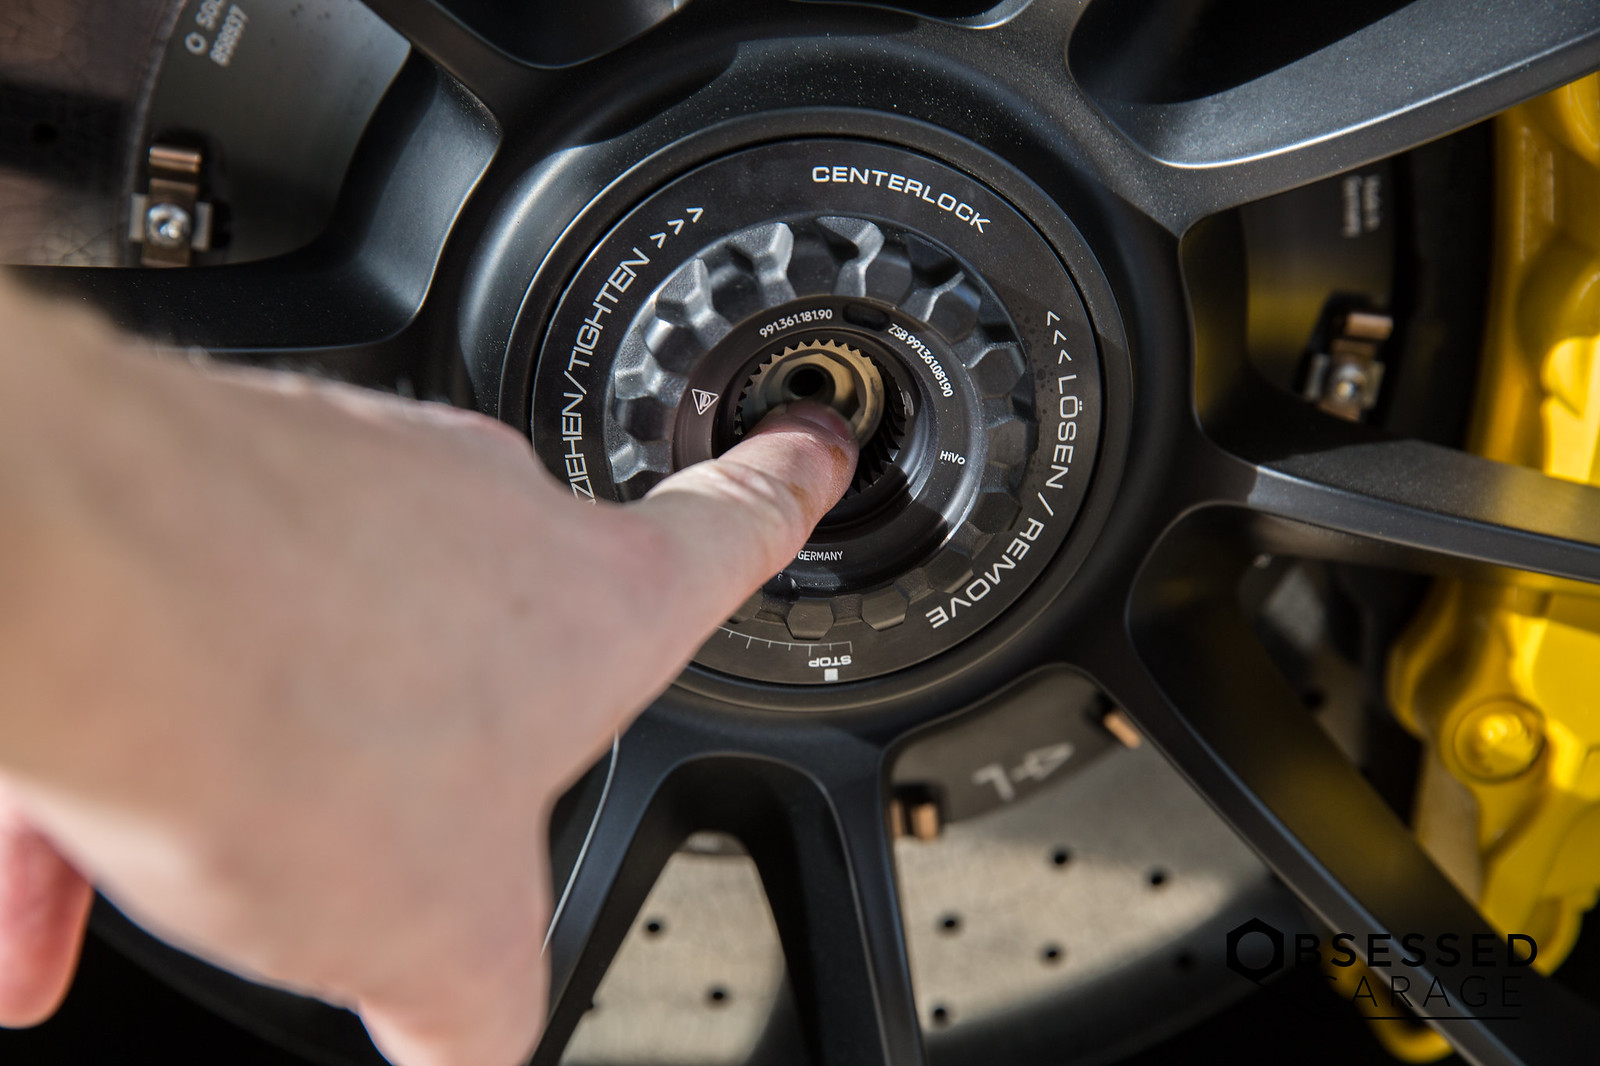
I alway push in the locking pin (the lighter metal thing in the center) to ensure it's loose and moveable.
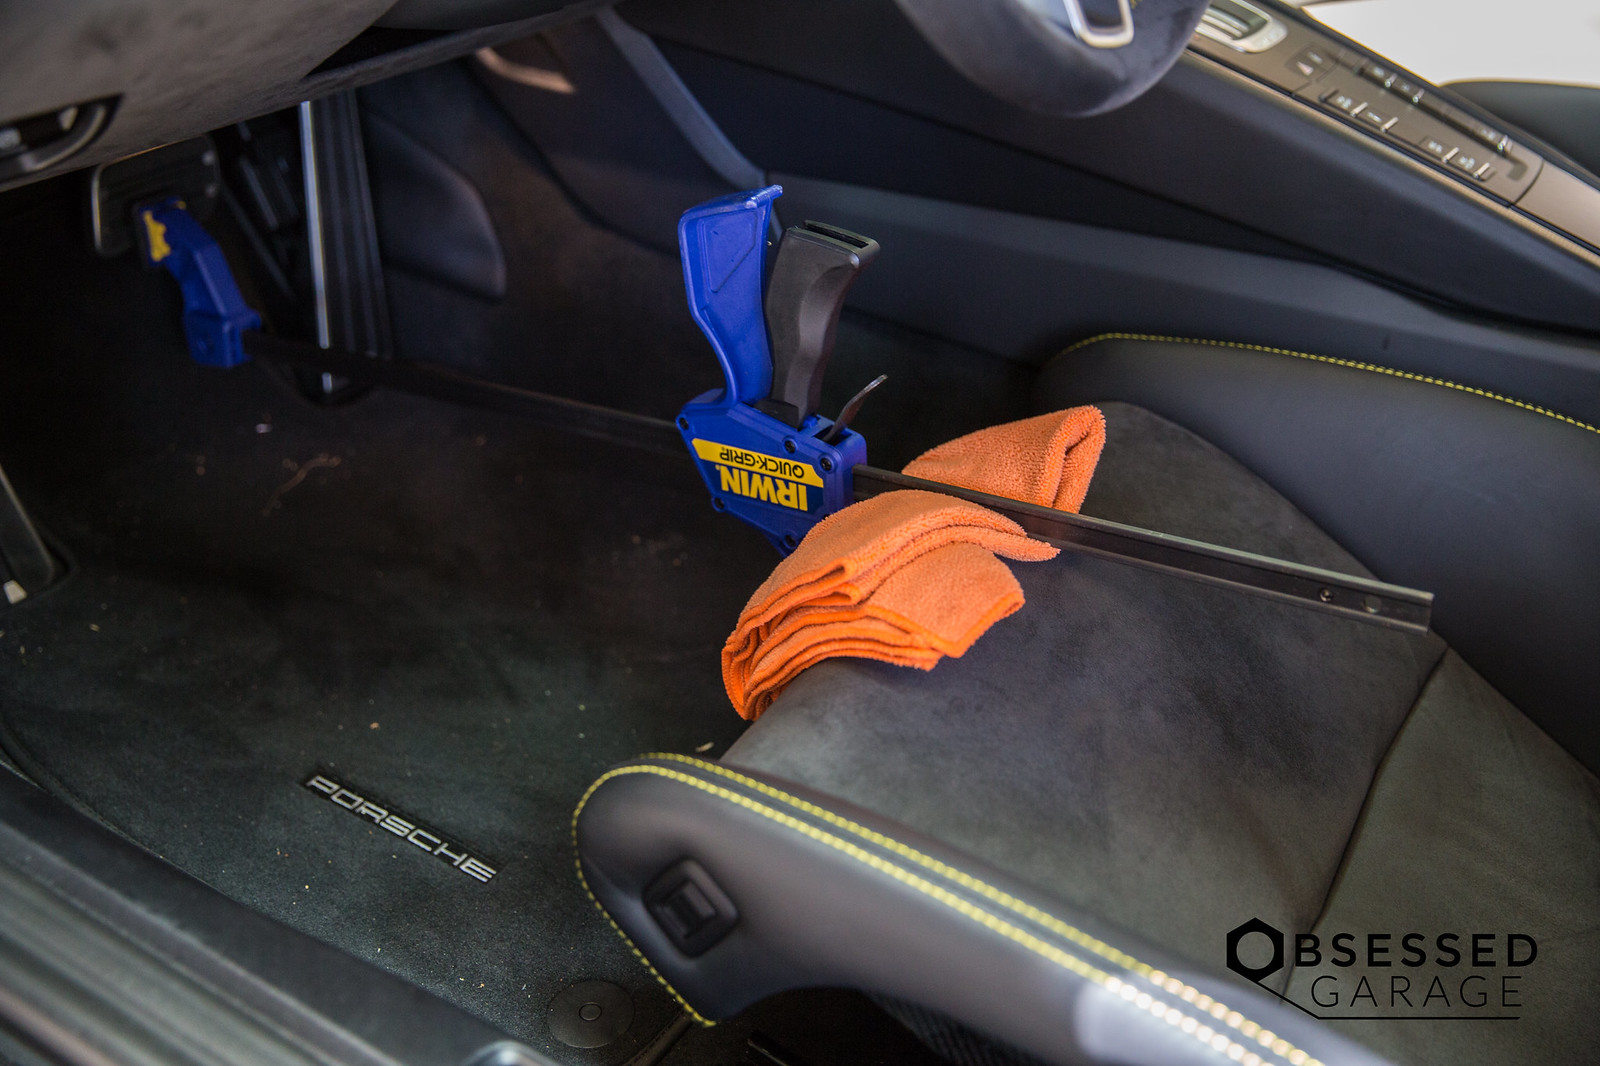
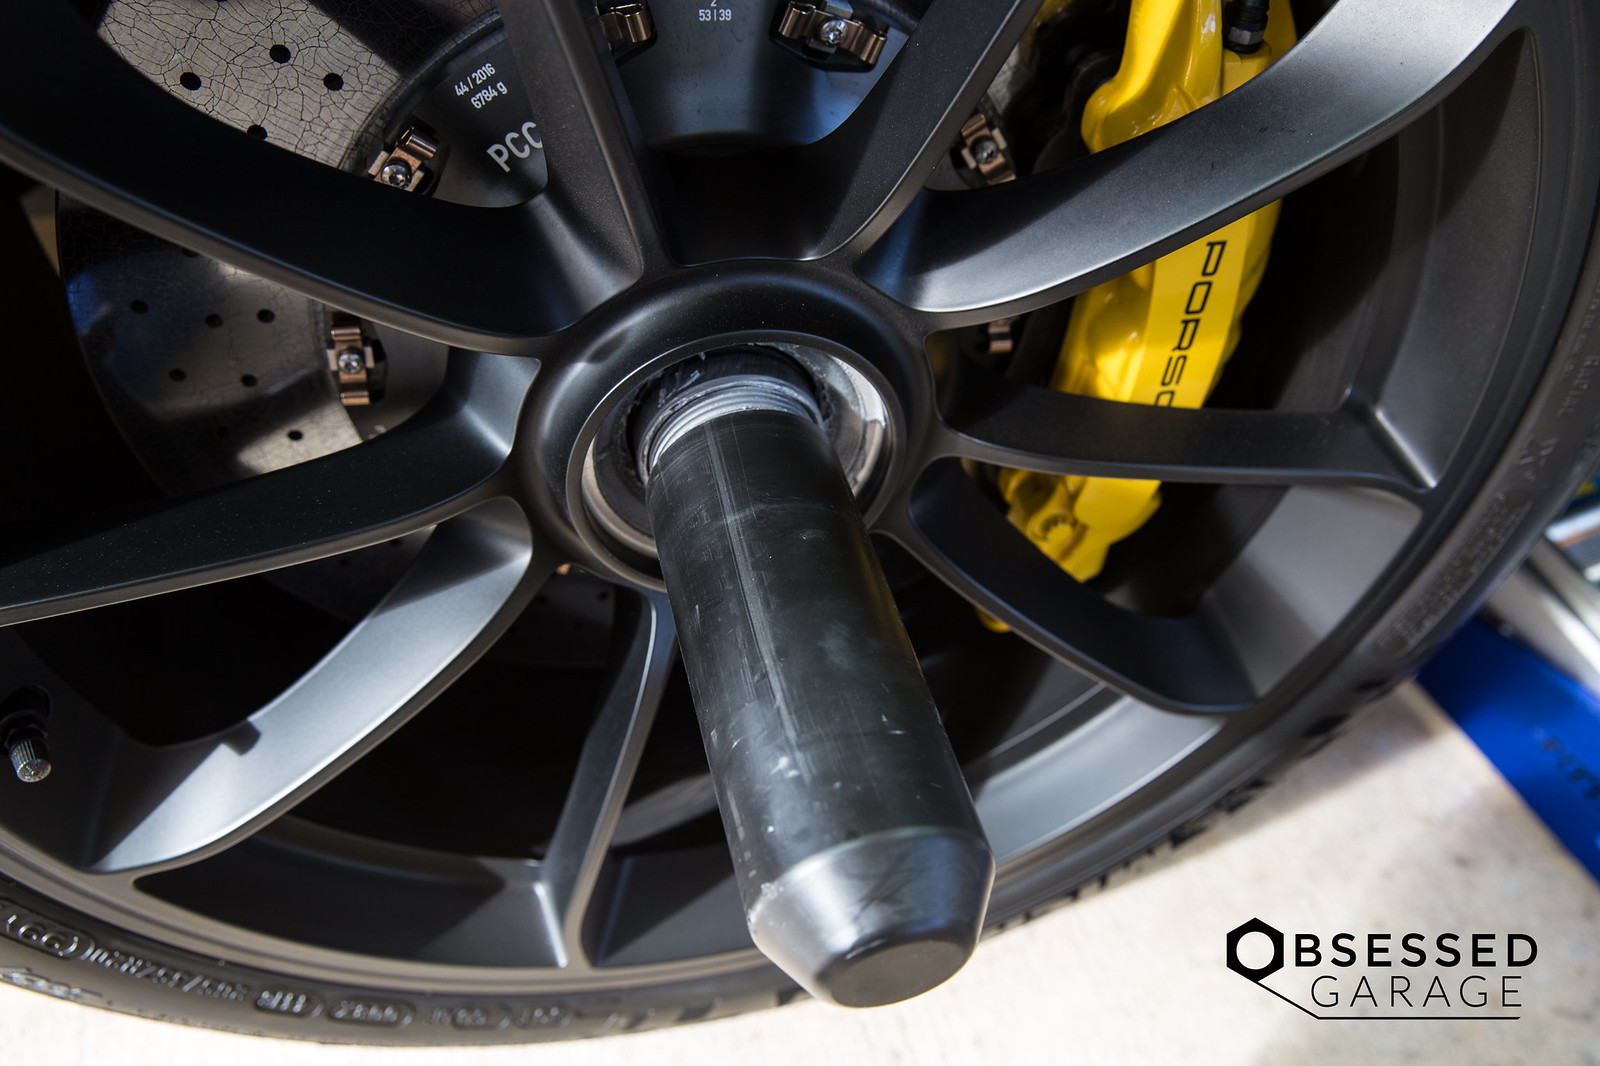
Then take the end off the Irwin clamp, put it on the opposite end of the shaft and flip it outward and upside down.
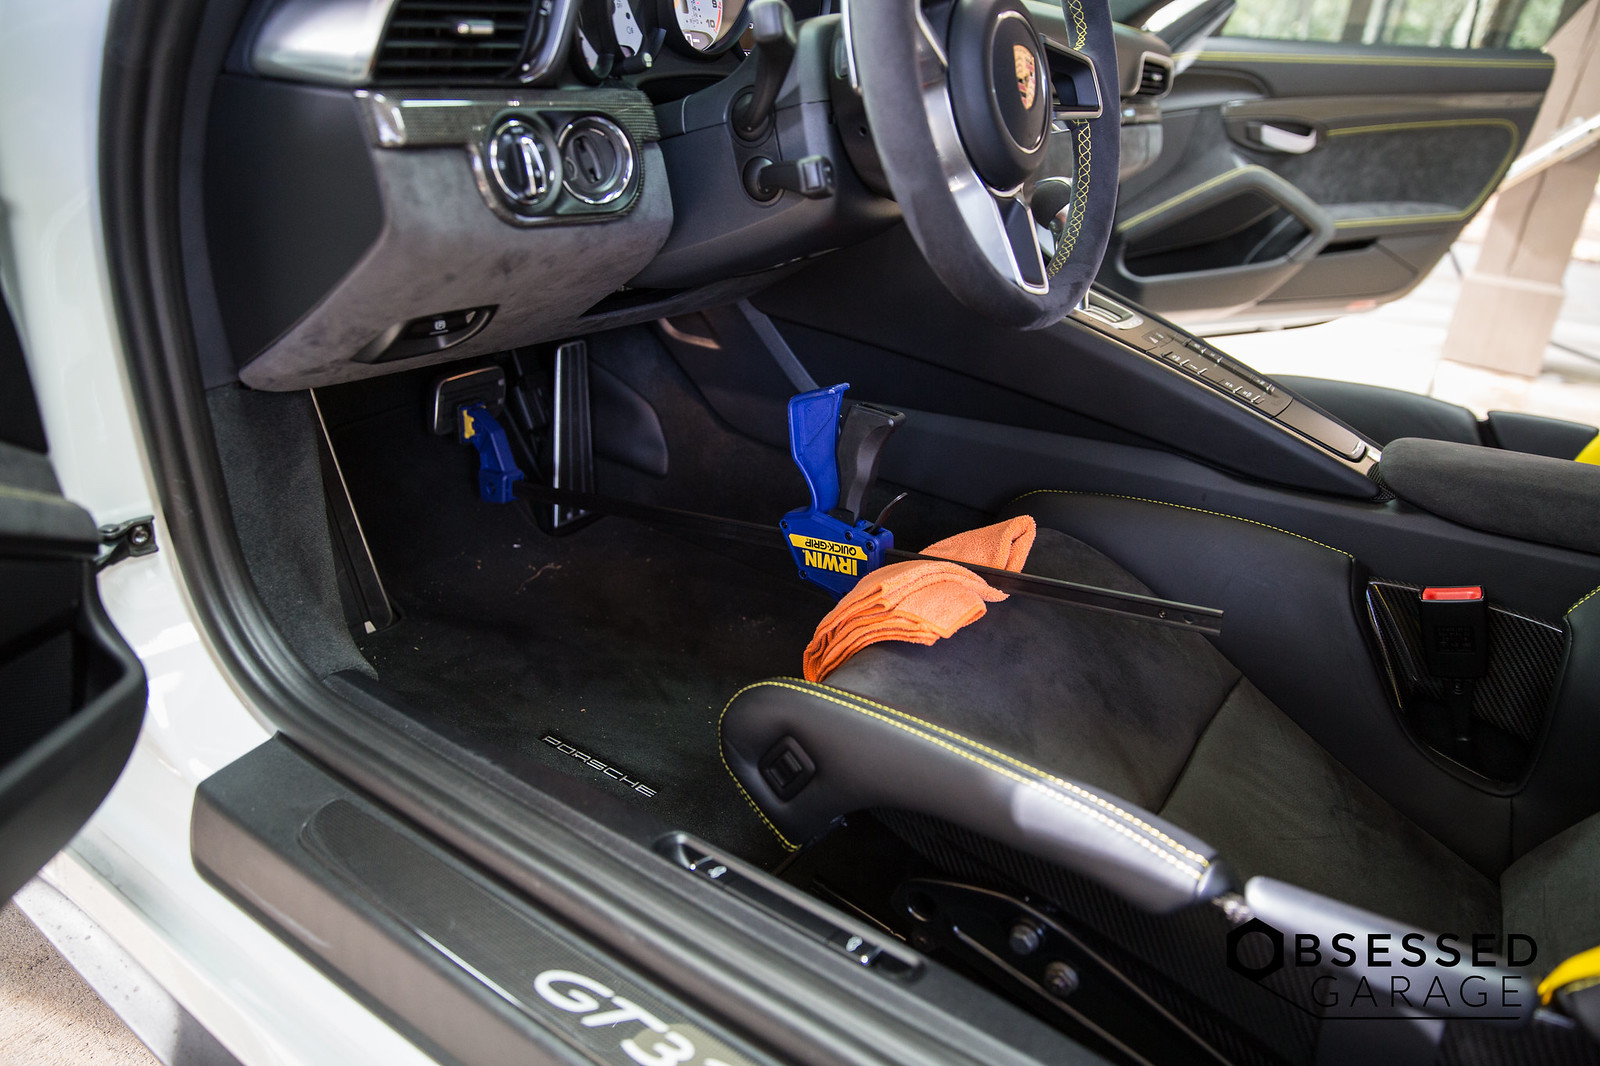
I know, Mr. Obsessed has some dirt in the interior. It happens to the best of us.

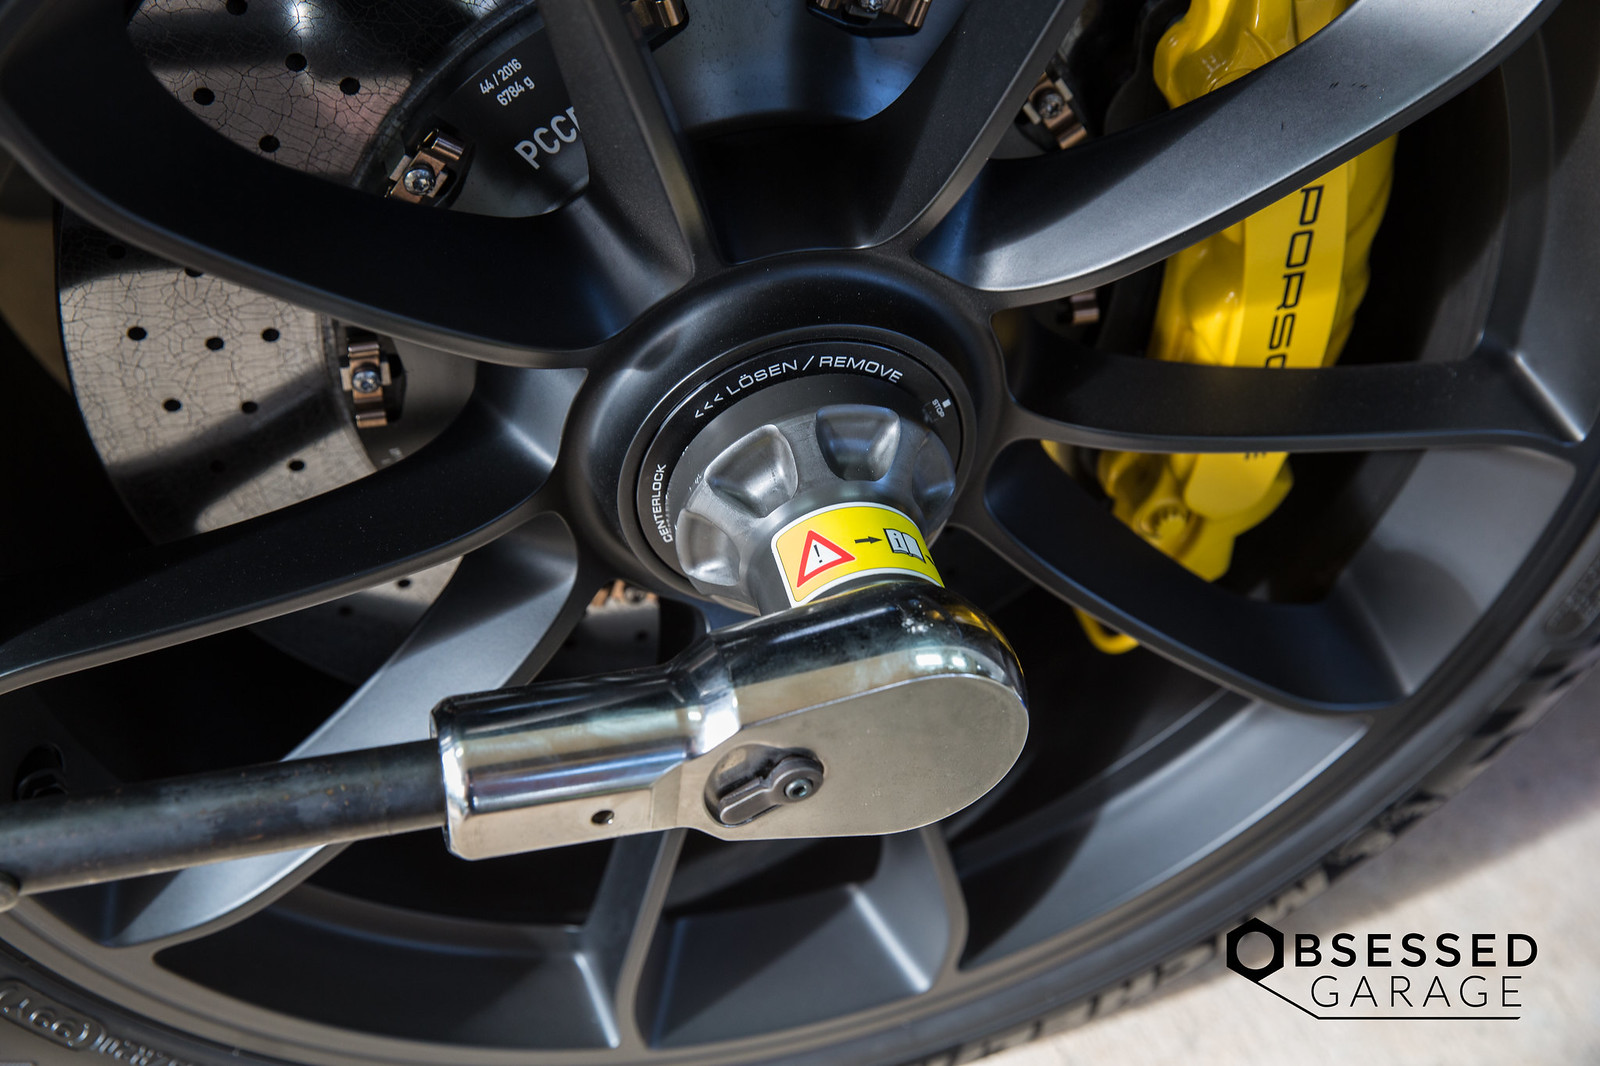
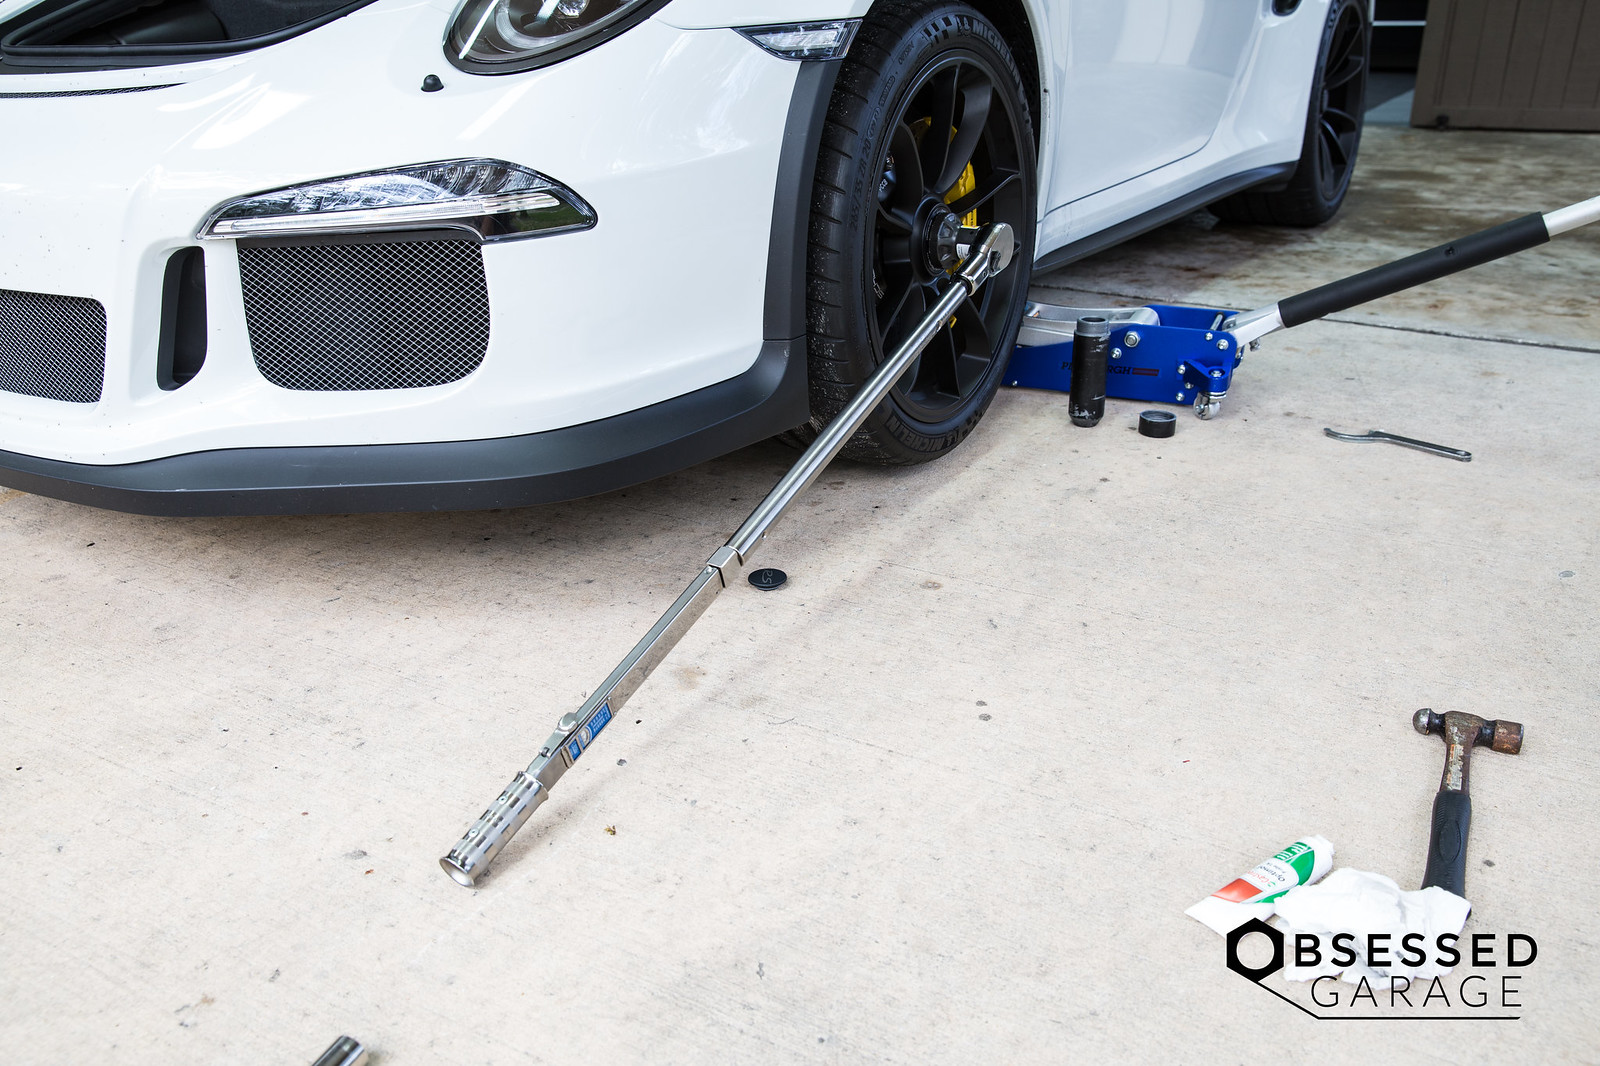
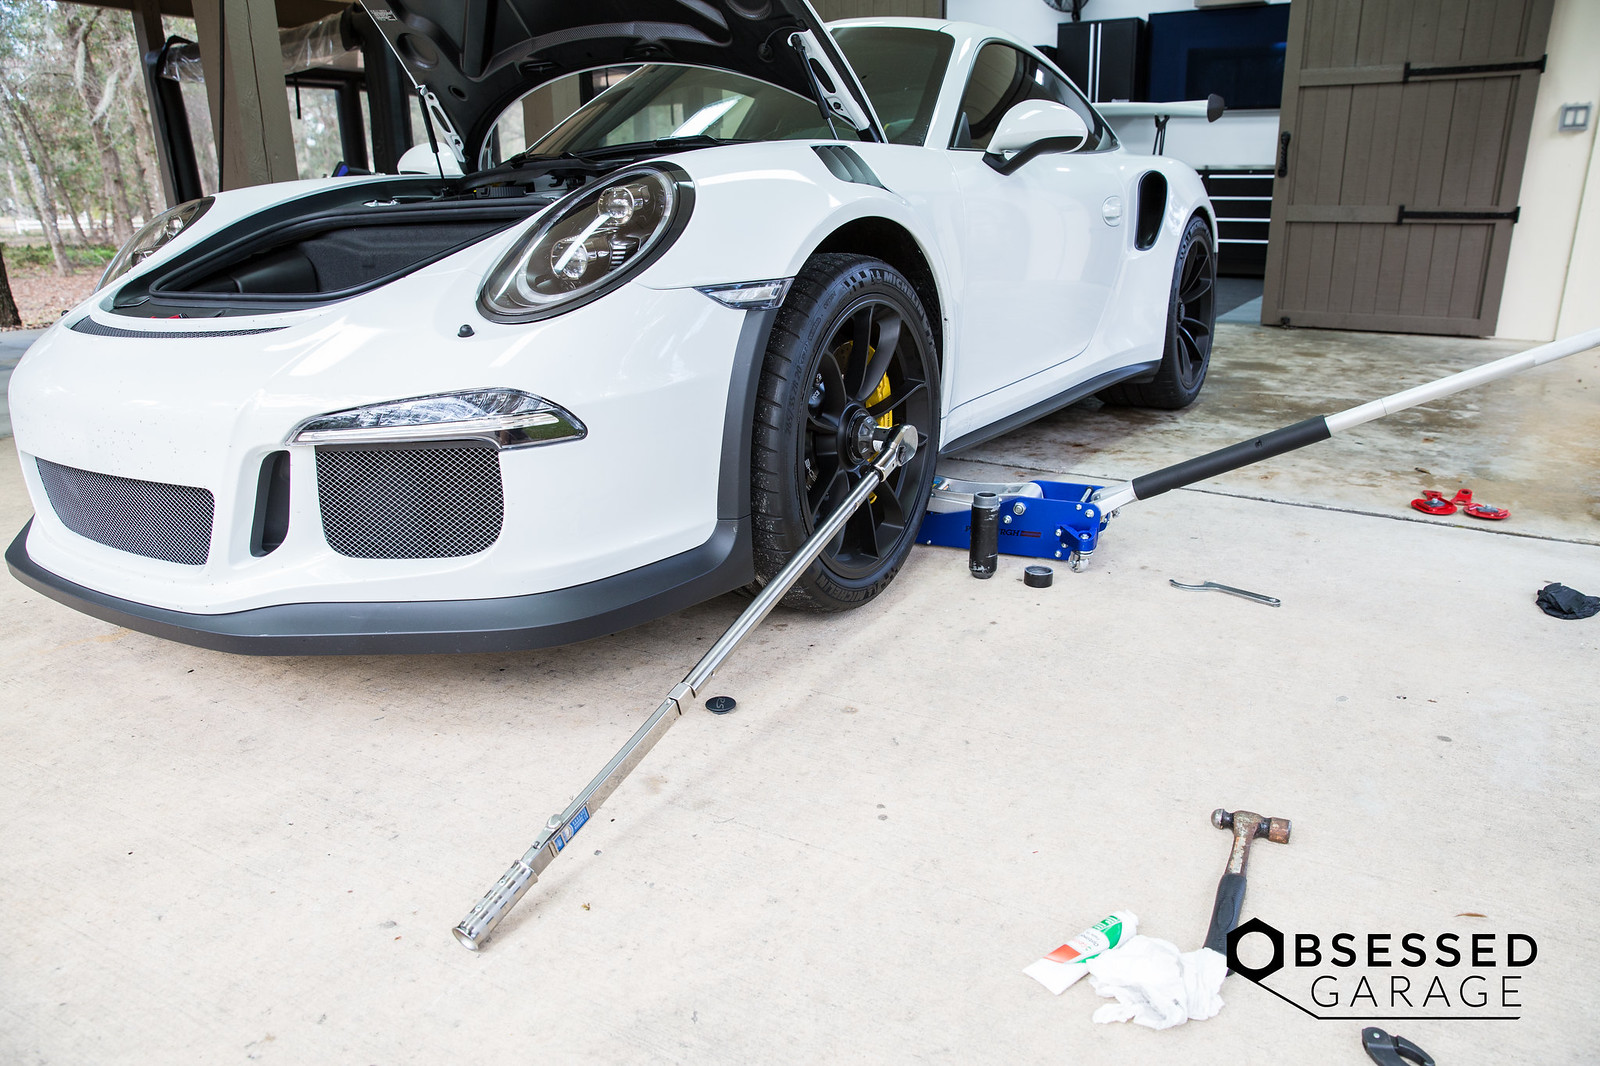
Now before you get crazy on me, I know we need to break the nut in the air. For some reason my center locks were over torqued, so I needed to use everything I had to break them. I broke it slightly then jacked it up to remove it the rest of the way. Obviously use the breaker bar attachment not the torque bar.

You don't absolutely need these, but use the jack pads to jack up the car.
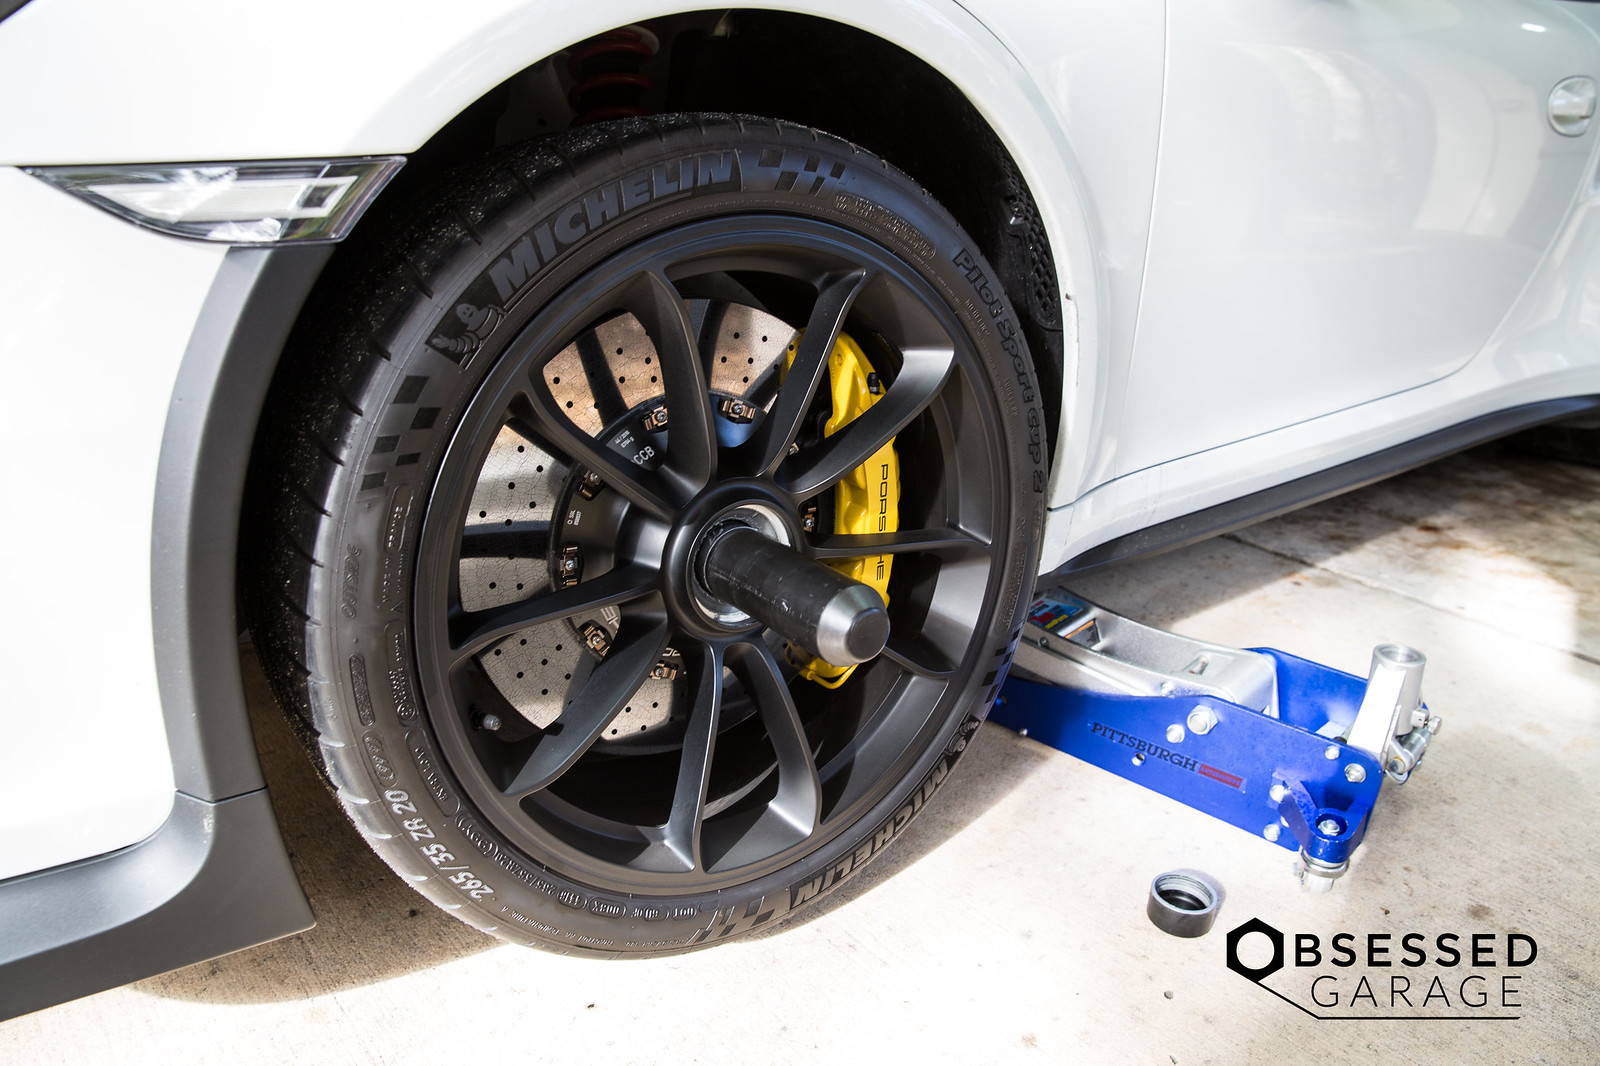
The optimol paste makes a mess, so do your best to keep it off your fingers. That stuff spreads like wildfire once you get it on you.
Here is the OE height setting. But I think my car may have been moved up a bit by the previous owner.
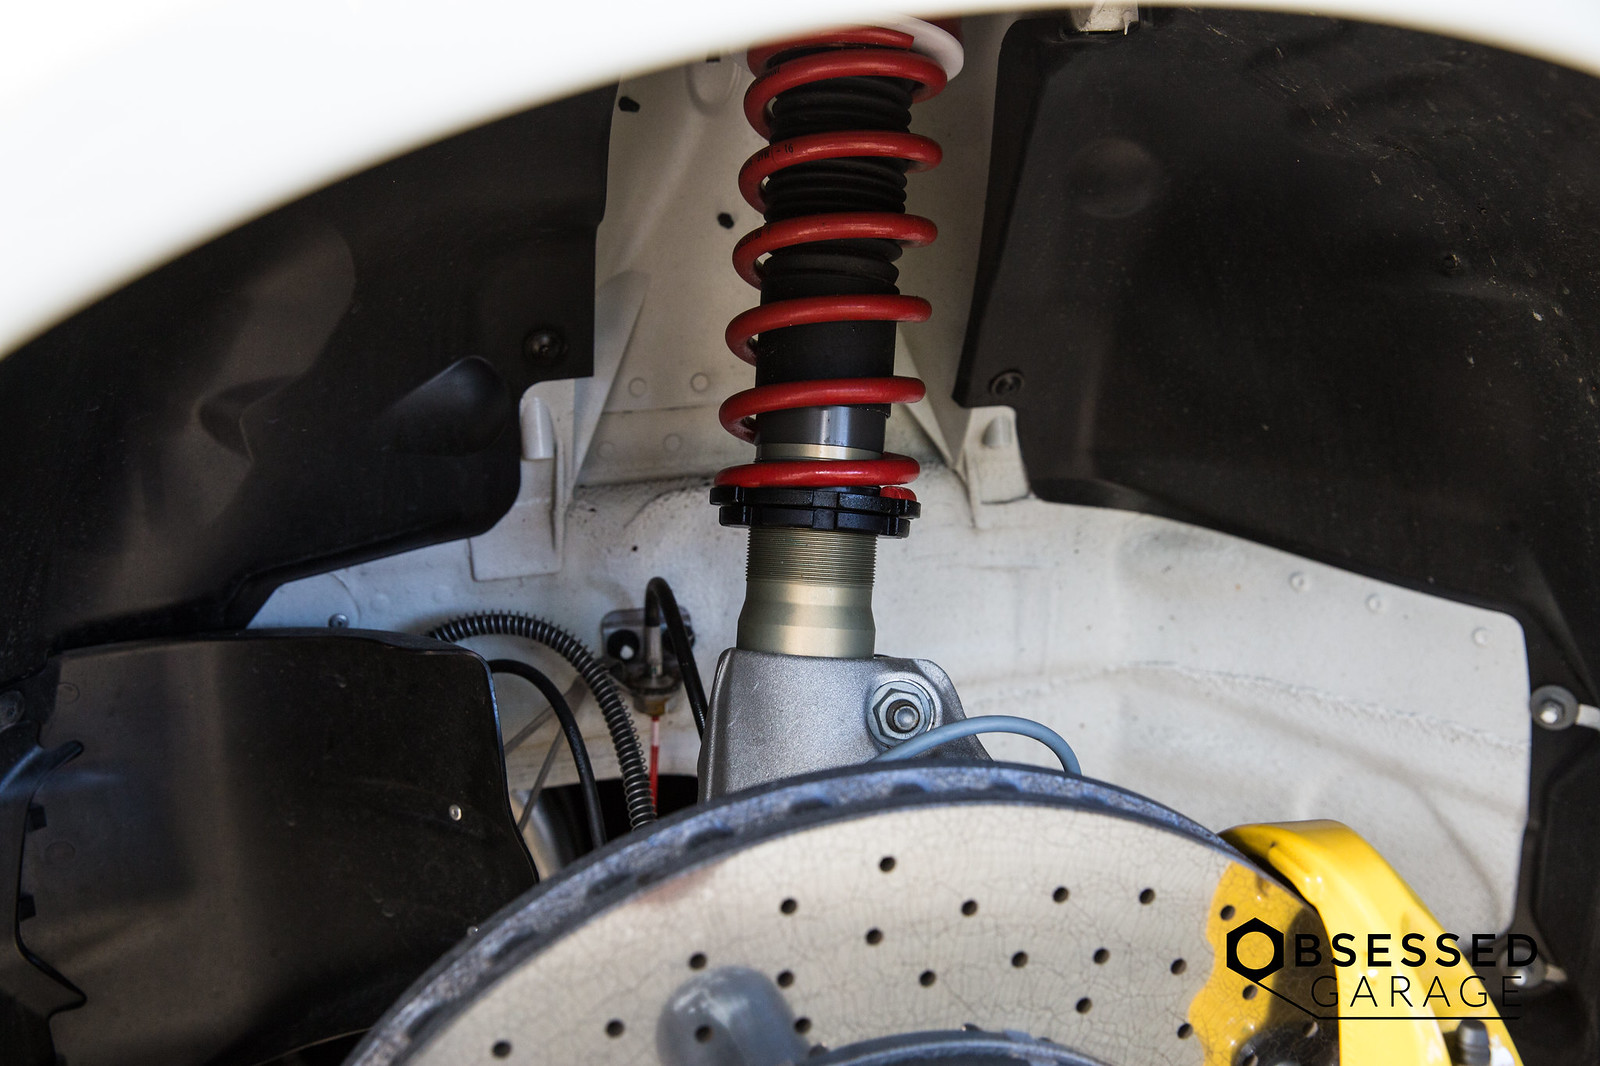
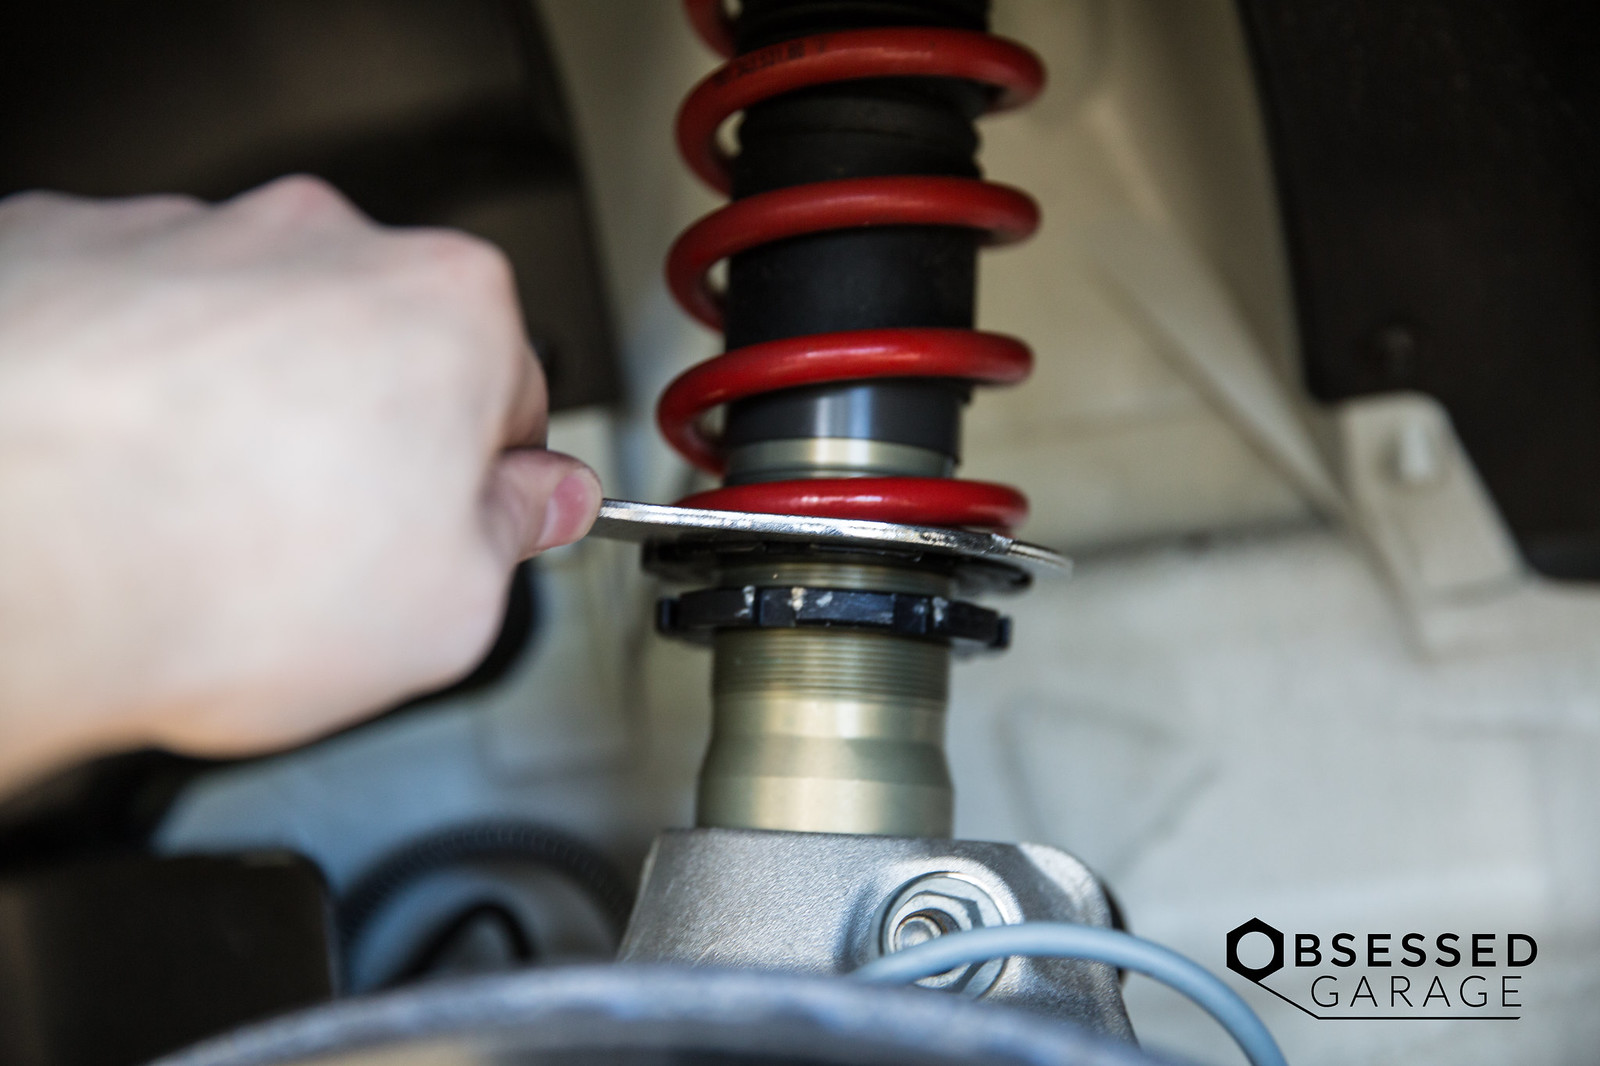
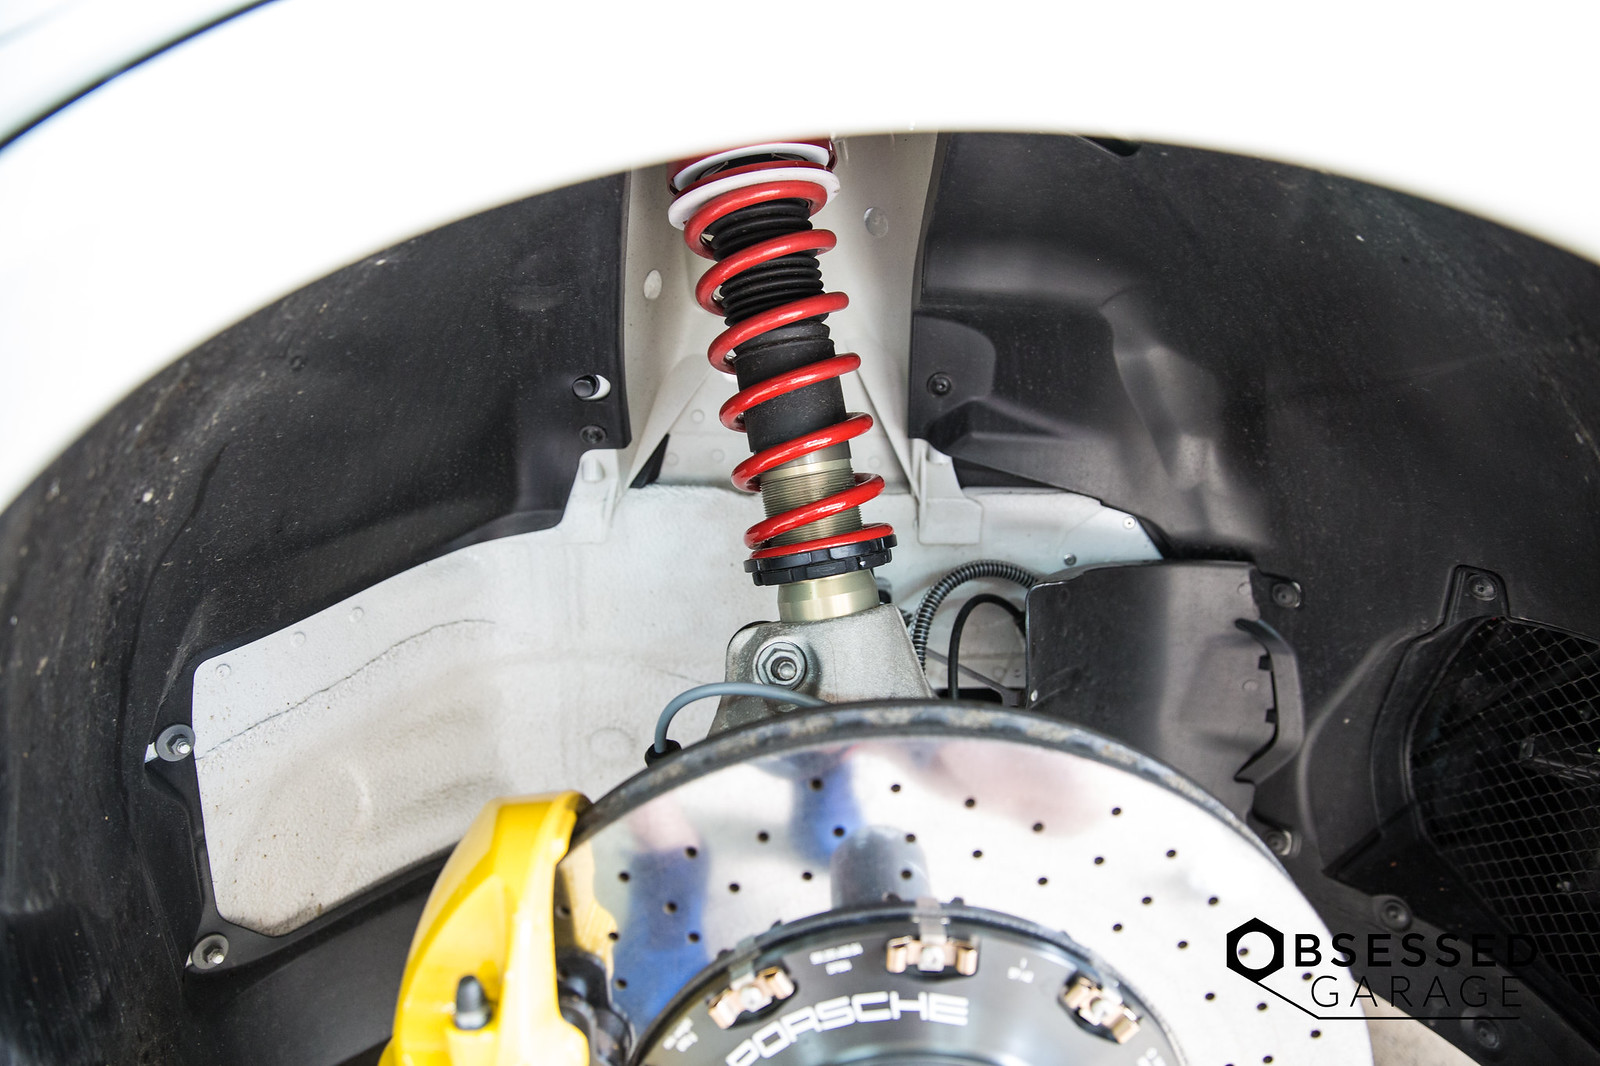
You need to use a spanner wrench to break the lower collar lose from the top. I needed to hammer the wrench to break them apart. You can use the Williams wrenches that I posted in the link above, but I ended up using some old Ohlins ones I had from other cars.

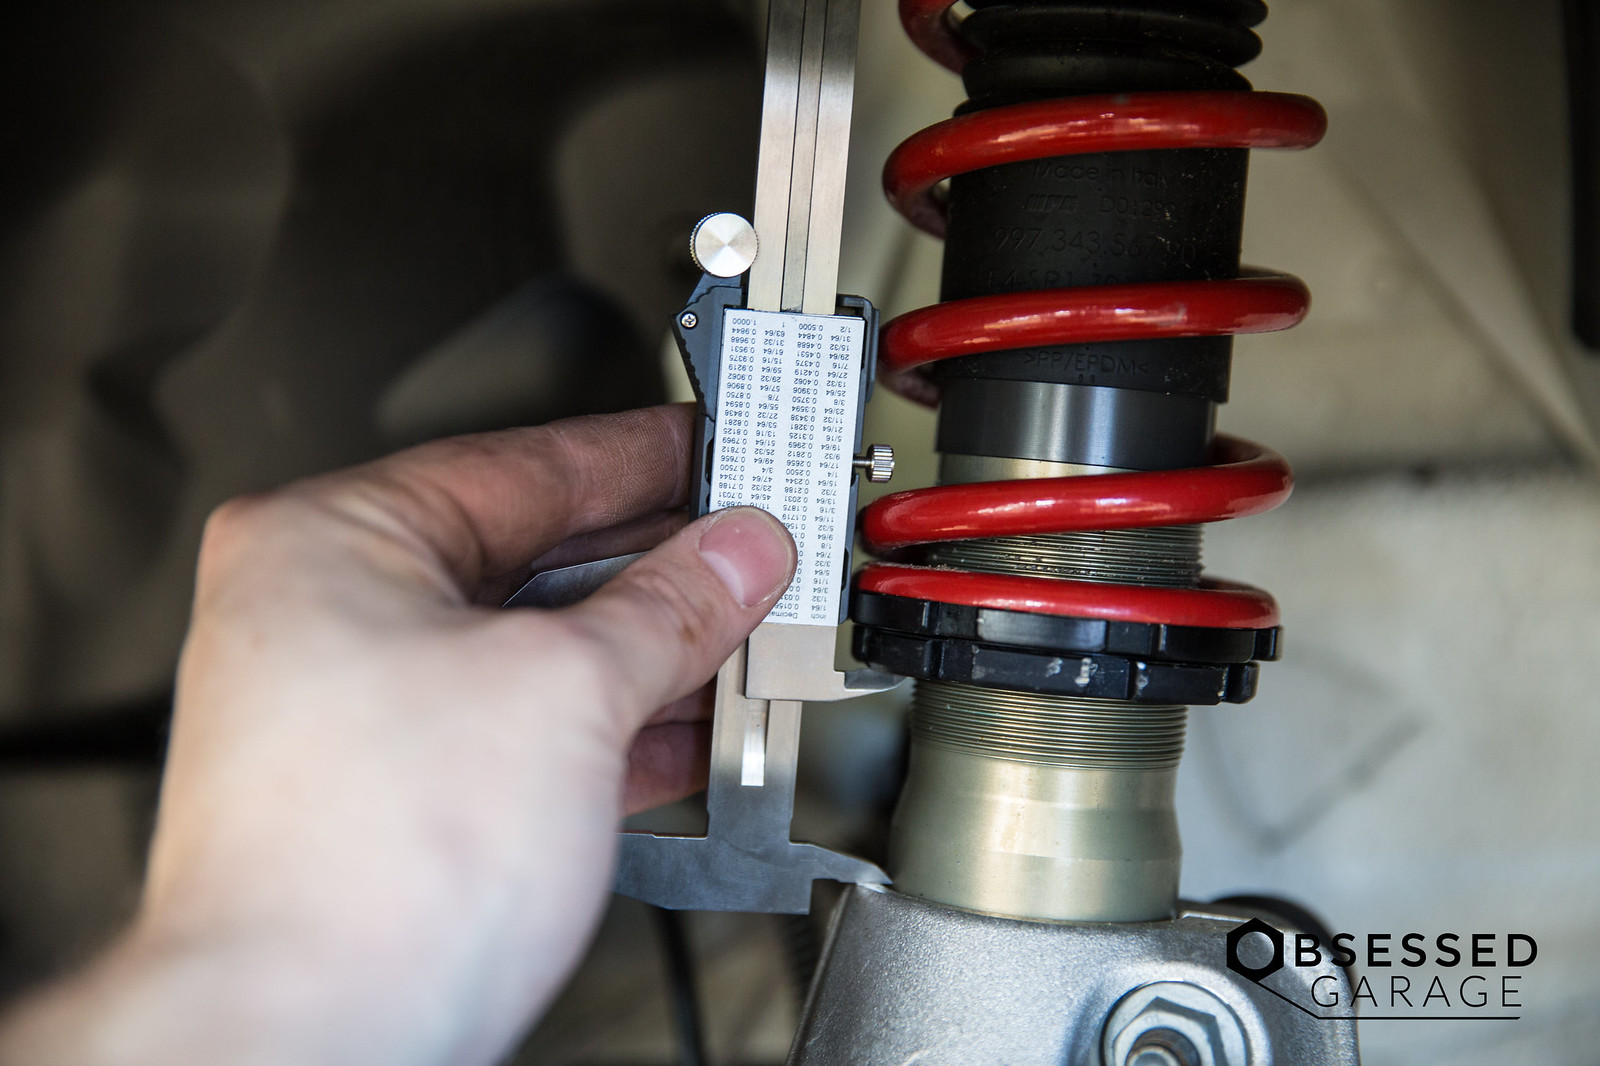
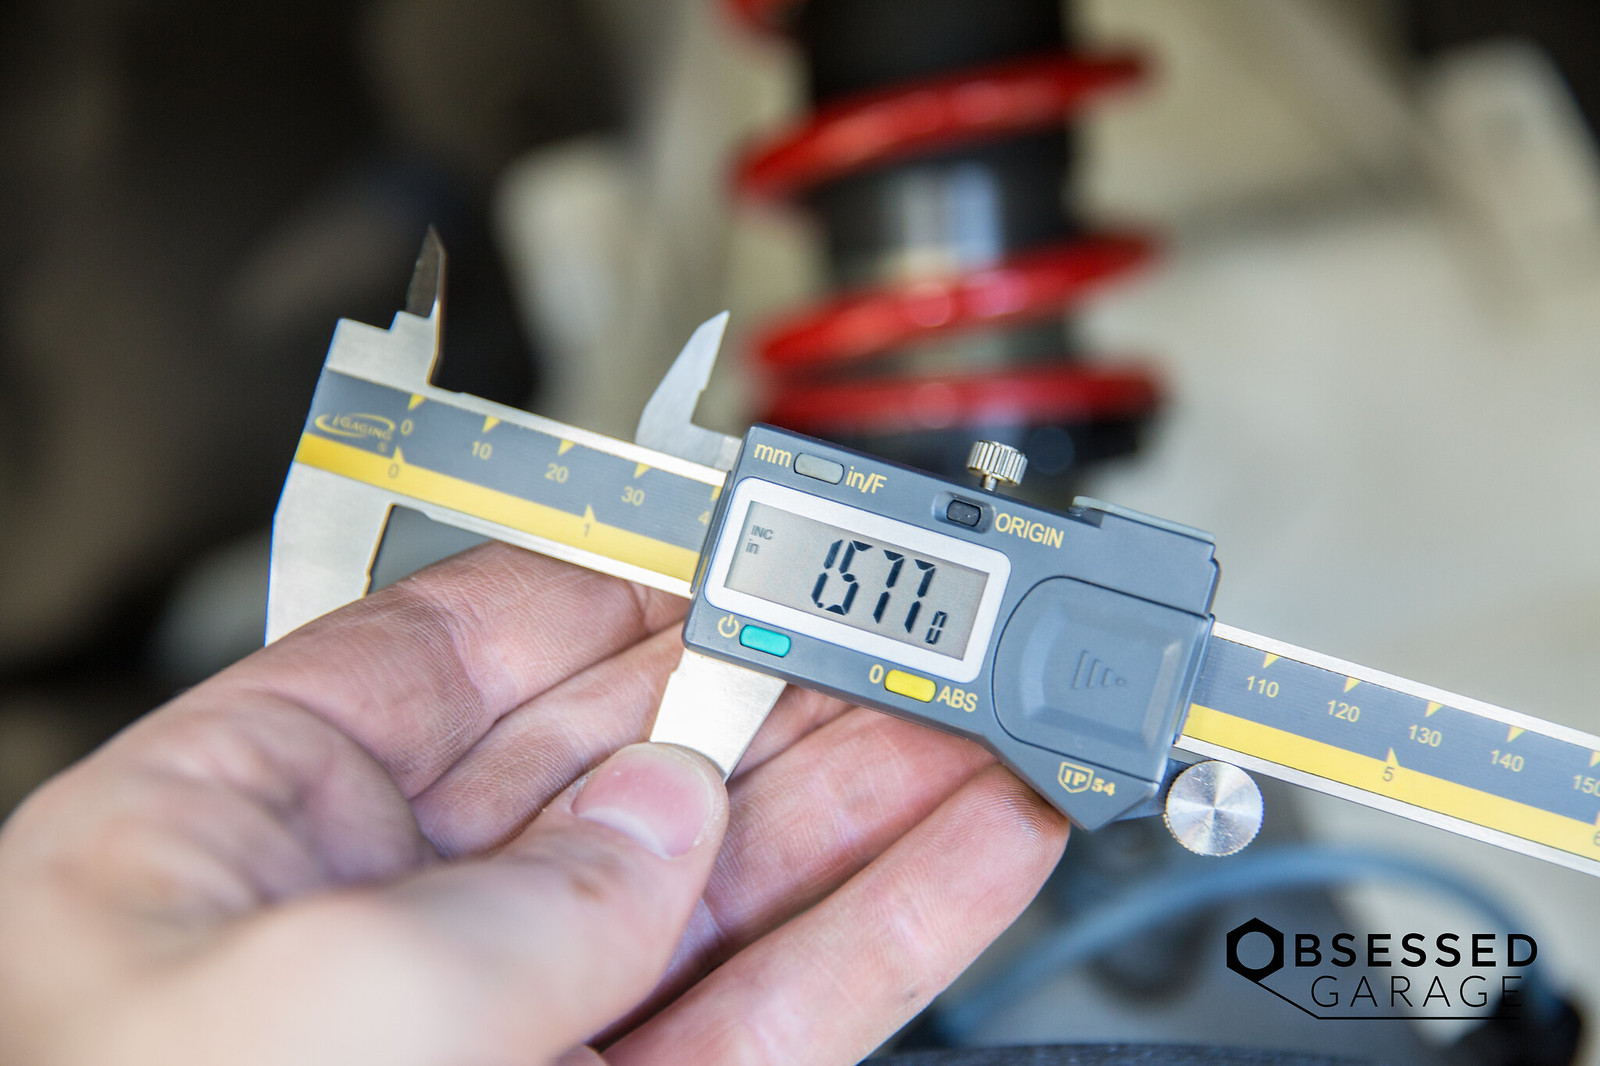
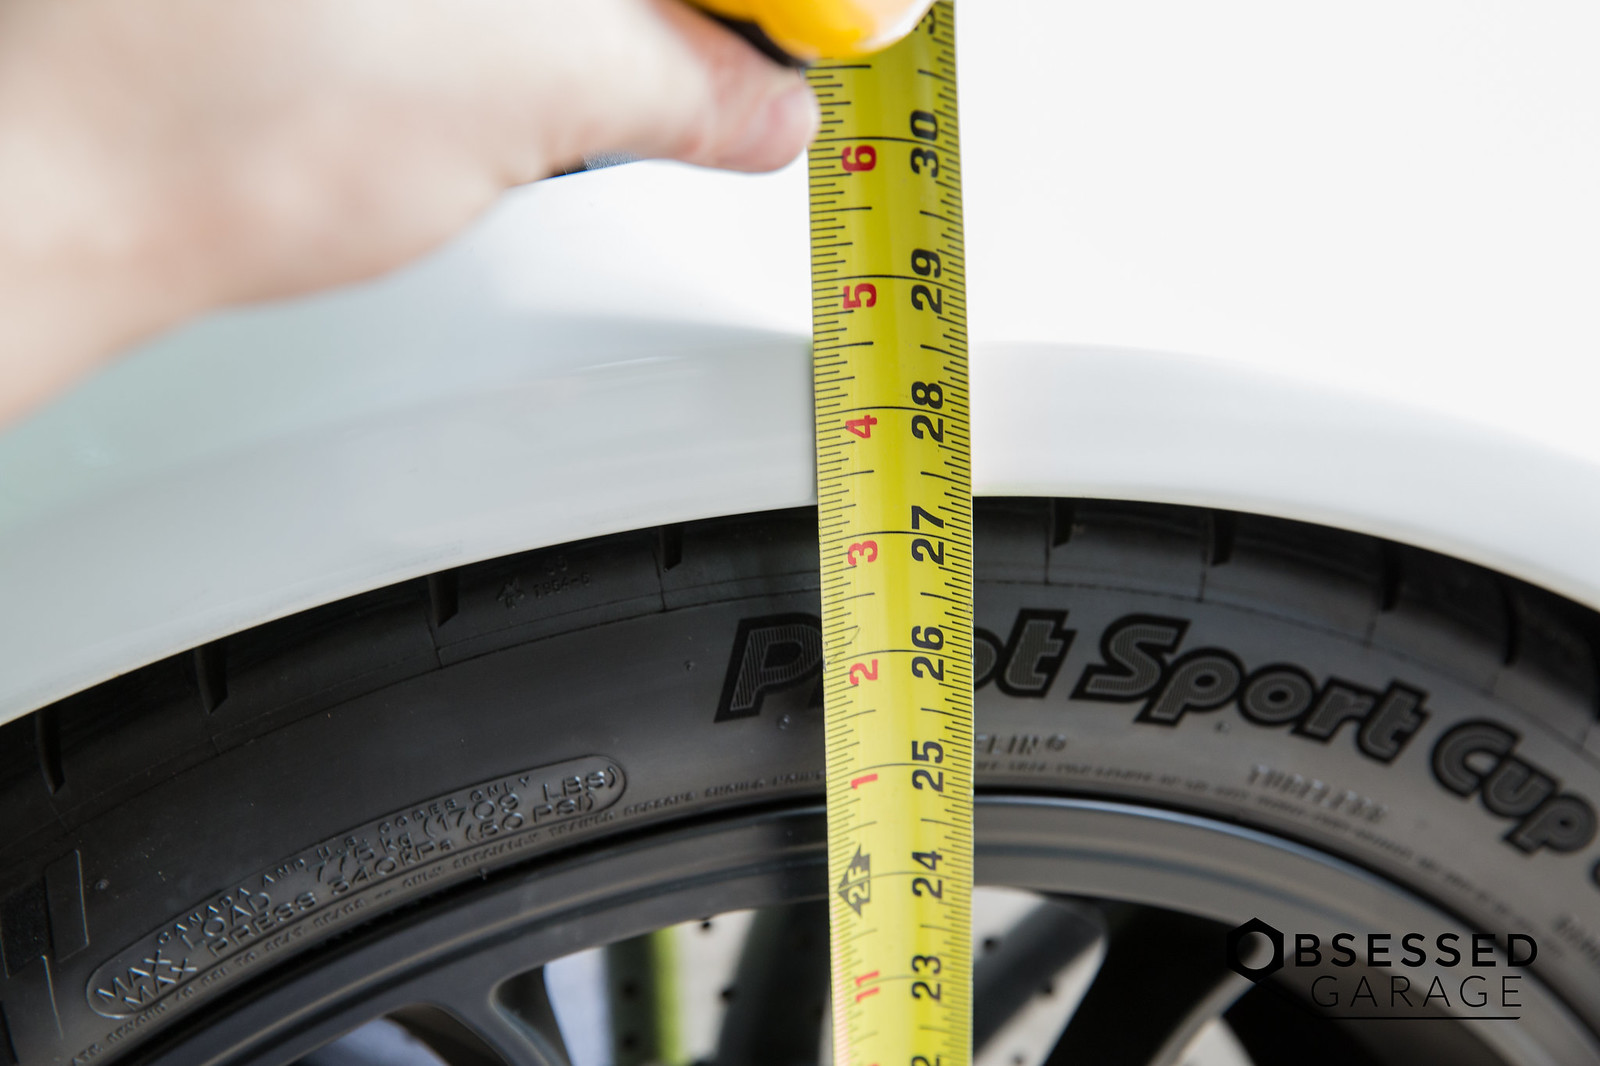
I lowered it about half way, used a Vernier Caliper to measure the distance, and made a note. This was the first attempt to see how much the height of the car was reduced.
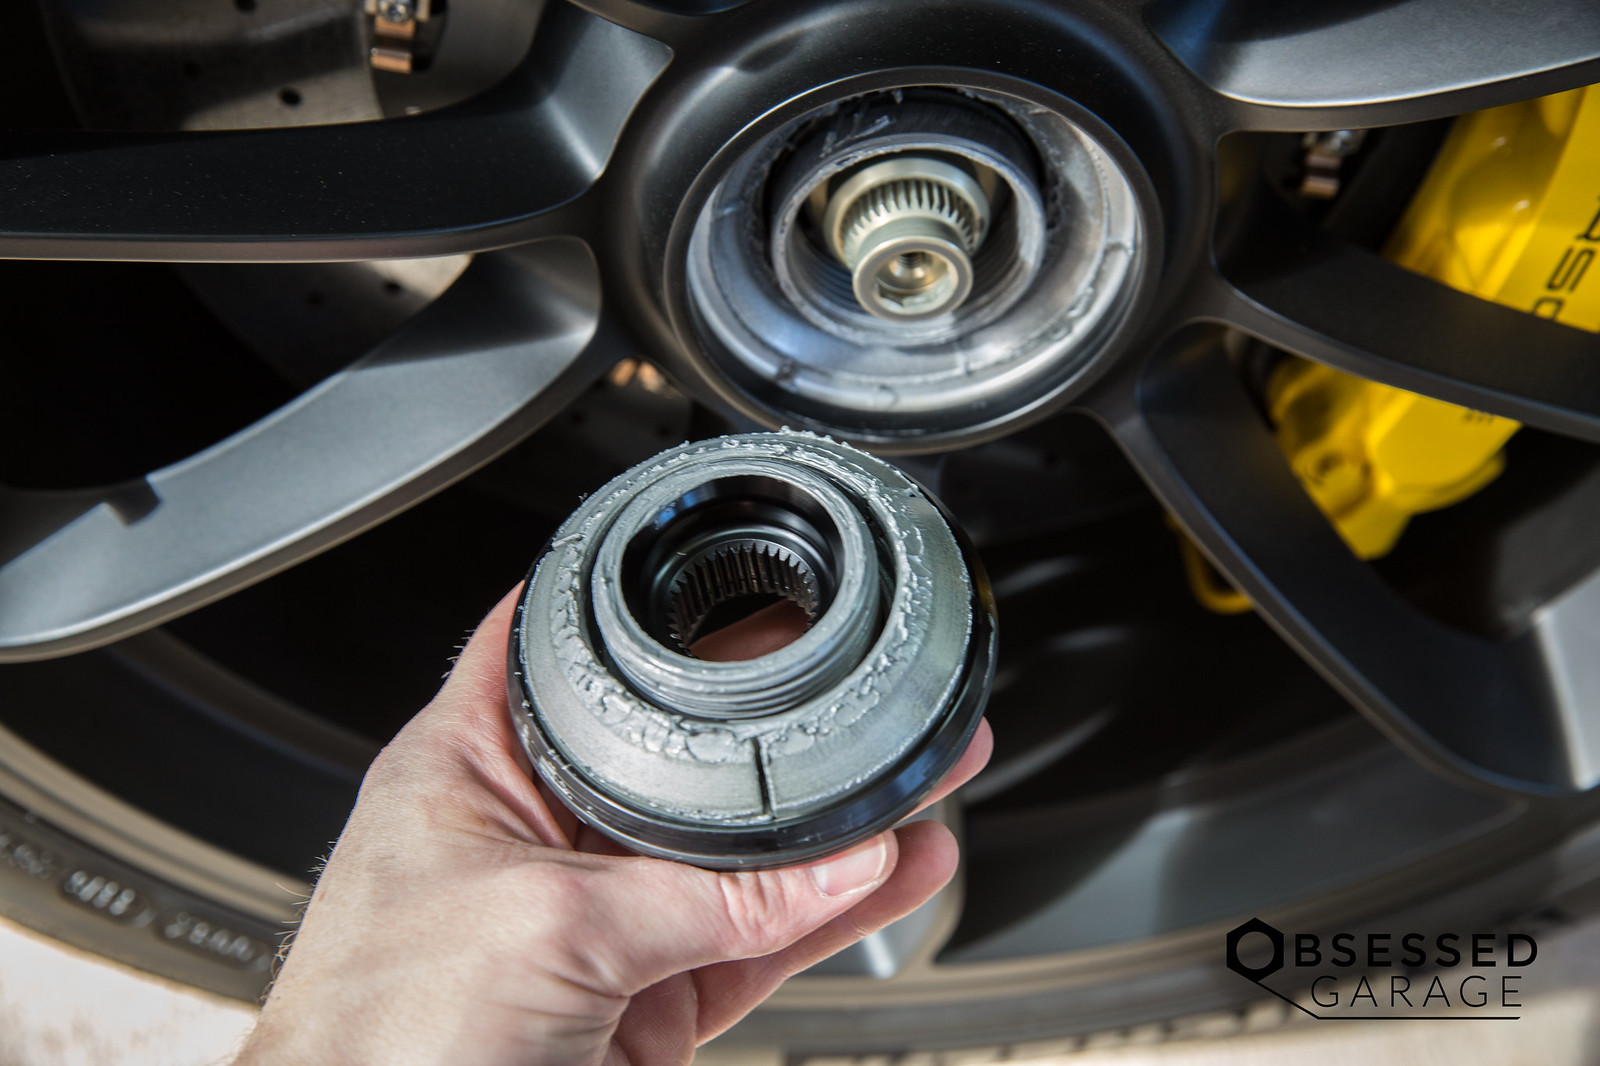
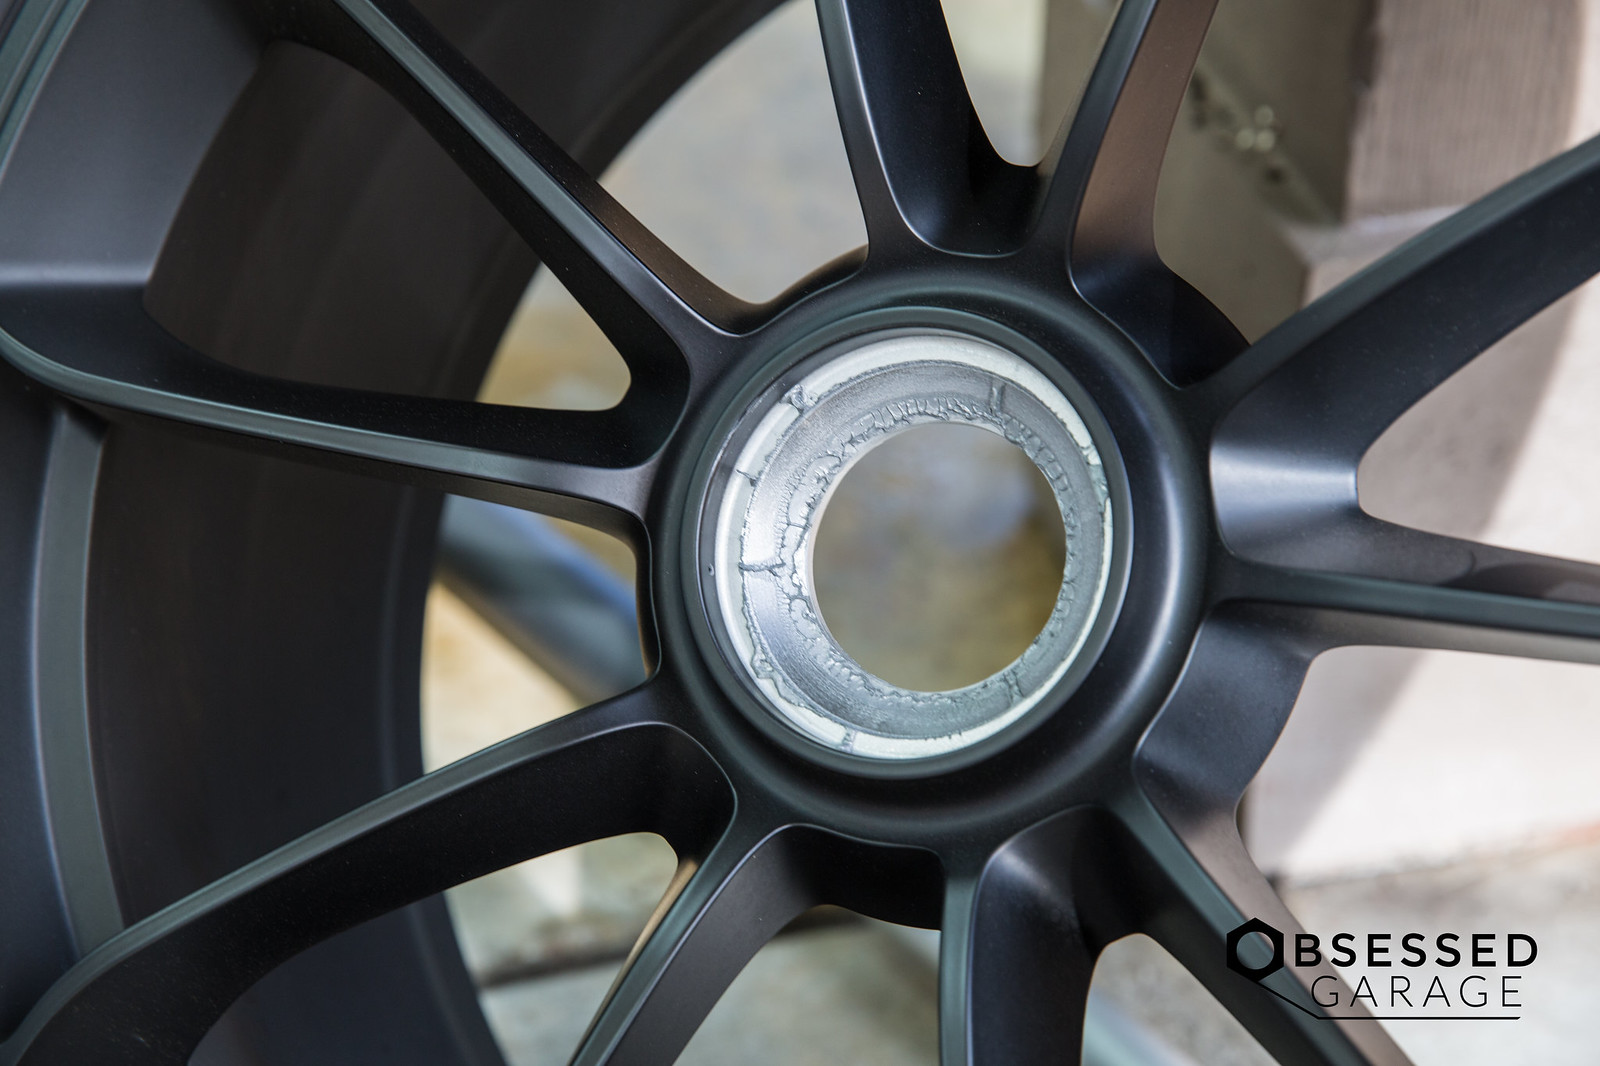
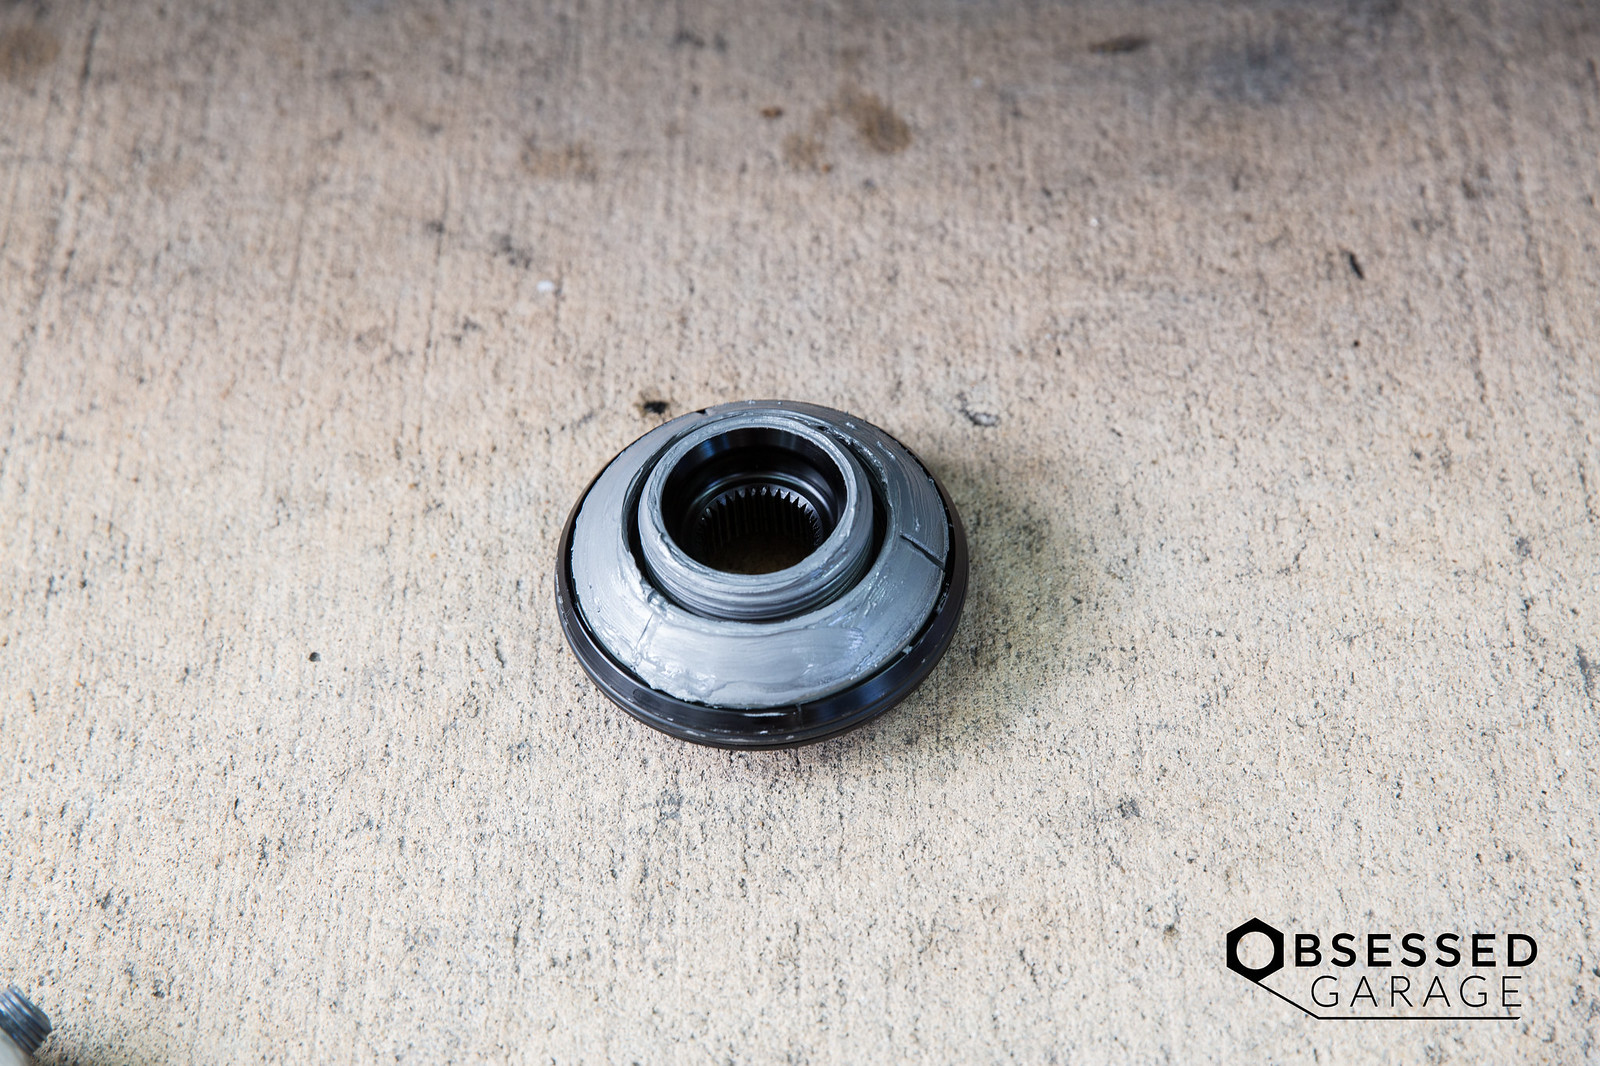
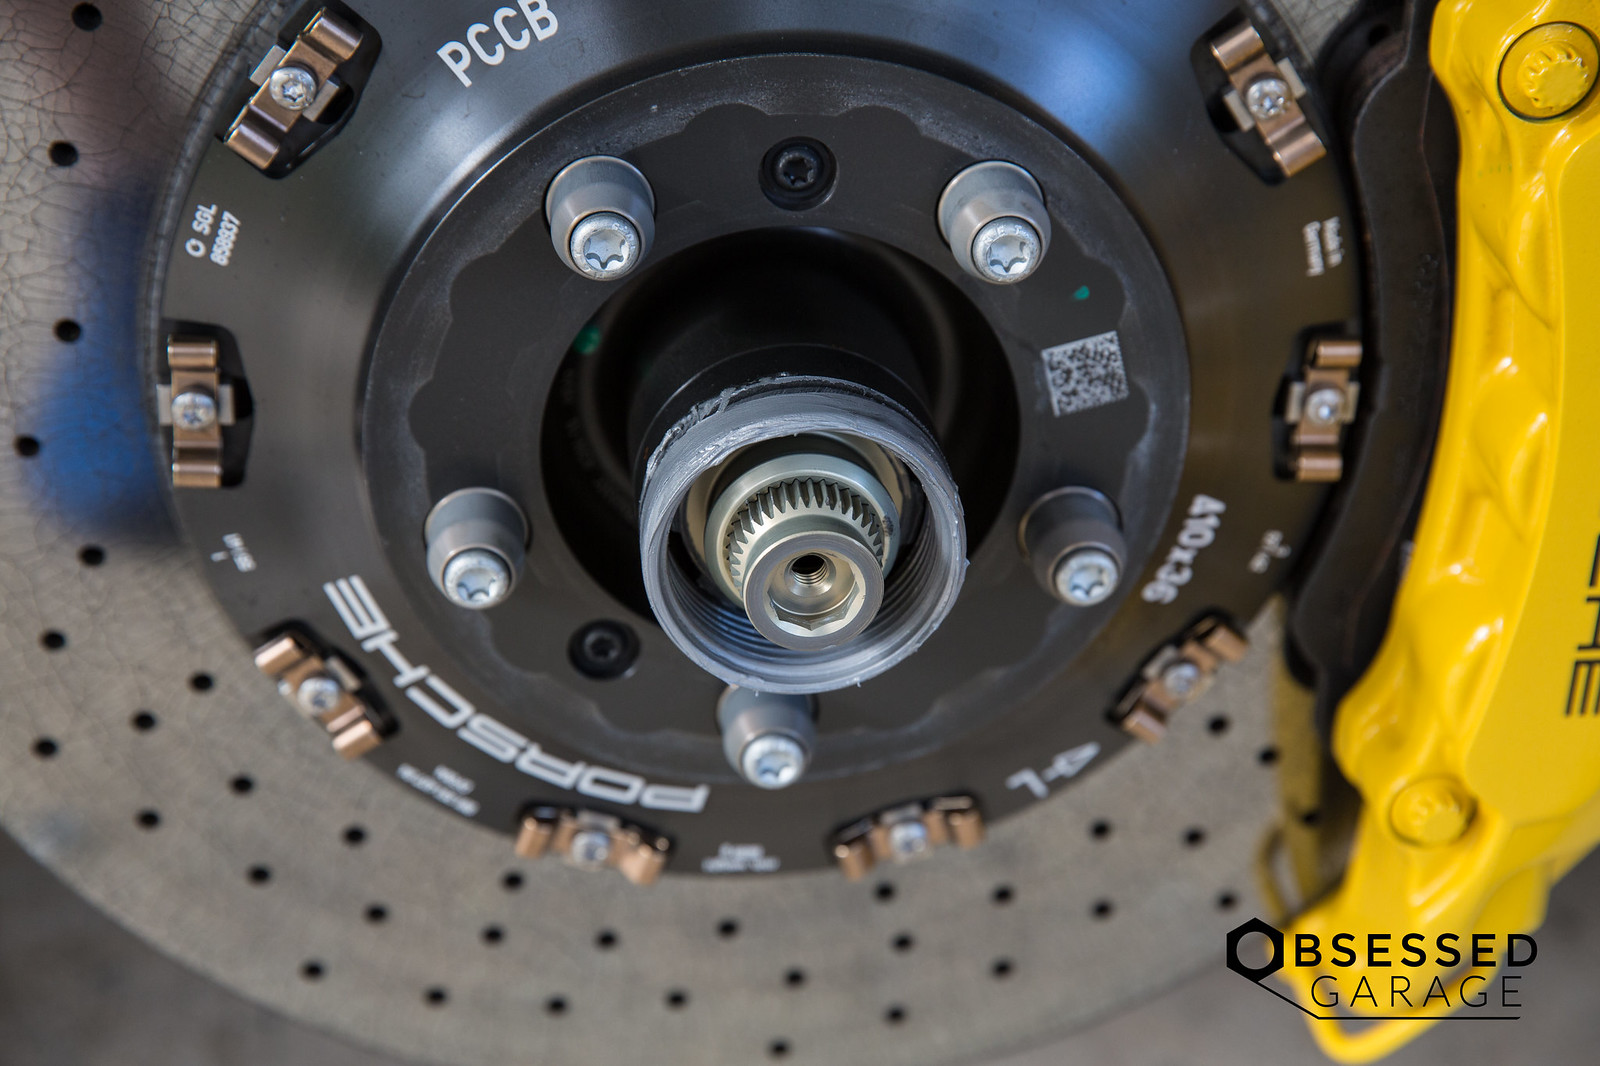
Apply a new layer of Optimol Paste to the center lock nut, thread on the hub, and wheel. Use very little. You want to level it out not glob it on. While applying to the hub, make sure there is no burring of the threads or issues than may need to be addressed. It should be clean and smooth with no thread wear.
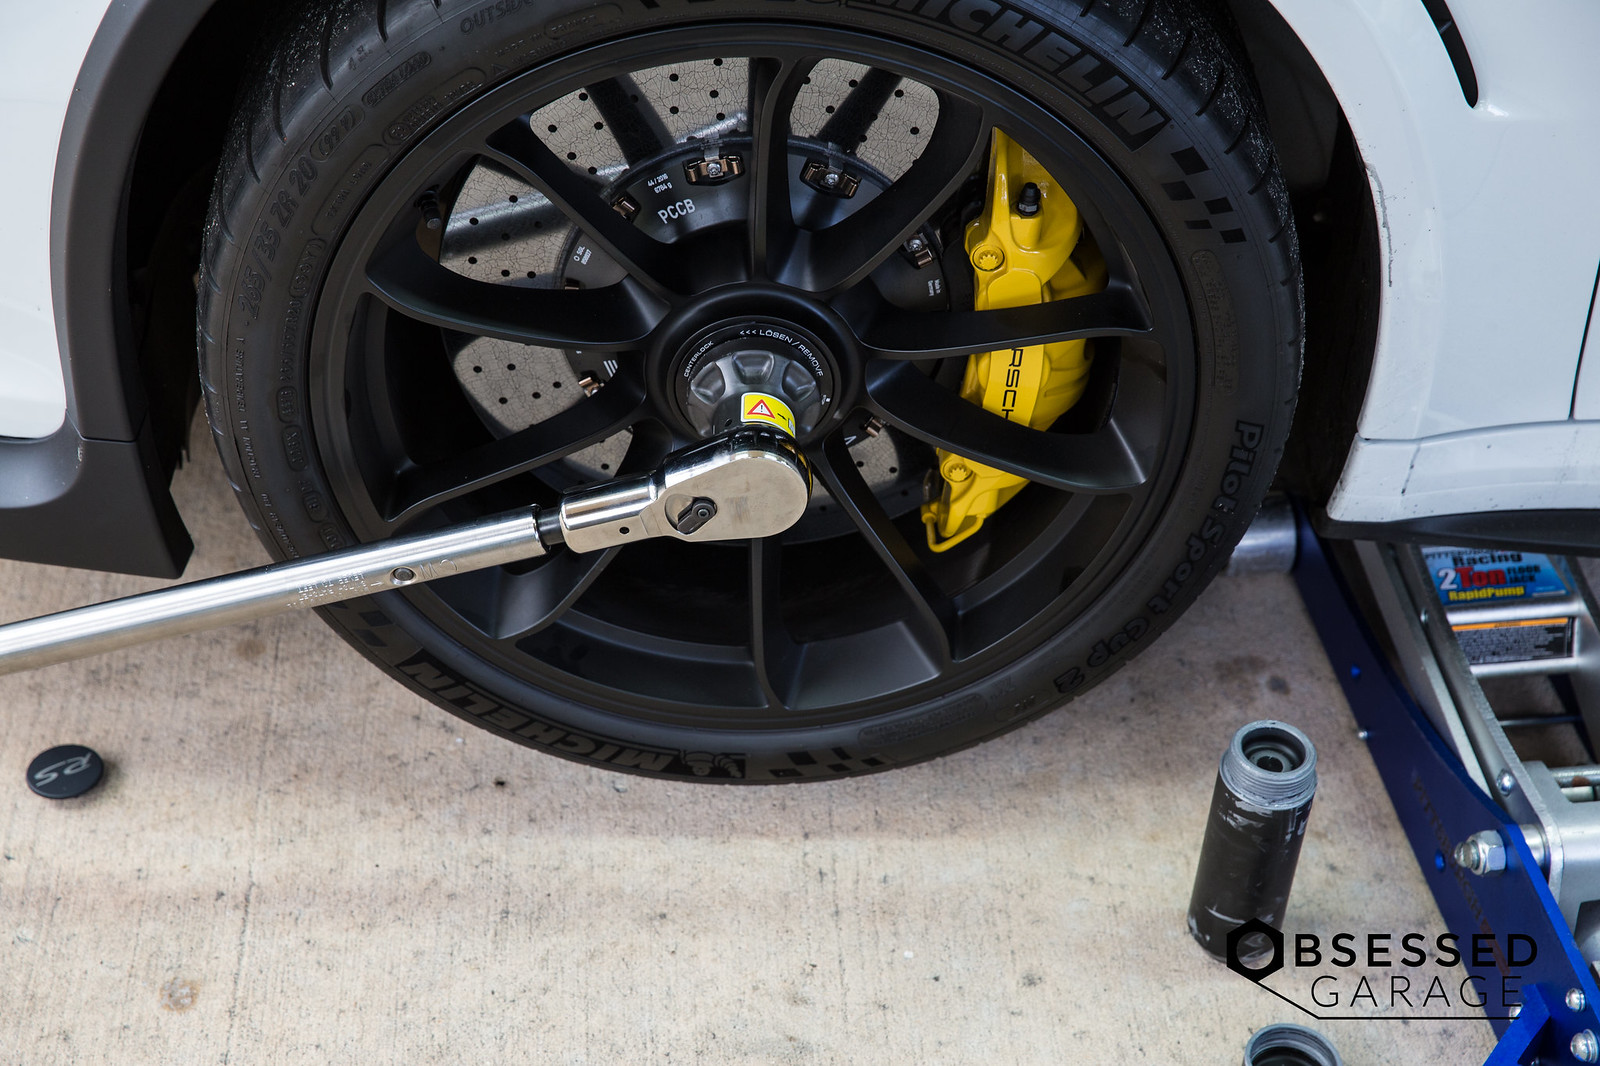
Reinstall the wheel, nut, and torque to 442 lb.ft. with the car up in the air. Then back off the nut 1/4 turn, and torque again. Unless the car is on a lift, I've found the you must pull up not push down on the torque bar. You can't gain enough leverage to push downward. Also be careful as the wheel will turn. You may want to have an assistant hold the wheel and brake. I don't have any friends, so I just need to take extra care when doing it myself.
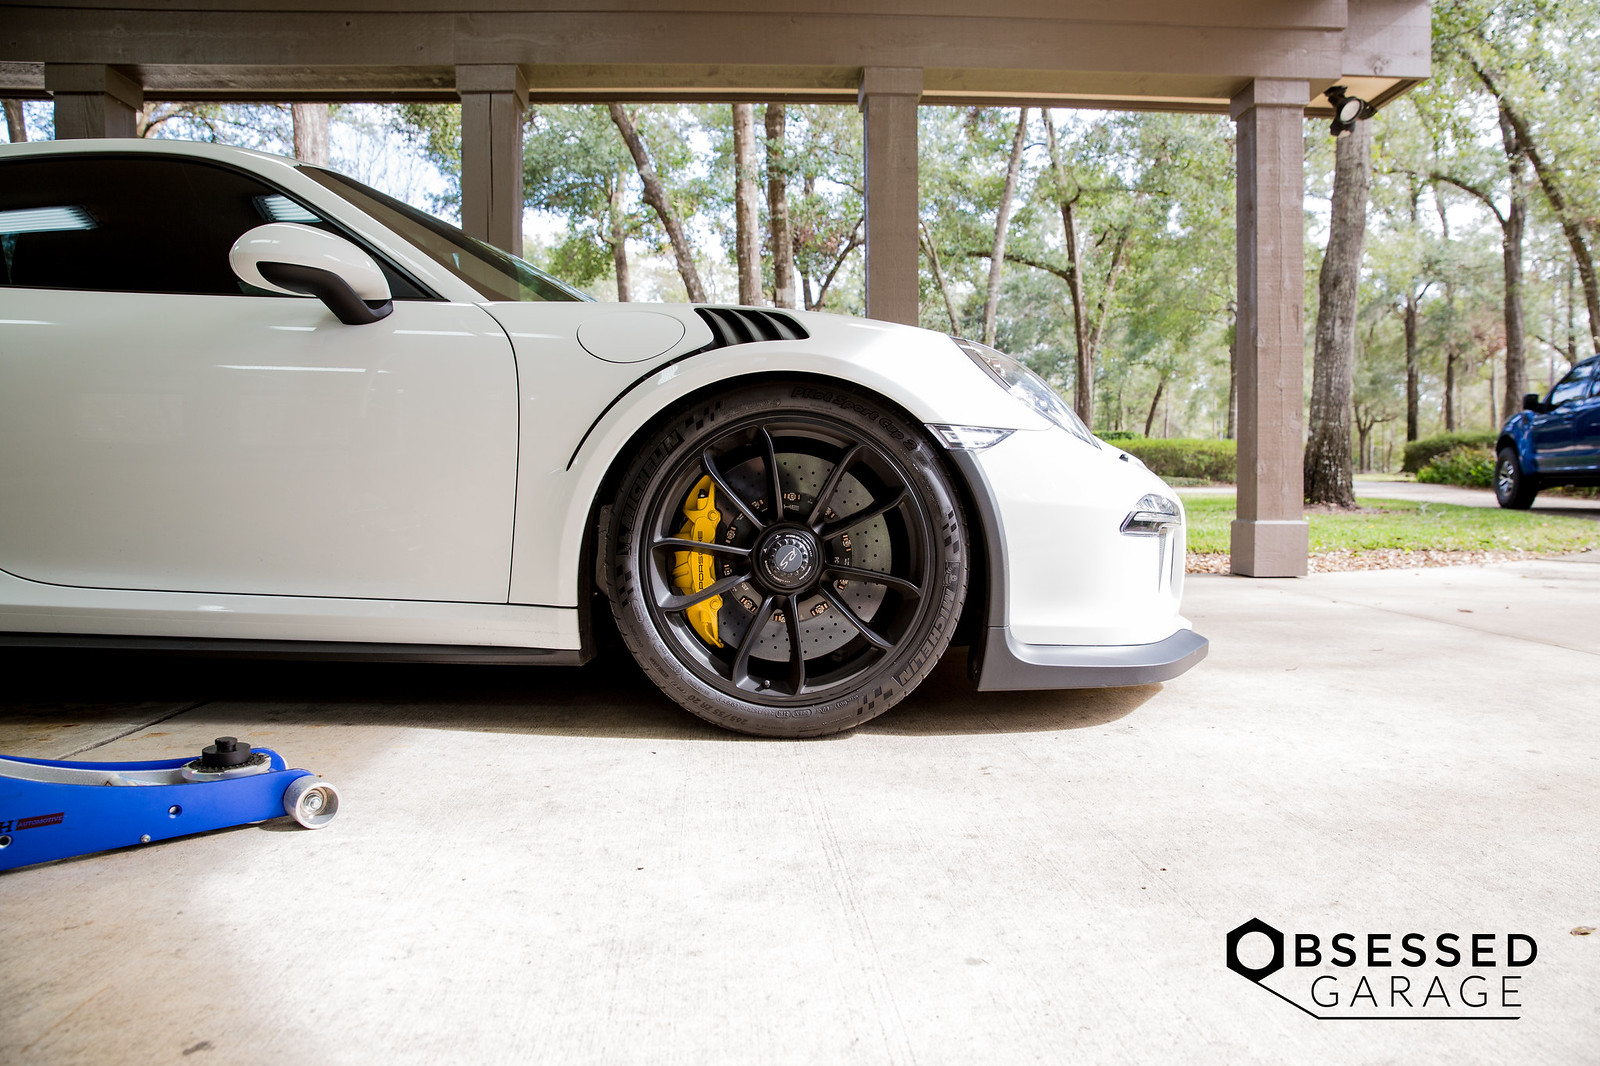
BEFORE:
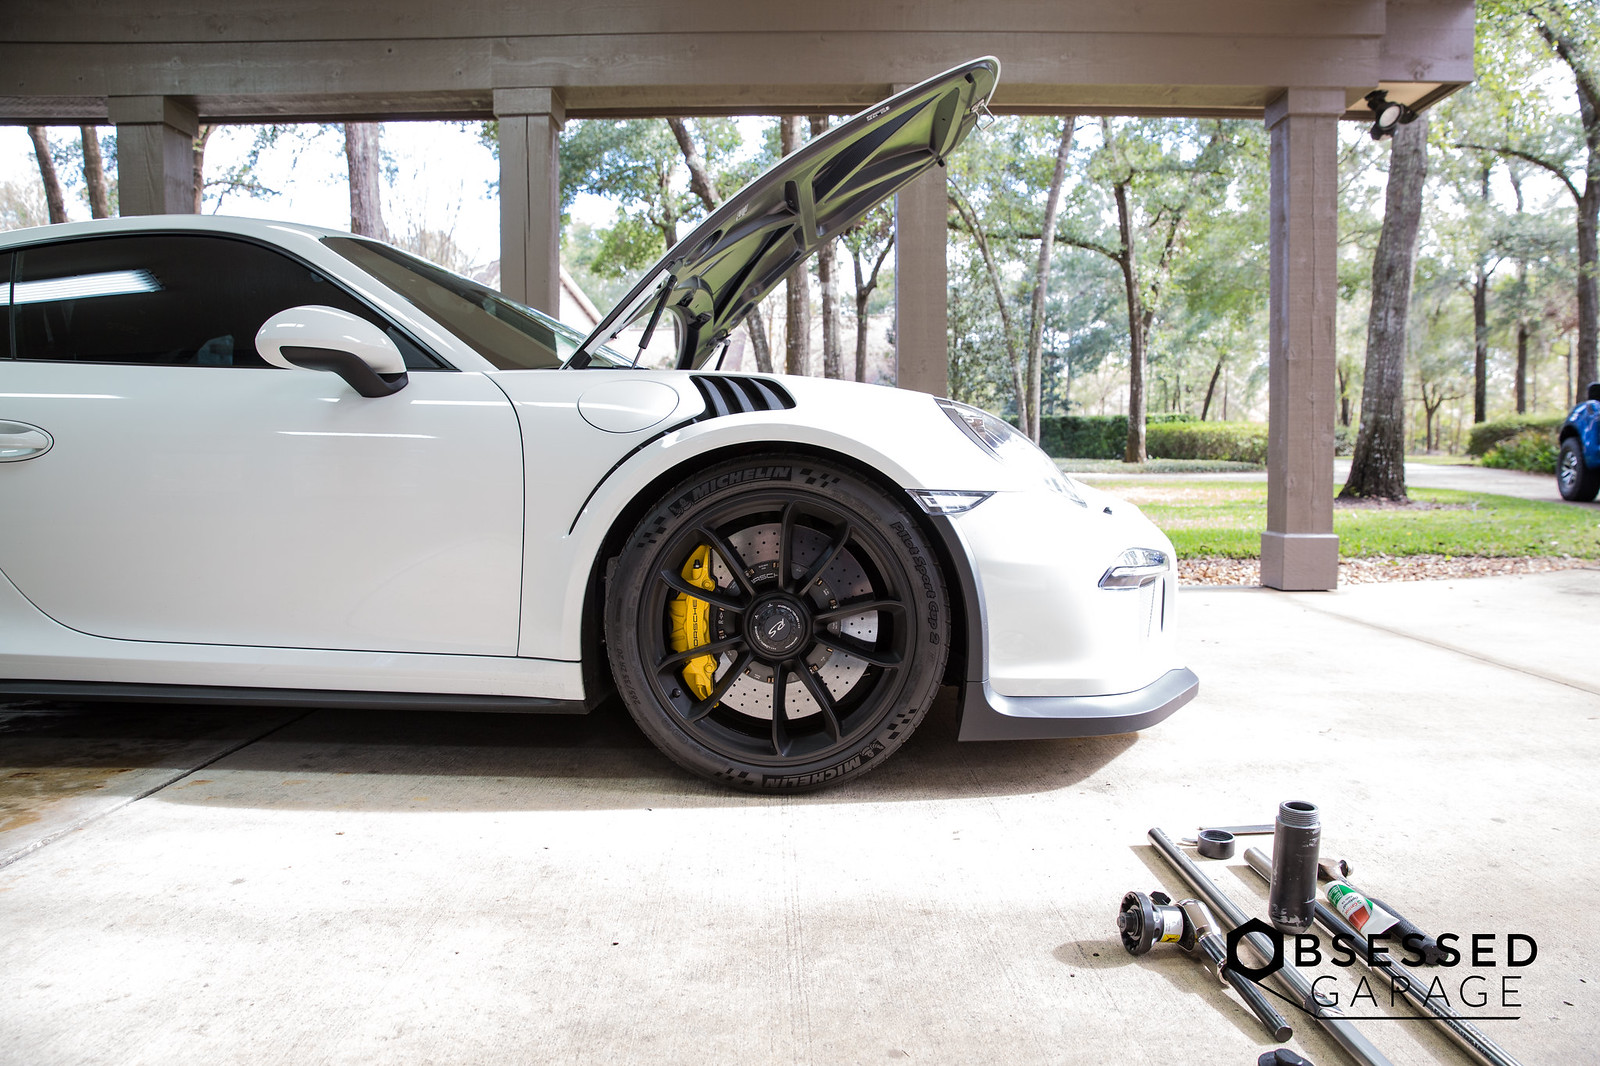
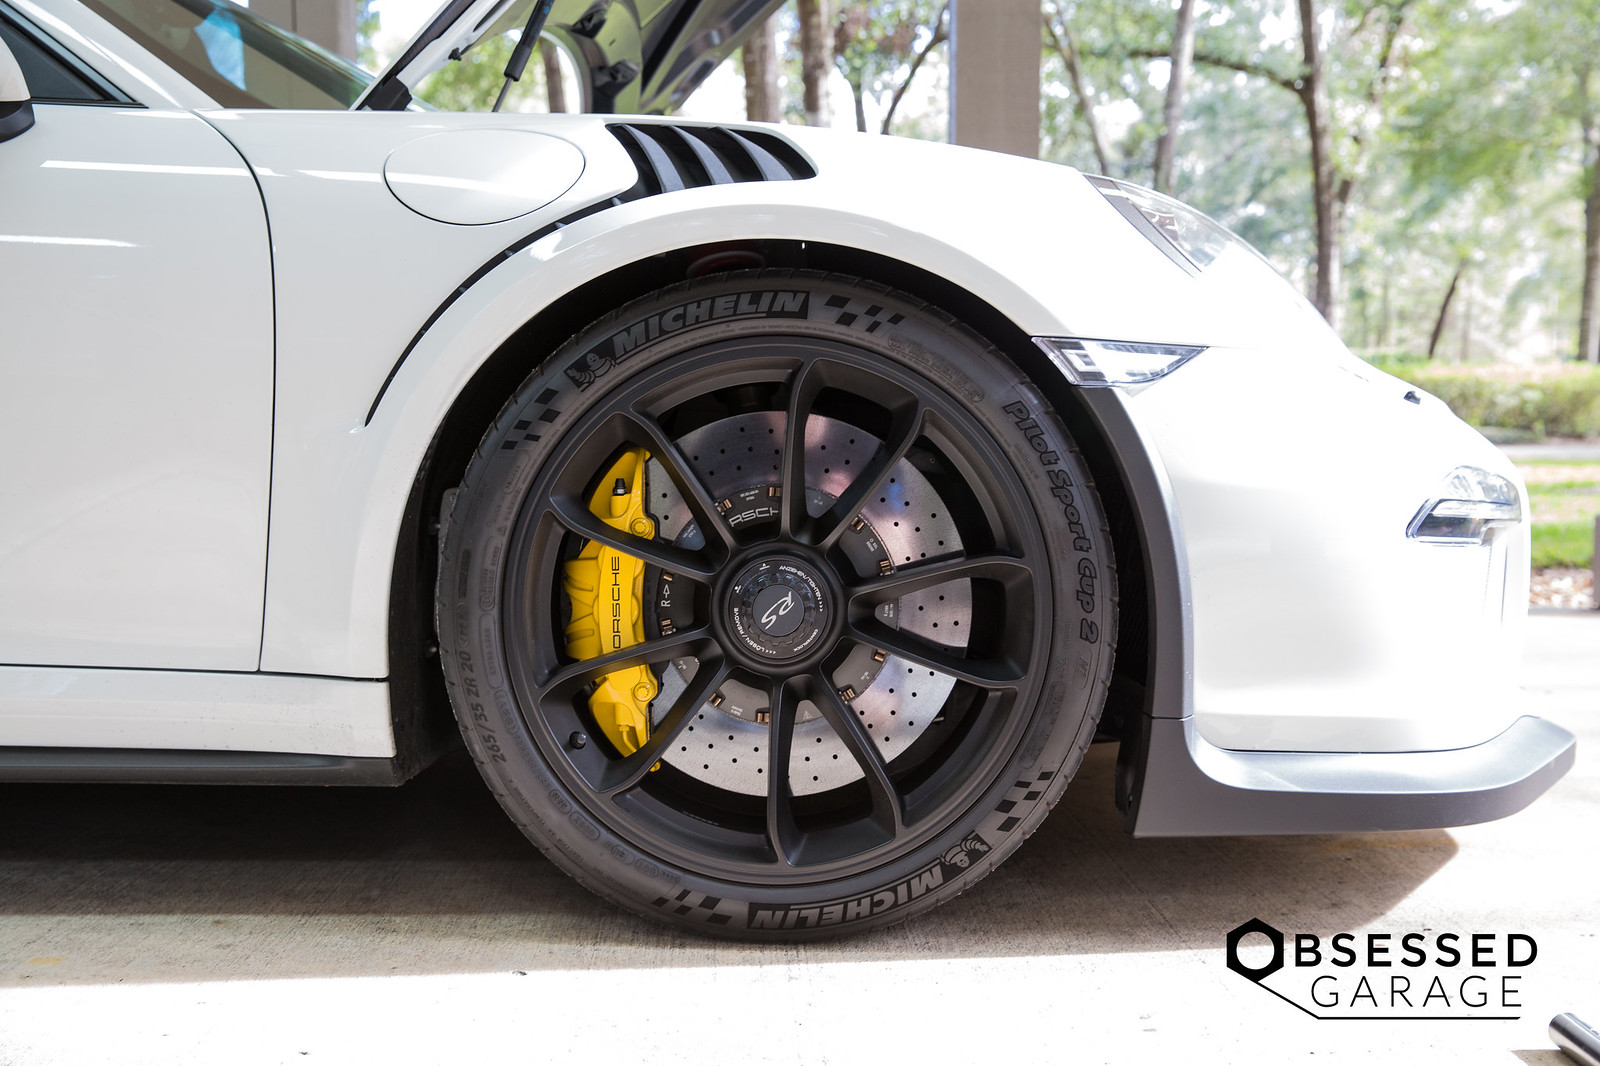
AFTER: I ended up moving the perch all the way to the lowest setting. I may need to come up a tiny bit, but wanted to see how the car does all the way down. If I'm able to get by without rubbing, I may lower the rear about and 1/8" to match. I got about a 1/2" in total lowering from where the car sat before.
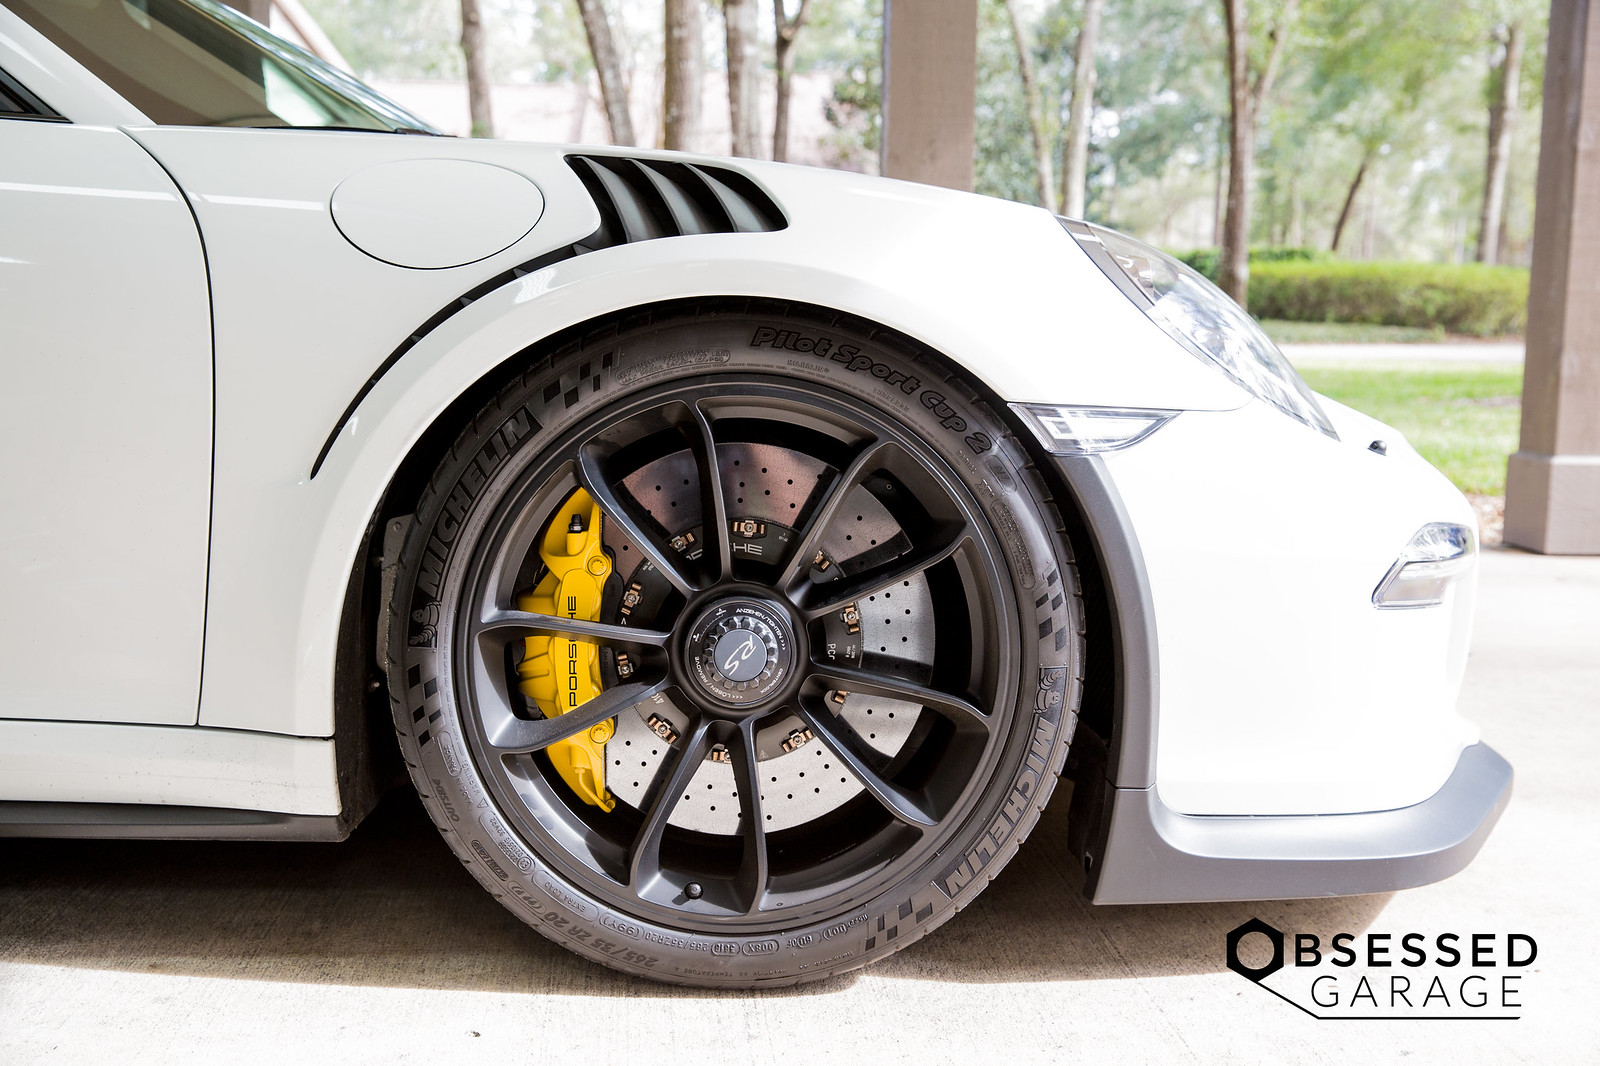

We will see how the car does. It will probably settle at bit lower, so I may need to raise it back up an 1/8" or so. I'll be sure to keep everyone up to date on my findings. I'll wait and test it a while before getting it aligned. As long as the car drives straight, it's been my experience that lowering cars such a small amount like this has little affect on the alignment.
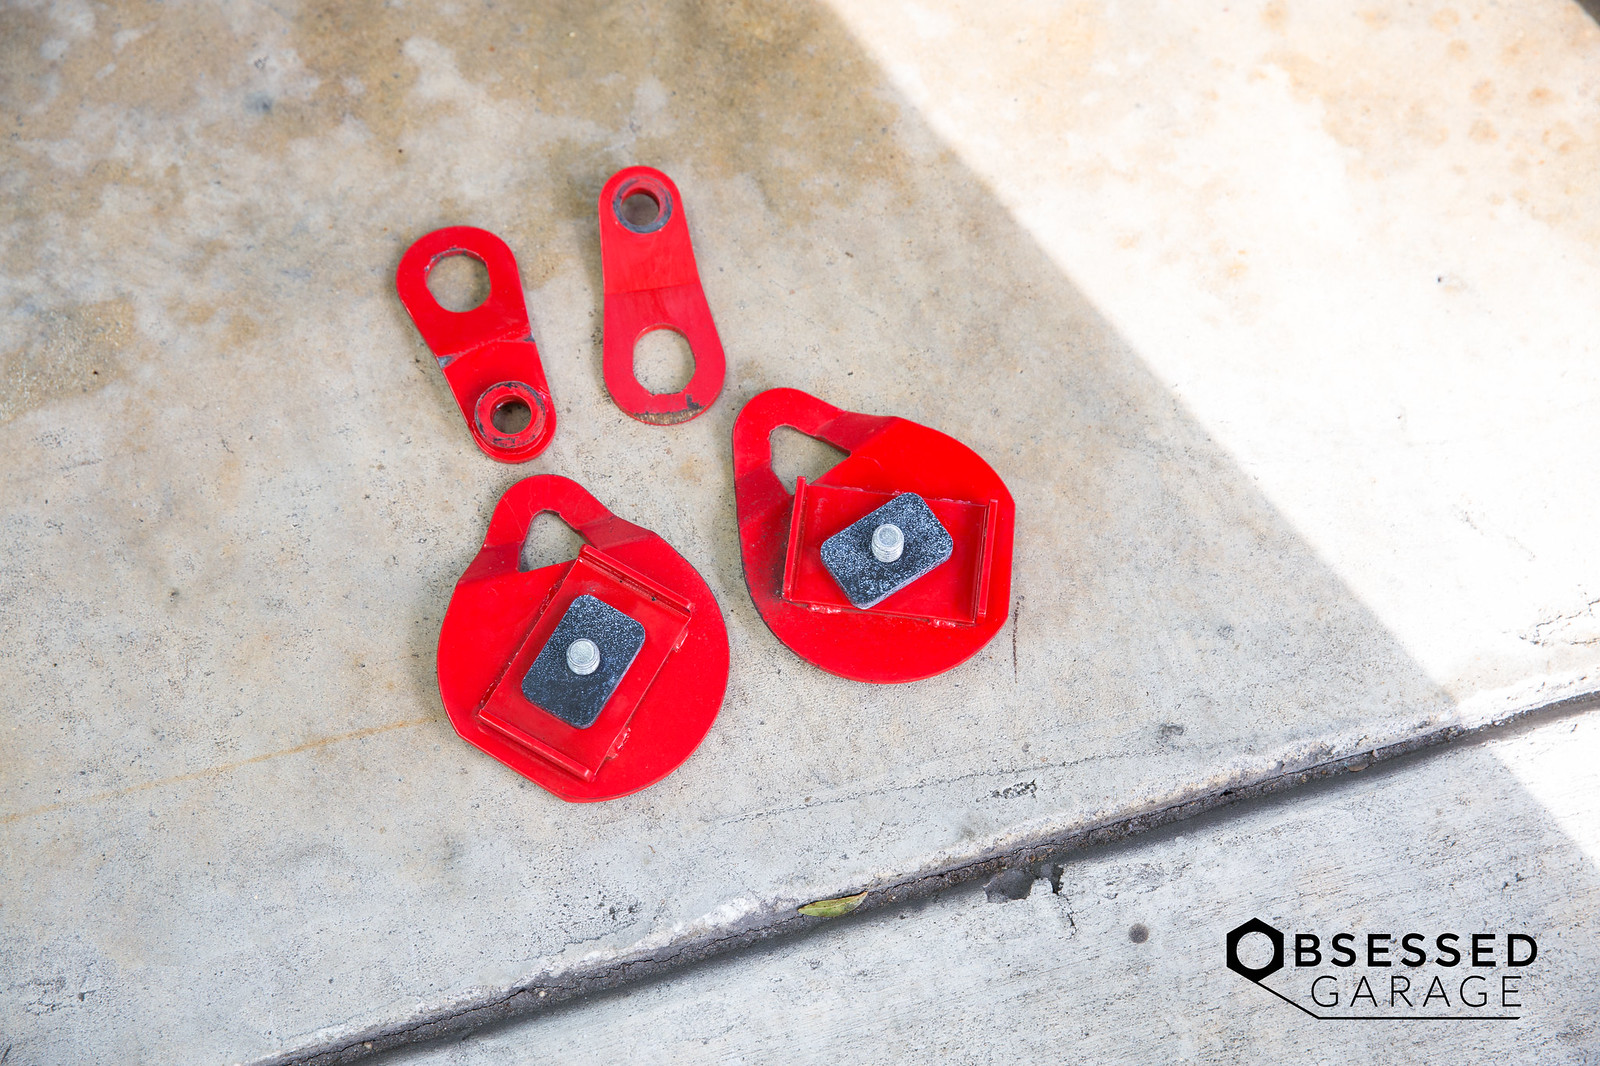
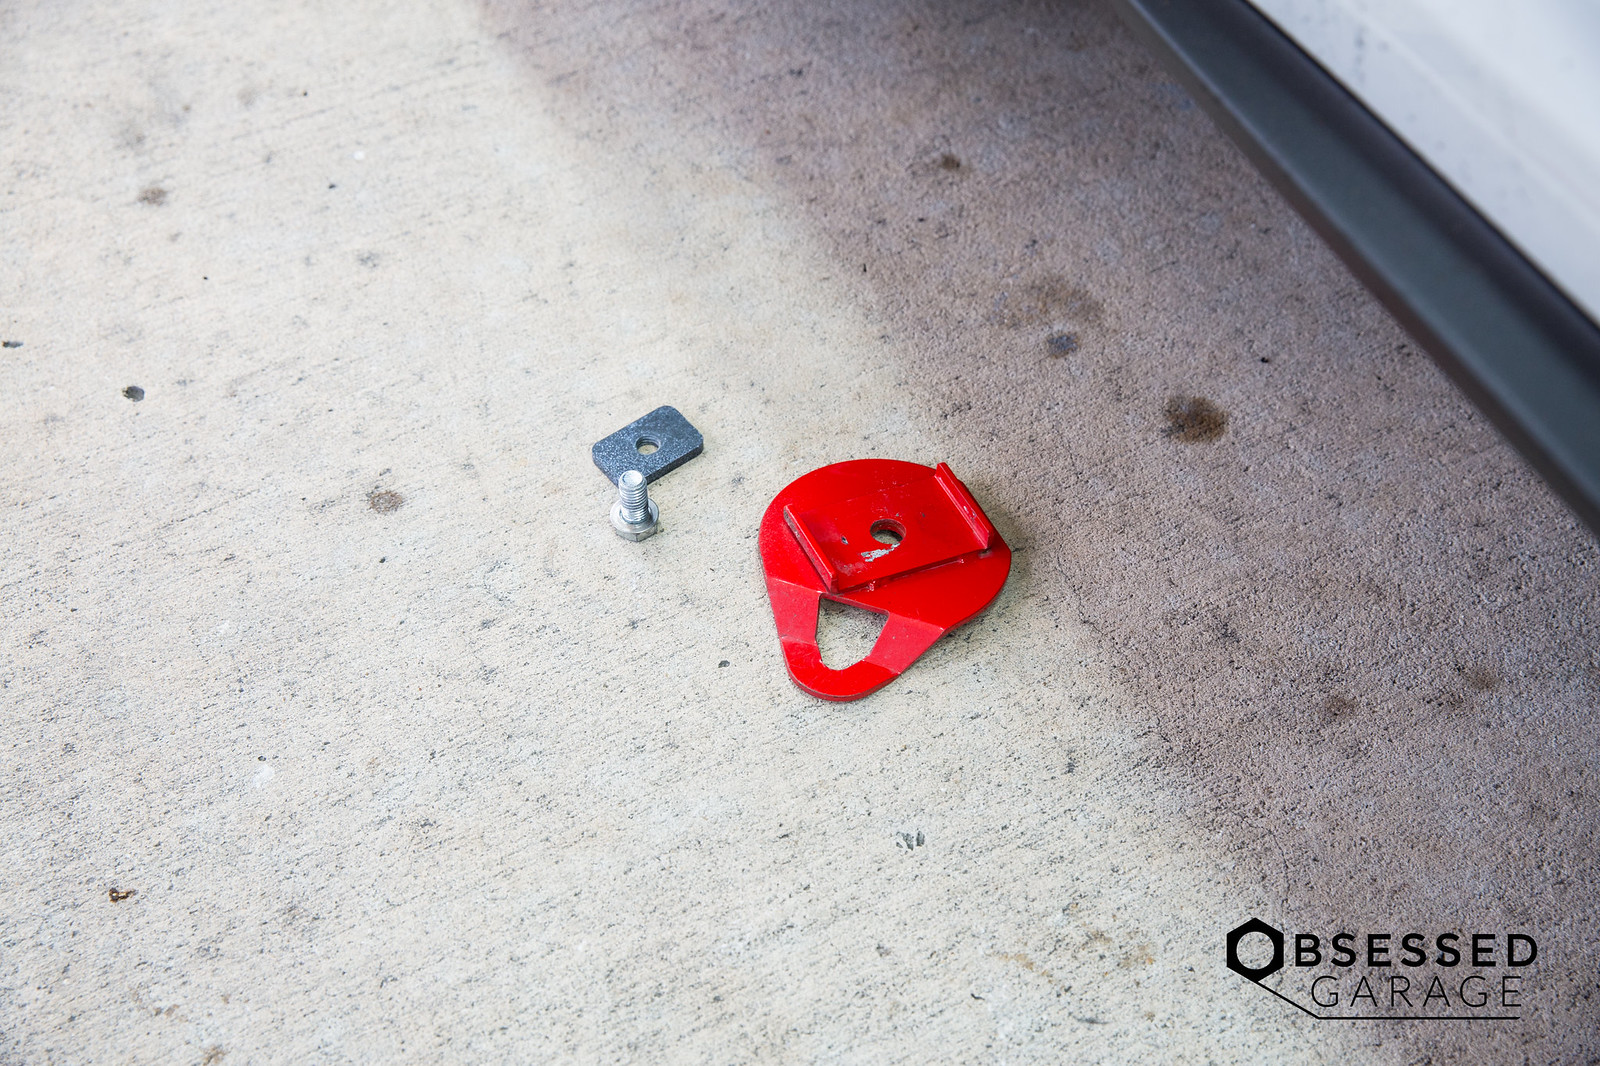
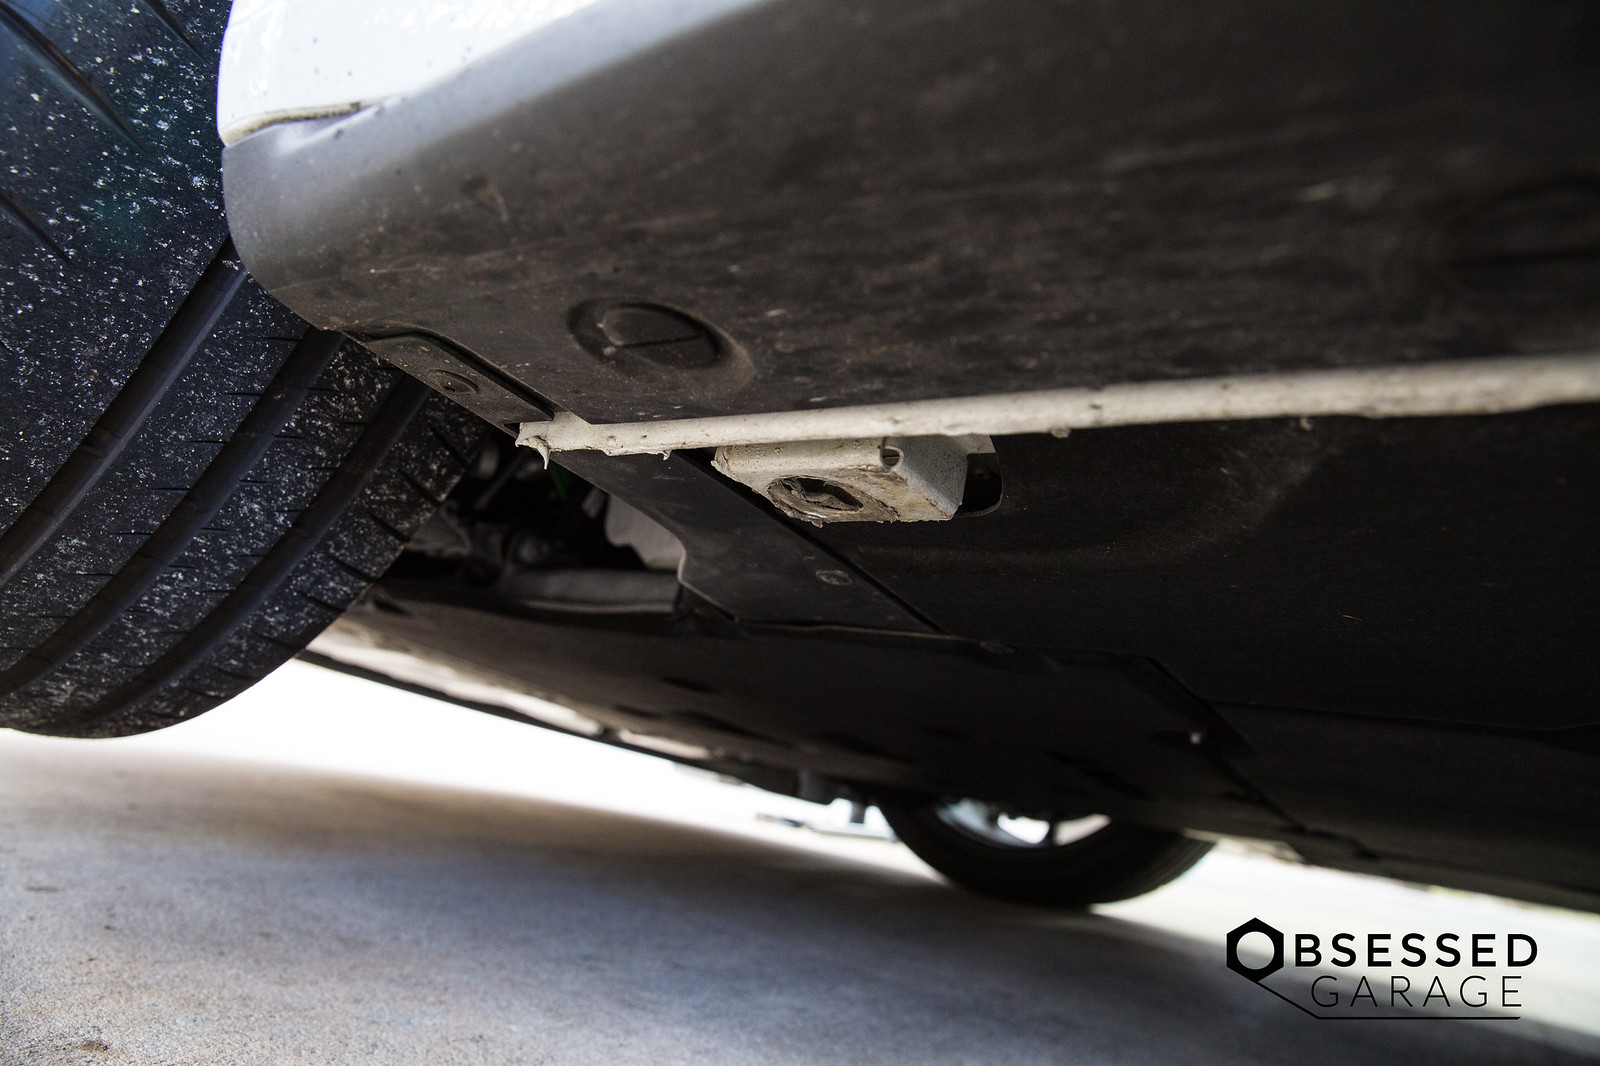
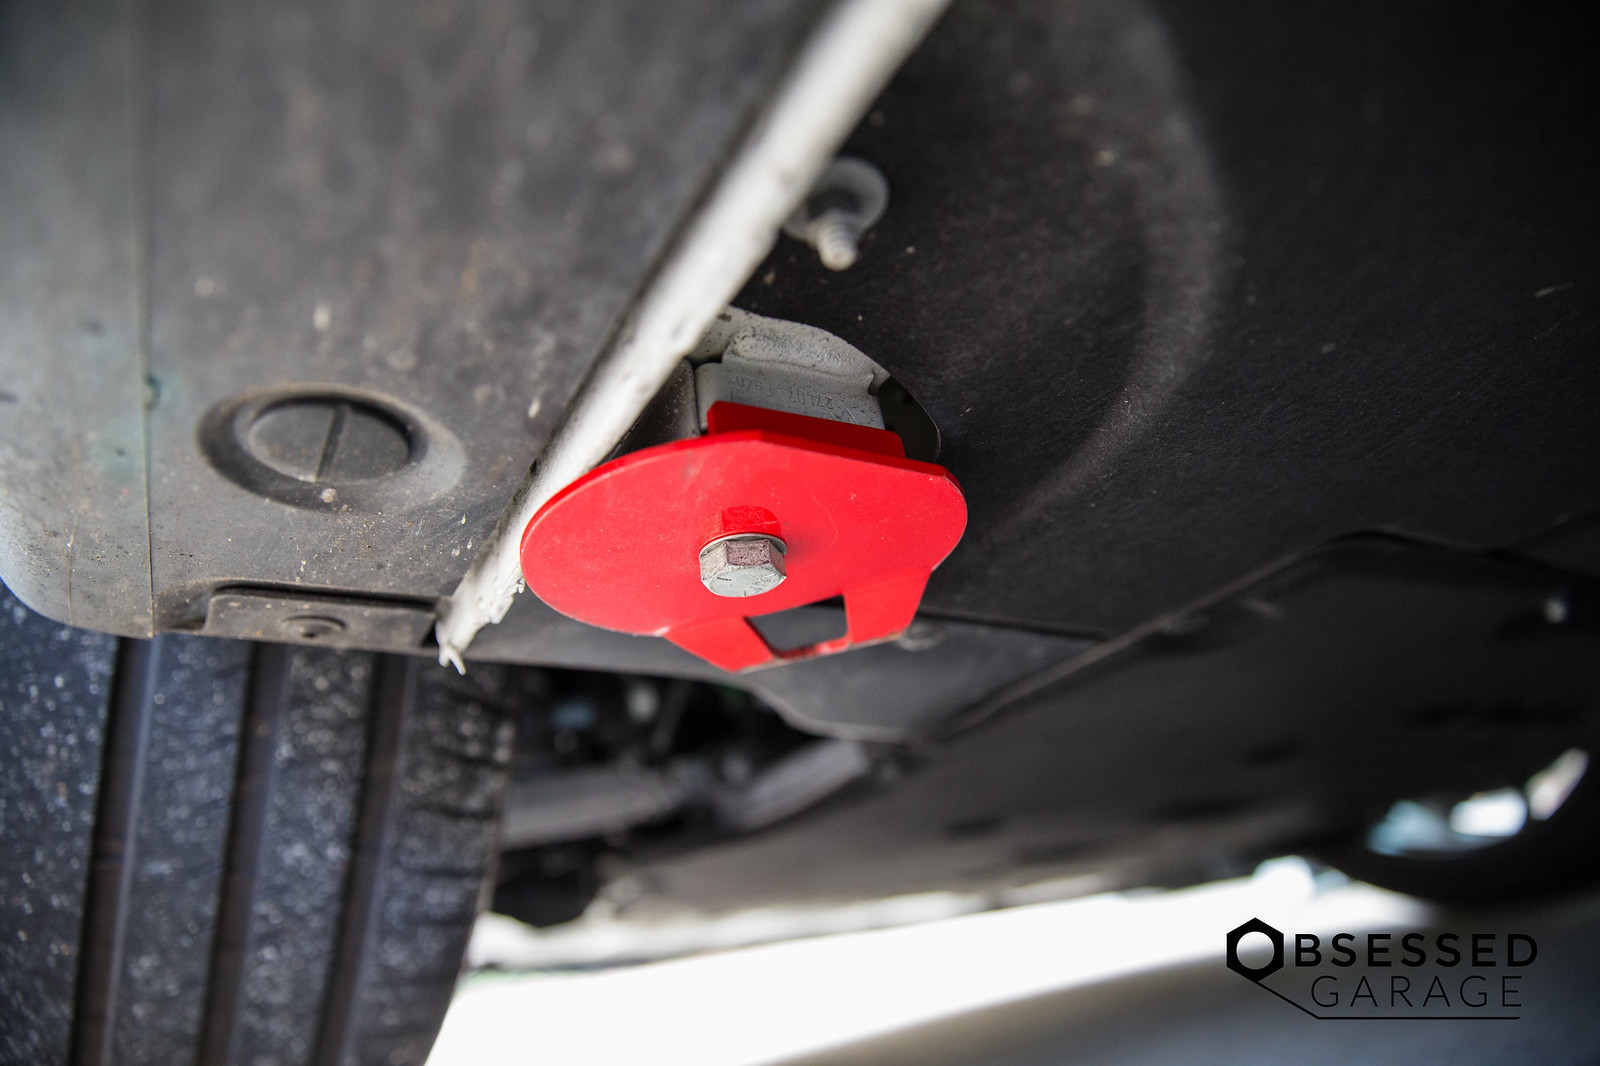
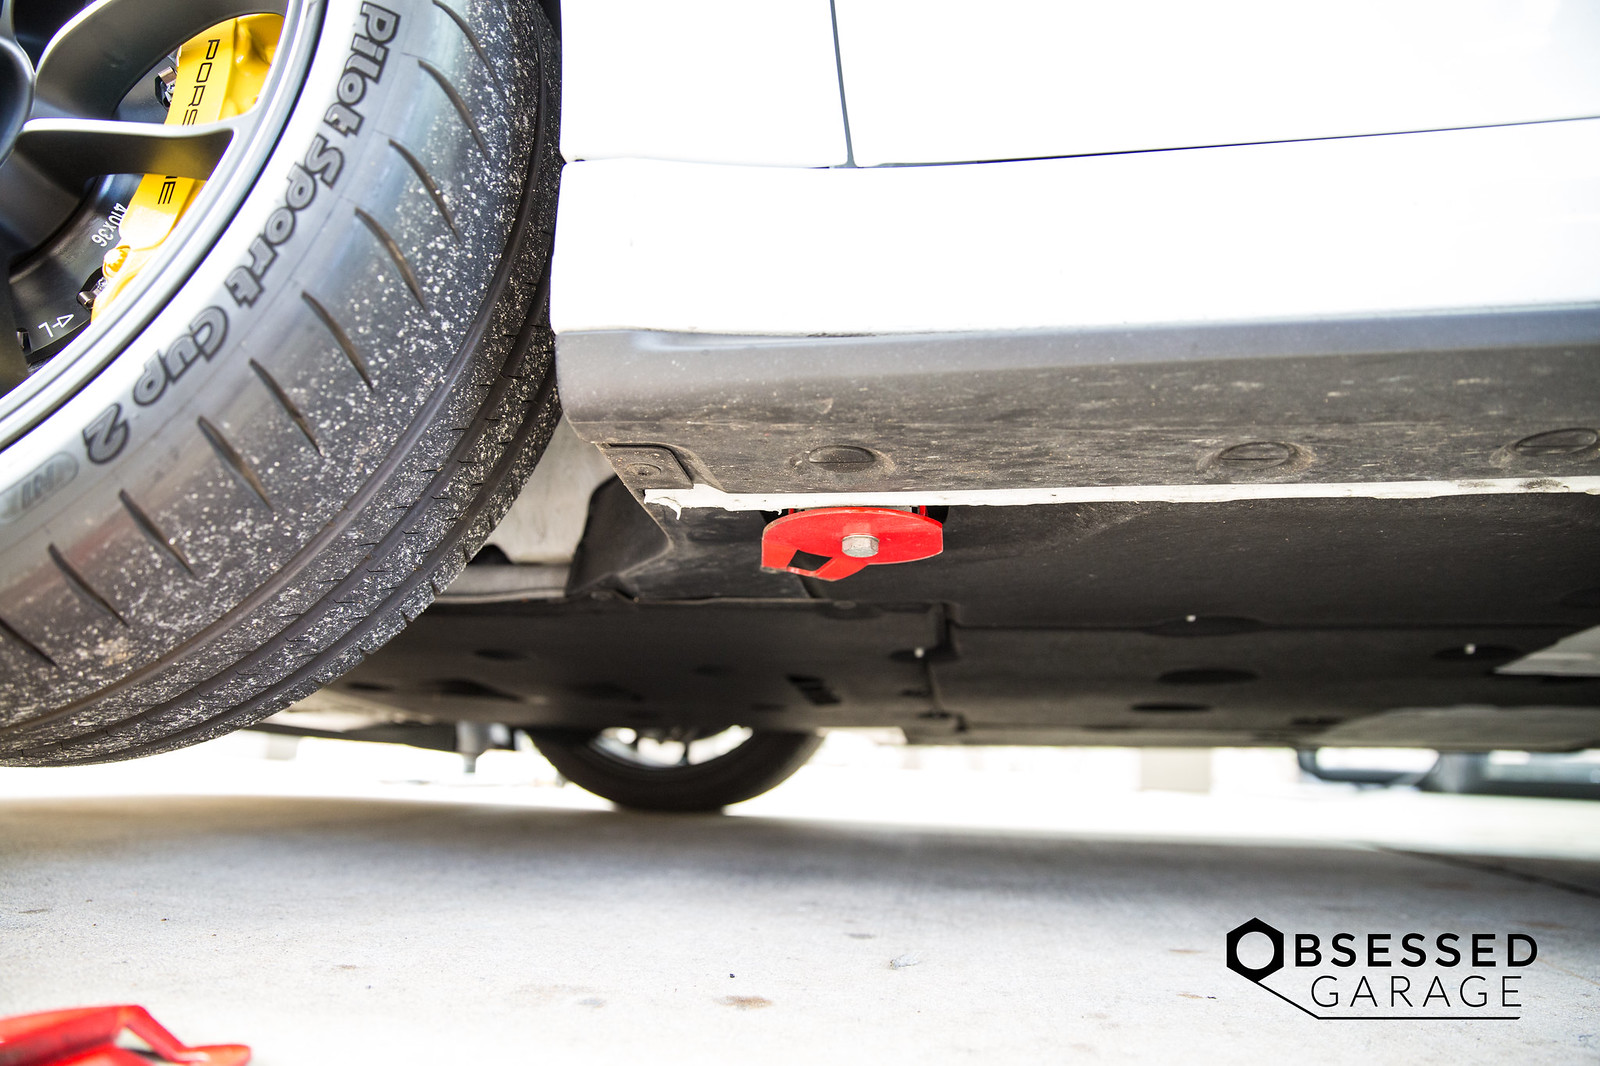
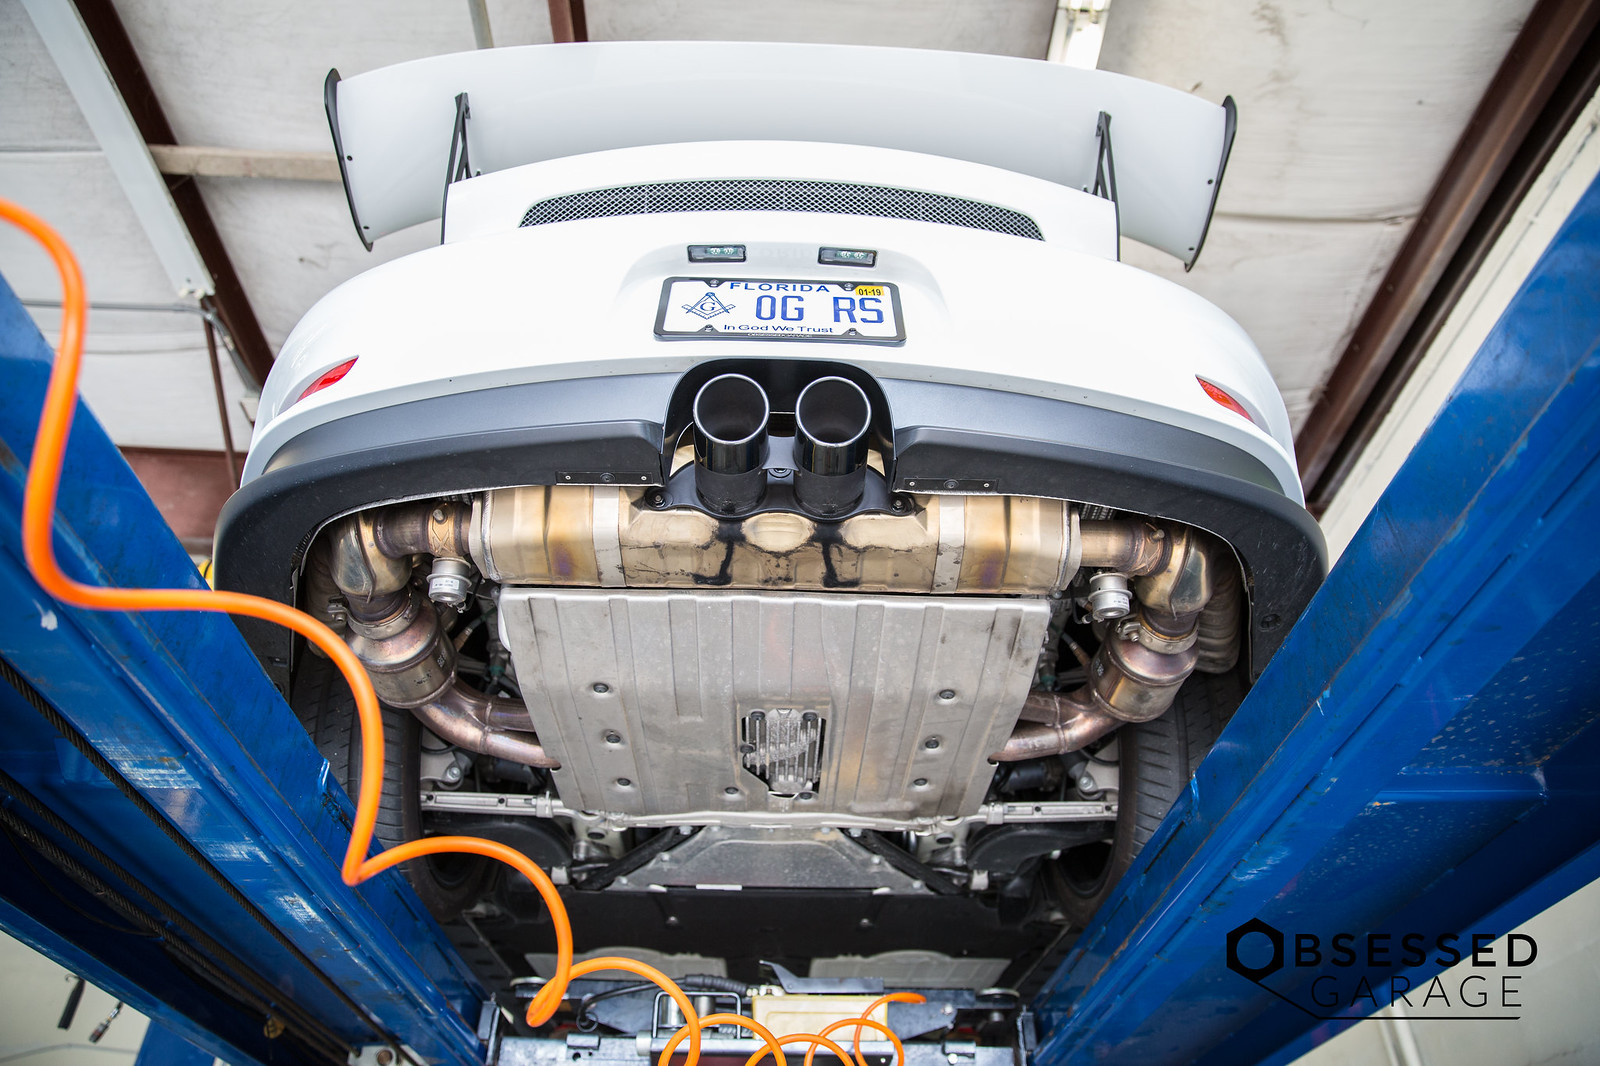
While I had the tools out, I also threw on the front Rennline Tie Downs. I'll put the rear on when I change the oil or install the Dundon exhaust.
Front: http://www.rennline.com/Rennline-Tie...oductinfo/E36/
Rear: http://www.rennline.com/Rennline-Tie...oductinfo/E37/
The fronts are specific Left and Right, so take note of that when installing.
Here is the video if you prefer that format.
First thing you need to do is open up the front trunk, pull the cover off, and grab the center lock socket and pick tool.
Then gather up all of your tools.
Tape Measure
Cheap Harbor Freight Pittsburgh 2 Top Wheel Jack
PM @smokinGTS here on Rennlist for Delrin Wheel Guide and Delrin Jack Pads
Irwin Quick Grip Bar Clamp: http://amzn.to/2CQicUQ
Precision Instruments 3/4" Torque Wrench/Breaker Bar Combo: http://amzn.to/2meTDtV
Castrol Optimol Grease: https://www.suncoastparts.com/product/04302000.html
Paper Towels
Rubber Glove
Microfiber Towel: https://www.obsessedgaragestore.com/...-removal-towel
Williams Spanner Wrenches: http://amzn.to/2CYNYTV
Vernier Caliper: http://amzn.to/2DhyB61
I always end up doing this wrong for some reason. You need to insert and "scoop" the center cap off rather than pulling. Pulling usually leads to slipping and scratching. But the scoop doesn't always work either, so you have manage it. (I know...I know, this should not be that complicated. But for some reason, it's challenging for me.)
I alway push in the locking pin (the lighter metal thing in the center) to ensure it's loose and moveable.
Then take the end off the Irwin clamp, put it on the opposite end of the shaft and flip it outward and upside down.
I know, Mr. Obsessed has some dirt in the interior. It happens to the best of us.
Now before you get crazy on me, I know we need to break the nut in the air. For some reason my center locks were over torqued, so I needed to use everything I had to break them. I broke it slightly then jacked it up to remove it the rest of the way. Obviously use the breaker bar attachment not the torque bar.
You don't absolutely need these, but use the jack pads to jack up the car.
The optimol paste makes a mess, so do your best to keep it off your fingers. That stuff spreads like wildfire once you get it on you.
Here is the OE height setting. But I think my car may have been moved up a bit by the previous owner.
You need to use a spanner wrench to break the lower collar lose from the top. I needed to hammer the wrench to break them apart. You can use the Williams wrenches that I posted in the link above, but I ended up using some old Ohlins ones I had from other cars.
I lowered it about half way, used a Vernier Caliper to measure the distance, and made a note. This was the first attempt to see how much the height of the car was reduced.
Apply a new layer of Optimol Paste to the center lock nut, thread on the hub, and wheel. Use very little. You want to level it out not glob it on. While applying to the hub, make sure there is no burring of the threads or issues than may need to be addressed. It should be clean and smooth with no thread wear.
Reinstall the wheel, nut, and torque to 442 lb.ft. with the car up in the air. Then back off the nut 1/4 turn, and torque again. Unless the car is on a lift, I've found the you must pull up not push down on the torque bar. You can't gain enough leverage to push downward. Also be careful as the wheel will turn. You may want to have an assistant hold the wheel and brake. I don't have any friends, so I just need to take extra care when doing it myself.
BEFORE:
AFTER: I ended up moving the perch all the way to the lowest setting. I may need to come up a tiny bit, but wanted to see how the car does all the way down. If I'm able to get by without rubbing, I may lower the rear about and 1/8" to match. I got about a 1/2" in total lowering from where the car sat before.
We will see how the car does. It will probably settle at bit lower, so I may need to raise it back up an 1/8" or so. I'll be sure to keep everyone up to date on my findings. I'll wait and test it a while before getting it aligned. As long as the car drives straight, it's been my experience that lowering cars such a small amount like this has little affect on the alignment.
While I had the tools out, I also threw on the front Rennline Tie Downs. I'll put the rear on when I change the oil or install the Dundon exhaust.
Front: http://www.rennline.com/Rennline-Tie...oductinfo/E36/
Rear: http://www.rennline.com/Rennline-Tie...oductinfo/E37/
The fronts are specific Left and Right, so take note of that when installing.
01-13-2018, 09:38 AM
#65
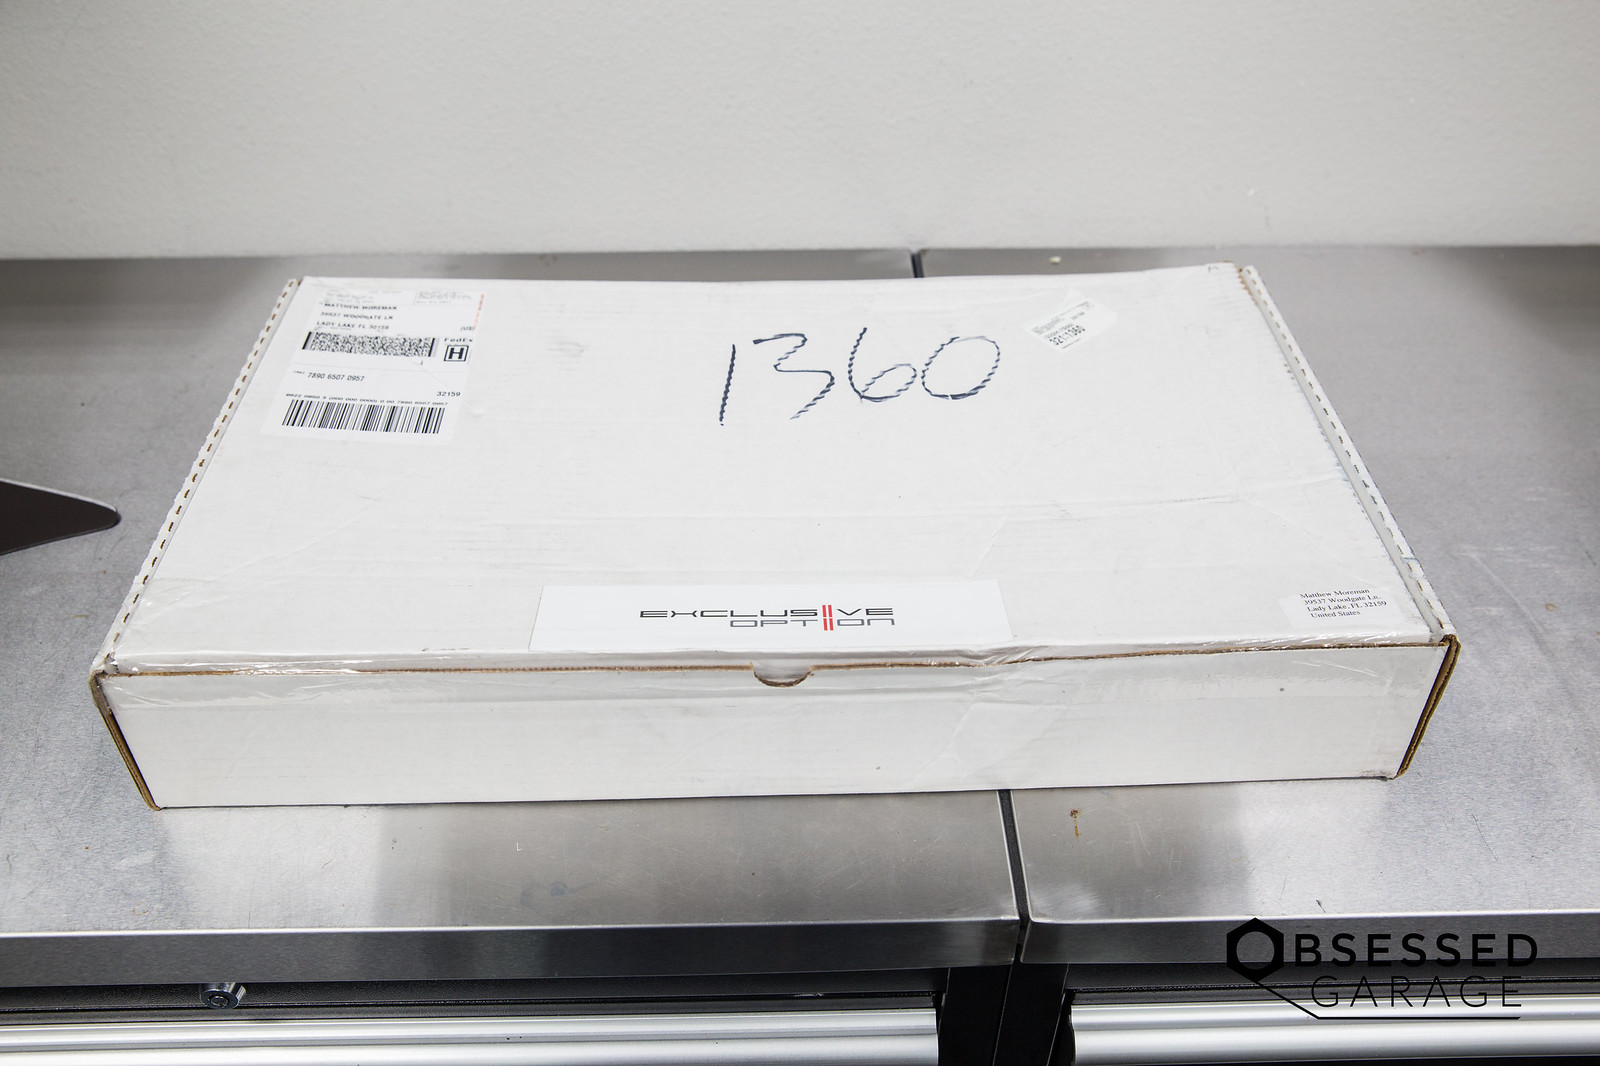
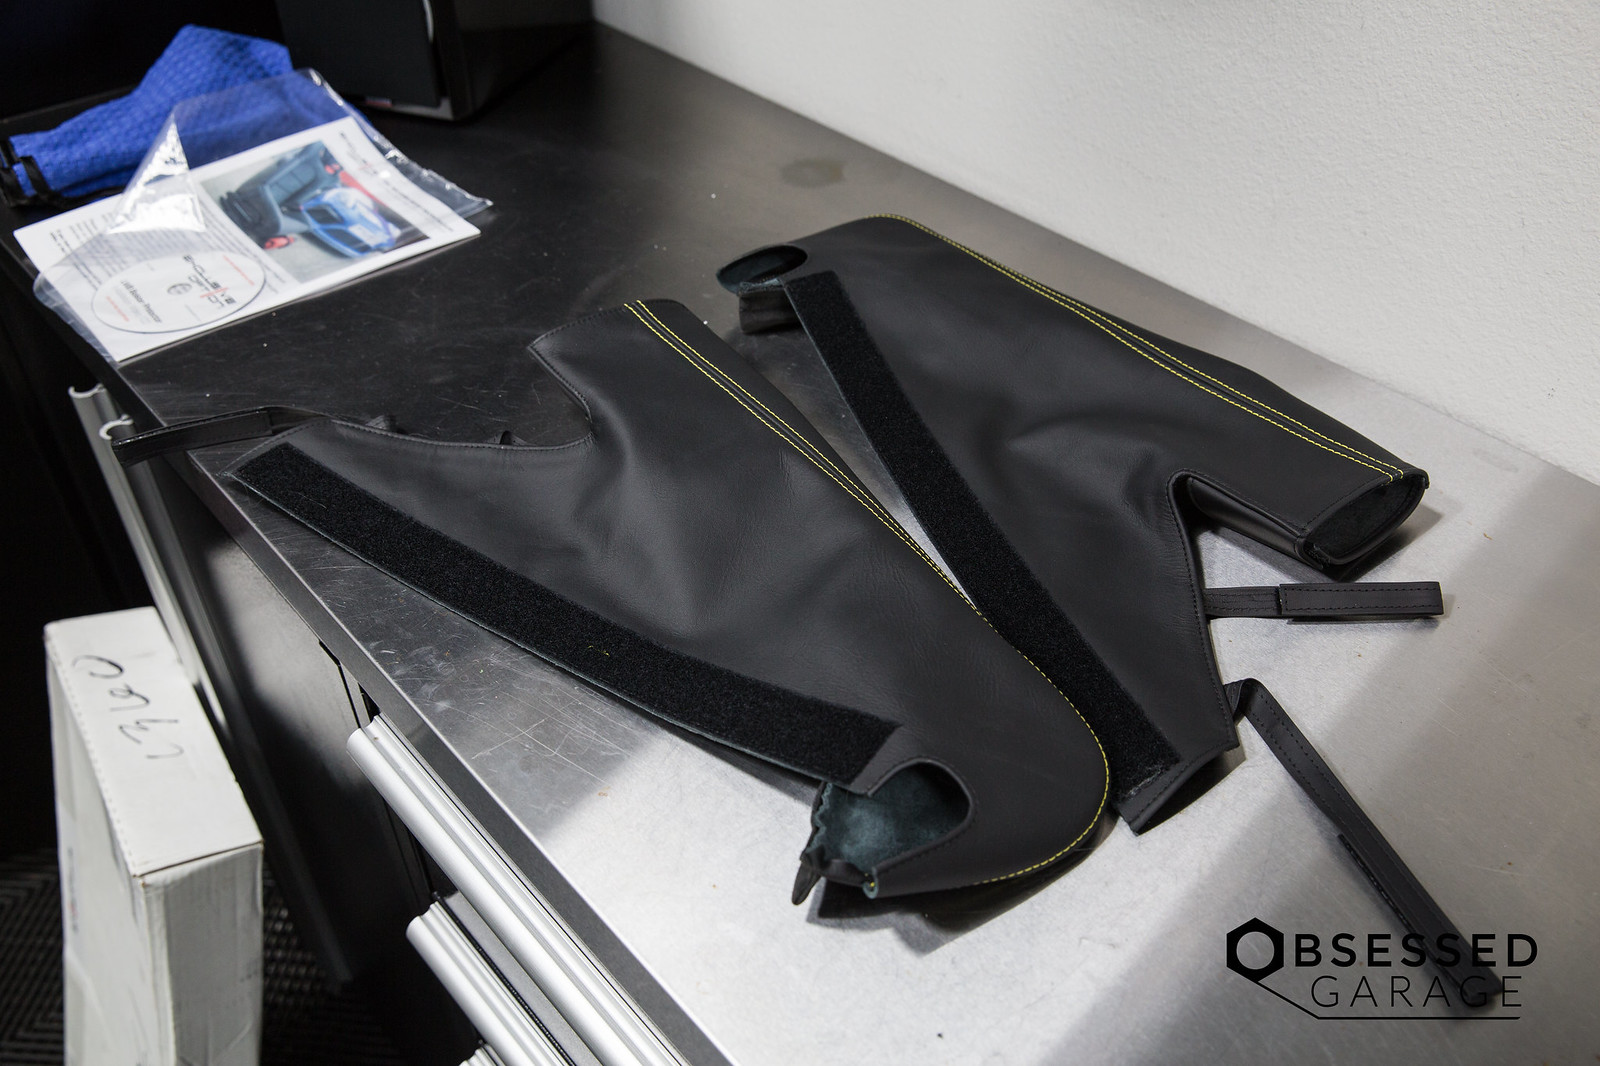
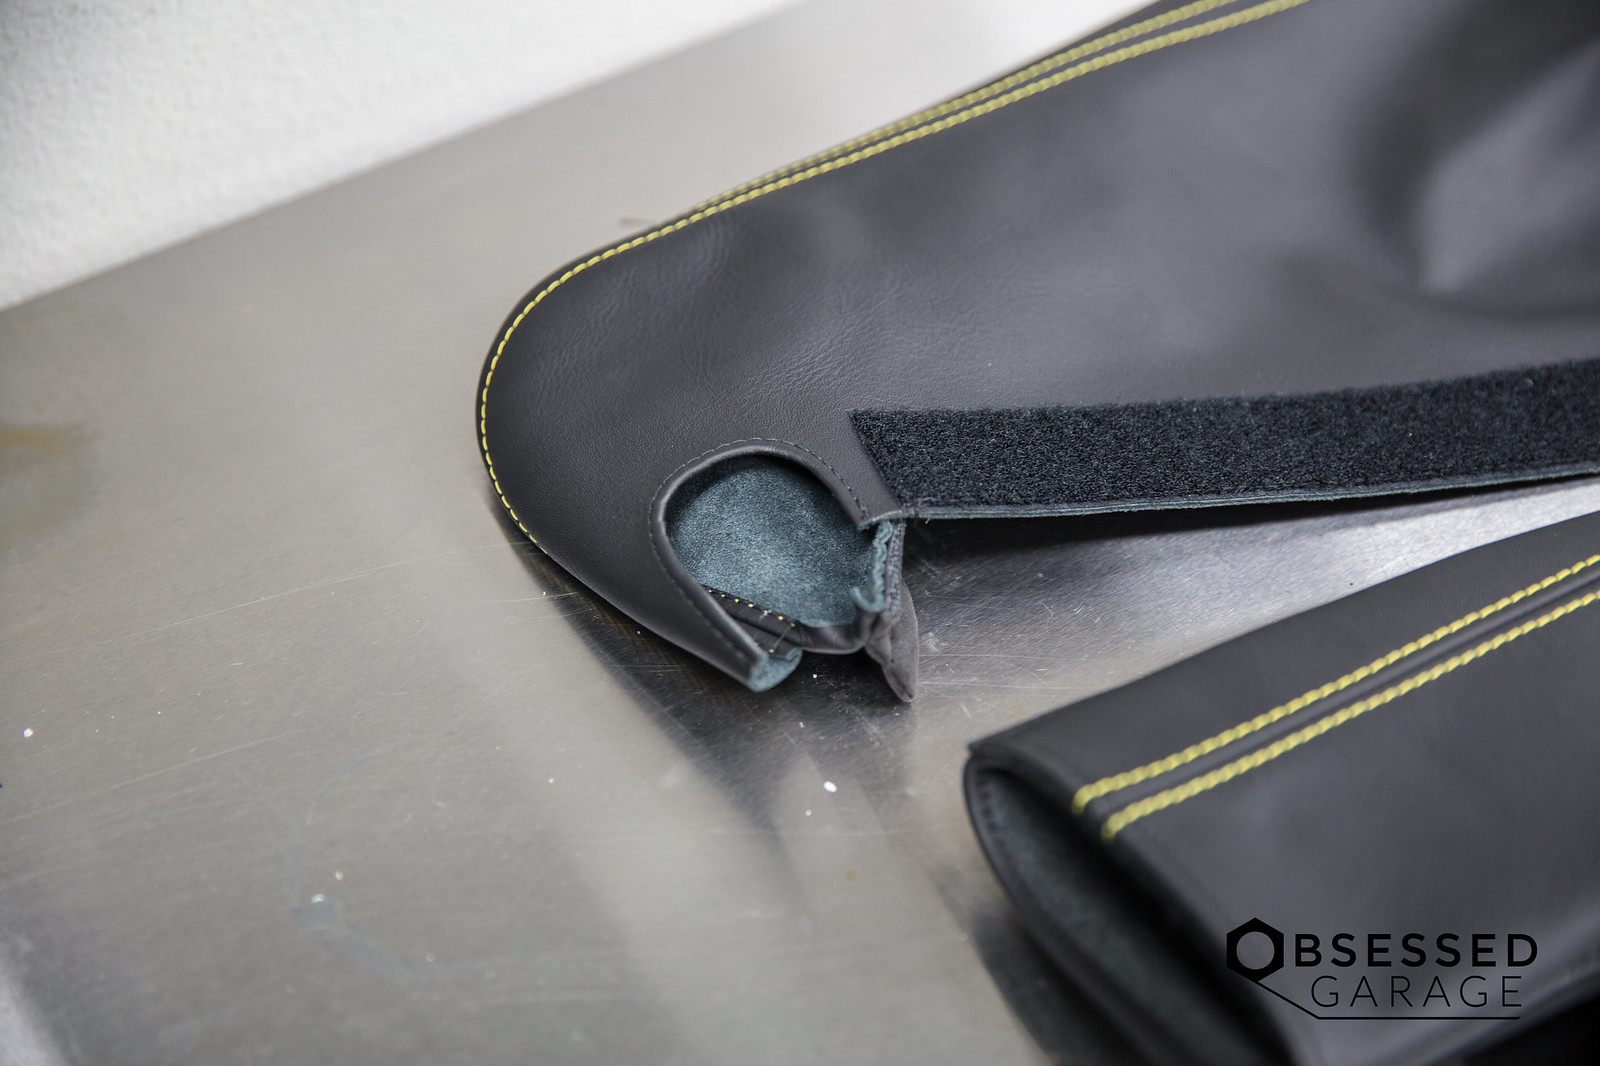
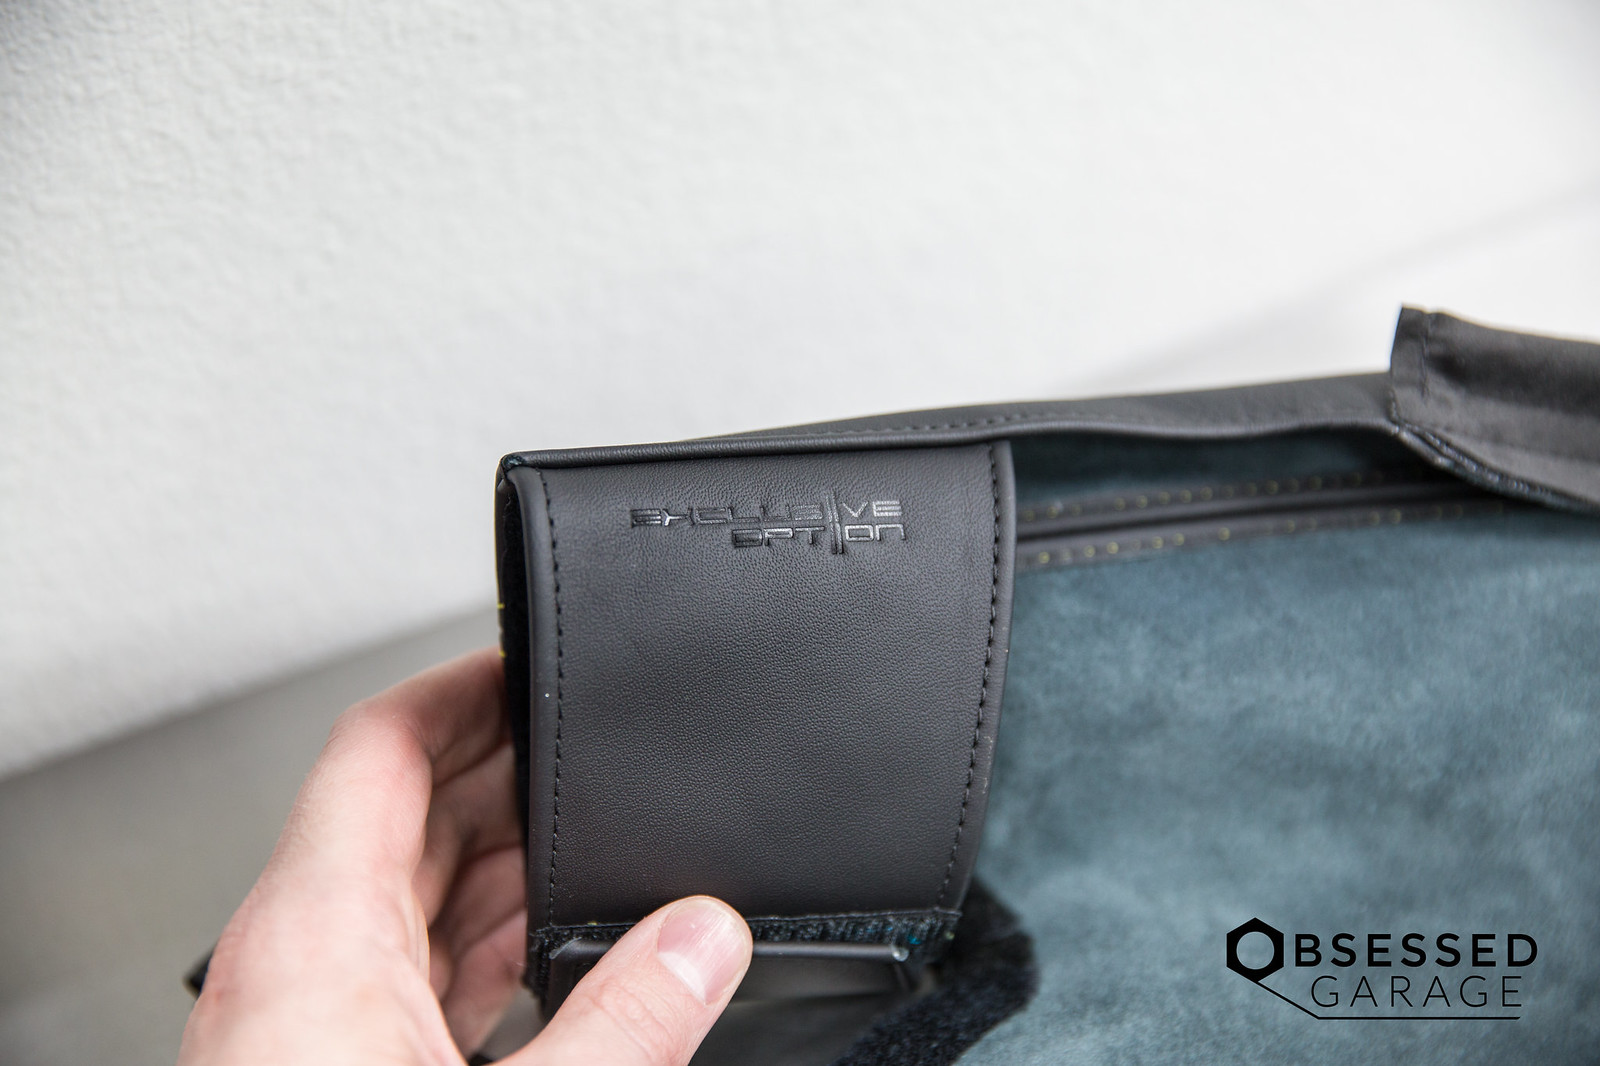
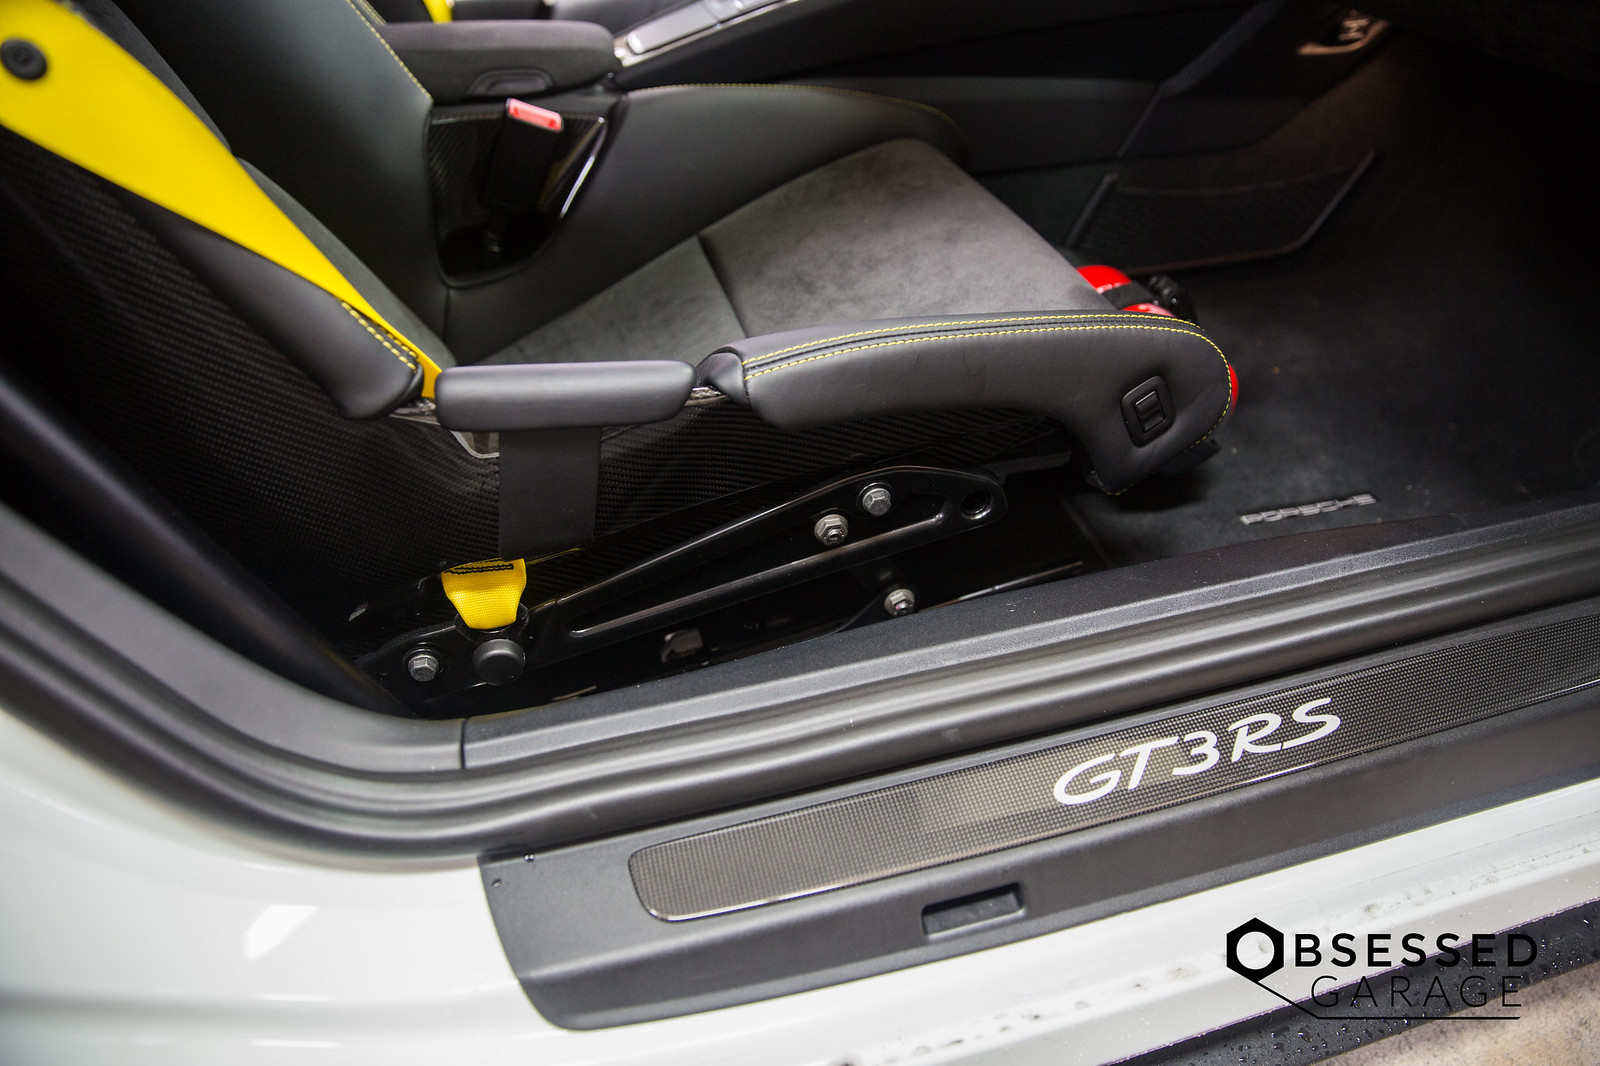
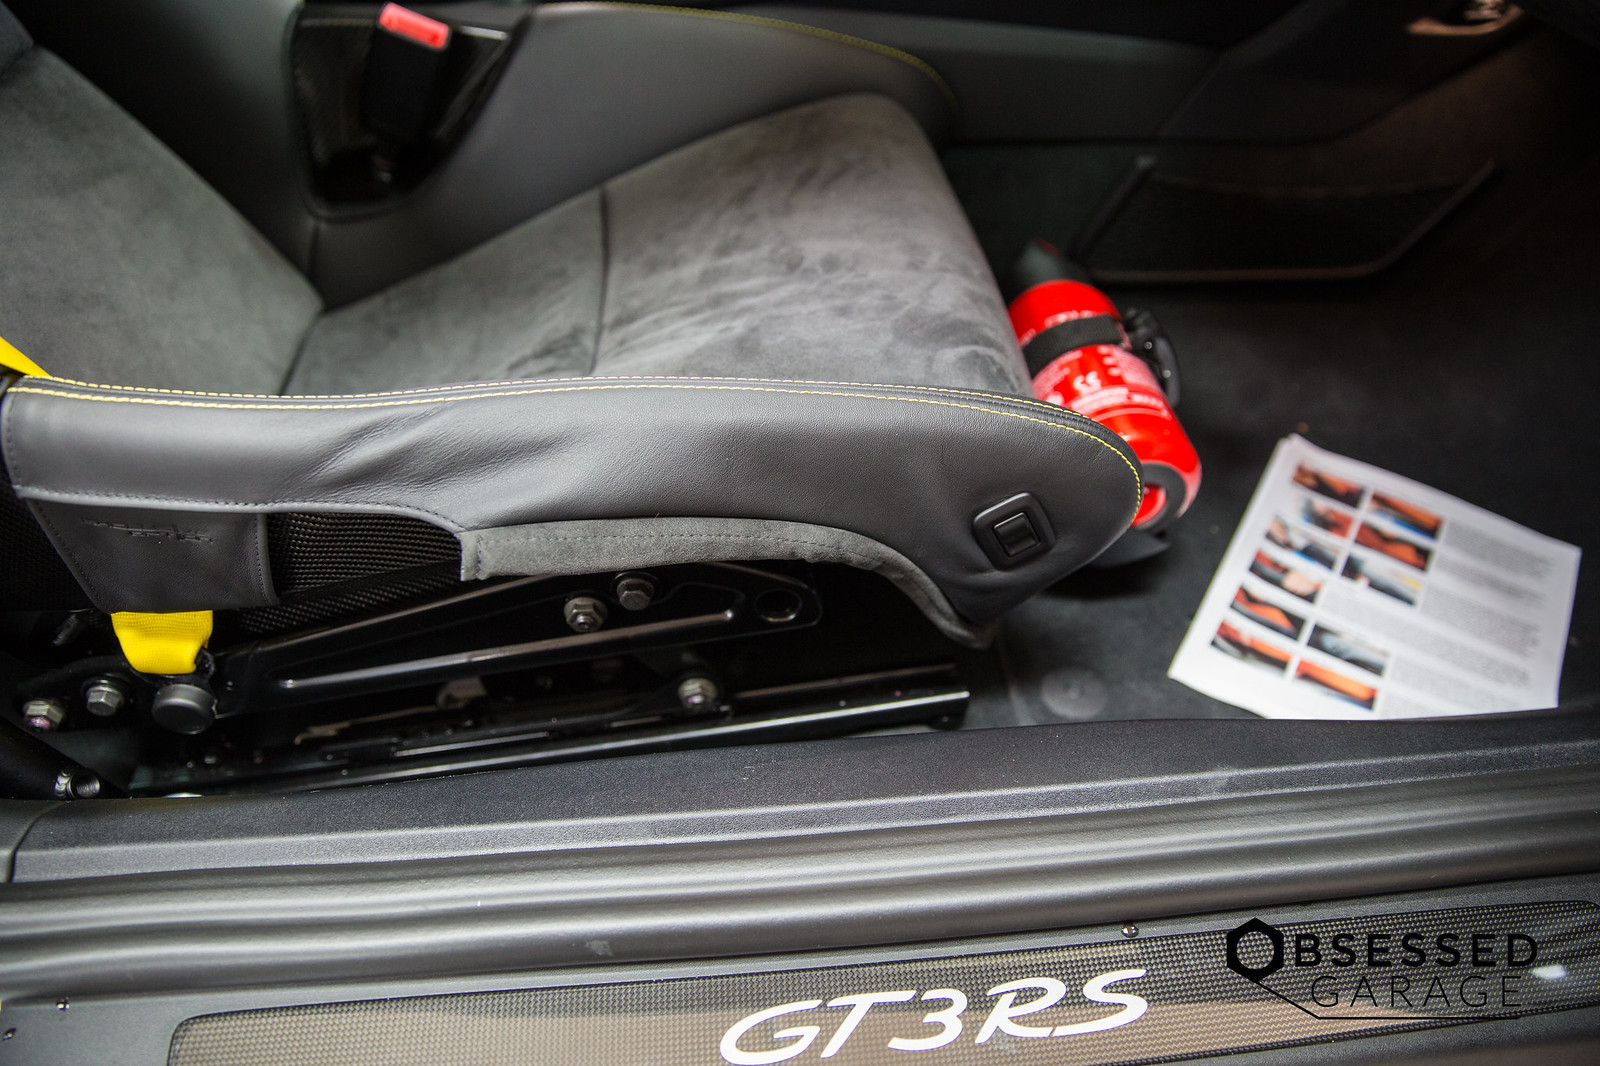
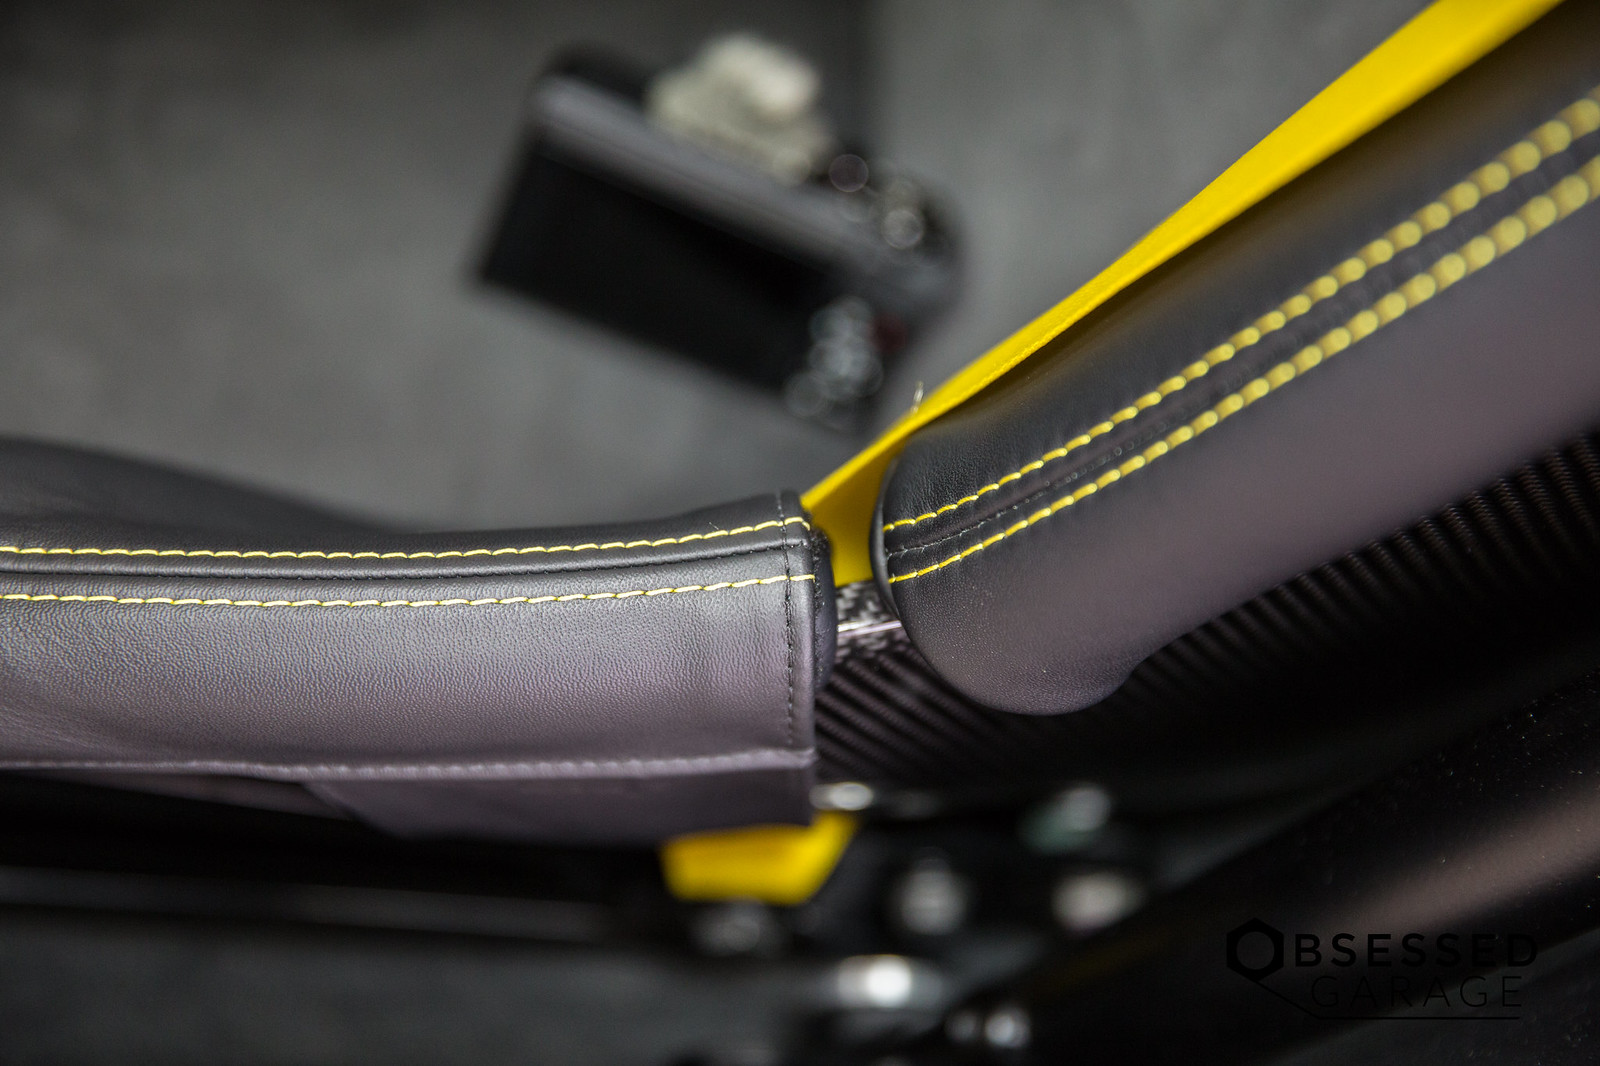
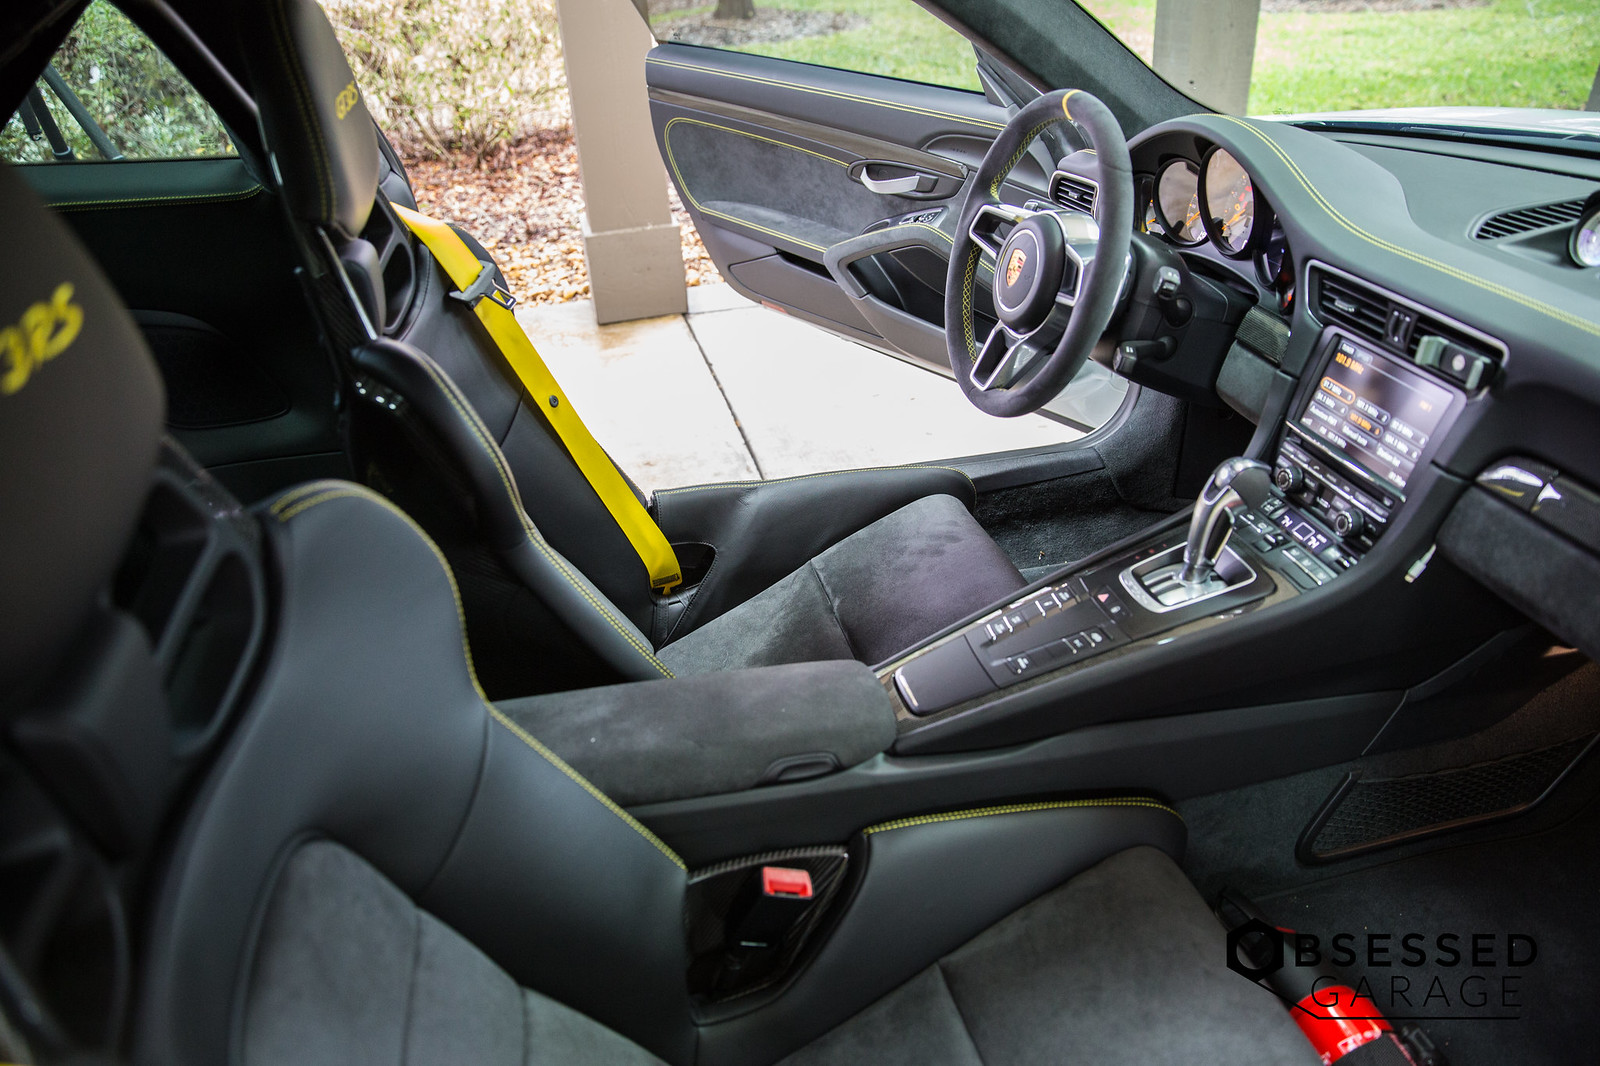
I'm not a huge fan of covering stuff up to save it for later, but I've seen what happens to the bolsters in the 918 style bucket seats. They get destroyed rather quickly. From what I can tell, there are two options on the market. I chose Exclusive Option for a few reasons. They have a great tutorial video, their website is good, and pricing seems to be about the same. I needed yellow stitching and that didn't cost me anything extra.
Cost: $589
http://shop.exclusiveoption.com/918-...18-918LWBP.htm
My Video if you prefer that format.
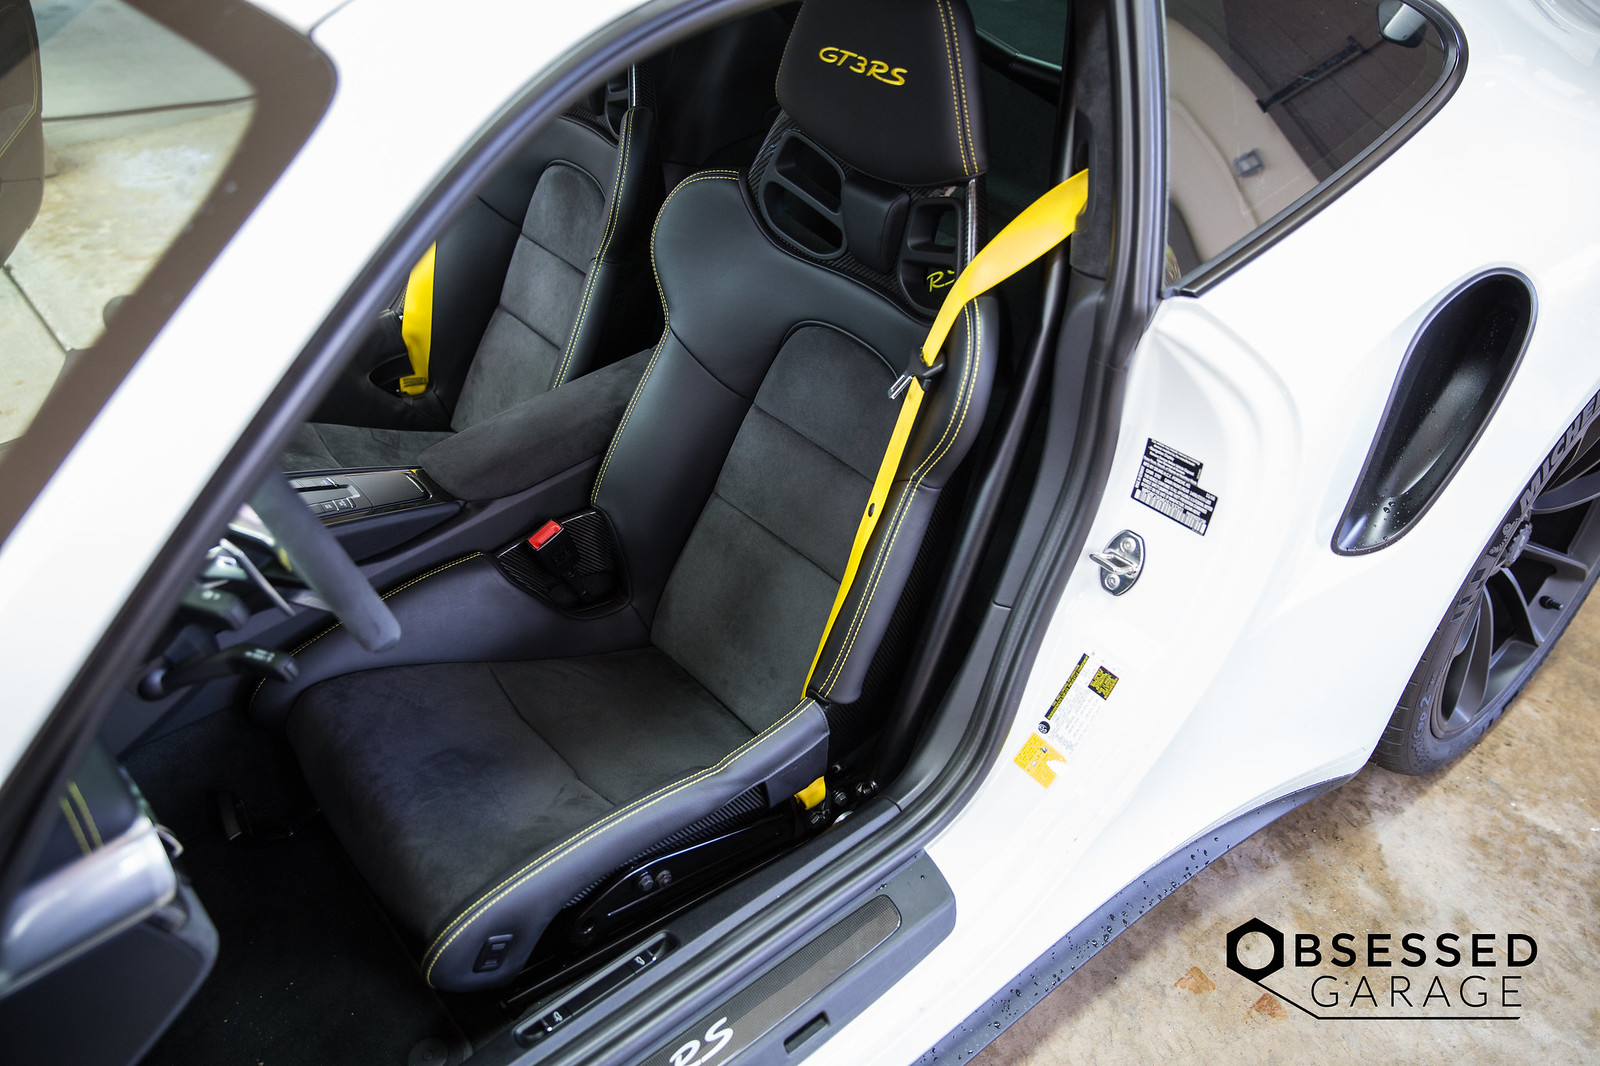
Quality:
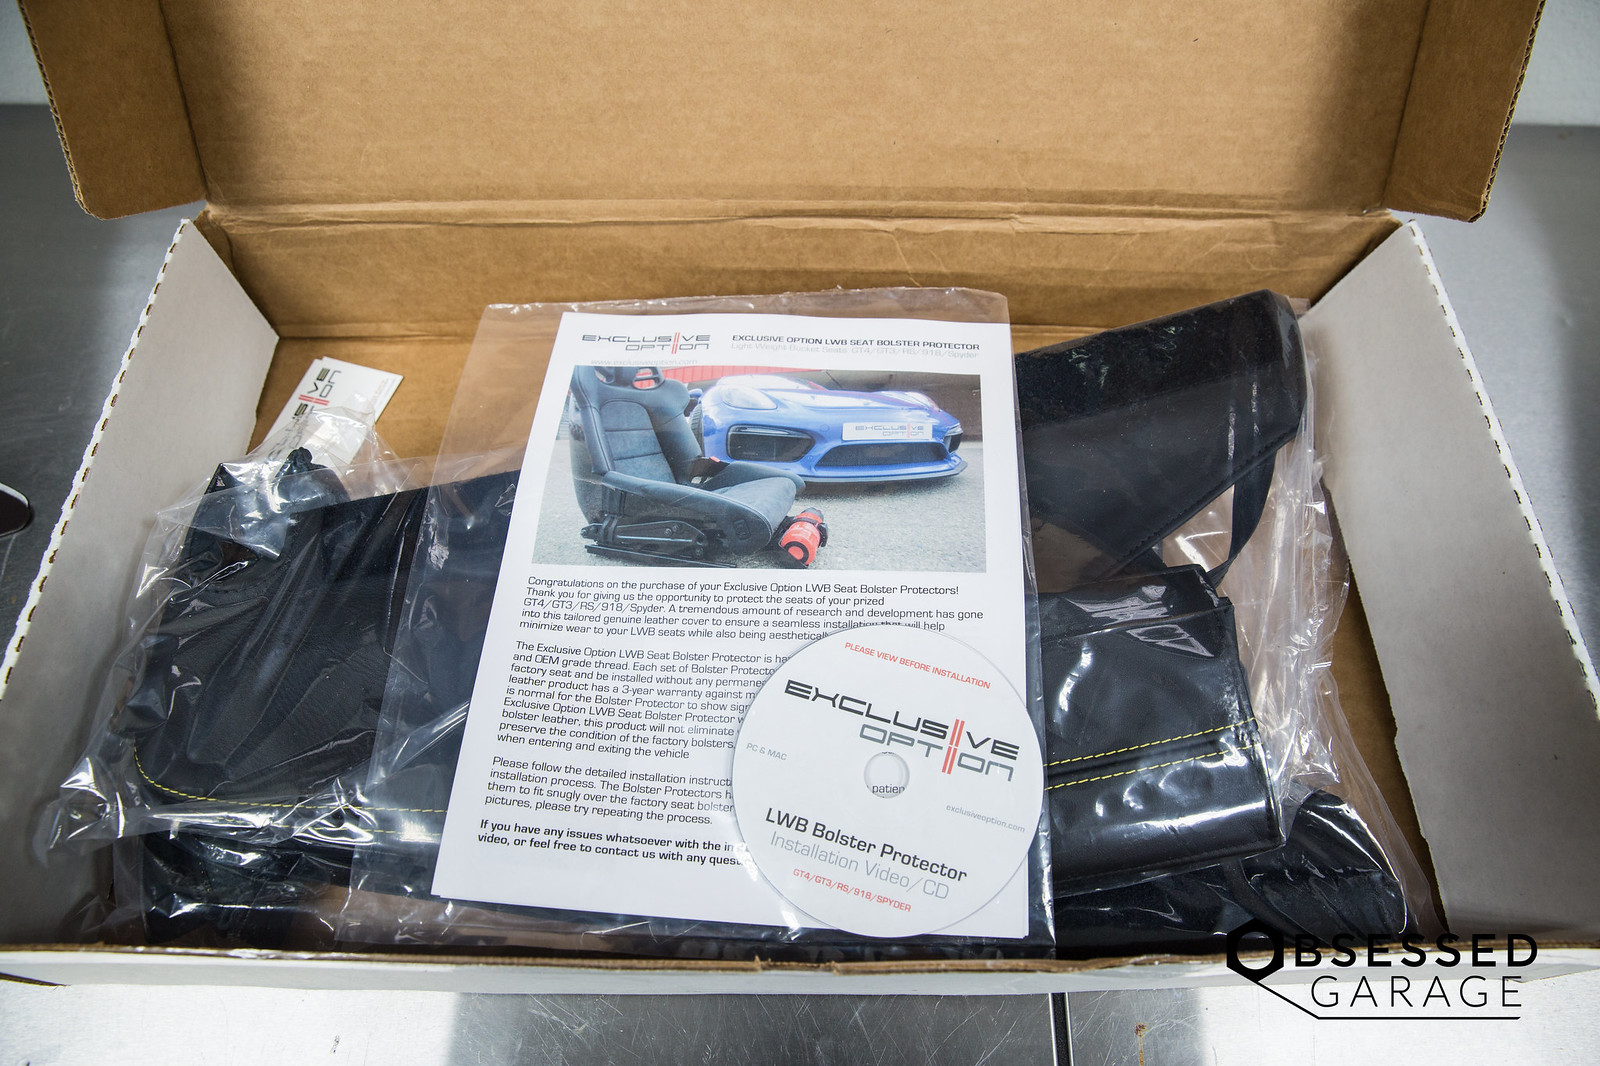
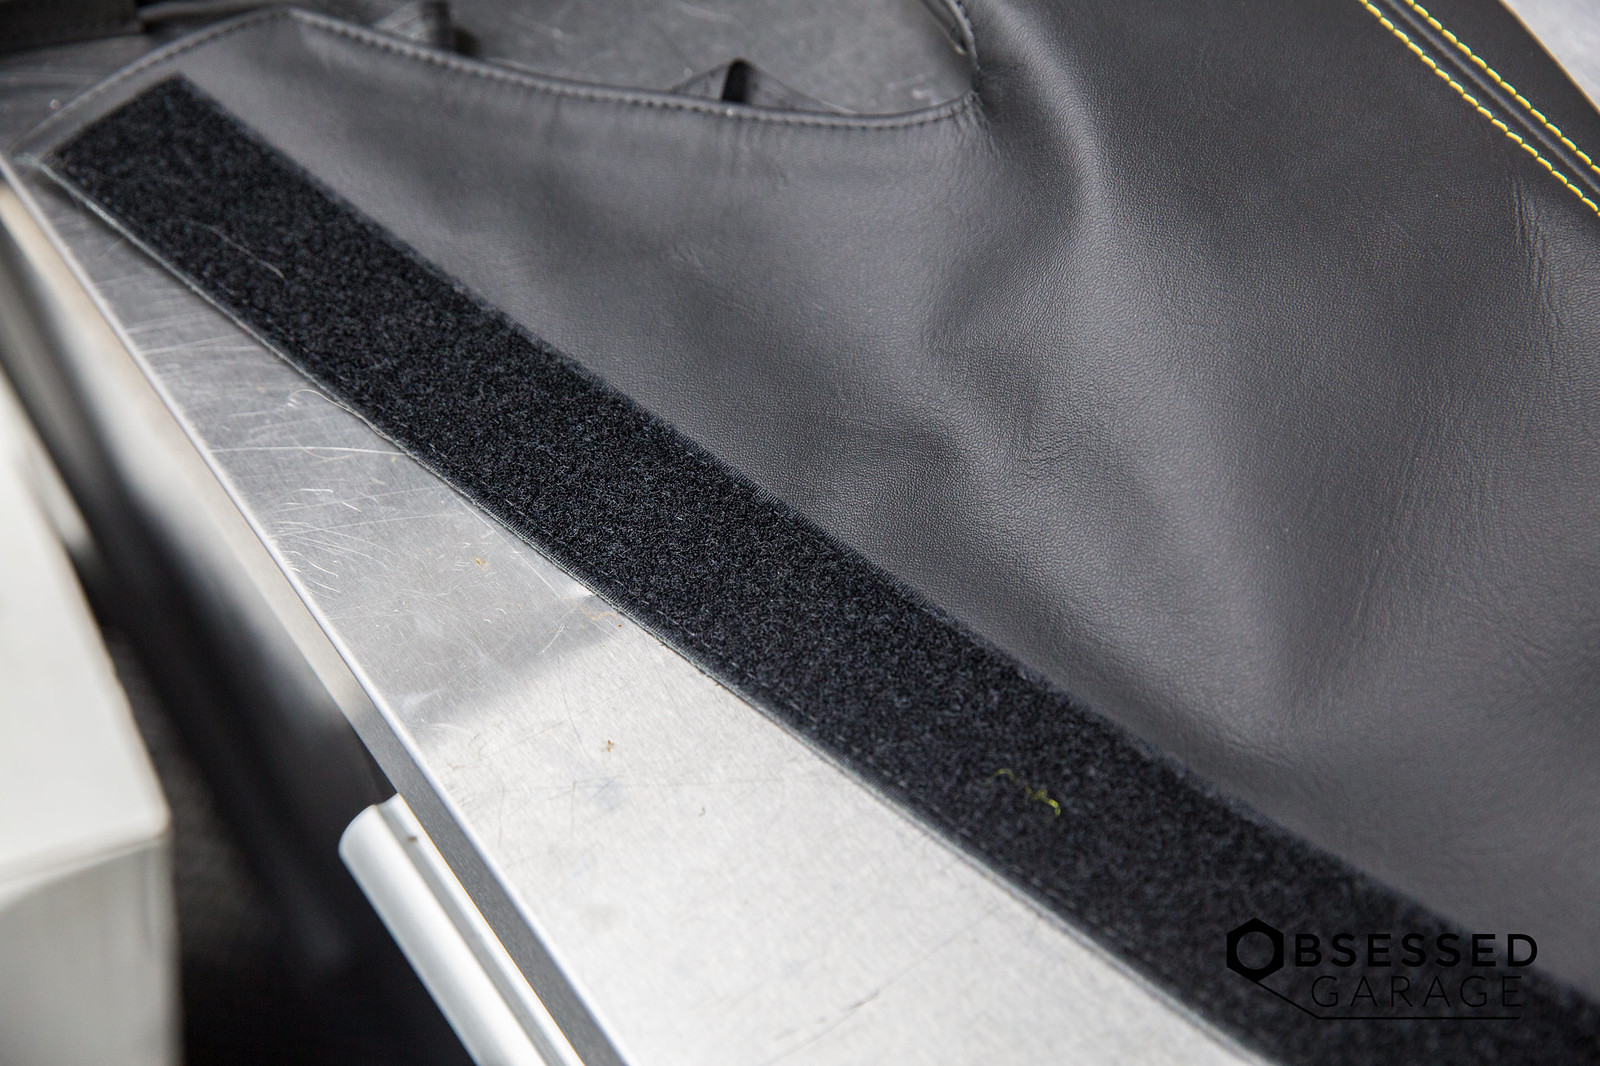
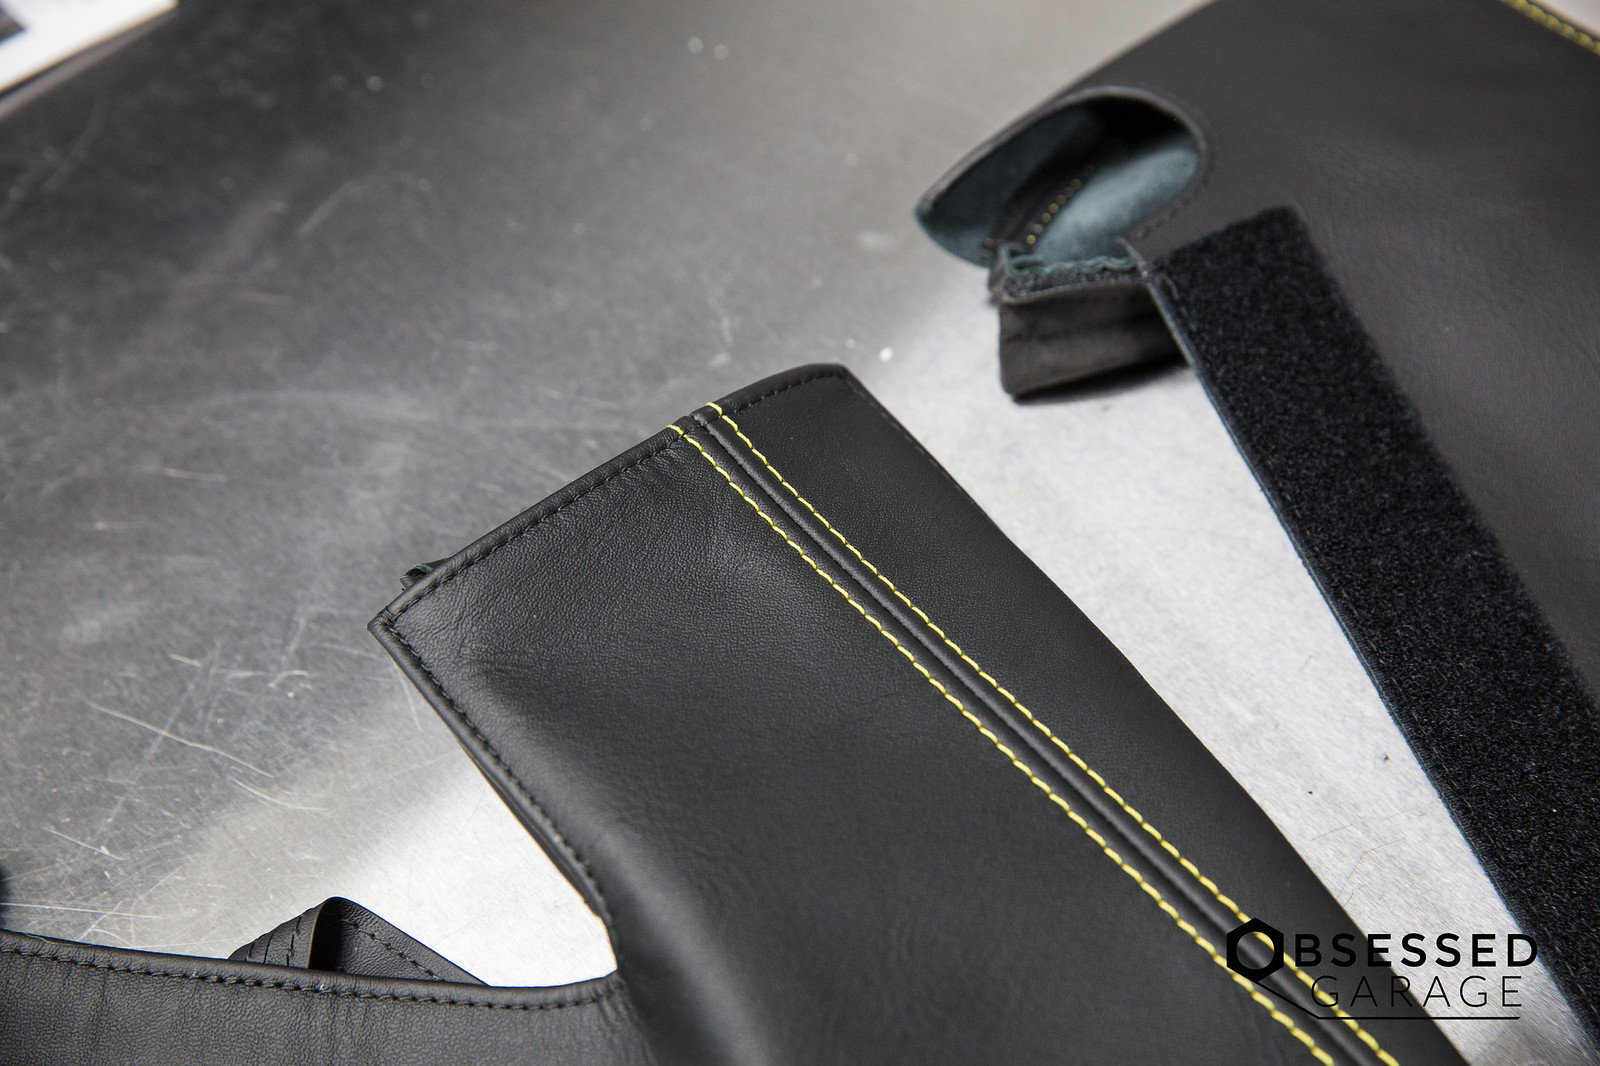
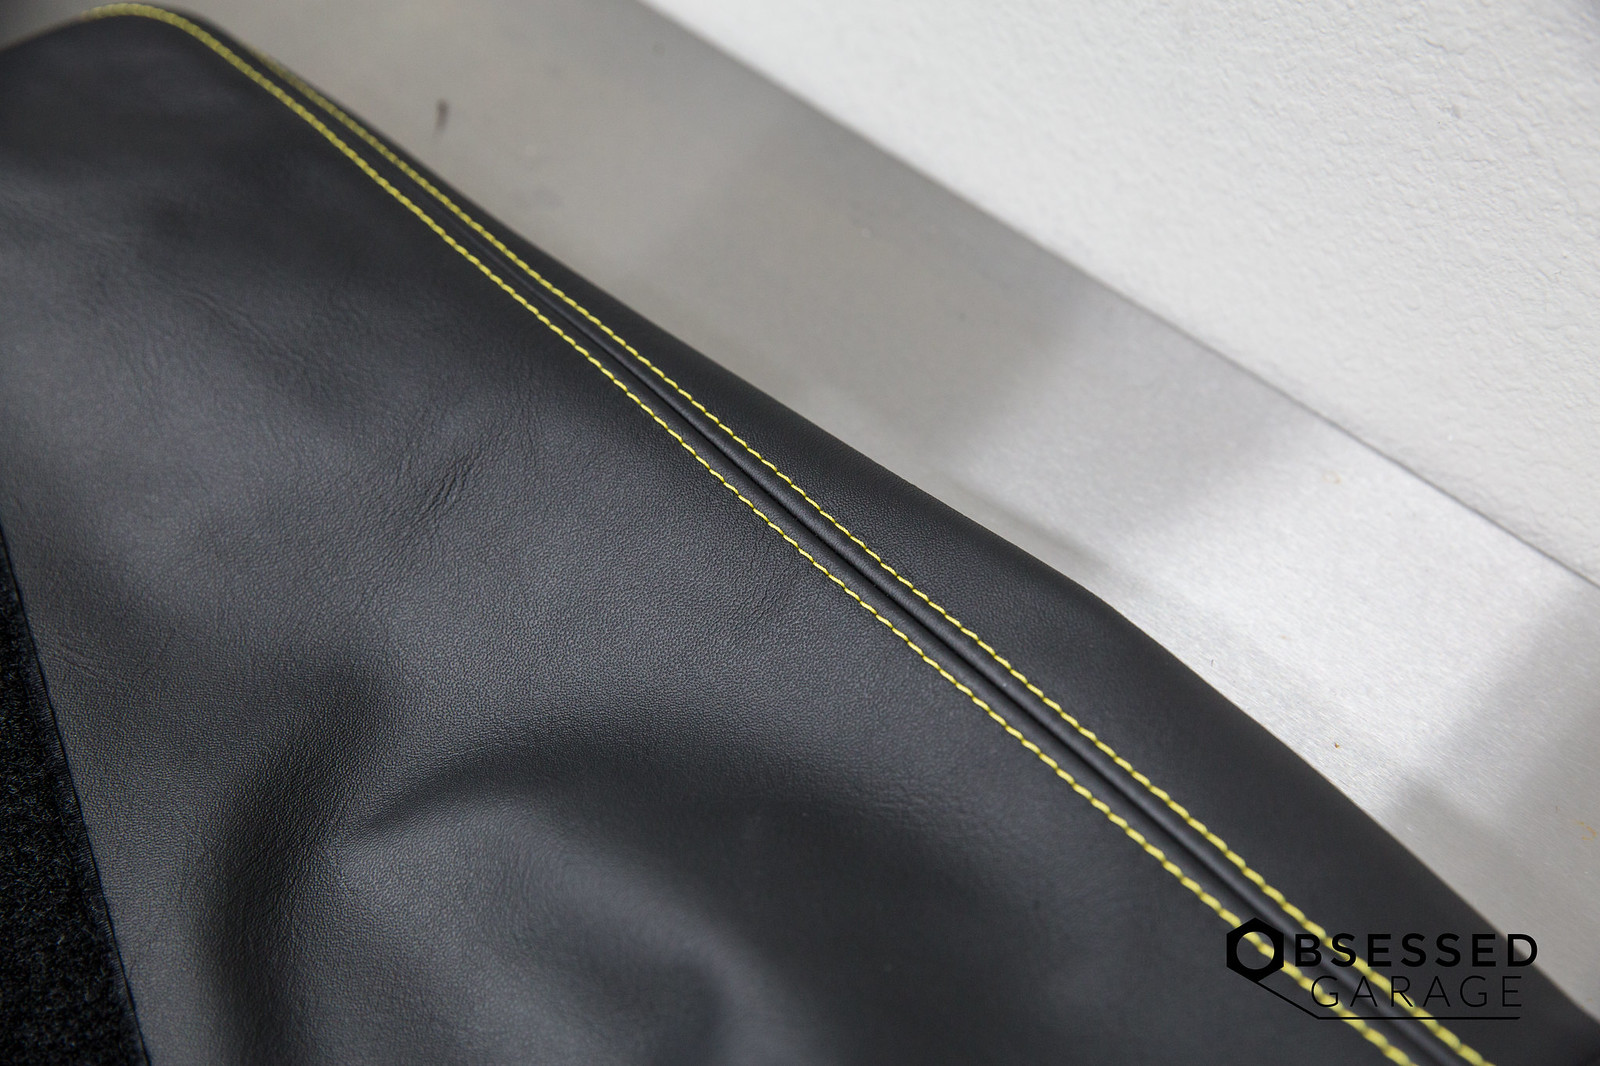
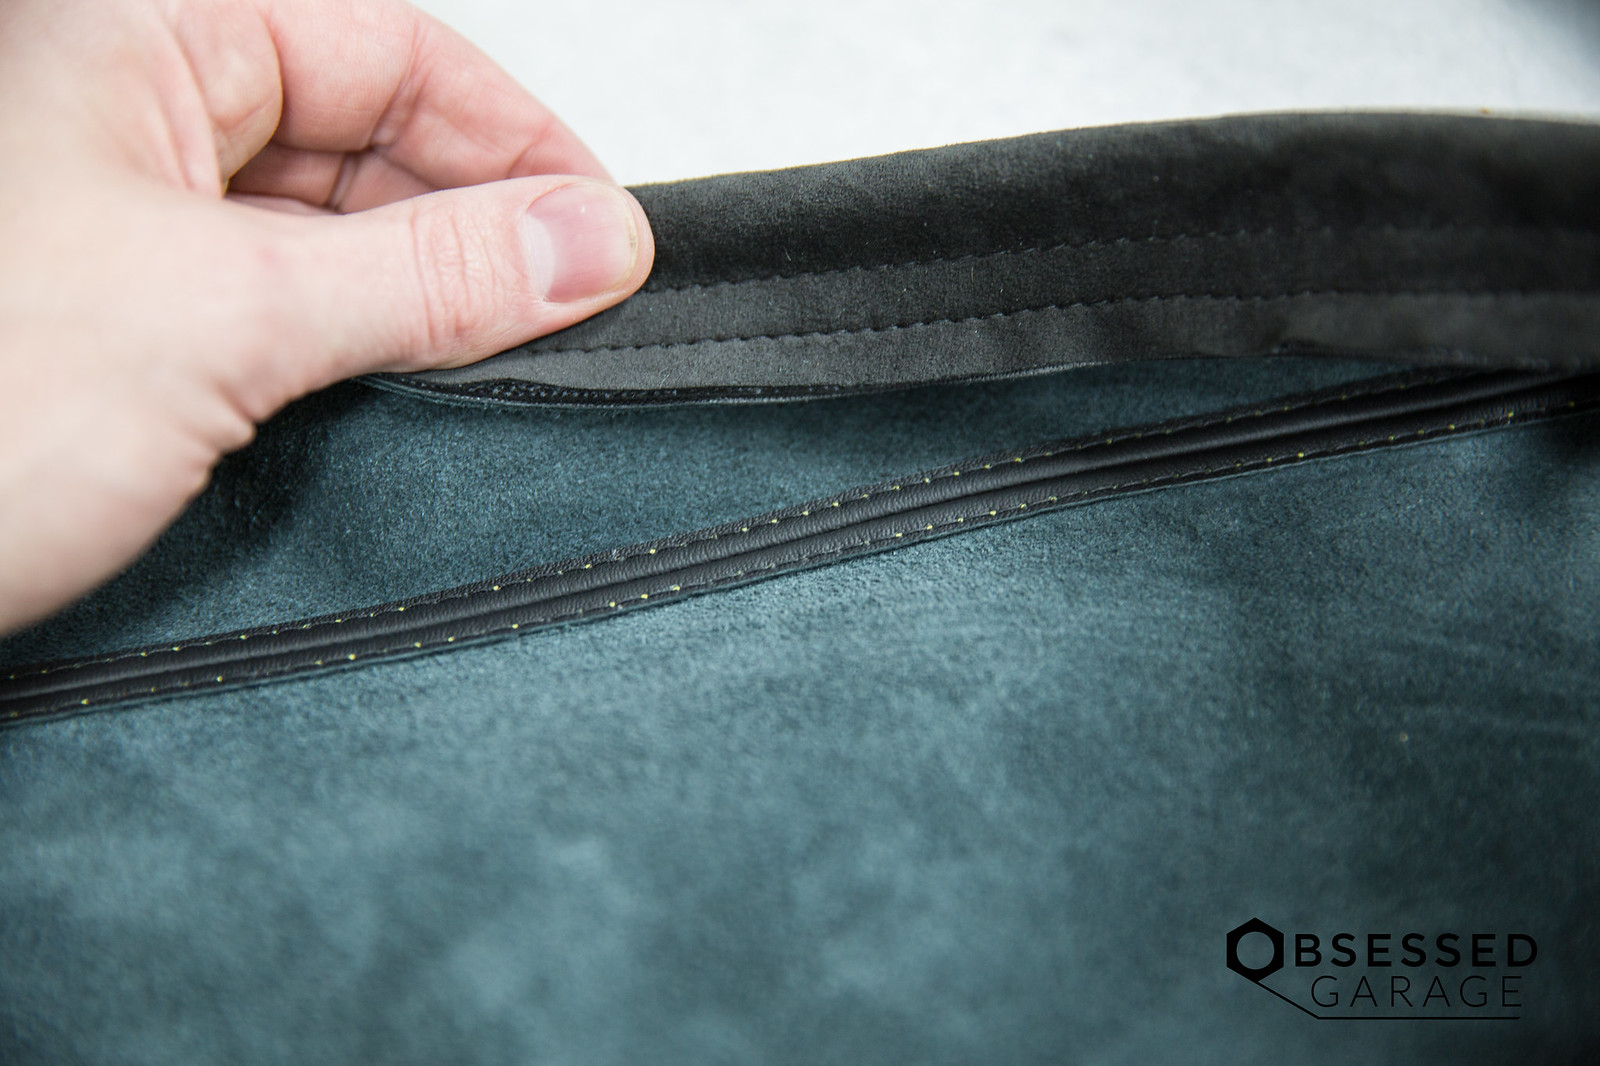
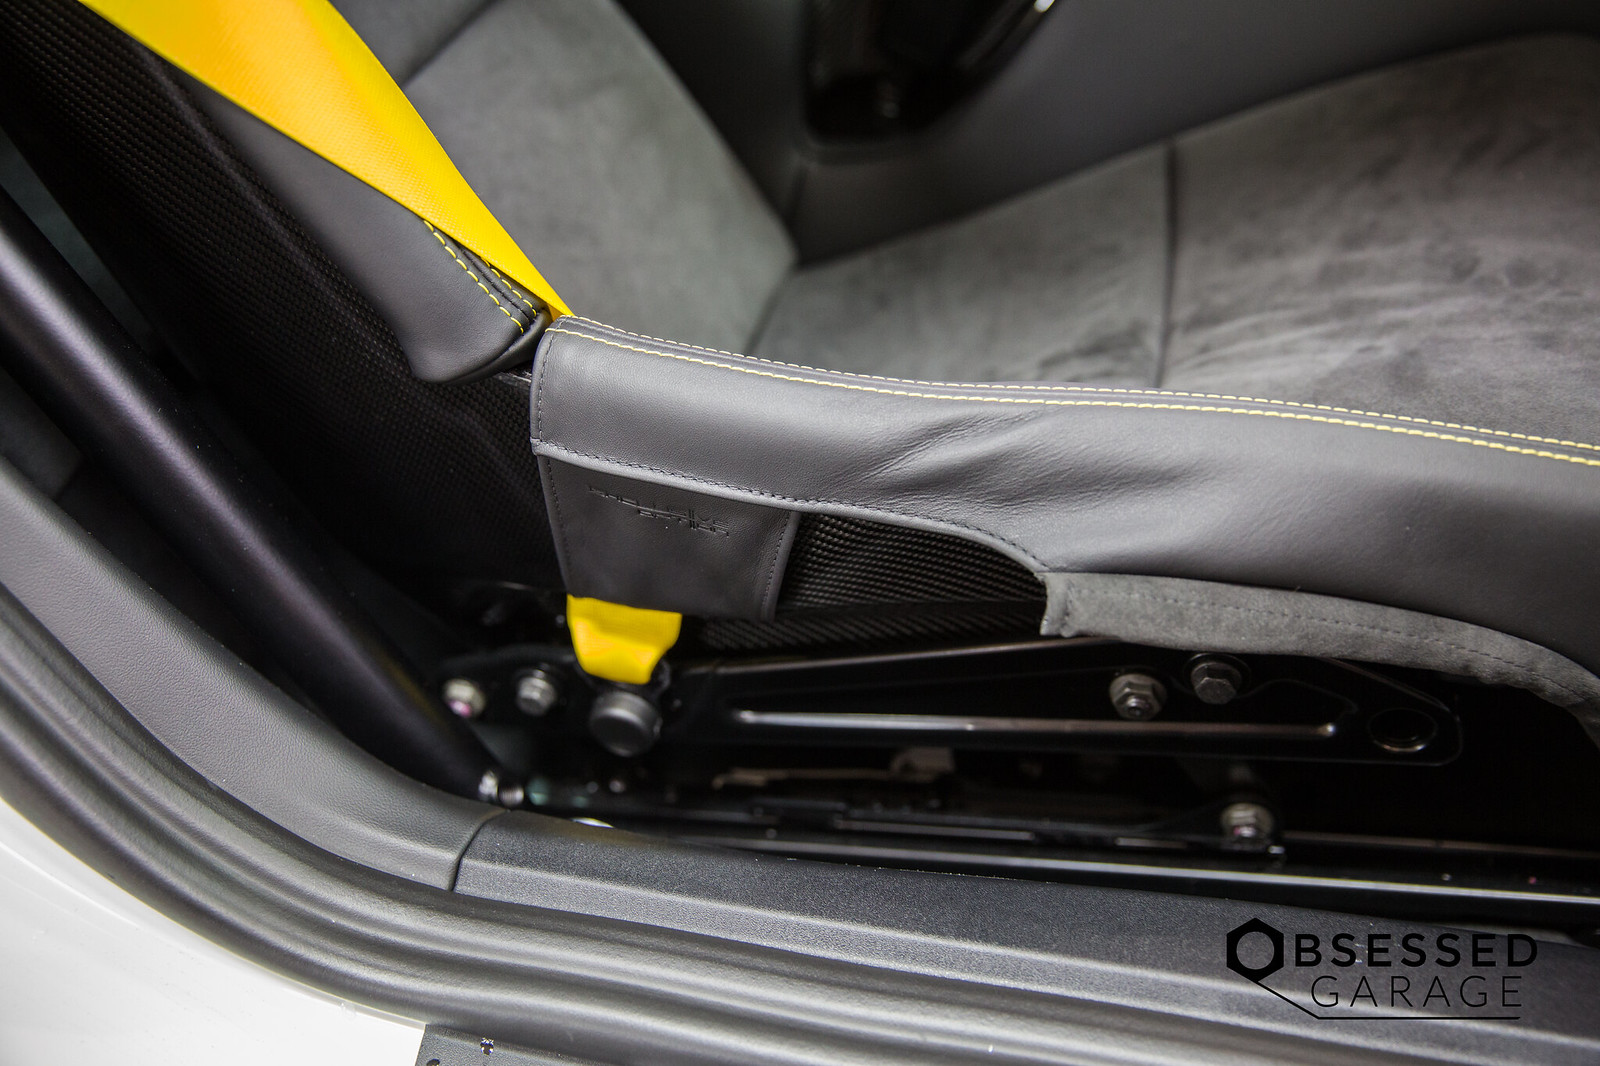
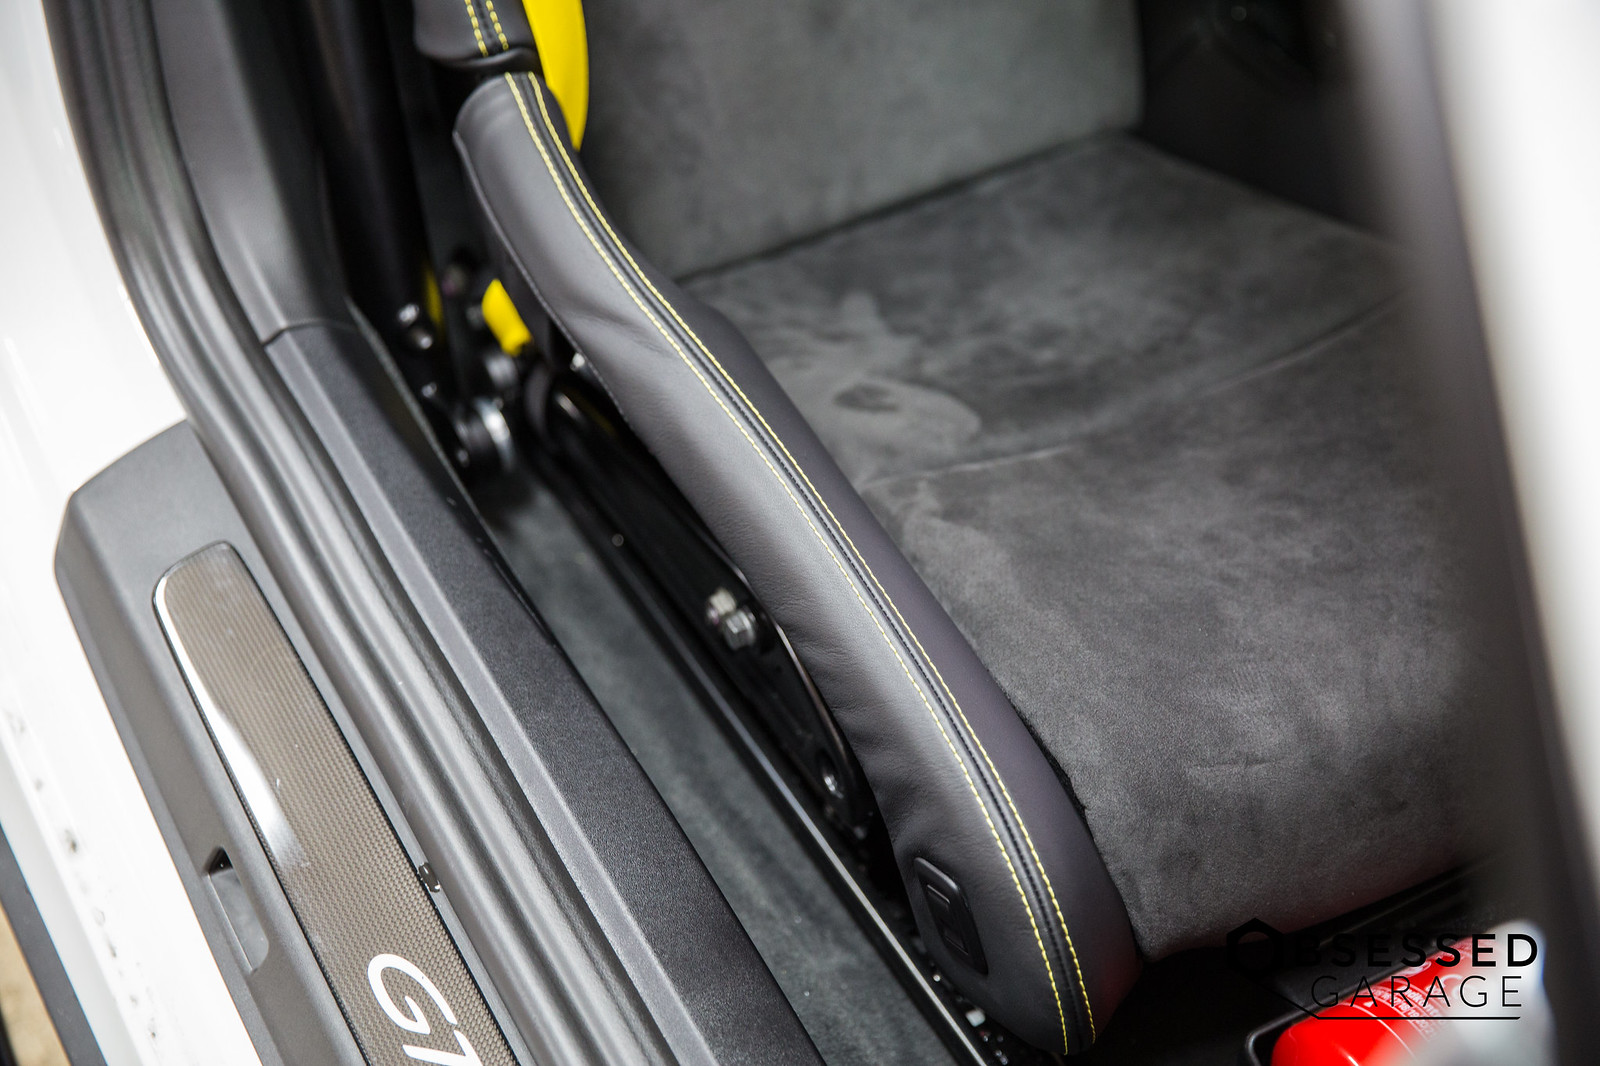
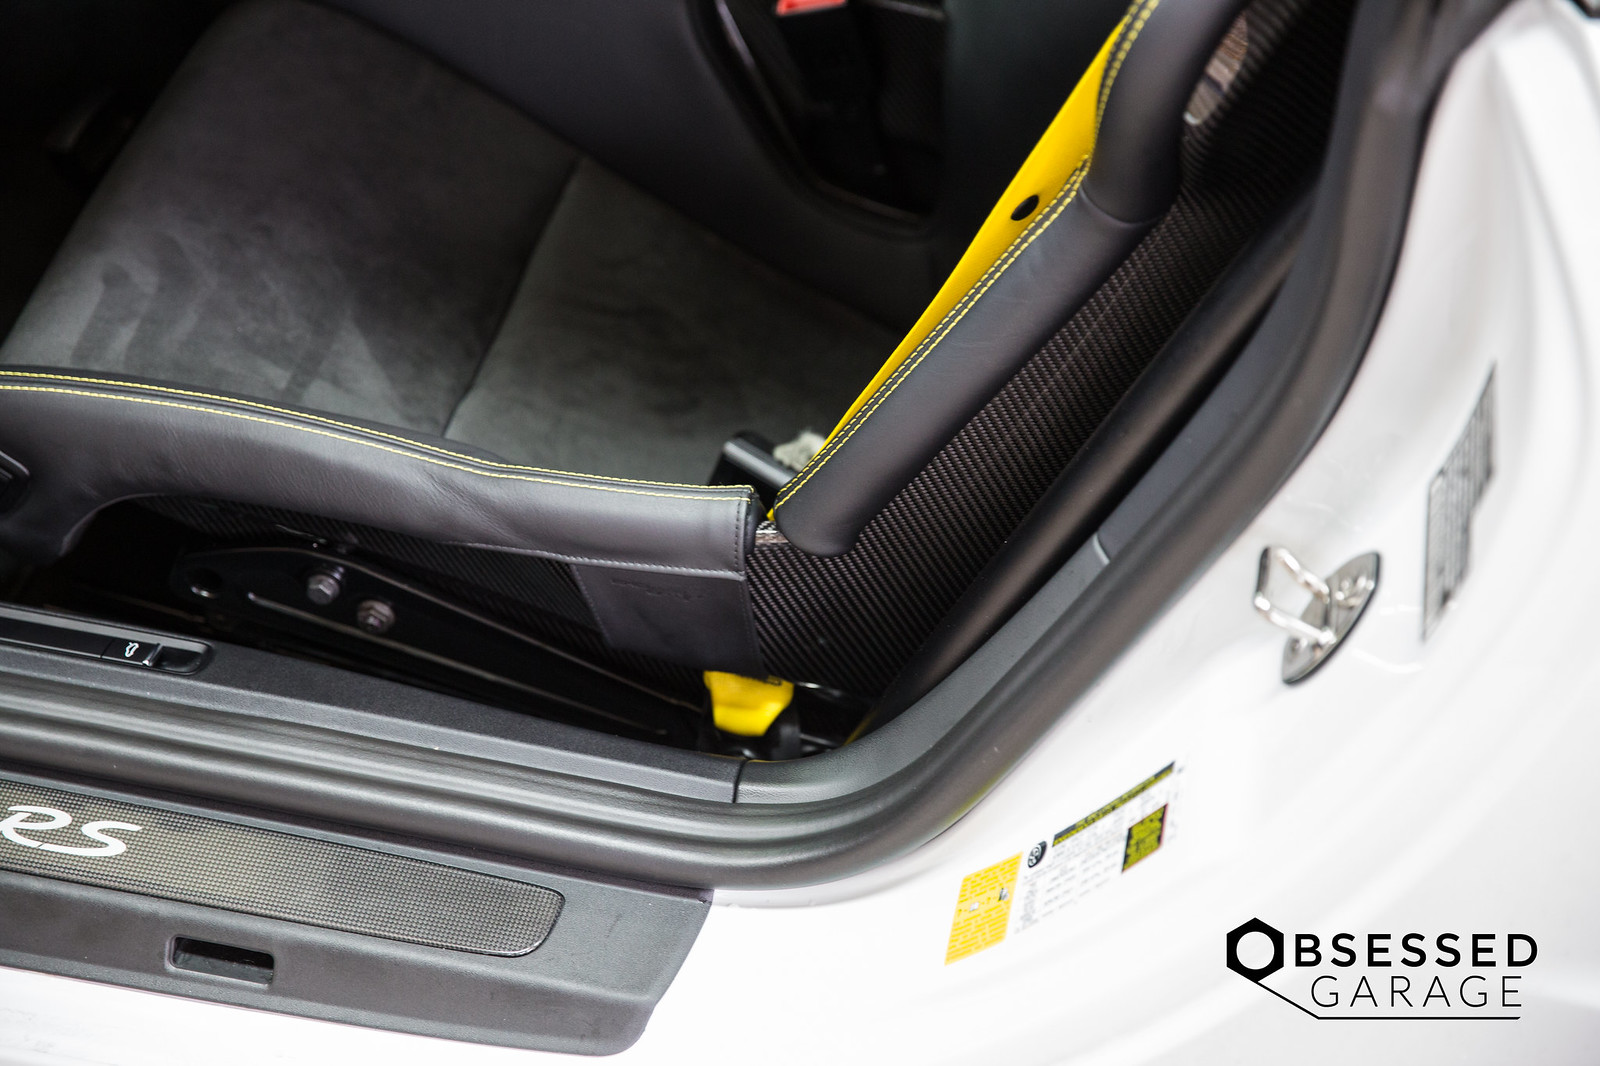
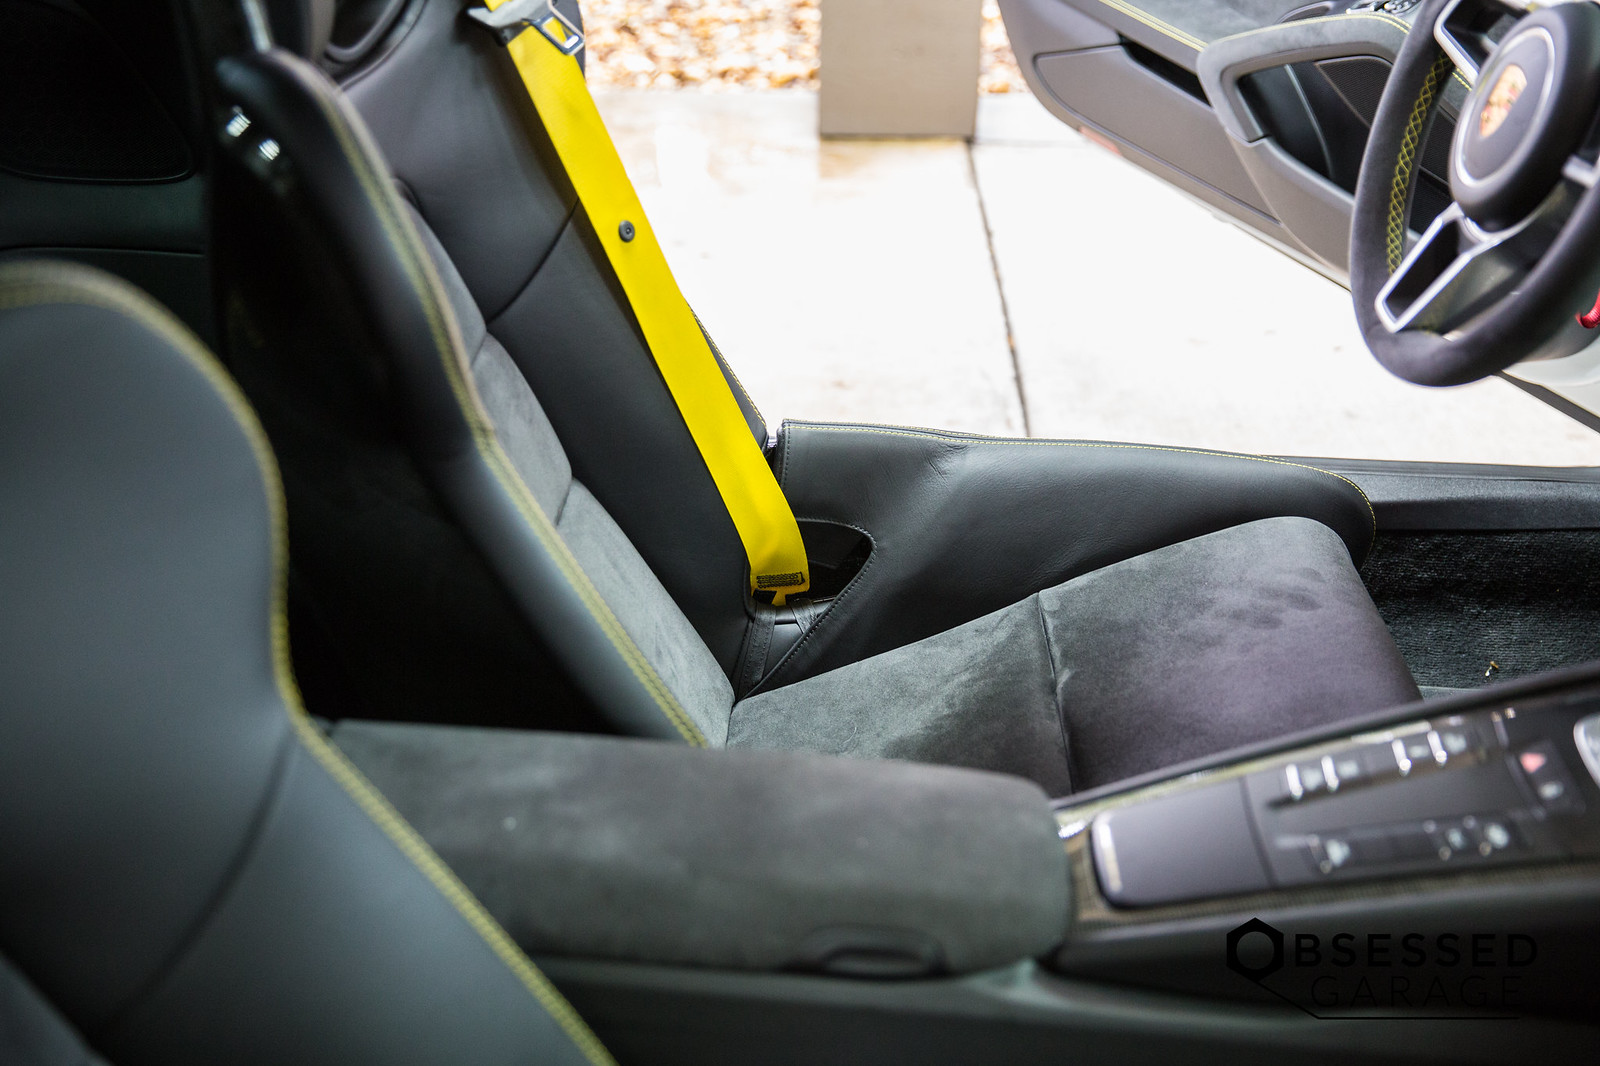
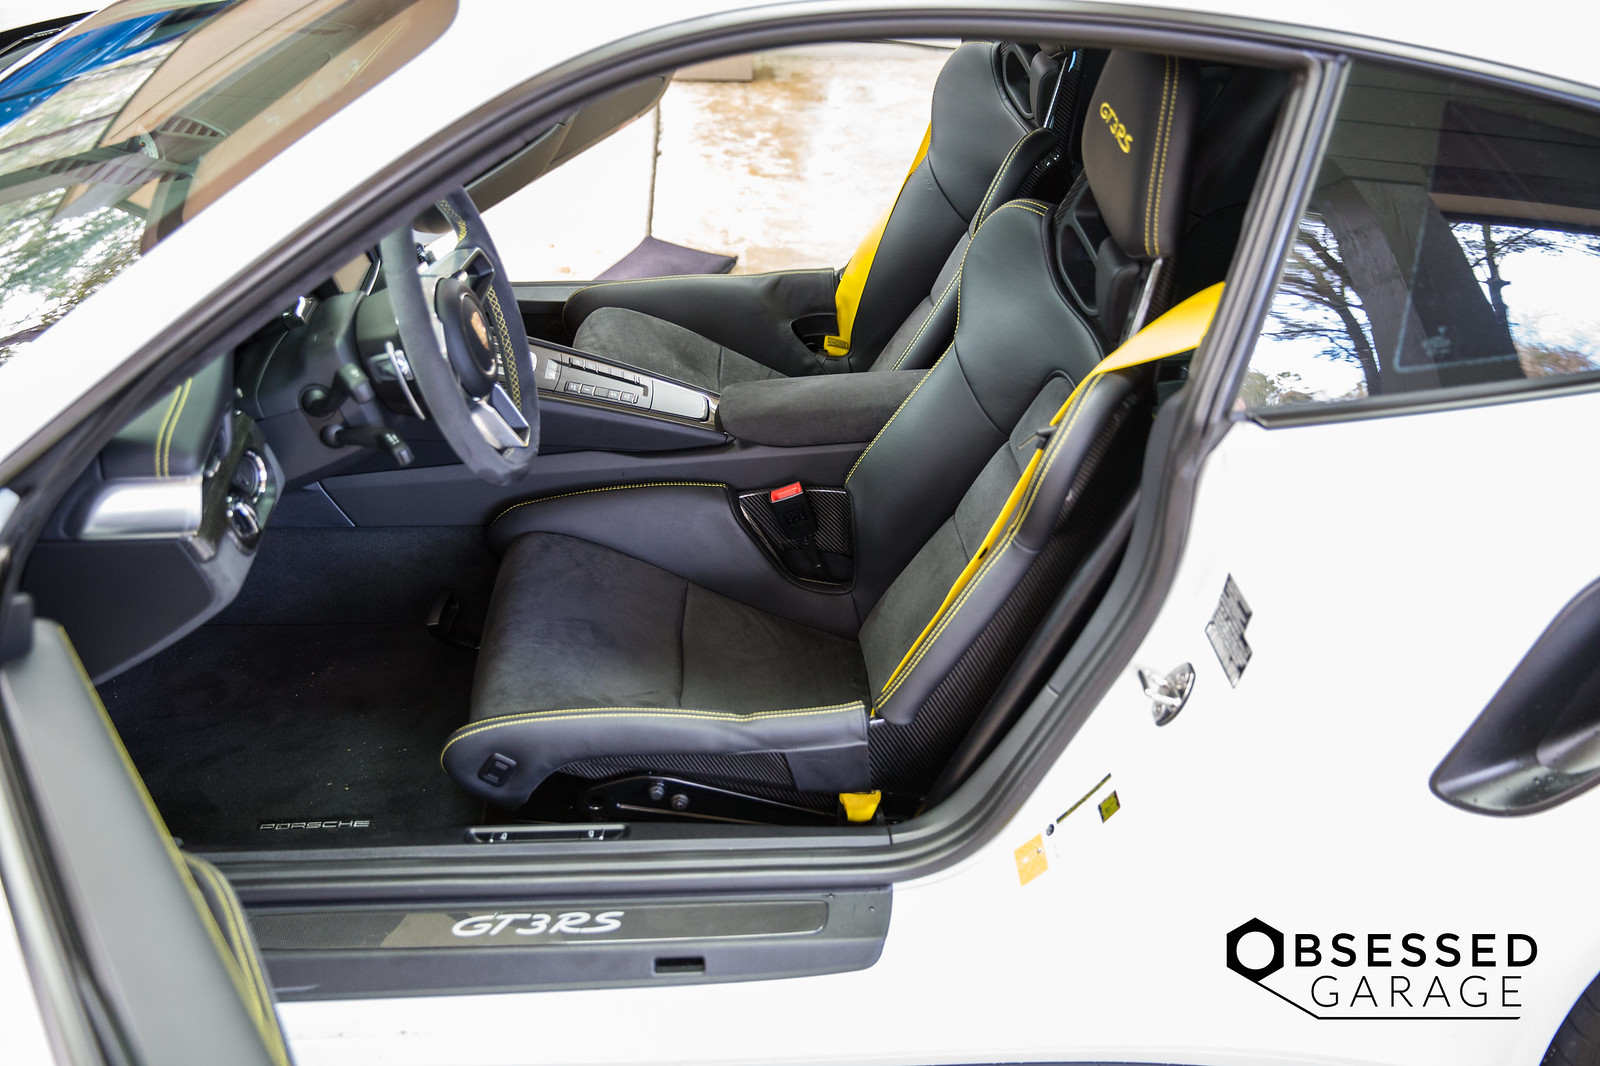
I think this is about a close to OE looking as you could possibly get with something aftermarket. The leather seems to be an exact match to the Porsche leather. I would say the stitching and seams are better than factory. There was not one frayed piece of thread to be found on these things. You are certainly getting a quality good for your $589. A couple of things to note: I would like to have a little longer velcro strip on the straps that wrap under the seat rail. I found that I couldn't tighten all the way, but it wasn't a huge issue. The only thing that is a bit odd is where the gap between the front and back part of the seat bolster makes the transition. You can see in the photos that a little crease forms. I worked on that quite a bit. My guess is that it will flatten and stretch over time. I could also consider steaming and stretching a bit more to aid in cleaning that up. Overall, I'm pleased with them. We'll see how they do over time with me getting in and out of the car, and I'll be sure to keep this journal updated with my findings.
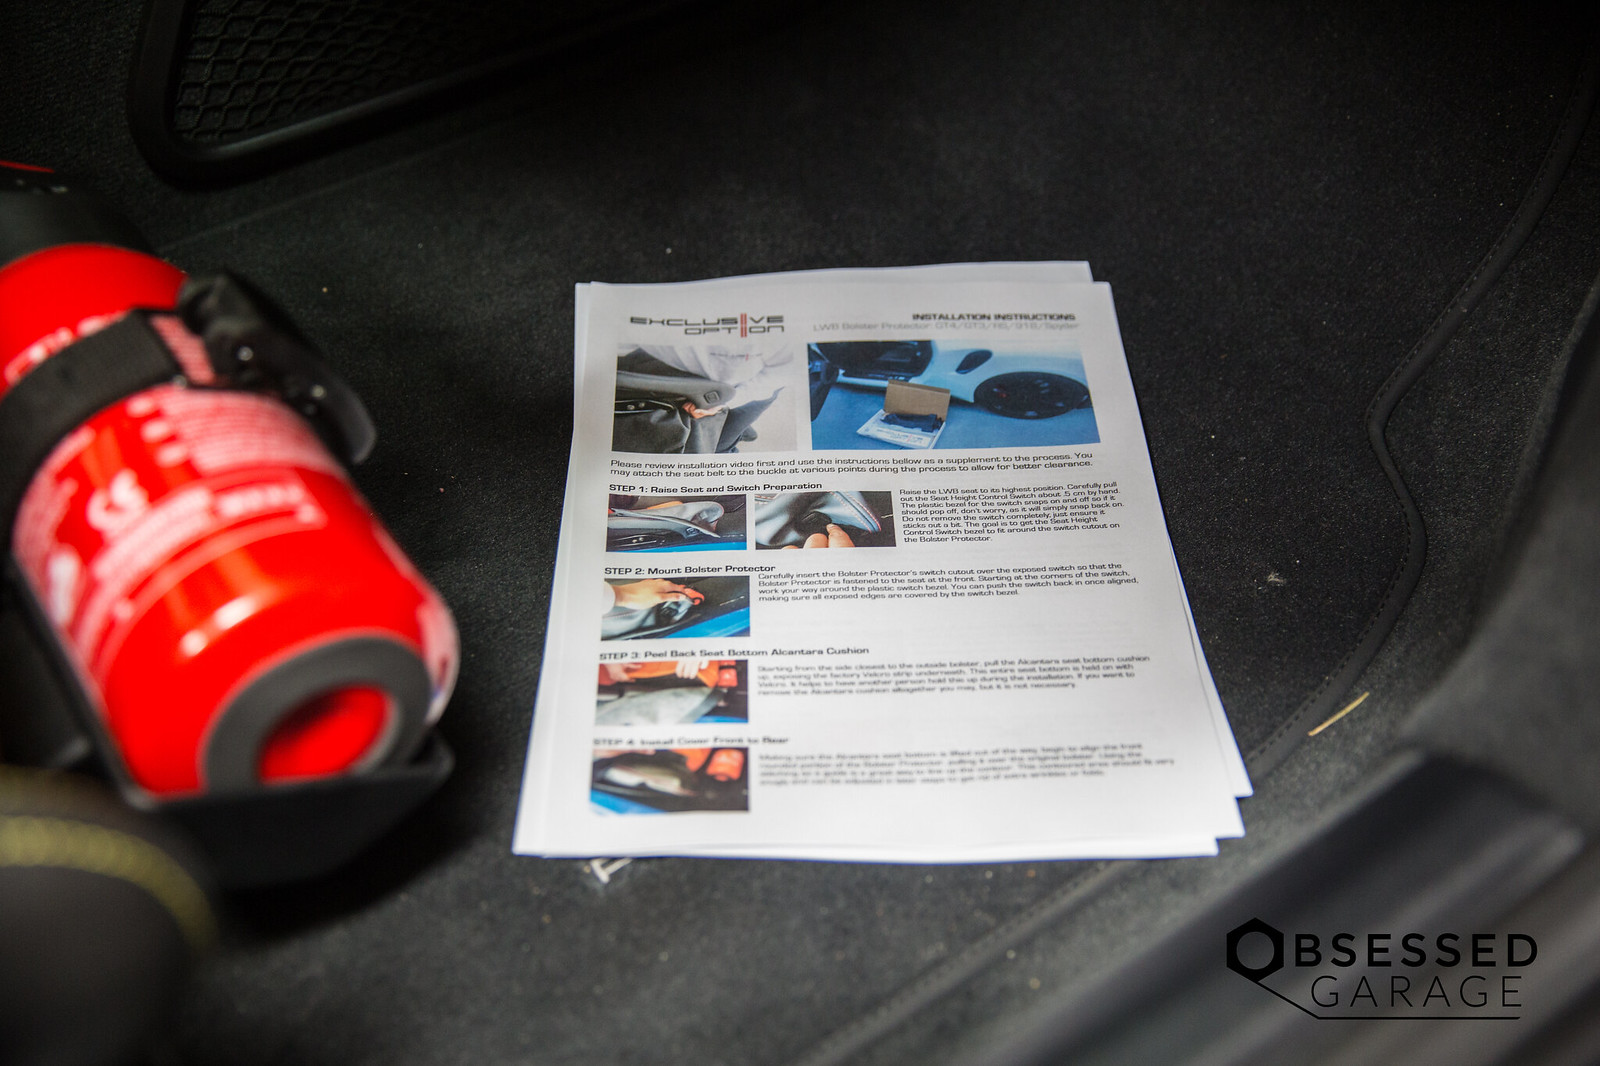
I always find myself wondering why a company would spend so much time and energy creating a product and then not support it with video, photos, and content that shares what it is and how it works. These guys have done a pretty decent job with initial content support. Well written and easy to follow instructions with a video install guide on CD/DVD are in the box. I don't have a disc drive any longer, so I just used their video on Youtube.
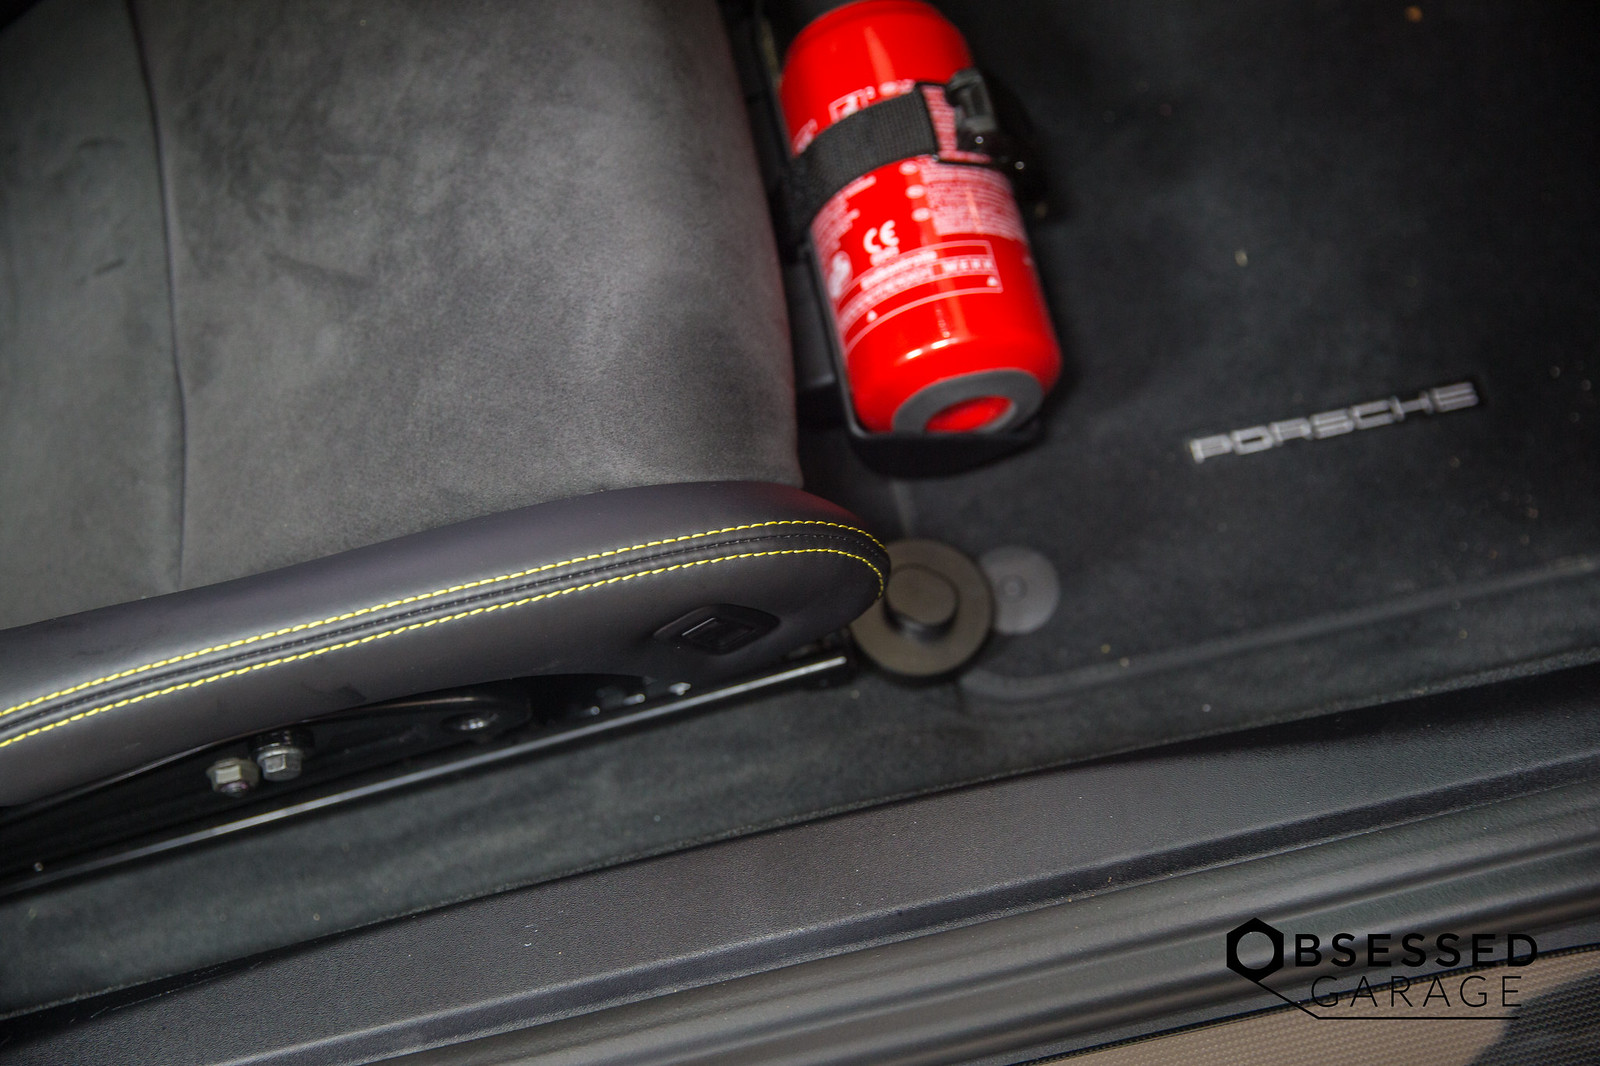
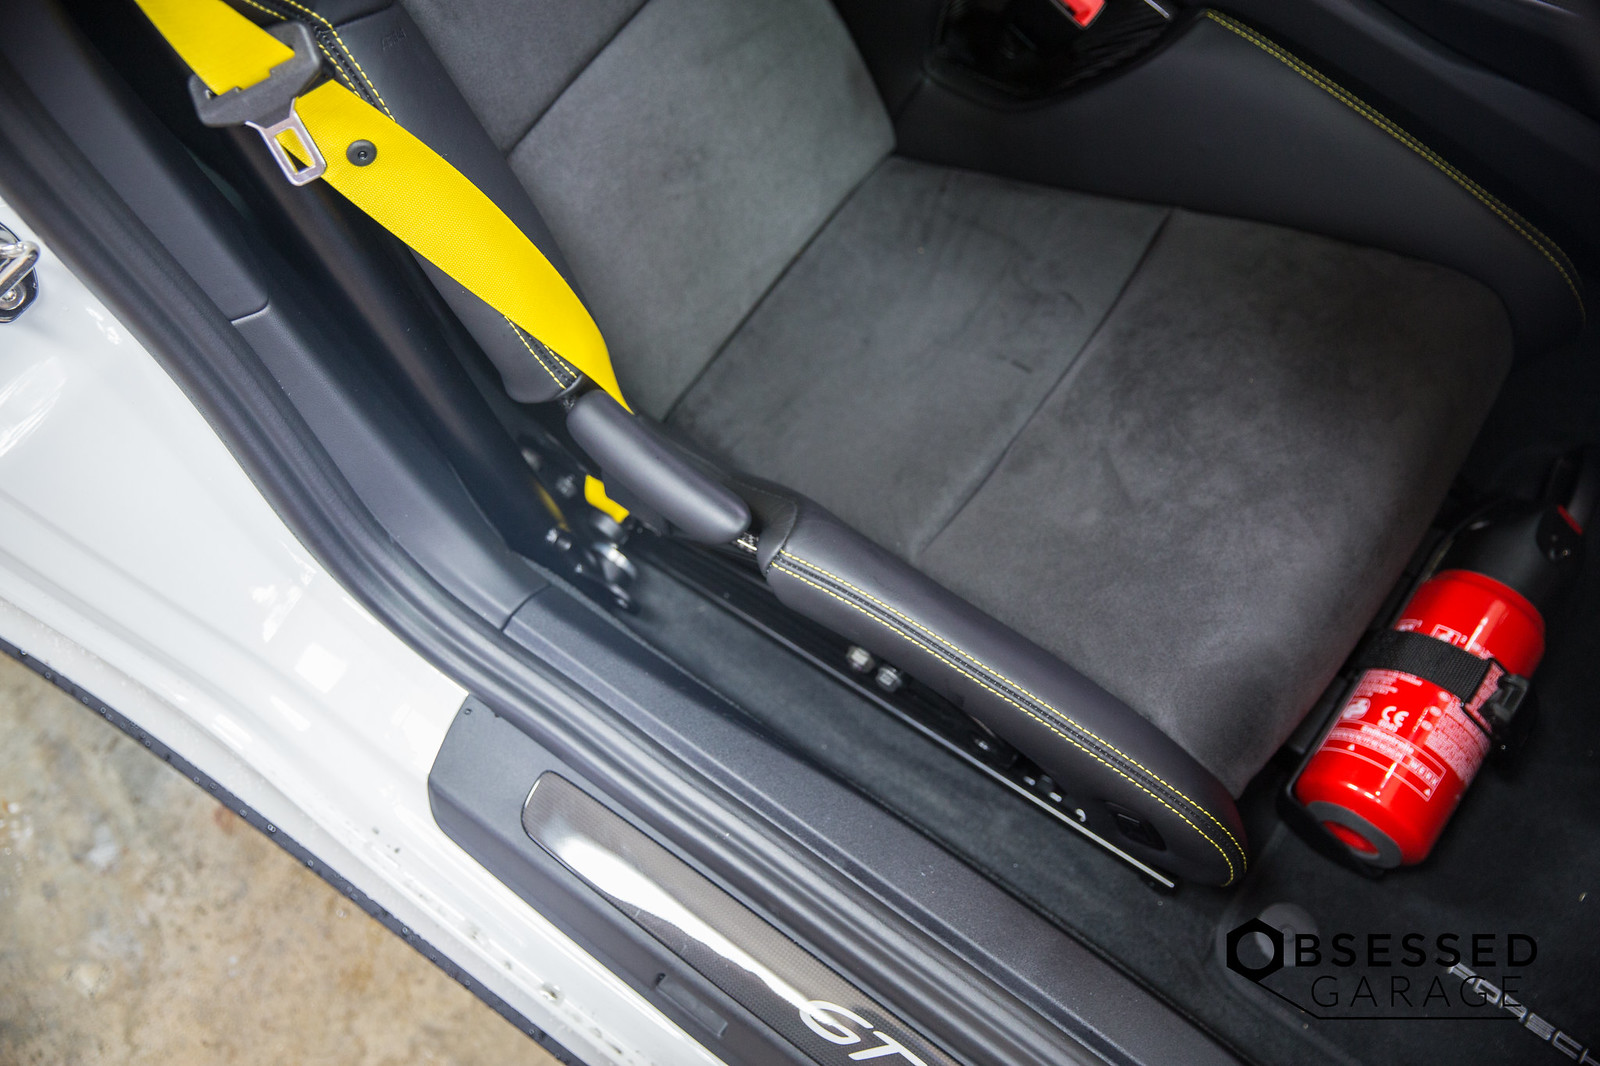
Without Bolster Protectors

Install:
This turned into my normal "5 minute per side" install project that took me 3 hours and 15 minutes. After my fingers hurting, rubbed raw top of my hands from a dozen velcro readjustments, and about 16 deep sighed looks to the heavens, I got the job done. If I had to do it over again, it would actually take about 20 minutes, but I like to bond with my car...so I made it take 3 hours. (Ha...)
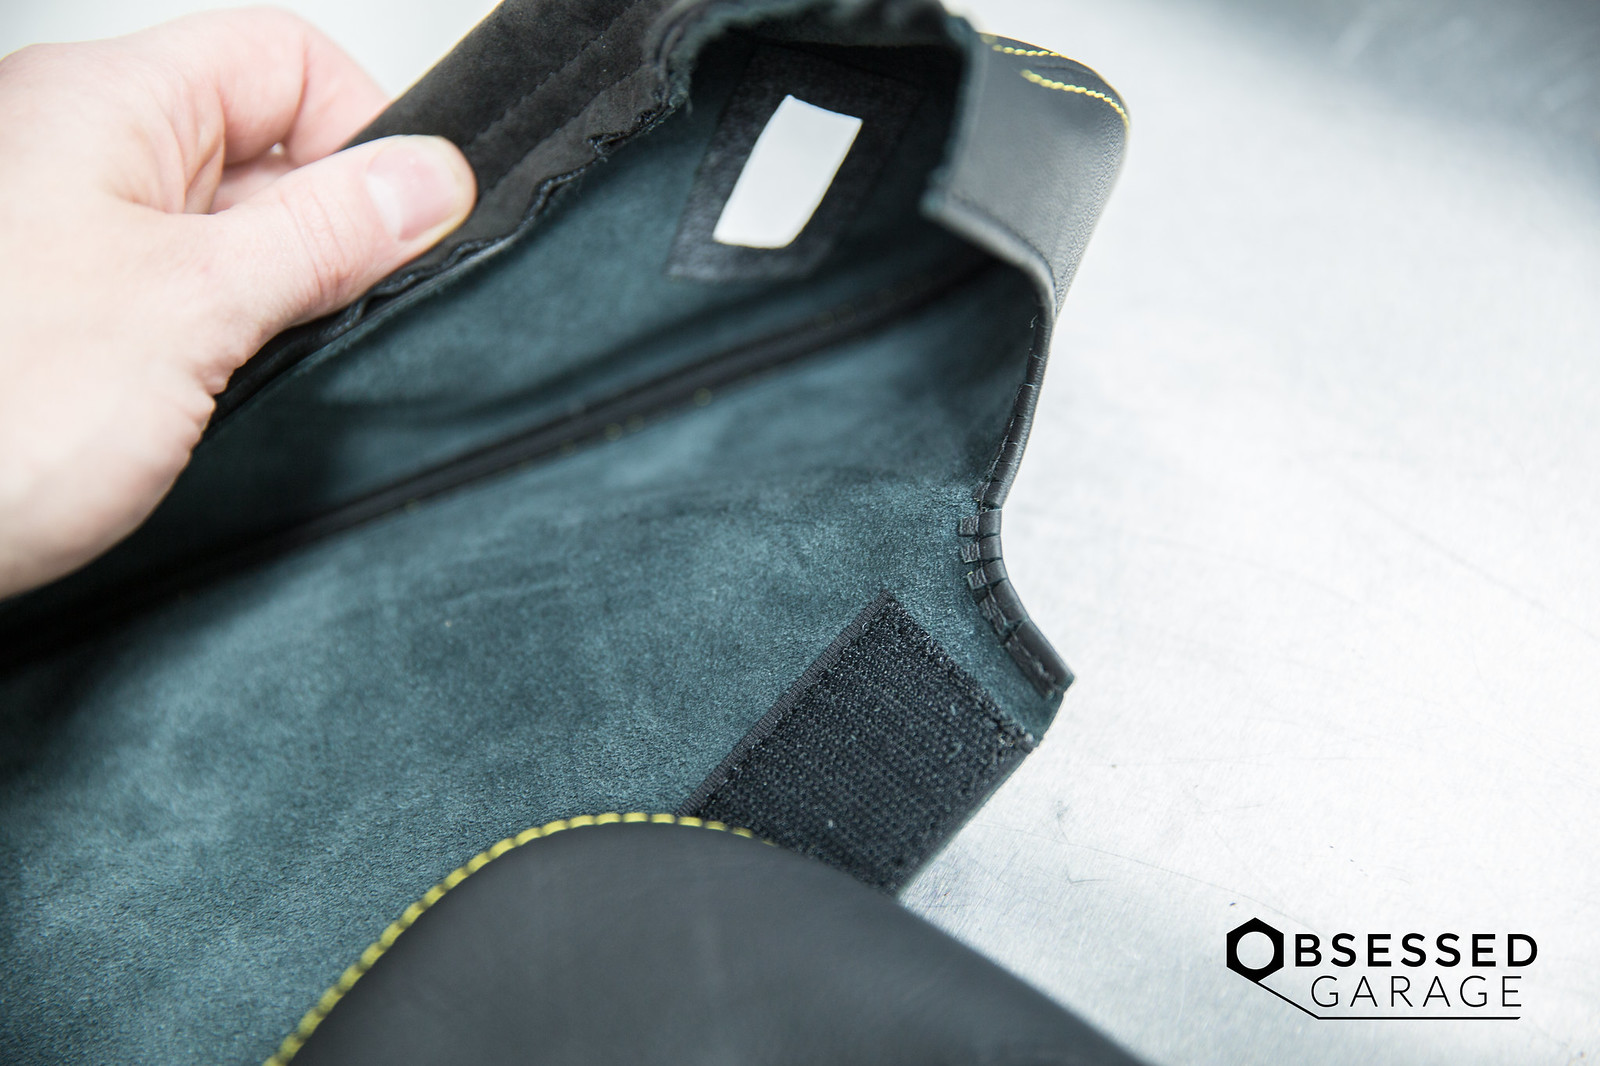
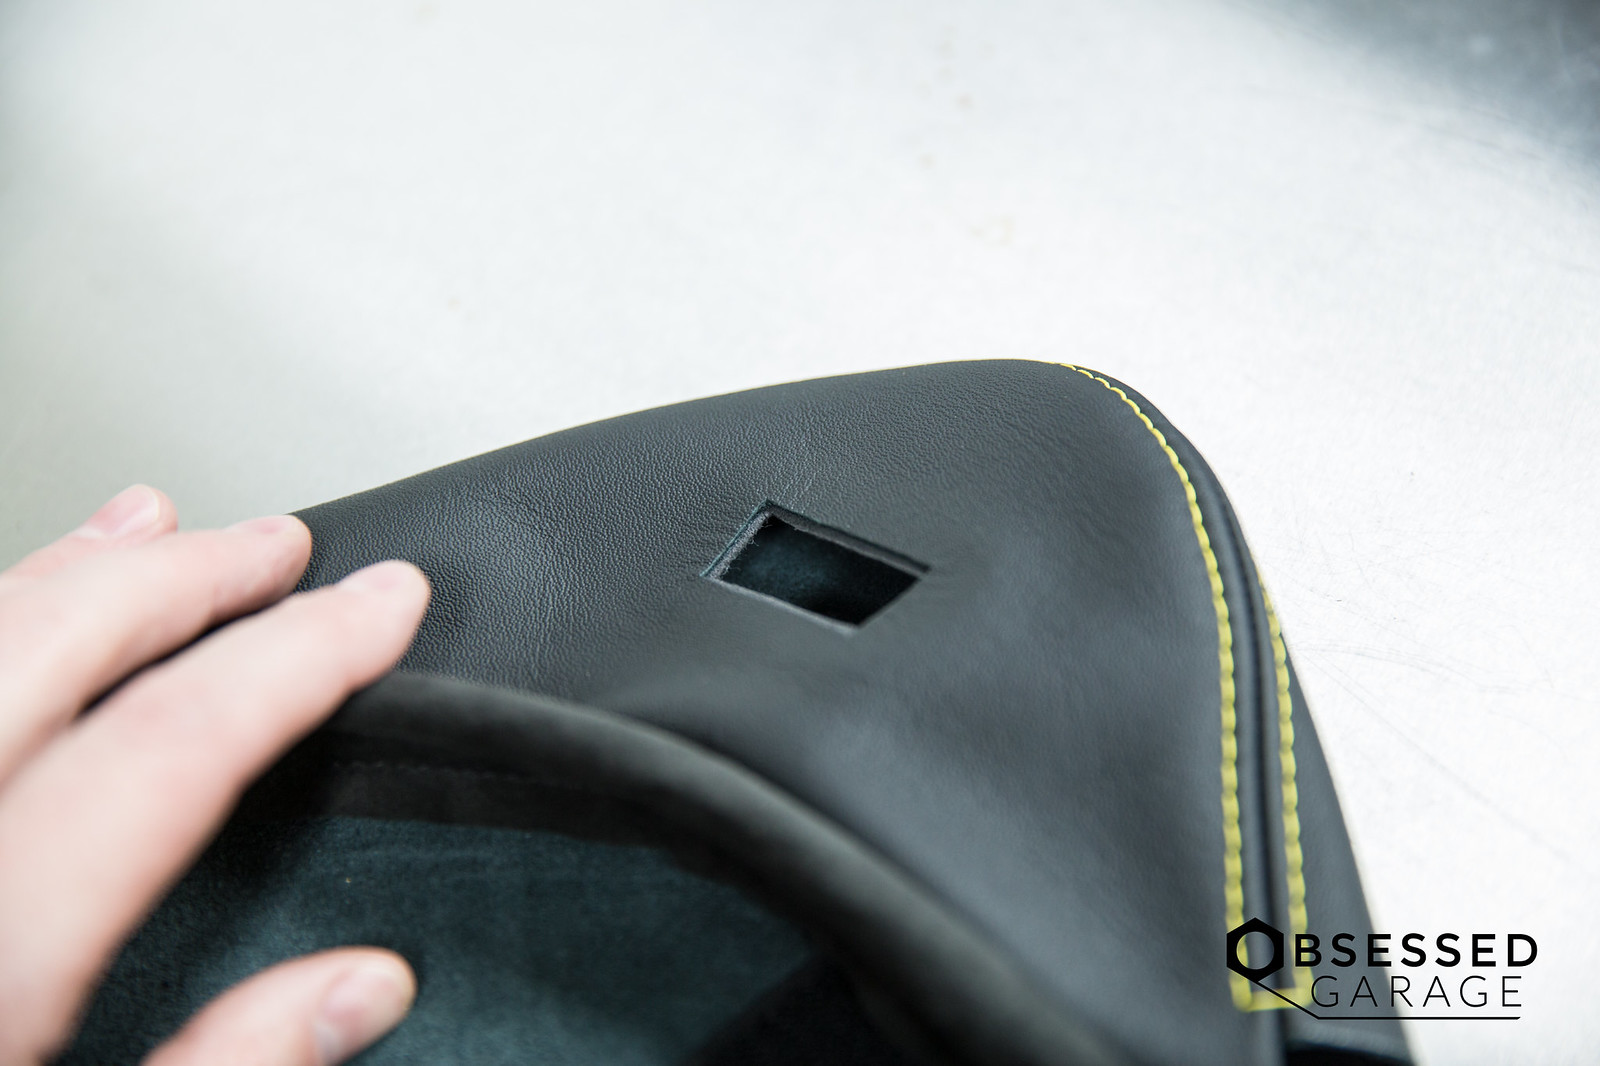
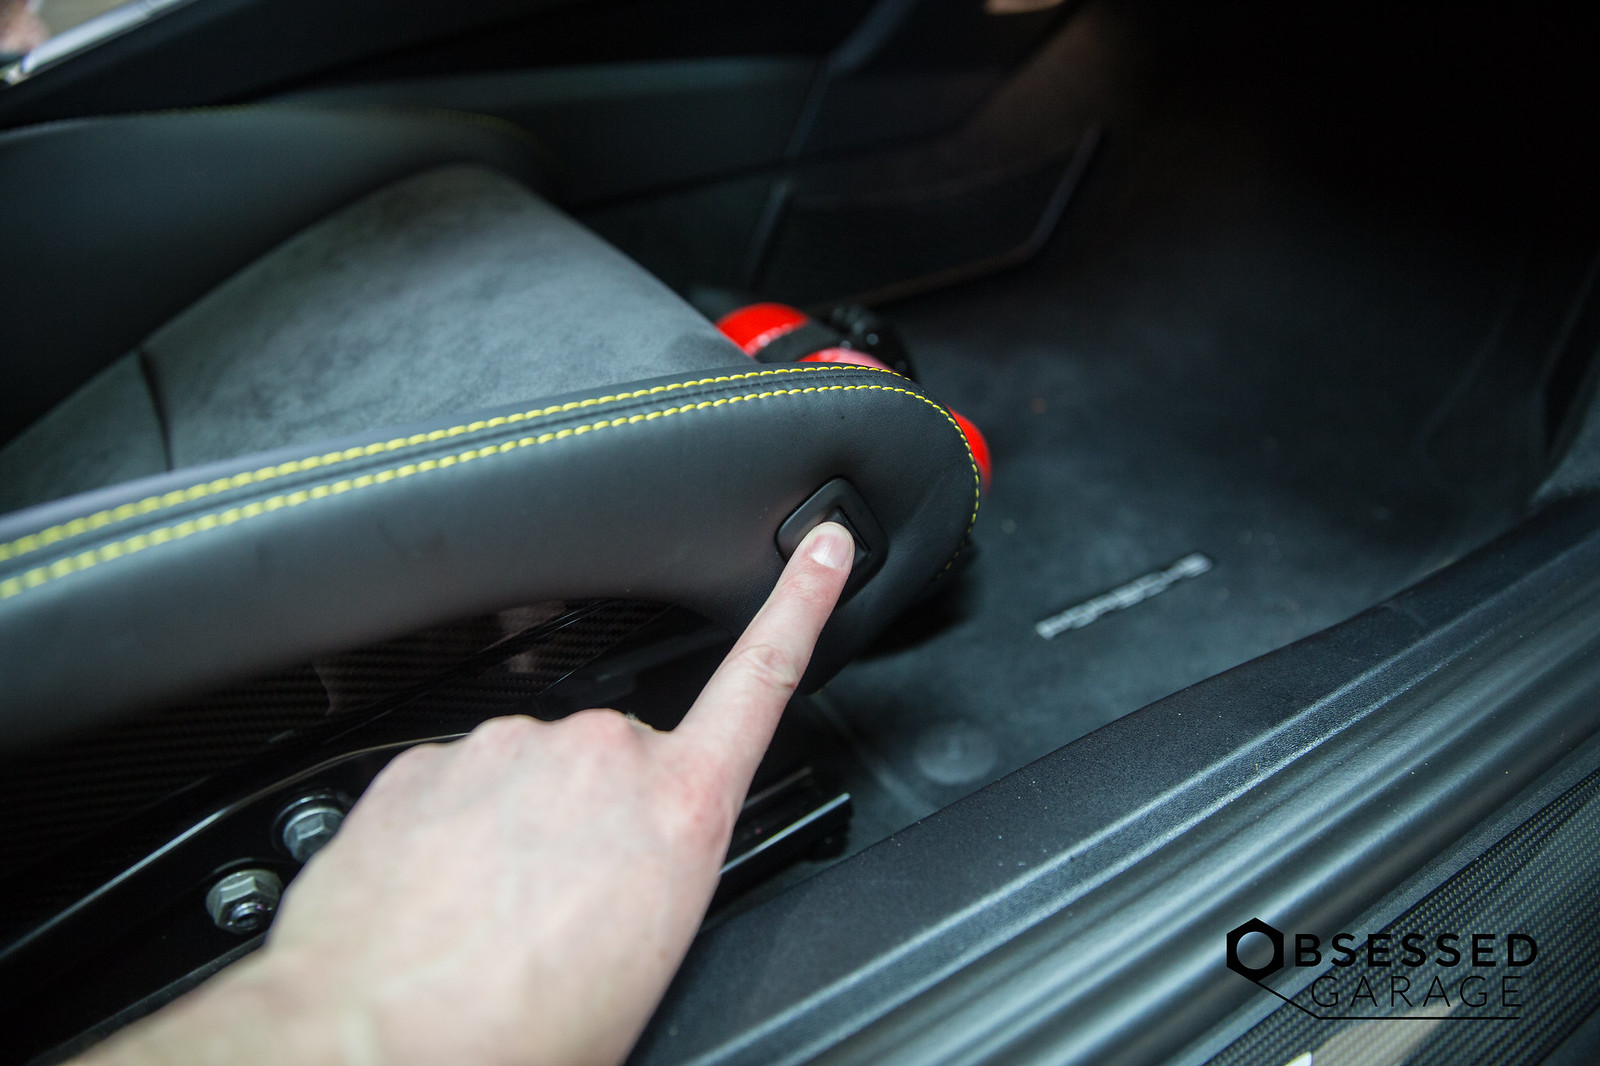
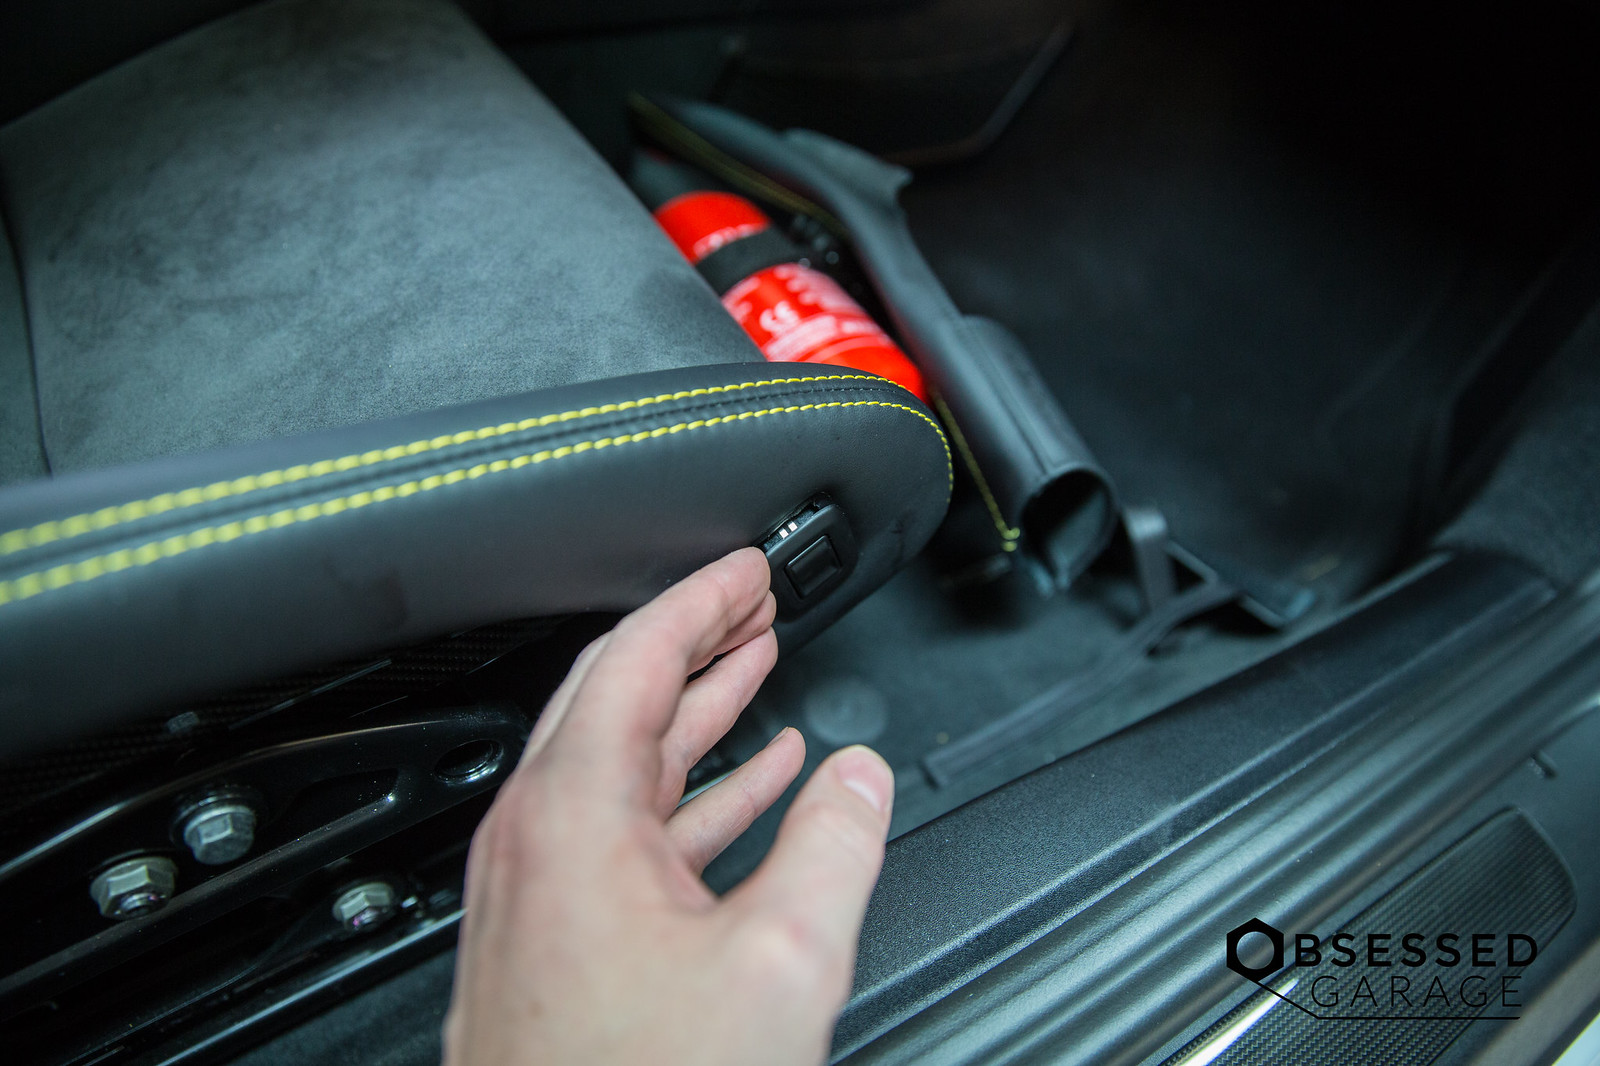
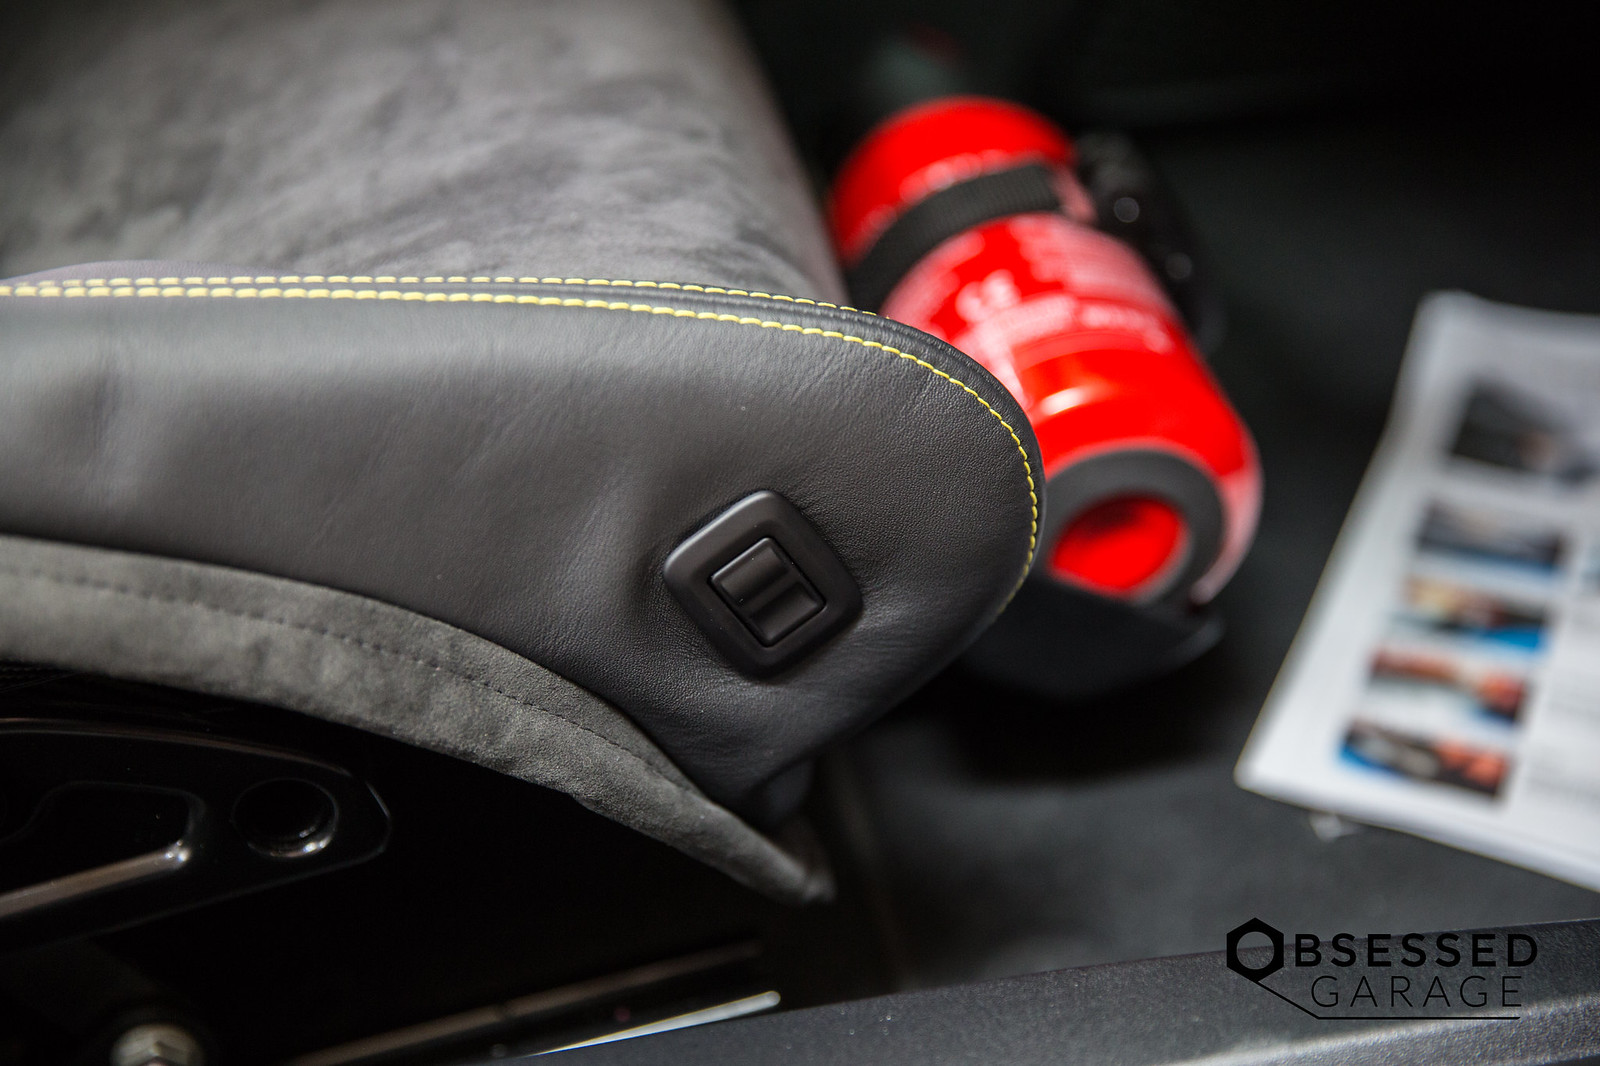
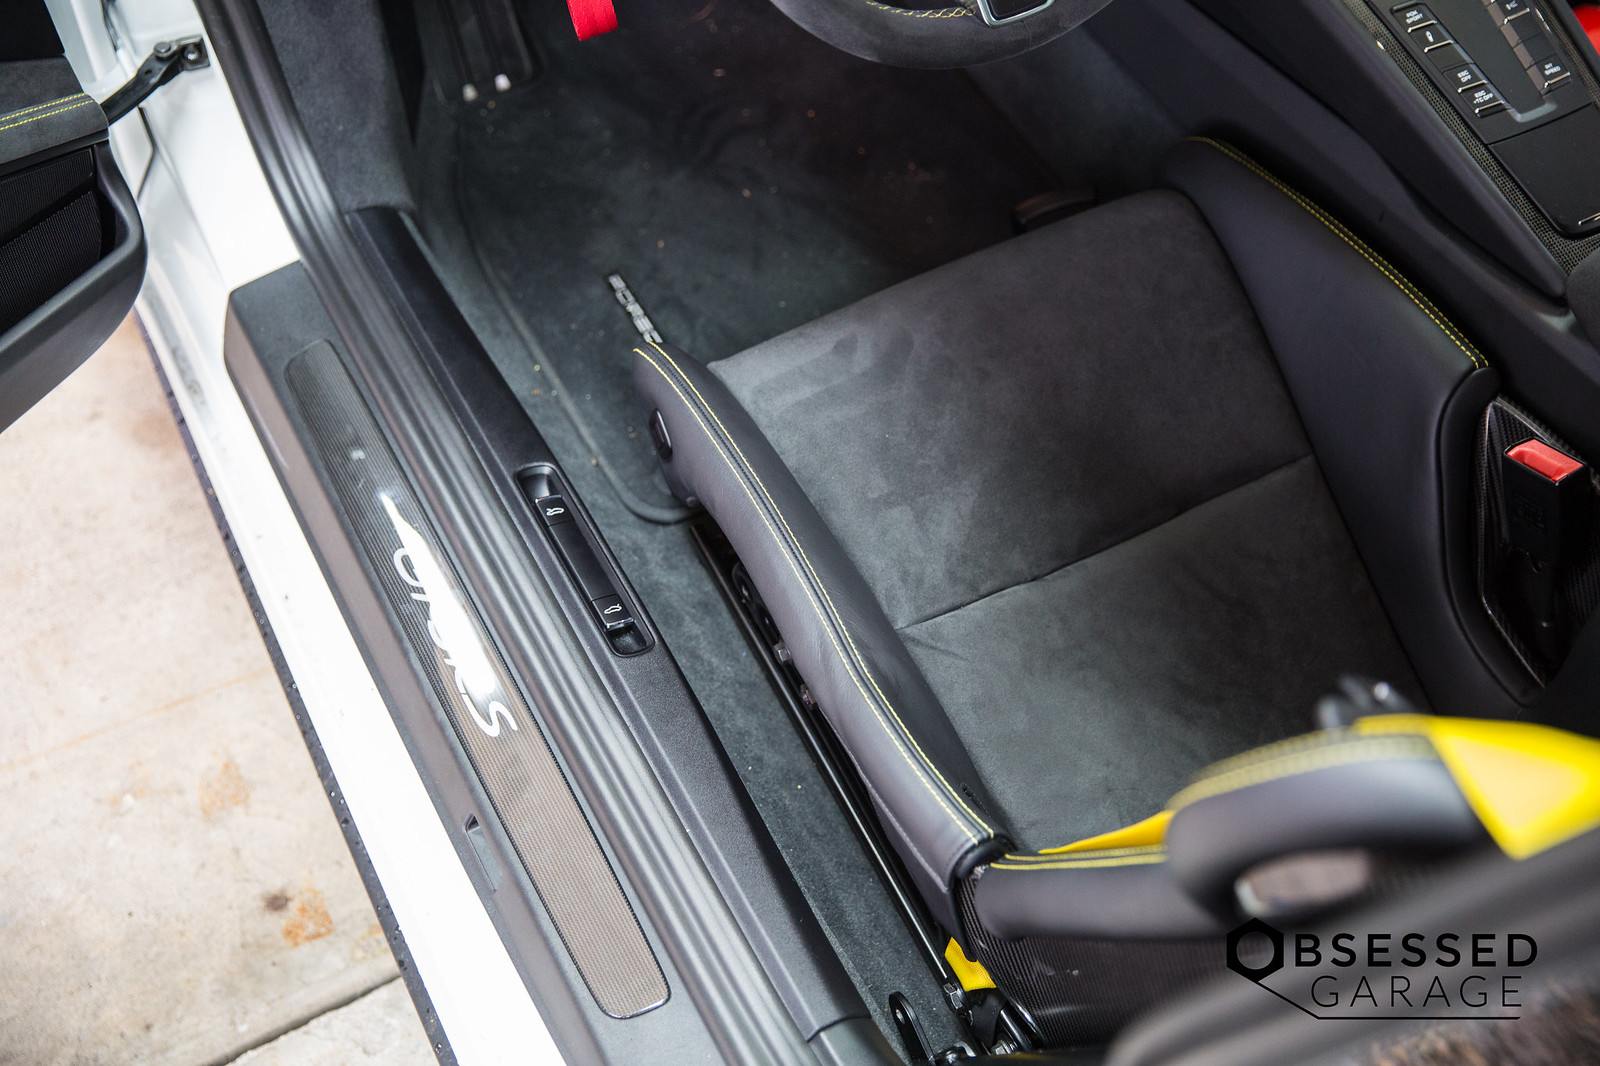
The first issue was pulling back the seat height switch. You need to pry it back about 1/4" to fit the hole of the bolster. The passenger side came out too easily and wouldn't snap back into place with the extra bulk of the bolster protector, and the driver's side wouldn't come out. I eventually used a credit card to pry it back and get it to release. That was a solid hour of the project. Neither snaps all the way back in place, but they are acceptably snug.
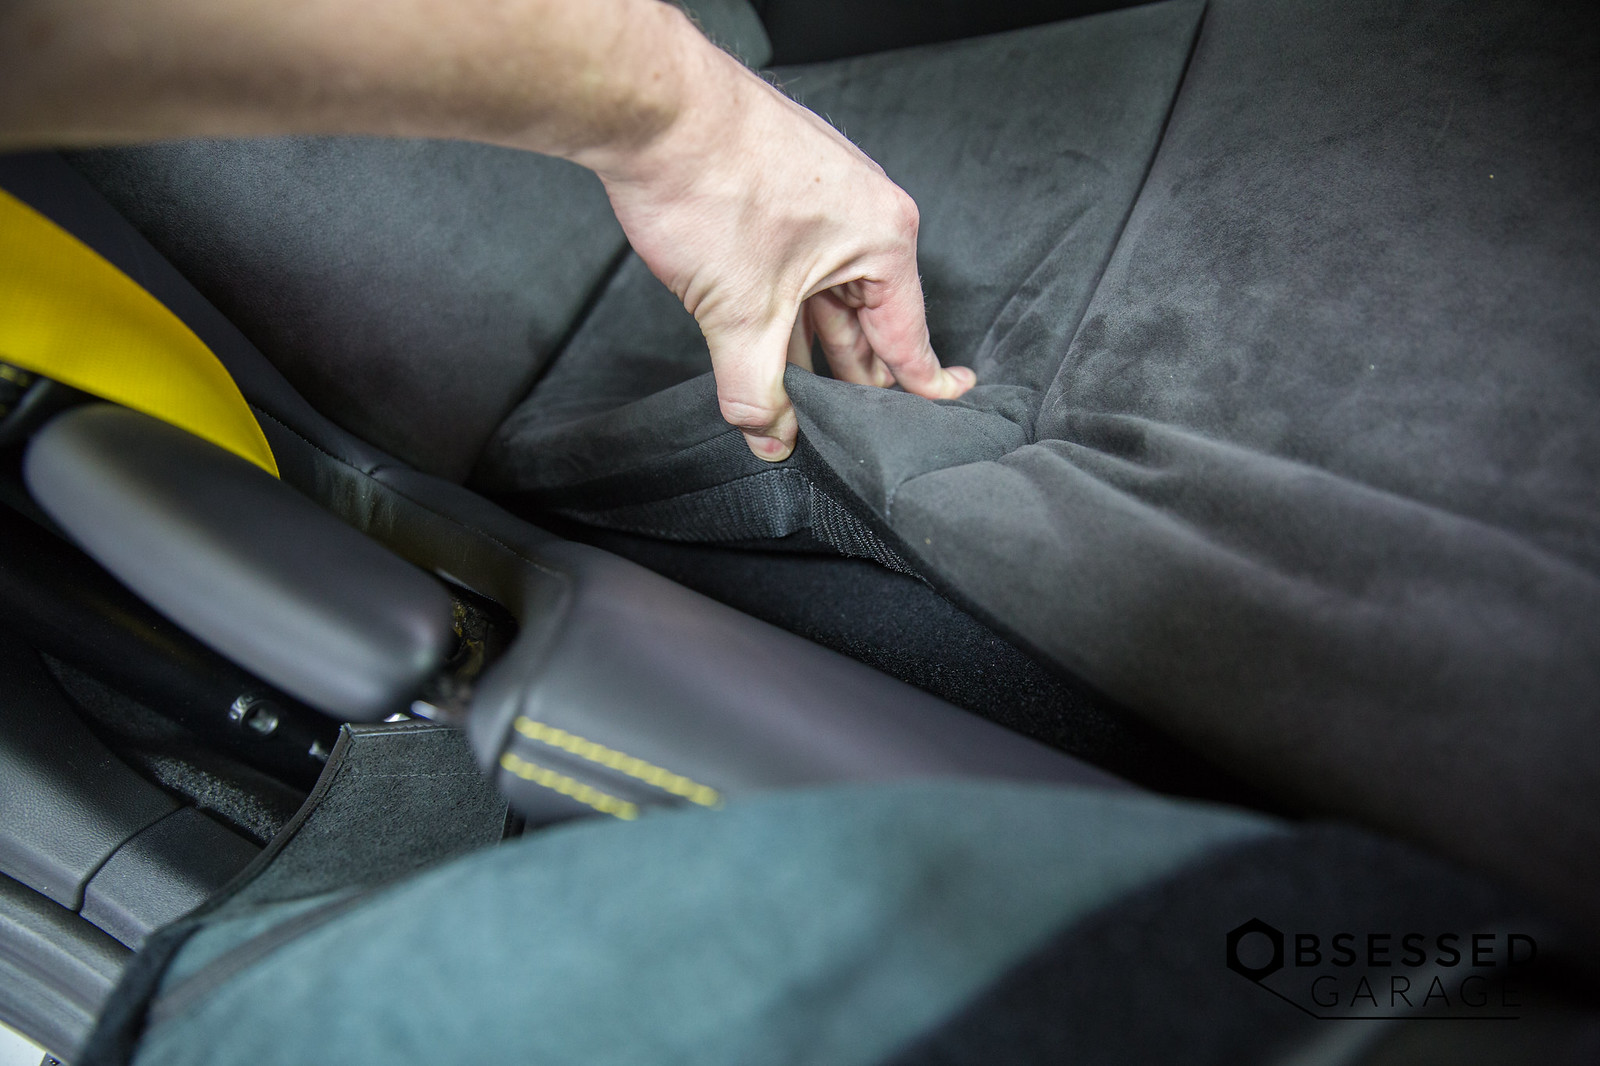
This is the velcro that tears up your hands as you are positioning and repositioning the protector. But I do have baby hands.
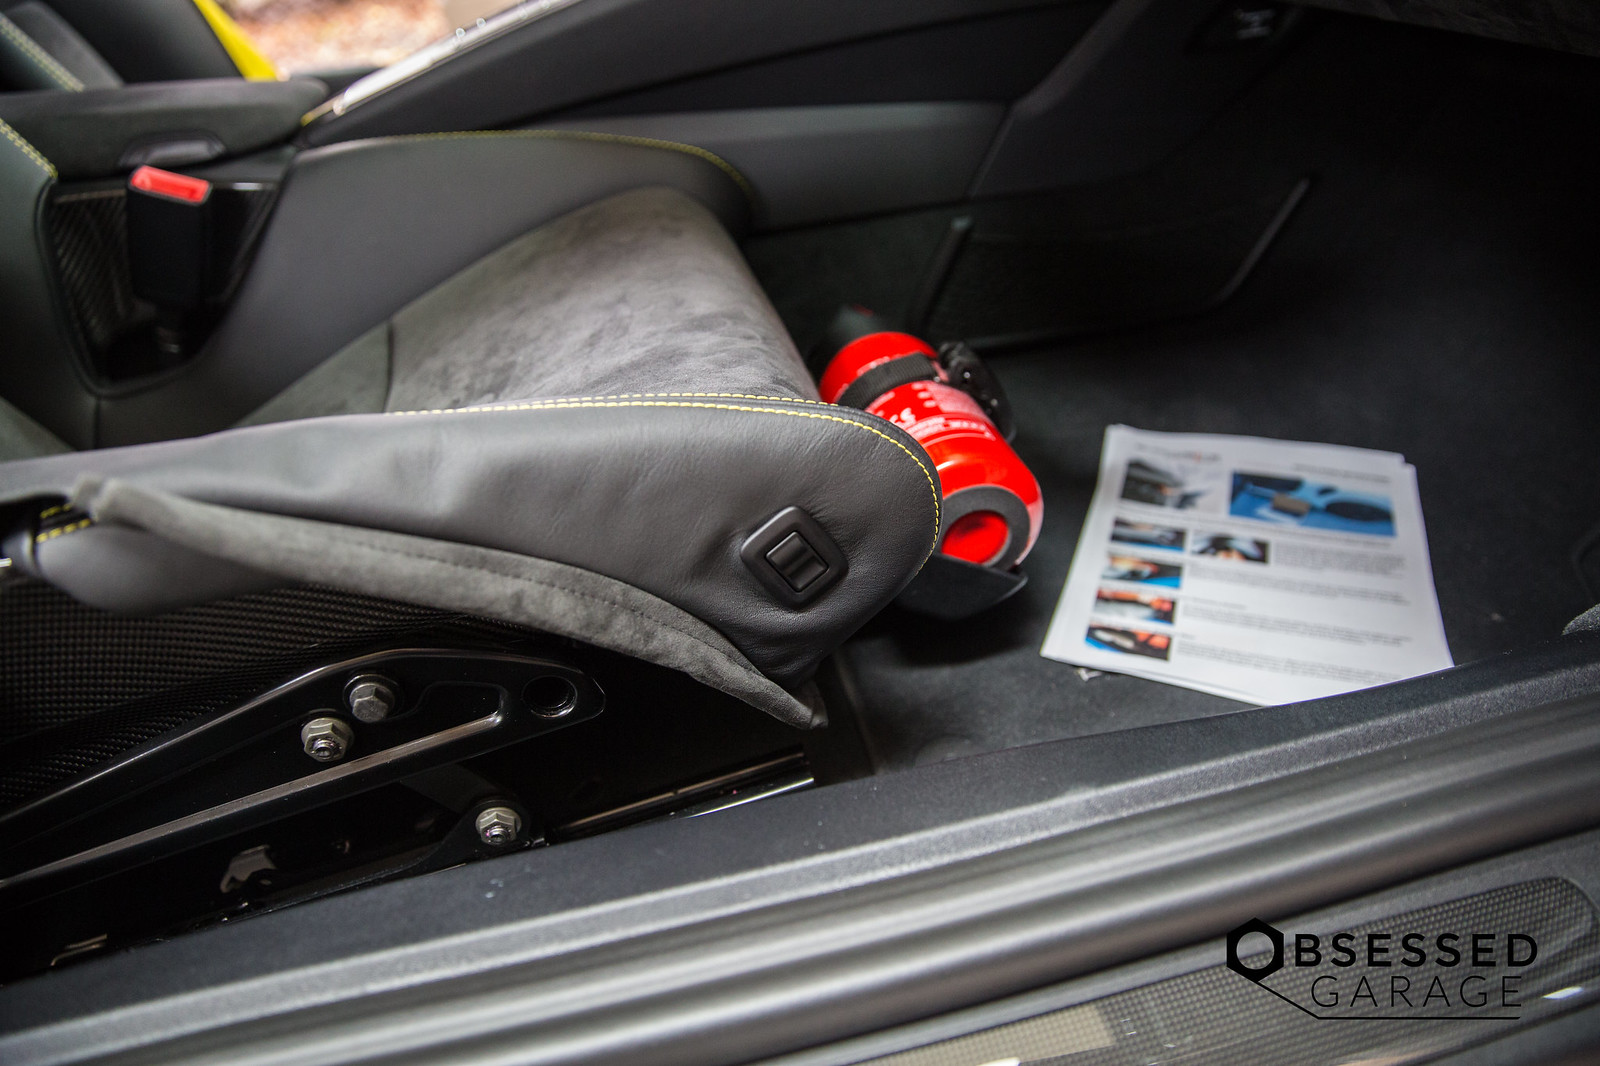
I had the directions nearby for moral support.
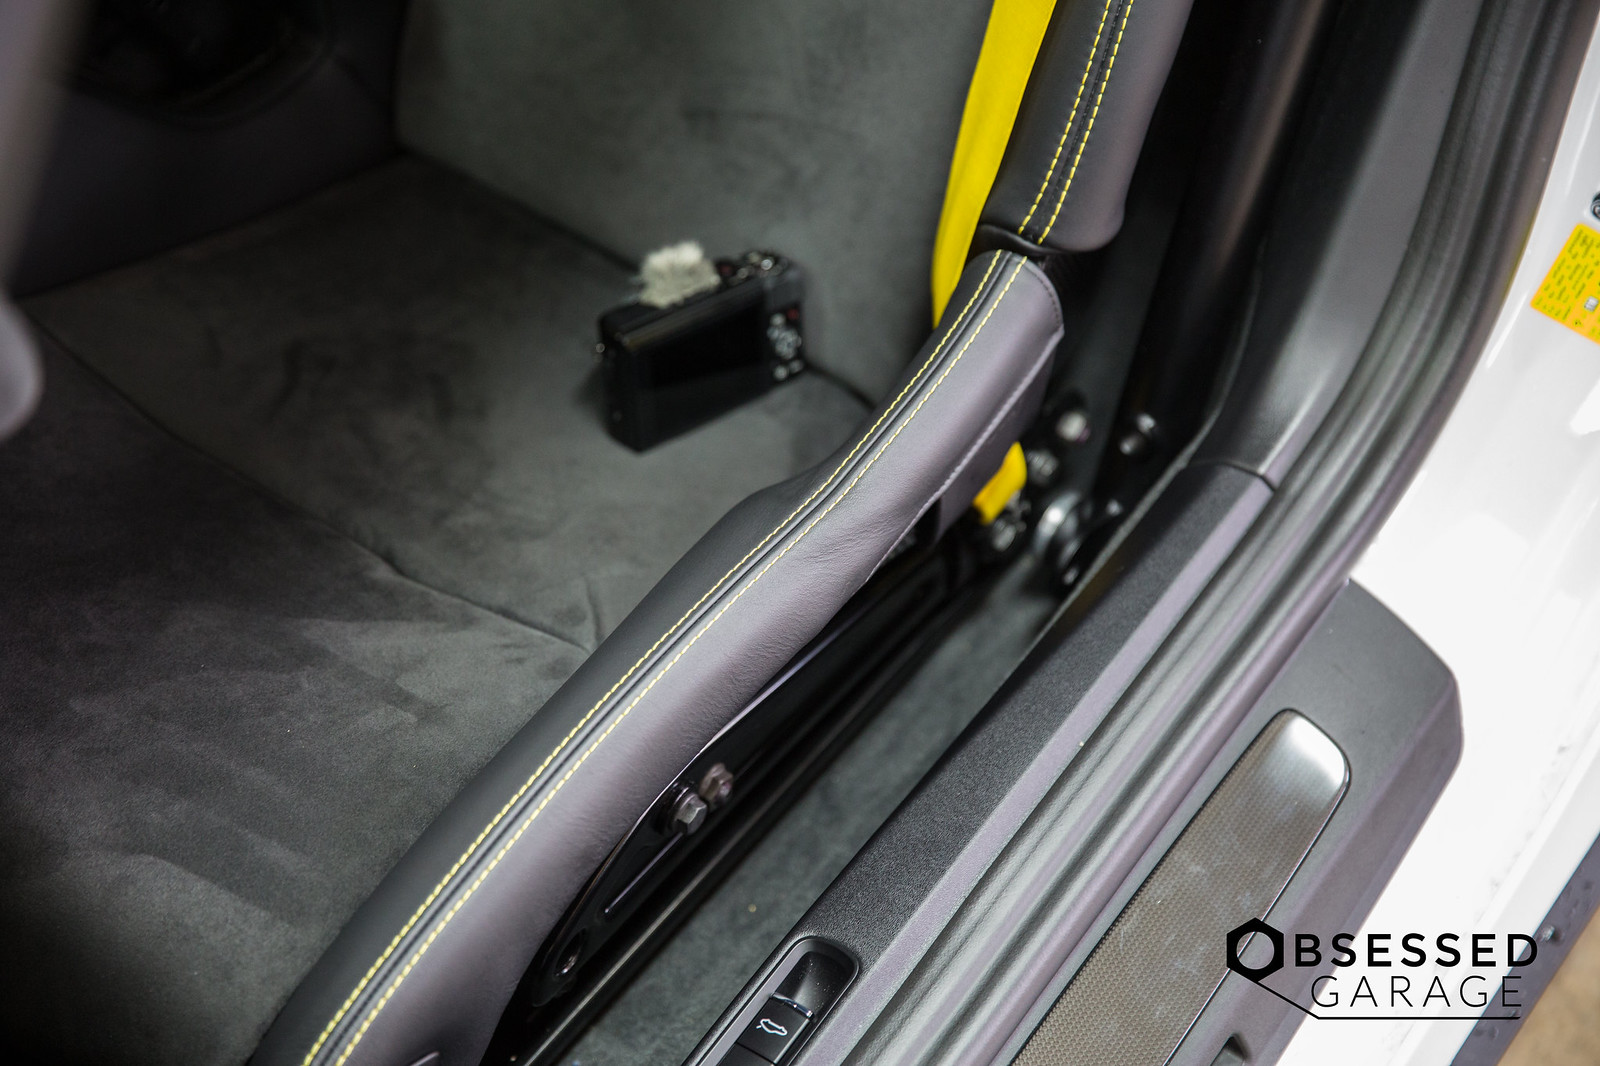
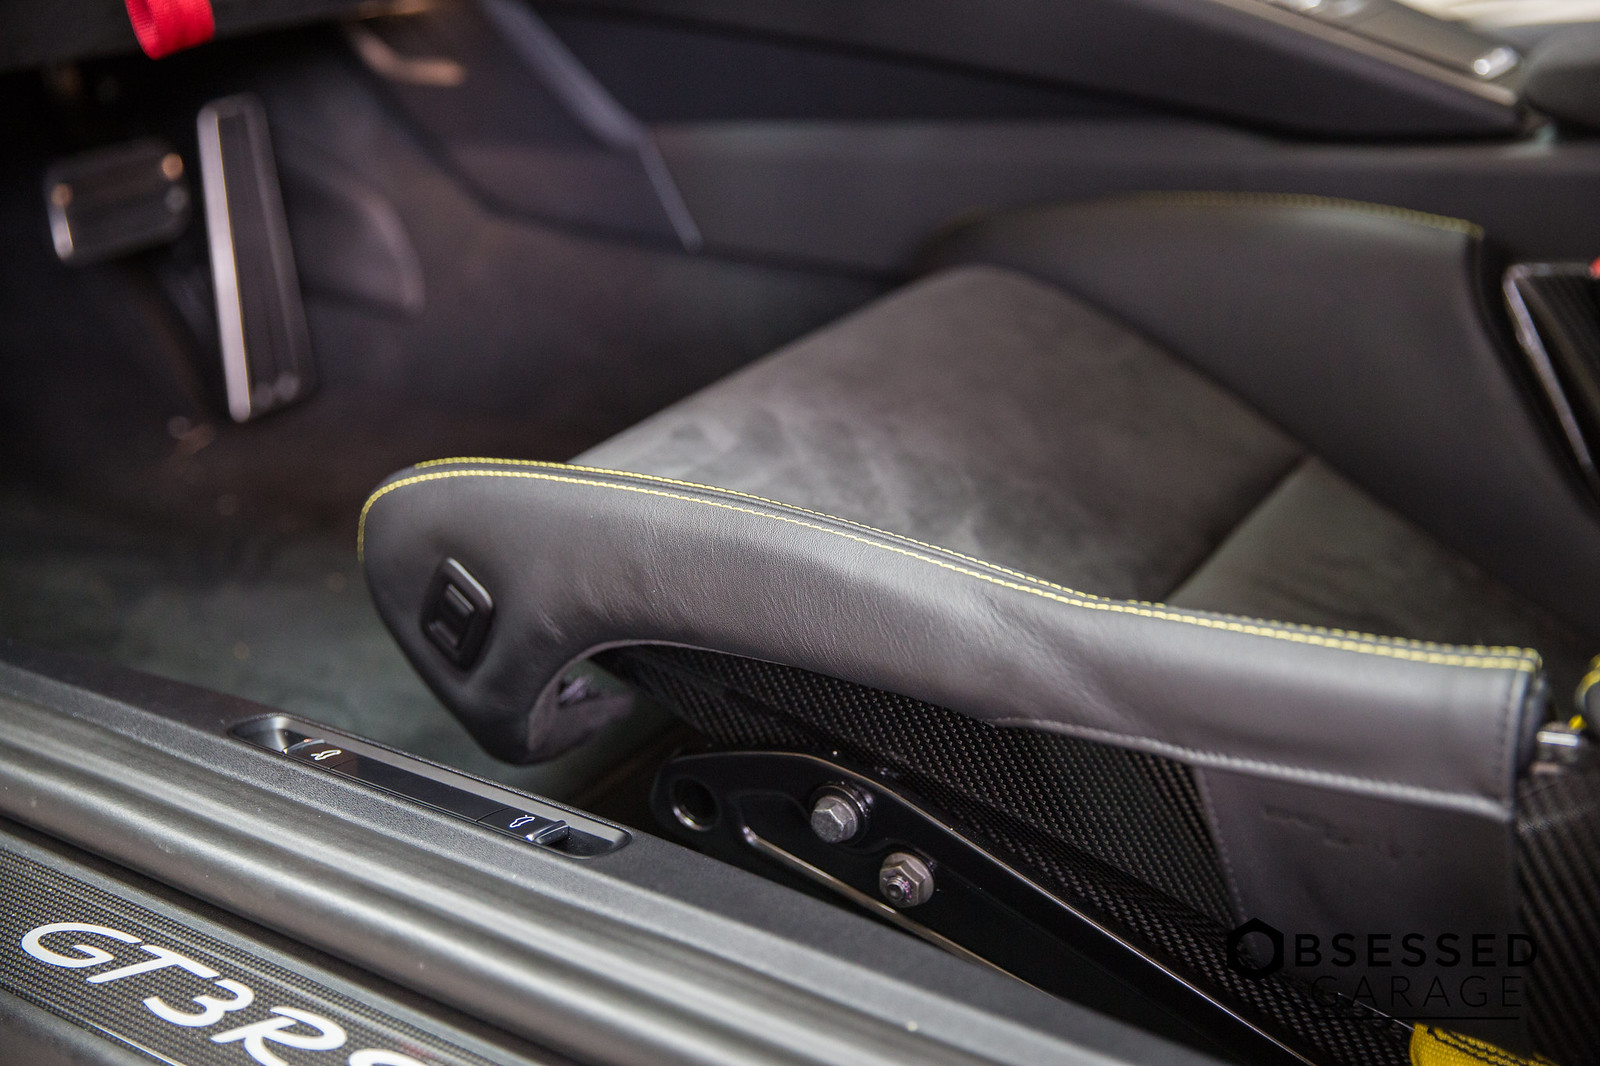
This is where it went all wrong. It was only after I gave up on the passenger's side (two and a half hours in) that I discovered why I couldn't get it to fit. There is rod in the stitched pocket that needs to be snugged up under the channel that runs under the factory bolster. That rod needs to be pushed all the way to toward the front of the protector. I didn't discover this until I quit and went over to the driver's side.
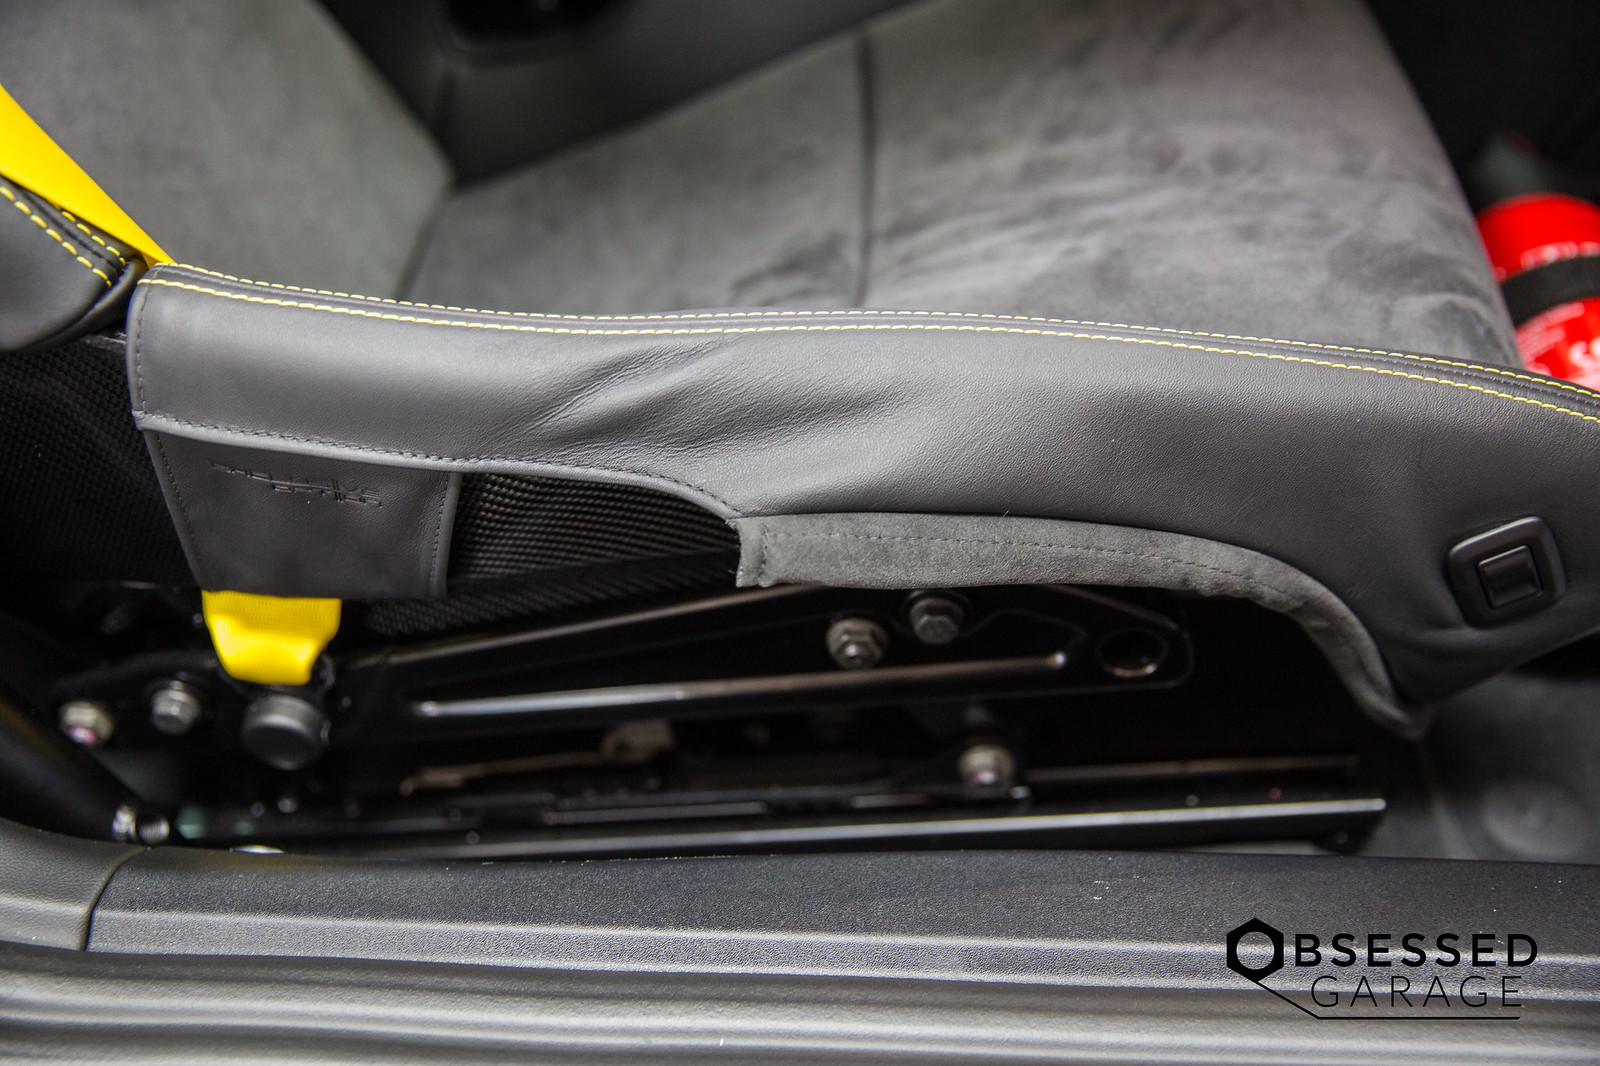
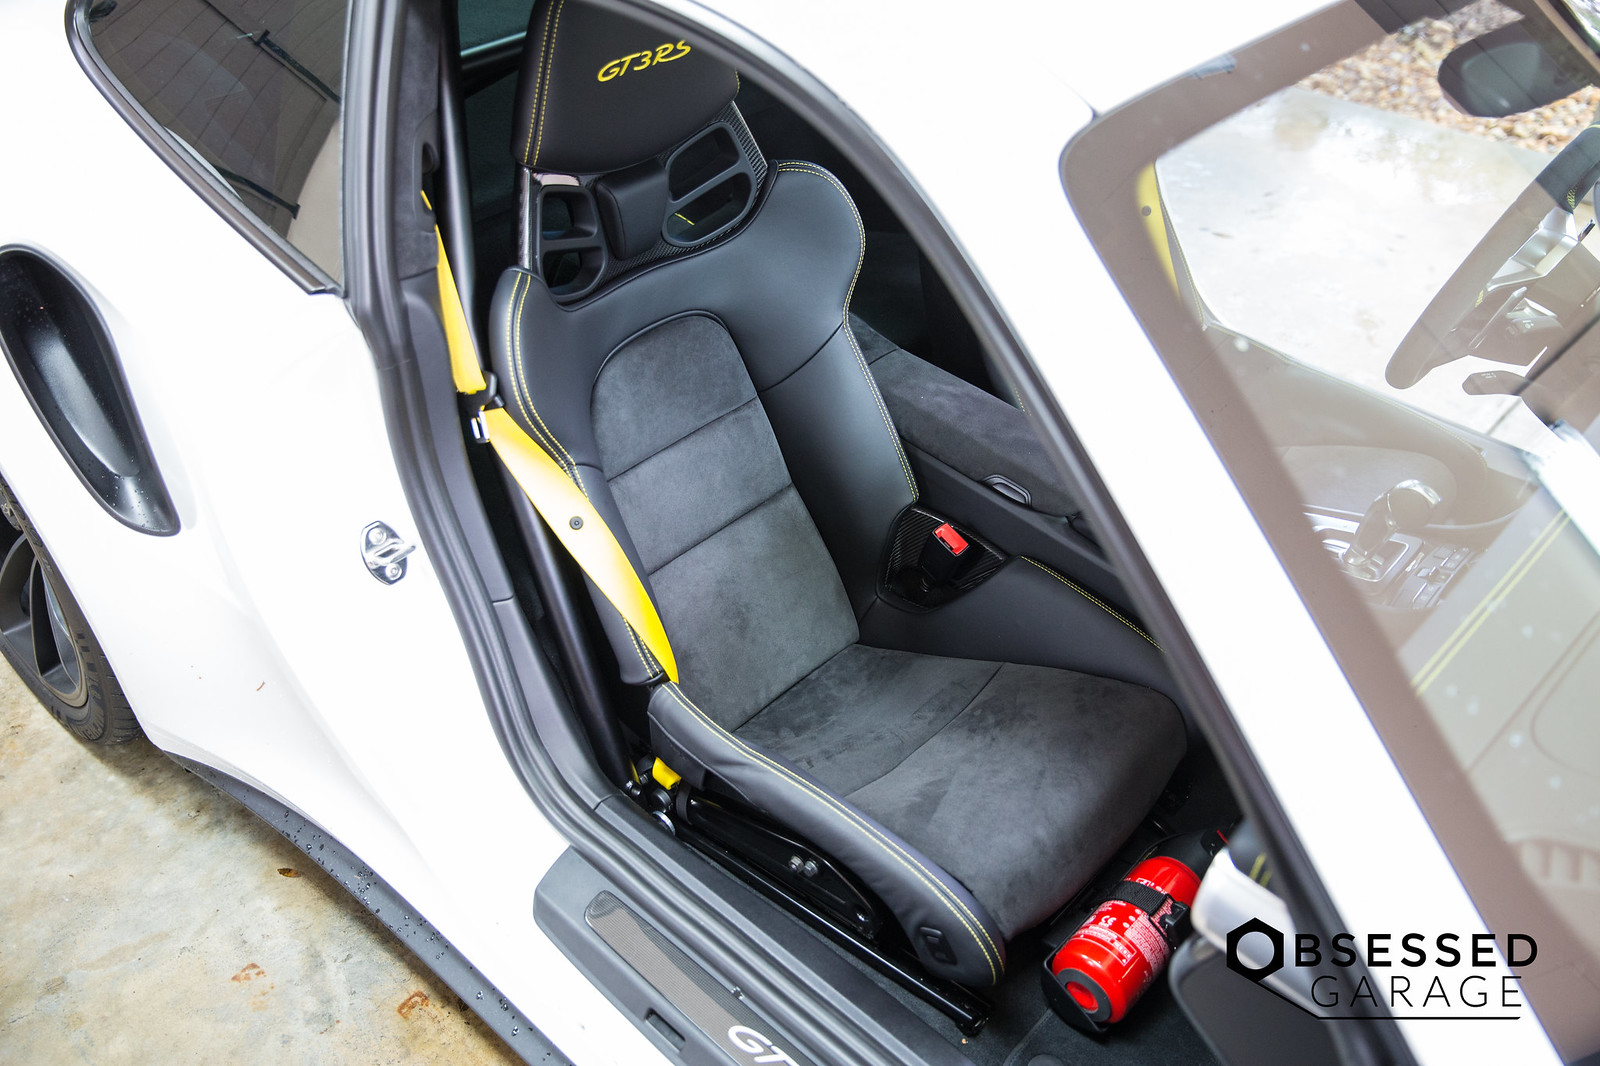
After I figured that out, it took 20 minutes to finish the job. I think they look really good. There is a crease that I'm having trouble getting out that contours to the gap, but I think that may stretch over time. I'll be sure to update as I have more time testing them in the real world.
Cost: $589
http://shop.exclusiveoption.com/918-...18-918LWBP.htm
My Video if you prefer that format.
Quality:
I think this is about a close to OE looking as you could possibly get with something aftermarket. The leather seems to be an exact match to the Porsche leather. I would say the stitching and seams are better than factory. There was not one frayed piece of thread to be found on these things. You are certainly getting a quality good for your $589. A couple of things to note: I would like to have a little longer velcro strip on the straps that wrap under the seat rail. I found that I couldn't tighten all the way, but it wasn't a huge issue. The only thing that is a bit odd is where the gap between the front and back part of the seat bolster makes the transition. You can see in the photos that a little crease forms. I worked on that quite a bit. My guess is that it will flatten and stretch over time. I could also consider steaming and stretching a bit more to aid in cleaning that up. Overall, I'm pleased with them. We'll see how they do over time with me getting in and out of the car, and I'll be sure to keep this journal updated with my findings.
I always find myself wondering why a company would spend so much time and energy creating a product and then not support it with video, photos, and content that shares what it is and how it works. These guys have done a pretty decent job with initial content support. Well written and easy to follow instructions with a video install guide on CD/DVD are in the box. I don't have a disc drive any longer, so I just used their video on Youtube.
Without Bolster Protectors
Install:
This turned into my normal "5 minute per side" install project that took me 3 hours and 15 minutes. After my fingers hurting, rubbed raw top of my hands from a dozen velcro readjustments, and about 16 deep sighed looks to the heavens, I got the job done. If I had to do it over again, it would actually take about 20 minutes, but I like to bond with my car...so I made it take 3 hours. (Ha...)
The first issue was pulling back the seat height switch. You need to pry it back about 1/4" to fit the hole of the bolster. The passenger side came out too easily and wouldn't snap back into place with the extra bulk of the bolster protector, and the driver's side wouldn't come out. I eventually used a credit card to pry it back and get it to release. That was a solid hour of the project. Neither snaps all the way back in place, but they are acceptably snug.
This is the velcro that tears up your hands as you are positioning and repositioning the protector. But I do have baby hands.
I had the directions nearby for moral support.
This is where it went all wrong. It was only after I gave up on the passenger's side (two and a half hours in) that I discovered why I couldn't get it to fit. There is rod in the stitched pocket that needs to be snugged up under the channel that runs under the factory bolster. That rod needs to be pushed all the way to toward the front of the protector. I didn't discover this until I quit and went over to the driver's side.
After I figured that out, it took 20 minutes to finish the job. I think they look really good. There is a crease that I'm having trouble getting out that contours to the gap, but I think that may stretch over time. I'll be sure to update as I have more time testing them in the real world.
01-13-2018, 10:01 AM
#67
Rennlist Member
Careful with not getting an alignment. Porsche suspension design is not like most. The smallest change in ride height also changes caster and toe in a Porsche. Also, if the car see’s the track, you really should get it corner balanced to ensure the car is predictable at speed. Eighth of an inch of difference in lowering or corner balance will make these cars ‘weird’ to drive.
 01-13-2018, 10:18 AM
#69
thanks for doing the bolster write up Matt! much appreciate it. Will be doing this when I get my GT this summer. With my fat, chubby fingers I except this to be slightly challenging lol
P.S.
if you are ever in Pittsburgh this summer, come on over for a beer
P.S.
if you are ever in Pittsburgh this summer, come on over for a beer

 02-16-2018, 09:24 PM
#72
02-16-2018, 09:25 PM
#73
Funny, I was just contemplating this. All of the stuff from my GT3 just arrived from Kings Automall Porsche this afternoon. I would really like to get on the front of the RS wave and get a .2, so I don't think I'm going to mess with it. If you want a deal on some awesome audio stuff hit me up.
02-16-2018, 10:04 PM
#74
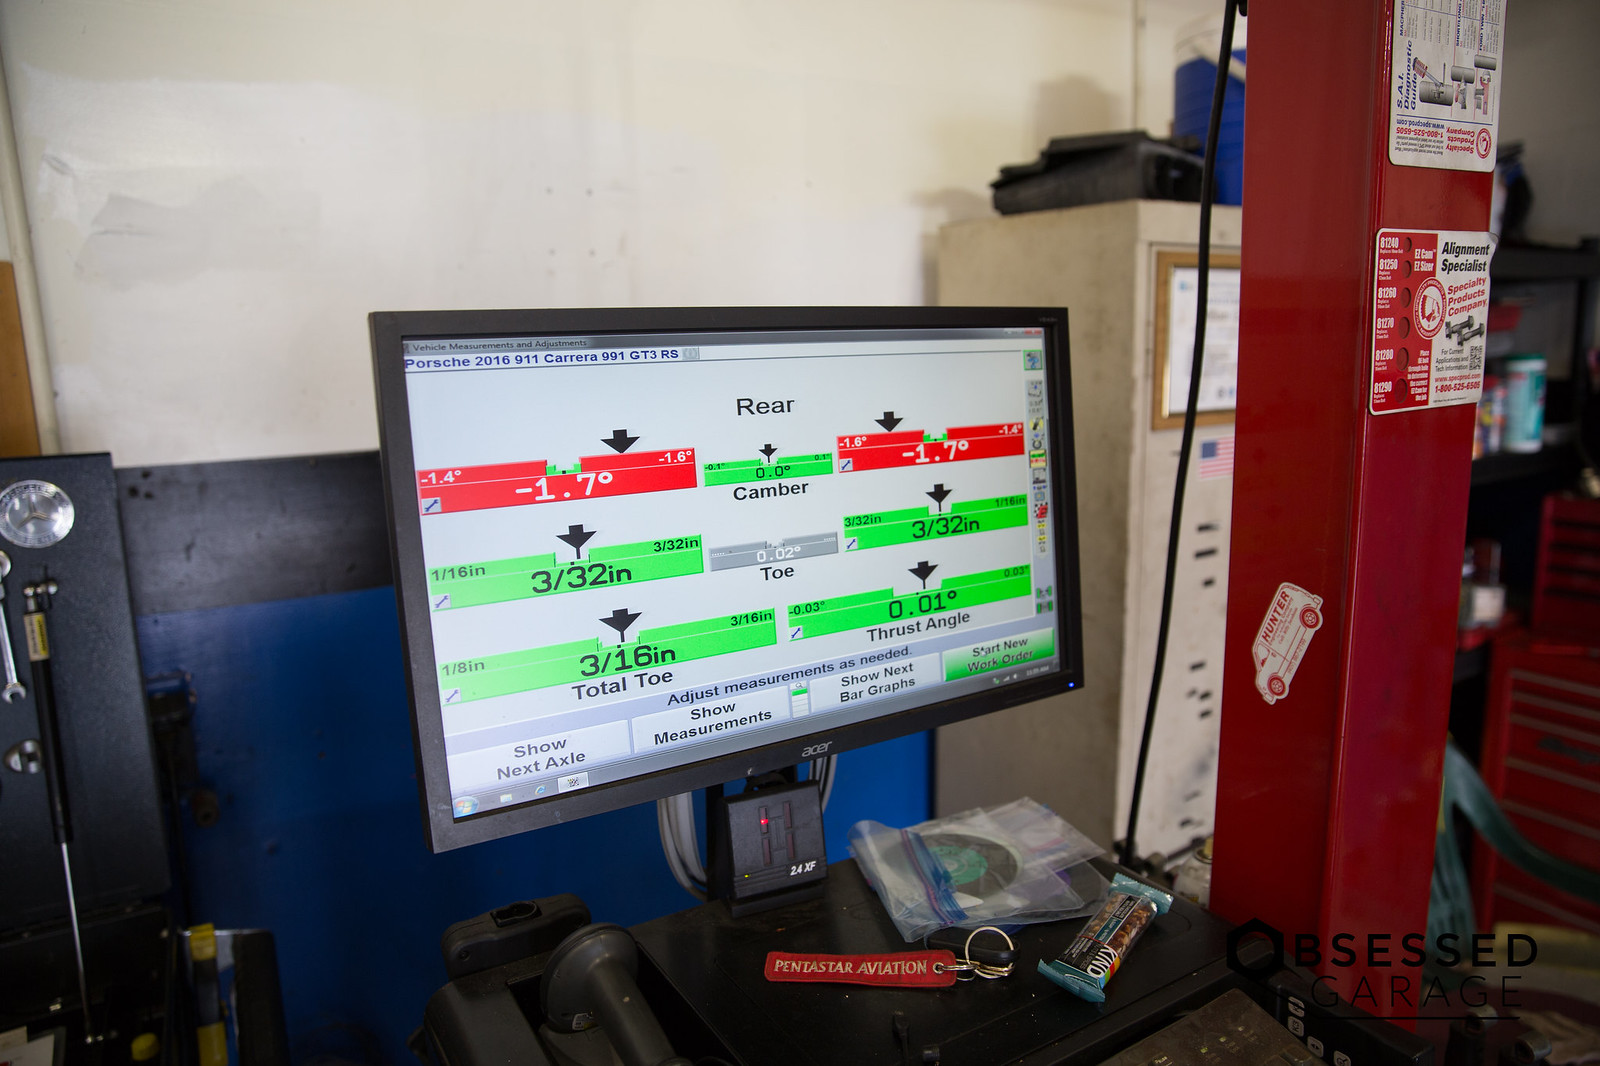
The RS seems to allow for a bit more lowering than my GT3, so I needed to raise it back up a bit. I've still left the rear unchanged as it seems to be at the correct height. I didn't notice any rubbing at the lowest setting, but it was tucked a bit. I prefer about a half a finger gap.
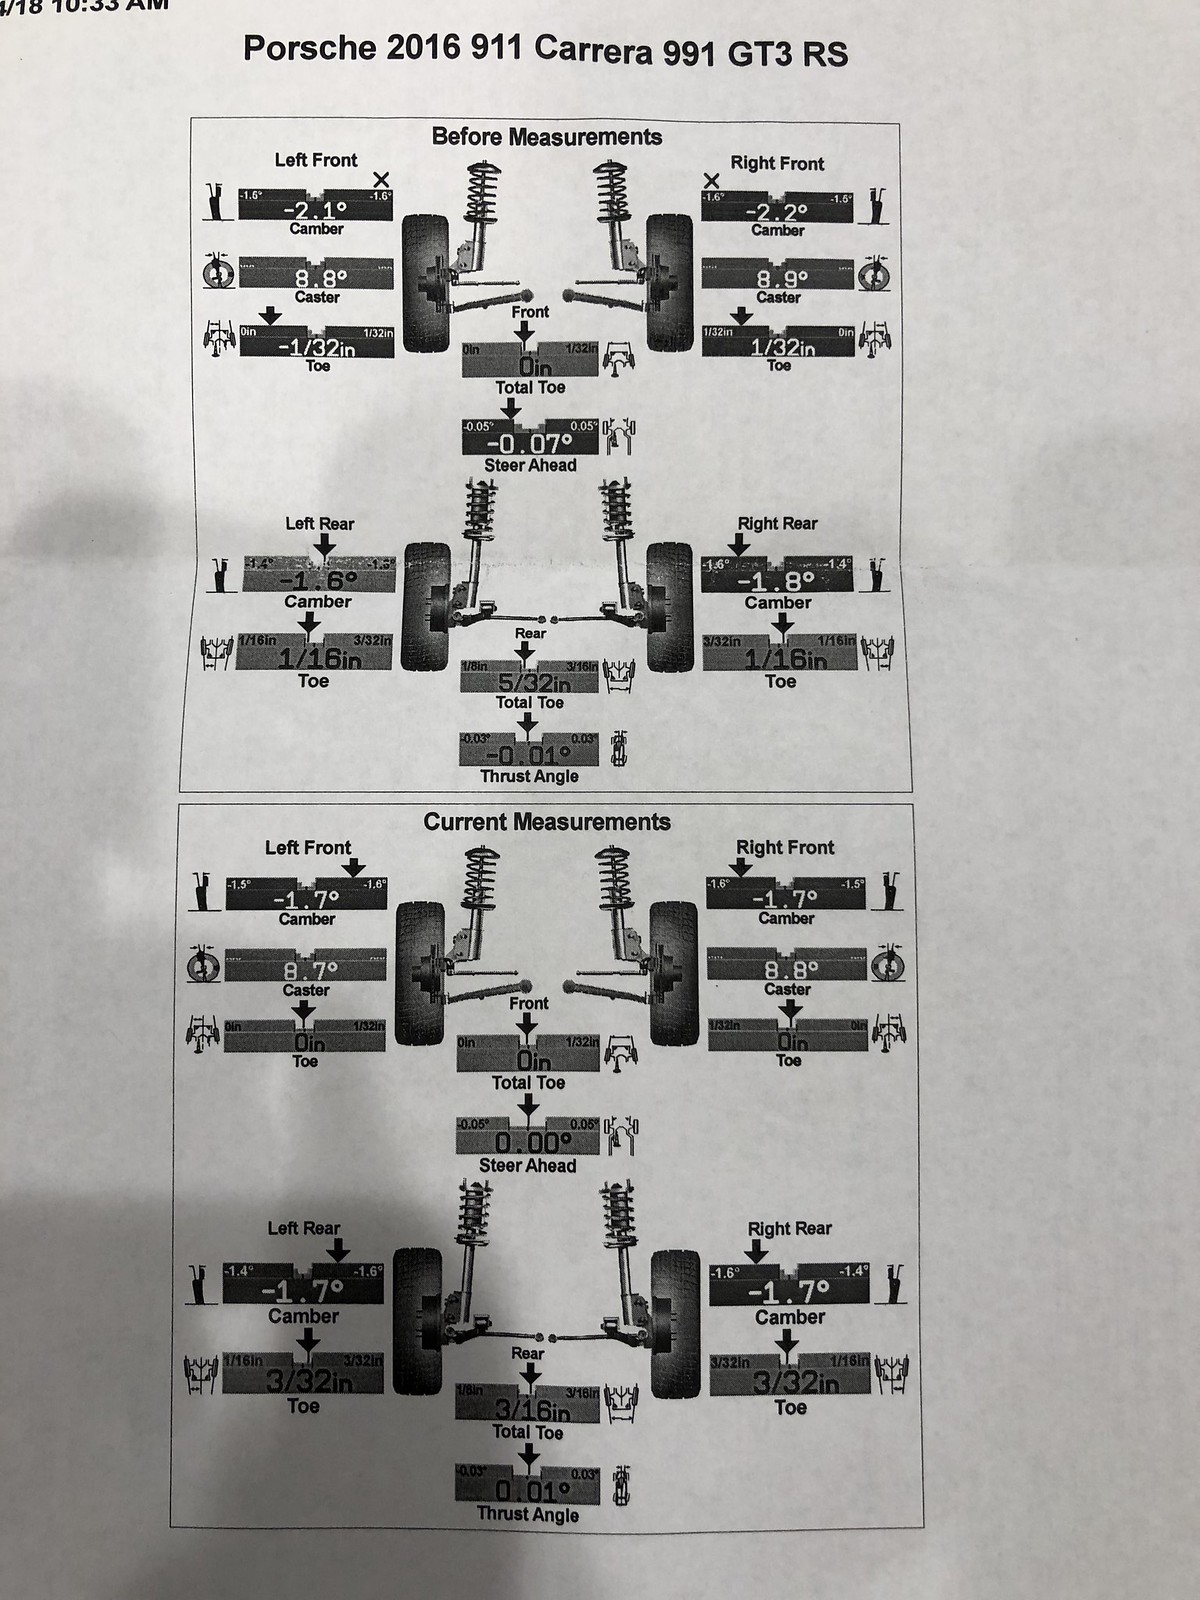
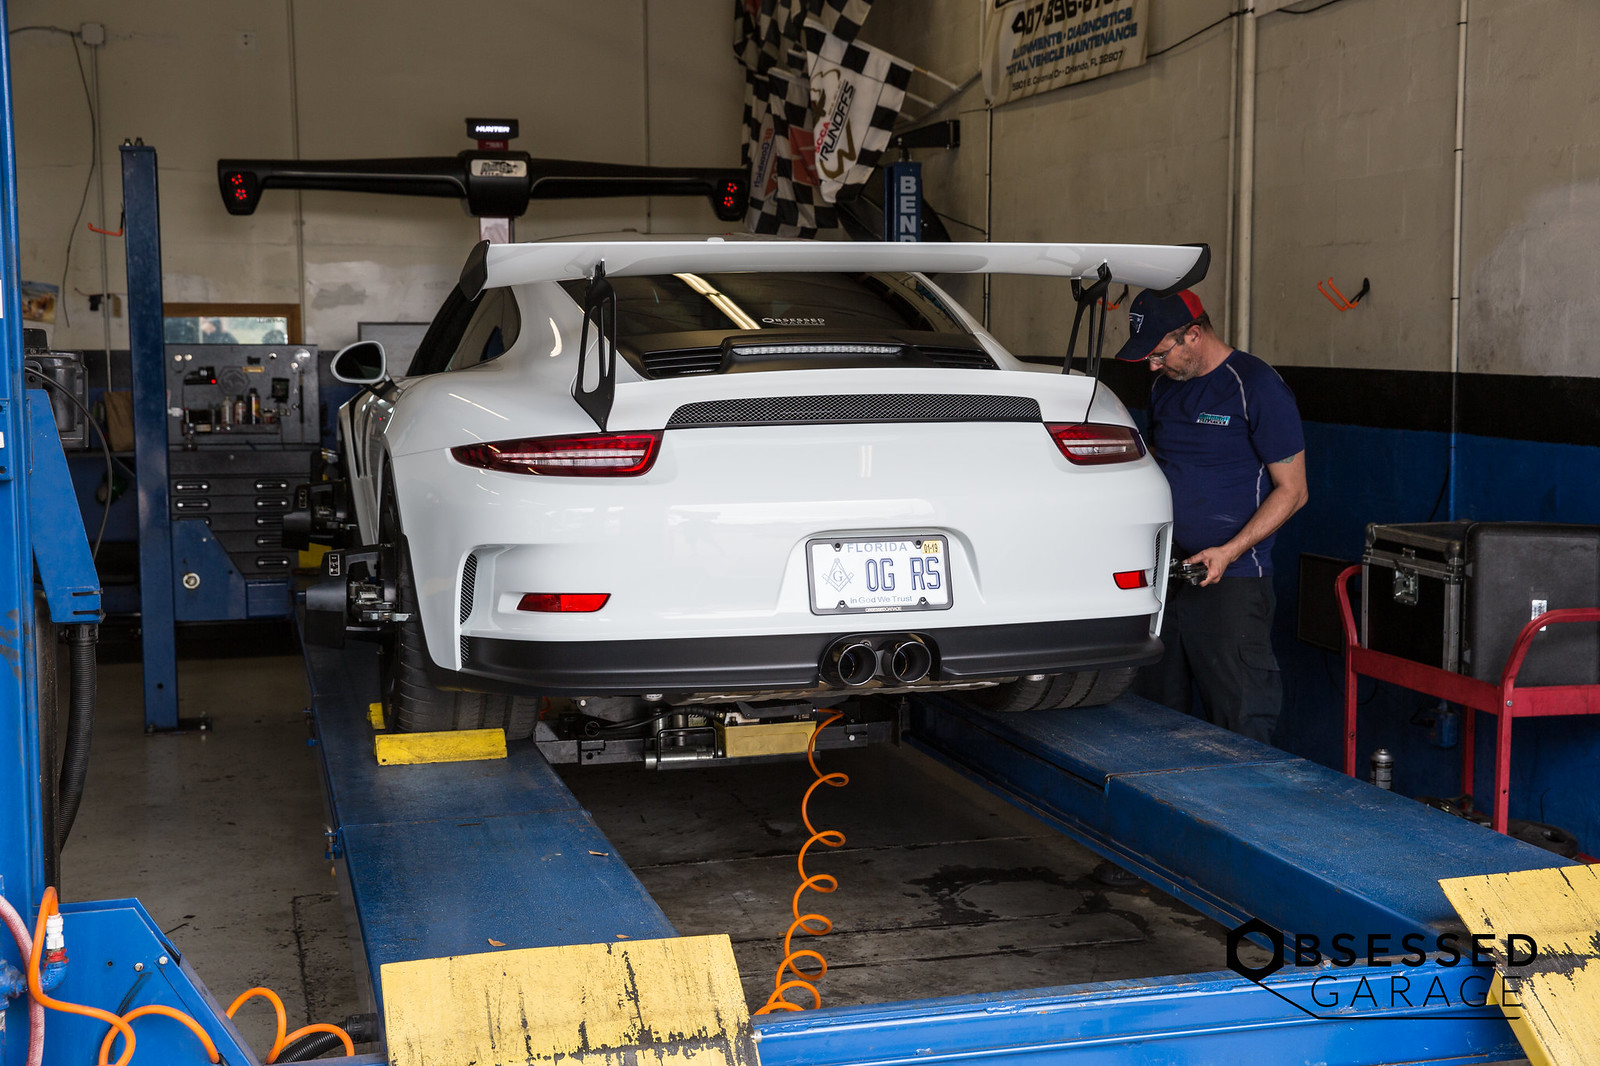
The car appeared to pick up a bunch of camber from lowering a little more than a 1/4", so I needed an alignment. I've been back and forth on the alignment specs about a 100 times. I opted for these, but I'd like some input. Car seem good, but I'm guessing it could feel better.
Here is the video of the process.
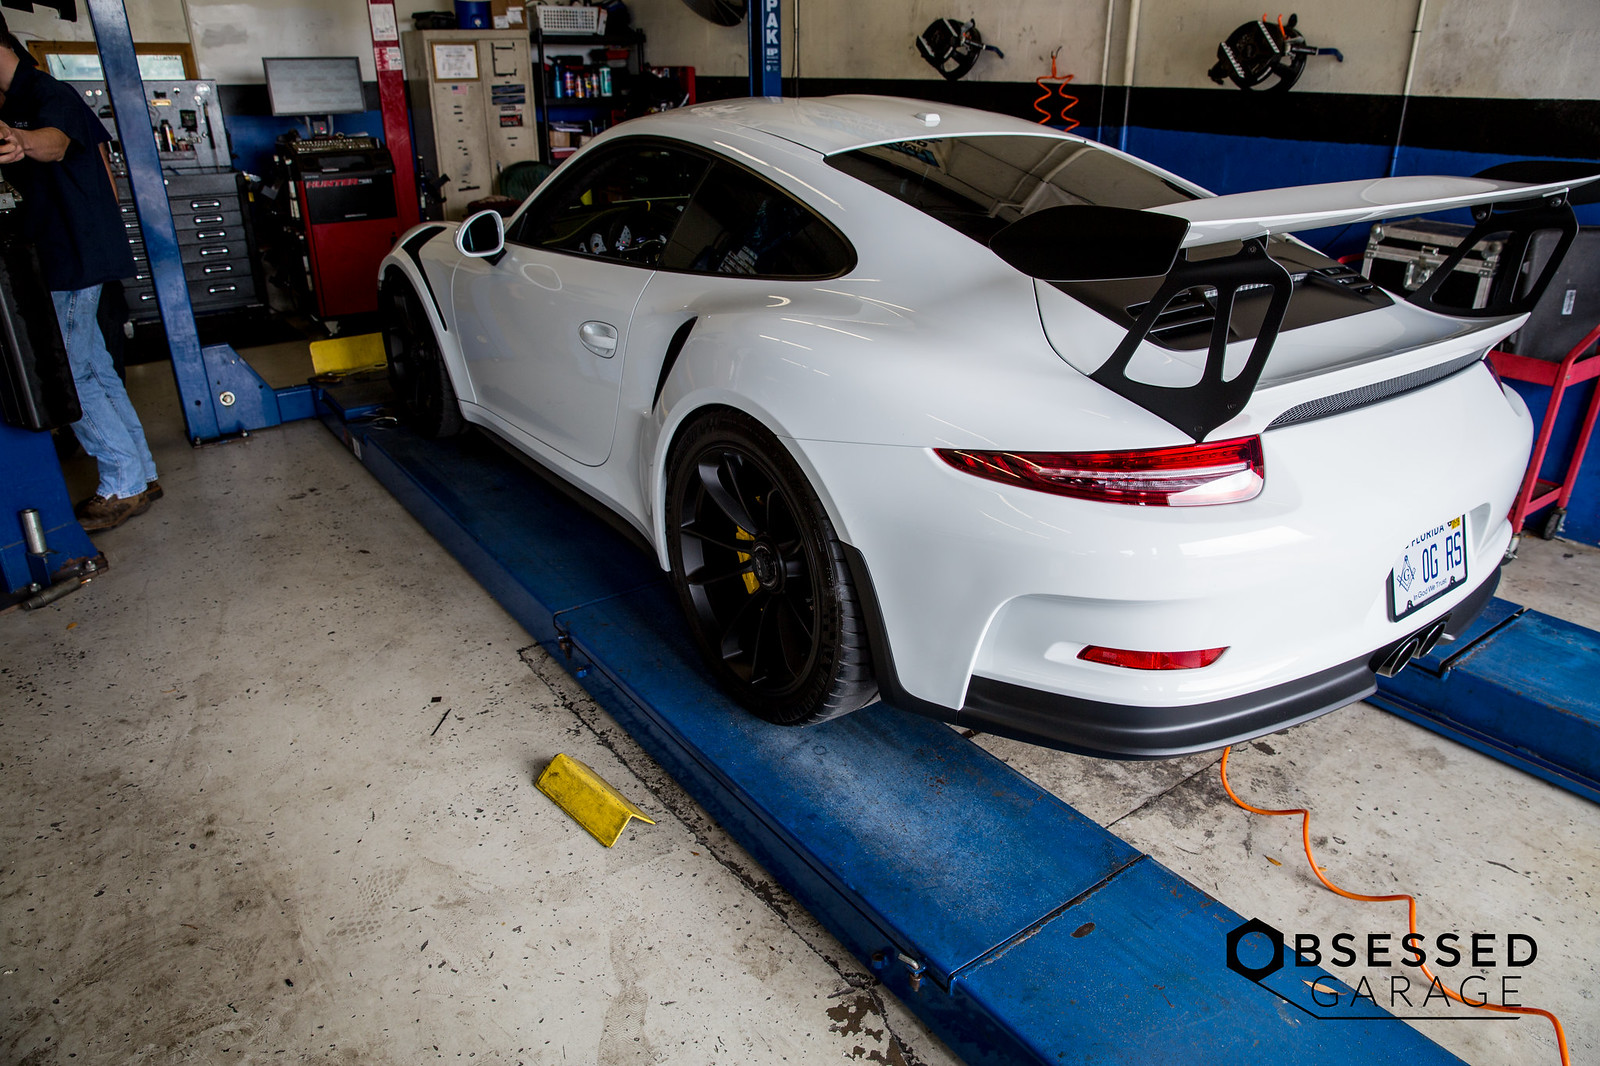
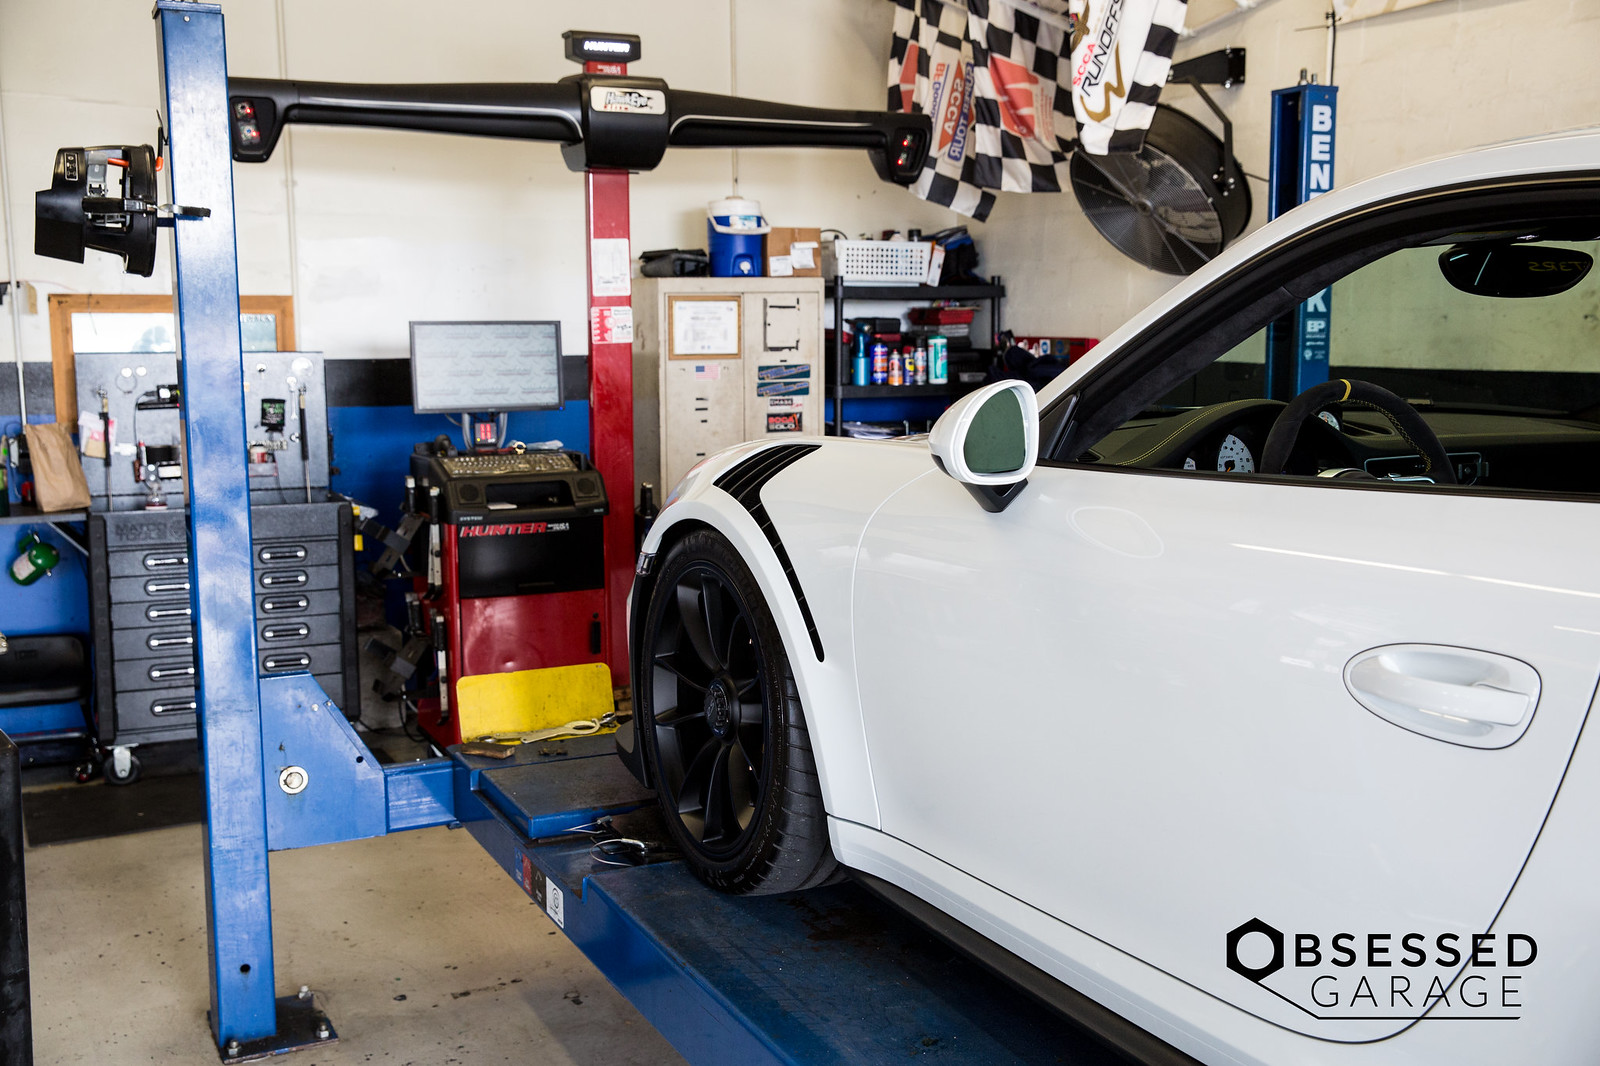
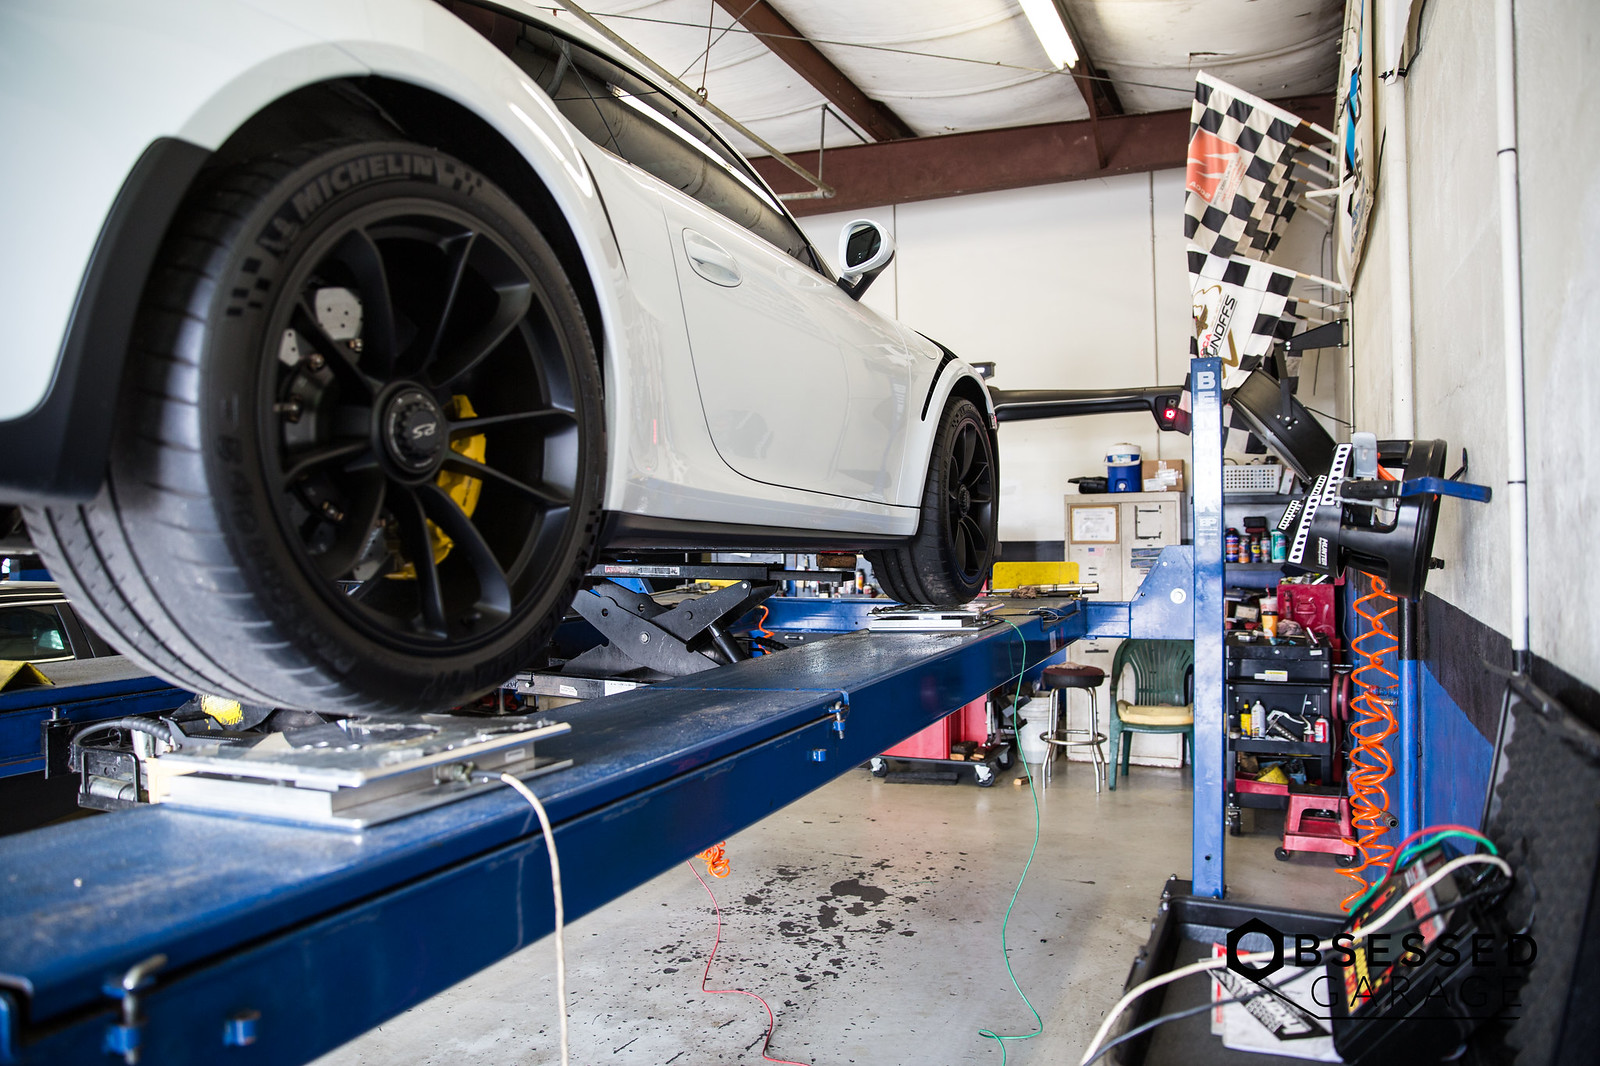
We first got the car on the rack and checked current alignment before corner balancing.
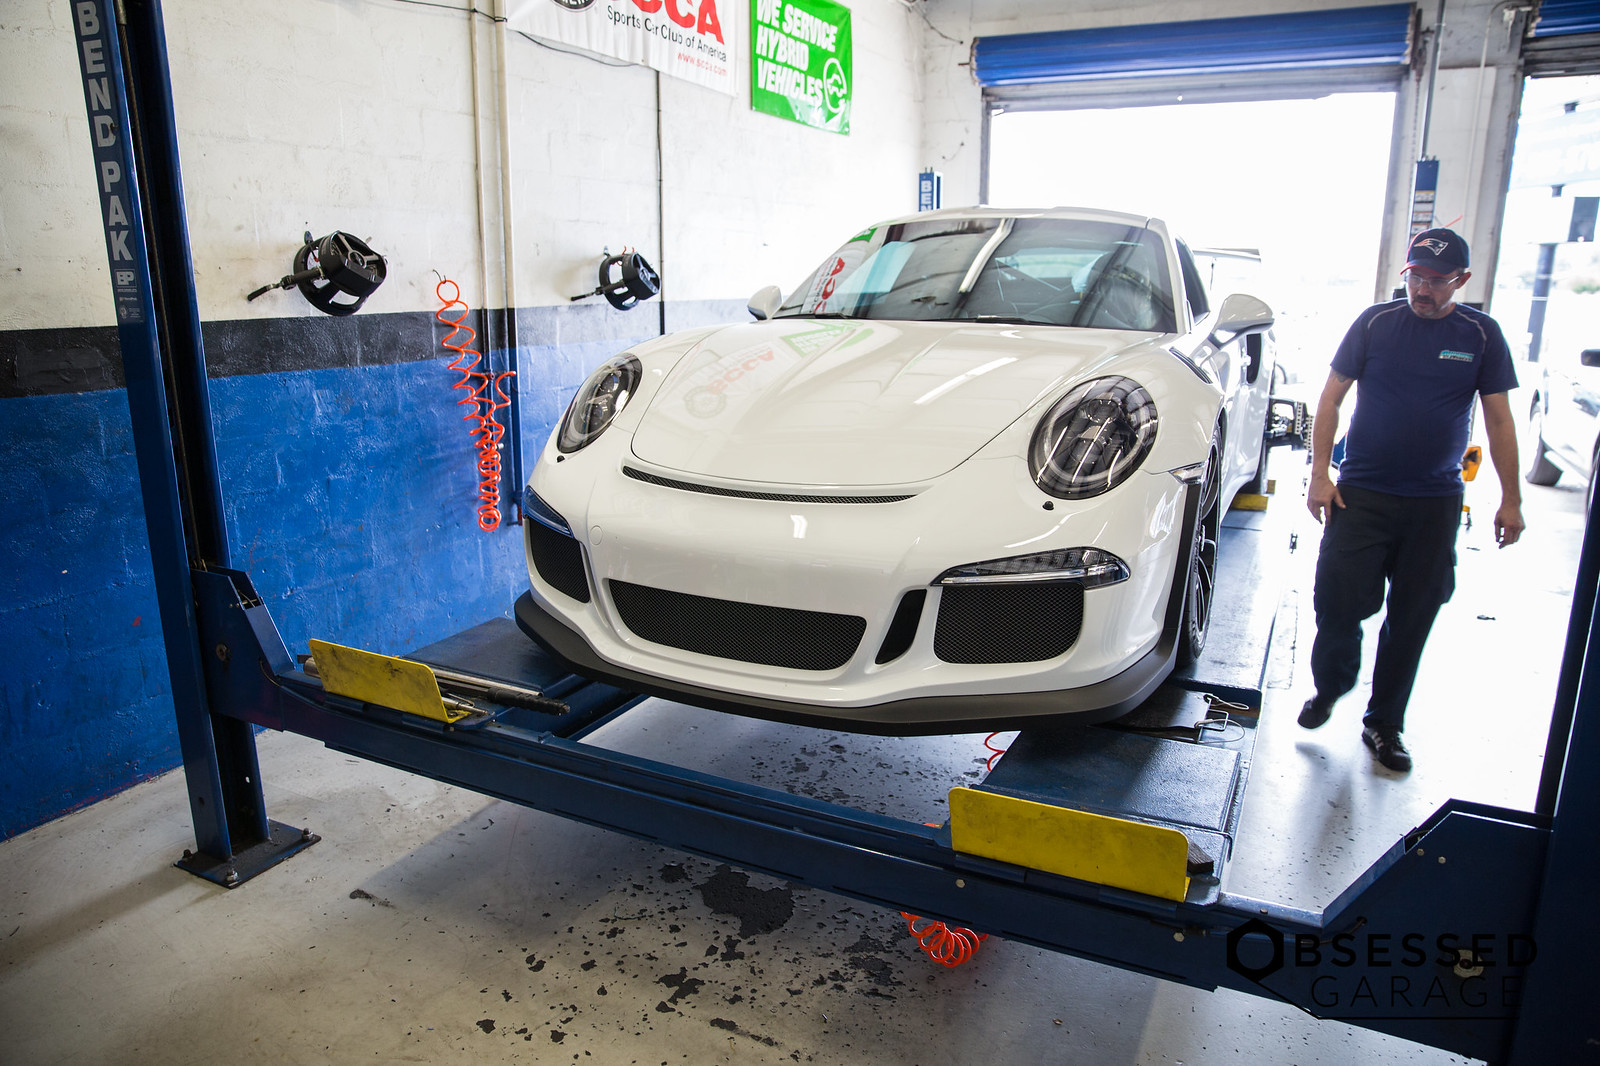
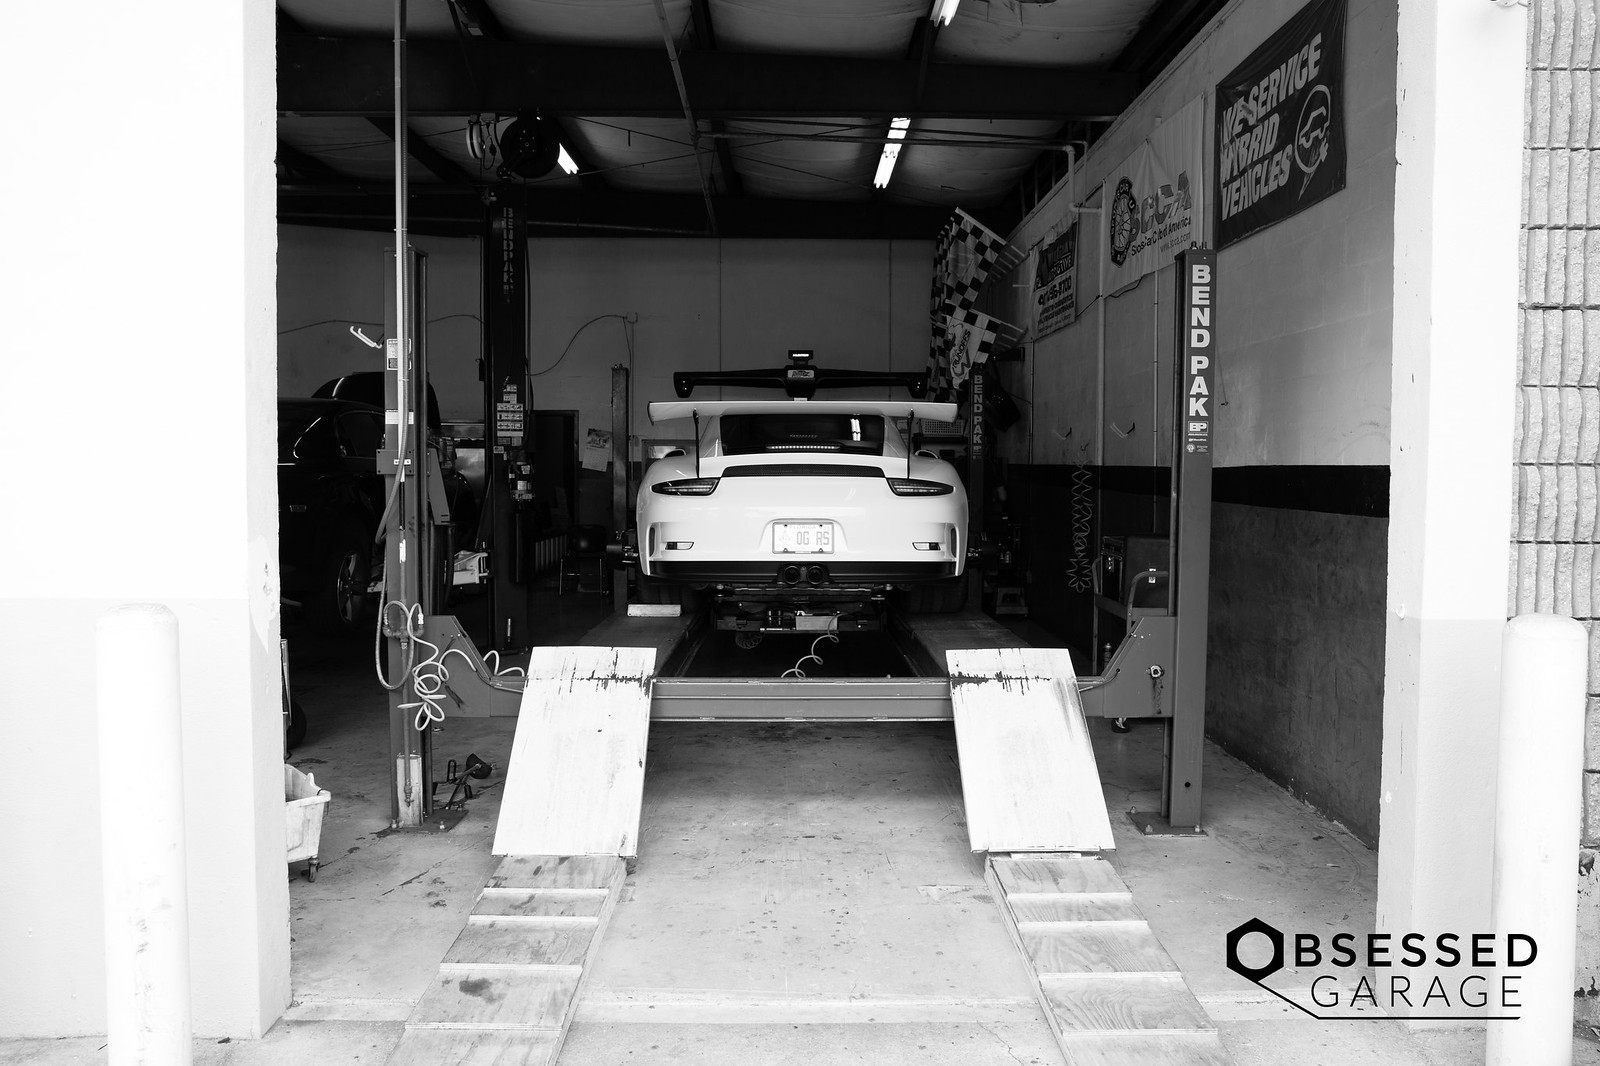
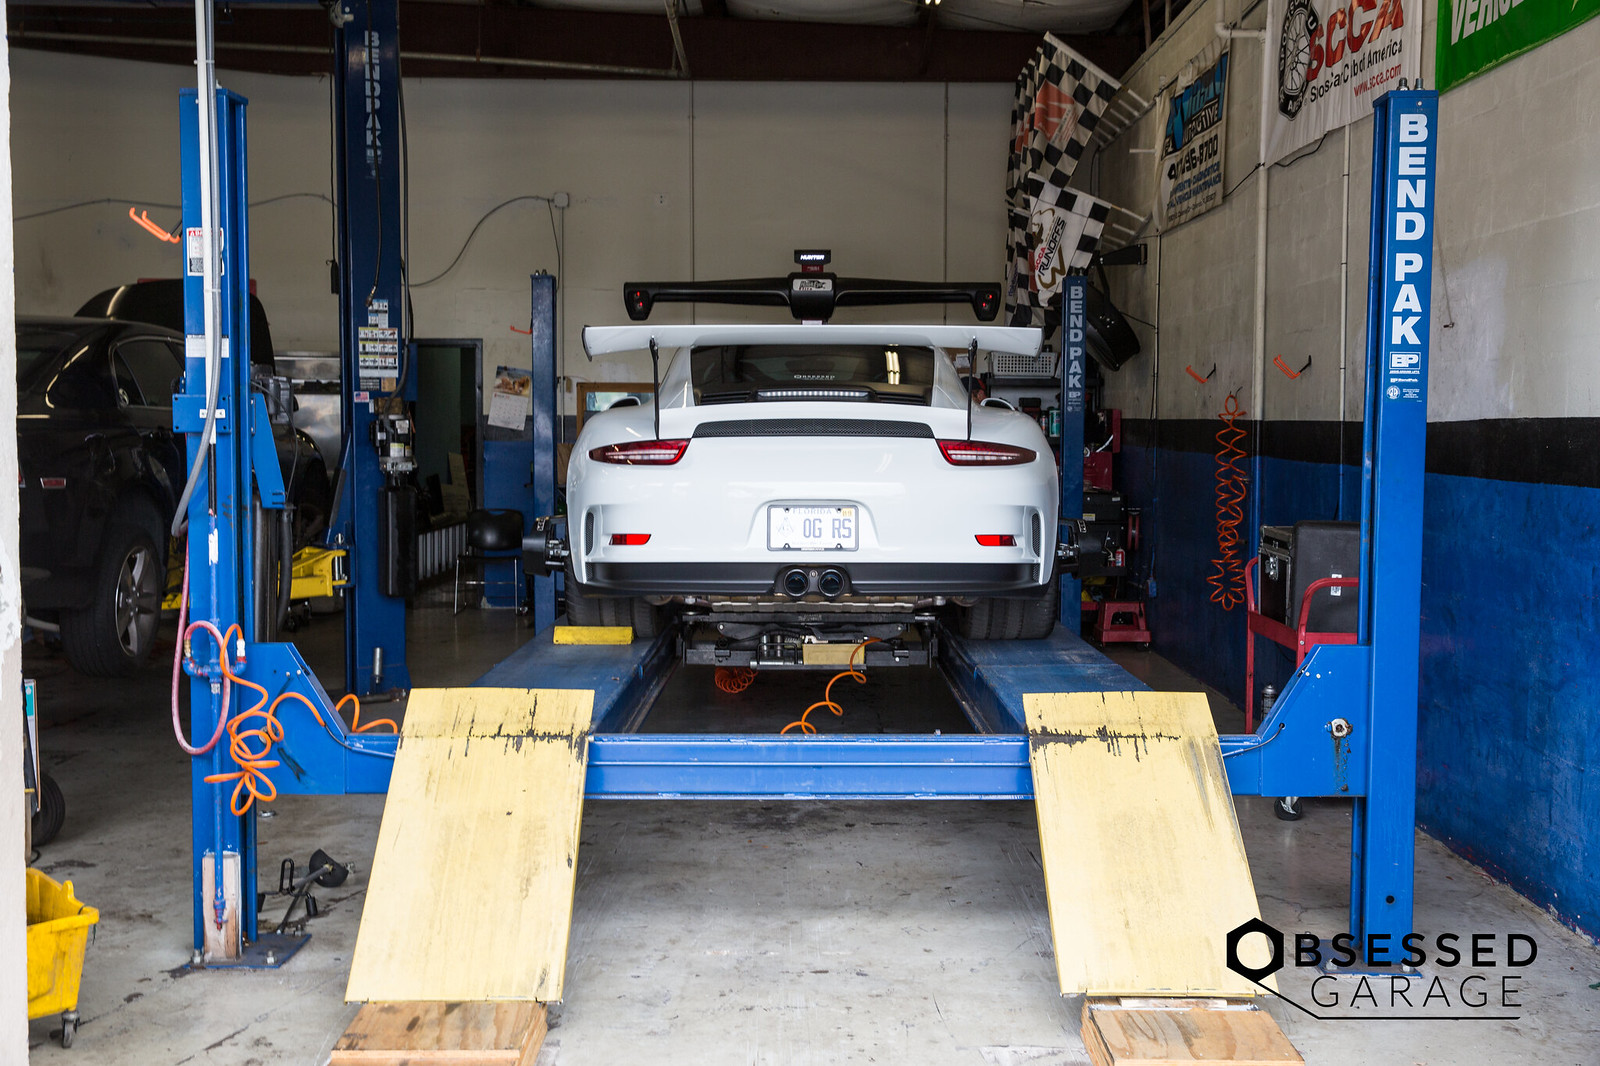
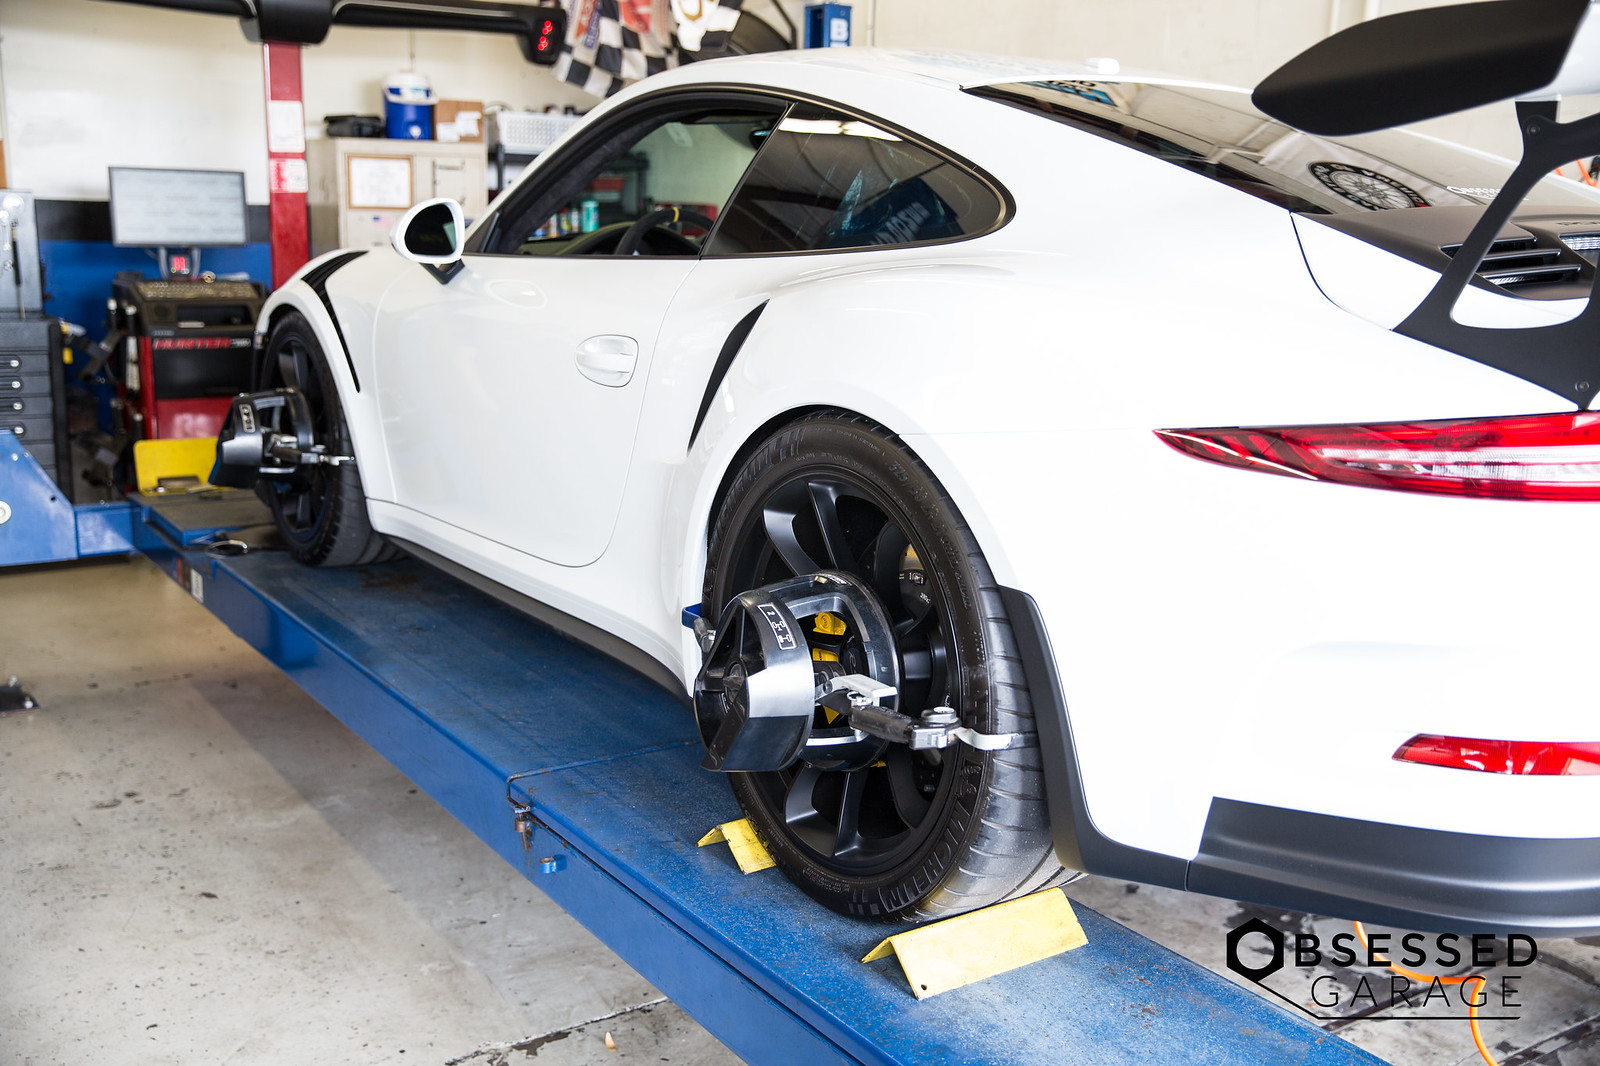
Then we needed to move it up to get on the scales. I suspected we wouldn't need to do anything to get the cross weights dialed in, but we put it on the scales then me in the car just to confirm.
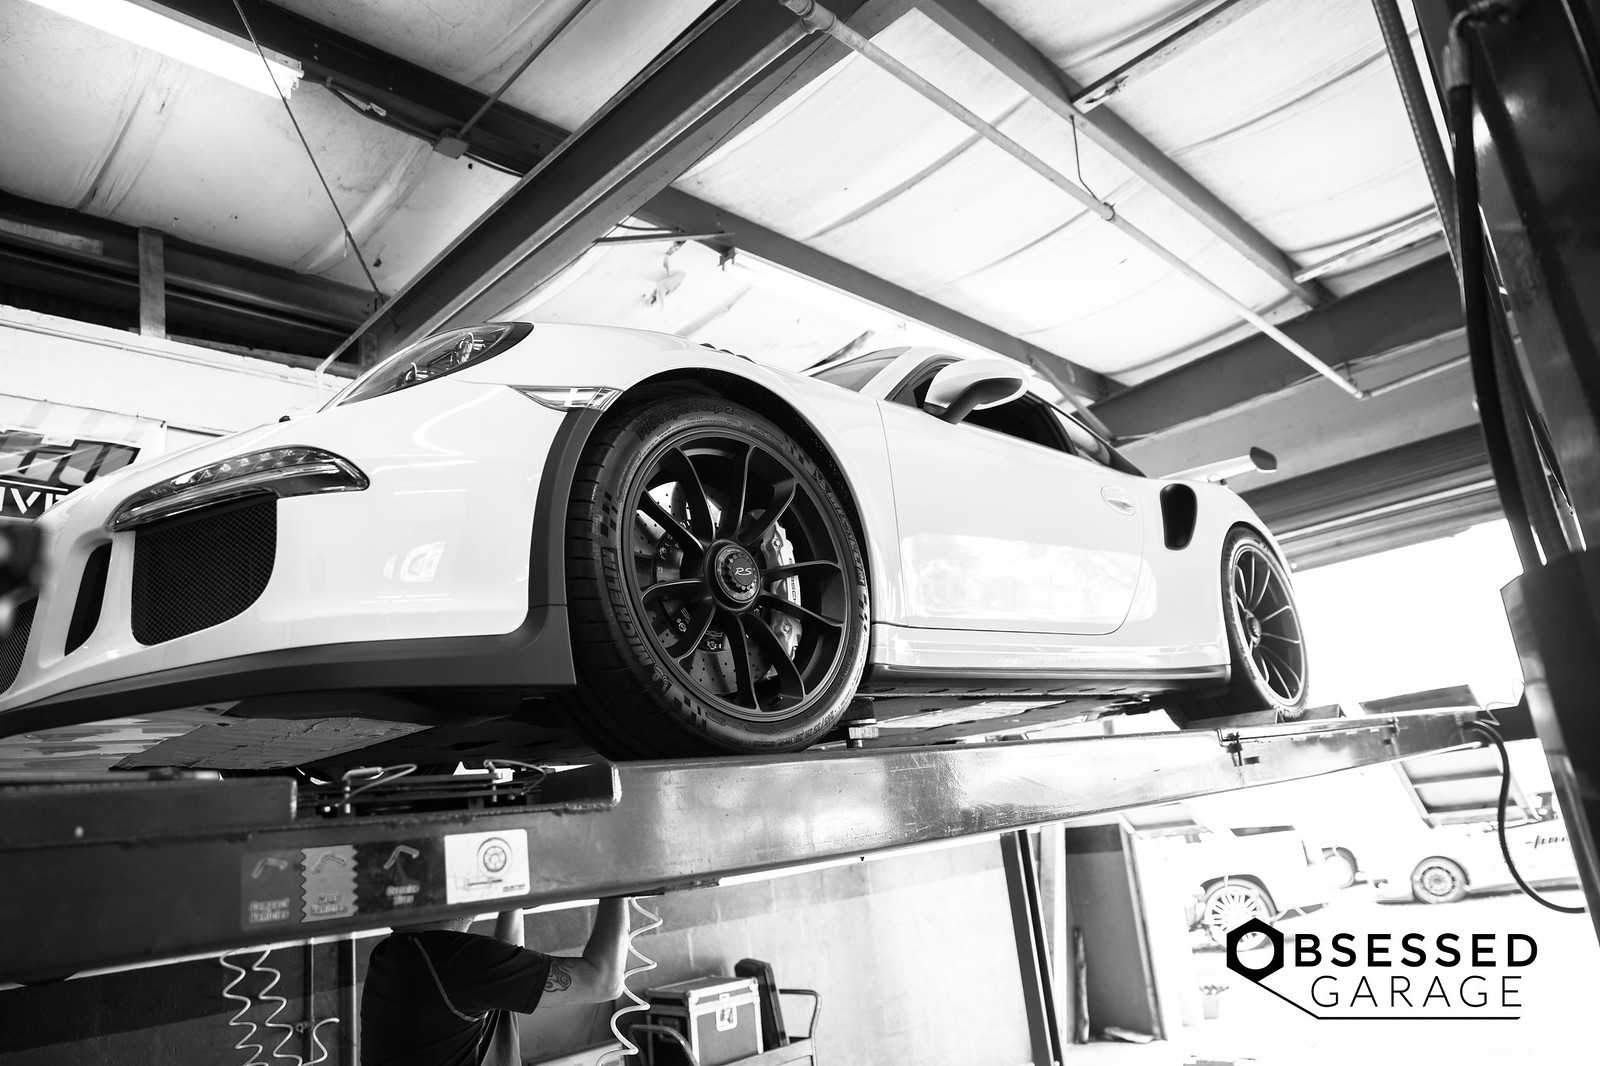
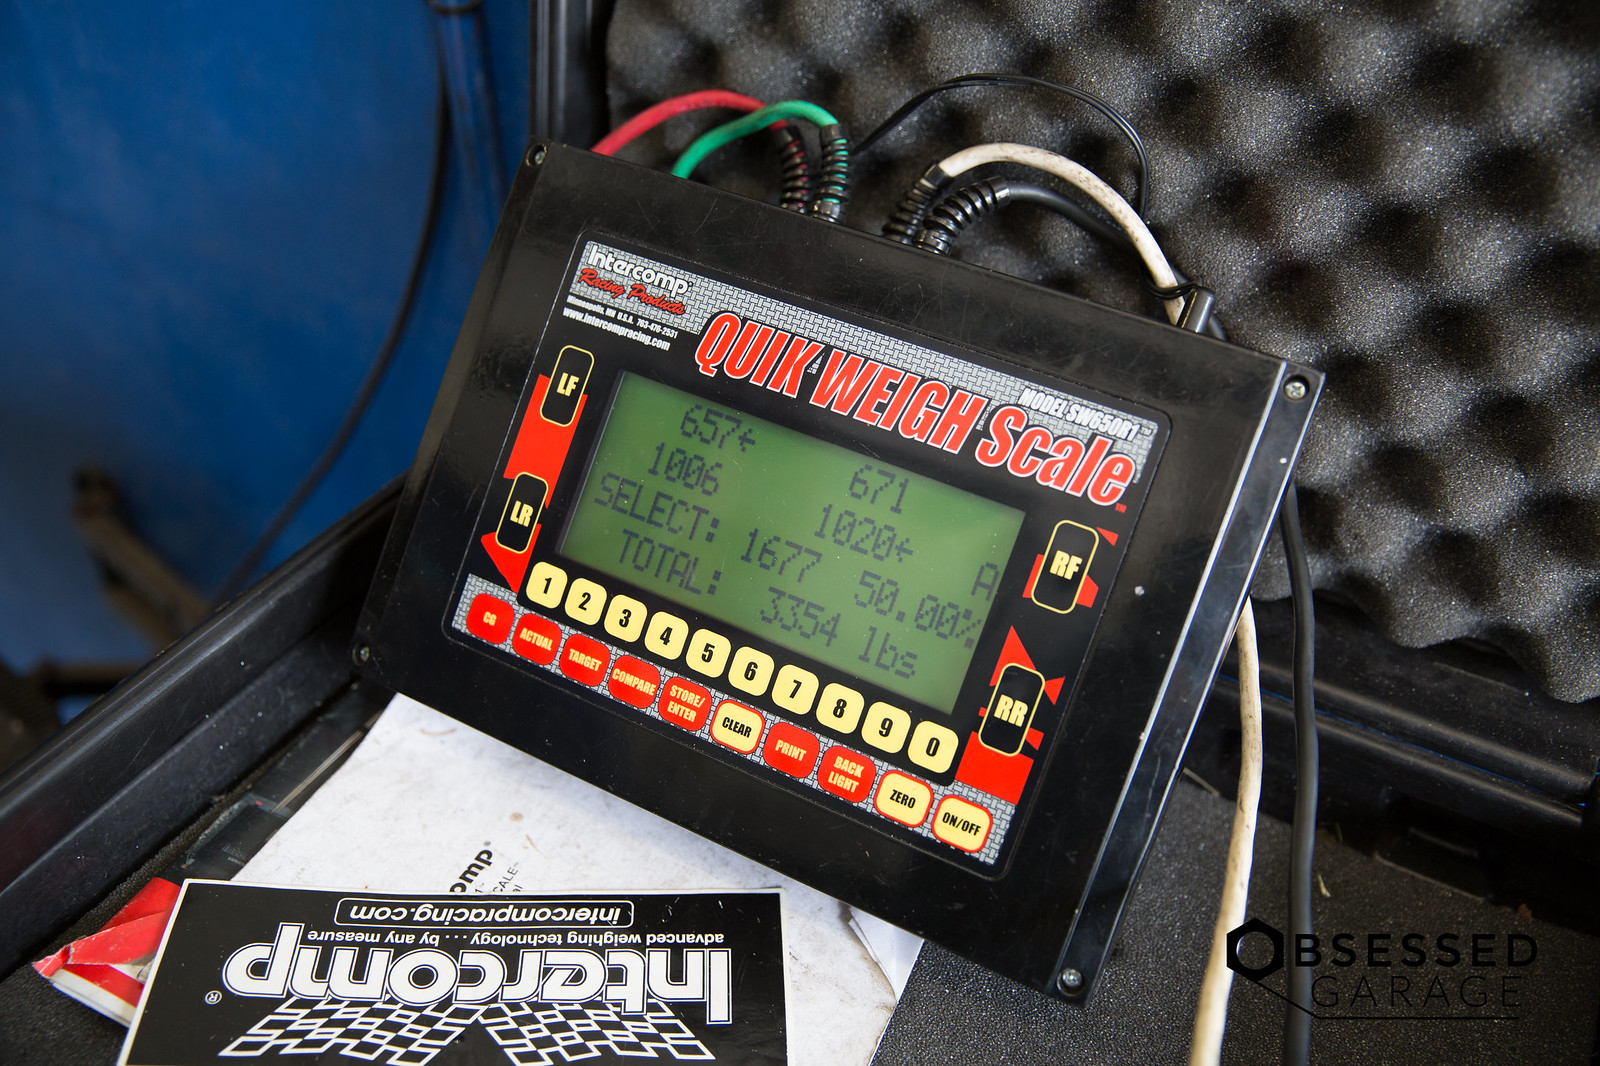
After putting me in the car the cross weights ended up at 51%, so no adjustment was necessary.
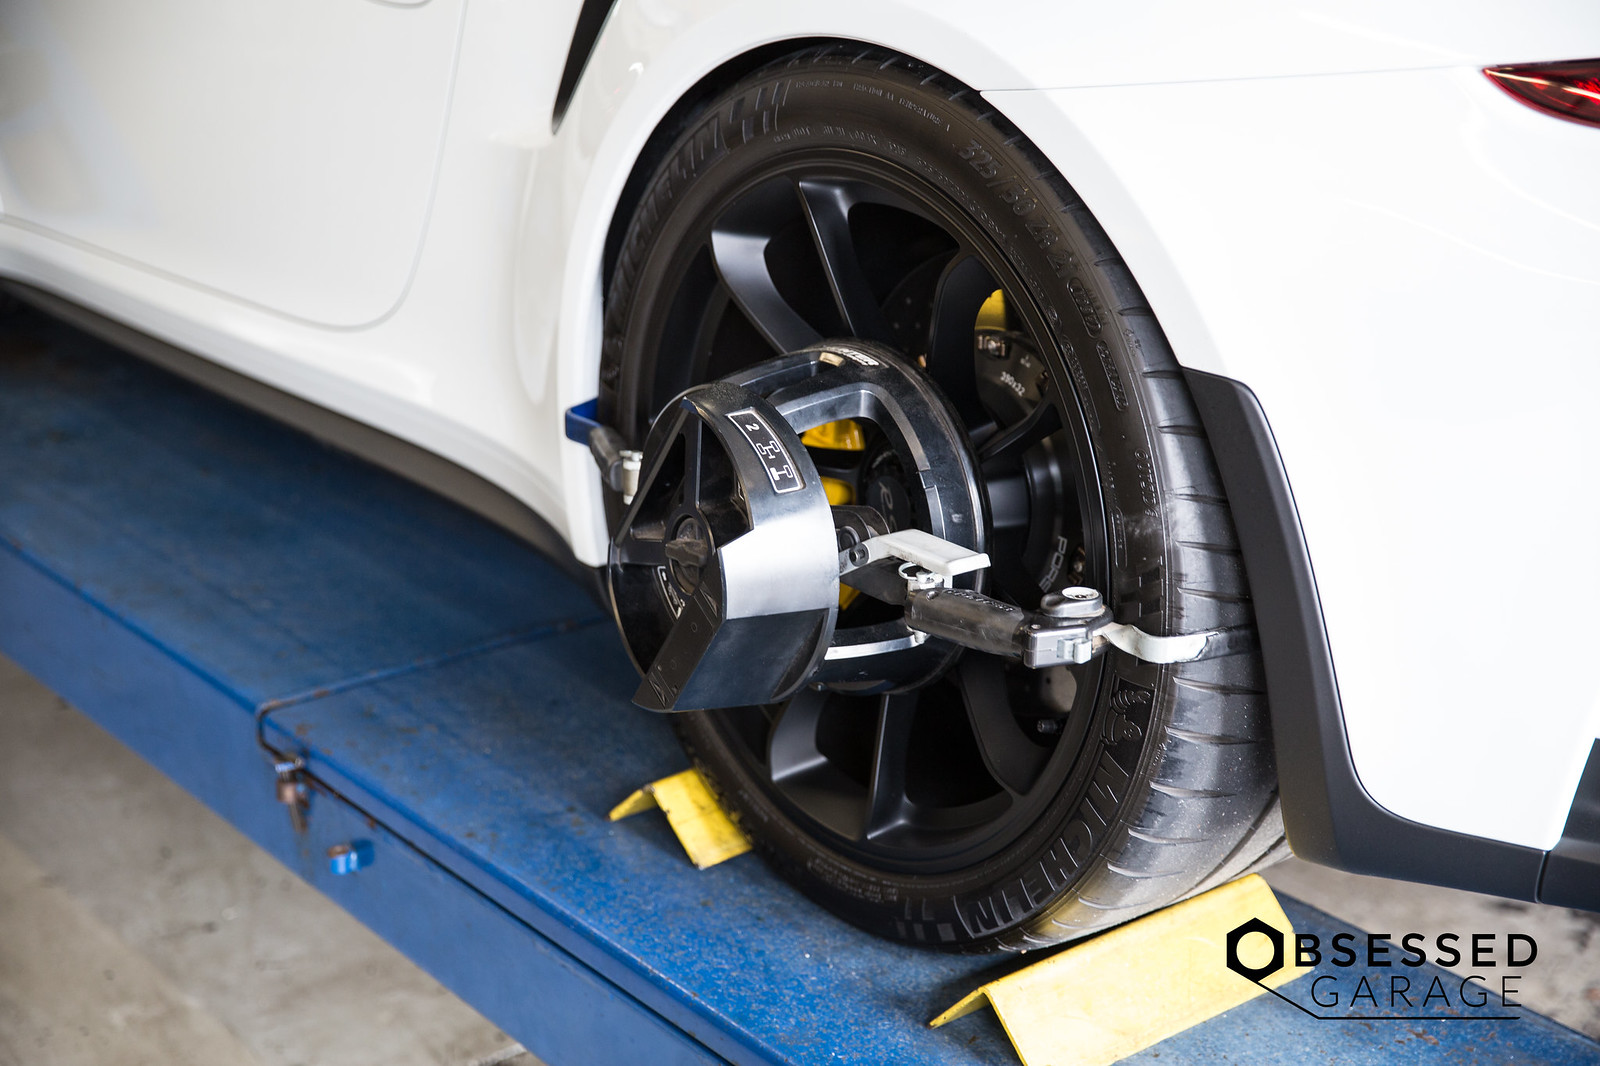
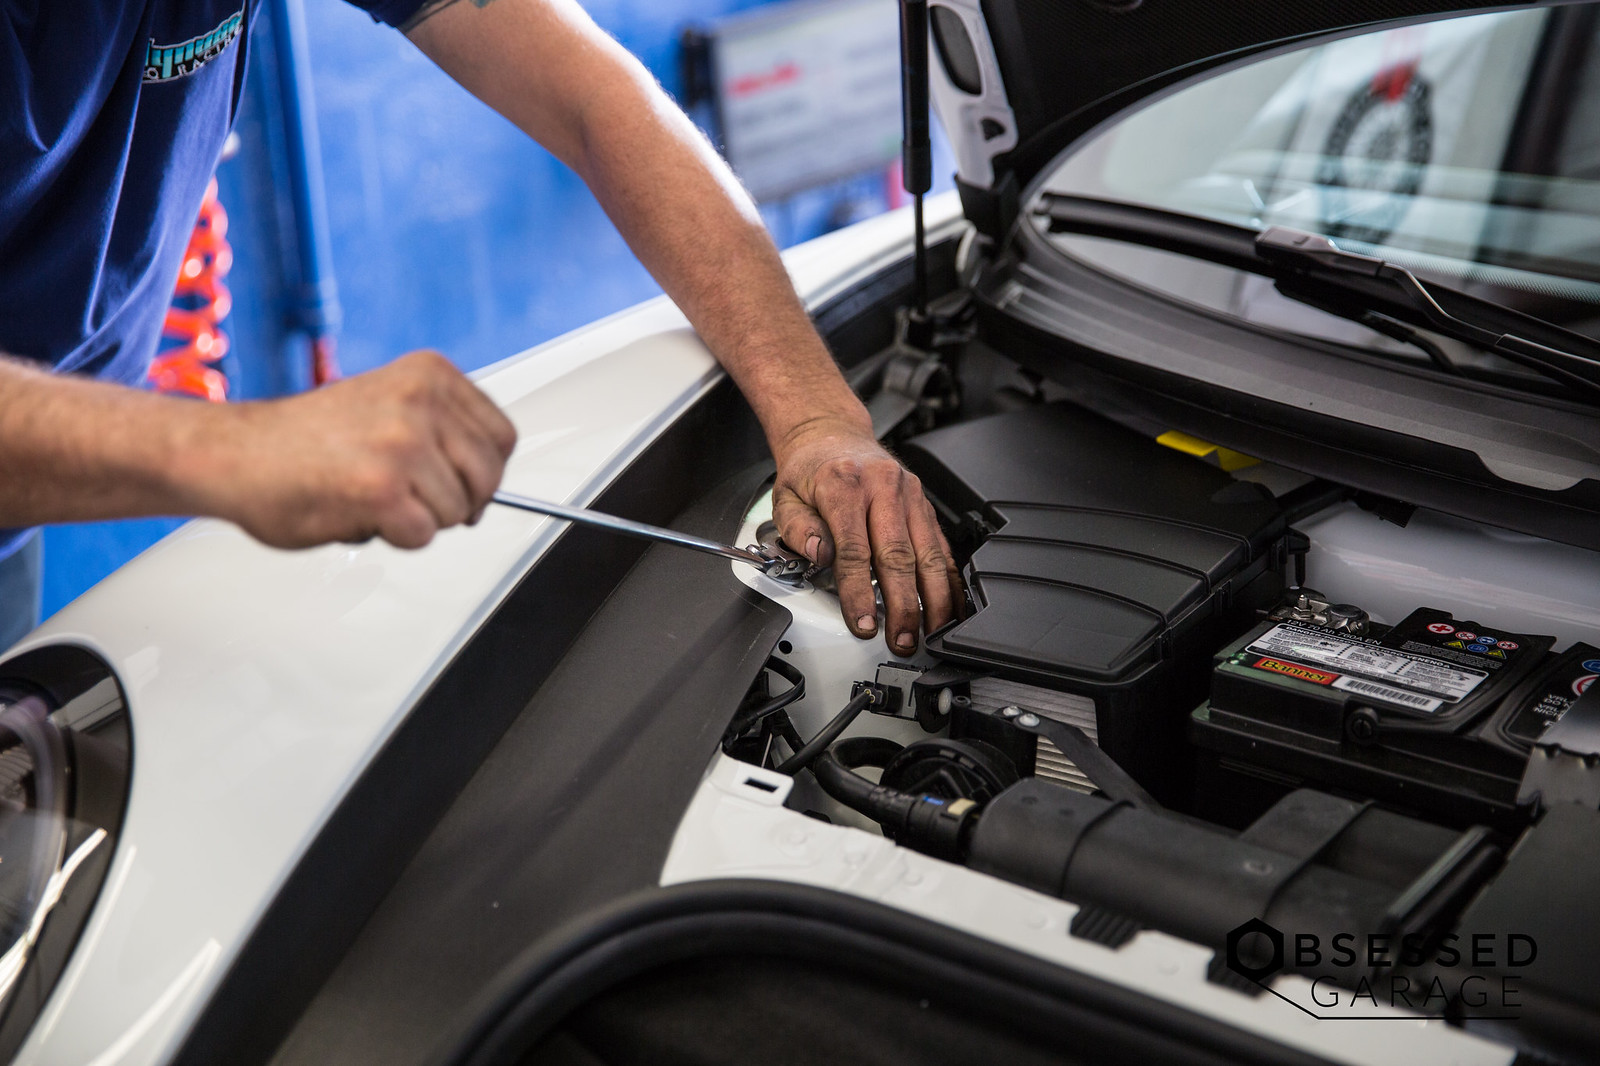
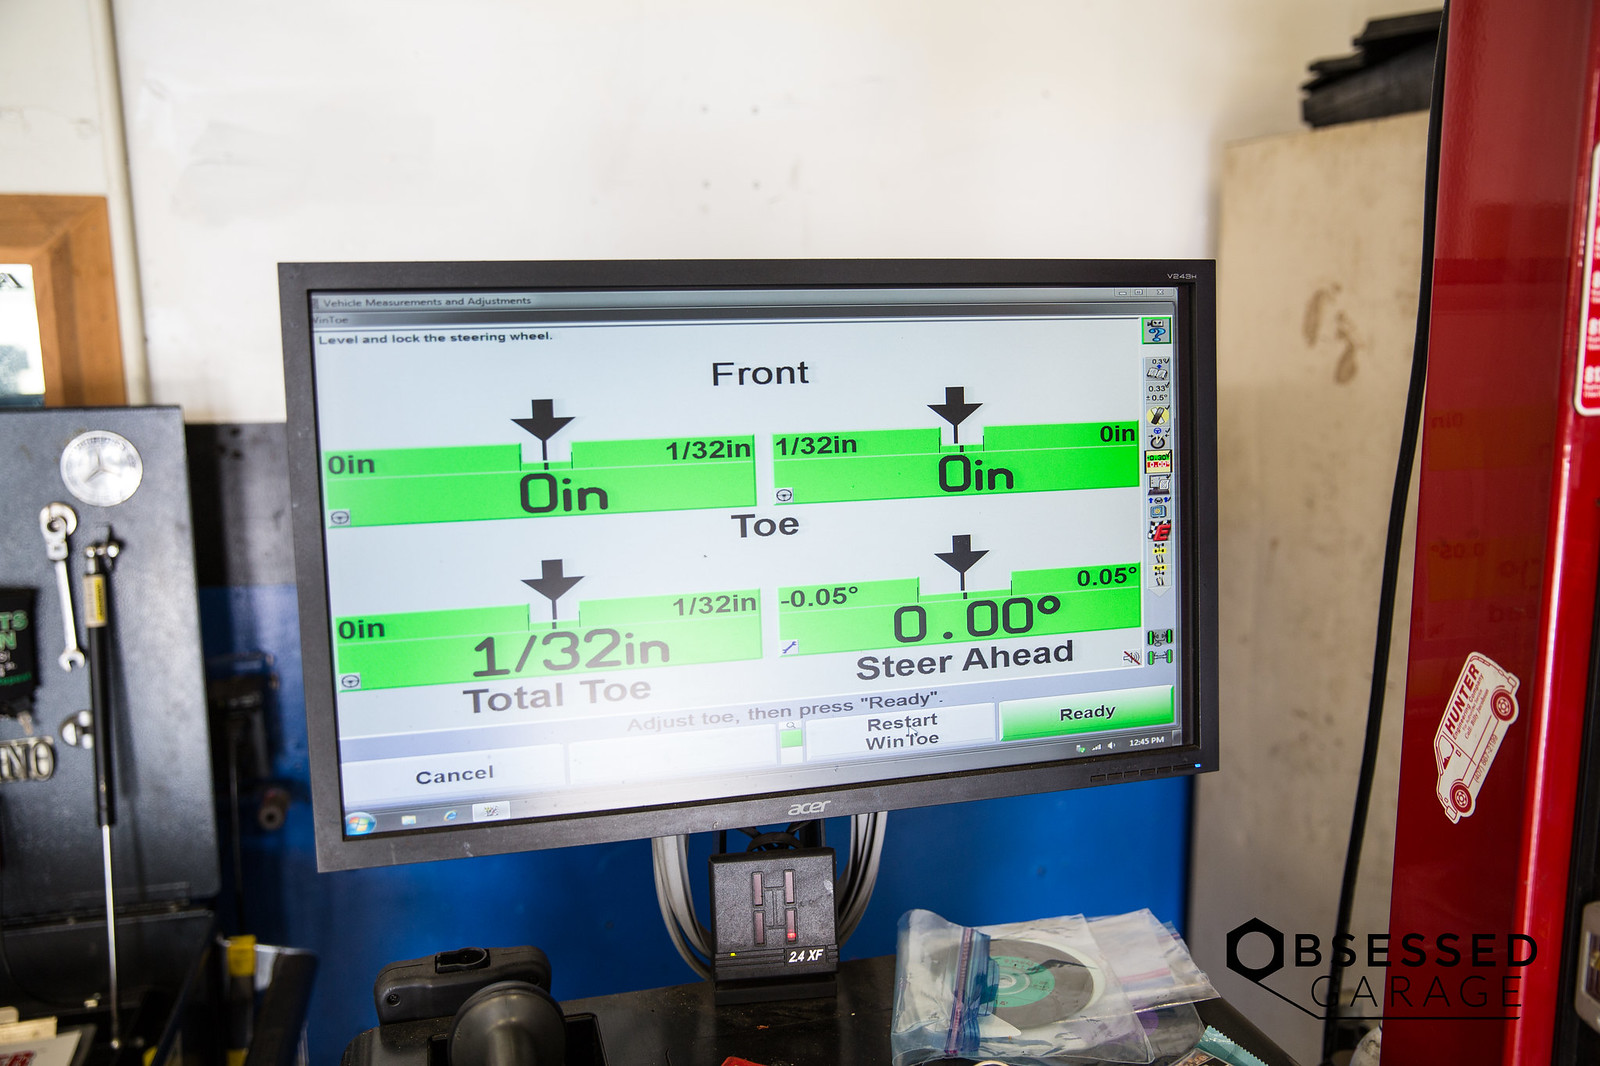
Got the front dialed in.
]
The car appeared to pick up a bunch of camber from lowering a little more than a 1/4", so I needed an alignment. I've been back and forth on the alignment specs about a 100 times. I opted for these, but I'd like some input. Car seem good, but I'm guessing it could feel better.
Here is the video of the process.
We first got the car on the rack and checked current alignment before corner balancing.
Then we needed to move it up to get on the scales. I suspected we wouldn't need to do anything to get the cross weights dialed in, but we put it on the scales then me in the car just to confirm.
After putting me in the car the cross weights ended up at 51%, so no adjustment was necessary.
Got the front dialed in.
]
 !
!