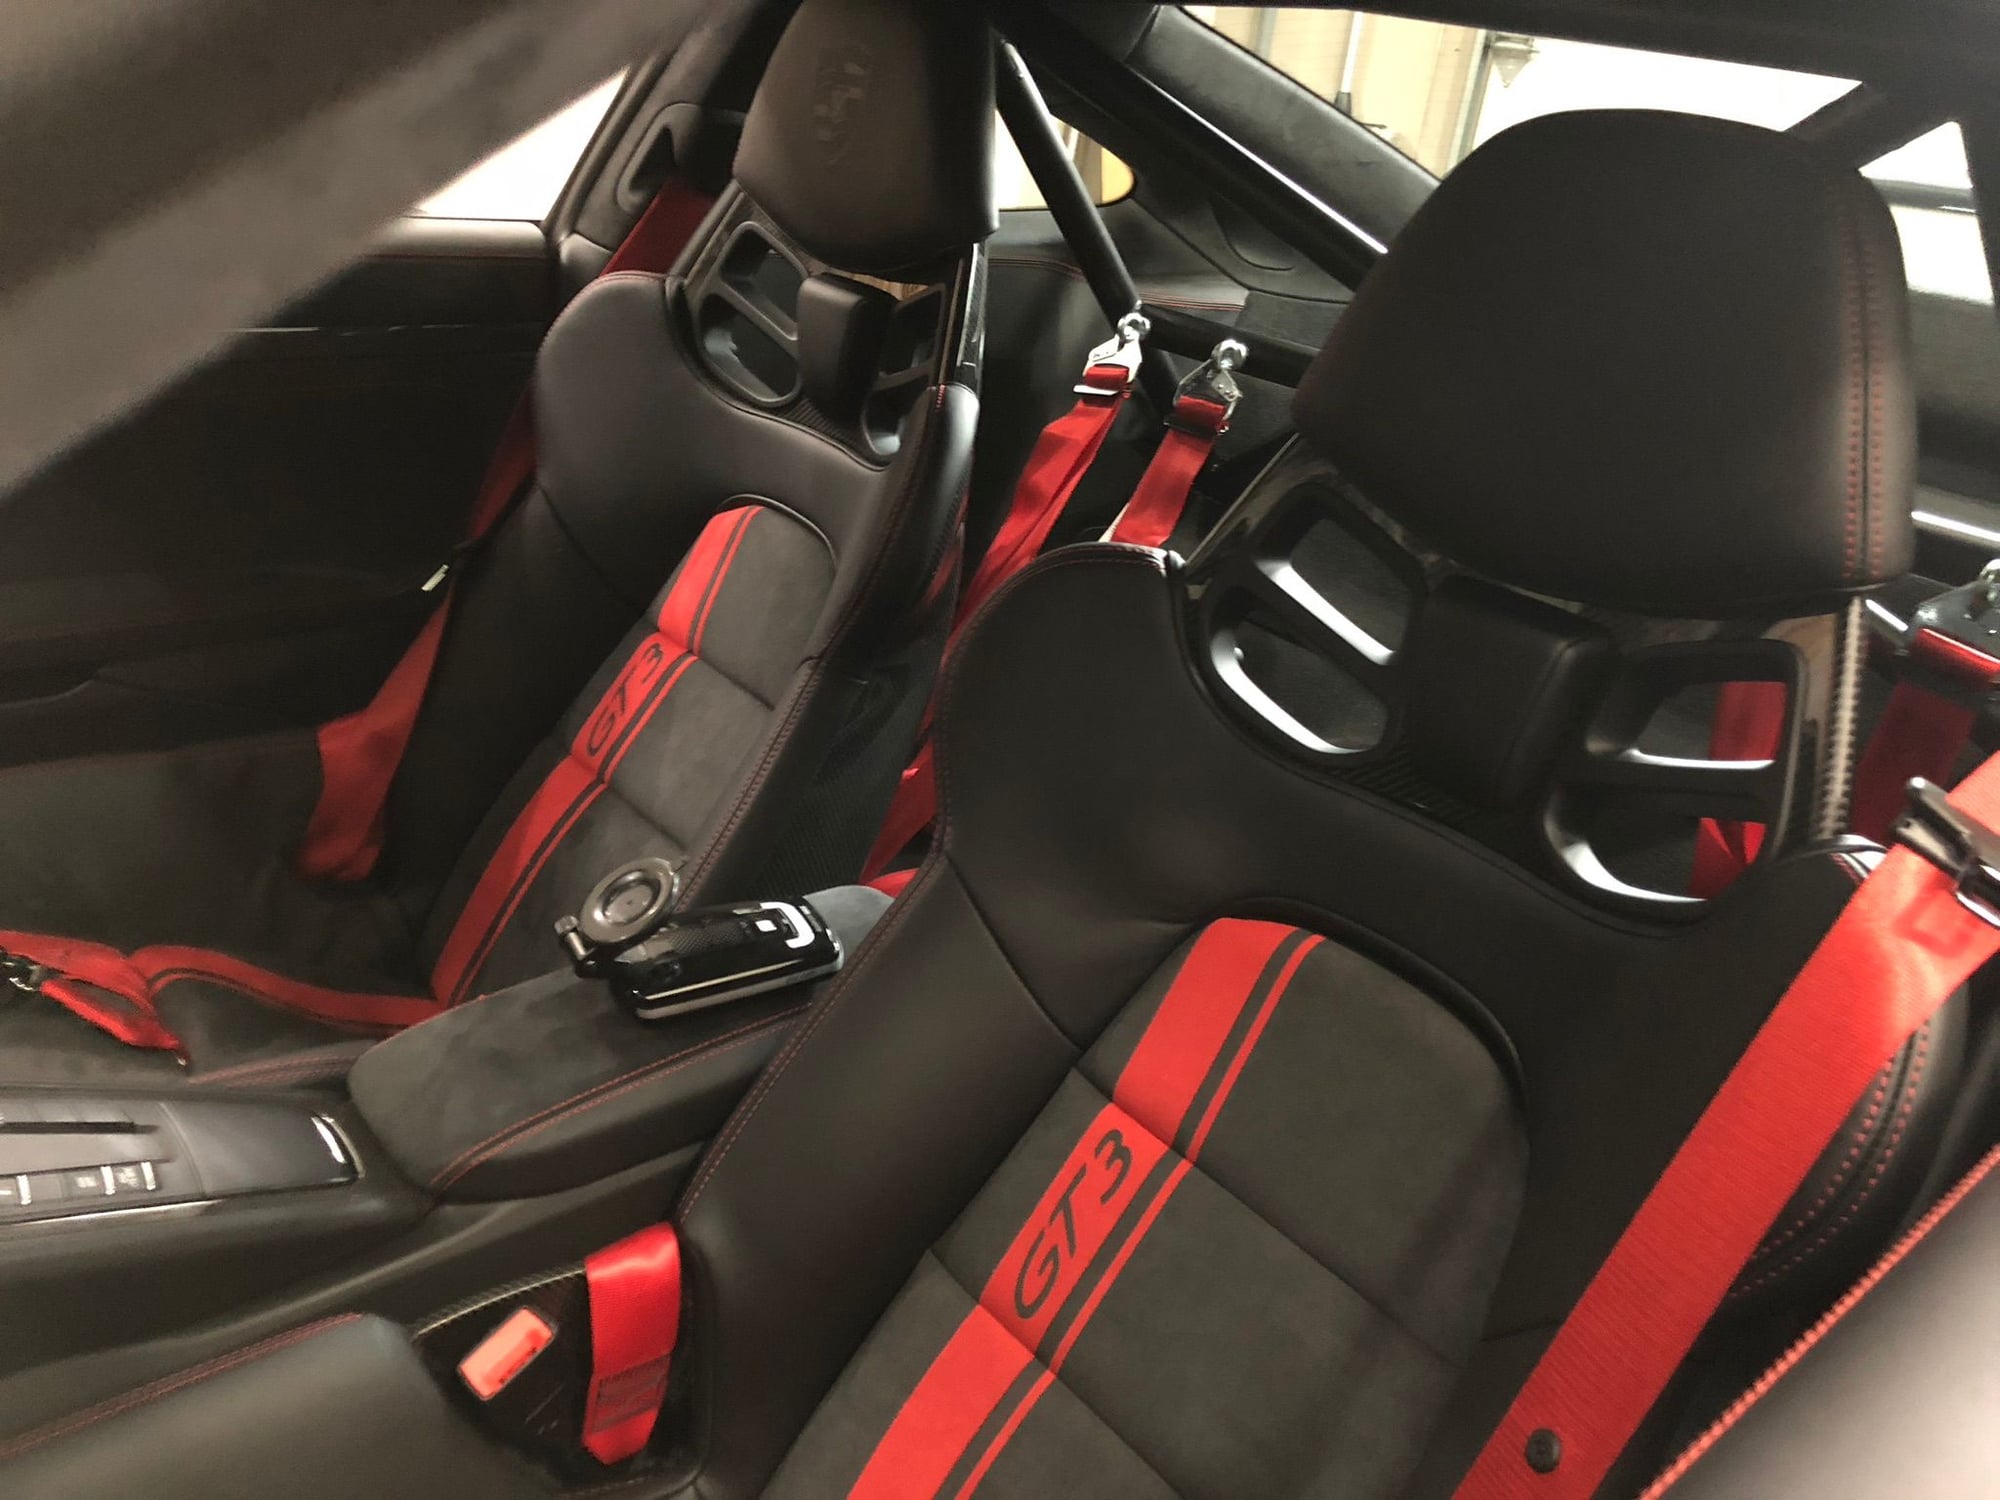
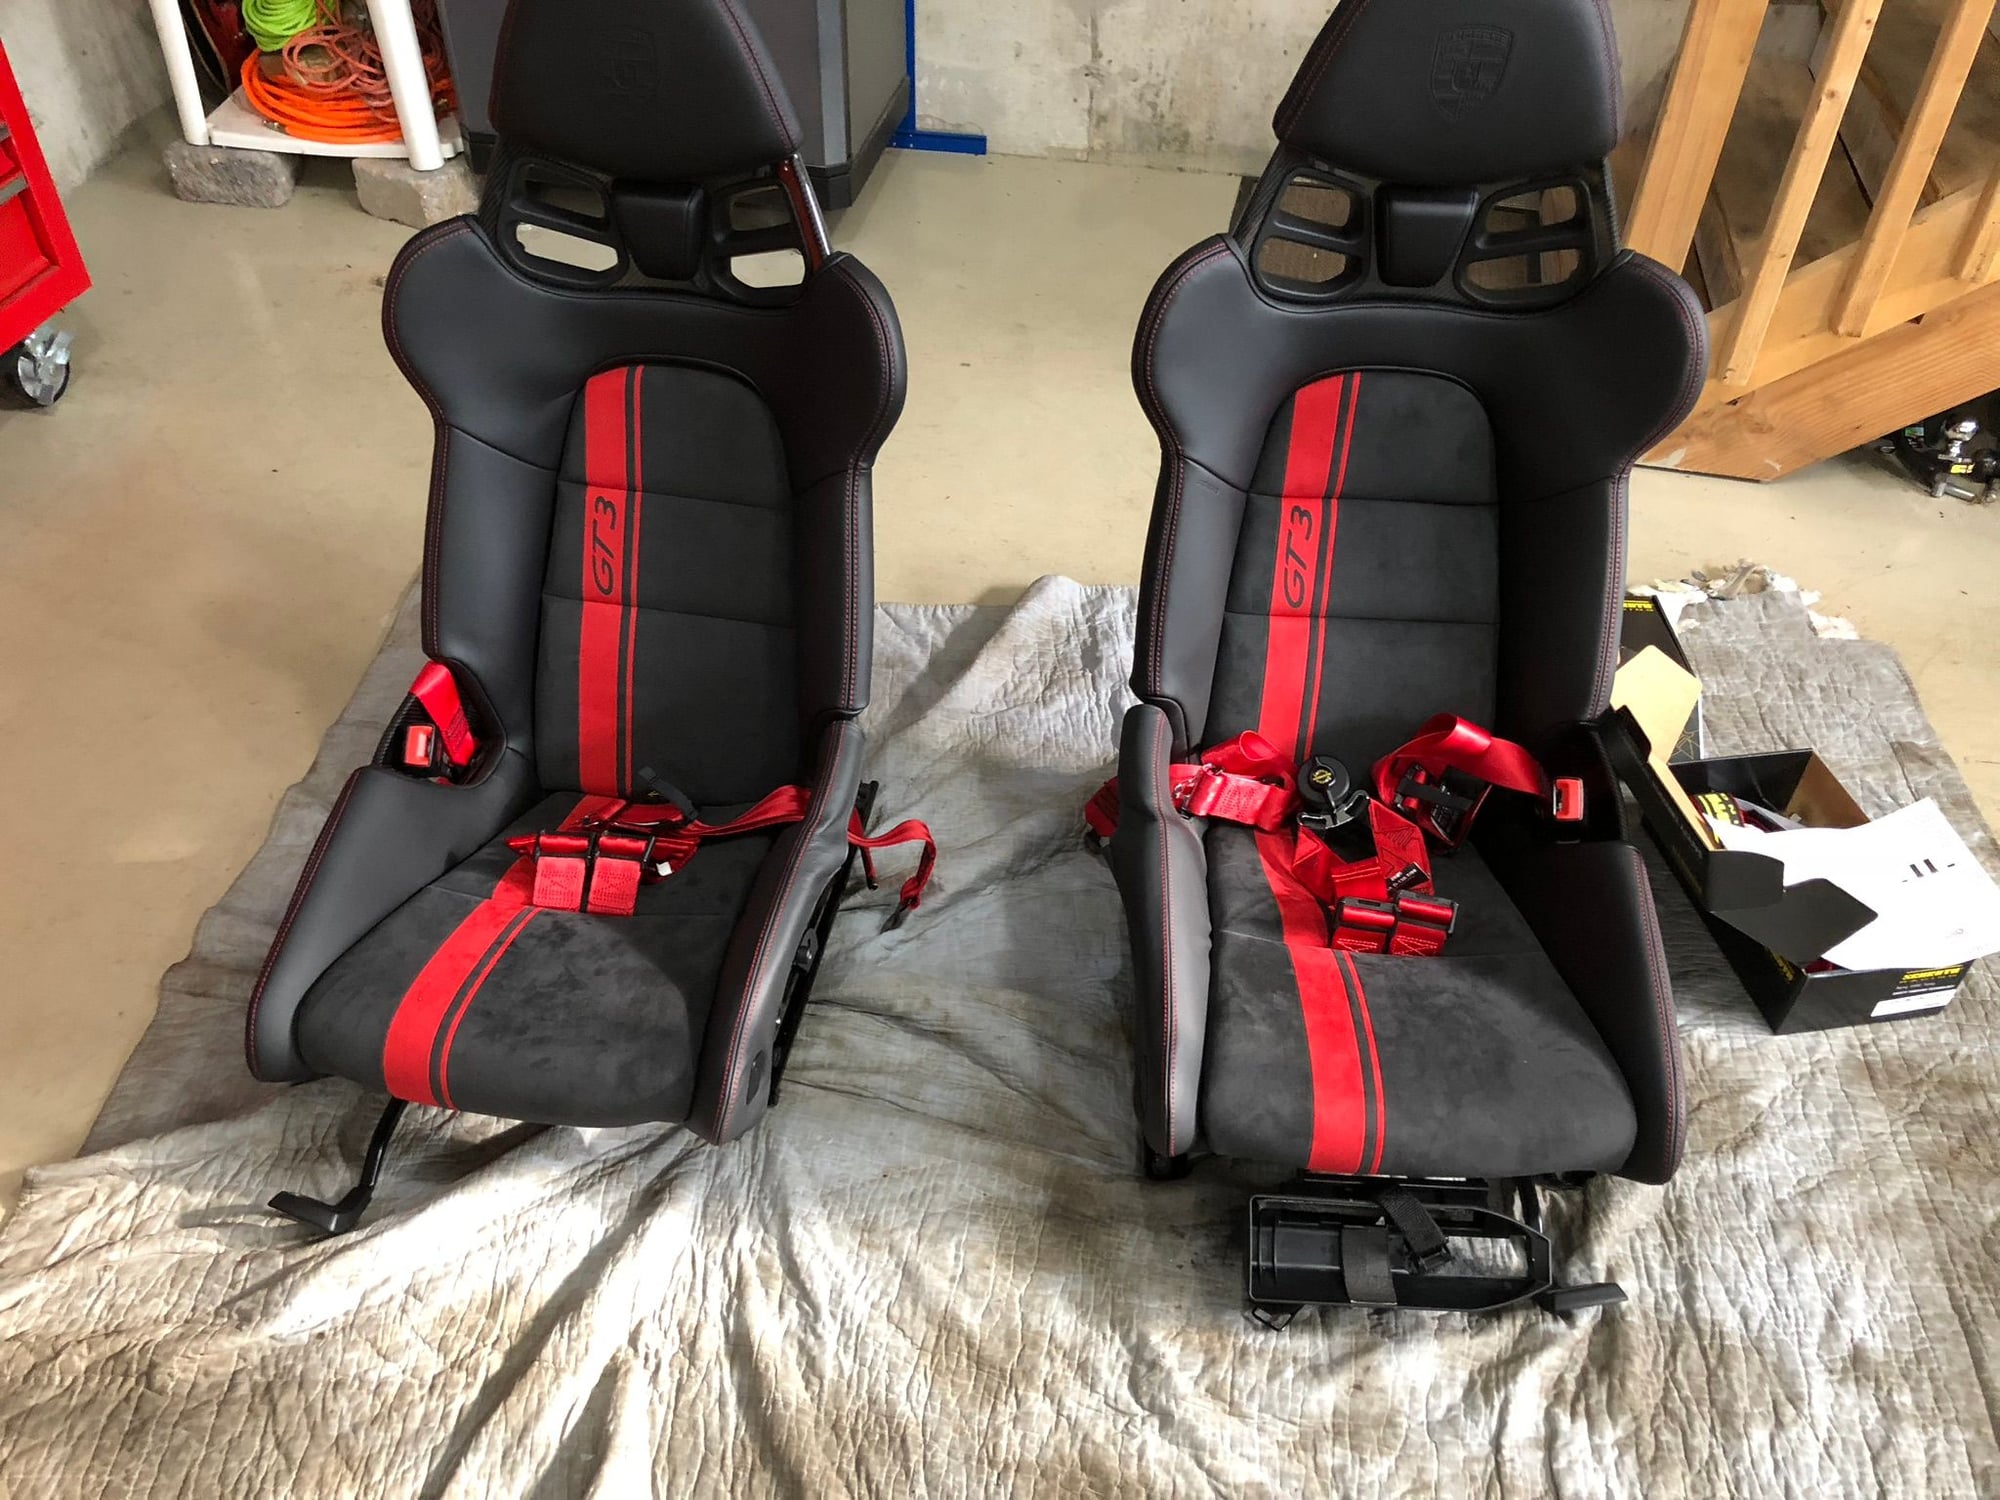
Love my new seats...
#16
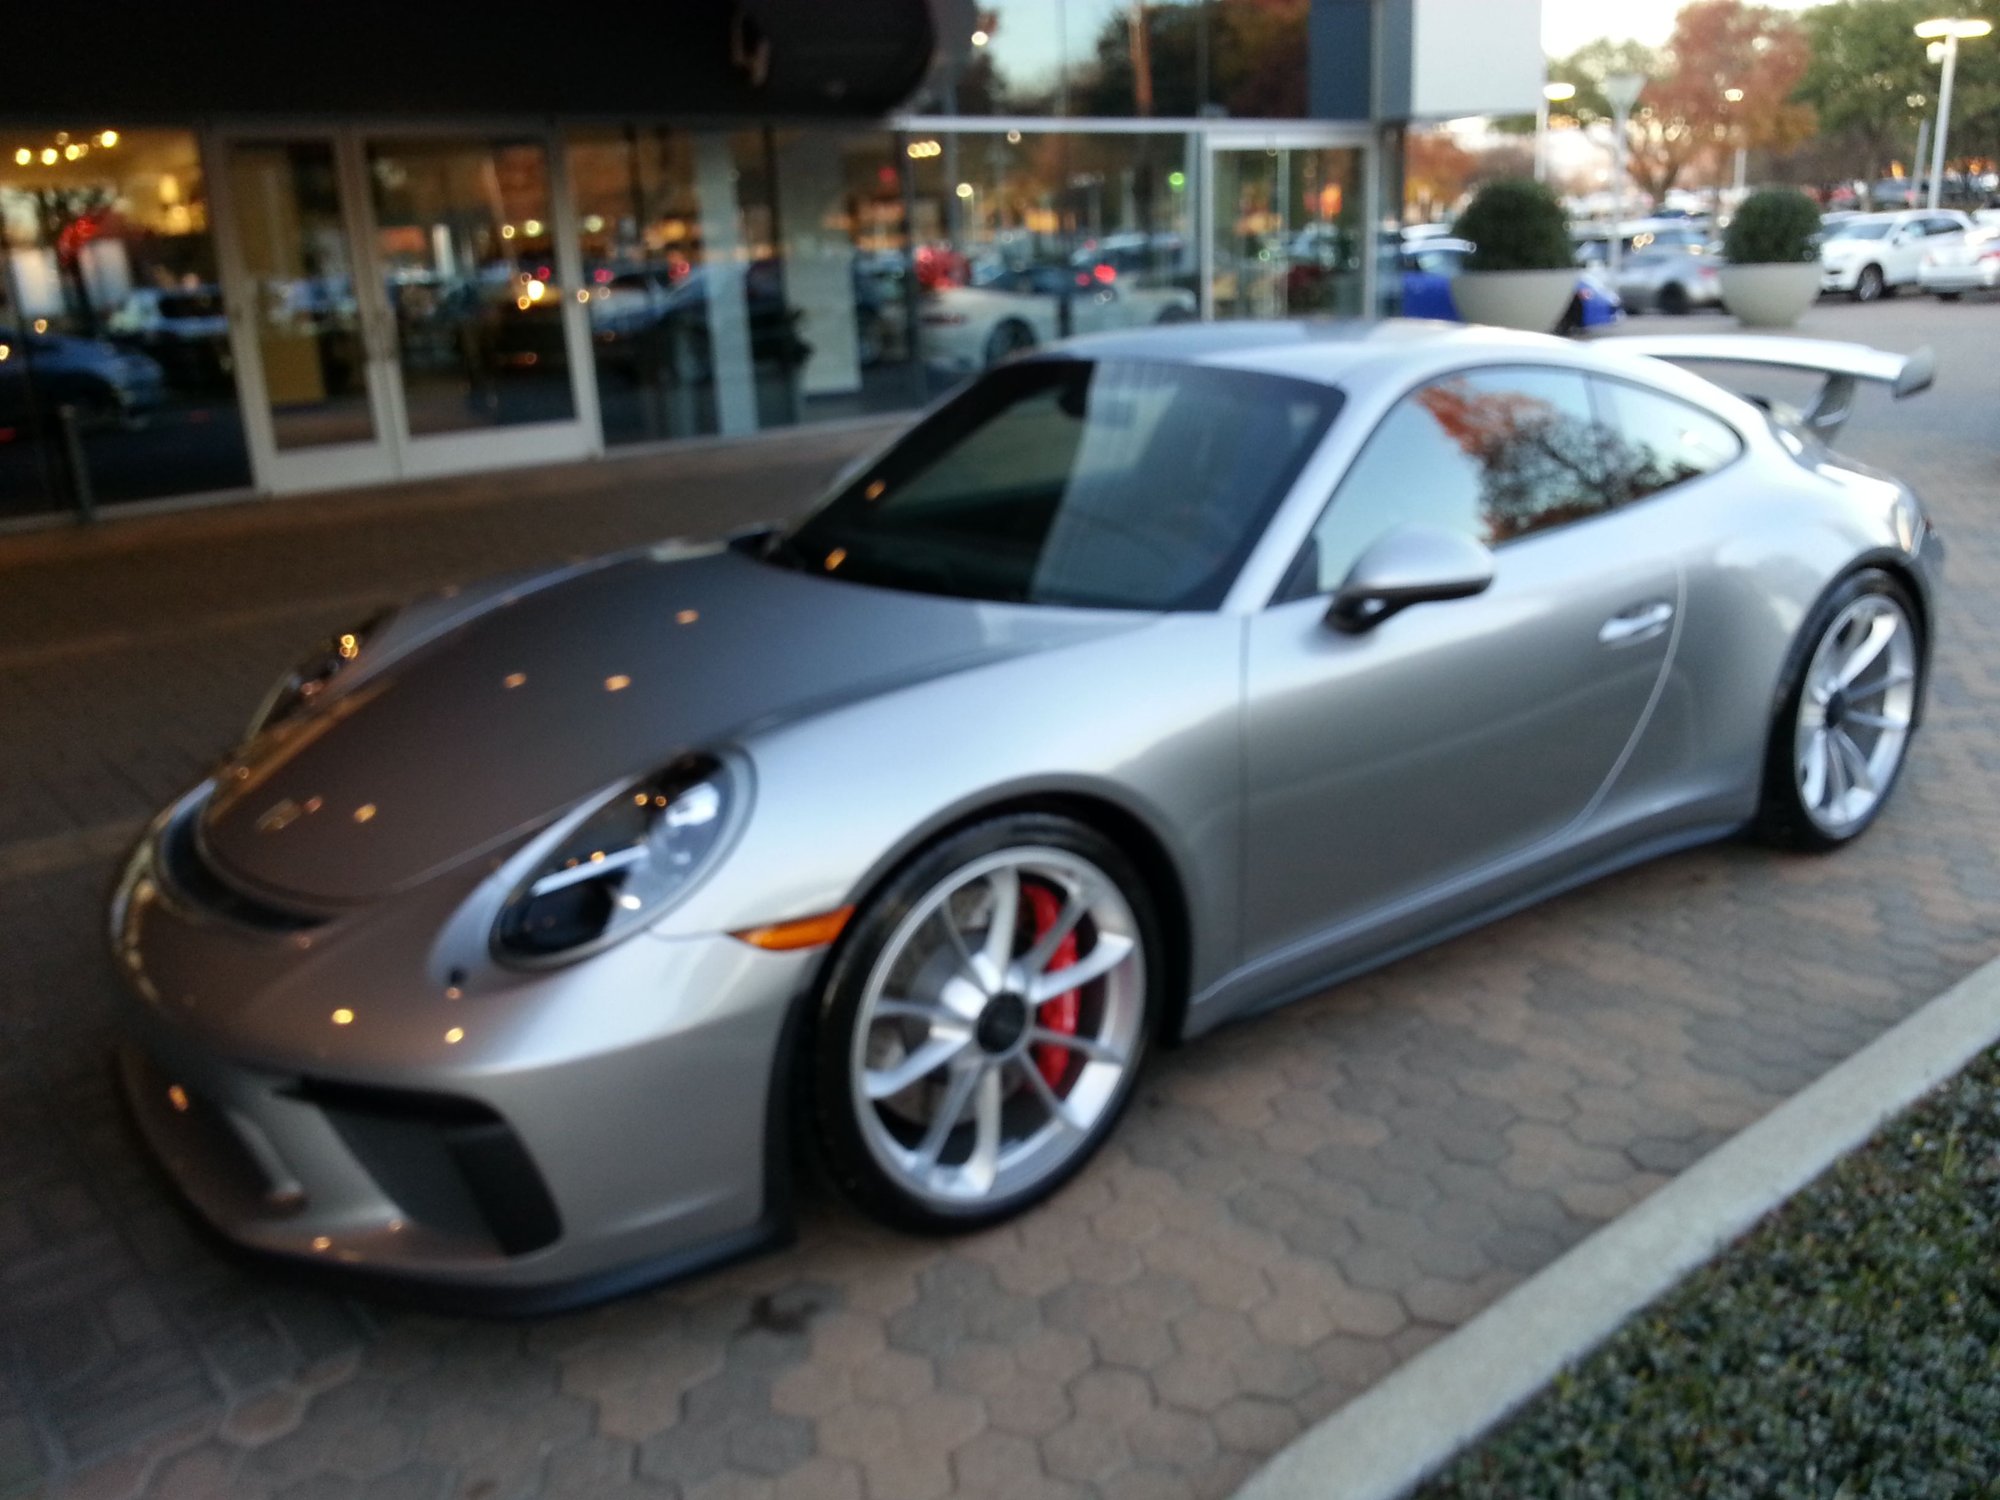
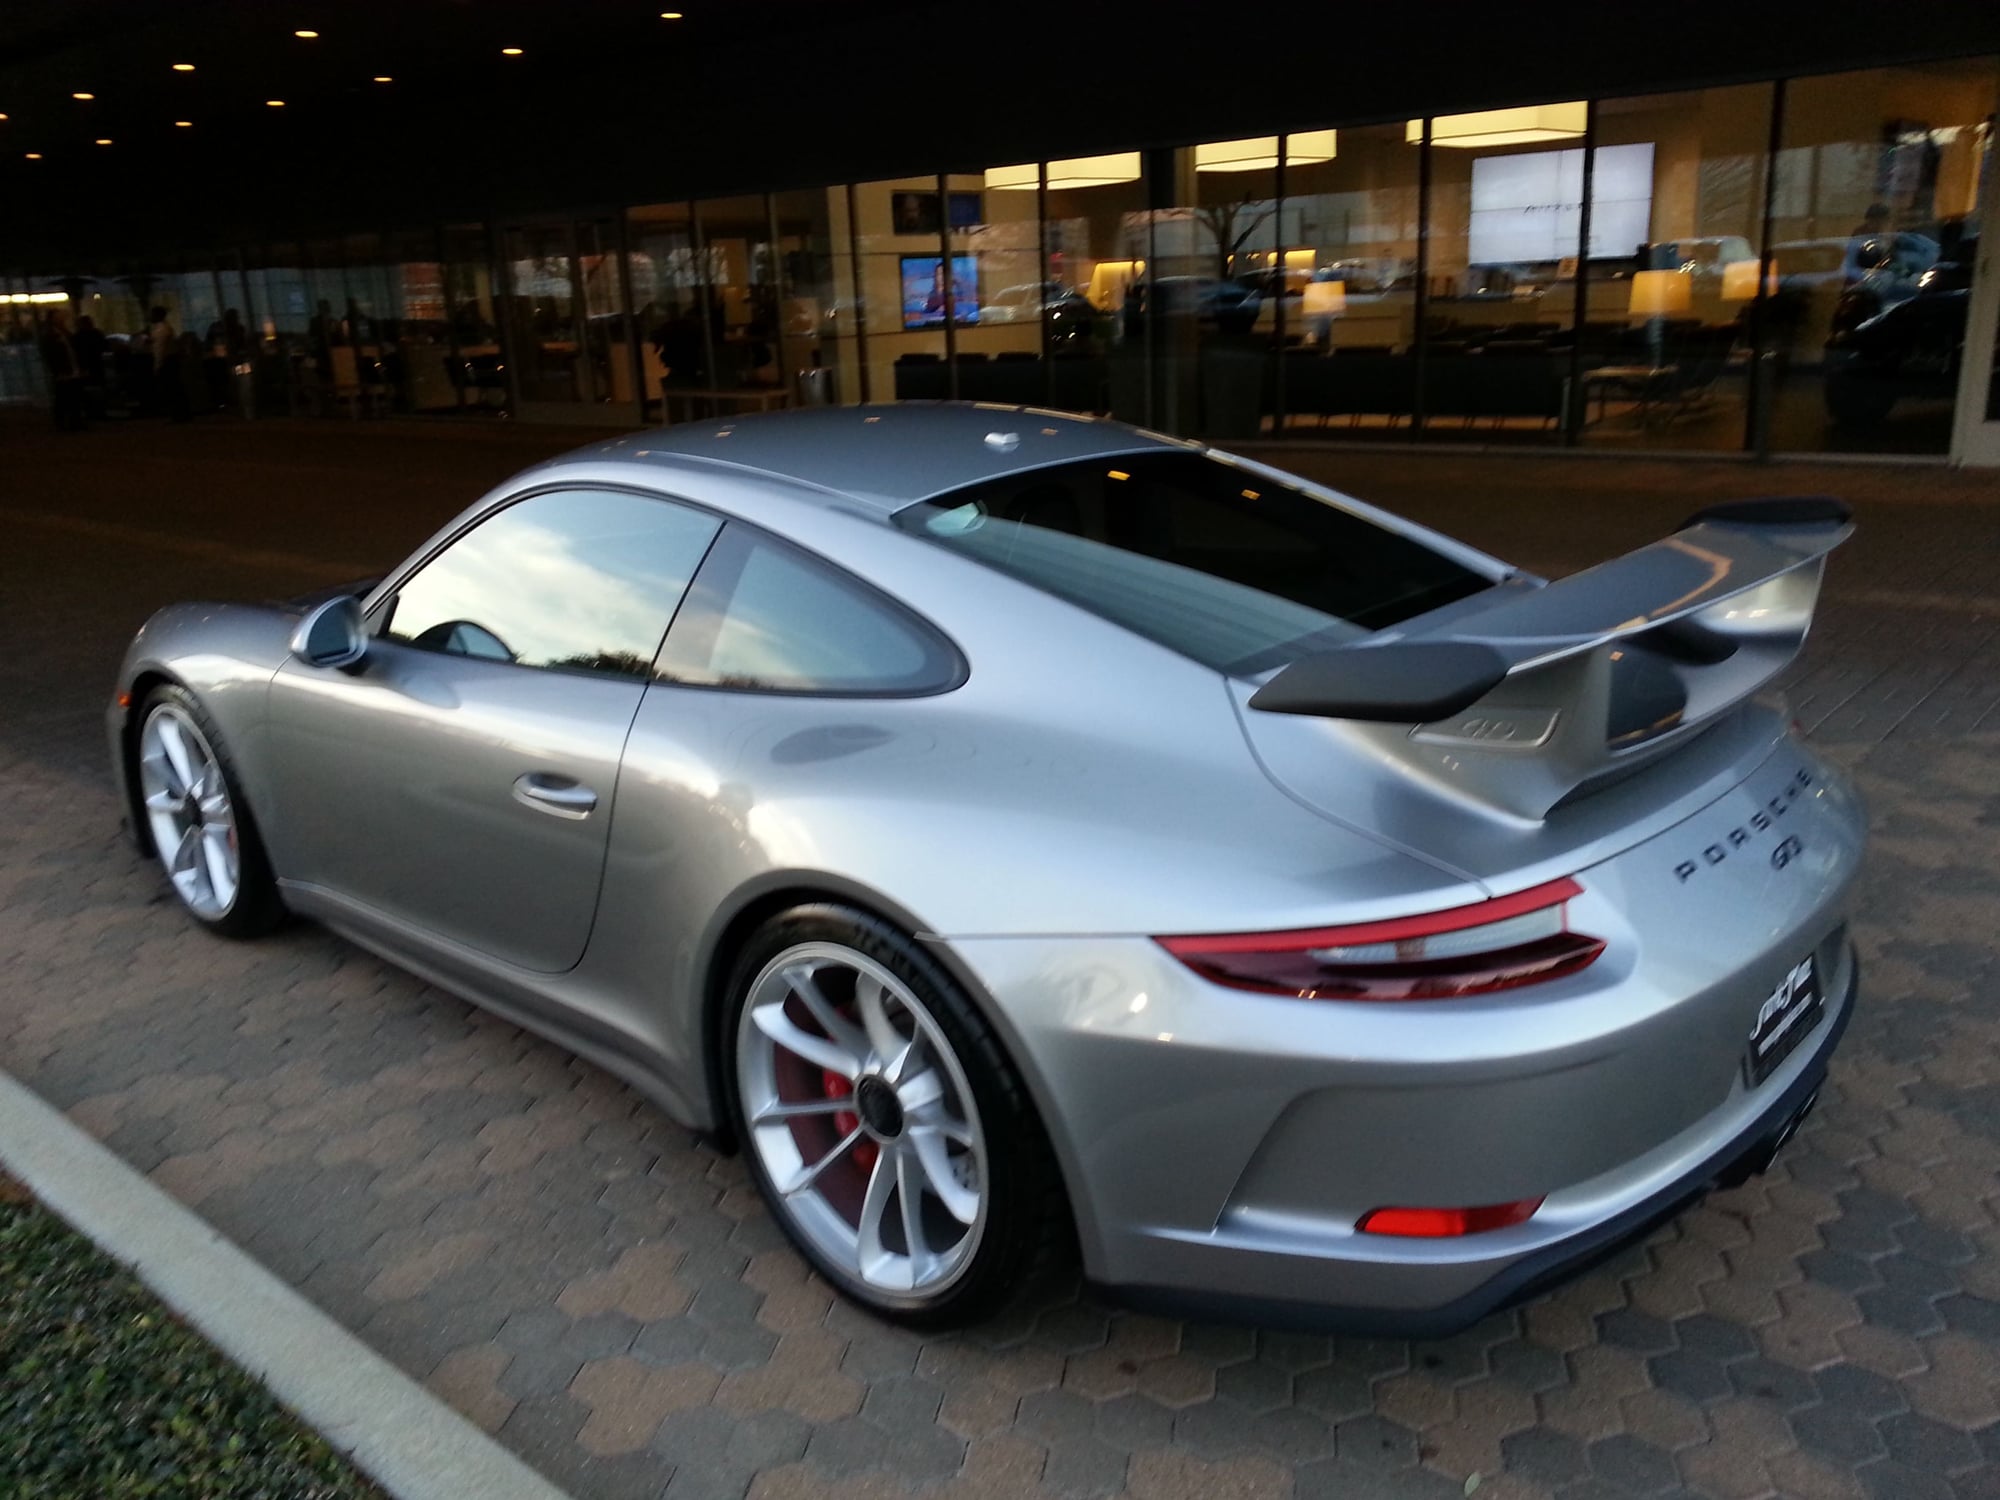
Gorgeous spec - very similar to mine (GT Silver on standard wheels)
#19
Pro
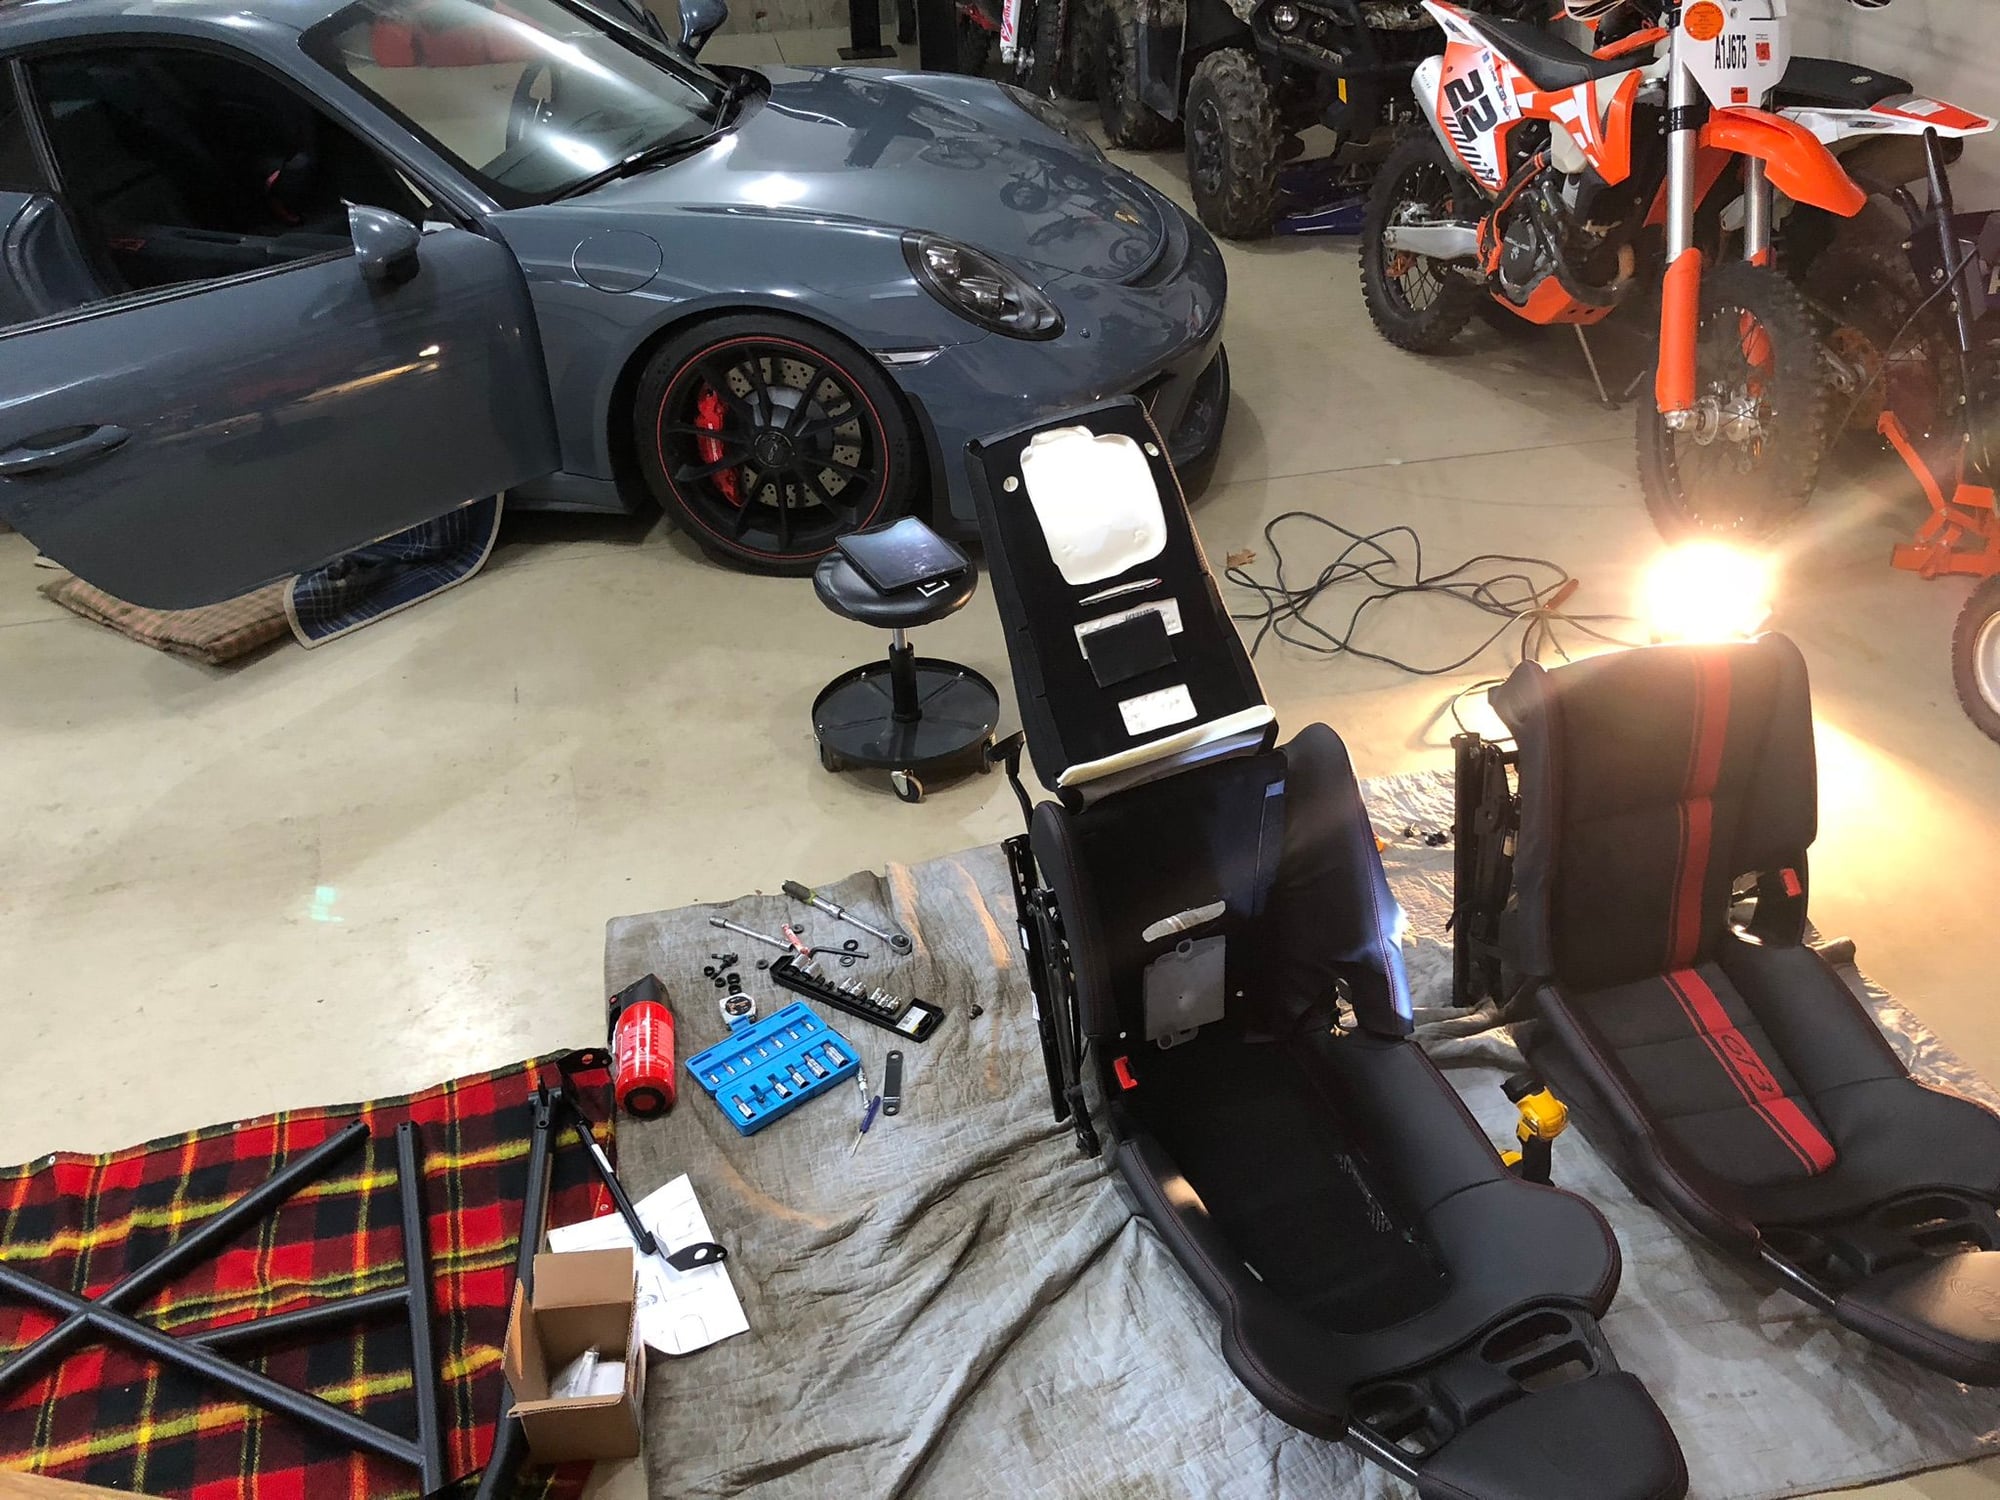
since its winter here thought I would use them for extra seating in the great room. Also had to remove to add sub mount bar , seat angle adjusters and pass thru in passenger seat so I could install harness . if you know how to use a socket drive then you too can remove them by simply un screwing 4 torx bolts
#24
Pro
I went w gmg rsr bar least invasive to the interior , only make two small cuts to the rear carpet decking and is only about $400 to replace. So easily reversible
it it took me 6 hours but that included setting up the seats adding sub bar mount and angle adjusters and the more tedious part of cutting the pass thru hole in the passenger seat. Which at $10k ,triple checked everything to make sure my measurements were spot on, also use the driver side to make a template
it it took me 6 hours but that included setting up the seats adding sub bar mount and angle adjusters and the more tedious part of cutting the pass thru hole in the passenger seat. Which at $10k ,triple checked everything to make sure my measurements were spot on, also use the driver side to make a template
#27
Rennlist Member
#28
Pro
Can you elaborate on the passenger 6pt? What did you use to cut it? Pics would be nice. Does the reupholstered seat look good? I just put the roll bar in my .2 and its sitting with the seats out right now. I'm debating on doing a 4pt passenger and a 6pt driver instead of installing both 6 points and having to cut.
You using BBi or GMG substrap mounts?
Thanks!
You using BBi or GMG substrap mounts?
Thanks!
#29
Instructor
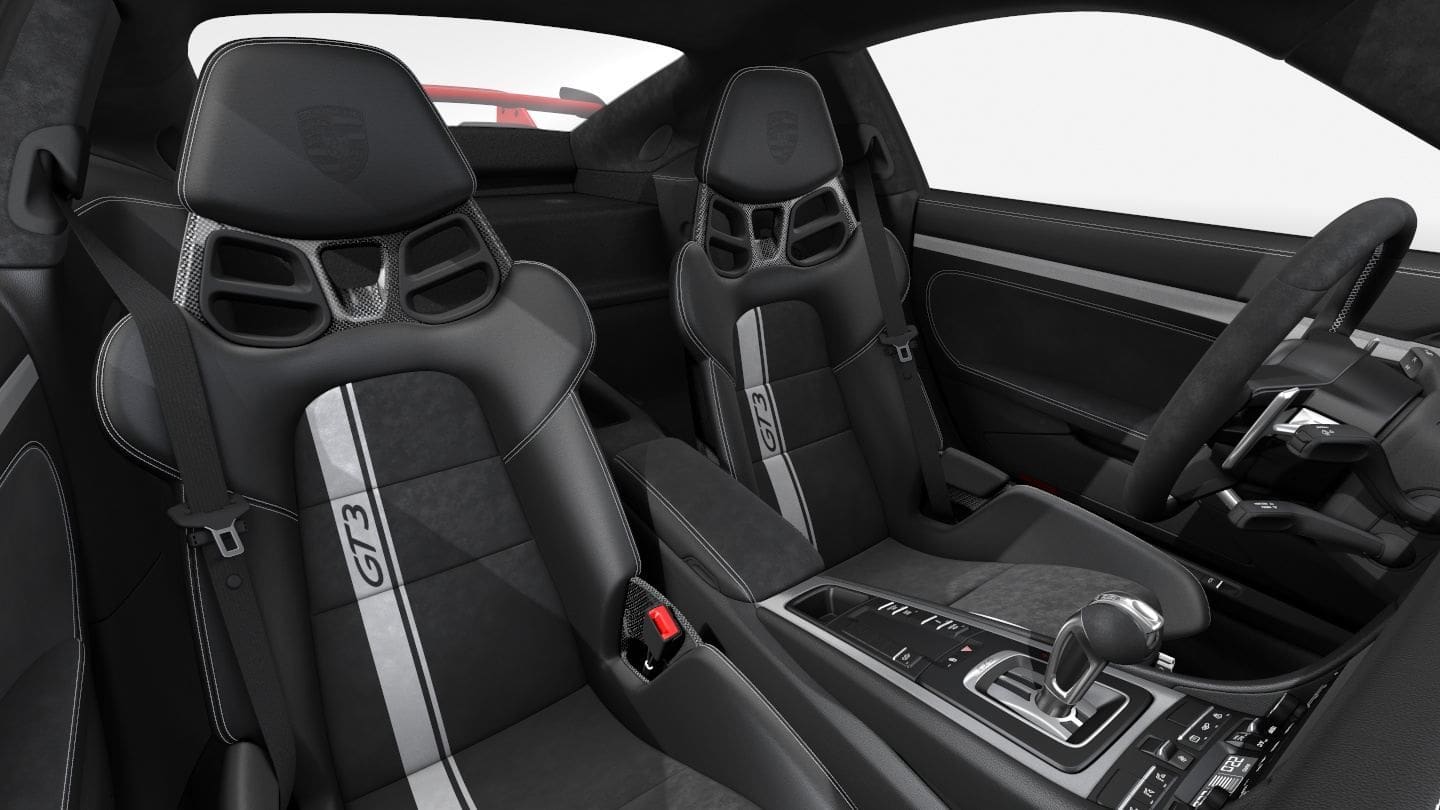
I just noticed a small detail: In my configurator, the full structure of the carbon frame seat and headrest is visible. In your photos, though, there seems to be an area which is upholstered. Is that a special customization?
#30
Pro
[QUOTE=Engeljizzle;14676346]Can you elaborate on the passenger 6pt? What did you use to cut it? Pics would be nice. Does the reupholstered seat look good? I just put the roll bar in my .2 and its sitting with the seats out right now. I'm debating on doing a 4pt passenger and a 6pt driver instead of installing both 6 points and having to cut.
You using BBi or GMG substrap mounts?
first not a big job at all. I used Cantrell sub mounts.
The seat cushion itself is easy just need an upholsterer to put in a stitch on either side so it doesn’t open beyond the space needed. Take off the seat cushion on both the driver and passenger side look at the opening on driver , it has some extra Velcro sewn in other than that should look the same
use that as a guideline as to the length of the opening. Use a stitch opener from an everyday sewing kit , cut the thread on that center seam. then undo till correct size bring to a upholsterer to put back stitch on either side very easy for them
as to the carbon seat , make a template using the driver seat as guide , make sure the measurements line up on the passenger seat when u stencil the outiline on
i used a smaller drill bit to make a pilot hole. Just be careful you don’t drill into any off the wires below zip tie or better yet get an extra set of hands n eyes
the i used a dremel to cut out the hole . Then I added black duck tape around on the opening edge so nothing could cut or fray the harness
Really not that hard at all and end result looks not different than what came from the factory on the driver side


