When you click on links to various merchants on this site and make a purchase, this can result in this site earning a commission. Affiliate programs and affiliations include, but are not limited to, the eBay Partner Network.
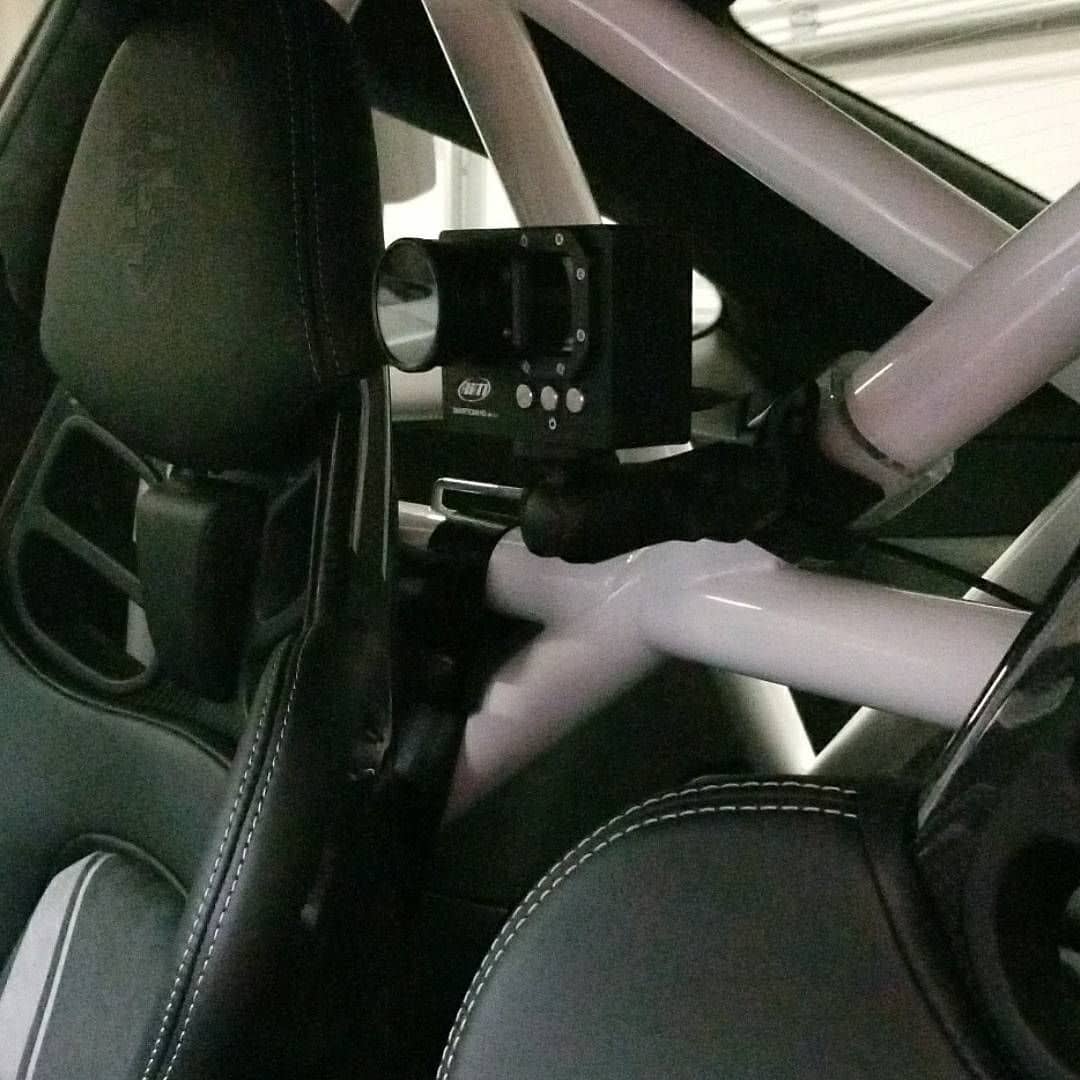
I am having to decide myself on this while the cantrell bar is going in and harness getting installed. i like the stock lwb position for street use, but i can see how with helmet and hans it might make it tight against the headrest. Did you find that to be the case in the .1? Was it uncomfortable or did you notice that your angle of view was affected?
I am having to decide myself on this while the cantrell bar is going in and harness getting installed. i like the stock lwb position for street use, but i can see how with helmet and hans it might make it tight against the headrest. Did you find that to be the case in the .1? Was it uncomfortable or did you notice that your angle of view was affected?
It's been a year or so since I used the .1 at the tracks. Didn't recognize it as being an issue, however, doesn't mean a little more tilt wouldn't help. I'll have more info after this weekend at Sebring in terms of how the stock setup works.
Purchased the Spiegler GT3 Stainless hose kit. PN: 13.02.06901
Comes with 6 lines - 4 for the front, 2 for the rear.
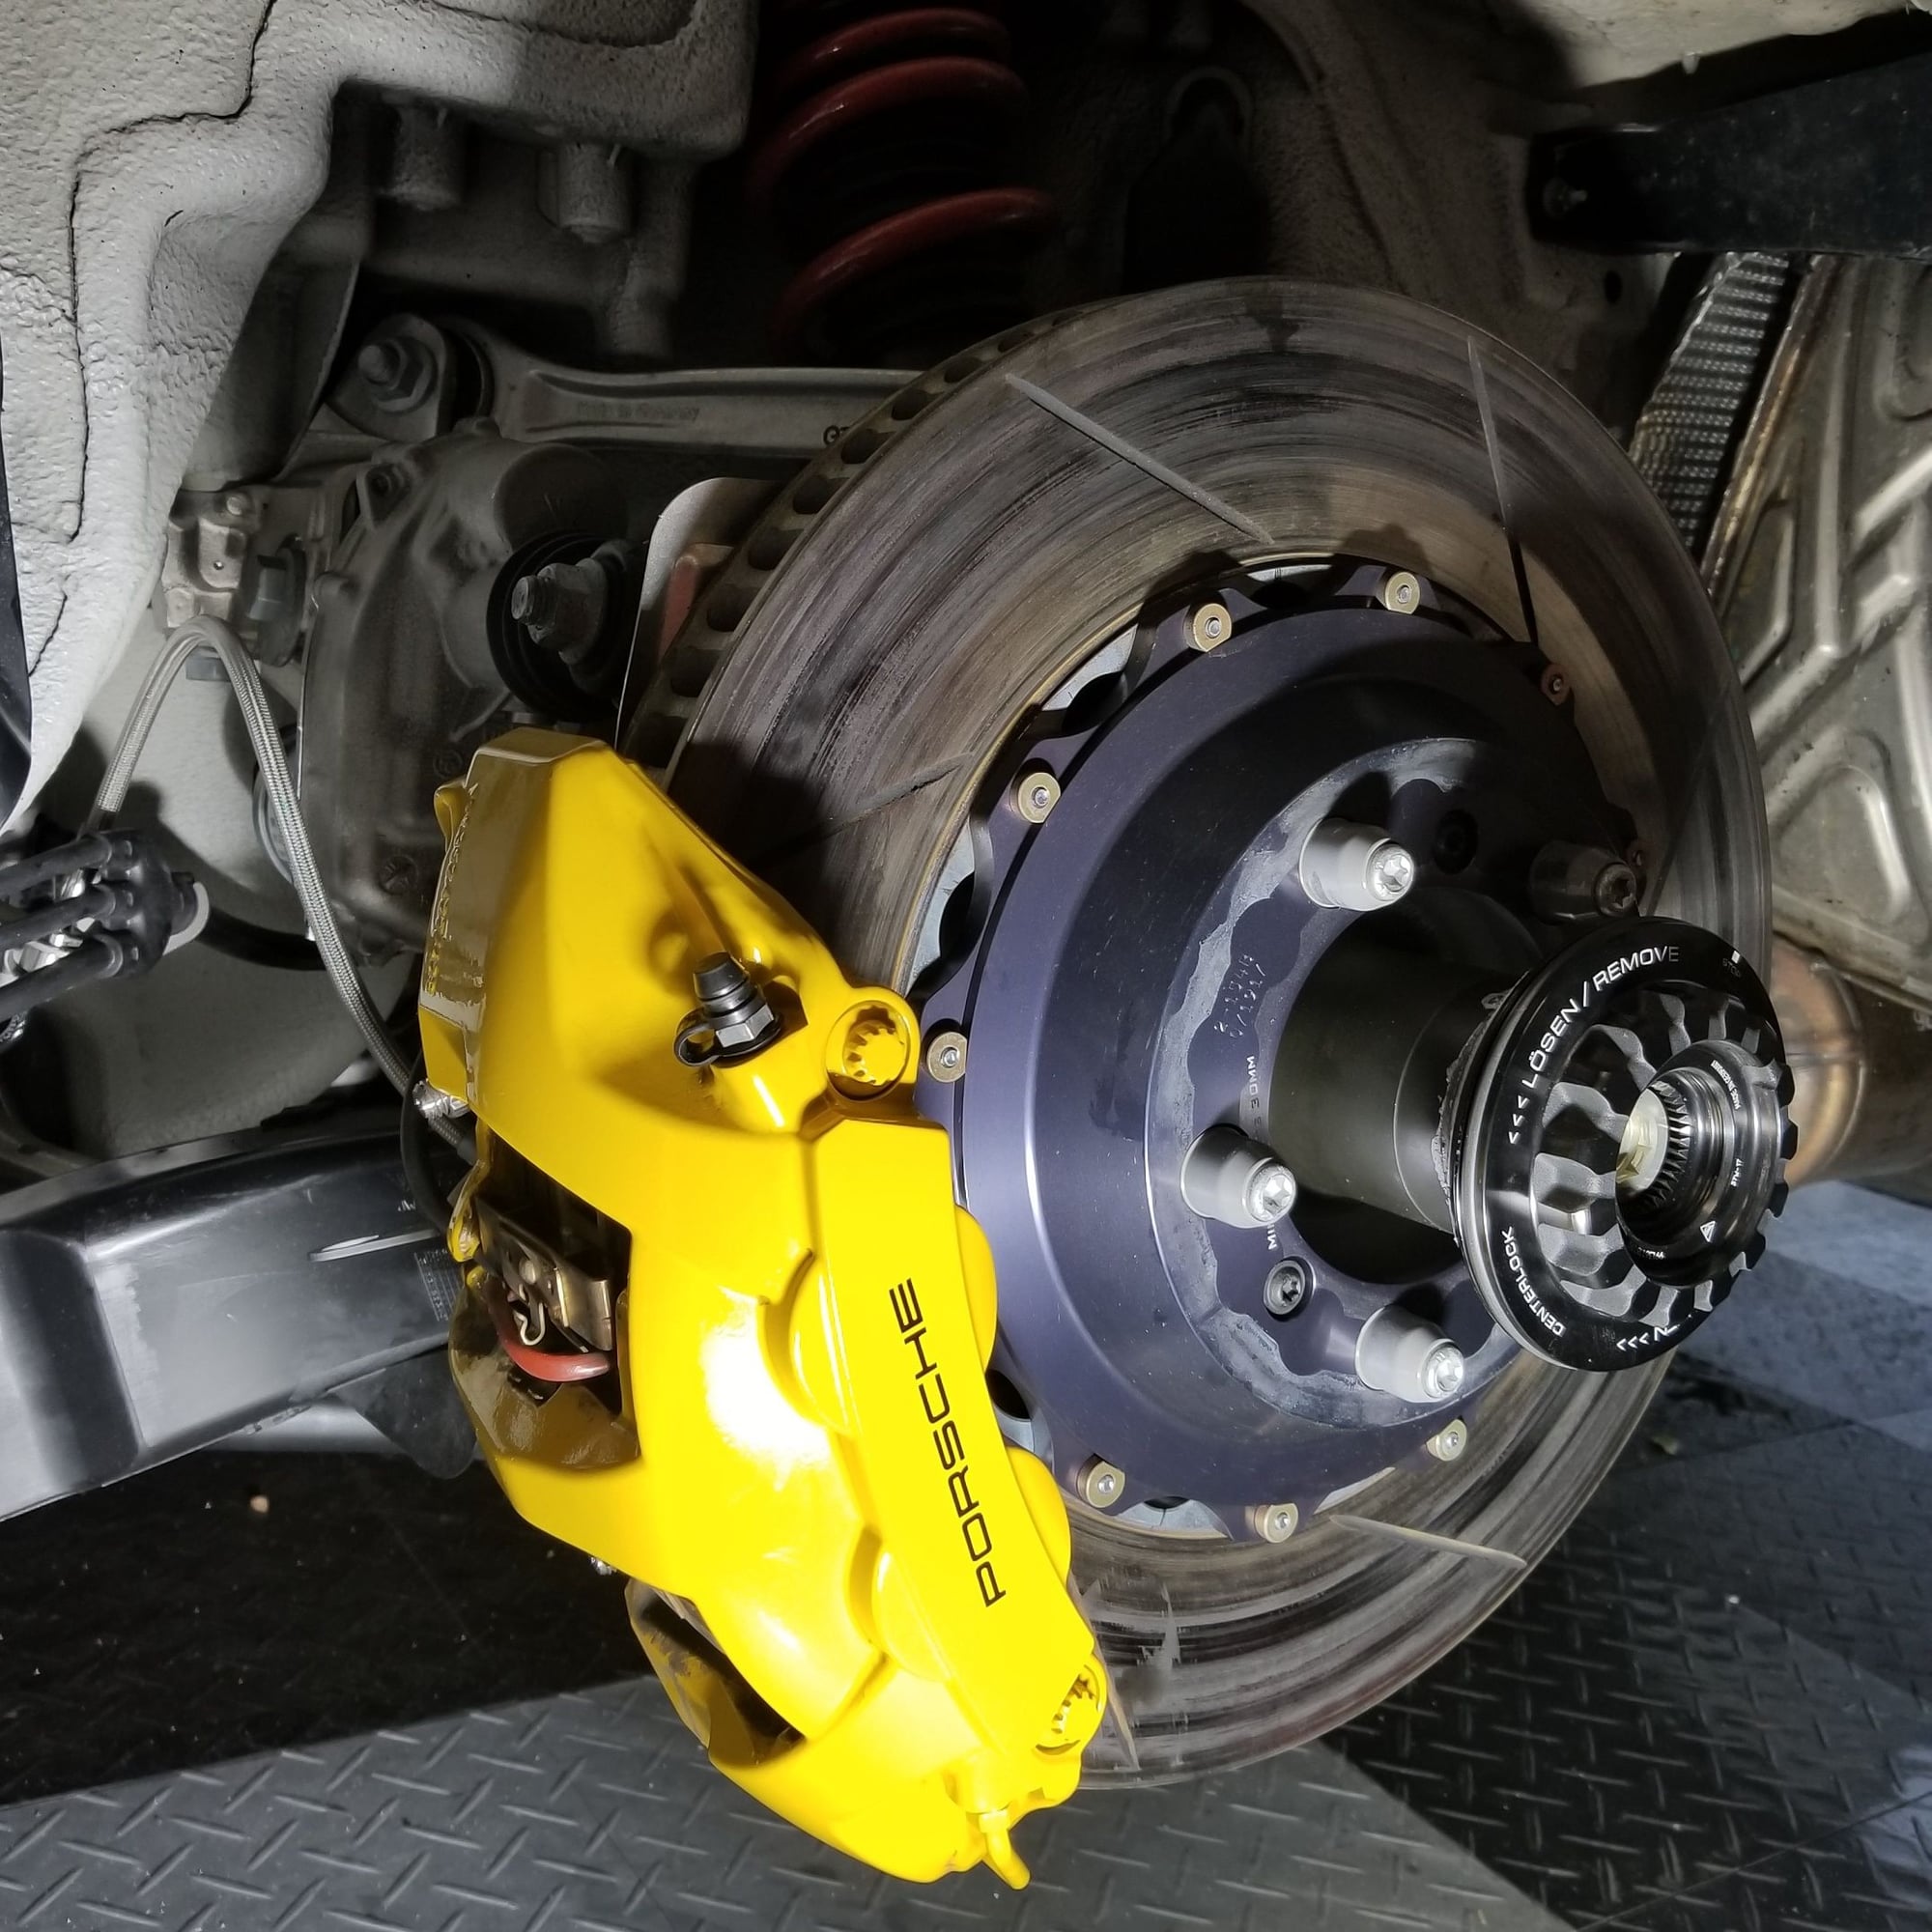
For the fronts, they replace the rigid line from the caliper to the bracket with a flex line. Then they replace the hose from the bracket to the body. Looks good. No clearance issues.
The rears were a little different.
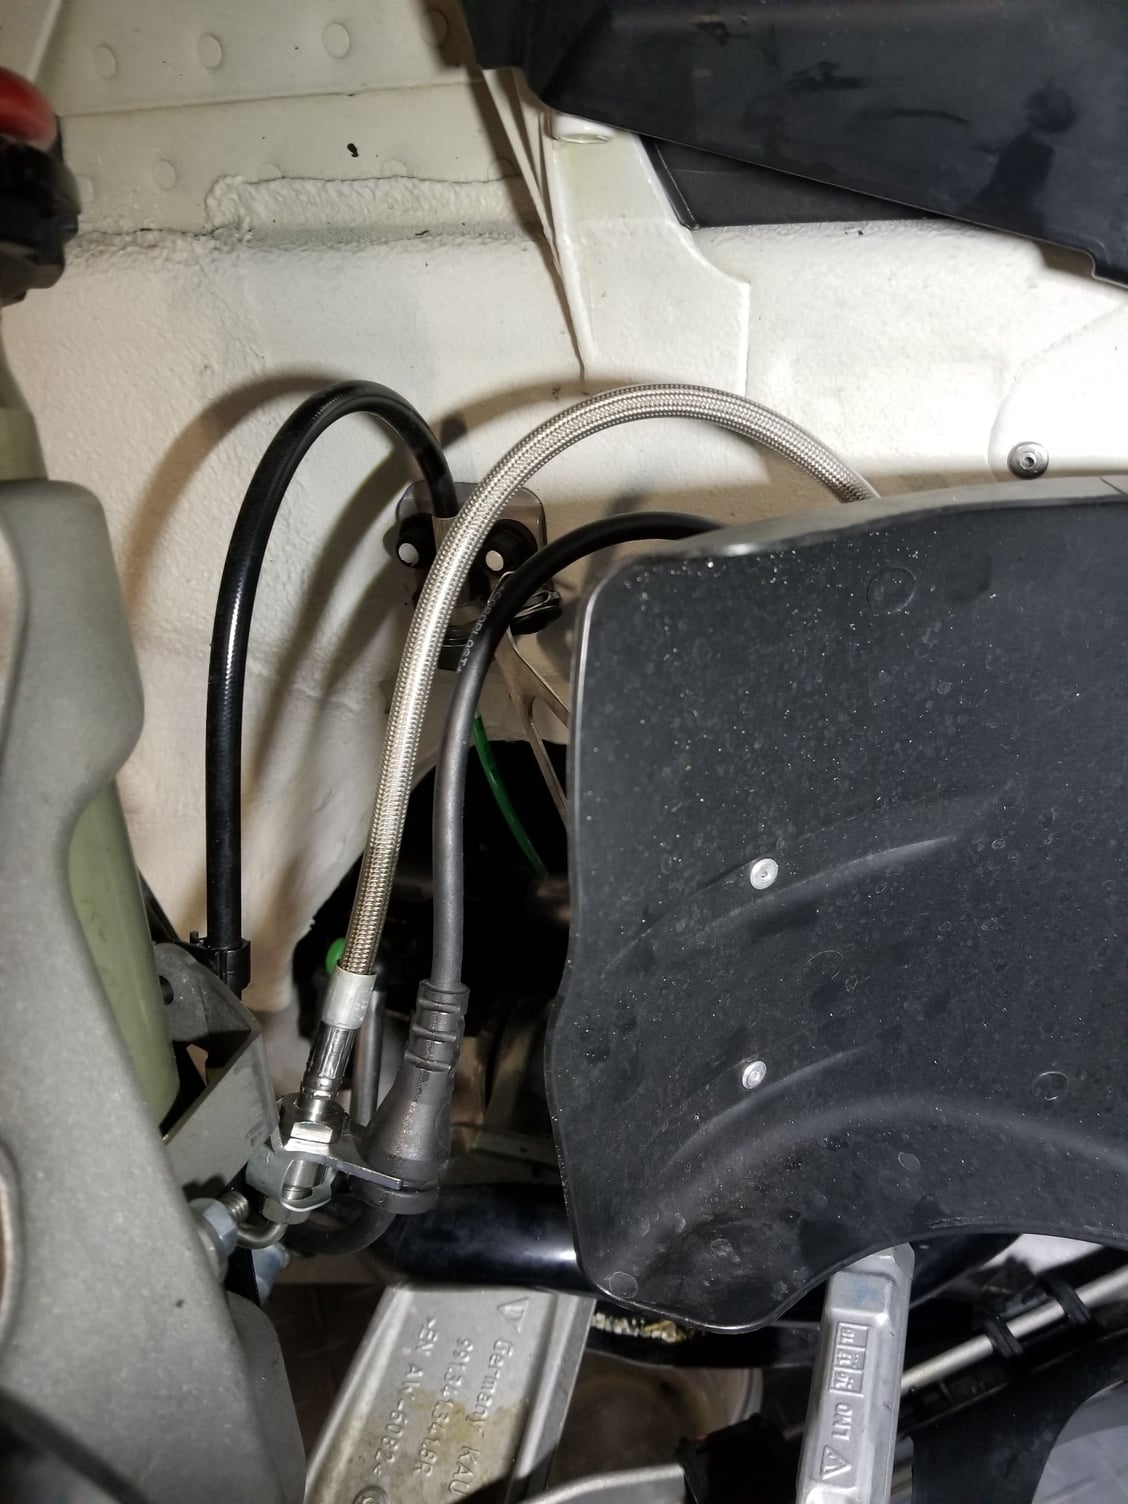
The rear caliper has a short rigid brake line from the caliper to the bracket, and then a flex hose to the body. The kit replaces both of these with a single brake line that has a male on one end and female on the other. The lines have the option to rotate the hose as well as place the male end at the correct angle in order to minimize any clearance issues.
I found two problems with this:
1) After 4 or 5 attempts at getting the correct angle, I couldn't get consistently good clearance from the body or the rear wheel steering mechanism. While the brake line does clear them by 5 or 8 mm, it's a little close for comfort.
2) By having the brake line connected at the body and attach directly to the caliper, it means that during travel, all the strain will manifest itself at the caliper connection point. This, long term, isn't good.
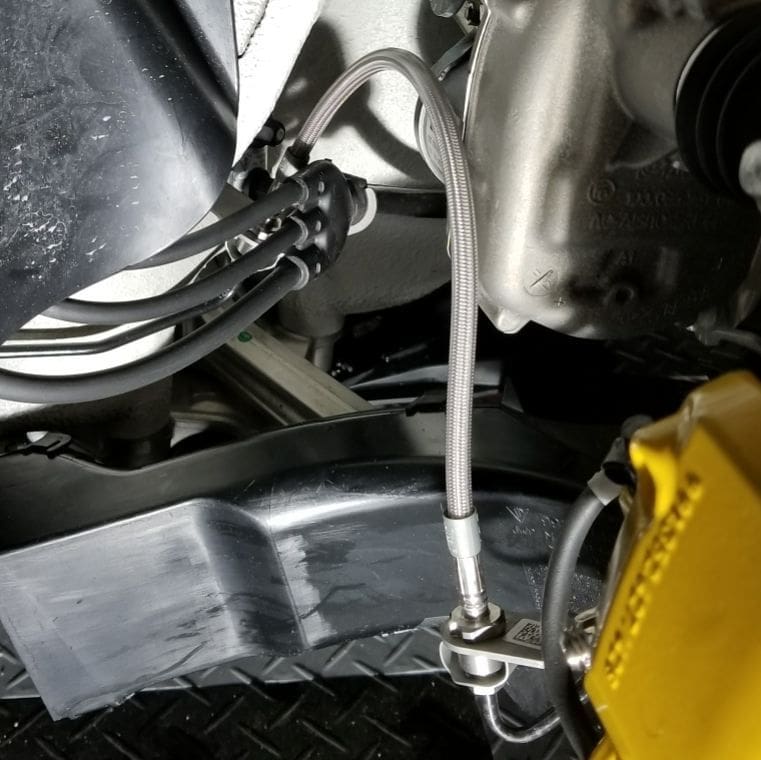
So, I decided that what I want to do is retain the short rigid brake line from the caliper to the bracket, and then place a similar to OEM length (1 cm longer) flex brake line from the bracket to the body. This will remove strain from the caliper connection and provide enough clearance from the body and the rear steering mechanism.
I contacted Spiegler this morning and was EXTREMELY impress by their professionalism and willingness to help. They are sending me two custom brake lines (300mm with their 712 fittings on both sides) today and I should have them by Wed or Thursday.
I'll update here with the results and more details pics when I get them installed later this week.
Thanks for sharing. Any problems getting the air bled out of the system after removing and replacing the OEM lines? Did a lot of fluid come out during the swap? My fear is air bubbles traveling back up to the ABS system if it�s not bled fast enough.
Originally Posted by awew911
Purchased the Spiegler GT3 Stainless hose kit. PN: 13.02.06901
Comes with 6 lines - 4 for the front, 2 for the rear.
For the fronts, they replace the rigid line from the caliper to the bracket with a flex line. Then they replace the hose from the bracket to the body. Looks good. No clearance issues.
The rears were a little different.
The rear caliper has a short rigid brake line from the caliper to the bracket, and then a flex hose to the body. The kit replaces both of these with a single brake line that has a male on one end and female on the other. The lines have the option to rotate the hose as well as place the male end at the correct angle in order to minimize any clearance issues.
I found two problems with this:
1) After 4 or 5 attempts at getting the correct angle, I couldn't get consistently good clearance from the body or the rear wheel steering mechanism. While the brake line does clear them by 5 or 8 mm, it's a little close for comfort.
2) By having the brake line connected at the body and attach directly to the caliper, it means that during travel, all the strain will manifest itself at the caliper connection point. This, long term, isn't good.
So, I decided that what I want to do is retain the short rigid brake line from the caliper to the bracket, and then place a similar to OEM length (1 cm longer) flex brake line from the bracket to the body. This will remove strain from the caliper connection and provide enough clearance from the body and the rear steering mechanism.
I contacted Spiegler this morning and was EXTREMELY impress by their professionalism and willingness to help. They are sending me two custom brake lines (300mm with their 712 fittings on both sides) today and I should have them by Wed or Thursday.
I'll update here with the results and more details pics when I get them installed later this week.
Thanks for sharing. Any problems getting the air bled out of the system after removing and replacing the OEM lines? Did a lot of fluid come out during the swap? My fear is air bubbles traveling back up to the ABS system if it�s not bled fast enough.
This is not an issue in this case. With the open ends being lower than the reservoir, there was a constant drip. I had to top off the reservoir a few times during the process. This drip was reduced by using the supplied rubber plugs to slow the drip. I can't really quantify the amount of air that came through the system, but a regular bleeding protocol was followed using a power bleeder at 10psi. I suppose you can apply the power bleeder at a 1-2 PSI and see what happens. I did observe air bubbles come through during the initial portion the bleeding process and the brake pedal feels quite firm.
This is not an issue in this case. With the open ends being lower than the reservoir, there was a constant drip. I had to top off the reservoir a few times during the process. This drip was reduced by using the supplied rubber plugs to slow the drip. I can't really quantify the amount of air that came through the system, but a regular bleeding protocol was followed using a power bleeder at 10psi. I suppose you can apply the power bleeder at a 1-2 PSI and see what happens. I did observe air bubbles come through during the initial portion the bleeding process and the brake pedal feels quite firm.
Be sure to grab an 11 mm and a 10mm flare nut wrench.
A trick I learned for reducing brake fluid dripping to a minimal when disconnecting brae lines is to use something like a mono pod to depress and hold the brake pedal down 1~2" before you disconnect the lines. You'll find the brake fluid barely comes out a drop or two when you disconnect the line.
A trick I learned for reducing brake fluid dripping to a minimal when disconnecting brae lines is to use something like a mono pod to depress and hold the brake pedal down 1~2" before you disconnect the lines. You'll find the brake fluid barely comes out a drop or two when you disconnect the line.
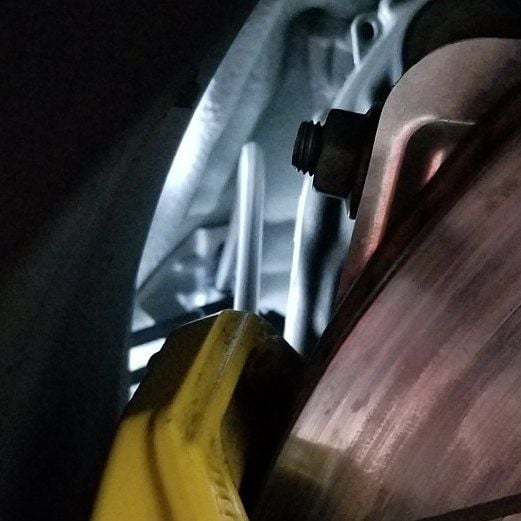
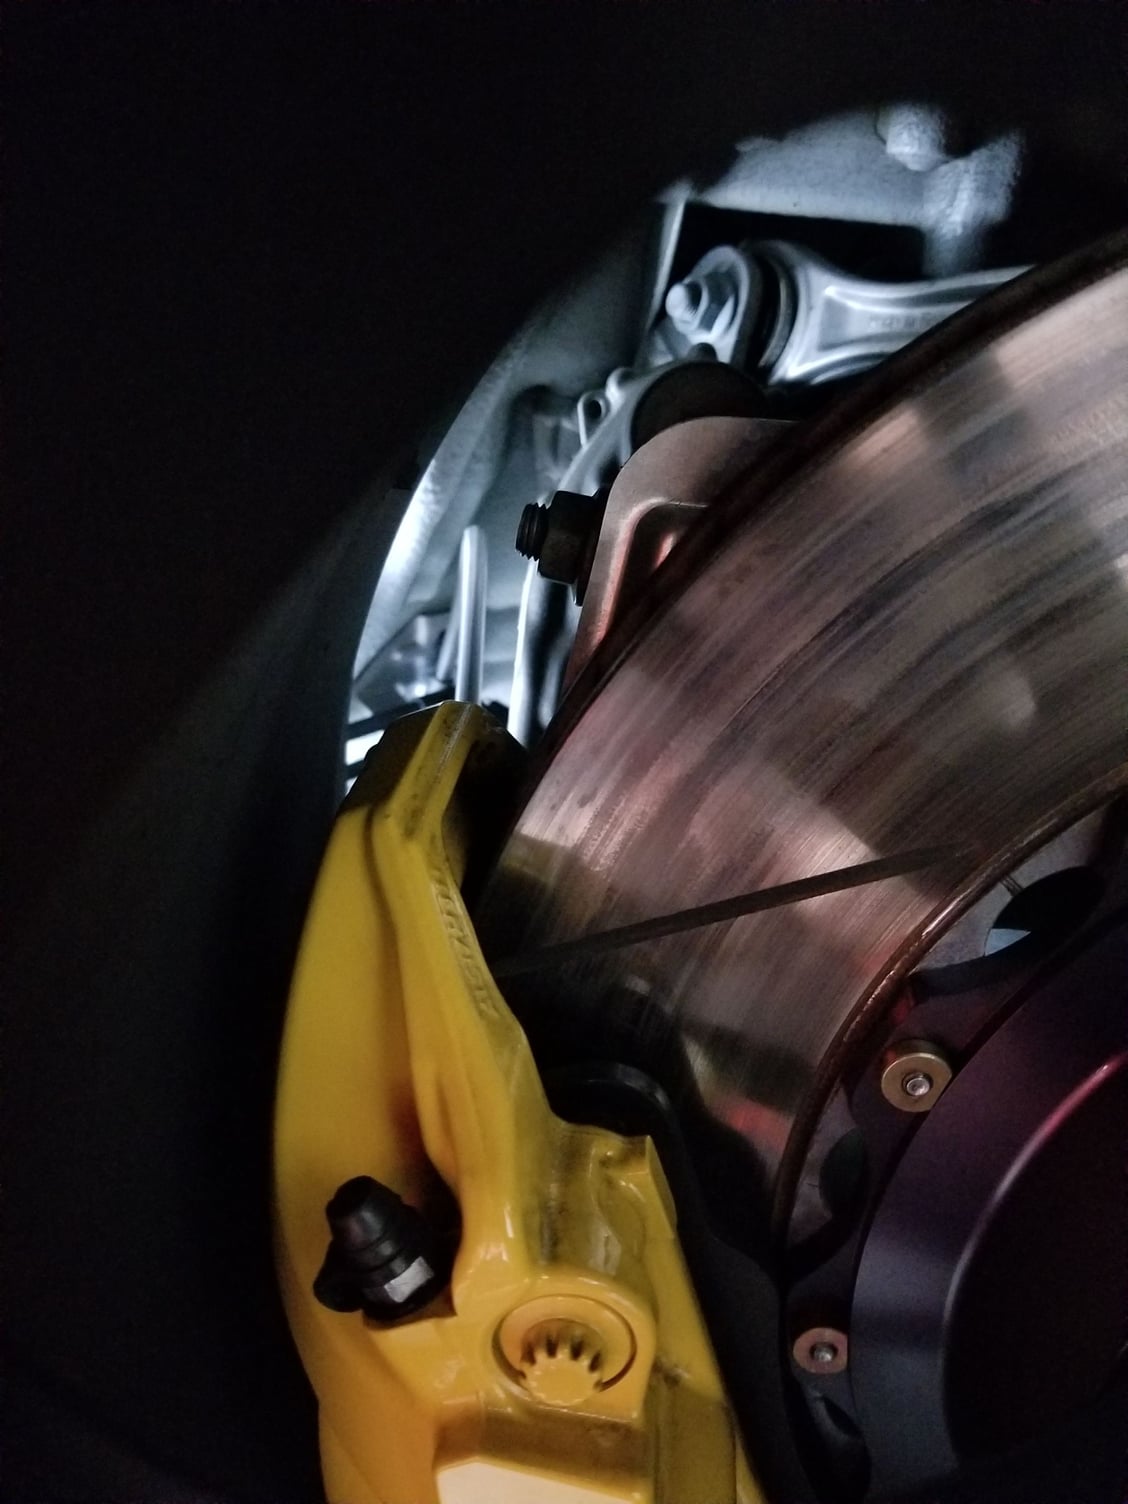
Installed the 330mm custom lines. Much better. Lets the bracket be used since it is still connected to caliper and acts as a strain relief. Much better. Less interference.
 01-24-2018, 10:37 PM