When you click on links to various merchants on this site and make a purchase, this can result in this site earning a commission. Affiliate programs and affiliations include, but are not limited to, the eBay Partner Network.
So to do the passenger side seat, it's pretty easy, but scary if you haven't done it before.
1) Lower seat
2) Disconnect battery
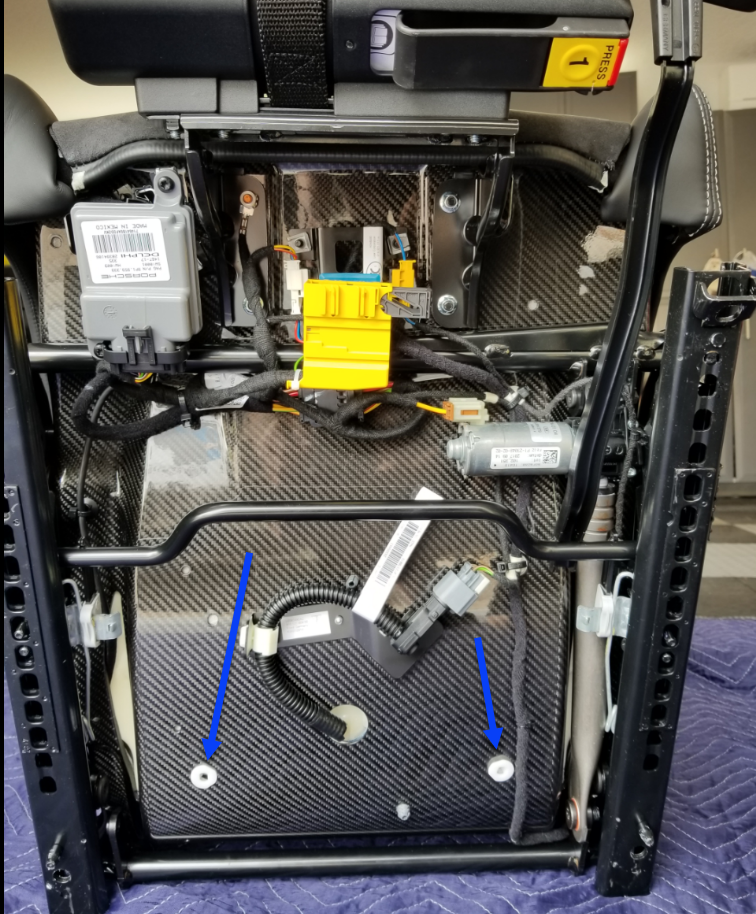
3) Remove seat (4 torx bolts and a large connector). To remove the connector, you just pull the slide out.
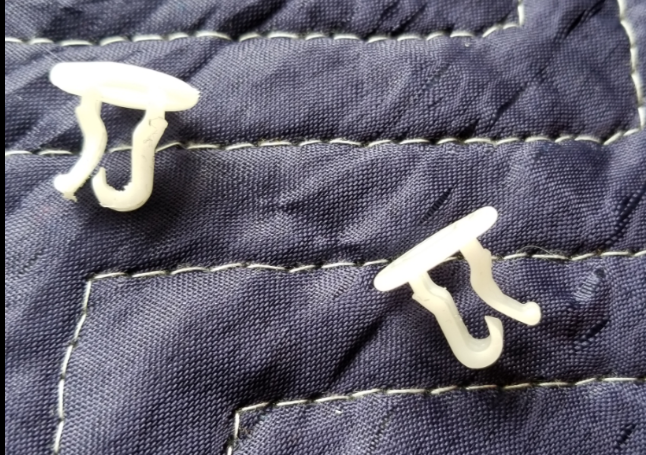
4) To remove the bottom cushion, first remove the two plastic pieces (patience and a good 45 degree pick works)
5) Cushion is velcroed in place and you can remove the front by pulling on the edging
6). Looking from underneath, you'll see a hole where the belt should go through.
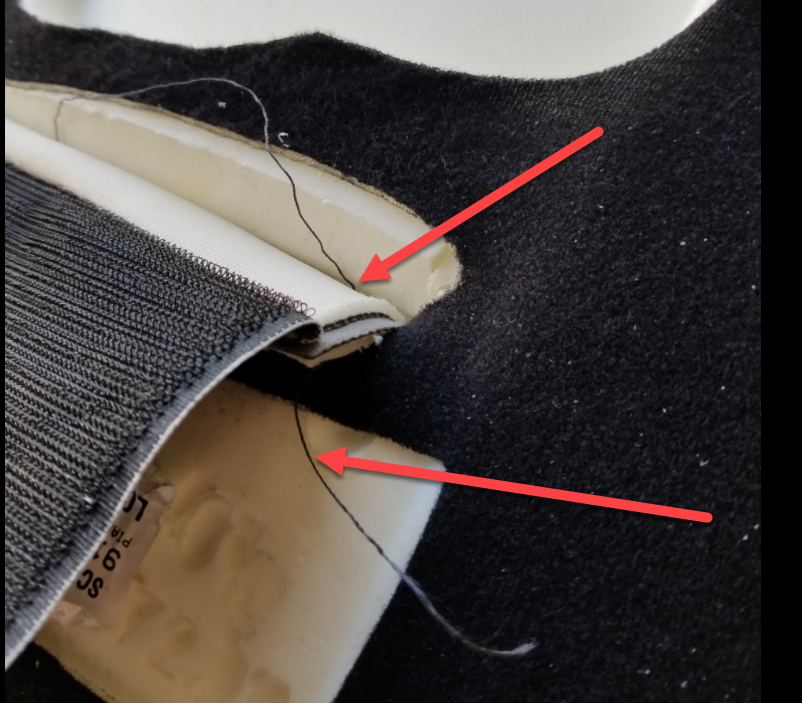
7) You'll want to make a small cut to the thread here, and also on the same side, to the thread where the velcro is attached. Make sure to cut it in the middle.
I used a small pick to get the thread up a little bit so I can cut it. Then start to unravel it to the almost the edge of the hole on both sides.
For the velcro piece, you can remove most of the thread as you'll have to restitch the velcro and add another new piece to the other side.
6) You'll end up with two tag ends at each side (since you started in the middle). Tie them into a knot at each end. This will keep the thread from unraveling further. You can also add your own stitch on each side to keep it secure as well.
7) sew in the velcro you removed to only one side and then add another piece of velcro (hook / hook) to the other loose end of material.
8) Reinstall the cushion / clips.
9) Install your sub bar and sub belts. Install seat / connector. Re-connect battery. Install harnesses. Have fun.
Was pretty painless and is basically pre-configured from the factory.
The passthrough in the seat was premarked (as shown above). I used an oscillating tool and dremel to make the rounded ends. Took 5 minutes to cut the hole.
It could probably take me an hour to do the whole job next time... I have to do my brother-in-law's 16 .1 GT3 this weekend, so we'll see.
As long as you are comfortable with cutting a hole in your new seat shell and pulling a few threads, it's very low risk and easy to do.
Just wondering why you didn't just split the Alcantra from the seam on the other side of the Velcro strip in your photo. If you split the seam underneath the seat where the alcantra is sewn together you can leave the velcro attached and you will be able put your fingers through the passthrough to the seam in the seat. I was then able to just split the seat seam with a thread cutter and push the seatbelt through. No sewing required. Not sure if I missed something but it seems to have worked.
Just wondering why you didn't just split the Alcantra from the seam on the other side of the Velcro strip in your photo. If you split the seam underneath the seat where the alcantra is sewn together you can leave the velcro attached and you will be able put your fingers through the passthrough to the seam in the seat. I was then able to just split the seat seam with a thread cutter and push the seatbelt through. No sewing required. Not sure if I missed something but it seems to have worked.
Your way probably works as well, though we both probably achieved the same result. But I believe two seams need to be opened - the velcro part, and the cushion part. Right?
Did you end up with velcro on both sides? One facing forward, the other backwards? I tried to mimic how it is setup on the driver's side.
Used 4" Velcro from Amazon and black nylon heavy duty thread to re-attache velcro pieces.
I just slit the seam to the inside of the Velcro which ends up leaving original Velcro in place. The factory just sewed a seam that sealed the passthrough with Alcantra on both sides. Leave the outside alone and you can slide fingers through like a pocket. All good I�m just trying to save work as you just need a thread cutter and 5 minutes.
PS Great job on cutting you actual seat. I was chicken and had �my guy� cut it.
So to do the passenger side seat, it's pretty easy, but scary if you haven't done it before.
The passthrough in the seat was premarked (as shown above). I used an oscillating tool and dremel to make the rounded ends. Took 5 minutes to cut the hole.
It could probably take me an hour to do the whole job next time... I have to do my brother-in-law's 16 .1 GT3 this weekend, so we'll see.
As long as you are comfortable with cutting a hole in your new seat shell and pulling a few threads, it's very low risk and easy to do.
Which bits did you use on your dremel and oscillating tool to cut the CF seat shell? Cut off disc?
I am going to do mine soon. Thanks.
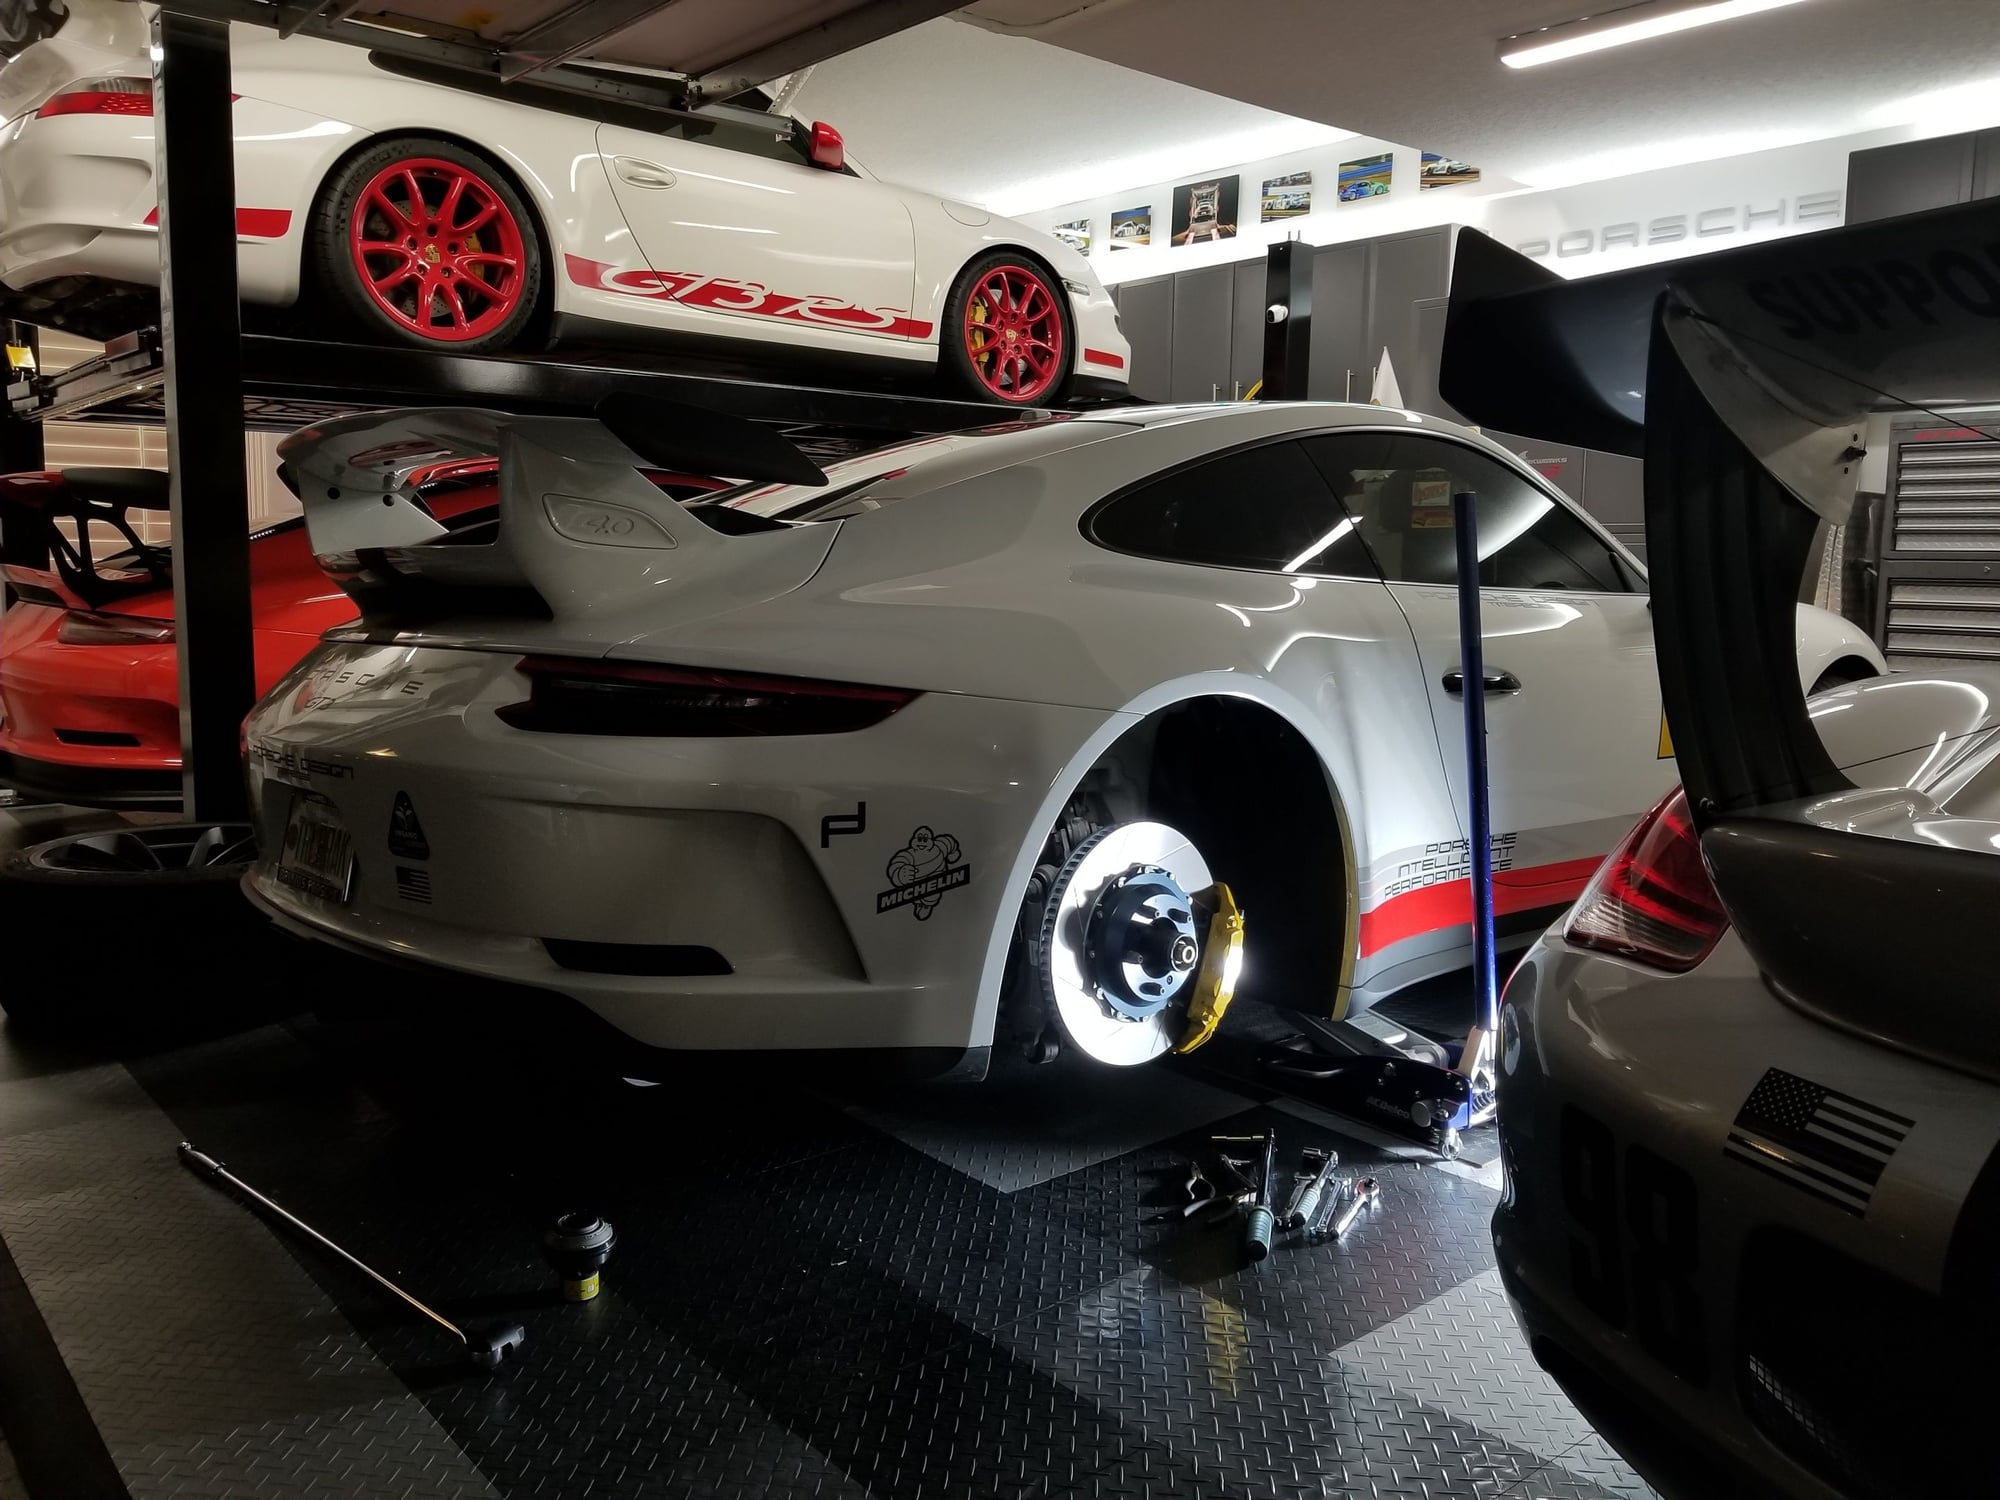
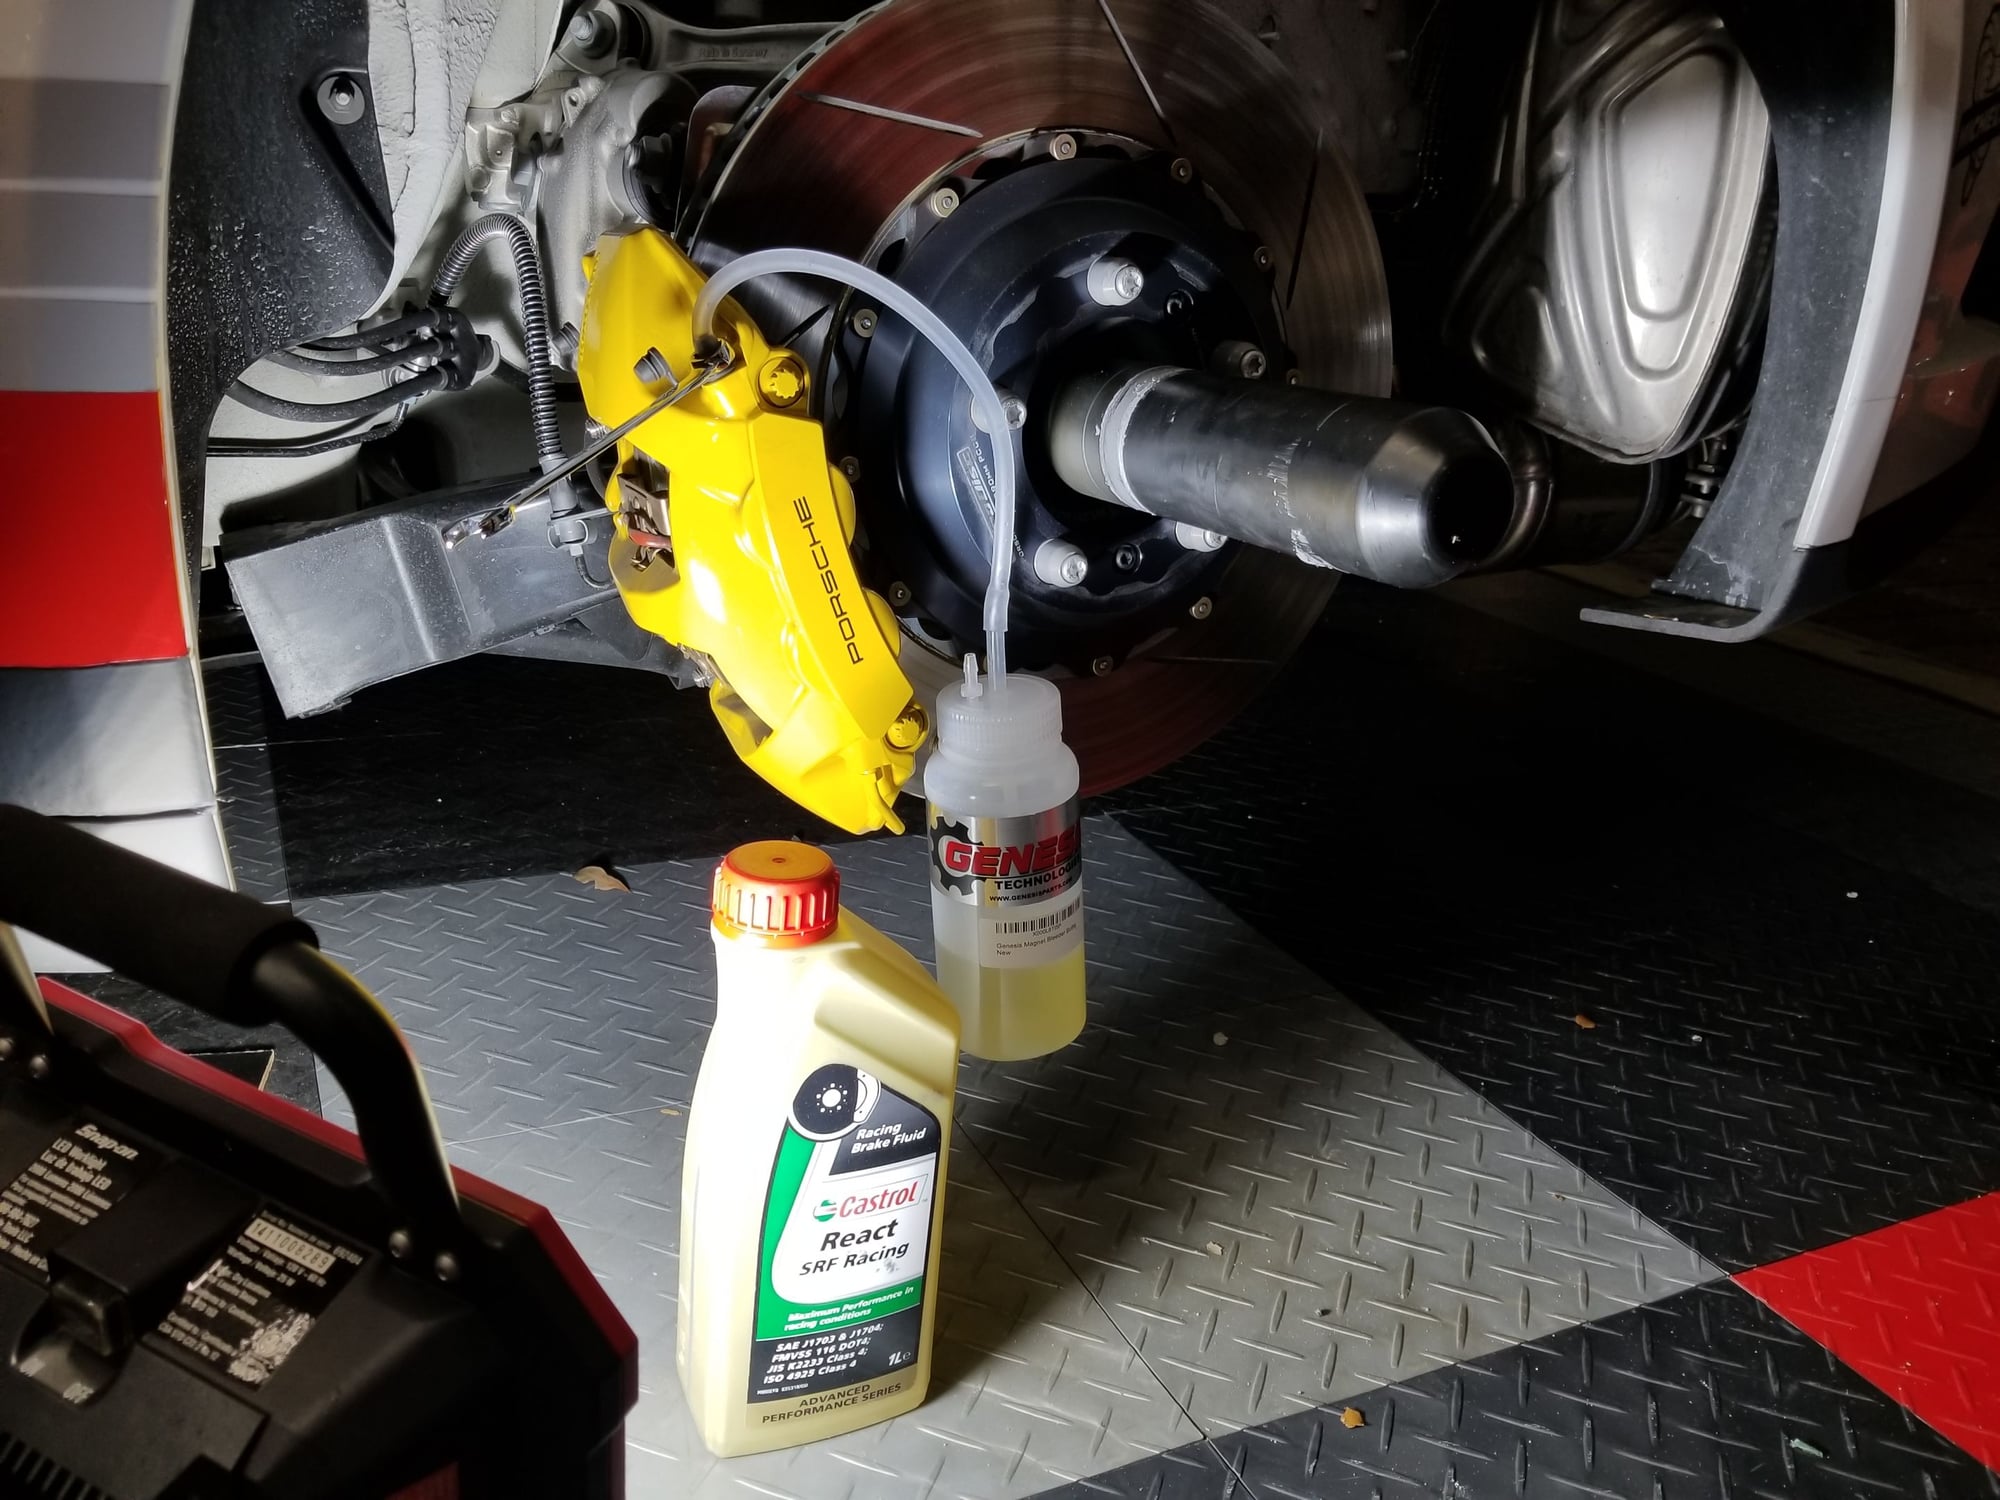
Heading to Sebring next weekend. Swapped out the factory fluid for some Castrol SRF.
I will also have the pleasure of instructing my 18 year old son in the car as well (a true gift to be able to do so). He has done one previous event in his E92 M3, so he should be good in the GT3. He has a good head on his shoulders and knows his limits.
 12-18-2017, 05:06 PM